Archive for the ‘garden’ Category

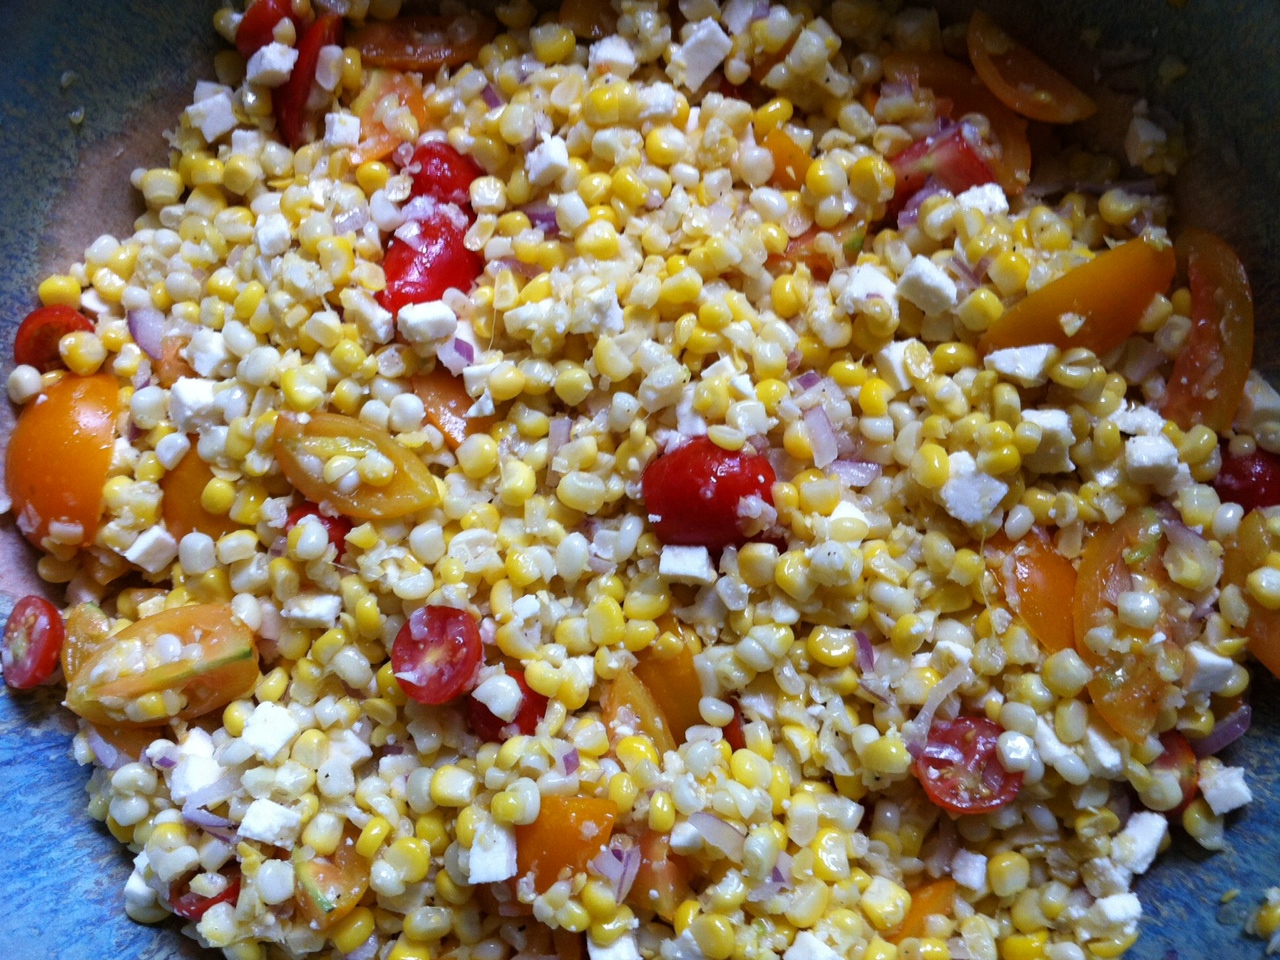
Corn and tomatoes…when they’re in season, you just can’t beat the combination! This is a very simple salsa that takes advantage of their natural sweetness and is easy to make.

salsa


Ingredients:


1 lb frozen organic corn or equivalent fresh

2 ripe tomatoes, seeded and chopped

1/4 small red onion, finely chopped

6 oz mild crumbled cheese, like feta, cotija, or queso fresco

1 teaspoon Fleur de Sel

A pinch of black pepper

2 teaspoons white vinegar

2 tablespoons extra virgin olive oil


If using fresh corn, remove it from the ears, then pan saute  in a little olive oil, but leave it nice and crisp. If you can roast the ears of corn over some coals, even better. Let it cool.

Mix corn with all the other ingredients in a bowl. Cover and refrigerate.

Last summer, we had a party with 100+ people. I needed something fresh that highlighted the veggies of the season. When I spotted these baby bell peppers in the supermarket, I came up with this tasty, crunchy appetizer.

Ingredients:

Baby bell peppers

1 dozen ears fresh corn, removed from the cob…or organic frozen corn

1 Vidalia onion, peeled, quartered, grilled, chopped

Juice of 1 large lime

¾ cup mayonnaise

20 shots of Frank’s Red Hot

1 lb Queso Fresco, crumbled

Salt and pepper

Fresh cilantro or parsley, finely chopped

Cut corn from ears, and saute very briefly in a little olive oil, salt and pepper. Place in a bowl and let cool.

Peel and quarter the Vidalia onion, and throw it on a hot grill with a little olive oil to get some nice grill marks on it, leaving the onion still crispy, not soft. Remove, let cool, then place in a food processor and pulse until the onion is chopped into small bits, just smaller than the corn kernels. Add onions to corn.

In a separate small bowl, combine mayonnaise and Frank’s Red Hot. Pour in crumbled Queso Fresco and mix well. Pour into corn and onion bowl and mix well.

Add lime juice to the bowl and mix well again. Taste mixture and season with salt and pepper.

Cut the baby bell peppers in half lengthwise, and remove the seeds and membrane. Stuff the peppers with the corn mixture and garnish with cilantro or parsley.

If preparing ahead of time, refrigerate until ready to eat, but allow some time for them to warm up to room temp a bit.

Despite gardening for almost 50 years, I sowed and harvested my first batch of fennel this season. Having received a recent shipment of heritage Berkshire pork chops, I thought it was time to get creative. This is a rustic Italian-style recipe that works great for pork and fennel…

fennelfrond


PORK WITH FENNEL AND CAPERS


Ingredients:


4 Berkshire pork chops, medium thickness

2 fennel bulbs with stems and fronds, finely chopped

2 shallots, finely chopped

1/2 cup fresh parsley, chopped

olive oil

salt and pepper

1 28 oz can tomatoes

1 tablespoon capers

Zest of 1 lemon

1/2 cup dry white wine

pork and fennel


In a large pan, heat some olive oil. Season the pork chops on both sides with salt and pepper, then brown on both sides in the pan with the olive oil. Remove chops from pan and set aside.

Add a little more olive oil to the pan and add the chopped fennel and shallots, stirring for a few minutes. Add the white wine, and stir well to get the tasty bits of pork from the bottom of the pan. Add half of the parsley. Add the can of tomatoes, squishing the tomatoes between your fingers so that they are broken up when they hit the pan. Stir for a few minutes over medium heat.

Return the pork chops to the pan, nestling the in the sauce. Add the capers, lemon zest and remaining parsley. Stir in a bit, and then let the chops cook for about 10 to 15 minutes..


This a fantastic drink that requires a little prep. If you have a juicer, use that instead of pureeing in a food processor. Just peel the cukes and juice.

cuke drink pic


Ingredients:

2 English cucumbers or 4 regular cucumbers

Small ice cubes

1 cup loosely packed fresh mint leaves

2 teaspoons granulated organic cane sugar

3 tablespoons fresh lime juice

1/2 cup top shelf vodka, like Chopin

1 oz (2 Tablespoons) Cointreau


Peel and seed cucumbers. Coarsely chop them and then purée in a food processor until smooth. Strain through a fine sieve, pressing solids to extract as much liquid as possible.

To a large glass pitcher, add mint leaves, sugar and lime juice. Muddle ingredients so that mint leaves release their oils. Add 3/4 cup (at least) cucumber juice, the vodka and Cointreau. Muddle again briefly.

Fill tall drinking glasses with ice cubes. Strain cocktail into glasses. Garnish with cucumber spear or mint.

IT’S TIME TO MAKE PESTO!

Posted: July 11, 2013 in Food, garden, Recipes
Tags: , ,
We eat a ton of pesto at home, and I’m amazed at how much my 6-year-old daughter loves the stuff. Most of the time, it’s simply mixed with pasta. But we stir it into tomato sauce and smear it on grilled chicken or beef as well.
Part of the problem with store-bought pesto is that it can get pretty expensive. You can save a lot of money by making pesto at home yourself. Don’t go to the supermarket to buy ingredients like pine nuts or olive oil. They come in stupid little jars that are crazy expensive. Instead, go to membership stores like BJ’s and buy in bulk…and with basil growing like crazy in the garden, now is pesto-making time!
Here’s my sure-fire pesto recipe. I make massive amounts of it, store it in plastic storage containers, and put them in the deep freeze. They last all year, and thaw out easily.
Ingredients:
2 cups fresh basil, packed down a little
1 cup grated Parmesan cheese
1/2 cup pine nuts
1 cup extra virgin olive oil
1 garlic clove, crushed
1 teaspoon salt
Put all the ingredients in a food processor and let it rip!
Pesto combinations are endless. Some people use walnuts or pecans instead of pine nuts. Some go crazy with the garlic. Tweak your pesto however you like it. And make enough to enjoy it year round!
Gooseberries grow on a bush that can get anywhere from 3 to 10 feet tall, the branches having sharp spines on them, making picking the berries a bit of a challenge. Berry colors are usually green, though there are red and even purple varieties. They feature a skin on the outside much like a grape, and flesh with seeds on the inside. But they’re not super sweet…just sweet and tart enough.

Gooseberries are used mostly in desserts, but in some countries, like Portugal, people mix gooseberry juice with soda, water or even milk to make a popular beverage.


I’ve always enjoyed gooseberries simply straight off the vine. My Mom had several gooseberry bushes in her yard, and the early ripening fruits were a special treat in my childhood.
 
Moving to Rhode Island 20 years ago, I had hoped that I could grow my own gooseberry bushes someday. But unfortunately, a disease called white pine blister rust made that impossible. The way white pine blister rust survives is by traveling back and forth from 2 host species. One of them, obviously, is the white pine. The other is…well, the family of plants that gooseberries belong to: Ribes. (Currants belong to this family of plants as well.) So, the logic was that if you don’t plant a gooseberry near a white pine, the rust has nowhere to go and never gets past its first of 5 stages. You literally could not plant a gooseberry within a few miles of the nearest white pine, which for Rhode Island meant nowhere! And although most states got rid of this ban back in the 1960’s, Rhode Island kept it on the books for many more years. (Part of the problem is that many gardening catalogs and websites have not updated this information and still refuse to ship gooseberry plants to Rhode Island.)
 
But recently, the ban was lifted! I visited my pal Rick at Peckham’s Nursery in Little Compton, RI and I saw gooseberry bushes sitting there, just waiting to be bought. I scooped 2 up immediately and planted them in my yard. Rick explained that the ban on gooseberries had been lifted, in part because the disease was no longer a threat, and also because new varieties of gooseberries have been developed that are immune to white pine blister rust.
 
So the next time you see a local farmstand with a basket of funny-striped grapes, look again. It may just be a basket of gooseberries…a treat that we can now all enjoy again.

A couple of photos of what’s happening in the spring garden…

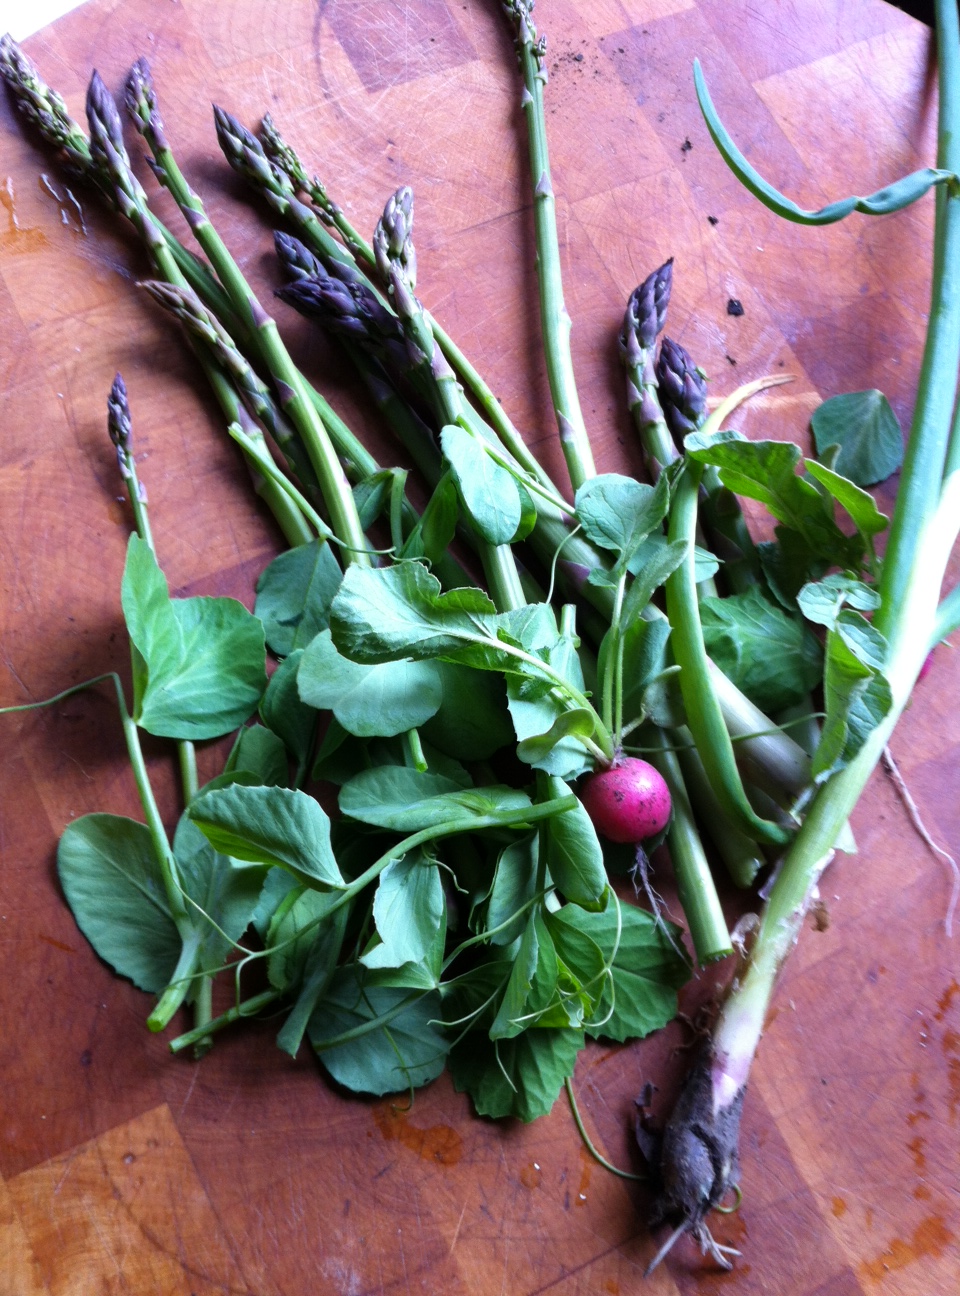
An early spring salad: asparagus, pea tendrils, radishes, scallions.

An early spring salad: asparagus, pea tendrils, radishes, scallions.


How do I get to make a fried chive blossom pizza in December? I pick 'em and freeze 'em in May!

How do I get to make a fried chive blossom pizza in December? I pick ’em and freeze ’em in May!


SPROUTING: A WINTER GARDENING FIX

Posted: January 22, 2013 in garden
Tags:
As a rabid gardener, I definitely go through withdrawals in the winter. Pouring over gardening catalogs and ordering my seeds for spring planting only helps temporarily. Sprouting gives me my fix.
We’ve all seen the sprouts in the refrigerated section of the produce department at the supermarket…but it seems that the package is usually too big to be consumed before the expiration date. Whatever…I still wind up buying it, piling the sprouts on top of my salad and anything else I can think of, and then quickly getting to the point where I’m so sick of them that I don’t to even look at another sprout for a long time. Then they rot in the fridge and become compost.
Sprouters have been around for a long time, and they vary in size and shape. The ones that I like most consist of four plastic circular trays that nest one on top of the other, with a little valve at the bottom of each tray that allows water in the top tray to trickle down into each of the lower trays before reaching the bottom water catching tray.
Sprouting seeds yourself may seem like a bit of a pain in the beginning, but once you get into the routine, it’s fun and easy to do–get your kid involved–and the wide variety of sprouting seeds available is mind-boggling. Alfalfa, buckwheat, broccoli, mustard, radish, and the classic Chinese sprout: mung bean,  just a few that I’ve sprouted over the years. And the great thing about sprouting your own seeds (besides the incredible freshness) is that you never wind up having too many. You can time the sprouting so that you constantly have a supply of sprouts without waste. It’s a great way to get your gardening fix in the wintertime when it’s too cold to be gardening outside.
Day 1
Day 2
Day 3
Many gardening websites now offer seeds specifically for sprouting. Here are a few…
Johnny’s Selected Seeds: www.johnnyseeds.com
Pinetree Garden Seeds: www.superseeds.com
Wood Prairie Farm: www.woodprairie.com

Horseradish just doesn’t get the credit it deserves. A world without horseradish would mean boring Bloody Mary’s, cocktail sauces with no kick, and steaks and roast beef sandwiches just crying out for sauces and mayos with personality.

Horseradish is a perennial plant from the Brassicaceae family, which also includes mustard, wasabi, broccoli, and cabbage. It’s mainly grown for its white tapered root, which, when not disturbed, has little aroma. But when you cut or grate it, enzymes from the damaged plant cells release oils that give horseradish that wonderful pungent smell and flavor. It loses this pungency just as quickly, unless you store it in vinegar, which is why bottled or “prepared” horseradish is always found in a vinegar solution.

In the garden, horseradish can become invasive, meaning it will want to take over if you let it, but in my garden, it doesn’t get to do that because I regularly harvest a couple of roots for my kitchen.


Horseradish in the garden

Growing up in a Lithuanian family, there were very few spices ever used in cooking. Most of the food was pretty bland. Mom would salt food, but even black pepper was pretty rare. Peppers of any kind were never used–they never grew in Lithuania–so horseradish became the universal ingredient when a kick was needed. My grandfather loved it. I can still remember my grandfather crying his eyes out as he grated a freshly picked horseradish root from his garden. It was absolutely a labor of love. He would keep his grated horseradish in vinegar in the fridge, and then when dinner came around, it would quickly find its way to the table next to just about any meat my grandmother was cooking.

These days, with food processors in just about any kitchen, there’s no excuse not to use fresh horseradish. Your nasal passages and eyeballs are safe from being blown out.

Some of the basic applications for horseradish are still the best. The following recipes use prepared horseradish you easily find in the supermarket, but use fresh if you have it.


A freshly harvested horseradish root

For a simple horseradish mayo:

1/4 cup mayonnaise

2 Tablespoons prepared horseradish
Combine both ingredients in a bowl, cover with plastic, and refirgerate. Goes great on a roast beef sandwich.


For a fancier horseradish sauce that goes great on grilled salmon:

3/4 cup sour cream

1/4 cup mayonnaise

2 Tablespoons prepared horseradish

2 Tablespoons chopped fresh basil

1 Tablespoon fresh lemon juice

1 teaspoon soy sauce

Combine all ingredients in a bowl, cover with plastic, and place in fridge for a few hours for the flavors to blend.


Alz cocktail sauce

2 cups ketchup

4 Tablespoons prepared horseradish

1 Tablespoon fresh lemon juice

1 teaspoon Worcestershire sauce

½ teaspoon Tabasco

5 grinds of fresh black pepper

¼ teaspoon salt

1 teaspoon vodka

Combine all ingredients. Store in a tight plastic container in the freezer. Thanks to the vodka, my cocktail sauce never freezes solid, so just scoop out what you need and let it thaw.

ROASTING CHIOGGAS!

Posted: October 16, 2012 in beets, garden, Recipes
Tags: , ,


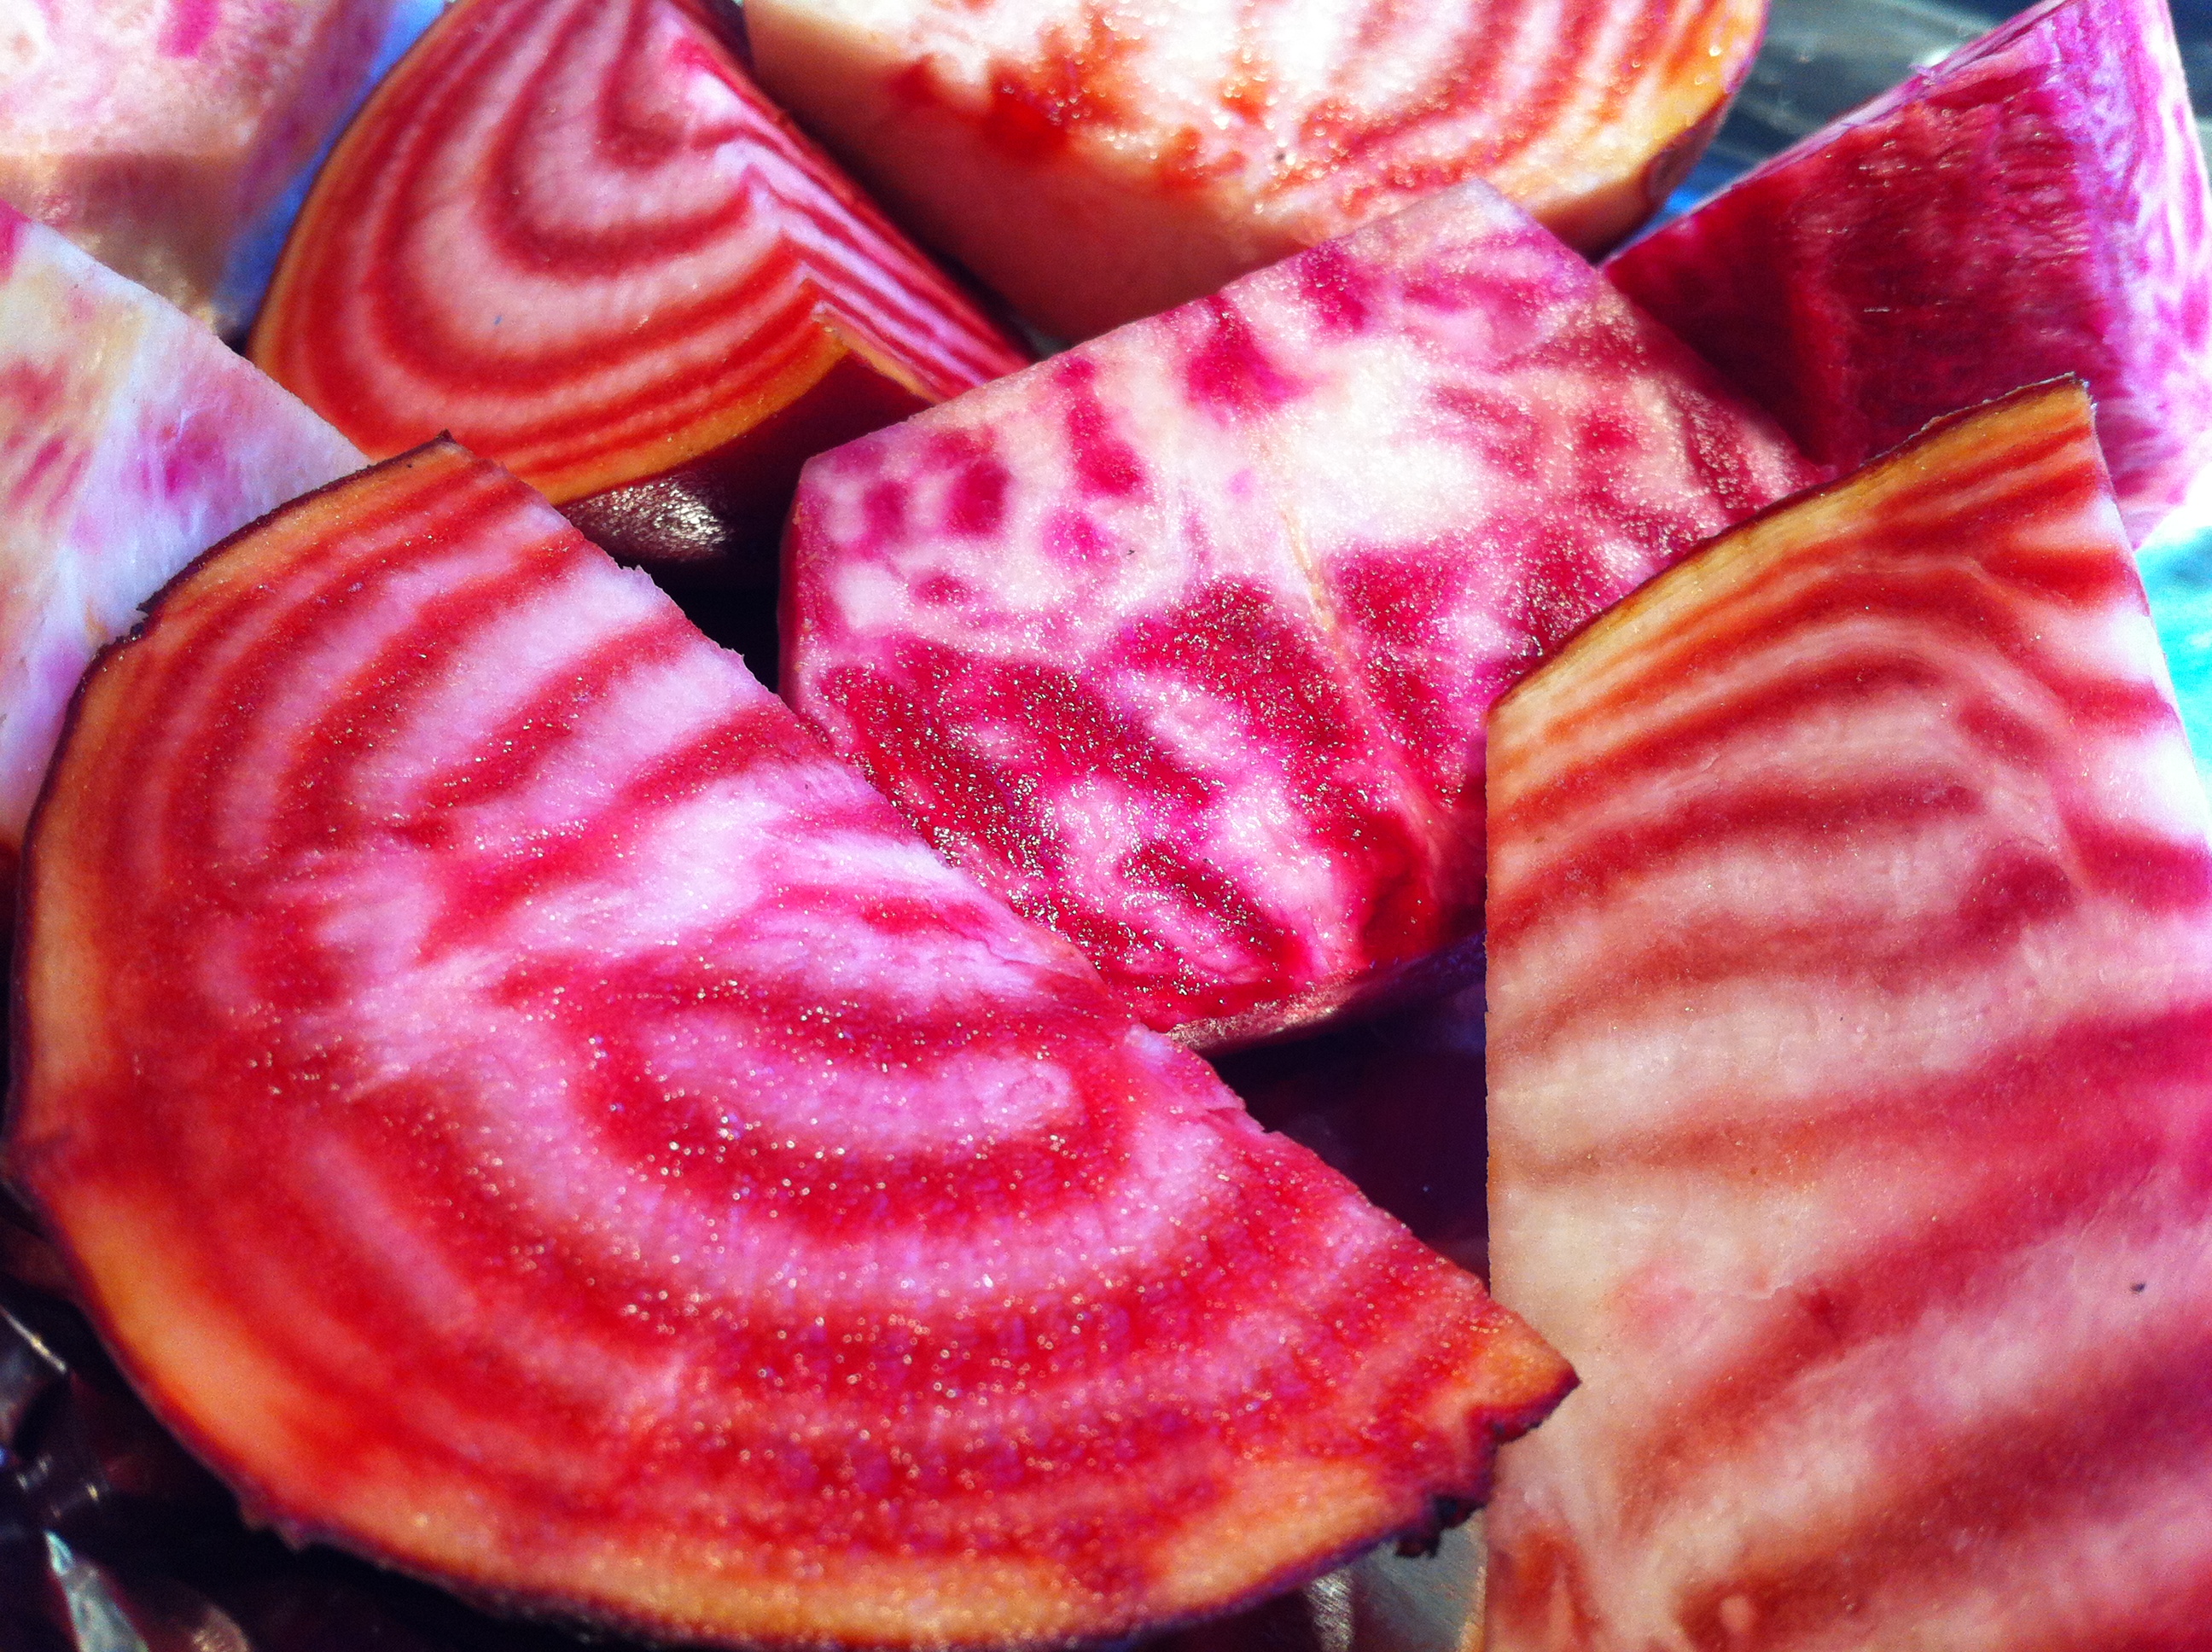
I love beets, but this variety I grow in my garden every year is special. They’re mild, they don’t bleed, the greens are delicious, and…look at ’em: they’re gorgeous! The variety is called Chiogga, and I highly recommend it in anyone’s veggie garden.

To roast, I simply wash the beets and cut them into smaller pieces. I place them on a sheet of aluminum foil, sprinkle with salt, pepper and a little EVOO, fold the foil over the beets to make a packet, and roast at 350 for about an hour or until they are fork-tender.