My daughter likes to find new recipes on line for us to try. And although they might look like new ideas to her, the ingredients tell me these recipes came from somebody’s cookbook from the 70’s.
Hey, maybe I’m the exception to the rule, but I haven’t opened a can of cream-of-anything soup in at least 30 years…and that includes cream of mushroom for the classic Thanksgiving bean casserole. (I’ve never made one.) Maybe it’s because I wasn’t raised on Betty-Crocker-midwest-American fare. My parents were from Lithuania, and we had our own list of favorites that would probably raise a few American eyebrows.
But my daughter had friends coming over to hang out for a few hours, and I always like to cook something for them. (I learned from my mom and grandmother a long time ago that you don’t invite someone over without feeding them.)
This casserole recipe my daughter chose, originally called something like “Chicken Spaghetti,” had some good ideas, but wrong ingredients for a group of teenage girls who could be a bit finicky. For example, it called for 2 cans of cream of mushroom soup. I decided to ditch the mushrooms and I substituted one can each of cream of celery and cream of onion. The recipe called for green peppers. I chose to use peas and corn. And since it was all going into a casserole dish, spaghetti seemed like the wrong pasta. We went with smaller penne instead.
We made it a day ahead…keeping it wrapped in the fridge. But if we needed less than what this recipe made, we would’ve divided it into two smaller casseroles, freezing one of them (before cooking) for future use.
1 lb. pasta
1 can (10.5 oz.) cream of celery soup
1 can (10.5 oz.) cream of onion soup
1 cup chicken broth
2 to 3 cooked chicken breasts (about 3 cups shredded)
1/2 cup peas (frozen is fine)
1/2 cup corn (frozen is fine)
1 small onion, finely chopped
1 teaspoon seasoned salt (I use Lawry’s)
1/8 teaspoon cayenne pepper
salt and pepper
2 1/2 cups shredded sharp cheddar, divided

Homemade chicken stock is the best. If you don’t have any that you’ve made from the leftovers of previous chicken dinners, and you don’t have any store-bought stock in your pantry, here’s any easy cheat…
Get a pot and fill it with about 6 cups cold, clean water. Put the pot over high heat. Chop up a carrot, a stalk or two of celery, and 1/2 an onion and toss them in the pot. Then add the raw chicken breasts you’re going to use in this dish.
Bring the pot to a boil, then turn the heat down to medium until the chicken breasts are thoroughly cooked and the liquid in the pot has reduced by at least half.
Strain the veggies out, and what you have left is basic chicken stock.

If you’re going to cook this dish the same day, pre-heat the oven to 350.
Grease a 9 x 13 pan with cooking spray. (Two smaller pans if you’re dividing the recipe.)
Cook the pasta according to the package instructions, but stop the cooking even before the pasta reaches the al dente stage. (It will cook more in the oven, so you don’t want it mushy.) Drain the pasta and set it aside.
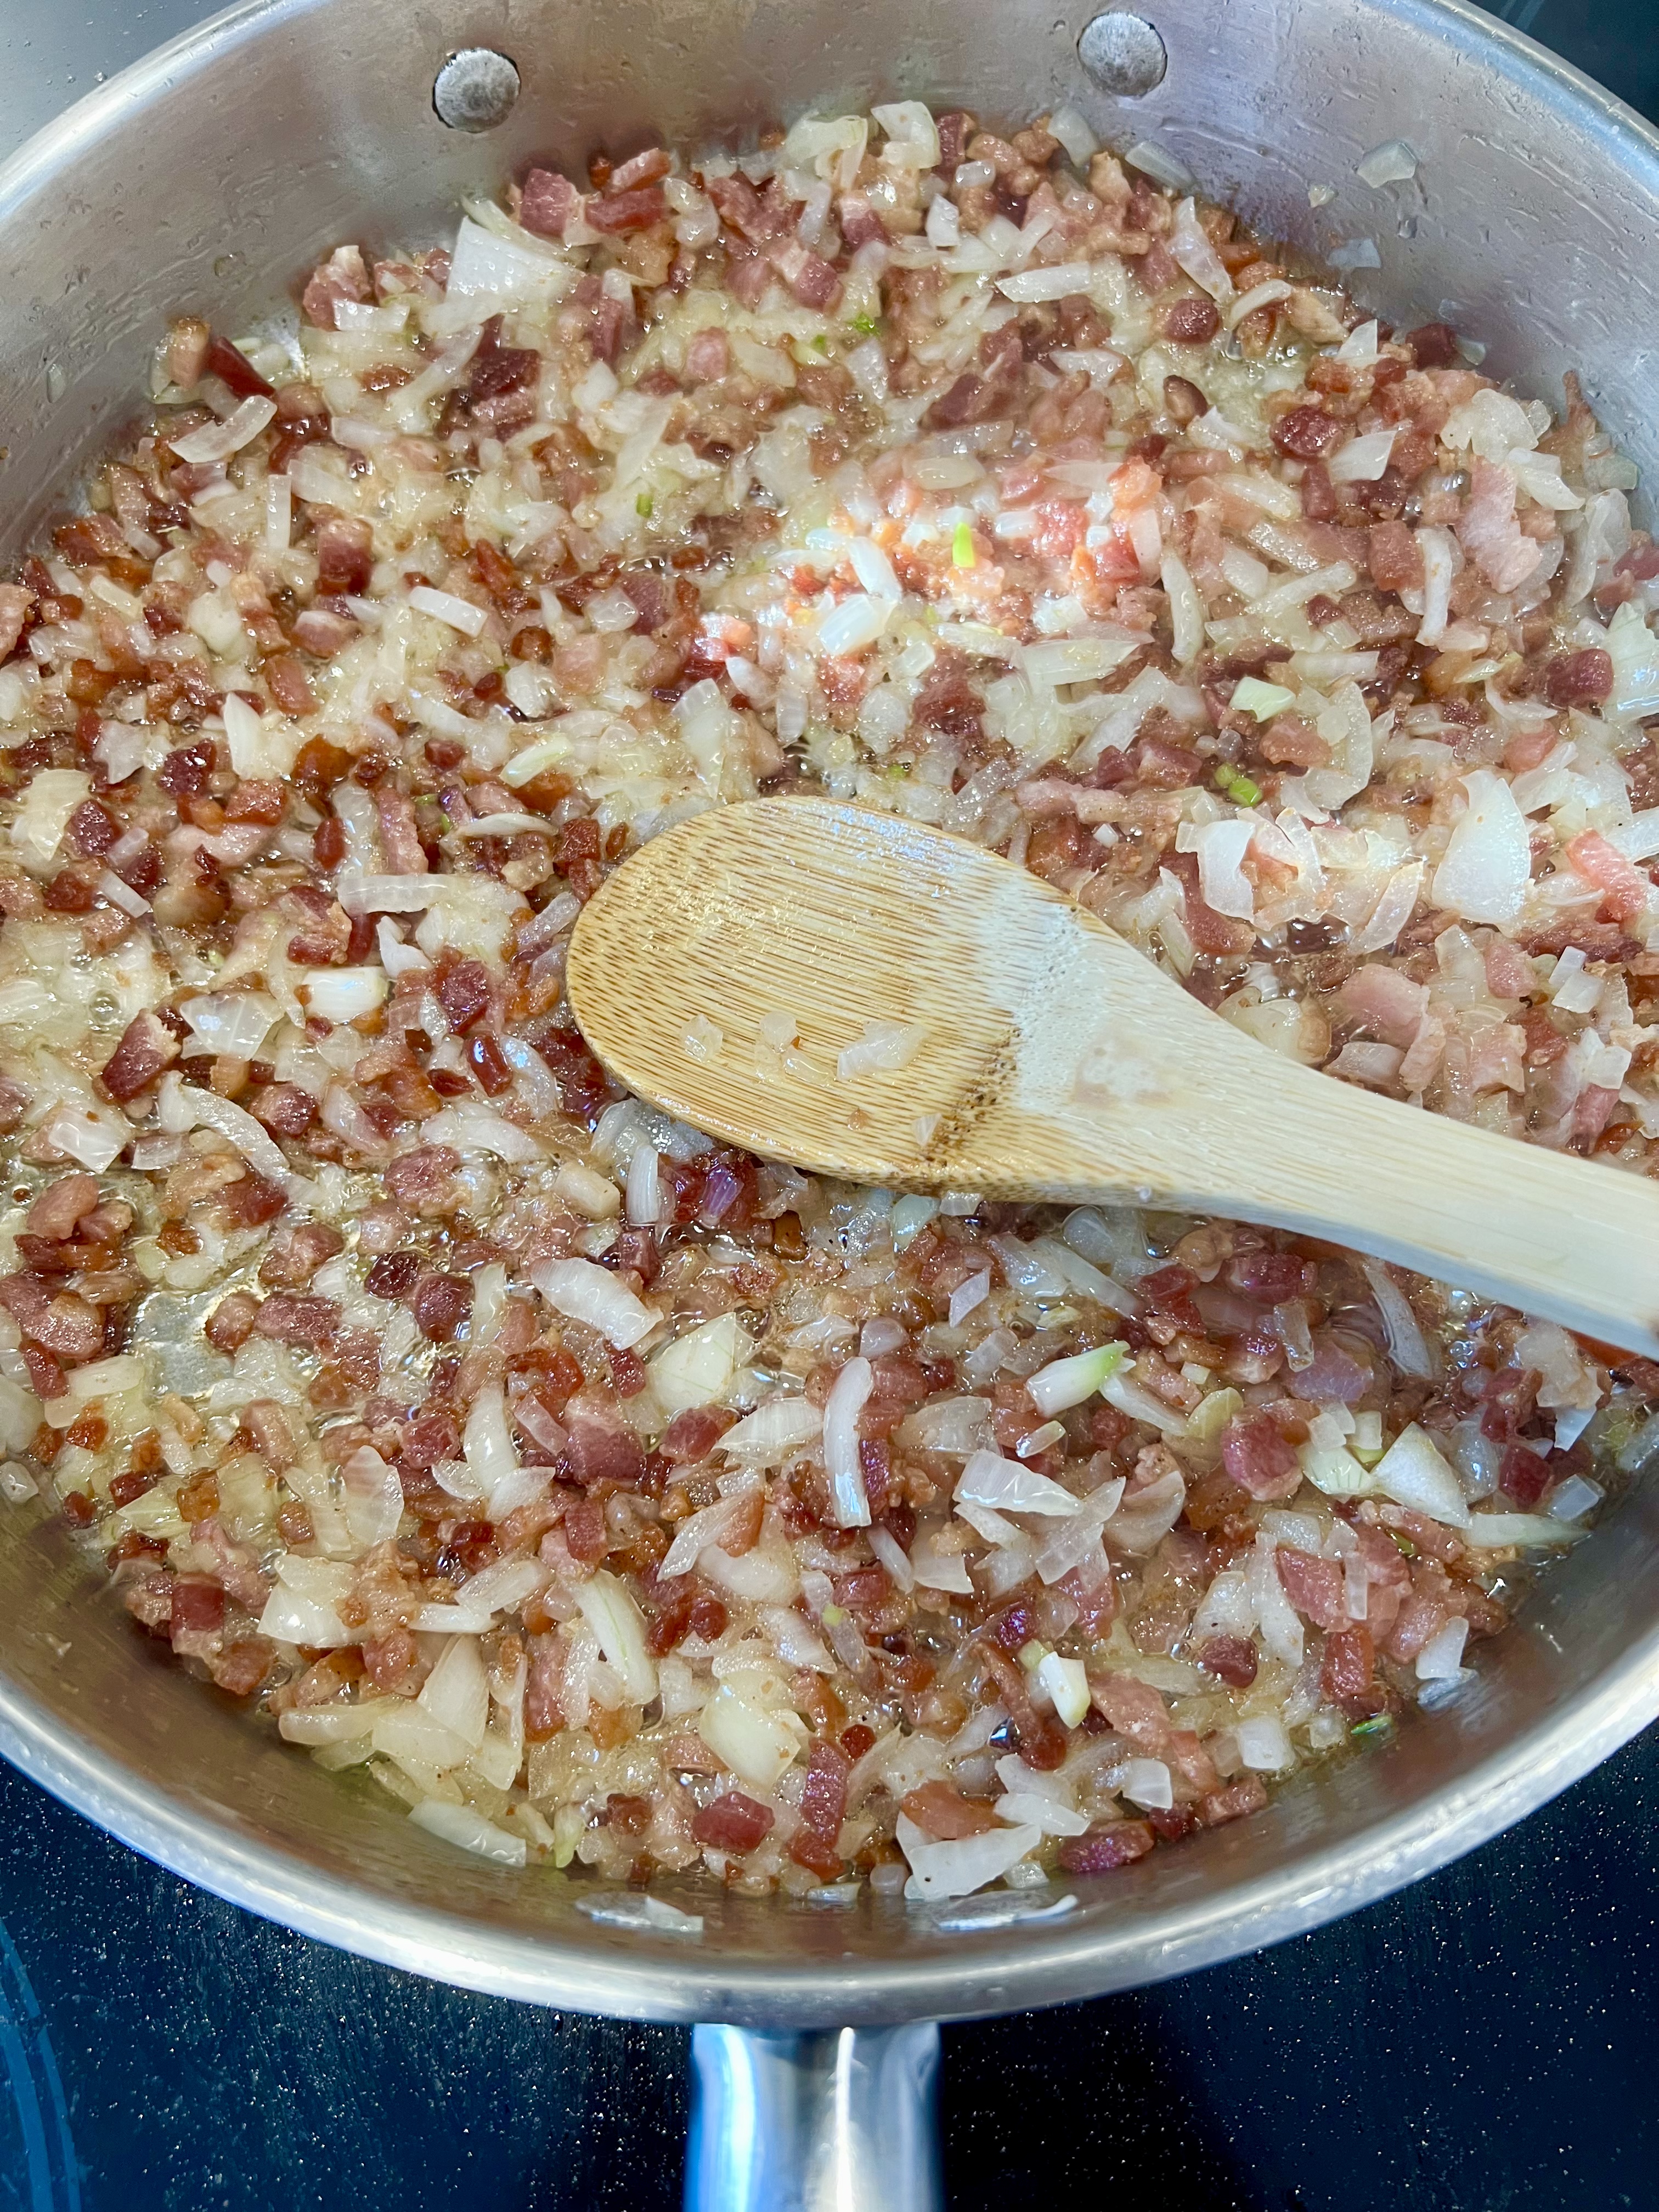
Sauté the onion in a bit of olive oil until it’s translucent.
Get out a large bowl and add the can of cream of celery, the can of cream of onion, the sautéed onions, the peas and corn, the shredded chicken, the chicken stock, the cooked and drained pasta, the seasoned salt, the cayenne, and 1 1/2 cups of the cheese. Season with the salt and pepper, to taste. Mix well.

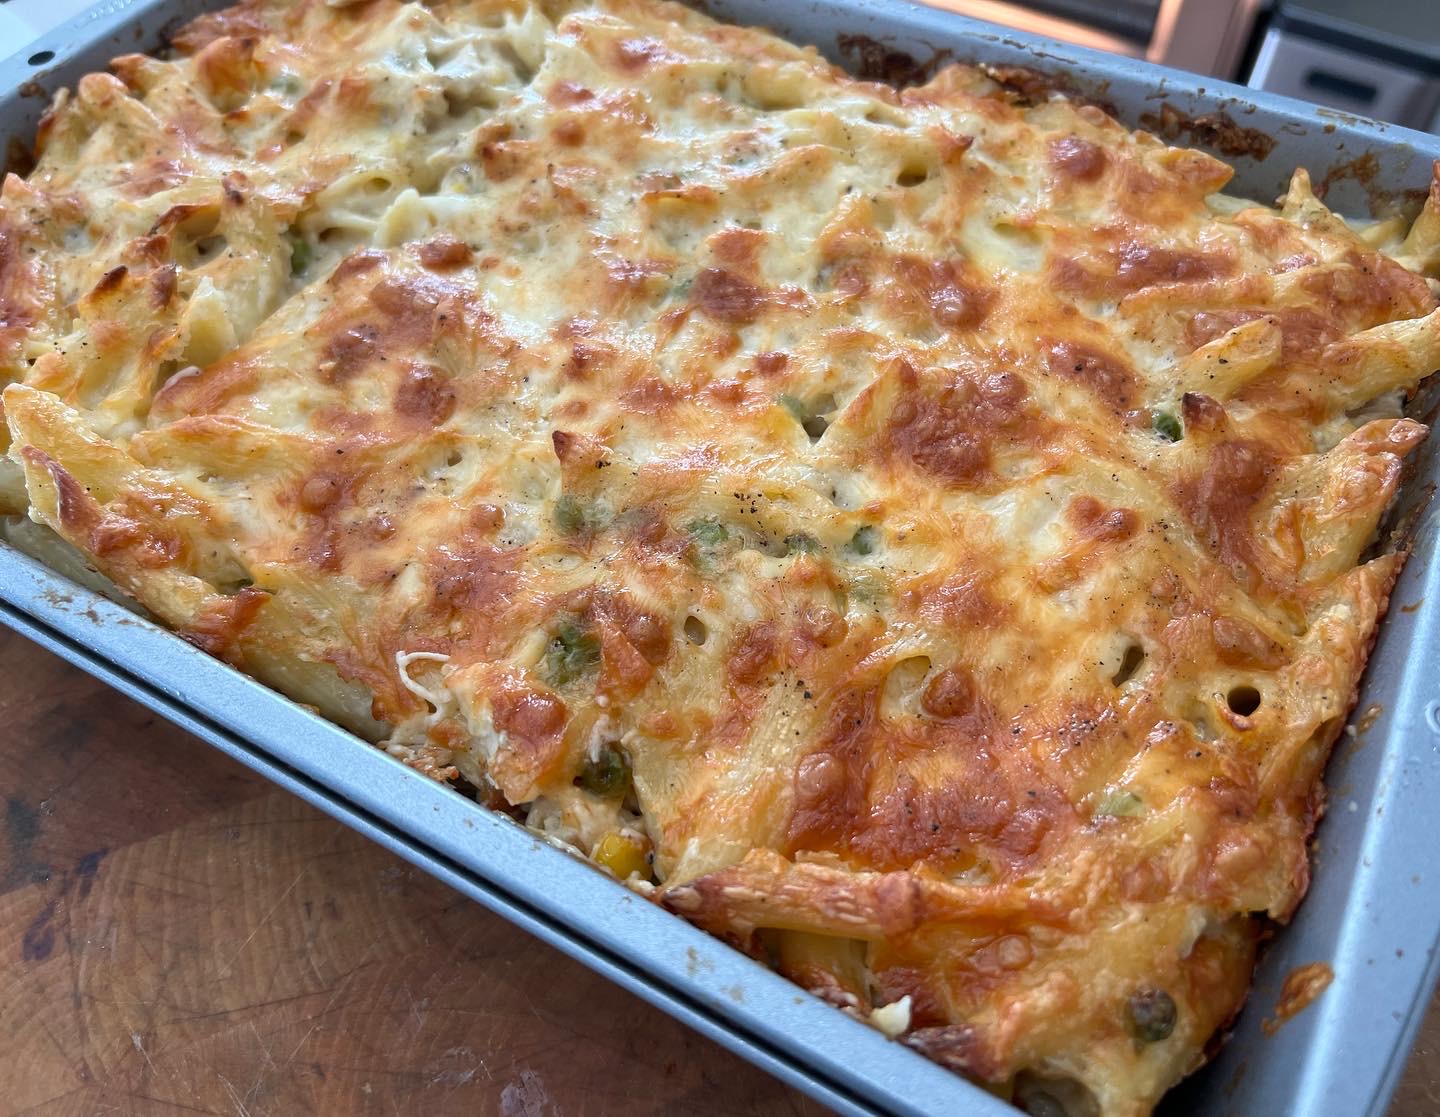
Pour the contents of the bowl into the 9 x 13 pan (or between the 2 pans if dividing), and top it with the rest of the cheese. This is the point where you wrap and freeze or continue to the oven.

Bake for 40–45 minutes, until it’s nice and bubbly. (If it looks like the cheese might burn, cover it with foil.)
If you’re freezing this recipe for later, wrap it tightly in plastic and foil before placing it in the freezer. A day before you want to cook, take it out of the freezer and thaw it in the fridge for 24 hours. Then cook as usual.