Archive for the ‘garden’ Category
COMPOSTING: IT AIN’T ROCKET SCIENCE
Posted: June 25, 2014 in garden, Rhode Island, Southern New England, UncategorizedTags: compost, garden, manure
BIG BAMBOO UPDATE
Posted: June 12, 2014 in Food, garden, Rhode Island, Southern New England, UncategorizedTags: bamboo, food, garden, peas
As I mentioned a little while ago, I grow two varieties of bamboo in my yard, and although they are quite invasive, I have my own methods of keeping the plants in check.
One stand of bamboo is in a corner of my yard that is overrun by brambles and other nasty vines. So I have no issues with the bamboo taking over this area at all. I’d rather have a desirable invasive than an ugly one.
The other stand of bamboo is a larger variety that grows to 25 feet tall, and it requires more maintenance to keep it in the area I want it to stay in. So, when some of the shoots get in my way, I simply cut them with a hacksaw and use them in my garden.
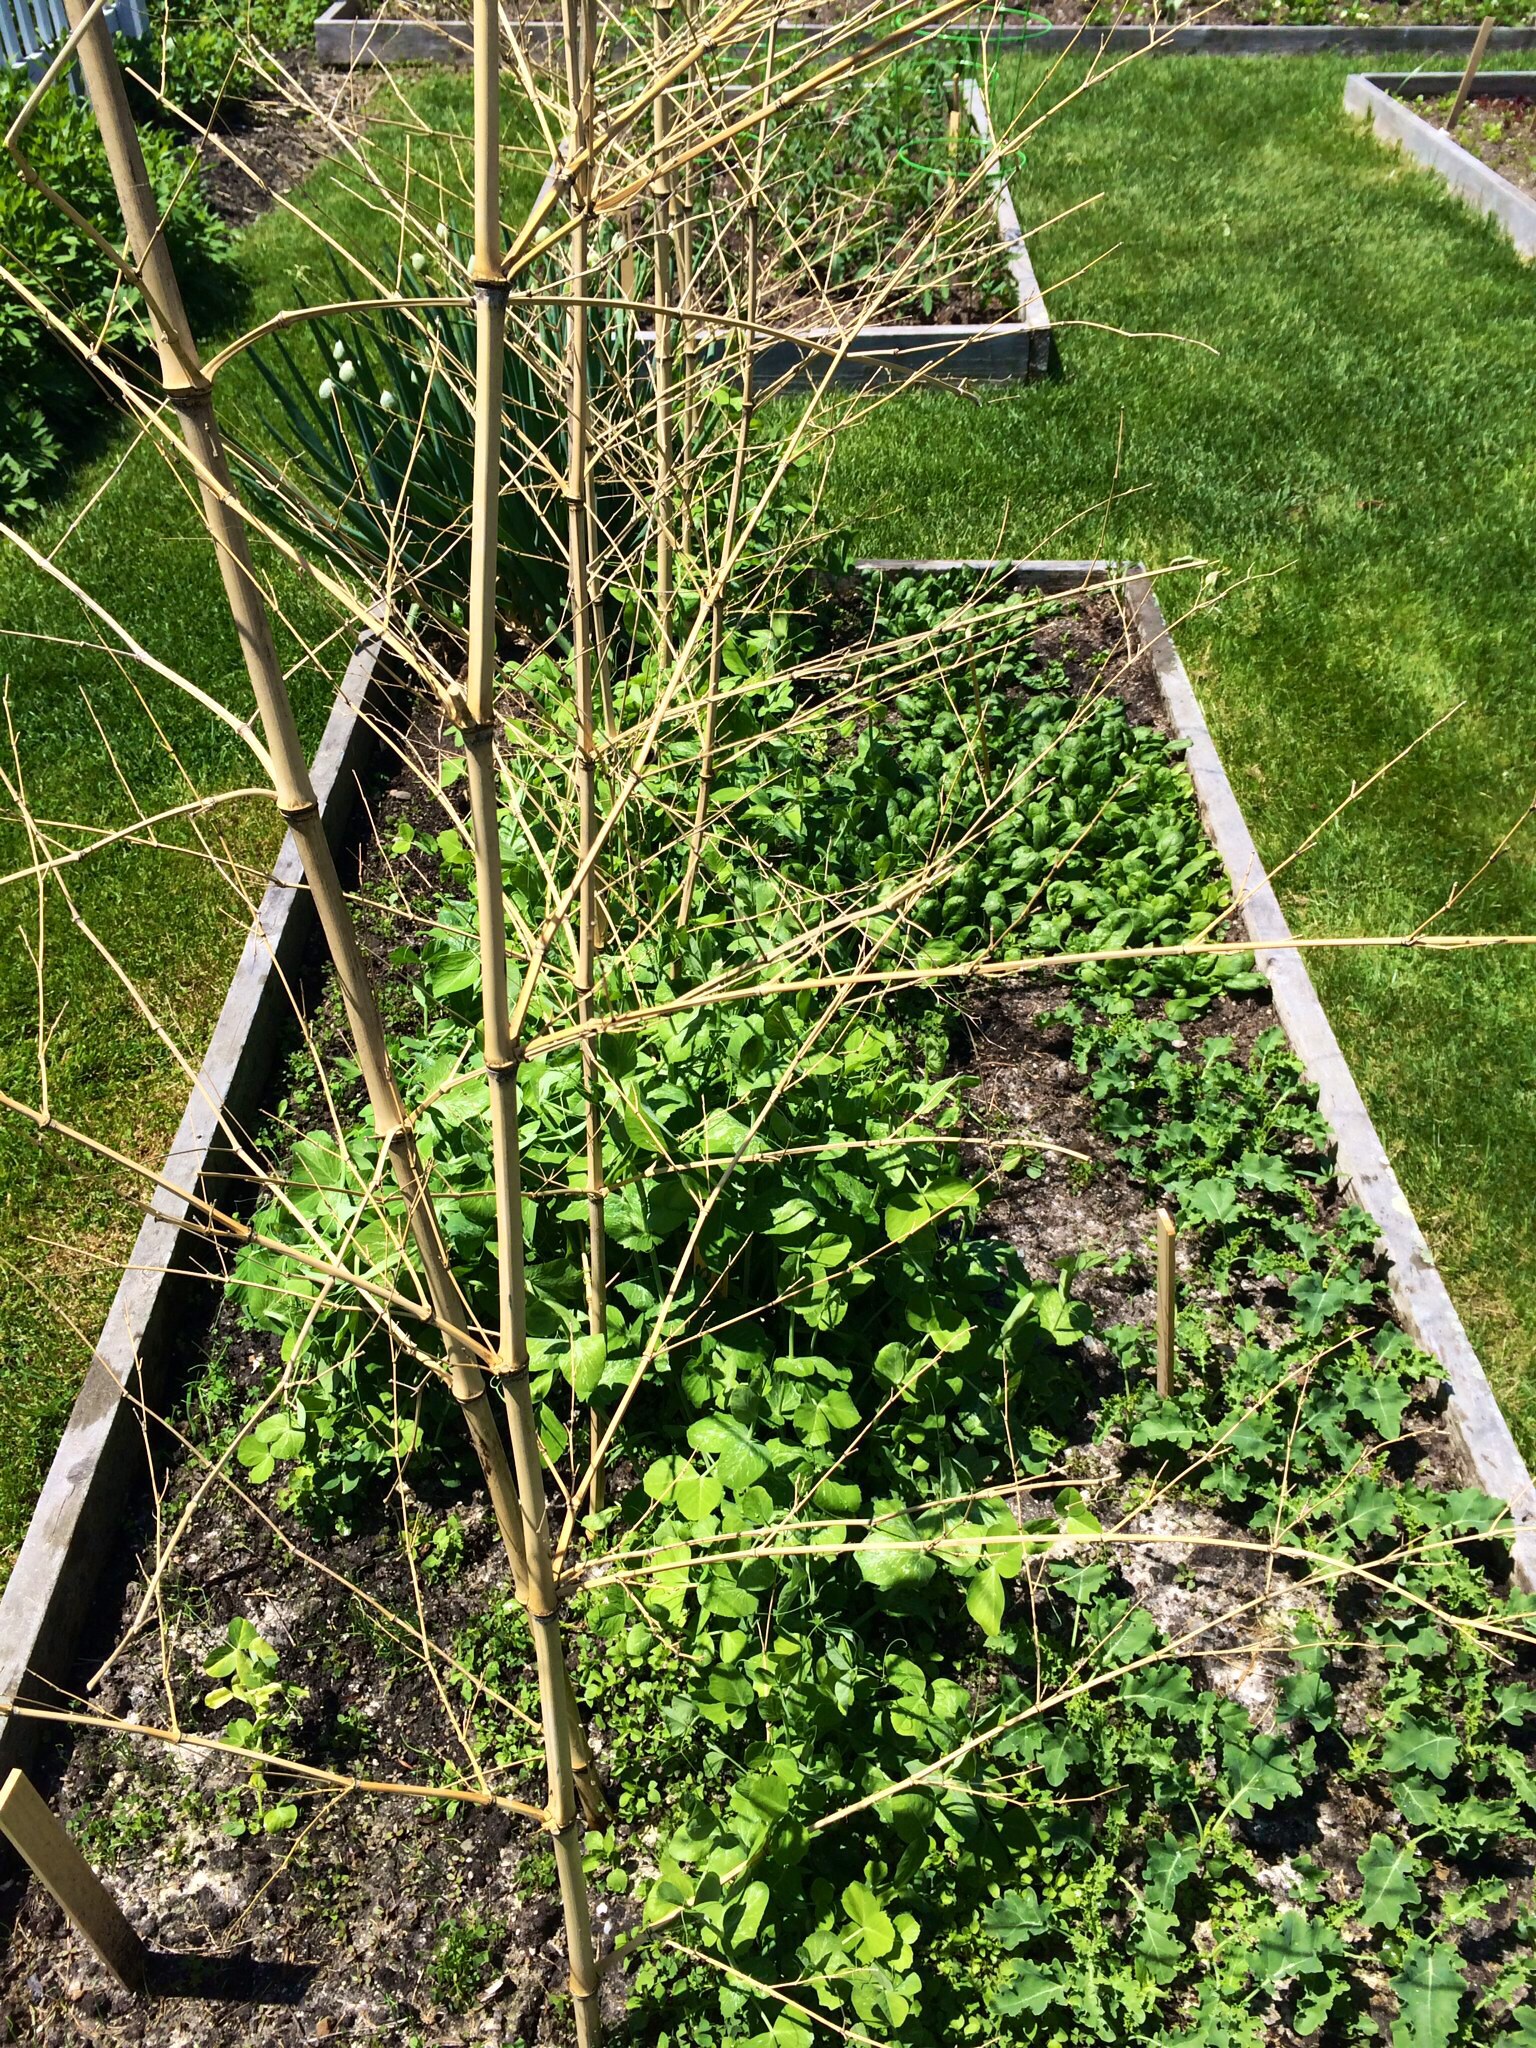
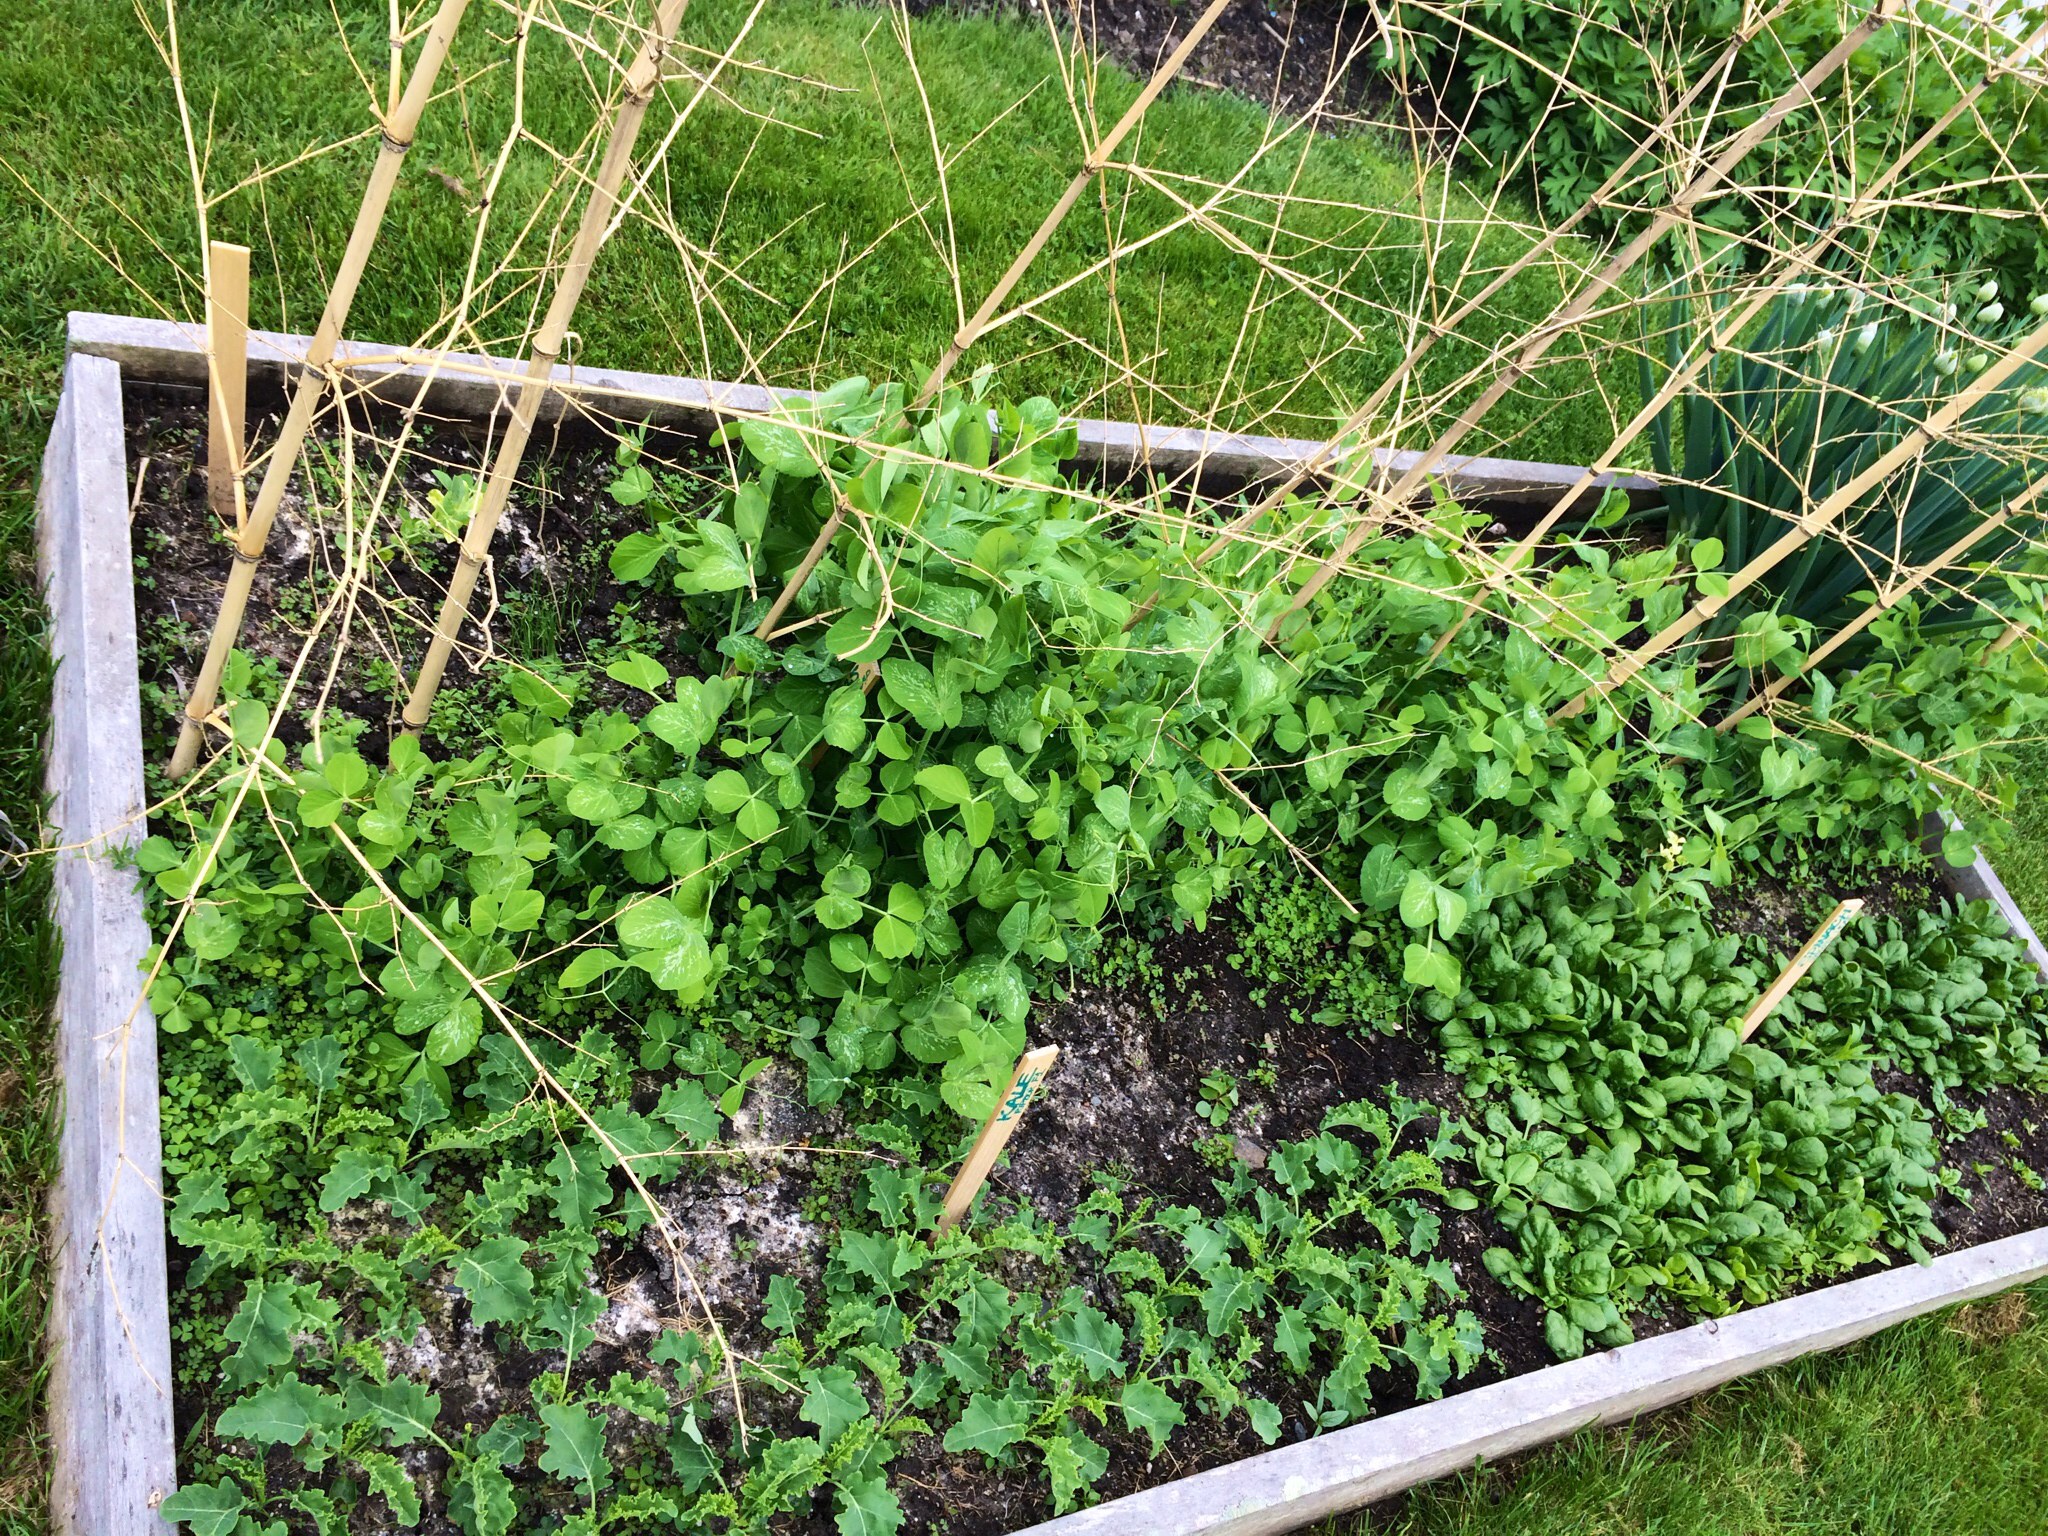
I use them as tomato stakes, supports for my cucumbers vines, and even pea brush, as shown here. For pea brush, I don’t remove the smaller side branches, which gives something for the peas to attach to. The photo above was from earlier in the season. Here’s what it looks like now: over 6 feet tall!
Another view earlier in the season…
…And now…
The kale and spinach have been harvested. (The weather’s too hot for them now.) And I’ve sown some lettuce mixes in their place. Since the bed of lettuce is on the north side of the peas, the lettuce will be shaded by the peas in the hot sun.
Bamboo is a great way to give my garden a more natural look, and not having rusty metal poles everywhere.
BIG BAMBOO
Posted: June 4, 2014 in Food, garden, Rhode Island, Southern New England, UncategorizedTags: bamboo, food, garden, peas
I grow two varieties of bamboo in my yard, and although they are quite invasive, I have my own methods of keeping the plants in check.
One stand of bamboo is in a corner of my yard that is overrun by brambles and other nasty vines. So I have no issues with the bamboo taking over this area at all. I’d rather have a desirable invasive than an ugly one.
The other stand of bamboo is a larger variety that grows to 25 feet tall, and it requires more maintenance to keep it in the area I want it to stay in. So, when some of the shoots get in my way, I simply cut them with a hacksaw and use them in my garden.
I use them as tomato stakes, supports for my cucumbers vines, and even pea brush, as shown here. For pea brush, I don’t remove the smaller side branches, which gives something for the peas to attach to.
A great way to give my garden a more natural look, rather than having rusty metal poles everywhere.
CHIVE TALKIN’
Posted: May 20, 2014 in Food, garden, pizza, UncategorizedTags: beef, CHIVES, food, garden, pizza, recipes
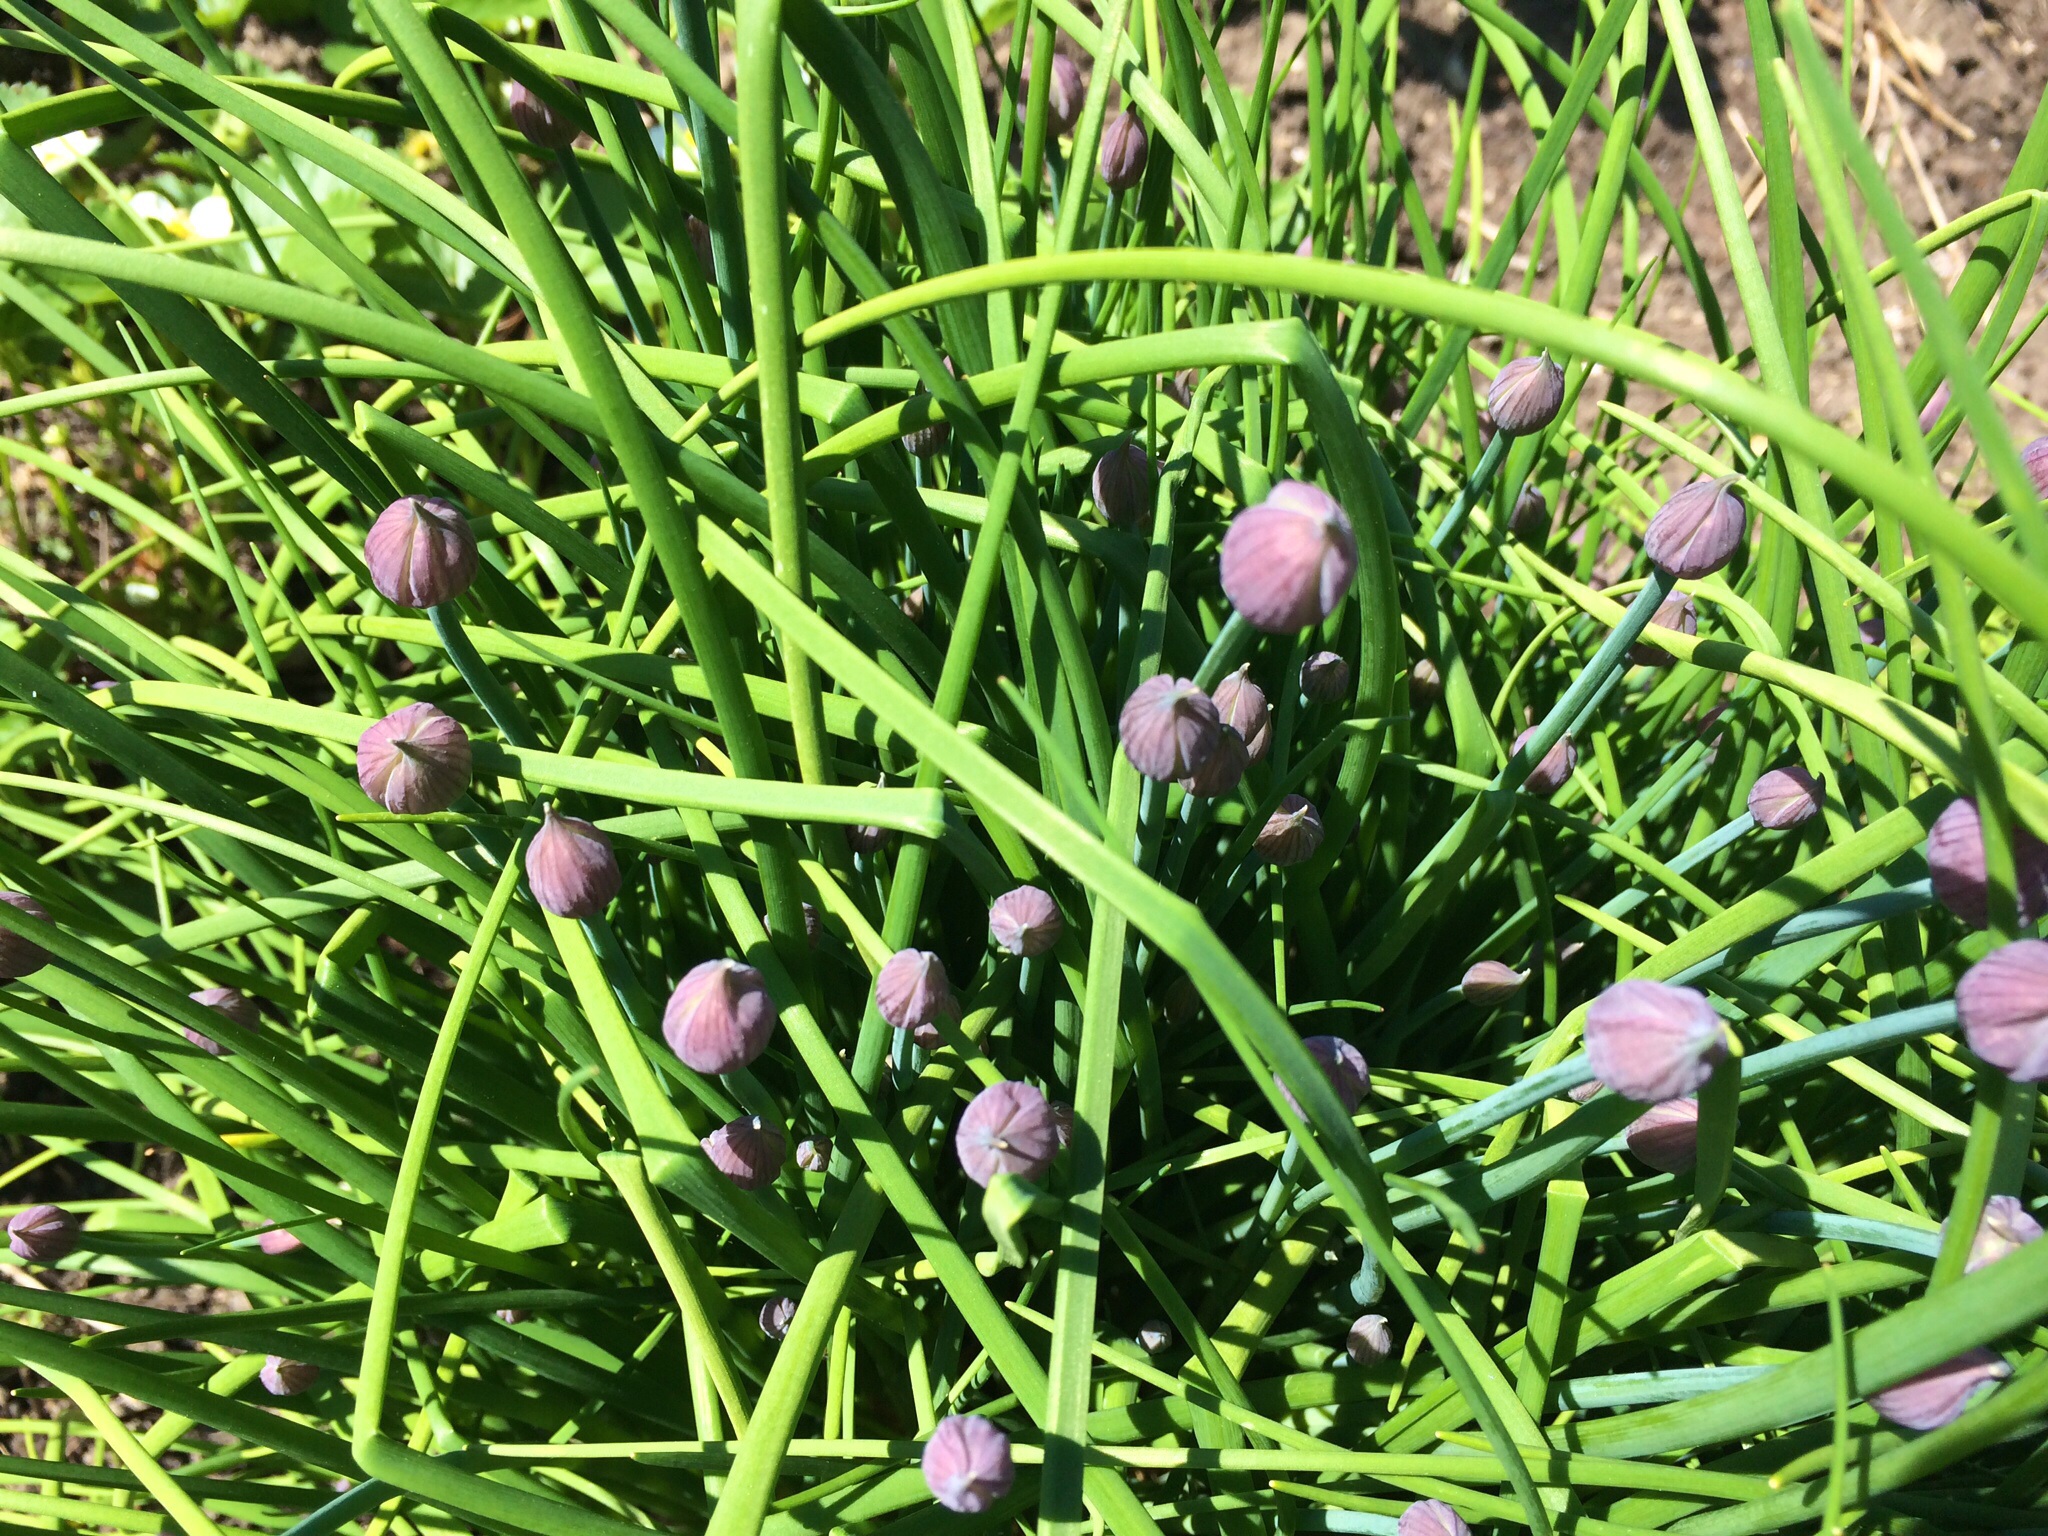
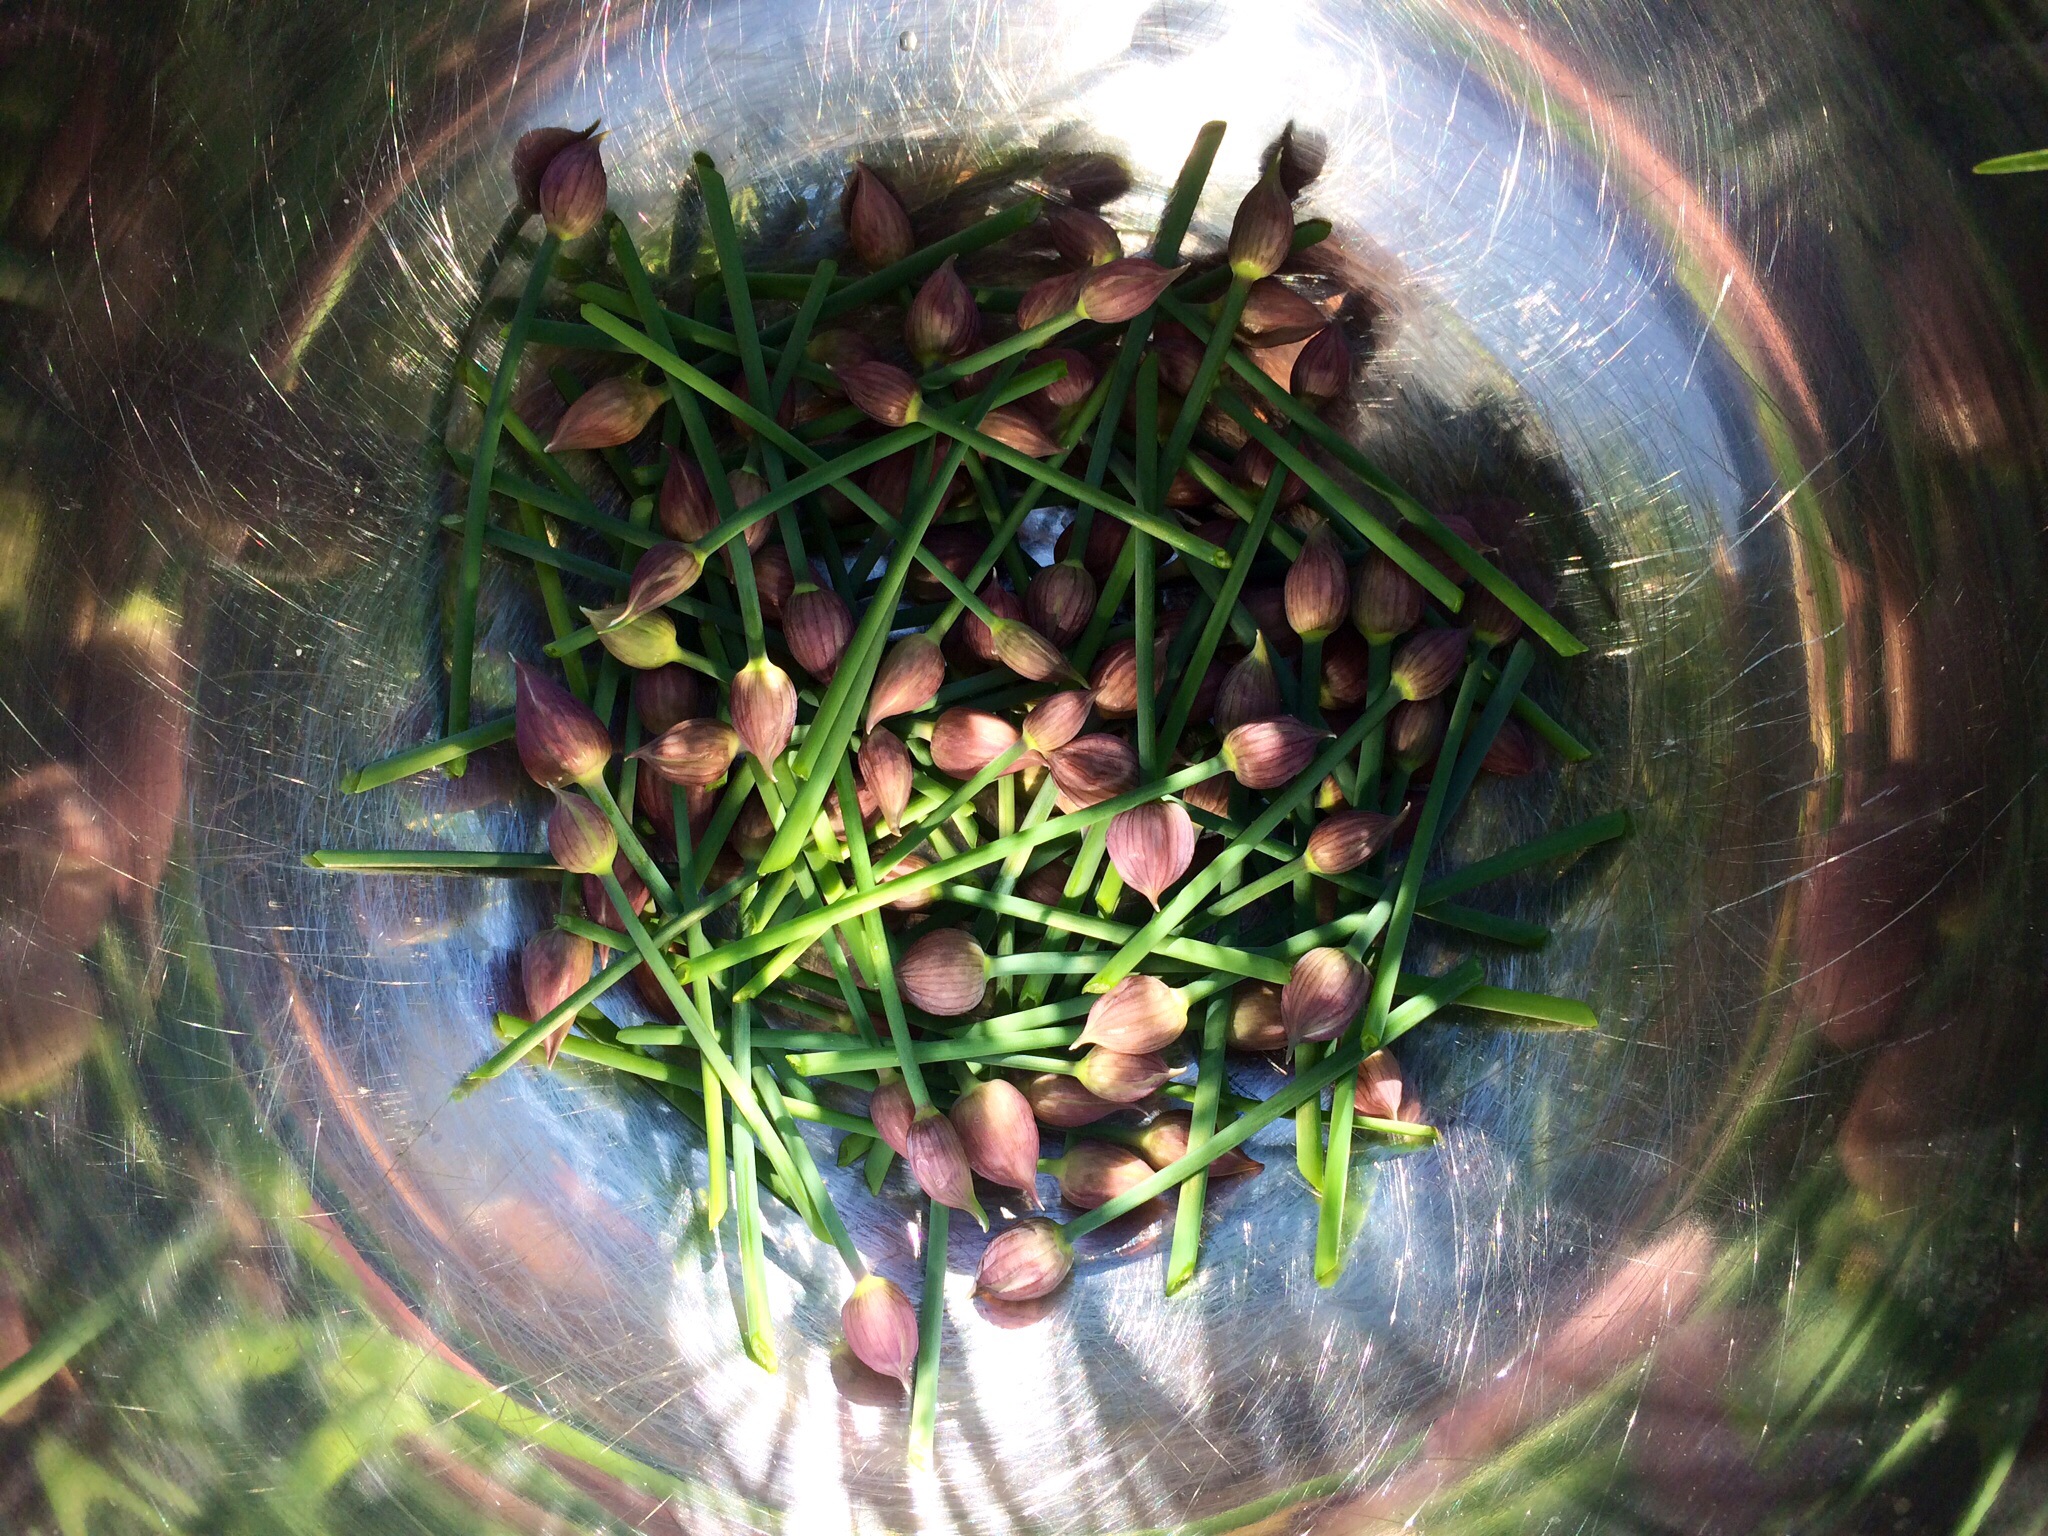
This is the time of year when the chives in my herb garden are busting out with blossoms. Before they pop, I head out every few days and snip the larger blossoms off the chive plants and wrap bunches of them in Ziploc bags and freeze them.
I use those blossoms over the course of the next year on my signature marinated beef and chive blossom pizza. I just take a packet of chive blossoms out of the freezer, and sauté them for just a bit in olive oil and salt and pepper, then place them on the pizza before baking.
The chive blossoms not only add great flavor, but they look cool on the plate, too. Great as a side for almost any meat dish.
GARDENING SEASON HAS BEGUN: THE BASICS
Posted: April 7, 2014 in Food, garden, Rhode Island, Southern New England, UncategorizedTags: food, gardening, Rhode Island, SOUTHERN NEW ENGLAND
Access: Make sure you pick a place that you can easily get to. If your garden requires that you go through an archway or similar structure, you may not be able to fit certain tools, bags of peat moss, wheelbarrows, or even your own fat ass at certain times.
These are the basics to setting up properly. I have 6 raised beds that measure 8-by-4 feet, giving me a total of only 192 square feet, and yet I grow more veggies in that space that my family of 3 can possibly eat. The idea is to get more vegetables per square foot of gardening space, not per plant. When you plant things closer and more intensely, you will get better results with less work and cost. And if you can time it so that you have new plants ready to take the place of those that have been harvested, you’ve got more harvests in even the shortest of seasons. But that’s a discussion for another time.
PLANT YOUR PEAS ON ST. PATRICK’S DAY!
Posted: March 18, 2014 in Food, garden, Rhode Island, Southern New EnglandTags: food, gardening, peas
That’s how the saying goes here in New England. I’ve sown my peas in my garden as soon as the soil can be worked in the spring for years with great success. In addition to peas, you can sow arugula, broccoli raab, radishes and onions. Sprouting the peas indoors before sowing by placing them on a moist paper towel for a days or two can speed the process, but I usually just sow them directly.
I also start some seedlings early indoors, including tomatoes. These will go under grow lights for several weeks until the weather outside is warm enough for them to be transferred to my unheated greenhouse.
DO YOU KNOW WHAT CROSNES ARE?
Posted: December 8, 2013 in Food, garden, Recipes, UncategorizedTags: artichoke, crosnes, garden
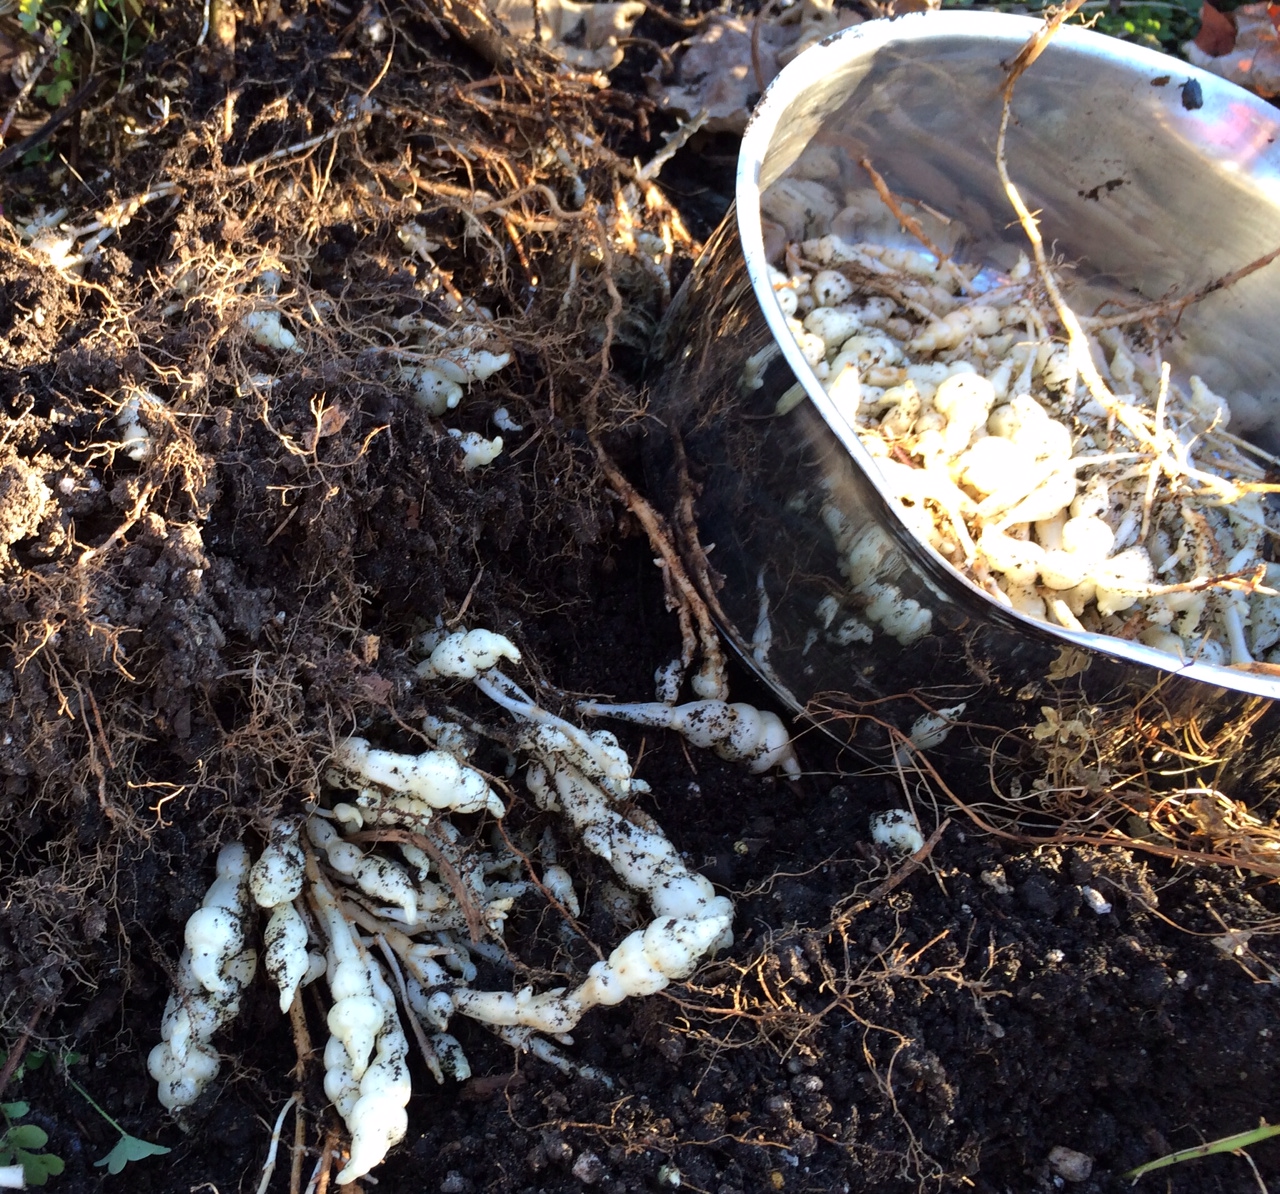
A relative of the mint plant, crosnes are pretty hardy and are tough to remove once well established, so they need to be planted in an area where you don’t mind if they take over. The tubers are ready to harvest around October, and as long as I leave some in the ground over the winter, the crosnes will be back again the next year. Seems pretty low-maintenance for such a delicious little treat!
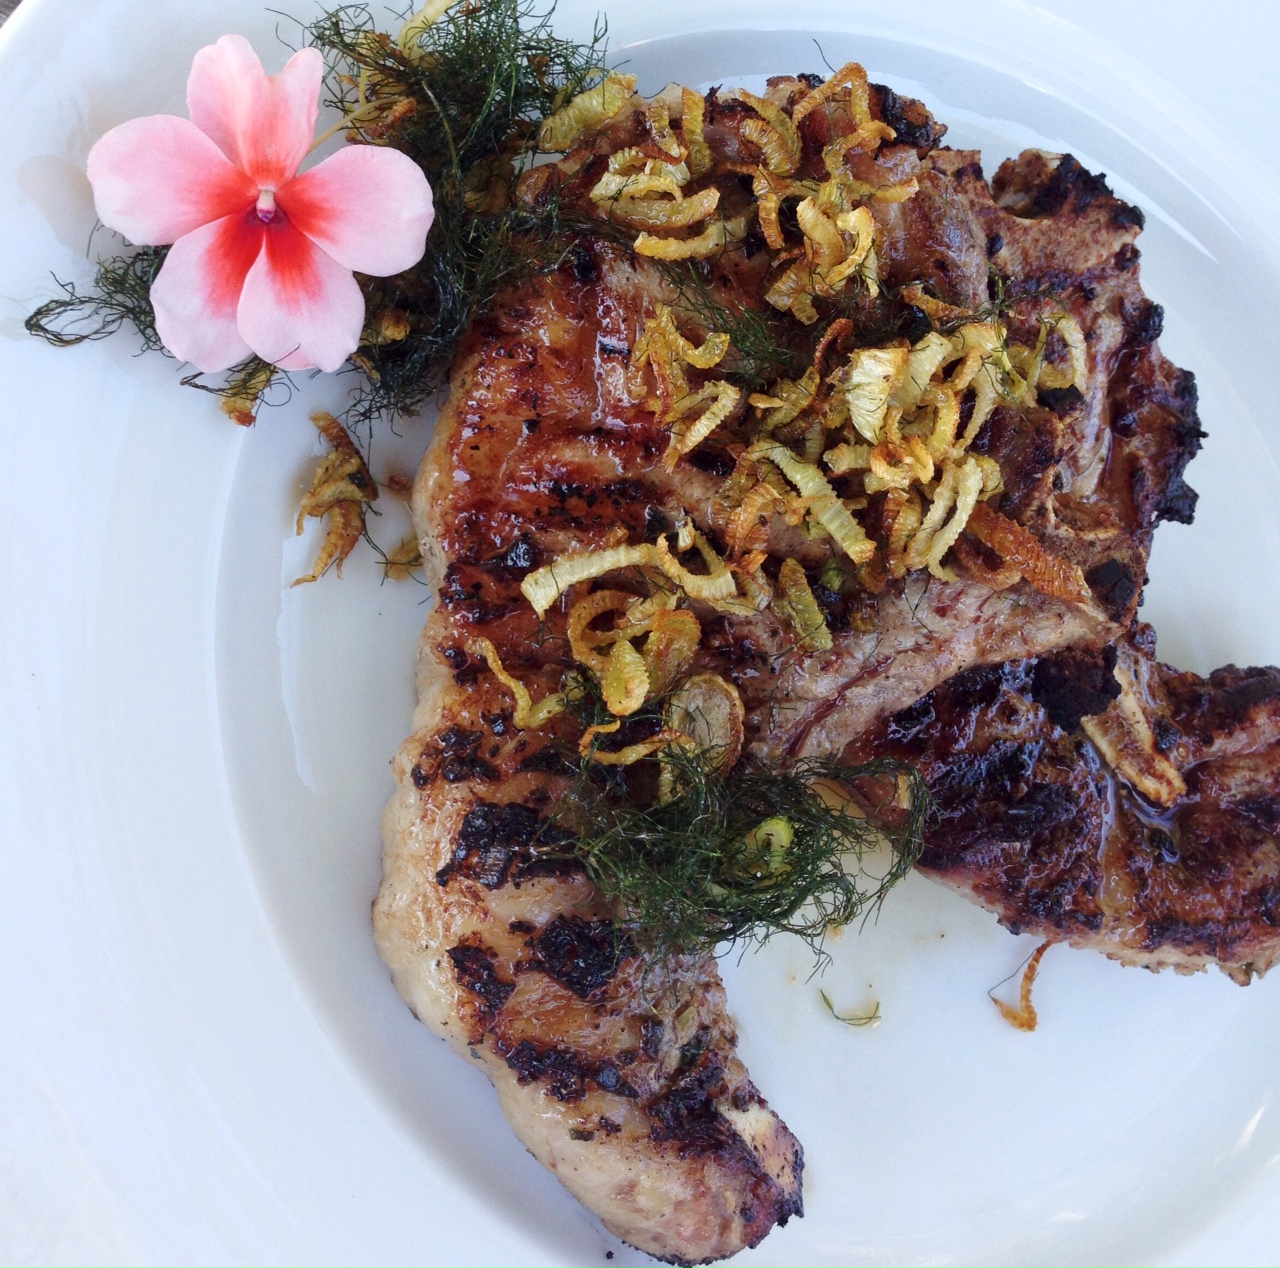
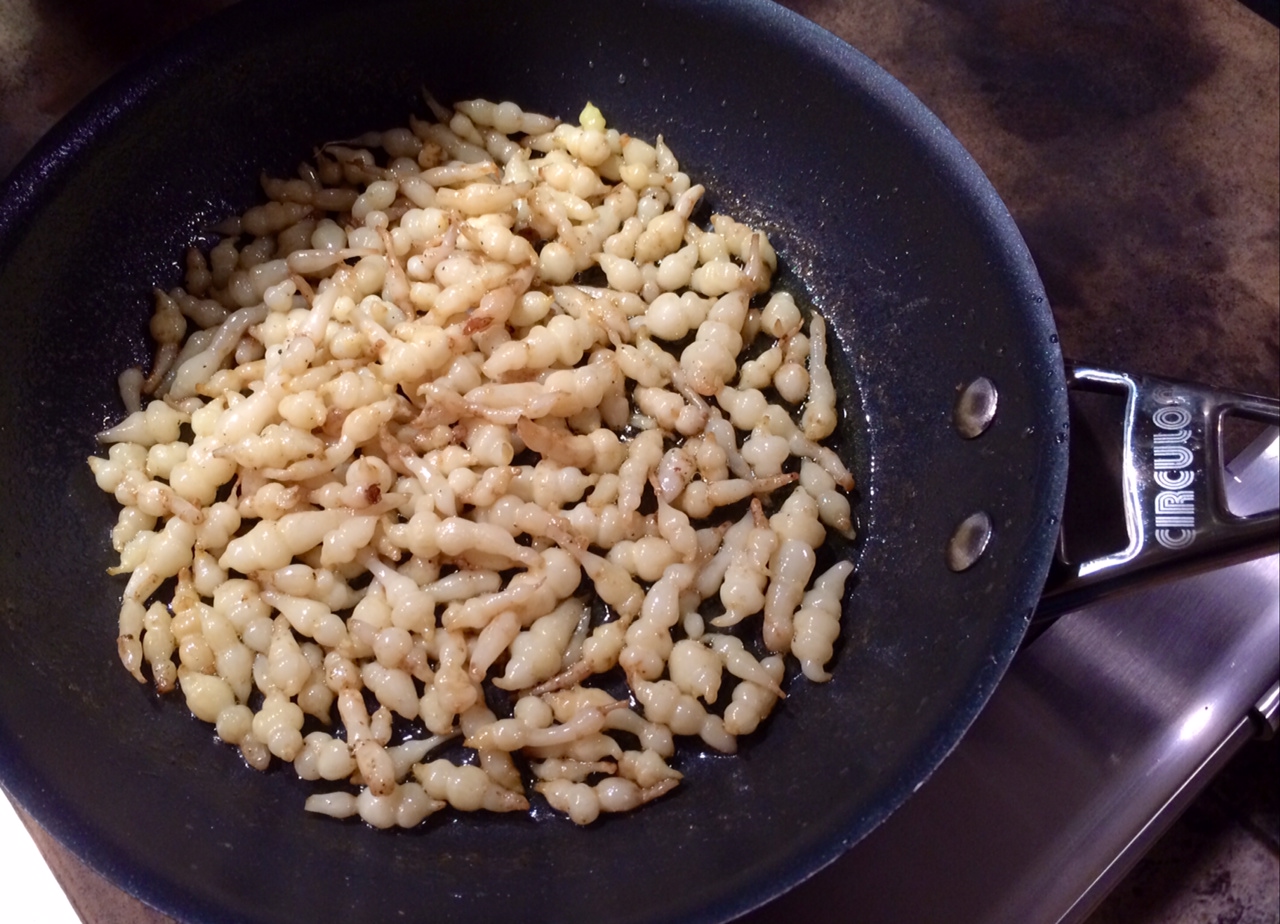
As for preparation, a light saute in olive oil and butter, salt and pepper is all they need, until cooked but crisp. They also go well with a deep, rich reduction like I had with my duck at Le Saint-Amour.
OVEN-ROASTED PLUM TOMATOES
Posted: October 4, 2013 in Food, garden, tomatoesTags: garden, recipes, roasting, tomatoes
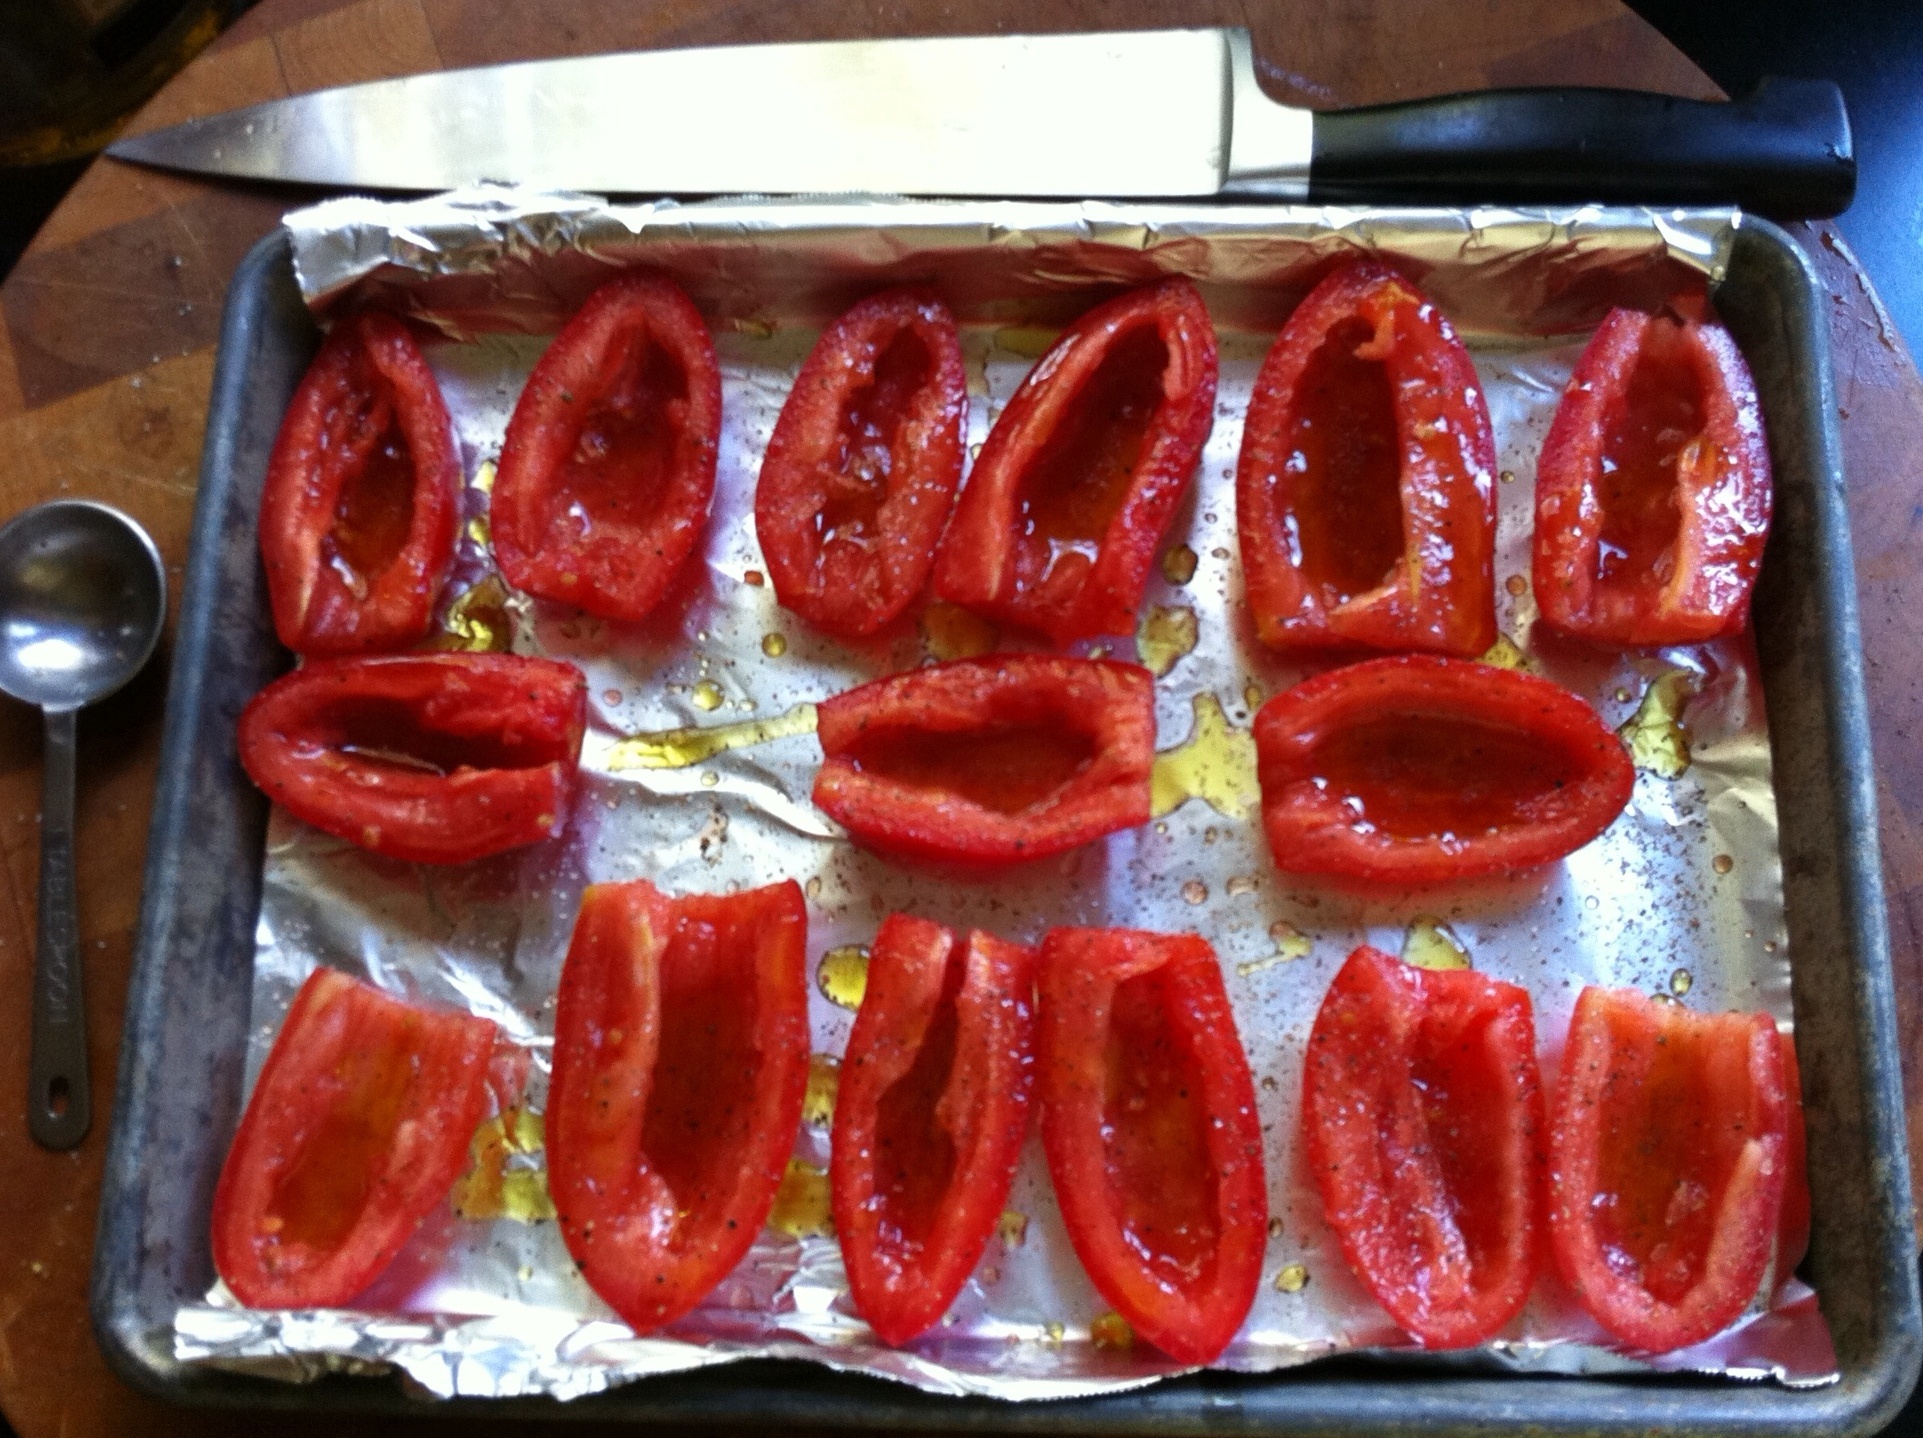
Now’s the time to head to your local farm stand and pick up a bag of gorgeous plum tomatoes, before the season is gone! And this is what you do with them…
These are not sun-dried tomatoes. They’re better, because fresh plum tomatoes are still moist after roasting, with a bit of that magic tomato liquid in every cup! A great, simple platter to offer at parties.
Ingredients:
12 to 18 halved, seeded plum tomatoes
1/4 cup extra virgin olive oil
2 tablespoons organic cane sugar
Freshly ground pepper
Fleur de Sel or sea salt
Pre-heat oven to 250.
Line a baking sheet with foil and rub it lightly with olive oil.
Arrange halved and seeded tomatoes on it in a single layer, cut side up. Drizzle evenly with 1/4 cup olive oil, sprinkle with 2 tablespoons sugar, and season with pepper to taste.
Bake the tomatoes until they are still juicy but slightly wrinkled, about 3 hours. Transfer to a platter and let cool slightly.
Just before serving, sprinkle tomatoes with Fleur de Sel, and garnish if you like, with chopped parsley leaves, mint leaves, or basil.
THE PLEASURE–AND PAIN–OF HORSERADISH
Posted: September 12, 2013 in Food, garden, horseradish, Recipes, UncategorizedTags: food, garden, horseradish, recipes
It’s been 45 years since I watched my grandfather dig the long, dirty, gnarled horseradish roots out of his garden with a sharp spade, lunging at the ground with all of his strength to cut through the thick fibers of the plant.
After harvesting a large piece, he would wash the dirt from it and then peel it, leaving behind a beautifully smooth white root.
He had a large bowl set under a grater, and he would hand grate the horseradish root with incredible speed. But no matter how fast he went, the potent vapors released by the root would make their way to his eyes, and he was forced to stop several times to wipe the tears away with his old handkerchief and regain his composure before returning to grate the root again.
Onions were child’s play compared to horseradish, and I understood why he did all the preparation just outside of the kitchen door of his Queens, NY home.
Once grated, he would add some water, vinegar, and salt, and his prepared horseradish was complete. He’d store it in tightly sealed glass jars in the fridge, and when it was time to sample the goods, he would carefully open a jar, poke his knife in, and spread the prepared horseradish over beef, beets, twice-smoked bacon, or anything else he desired.
I’d watch his face slowly turn red, small beads of perspiration developing on his forehead, and he’d turn and smile at me and tell me: “Labai skanu!” (Very tasty!)
At the age of 10, I couldn’t figure out what he saw in horseradish, but it didn’t take long before I was hooked myself, as it was a staple at any Lithuanian dinner table.
Opting for the stuff that came in a jar in the supermarket, I never made my own prepared horseradish, however, until just last week, a full 45 years later.
I’ve had a huge horseradish plant growing in my garden for years, and I just never got around to doing anything with it. But the other night, as I was preparing my cocktail sauce recipe and I realized that I was out of prepared horseradish, it became clear that the time of reckoning had arrived. It was time, in the finest tradition of my grandfather, to make my own prepared horseradish.
I went out to the yard with a sharp shovel and lunged at the horseradish plant, splitting a few roots off of the main crown. I pulled them out of the ground, detached the long leaves, and headed back to the kitchen.
Today’s kitchen technology gave me a distinct advantage over my grandfather, and after washing and peeling the root, I chopped it into smaller pieces and tossed them into a food processor. No hand grating necessary!
The processor pulverized the root in no time, and I added water, vinegar and salt as my grandfather did, being very careful not to stick my face too close to the opening of the processor where the vapors were their most powerful.
A small taste on my tongue just about had my eyeballs shoot out of my head, and I muttered silently to myself: “Labai skanu!”
My grandfather would be proud.
Horseradish is a member of the Brassicaceae family, which includes mustard, cabbage, wasabi, and broccoli. The horseradish root itself hardly has any aroma. But when you crush it, enzymes from the broken plant cells produce mustard oil, which irritates the mucous membranes of the sinuses and eyes. To keep the horseradish from losing its pungency and freshness, vinegar must be added immediately.
Prepared Horseradish
Ingredients:
6 oz fresh horseradish root, peeled
6 tablespoons water
3 tablespoons white vinegar
3 pinches of salt
Chop the horseradish root into small pieces and add water, vinegar and salt. Process until proper consistency is reached.
Careful! Use proper ventilation or the vapors will blow your eyeballs and sinuses out!