It’s that time of year when friends are coming over, and you want to make one drink you can serve everyone, rather than playing bartender all night. This one hits the spot.
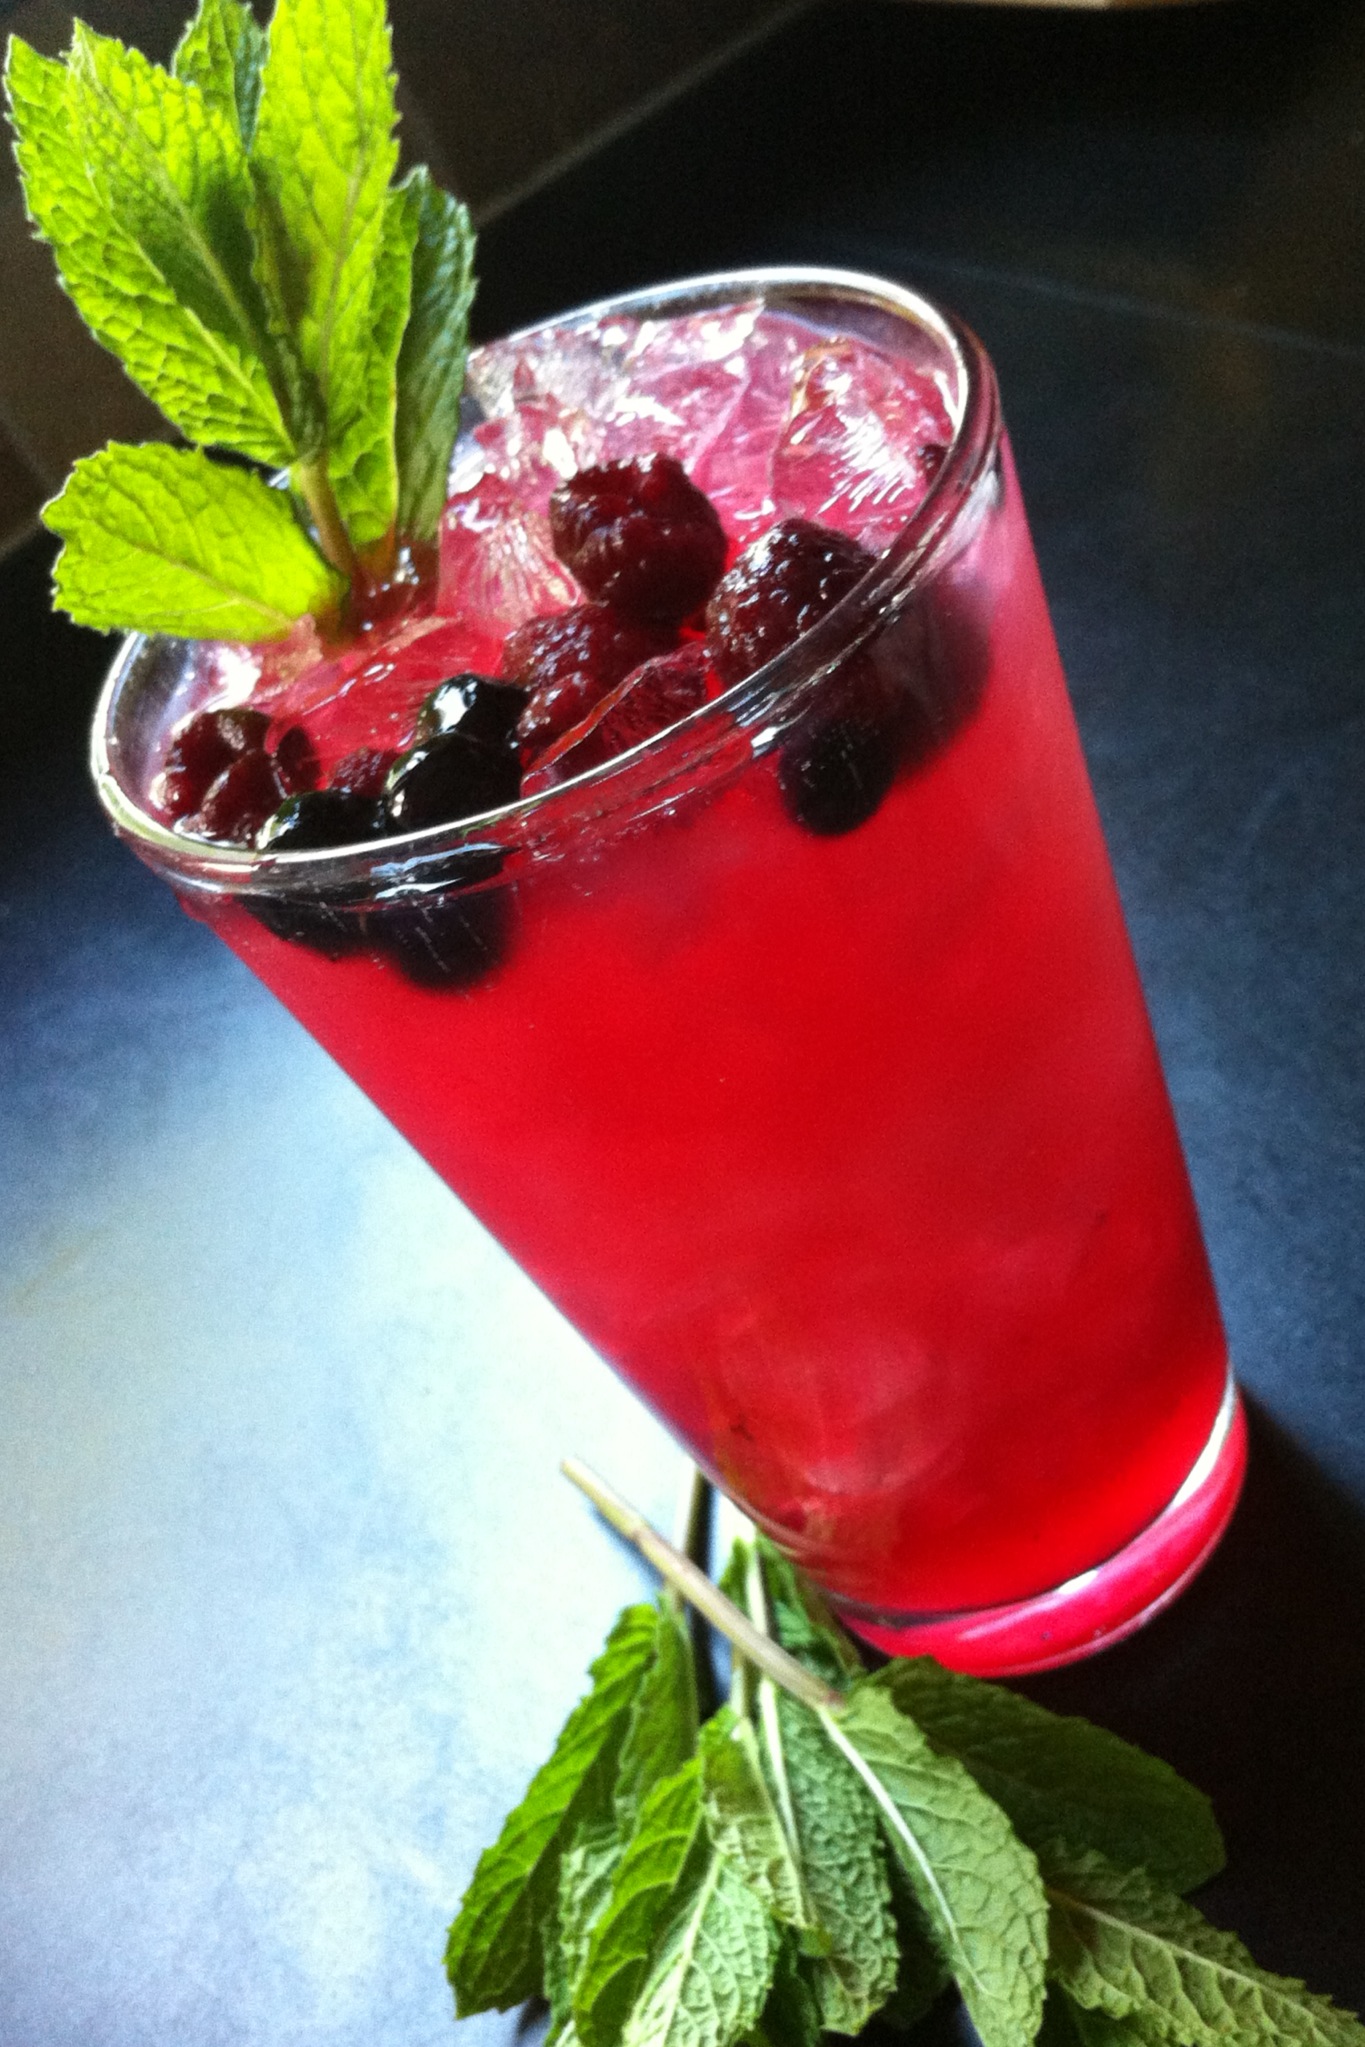
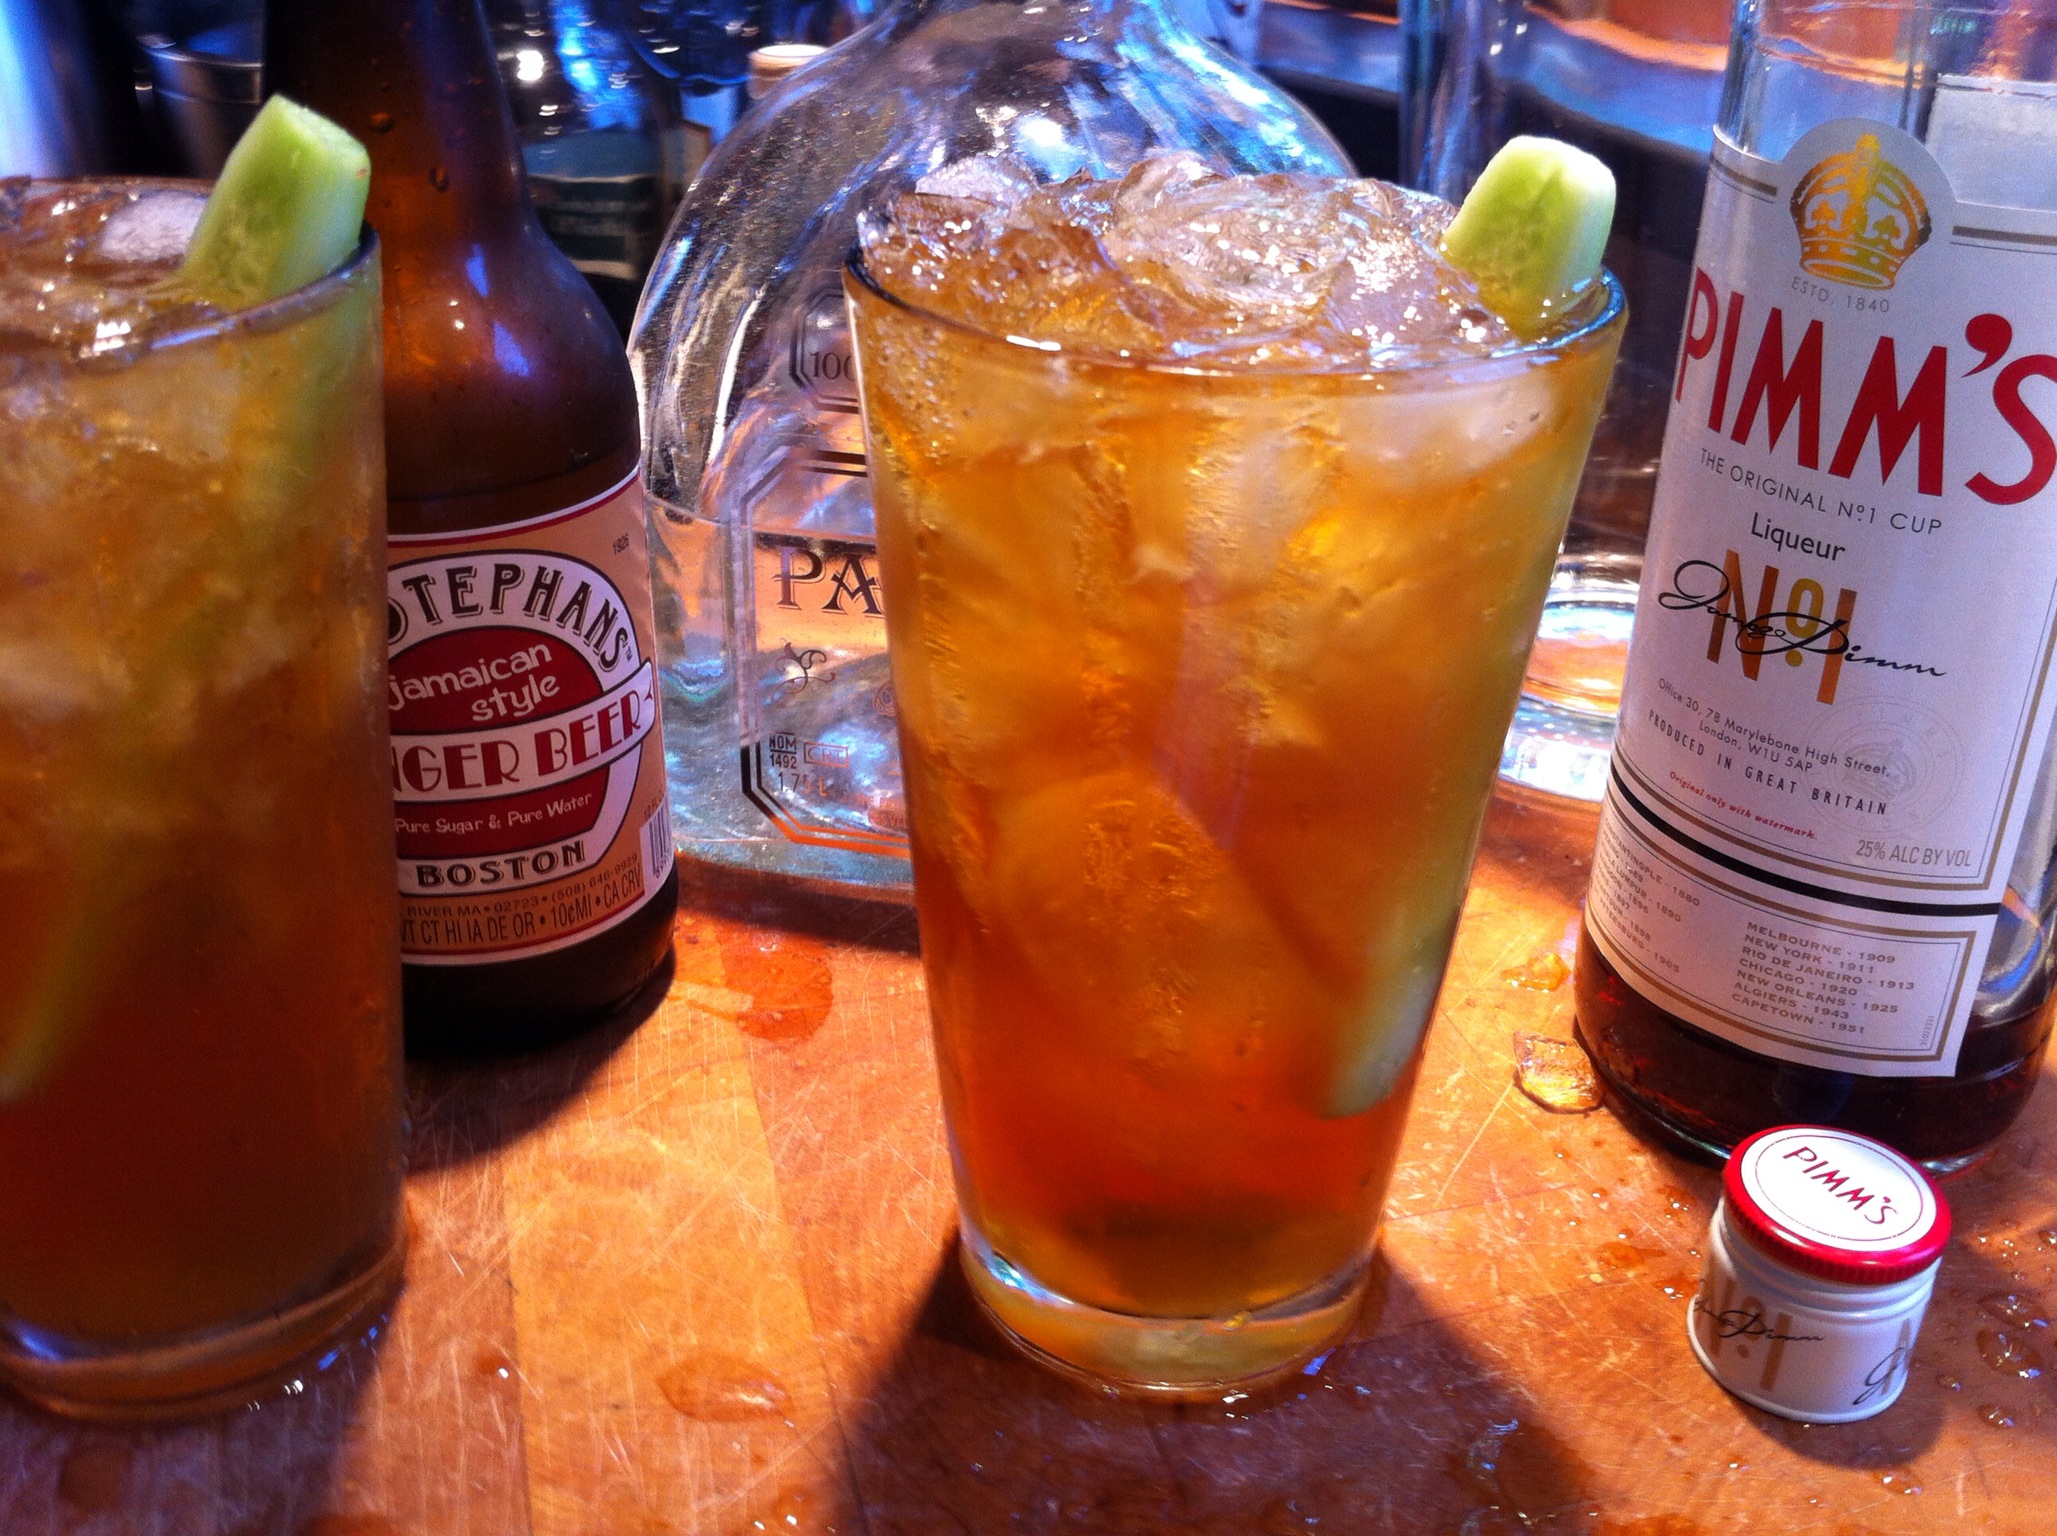
There’s only one thing better than a freshly made mojito…and that’s a pitcher of freshly made mojitos! Organic raspberries and blueberries are in the markets right now, and my mint plants are taking over the yard! All the ingredients for a great mojito!
Very often, I’ll use raspberries or blueberries alone, but mojitos are even better when you combine them! I stock up on organic berries, rinsing them and placing them in plastic bags that go in the freezer until I’m ready to make my mojitos. I always go organic with berries. Pesticides should never be a cocktail ingredient! Pay a little extra and get the good stuff…it makes a difference!
Once you make mojitos by the pitcher, you’ll never have them any other way. (Even if you’re drinking alone!)

Make ahead of time…
1 1/2 cups fresh squeezed lime juice (don’t use the bottled stuff!)
1 1/3 cups turbinado sugar (Sugar in the Raw is a common brand)
Mix both ingredients together, letting it stand at room temperature for a few minutes. I like to combine them in a Mason jar, then shake really hard until the sugar has dissolved. I keep it in the fridge, and it’s good for up to 3 weeks…ready to use any time. Shake it well again before using.

For the Mojitos…
1 cup sugar/lime mixture
1 cup mint leaves, packed
1/2 pint blueberries (fresh or frozen)
1/2 pint raspberries (fresh or frozen)
3 or 4 cups white rum (I use Don Q Cristal rum)
3 or 4 cups seltzer (or club soda)
Combine the mint leaves and 1/2 cup of the sugar/lime mixture in bottom of a pitcher. Muddle the mint up very well to release mint oils.
Add the remaining sugar/lime mixture, rum and berries. Mix well. Just before serving, add the club soda and ice. Stir. Pour into tall glasses.
Or…for drinks one at a time, I put in a shot (1 oz.) of the sugar/lime mixture into a tall glass. I throw in about 8 mint leaves and muddle them for a minute. Then I add 2 shots of rum, and a few berries. I add ice, and I top it with the seltzer, stirring well. I garnish with a mint leaf.