My daughter spent a week this summer vacation at a YMCA camp on Cape Cod: Camp Hayward in Sandwich, MA. Established in 1928, Camp Hayward (and its partner camp, Camp Burgess for boys) is a wonderful experience for kids from 7 to 16 years old.
Part of the camp adventure is to sign up for various classes, but unfortunately, the baking class was full by the time my daughter signed up for it. So she went with singing and nature instead, slightly jealous that the girls in the baking class were making fabulous desserts every day.
When I picked her up at the end of the week, the first thing she asked me was if we could bake some cake pops. I said sure, never having actually baked them myself.
I’m no slouch to baking. Back in the days when I could devour an entire loaf of bread without gaining a pound, I baked my own Italian style loaves and baguettes every week. I made home-made pizza at least once a week. And banana bread was a breakfast staple. But cake pops? I needed to do a little research.
We both love Red Velvet cake, so that was an easy choice. We decided to bake from scratch, because we didn’t want a box full of chemicals. The same for the cream cheese frosting: what could be better than using fresh cream cheese and butter, not a can of shortening?
The steps are pretty simple: you bake the cake and let it cool. Then you crumble the cake into a bowl, and slowly add the frosting, a little at a time, combining it with the cake crumbles until you’ve got larger crumbles that stick when you squeeze them, without being mushy. Rolls the cake crumbles into balls, shove a stick into them and freeze them for about 20 minutes. Melt some white chocolate, and dip the frozen cake balls in the chocolate. It will harden in just a few minutes.
Let’s start with the Red Velvet Cake…

Our food coloring was actually pink, not red, bit it worked!
2 1/2 cups all-purpose flour
1 1/2 cups sugar
1 teaspoon baking soda
1 teaspoon fine salt
1 teaspoon unsweetened cocoa powder
1 1/2 cups vegetable oil
1 cup buttermilk, at room temperature
2 large eggs, at room temperature
1 ounce red food coloring
1 teaspoon white distilled vinegar
1 teaspoon vanilla extract
You want to get 2 bowls ready: one for the wet ingredients and one for the dry. I use the bowl from a stand mixer for the wet ingredients, because they need to be whisked and the dry ingredients will be folded into the wet later.
Preheat the oven to 350 degrees.
Lightly oil and flour a large pan that you will use to bake the cake.
In a large bowl, sift together the dry ingredients: flour, sugar, baking soda, salt and cocoa powder. Use a whisk to mix them together.
In the standing mixer bowl, combine the wet ingredients: the oil, buttermilk, eggs, food coloring, vinegar and vanilla. Use the whisk attachment and mix them well.
With the mixer running slowly, add the dry ingredients to the wet ingredients until just combined and a smooth batter is formed.

Pour the batter into the cake pan and place it in the oven to cook for about 30 minutes. I like to check it at the 25-minute mark to see how it’s doing, using the old toothpick method.
Remove the cake from the oven, and let it cool in the pan for a few minutes. Then flip the pan over, gently dropping the cake onto a cooling rack, and let it cool completely.

If a toothpick pulls put of the cake cleanly, it’s done!
While the cake is cooling, you can make the cream cheese frosting.

8 oz. cream cheese, softened
2 cups confectioners sugar (plus more if needed)
1 stick unsalted butter (1/2 cup), softened
1 teaspoon vanilla extract
In a standard mixing bowl with the paddle attachment, mix the cream cheese, sugar, and butter on low speed until incorporated. Increase the speed to high, and mix until it’s light and fluffy, about 5 minutes.
Reduce the speed of the mixer to low and add the vanilla, then raise the speed to high and mix briefly until the frosting is fluffy. (You may need to scrape the bowl once in a while.) Store it in the fridge until it’s a bit stiff before using. It keeps in the fridge for several days.

You might need a few taste testers on hand to let you know if the frosting is any good…
The final touch is a crackly sweet cover of white chocolate. I simply break some pieces of Baker’s white chocolate into a glass bowl, and microwave it, going with pulses of 10 seconds at a time until the chocolate has melted beautifully. To make about 12 cake pops, you’ll need 3 boxes (12 ounces) of white chocolate.

Baker’s is a brand name, not just a description!
So we begin…

Get a large bowl, and crumble the baked and cooled Red Velvet cake into fine crumbs with your hands. Let the frosting warm to room temperature, and taking a spoonful at a time, incorporate the frosting into the cake crumbles, again, using your hands. You want the crumbles to get bigger, but not mushy. Keep adding spoonfuls of frosting and mixing gently until you get nice large crumbles, but before it gets too wet!

Using an ice cream scooper, or simply your hands, make small balls, pressing the cake crumbles together. Take a stick, dip it into the white chocolate, then stick it into the cake ball, pushing the stick in about half way. Place the balls with sticks in them on a sheet of non-stick aluminum foil or wax paper and in the freezer for about 20 minutes.

Melt enough of the white chocolate to half-fill a tall glass. (A tall, narrow glass will fill higher and completely cover the ball when you dunk it.) Hold the frozen cake balls by the stick and dunk them in the melted white chocolate, letting the excess drip off. Place the cake pops right-side up by jabbing the sticks into foam or an egg carton.

If you want to decorate your cake pops, you need to do it right after dunking, because the white chocolate hardens quickly.
Because we made our cake pops a bit too big, we encountered a couple of problems. The cake didn’t freeze enough, so it slipped off the stick when dunking it into the white chocolate. And we couldn’t use the egg carton method because they were top-heavy, so we simply placed them back on the non-stick aluminum.
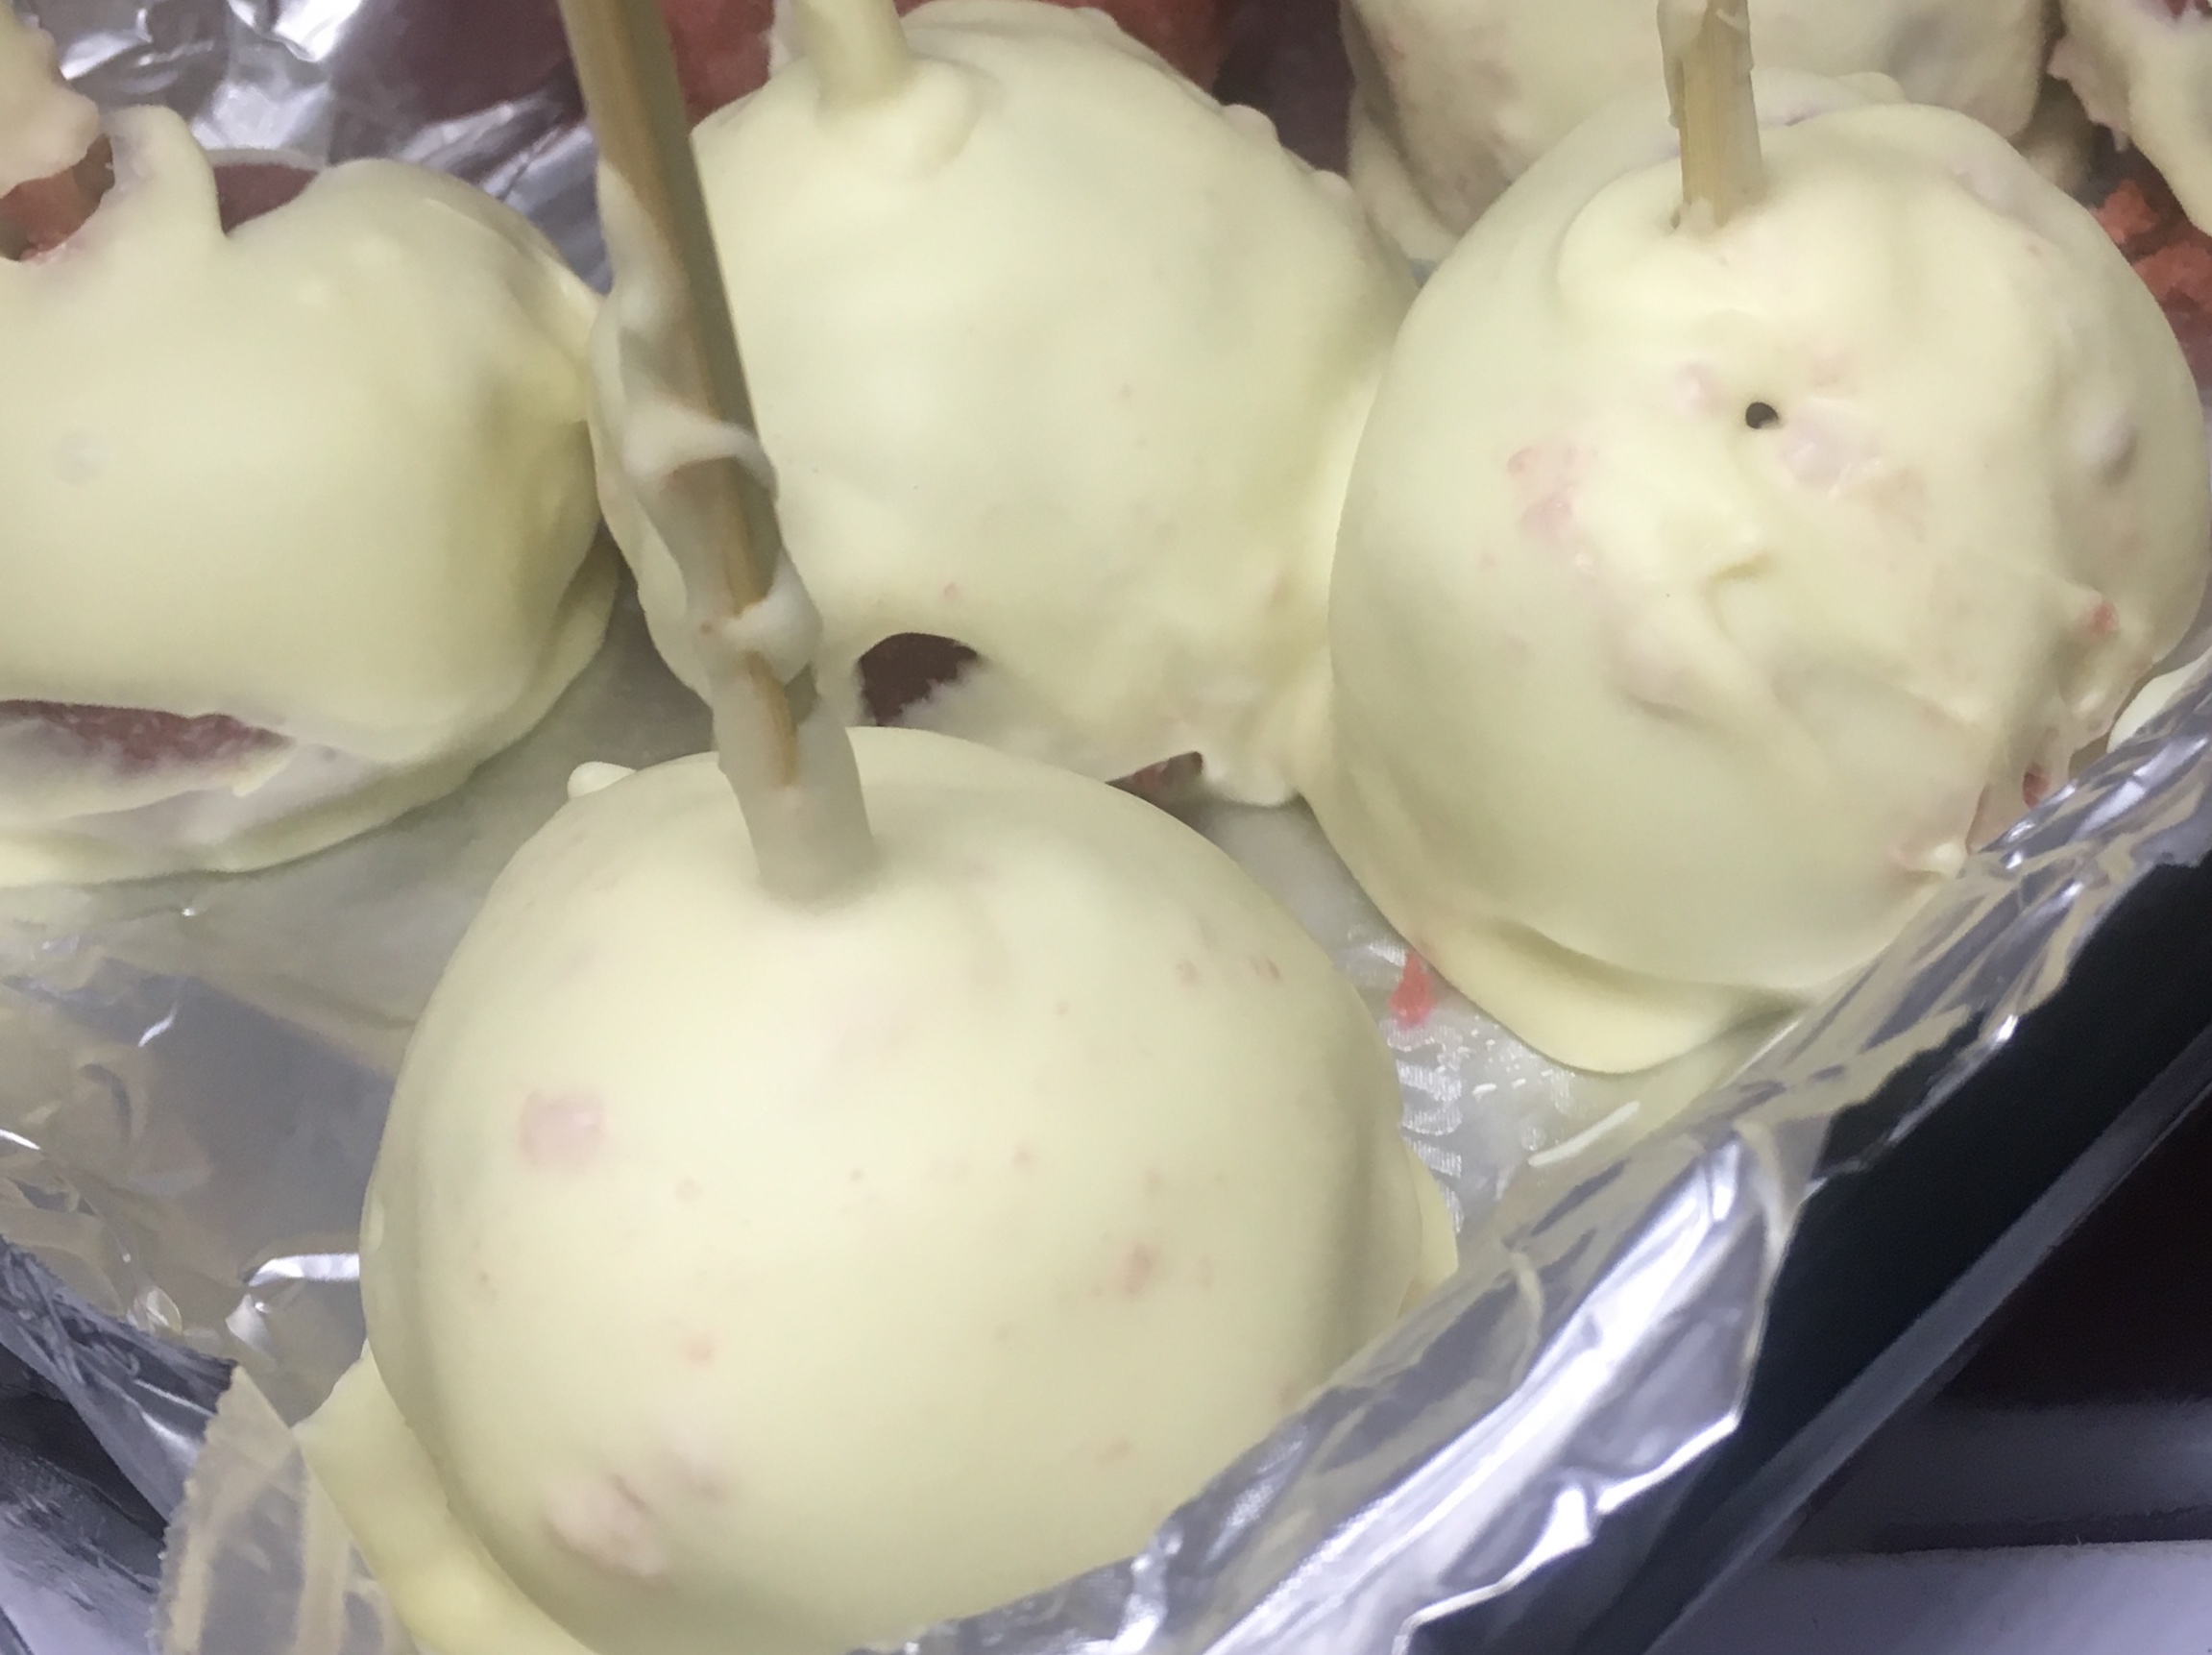
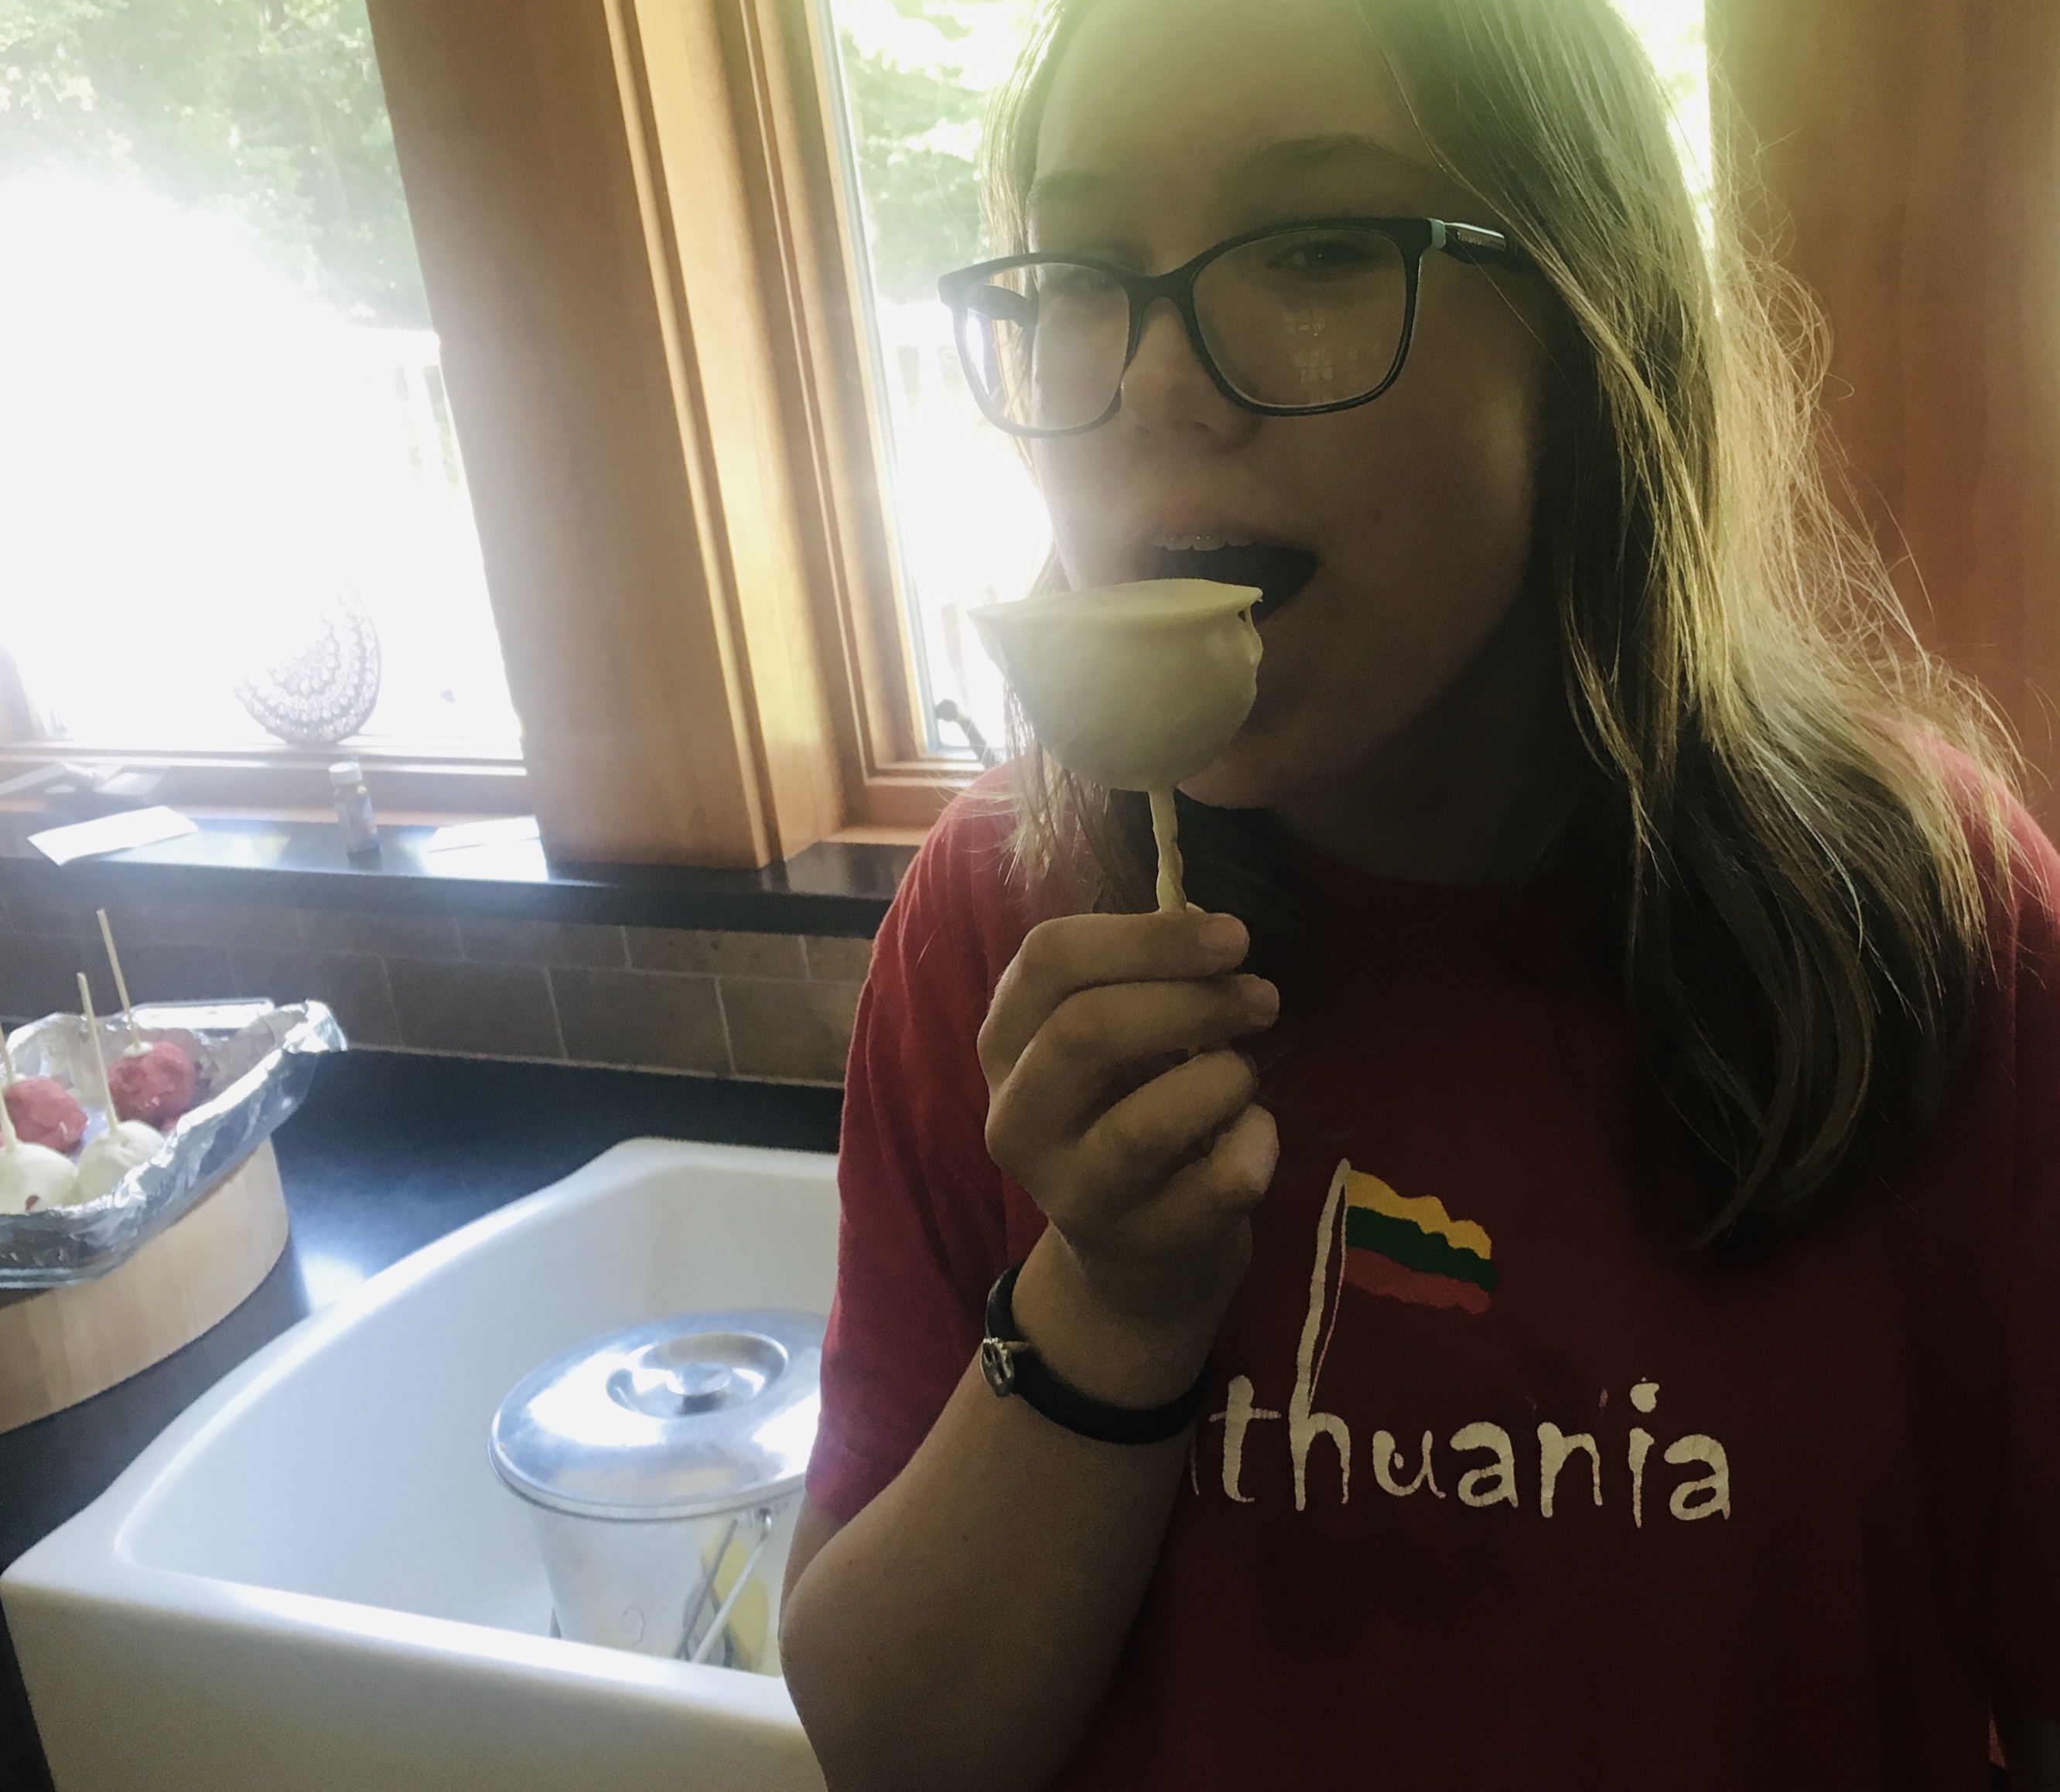
Our cake pops resembled caramel apples more than cake pops! (My daughter decided to call them cake meatballs.)
But in the end, it’s all about the taste, and I think she was happy with the way they came out!