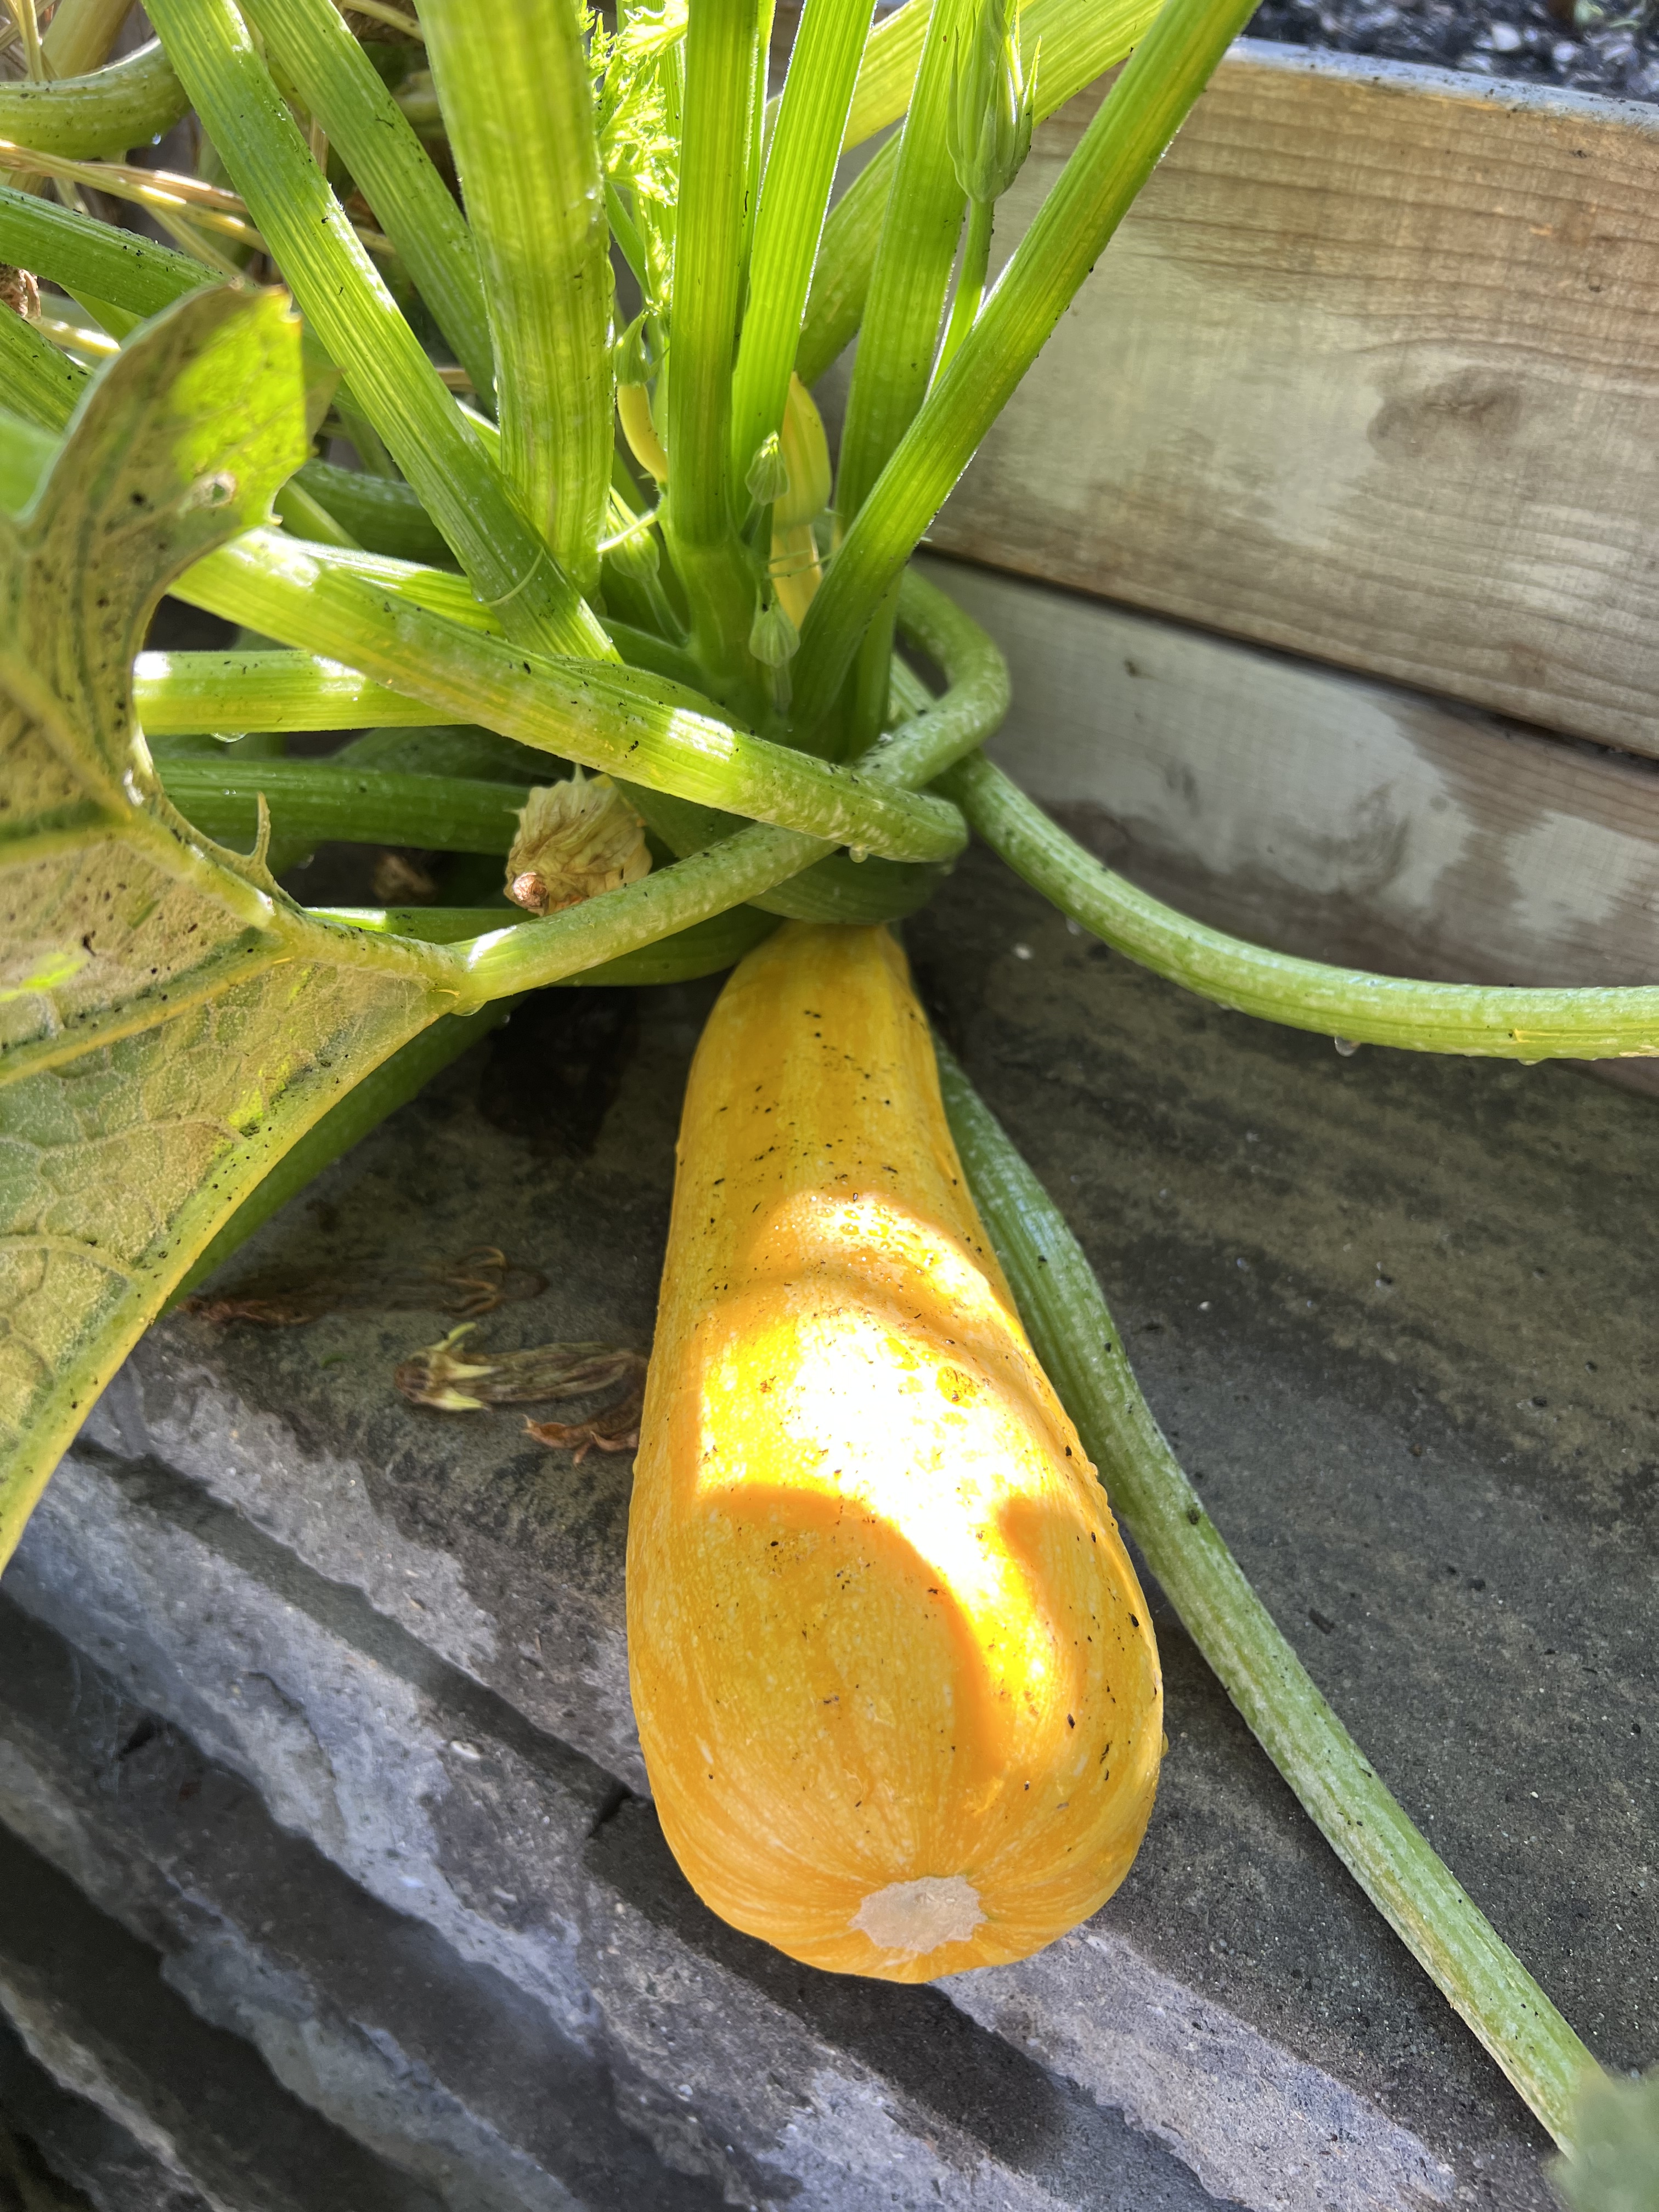
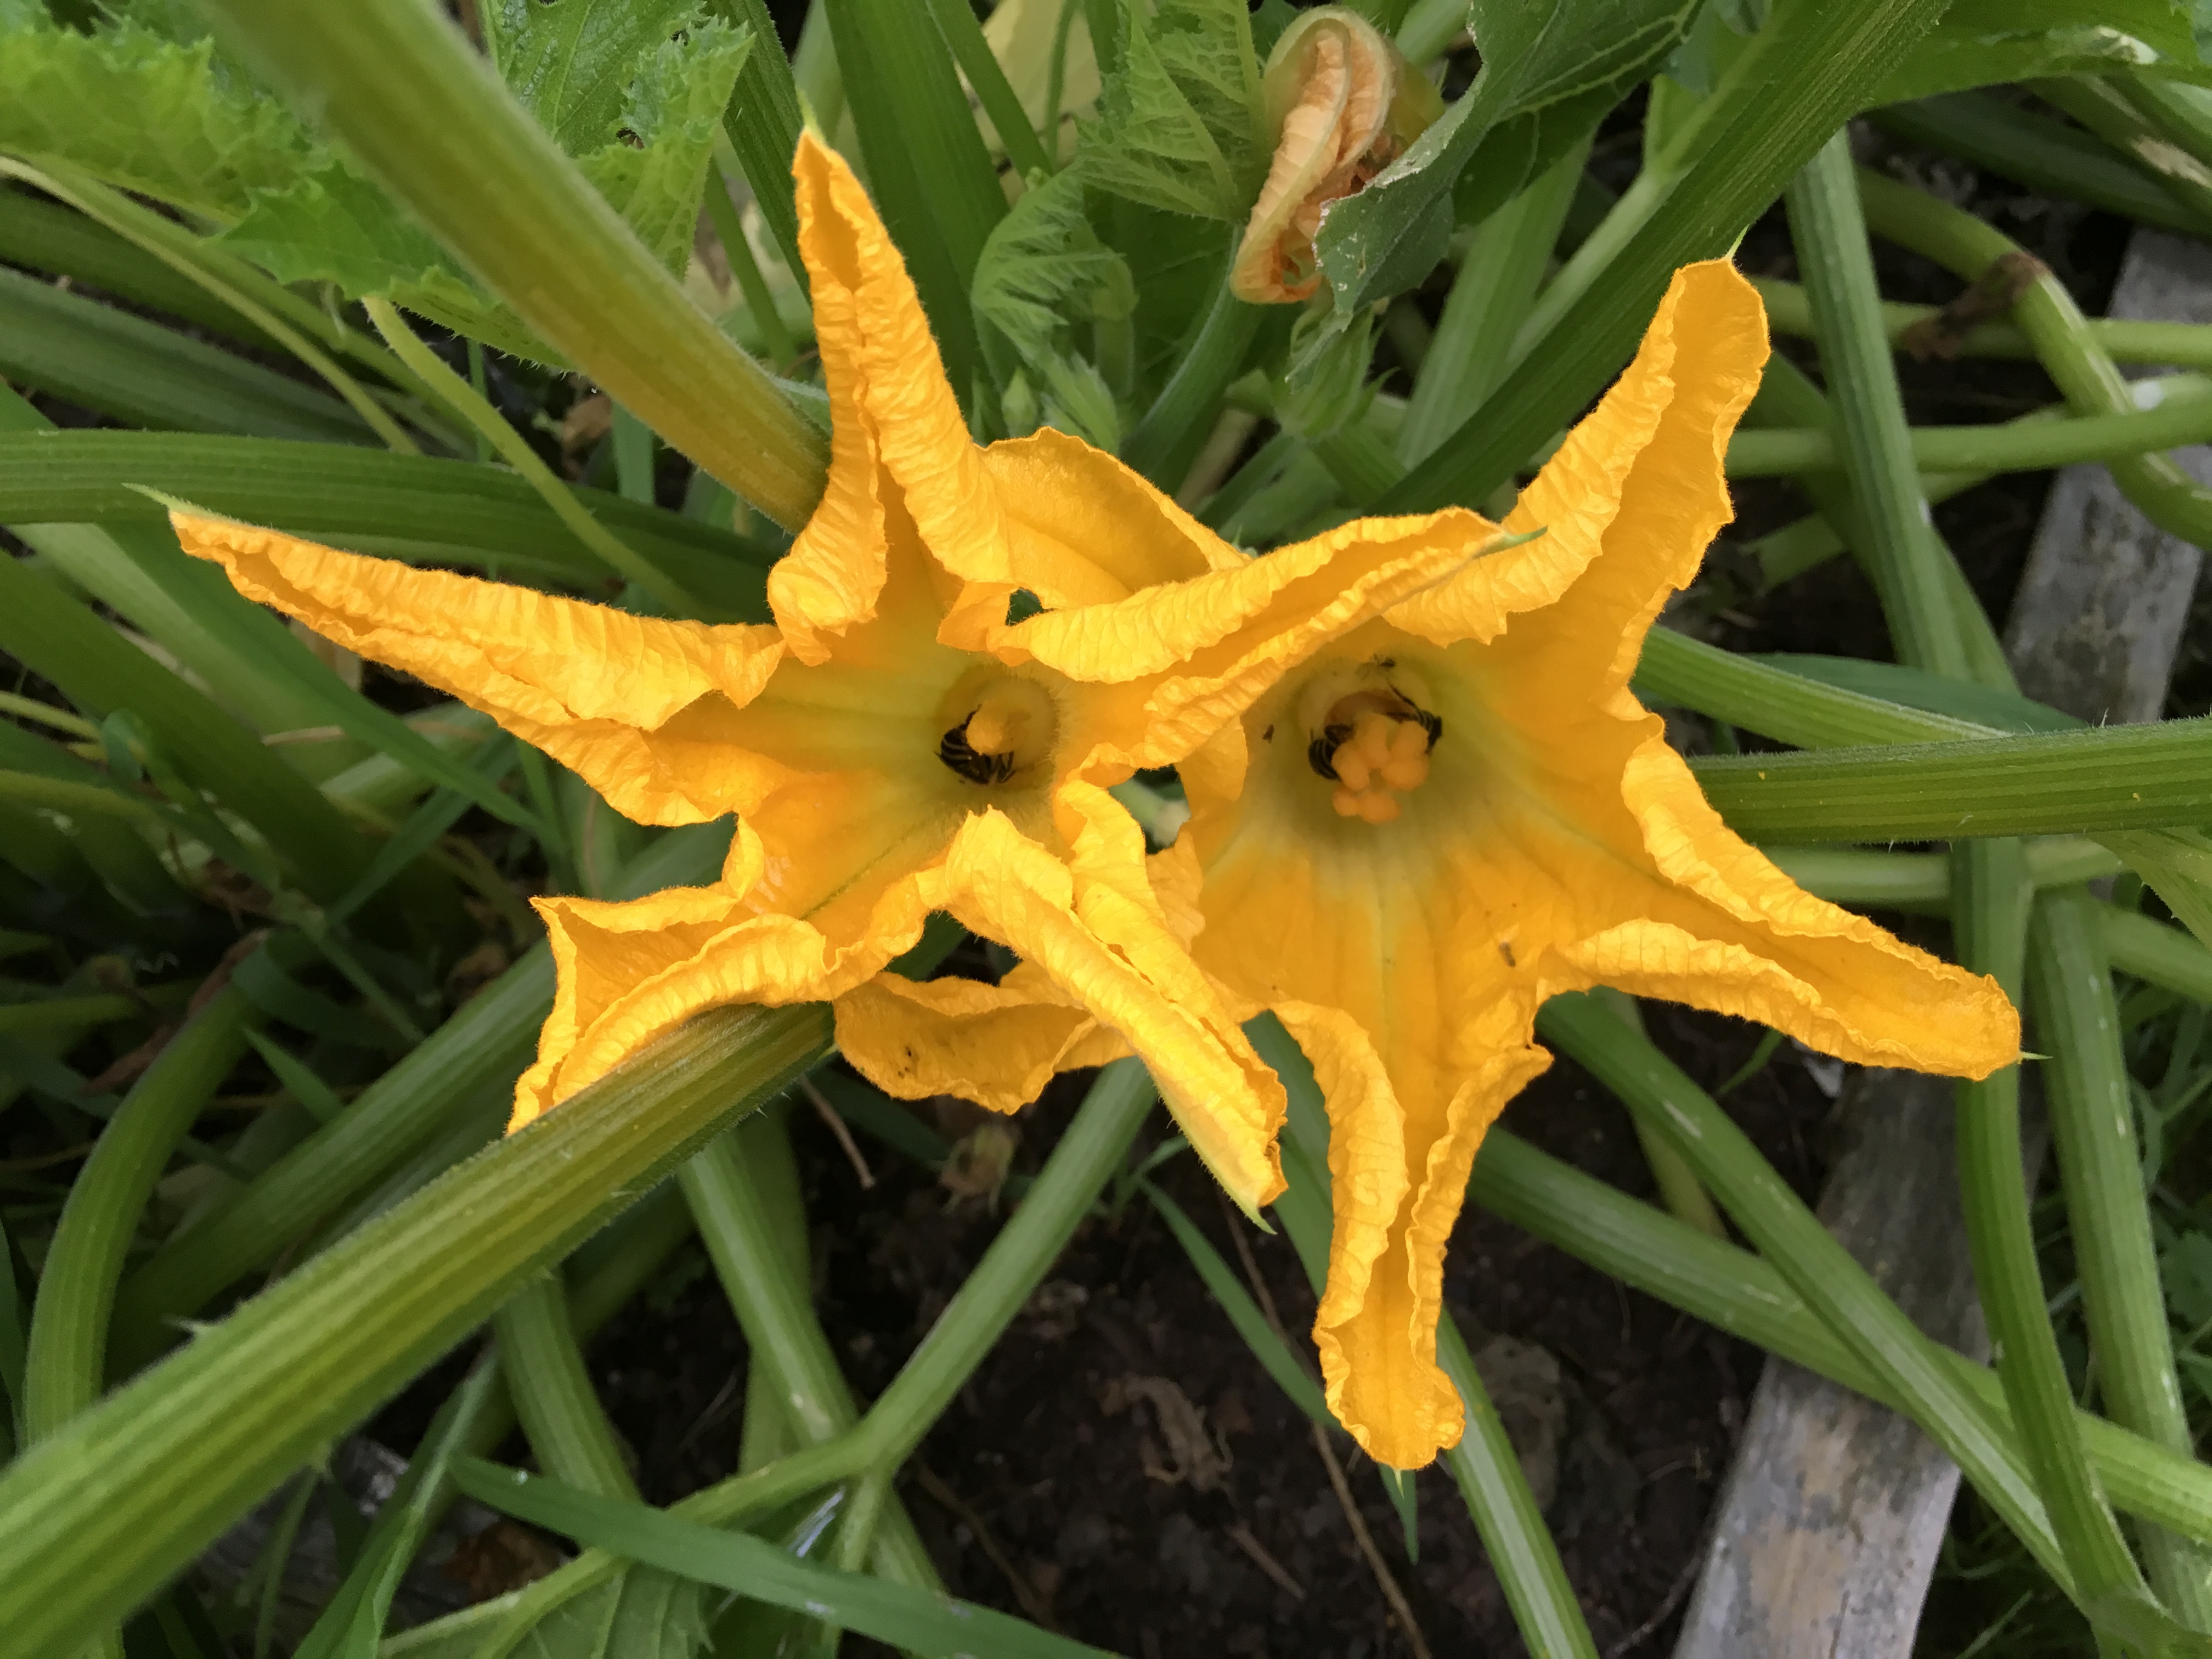
I grow several varieties of squash and pumpkins in my garden every year, so I’ve got an overload of blossoms. They’re delicious sweet or savory.
In my savory version, the blossoms are stuffed with ricotta cheese, lightly battered, fried and served with a delicious tomato sauce.
The sweet version is directly below.

At home, we went for a sweeter version for breakfast, using pancake mix as the base, experimenting with two fillings: raspberry preserves or strawberry cream cheese.
I simply followed the directions on the box of pancake mix, using fat-free milk instead of whole milk and a little less of the dry ingredients to make the batter thinner than I would use for regular pancakes. I use King Arthur Gluten-Free Pancake Mix, which requires adding an egg and melted butter to make a smooth, slightly sweet batter. I set that aside and let it rest for a few minutes.
Next, it’s off to the garden to snip a handful of squash blossoms. I prefer the ones that are open. They’re easier to stuff, but it’s also easier to spot the little critters that like to make themselves comfortable inside. I carefully snip the blossoms off the plant, then give them a light shake, which is enough to convince the bugs inside to fly out. It’s pretty cool to find a happy bee inside every blossom that I snip.
Other than making sure all foreign particles (and insects) have been removed from the blossoms, and pulling out the stamen, no other preparation is needed. I snip the stems right up to the blossom, and they’re ready to be stuffed.
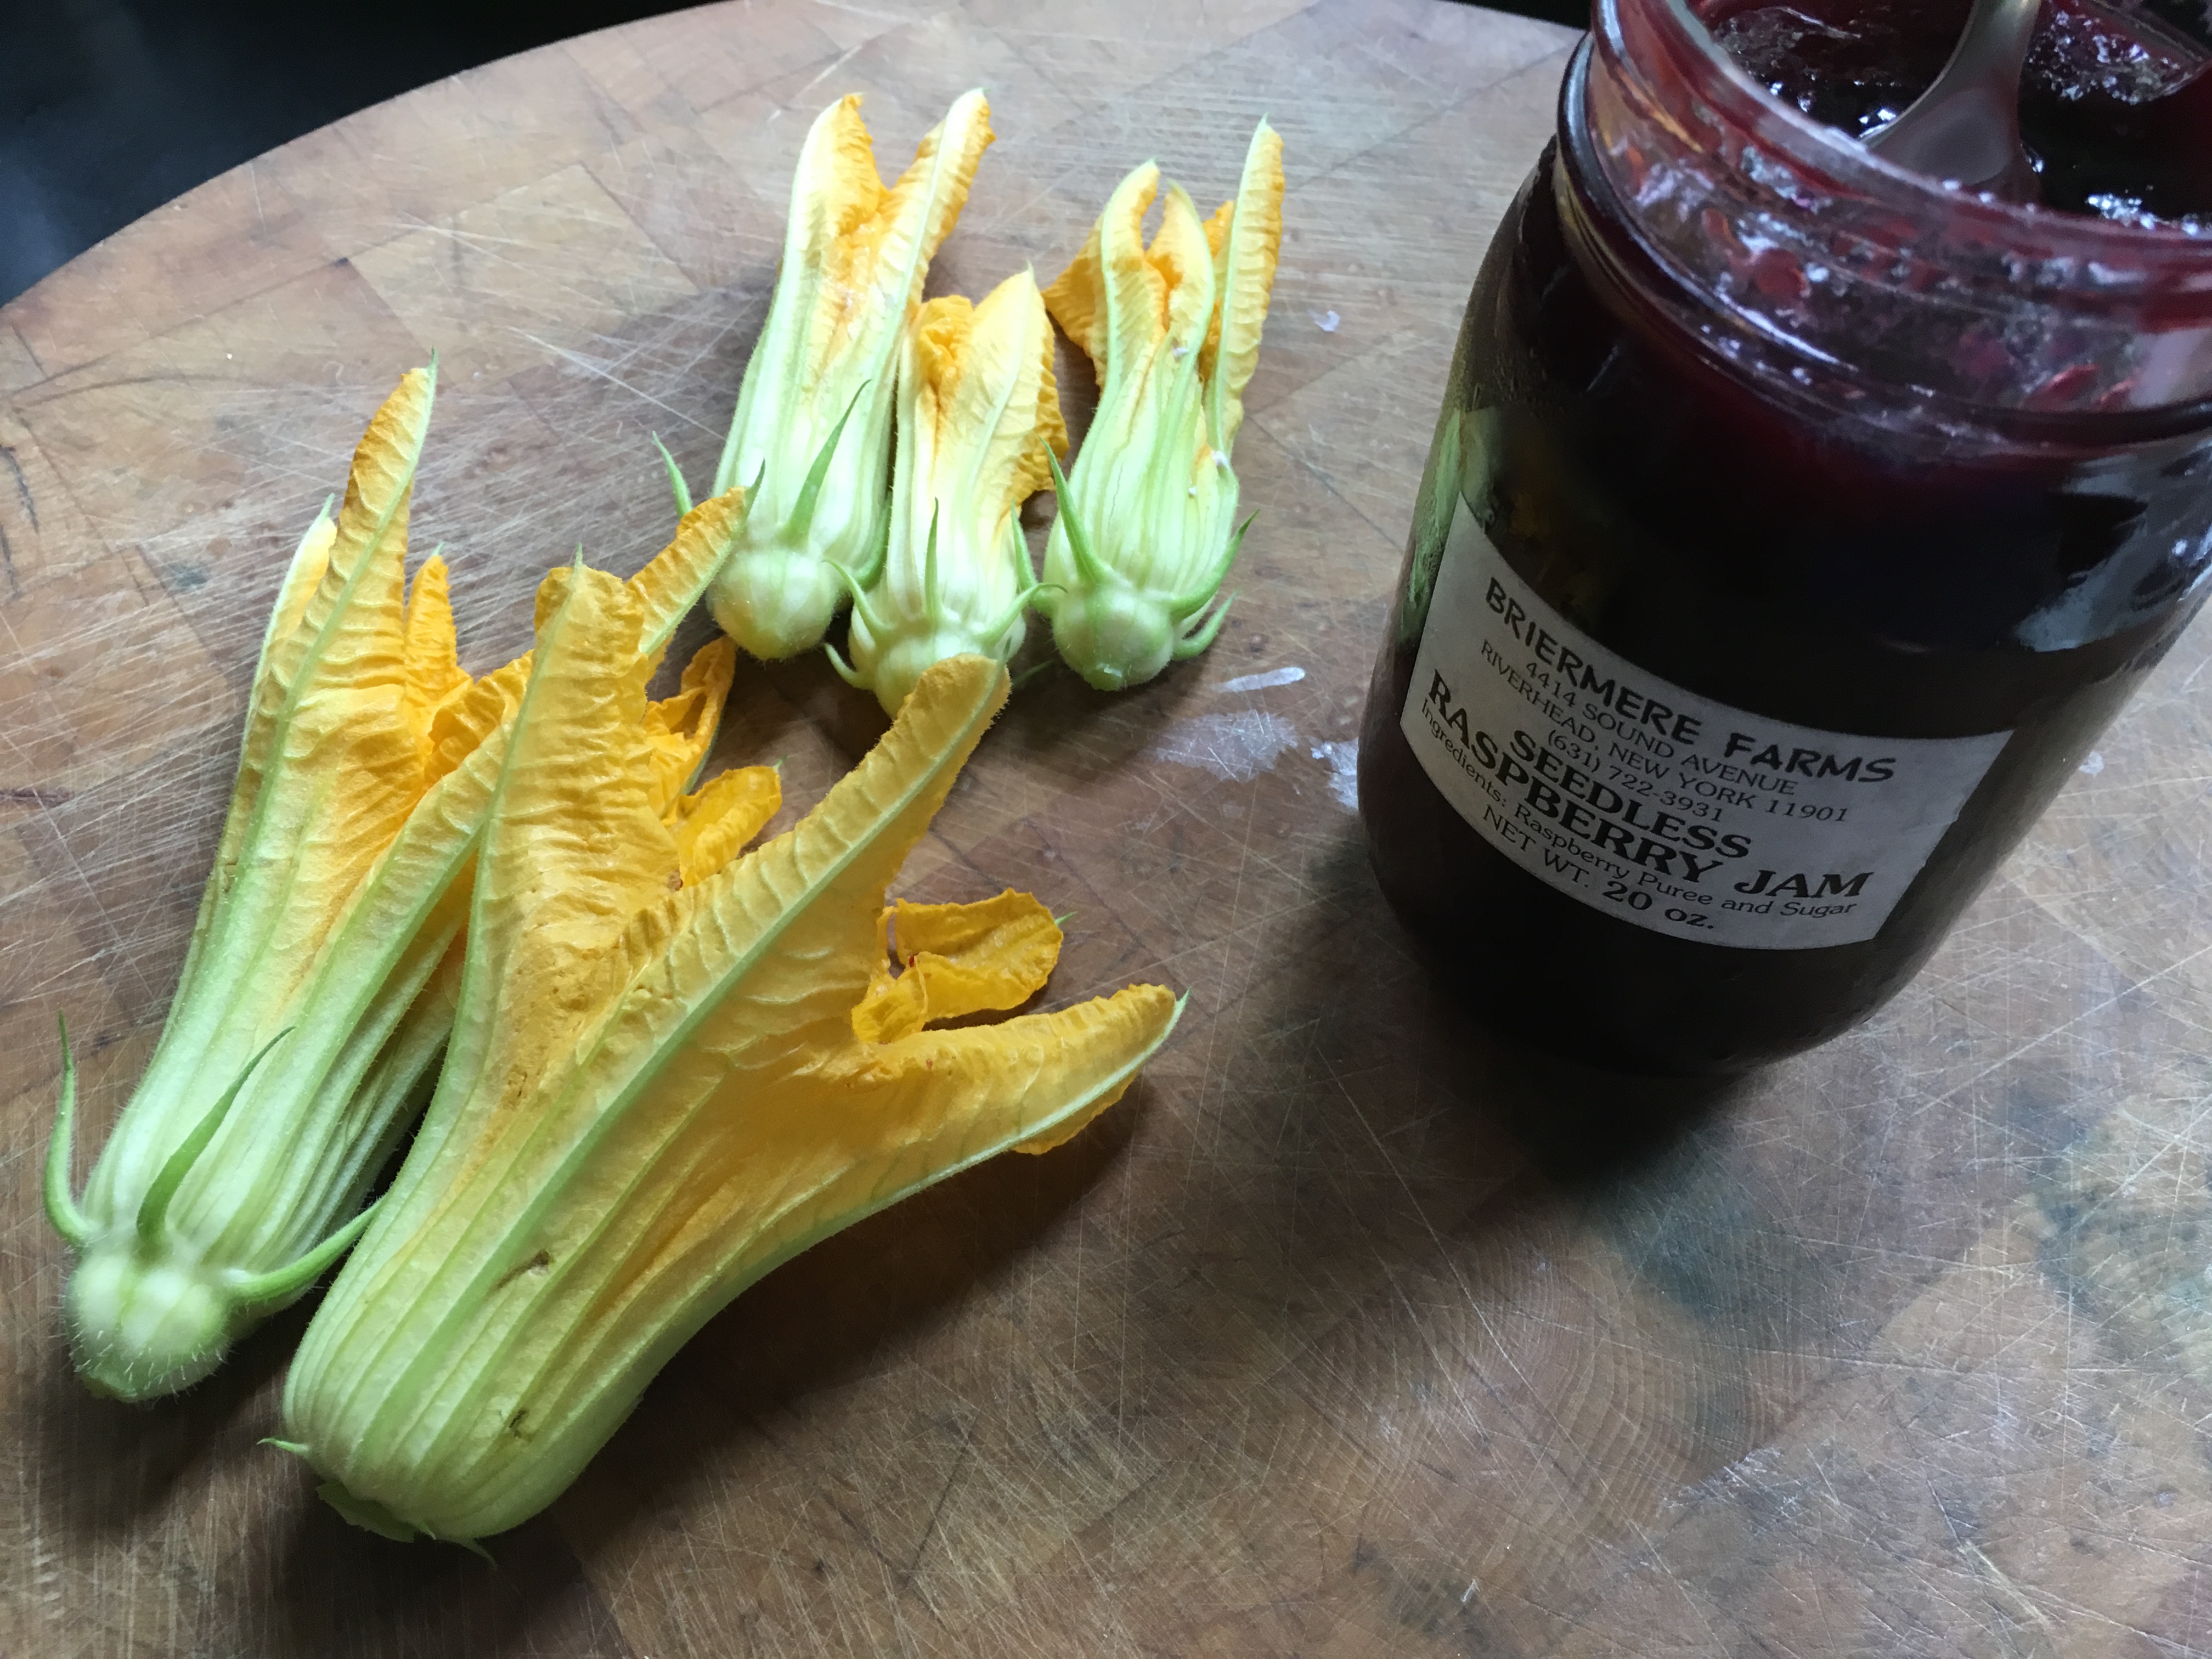
Blossoms stuffed with strawberry cream cheese and the fantastic raspberry preserves from Briermere Farms on the North Fork of Long Island!
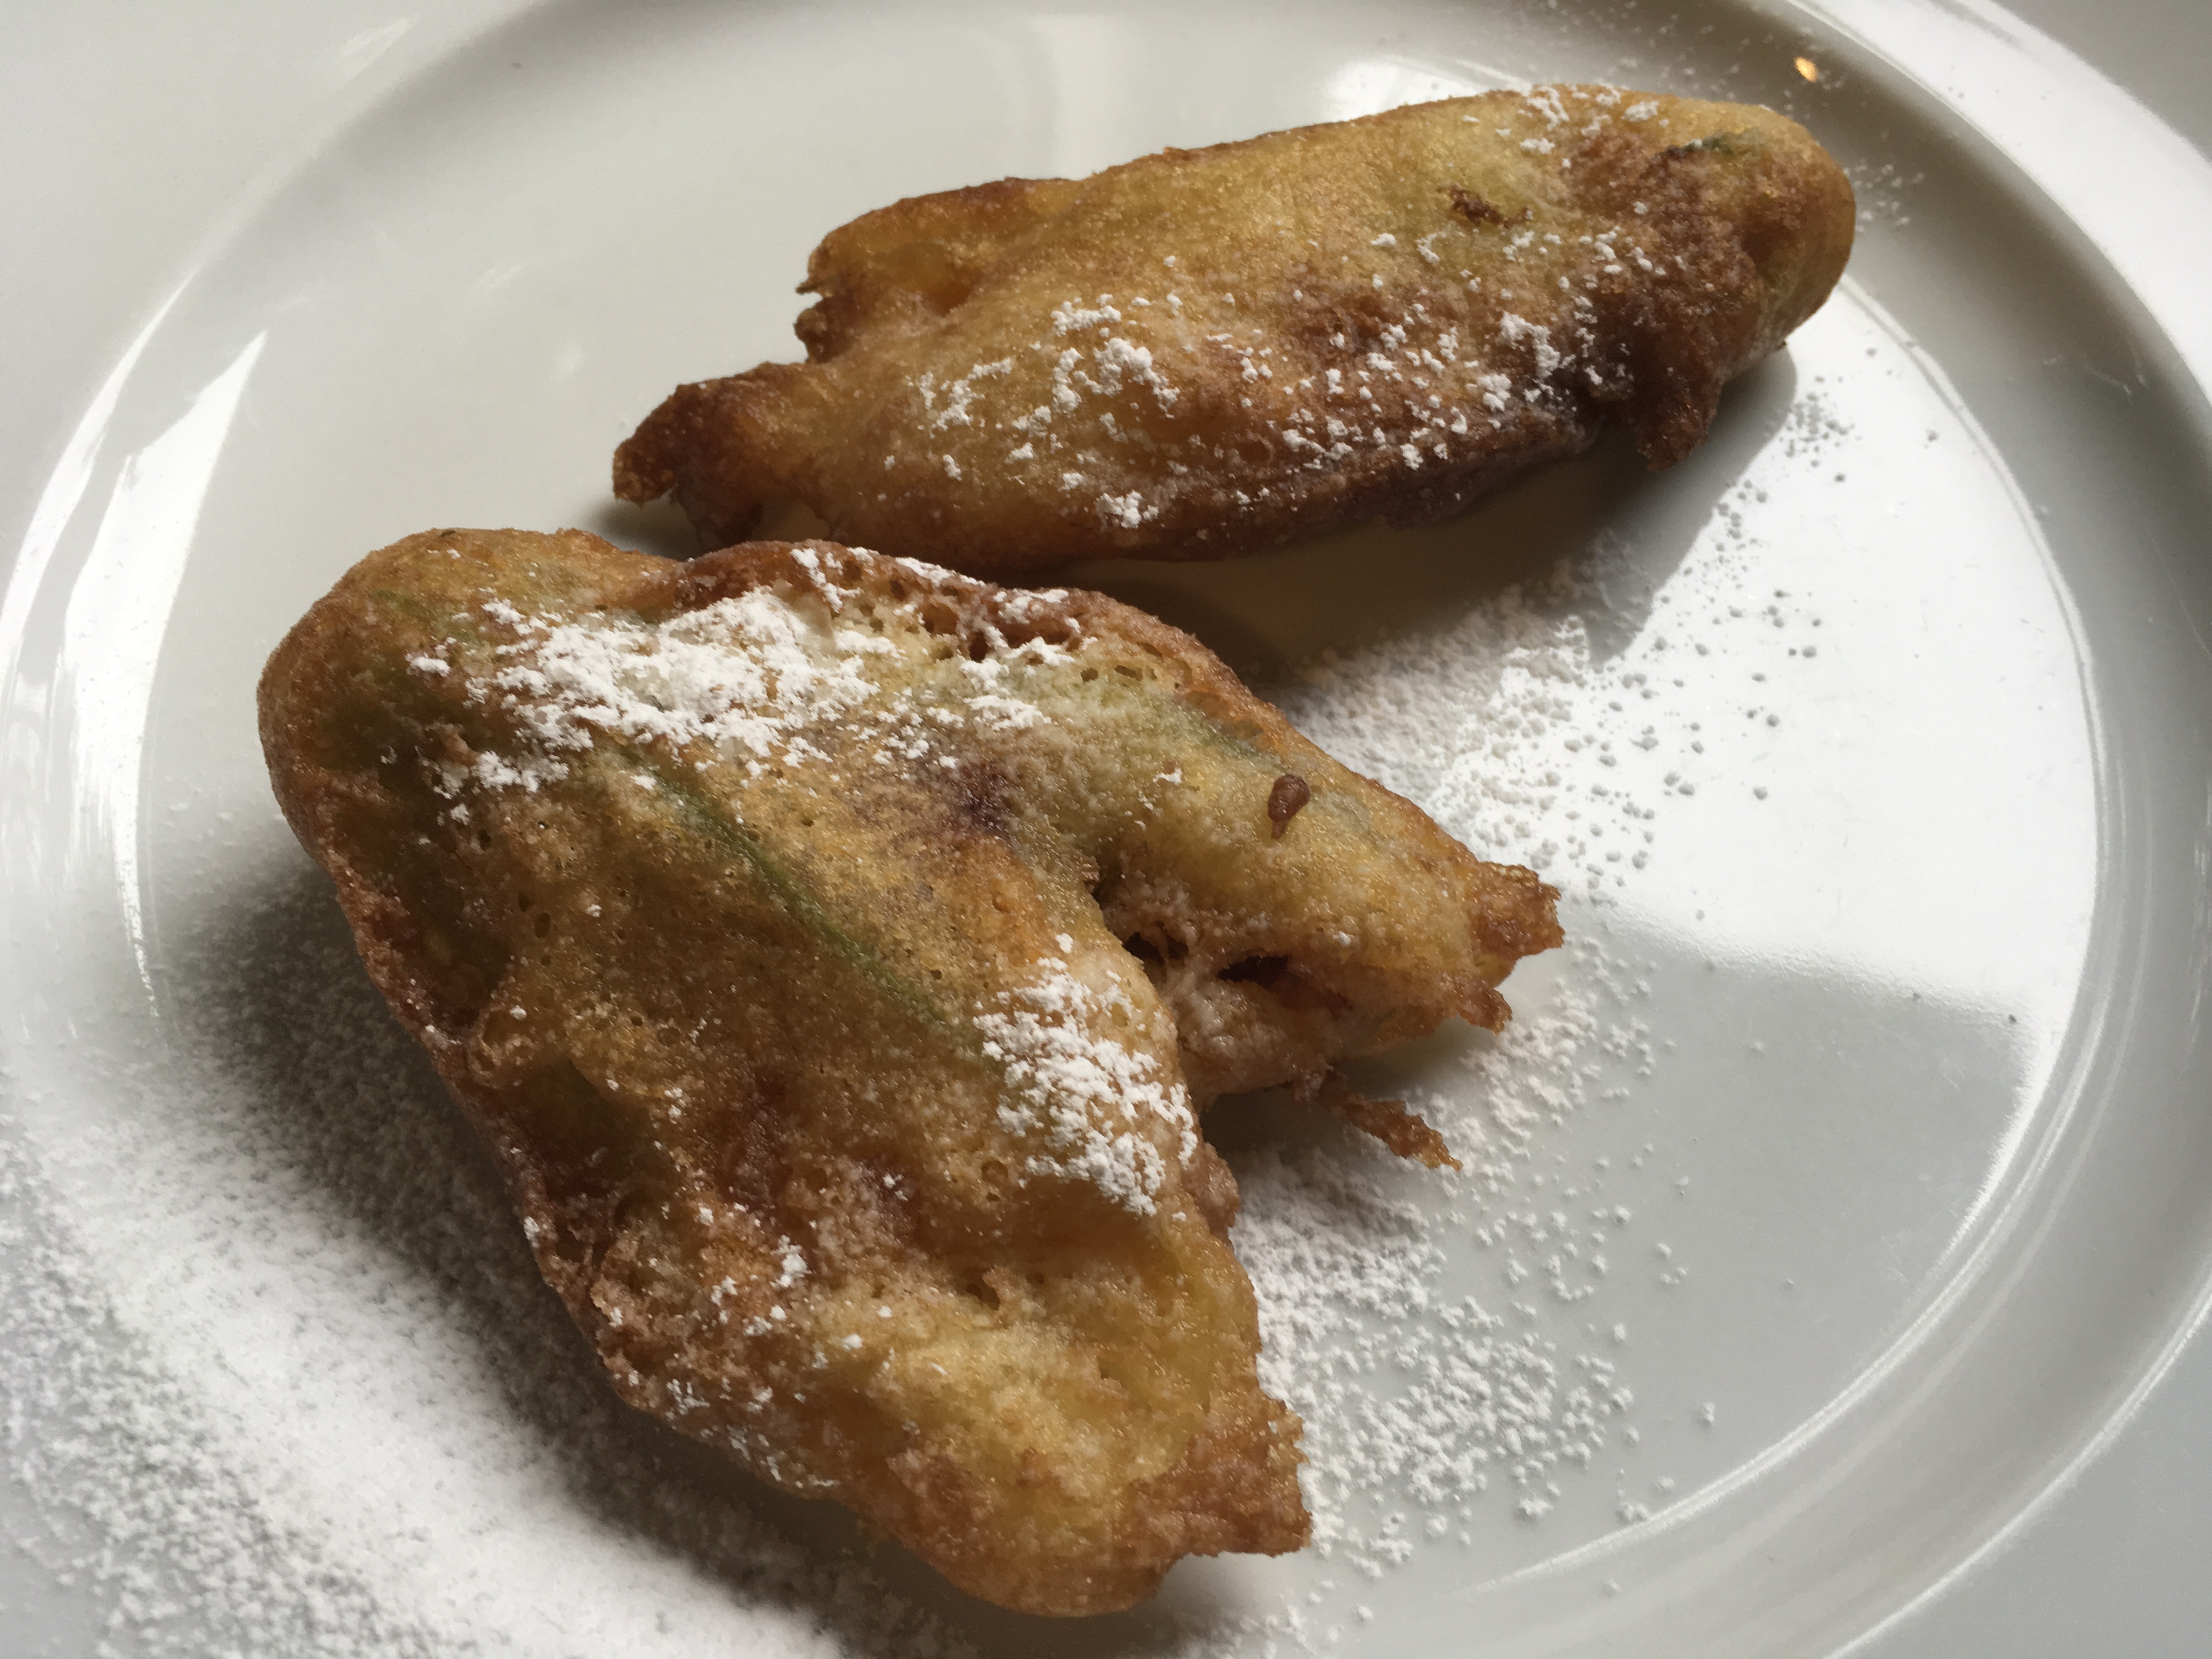
I heat a few inches of grapeseed oil (or any other high smoke point oil) in a pan to 325 degrees, then start the process: I stuff the blossoms, closing the flower petals around the stuffing, then carefully dip them in the pancake batter, and release them gently into the oil, flipping them as they fry, until they’re golden in color.

I drain them on paper towels, dust them with powdered sugar, and they’re ready to be enjoyed.
For the savory version, I make my own batter.
1 cup all-purpose flour
1 teaspoon baking powder
1 teaspoon salt
1/2 cup low-fat milk
2 large eggs
1 teaspoon olive oil
water, as needed
Combine the flour, baking powder, and salt in a bowl. In another bowl, whisk together the milk, eggs and olive oil.
Add the dry ingredients to the wet, and mix well. If the batter is too thick, add water until it’s smooth and looser than pancake batter. If it’s too thick, it’ll get clumpy. You want it to be thin–just enough to coat the blossoms well, without too much batter on each one.

Fresh out of the garden!
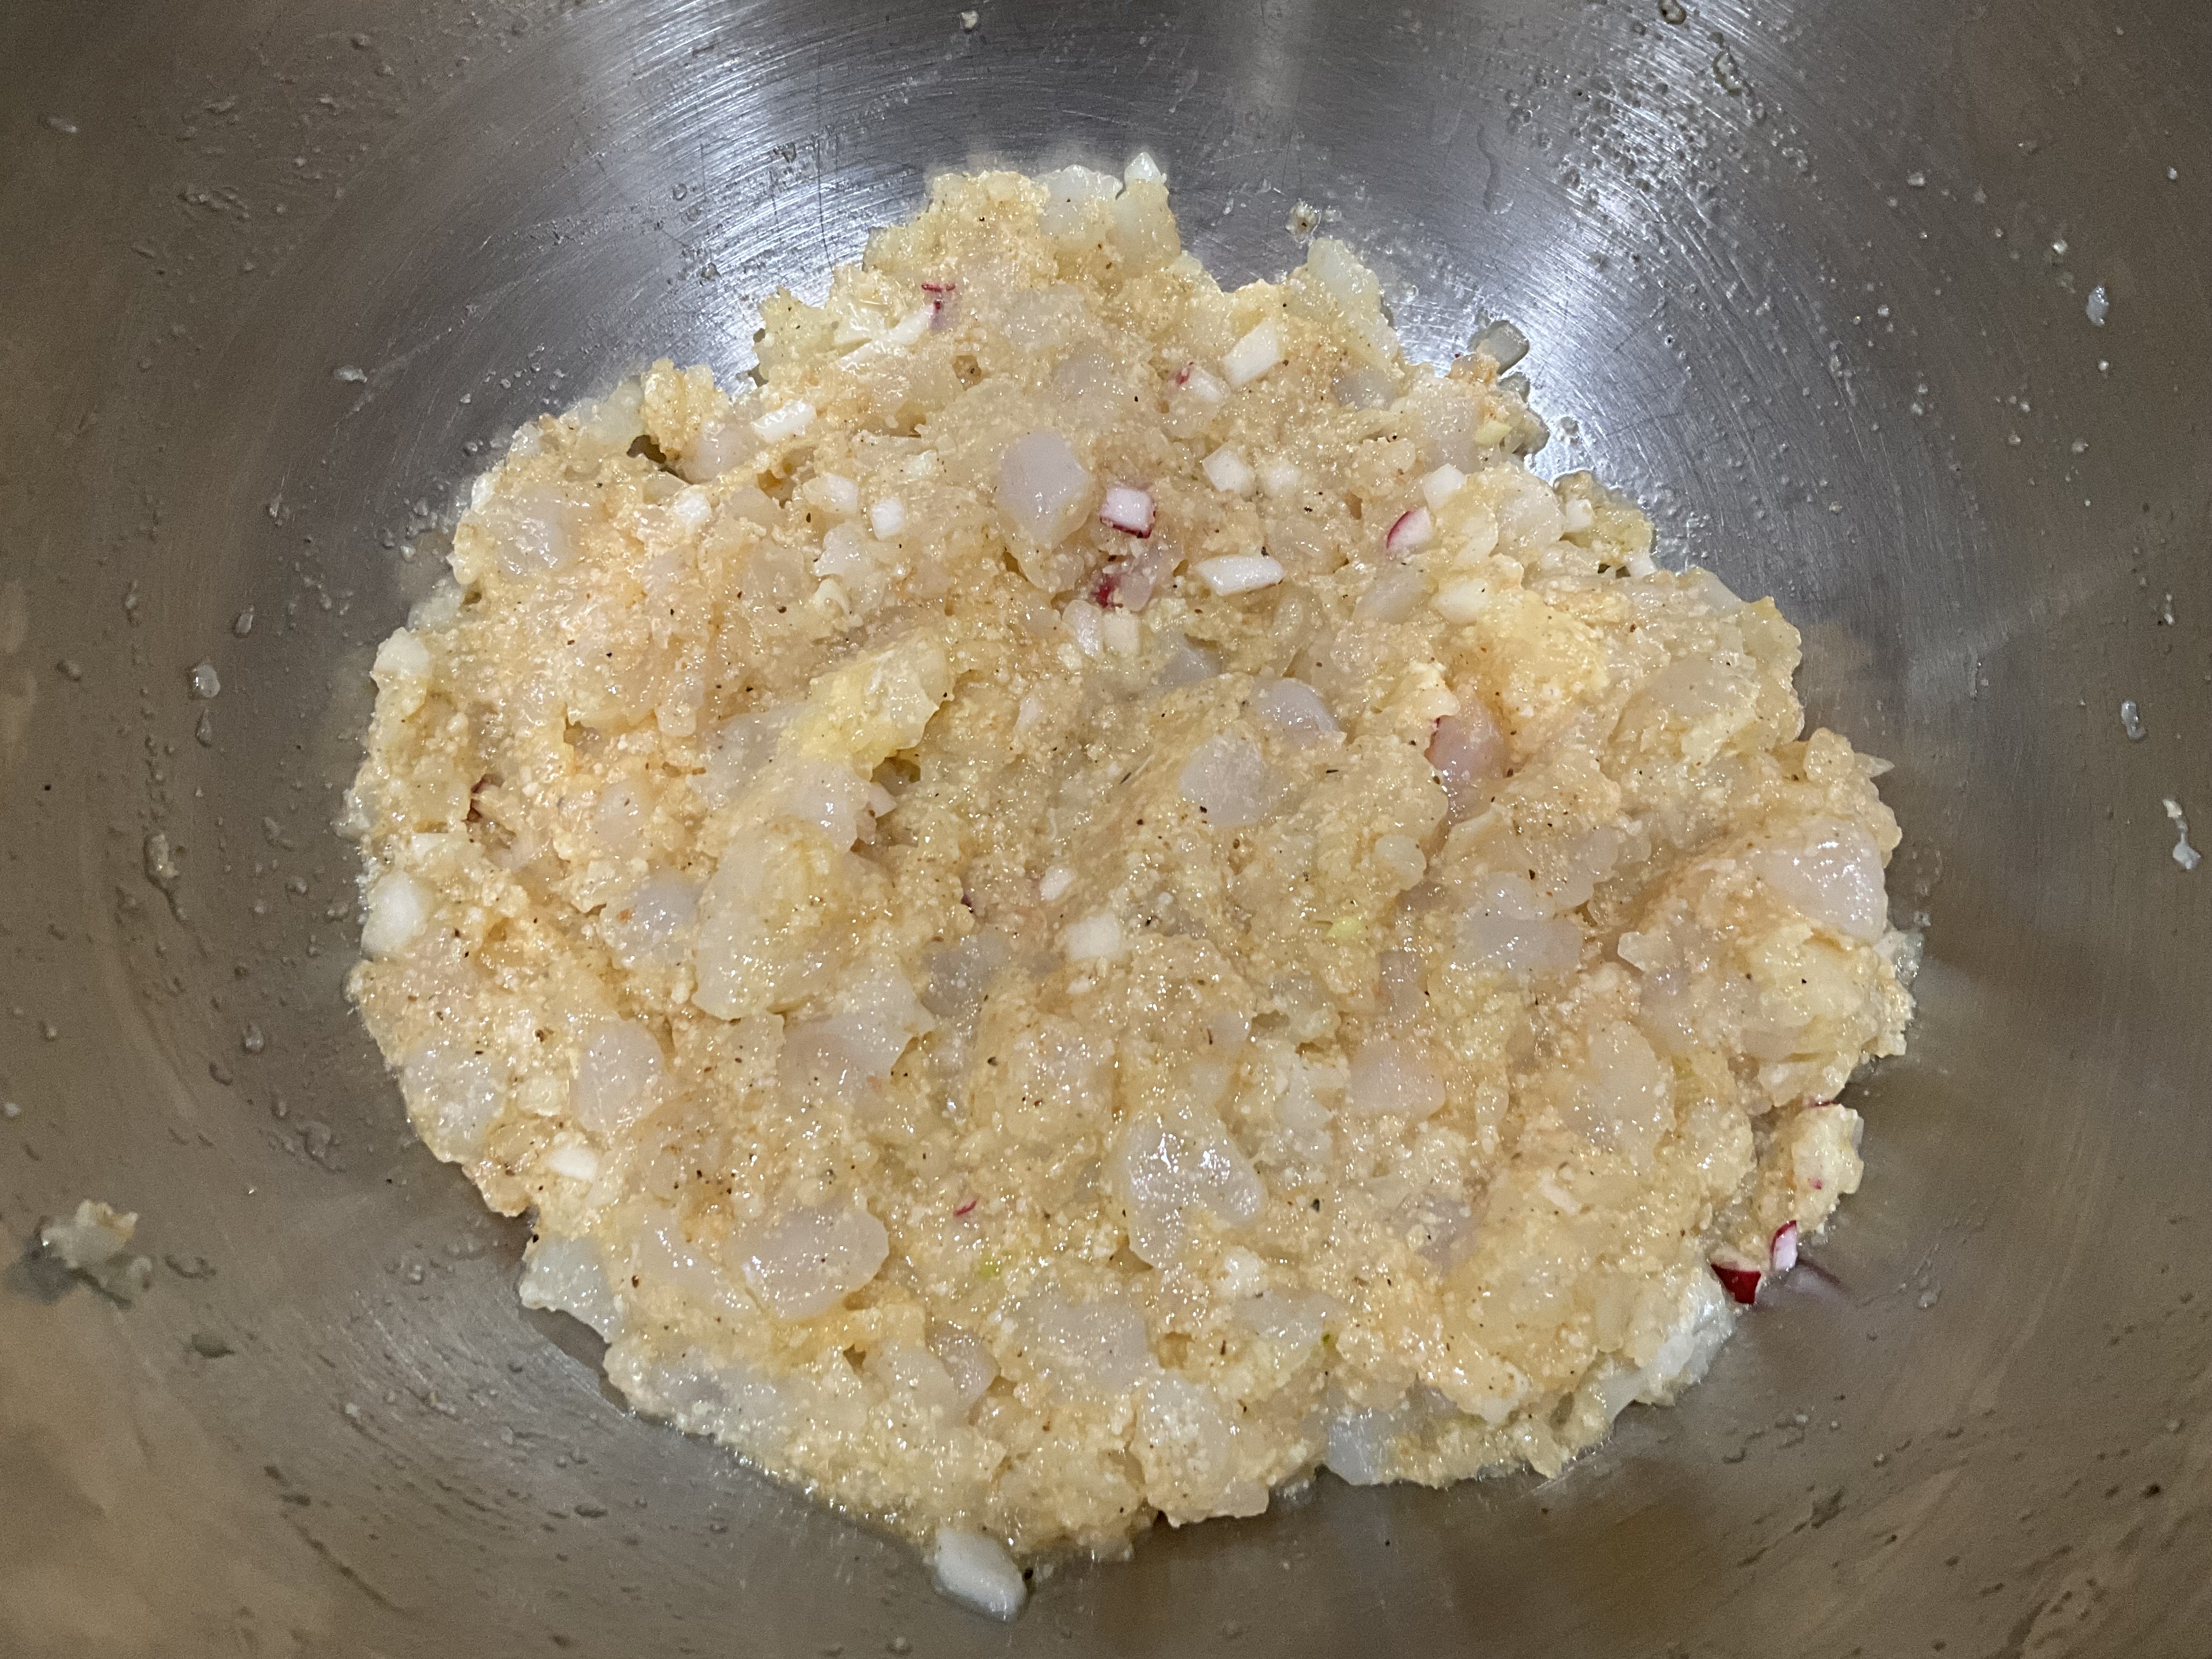
For the stuffing…
1 cup ricotta cheese
1/2 cup shredded mozzarella
pinch of salt
pinch of oregano
In a bowl, mix the stuffing ingredients well.
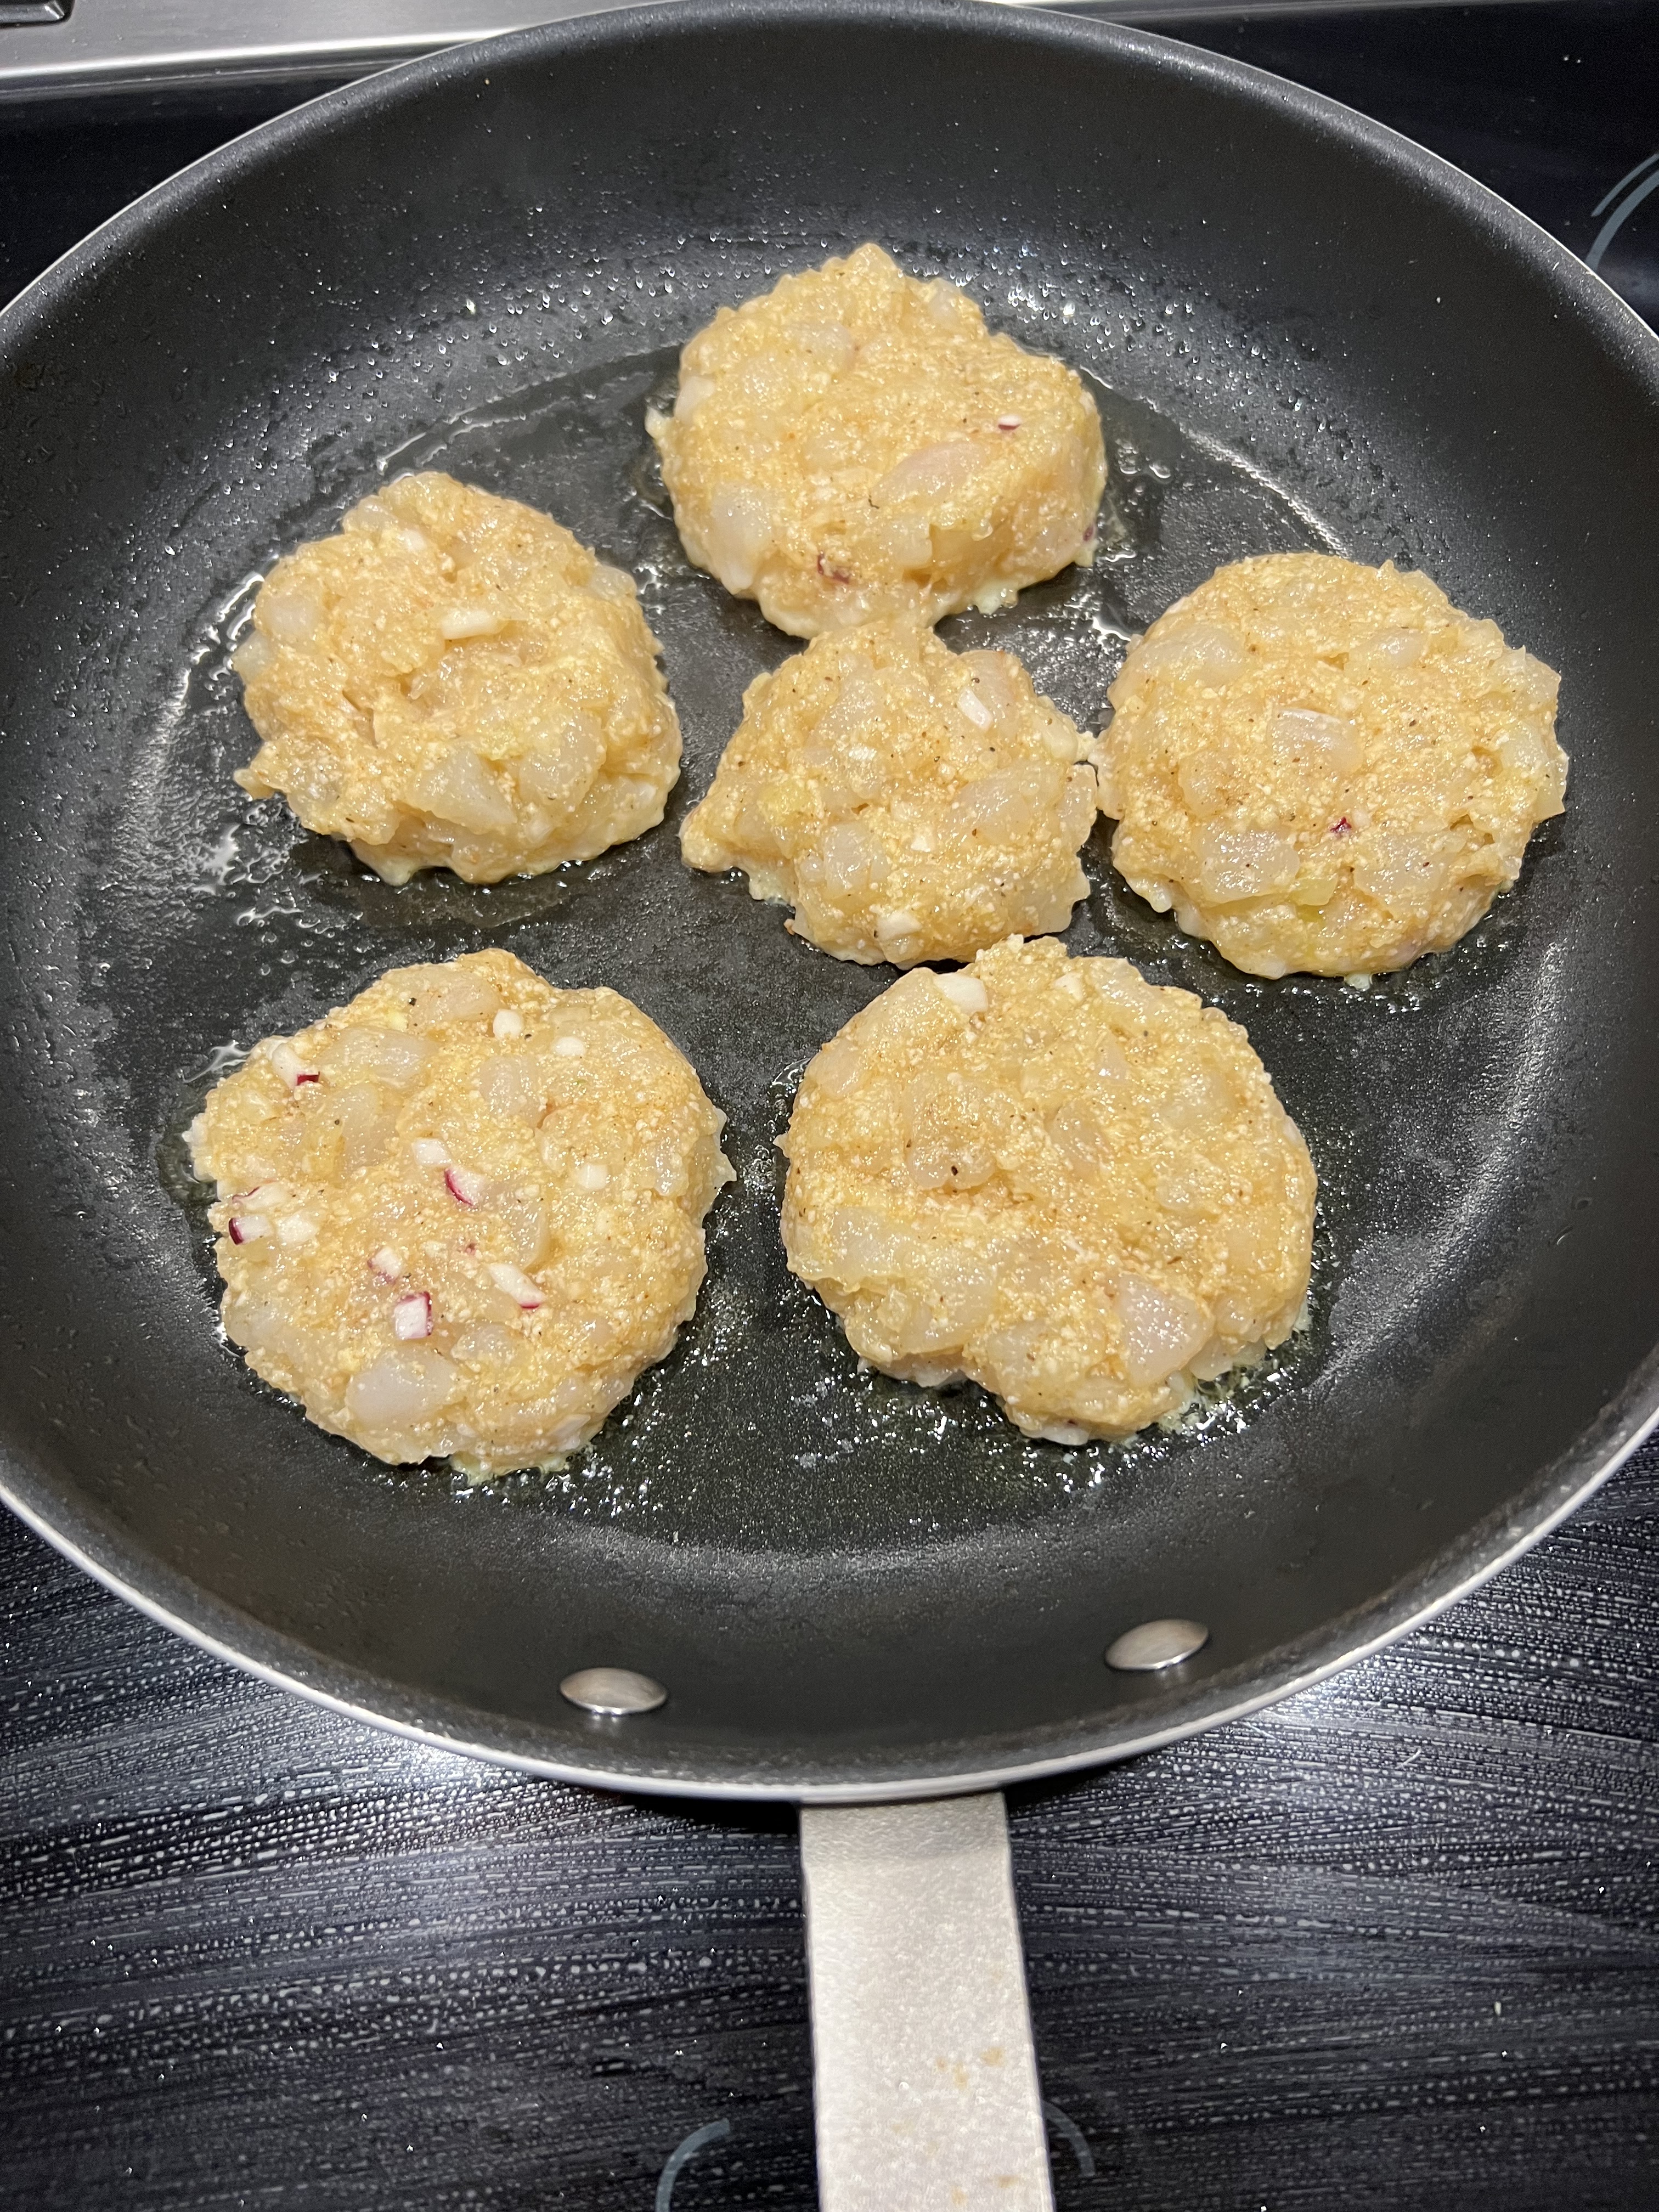
Add a small spoonful of the stuffing into the cleaned and prepared squash blossoms. Dip them in the batter to coat, then gently place them in a pan or deep fryer with grapeseed oil, or other high smoke point oil at 325 degrees.

Stuffed and ready to dip in the batter. (I eat the baby squashes attached as well!)
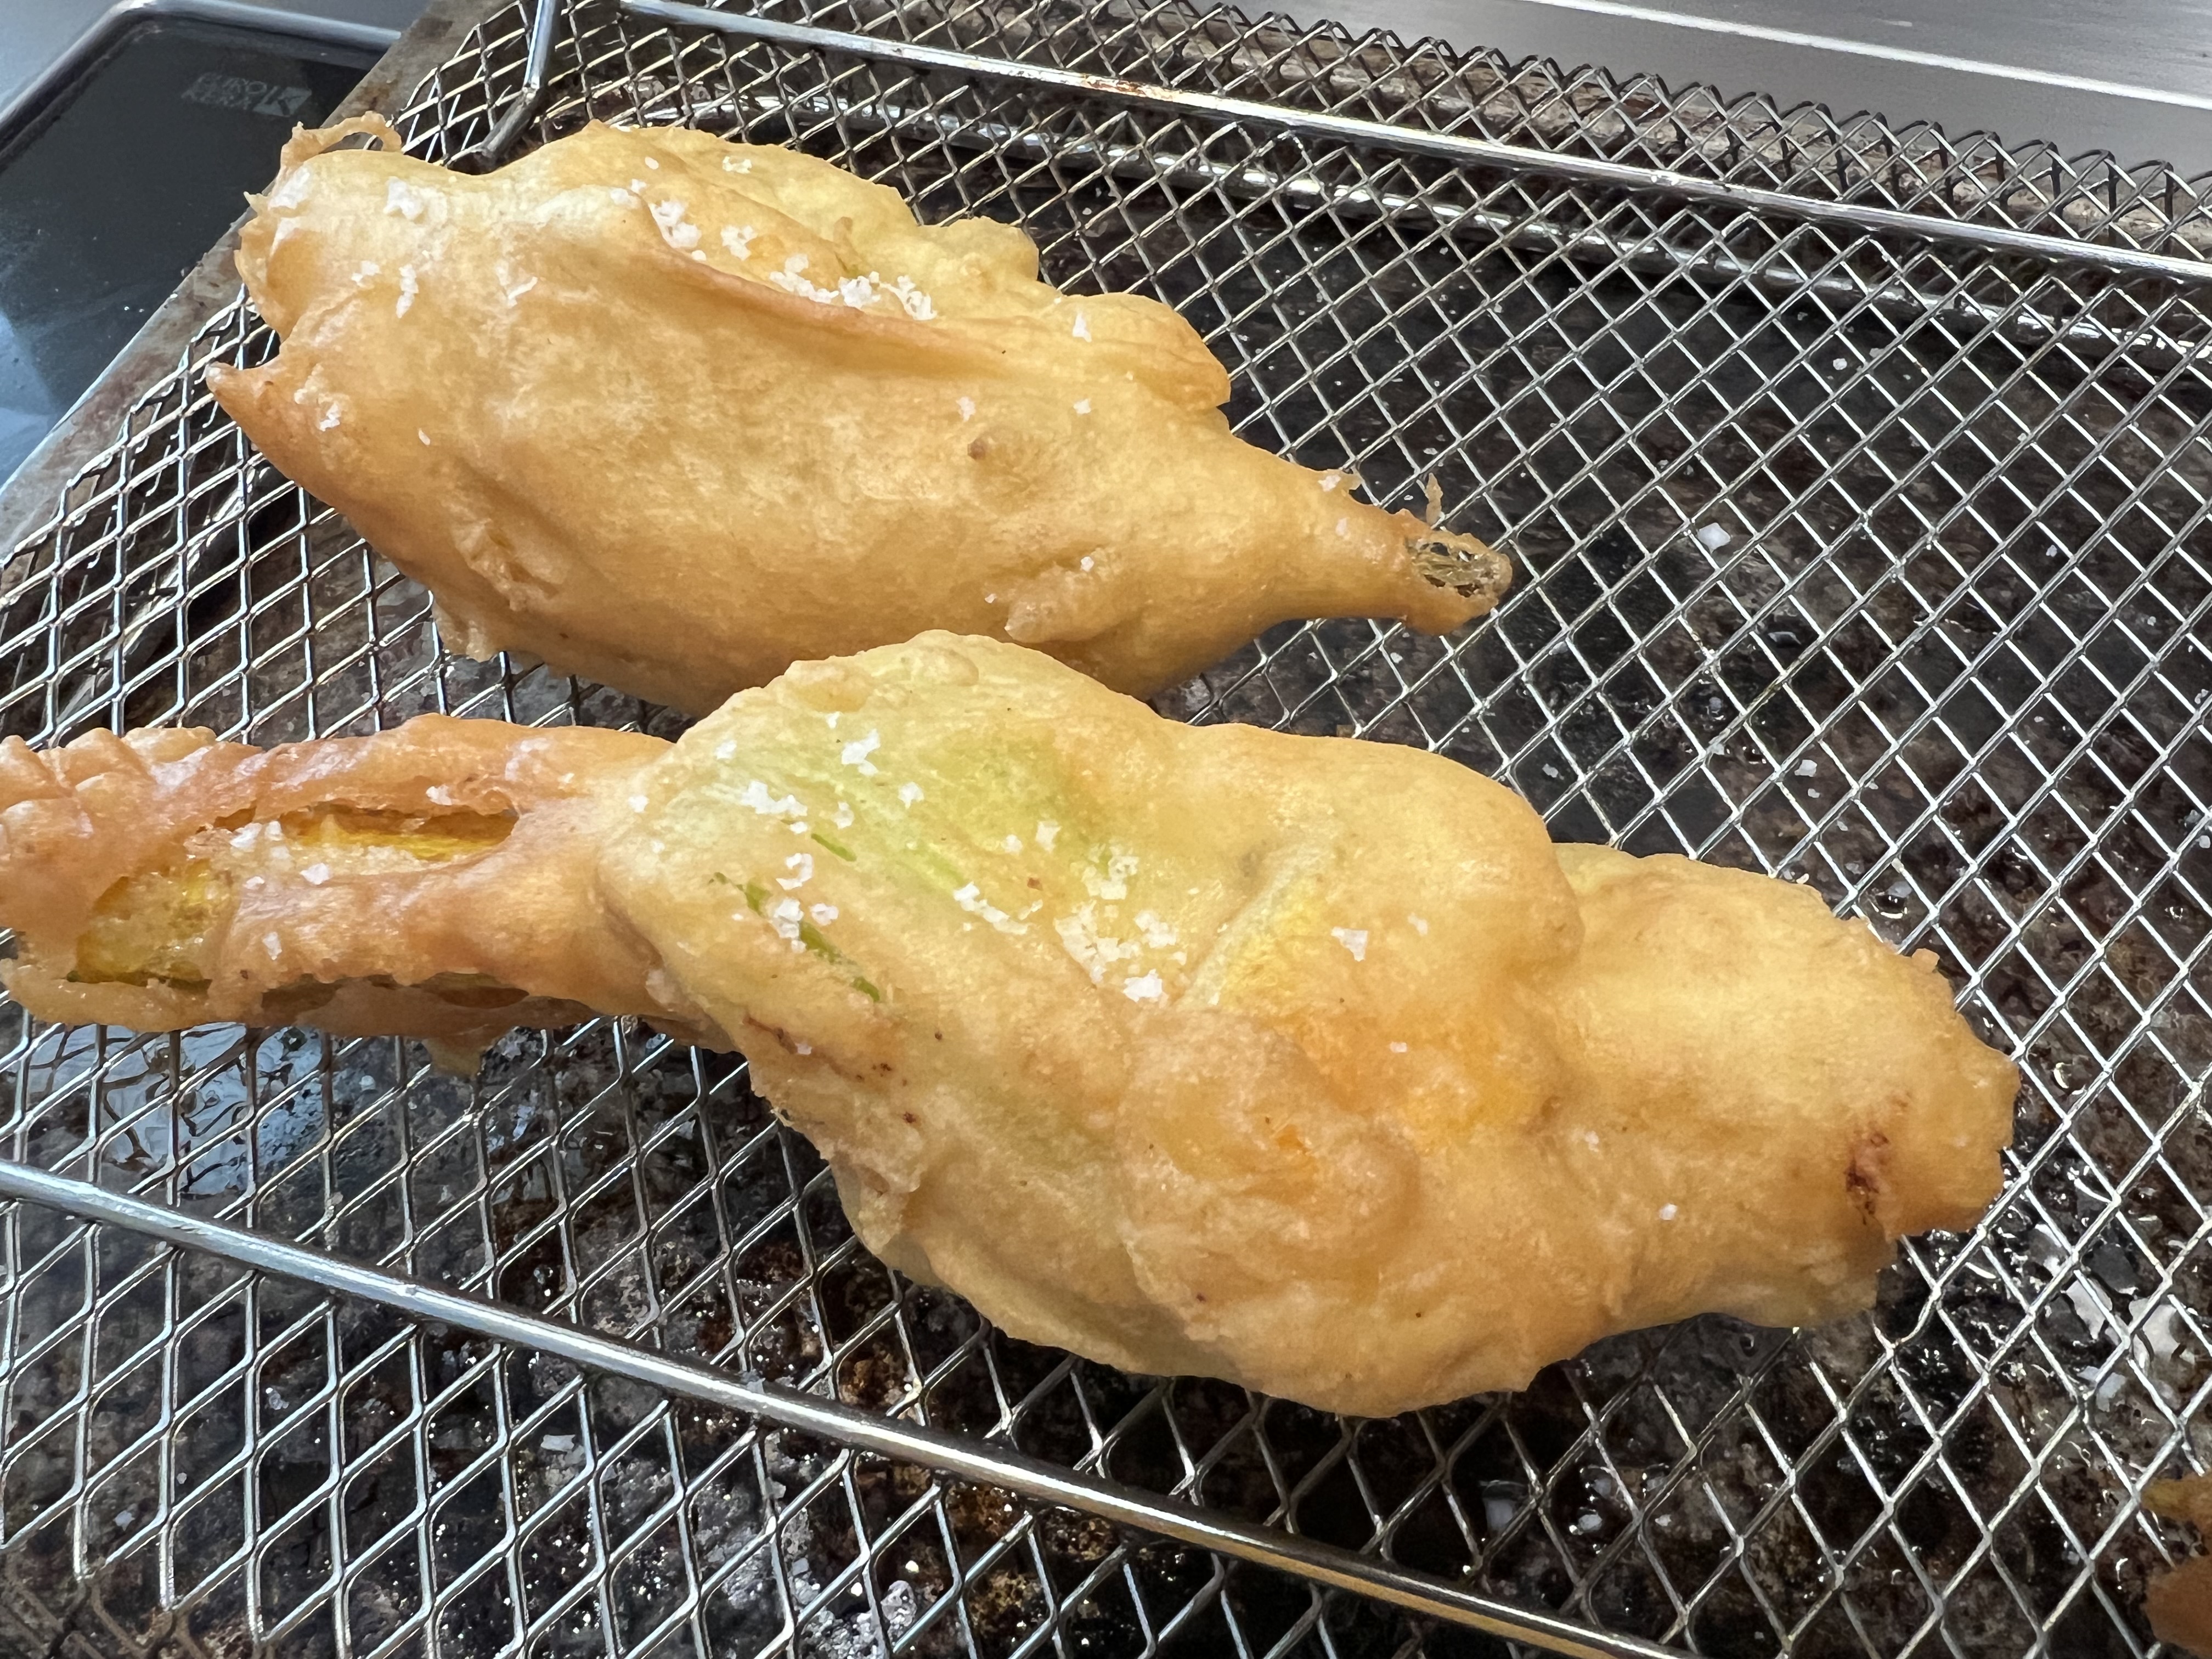
Fry them until they’re golden, placing them on a metal rack to cool and to let the oil drip off.

I prefer a deep fryer over a pan of oil.
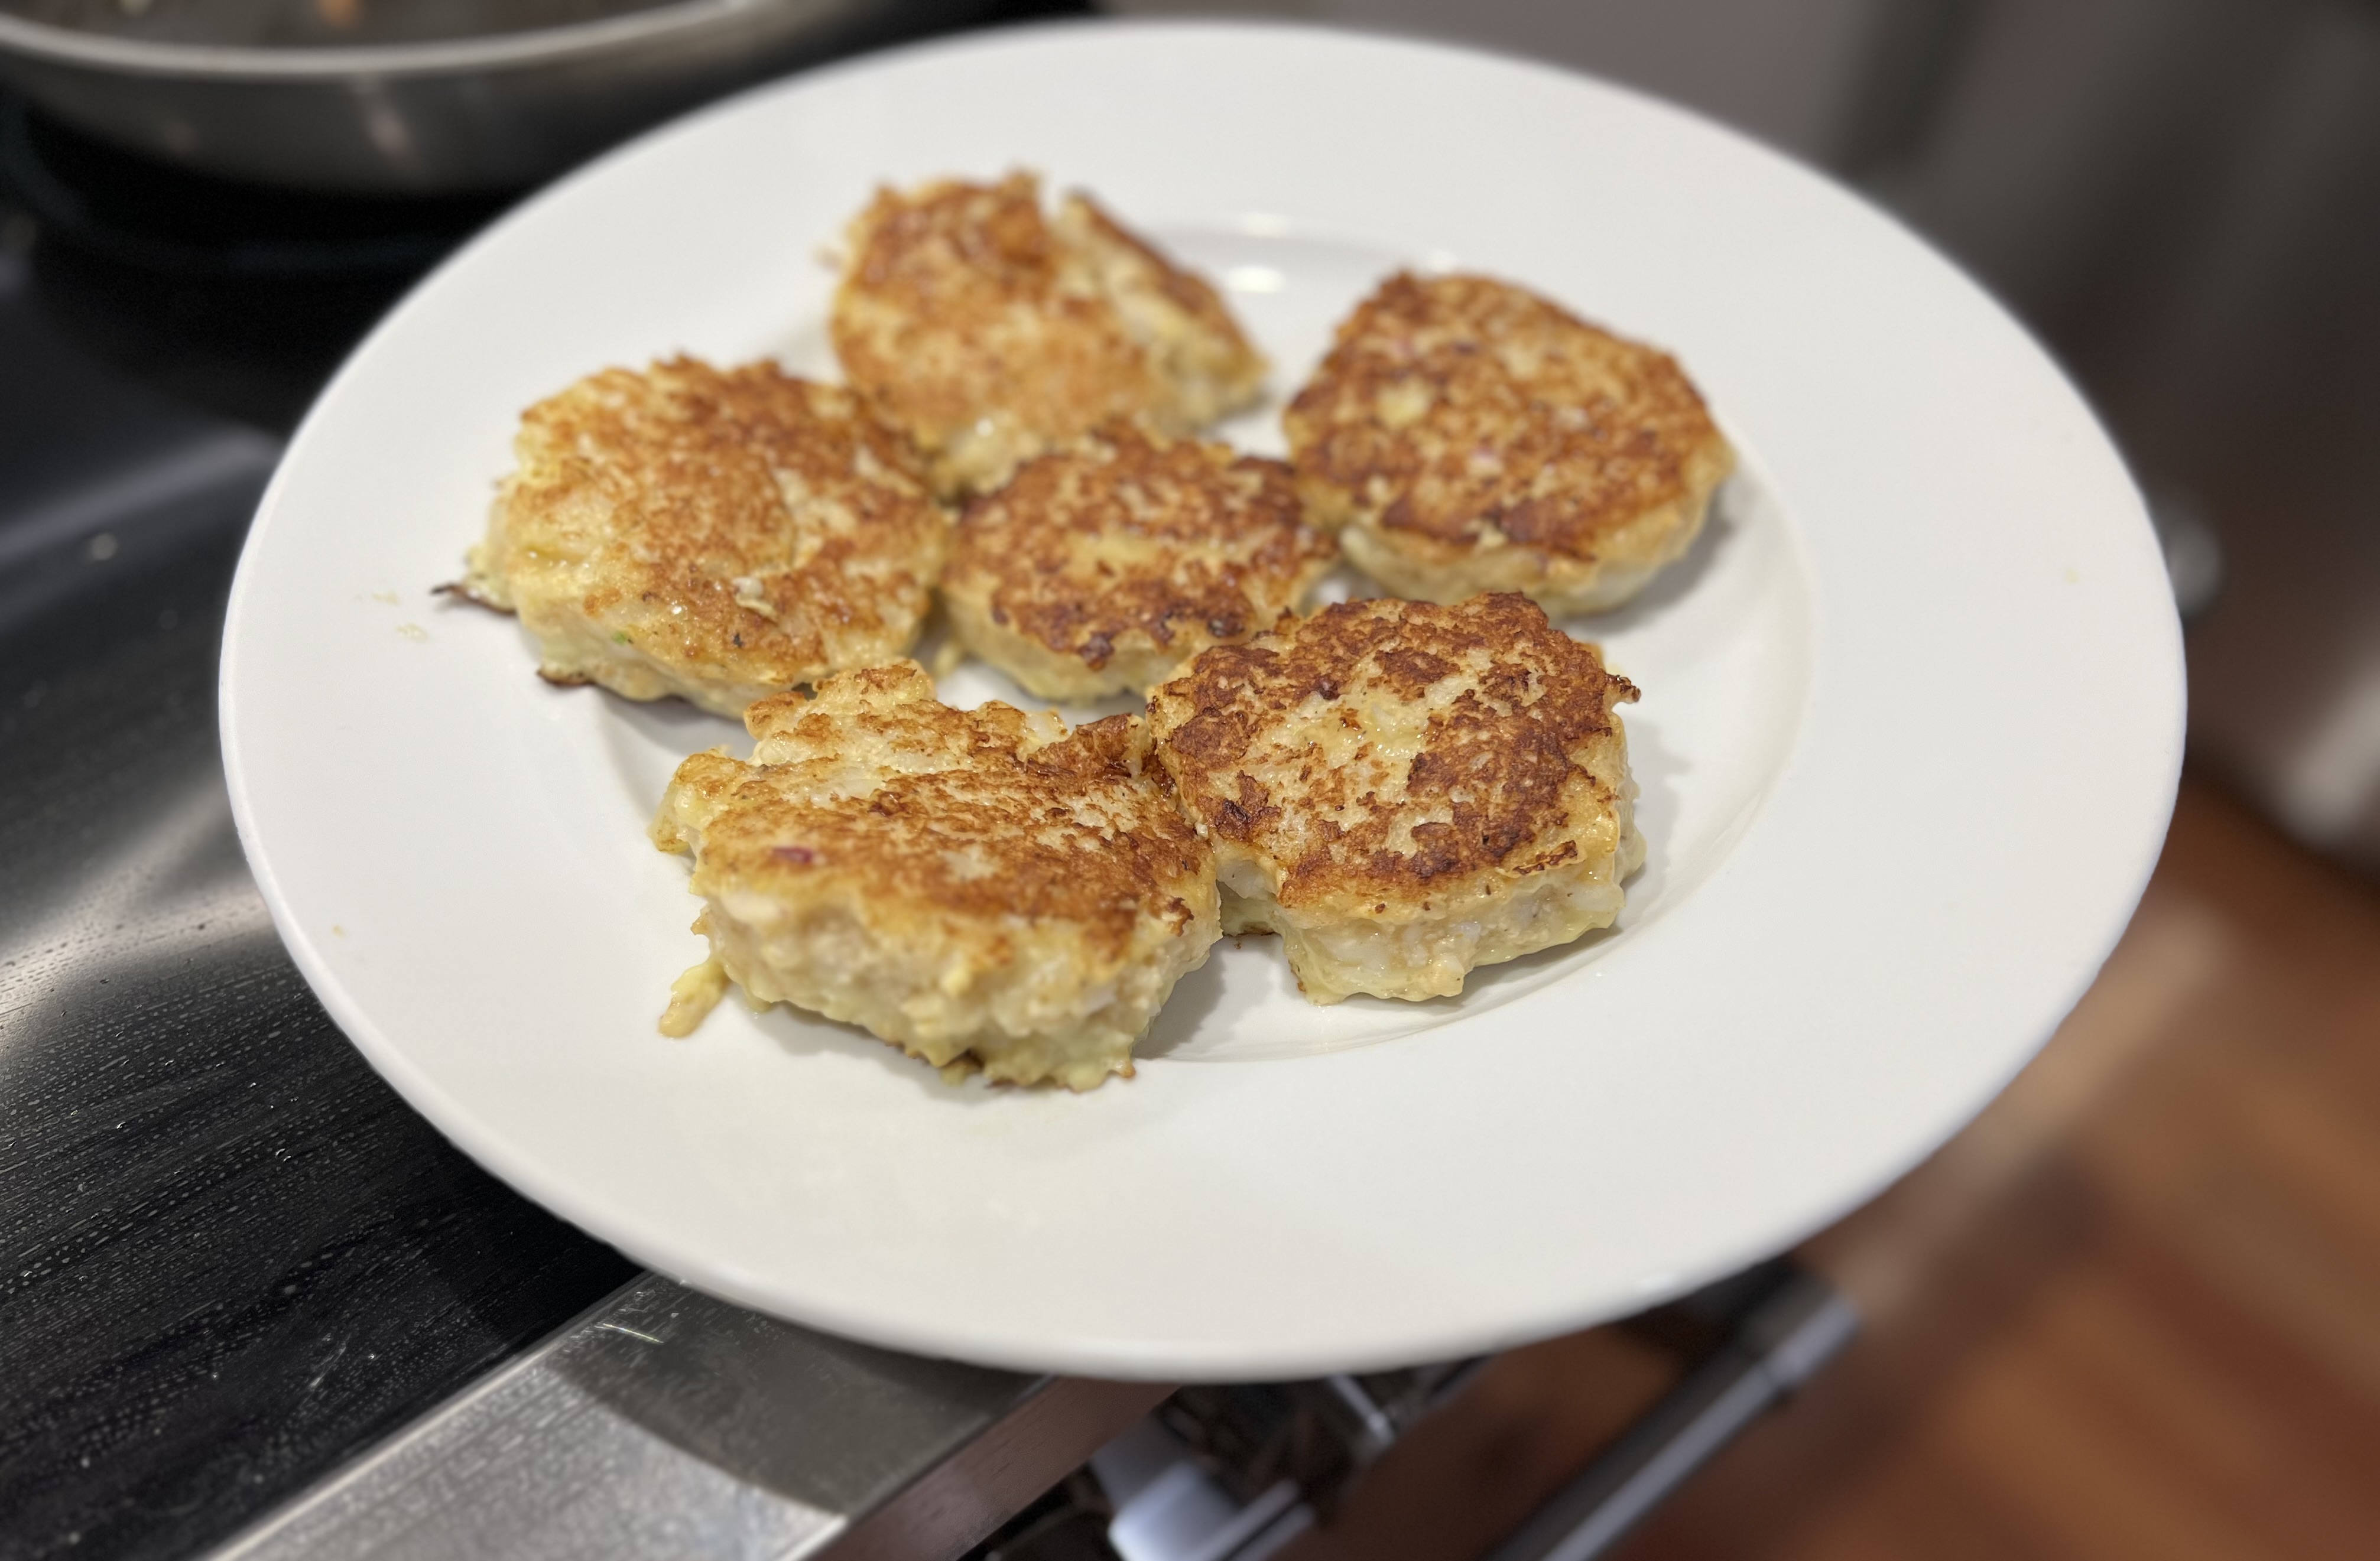
Season with salt while they’re hot!
They’re delicious by themselves or with a little marinara sauce on the side.