Posts Tagged ‘desserts’

Happy new year! If you’re not dieting, this is a great way to start the new year! 😆

This recipe is not only delicious, but it results in a perfectly cooked cheesecake with no cracking.

One of the keys to a great cheesecake right is placing it in a water bath while baking. But if the springform pan allows water in (and they all do), it creates problems. The solution is to foil-wrap the springform pan really well.

But first, the crust…

1-1/2 cups graham cracker crumbs, from 12 whole crackers
5 tablespoons unsalted butter, melted
2 tablespoons sugar
1/8 teaspoon salt

Preheat the oven to 375° and set an oven rack in the lower middle position.

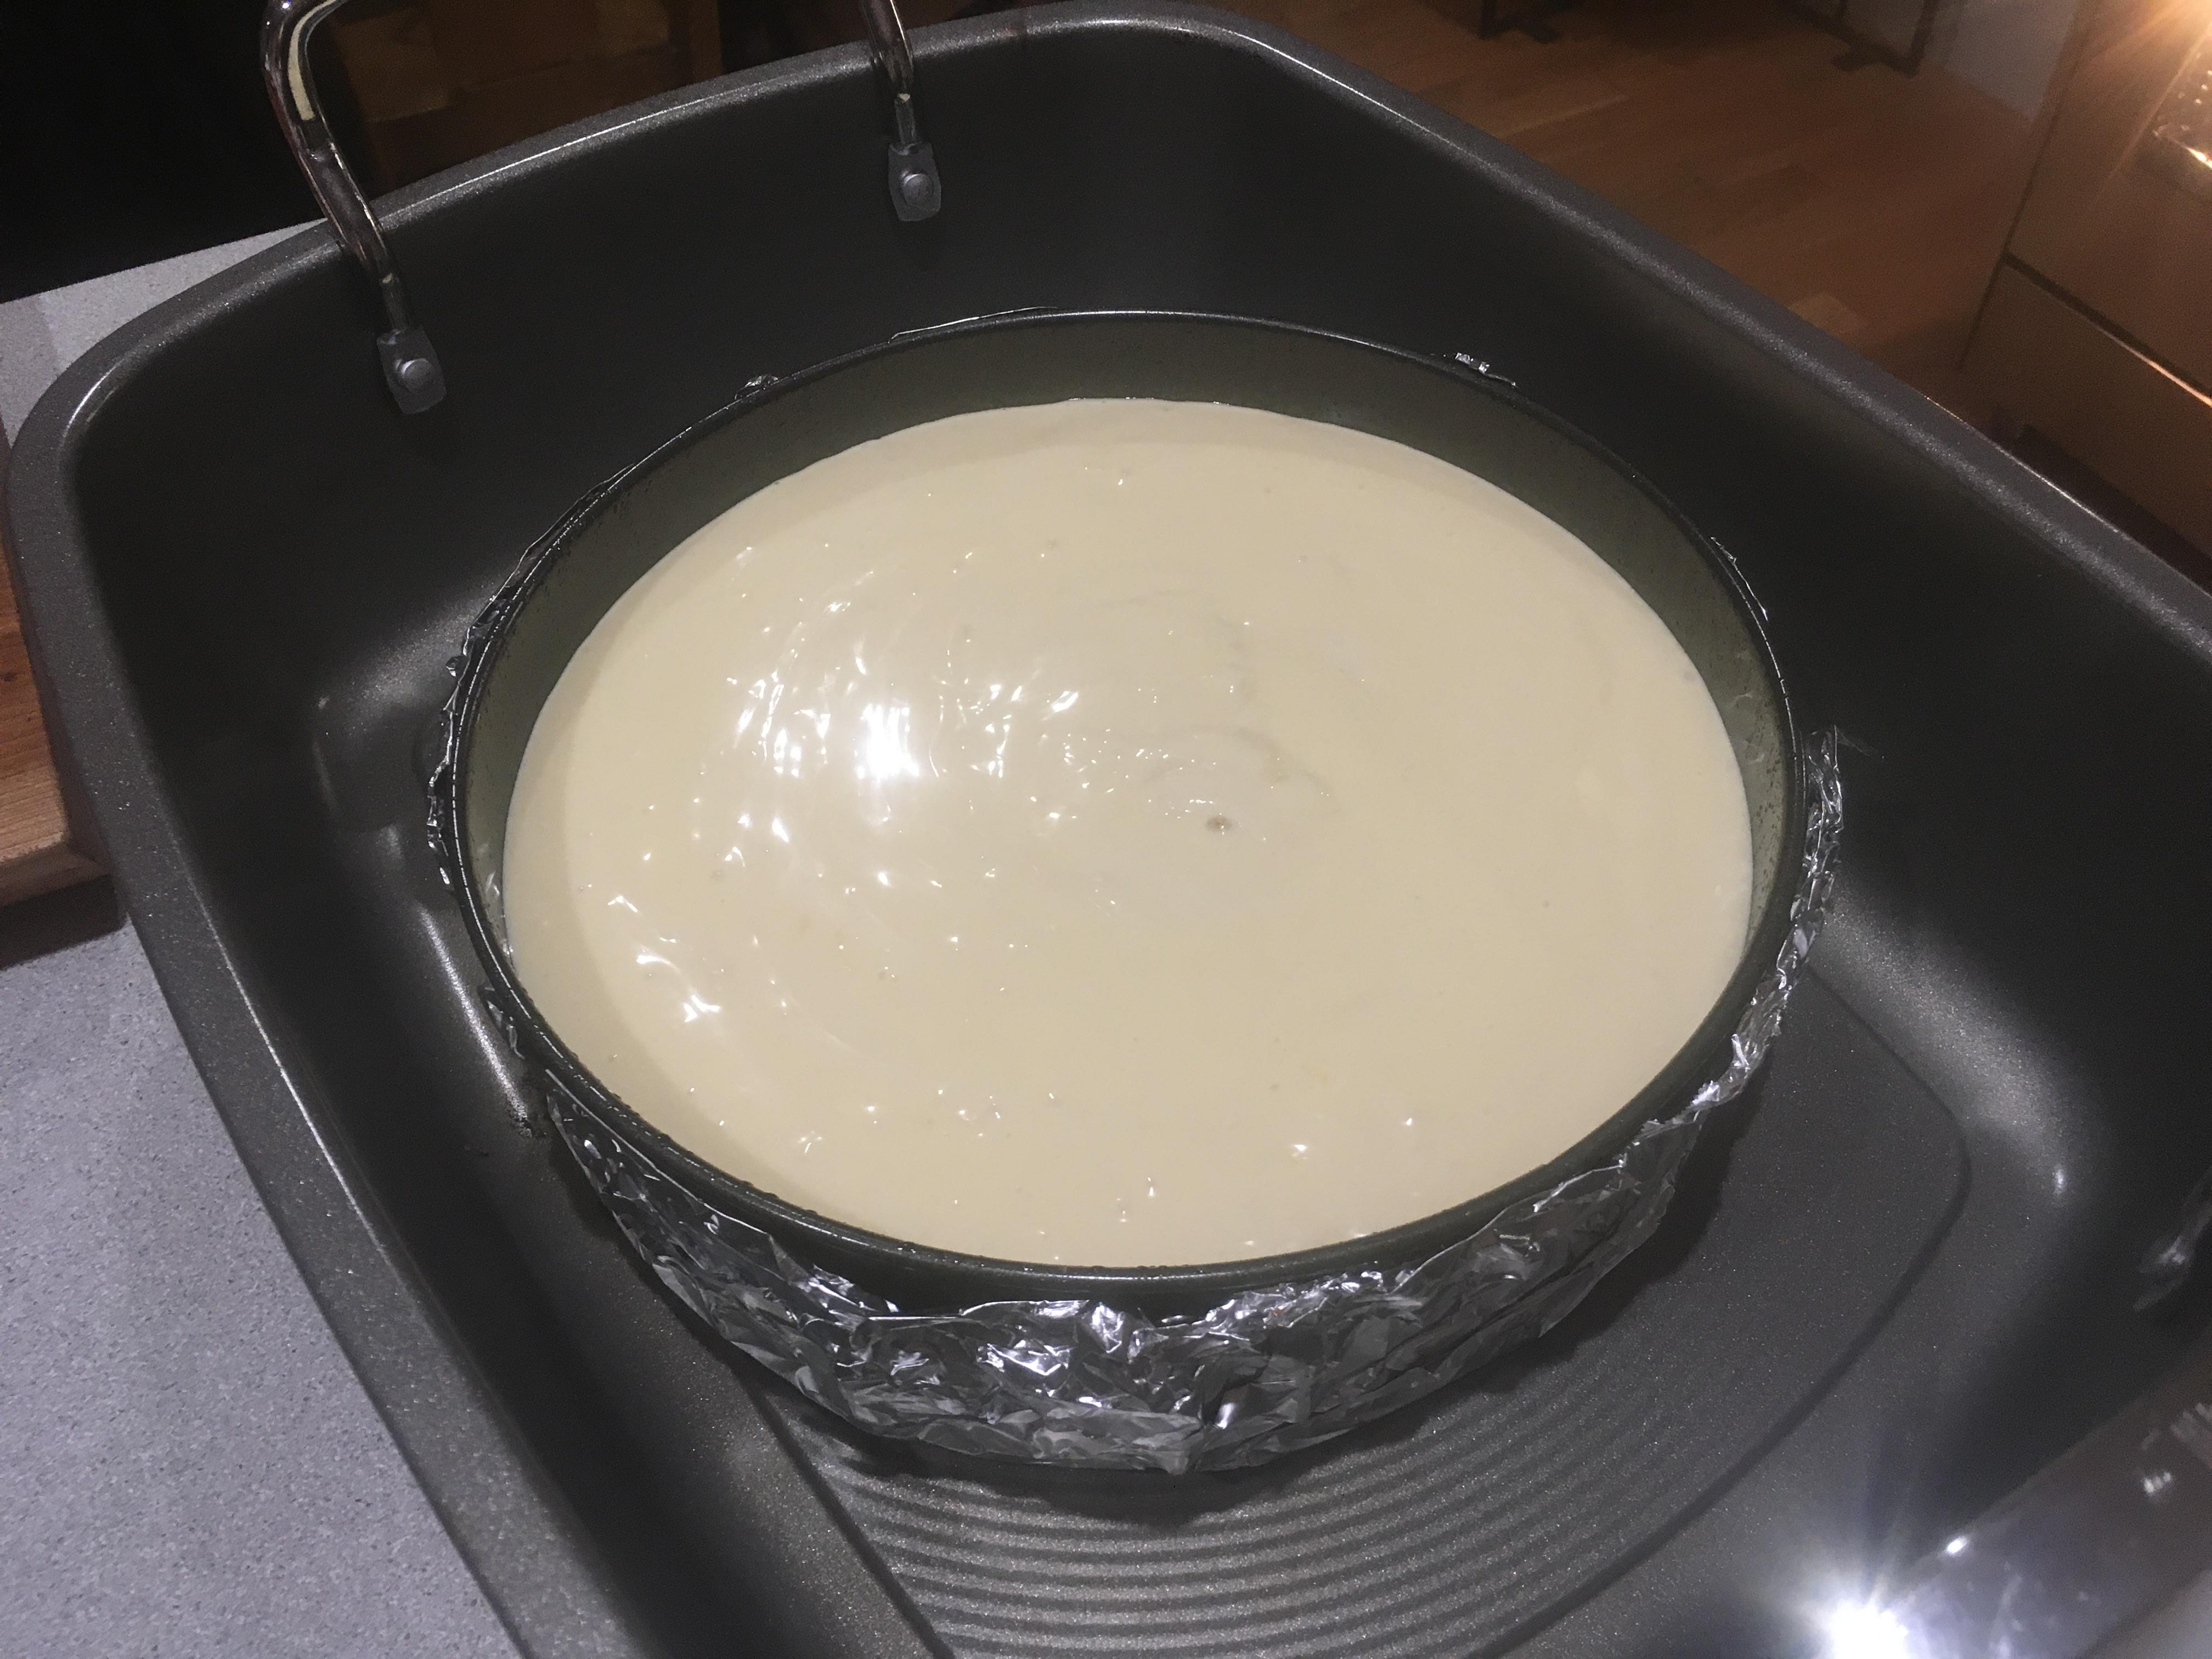
Here’s the crucial part: Wrap a 9- or 10-inch springform pan with one large piece of heavy-duty aluminum foil, covering the underside and extending all the way to the top so there are no seams on the bottom or sides of the pan. Just to make sure, repeat this process with another sheet of foil for insurance. This keeps the water bath out of your cheesecake, so do a thorough job of it!

Then spray the inside of the pan with nonstick cooking spray.

In a medium bowl, combine the graham cracker crumbs, melted butter, sugar, and salt. Stir until it’s well combined. Press the crumbs into an even layer on the the bottom of the prepared pan. Bake the crust for 10 minutes, until set. Remove the pan from the oven and set it aside.


32 oz. (four 8-oz. blocks) cream cheese, at room temperature
2 cups sugar 
3 tablespoons all-purpose flour
4 teaspoons vanilla extract
1 teaspoon packed lemon zest, from 1 lemon
2 teaspoons fresh lemon juice, from 1 lemon 
1/4 teaspoon salt
6 large eggs 
1/2 cup sour cream


Reduce the oven temperature to 325°F. Boil some water.

In the bowl of an electric mixer fitted with the paddle attachment, beat the cream cheese, sugar, and flour together on medium speed until just smooth, about 1 minute. Scrape the bottom and sides of the bowl to be sure the mixture is evenly combined.

Add the vanilla, lemon zest, lemon juice, and salt. Beat on low speed until it’s all just combined. Add the eggs, one at a time, mixing on low speed until incorporated, scraping the bowl as necessary. Mix in the sour cream. Make sure the batter is uniform but don’t over-mix it.

By now, the oven should be cooled to 325°.

Set the cheesecake pan in a large roasting pan. Pour the batter on top of the crust. Pour the boiling water into the large roasting pan to come about 1 inch up the side of the cake pan.

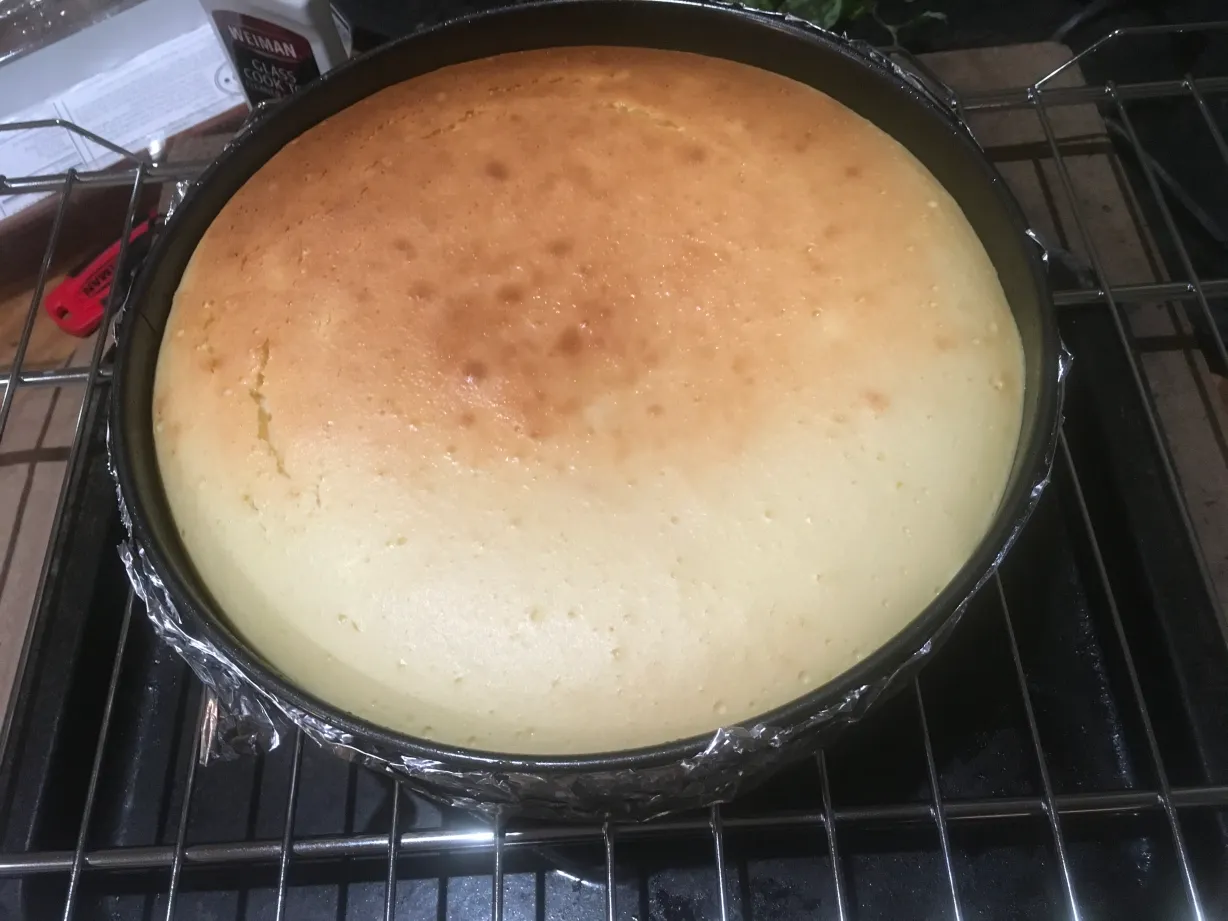
Bake until the cake is just set, 1 hour and 30 minutes to 1 hour and 45 minutes (the cake should wobble just a bit when the pan is nudged). Remember: the cake will continue to cook outside of the oven before it cools!

Carefully remove the roasting pan from the oven and set it on a wire rack. Cool the cheesecake in the water bath until the water is just warm, about 45 minutes.

Remove the springform pan from the water bath and discard the foil. If necessary, run a thin-bladed knife around the edge of the cake to make sure it’s not sticking to the sides (which can cause cracks as it cools), then cover it with plastic wrap and put it in the fridge to cool for at least 8 hours or overnight.

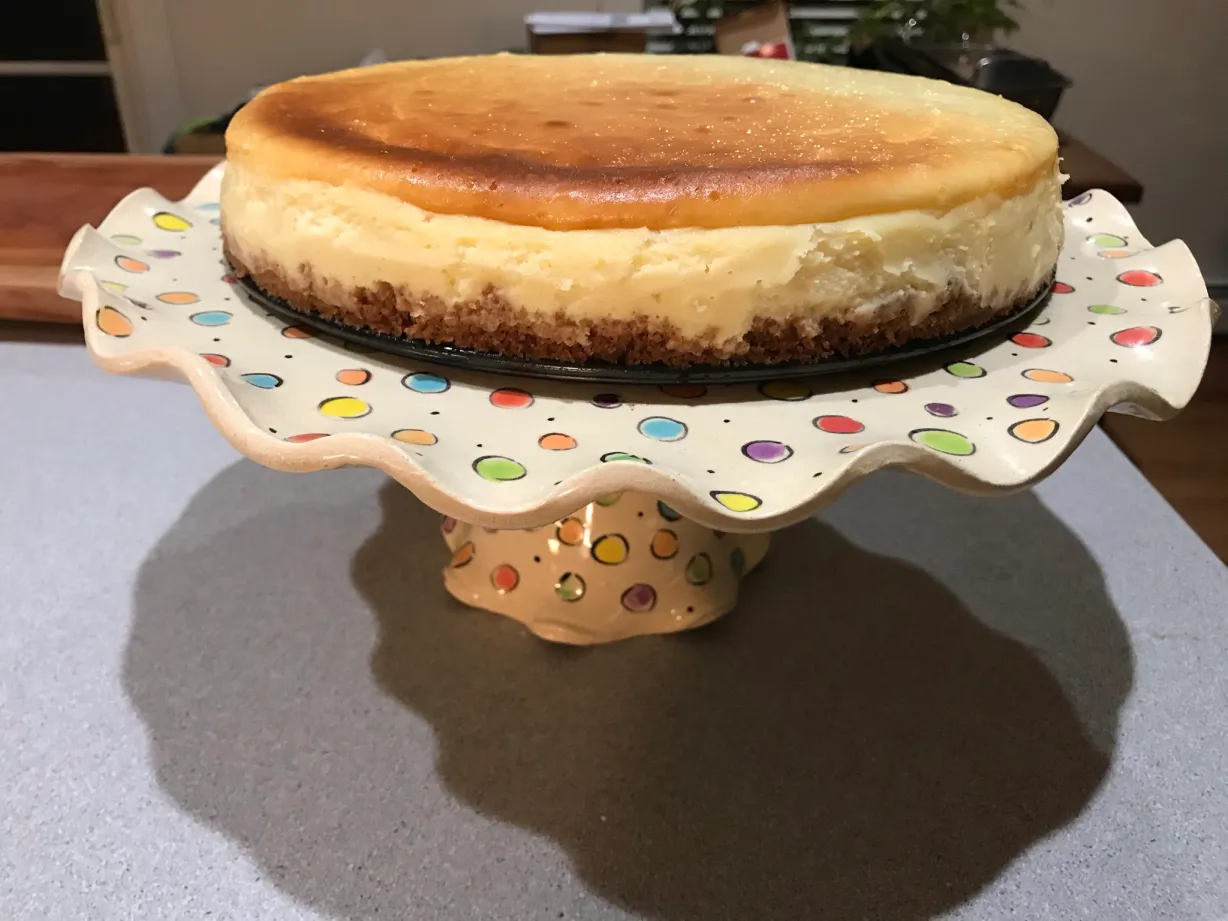
After 8 hours, remove the sides of the springform pan. I like to serve the cheesecake right from the base of the pan. I’ve found that trying to remove the pan base only messes up the crust.

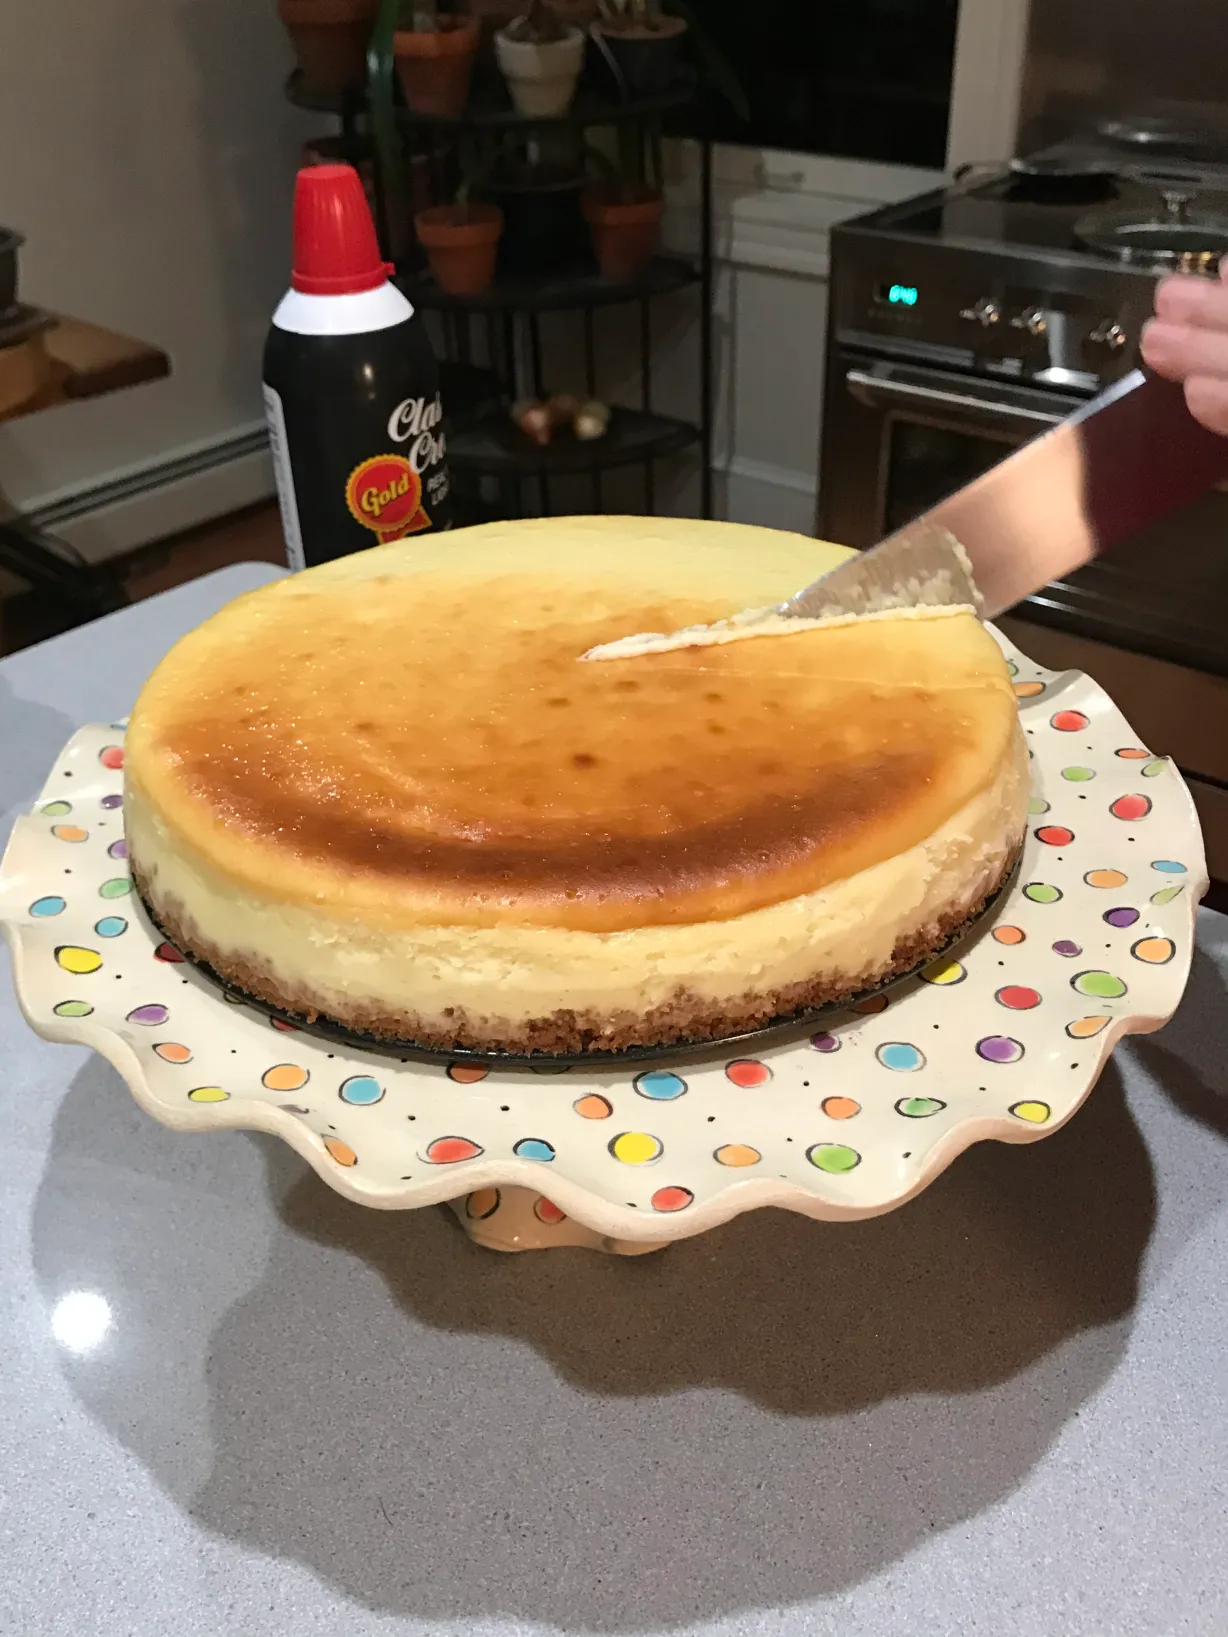
The secret to slicing beautiful pieces of cheesecake is to slice with a sharp knife, rinsing it in warm water and wiping it dry between every slice. 

AN UPDATE: I recently tried this recipe again, only to realize at the last minute that I lost my springform pan when I moved a year ago! All I had was a (relatively new, non-stick) baking pan, so I figured I’d give it a try. I knew my ingredients would taste good. I just didn’t know if I’d be able to get the cheesecake out of the pan!

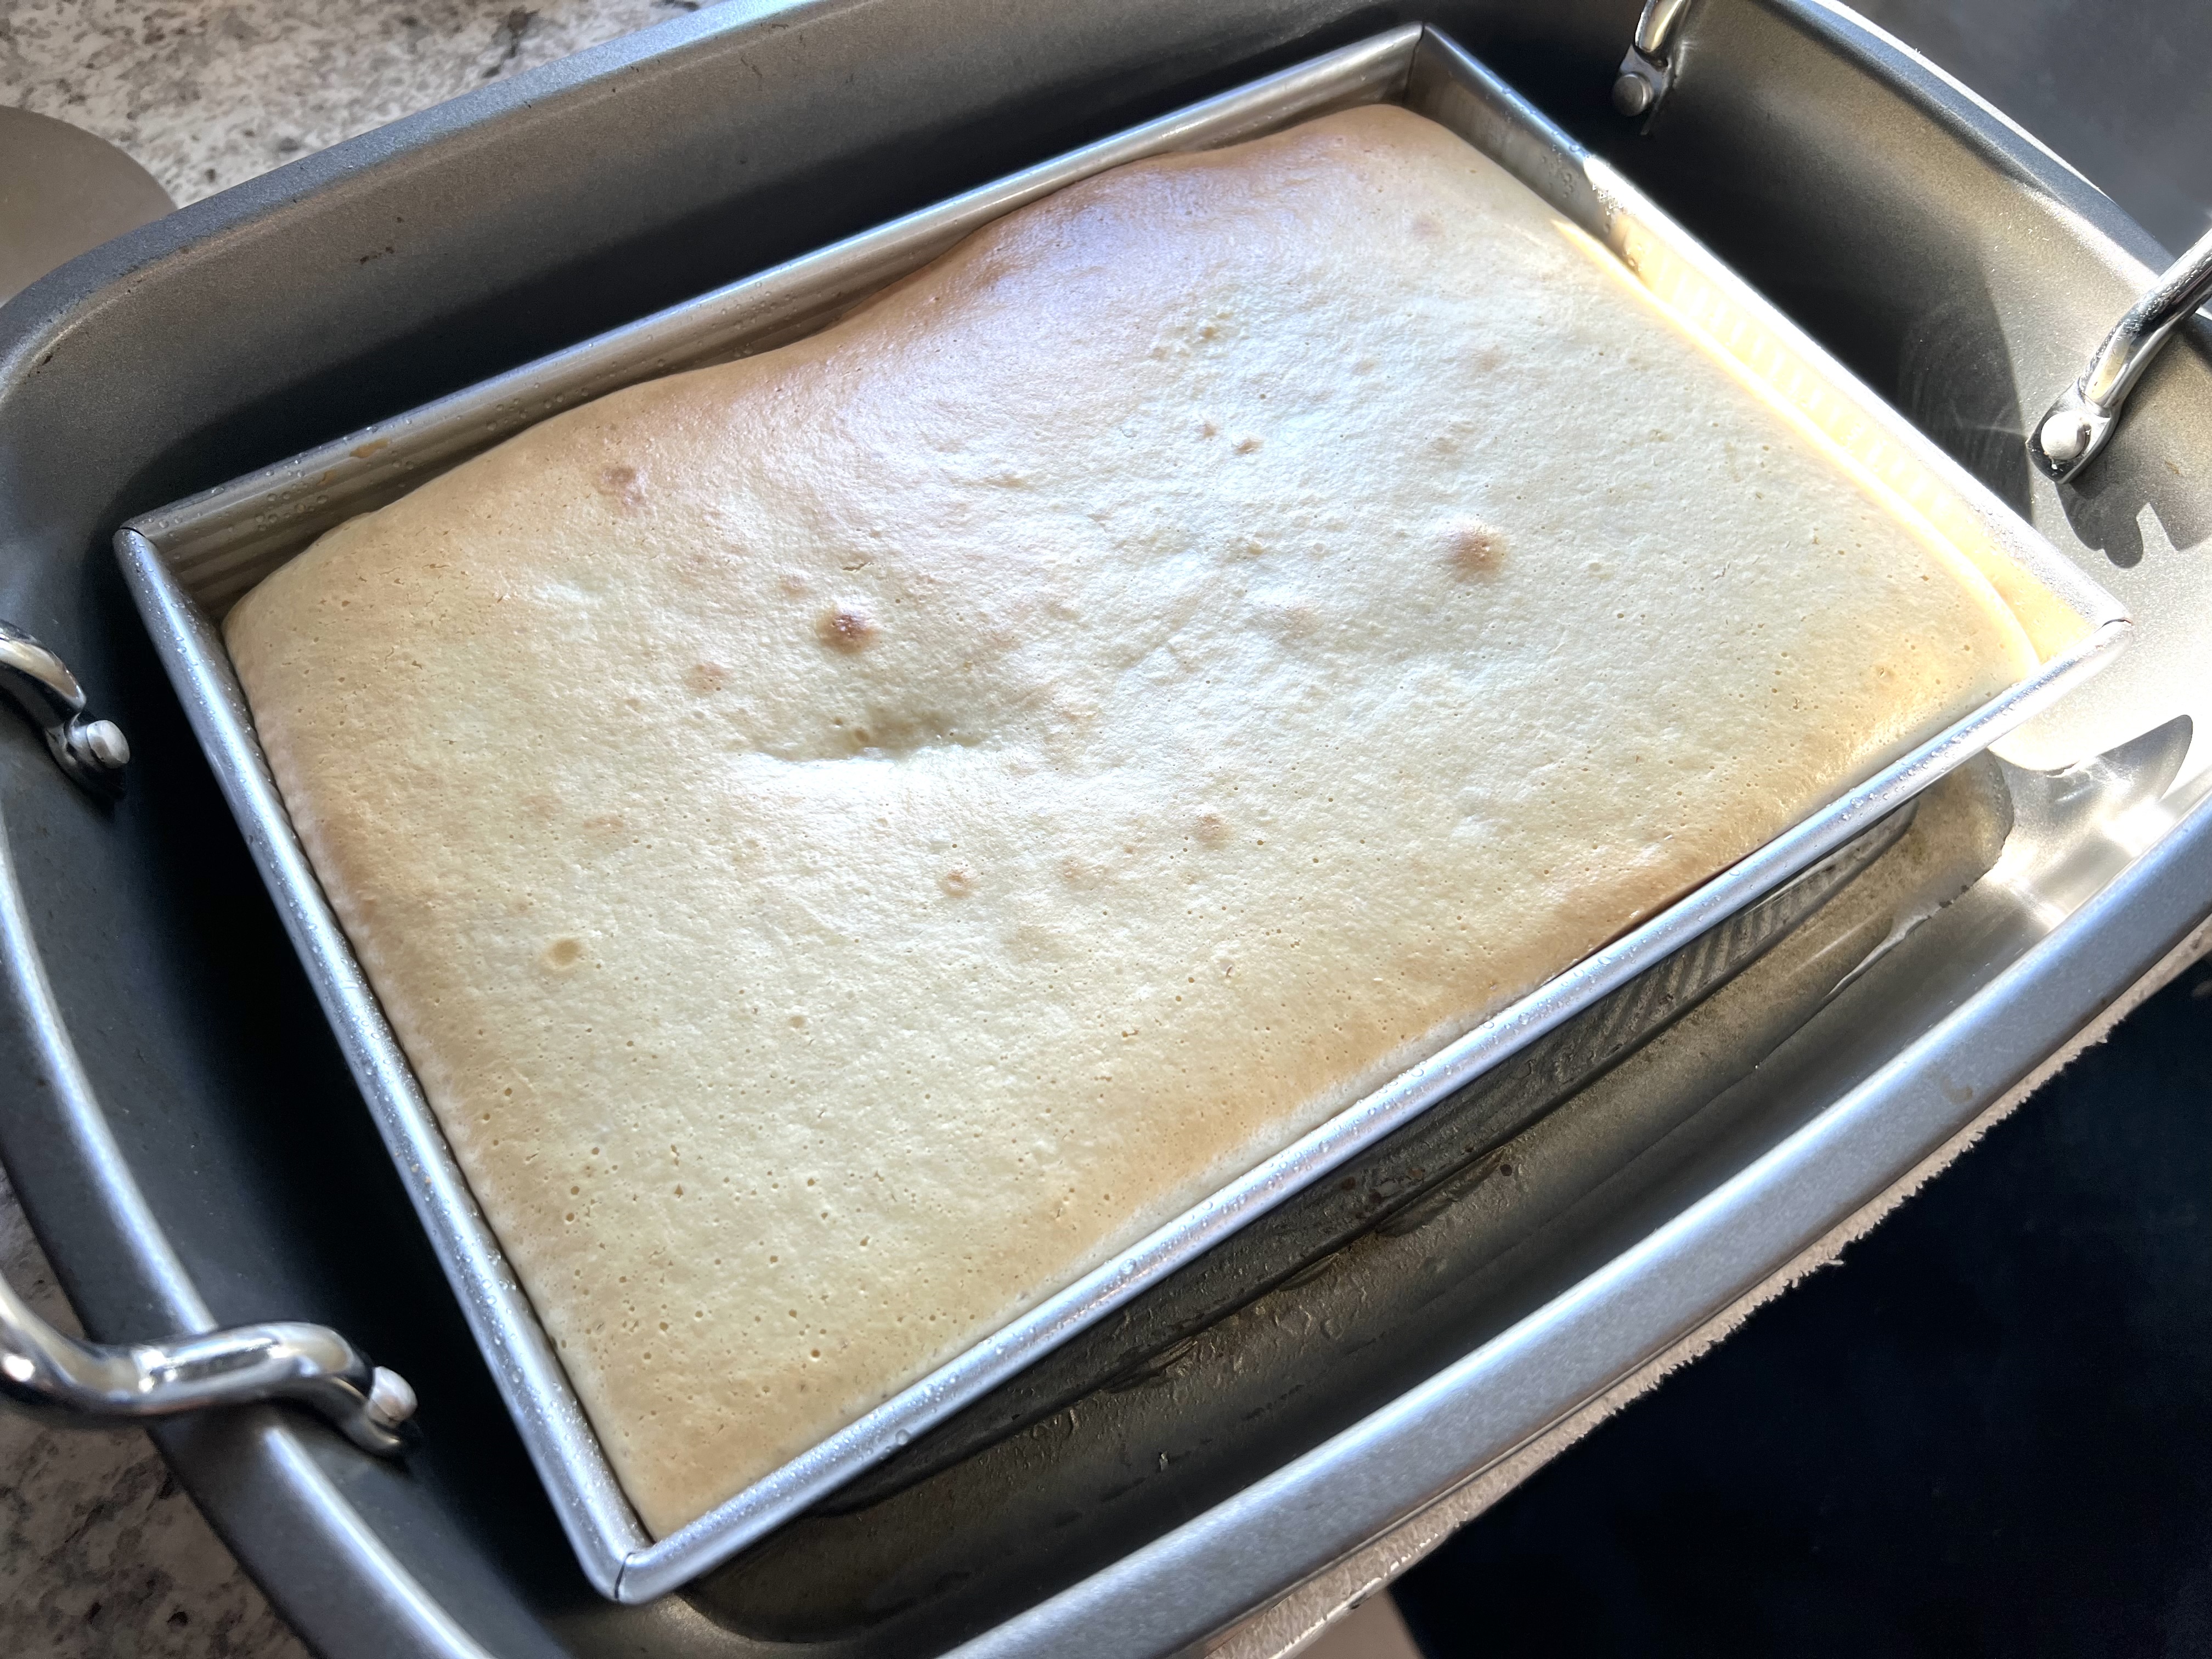
The good news is: it cooked properly and tasted great!

The bad news is: it was a bit messy slicing it and removing it cleanly from the baking pan.

But baking a cheesecake without a springform pan can be done!

Generally speaking, I’m not a fan of many gluten-free desserts or snacks. Gluten-free food isn’t any healthier than a food that contains wheat. It’s just that some people are allergic to gluten–it’s as simple as that.

That being said, this brownie/cake combo is full of great flavor, thanks to ground hazelnuts.

When buying hazelnuts, remember that you want raw nuts. Try to get the best quality you can find. No surprise: Amazon is a great source for that.


image


9 oz. ground hazelnuts
5 1/2 oz. (2/3 cup) sugar
4 oz. (1 stick) unsalted butter
4 eggs
1 oz. cocoa powder
1 tablespoon baking powder


A double-batch bakes a bundt pan perfectly. Make extra: it freezes well!

A double-batch bakes a bundt pan perfectly. Make extra: it freezes well!


Pre-heat the oven to 350.

Pour the hazelnuts into a food processor and grind them as fine as you can. It won’t be powdery, like flour, but like tiny particles. Dump them into a separate bowl.

Back in the food processor bowl, add the sugar and butter and pulse until combined.  Crack the eggs in a separate bowl, and add them slowly to the sugar and butter, pulsing to mix in between each addition.

Pour the ground hazelnuts into the mixture a little at a time, pulsing after each addition. Add the cocoa powder and baking powder, straining them through a sieve to keep out lumps, and pulse again. Scrape down the sides of the bowl and give it all one last mix.

Pour the batter into a buttered pan and bake at 350 for 30 minutes. The brownies will rise as they bake, so make sure your pan is deep enough to accommodate the dough rising as it cooks. Otherwise, you’ll get a brownie overflow!

Generally speaking, I’m not a fan of many gluten-free desserts or snacks, because they claim to be healthy by avoiding wheat, then compensate for the lack of flavor and texture by overloading with bad fats, salt and sugar. These brownies, which have more of a cake texture than a brownie, are the exception.


image

9 oz. ground hazelnuts
5 1/2 oz. (2/3 cup) sugar
8 oz. (1 stick) unsalted butter
4 eggs
1 oz. cocoa powder
1 tablespoon baking powder


If you’re using whole hazelnuts, pour them into the food processor and grind them into a powder. Pour the ground hazelnuts into a separate bowl.

Back in the food processor bowl, add the sugar and butter and pulse until combined.  Crack the eggs in a separate bowl, and add them slowly to the sugar and butter, pulsing to mix in between each addition.

Pour the ground hazelnuts into the mixture a little at a time, pulsing after each addition. Add the cocoa powder, straining  through a sieve to keep out lumps, and pulse again. Add the baking powder and pulse again. Scrape down the sides of the bowl and give it all one last mix.

Pour the batter into a buttered pan and cook at 350 for 30 minutes. Use a deeper pan so that the brownies don’t overflow as they rise while baking.


Generally speaking, I’m not a fan of many gluten-free desserts or snacks. They claim to be healthy by avoiding wheat, but then compensate for the lack of flavor and texture by overloading with bad fats, salt and sugar. This brownie/cake combo is the exception. It’s full of great flavor, which make me happy, and is gluten-free thanks to ground hazelnuts, which makes my wife (on a GF diet) happy.

When buying hazelnuts, the most important thing to remember is that the nuts are raw and of the best quality you can find. No surprise: Amazon is a great source for that.

image

9 oz. ground hazelnuts
5 1/2 oz. (2/3 cup) sugar
4 oz. (1 stick) unsalted butter
4 eggs
1 oz. cocoa powder
1 tablespoon baking powder

A double-batch bakes a bundt pan perfectly. Make extra: it freezes well!

A double-batch bakes a bundt pan perfectly. Make extra: it freezes well!


Pour the hazelnuts into a food processor and grind them as fine as you can. It won’t be powdery, like flour, but like tiny particles. Dump them into a separate bowl.

Back in the food processor bowl, add the sugar and butter and pulse until combined.  Crack the eggs in a separate bowl, and add them slowly to the sugar and butter, pulsing to mix in between each addition.

Pour the ground hazelnuts into the mixture a little at a time, pulsing after each addition. Add the cocoa powder and baking powder, straining them through a sieve to keep out lumps, and pulse again. Scrape down the sides of the bowl and give it all one last mix.

Pour the batter into a buttered pan and cook at 350 for 30 minutes. Use a deeper pan so that the brownies don’t overflow as they rise while baking.


Generally speaking, I’m not a fan of many gluten-free desserts or snacks, because they claim to be healthy by avoiding wheat, then compensate for the lack of flavor and texture by overloading with bad fats, salt and sugar. These brownies, which have more of a cake texture than a brownie, are the exception. Thanks to our friend, Linda, who brought these over one night, and got us addicted!

image

9 oz. ground hazelnuts
5 1/2 oz. (2/3 cup) sugar
8 oz. (1 stick) unsalted butter
4 eggs
1 oz. cocoa powder
1 tablespoon baking powder


If you’re using whole hazelnuts, pour them into the food processor and grind them into a powder. Pour the ground hazelnuts into a separate bowl.

Back in the food processor bowl, add the sugar and butter and pulse until combined.  Crack the eggs in a separate bowl, and add them slowly to the sugar and butter, pulsing to mix in between each addition.

Pour the ground hazelnuts into the mixture a little at a time, pulsing after each addition. Add the cocoa powder, straining  through a sieve to keep out lumps, and pulse again. Add the baking powder and  pulse again. Scrape down the sides of the bowl and give it all one last mix.

Pour into a buttered pan and cook at 350 for 30 minutes. Use a deeper pan so that the brownies don’t overflow as they rise while baking.