If you really want to impress your guests for the holidays, try curing your own salmon!
I love salmon in all forms. If it’s high quality wild-caught Alaskan salmon, I love it pan-sautéed, raw (as in sashimi), smoked, and cured.
The best smoked salmon uses the gentle process of cold smoking. It’s something that the average homeowner can’t really do successfully, so I simply buy cold-smoked salmon when I crave it. I’ve made hot-smoked salmon at home with some success, but the fish is so delicate, you really have to keep an eye on it. It takes no time for a juicy, perfectly smoked piece of salmon to turn into a dry, overcooked hockey puck.
Curing, which is how you get Gravlax, is really quite simple. You just need to have enough patience to wait a few days before you can eat it.
There are many gravlax recipes out there. Some use peppercorns, fennel, caraway, even Aquavit in the curing process. My opinion is: if you’ve got a beautiful piece of fish, why mask the flavor of it? I go with the simplest recipe possible, featuring just 3 ingredients that cure the salmon: salt, sugar and fresh dill.
The first step, of course, is to get the right piece of salmon. What you want is that beautiful, vibrant, orange wild-caught Alaskan or Pacific salmon that costs more than you thought you were going to spend. Wild-caught means the salmon has eaten the foods it loves, a balanced diet consisting of bugs, fish, shrimp, and small invertebrates. A natural diet gives the meat of the fish that beautiful color and incredible flavor. What the salmon eats is very important because you are eating the salmon! Wild-caught salmon is high in Omega-3’s…the good fats.

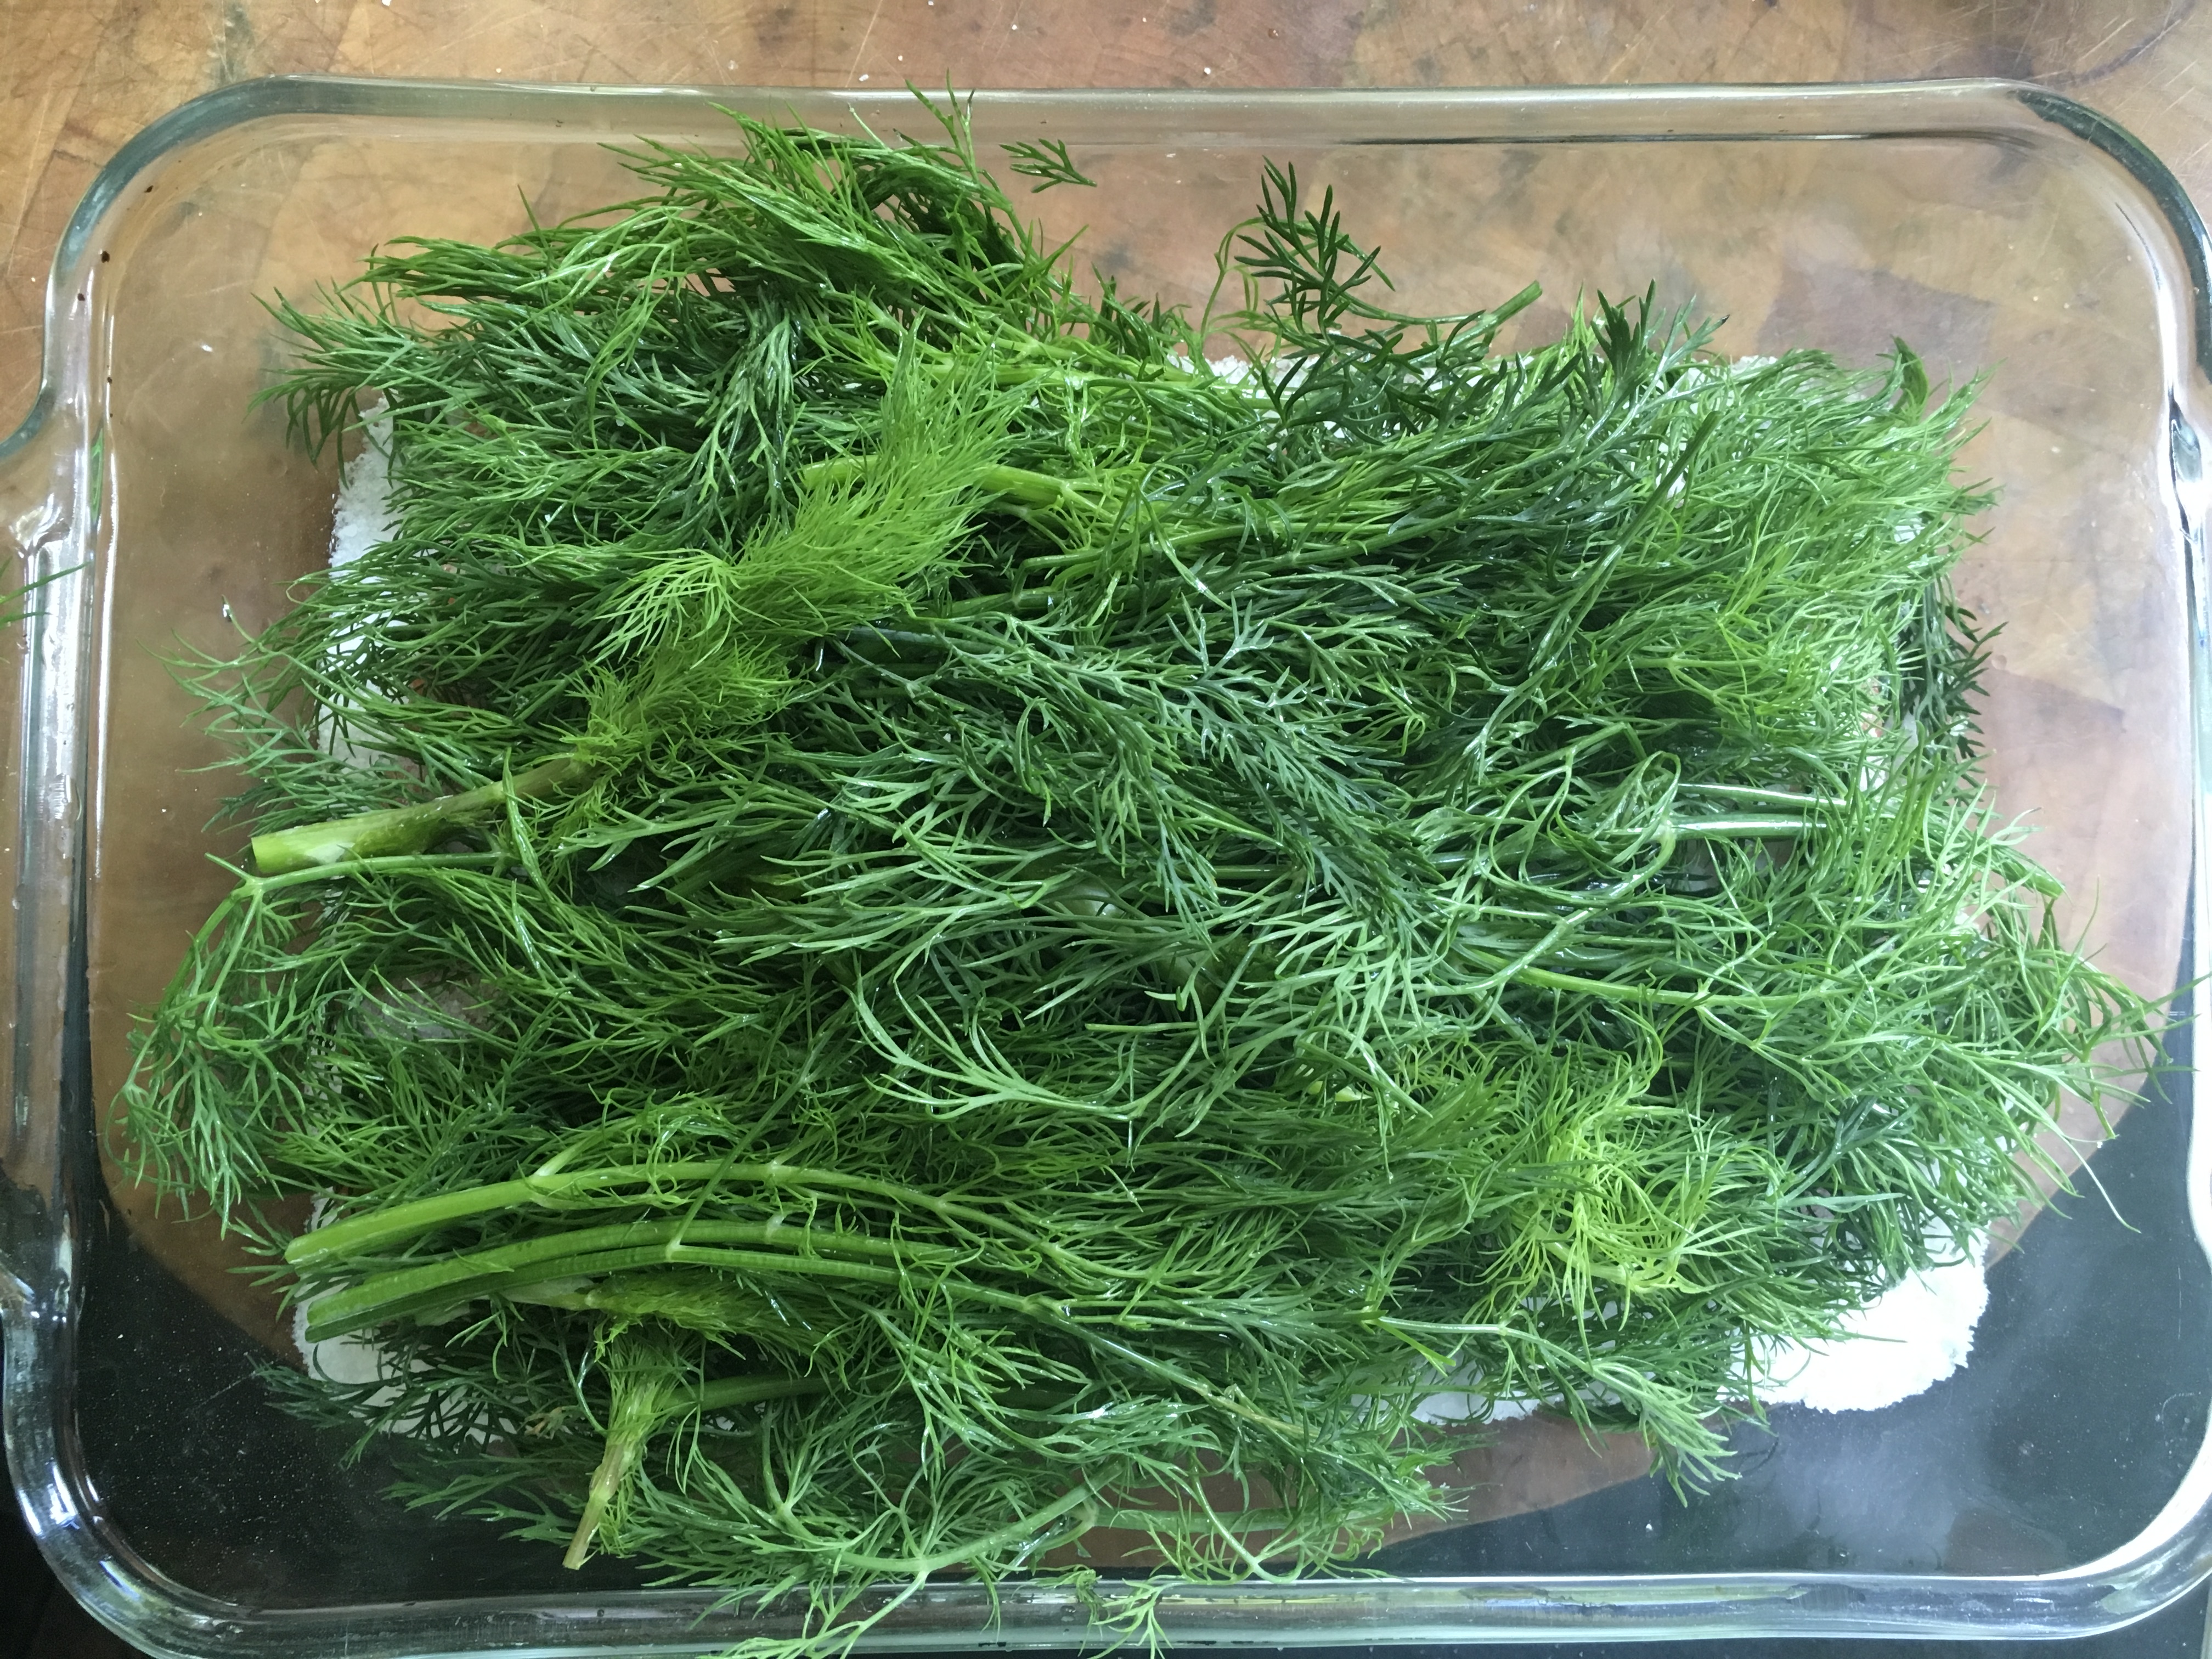
A beautiful piece of wild-caught salmon laying on a bed of the cure.
I avoid Atlantic salmon at all costs. Unfortunately, most restaurants on the east coast serve Atlantic salmon because it’s less expensive. There’s a reason for that. Atlantic salmon is farmed in the USA, Canada and Europe, which means the fish are kept in crowded underwater pens and are fed food pellets that contain a number of nutrients and additives. Often, farmed fish are treated to prevent sea lice, and are given antibiotics to prevent diseases caused by their tight living quarters. They’re also given pellets to color the meat orange, because the natural color of farmed salmon is actually an unappetizing gray. When you buy Atlantic salmon in the fish store, you can spot it a mile away, because it’s got that weird zebra-striped orange and white, with a tinge of gray, and its flavor is bland and lifeless. Farmed salmon is much lower in Omega-3’s.
If it doesn’t say wild-caught Alaskan or Pacific salmon, it isn’t!
Previously frozen vs. fresh fish matters less than where it came from and how it was raised.
2 lbs. wild-caught salmon, skin on, pin bones removed
1/3 cup (50g) Kosher salt (I use Diamond Crystal)
2/3 cup (160g) sugar
1 large bunch fresh dill, washed
If your fish monger hasn’t removed the pin bones from your salmon filet, you’ll need to get a pair of long-nose pliers and remove them. It’s not the worst thing in the world to leave them in there, but you really don’t want to be spitting bones out later.
The reason I mention that I use Diamond Crystal Kosher salt is because all Kosher salt does not weigh the same. Morton Kosher salt, for example, is much heavier by volume, so it weighs more even though you’re using the same cup measurement. In the case of Diamond Crystal, 1/3 cup weighs 50g. Same rules apply to the sugar. Go by the weight, not the cup measurement. This is really important point to keep in mind when you’re curing anything, fish or meat.
Get a non-reactive tray long enough to hold the salmon filet. I prefer glass.
Mix the salt and the sugar together, and sprinkle half of it evenly on the bottom of the tray. Lay the piece of salmon down on the cure, skin side down, and cover the top of the salmon with the rest of the cure evenly.
Lay the sprigs of dill on top of the cure, covering the entire piece of fish. It might look like overkill. It’s not.
Cover everything with several layers of plastic wrap, pushing it down and tucking it into the corners for a tight fit.

Find a flat board or something similar (I used a clear plastic tray) and lay it on top of the plastic wrap.

Add heavy weights on top to press down evenly on all surfaces. I used cans of tomatoes.
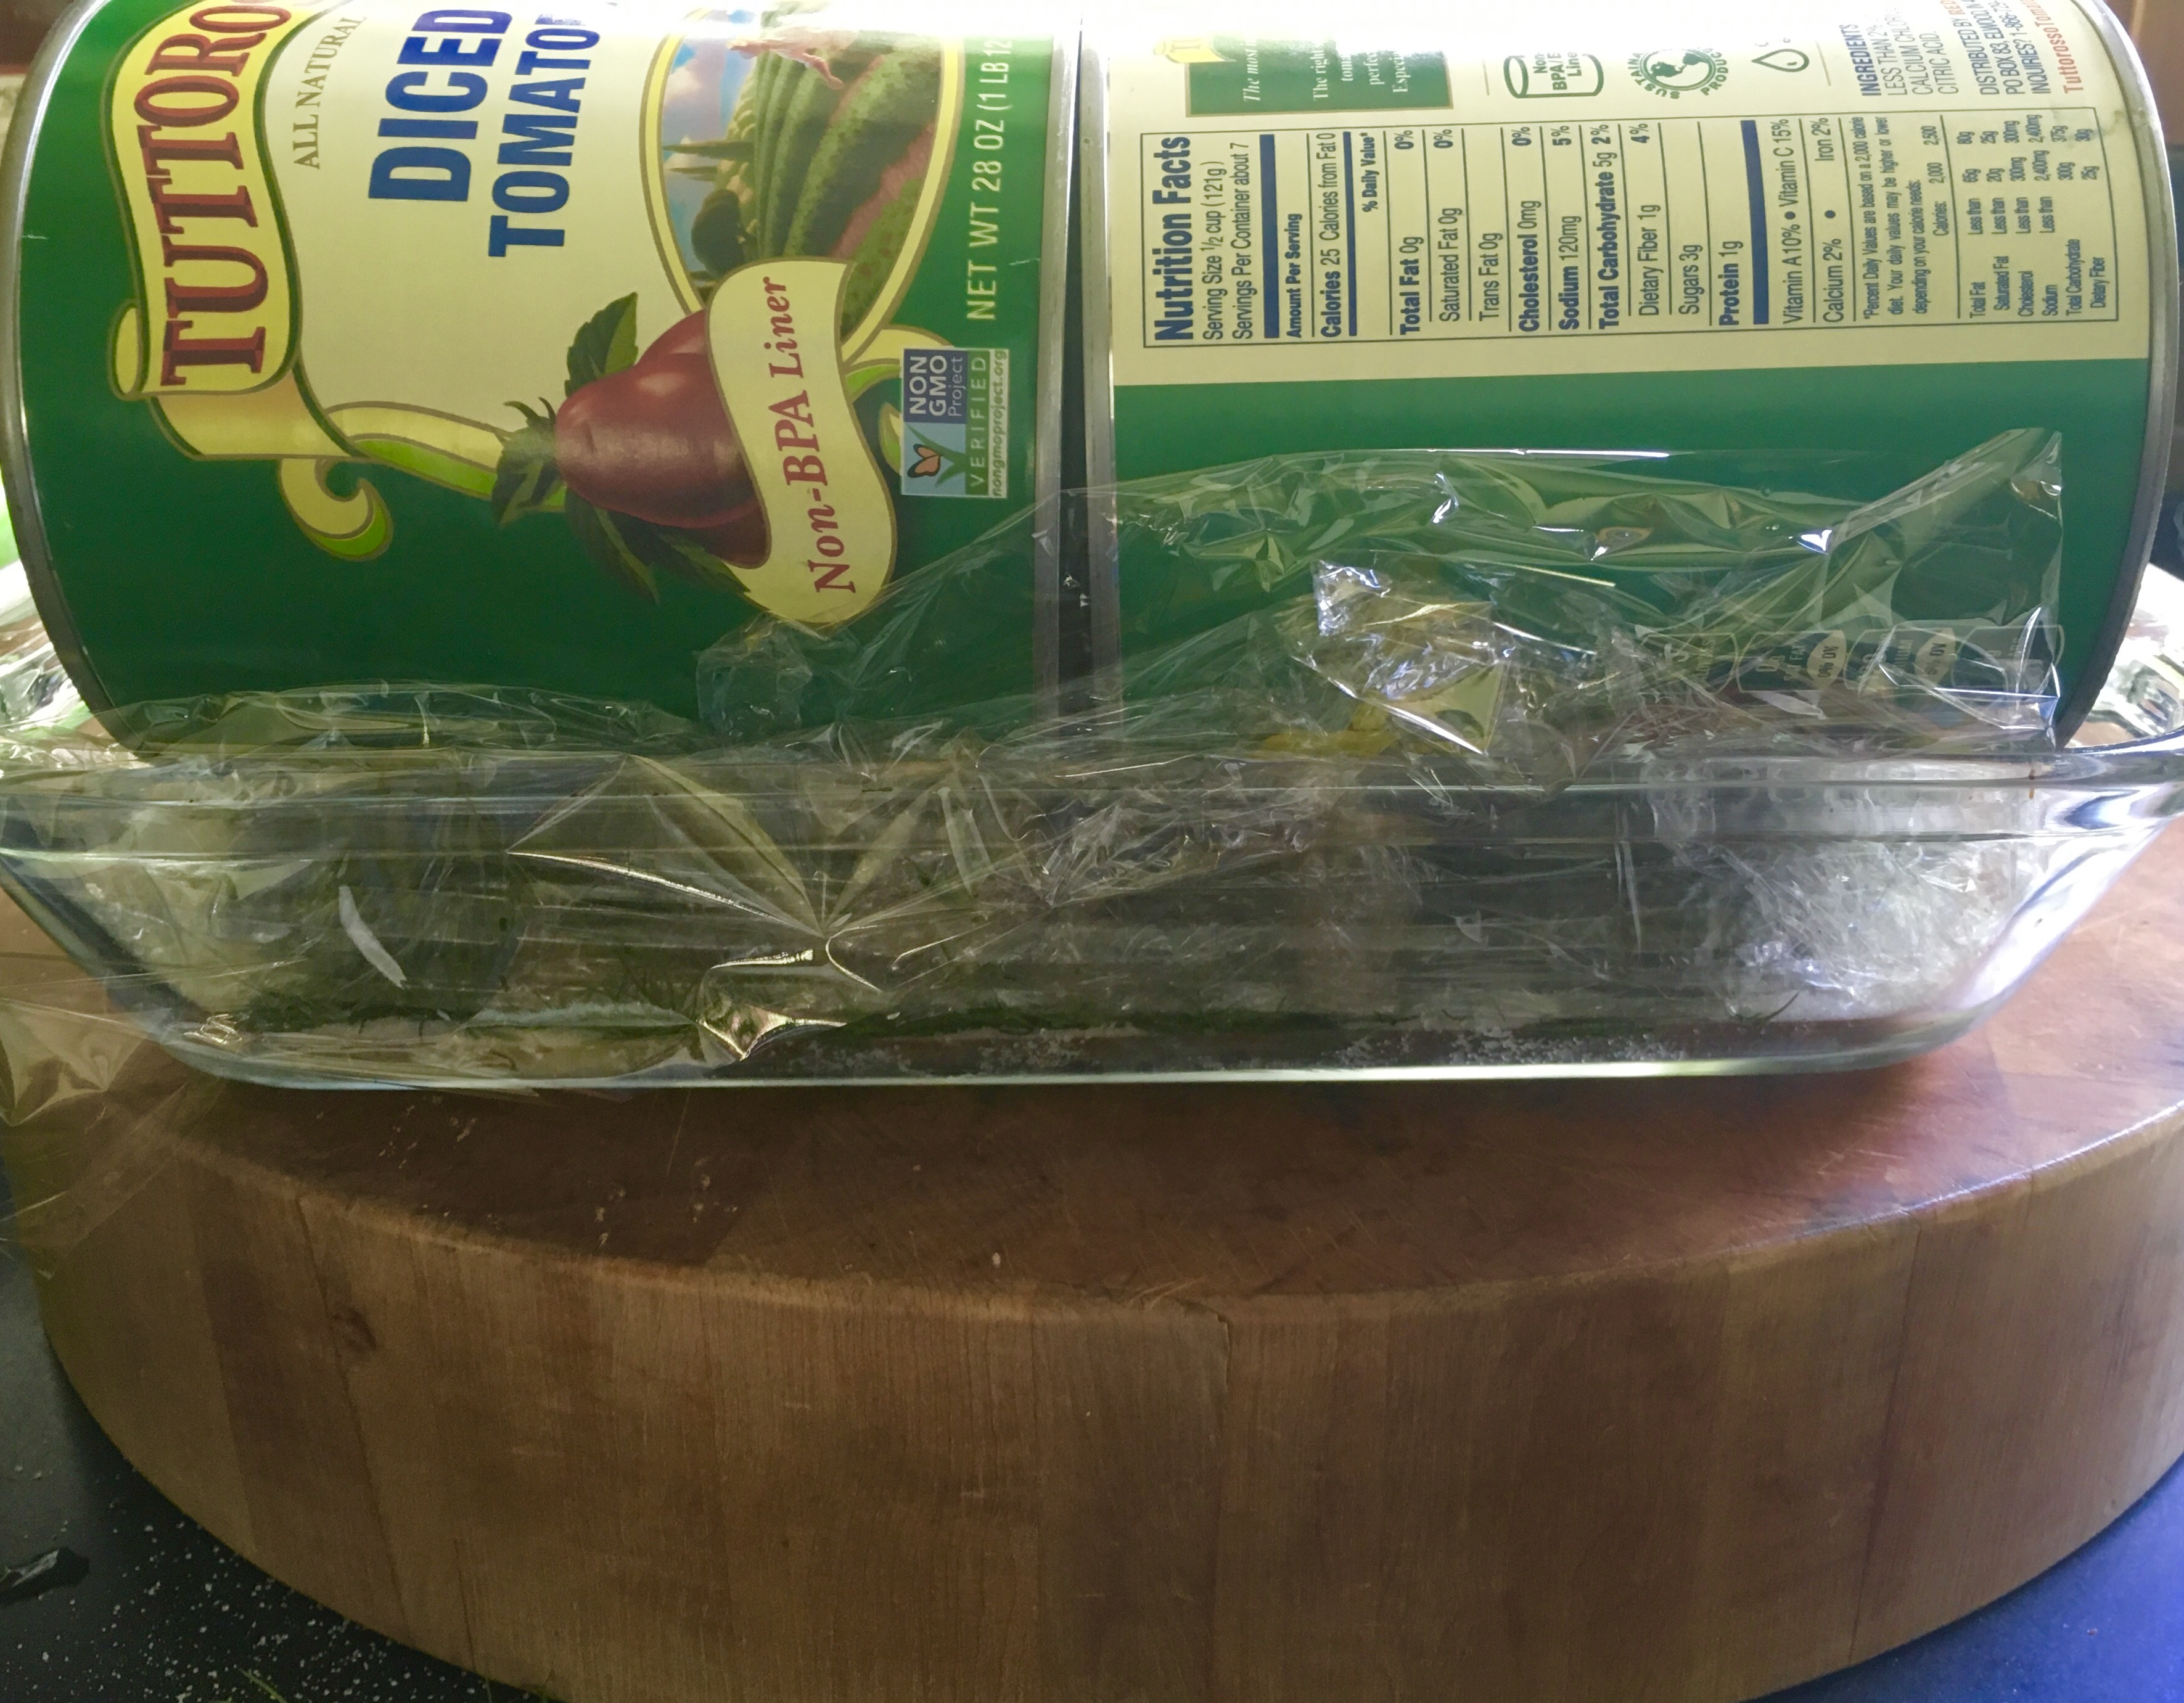
Side view.
Place the tray in the fridge for 48-72 hours.
After 24 hours, remove the plastic wrap and, tilting the tray, baste the dill-covered salmon with the brine juices that have formed. Put clean plastic wrap on top, add the weights, and put it all back in the fridge for another 24 hours. Repeat that process at the 48-hour mark, if needed. If it’s cured, it’s time to eat!

You’ll know the fish is fully cured when the thickest part of the filet is firm to the touch.
Unwrap the salmon, discarding the salt and sugar brine and the dill. Rinse the filet under cold running water and pat dry with paper towels.
I don’t like a ton of chopped dill imbedded into my gravlax as some do, but if you do, finely chop a bunch of new fresh dill, spread it out onto a board, and press the salmon into it flesh-side down.
To serve, place the gravlax skin-side down on a board. With a long, sharp narrow-bladed knife, slice the fish against the grain, on the diagonal, into thin slices. Serve with mustard-dill sauce, chopped onion, capers, hard-boiled egg, bread…whatever you like.
Refrigerate any remaining gravlax immediately, wrapped in plastic wrap, for up to 2 weeks.


[…] HOME-CURED SALMON GRAVLAX — Live the Live ™ […]
LikeLike