These shrimp burgers are not only delicious, they’re pretty low in calories. The key to success is to use raw shrimp, not cooked. (Overcooked shrimp is never a good thing.)
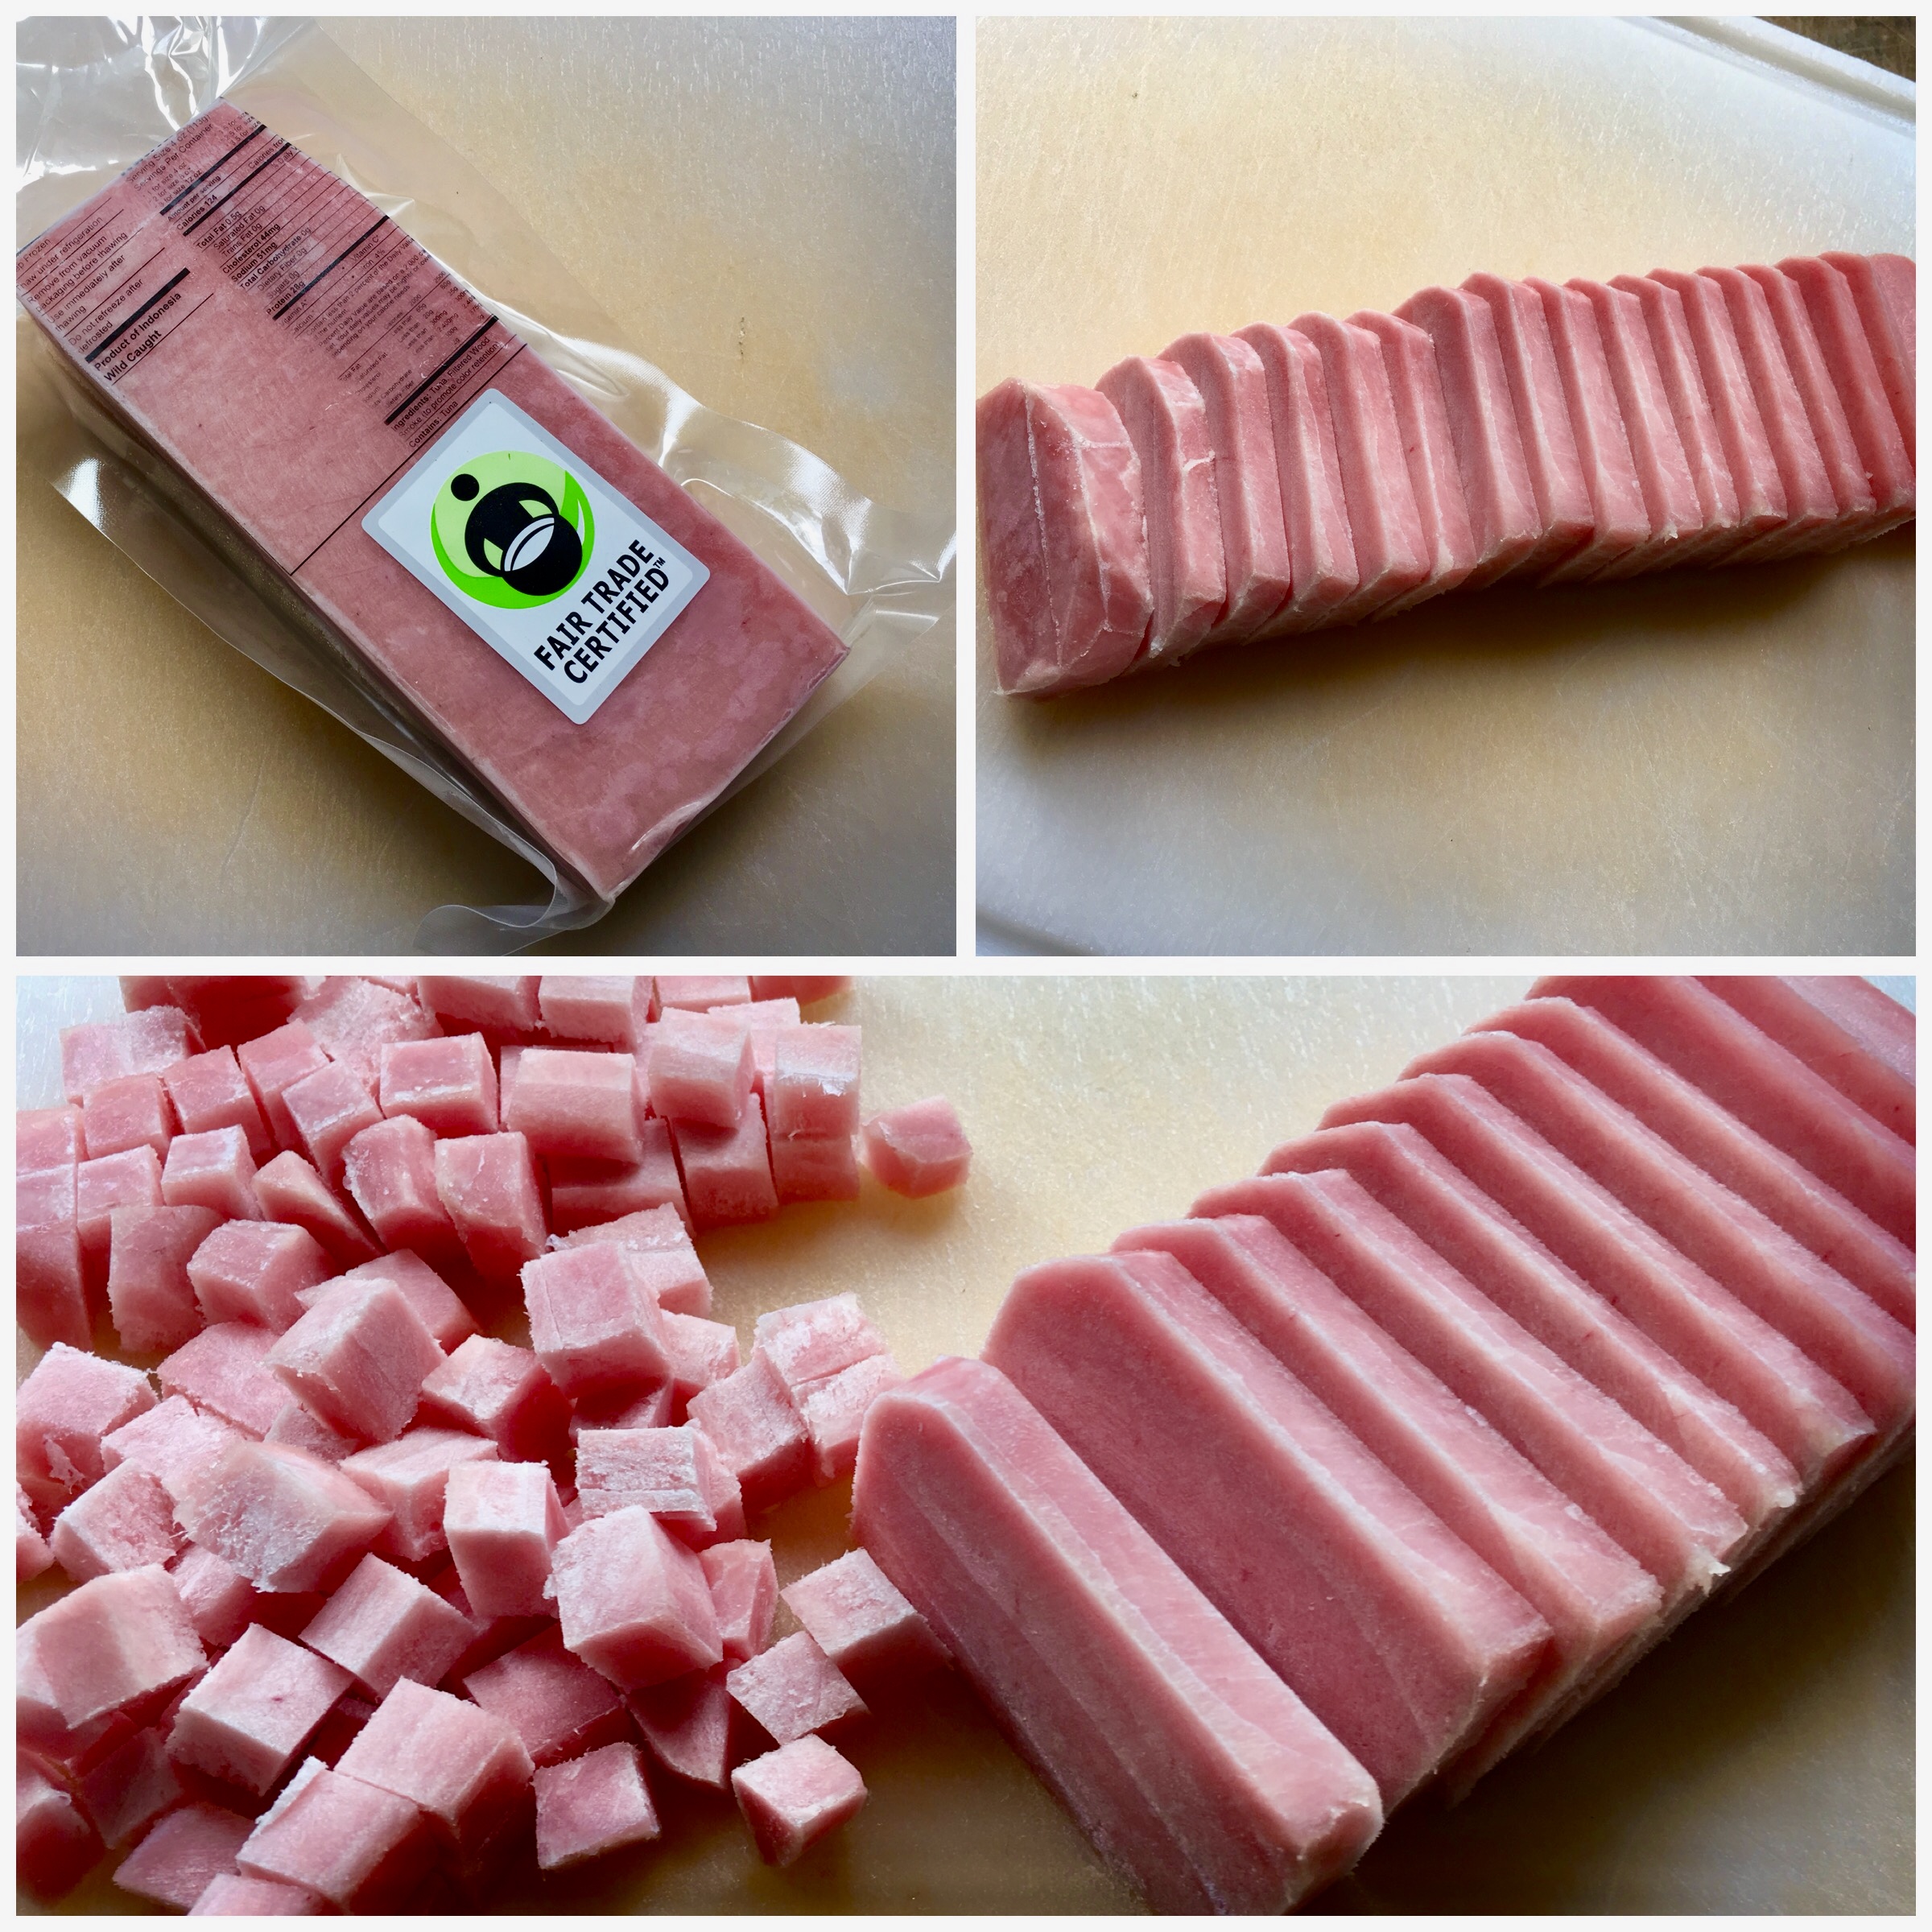
I always use wild-caught American shrimp, not that nasty stuff from Asia. I’ve found wild-caught American shrimp almost everywhere, from supermarkets to membership clubs, and for a great price. You just have to make a bit of an effort to read the packages.
For this recipe, you don’t need to spend extra money for large shrimp. You’ll be chopping them up anyway…and I think the smaller shrimp are tastier. (A white fish, like cod, is also a good substitute for the shrimp.)
These patties hold together pretty well without a lot of breadcrumbs because the shrimp that goes in the food processor becomes a sticky paste that holds everything together. At around 1 calorie per gram, shrimp is a dieter’s best friend.
This recipe can be made gluten-free simply by using GF breadcrumbs. I make my own by buying frozen GF bread, like Udi’s. I toast it, then put it in the food processor to make breadcrumbs. They’re delicious, and you’d never know they’re gluten free!

1 lb. thawed, peeled and deveined medium wild-caught American shrimp
1/3 cup breadcrumbs
1 tablespoon fresh-squeezed lemon juice
1/2 teaspoon sea salt
1/4 teaspoon granulated garlic
1/4 teaspoon freshly ground black pepper
1/2 small Vidalia onion or 1 scallion, finely chopped
1 large egg, lightly beaten
Splash of cayenne pepper sauce, like Frank’s Red Hot, or a pinch of cayenne pepper (optional)
Oil, for frying

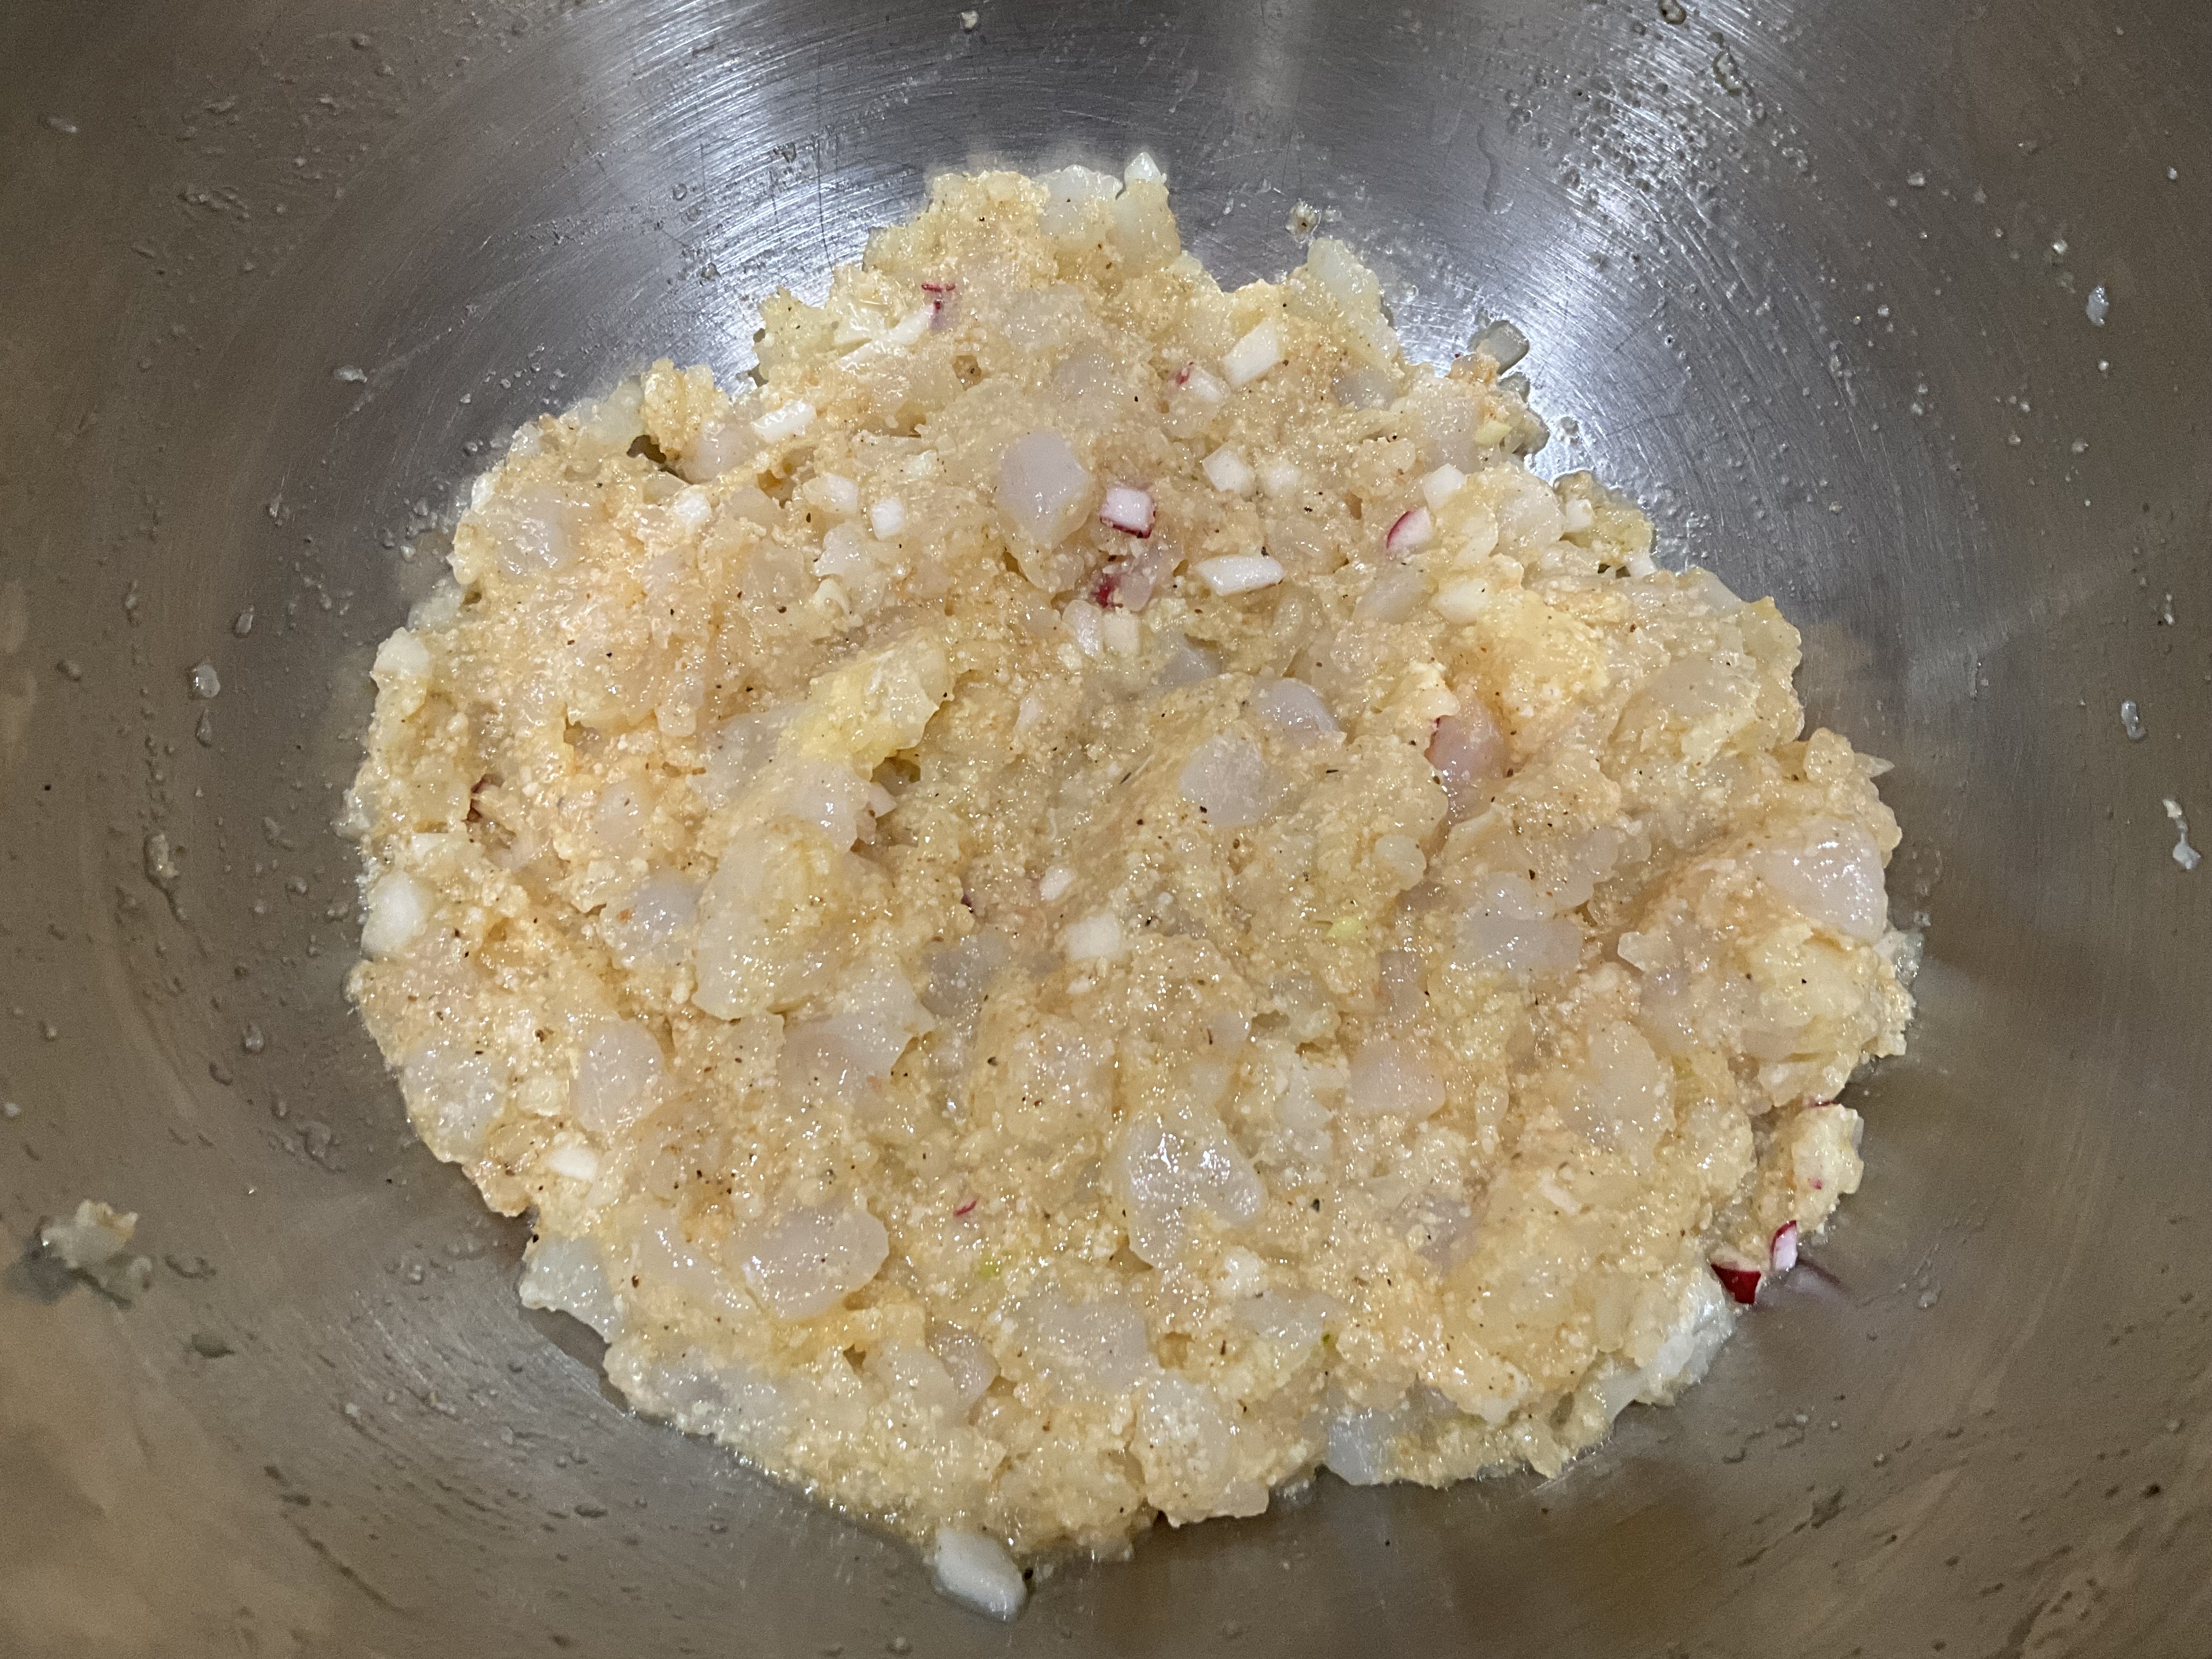
Coarsely chop half of the shrimp. Place the other half in a food processor, and pulse it until smooth.

Combine all the shrimp in a bowl with the breadcrumbs, lemon juice, salt, garlic, pepper, onion, egg and optional cayenne pepper sauce.
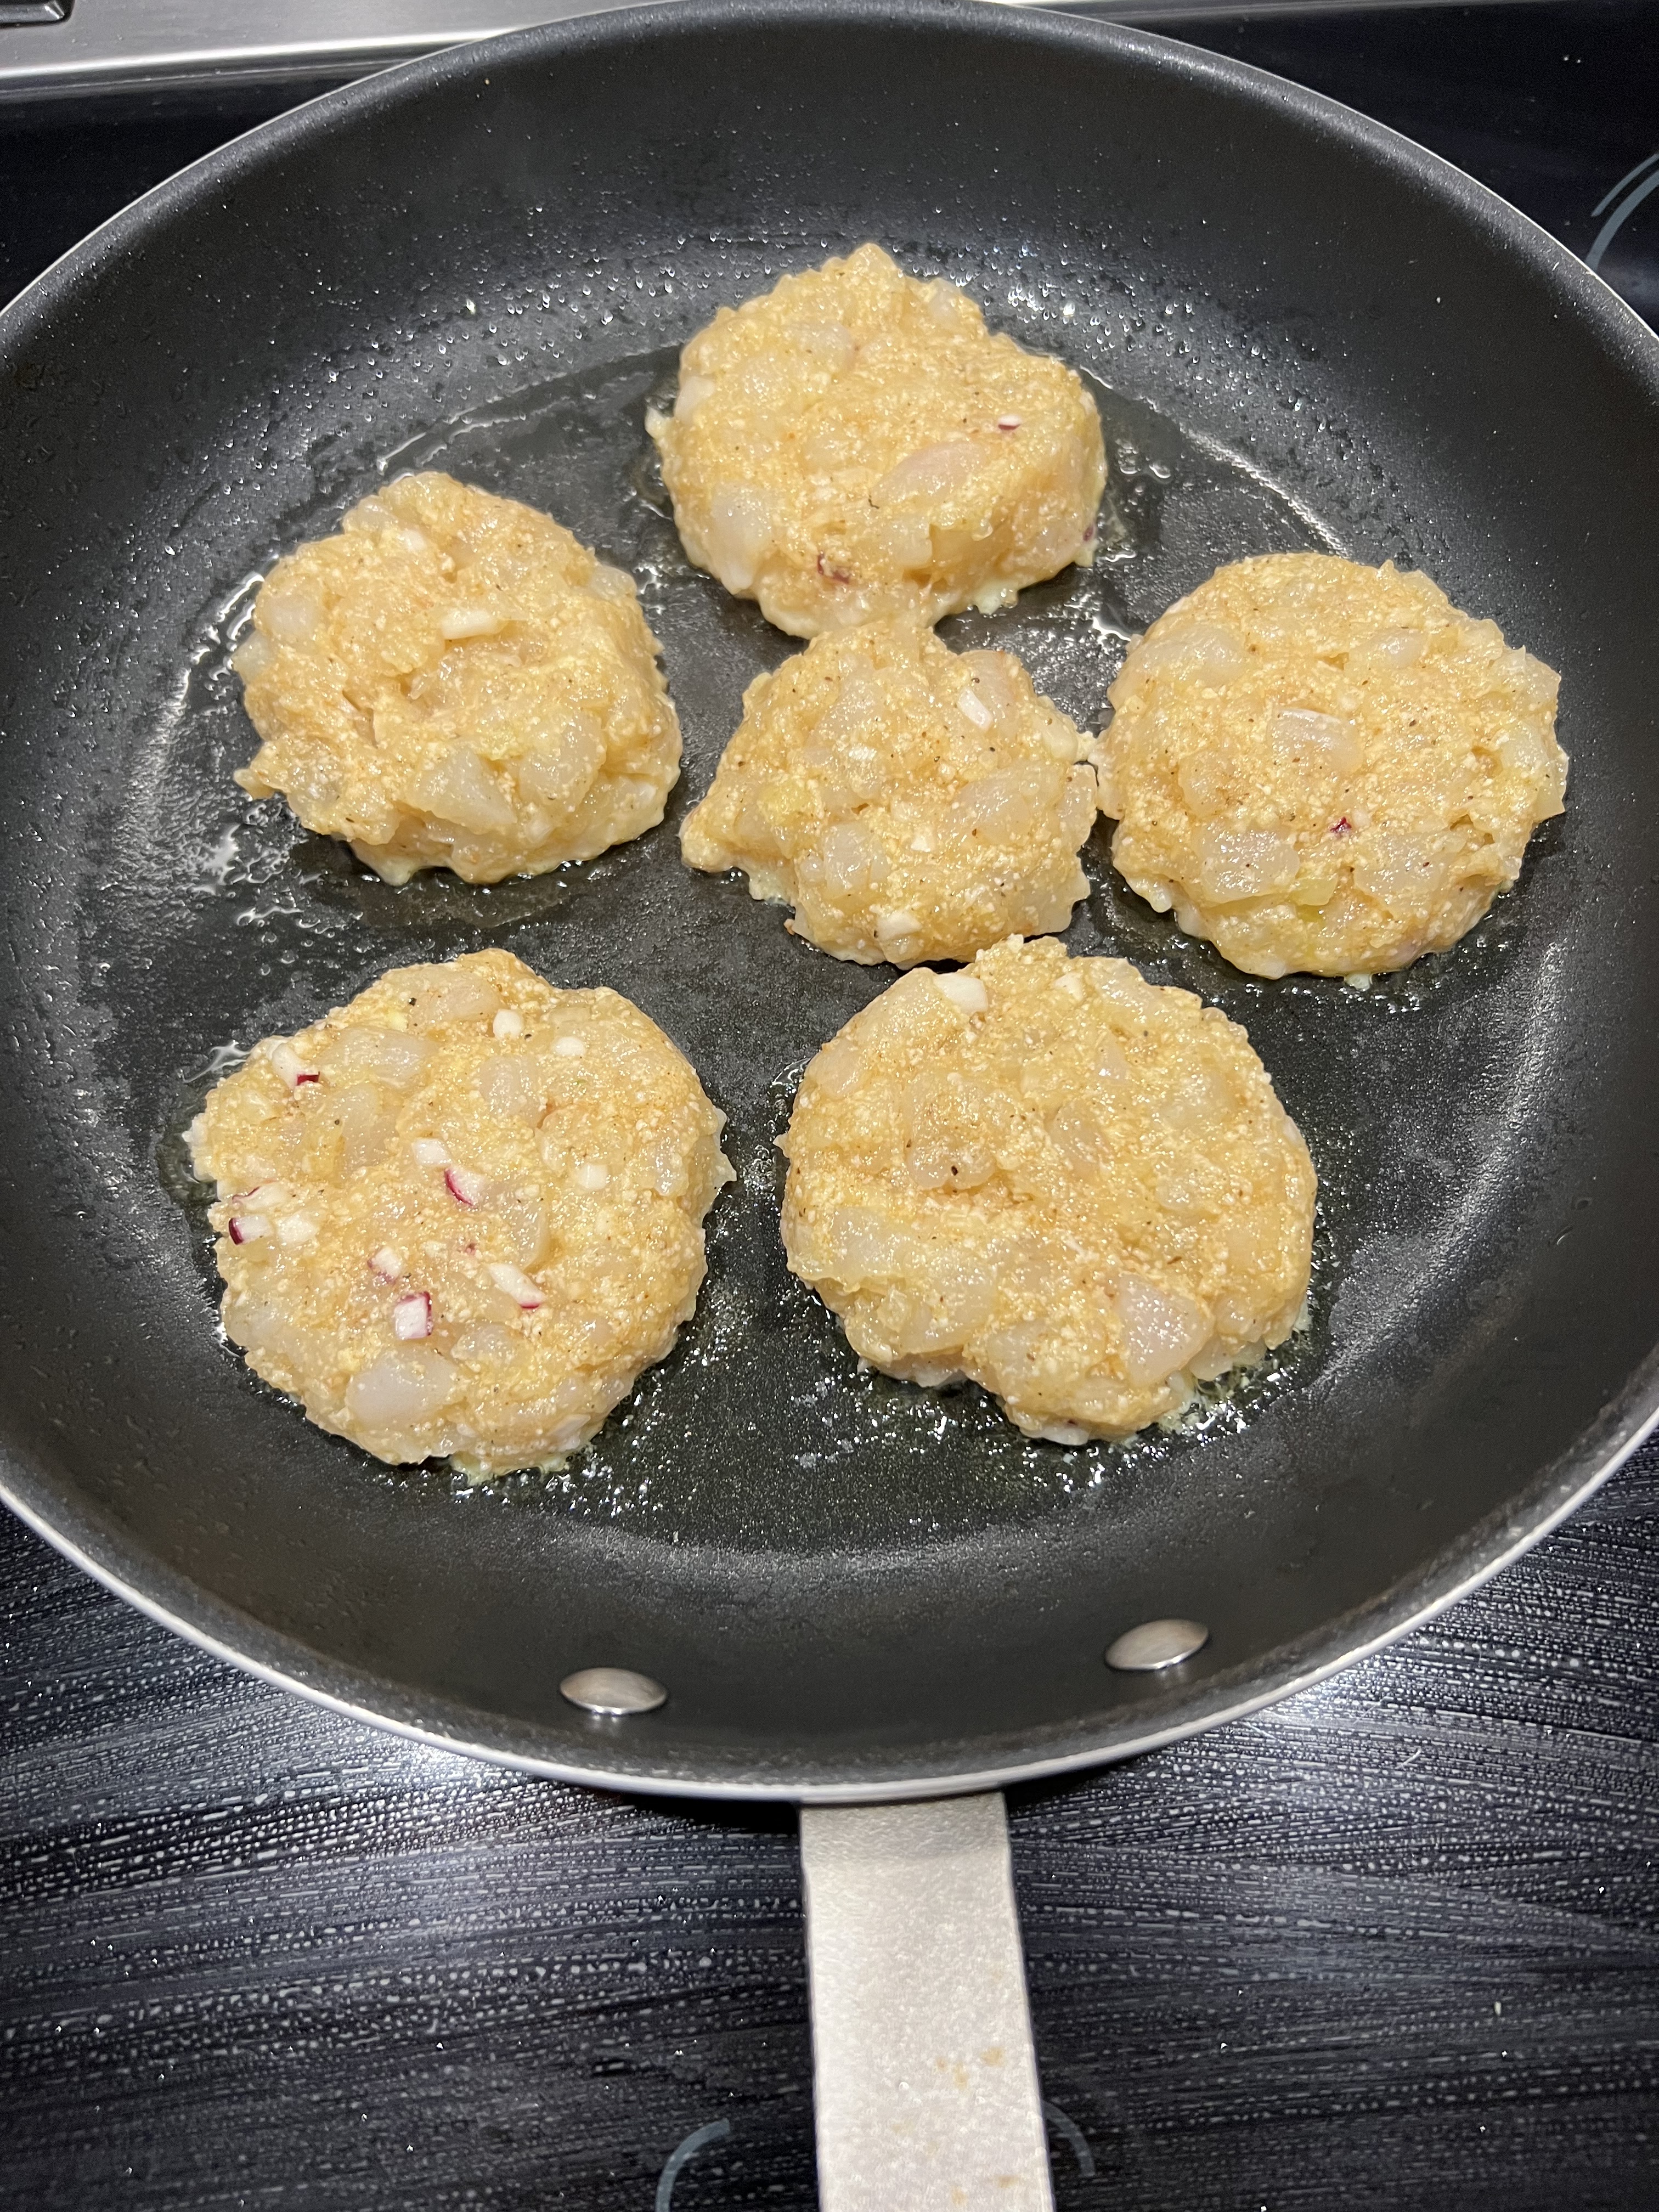
Refrigerate the mix for 10 minutes. Then remove it from the fridge and form the patties. (I like to use a 1/3 cup measure for this.) Once you’ve formed the patties, put them back in the fridge for another 10 minutes.

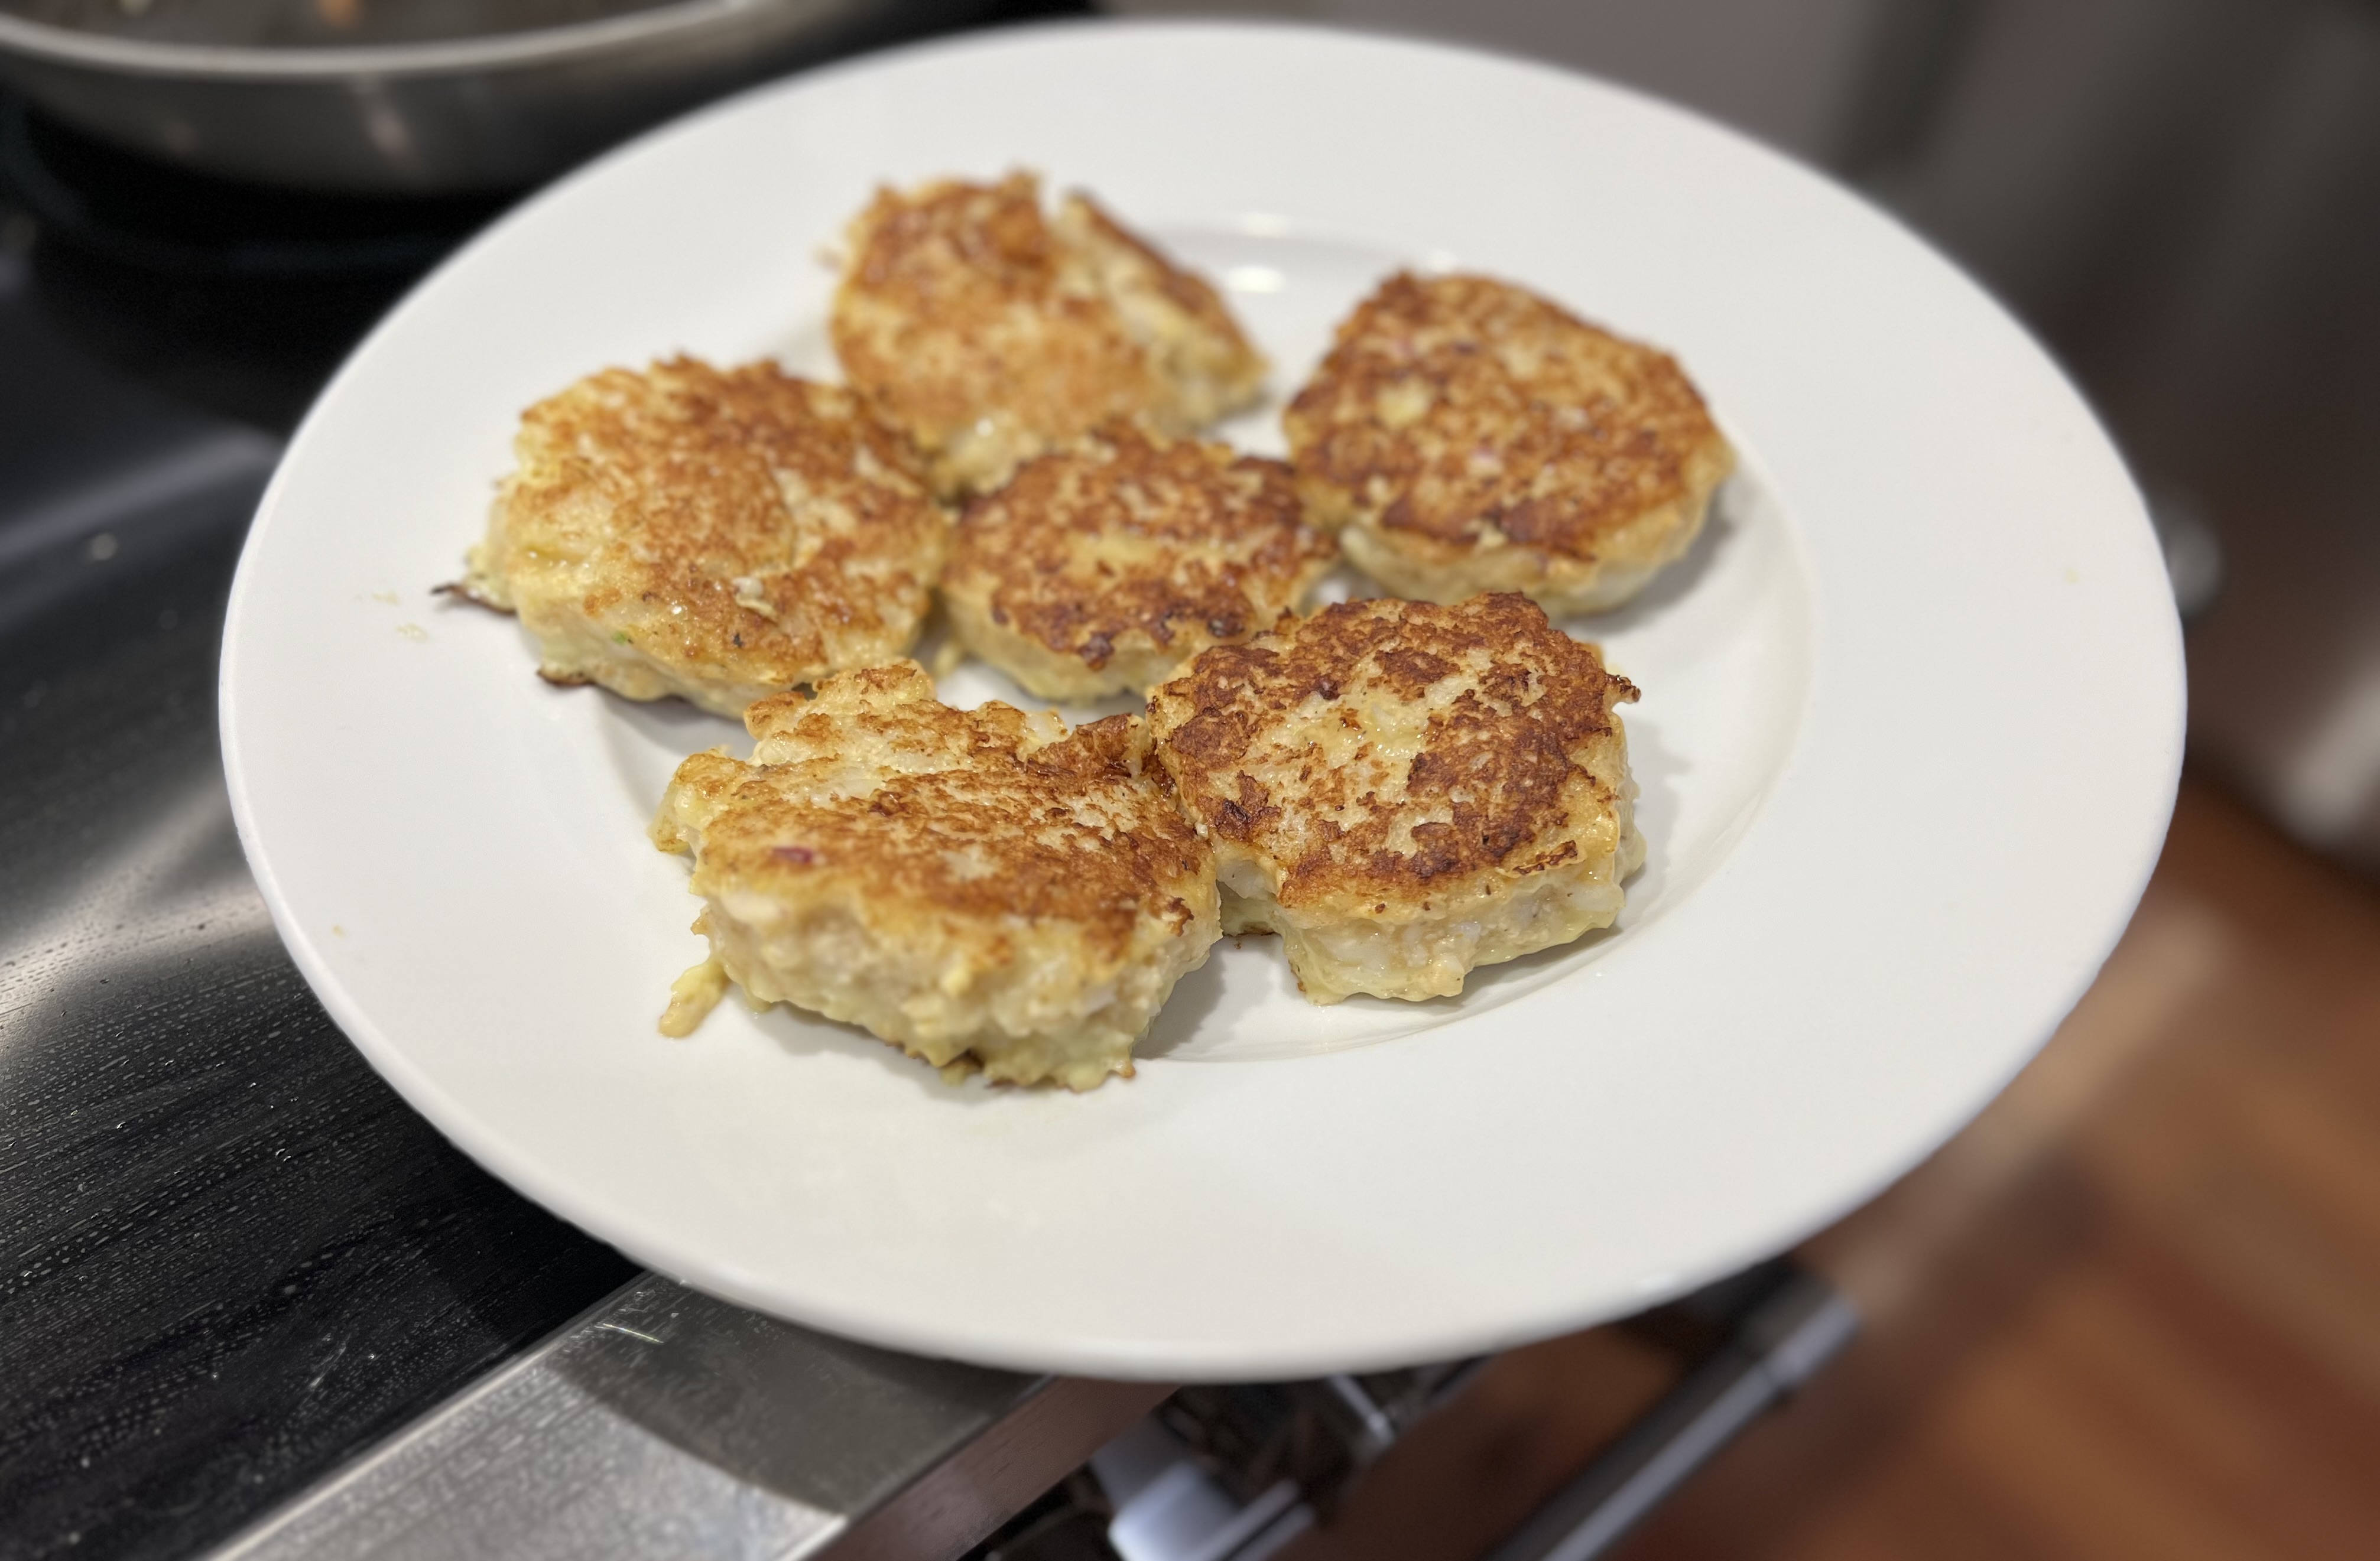
Heat the oil (I try to use as little as possible for calories’ sake) in a non-stick pan over medium-high heat. I like avocado oil, but use your favorite. And if you’re not on a diet, use 1/4 cup of oil to get a nice fry going. Carefully place the burgers in the pan (they’re fragile!) and cook them about 3 minutes per side.
Getting a good sear on the first side before flipping them will help hold them together. You don’t want to undercook the burgers, but you don’t want to overcook shrimp, either.

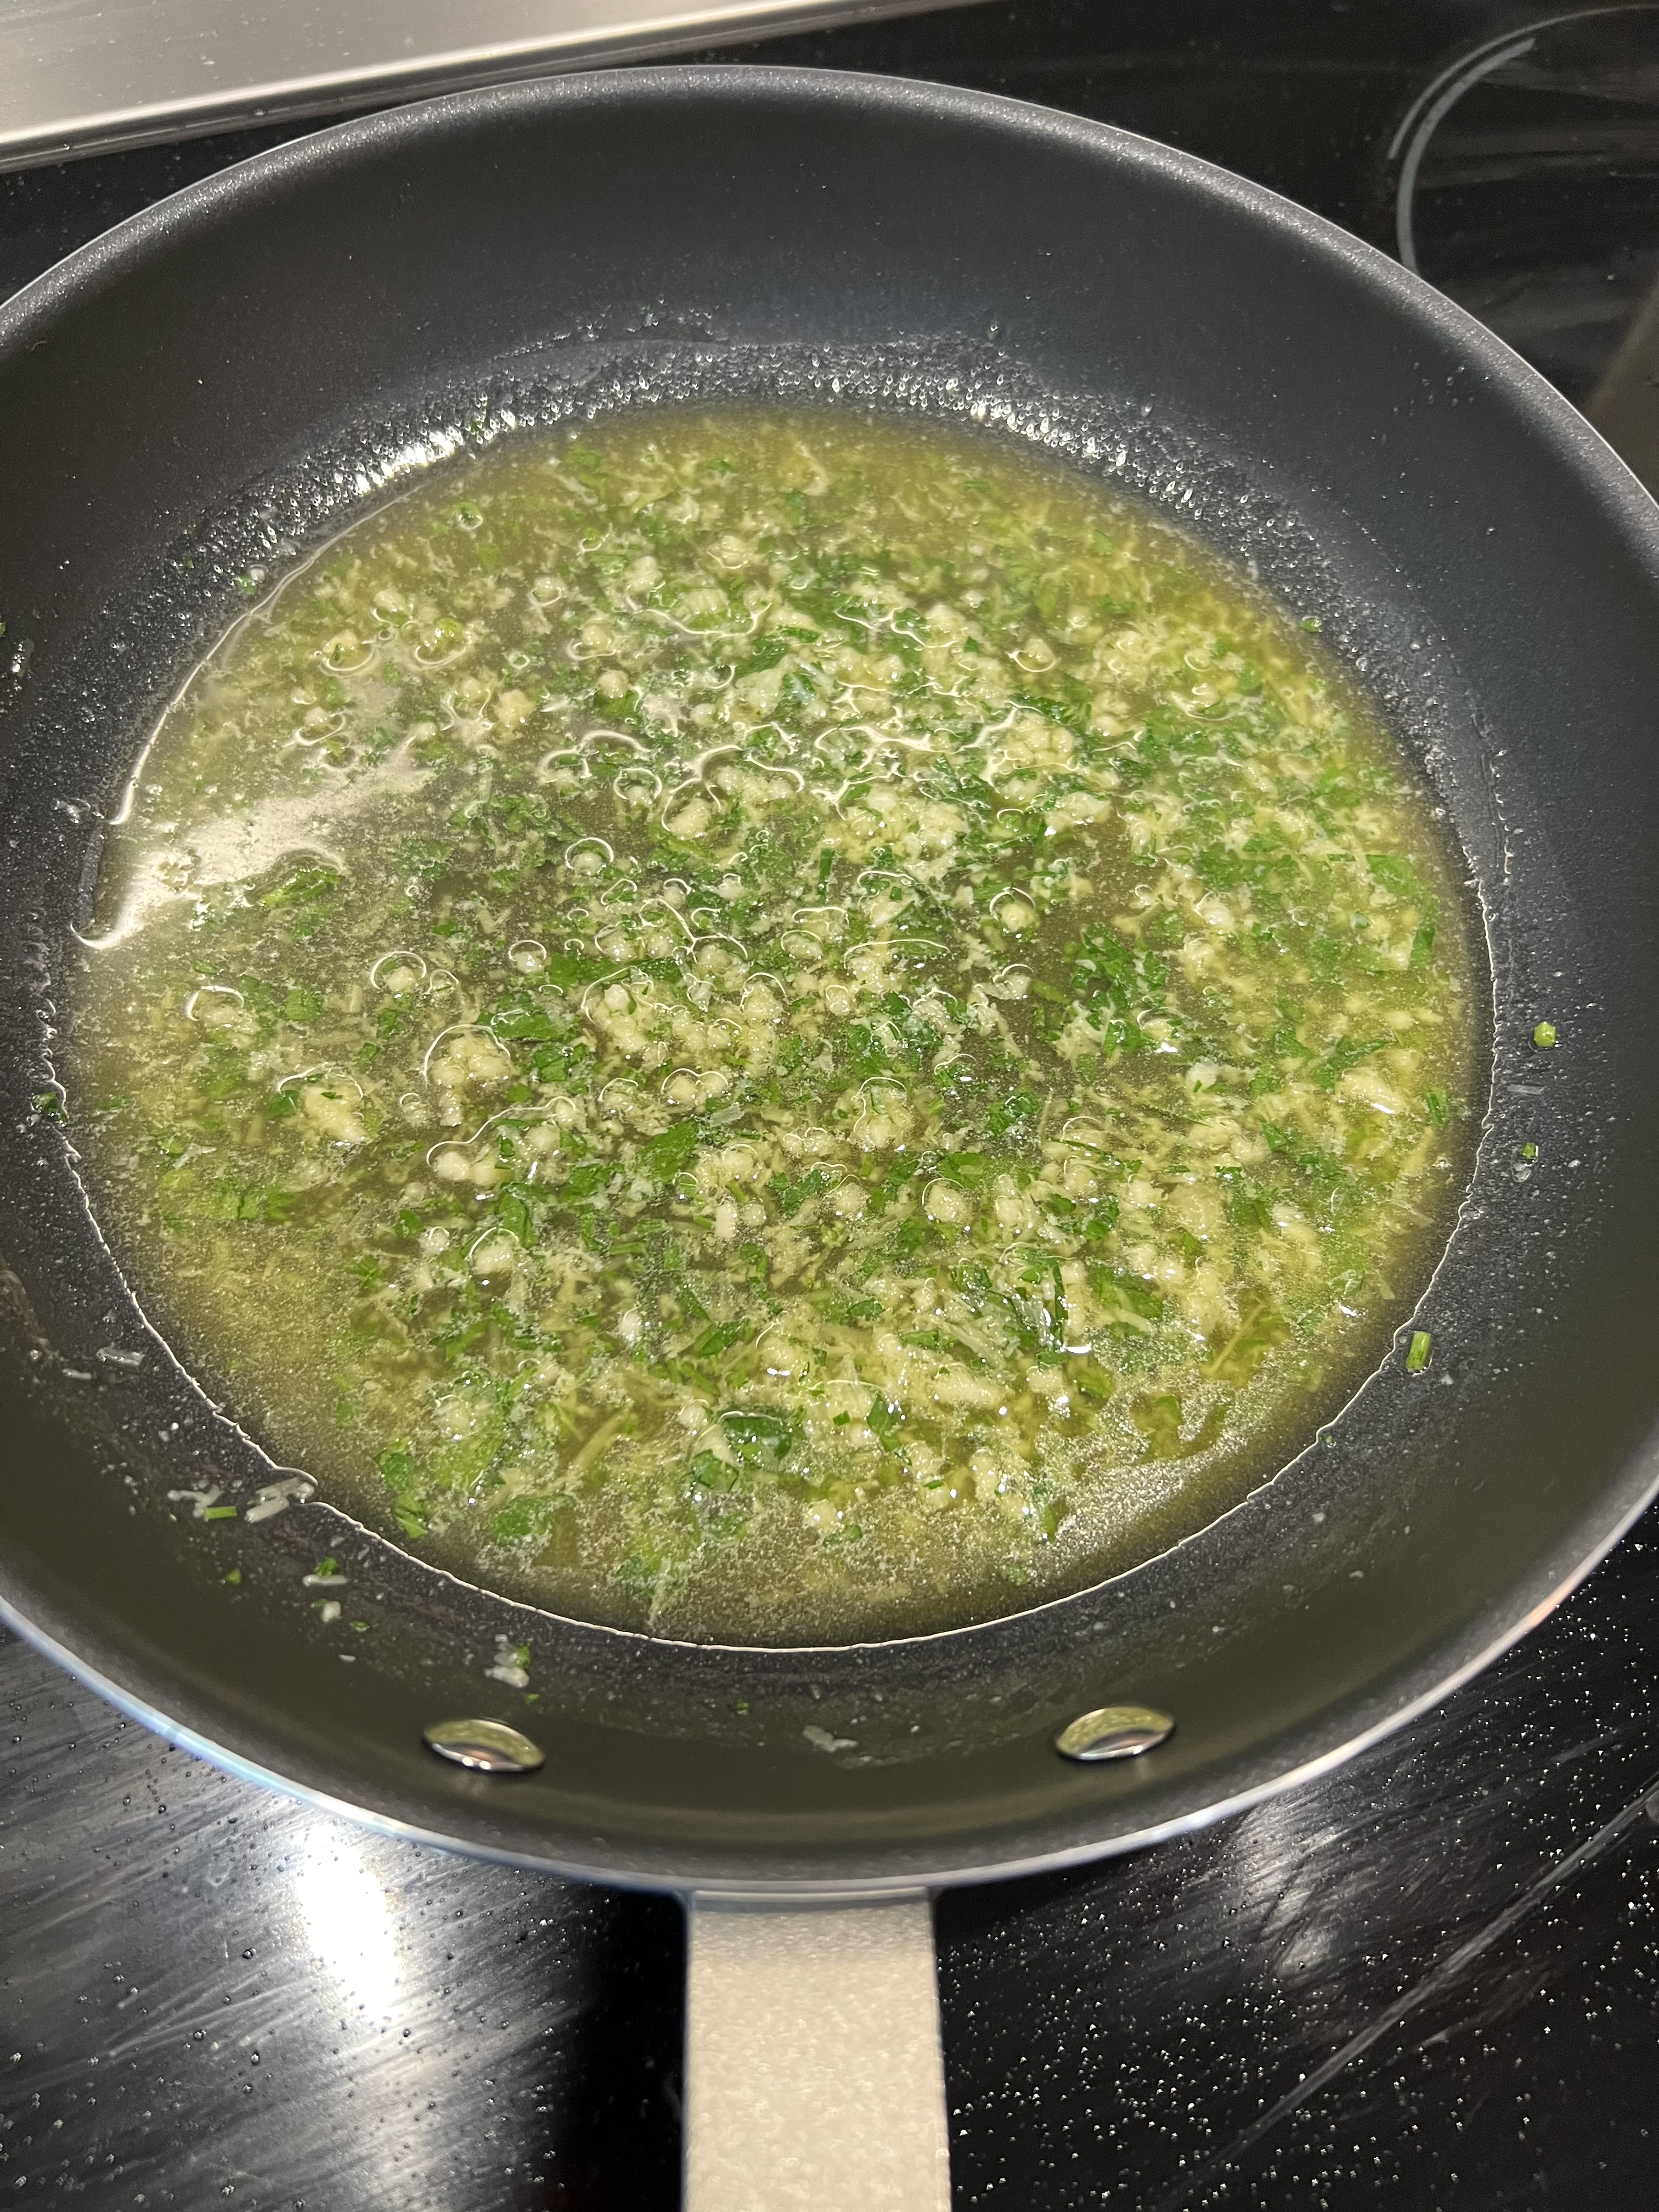
I make a simple remoulade using 1 teaspoon Dijon mustard to 1 tablespoon mayonnaise. Another option is to combine mayo with some Old Bay seasoning.