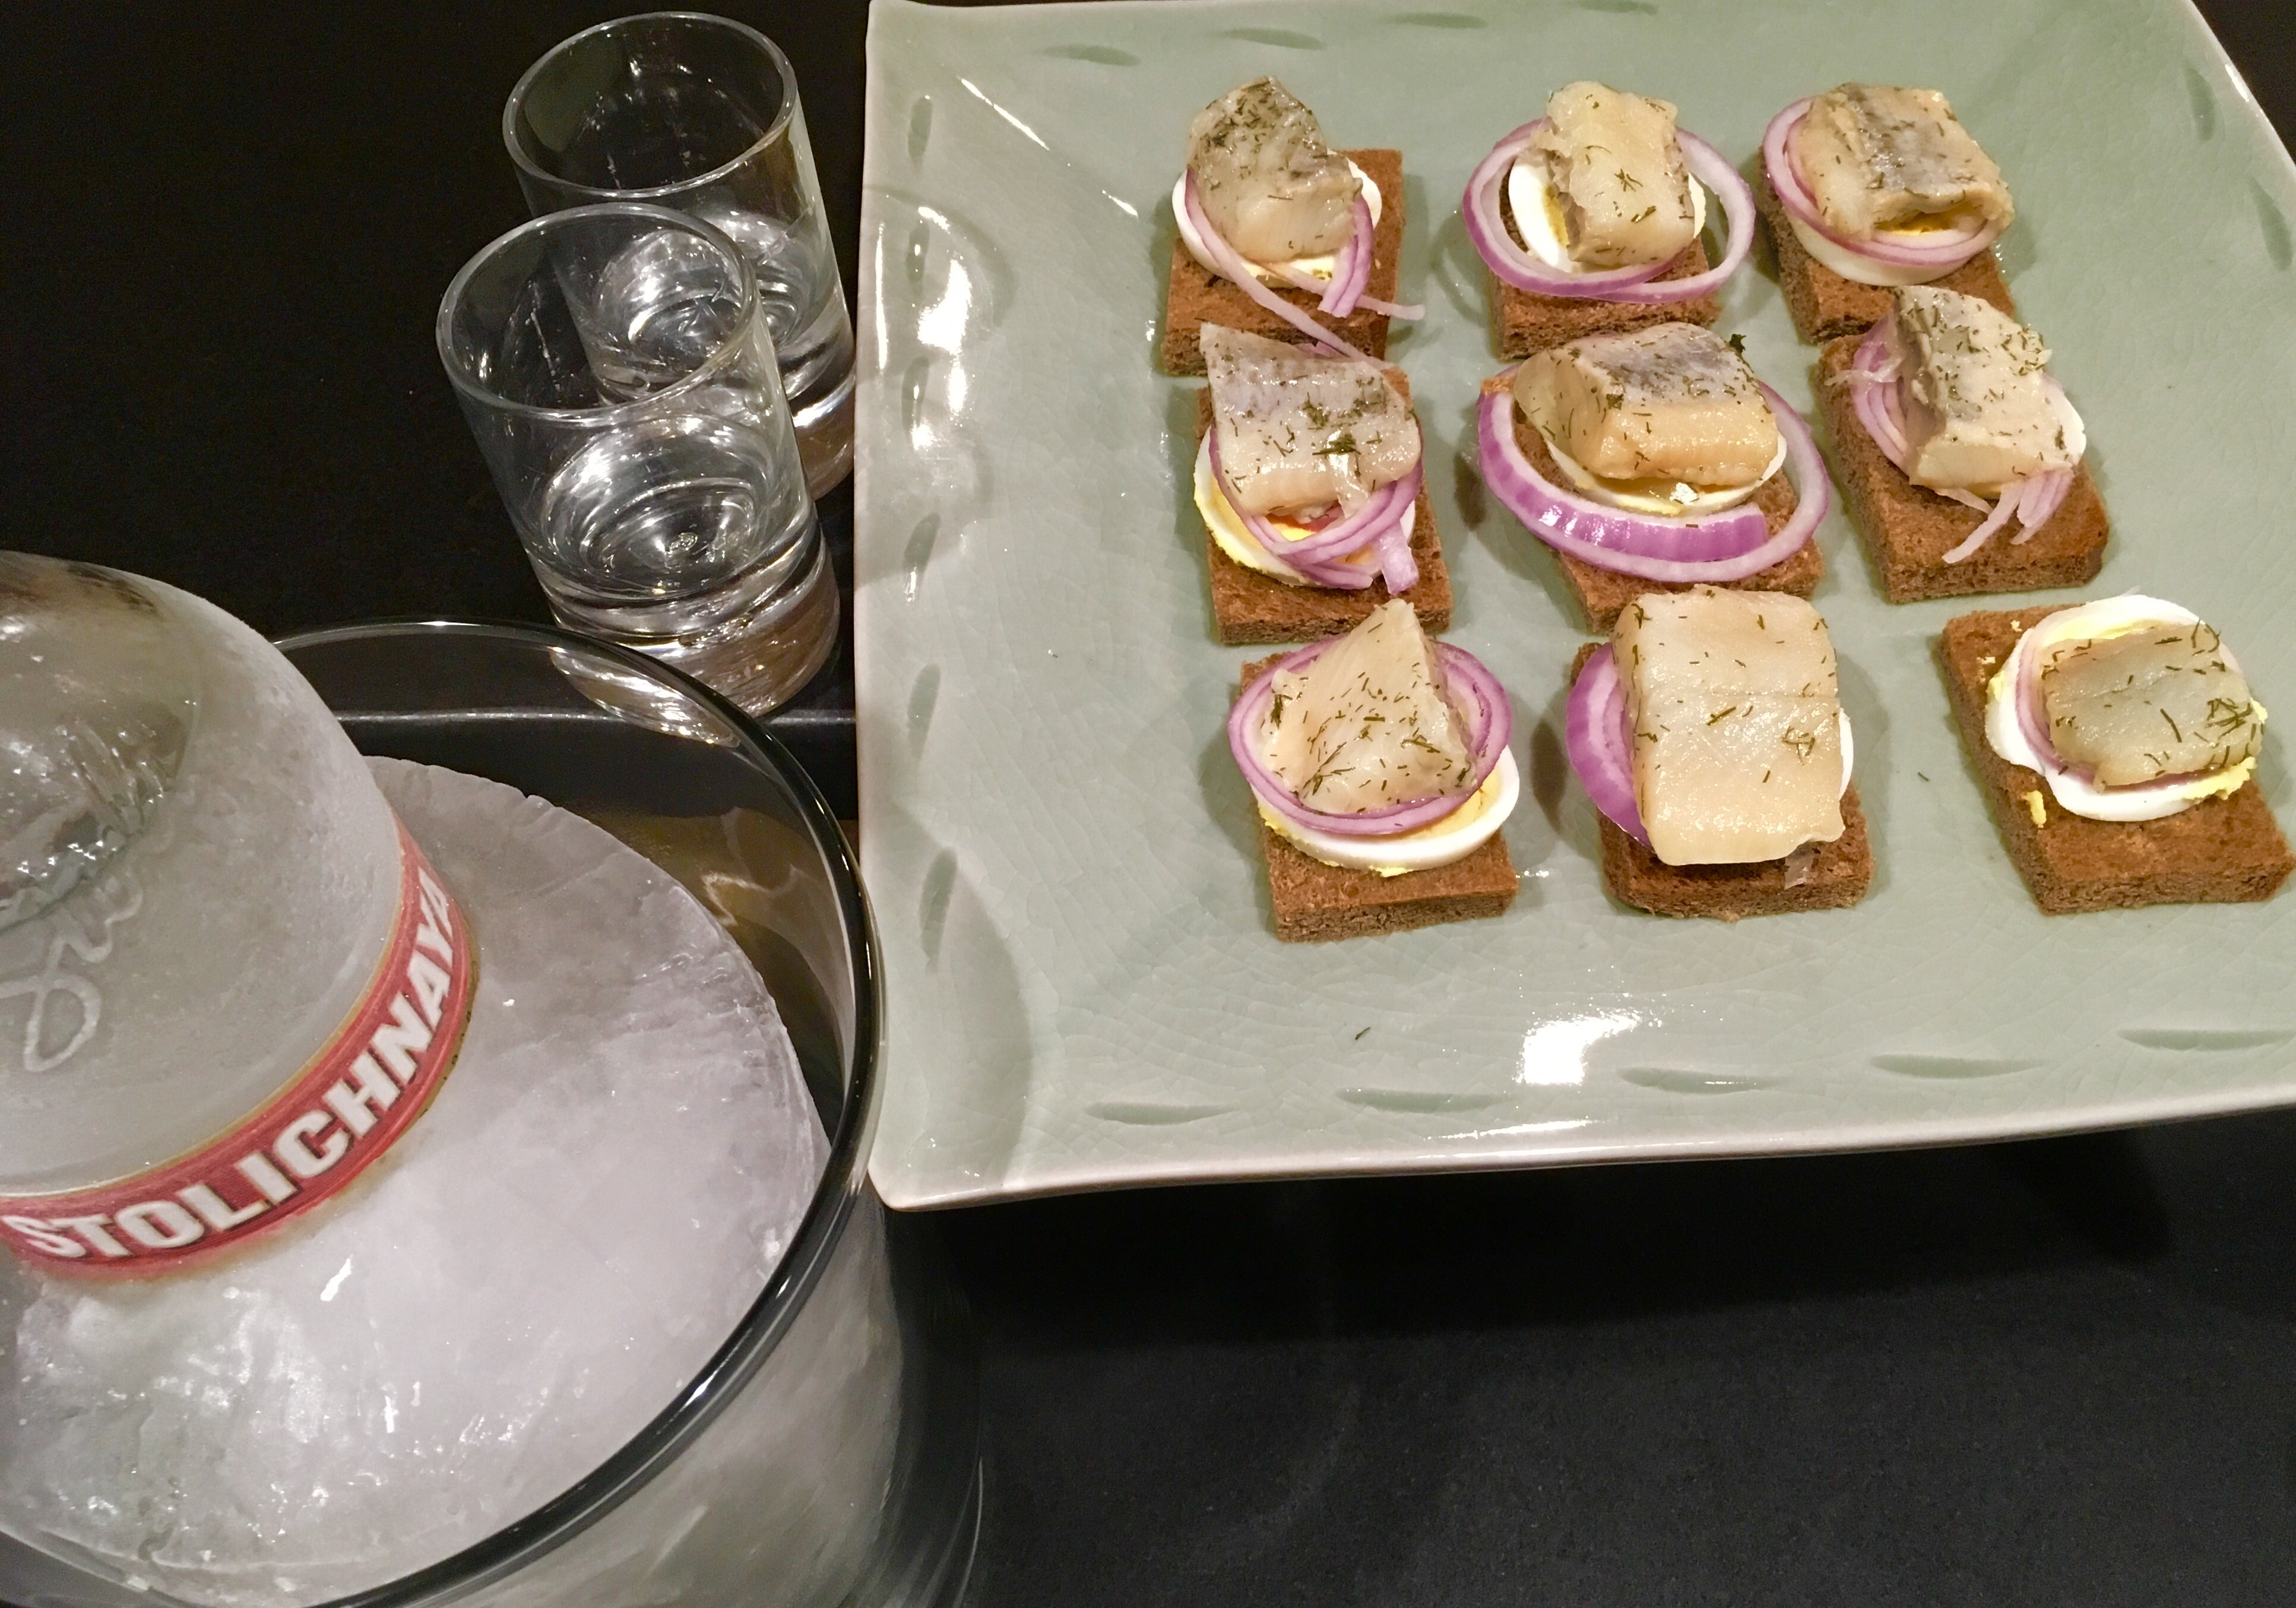
Growing up in a Lithuanian family, there was a small group of foods that I had to love to survive, since they constantly appeared on the dinner table: potatoes, cabbage, mushrooms, herring, and beets. Fortunately for me, I loved them all, despite my Mom’s desire to boil everything to death.
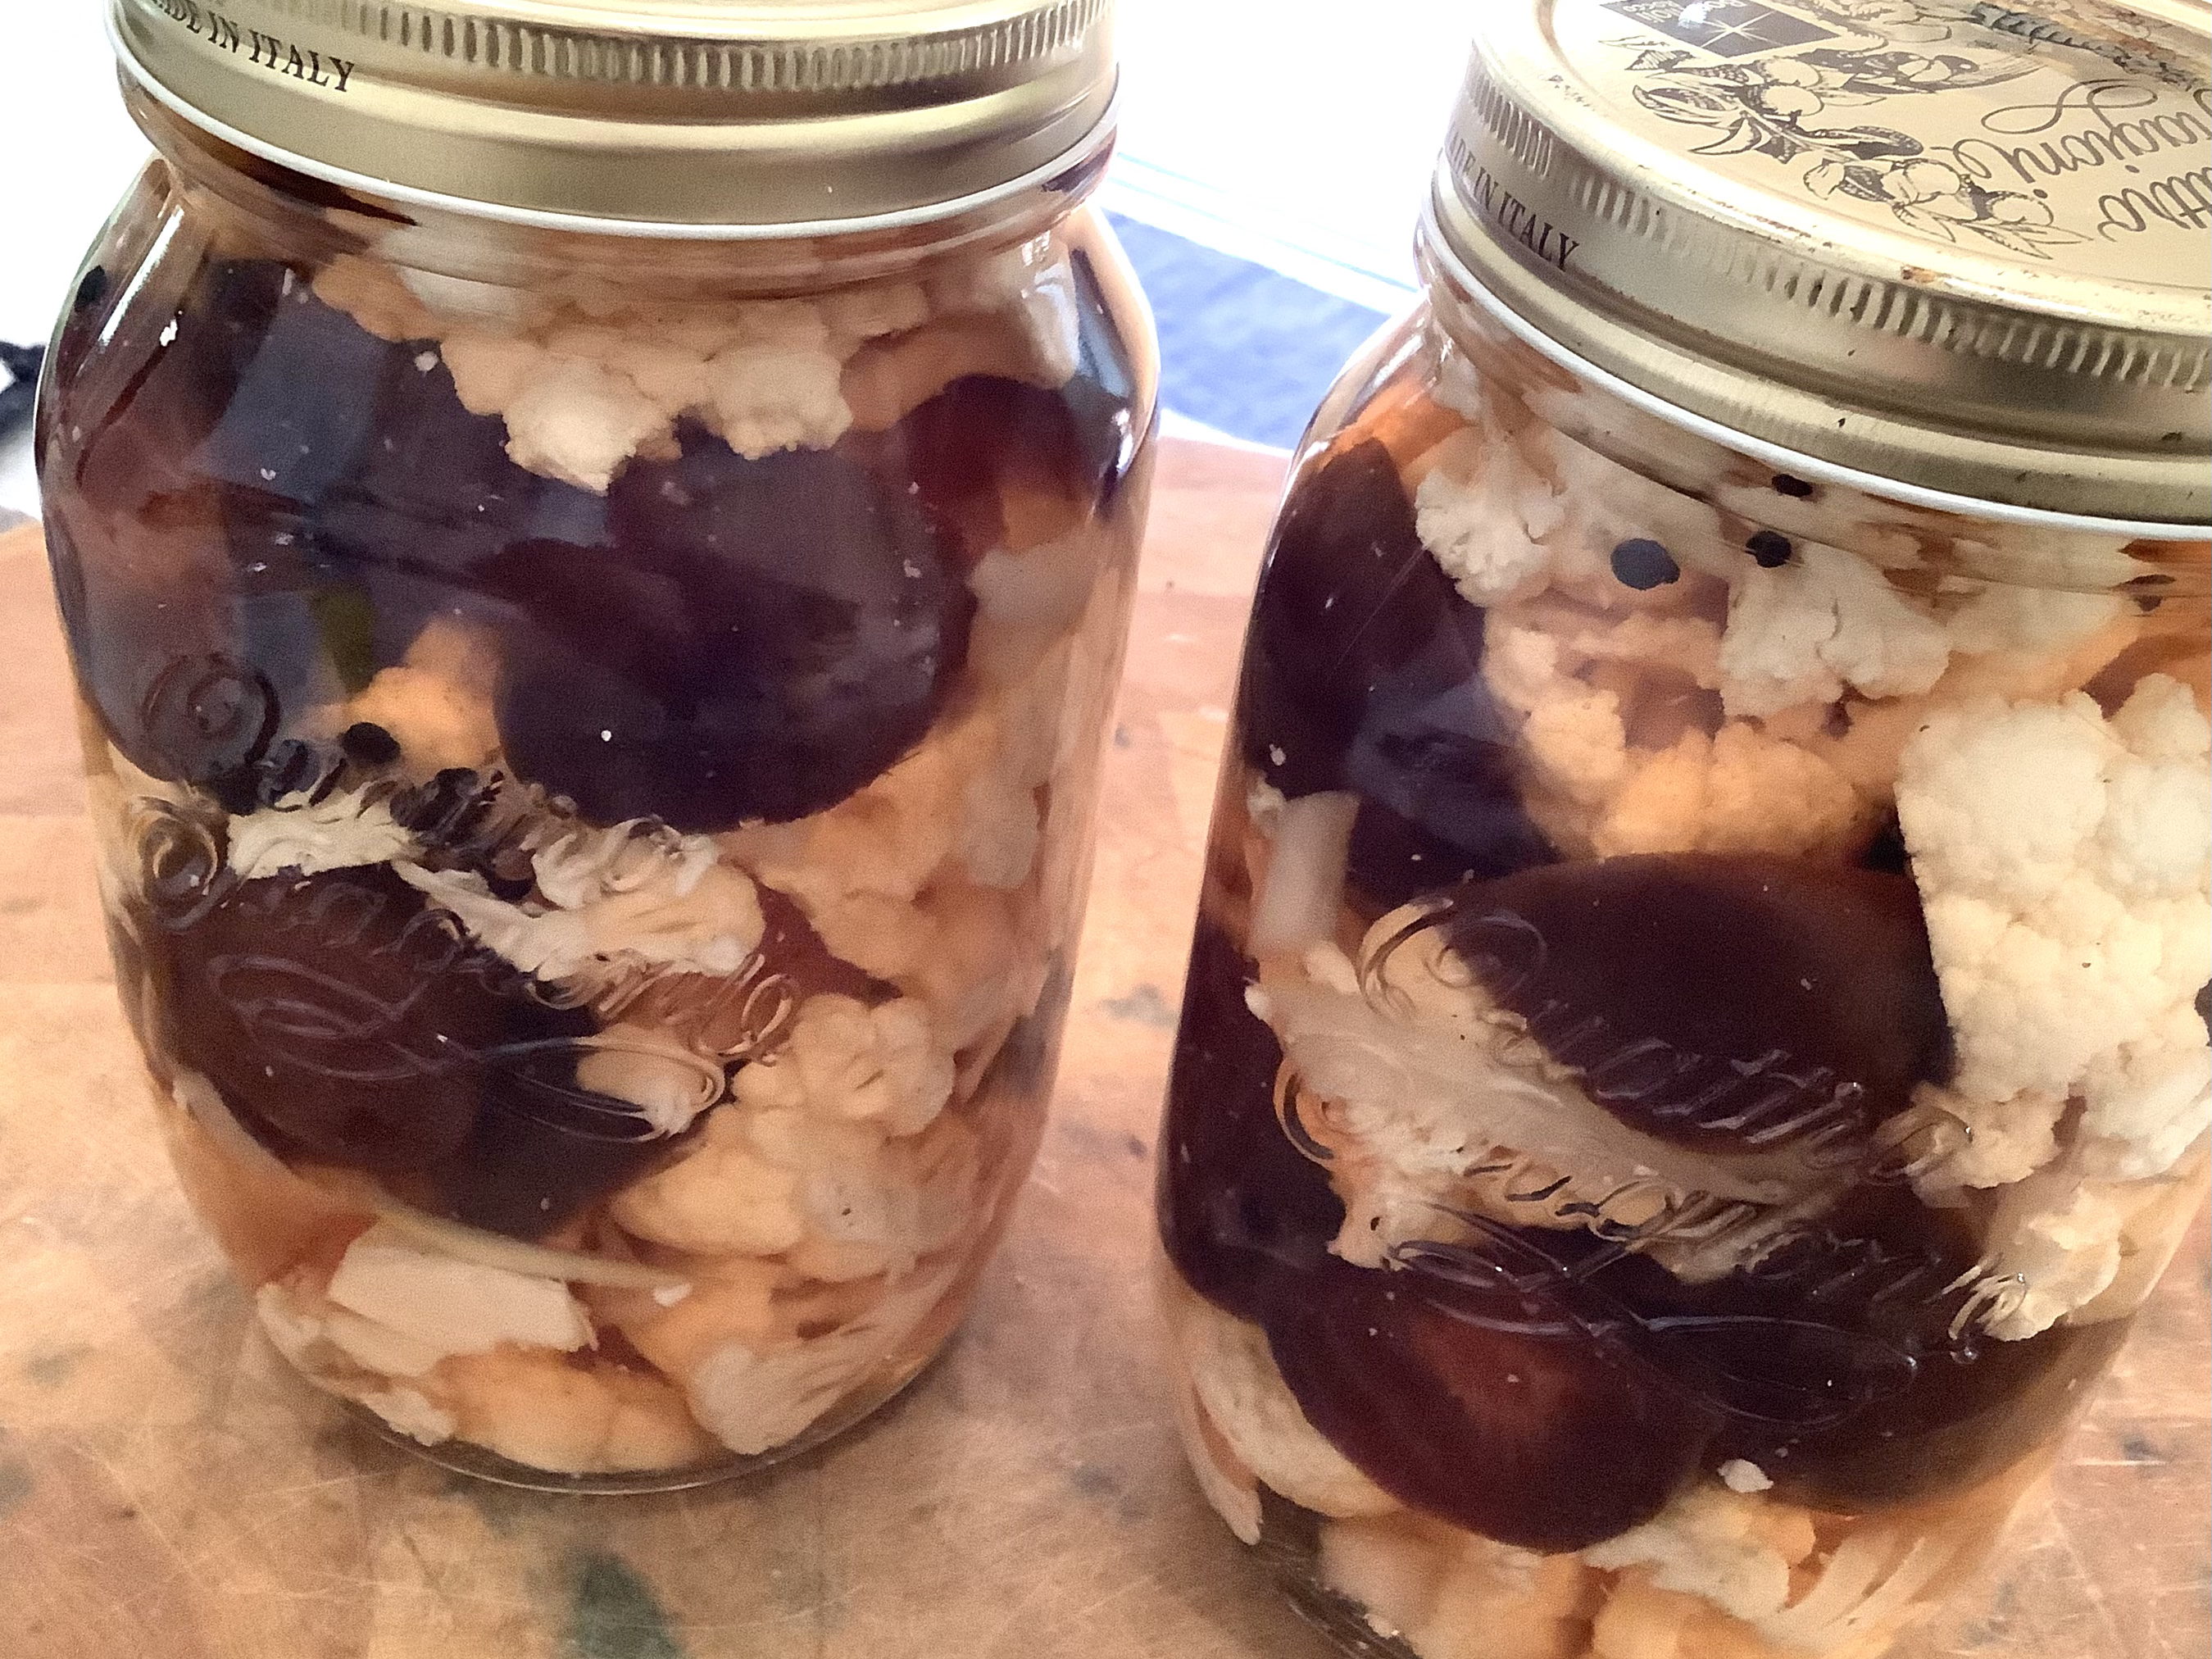
One of the many uses for beets, besides a cold summer soup and a hot winter soup, was pickling. Pickled beets are an excellent side dish for any hearty meat dish. (I love ’em with kielbasa!) Store-bought pickled beets pack way too much sugar in every jar, so it was time to make my own.
A real time saver is a product called Love Beets, which you can find in any supermarket. If you use them, you can skip the roasting and messy peeling of the beets altogether.
This recipe makes one large Mason jar’s worth of pickled veggies.

4 to 8 beets, scrubbed (your favorite variety)
1 cup apple cider vinegar
1 cup water
3 garlic cloves, crushed
3 tablespoons sugar
2 teaspoons whole black peppercorns
1 tablespoon Kosher salt
1 onion, sliced (or more, if you love ’em like I do!)
cauliflower pieces (optional)
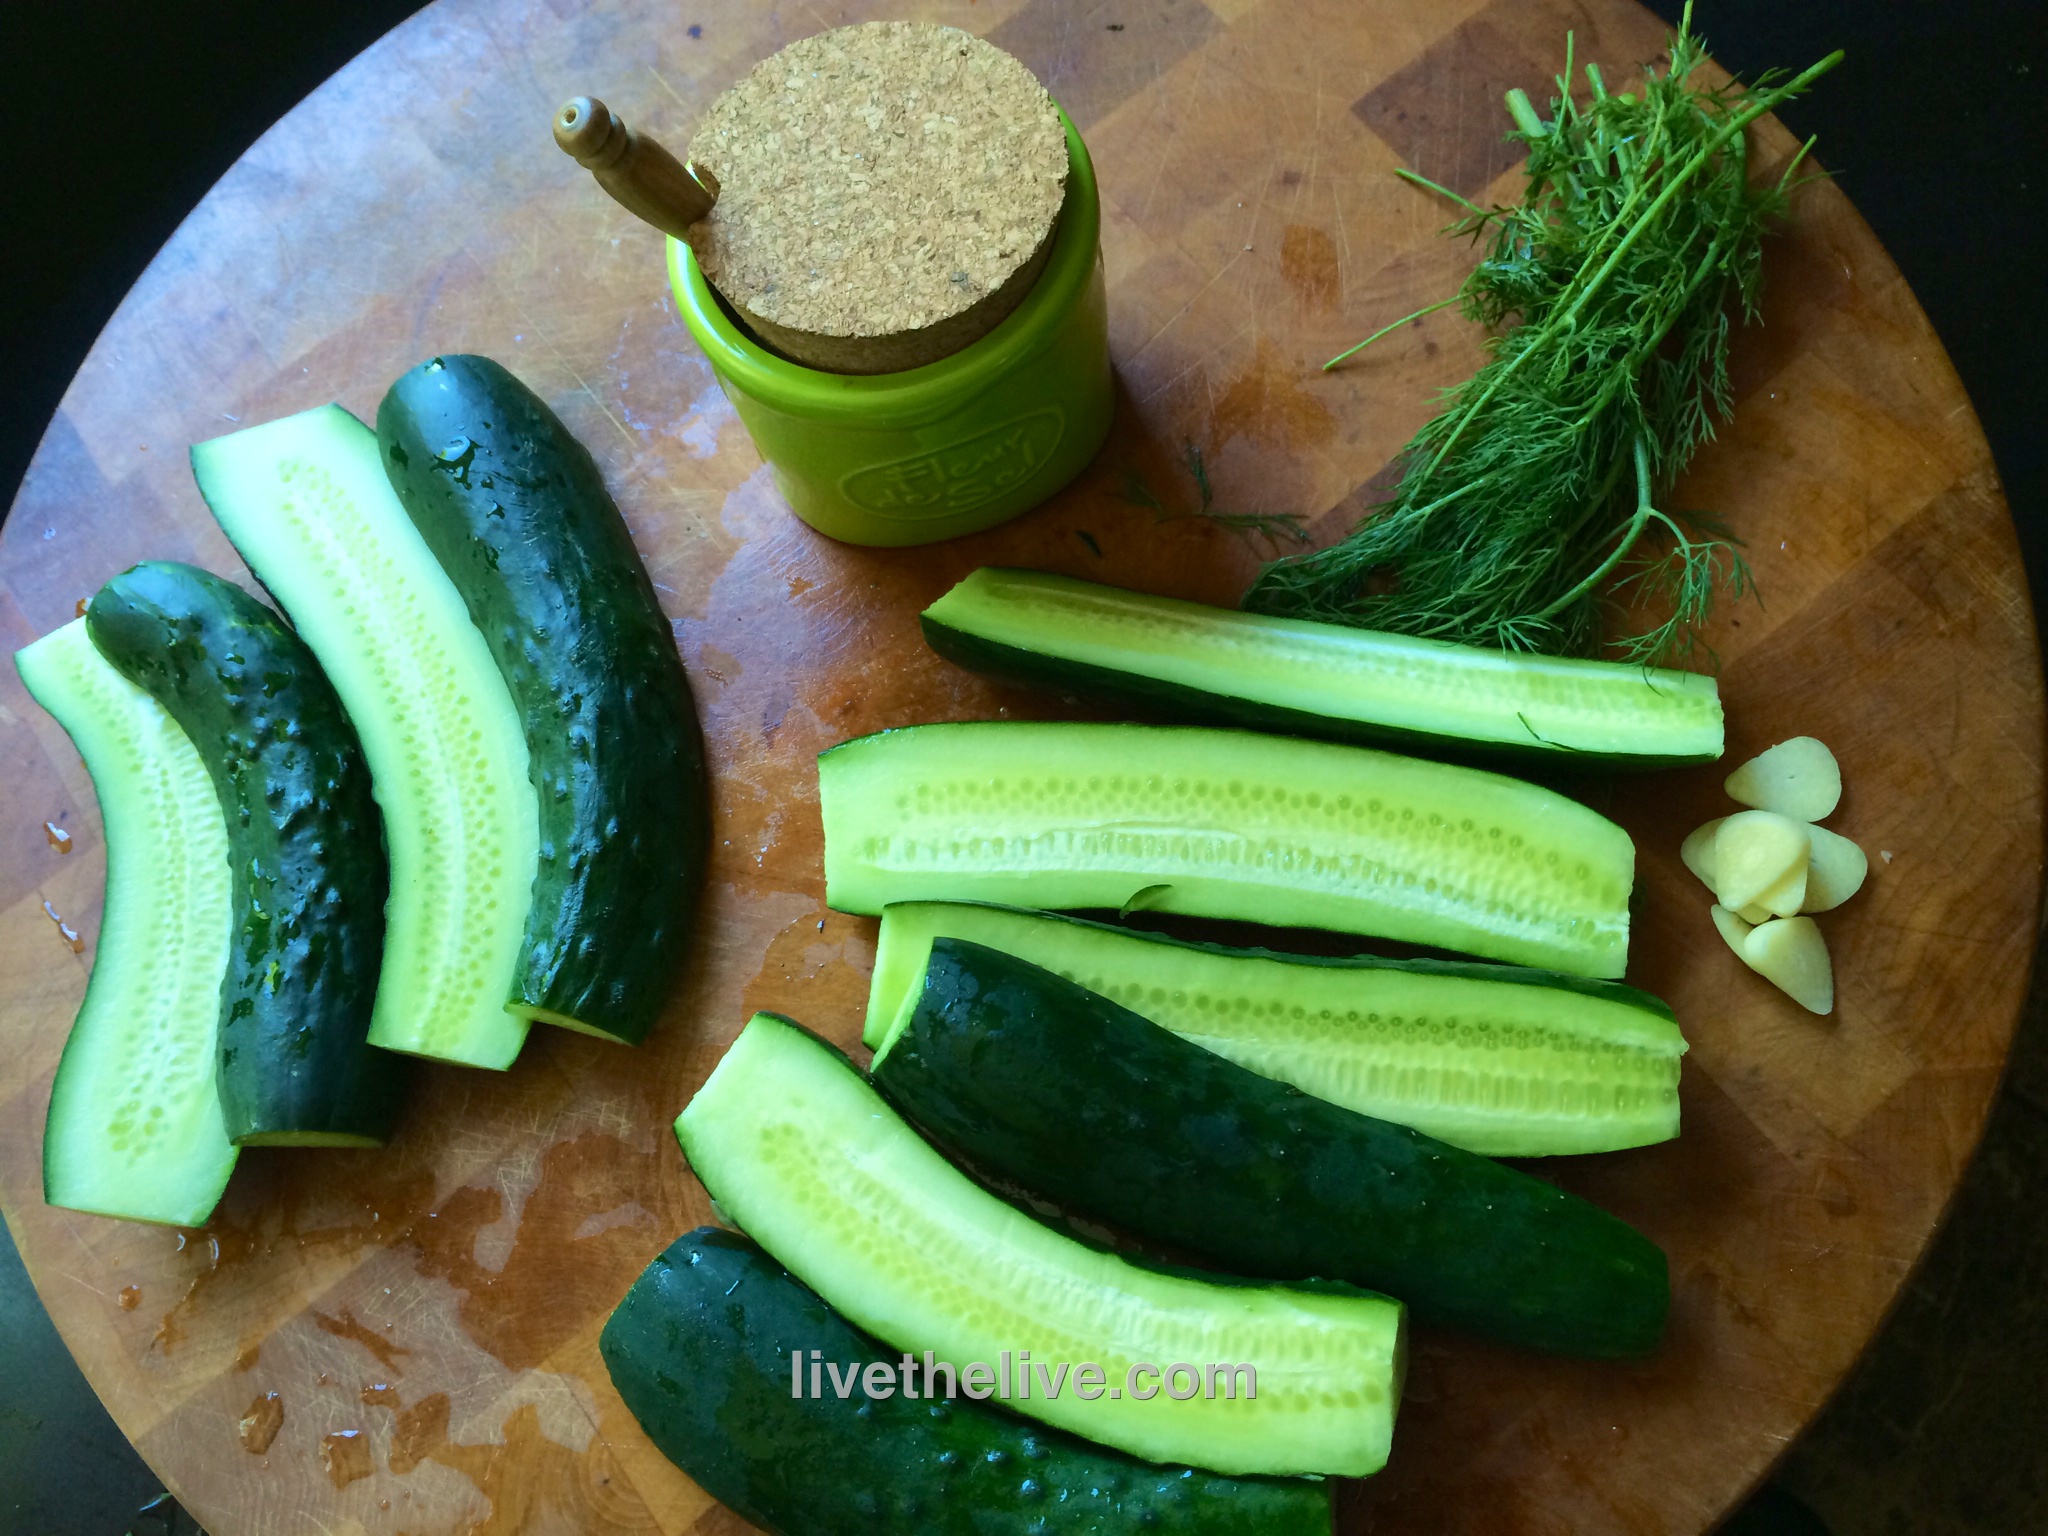
fresh dill (optional)

Pre-heat the oven to 450. Wrap the beets in foil and roast them for about an hour, until tender. When they’re cool enough, carefully peel and quarter them. (If you’re using Love Beets, no cooking is necessary. Just open the package, and halve them, quarter them, or slice them…whatever is your preference.)
In a medium saucepan, combine the vinegar, water, garlic, sugar, peppercorns and salt. Bring it to a boil and simmer over moderately high heat, stirring until the sugar has dissolved. Let the pickling liquid cool to warm, about 15 minutes.
In a heat-proof glass jar or container, layer the beets, onions, and optional cauliflower. Pack them down a bit so there’s not a lot of air between them. Pour the pickling liquid in the jar, covering the veggies. Seal the jar tightly. Let it stand at room temp for 2 hours, then place it in the fridge overnight.
They stay fresh for a week, but they won’t last that long!