Growing up in a Lithuanian family, there was a small group of foods that I had to love to survive, since they constantly appeared on the dinner table: potatoes, cabbage, mushrooms, herring, and beets. Fortunately for me, I loved them all, despite my Mom’s desire to boil everything to death.
One of the many uses for beets, besides a cold summer soup and a hot winter soup, was pickling. Pickled beets are an excellent side dish for any hearty meat dish. (I love ’em with kielbasa!) Store-bought pickled beets pack way too much sugar in every jar, so it was time to make my own. The addition of hard-boiled eggs to the mix is a personal one. If you don’t like ’em, leave ’em out and add more beets.
A real time saver is a product called Love Beets, which you can find in any supermarket. If you use them, you can skip the roasting of the beets altogether.
4 to 8 beets, scrubbed (your favorite variety)
1 cup apple cider vinegar
1 cup water
3 garlic cloves, crushed
3 tablespoons sugar
2 teaspoons whole black peppercorns
1 tablespoon Kosher salt
1 onion, sliced (I like Vidalias)
4 hard-boiled eggs, peeled (optional)
6 fresh dill sprigs
Pre-heat the oven to 450.
If you’re using fresh beets, wash them well and then wrap the beets in foil and roast them for about an hour, until tender. When they’re cool enough, carefully peel and quarter them. (Otherwise, just open the pack of Love Beets and you’re ready to go.)
In a medium saucepan, combine the vinegar, water, garlic, sugar, peppercorns and salt. Bring it to a boil and simmer over moderately high heat, stirring until the sugar has dissolved. Let the pickling liquid cool to warm, about 15 minutes.
In a heat-proof glass jar or container, layer the beets, onion, eggs (optional) and dill sprigs and then cover them with the pickling liquid. Put the lid on the jar.
Let the jar stand at room temp for 2 hours, then place it in the fridge overnight.
They stay fresh for a week, but they won’t last that long!
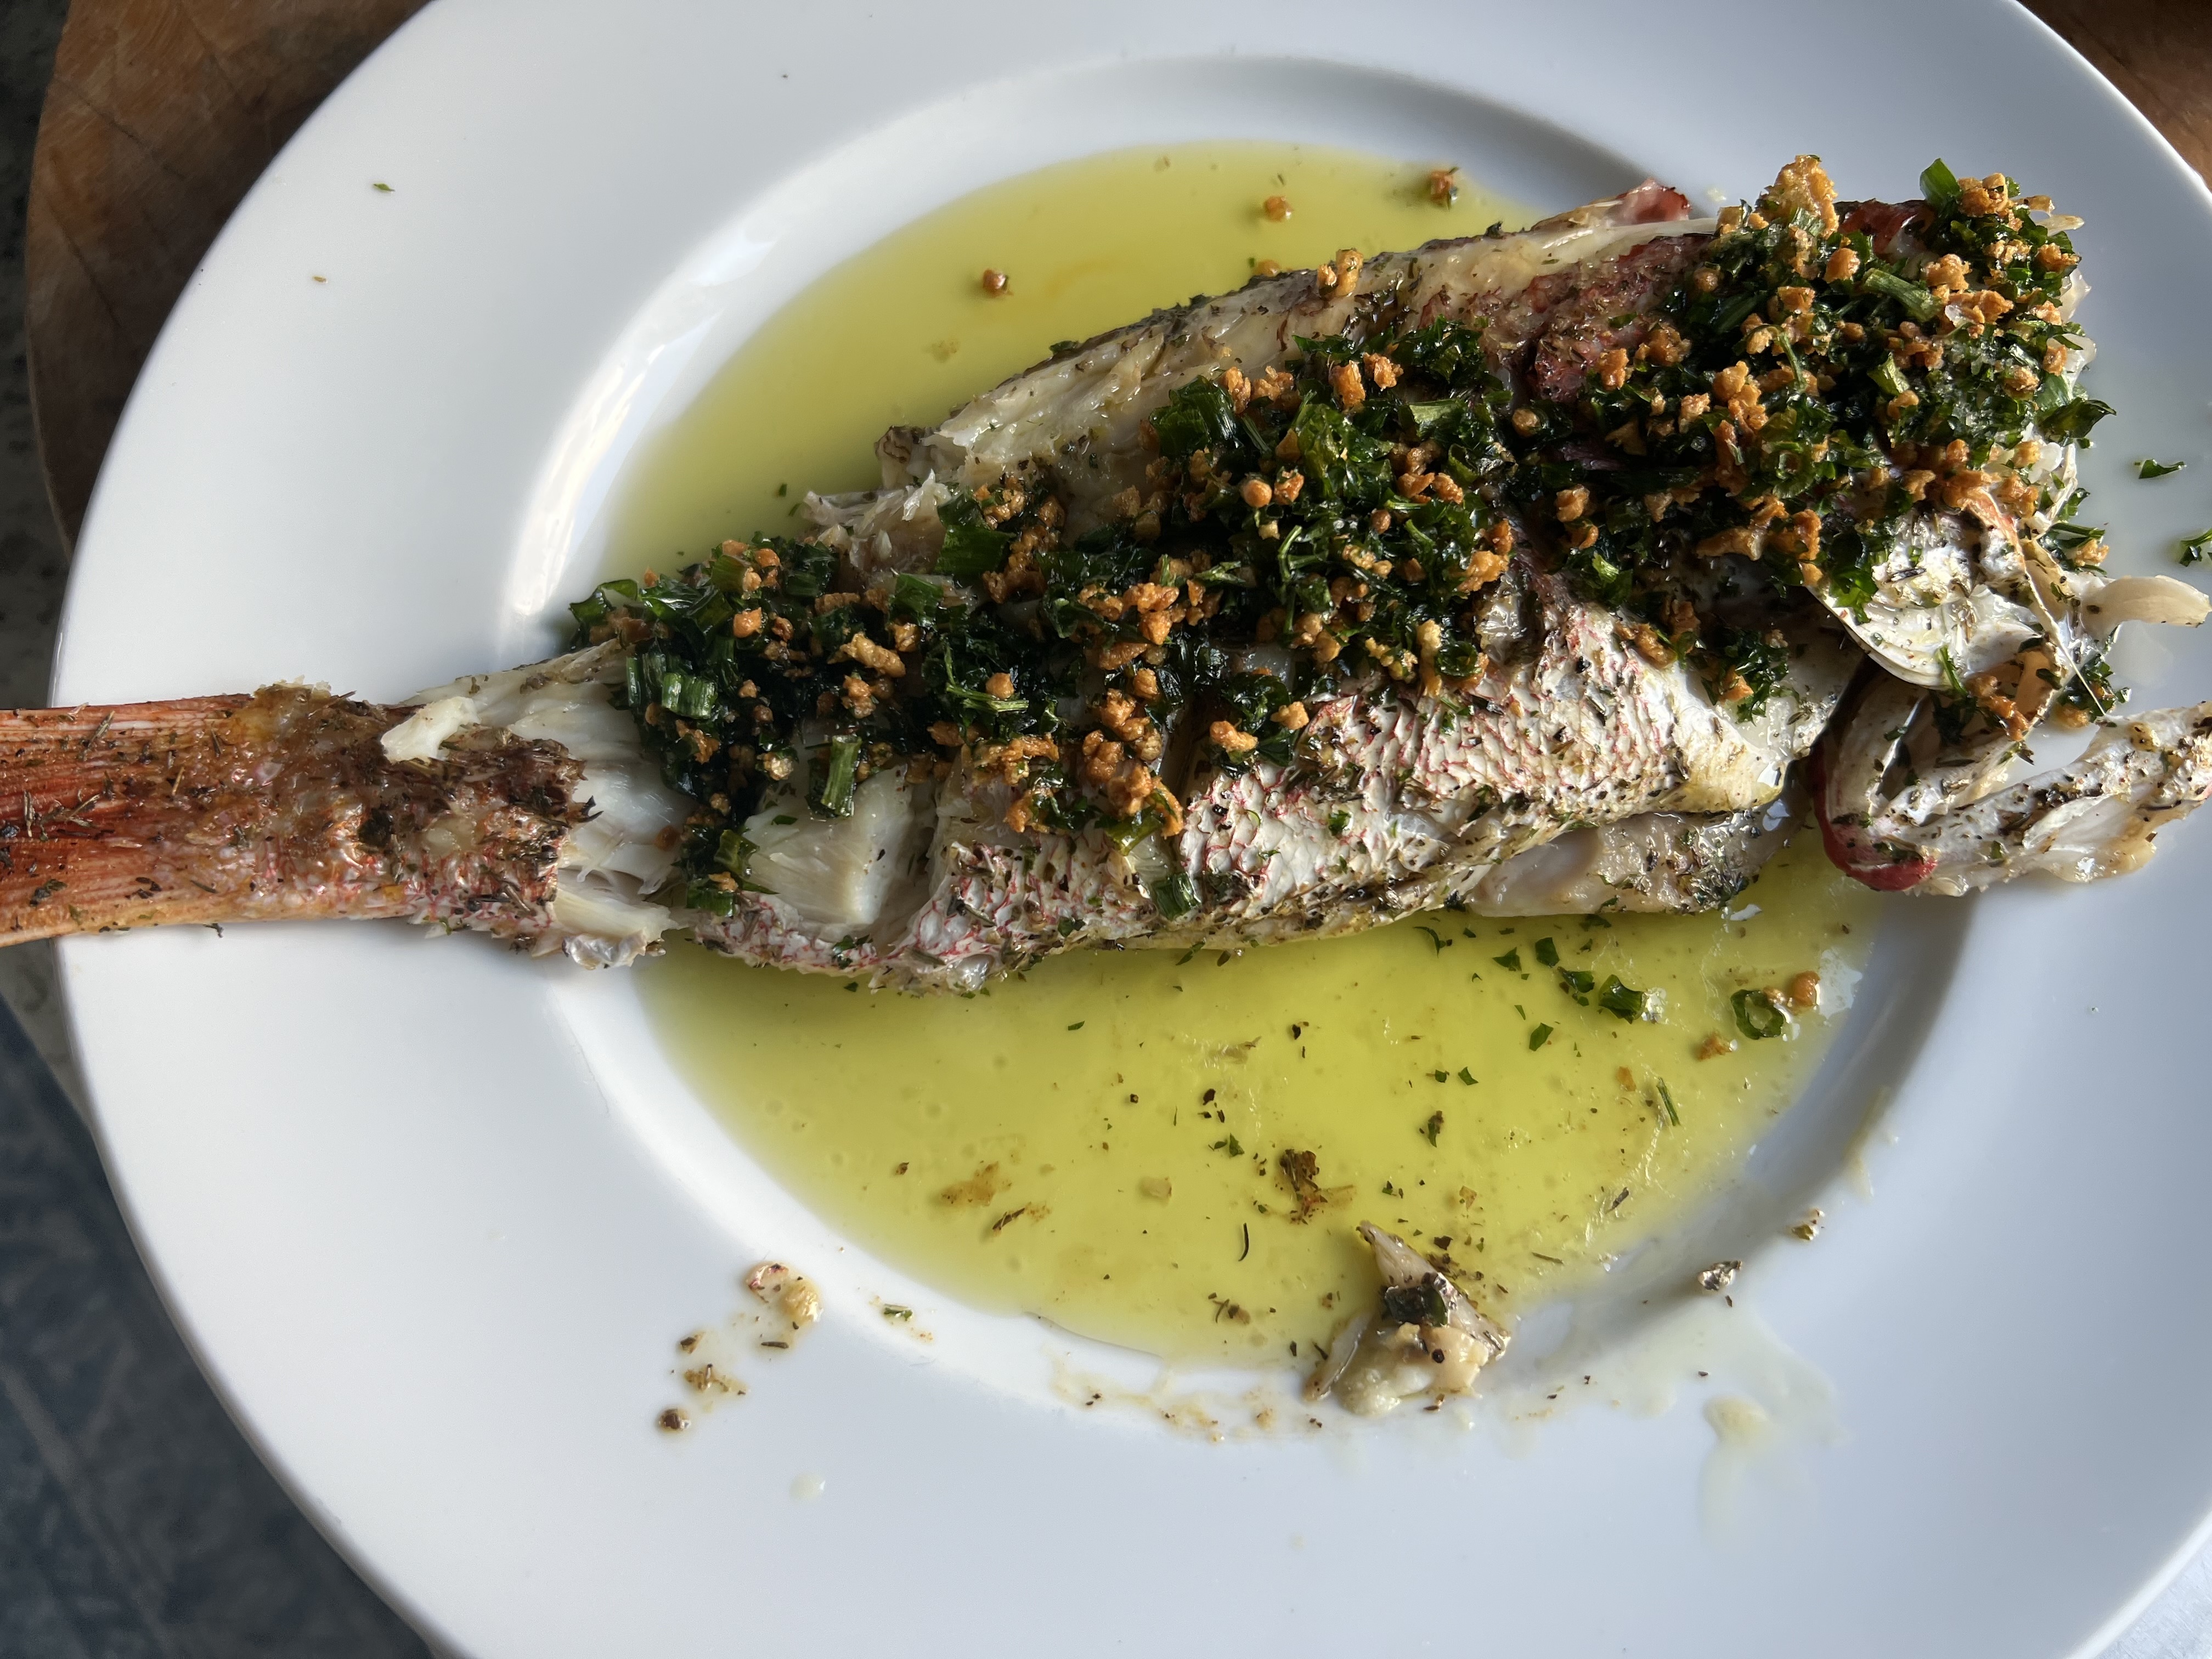
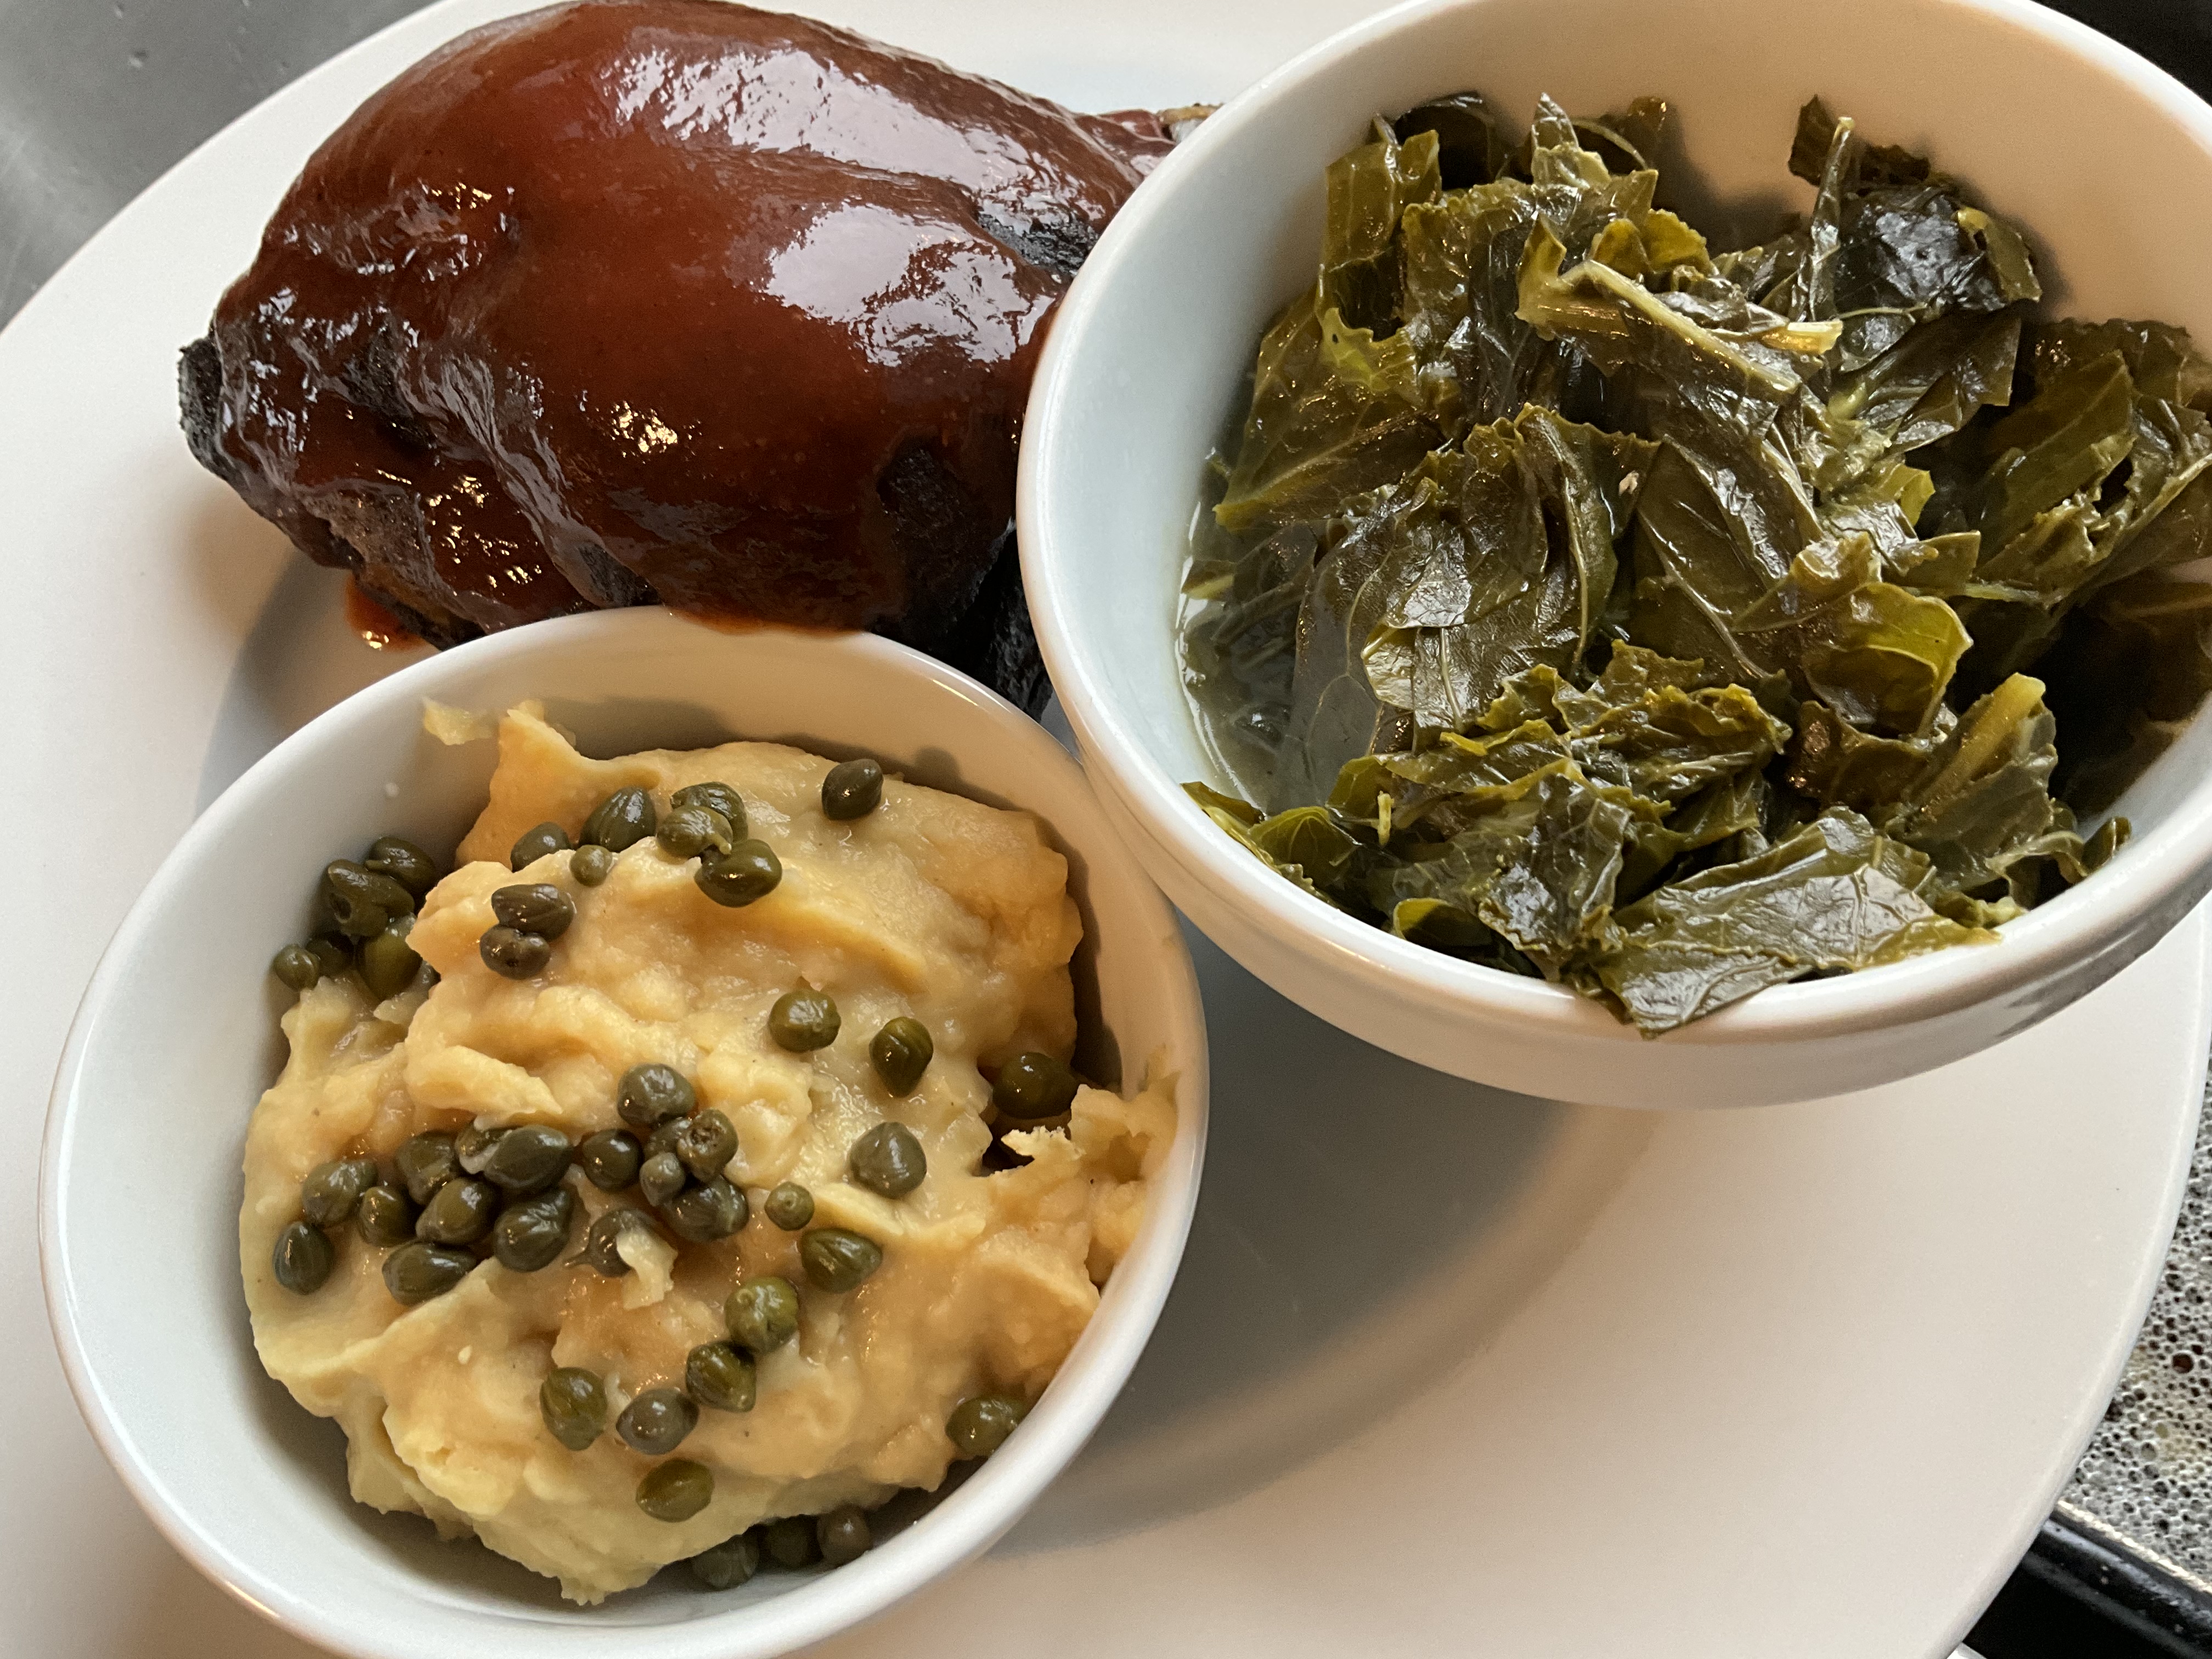
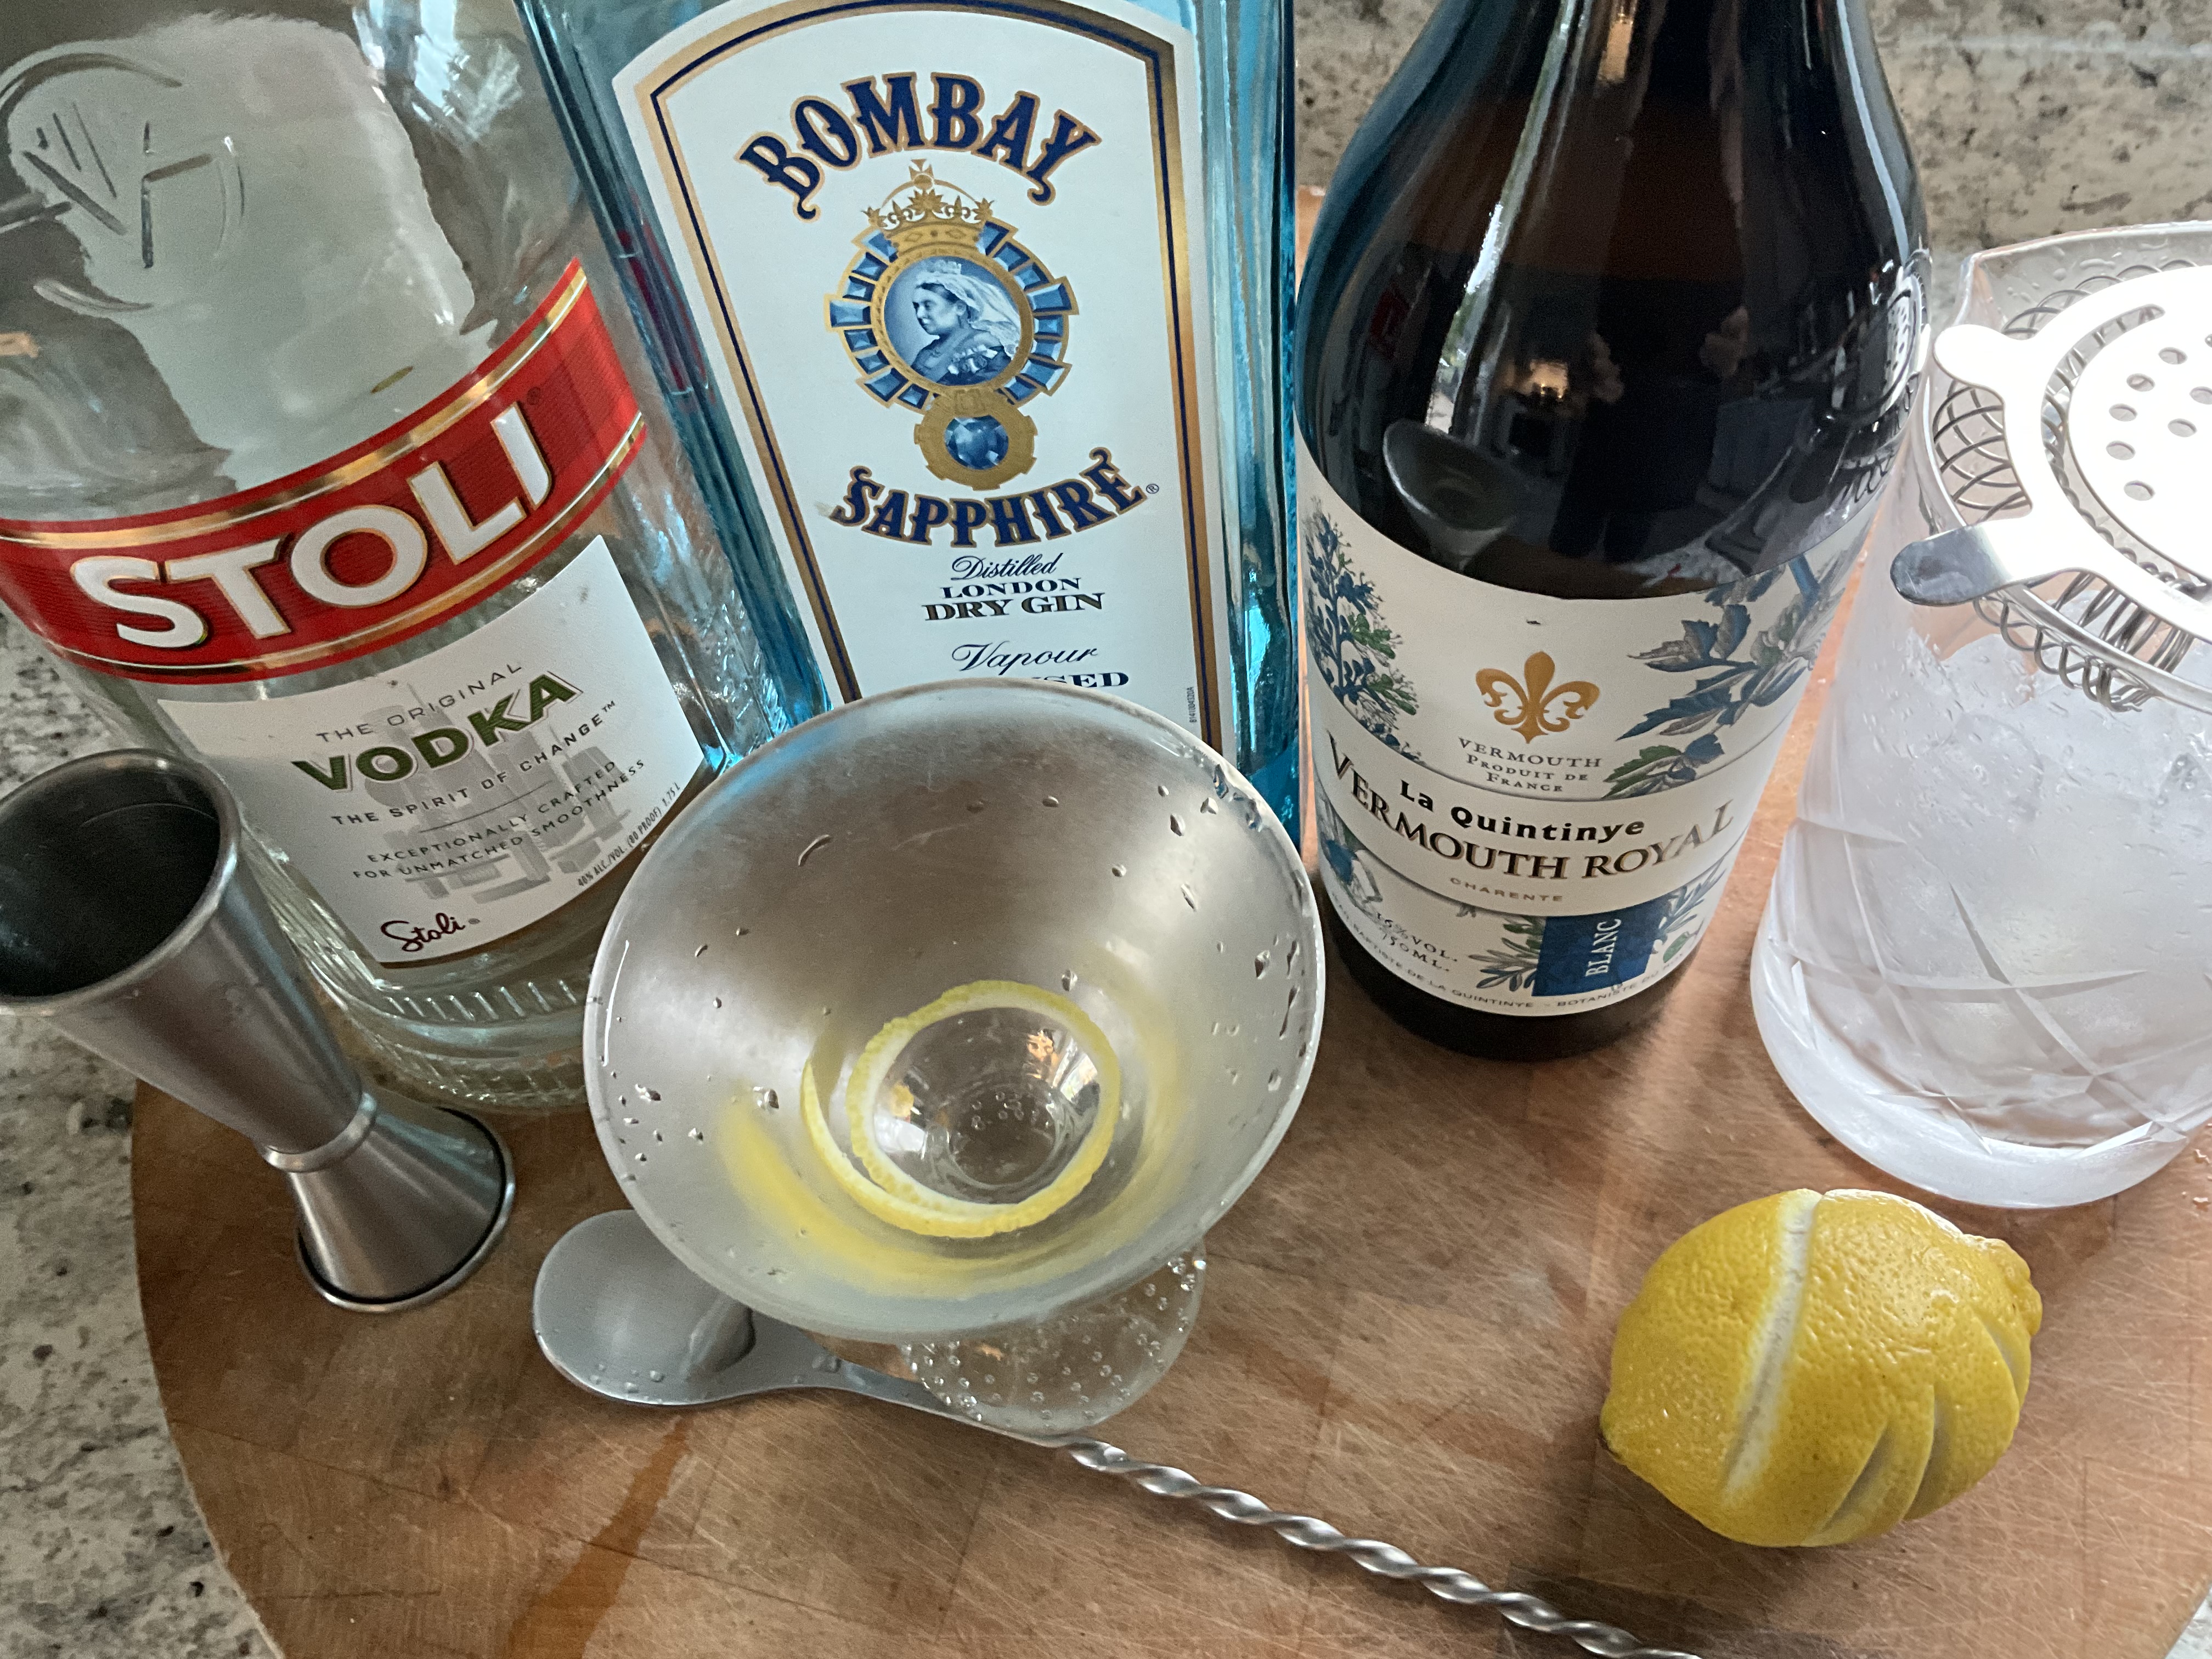
Whole red snapper. I almost always order a whole fish when I see it on the menu at a restaurant. But I’ve never tried cooking one at home until now. My fishmonger cleaned and scaled the fish, so I just rubbed it with extra virgin olive oil, salt and pepper and put it on a sheet pan in a preheated 350° oven. I cooked it until the fish registered 140° on a thermometer. And in a pan on the stovetop, I made a variation of aglio olio: extra virgin olive oil, lots of chopped garlic, chopped parsley, and some scallions. Fried it up until the garlic was crispy and poured it on top of the fish.That may not look like ribs in the corner, but it’s a nice, fat, Berkshire pork rib with my homemade barbecue sauce. Smoked it with hickory for about five hours. Found some organic collards at Whole Foods, so I cooked them down, throwing leftover chicken parts into the pot, to give it some flavor. When it was time to serve, I reheated them, seasoning with salt and pepper. Kept it simple. And finally, what they call ‘fava” in Santorini, Greece. It’s actually yellow split peas that I boiled in a pot of water and chicken stock, with an onion thrown in. Cooked it all down until it became a porridge, and then I put it in the blender to whip it up. Served with capers.And let’s talk cocktails. I’ve been a fan of Vesper martinis forever, but I’m getting tired of Lile’s, and since I don’t use it that often, it goes bad in the fridge. Same thing with Cocchi Americano. (Those are the two fortified wines that most people will argue back-and-forth about when it comes to what belongs in a Vesper.) But I have more use for an excellent vermouth so my “faux” Vesper is three parts gin, one part vodka, and just a rinse of the glass with the vermouth. Twist of lemon.
Chimichurri is a garlicky, herby green sauce usually used with grilled meats. This pesto-like condiment originated in Argentina and is also commonly used in Nicaragua and Uruguay. Though some recipes include cilantro, many people insist the original is made only with parsley. To pack an extra punch, chimichurri also makes an excellent marinade for grilled meats.
My buddy, Lee, a chemist and avid chimichurri fan, is the inspiration for my version of this sauce. It’s incredibly easy to make. Just make sure to use fresh ingredients, and it’s always a good idea to wash all the veggies before using, even if you’re going organic.
1 bunch flat-leaf parsley, chopped 1/4 cup water 1 medium onion, chopped 3 cloves garlic, minced 3–4 tablespoons fresh oregano, leaves only (or 1 tablespoon dry) 1 tablespoon paprika 1 teaspoon crushed bay leaf 1 tablespoon coarse sea salt 1 teaspoon freshly ground black pepper pinch red pepper flakes 1/4 cup red wine vinegar 1/2 cup extra virgin olive oil
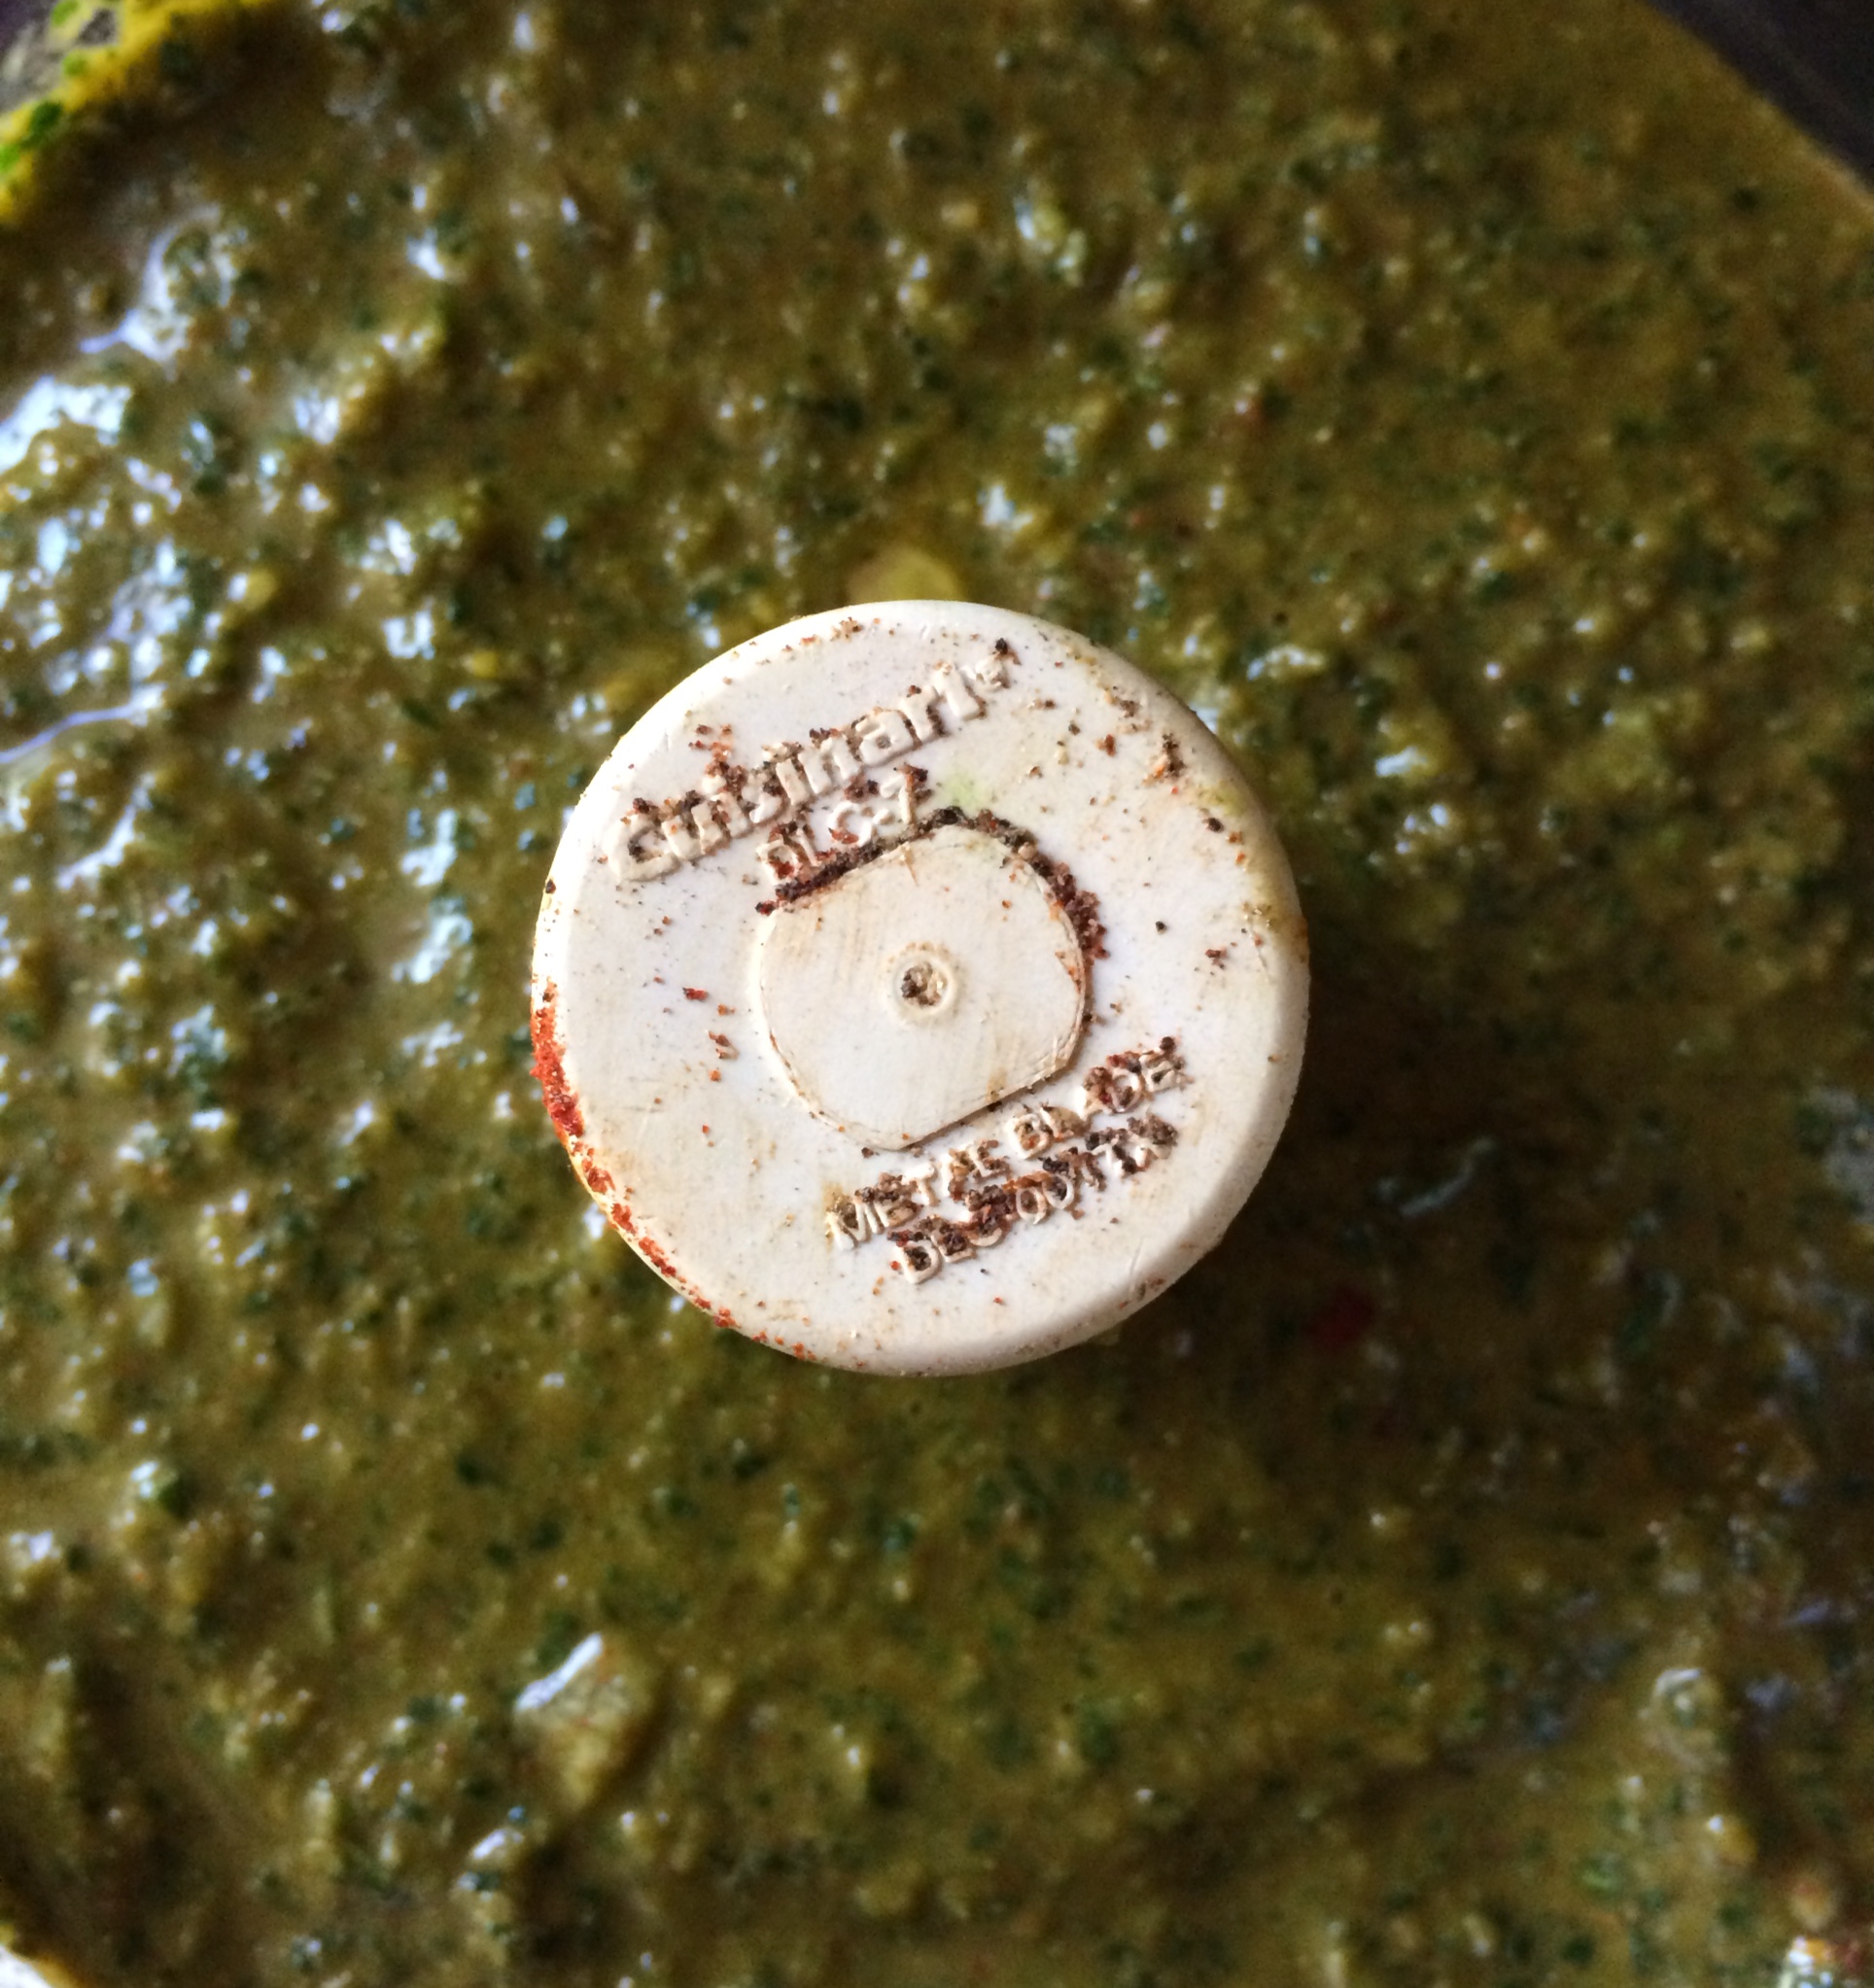
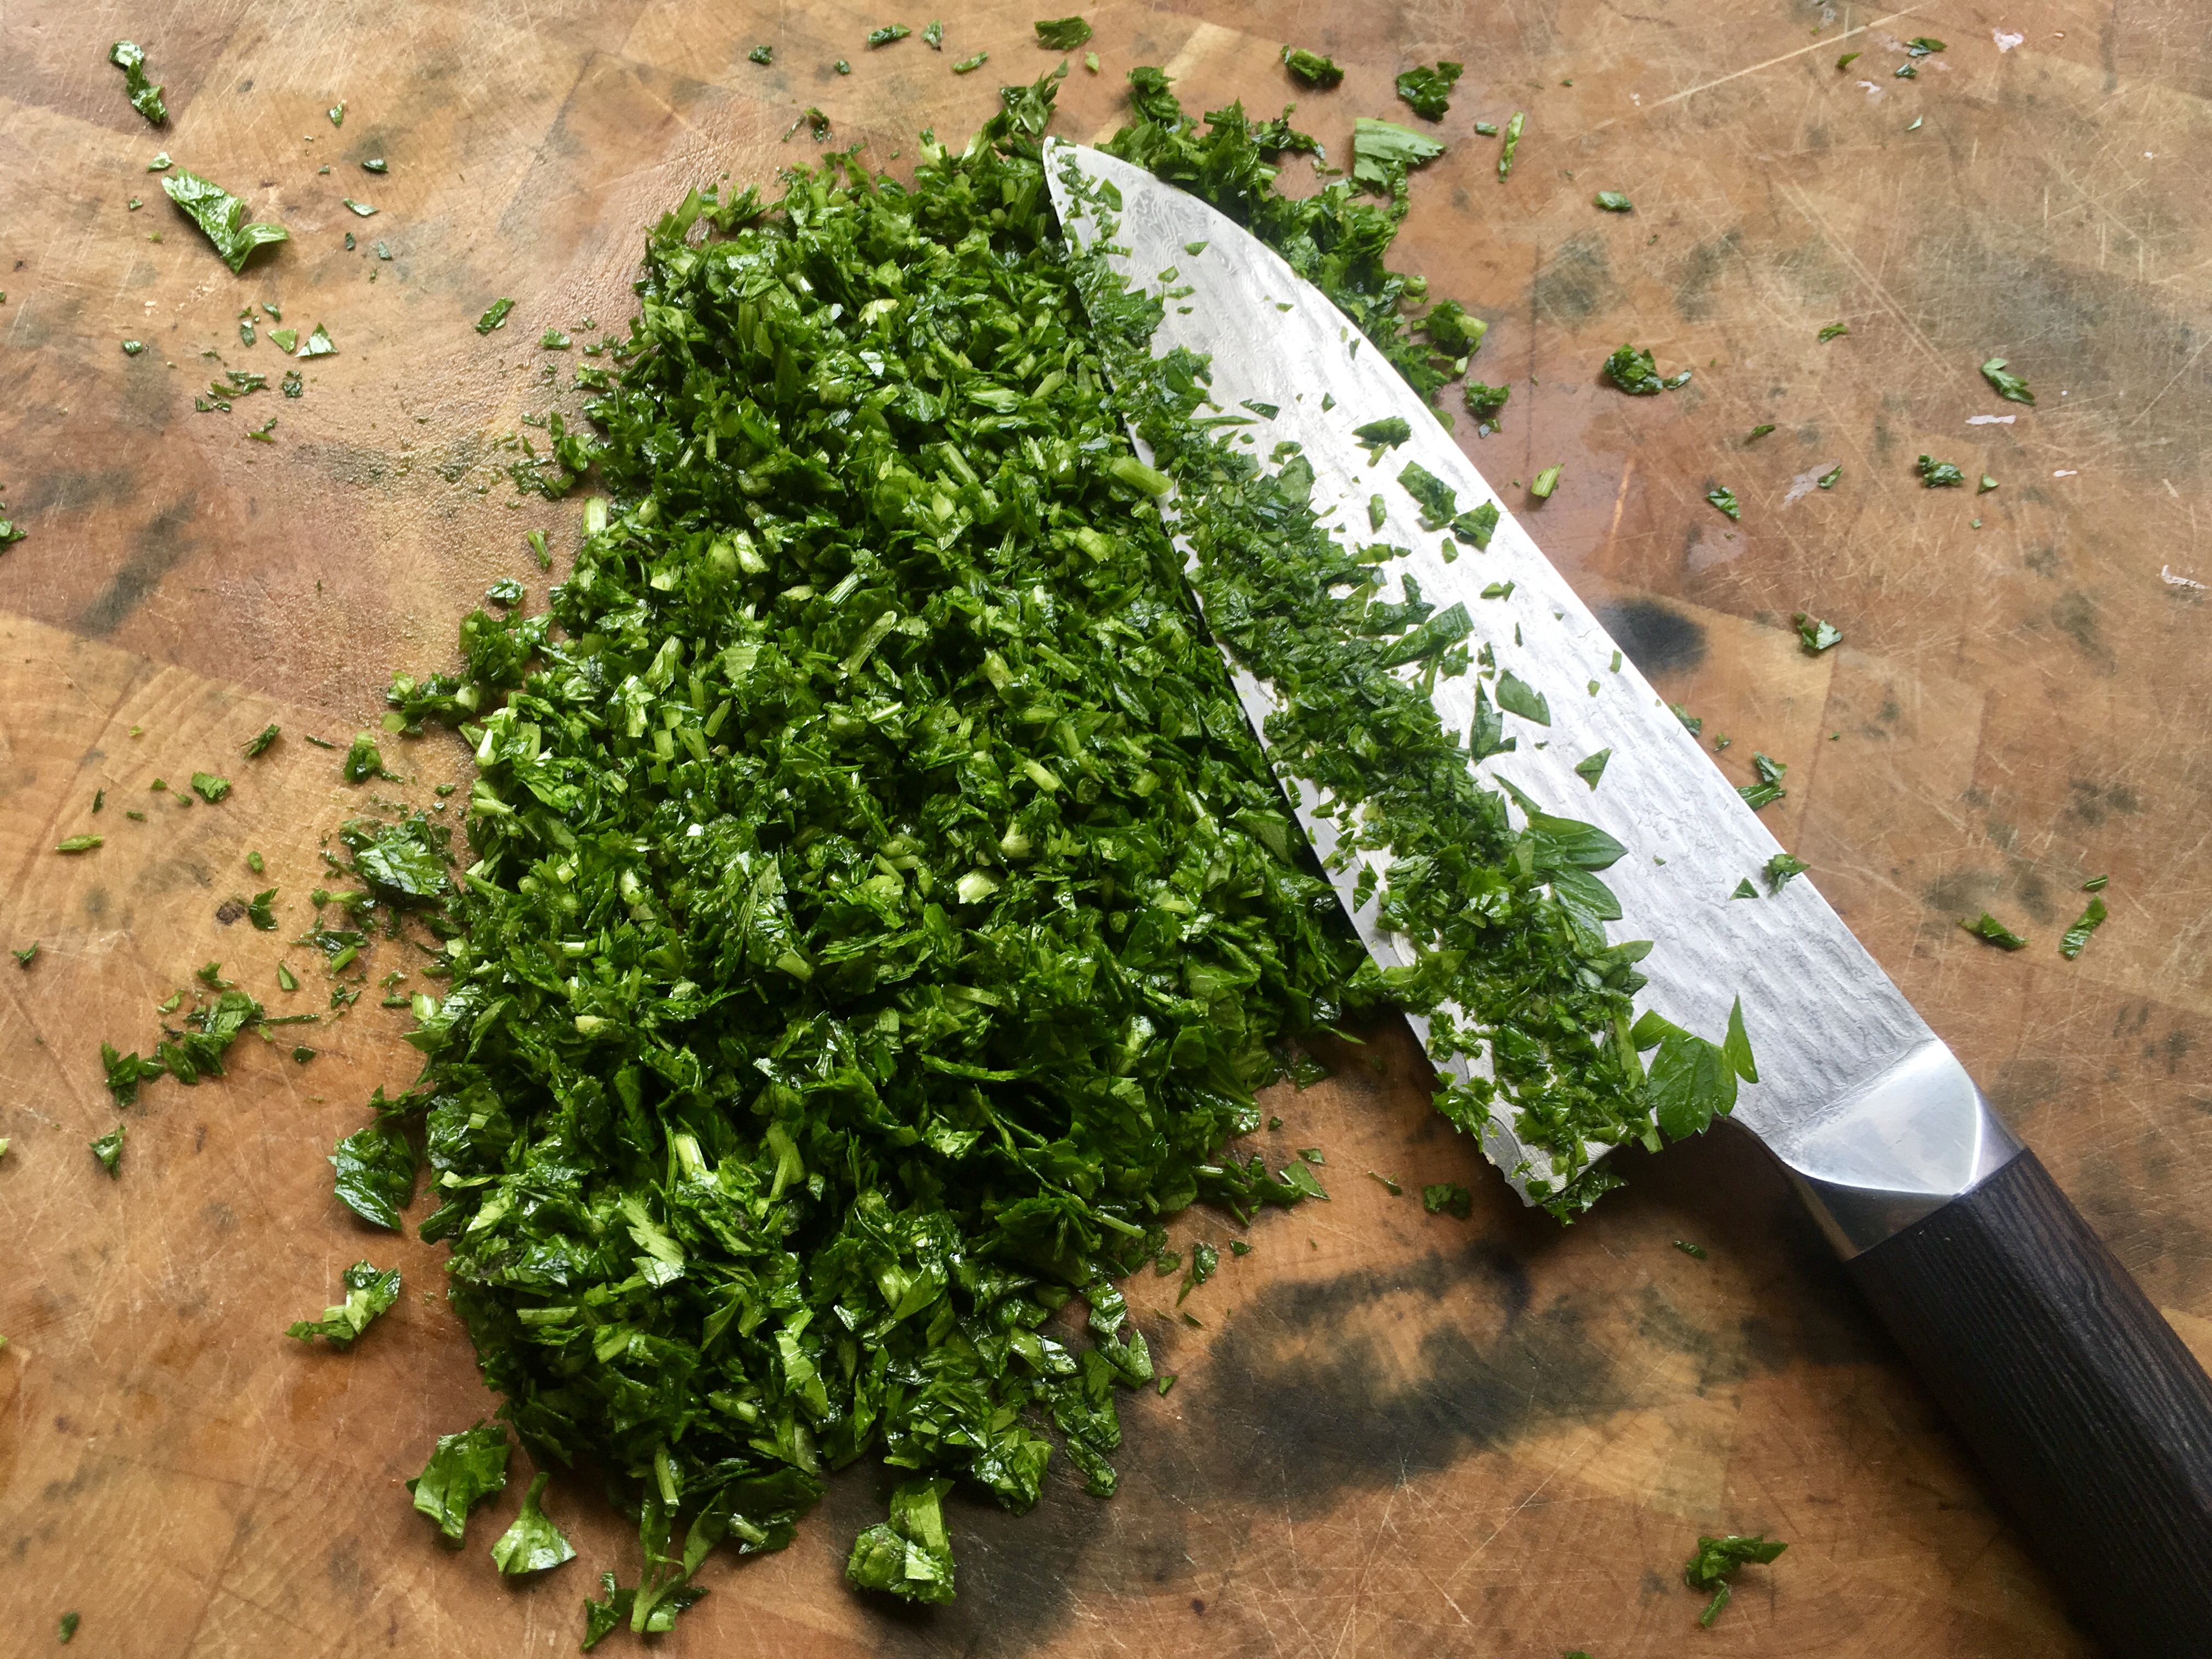
Place all the parsley and the water in a food processor and begin to chop, pulsing for a second at a time. When the parsley is in small pieces, stop pulsing and add the remaining ingredients, except the vinegar and olive oil. Start the processor on a full run now, and slowly pour in the vinegar, then the olive oil. Try not to make it too smooth…leave some tasty bits. Allow it to rest for at least 30 minutes, but overnight in the fridge is best.
I marinated 2 grass-fed beef ribeyes in chimichurri overnight, simply smearing the meat with the sauce, and placing the ribeyes in a resealable plastic bag in the fridge. The next day, I let the beef come to room temperature and I wiped the marinade off. I discarded the marinade, then I re-seasoned the beef with a little salt and pepper and pan seared them, finishing them in a 350-degree oven until medium-rare. A little dipping of fresh chimichurri on the side.
Grass-fed beef ribeyes with chimichurri
Lots of fresh parsley is key!
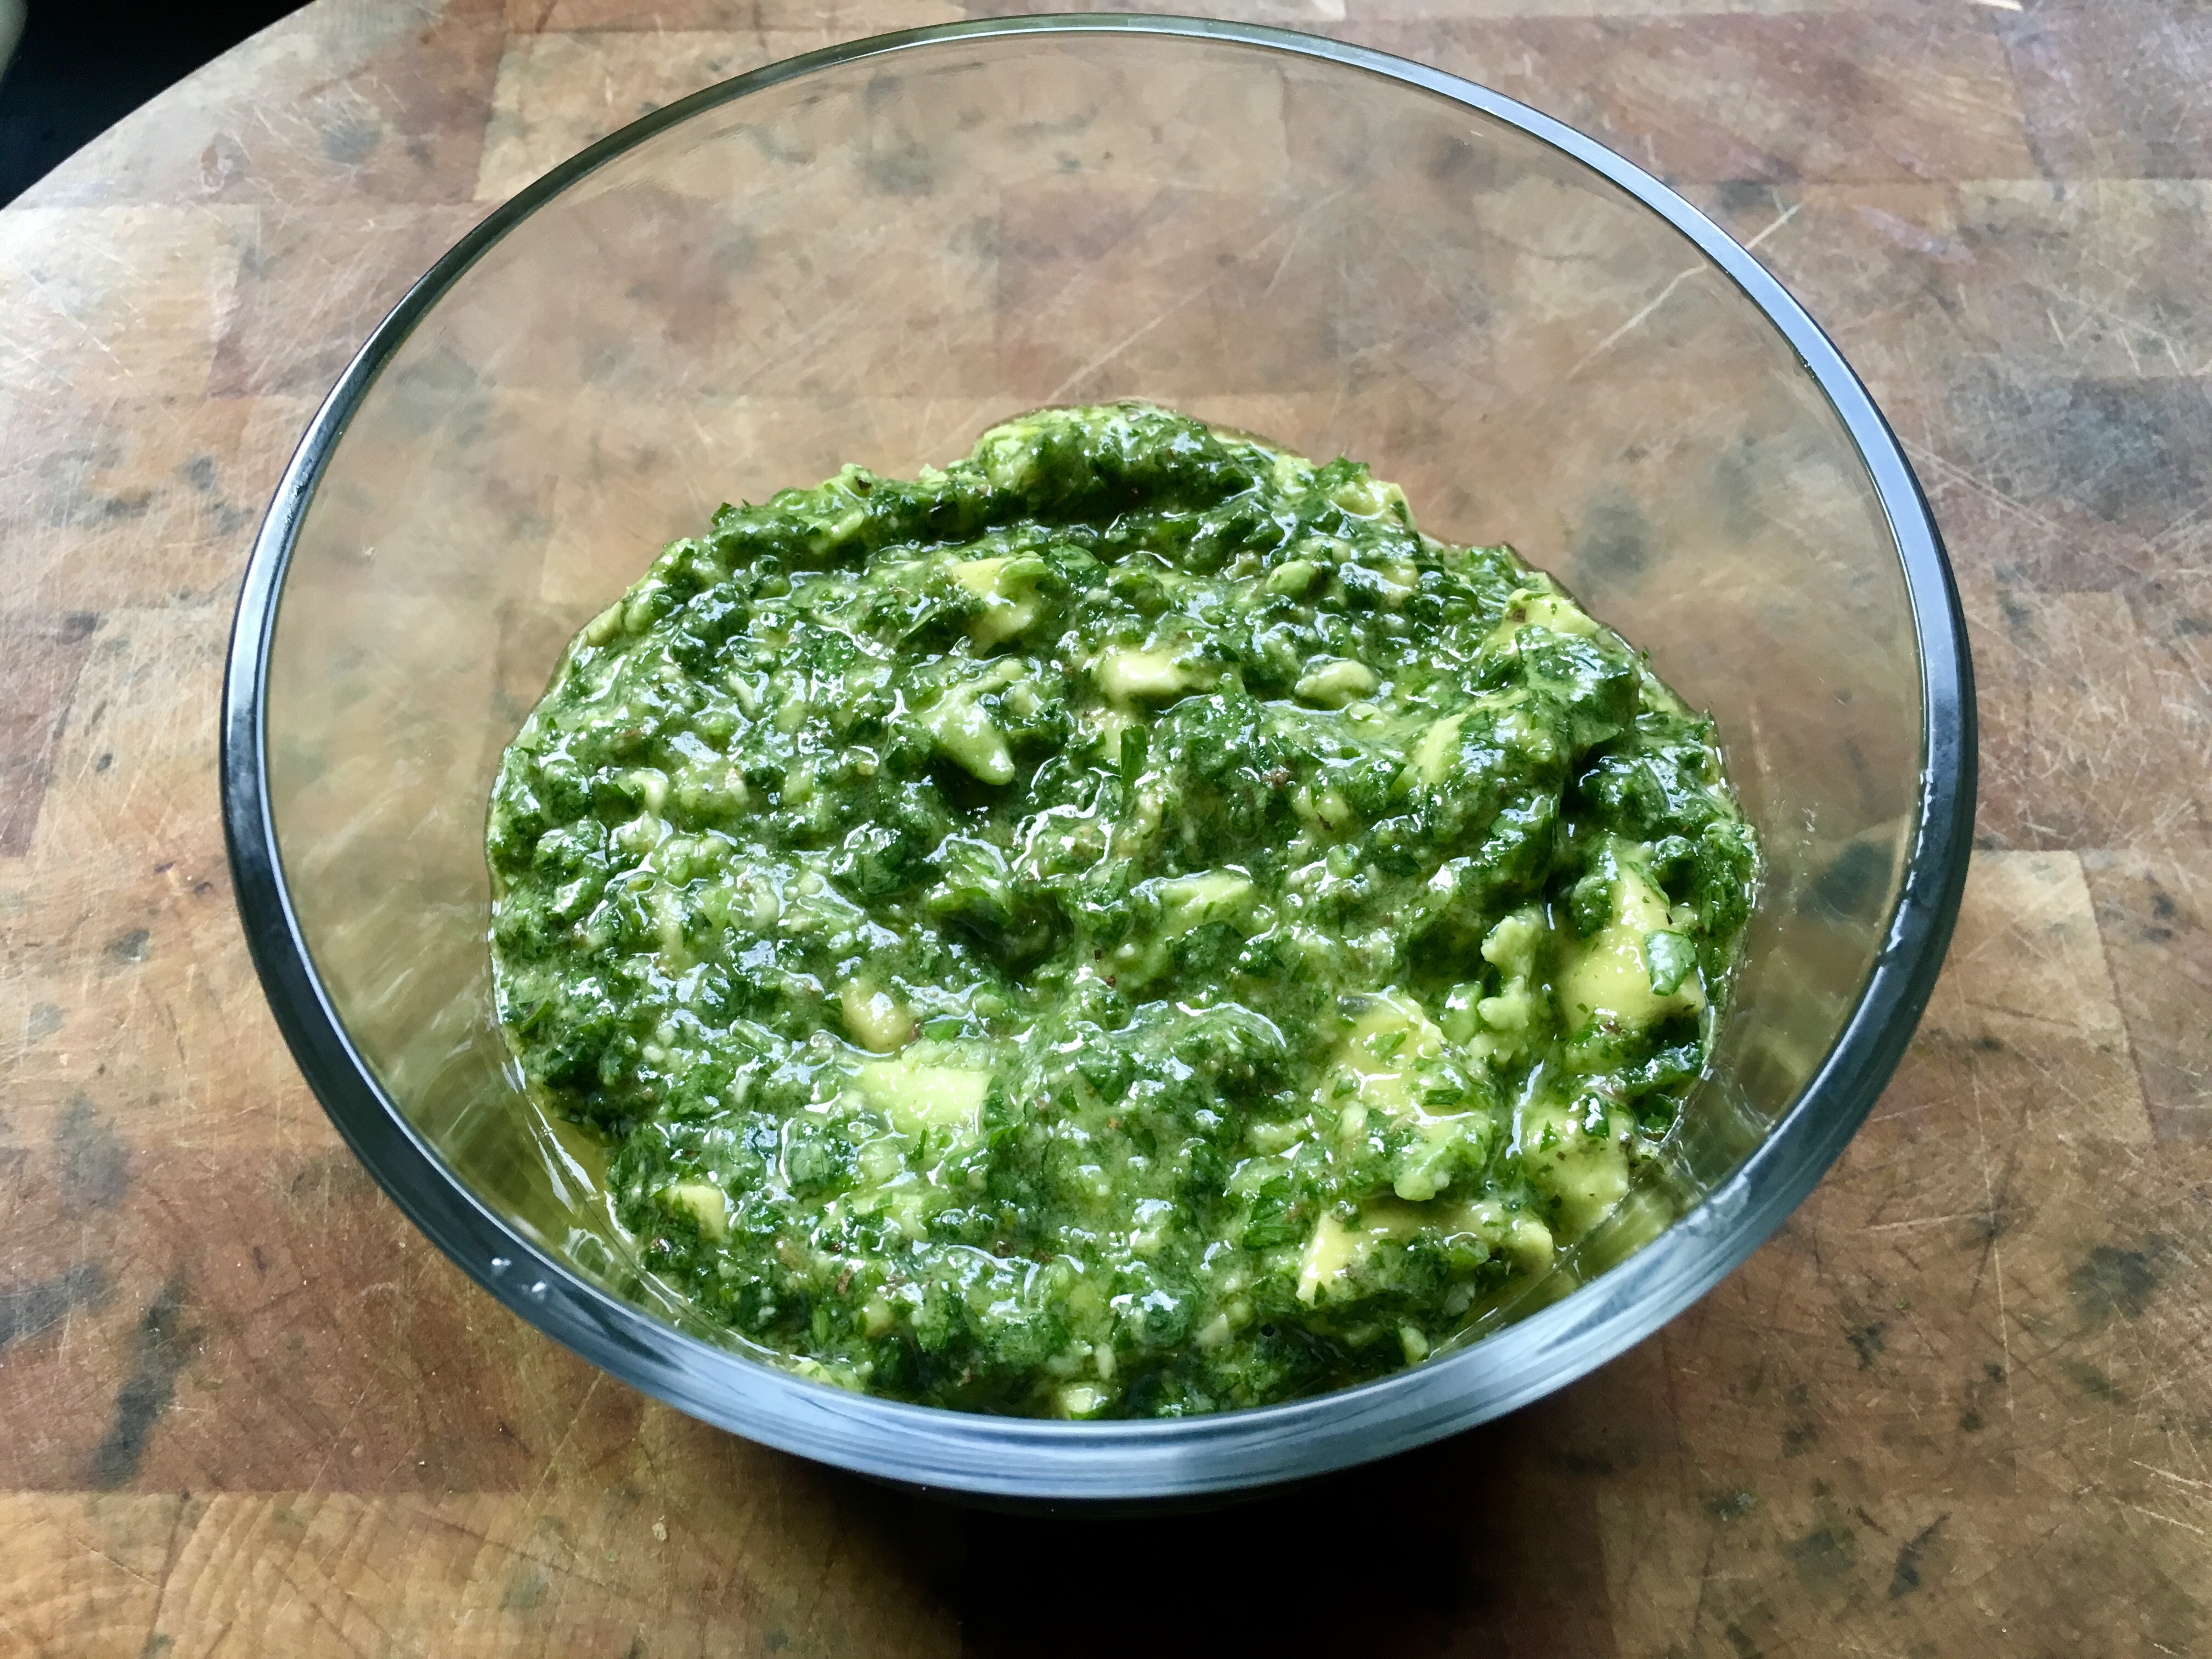
I recently saw a recipe that had some chimichurri ingredients but also included avocado, and thought: now that sounds tasty! It’s not the classic recipe, of course, but it is delicious! I can see this used as a dip for veggies or chips. The fresh lime juice keeps the avocado from browning.
1/3 cup extra virgin olive oil 1/4 cup fresh lime juice 1 garlic clove, minced 1 cup finely chopped parsley 1 tablespoon finely chopped oregano, or 1 teaspoon dry oregano 1 Hass avocado, peeled, pitted and diced Kosher salt
In a medium bowl, whisk the olive oil with the lime juice, garlic and a pinch of salt. Stir in the parsley and oregano and let it stand at room temperature for 30 minutes. Fold in the avocado and season with salt.
Avocado “chimi.” Chunky and tasty.
This “chimi” can be refrigerated for up to 4 hours.
When we’re grilling, we always think of beef. But there’s no tastier way to prepare lamb than on the grill! Many people are turned off by lamb because somewhere in their past, they had a horribly overcooked piece of meat that ruined it for them. Don’t be sheepish! Try lamb again!
If you think lamb is too “gamey,” buy American lamb over New Zealand or Australian lamb. Although the animals are mostly pasture-raised, most American lamb is larger and grain finished, which results in a milder flavor. Unfortunately, like with non grass-fed American beef, this also results in a larger, fattier animal, and a less healthy cut of meat.
I prefer 100% grass-fed lamb, and most of it comes from New Zealand. Having been to the country, I can tell you that the quality is unmatched and the grasslands of New Zealand are the most beautiful I’ve ever seen. New Zealand lamb is smaller and is slaughtered at a younger age than American lamb, making it very tender. In New Zealand, as well as many other countries, only an animal under 12 months of age and without incisors can be called “lamb.” No such labeling is required in the United States.
I love the baby lamb chops that look like miniature porterhouse steaks. You can find them in any supermarket. Here’s an easy recipe that I served at a party in my home for 40 people, many of whom claimed they didn’t like lamb or never had it before. By the end of dinner, the chops were gone!
8 small lamb chops
½ cup olive oil
¼ cup balsamic vinegar
2 cloves garlic, through a garlic press
1 tablespoon fresh rosemary, chopped
1 tablespoon honey
2 teaspoons Dijon mustard
1 teaspoon dried oregano
Salt and pepper
Place the lamb meat in a plastic bag. In a bowl, combine all the ingredients for the marinade and pour it over the lamb. Seal the bag and squish it around so that the marinade reaches every part of the chops. I leave it at room temp if marinating for a few hours…or in the fridge if overnight.
Before grilling, take the lamb out of the fridge and let it come back to room temperature.
Pre-heat the barbecue grill. Grill the lamb until it’s done. That means cooked no more than medium. Don’t cook it to death! If you can’t get to a grill, place the lamb chops in a hot oven-proof pan (cast iron is always best) and sear it on all sides. Then place the pan in a 350-degree oven to cook all the way through.
In New Orleans, I had oysters every which way: Bienville, Rockefeller, char-grilled, baked, and, of course, raw. But here in New England, we’re pretty proud of our oysters, and in Rhode Island alone, we’ve got a wide variety to choose from.
Fresh oysters deserve an amazing cocktail sauce, and my recipe kicks butt: lots of horseradish, lots of flavor, and a secret ingredient: vodka. Not only does it give it a kick, it keeps it from freezing solid, so I can keep the cocktail sauce in the freezer until I need it. Then, I just scoop it out like sorbet.
2 cups ketchup
4 tablespoons prepared horseradish
1 tablespoon fresh lemon juice
1 teaspoon Worcestershire sauce
1/2 teaspoon Frank’s Red Hot, or other hot pepper sauce
5 grinds of fresh black pepper
1/4 teaspoon salt
1 teaspoon good quality vodka, like Tito’s
Combine all the ingredients. Store in a tight plastic container in the freezer.
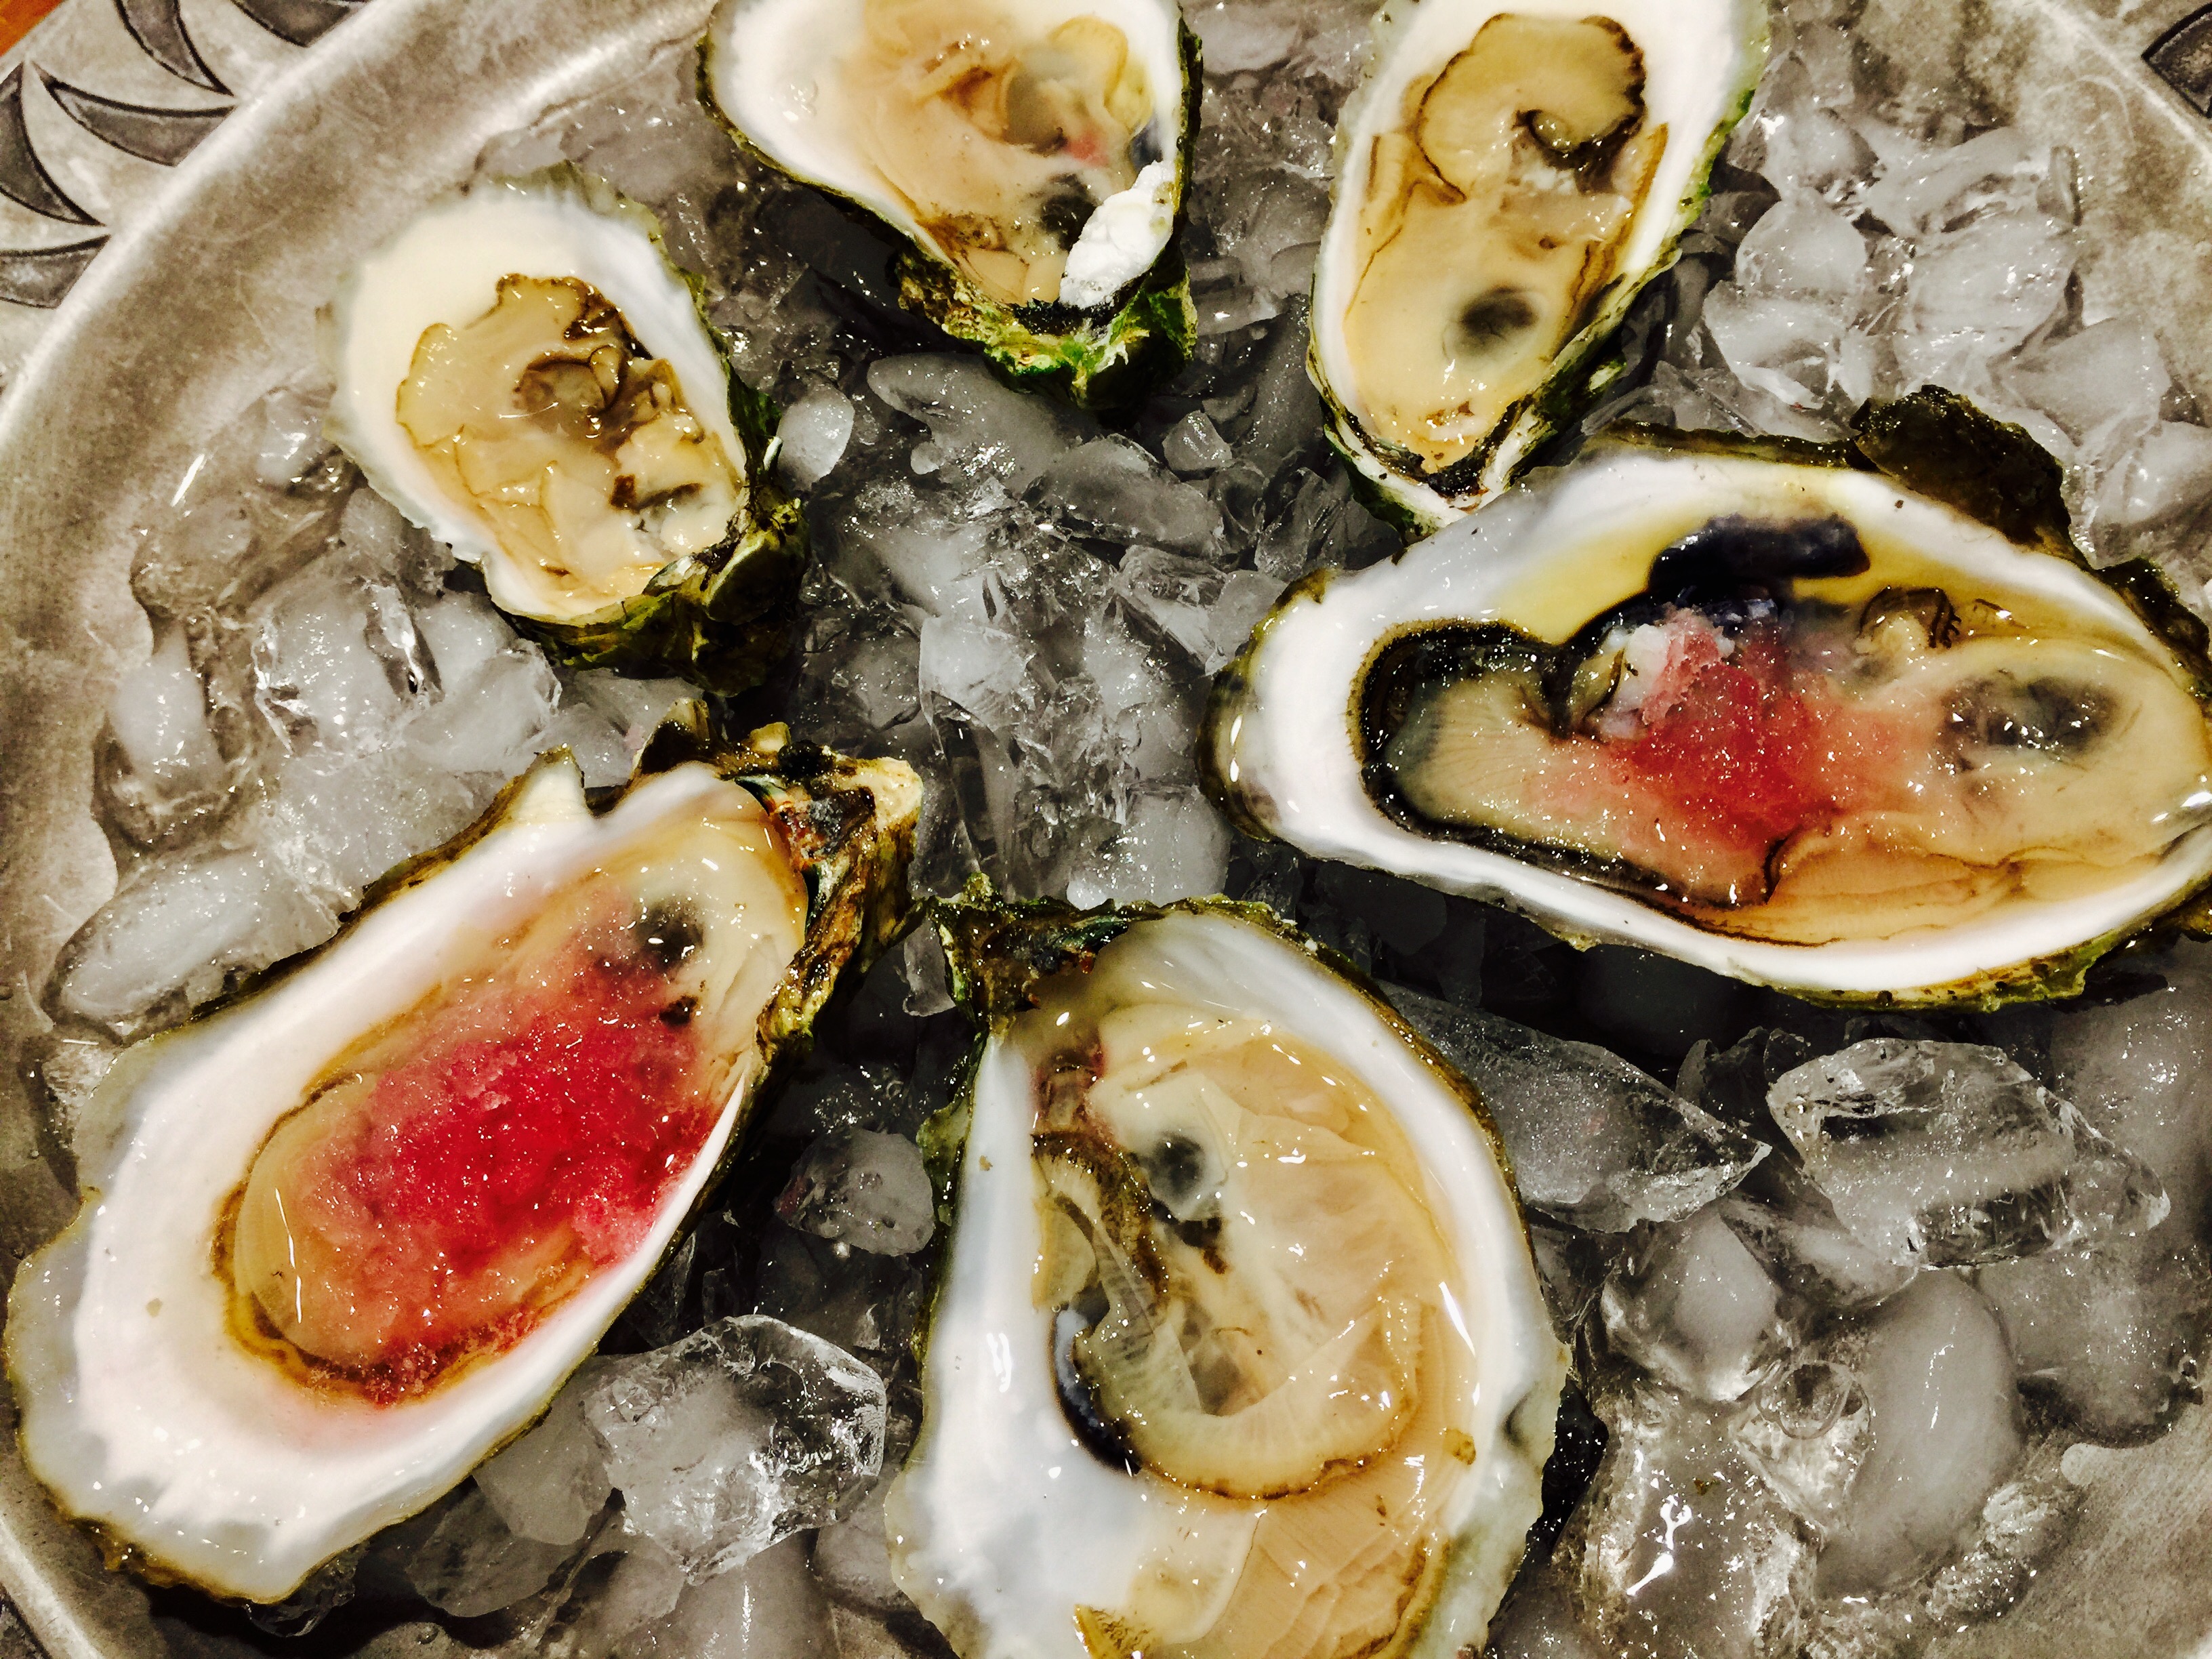
Freshly shucked oysters with pickled red onion ice.
When I’m in Portland, Maine, I visit one of the best oyster bars in the country: Eventide. Besides some wickedly creative dishes, they consistently have a fantastic variety of fresh oysters to choose from. And they offer a variety of “accoutrements” to go with them: anything from a red wine mignonette to kimchee ice. My favorite is the pickled red onion ice. All you need is a shot glass with a freshly shucked oyster inside, a half-shot of chilled vodka on top, and some pickled red onion ice, and you’ve got the best oyster shooter on planet Earth. I even suggested the shooter to the manager at Eventide. It has yet to make it to the menu. (But I remain hopeful!)
An oyster shooter with pickled red onion ice. Bottoms up!
I’ve managed to come up with a pretty good version of the pickled red onion ice at home, and I serve it alongside my cocktail sauce.
2 large red onions
1 tablespoon sugar
3 tablespoons apple cider vinegar
Peel and quarter the onions. Drop them in a medium-sized pot and cover with about a quart of water. Bring it to a boil and cook it down until it has reduced to a cup of concentrated onion water after straining.
Bring the strained onion water back to the stove, and on medium heat, add the sugar and vinegar, stirring. When the sugar dissolves, remove it from the heat and let it cool to room temperature before pouring it into a container and placing it in the freezer.
When it’s time to eat oysters, remove the block of red onion ice from its container, and, using a fine cheese grater, shave the ice over the top of the freshly shucked oysters and devour immediately! (It melts quickly.)
This is the most amazing fish sandwich I ever made.
There’s no other way to describe this sandwich, something that shouldn’t work in some ways and yet is absolutely perfectly crunchy and delicious. It starts with the cole slaw, ideally made a day in advance…
1 medium cabbage, sliced thinly
2 medium carrots, peeled, and finely chopped
1/2 cup mayonnaise
1 tablespoon Kosher dill pickle juice
1 teaspoon celery seed (not salt)
You can use a machine, but I like to finely slice my cabbage with a chef’s knife, cutting as thin as possible. Place the chopped cabbage in a large bowl.
For the carrots, peel them to remove the outer skin, and throw that away. Continue to peel the carrots into paper-thin slivers until there’s no carrots left. Finely chop those slivers and add them to the cabbage.
Add the mayonnaise, pickle juice, and celery seed, mixing thoroughly. Keep it in the fridge, covered with plastic, until ready to use. The next day, before using, taste it and decide whether you want more mayo or pickle juice, salt or pepper. Mix it well before using.
Like a classic pulled pork sandwich, the slaw will go inside! But it needs a sauce to tie it all together. Make this a day ahead as well.
1/2 cup ketchup
1/2 cup mayonnaise
1 tablespoon dill pickle relish
1/4 teaspoon Tony Cacherre’s Original Creole Seasoning (optional)
1/4 teaspoon salt (skip if using Creole seasoning)
1/8 teaspoon pepper (skip if using Creole seasoning)
Tony Cacherre’s Original Creole Seasoning is a personal favorite, and it works well in this sandwich. You can find it in many stores, and online. But if you don’t have it handy, salt and pepper do the job.
Combine all the ingredients in a bowl, mixing well. Keep it in the fridge, covered, until ready to use.
Cod or other white fish, preferably fresh, cut into sandwich-sized pieces (about 4″ square)
1 cup all-purpose flour (or Cup4Cup gluten-free flour, see below)
1 teaspoon celery seed (not salt)
1 teaspoon salt
1/2 teaspoon black pepper
1/8 teaspoon cayenne (optional)
2 eggs
1 cup corn flakes, crumbled (or Corn Chex for gluten-free, see below)
avocado oil or other oil for frying
I had some grouper the last time I made this sandwich, and the results were fantastic. I suggest you use whatever white fish is your favorite.
Cut the fish into pieces that will fit the bread you’re using, and make sure the filets are the same thickness. Don’t make them thicker than 1/2″ or they’ll stay raw in the middle when you fry them. Set them aside.
In a bowl, combine the flour, celery seed, salt and pepper and cayenne (if you’re using it). Mix well.
In another bowl, crack the eggs and scramble them.
Put the corn flakes (or Corn Chex) in a plastic bag, squeezing the air out of it. Crush them into oatmeal-sized pieces, then pour them into a third bowl.
Heat a heavy pan with a couple of inches of oil. One by one, take the fish pieces and dredge them in the flour mixture, then into the egg, and then into the corn flakes, pressing into the corn flakes to make sure they stick to the fish.
When the oil in the pan is hot enough, fry the fish pieces on both sides, until cooked through and golden brown. Place them on paper towels to drain.
To assemble the sandwiches, take a slice of the rye bread and spread some of the sauce on it. Place a piece of the fried fish on top, then cover it with some of the cole slaw. Place a few thin slices of Swiss cheese on top of the cole slaw. Take another slice of rye, slather it with the sauce, and place it on top of the slaw, sauce-side down.
Brush the top of the sandwich with the melted butter, and place the sandwich on a sheet pan. Do the same with the rest of the sandwiches.
Place the sandwiches in the oven and bake them until the cheese melts. Cut the sandwiches in half and serve.
The gluten-free sandwich in the front.
What I changed to make this sandwich gluten-free…
My go-to all-purpose gluten-free flour is Cup4Cup. It works really well in any dish that requires all-purpose flour.
Not all corn flakes are gluten-free, and the ones that are can be hard to find. I found that Corn Chex cereal is a good substitute. It’s gluten-free, and has a nice crunch.
The Pepperidge Farm Marble Swirl Rye Bread is the ideal bread to use for this sandwich. But I made a pretty darn tasty gluten-free version using this Schar bread, found in many supermarkets.
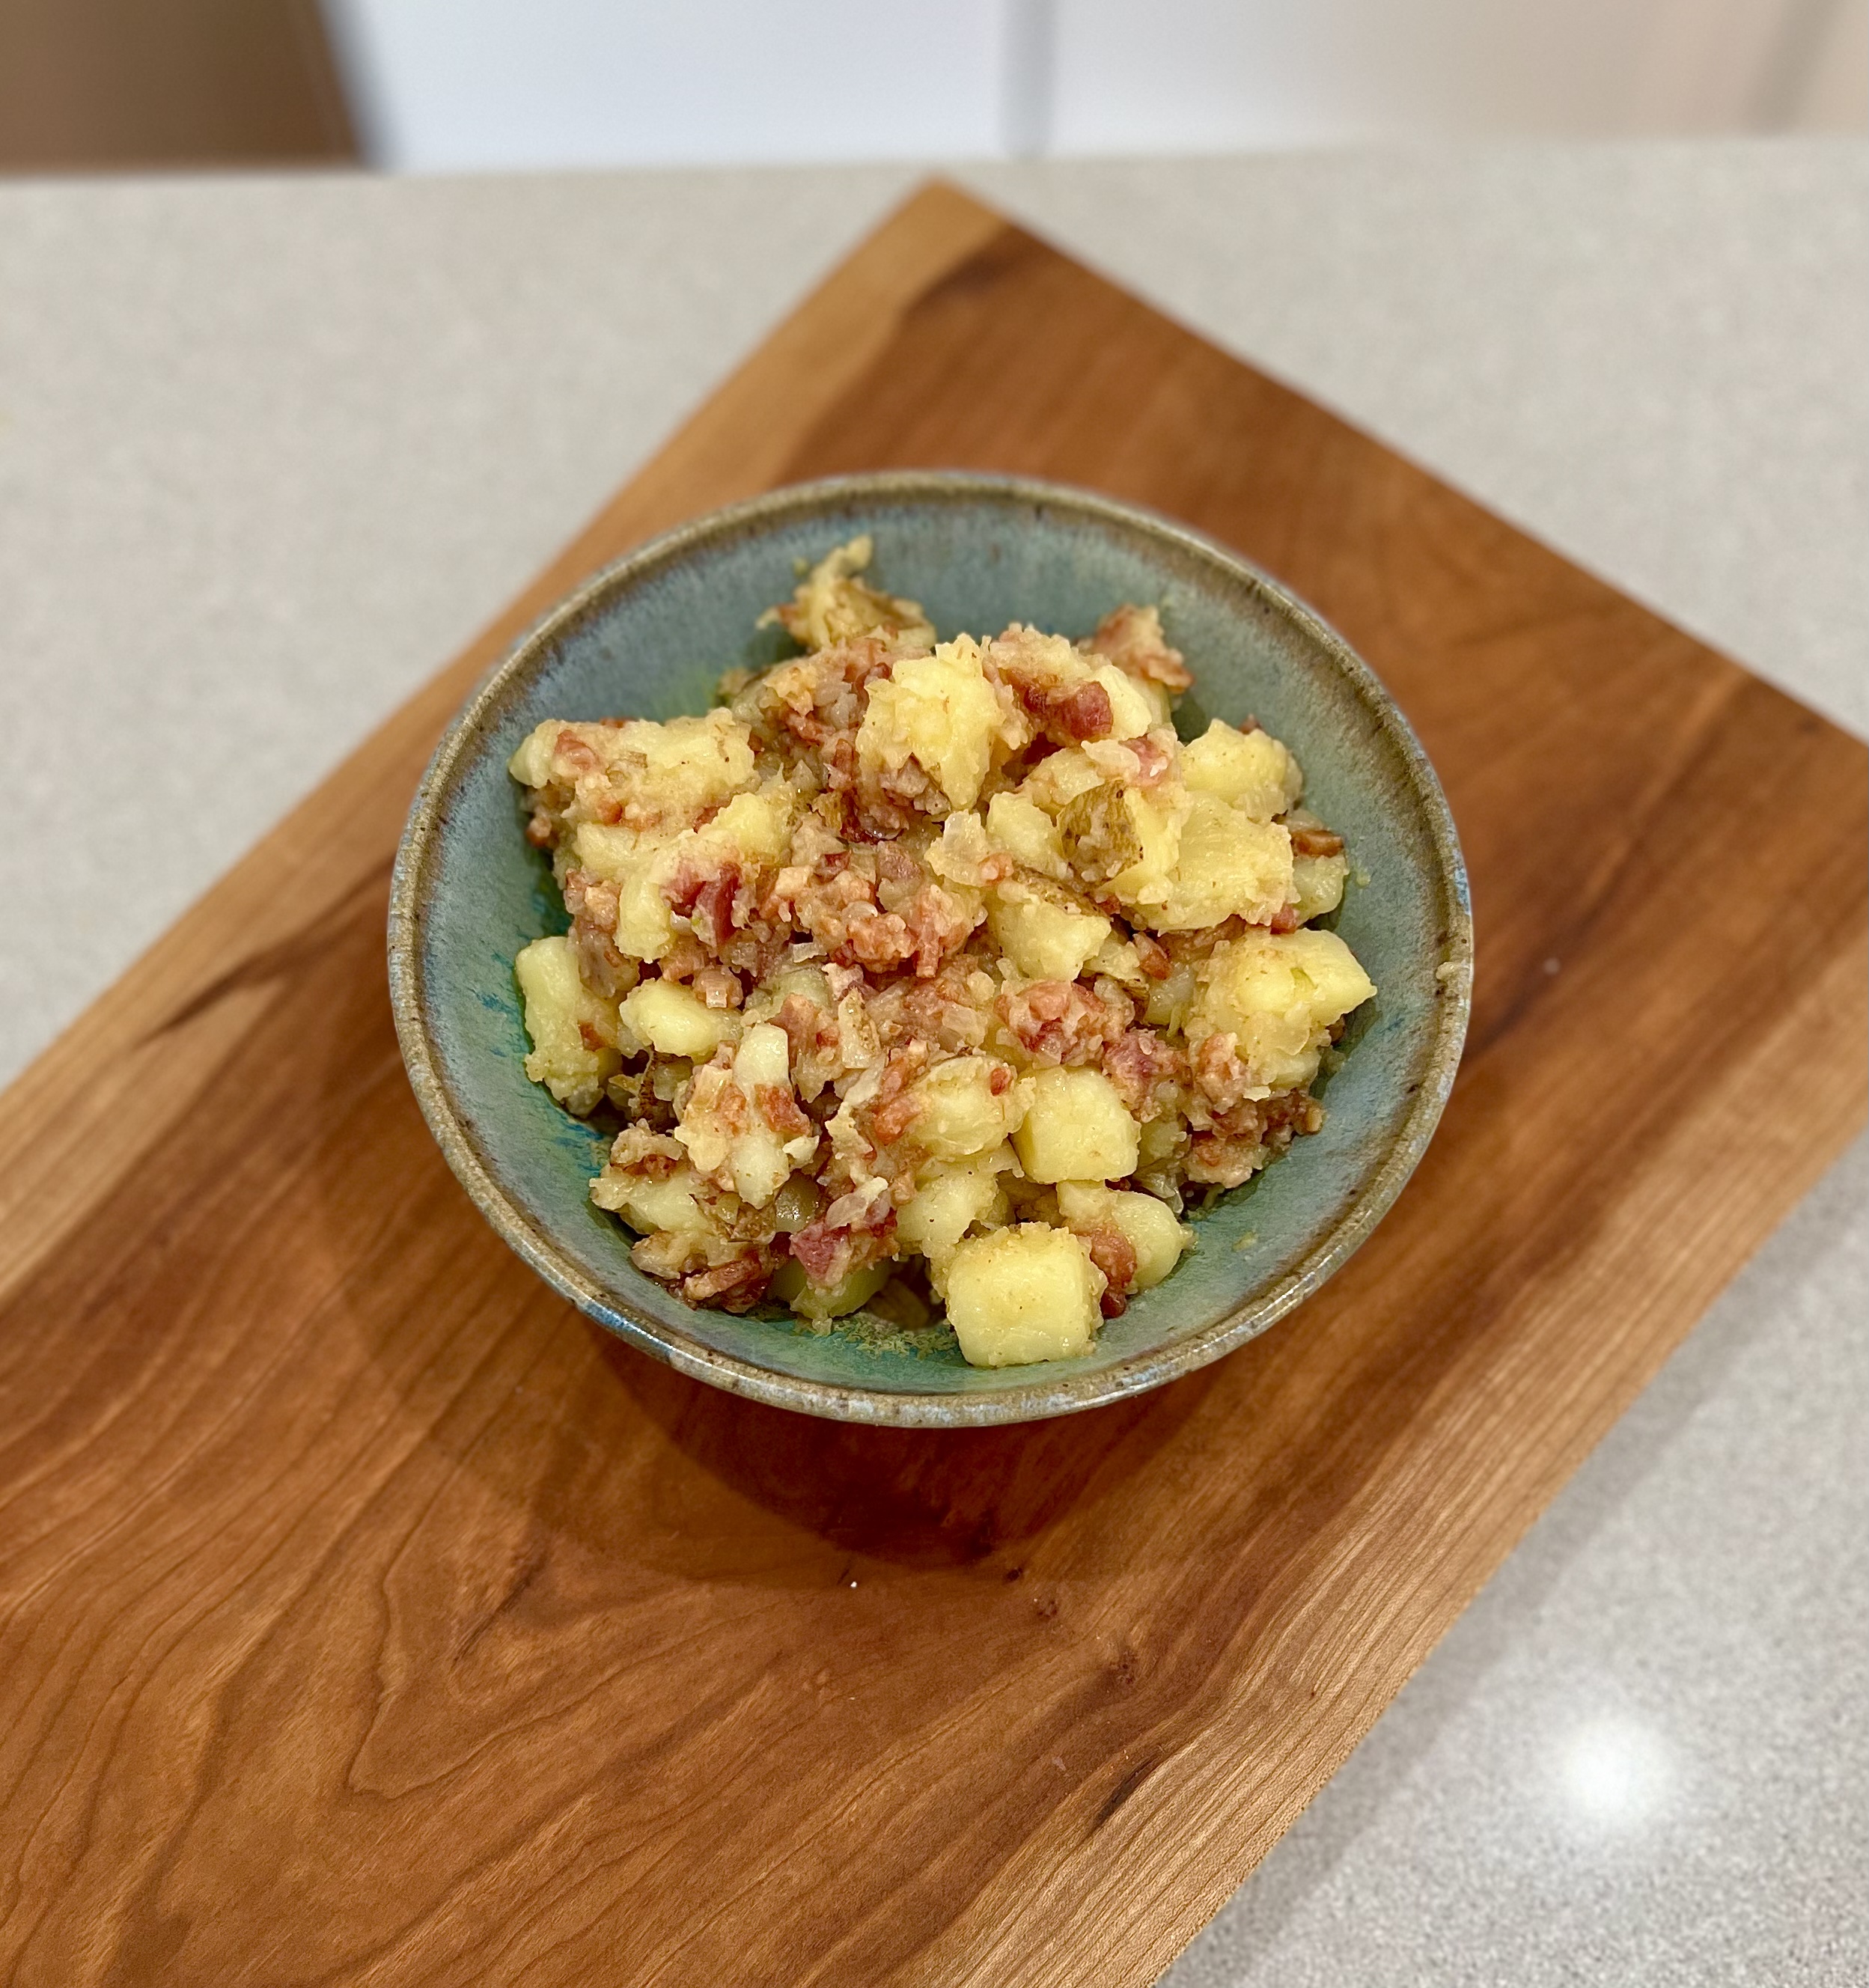
Home fries are a simple thing. But we’ve all been to a diner where the home fries tumbled out of a bag of frozen pre-cut potatoes, and tasted like cardboard. It’s time home fries got the respect they deserve.
Let’s get one thing out in the open from the very beginning: home fries were never meant to be low in calories! Mine are definitely not diet food! So, as you read this blog, if you’re shaking your head at the fat and calories, know that I know that you know!
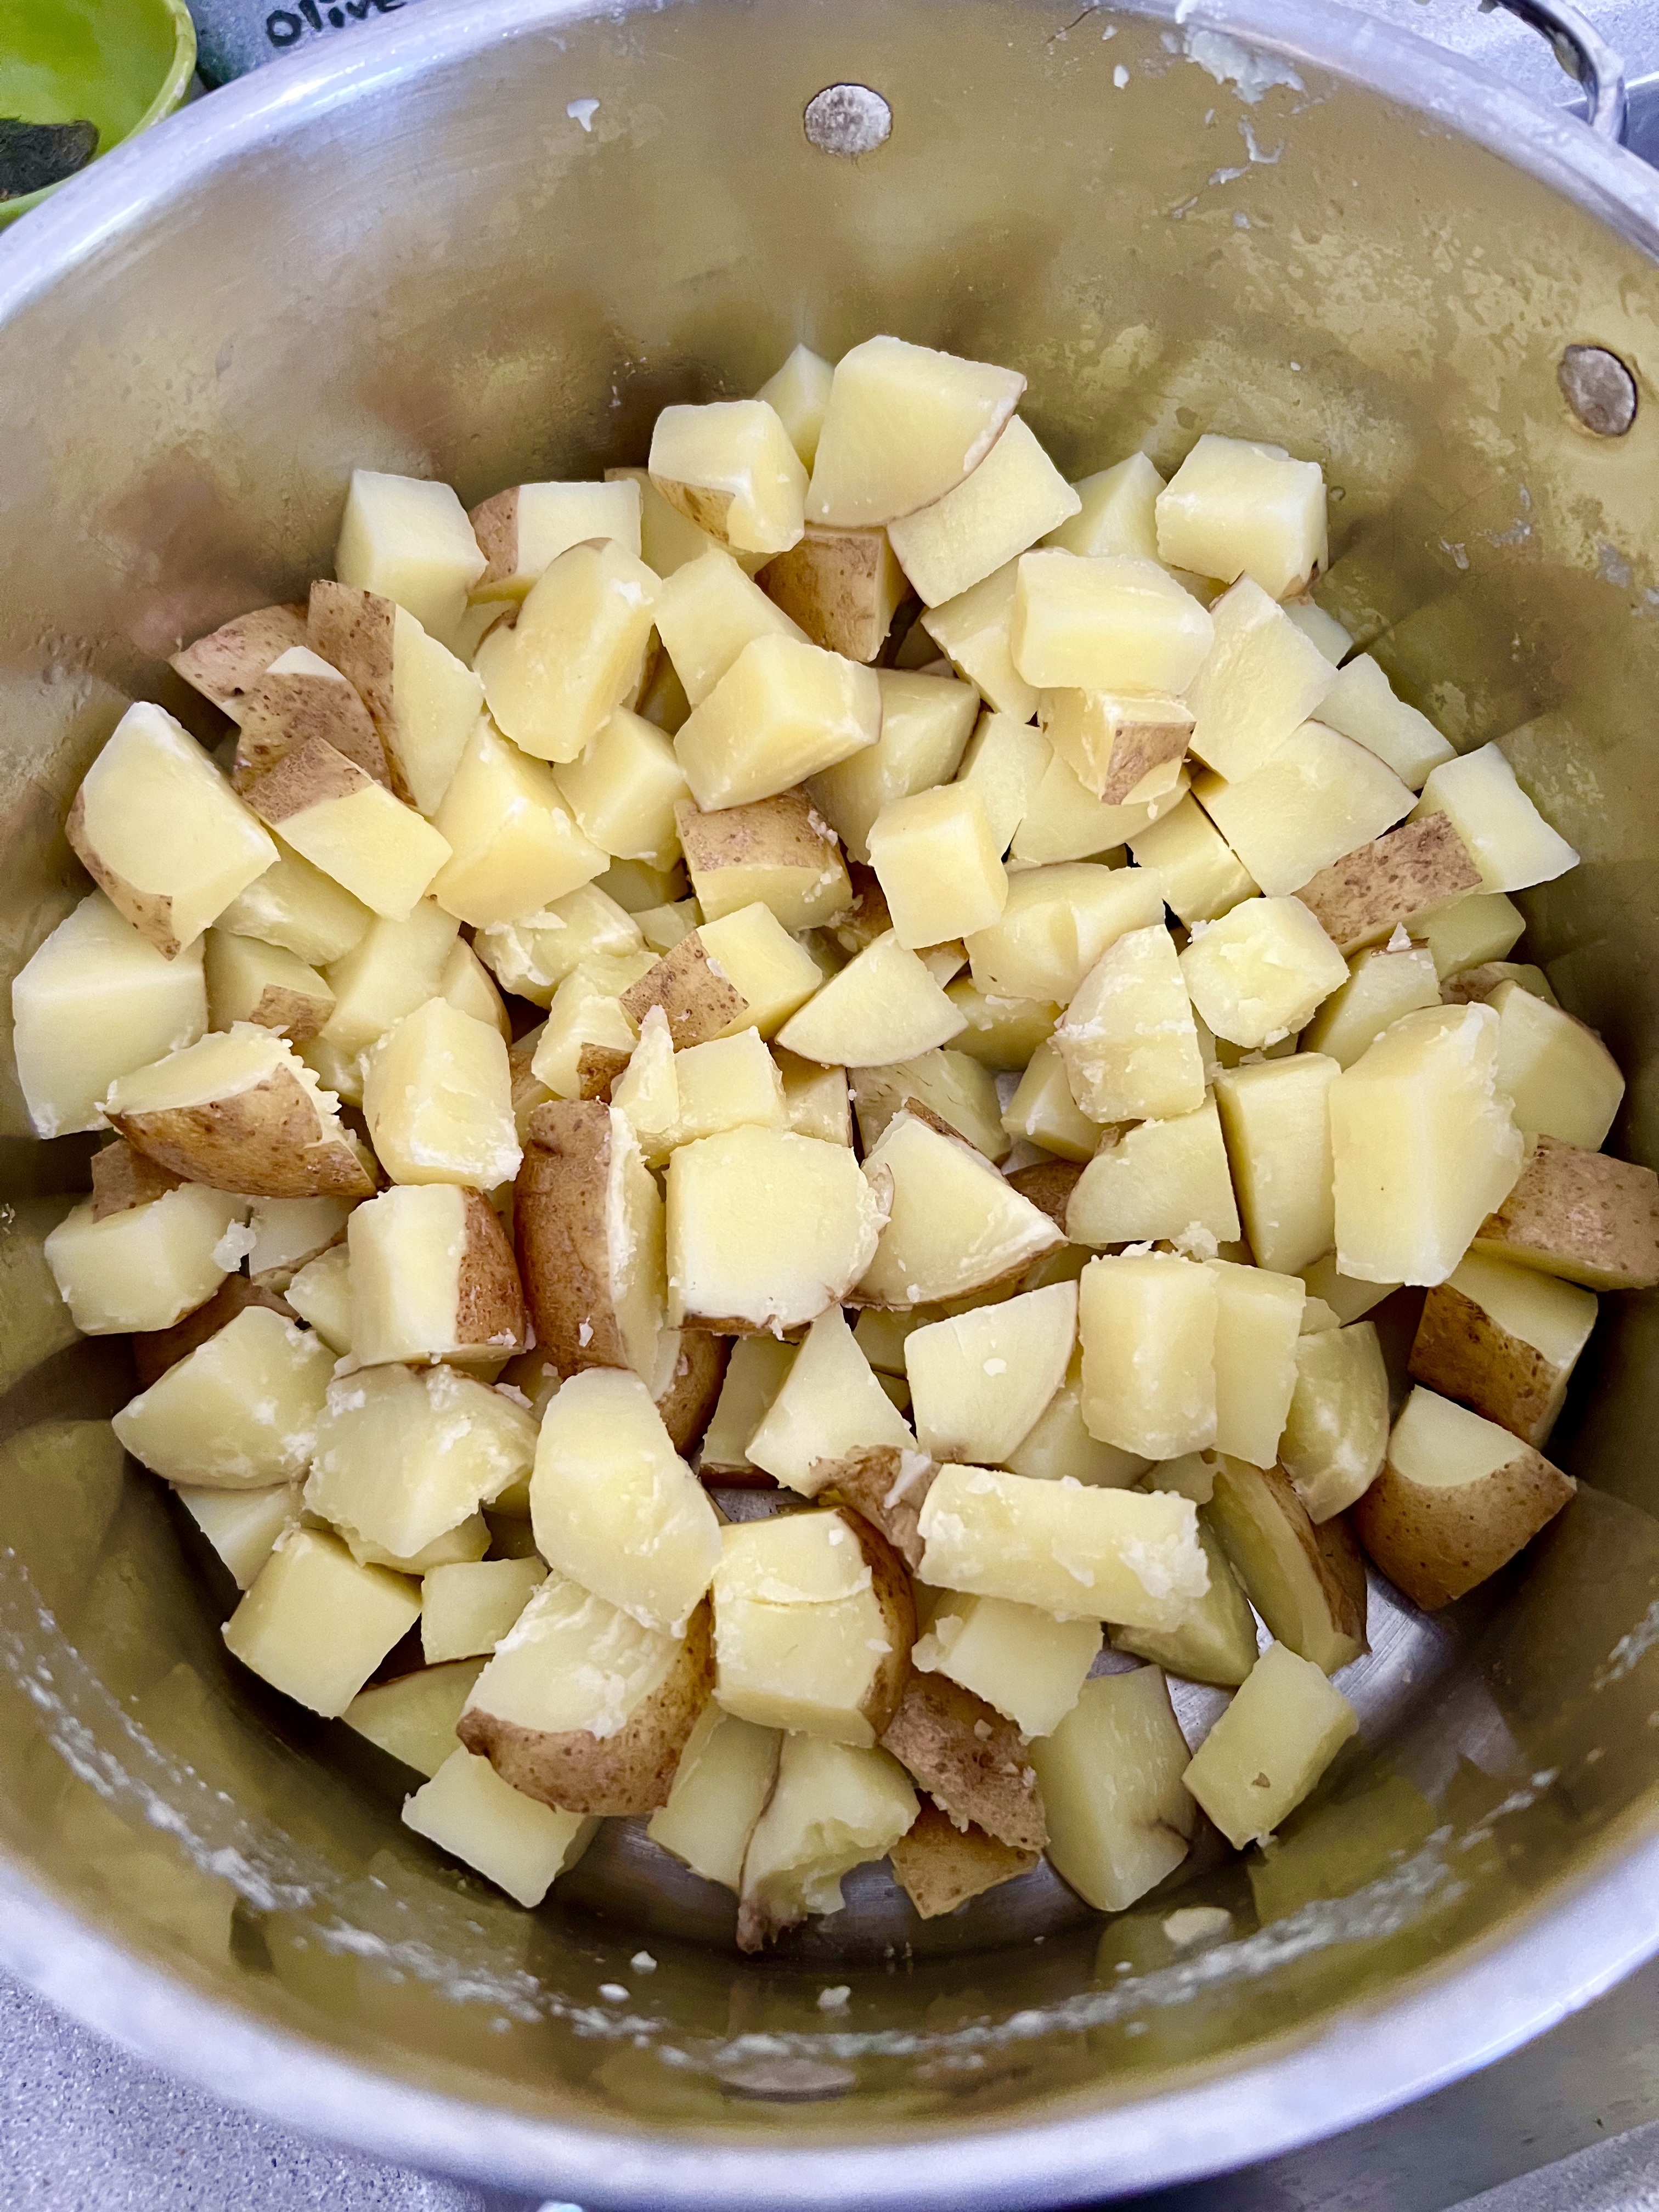
3 lbs. Yukon gold or yellow potatoes, washed and cut into 1/2″ cubes 1 lb. bacon, chopped 2 Vidalia onions, finely chopped Lawry’s Seasoned Salt 4 tablespoons unsalted butter
I like my potatoes with the skin on, so I remove any blemishes on the skins, then cut the potatoes in approximately 1/2” cubes. Some can be larger, some smaller, and they don’t have to be perfect squares. The smaller pieces will cook and soften faster, while the larger pieces will retain their shape and texture.
Place the cut potatoes in a pot of clean, cold water over high heat on the stove. Add a little Kosher salt to the water. Let the potatoes cook until they are a bit al dente…a bit underdone. They will cook some more later in the pan. Drain them and set the potatoes aside.
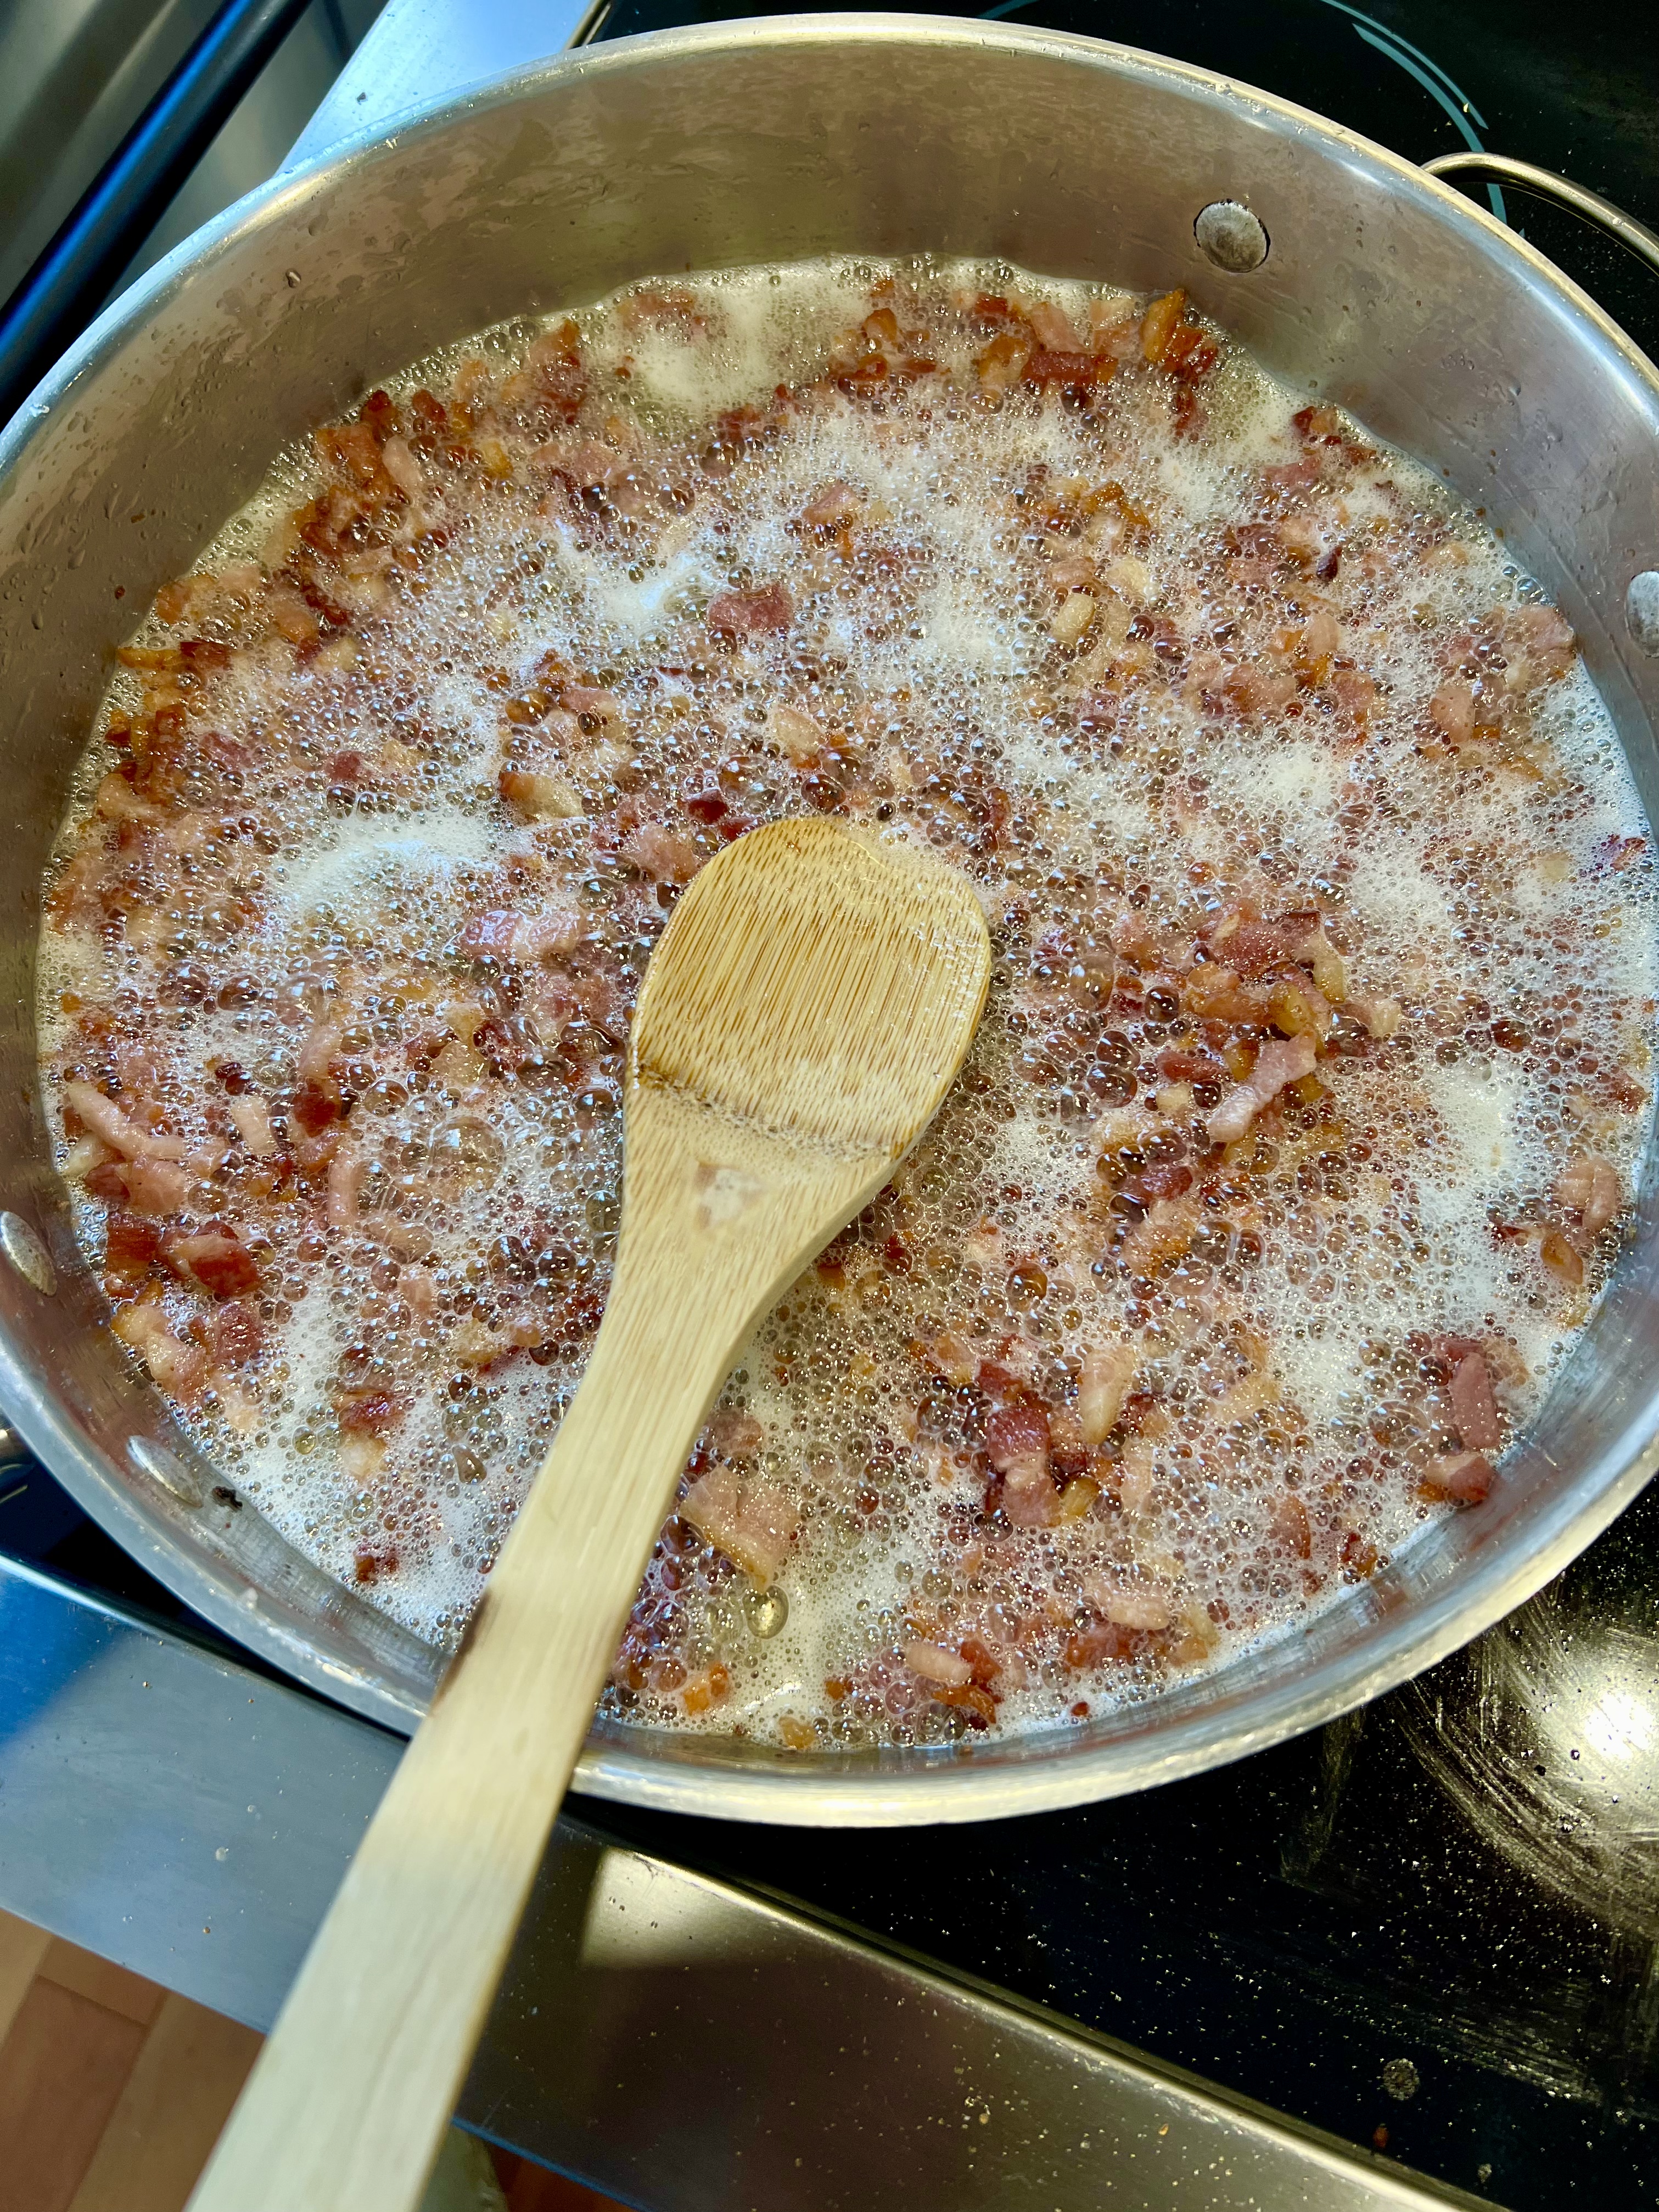
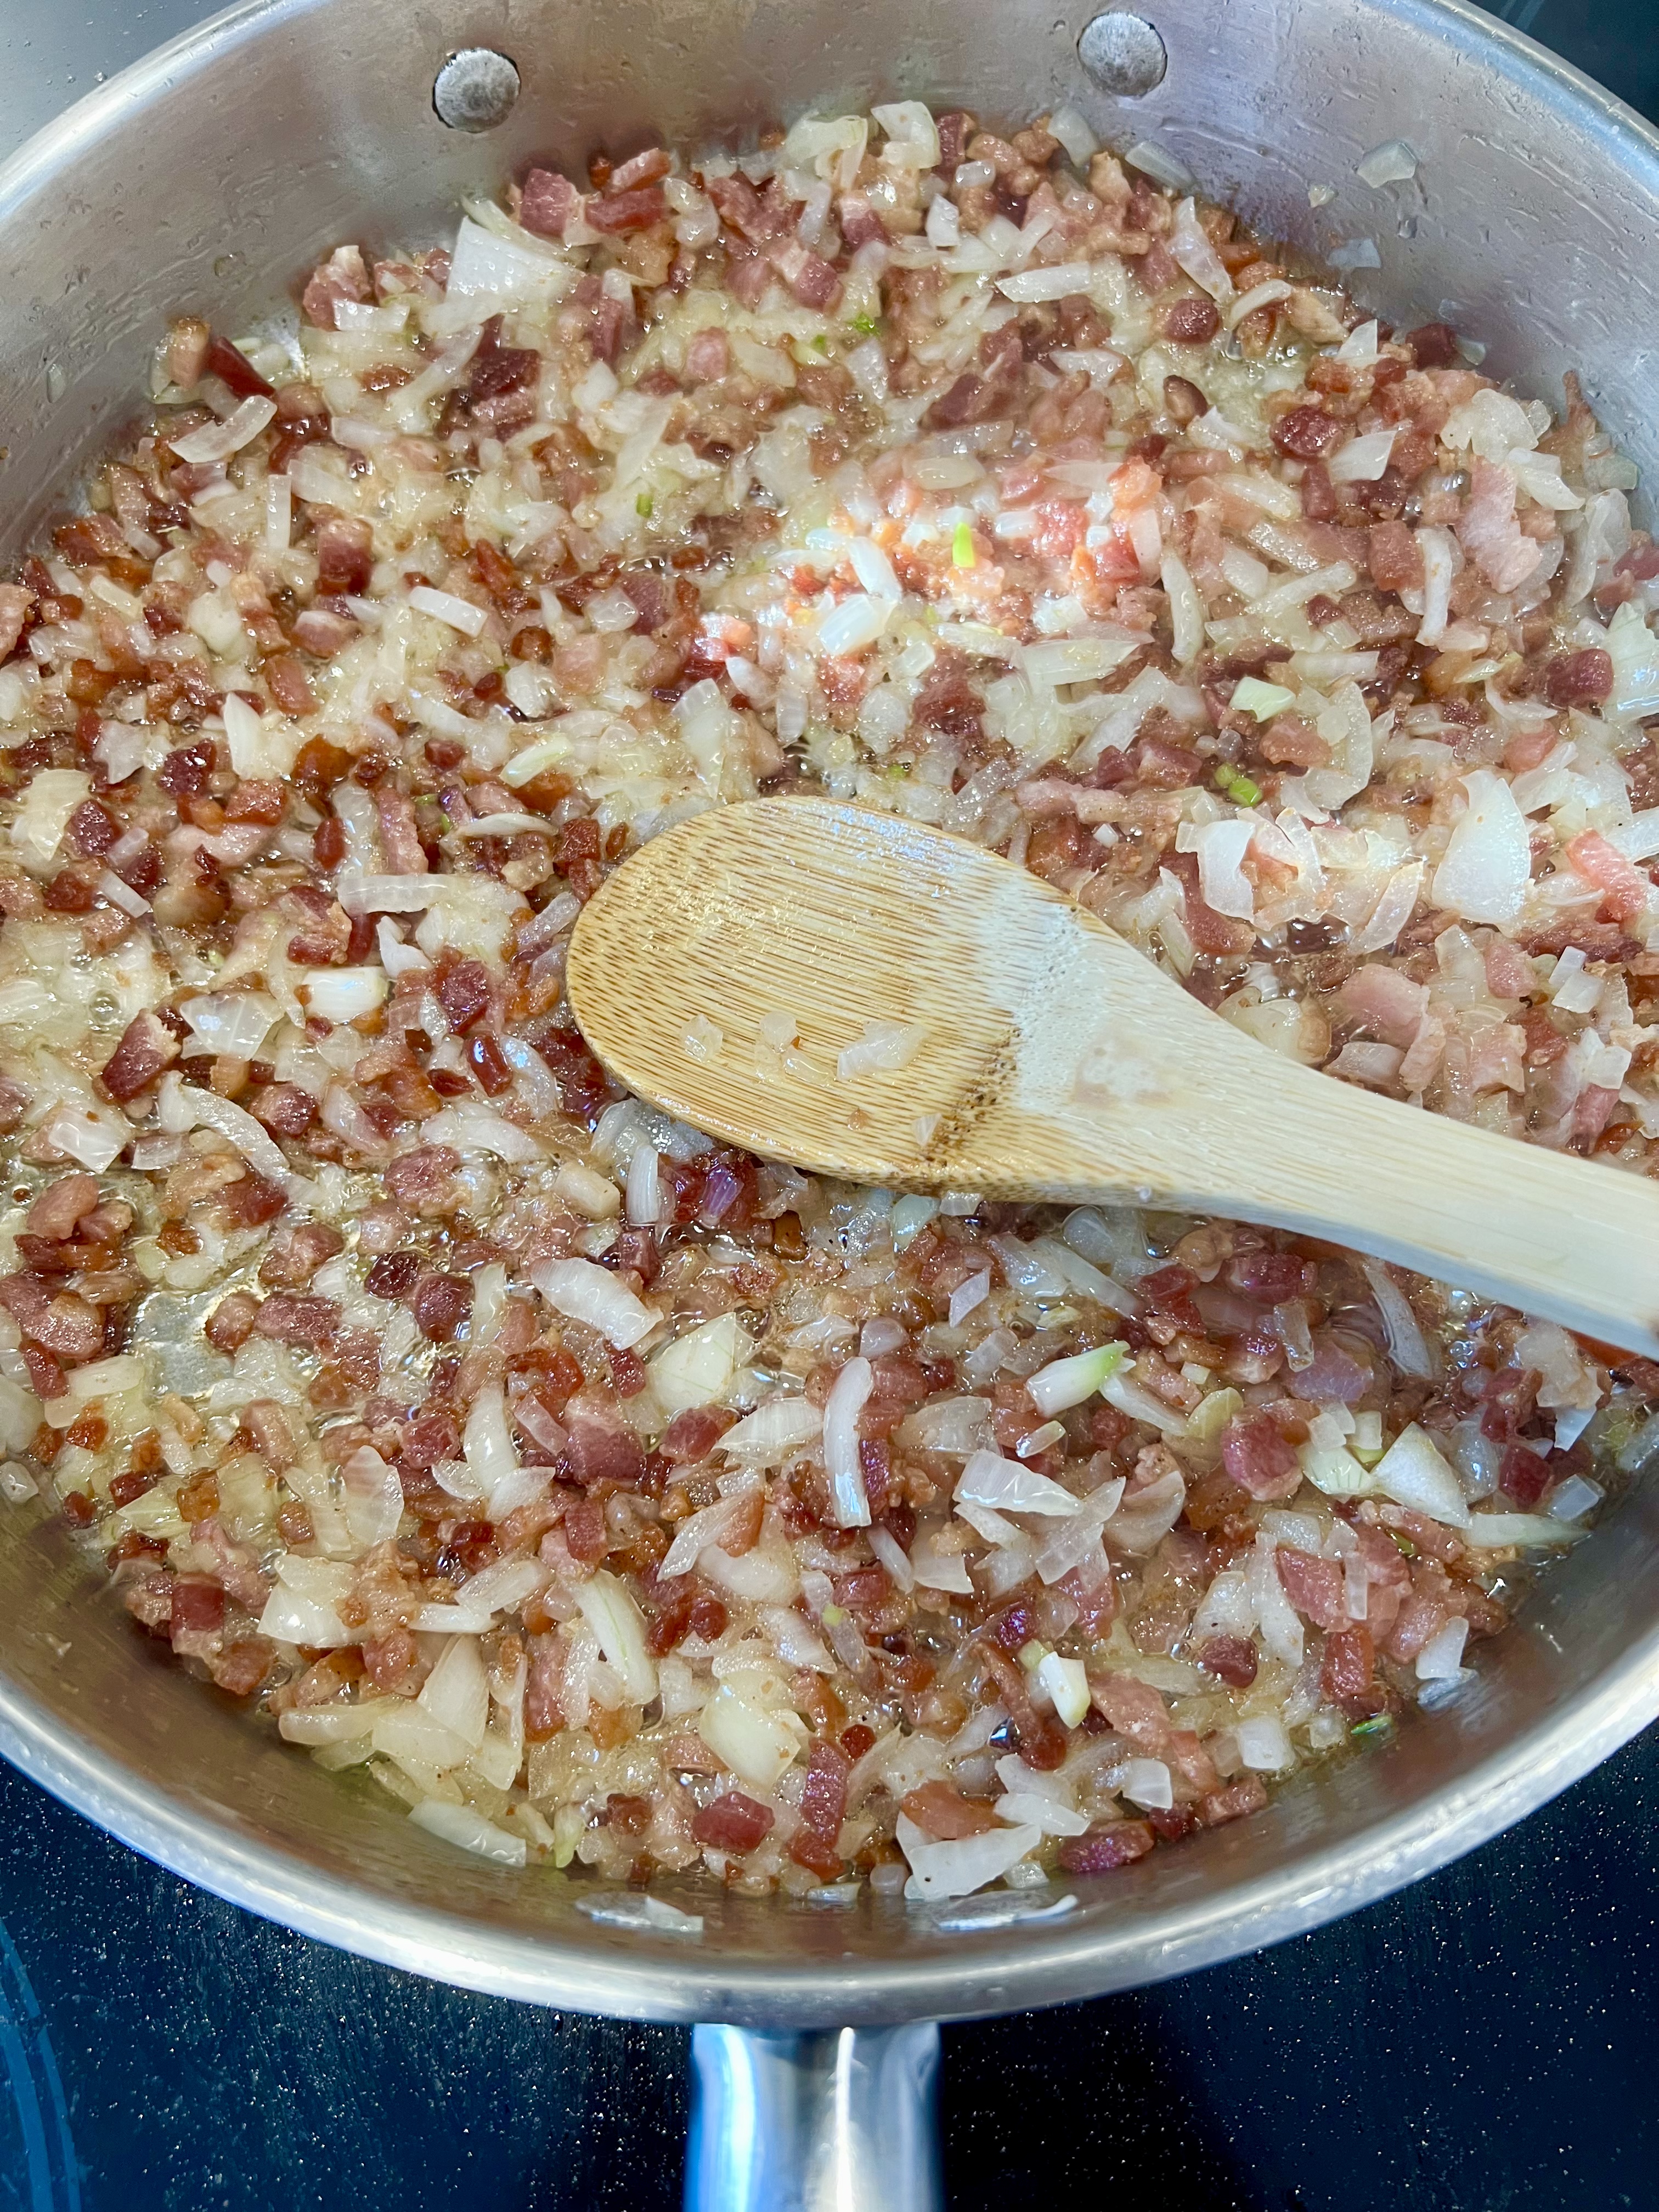
Chop the bacon and start frying it. While the bacon is frying, finely chop the two onions. Add the onions to the pan when the bacon fat has rendered and the bacon has cooked completely to a golden brown. Now, here’s where eyebrows are often raised: Leave all the bacon fat in the pan!
Leave the bacon fat! It’s all about flavor!
Cook the onions until they are soft and translucent.
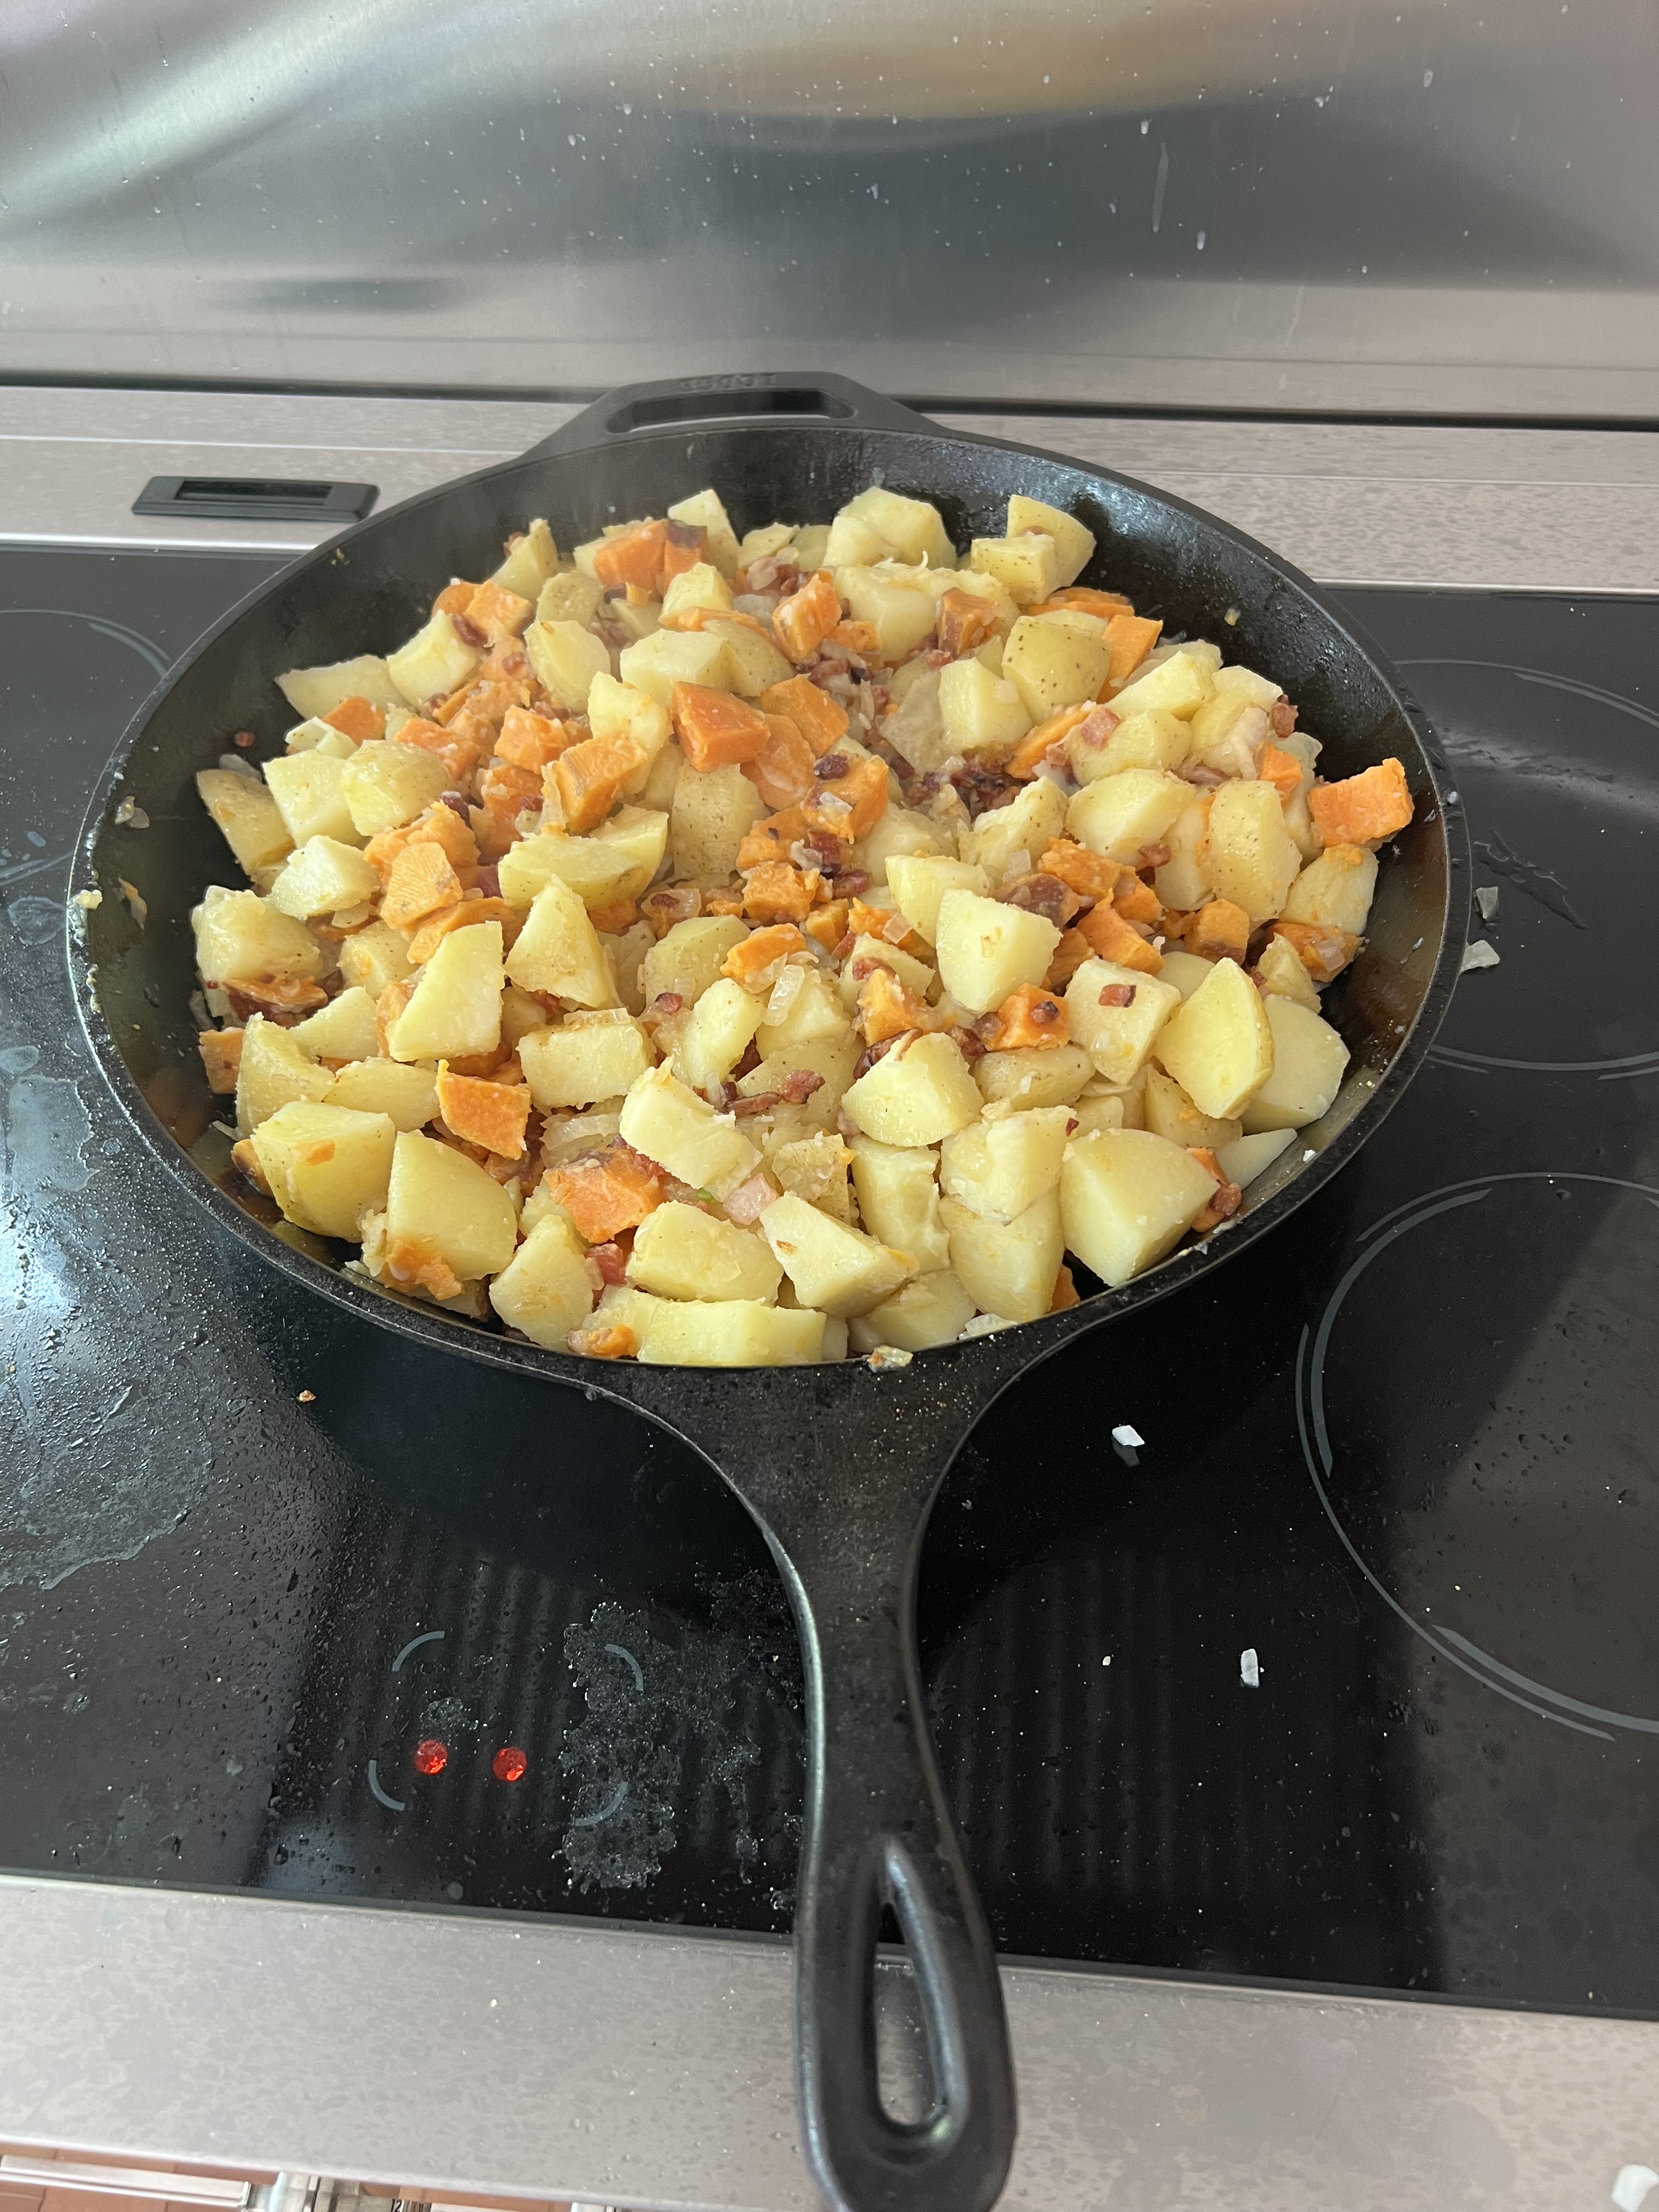
Now add the drained potatoes to the pan, mixing well, coating the potato pieces in the bacon fat.
Lightly season the potatoes with the Lawry’s Seasoned Salt. Remember: there’s a lot of salt already in the pan from the bacon.
Cook the potatoes in the pan, mixing well, and then add the butter in small pieces, scattered around the pan. Keep mixing until the potatoes brown a little.
One option that I like and started doing only recently: I add a pound or two of sweet potatoes to the mix. I keep the measurements of all the other ingredients exactly the same. I boil the sweet potatoes separately from the regular potatoes, because they cook more quickly. I drain them and set them aside and then mix them with the regular potatoes in the pan.
Either way, these home fries are delicious, and they store well in the freezer. So if you have guests coming over, you can make them a few days ahead of time and then just thaw them and re-heat them in the pan when it’s time to serve.
One of our favorite restaurants here in southern New England is The Back Eddy in Westport, Massachusetts.Great water views, great food, wonderful people.
One of their best-selling appetizers is deviled eggs, topped with raw tuna or without. My version has none of the finesse of their original dish, but it has a lot more tuna and all the flavor…which works for me!
6 hard-boiled eggs 1/4 cup + extra mayonnaise 8 oz. high quality raw tuna 3 tablespoons soy sauce 1/2 teaspoon chili oil 1/4 cup finely chopped scallions 1 teaspoon sesame seeds handful fresh spinach, or cucumbers (see below)
My newest favorite method of hard-boiling eggs (thank you, Alton Brown!) is to put them in a pot of boiling water, with a steamer basket inside. Place the eggs inside when it’s boiling, put the lid on, and steam for 12 minutes. Then plunge the eggs into an ice water bath for 3 minutes. Perfect every time, and they peel easily.
The official word on making sure there are no parasites in raw fish requires freezing and storing fish at a surrounding temperature of -4 degrees Fahrenheit or colder for seven days; or freezing at a surrounding temperature of -31 degrees or colder until the fish is solid and storing at the same temperature for 15 hours; or freezing at a surrounding temperature of -31 degrees until the fish is solid and storing at -4 degrees or below for 24 hours.
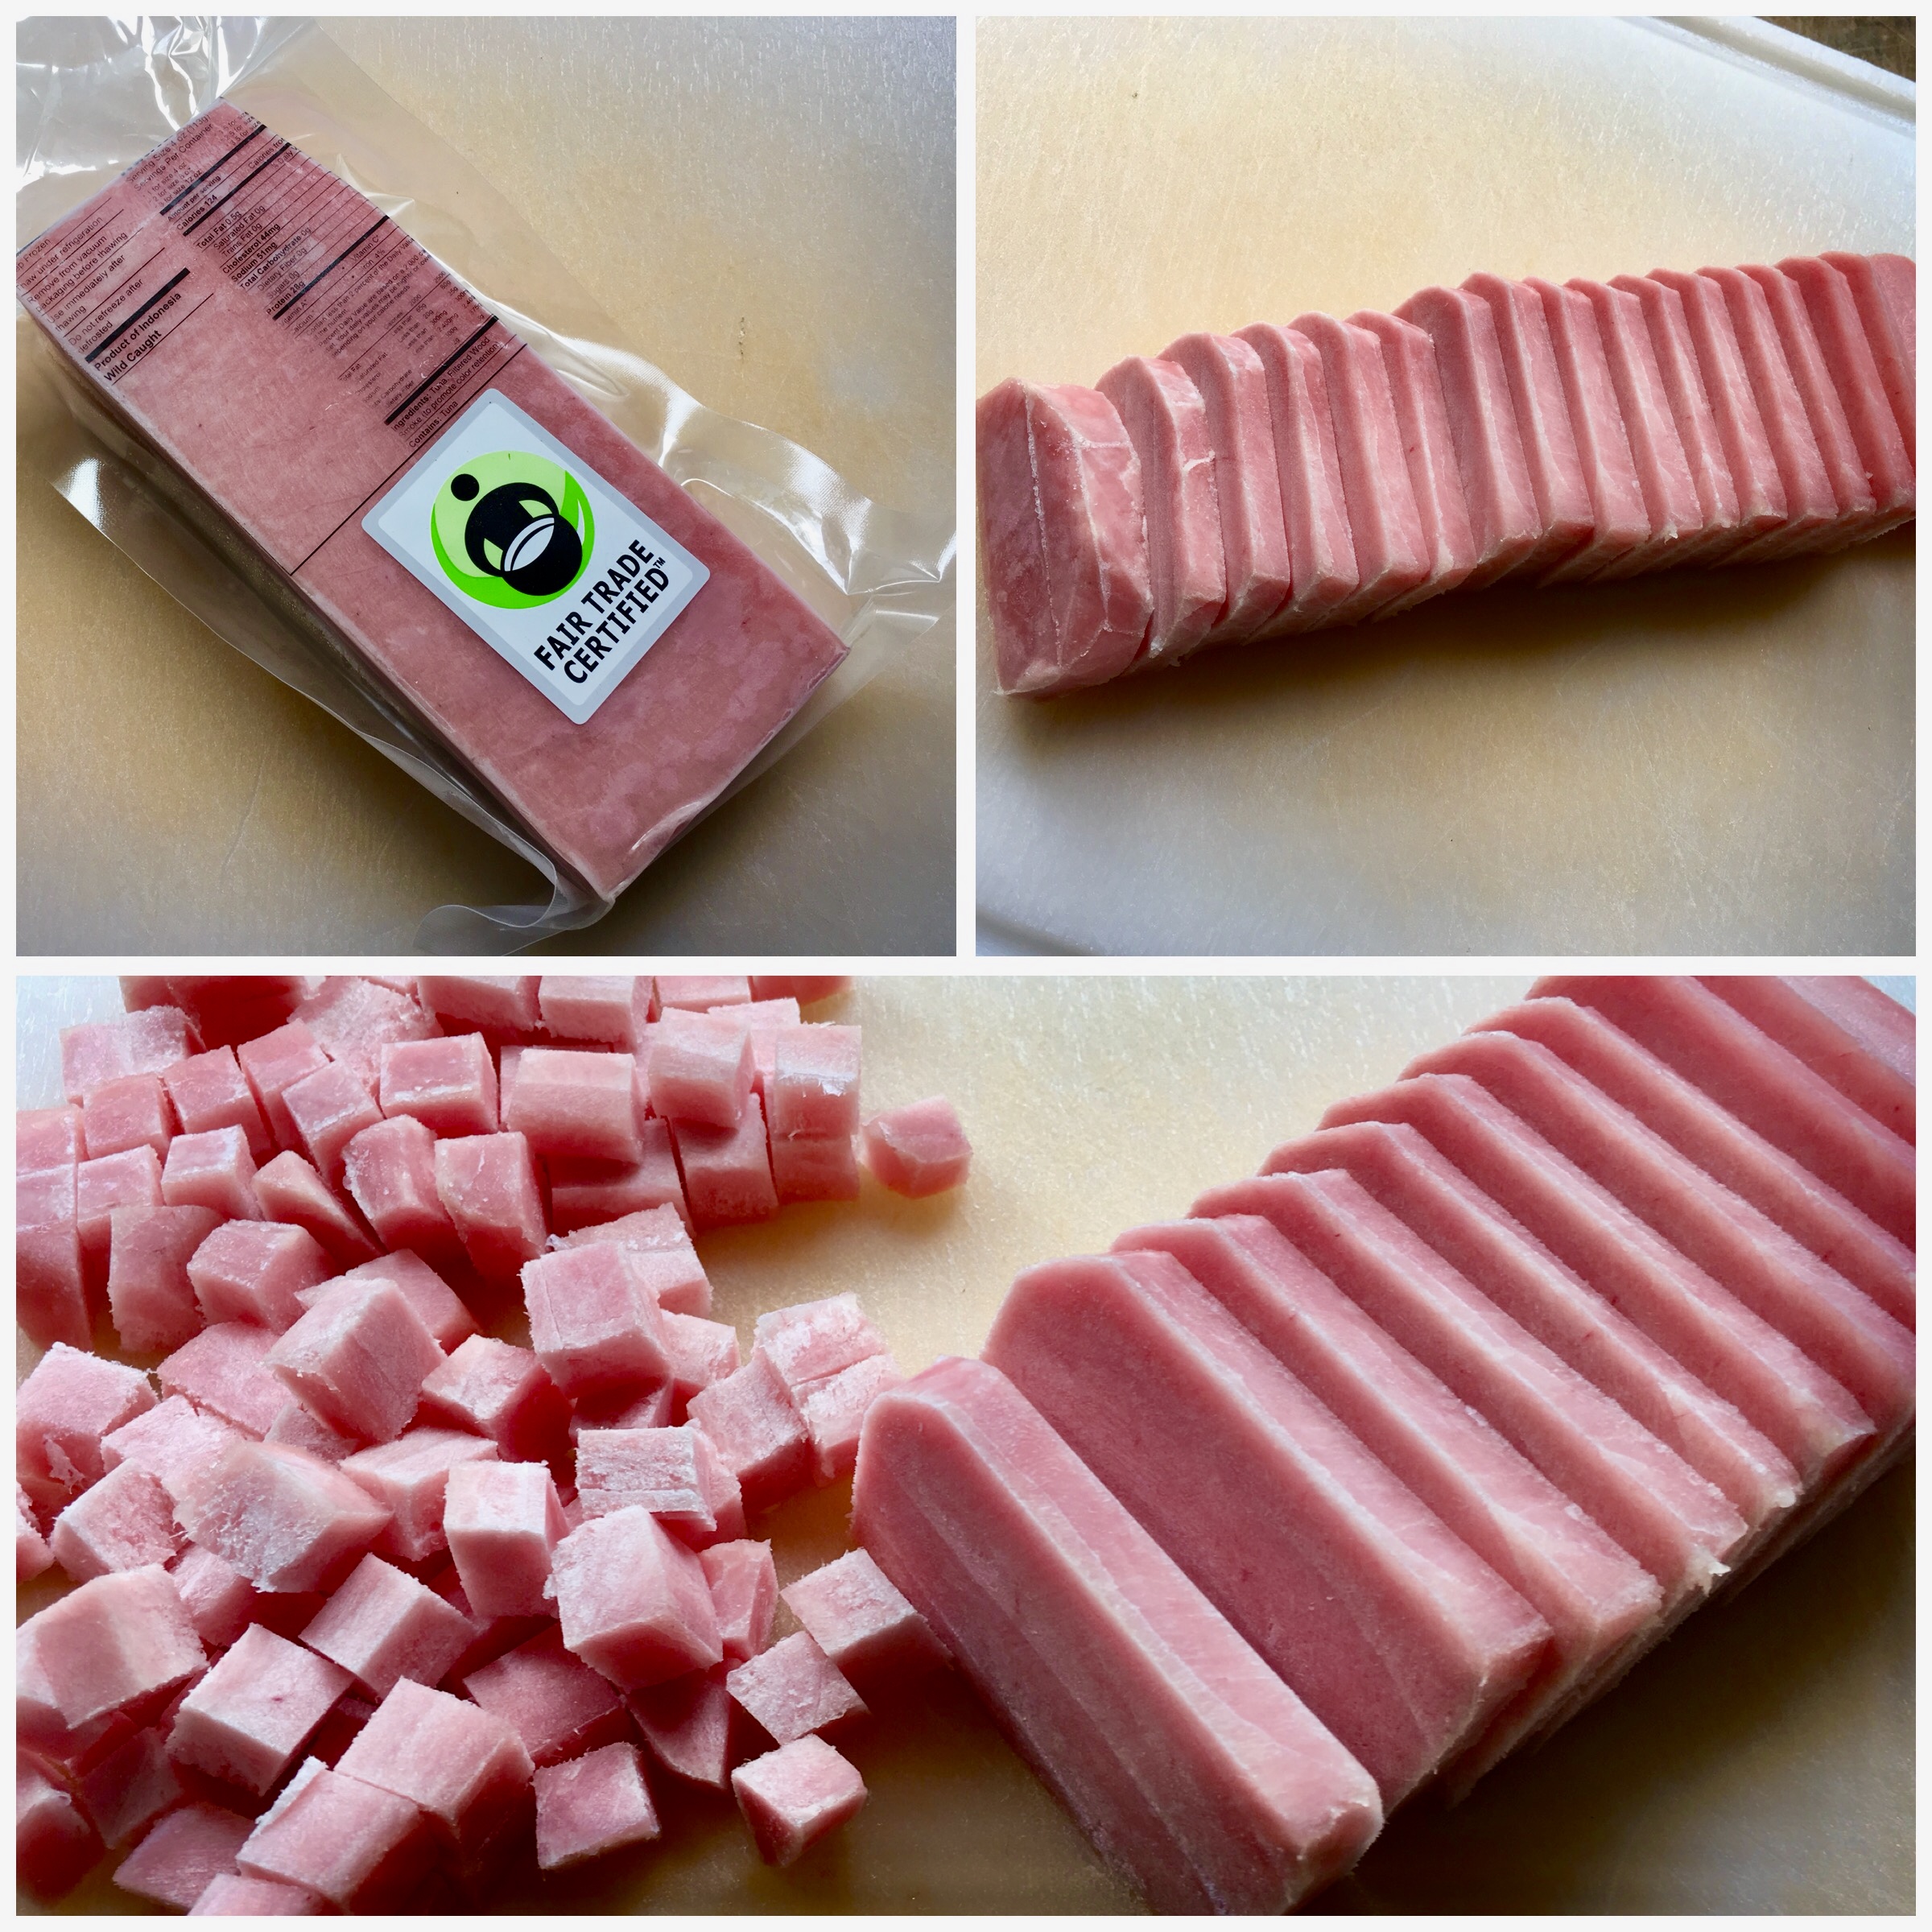
Since I don’t have the refrigeration equipment to do that, I buy high quality tuna already frozen into convenient bricks. Many supermarkets, like Whole Foods, carry them.
I always try to buy responsibly sourced, fair trade seafood, like this beautiful ahi tuna.
If the tuna is frozen, I let it thaw a little. If it has thawed, I return it into the freezer for about 10 minutes to firm up. That makes it easier to cut. I slice the tuna carefully into the smallest cubes I can make. Once done, I place the tuna in a bowl and put it back in the fridge until I’m ready to use it. If I feel the tuna is releasing a lot of water, I’ll put it on top of a paper towel in the fridge.
In a separate small bowl, I combine the soy sauce and the chili oil, and set it aside.
I finely chop the scallions, and set them aside.
Once the eggs have cooled, I peel them and cut them in half. I scoop out the yolks and place them in a bowl, starting with 1/4 cup of the mayonnaise, adding more if needed. I use a fork or whisk to get as many of the lumps out as possible. If I wanted to get serious, I could put them in a blender or food processor to make a creamy puree. An option is to place the puree in a piping bag and carefully squeeze it out into each egg half. I’d do that if I was serving guests. But otherwise, I simply use a spoon.
Once all the egg halves are filled, I place them on a plate and put them back in the fridge until ready to serve.
When it’s time to serve, I take the tuna out of the fridge, pouring the soy sauce/chili oil mix into the bowl with the tuna and I mix well. I let the tuna marinate for just 2 minutes, pouring off the excess marinade. I don’t want it to marinate too long, or it’ll get very salty.
I remove the plate of eggs from the fridge and carefully put a small spoonful of tuna on top of each one. I garnish with the sesame seeds and the chopped scallions and serve immediately.
It’s nice to have some crackers, toasted bread or even chips, on the side.
Happy Father’s Day! I think it’s time to grill some oysters!
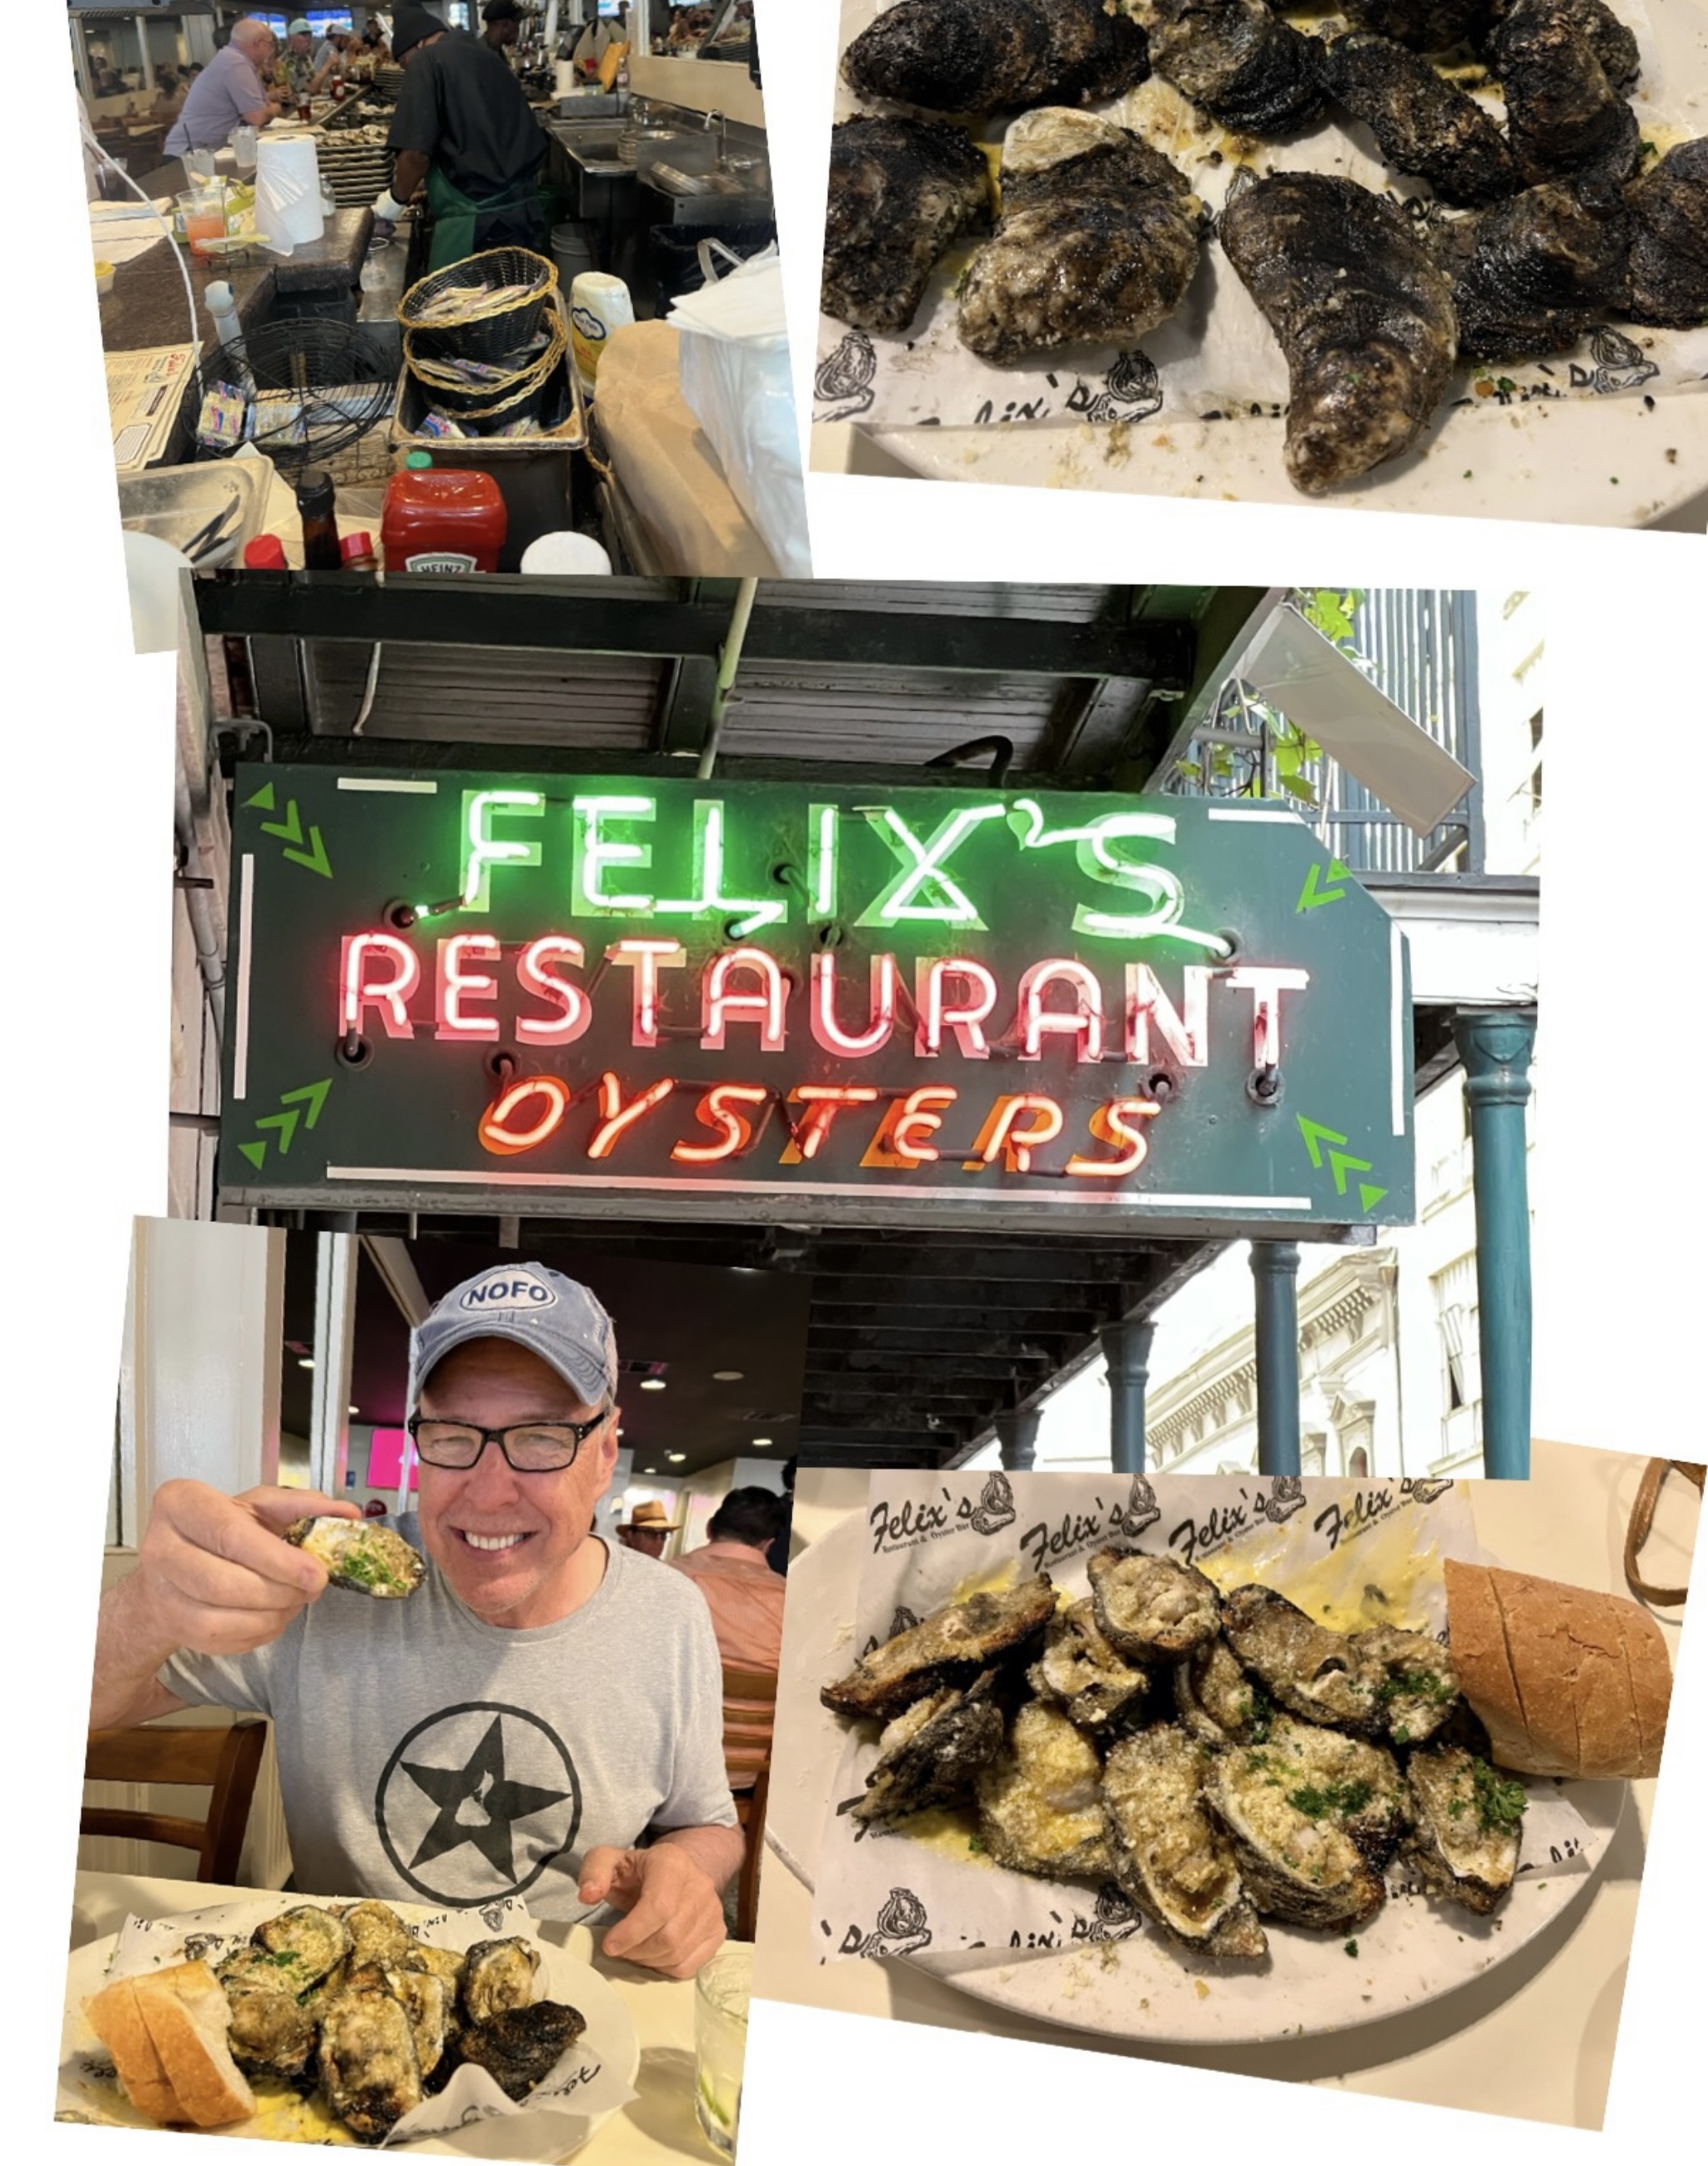
It’s been a few years since I visited New Orleans, and it was great to see that many of the old food destinations were still there: the Napoleon House, Café Dumonde, Acme Oyster House, and across the street from it: Felix‘s OysterHouse.
My friend, Rick, told me I had to try the char-grilled oysters at Felix‘s. He hadn’t been there, but he read a lot about them and they were supposed to be amazing. Well, that’s all the encouragement I needed, and I made a beeline to Felix’s that very day.
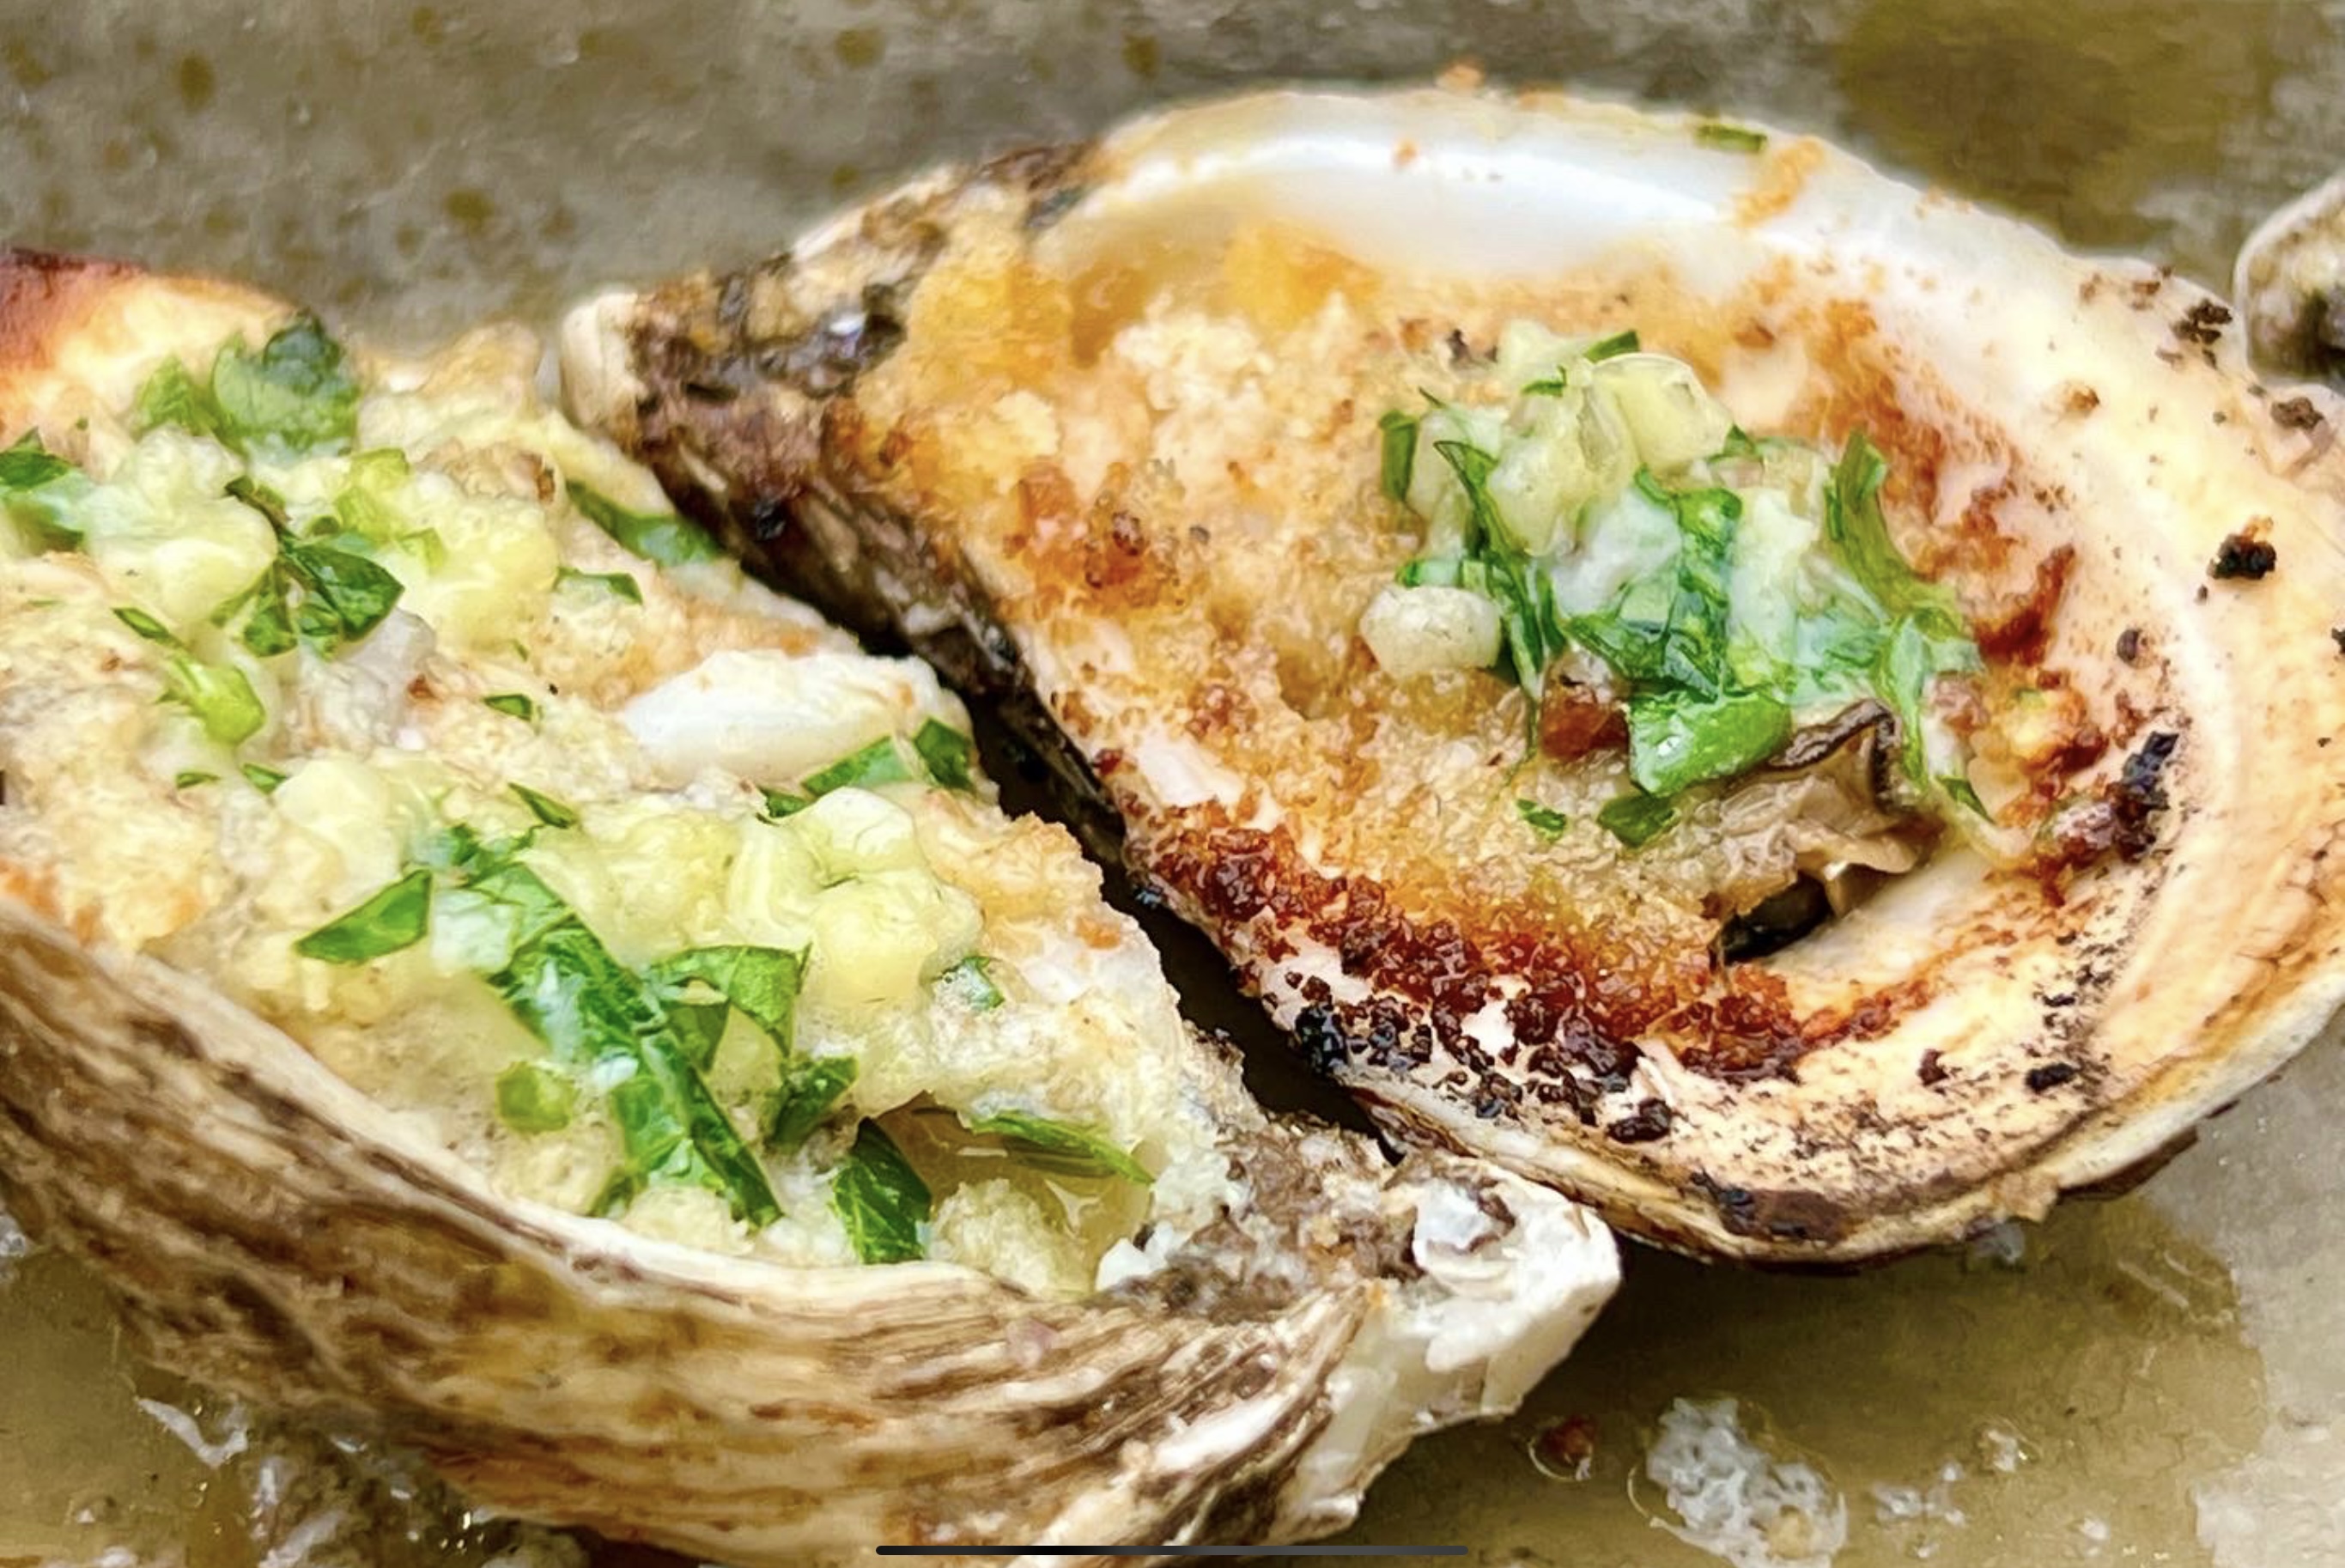
When you think about it, it’s no great culinary feat to grill an oyster. But yet, I never thought of doing it on my own. The dozen oysters I devoured that day were buttery, garlicky, with a hint of char and smoke that made them absolutely delicious, quite easily the best oysters I’ve ever had in my life.
I knew that as soon as I came home from this trip, I would have to try to make these myself. I have to say I came pretty darn close!
If you don’t use a charcoal or wood fire to make these, you’re simply leaving out one of the most important ingredients to the entire recipe. A gas grill or a kitchen stove can cook an oyster, but the only way you can take it to the next level is by putting it on open flame, a wood-burning flame.
This recipe is good for about a dozen oysters. Using gluten-free breadcrumbs makes this recipe gluten-free.
The first step is to get your hardwood charcoal fire started. I use a charcoal chimney and newspaper–never any lighter fluid.
Once the coals are lit, head to the kitchen…
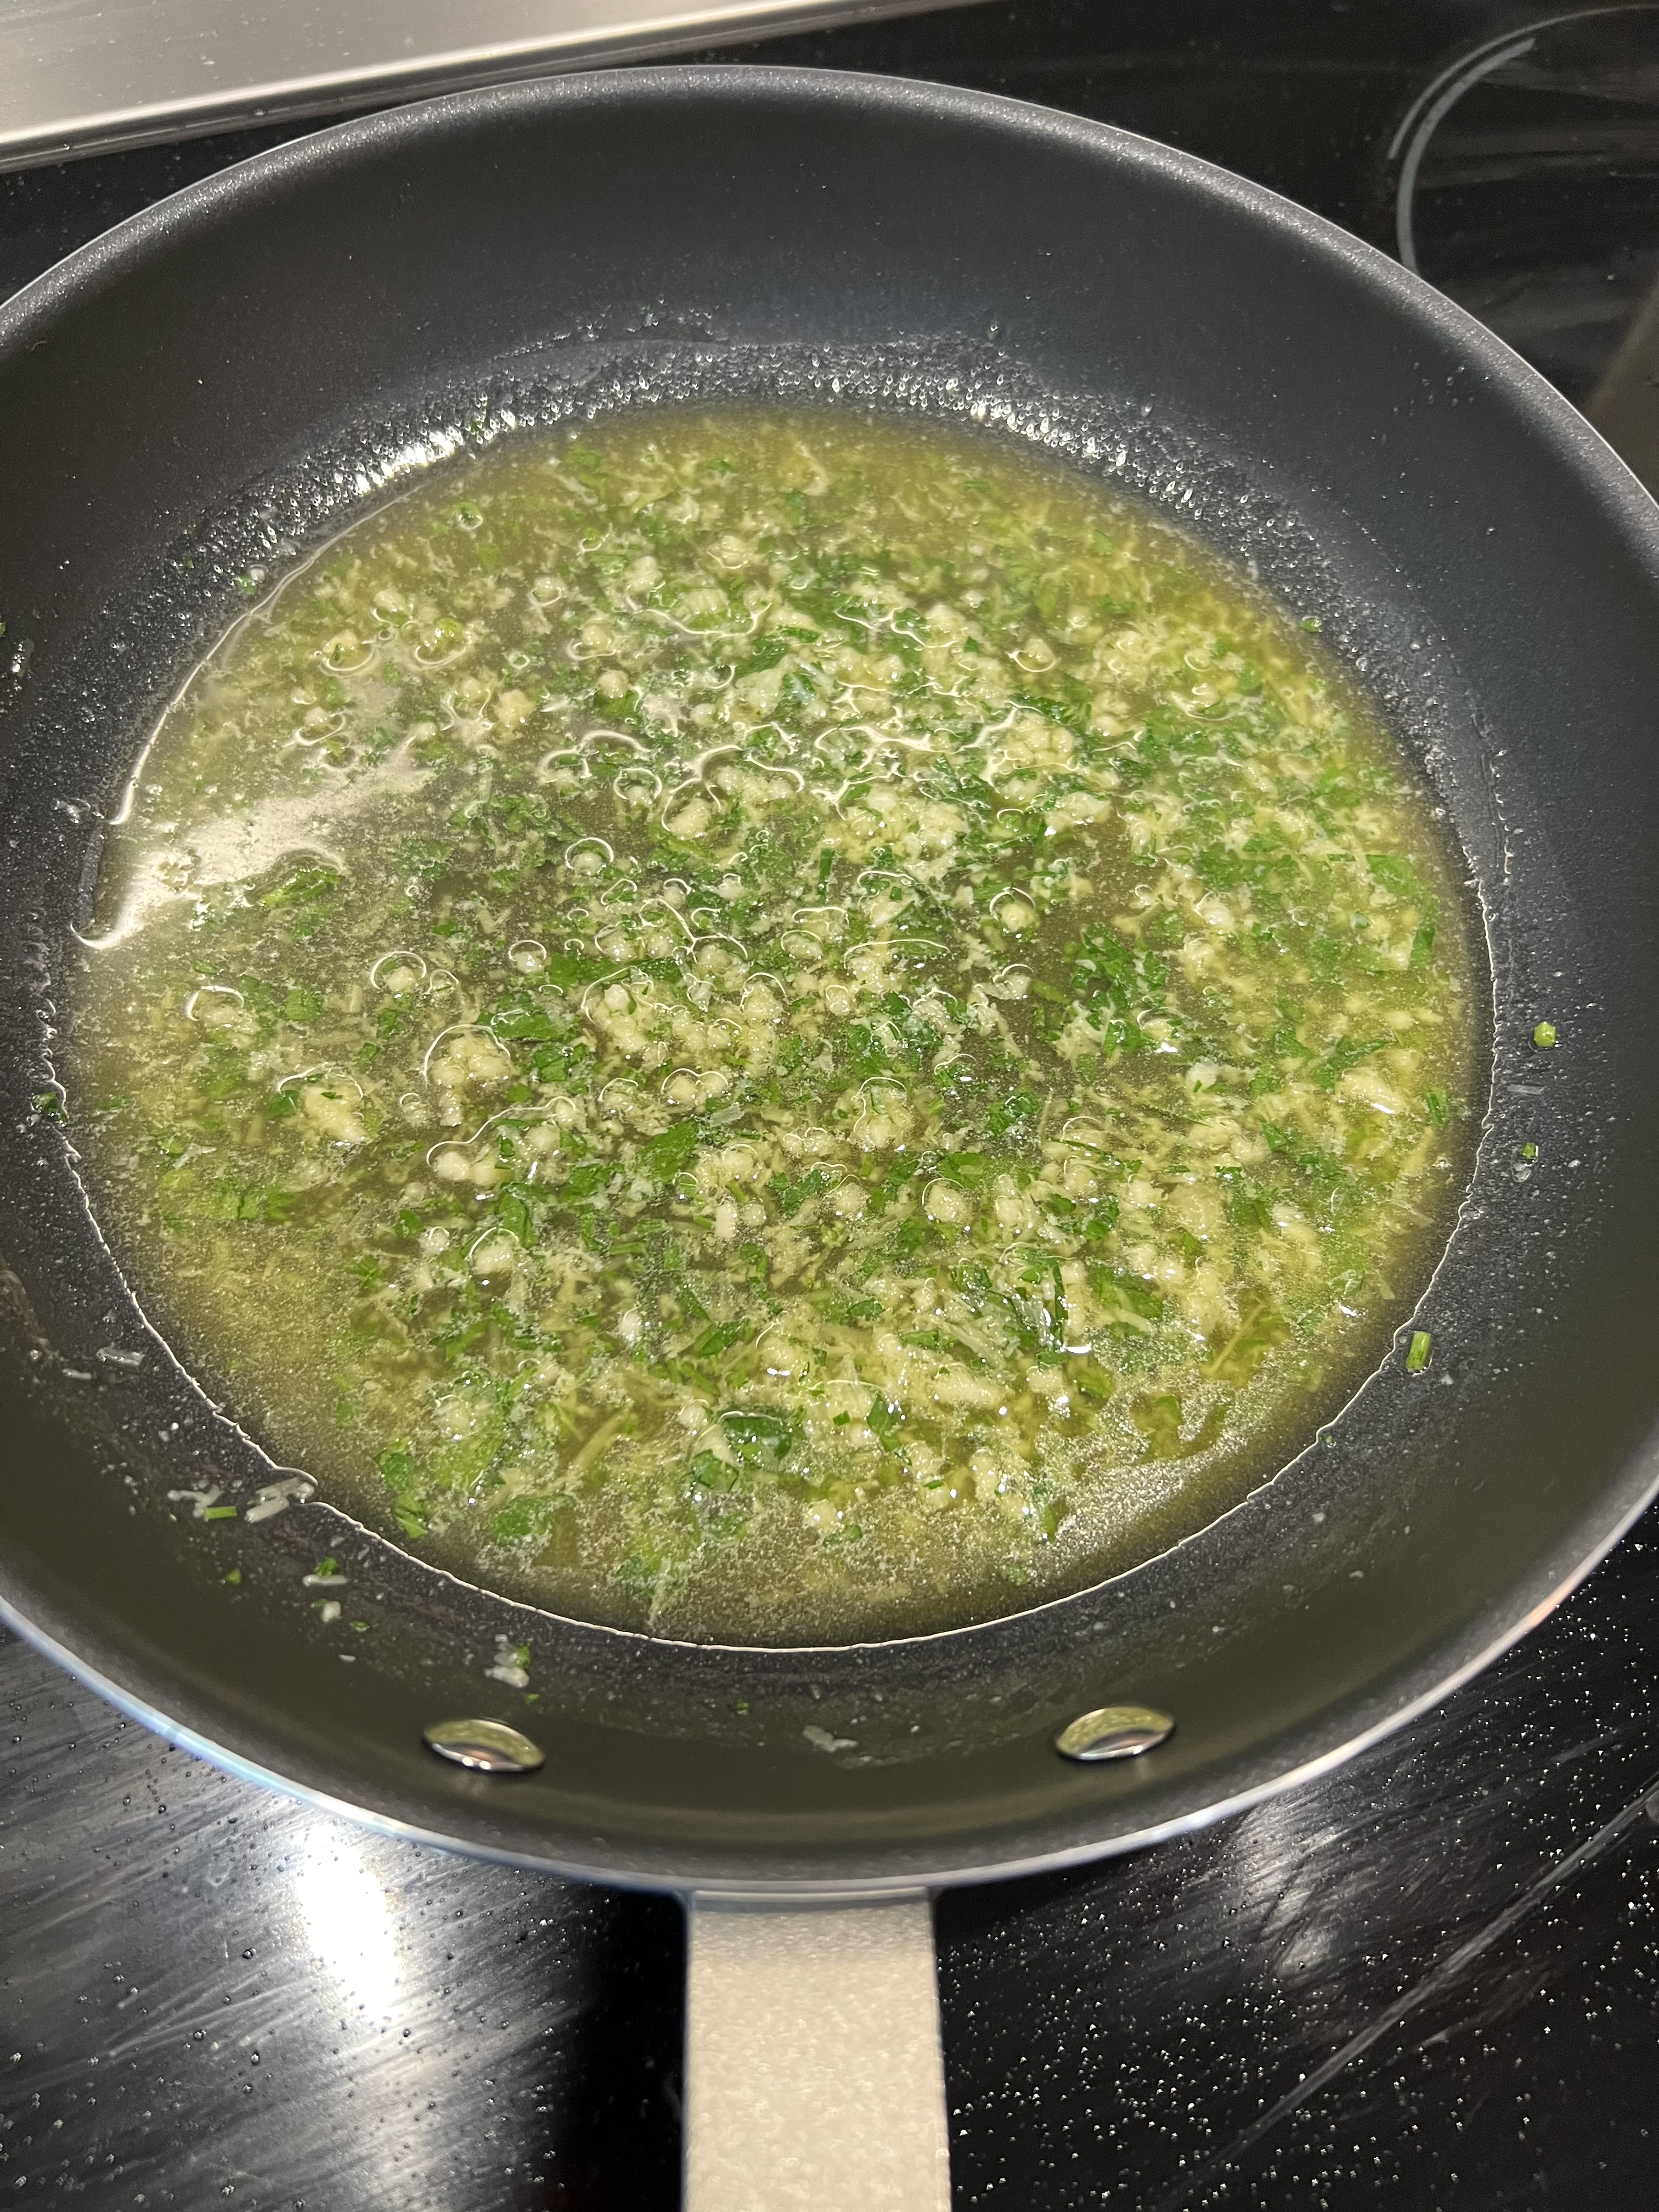
4 tablespoons salted butter 2 tablespoons minced garlic 2 tablespoons fresh Italian parsley, finely chopped 2 tablespoons Parmesan cheese, grated (I use Parmigiano Reggiano) 4 tablespoons breadcrumbs
Combine the butter, garlic, parsley, and cheese in a sauté pan over medium heat. All you’re looking to do is to melt the butter, so once it’s melted, take the pan off the heat and this mix is ready to use.
Shuck your dozen oysters. Remember: they will shrink a little bit while cooking, so don’t be afraid to go for bigger ones.
Lay the opened oysters in a pan, carefully trying to preserve as much of the oyster liquor (liquid) in each shell as possible.
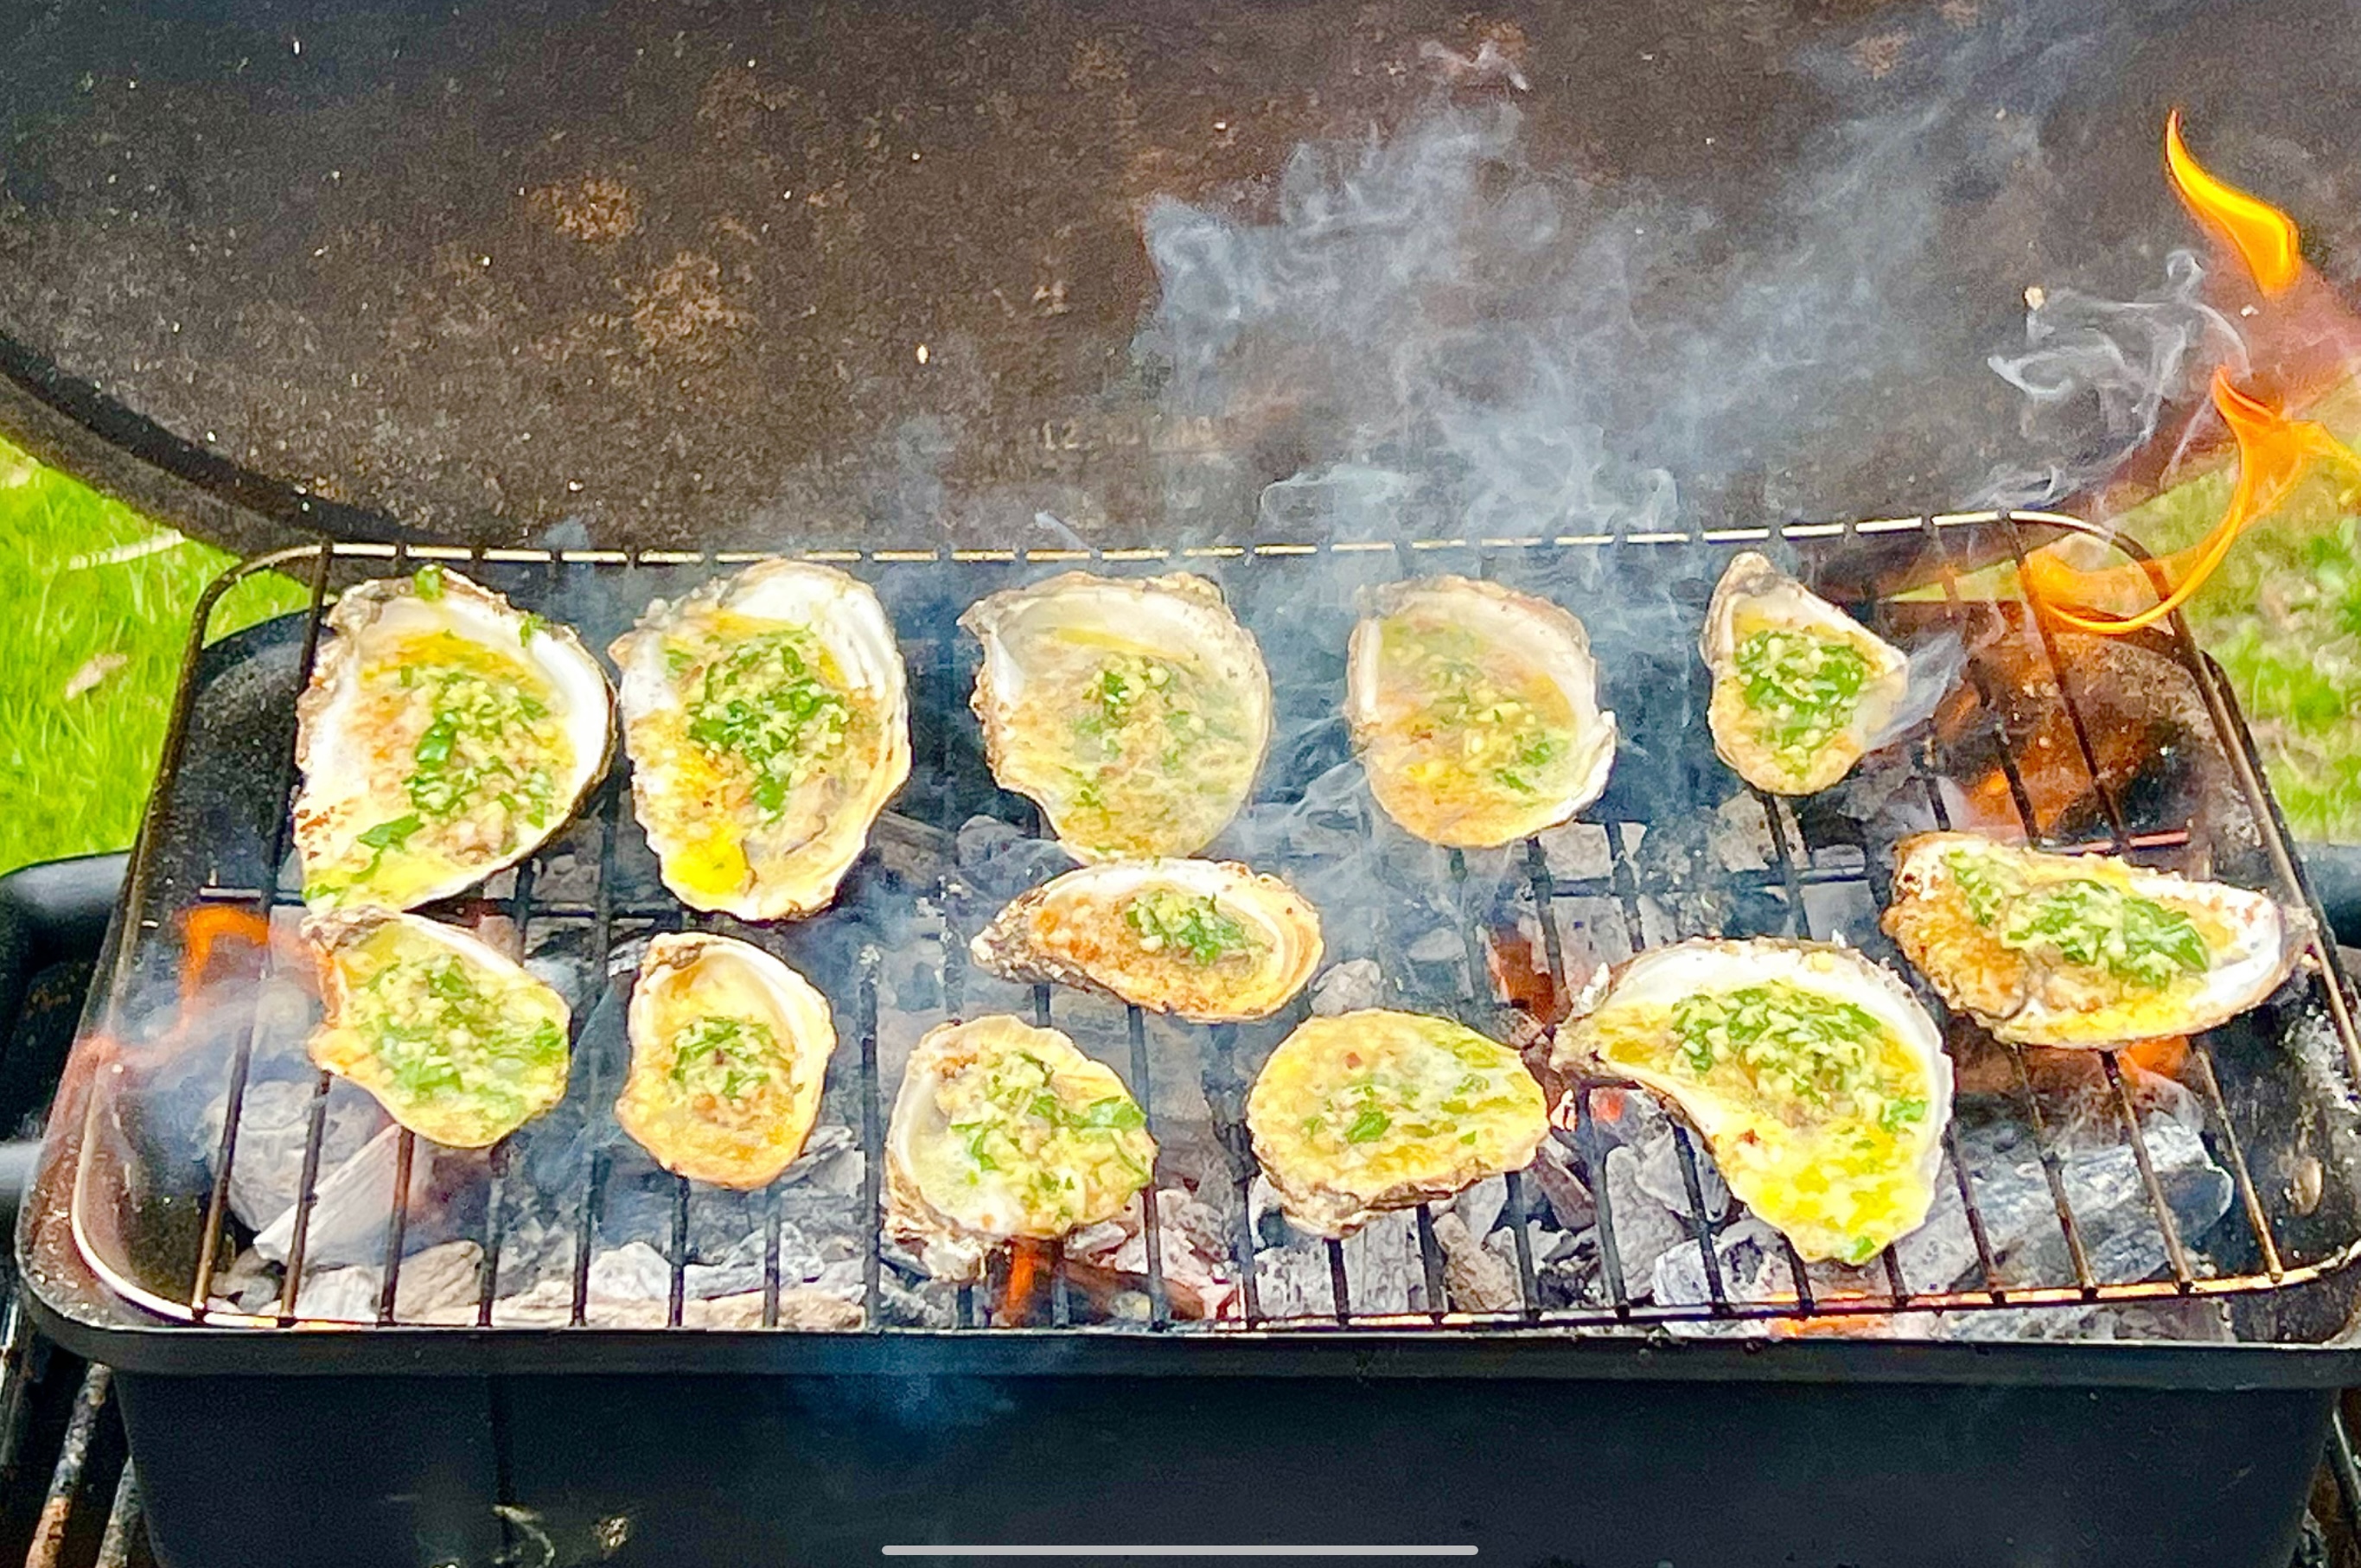
When the hardwood charcoal has heated up, and you’ve spread the coals evenly on your grill, you are ready to cook the oysters. You want the grill to be hot.
You don’t need to put the oysters directly on the hardwood charcoal. Putting a grill over the coals is fine, and it keeps the oyster shells from tipping over.
Before placing the oysters on the grill, sprinkle each one with some of the breadcrumbs. Then place the oysters on the grill, being careful not to burn your hands!
Using a spoon, pour some of the butter mixture into each oyster shell. It will flame up! That’s OK. Use up the entire butter mixture for all 12 oysters.
The oysters are ready when you see that golden brown color all around the edges of the oyster shell, when most of the liquid in the shell has evaporated. Don’t let them dry out completely.
Using tongs, remove the oysters from the flame and enjoy! Just be careful…they can be lava hot!
I’ve had Clams Casino in many different forms. Back when I worked in Italian restaurants in New York, we would make a breadcrumb mixture, press it onto a freshly opened whole clam, and then place a small piece of bacon on top before it went into the oven. It was good, but the clam often stuck to the shell, and many people didn’t want to gulp down a whole clam like that.
Oyster knife (left) and a clam knife (right.) Different tools for different jobs.
When it was time for me to make my own recipe, I decided that I would chop the clams and mix them into the breadcrumb mix, so that every bite was the same.
2 tablespoons olive oil
1/3 cup finely chopped Vidalia or other sweet onion (about a 1/2 an onion)
2 garlic cloves, squeezed through a garlic press
1/3 cup dry white wine
1/3 cup unflavored bread crumbs
1 tablespoon fresh Italian parsley, finely chopped
1/2 teaspoon dried oregano
Freshly cracked black pepper
2 dozen medium sized clams
1/3 lb. bacon, cut in small squares to fit the clam shells
Heat the olive oil in a pan over medium heat. Add the onions, and sauté them until they’re translucent. Add the garlic, and cook for 10 seconds. Add the wine and simmer for a minute. Add the bread crumbs, and stir the mixture until it becomes thicker, like a paste. Add the parsley and oregano. Season with pepper. (There’s going to be plenty of salt in the clam juice and bacon, so no salt is needed.)
The bread crumb mixture.
Remove the pan from the heat and let it cool.
It’s time to open the clams. If you know how to do that, open them over a sieve with a bowl underneath so that the clam meats and juices are captured. Discard any broken shells, but save the good ones.
If you struggle with opening clams, this method makes it a little easier: Bring a large pot of water to boil, and drop the clams into it, about 10 at a time, for 30 seconds. Don’t let them open! Remove the clams with a slotted spoon and place them in a bowl to cool. Continue doing this in small batches until all the clams have been in the water. You’ll find this makes opening the clams much easier. Then proceed as above.
Once you’ve shucked all the clams, let the clam juice sit for a bit, so that any grit settles to the bottom of the bowl. Then pour off the clean clam juice and add it to your bread crumb mixture. (Don’t worry if it looks soggy at this point.)
Looking a little soggy, but that’s OK.
I like to hand chop the clam meats instead of using a food processor. You want tasty clam chunks, not too big, but not mush. Add the clams to the the bread crumb mix.
At this point, if the clam mix looks very soggy, simply add a little more bread crumb to dry it out.
Preheat the oven to 350 degrees.
Line a large baking sheet with foil. Separate the clam shell halves and wash them, making sure you don’t have any shell fragments left in the clam shell. Fill them with the clam mixture, mounding them slightly, and placing each one on the baking sheet.
Clams and bacon…delicious!
Cut the bacon in small squares to fit the clam shells. Place a small piece of raw bacon on the top of each clam.
Bake until the clams are just cooked through, the topping is golden, and the bacon is cooked, about 30 minutes.
This makes a great appetizer, but it’s hard to just eat a few!