Archive for the ‘Uncategorized’ Category

ICE.MADE.CLEAR: A REVIEW

Posted: September 13, 2022 in Uncategorized

I love my cocktails, and I feel the quality of the ice is as important as any other ingredient in my glass. After all, if the ice cubes are made from nasty water, it’s going to affect the taste of the drink.

And from a visual standpoint, a large, beautiful, clear ice cube really makes any cocktail look pretty darn impressive.

Since the tapwater at my house has chlorine and fluoride in it, I use a reverse osmosis filter to try to get as much of the bad stuff out. And I’ve been using that to make my own fancy cocktail ice cubes. But they were cloudy, so I was willing to try this new gadget.
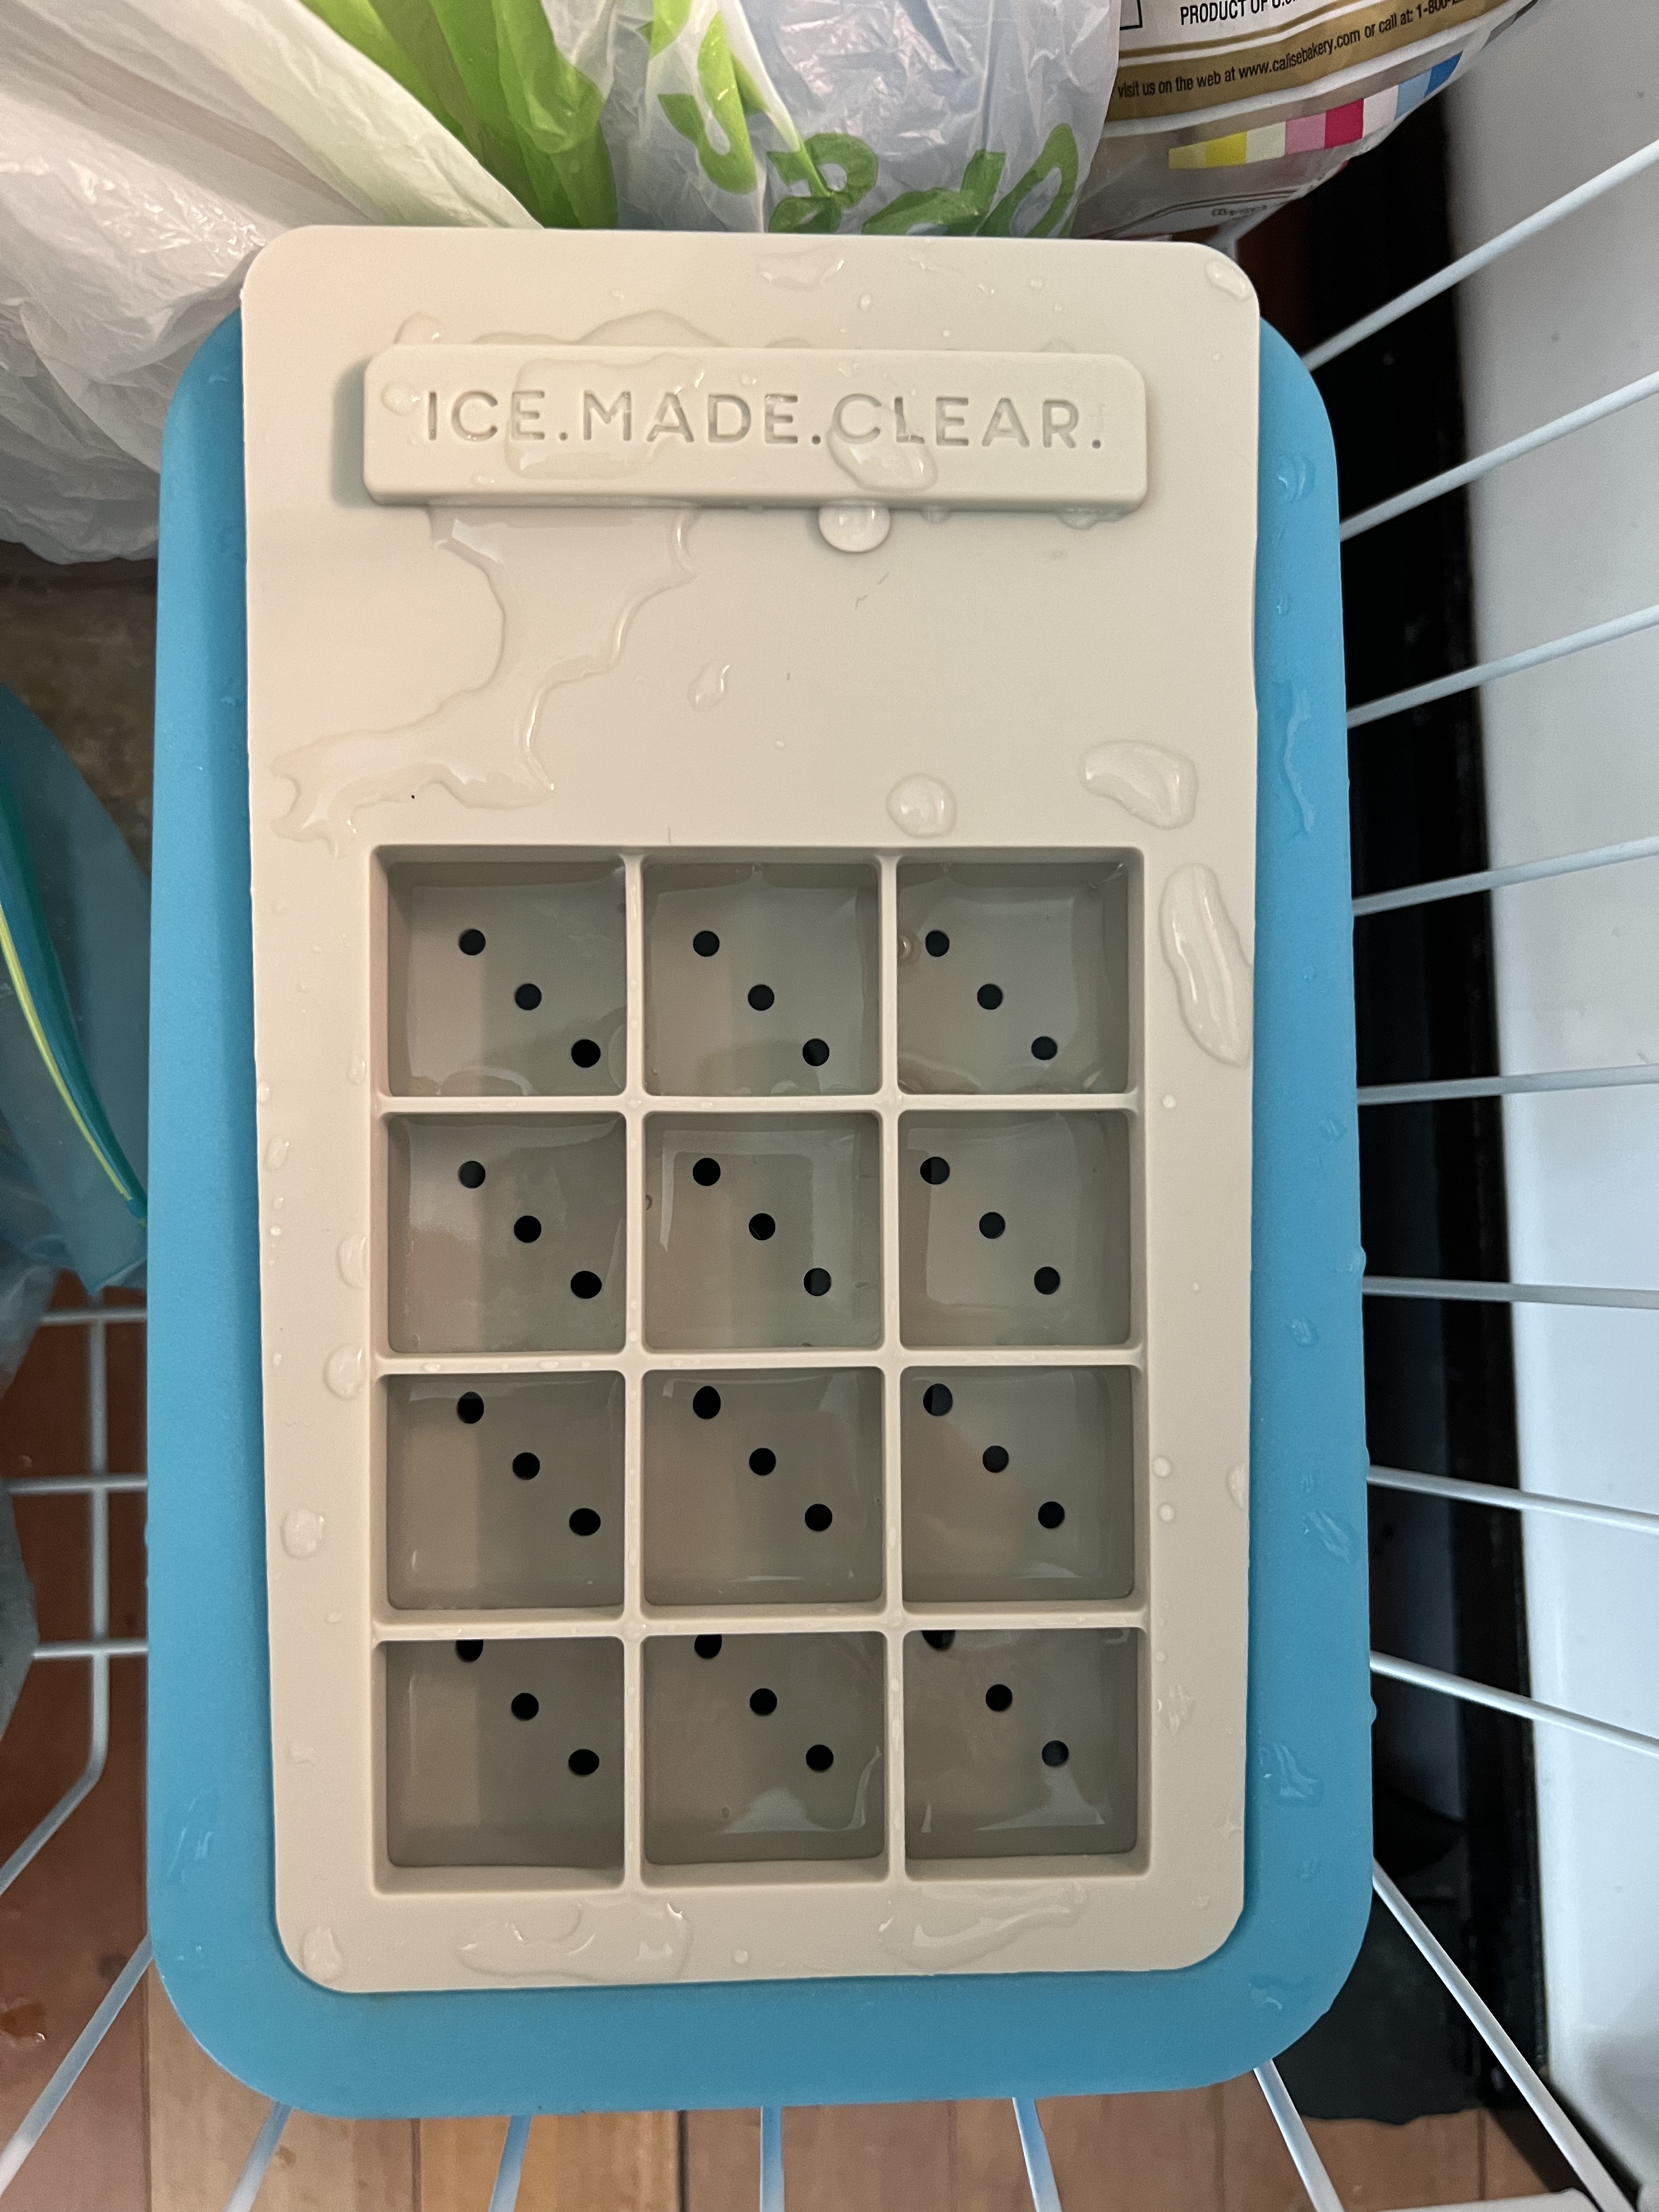


Once I bought the Ice.Made.Clear system, and I read the instructions, I realized that, much like the ice cubes they promised, a problem became very clear: they recommend using water right from the tap– – hot tap water, in fact. Their reasoning was that the chilling process from hot to freezing, and the minerals in the tapwater, aid in the clarity process. (Also, warmer water holds fewer air bubbles, which causes the cloudiness in the ice later on.)

But I don’t want chlorine and fluoride in my ice cubes! So for me, tap water was out of the question.


As an alternative, they suggested buying spring water, claiming that using reverse osmosis filtered water would remove too many of the necessary minerals needed for the process to work. 

So I bought a gallon jug of Poland Spring to try this thing out, and it actually worked really well. But the problem was, it wasted a lot of water. Once the ice cubes are made, the container can’t be reused until you melt all the ice in it, empty it out, and start all over again. I wound up using almost an entire gallon of spring water to make six large ice cubes. That’s ridiculous. 

So, despite the fact that they recommend using tap water or spring water, I went back to my filtered water, because it’s cheap and plentiful. I heat it up a bit in a saucepan (not to the point of boiling, but warm) and then pour it into the Ice.Made.Clear system. The cubes aren’t as clear as they might be, but I know the water quality is the best it could be. And I still get pretty darn clear ice.

So here are the pros and cons of the Ice.Made.Clear system:

The Pros:
It really does make clear ice.
It’s not a big unit, so it fits in most freezers.
The whole system cost under 100 bucks, so it’s not outrageous in price.


The Cons:
It wastes a lot of water.
If you don’t have clean tapwater, buying water gets really expensive just to make a handful of ice cubes.
If you’ve got guests coming over, you better start making your cubes weeks ahead of time, because it’s a slow process.


I posted a way to make homemade clear ice cubes in a previous blog. I will repost it soon. It works really well, gives you plenty of rustic large ice cubes at once, and doesn’t cost a lot.

After all is said and done, if pretty ice cubes don’t matter to you at all, go down to your local convenience store and buy a bag of ice for two bucks, and you’re all set.



THE BURRATA BURGER

Posted: September 8, 2022 in Uncategorized

Some of my favorite recipes happen when I’ve got a few leftover ingredients in the fridge that I really want to use up. The challenge is to make them work together.

Burgers are easy solutions to this dilemma, because, let’s face it: just about anything can go on a burger!

My thoughts behind this recipe went to a combination of things: a little garlic bread, a little Caprese salad, and, of course, a burger.

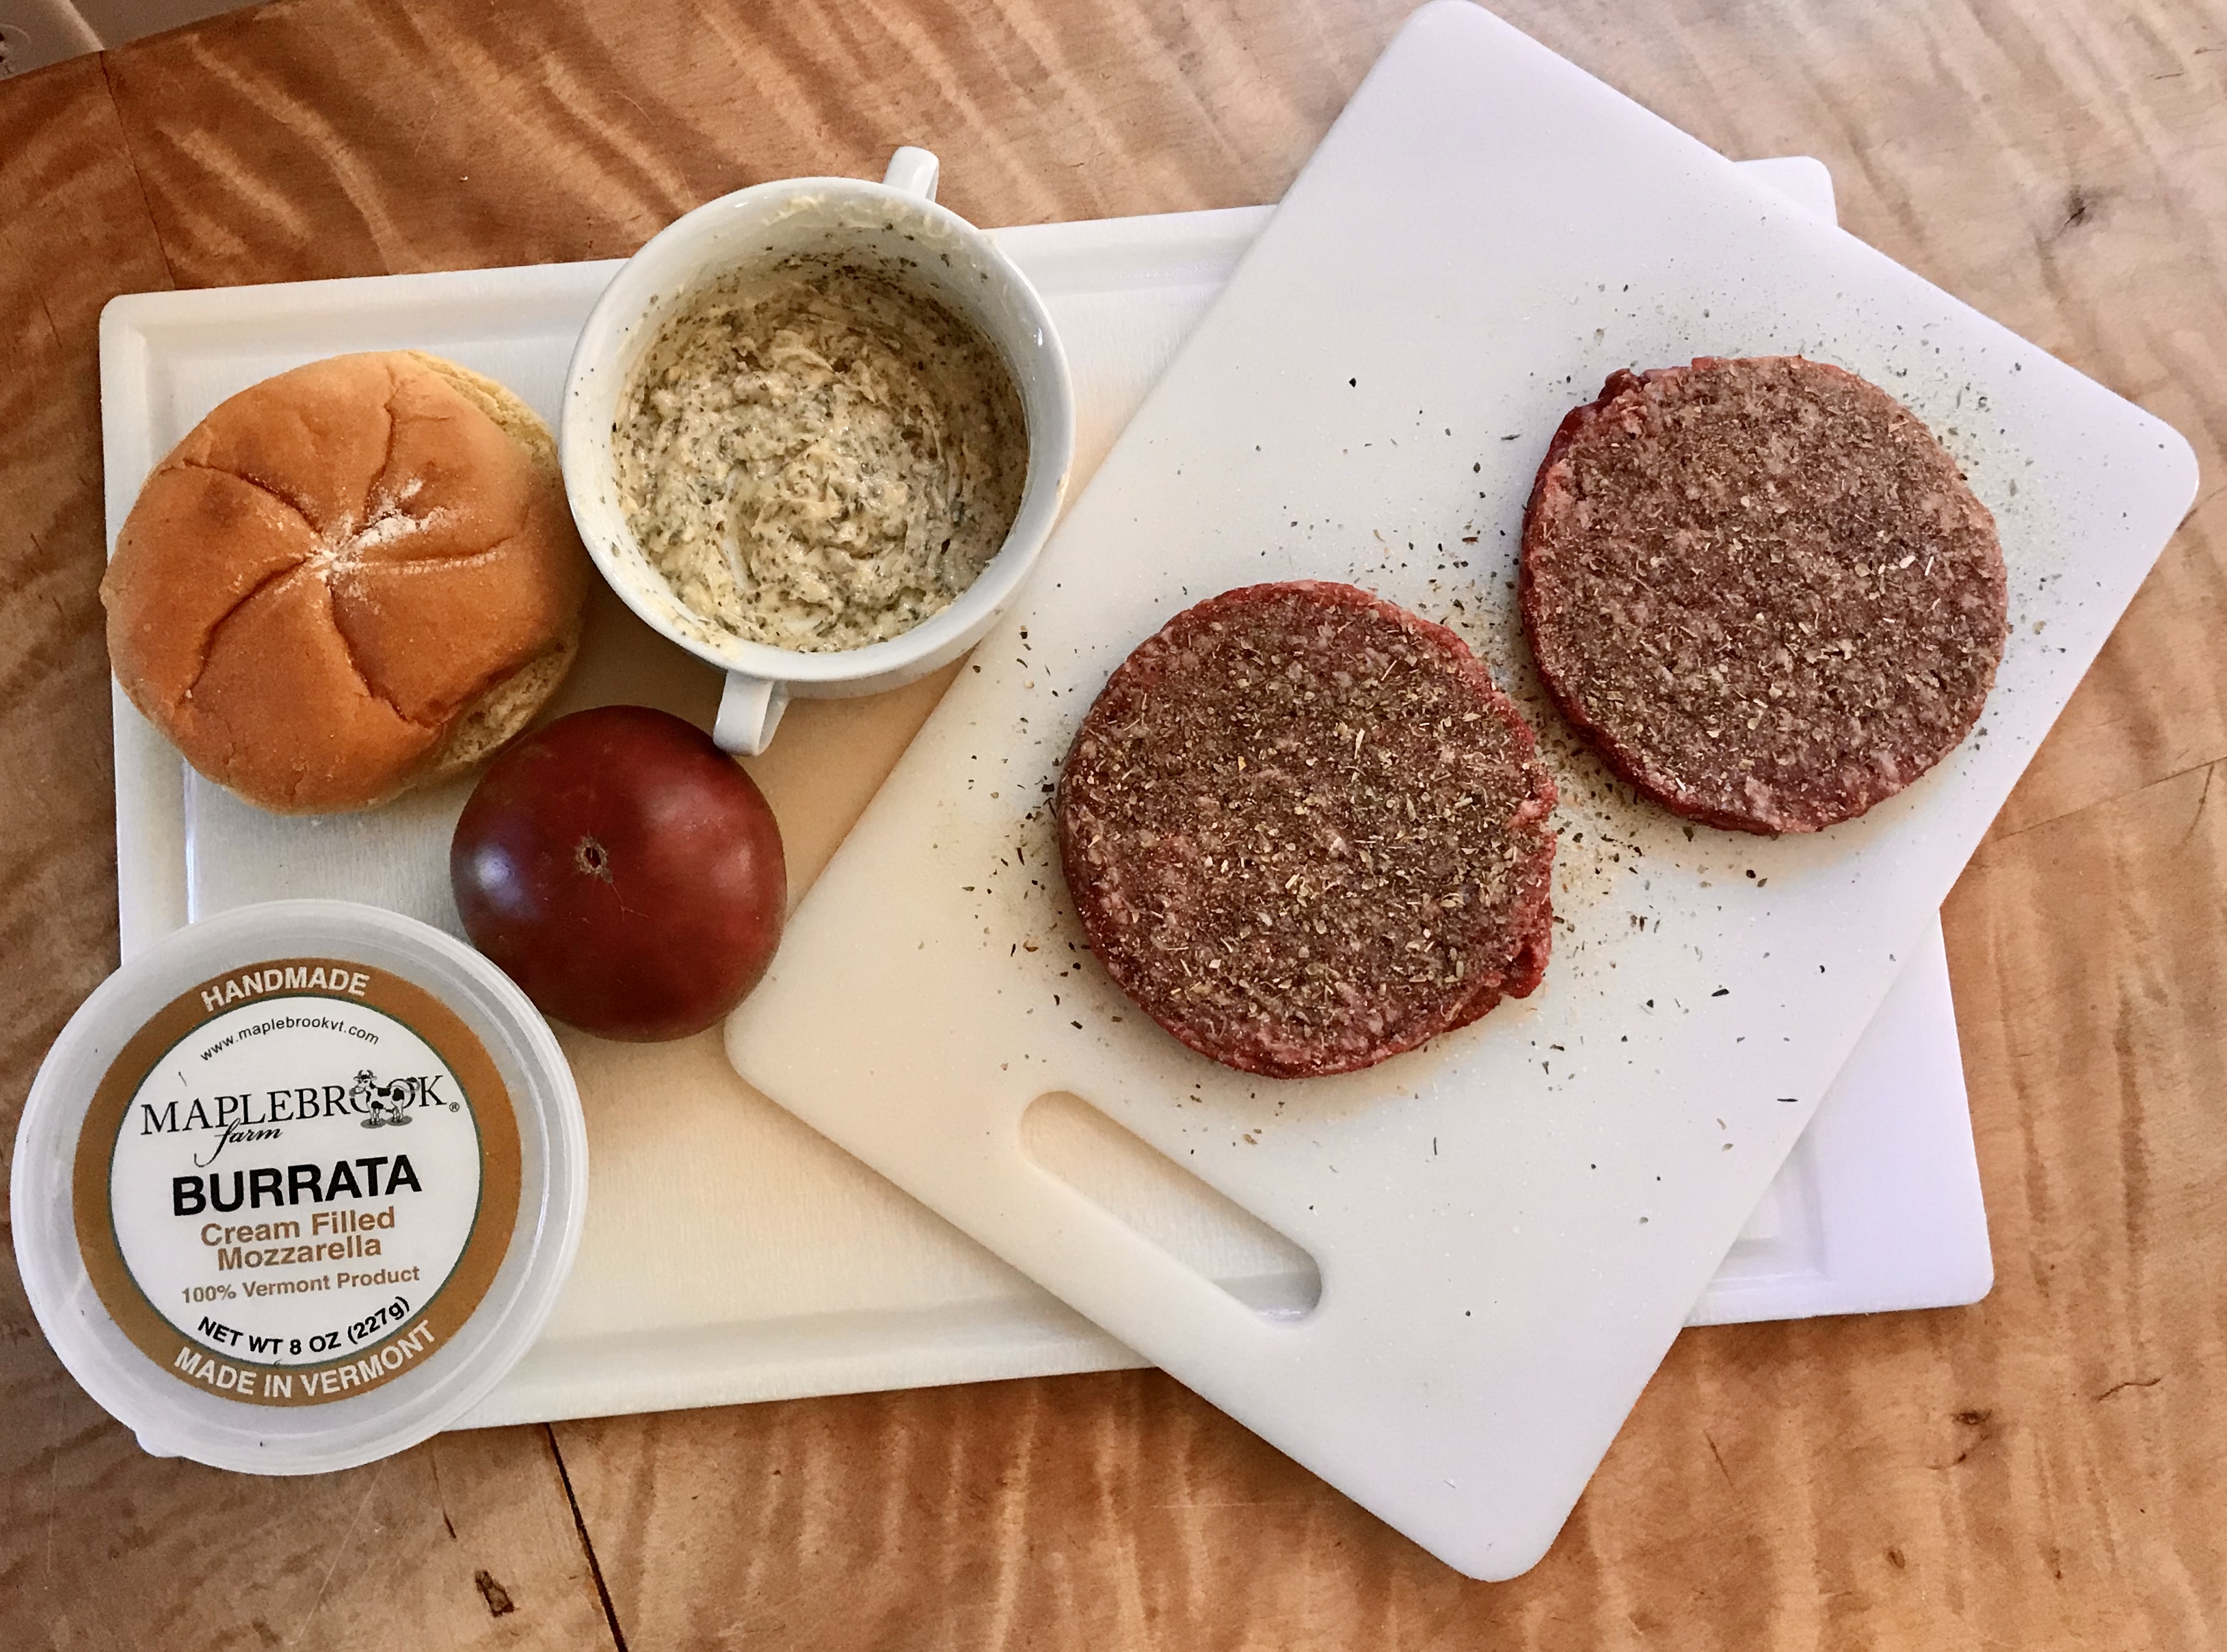
I had some burrata in the fridge. If you thought you couldn’t improve on mozzarella cheese, get yourself some burrata. The outer shell of the burrata is mozzarella, while the inside generally contains stracciatella and cream. It can be made from milk, or if it’s really decadent: Italian buffalo milk.

I use burrata instead of mozzarella when I make my Caprese salads…a combination of the cheese, fresh basil, and ripe tomatoes, drizzle with a high-quality balsamic vinegar.

I had kaiser rolls in the freezer. I wanted to go one step further, so I slathered them with my garlic bread smear, and toasted them.

And my burgers are always grass-fed beef, seasoned with salt and pepper, and pan-seared before finishing them in the oven.

I started with the garlic bread spread first.

Pre-heat the oven to 350.

1 stick (4 oz.) unsalted butter, softened
1 large clove garlic, squeezed through a press
1/2 teaspoon granulated garlic
1/2 teaspoon salt
1/2 teaspoon oregano
1/2 teaspoon parsley

I combined these ingredients in a bowl, mixing well, then smeared them on my kaiser roll halves, toasting them in the oven.

I got a pan very hot on the stovetop (cast iron is always best) and added a little fat. I use bacon grease if I have it. Otherwise I go with a high smoke point oil like avocado oil.

I seasoned the burger with salt and pepper, and placed it in the hot pan, searing it on one side, then flipping it to the other. I just want to sear the meat. I don’t want to cook the burger in the pan or it will overcook when I place it in the oven to finish.

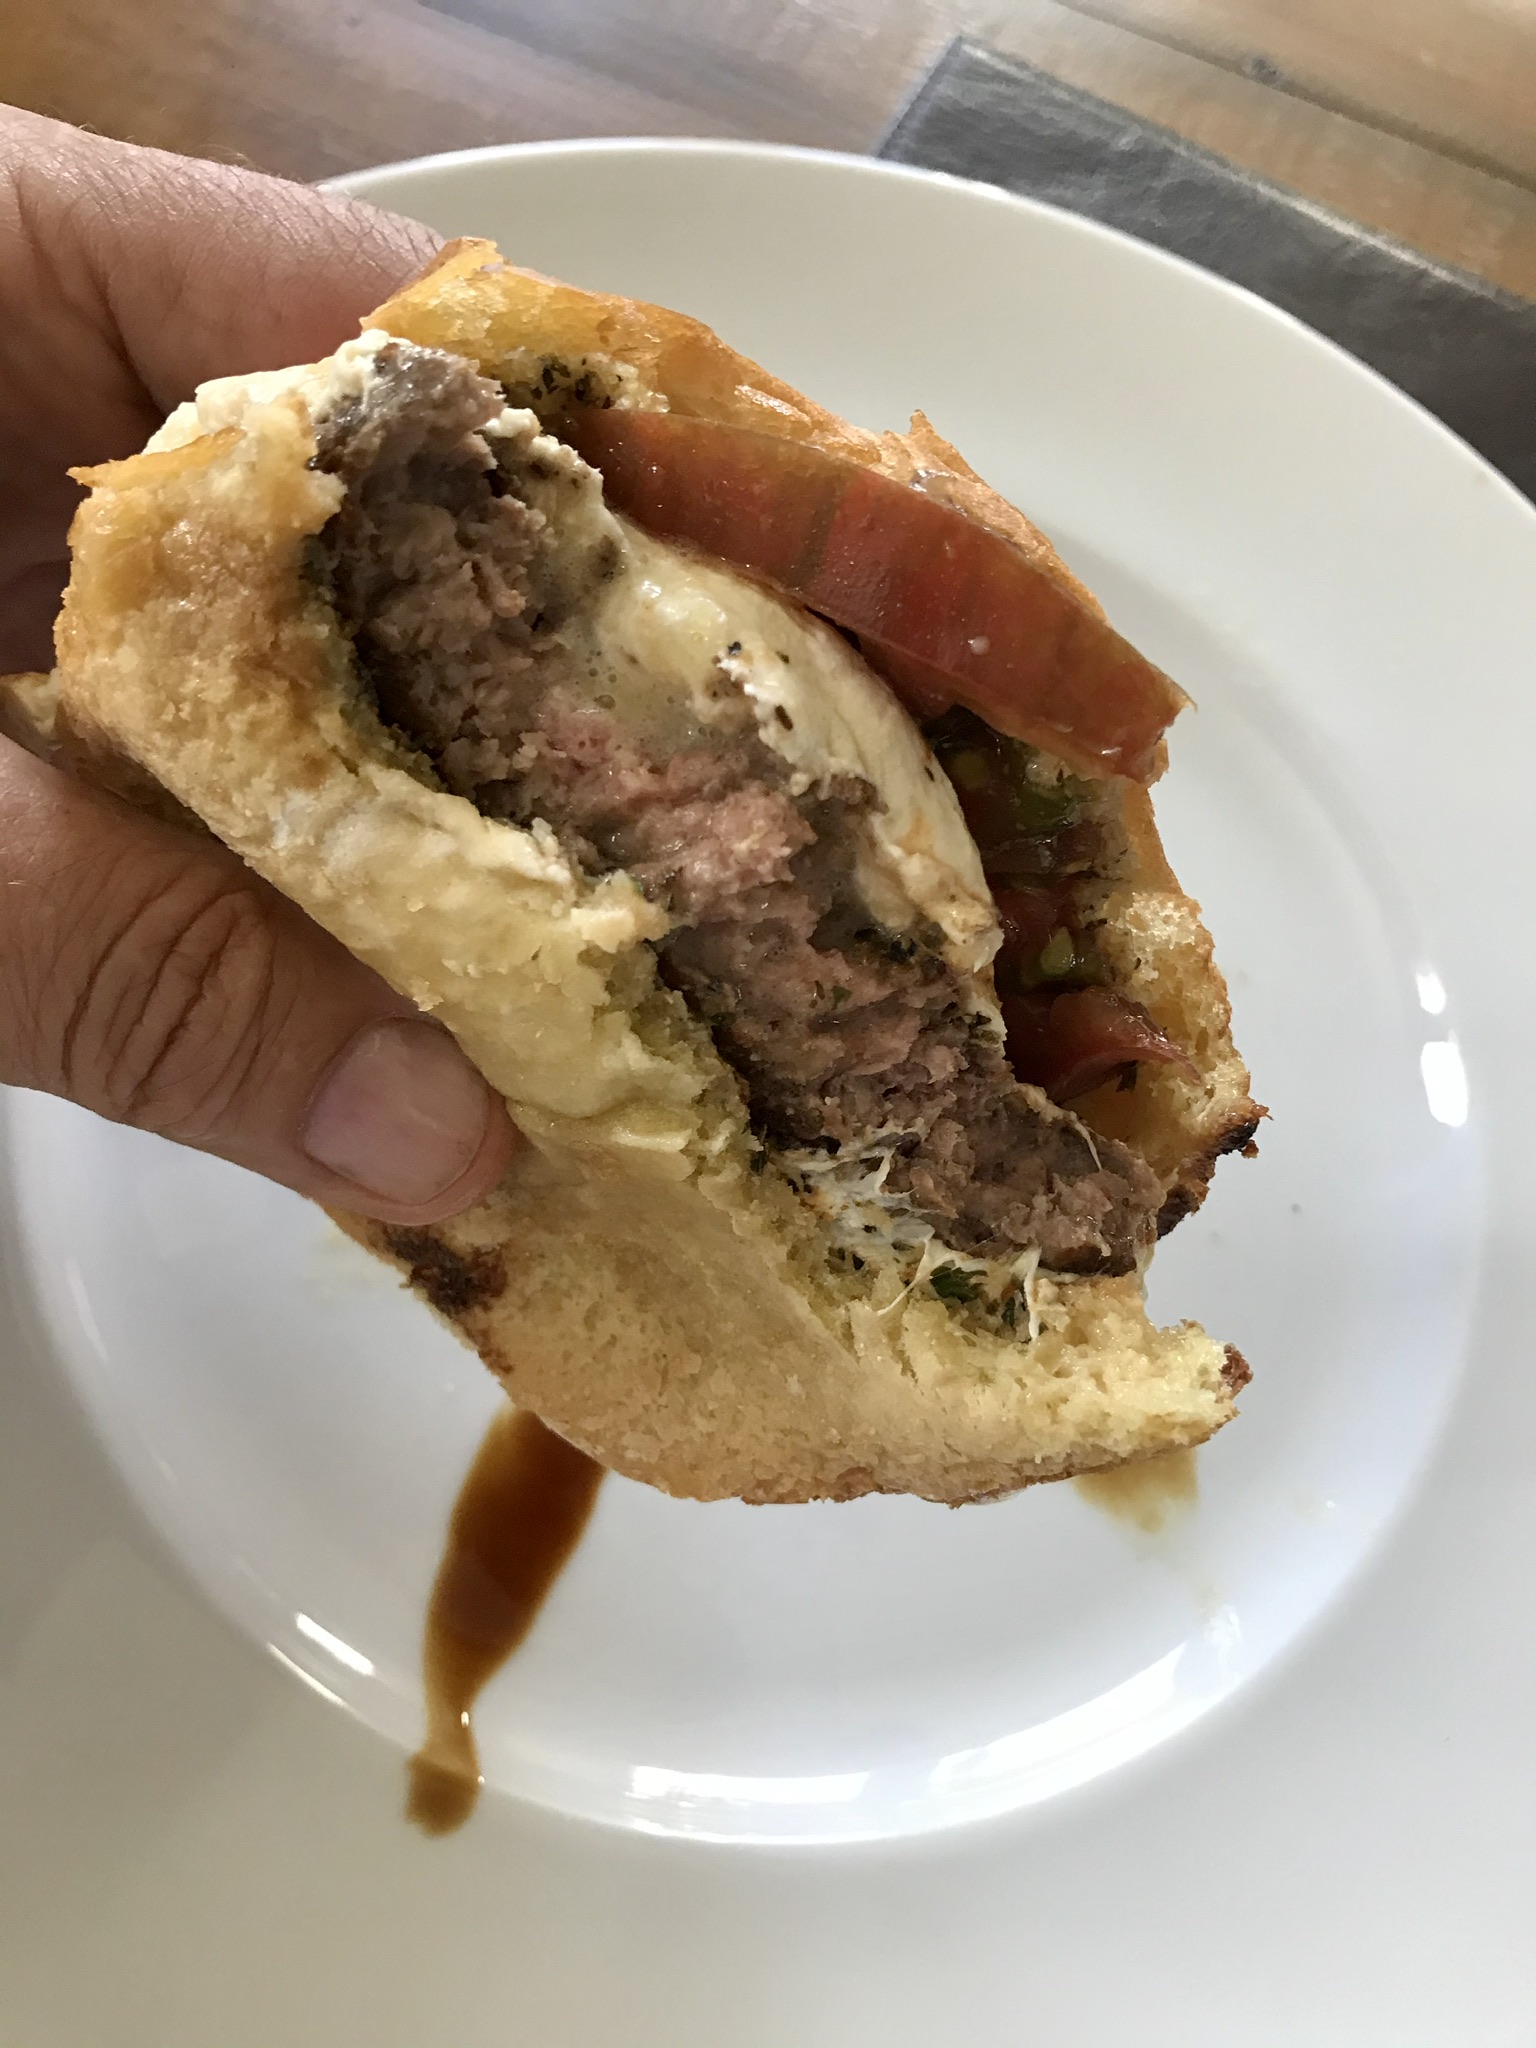
I cut the burrata in half (it gets a little messy), and placed half of it (cut-side-down) onto the burger.

I placed the pan in the oven to finish cooking the burger and to melt the cheese. (If your pan isn’t oven-proof, get a tray that is, and just move the burger onto it and into the oven.)

I cooked the burger until it was medium-rare and the cheese had melted.

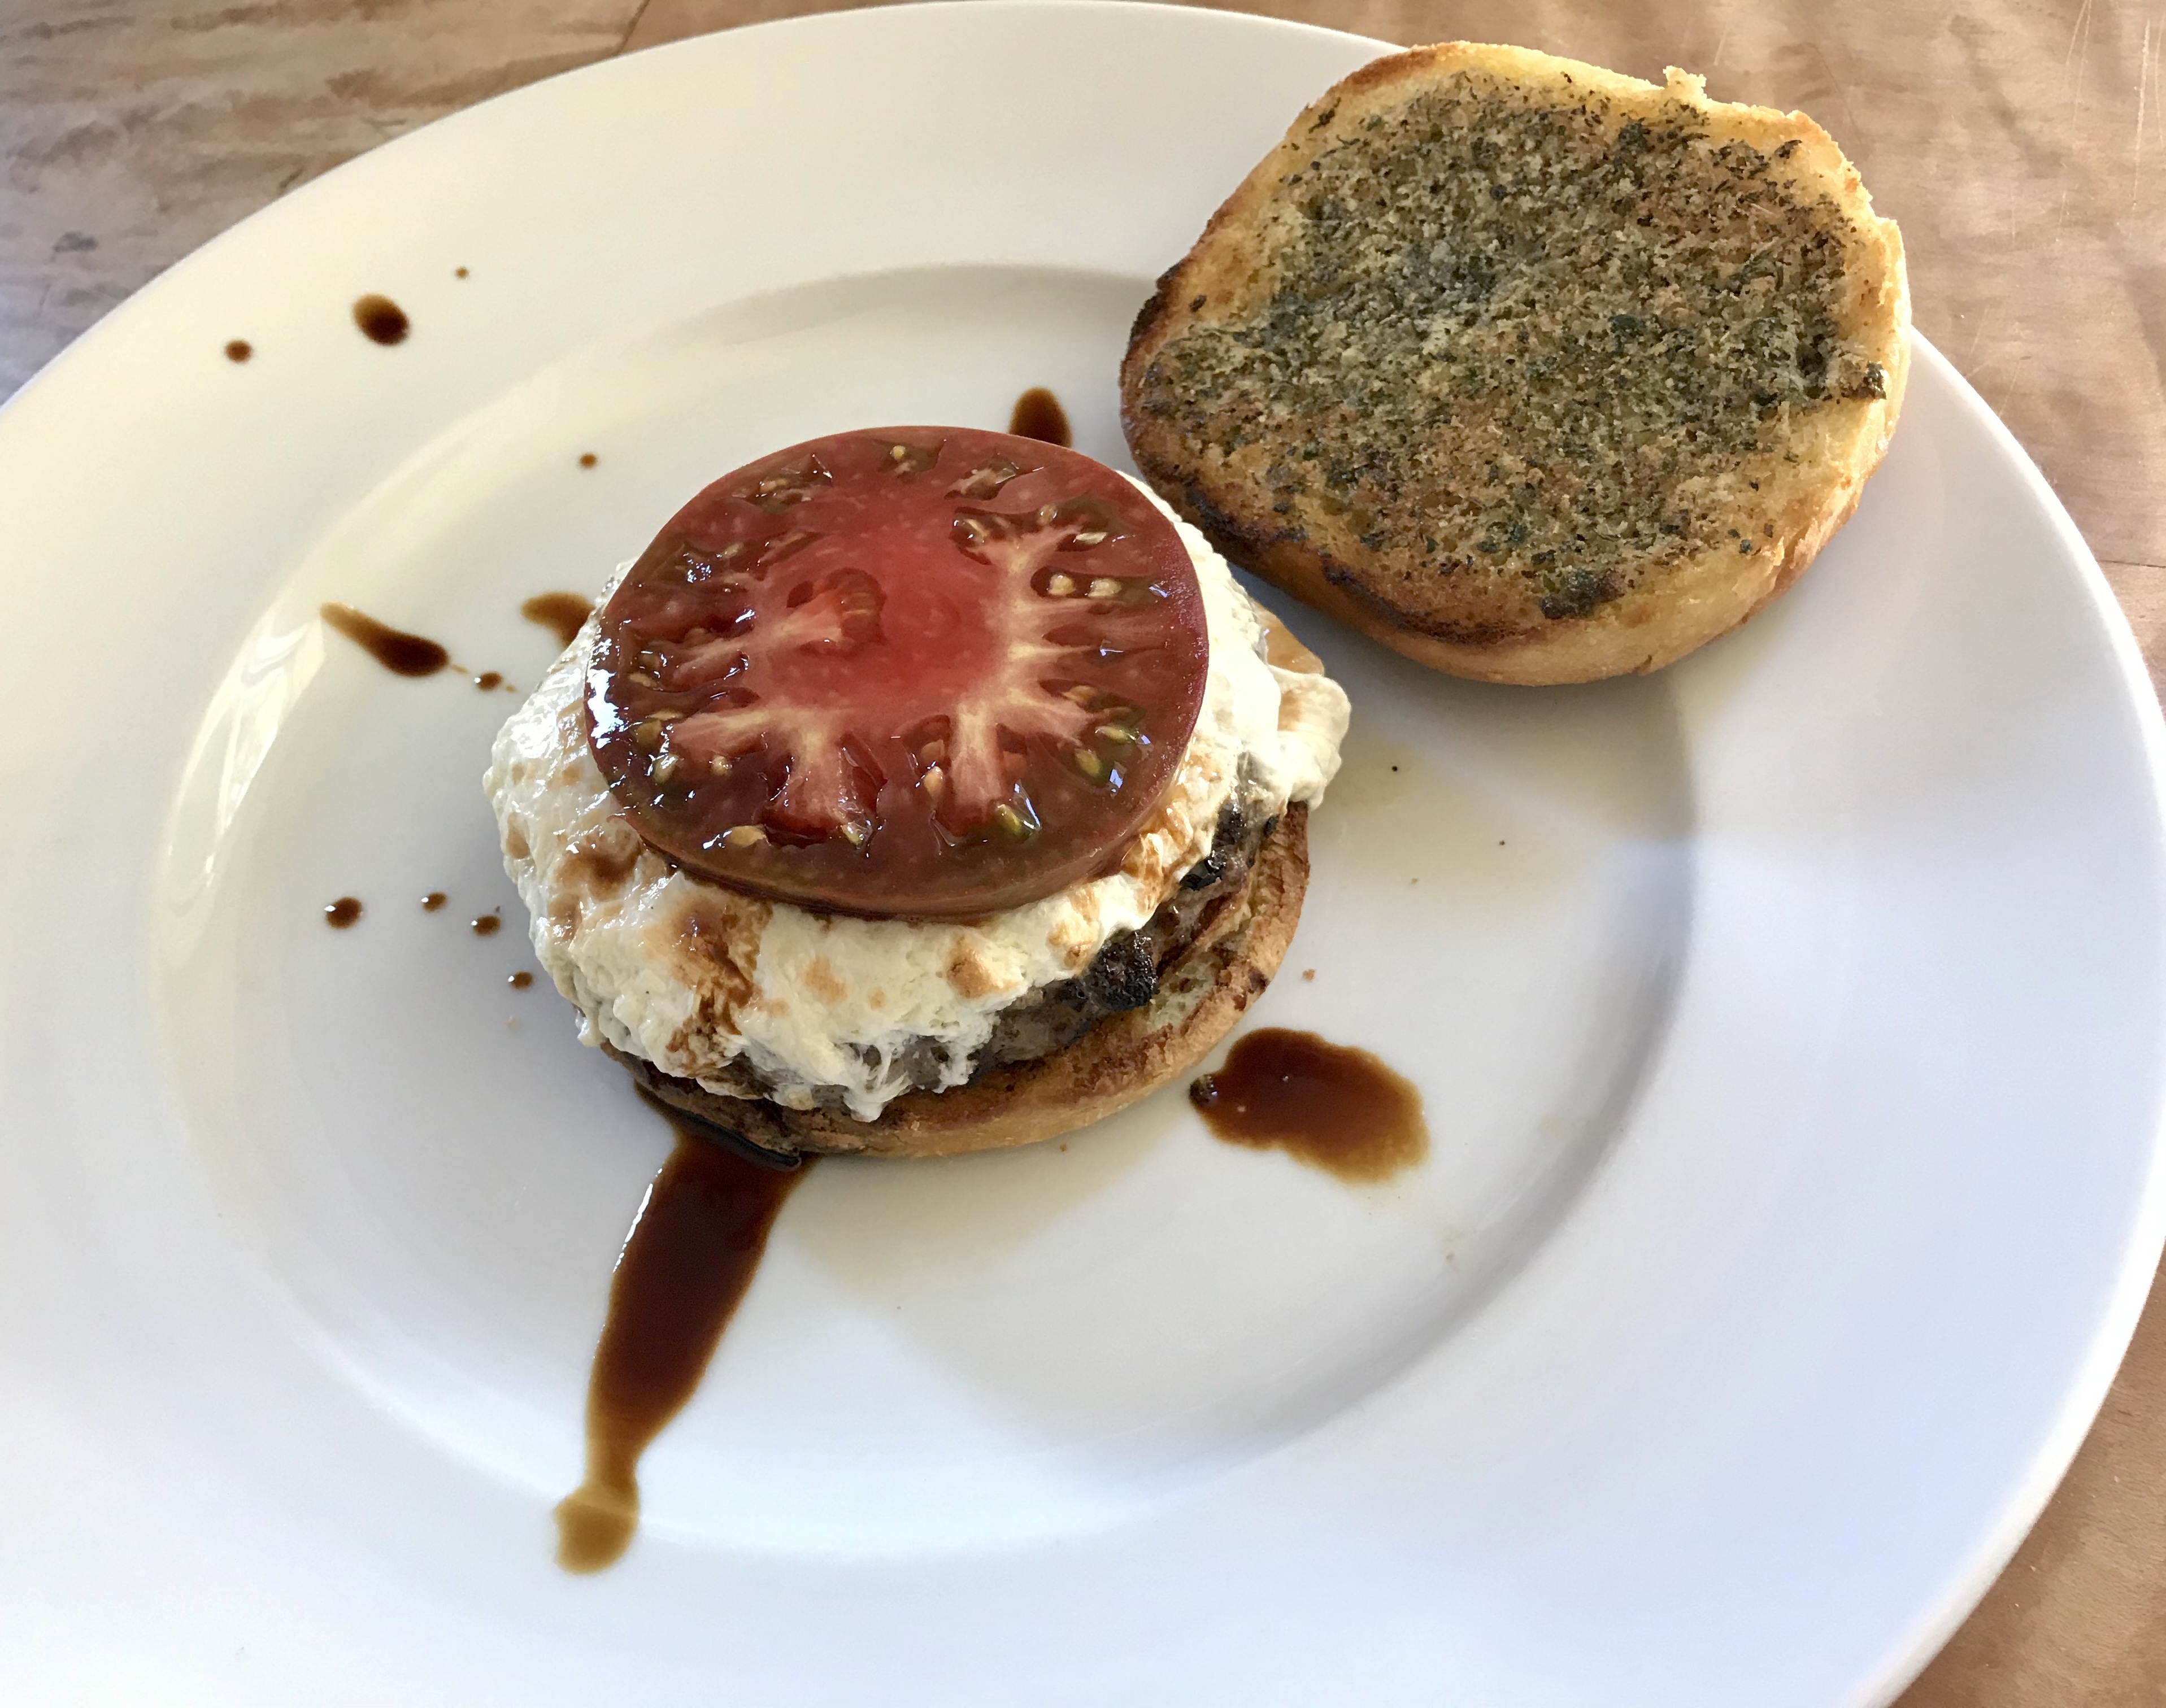
I placed the burger on the toasted roll and added a nice slice of farm-fresh heirloom tomato. (Fresh basil is optional.) And I drizzled over the top with some good balsamic.

That took a cheeseburger to a whole new level!

ZOOKEENEE BREAD

Posted: September 5, 2022 in Uncategorized

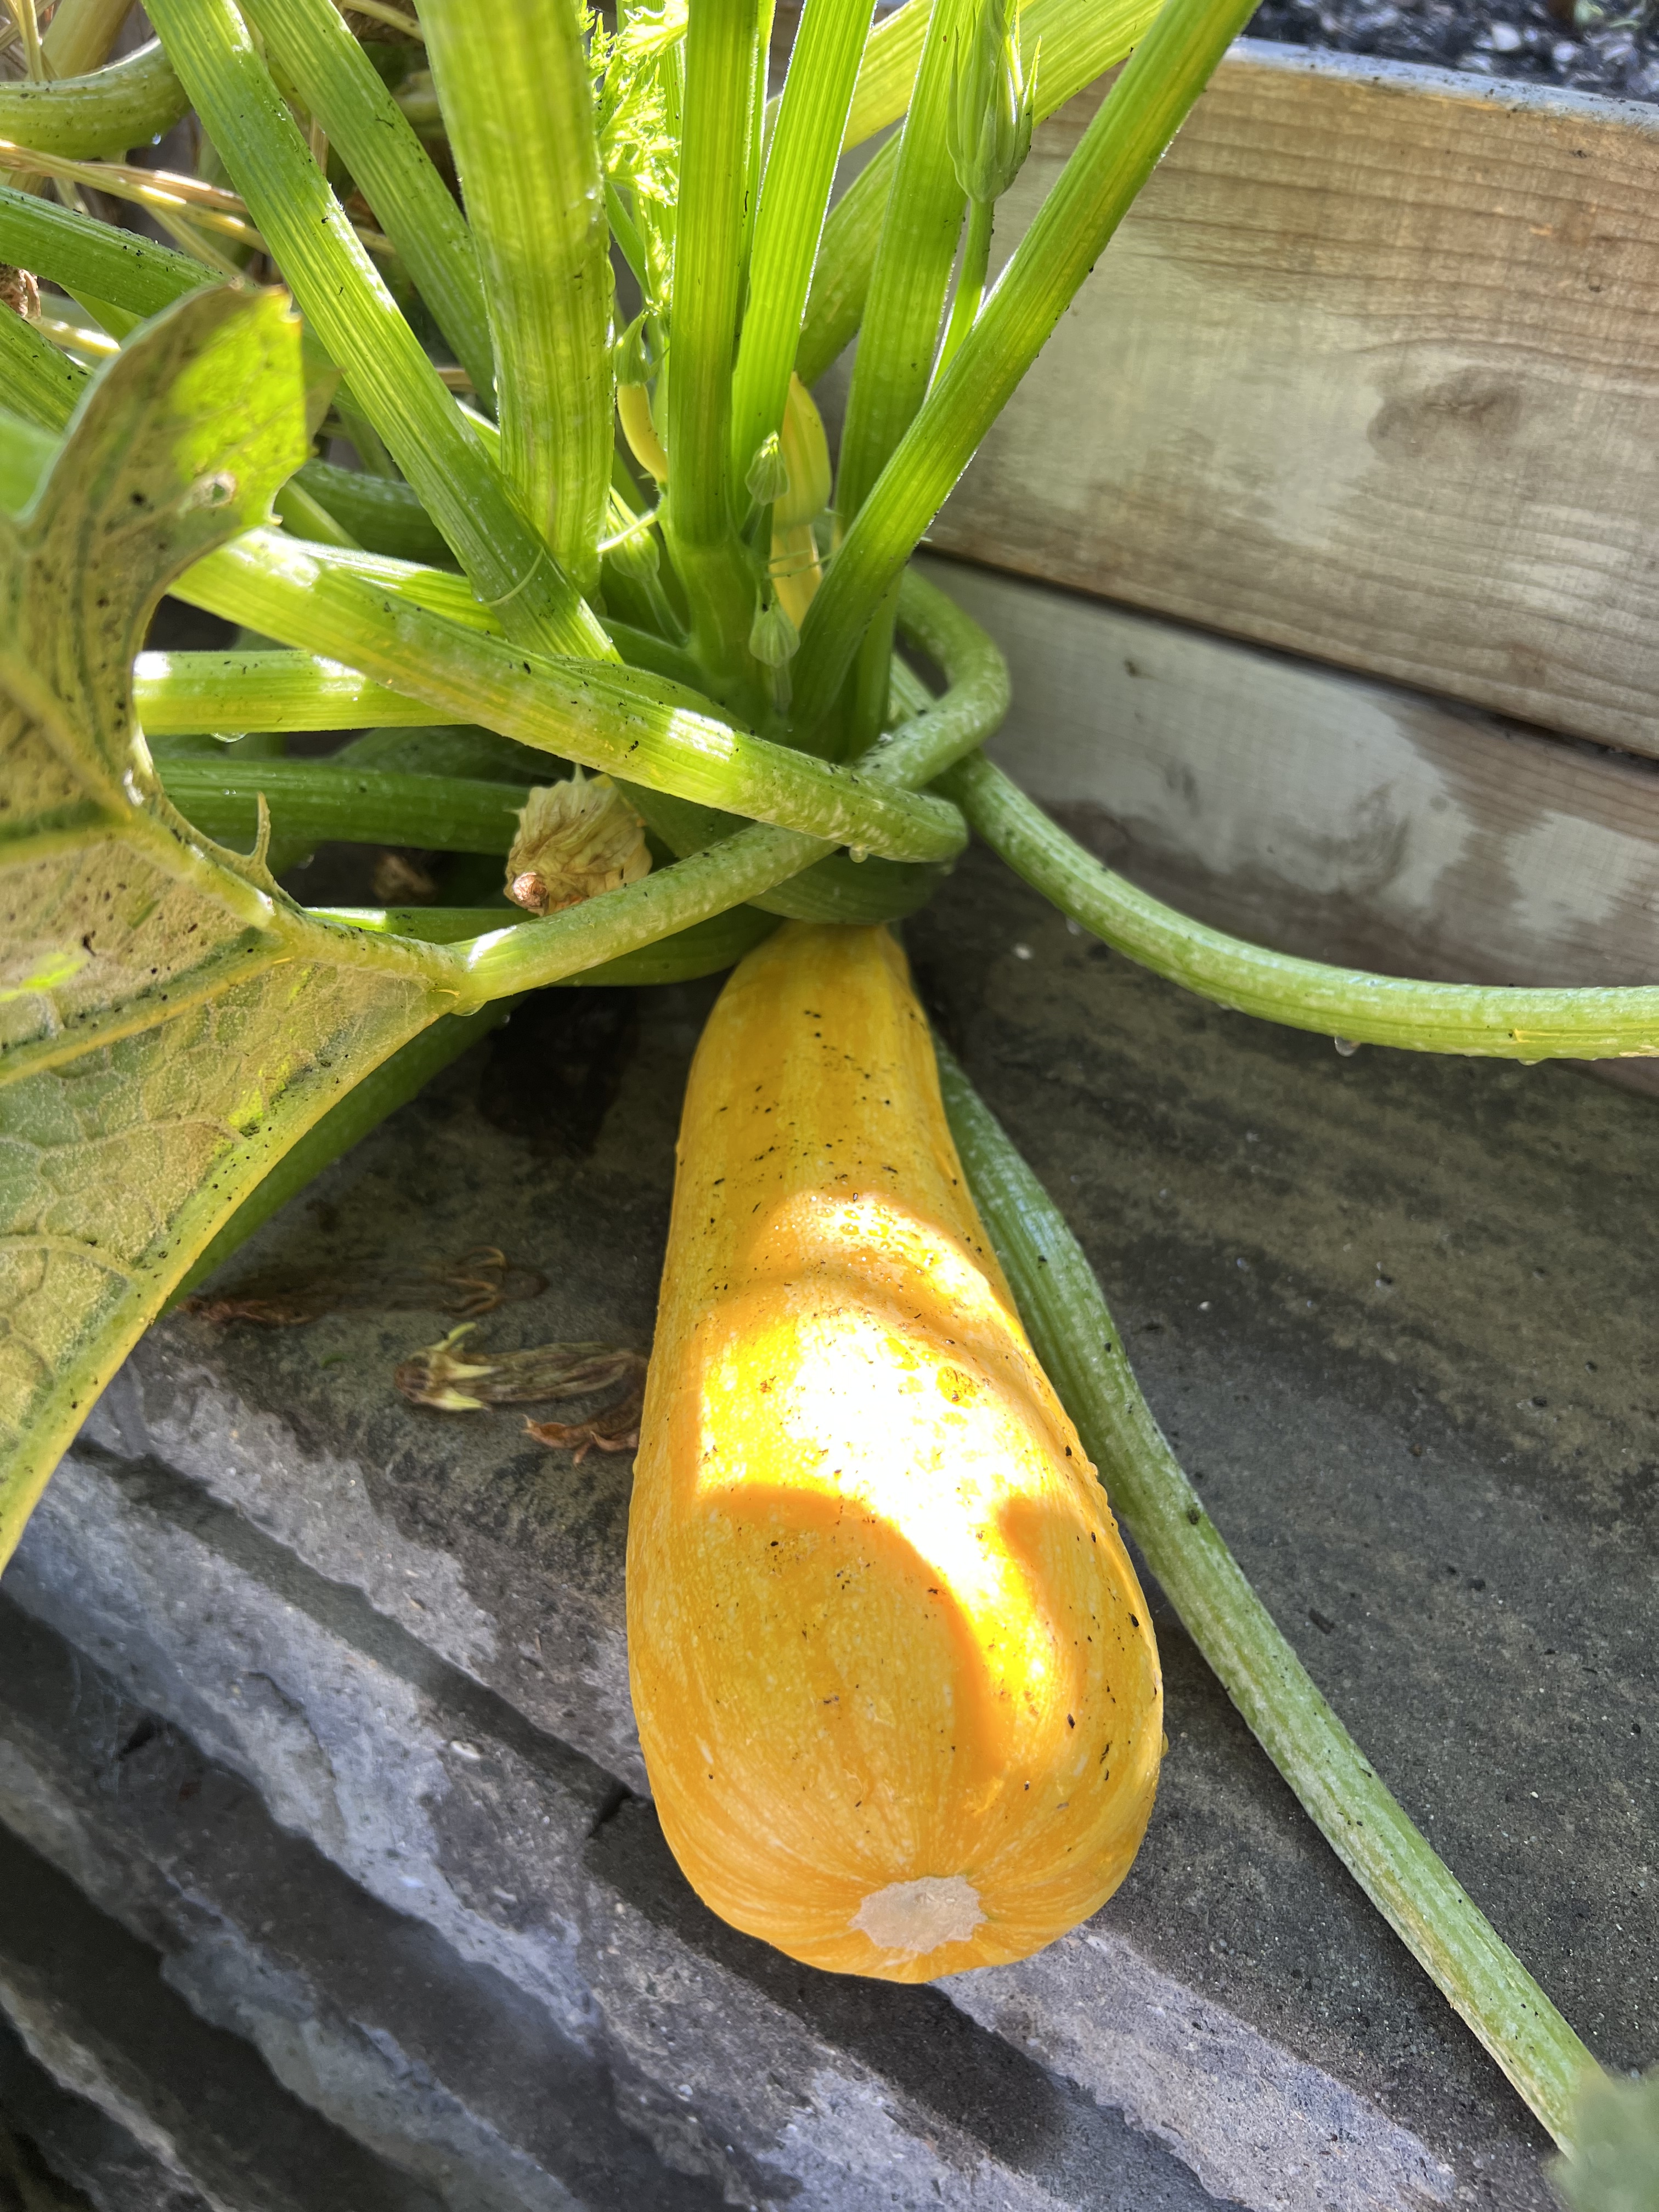
I’m pretty good at keeping the zucchinis in my garden harvested on a regular basis, so they don’t get too big. But once in a while, I miss one, and it gets to be huge. That’s when it’s time to make zucchini bread.


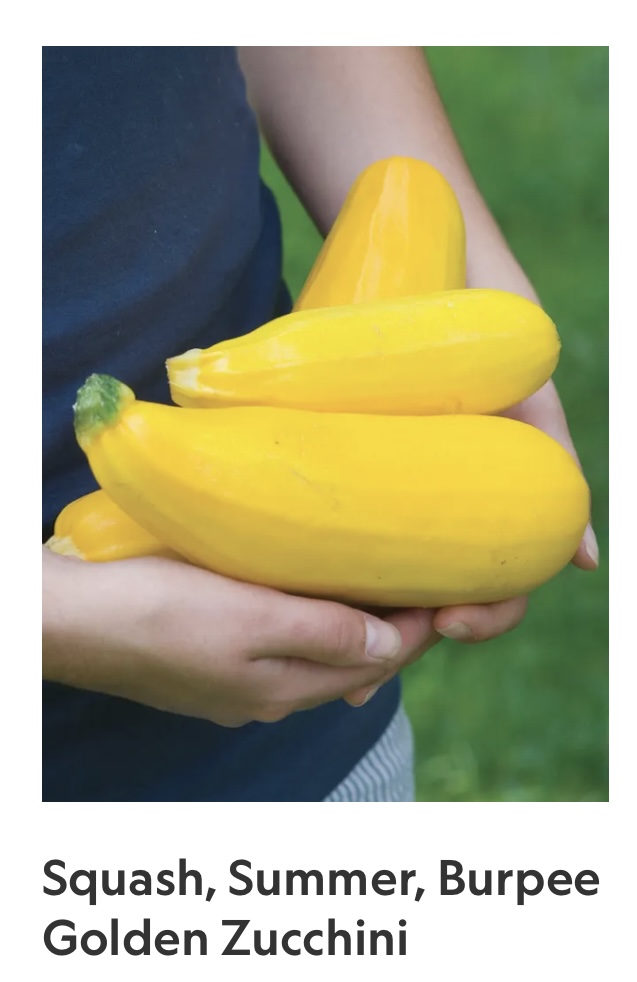
I was recently told that zucchinis are green…summer squash is yellow.  I use the word “zucchini” interchangeably, but technically, the variety I grow is, in, fact, a zucchini…or both, depending how you look at it!


Whatever you call it, use it! And make some delicious bread!

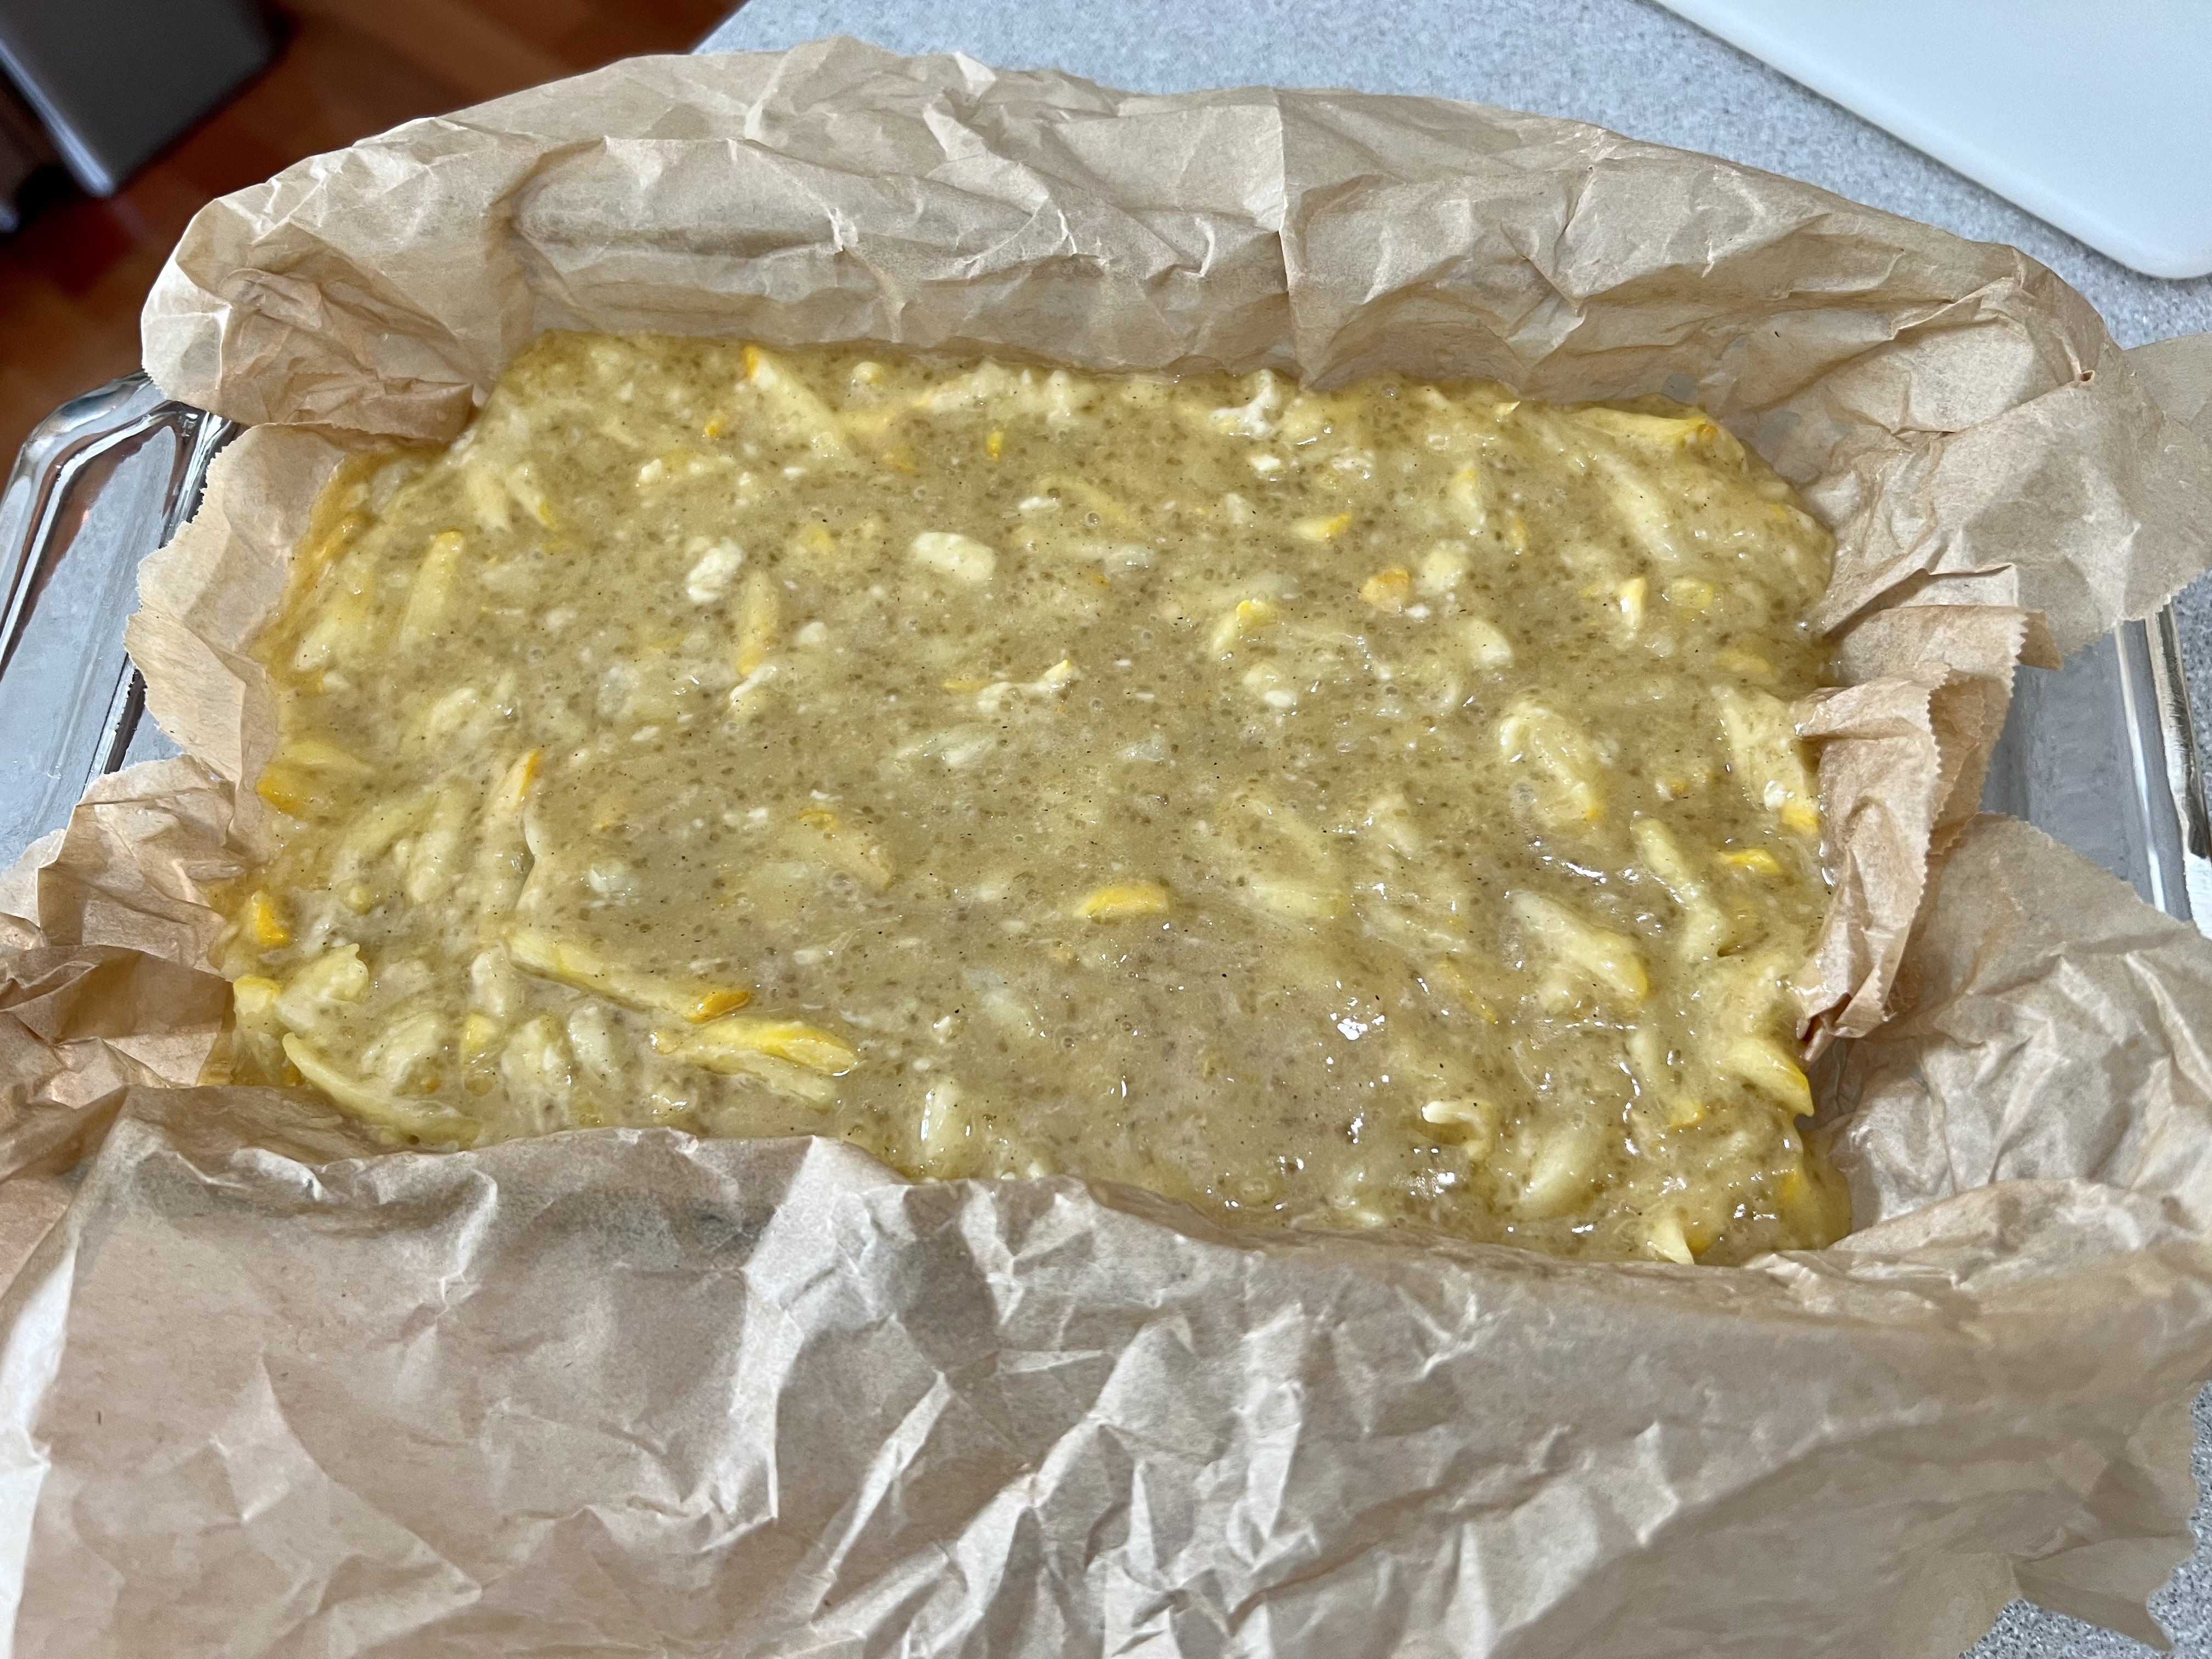
I slice the zucchini lengthwise, and remove the center section with all the seeds, because I don’t want that in my bread. Then I grate the rest. This recipe needs about 2 1/2 cups of grated zucchini, about 16 ounces.

When it comes to baking, I use my small kitchen scale to make most of the crucial measurements, because accuracy counts. It’s much more accurate than going by volume. But this recipe has both measurements, so you can try either method.

Substituting gluten-free flour for the basic all-purpose flour, will make this recipe gluten-free. I like to use the all-purpose GF flour by Cup4Cup.

And I like using olive oil as my vegetable oil, because I love the flavor and its health benefits. But feel free to use whatever vegetable oil you like.


2 cups (227g) all-purpose flour
1 teaspoon baking powder
1 teaspoon baking soda
1 teaspoon Kosher salt
1/2 teaspoon cinnamon, optional
1 cup (213g) light brown sugar
1/2 cup (100g) granulated sugar
scant 3/4 cup vegetable oil
1 teaspoon vanilla extract
2 eggs, lightly beaten
2 1/2 cups grated zucchini (about 16 oz.)

Preheat the oven to 350°.

Grease an 8 x 8“ or 5″ x 10″ loaf pan with some of the vegetable oil. Then line it with parchment paper…it makes it easier to remove later.

In a bowl, mix together the first five ingredients.

In a separate bowl, combine the remaining ingredients except the zucchini.

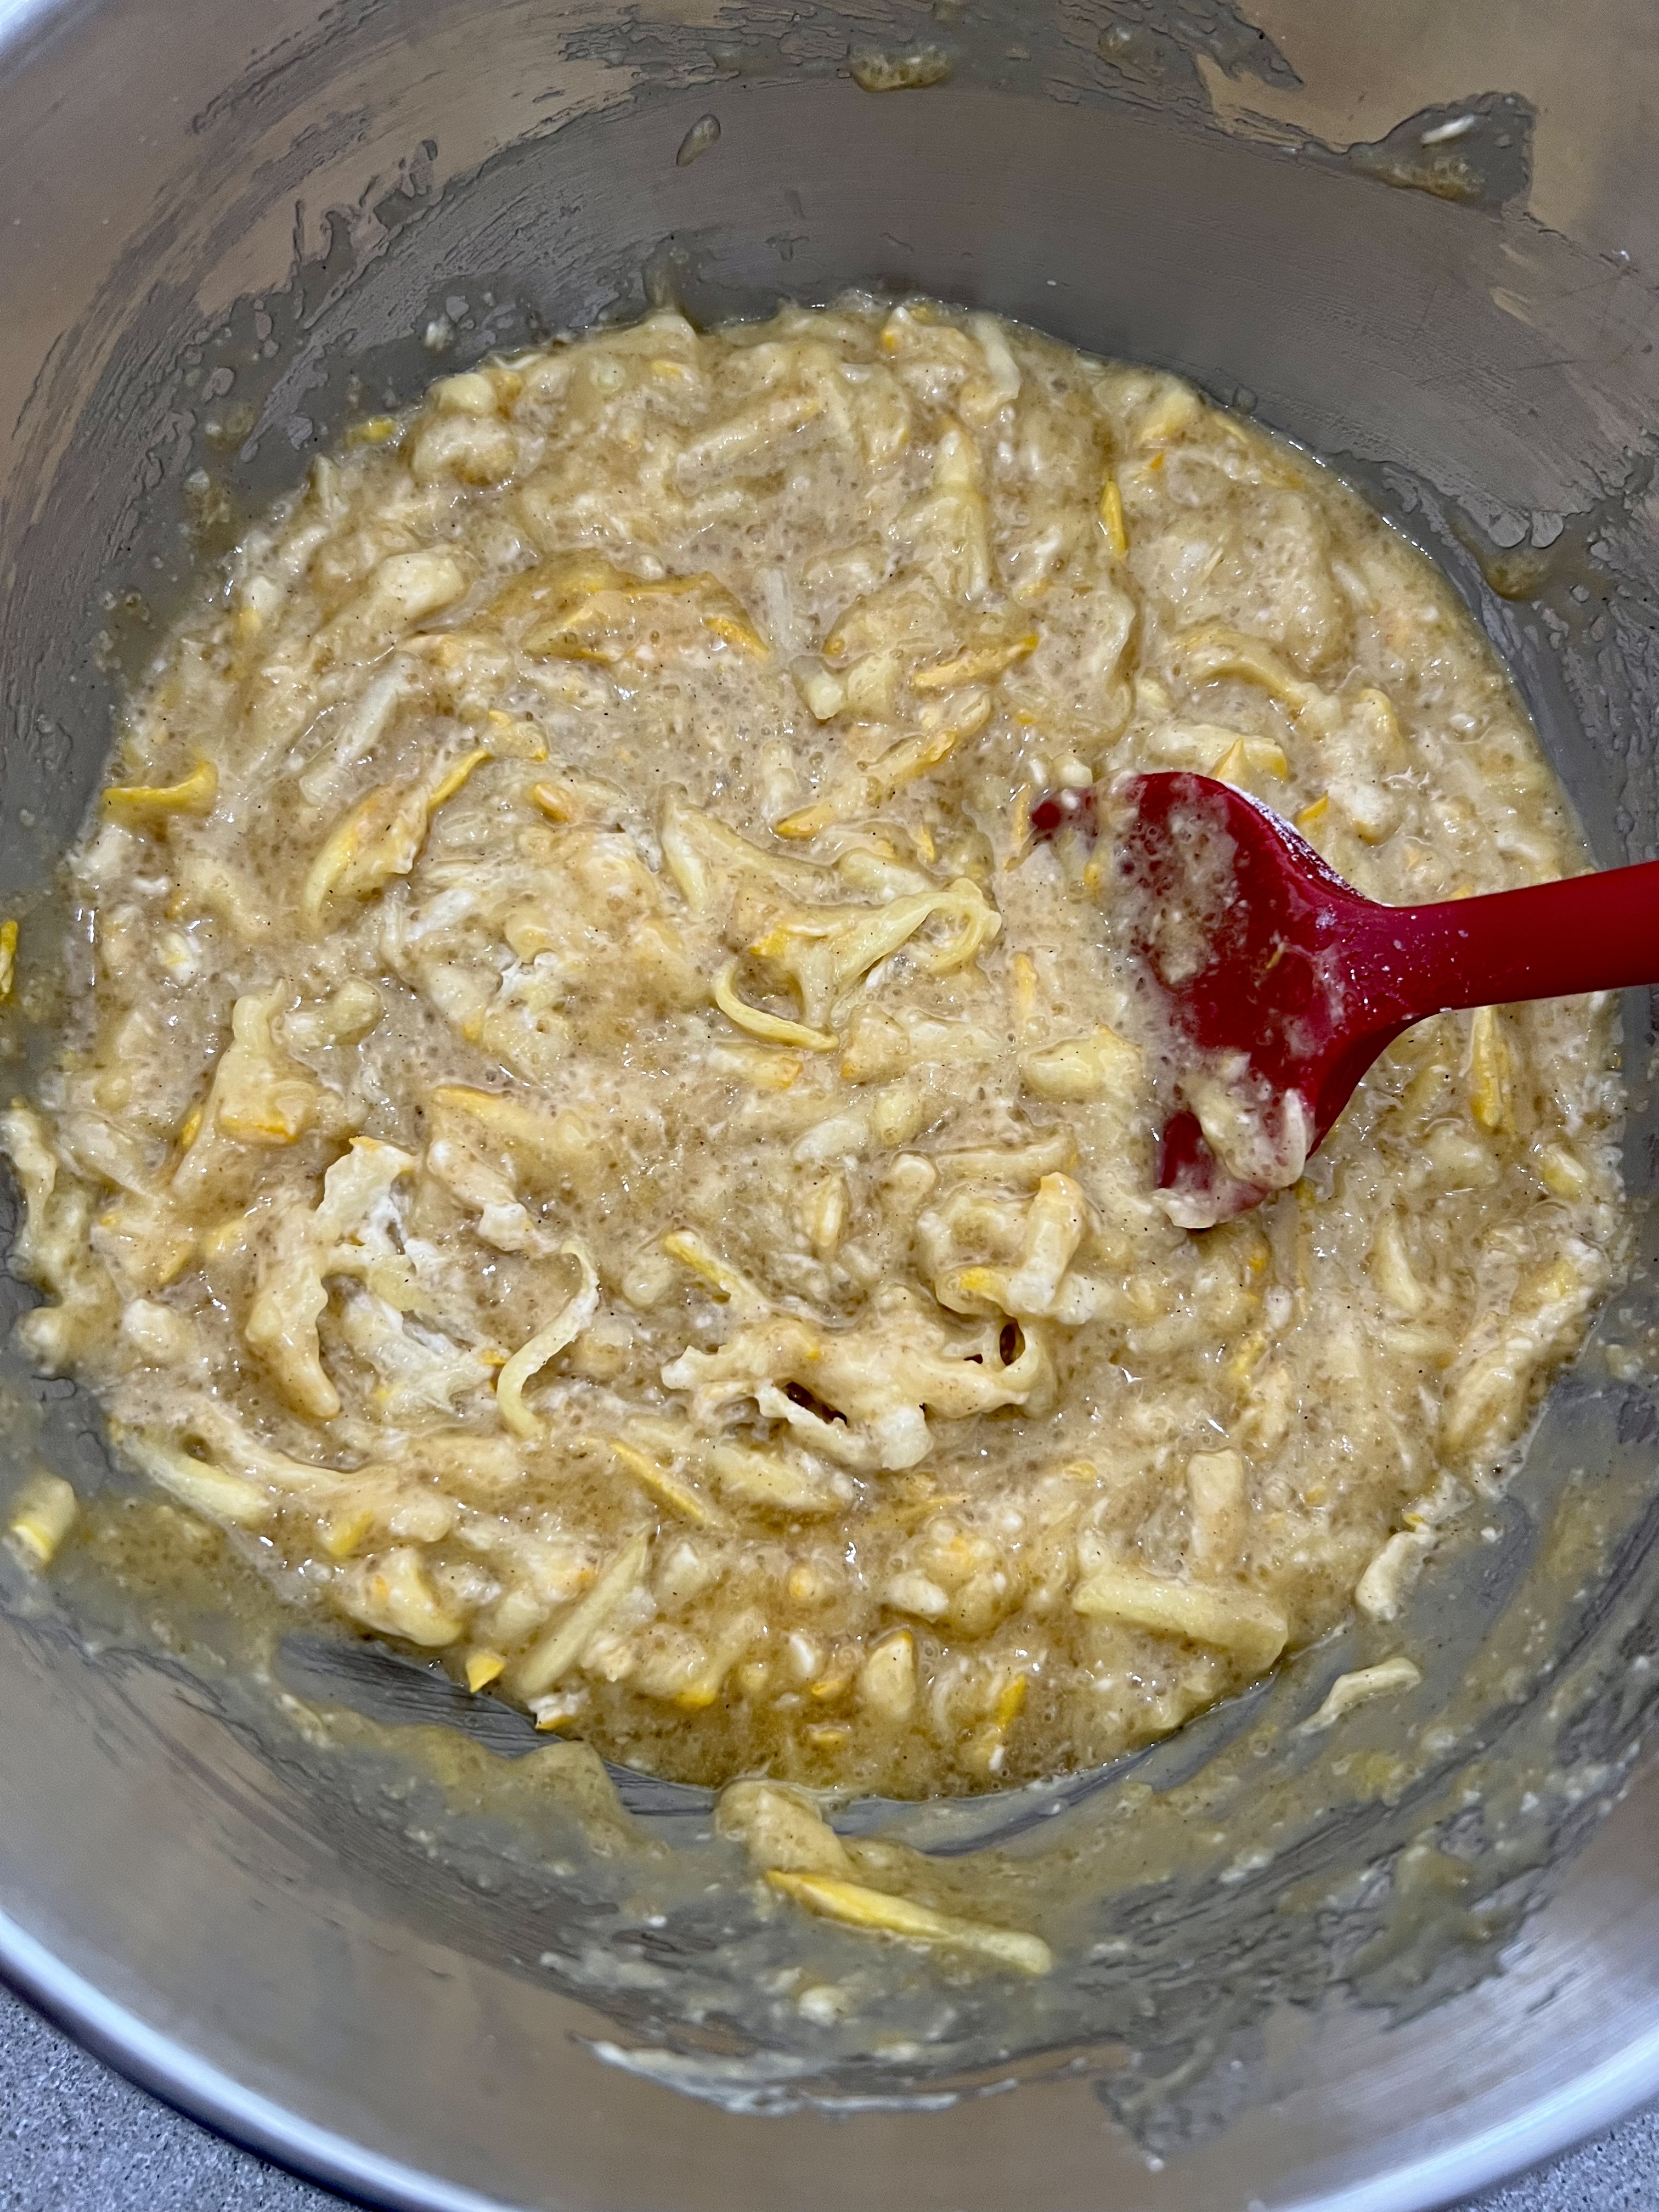
Add the grated zucchini to the bowl with the flour mixture and toss it around to coat.


Add the dry mixture to the wet mixture and stir until it’s combined.


Pour it into the pan. 


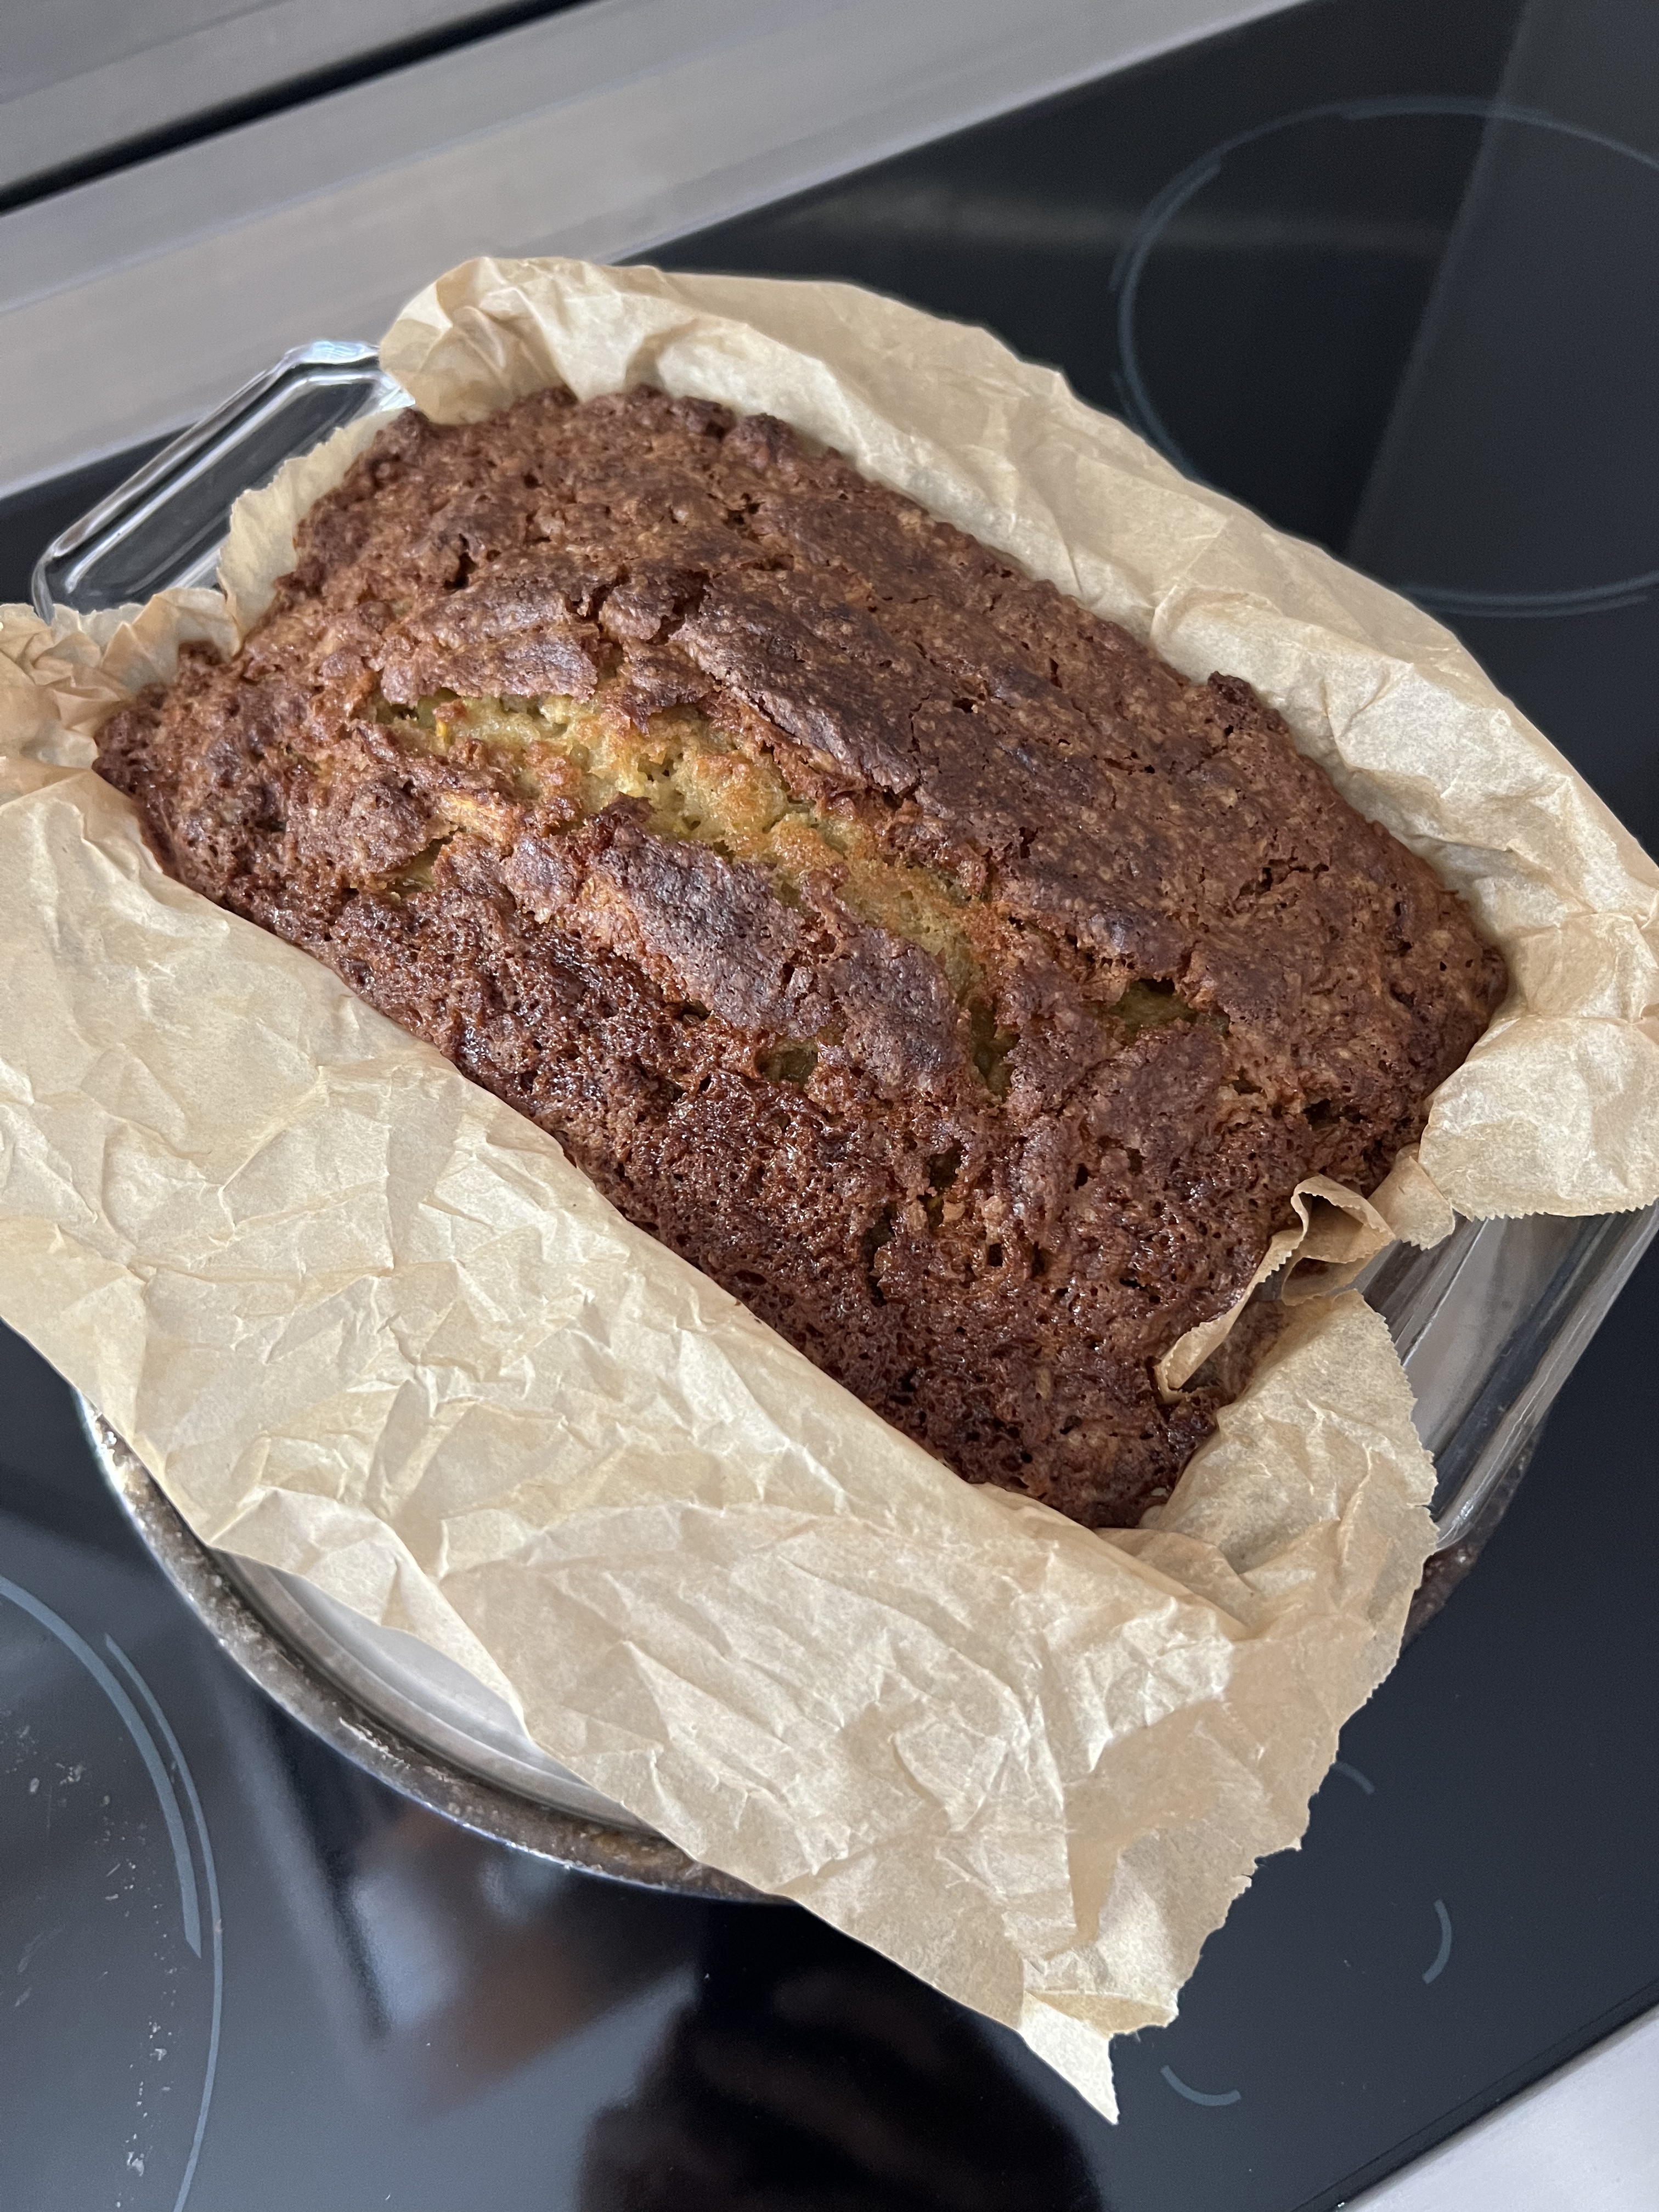
Bake until a toothpick comes out clean, about 45 to 60 minutes…but it could be even longer. Every oven is different, and different zucchini can have different moisture levels, so you may need to cook yours longer, depending on your situation. Even with all the high-tech thermometers I have, I find the good old-fashioned toothpick method works best.


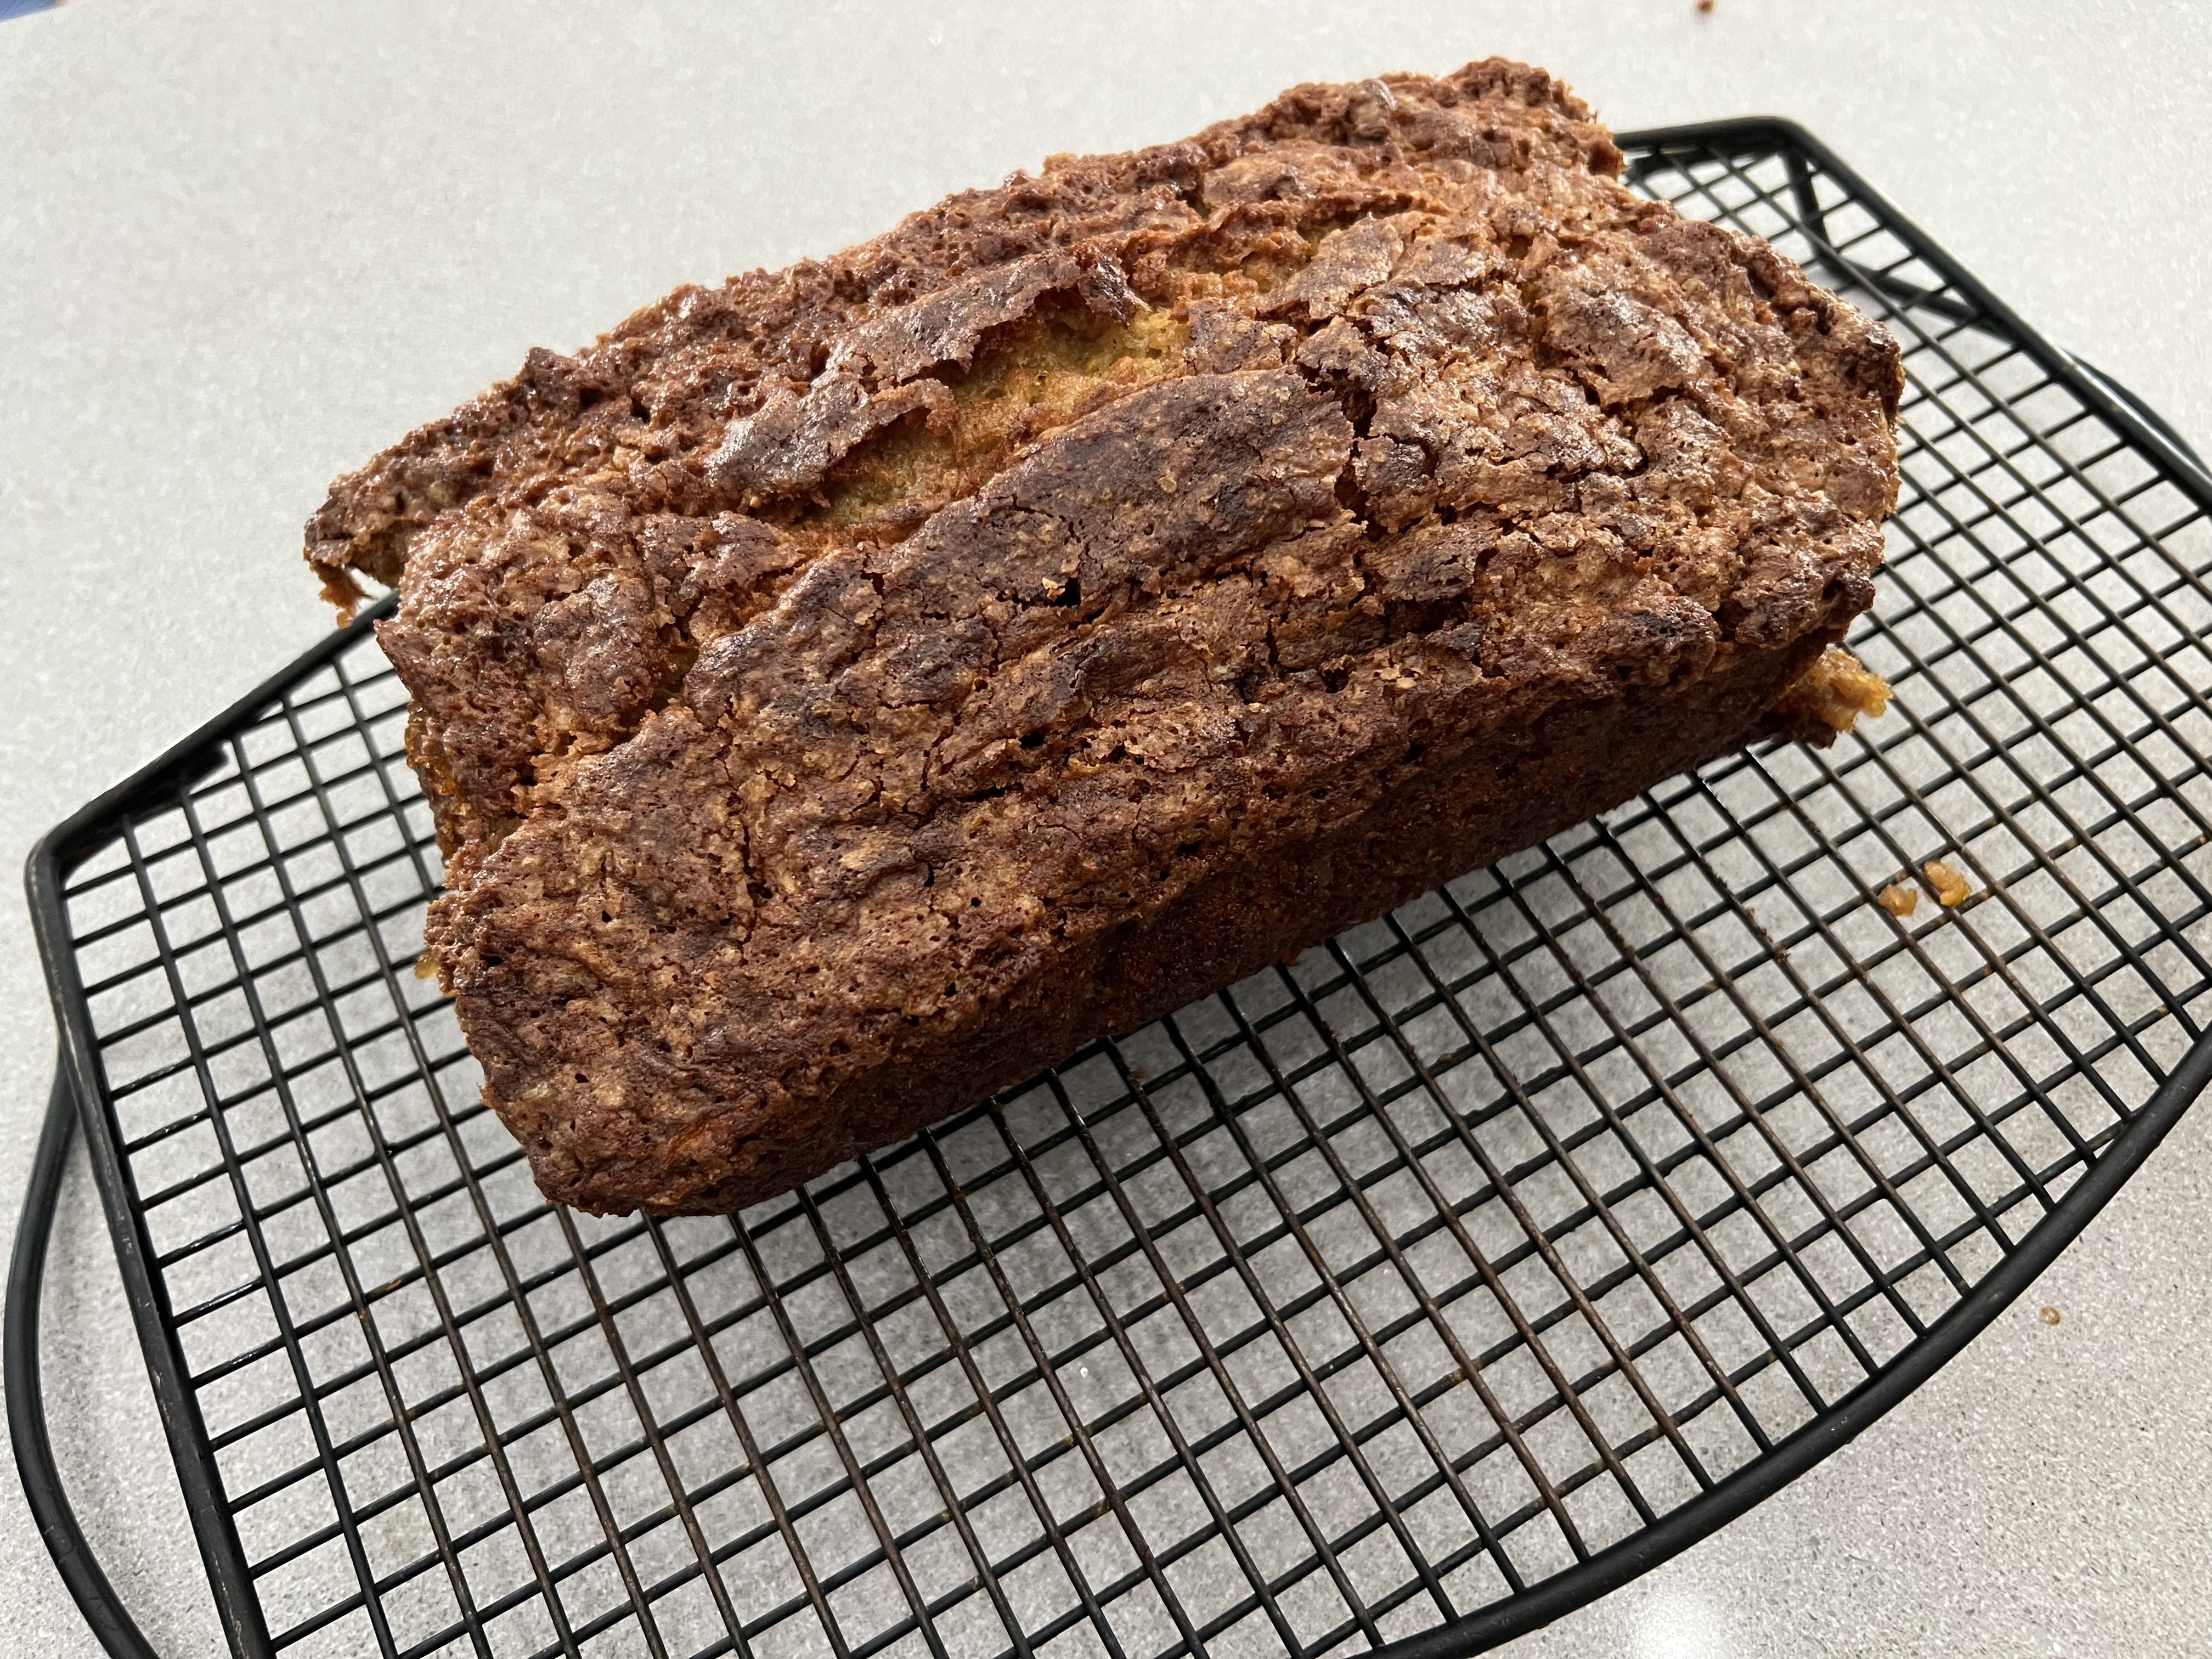
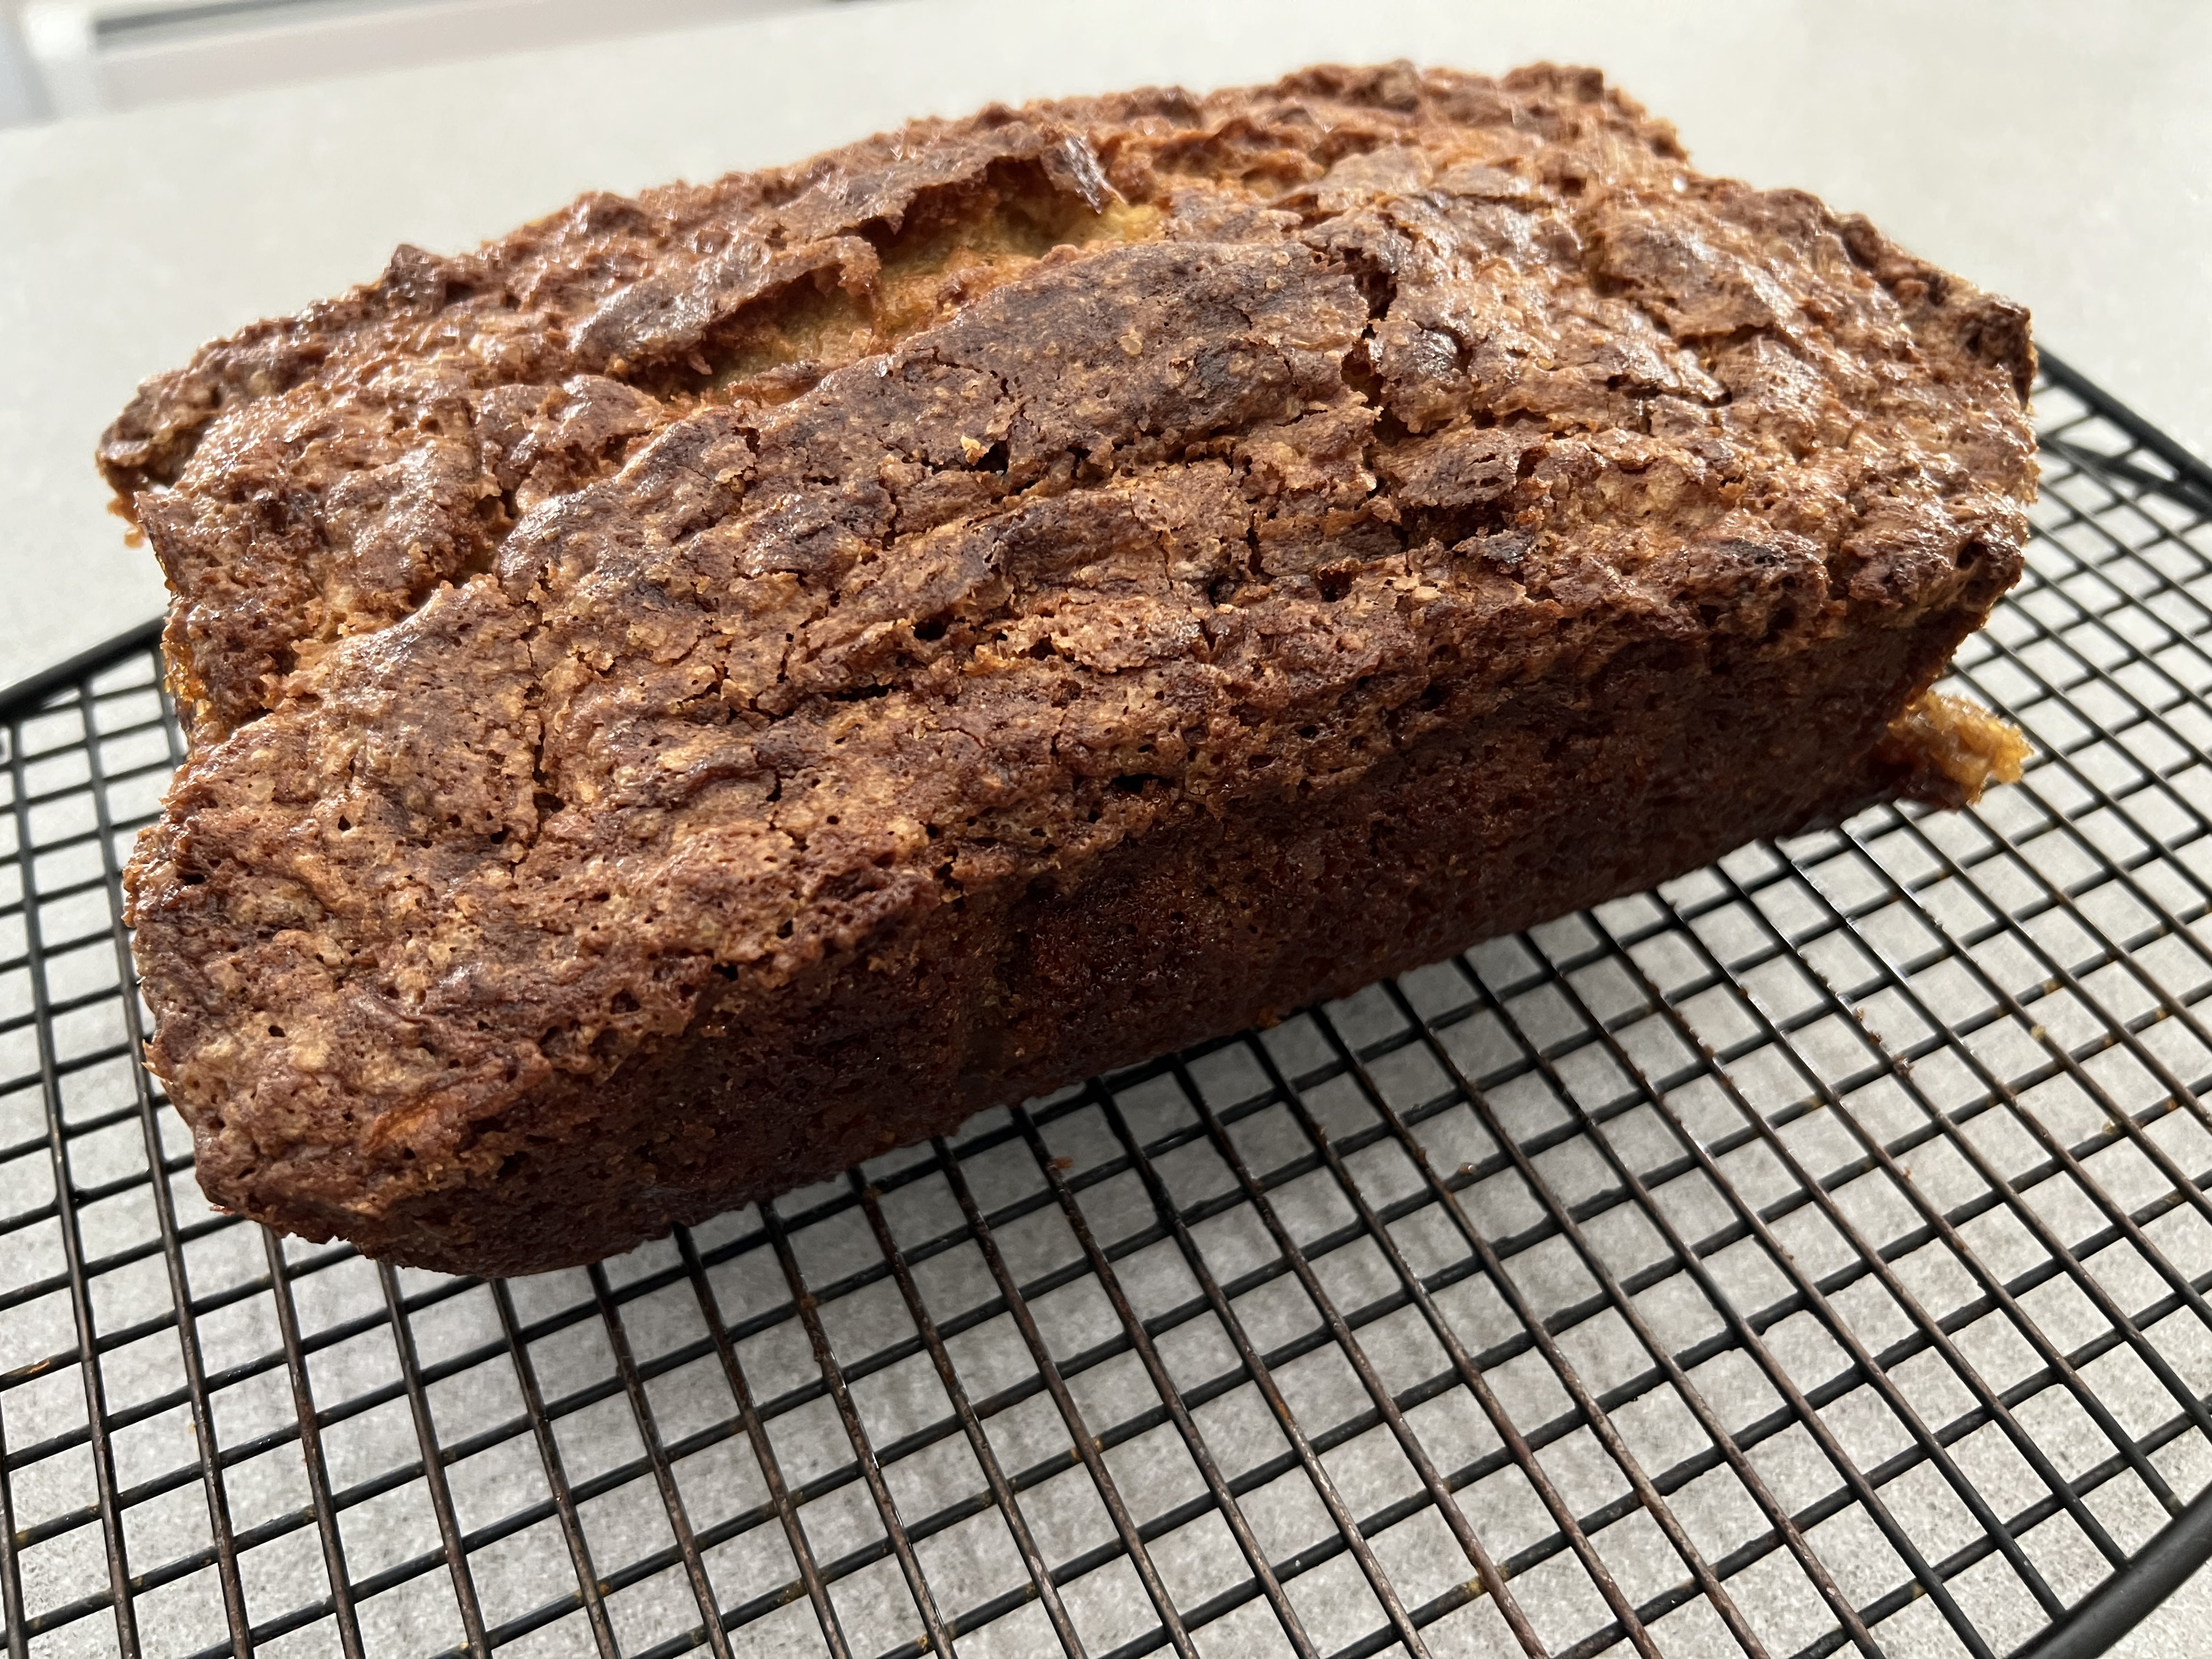
Remove the baking pan from the oven and let it cool for 15 minutes. Then turn it over on a wire rack, removing the pan, and let the zucchini bread cool completely to room temperature before slicing.

This bread is so good, I just might let the zucchini overgrow more often!

A DIFFERENT “CHIMI”

Posted: September 2, 2022 in Uncategorized

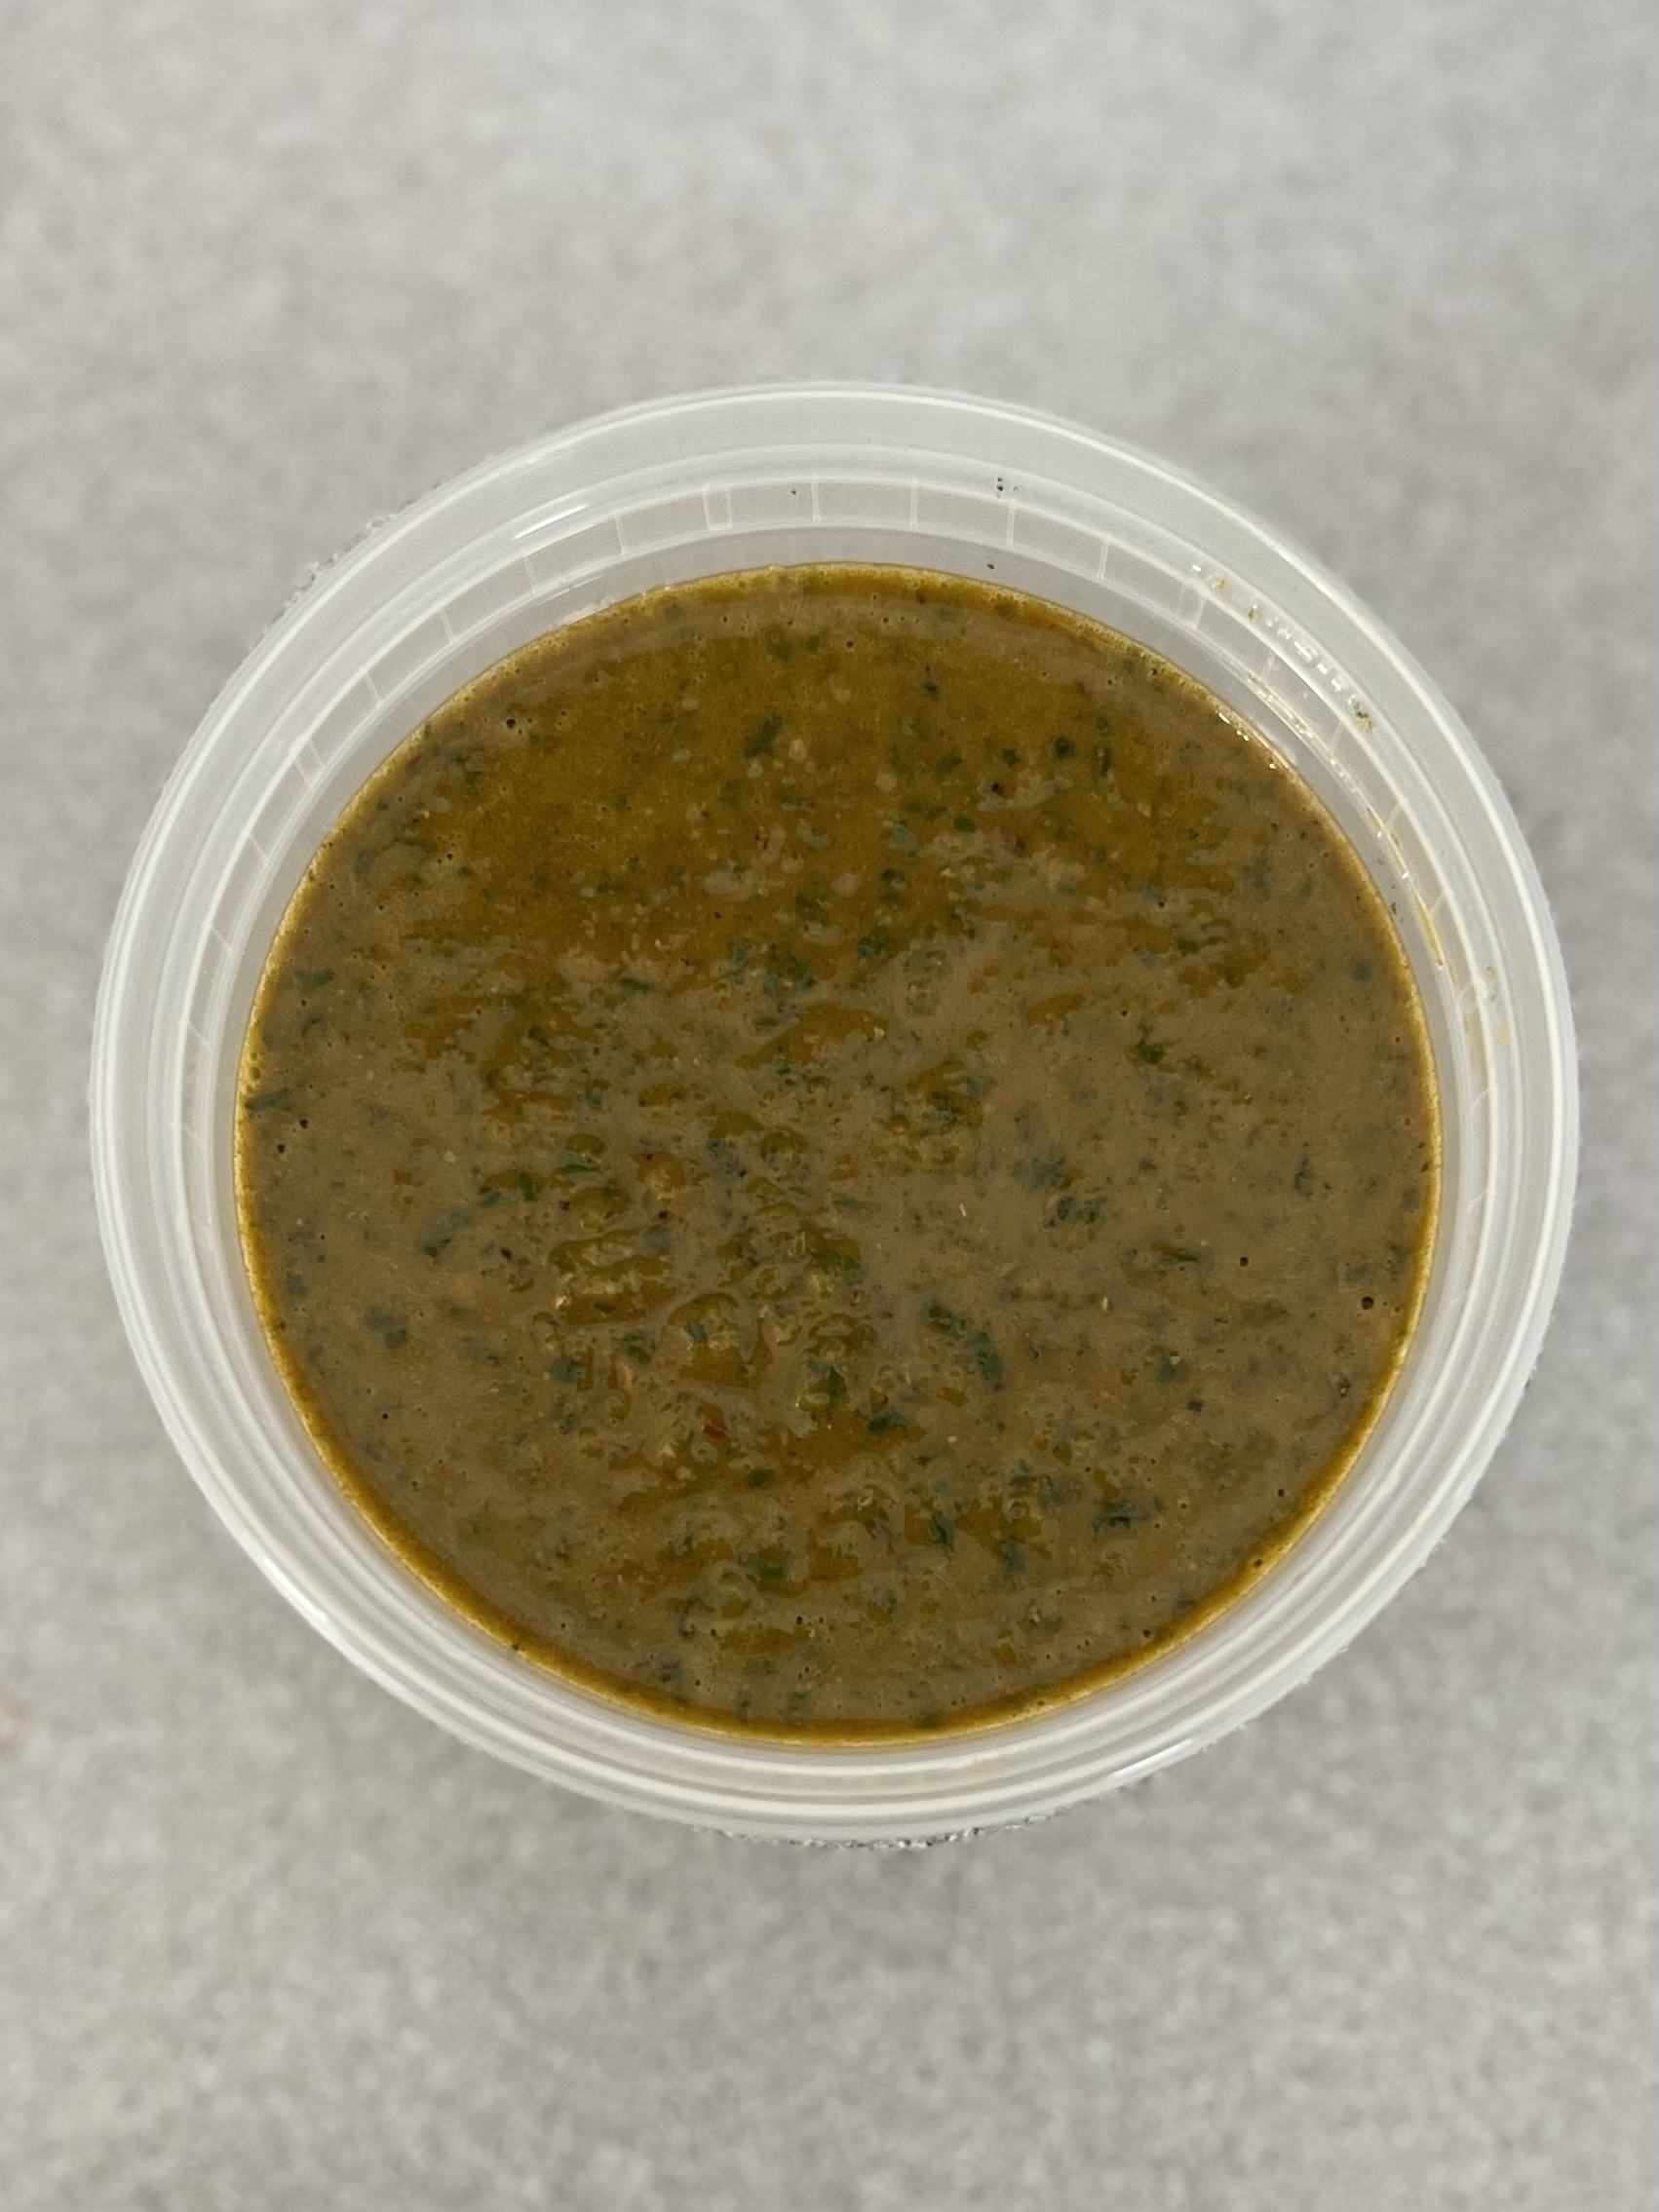
Chimichurri, as I mentioned in a previous blog, is a garlicky, herby green sauce usually used with grilled meats. This pesto-like condiment originated in Argentina and is also commonly used in Nicaragua and Uruguay. Though some recipes include cilantro, many people insist the original is made only with parsley. It also makes an excellent marinade for grilled meats.


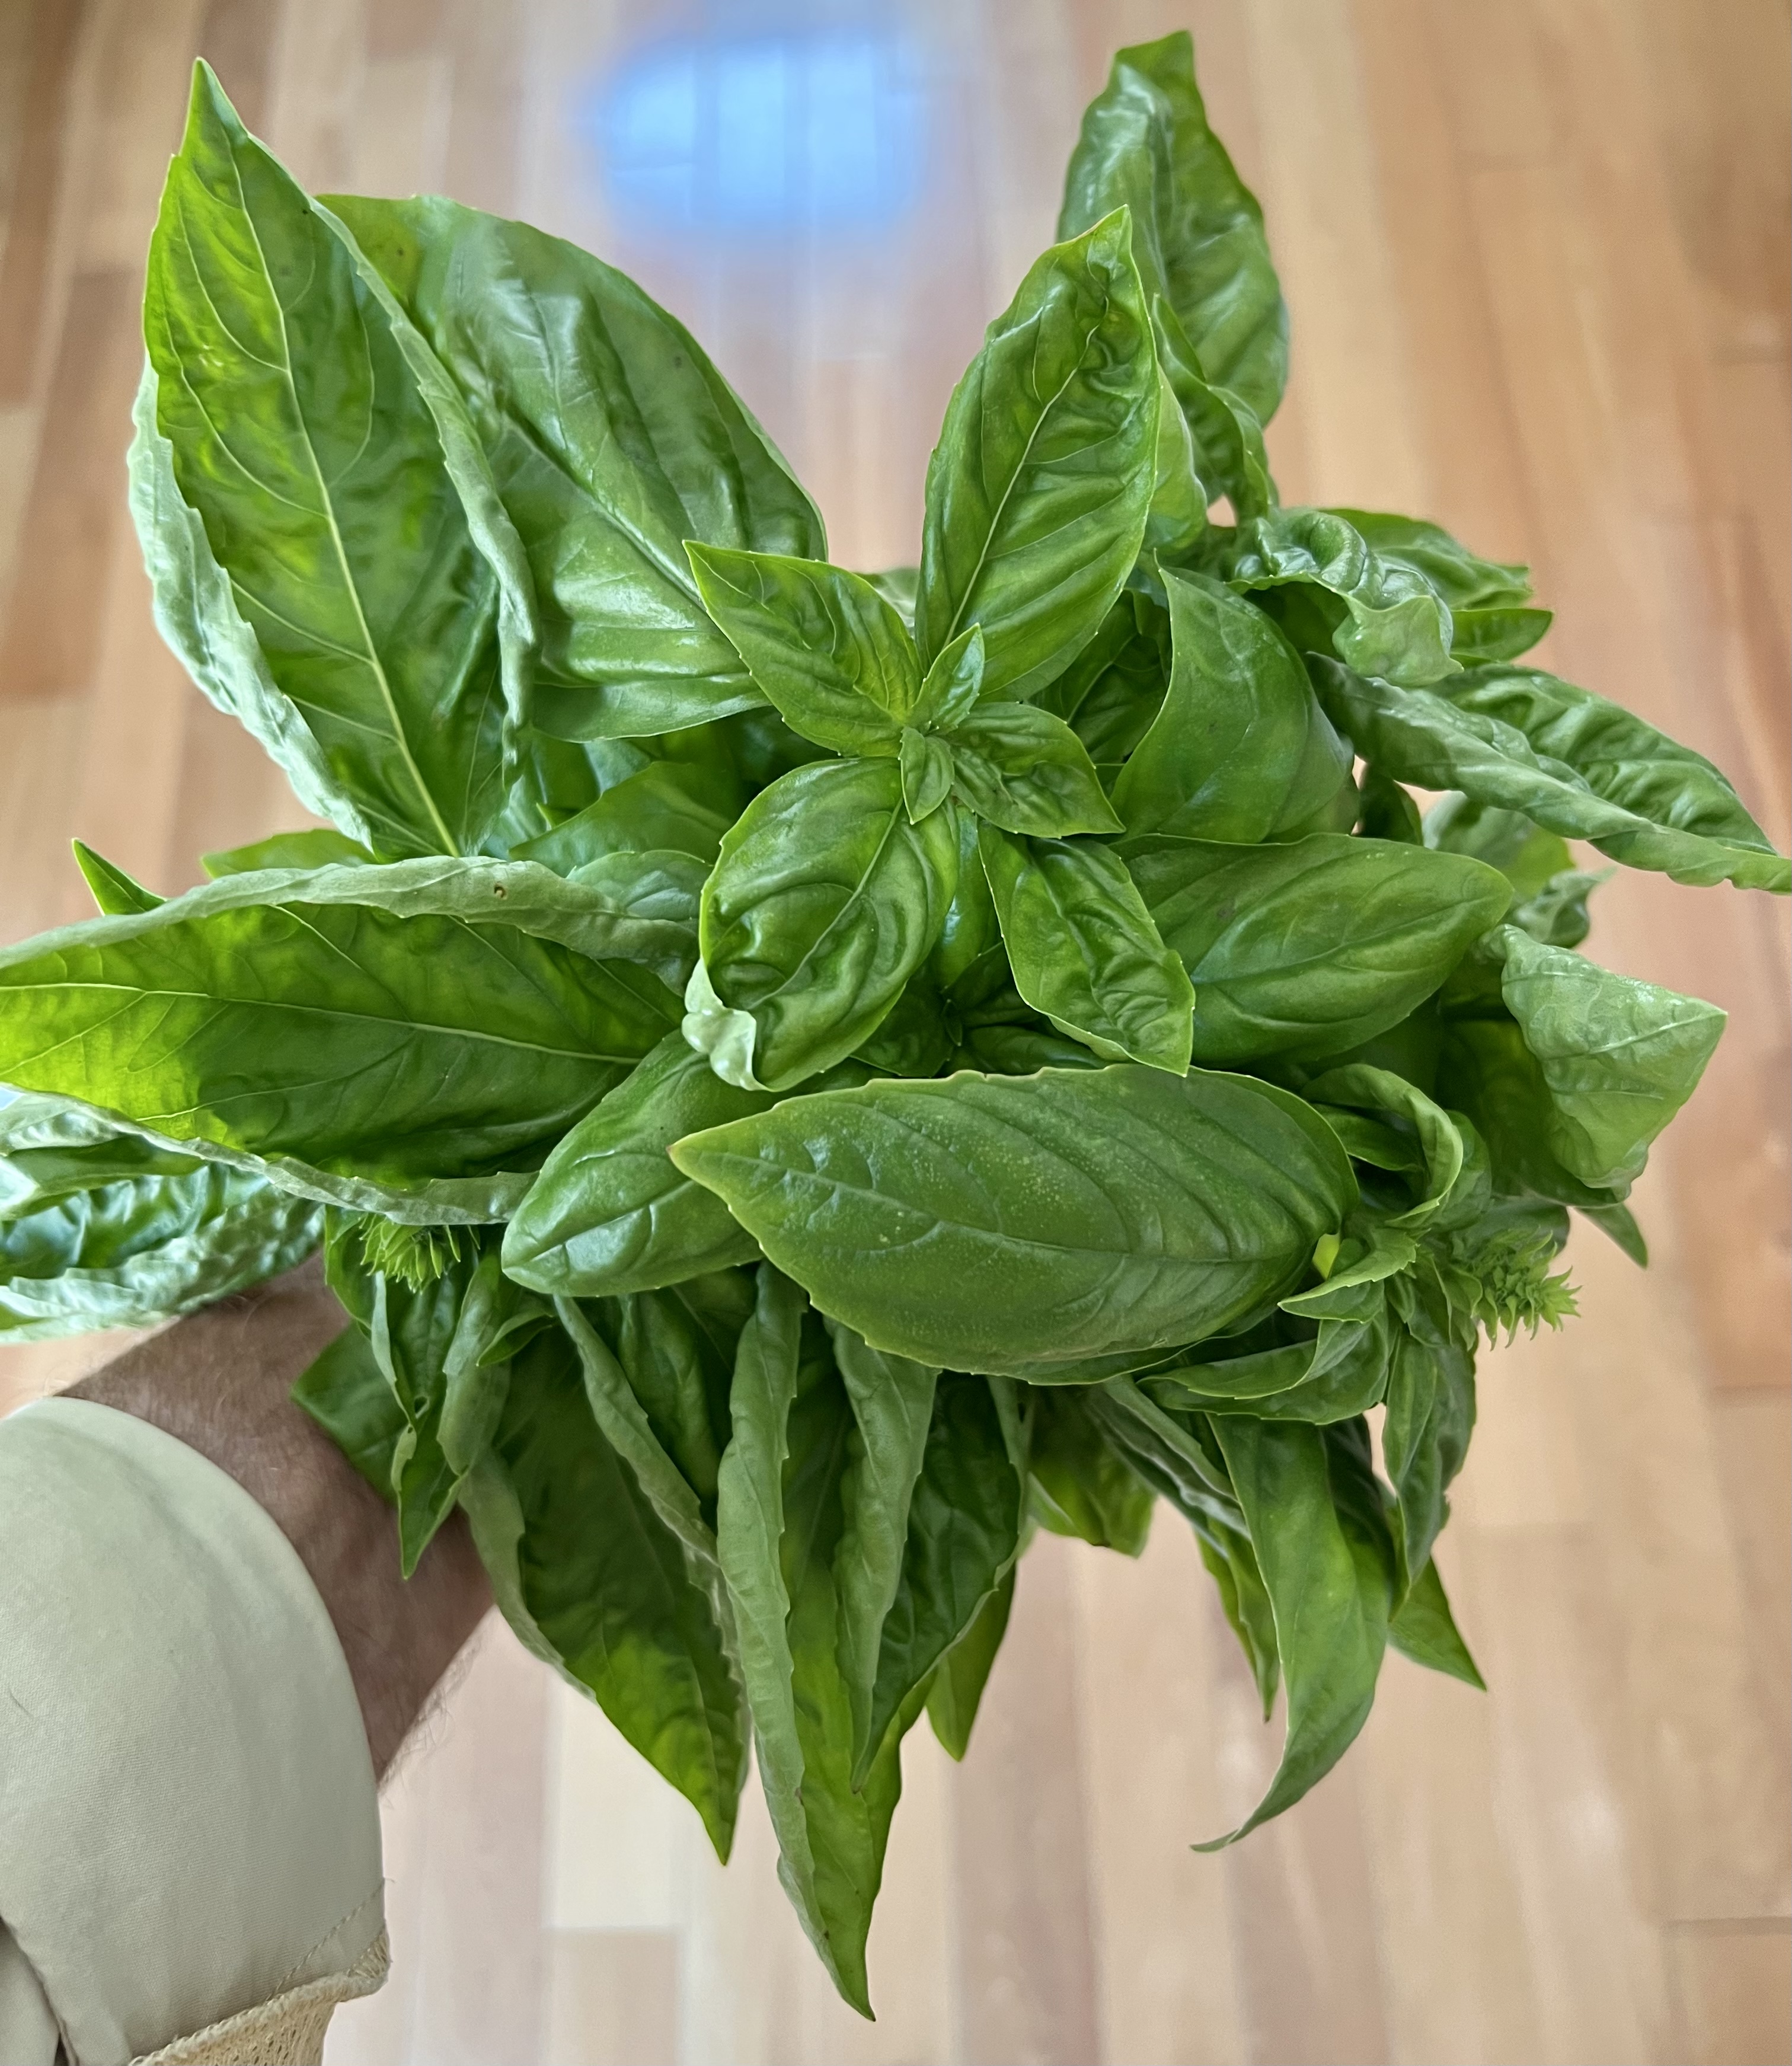
Fresh basil from the garden.


When I posted that blog, my friend, Brenda, asked me if I’ve ever used basil in my chimichurri. I had not…and that sounded like a great idea, especially since I had an overload of basil still growing in my garden. Technically, I guess I couldn’t call it chimichurri anymore, but that’s okay. What I got was a real flavor bomb that worked beautifully as a marinade, on grilled meats, and in other applications.


1 large handful of fresh basil leaves, about 4 cups, loosely packed
1/4 cup water
1 medium onion, chopped
3 cloves garlic, minced
3–4 tablespoons fresh oregano, leaves only (or 1 tablespoon dry)
1 tablespoon paprika
1 teaspoon crushed bay leaf
1 tablespoon coarse sea salt
1 teaspoon freshly ground black pepper
pinch red pepper flakes
1/4 cup white wine vinegar
1/2 cup extra virgin olive oil

Place all the basil and the water in a food processor and begin to chop, pulsing for a second at a time. When the basil is in small pieces, stop pulsing and add the remaining ingredients, except the vinegar and olive oil. Start the processor on a full run now, and slowly pour in the vinegar, then the olive oil. Try not to make it too smooth…leave some tasty bits. Allow it to rest for at least 30 minutes, but overnight in a sealed container in the fridge is best.


I used this new basil “chimi” on chicken. (The recipe is in a future blog.) But I could also see how awesome it would be tossed in a salad, especially a Caprese-style tomato and mozzarella salad, where the chimi would take the place of fresh basil leaves.


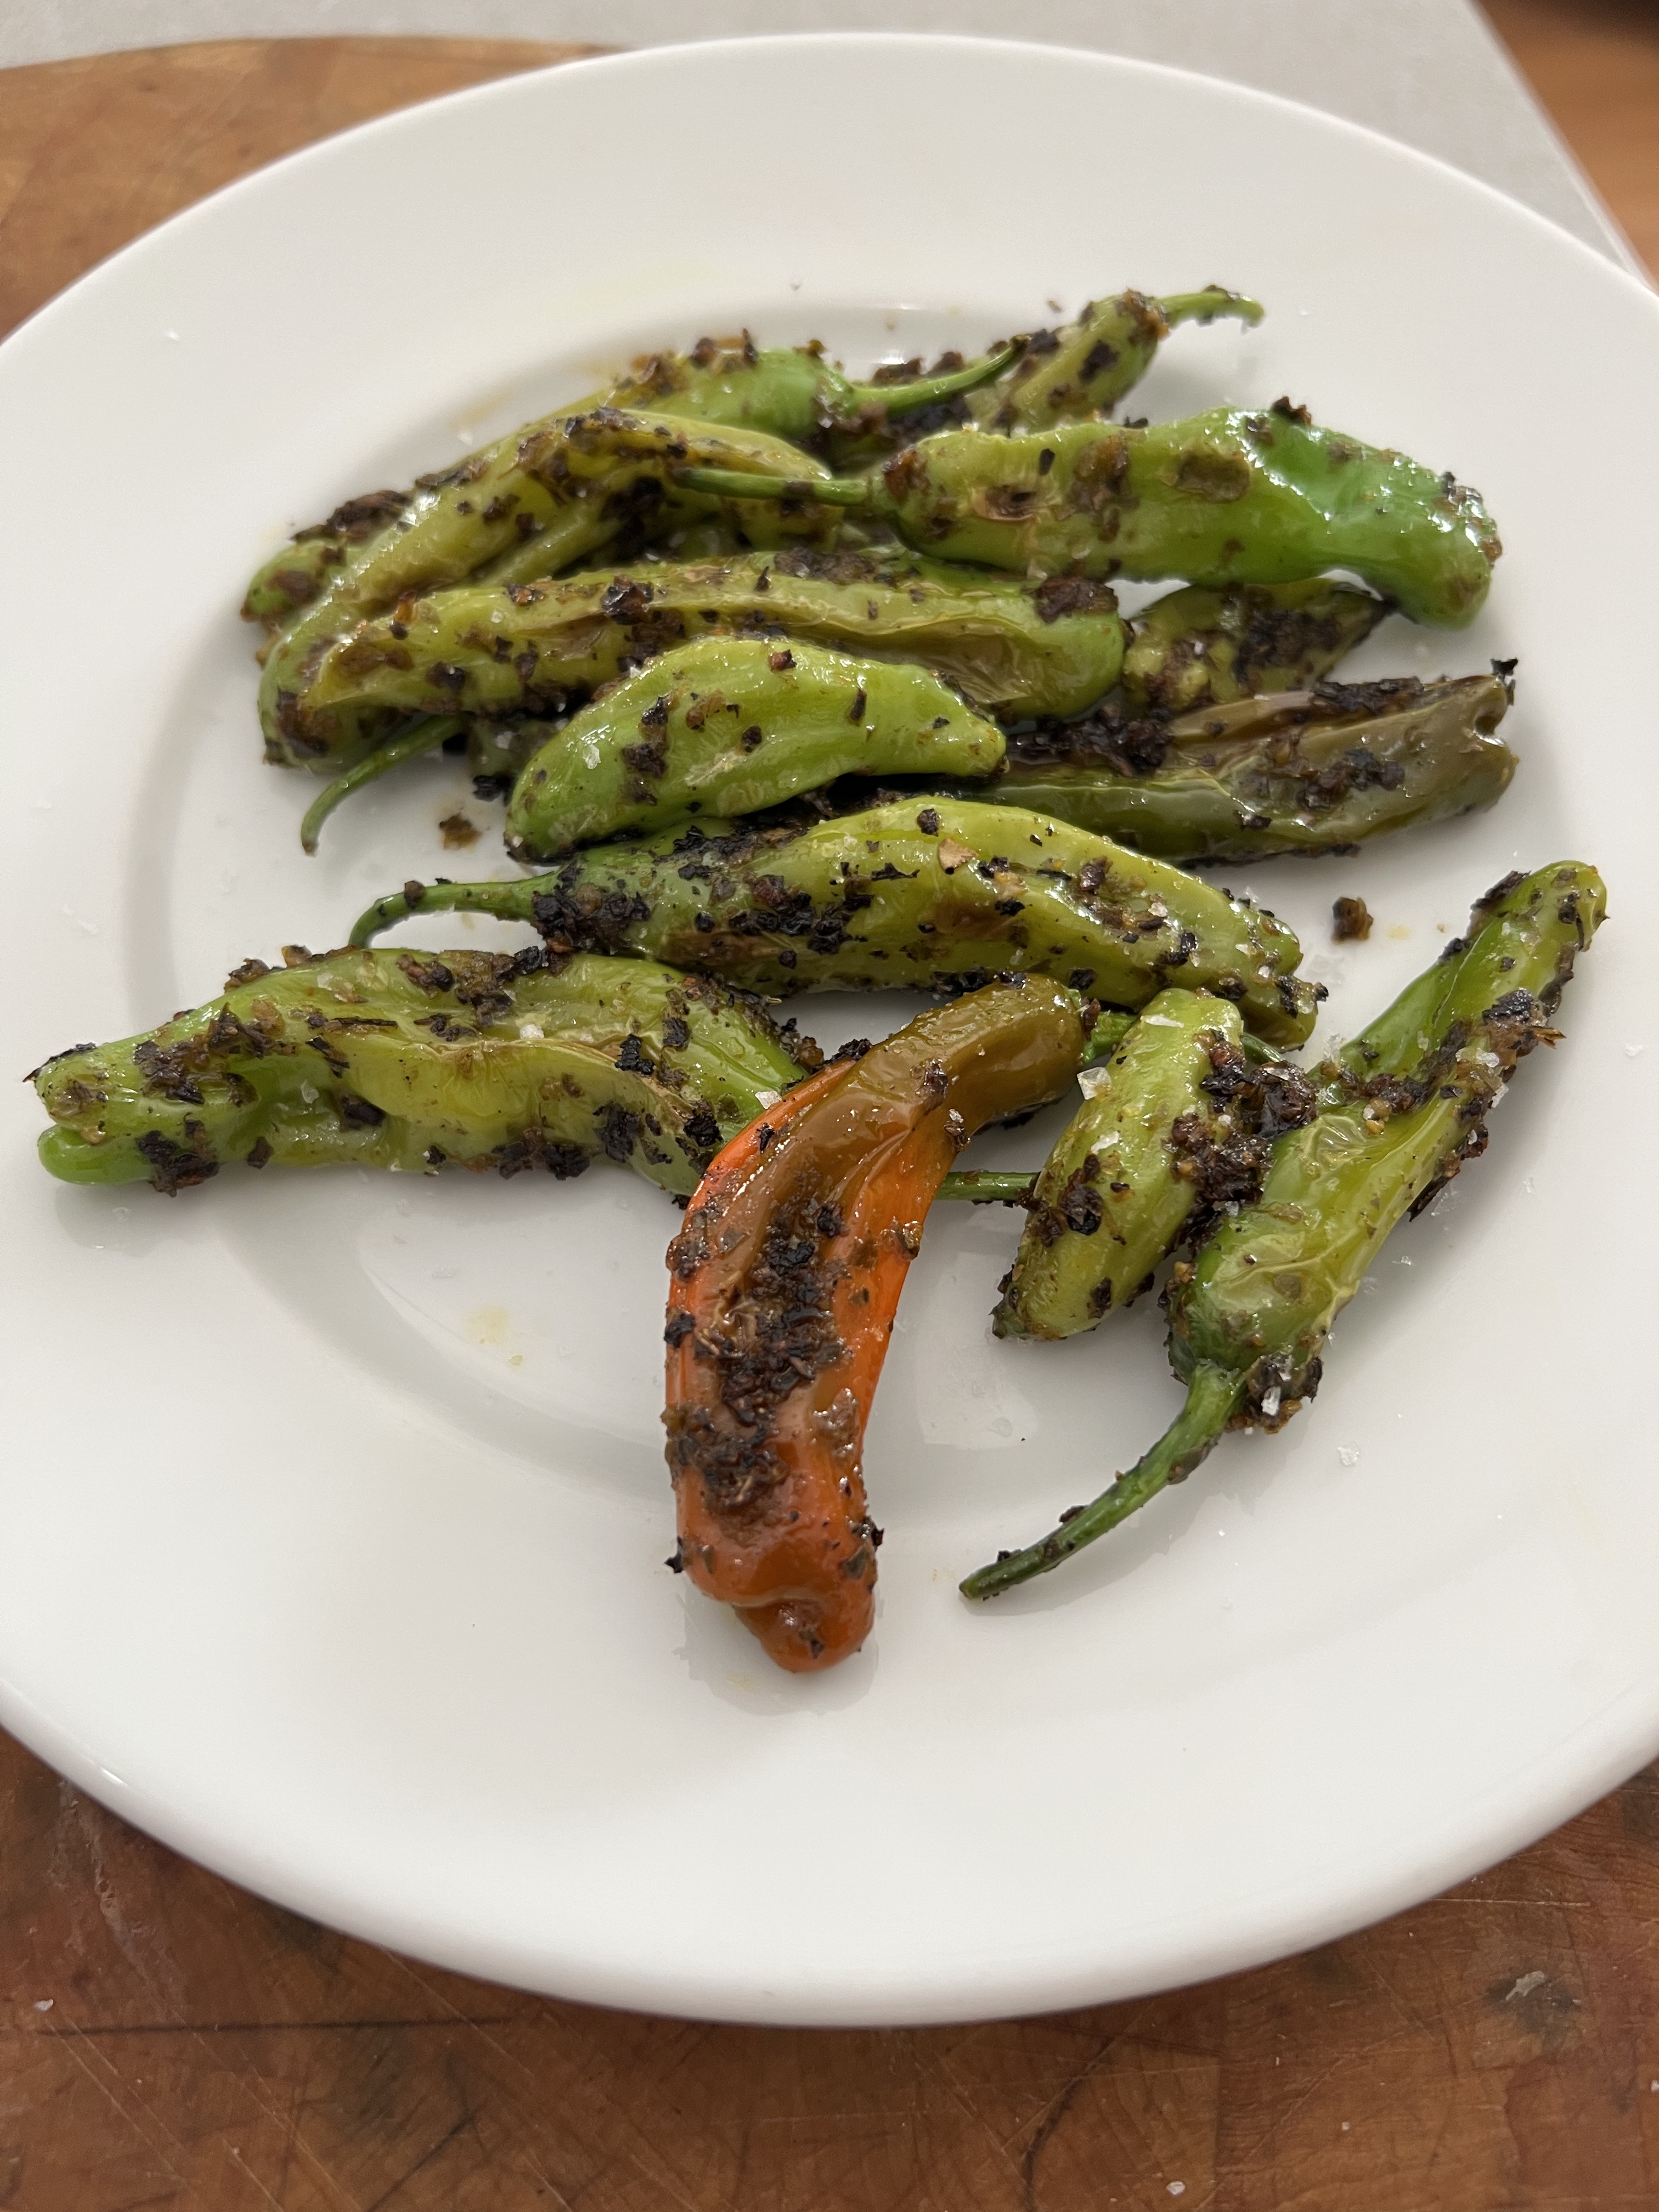
But my garden was also overflowing with shishito peppers, so rather than throwing them in a pan with olive oil and simply blistering them the way I usually do, I took a few spoons of the “chimi” and melted it in the pan, adding the shishitos, and tossing them around in it until they were blistered. The “chimi” actually blackened a bit, but in a good way, bringing out the herby flavors like a blackened Cajun dish might, and a sprinkle of finishing salt was all it needed before serving.


Slightly blackened “chimi” made these shishitos delicious!


There are many other ways to use this new “chimi,” and I’ll be trying them all!


Recently, I received a couple of pounds of ground venison from my buddy, Bruce, an avid hunter here in my town. I started thinking about what I could make with it…


I didn’t want to go with a venison burger right out of the gate. After all, venison is very lean, containing half the fat of beef, but with more protein. In fact, venison even challenges chicken in the protein department. But being really lean, it would dry out as a burger. And it can be gamey tasting, so I wanted to mix it with a few other ingredients. I decided to go with the safer option of making a taco with it.

Well, somewhere in the process of taco making, I thought of pork and beans and said: “Yeah, what if I made something like venison pork and beans? How bad could that be?”

Well, venison and beans can almost be called chili (depending on what rules you have about beans in chili), and I thought: “But I don’t really like chili.” But then I thought: “It’s not chili if I don’t call it chili.” Problem solved!


I used small red beans, but you can use what you like.


What I finally came up with is a venison pork-and-bean chili taco…or something like that.

Whatever…it tastes pretty good!

And obviously, if you don’t have venison, or just don’t want to use it, you can use lean (like 93%) beef for this recipe.


1 tablespoon avocado oil
1 small onion, finely chopped
4 strips (about 40g) pre-cooked bacon, finely chopped
1 lb. ground venison
Taco seasoning (see the recipe below)
20 grape tomatoes (100g), chopped
1/2 cup ketchup
2 tablespoons spicy brown mustard (I like Gulden’s)
2 tablespoons Worcestershire sauce (Only Lea & Perrins will do)
4 tablespoons brown sugar
2 cans (15.5 oz. each) of small red beans, not drained


Pre-heat your oven to 350 degrees.

Spray a baking pan with oil spray (I use avocado) and set aside.

In a large pan, heat the avocado oil and add the chopped onion. Sauté the onion until it’s translucent.

Add the chopped bacon, and sauté until some of the fat starts rendering out of it.

Add the pound of venison, and cook until the meat has browned nicely, adding the taco seasoning to the meat as it cooks, little by little, until you’ve used all the taco seasoning up.

Add the chopped grape tomatoes, and stirring after each addition, add the ketchup, mustard, Worcestershire, and brown sugar.

Pour in the two cans of beans, liquid and all, and stir gently, letting it all come to a boil.


Pour the contents of the sauté pan into the baking pan, cover it with foil, and place it in the 350-degree oven to cook for 40 minutes.

After 40 minutes, remove the foil off the pan and cook another 10 minutes.


The Taco Seasoning…
2 teaspoons cumin
1 teaspoon salt
1 teaspoon black pepper
1 teaspoon oregano
1 teaspoon granulated garlic
1 teaspoon granulated onion
1 teaspoon paprika

Combine all the ingredients in a bowl, and set it aside.


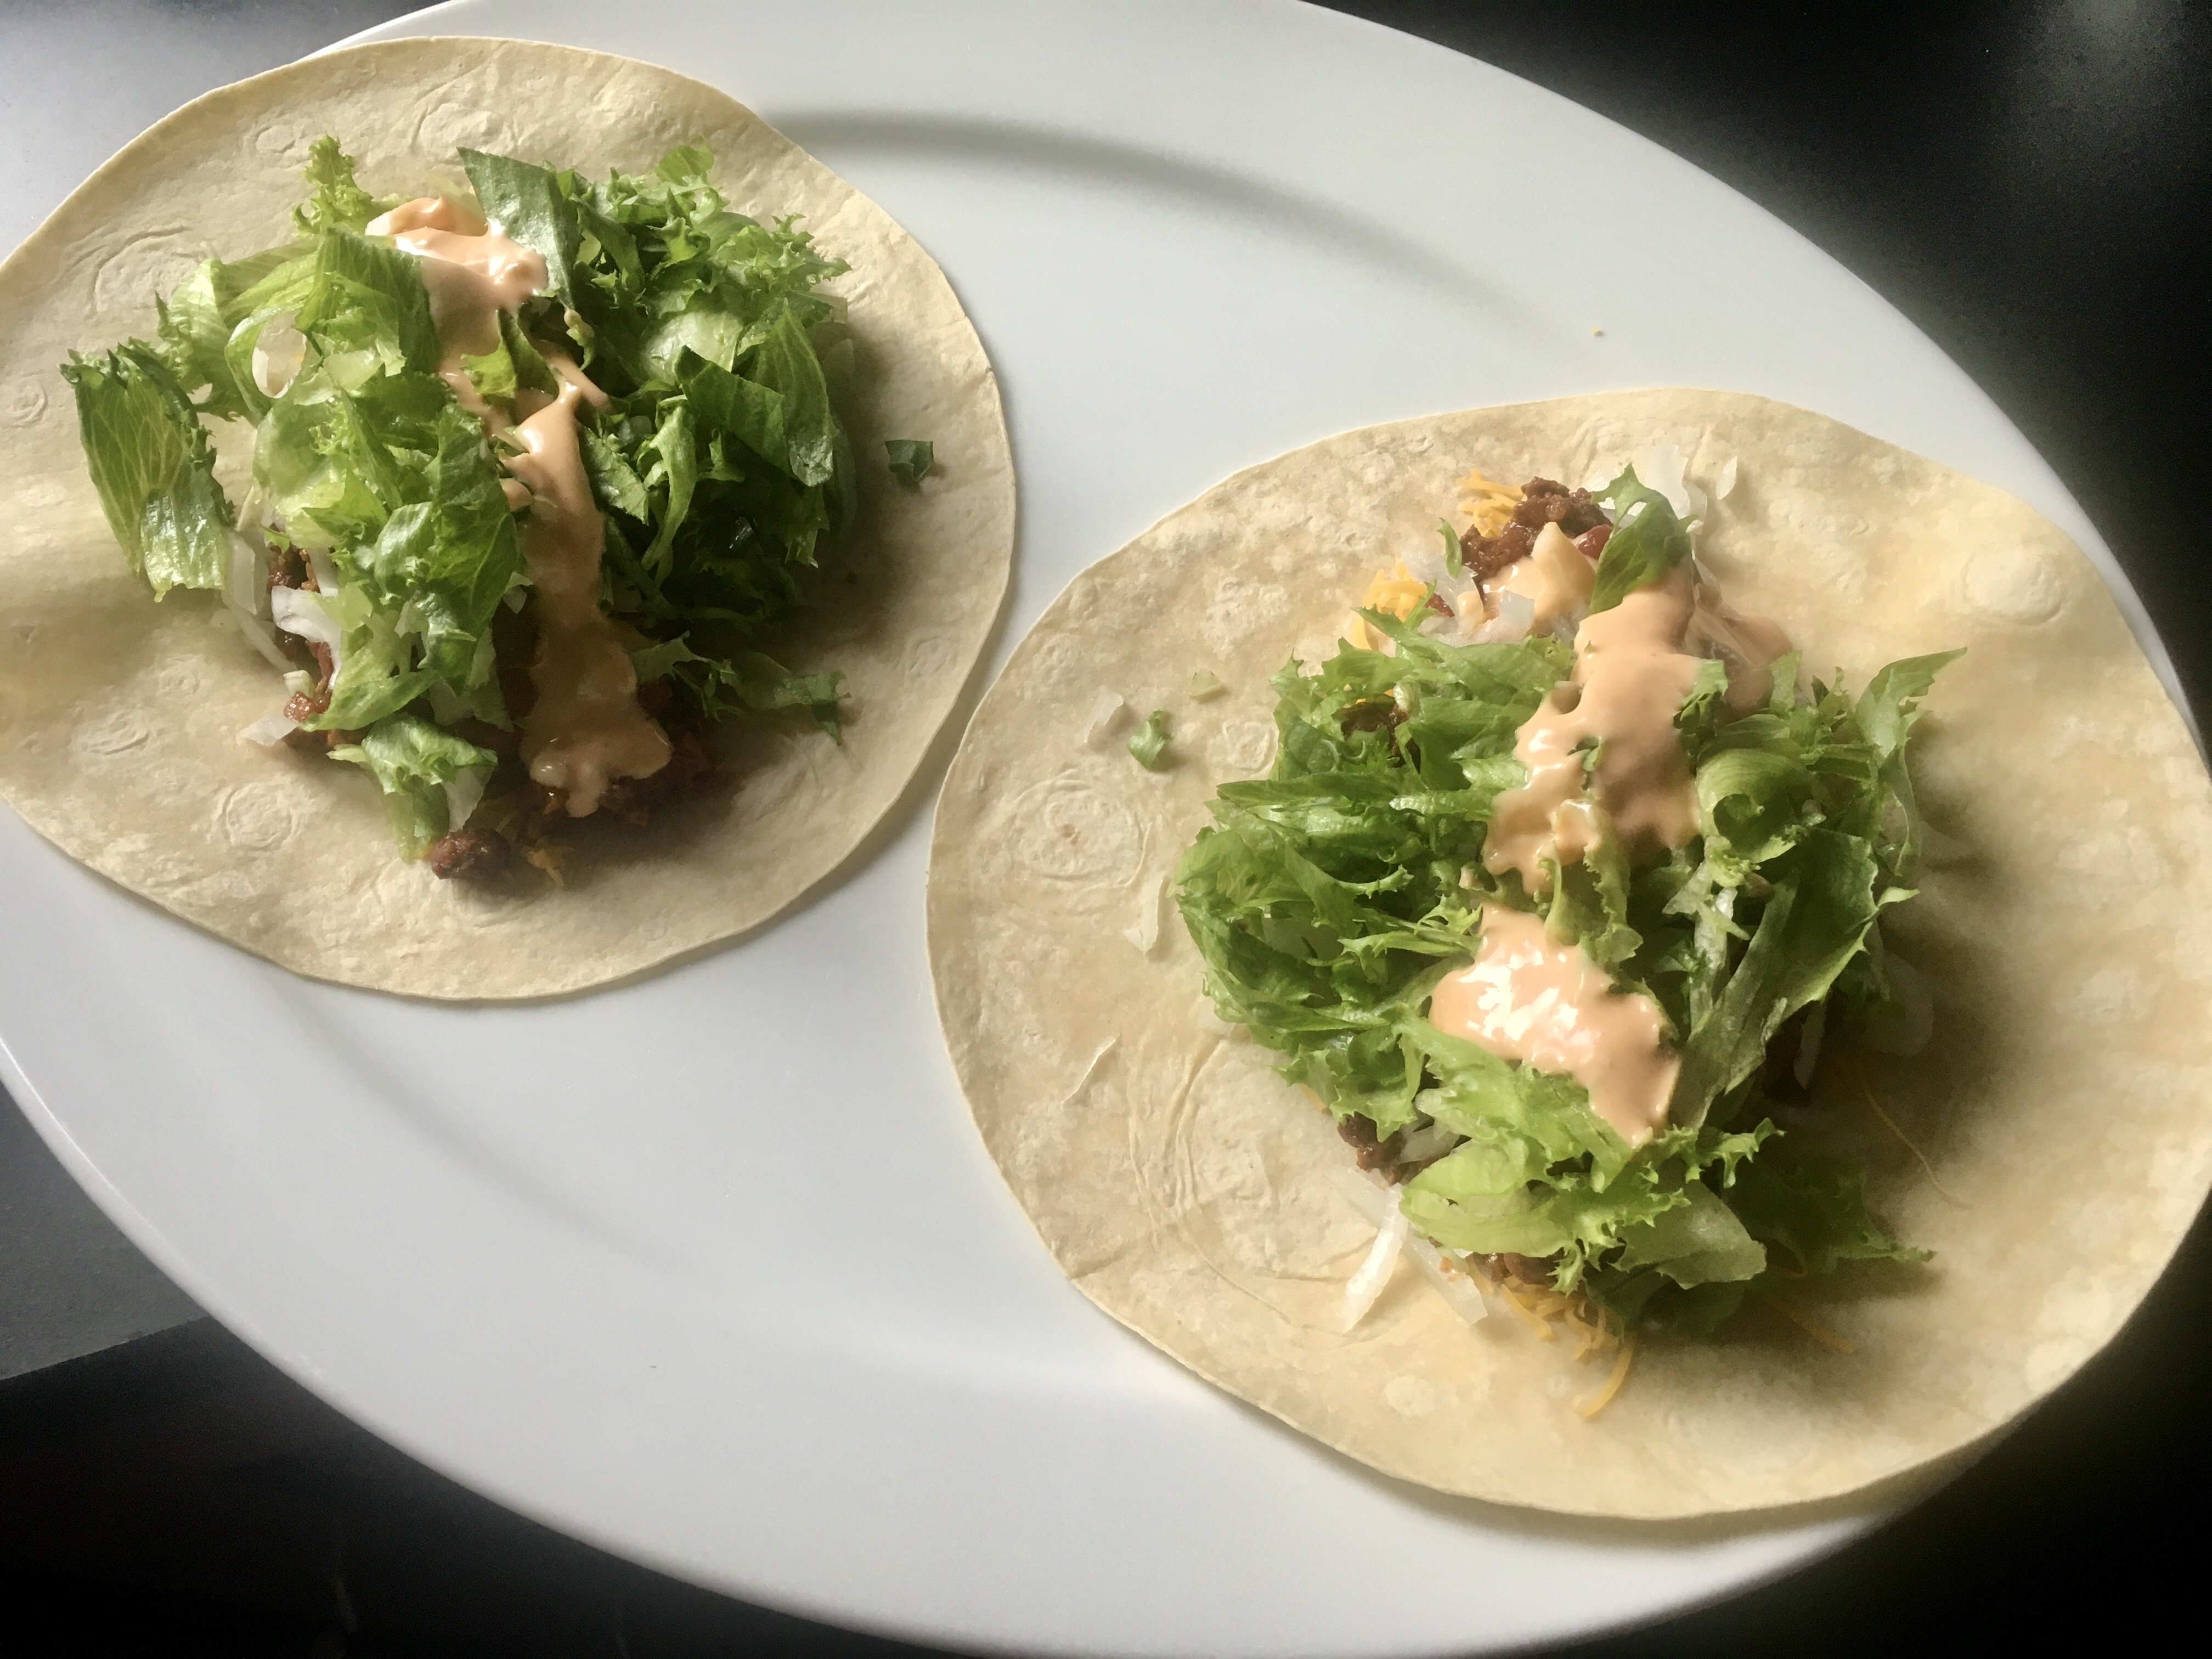
Once the venison pork-and-bean chili taco meat has finished cooking, I like to use it in a flour tortilla, with shredded lettuce and a little shredded cheese on top.


Shredded lettuce, grated cheddar cheese, some raw Vidalia onion, and a touch of 1000 Island dressing!


As a kid, I used to read the side of a cereal box as I ate my breakfast. Nowadays, I tend to read the back label from my booze bottle as I take a sip.
There seems to be a lot of confusion about the spelling of whiskey and/or whisky, but the use of the letter “e” (or the lack thereof) is not random. Here’s the best explanation I’ve found…
whiskeywhisky
The spelling whisky (plural whiskies) is generally used for those distilled in Scotland, Wales , Canada , and Japan. Whiskey (with an e; plural whiskeys) is used for the spirits distilled in Ireland and in the United States. But there are exceptions.
The BATF (Bureau of Alcohol, Tobacco and Firearms) in 1968 specified “whisky” as the official U.S. spelling, but allowed labeling as “whiskey” in deference to tradition.  Most U.S. producers use the “whiskey” spelling, though as you can see, Maker’s Mark chooses not to.
International law reserves the term “Scotch whisky” to those whiskies produced in Scotland. Scottish law specifies that the whisky must be aged for a minimum of three years, in oak casks. Whiskies produced in other countries in the Scotch style must use another name. Similar conventions exist for “Irish whiskey,” “Canadian whisky,” and “Bourbon whiskey.” In North America, as well as in Continental Europe, the abbreviated term “Scotch” is usually used for “Scotch Whisky.” In England, Scotland, and Wales, the term “whisky” almost always refers to “Scotch Whisky”, and the term “Scotch” is rarely used by itself.
And while we’re on the topic, what is bourbon?
Bourbon is a type of whiskey.
Today, ‘bourbon’ has a specific legal meaning that has little to do with its geographic origins. That definition, now federal law, has existed in its present form only since about the end of the 19th century. According to federal law, bourbon must be at least 51% corn, distilled at less than 160 proof, and aged for at least two years in new, charred oak barrels. (There are some other requirements, but those are the main ones.) Bourbon also must be made within the United States. In other words, a foreign product that meets all the other requirements still cannot be sold in the U.S. as bourbon.
Contrary to popular belief, there has never been a legal requirement that bourbon be made in Kentucky, which is why most Kentucky producers call their product “Kentucky Bourbon.” 
Still confused? My advice is to sit back with your favorite glass of whisky, whiskey or bourbon…and just enjoy. Cheers!

Some people don’t like cooking with veal because of the way the animals are treated, and I completely understand because I’m one of those. But…I’m fortunate that I can buy my veal from a nearby dairy farm, Sweet & Salty Farm in Little Compton, RI, where the animals are grass-fed and raised humanely. That makes for happier animals and incredibly flavorful meat…and no guilt about using it.

If you can’t get humanely raised veal, pork and beef work, too.

I also buy veal bones from Sweet & Salty Farm, roasting them on a sheet pan in a 400-degree oven for 30 minutes, then placing them in a large pot of water. I take some chopped carrots, onions, and celery, toss them in a little olive oil, and place them on a sheet pan, roasting them in the oven until they’ve caramelized, then add them to the pot with the veal bones. The secret to a great veal bone broth is to boil the bones and veggies for as long a time as possible. Restaurants will do this for days, replacing the water in the pot as needed. At home, I’ll start the broth in the morning and finish it by evening, straining out the veggies and bones at the very end of the cooking time.

The subtle flavor of veal can get lost with heavy seasonings, so I keep it simple. The addition of veal bone broth amplifies the flavor and keeps the meatballs from drying out.

img_0245

1 lb. ground veal
1 cup toasted breadcrumbs (I use Udi’s bread to make it gluten-free)
2 teaspoons parsley
1 teaspoon oregano
1/2 teaspoon basil
1 teaspoon salt
1/2 teaspoon black pepper
1/2 teaspoon granulated garlic
1/2 teaspoon granulated onion
1 egg
extra virgin olive oil
1 lb. pasta, cooked firmer than al dente
2 cups veal bone broth or beef stock
salt and pepper for seasoning
2 tablespoons half-and-half
2 tablespoons butter
1 cup of frozen organic peas

Pre-heat the oven to 350 degrees.

Make the meatballs: In a bowl, combine the veal, breadcrumbs, parsley, oregano, basil, salt, pepper, garlic, onion and egg, mixing the ingredients thoroughly. Don’t over-mix.

Form the meatballs one by one, about golf ball size, and place them in an ovenproof pan. I line the pan with non-stick aluminum foil for easy clean up. Cook the meatballs for about 10 minutes. Don’t overcook them! (Even if you’re using pork, 10 minutes is OK because you will be cooking them longer. )

In a saucepan, heat the veal bone broth or beef broth. Once the meatballs have cooked in the oven, transfer them to the pot of broth and cover it with a lid, keeping the heat on low. If the broth doesn’t cover the meatballs, turn them every once in a while to keep them moist on all sides. Simmer the meatballs in the broth for about 30 minutes, then transfer them to a large sauté pan.

Turn the saucepan with the veal broth on high and reduce it to about 1/2 cup. Season it with salt and pepper.

In a large pot, cook the pasta to a bit firmer than al dente in well-salted water. Drain it and set it aside.

In the large sauté pan with the meatballs, add the butter and the half-and-half. Add the reduced veal broth, the pasta, and the peas.

Gently mix the ingredients in the pan until the peas have warmed through and the sauce clings to the pasta. Serve immediately.

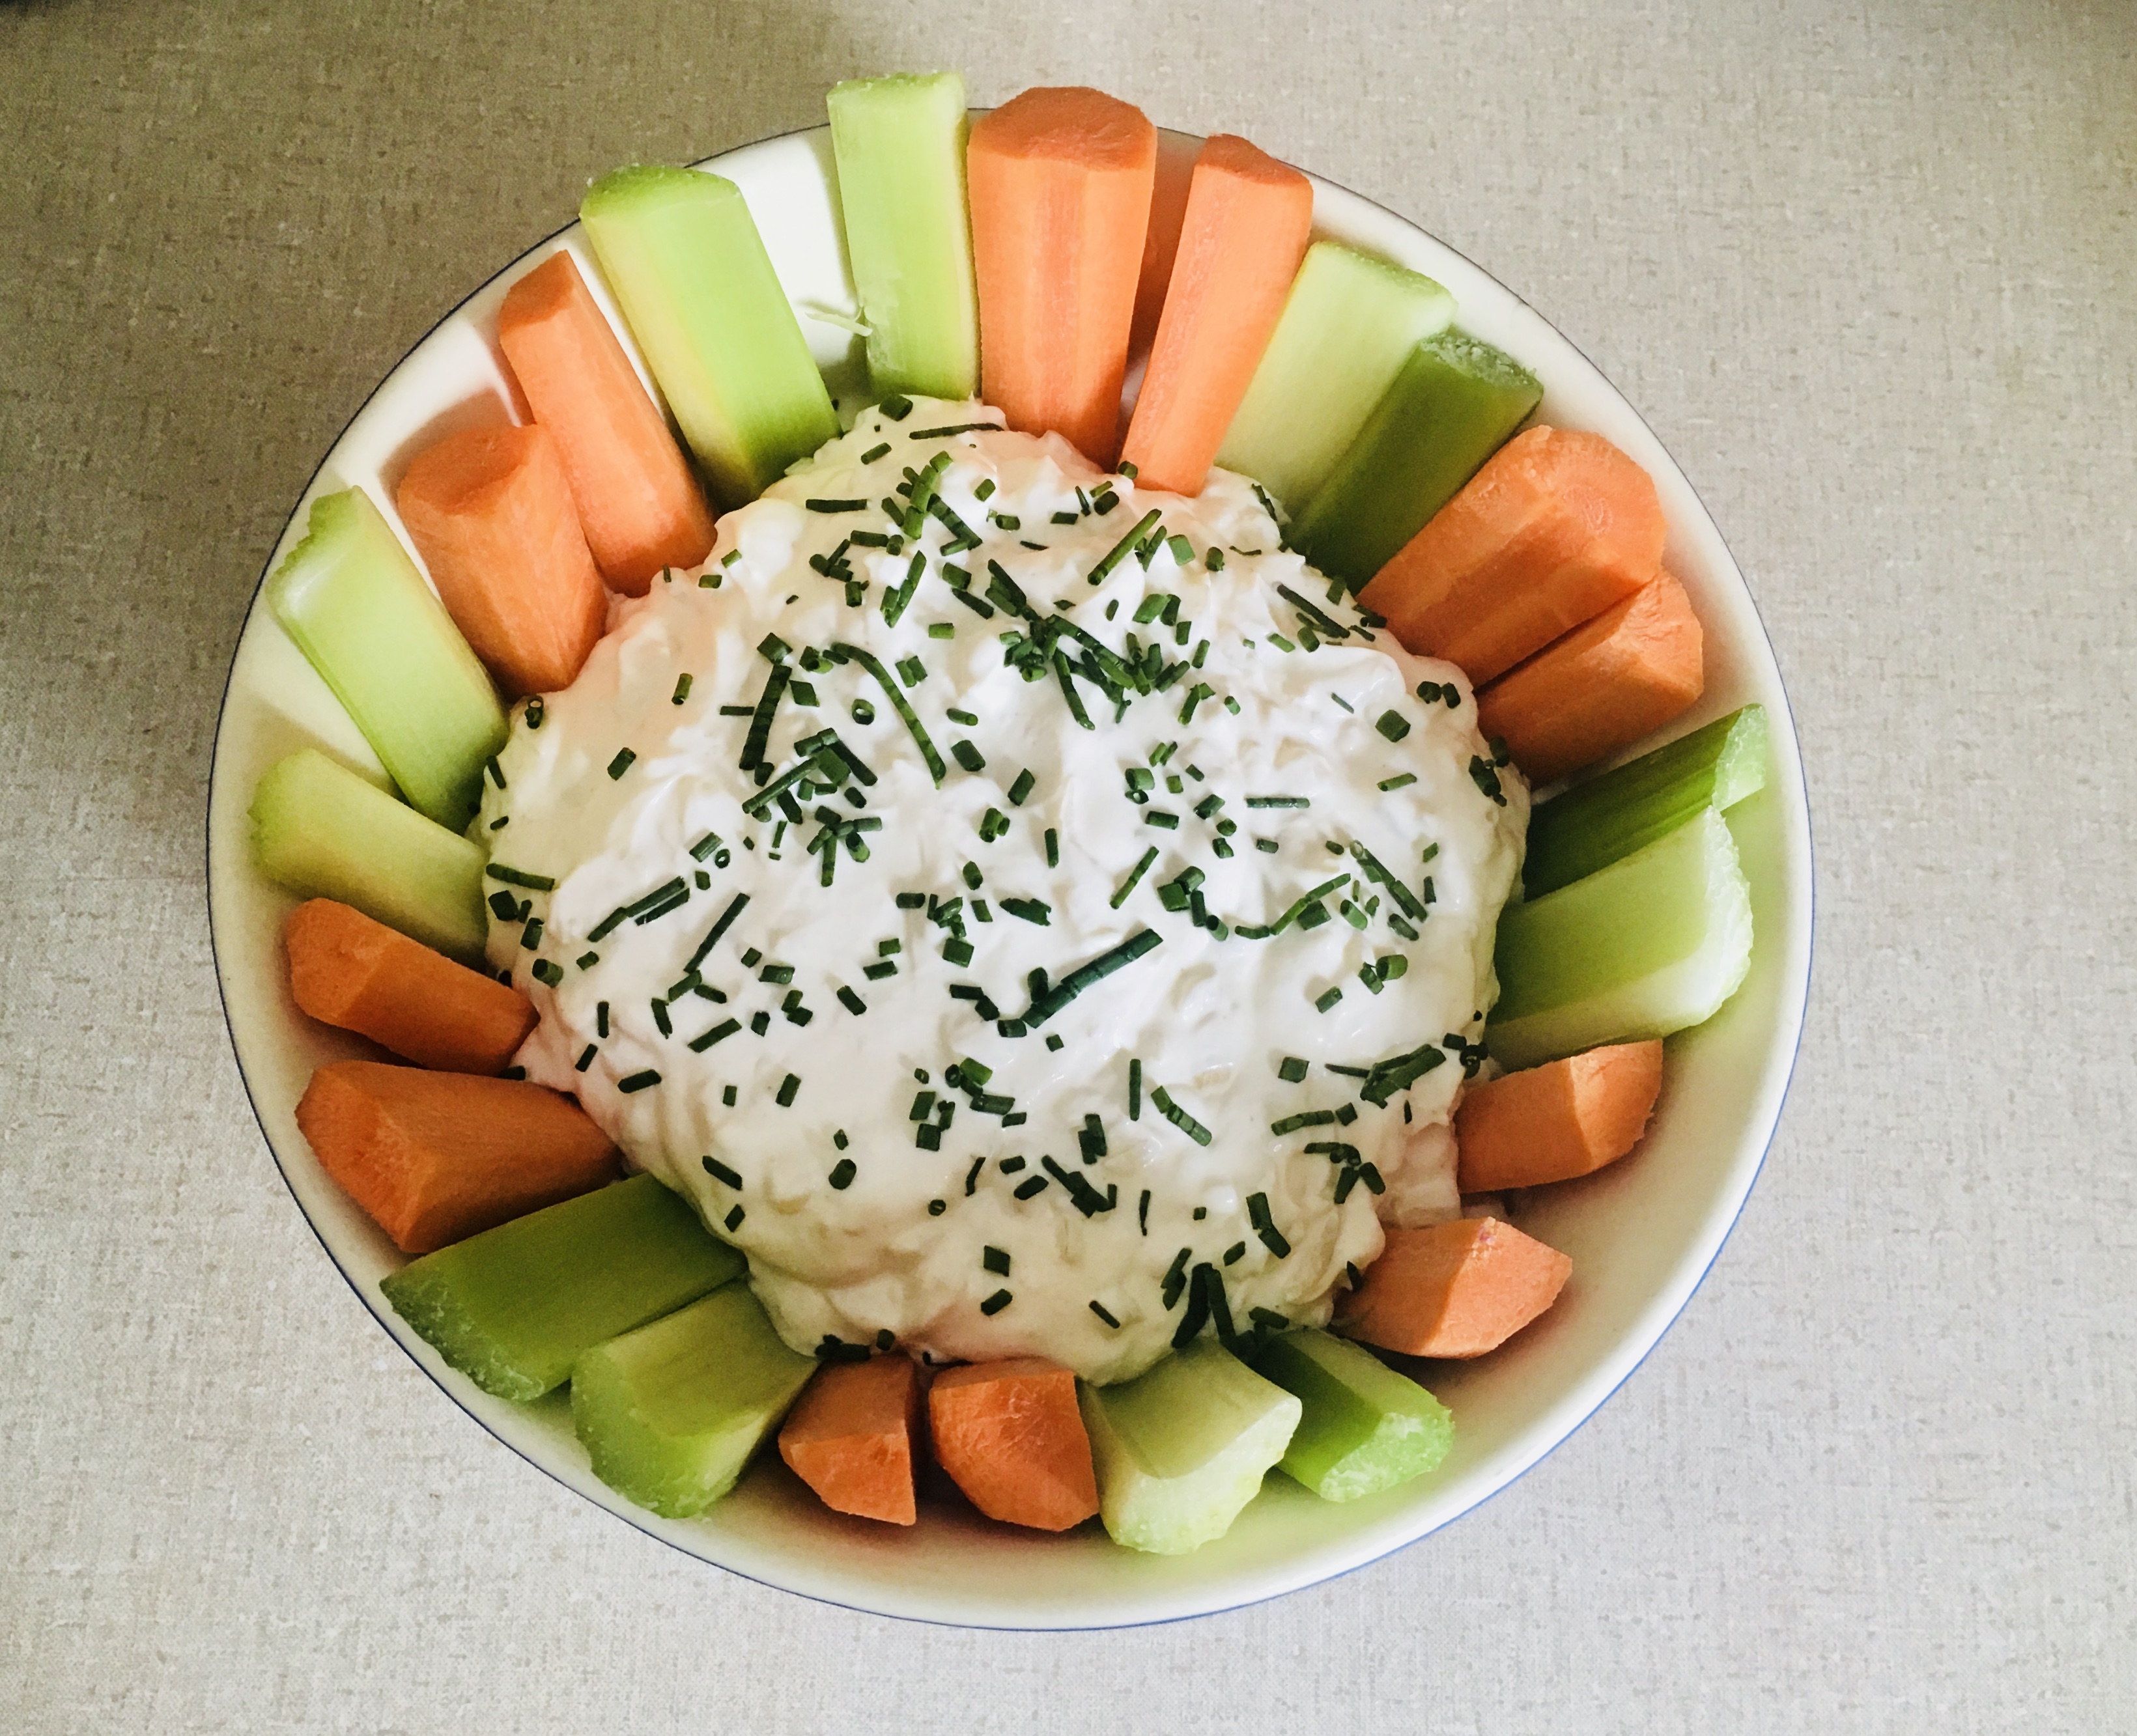
I love onion dip, and really good onion dip is hard to find…you’ve got to make it. It’s not difficult to do, and it’s worth the effort. Great with chips or veggies, it’s perfect for TV binge munching.


2 tablespoons olive oil
1 1/2 cups diced sweet onions
1/4 teaspoon salt
1 1/2 cups sour cream
3/4 cup mayonnaise
1/4 teaspoon granulated garlic
1/4 teaspoon white pepper
1/2 teaspoon salt
chopped chives, to garnish

In a pan over medium heat, sauté the onions in the olive oil and salt until they are soft and barely caramelized, about 15 minutes. Remove them from the heat and set them aside to cool to room temperature.

In a bowl, combine the rest of the ingredients except the chives, then add the cooled onions and mix well.

Refrigerate the dip and stir again before serving. Sprinkle the chopped chives on top to garnish.

Though it may sound Japanese, the word “saganaki” refers to a small frying pan used in Greek cooking. The most famous of these dishes, simply called saganaki, is a fried cheese, often flamed at the end with a little ouzo.

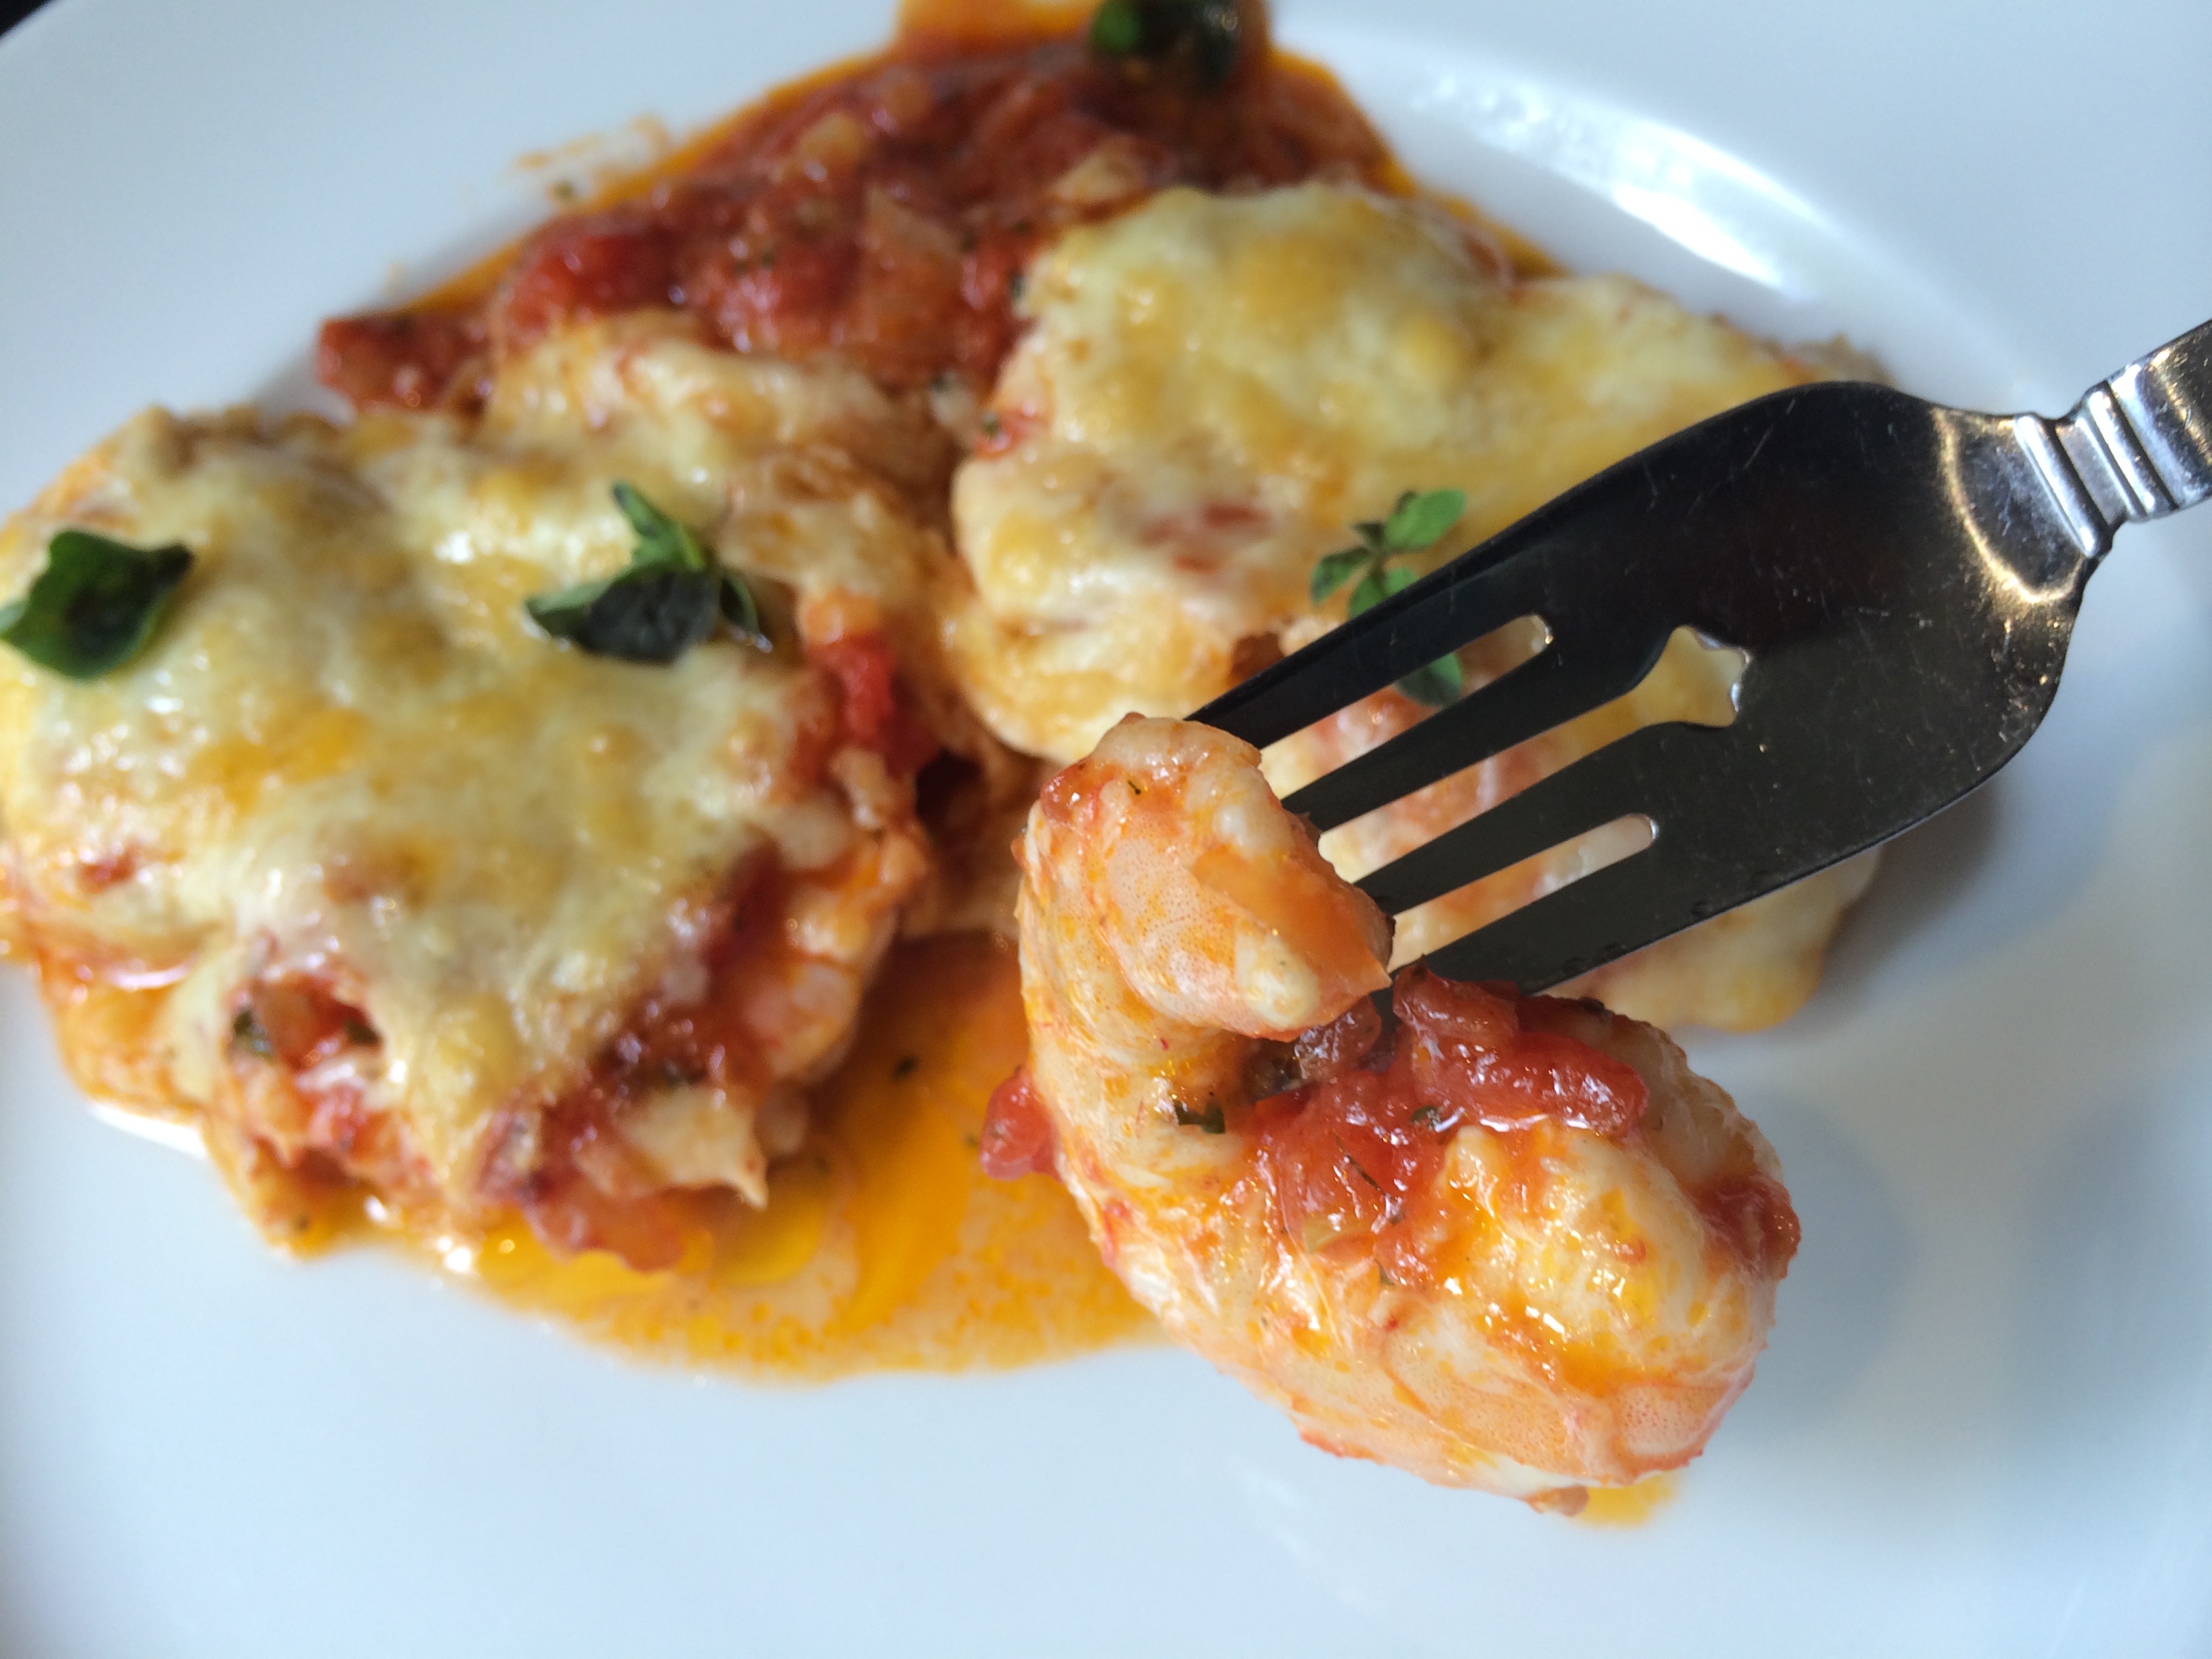
Shrimp saganaki is one of my favorite Greek dishes, and it usually involves cooking shrimp in a tomato-based sauce with plenty of feta cheese sprinkled in. It’s simple yet fantastic if the ingredients are fresh. Doesn’t hurt to be sitting in a taverna on the beautiful island of Santorini while eating it, either!


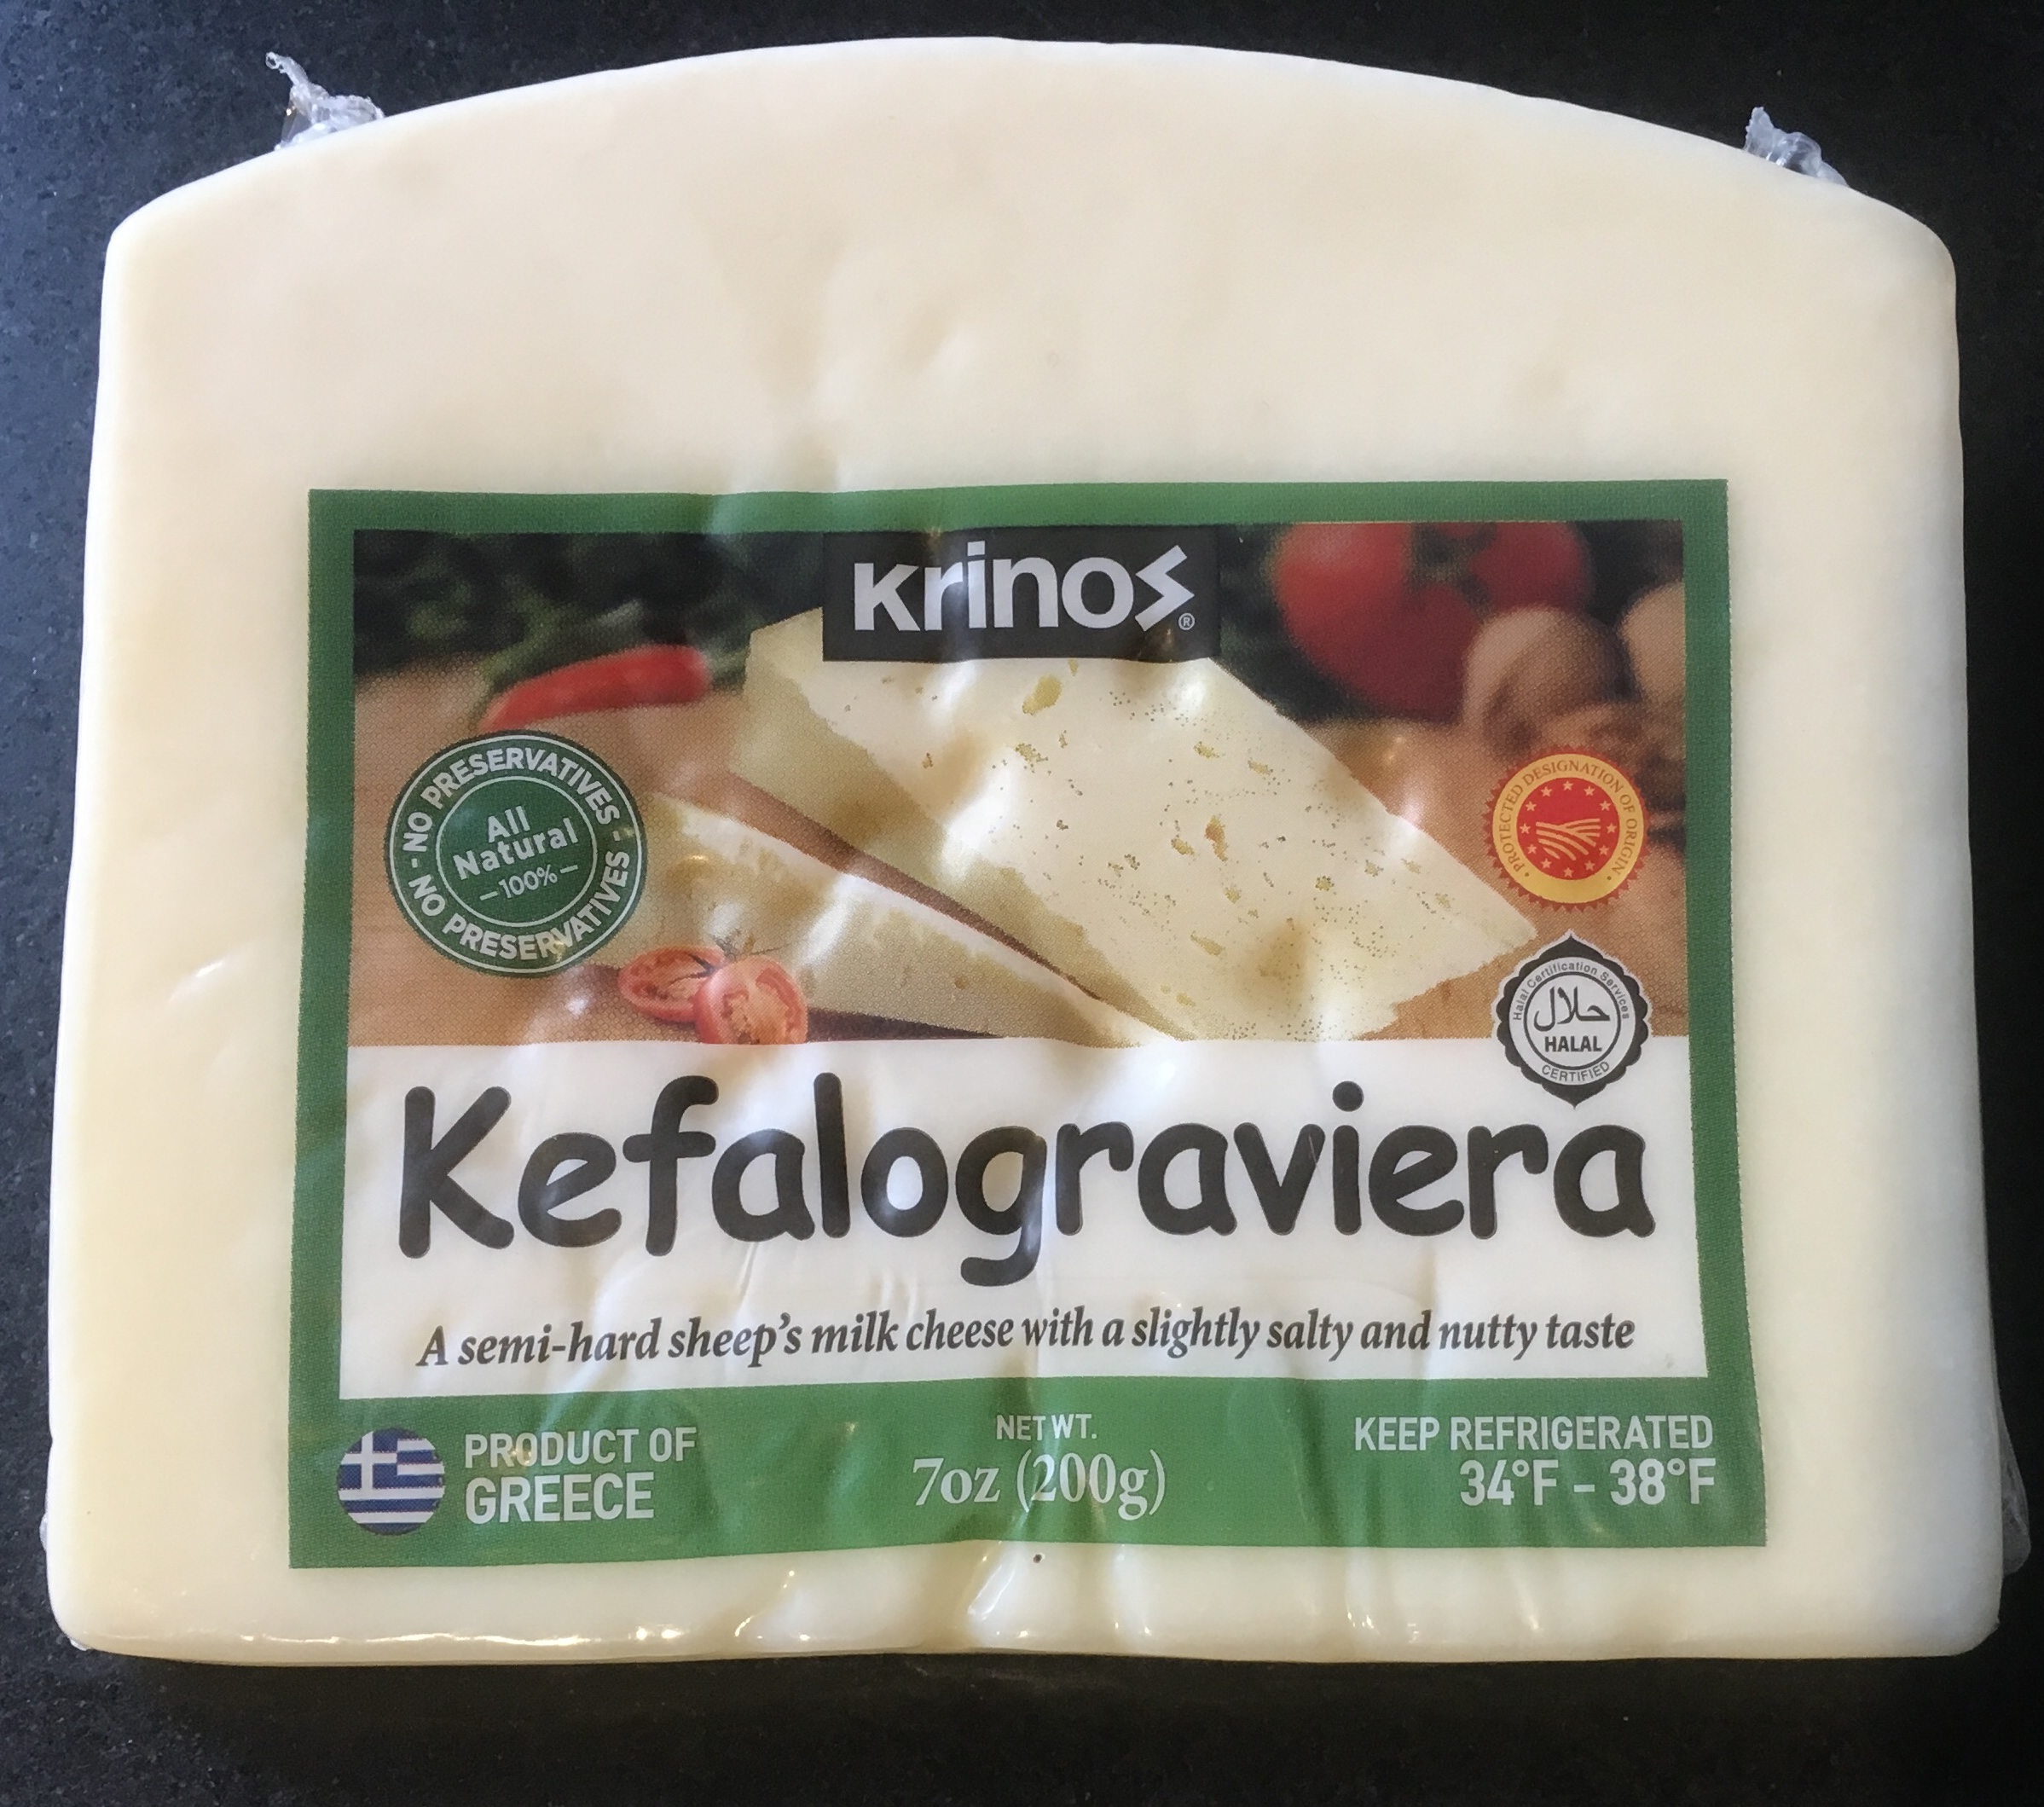
You can find Graviera cheese in most supermarkets.


I found a slab of Graviera cheese at a local supermarket, and decided to recreate shrimp saganaki using that instead of feta. It was pretty darn amazing.

I like using peeled and deveined 24–30 shrimp, because larger shrimp don’t always cook through. These smaller shrimp will be bite-sized and delicious.


Melty, gooey, delicious!

Melty, gooey, delicious!


200g package (7 oz.) grated Graviera cheese
1 can (28 oz.) whole tomatoes
1 lb. (about 24) shrimp, thawed, peeled and deveined
1 medium onion, chopped
juice of 1/2 lemon
1/4 cup olive oil
2 cloves garlic, through a press
pinch red pepper flakes
1 1/2 tablespoons fresh dill, finely chopped
1 tablespoon fresh oregano, finely chopped
1 1/2 tablespoons Ouzo
salt and pepper


Peel and devein the shrimp (or you can buy them that way already.) Place them in a bowl. Squeeze the juice of  1/2 of a lemon on to the shrimp and toss. Set them aside.

In a large pan, sauté the onions in the olive oil until translucent. Add the garlic and cook for a few seconds more.

Crush or puree the tomatoes and add them to the pan. Add the red pepper flakes, dill and oregano, and salt and pepper. Add the Ouzo.

Let this sauce cook down for a bit until all the flavors have blended together.

Pour a layer of the sauce on the bottom of a metal broiler-proof pan. Lay the raw shrimp in a single layer into the sauce. Cover the shrimp with the rest of the sauce and sprinkle the grated Graviera on top.

Place the pan in a pre-heated 350-degree oven and bake until the cheese is golden brown and bubbly and the shrimp have cooked through. I like to finish it under the broiler for a few minutes to get the cheese brown and melty.


shrimp saganaki


CHAR-GRILLED CLAMS

Posted: July 26, 2022 in Uncategorized

Ever since I had char-grilled oysters in New Orleans recently, I’ve been obsessed. I’ve made them at least once a week every week since I’ve been back. But the other day, I went to my local seafood store and I saw some beautiful clams, and I thought: Why not try those on the grill?

I had some friends over a couple of days ago, and I made my Oysters Rock-a-Fellow recipe for them, and I had some leftover gooey cheesy stuffing that goes on top of the oyster. I thought: Why not use it on the clams and then put them on the grill?

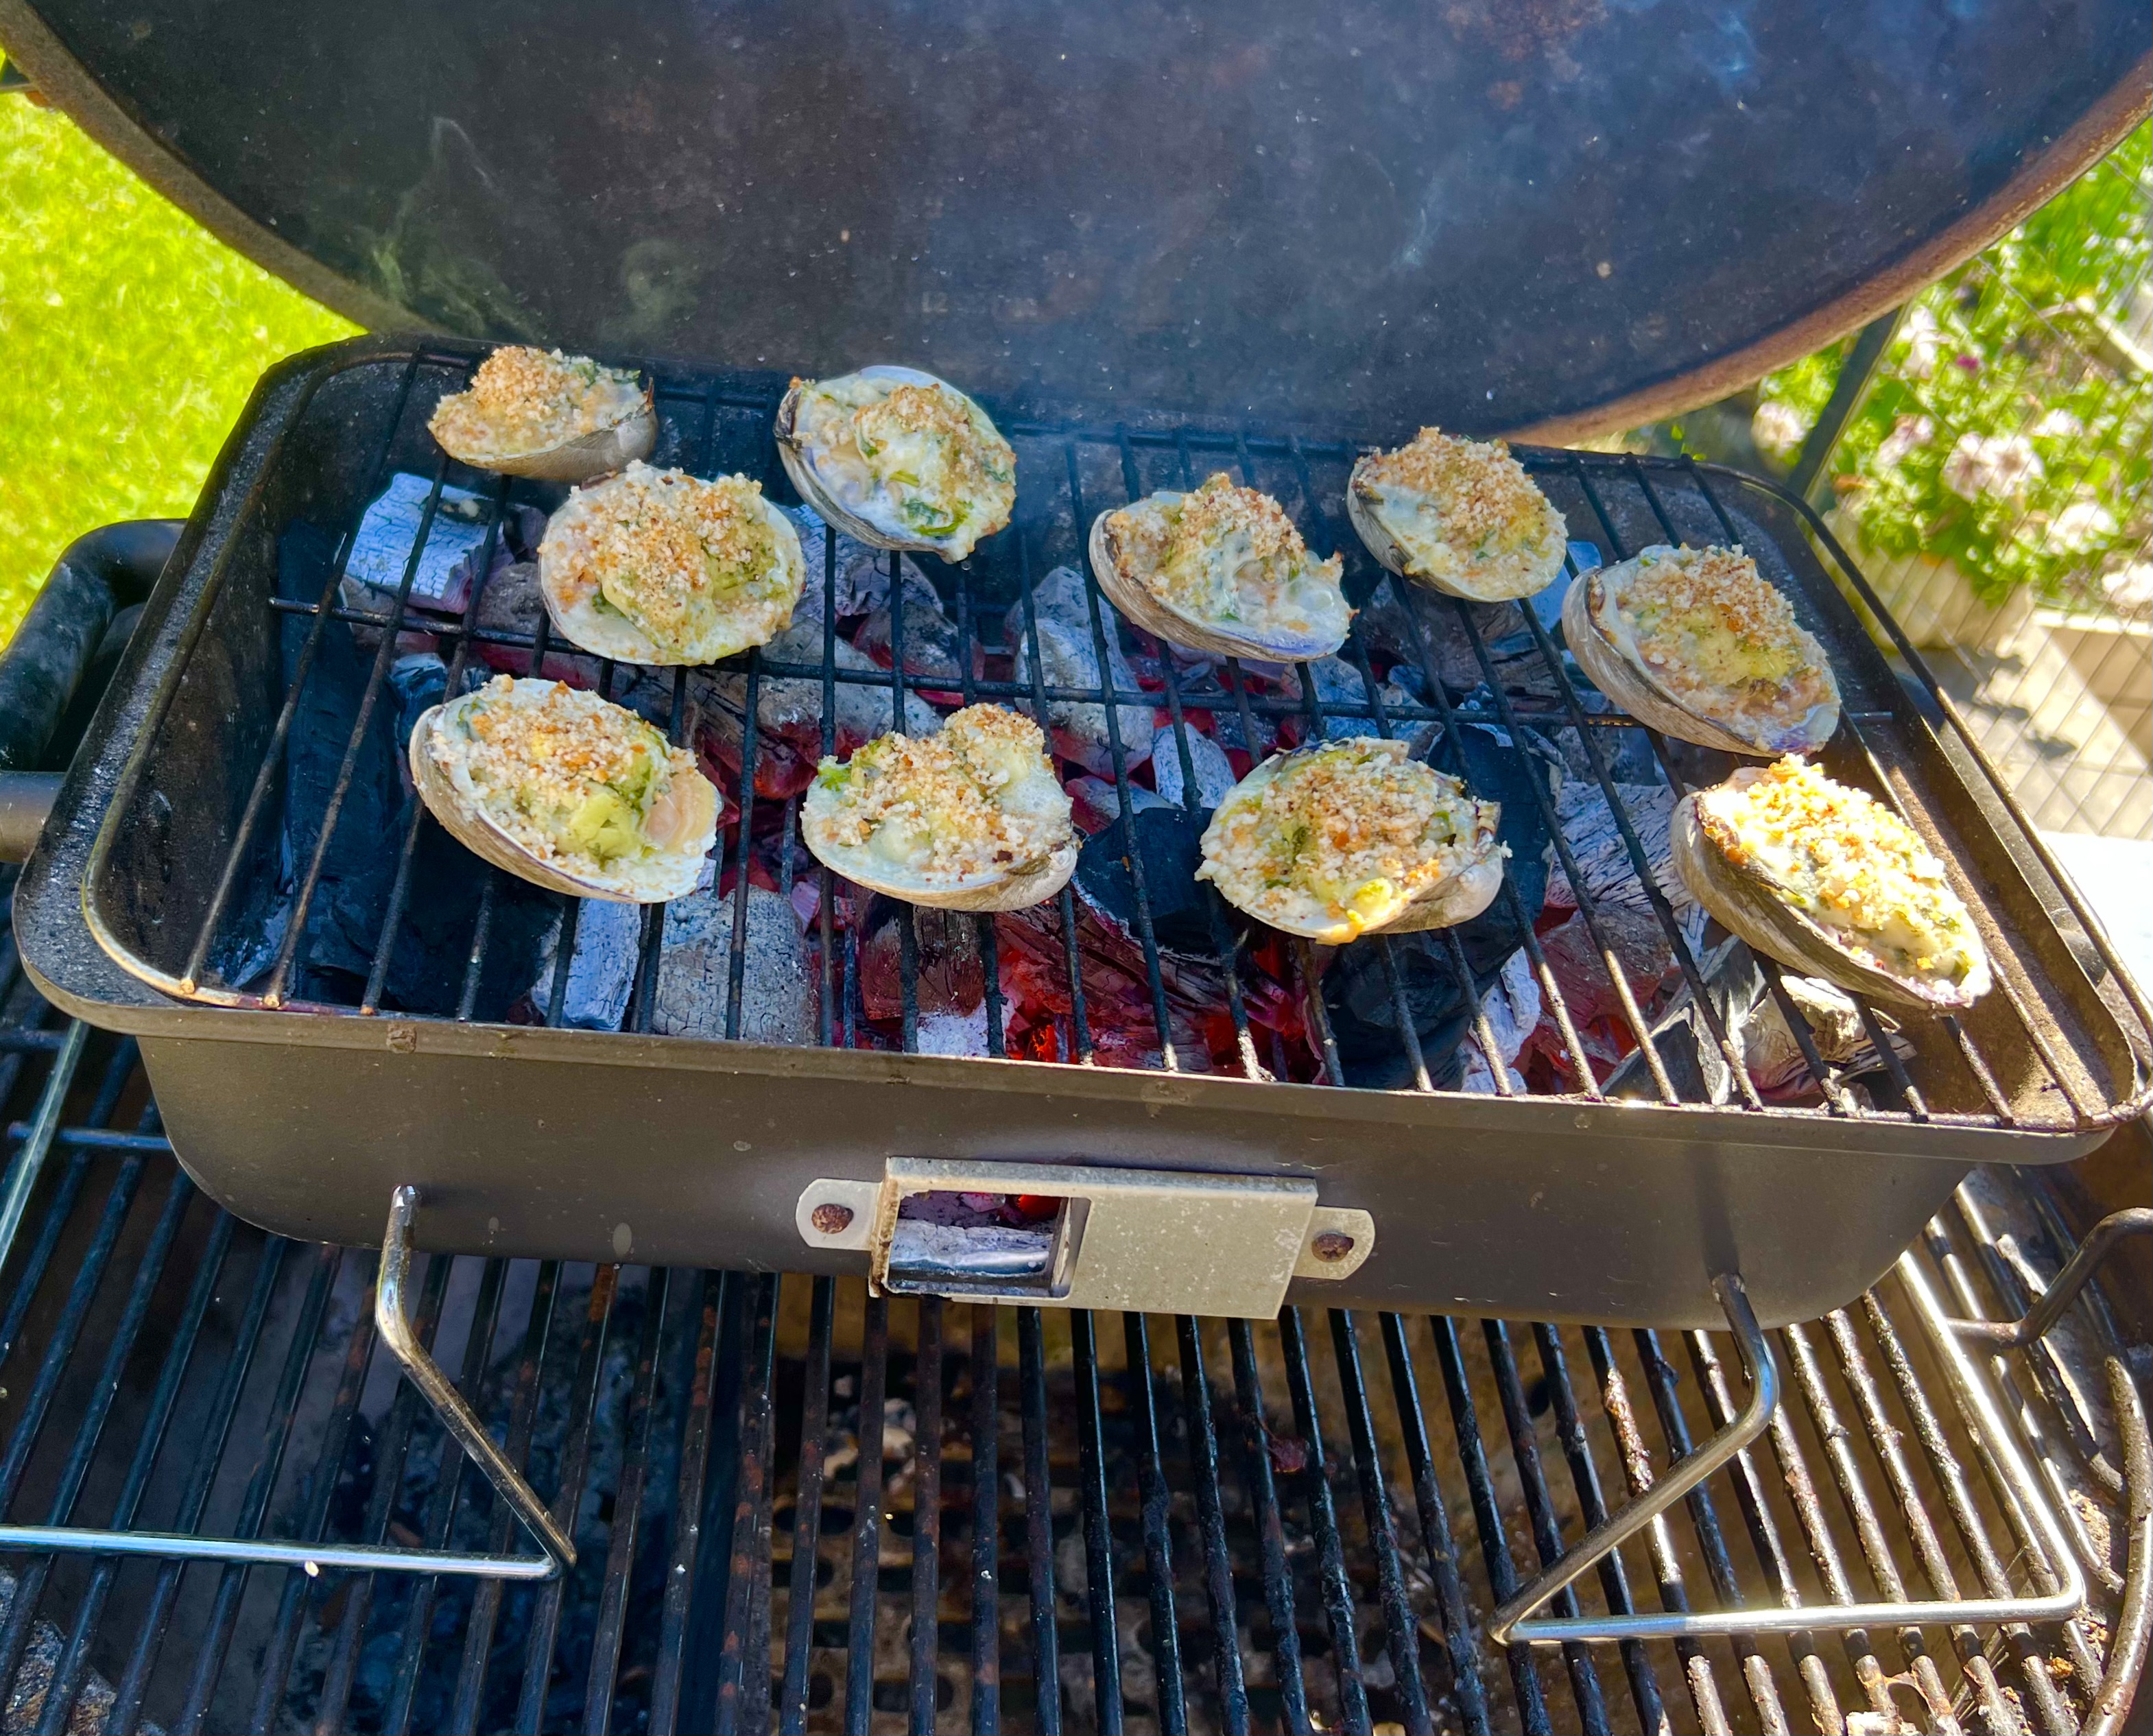
A hybrid recipe of two previous recipes, and it really worked!

The first step is to make the gooey cheesy stuffing mix ahead of time.


1/4 cup unsalted butter
1 small onion, finely chopped
1 garlic clove, finely chopped
1/4 cup low-fat milk
salt and pepper
3 cups (tightly packed) fresh arugula, finely chopped, about a 5 oz. container
6 oz. mild cheddar cheese (the white one), grated
6 oz. mozzarella, grated
Fine bread crumbs (Using GF breadcrumbs will keep this dish gluten-free)

Melt the butter in a pan and add the onion and garlic. Sauté until translucent, then add the milk, salt and pepper, and the arugula. Sauté for a few minutes, stirring, so that all of the arugula wilts down.
Slowly add the cheddar until it all melts, then add the mozzarella, stirring slowly, until you have one big gooey mass of goodness in the pan.

Pour the gooey cheese mix into a shallow pan and place it in the fridge for a few hours. It will firm up and you will be able to cut it easily into cubes that you will then place on top of the clams.

Once the cheese mixture has firmed up, and it’s time to cook, start a hardwood charcoal fire in your grill.

Open the clams and put them on a tray, topping each clam with a cube of the firm cheese and arugula stuffing mix.

Sprinkle the breadcrumbs on top of each clam.

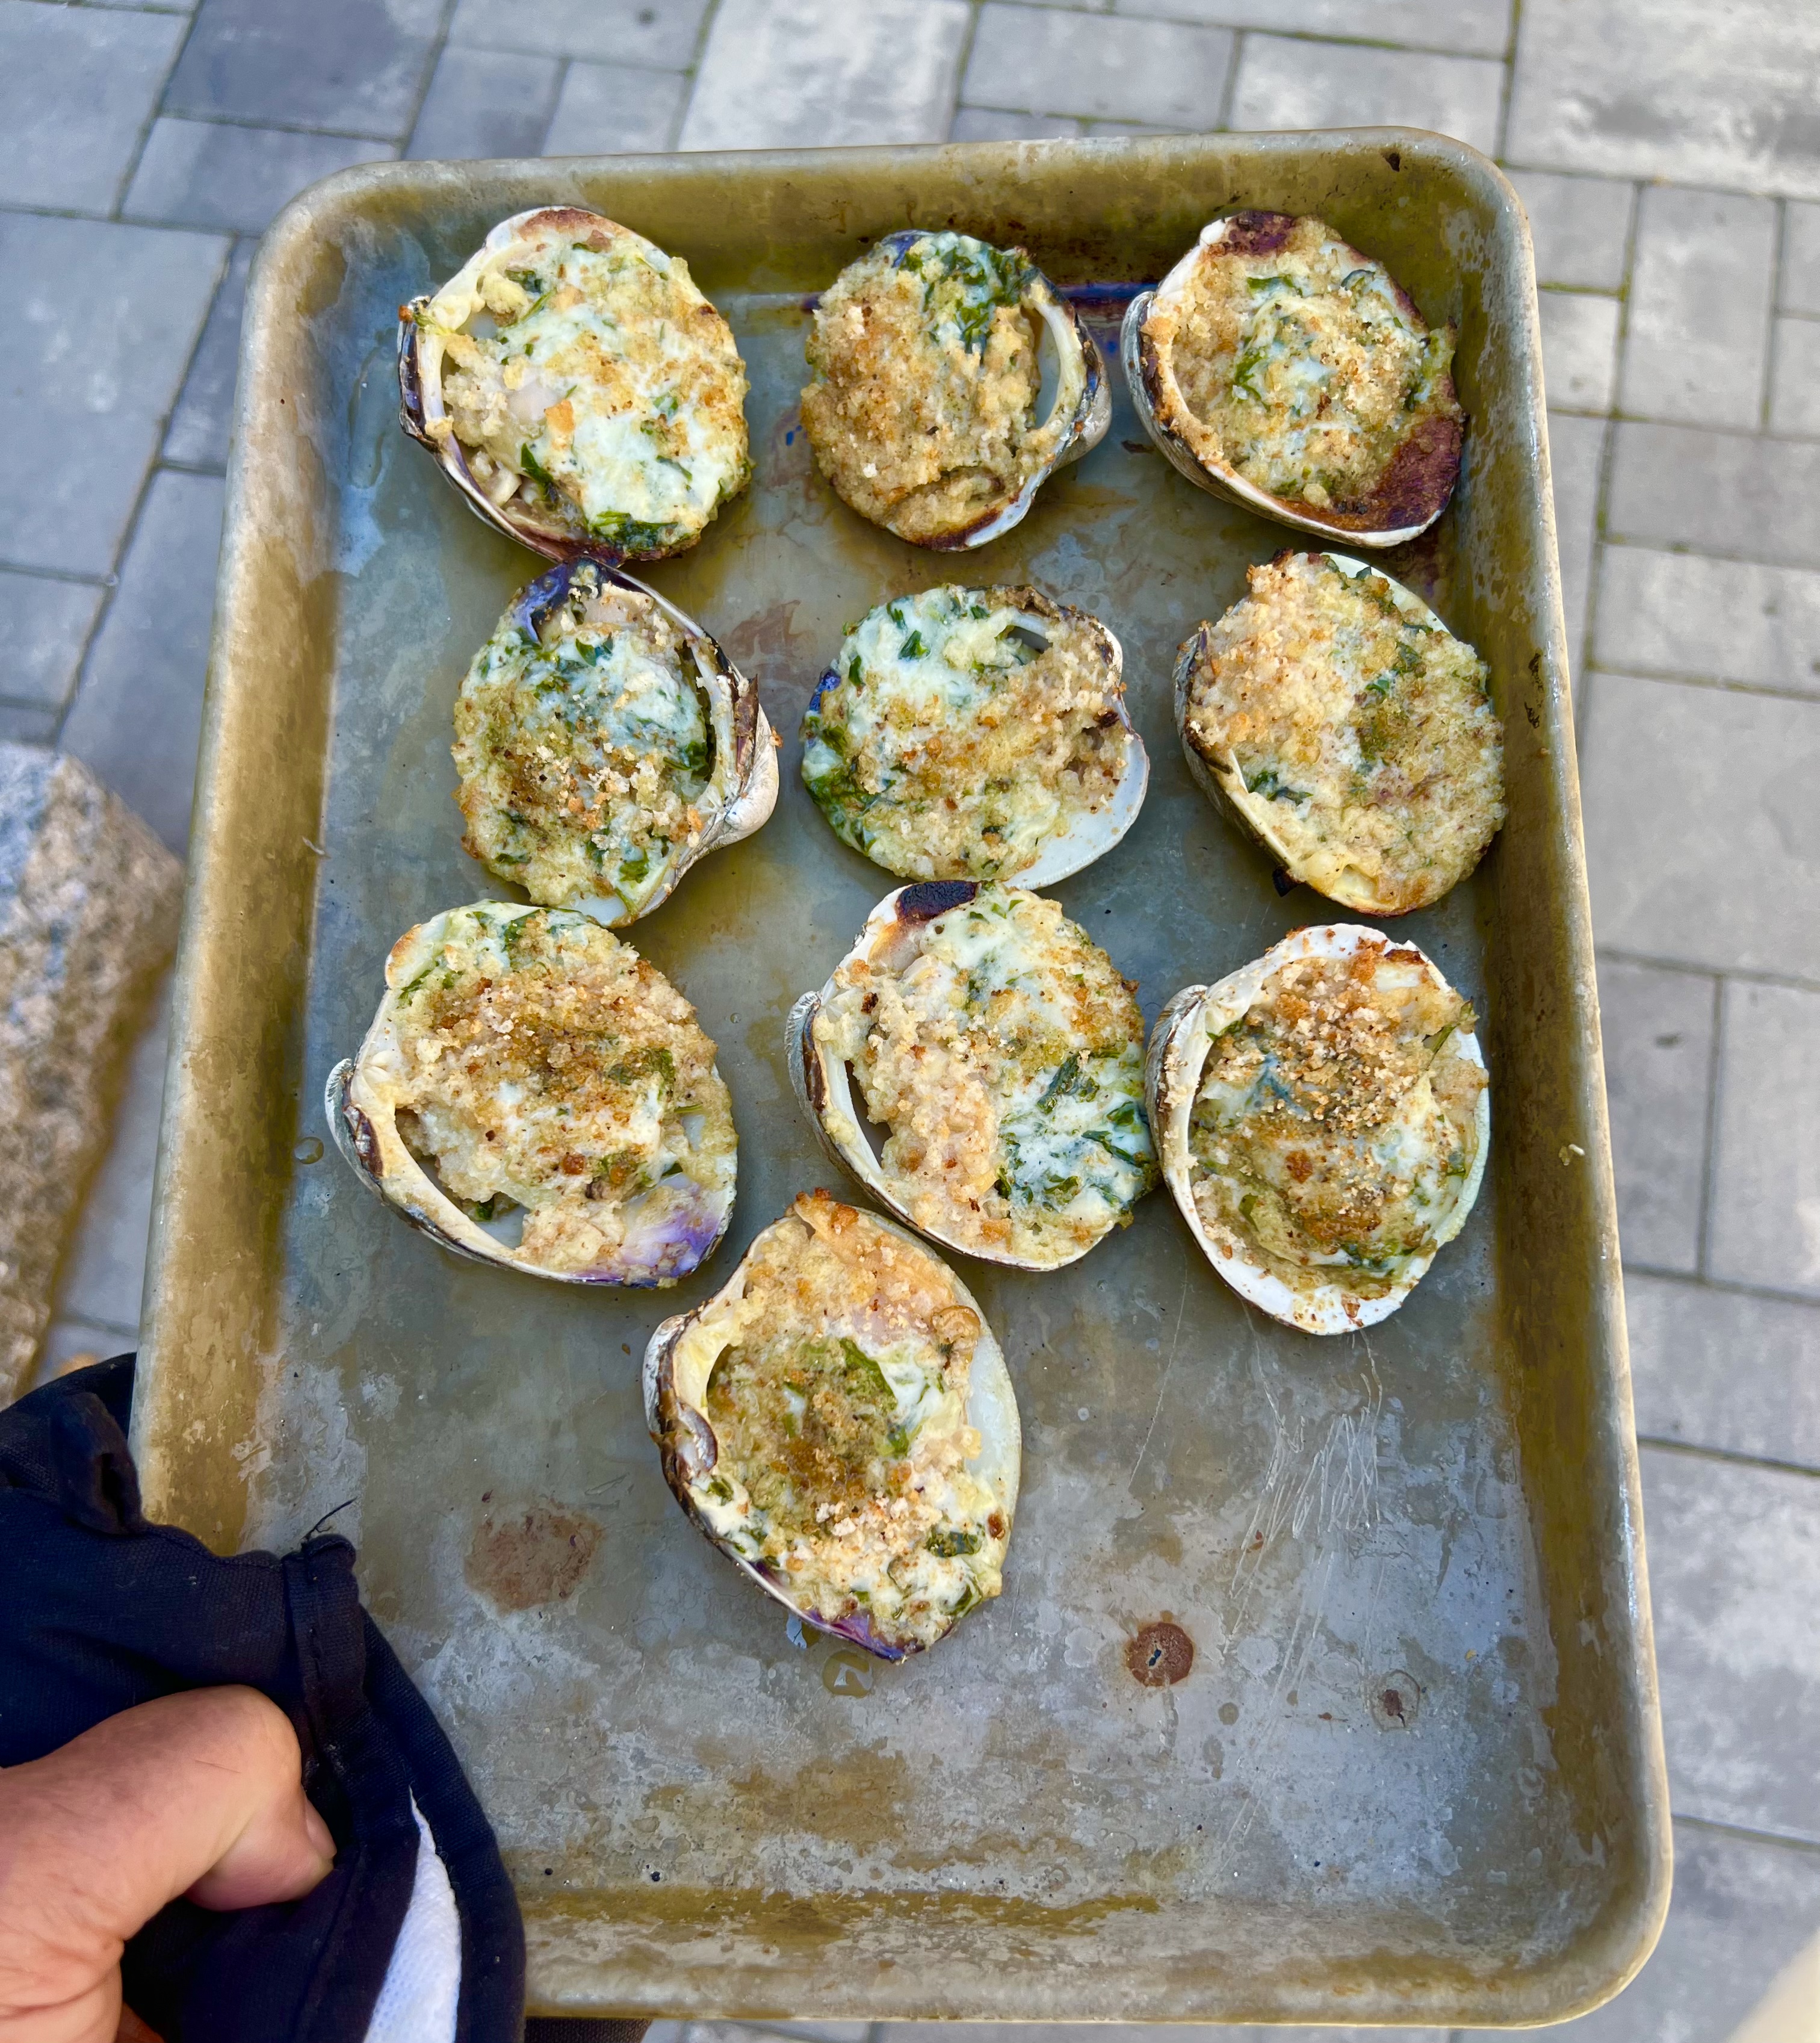
When your charcoal grill fire is hot, place the clams on the grill and cook until the cheesy topping melts and the clams have a nice char to them.

They will be lava hot when they come off the grill, so give them a few minutes before eating!