My daughter’s home for spring break, and I’m not surprised this is one of the dishes she’s requesting while she’s here. Guess I gotta get to work!
I think I spent half of my childhood in the kitchen, watching my Mom and grandmother make koldūnai (kohl-doo-nayh), the Lithuanian version of a pierogi, by hand, at lightning speed. They would roll a simple dough into a log about 1″ in diameter, then cut it into 1″ pieces, twirling each piece between their fingers to make a flat pancake, filling each with a small spoonful of meat or mushrooms, then folding it over, crimping the edges to make a crescent-shaped dumpling. It blew my mind that they could crank out over a hundred of these little masterpieces in no time, placing them on a cookie sheet and freezing them until it was time to cook.

One of the main reasons why I prefer Lithuanian koldūnai over the basic Polish pierogi is the filling. For me, standard pierogi fillings like potatoes, cheese, and sauerkraut just don’t cut it. My Mom would mix ground beef with chopped onions sautéed in butter, a couple of eggs, and milk crackers soaked in milk. She’d add salt and pepper, then spoon that beautiful beef blend into her koldūnai.
The other delicious stuffing, usually reserved for special holidays like Christmas Eve and Easter, was made from mushrooms. Italy may lay claim to the porcini, but the fact of the matter is, Lithuania is bolete heaven. (We call them baravykai.)
When they’re dried and rehydrated, their incredible flavor is so intense, you don’t need many of them to flavor a large amount of regular button mushrooms. We’d get our dried boletes from relatives in Lithuania every year. Mom would place a handful in some boiling water and let them steep until they swelled up and could easily be chopped and added to the other mushrooms. She’d then pour the mushroom liquid into the pan as well, not wasting a bit of that magical porcini flavor. The mushrooms were simply sautéed in butter, cooled, and then used to fill the koldūnai.

I found that my Mom’s log method was too much work. I roll the dough out into a sheet with a rolling pin, then cut circles with a glass. Yes, that’s mac-and-cheese up front!
A few years ago, I decided it was time to try my hand at making koldūnai. As I recall, my Mom simply mixed water with flour to make the dough, kneaded it into a log, and off she went. I decided to go with the rolling pin and glass cutting method, because I found it to be a bit easier creating more uniform koldūnai.
The biggest challenges I had making koldūnai was my own clumsiness and lack of experience. Once I got the hang of it, things moved along steadily, and it didn’t take long for me to make a decent batch–not all perfect, but not bad for a first try.
My recipe follows. If you’re on a gluten-free diet, have no fear! That recipe is at the bottom of the blog.
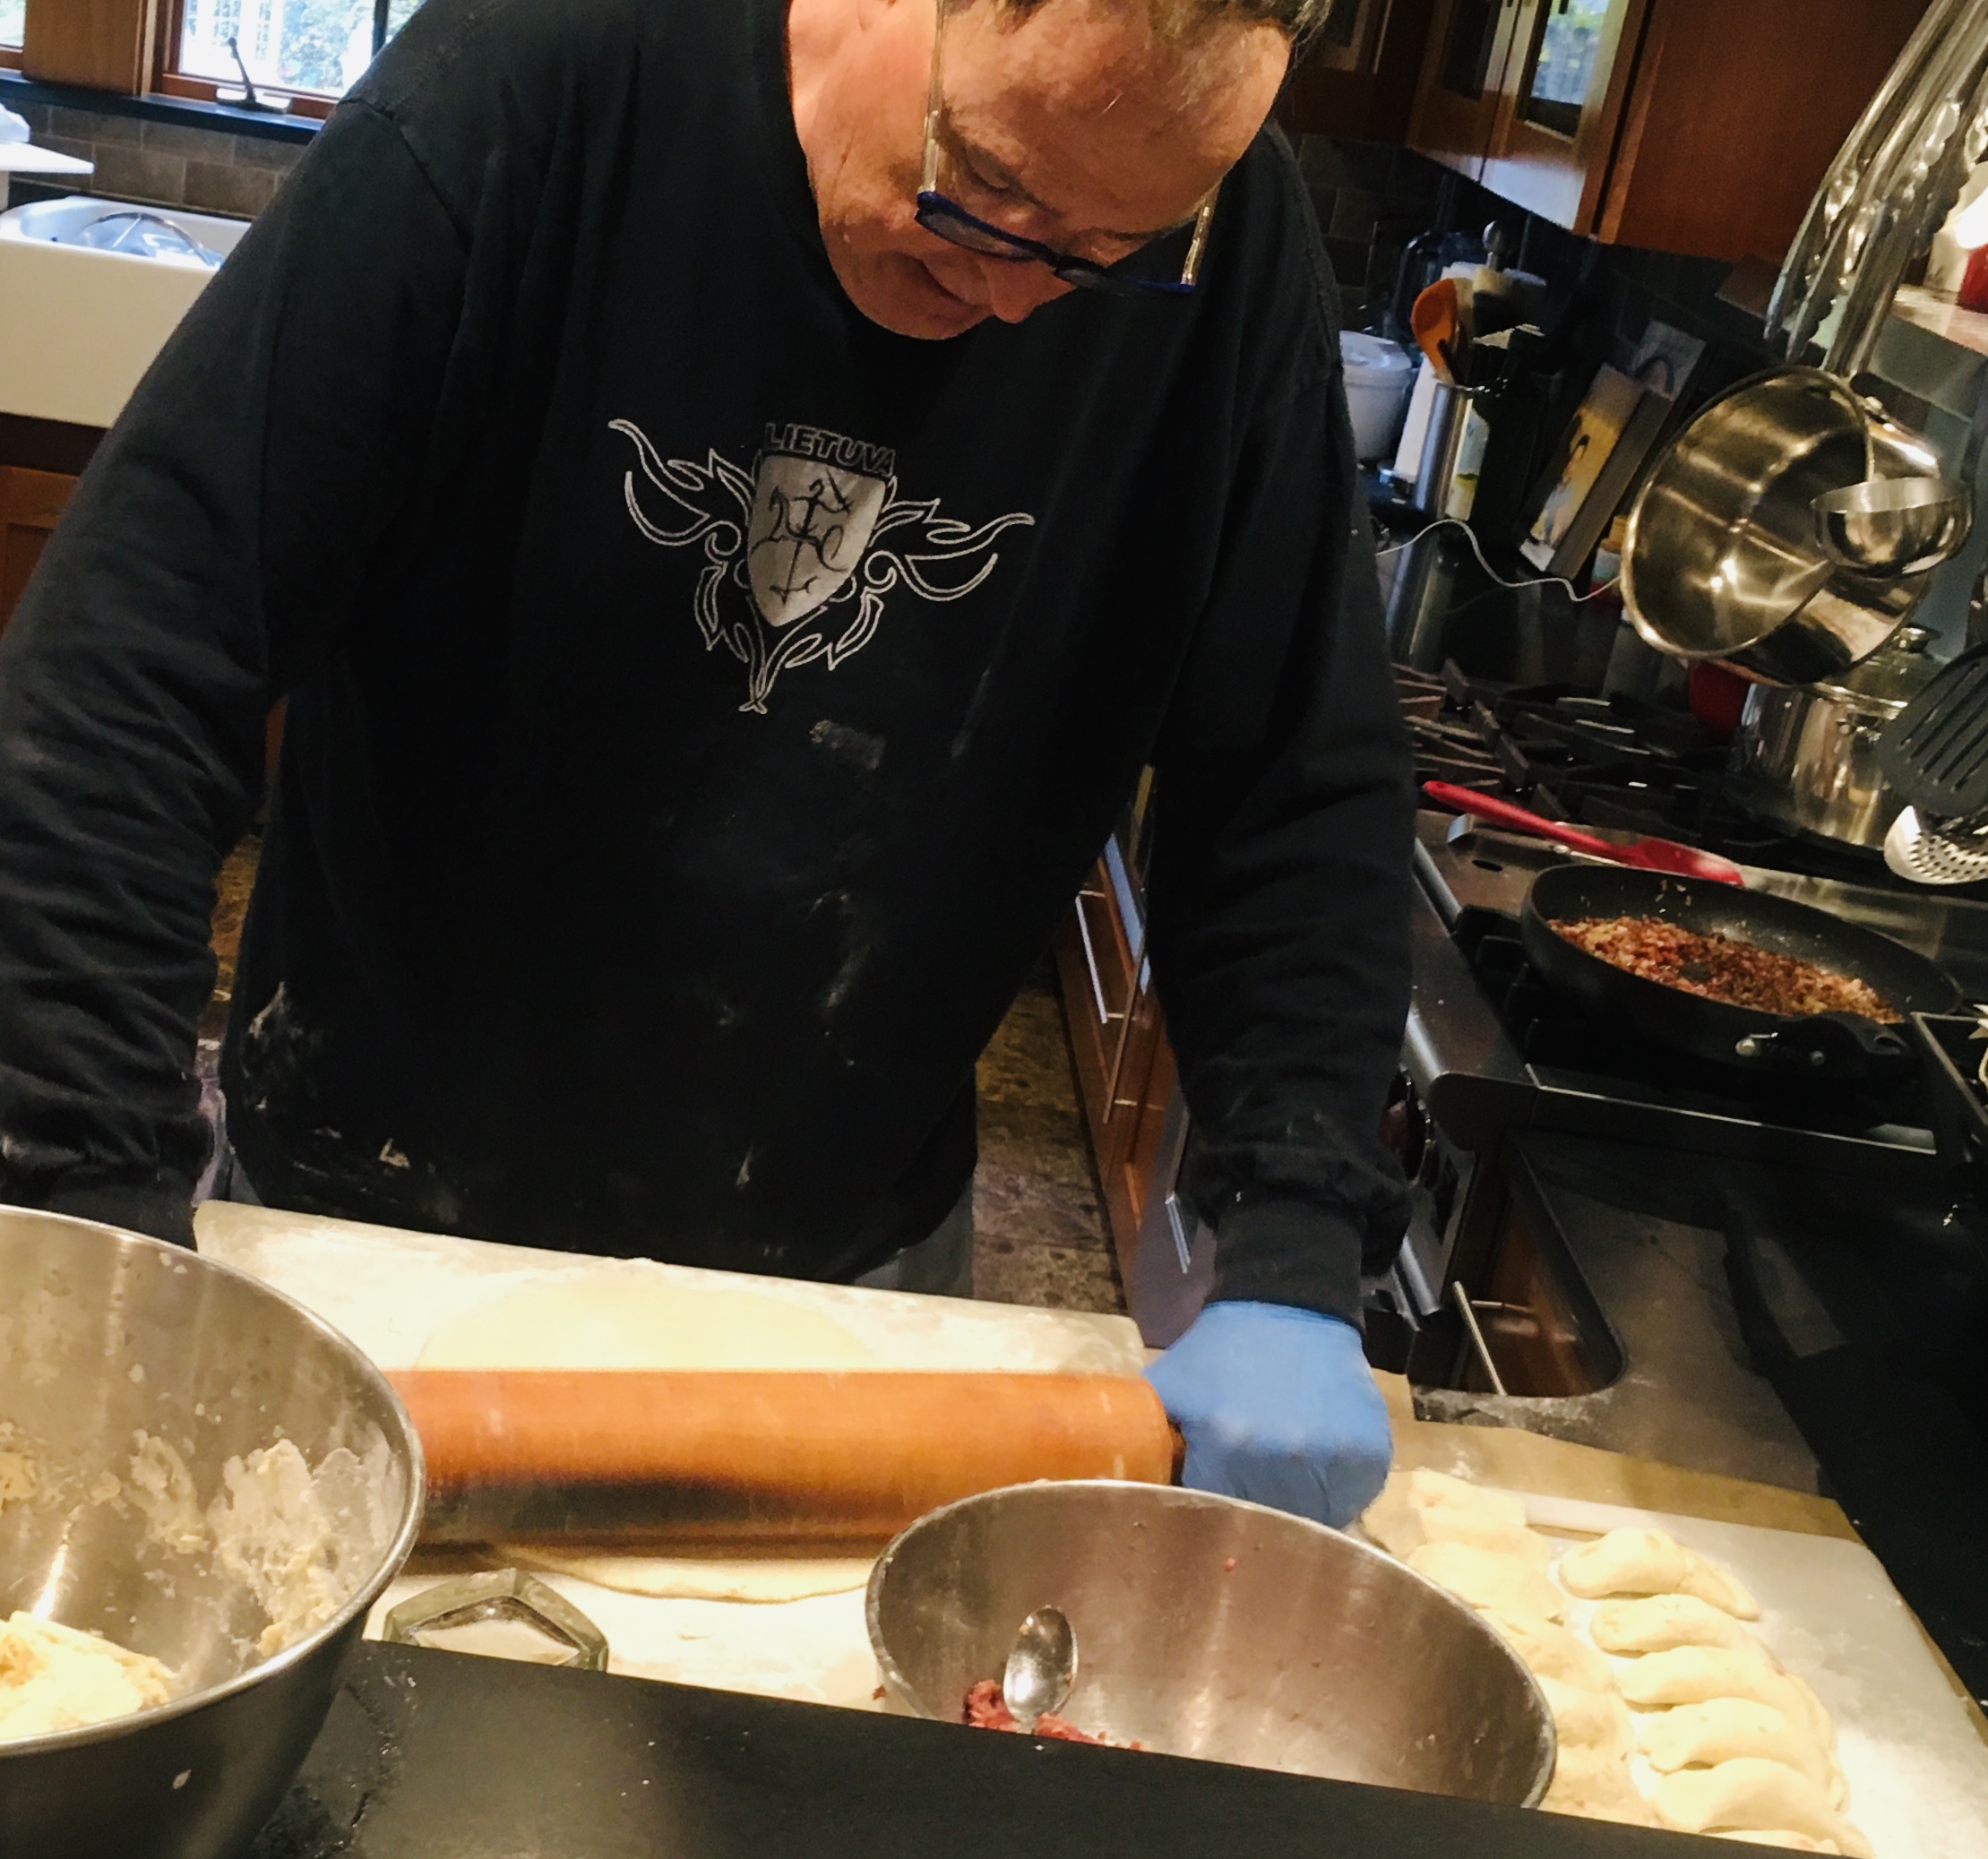
The rolling pin method.
This time around, I made four kinds of koldūnai: traditional (ground beef as well as mushroom) and non-traditional (mac & cheese and pulled pork.) Patty’s Pierogis, a restaurant in nearby Fall River, Massachusetts, and featured on Food Network’s “Diners, Drive-Ins and Dives,” is where my daughter first had mac & cheese pierogis. She was instantly hooked and begs for them every year.
Here’s my beef recipe…
1/2 onion, finely chopped
1 pat of butter
1 lb. ground beef
1 egg
1/2 cup breadcrumbs
Finely chop the onion and sauté it in the butter until translucent. Let it cool, then add it to 1 lb. of thawed ground beef. Add the egg and the breadcrumbs. Season with salt and pepper. Mix the ingredients thoroughly and keep the meat in the fridge until you’re ready to use it.
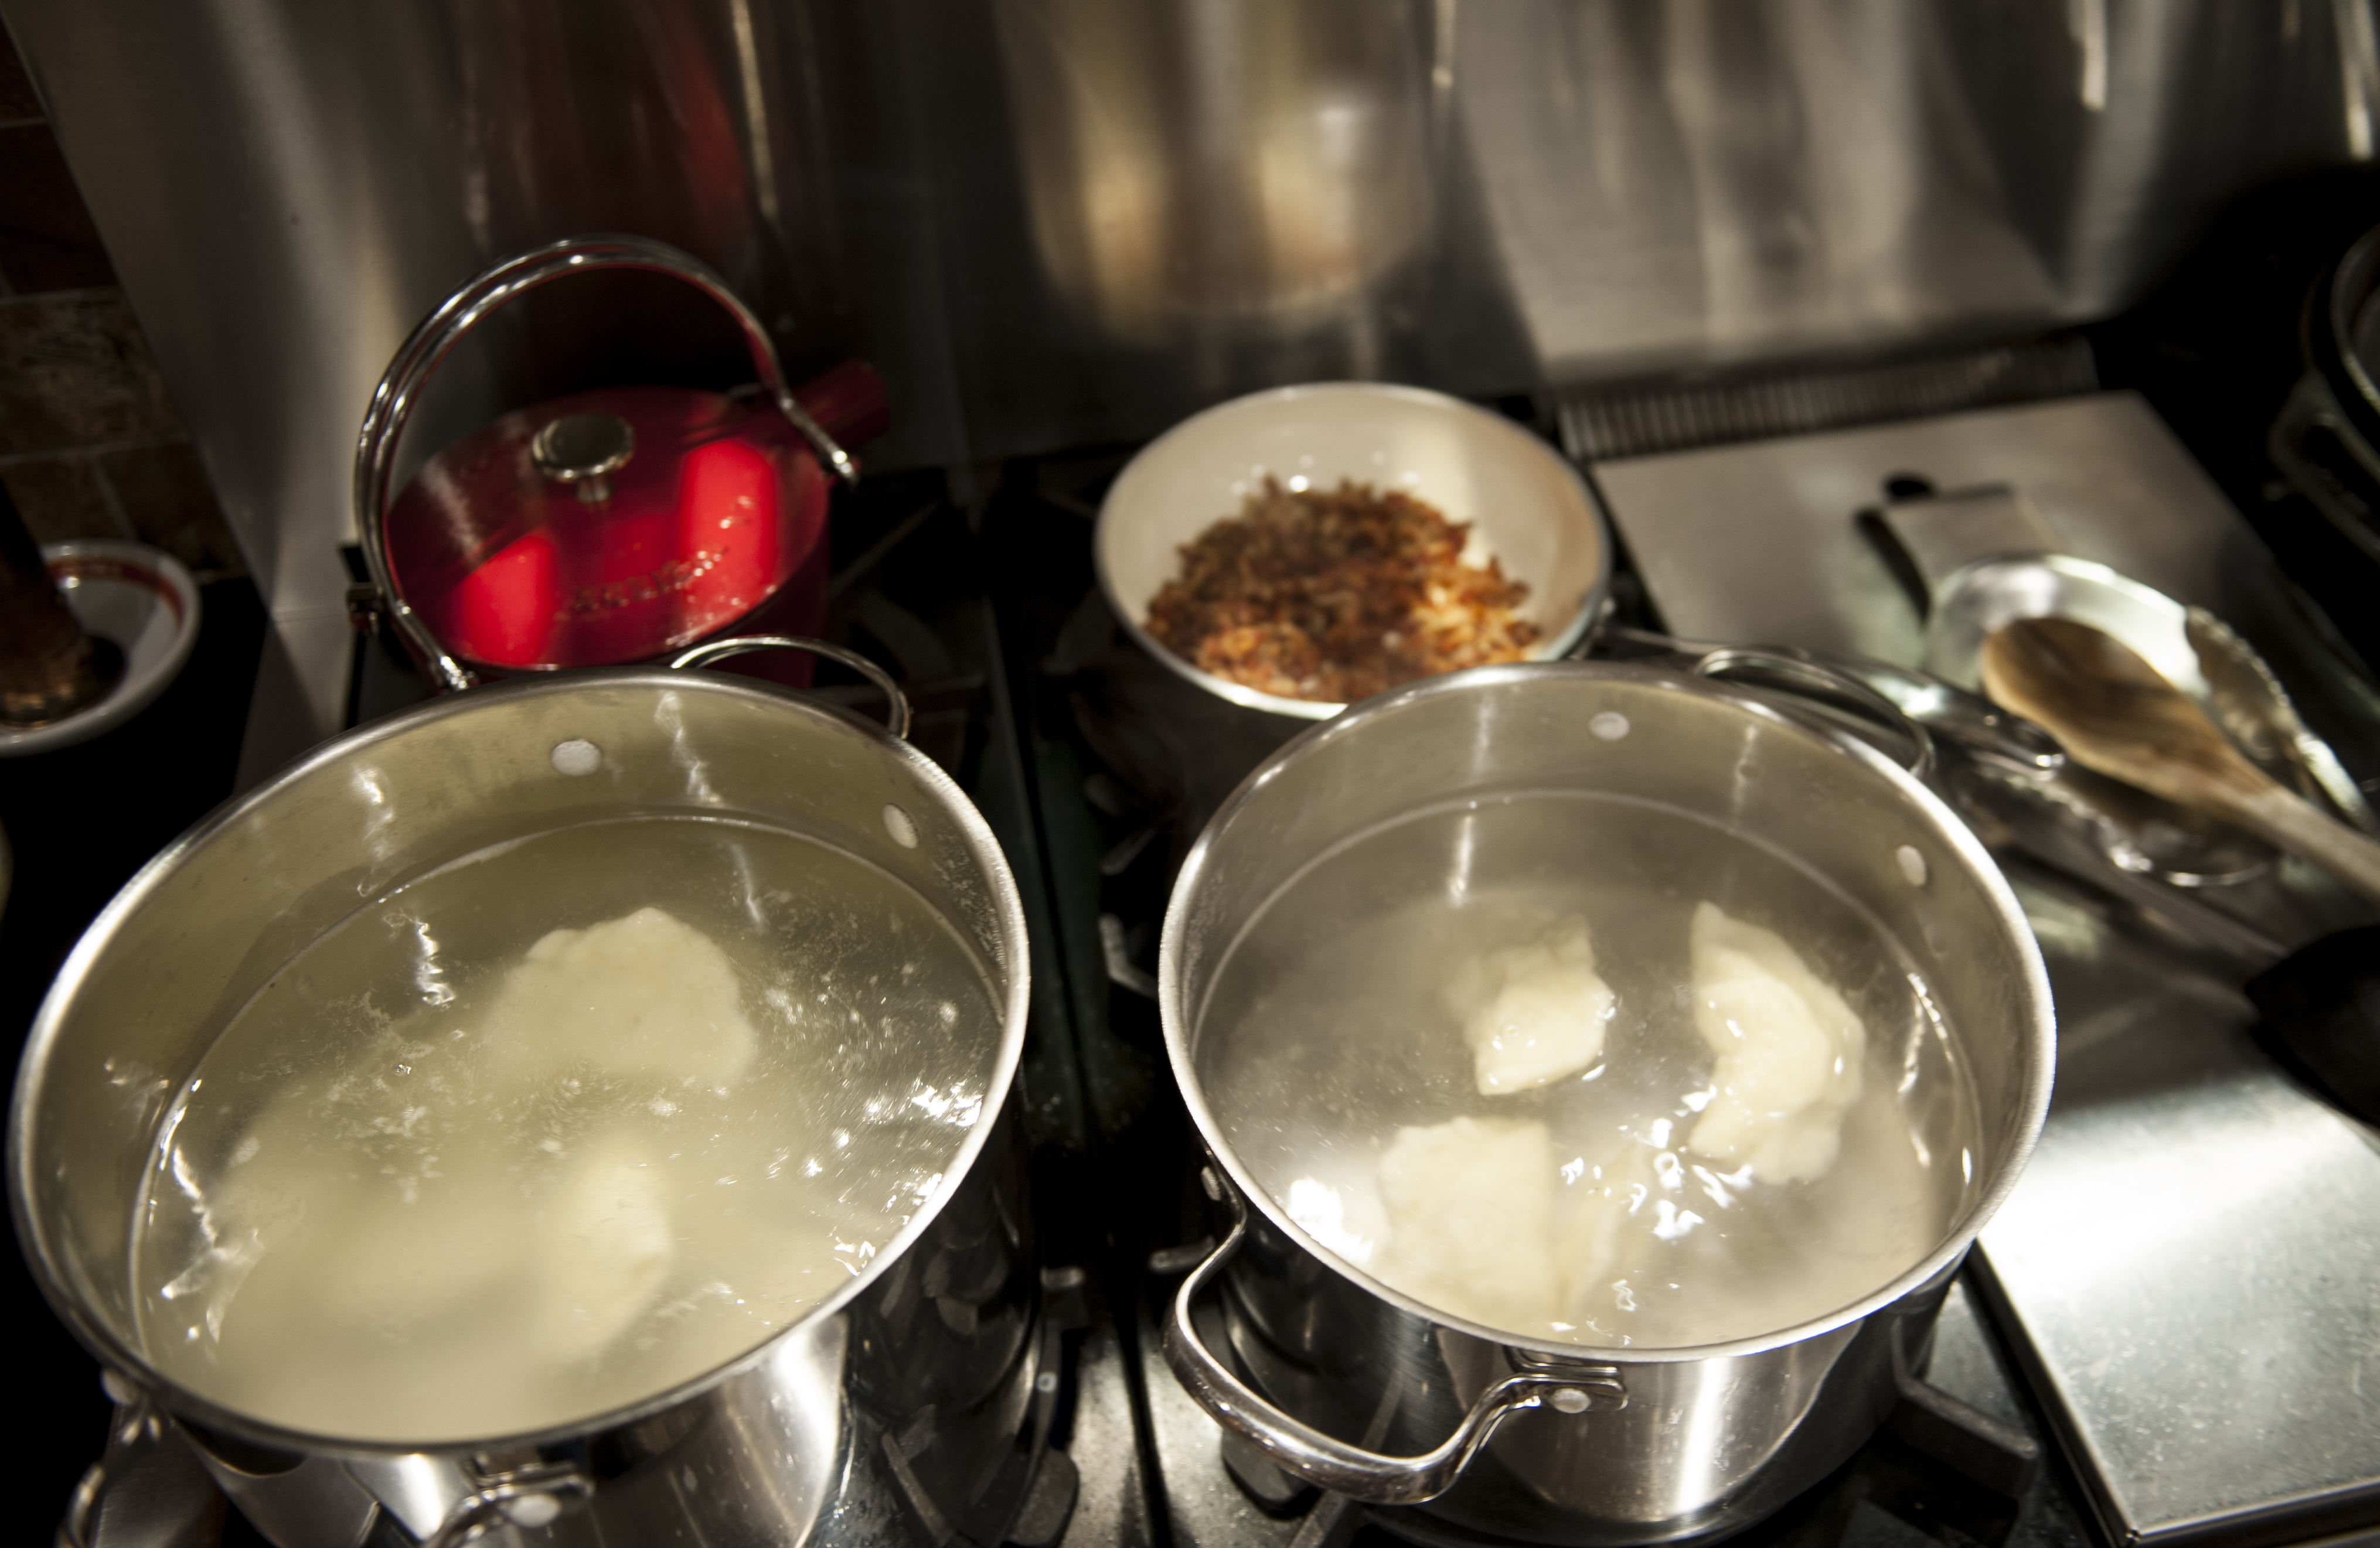
Two pots of boiling salted water: one for the meat-filled koldūnai, and one for the mac-and-cheese filled koldūnai…so I don’t get ’em mixed up!
In my childhood home, you cannot possibly serve koldūnai without sour cream on the side and without spirgučiai (spir-guh-chay), chopped and fried bacon and onions, that are sprinkled on top.
1 lb. bacon, finely chopped
1 large onion, finely chopped
In a large pan, fry the chopped bacon until it’s almost crisp. Never drain the fat! Add the chopped onions and cook until they are soft. Set aside. (My Mom always kept a stash of spirgučiai in a container in the fridge, and sprinkled them on anything and everything.)
Making the dough is simple.
2 cups all-purpose flour
1 cup water
I don’t use salt in the dough because I boil the koldūnai in salted water later.
Combine the ingredients in a bowl, mixing with your hands. Keep adding flour in small amounts until the dough isn’t wet and sticky. When it forms a nice ball, remove it from the bowl and place it on a floured surface and knead it a bit more. Cut the ball into quarters, and work with these smaller pieces of dough.
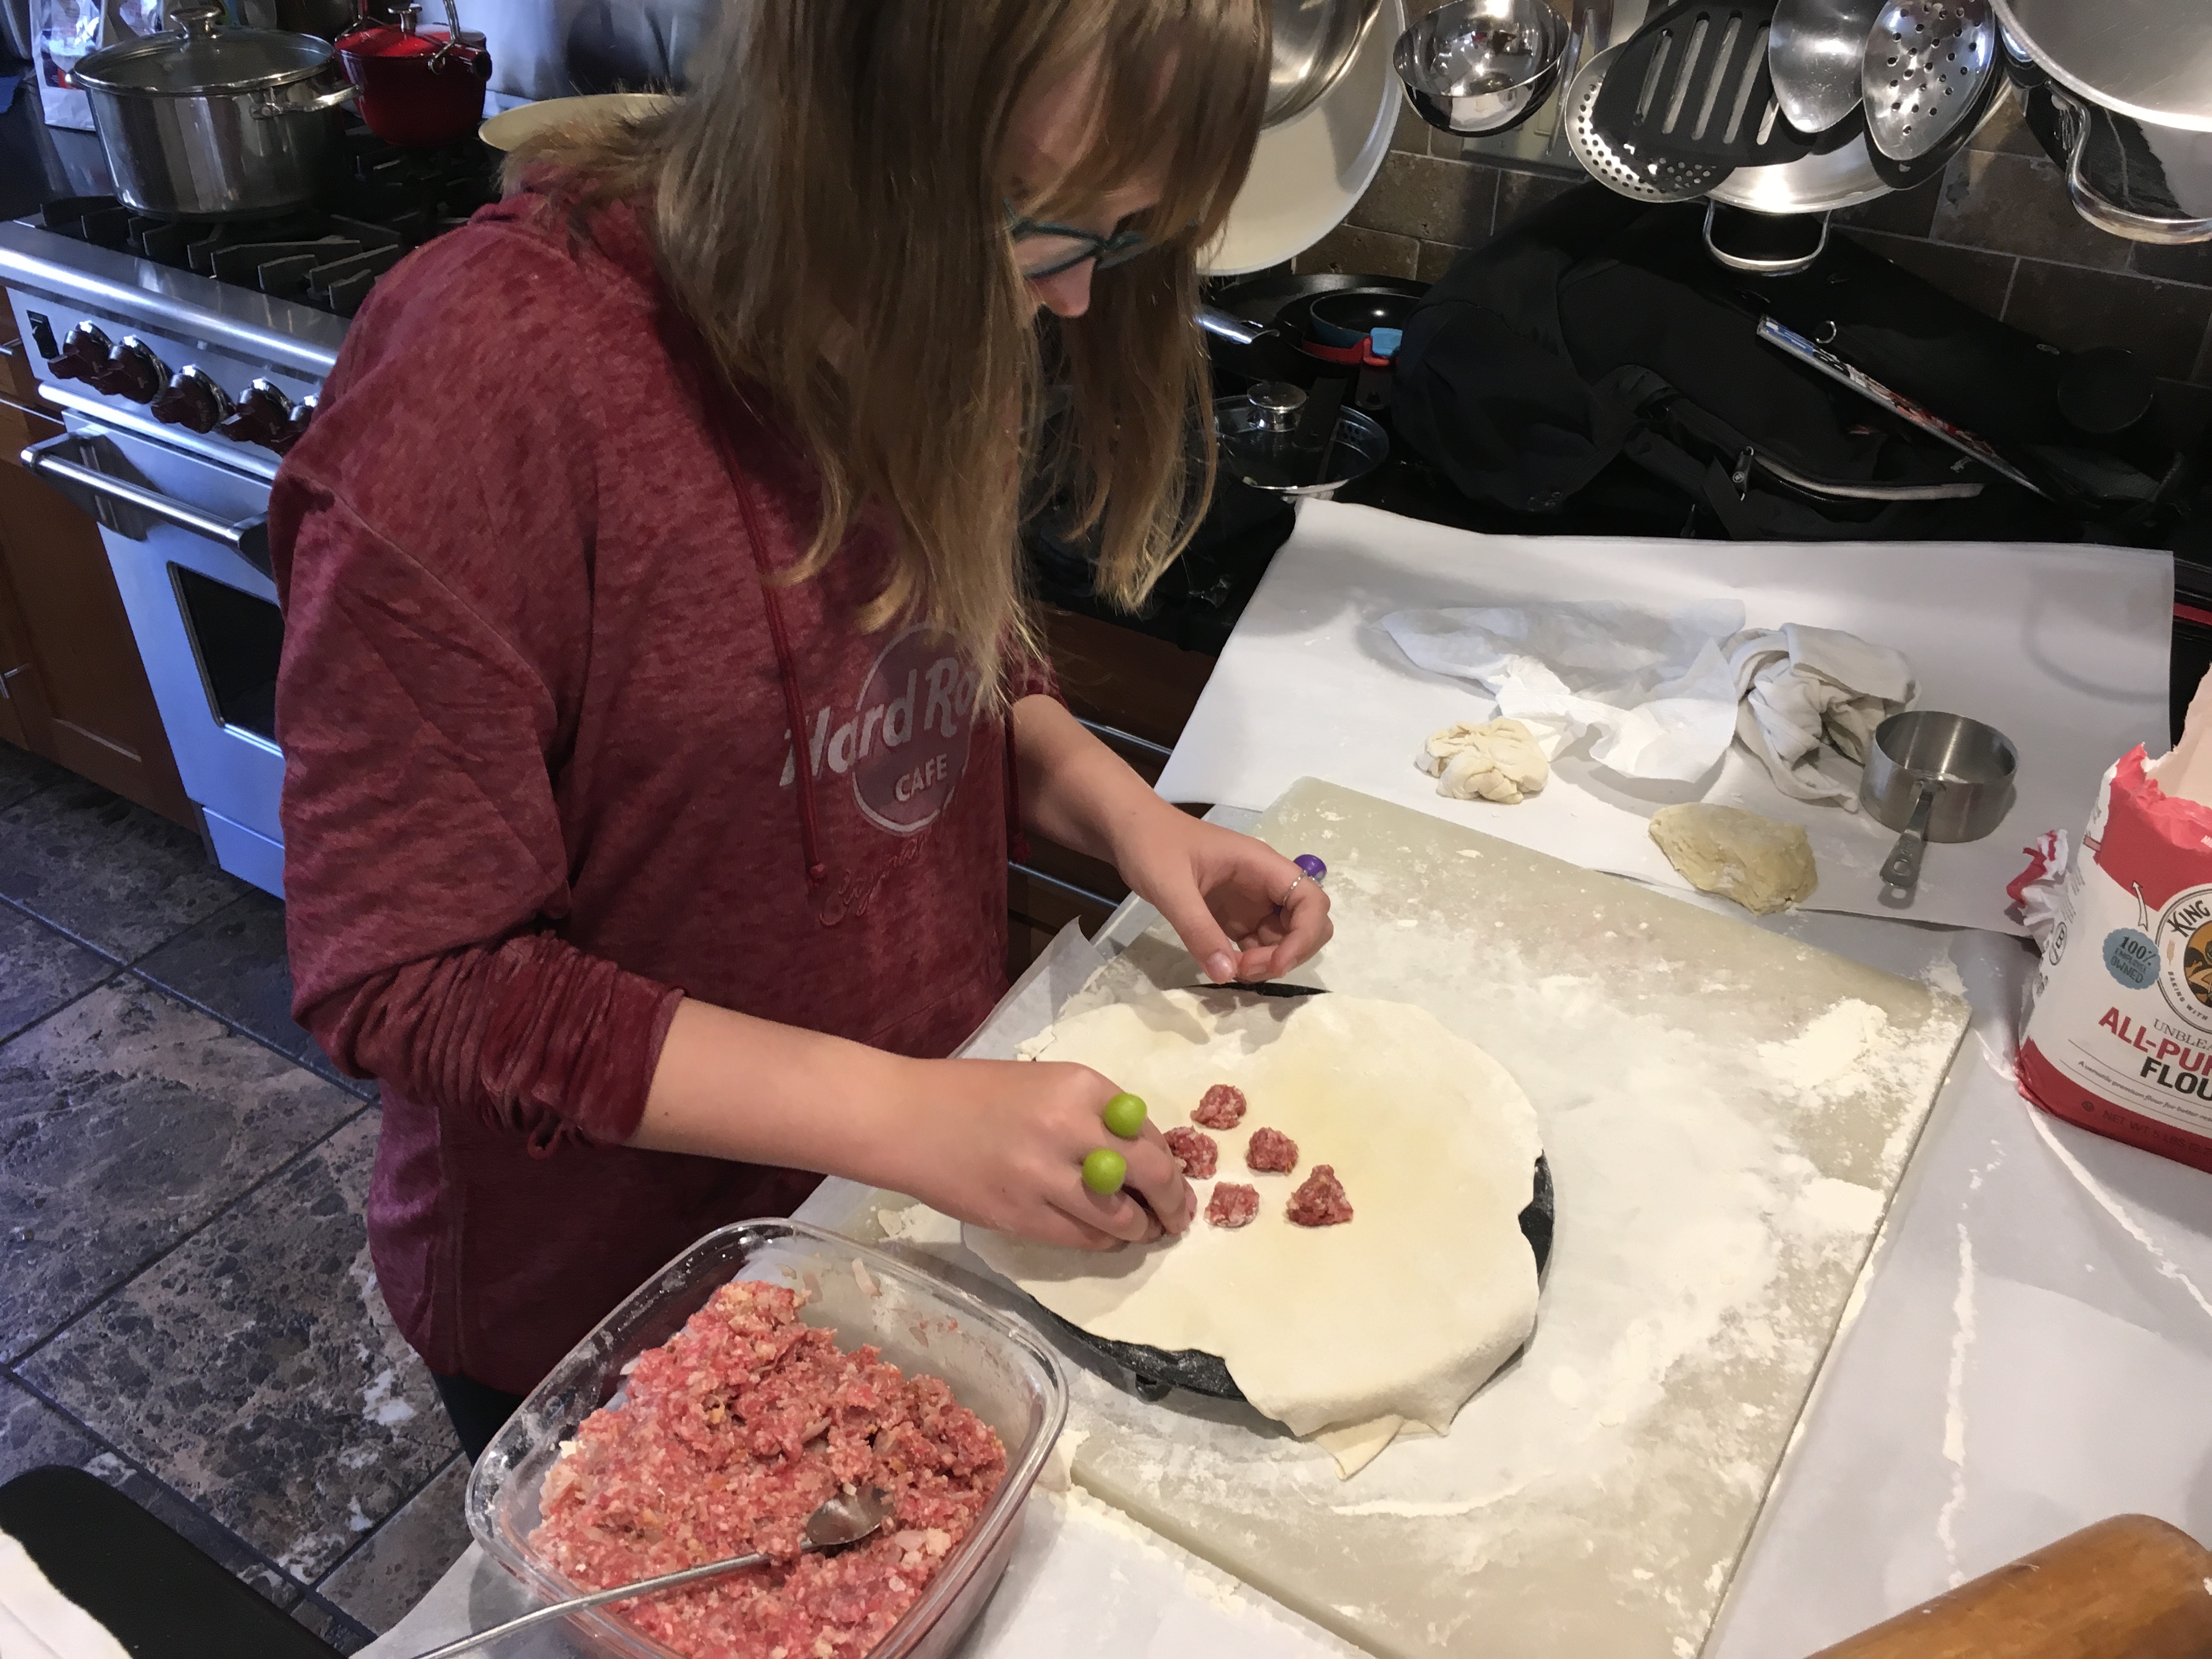
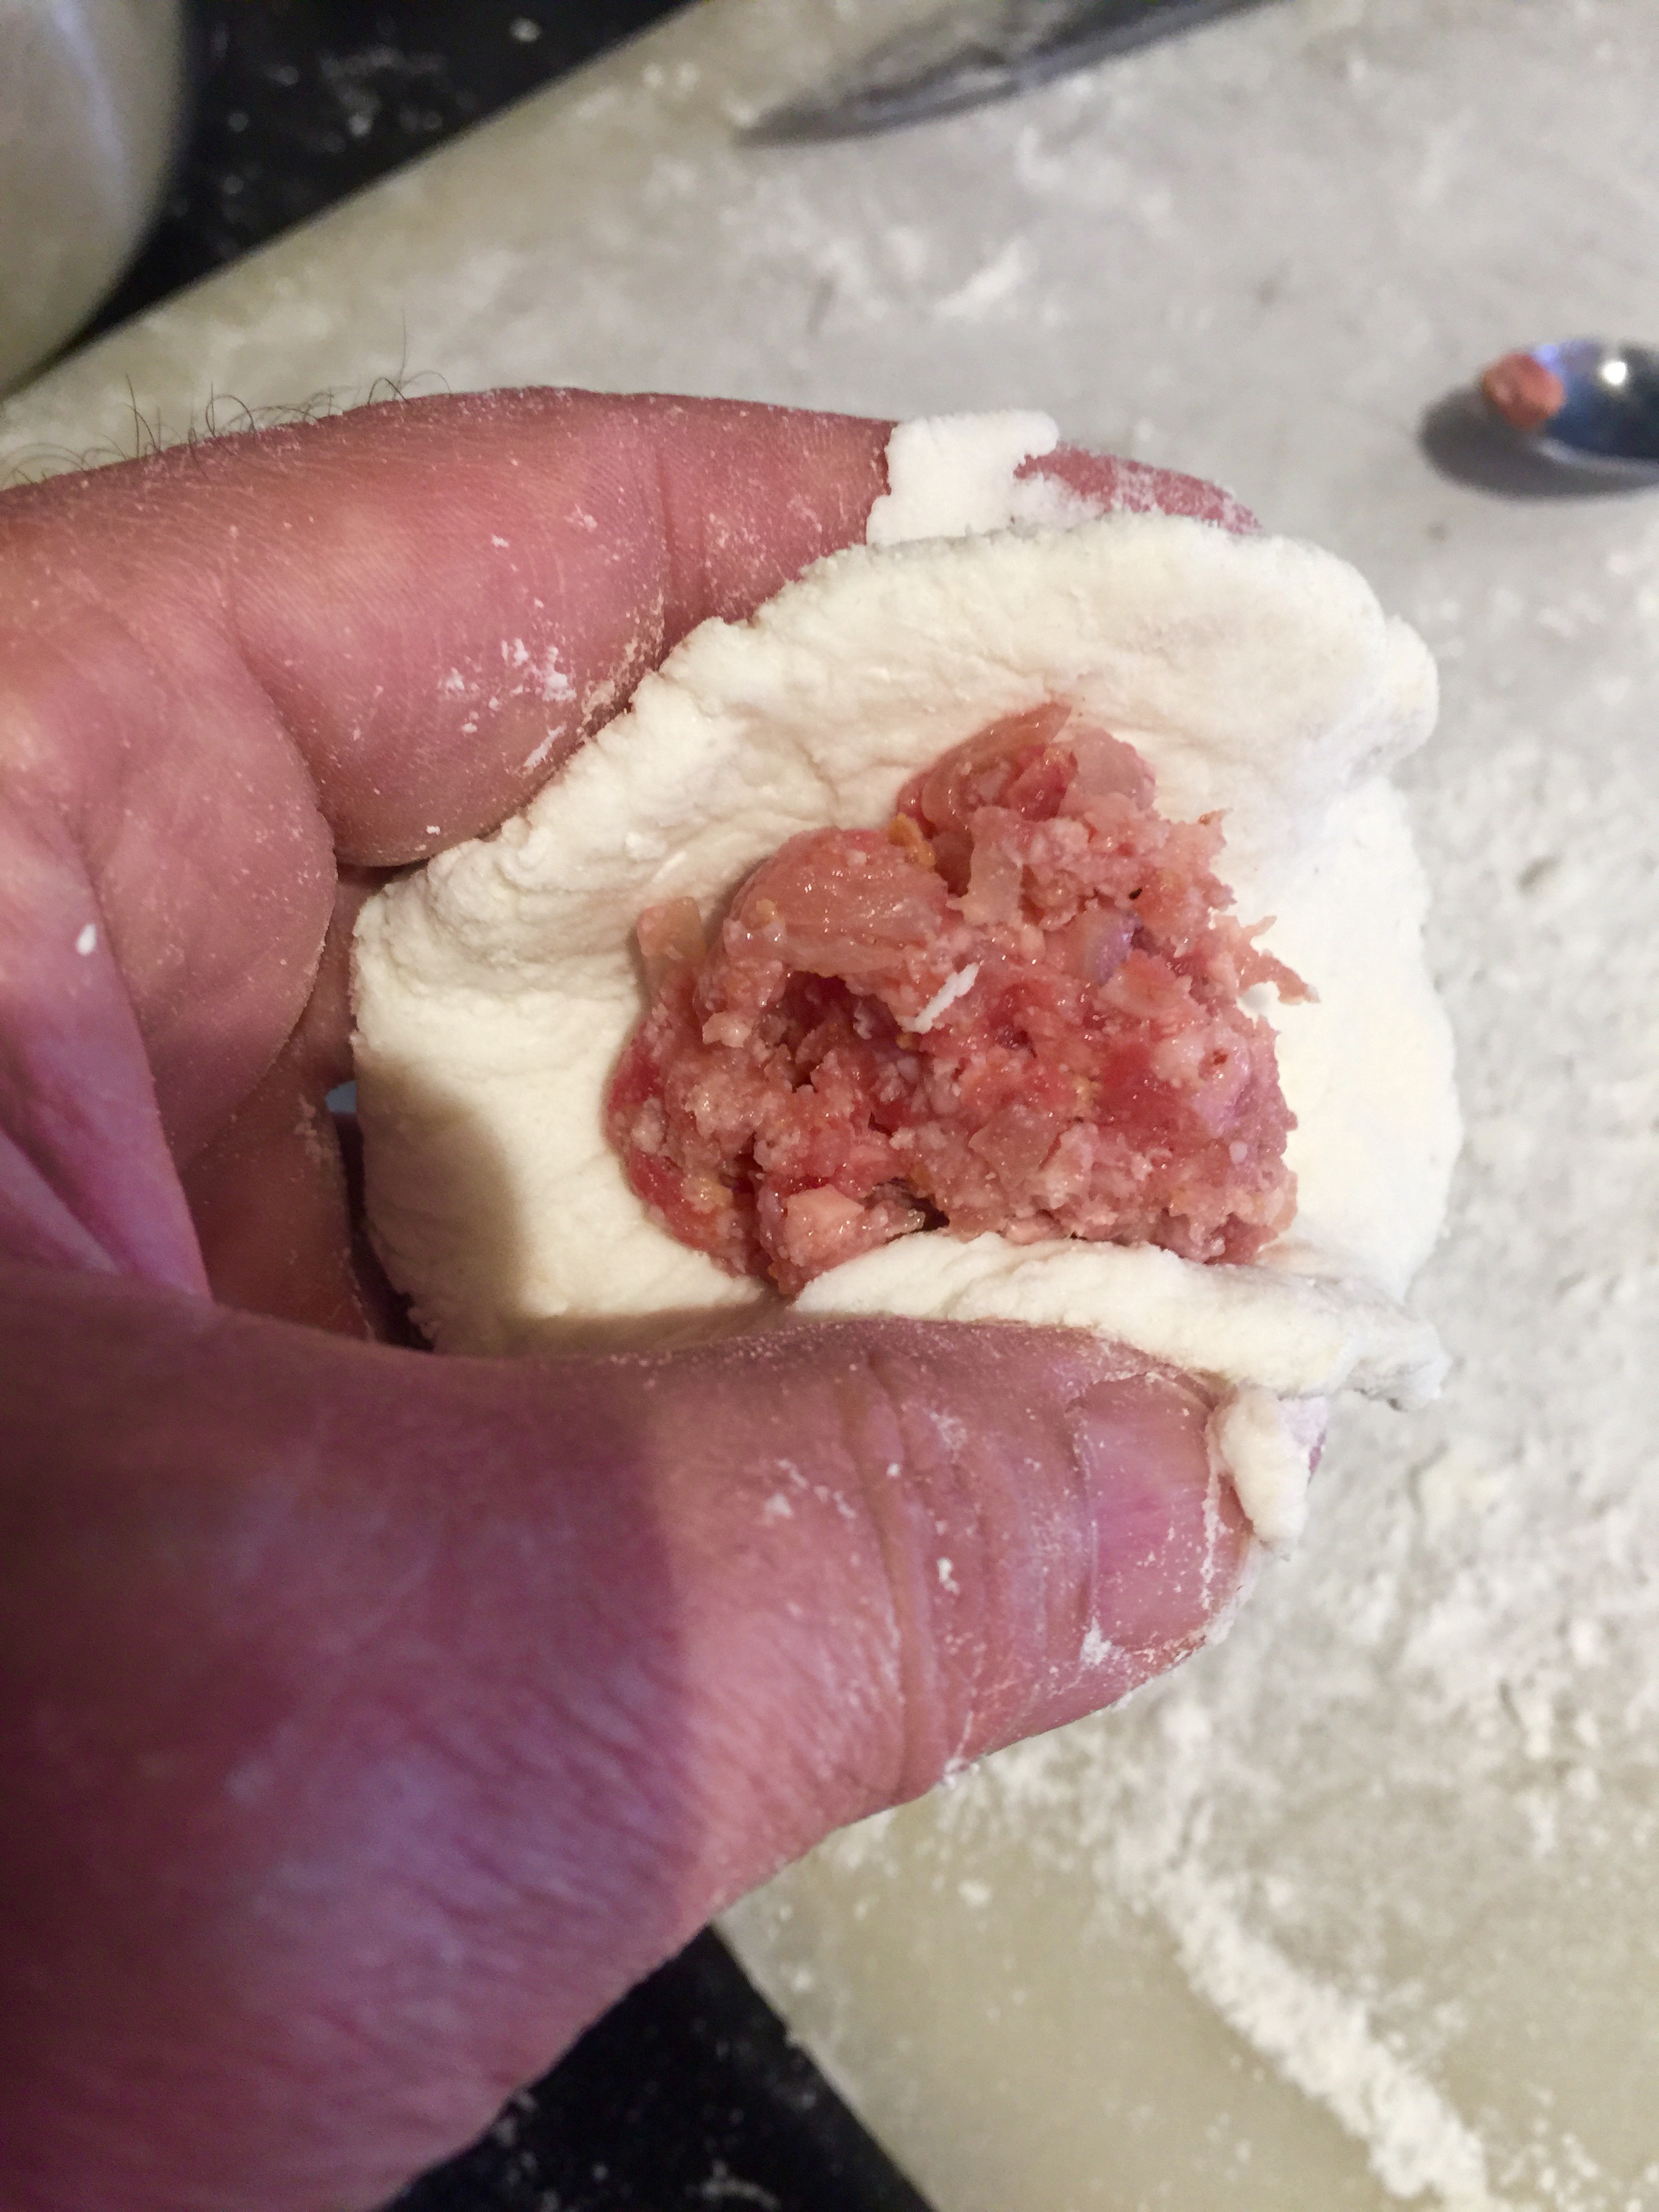
For the rolling-pin method, roll each quarter out until the dough is about 1/8″ thick. Cut circles out of the dough using a cookie cutter, rocks glass, or whatever else you have handy. Add about a teaspoonful of filling in the center of the dough (a melon baller works great), then fold the edges over and pinch them with your fingers. Flip it over and pinch again, making sure none of the filling seeps out. A tight edge means the koldūnai won’t break open when you put them in boiling water.
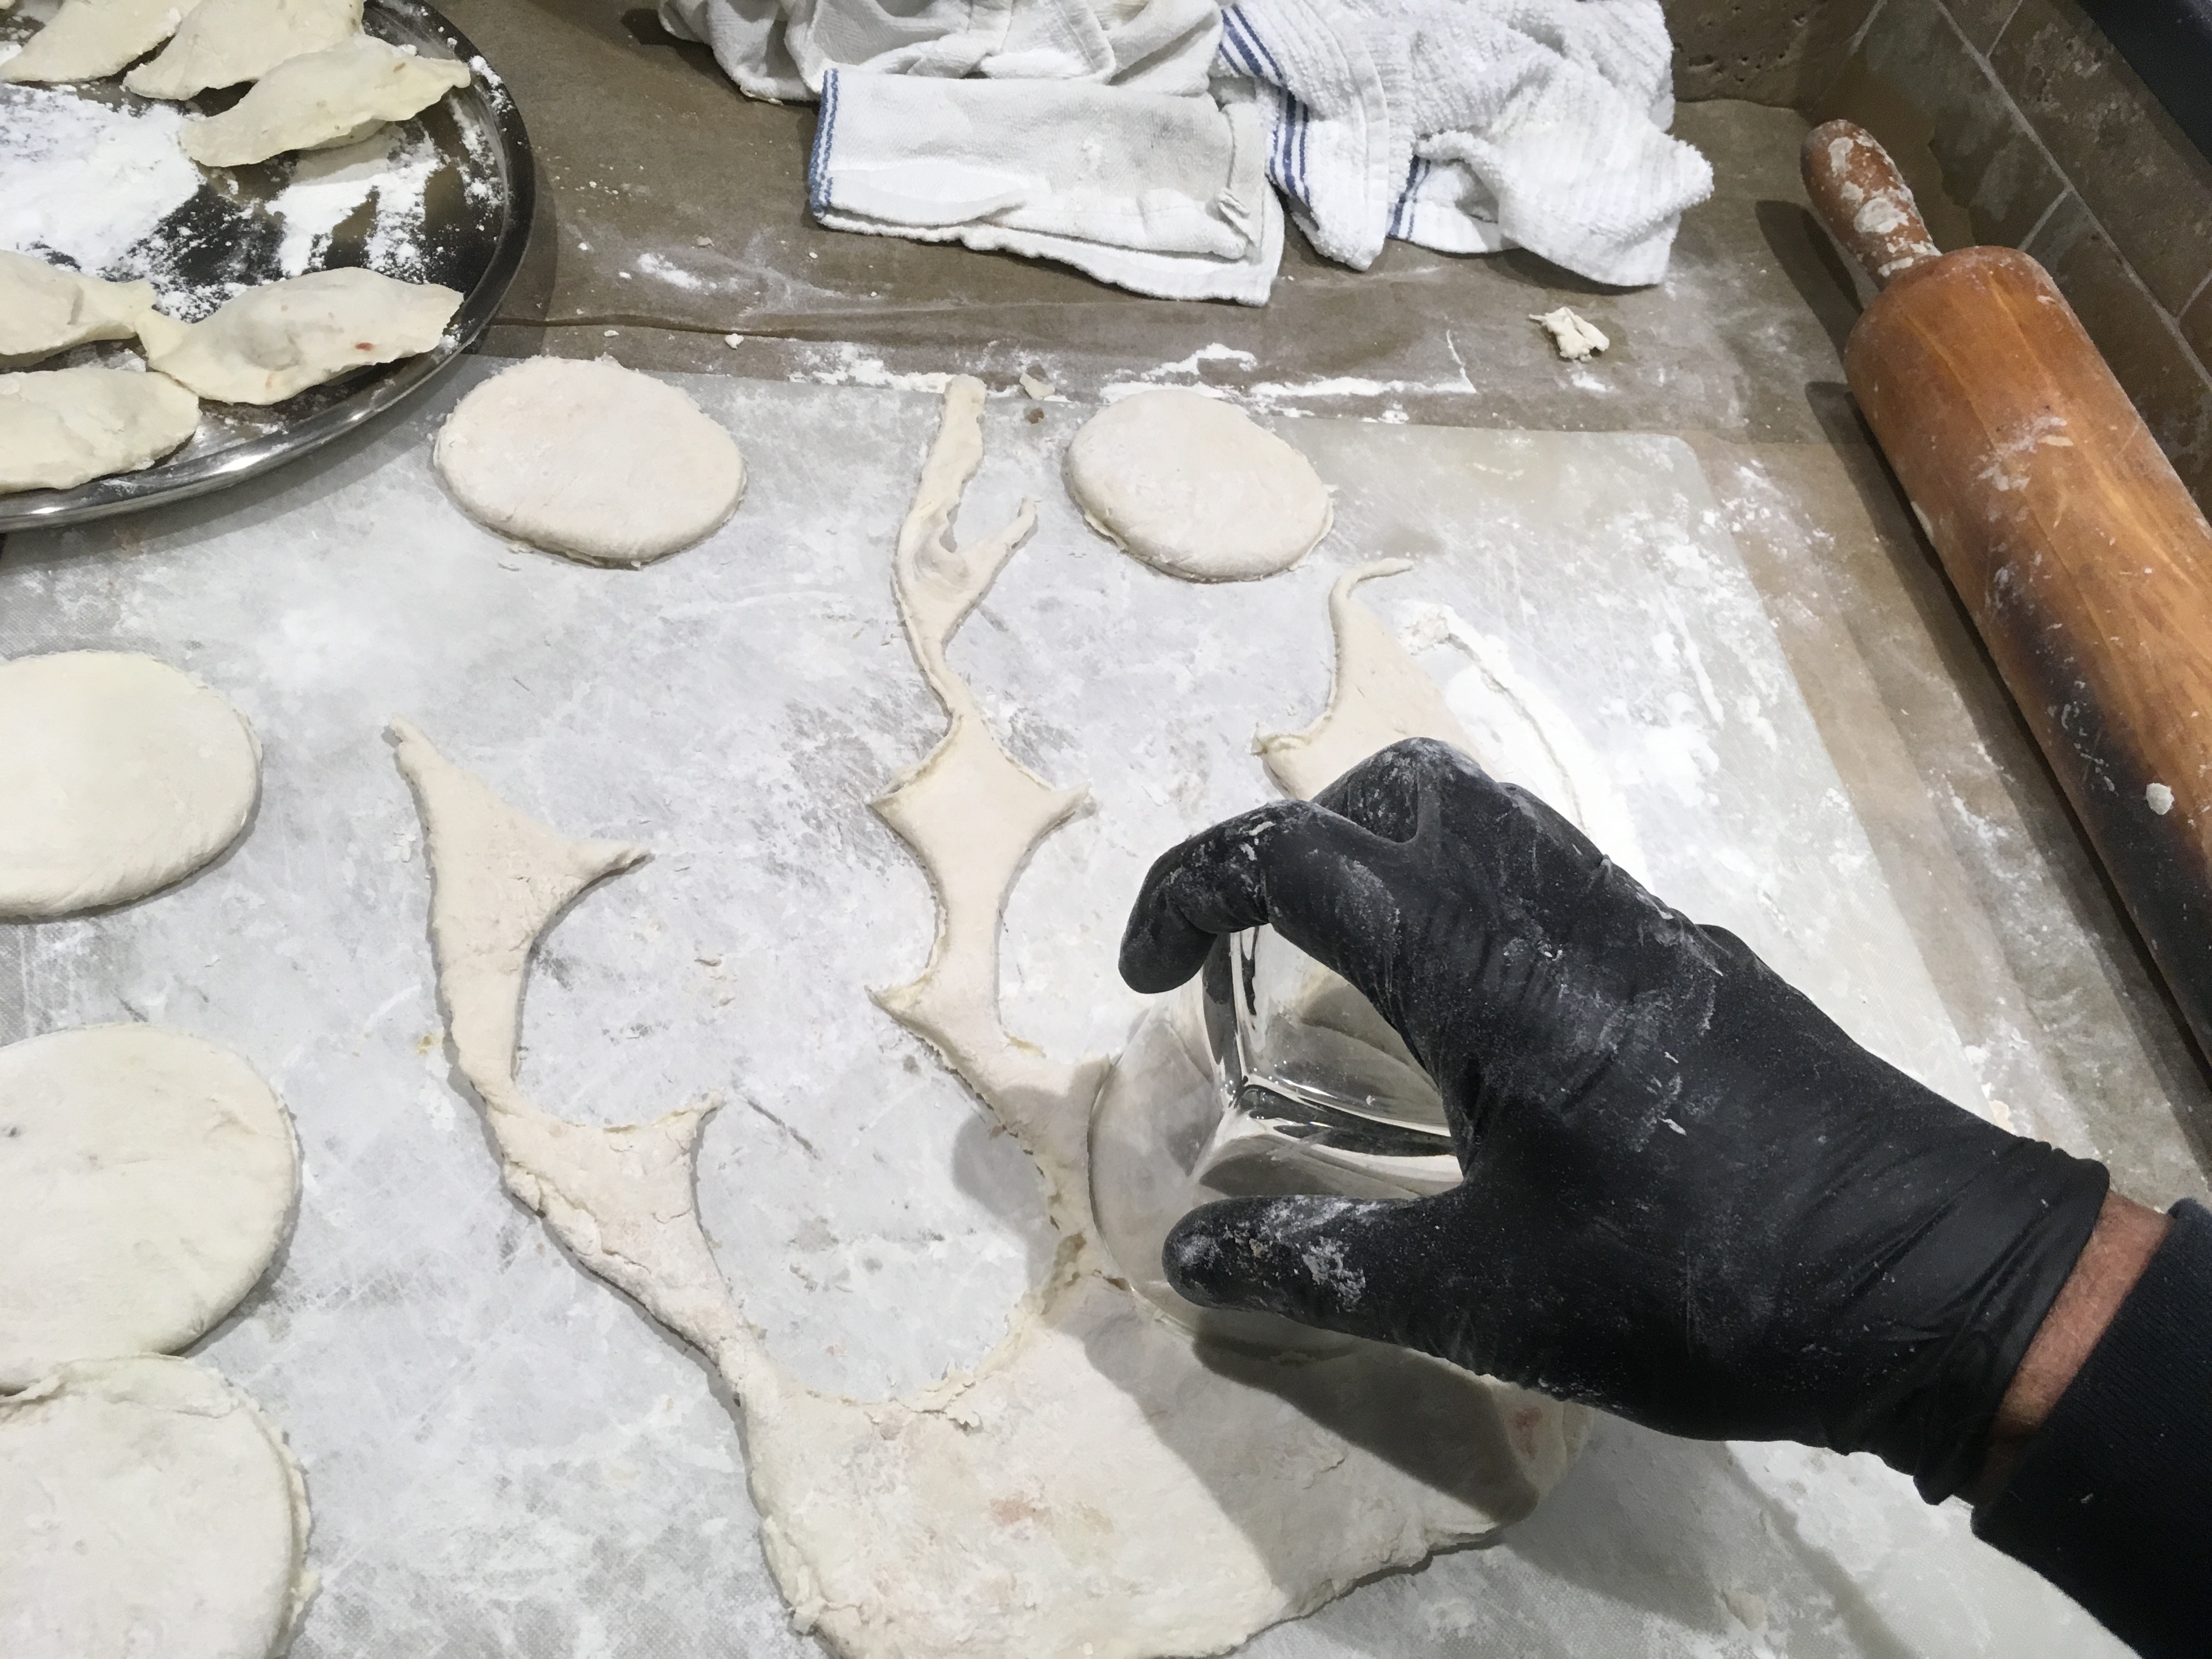
Who knew a rocks glass had more uses than just to hold a great Manhattan?
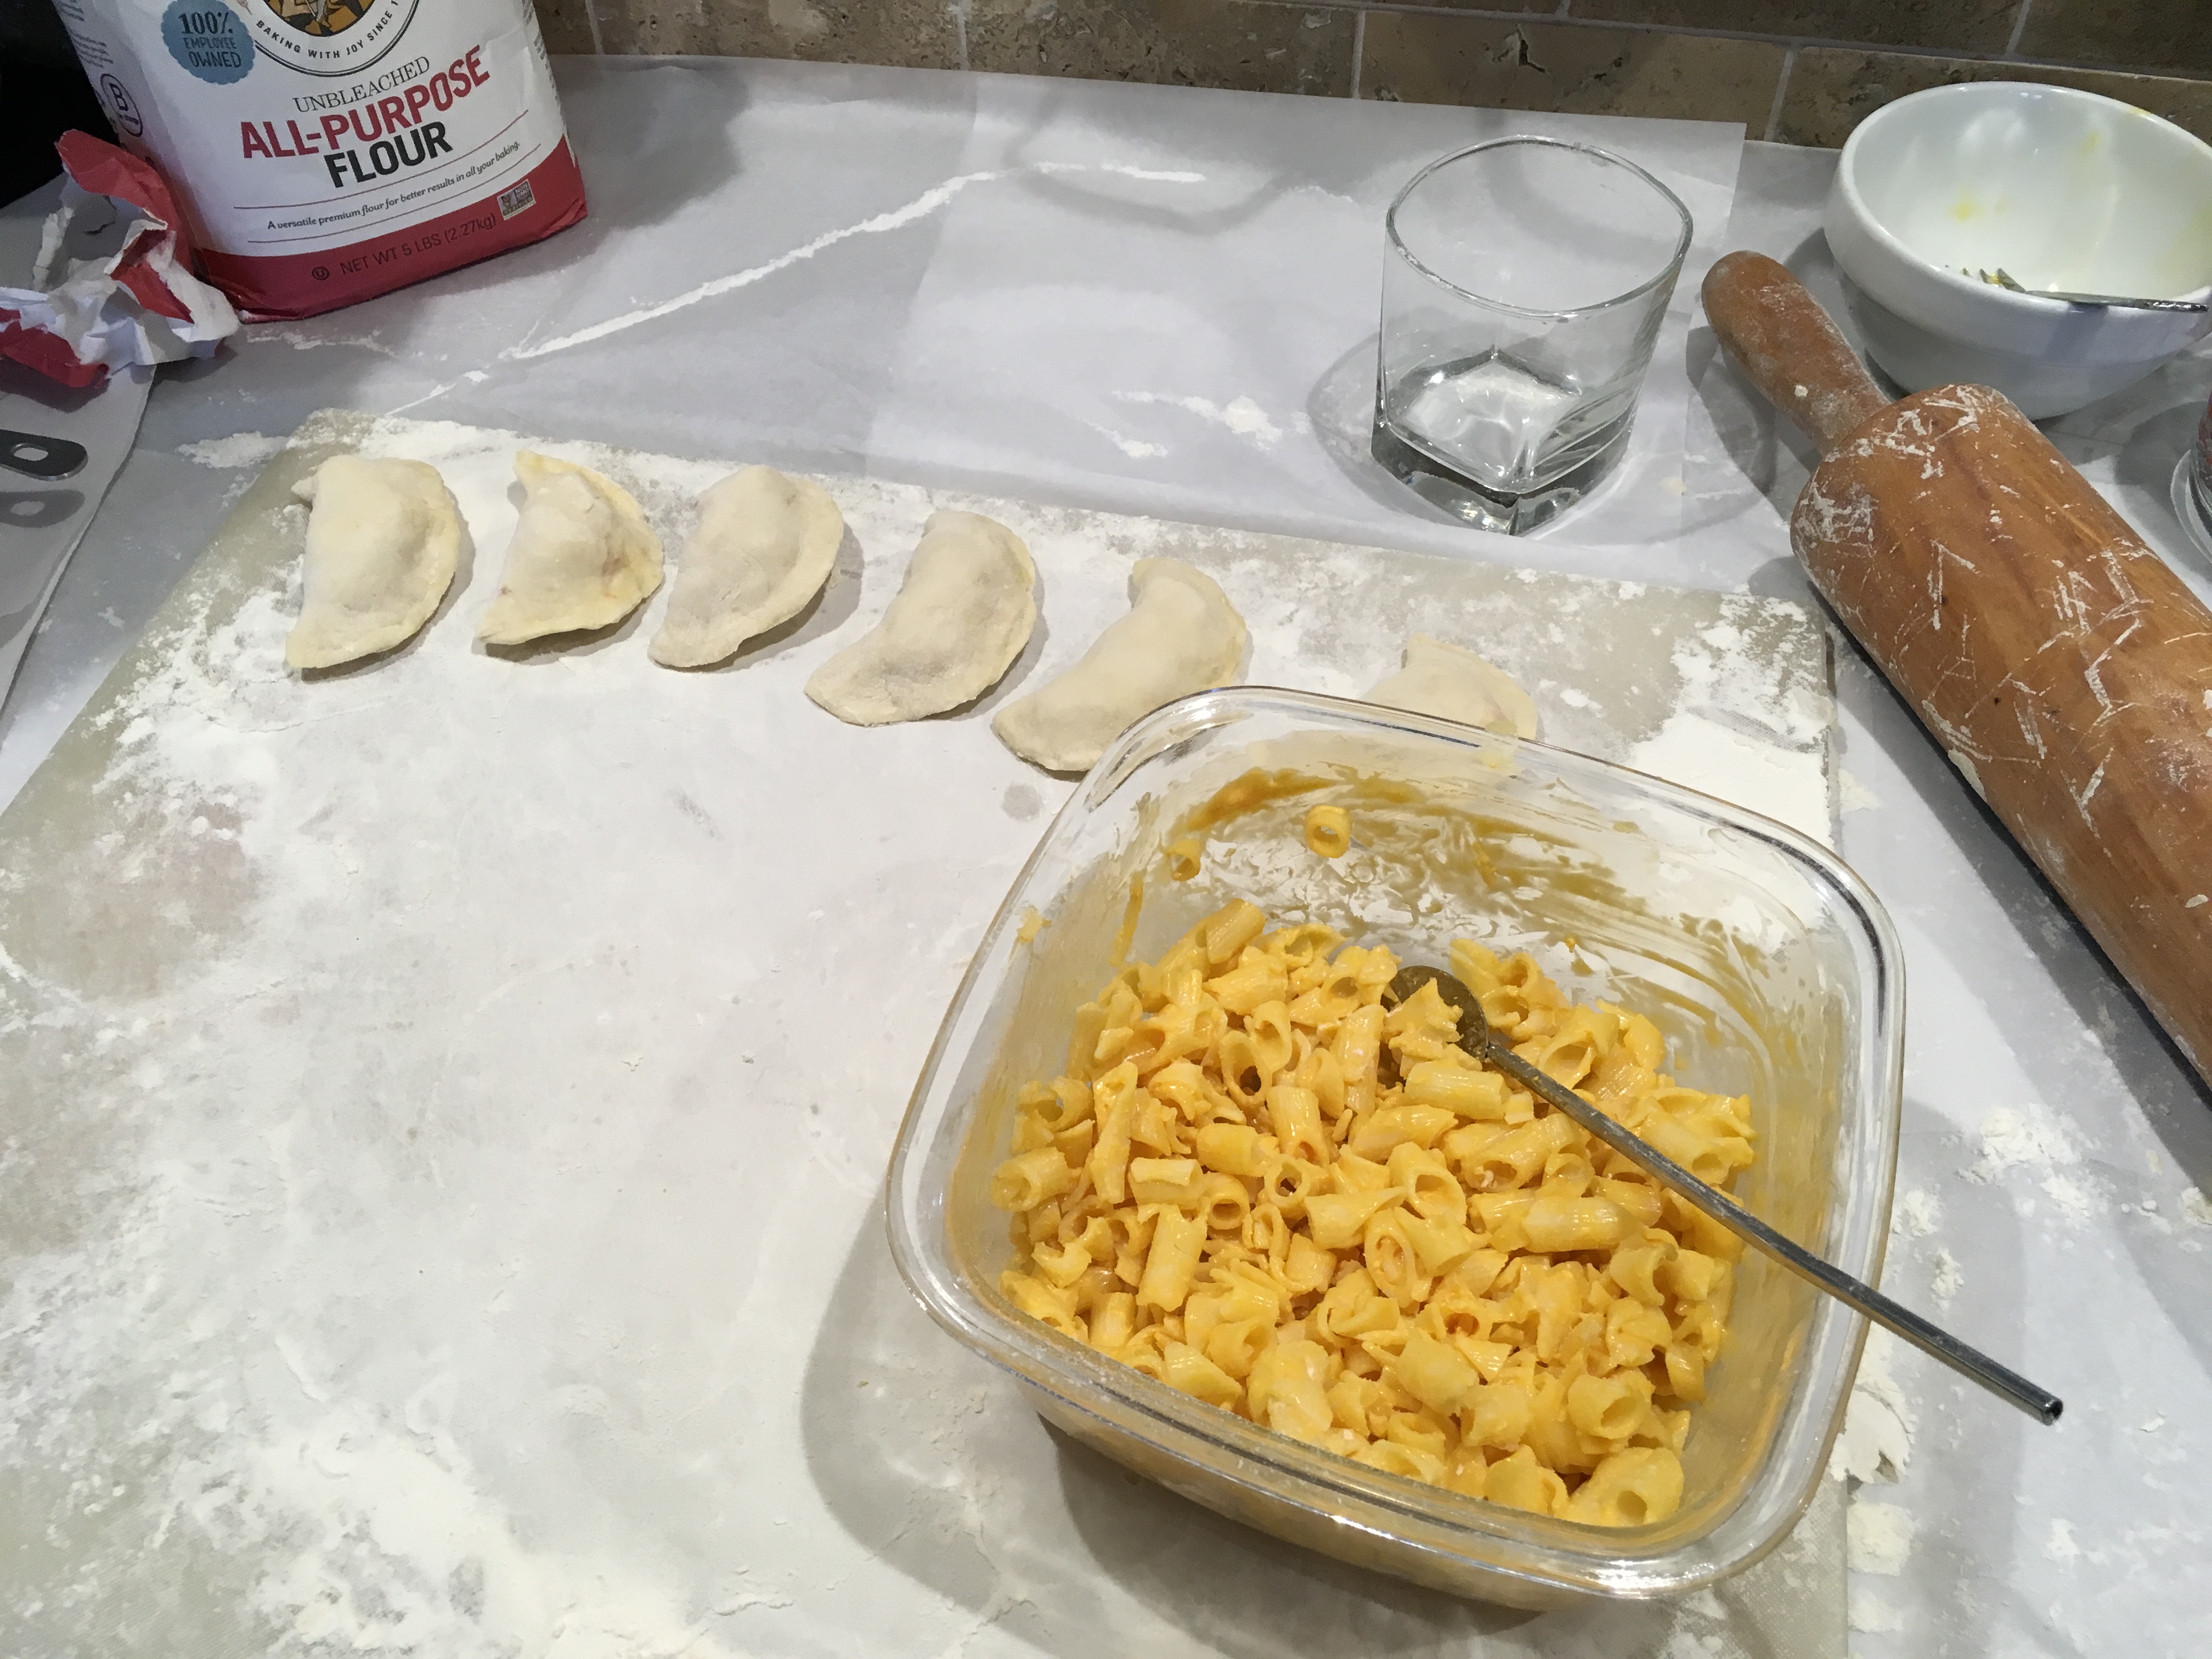
Some stuffed with mac and cheese!
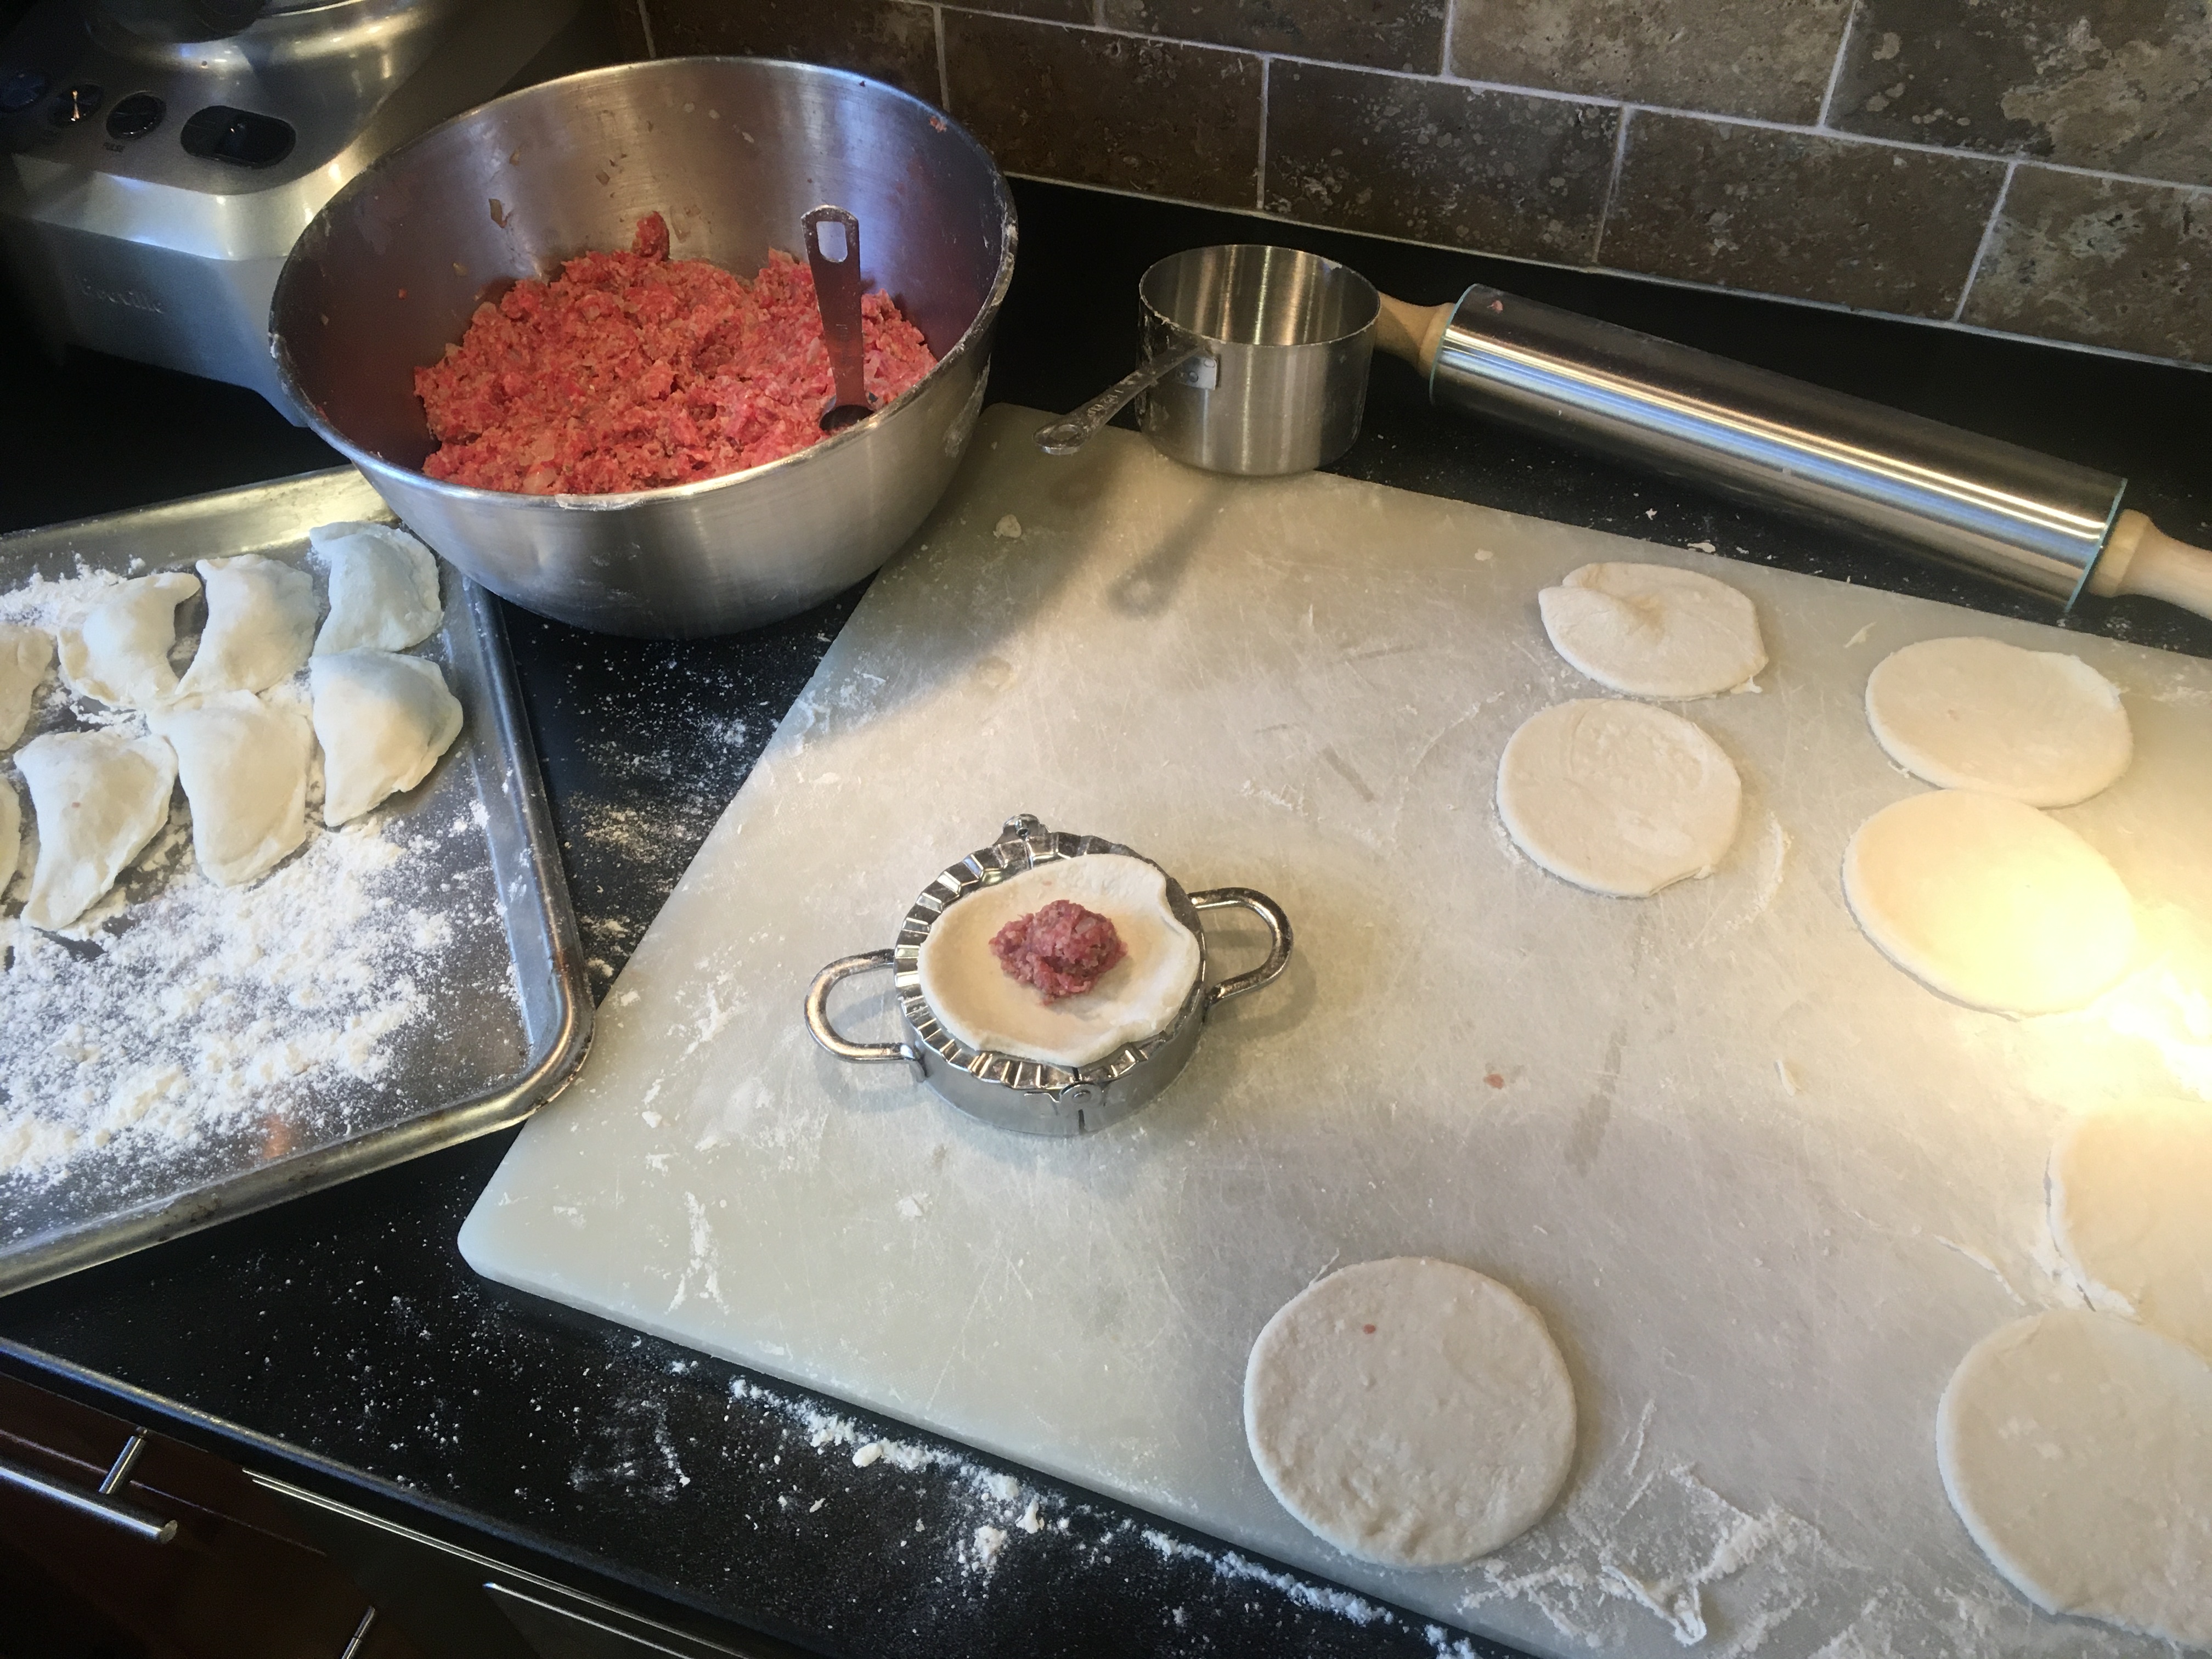
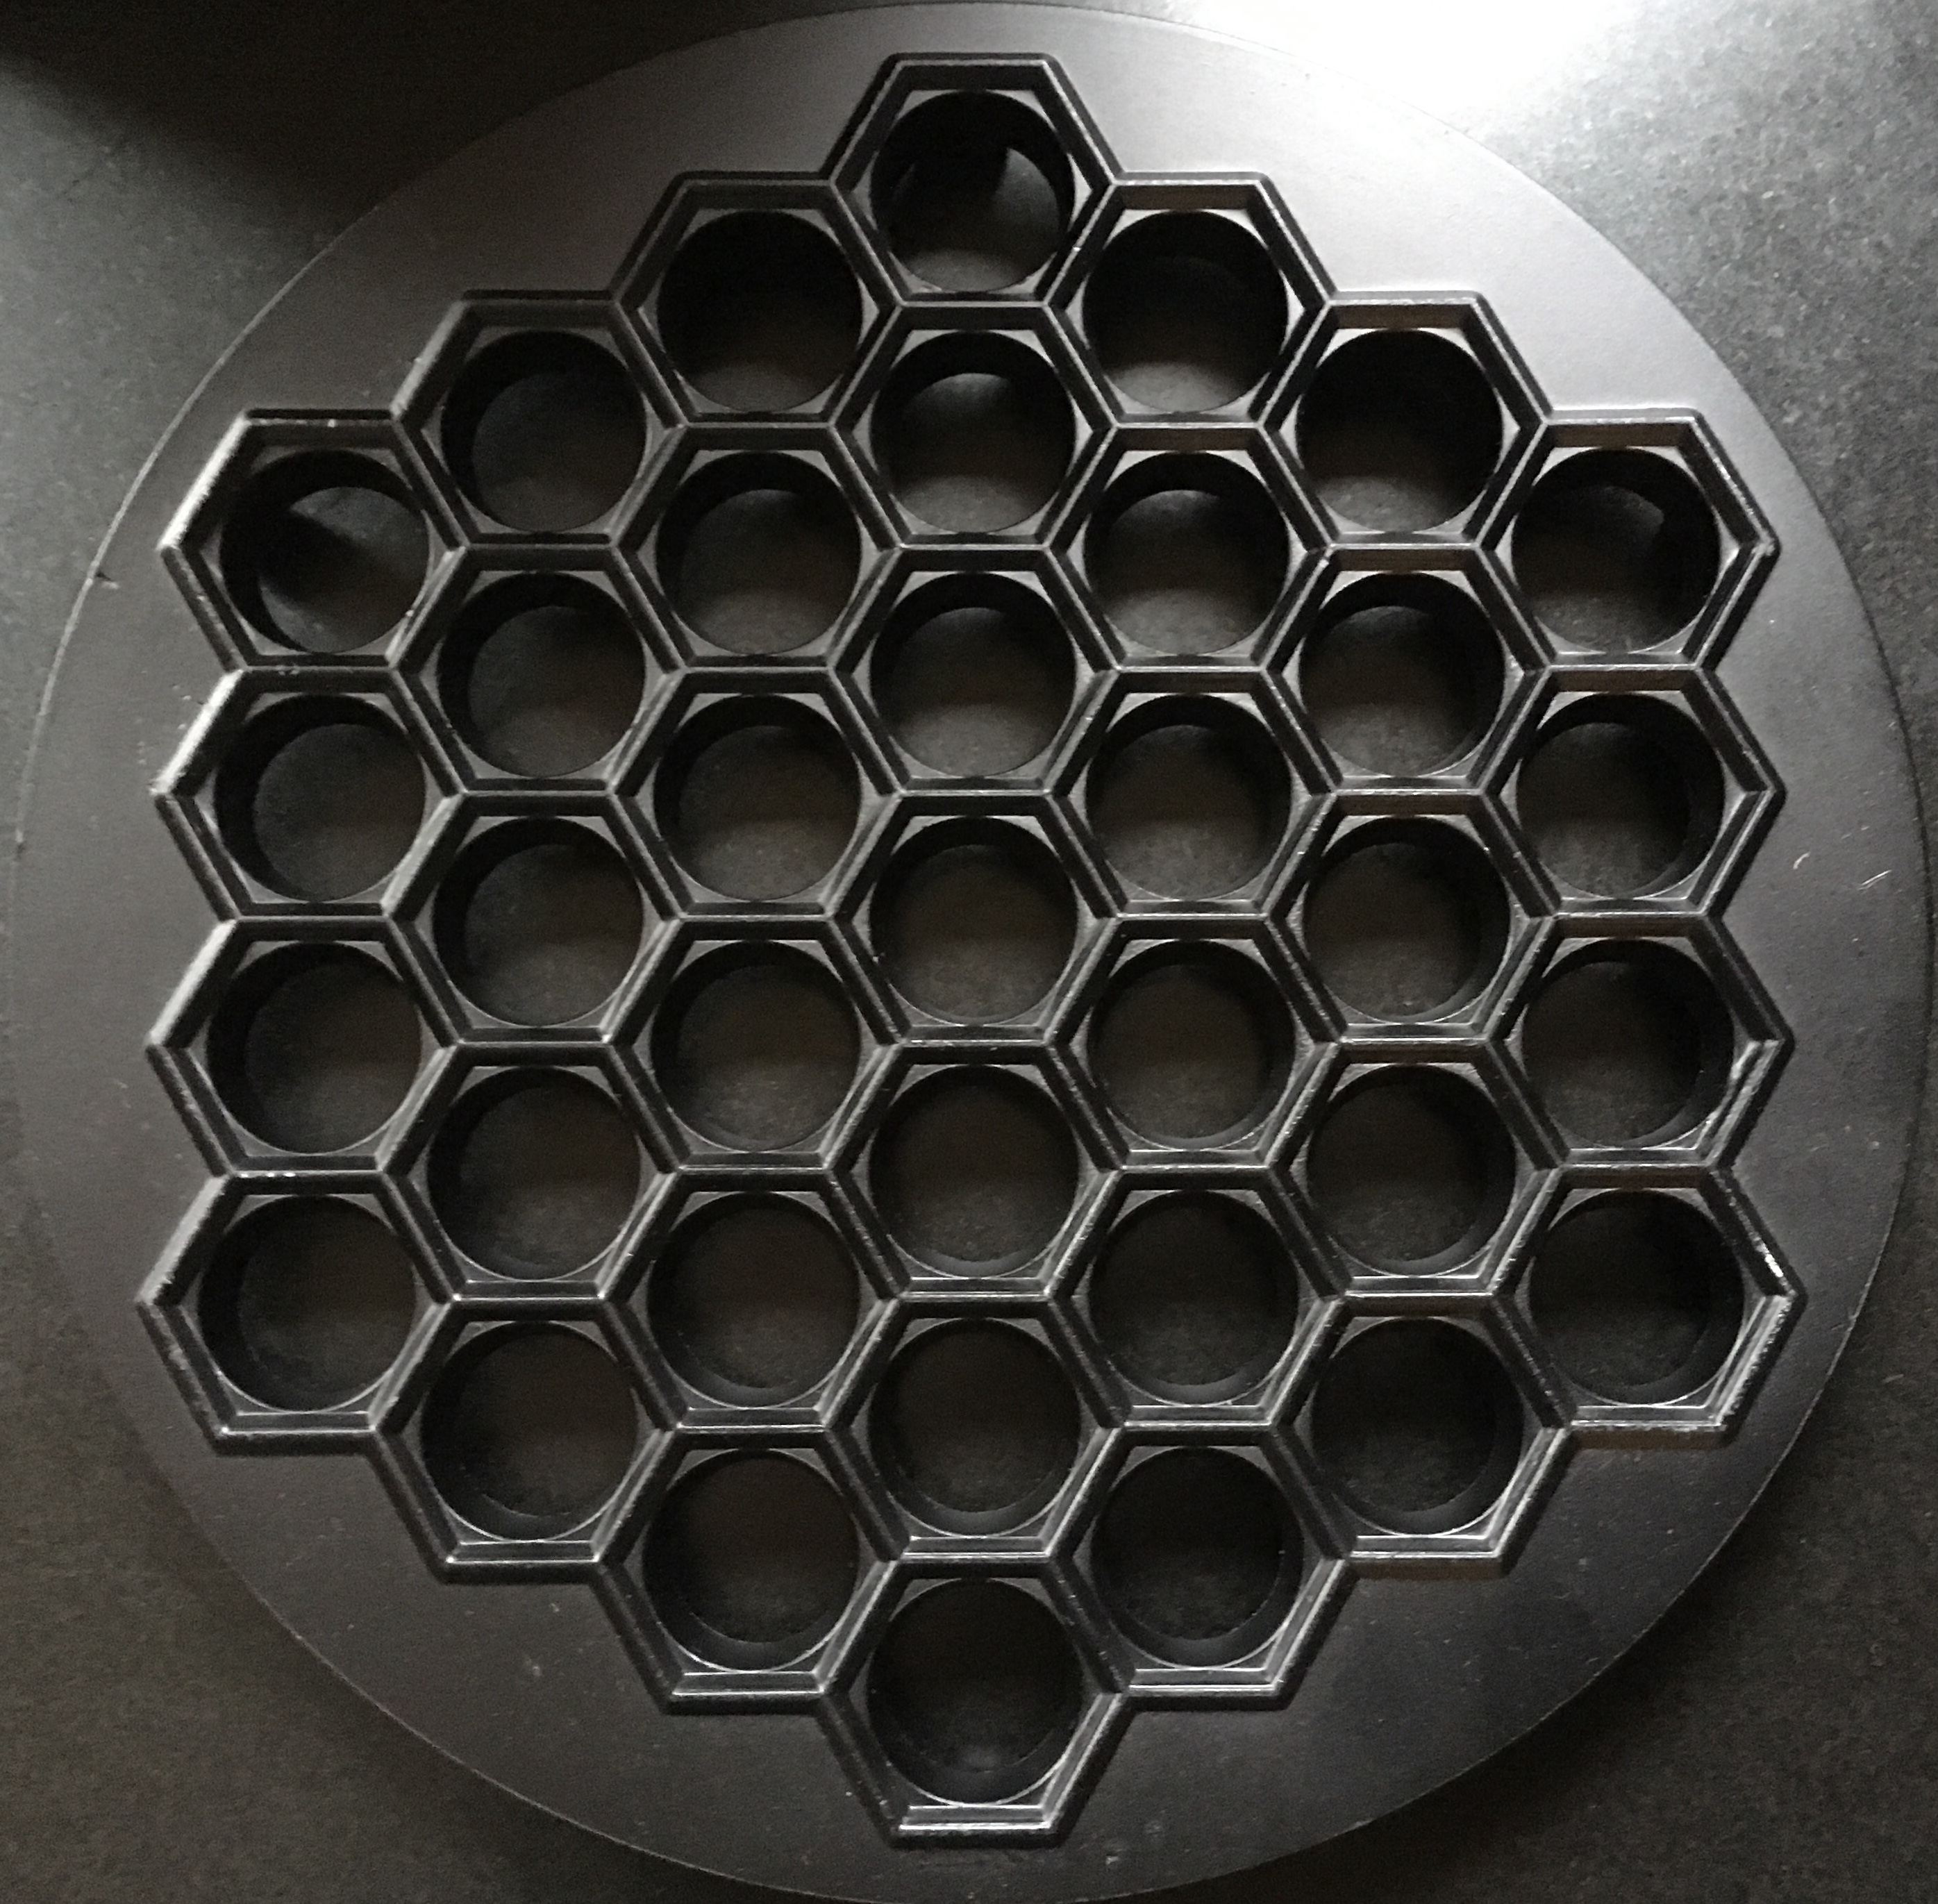
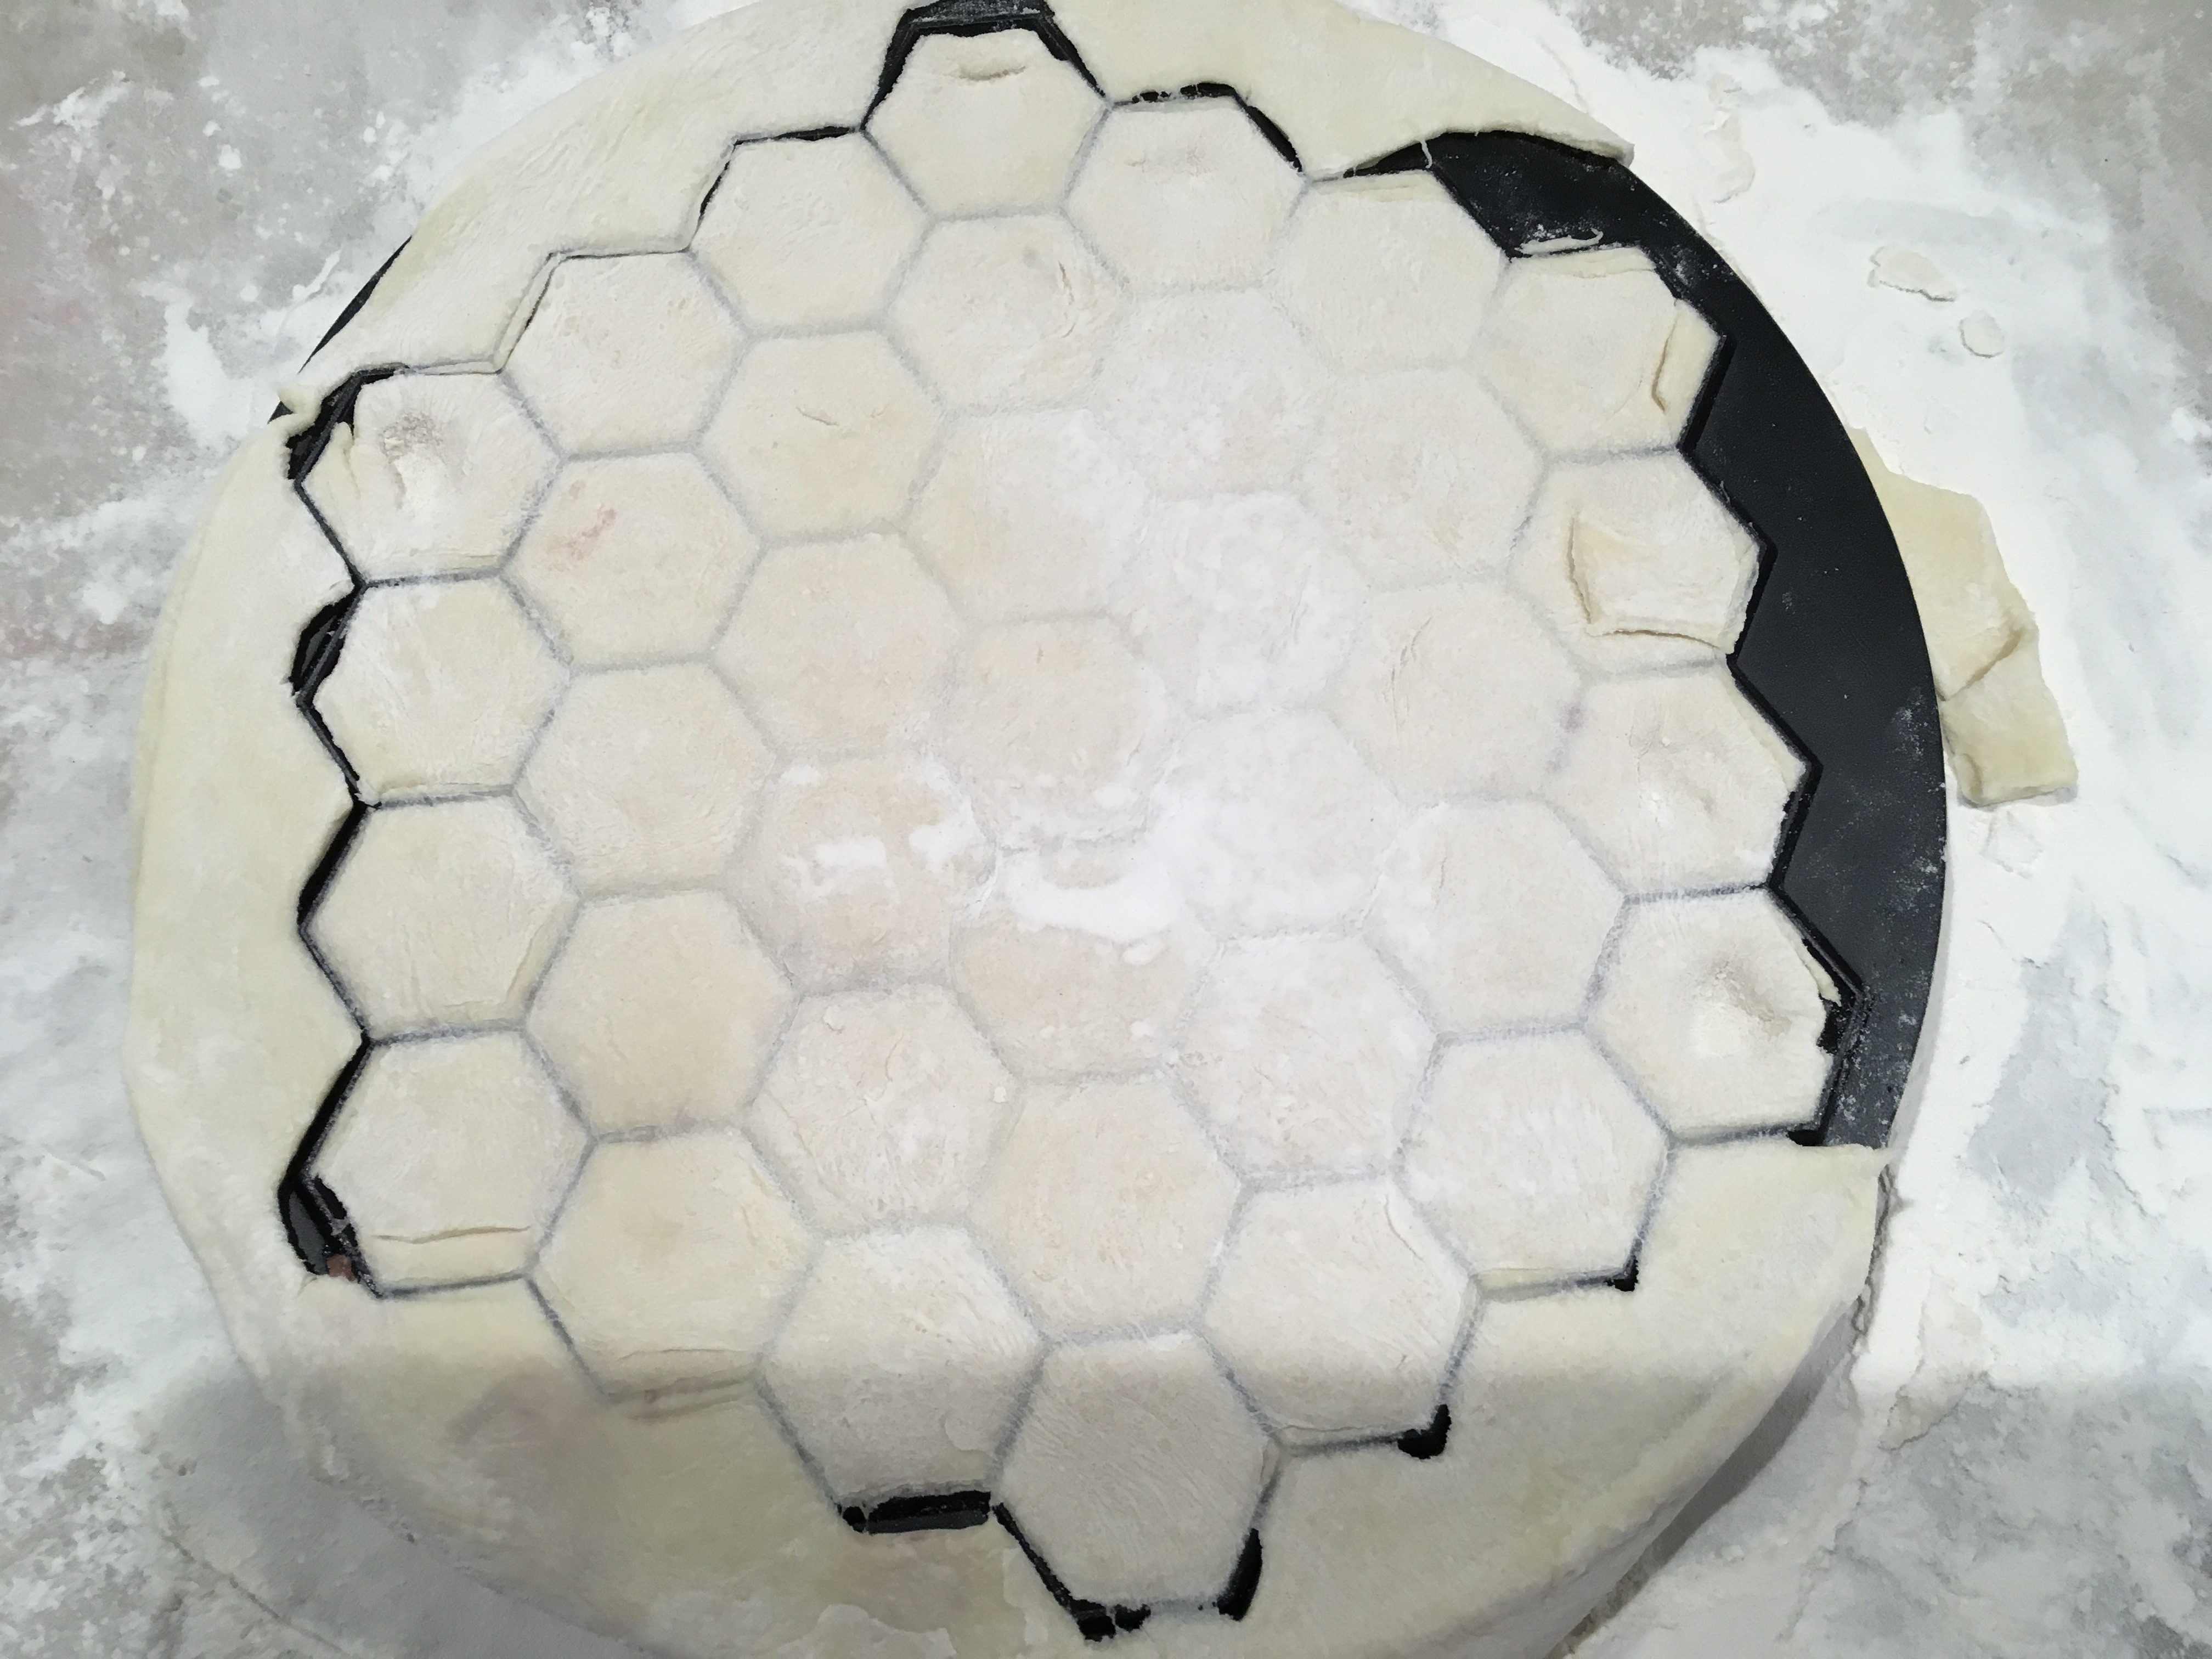
I recently discovered these “pierogi makers.” You lay the dough in them, add your filling, and then close them. They automatically crimp the edges for you. They work pretty well…sometimes. It’s faster with the traditional method.

I always double-check the crimped edges, because your koldūnai will fall apart in the boiling water if you don’t seal them well!
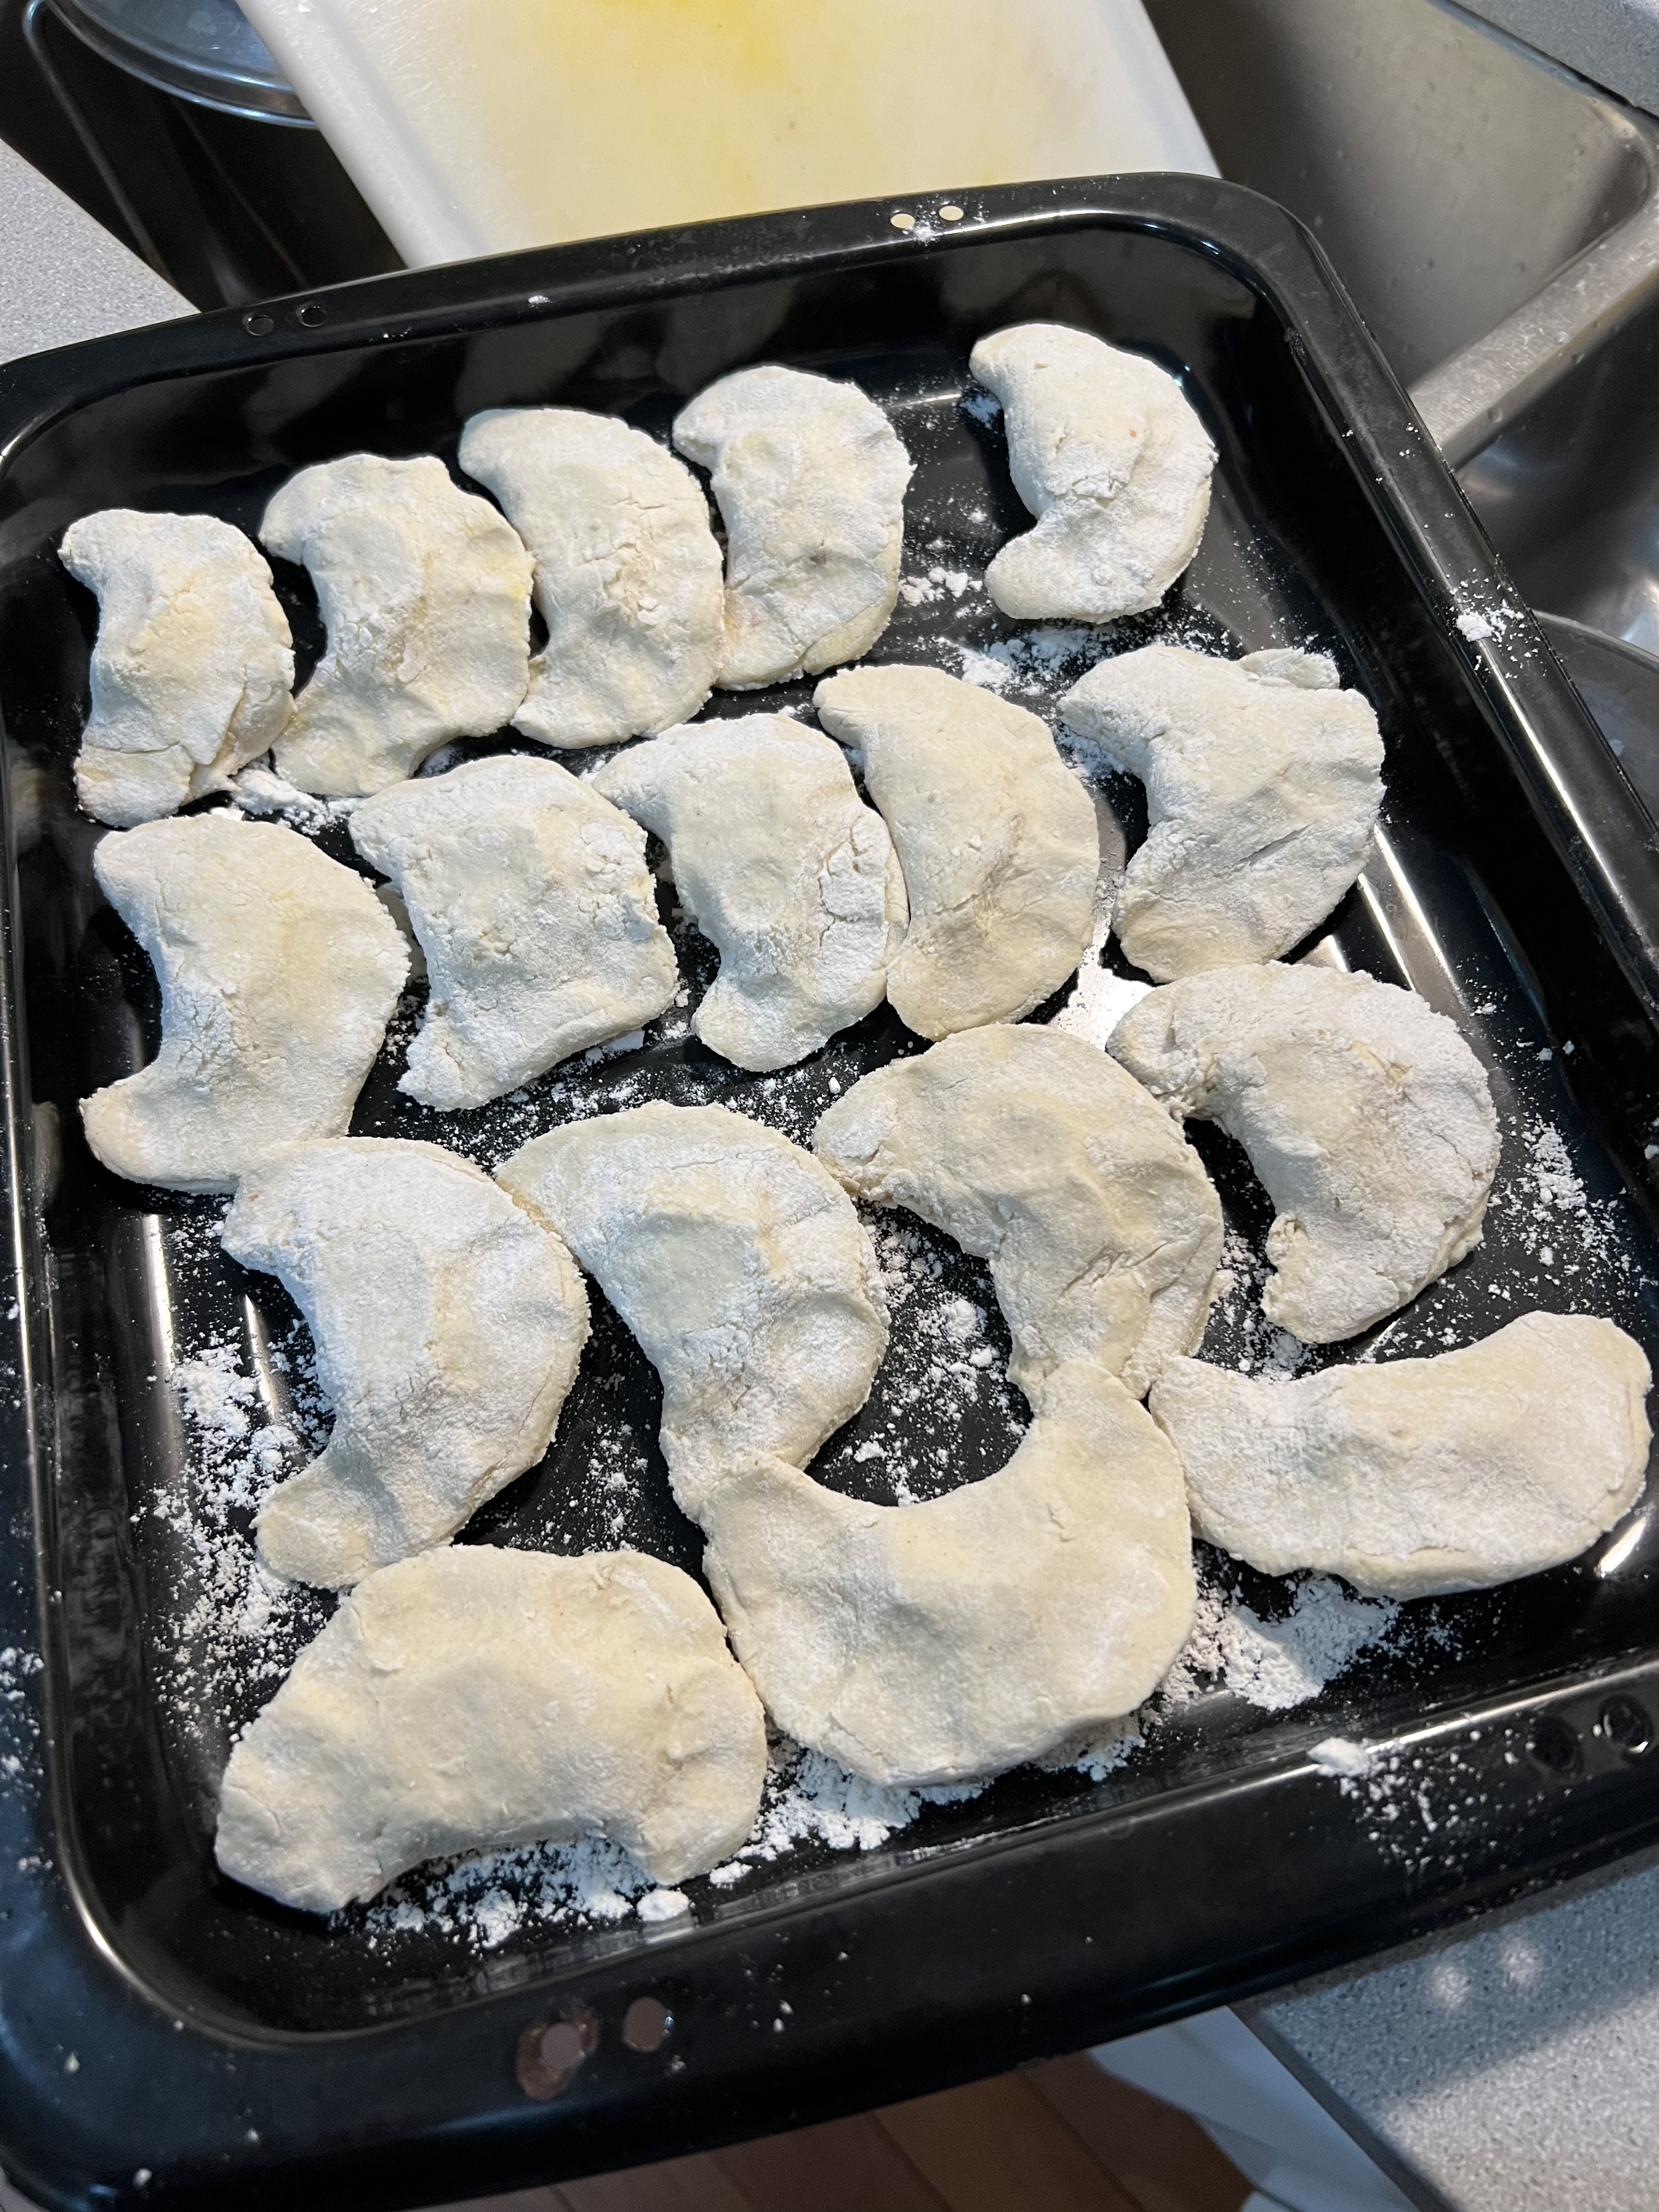
Place the koldūnai on a sheet pan dusted with flour, and when you’re done, place the sheet pan in the freezer.

Ready for the freezer!
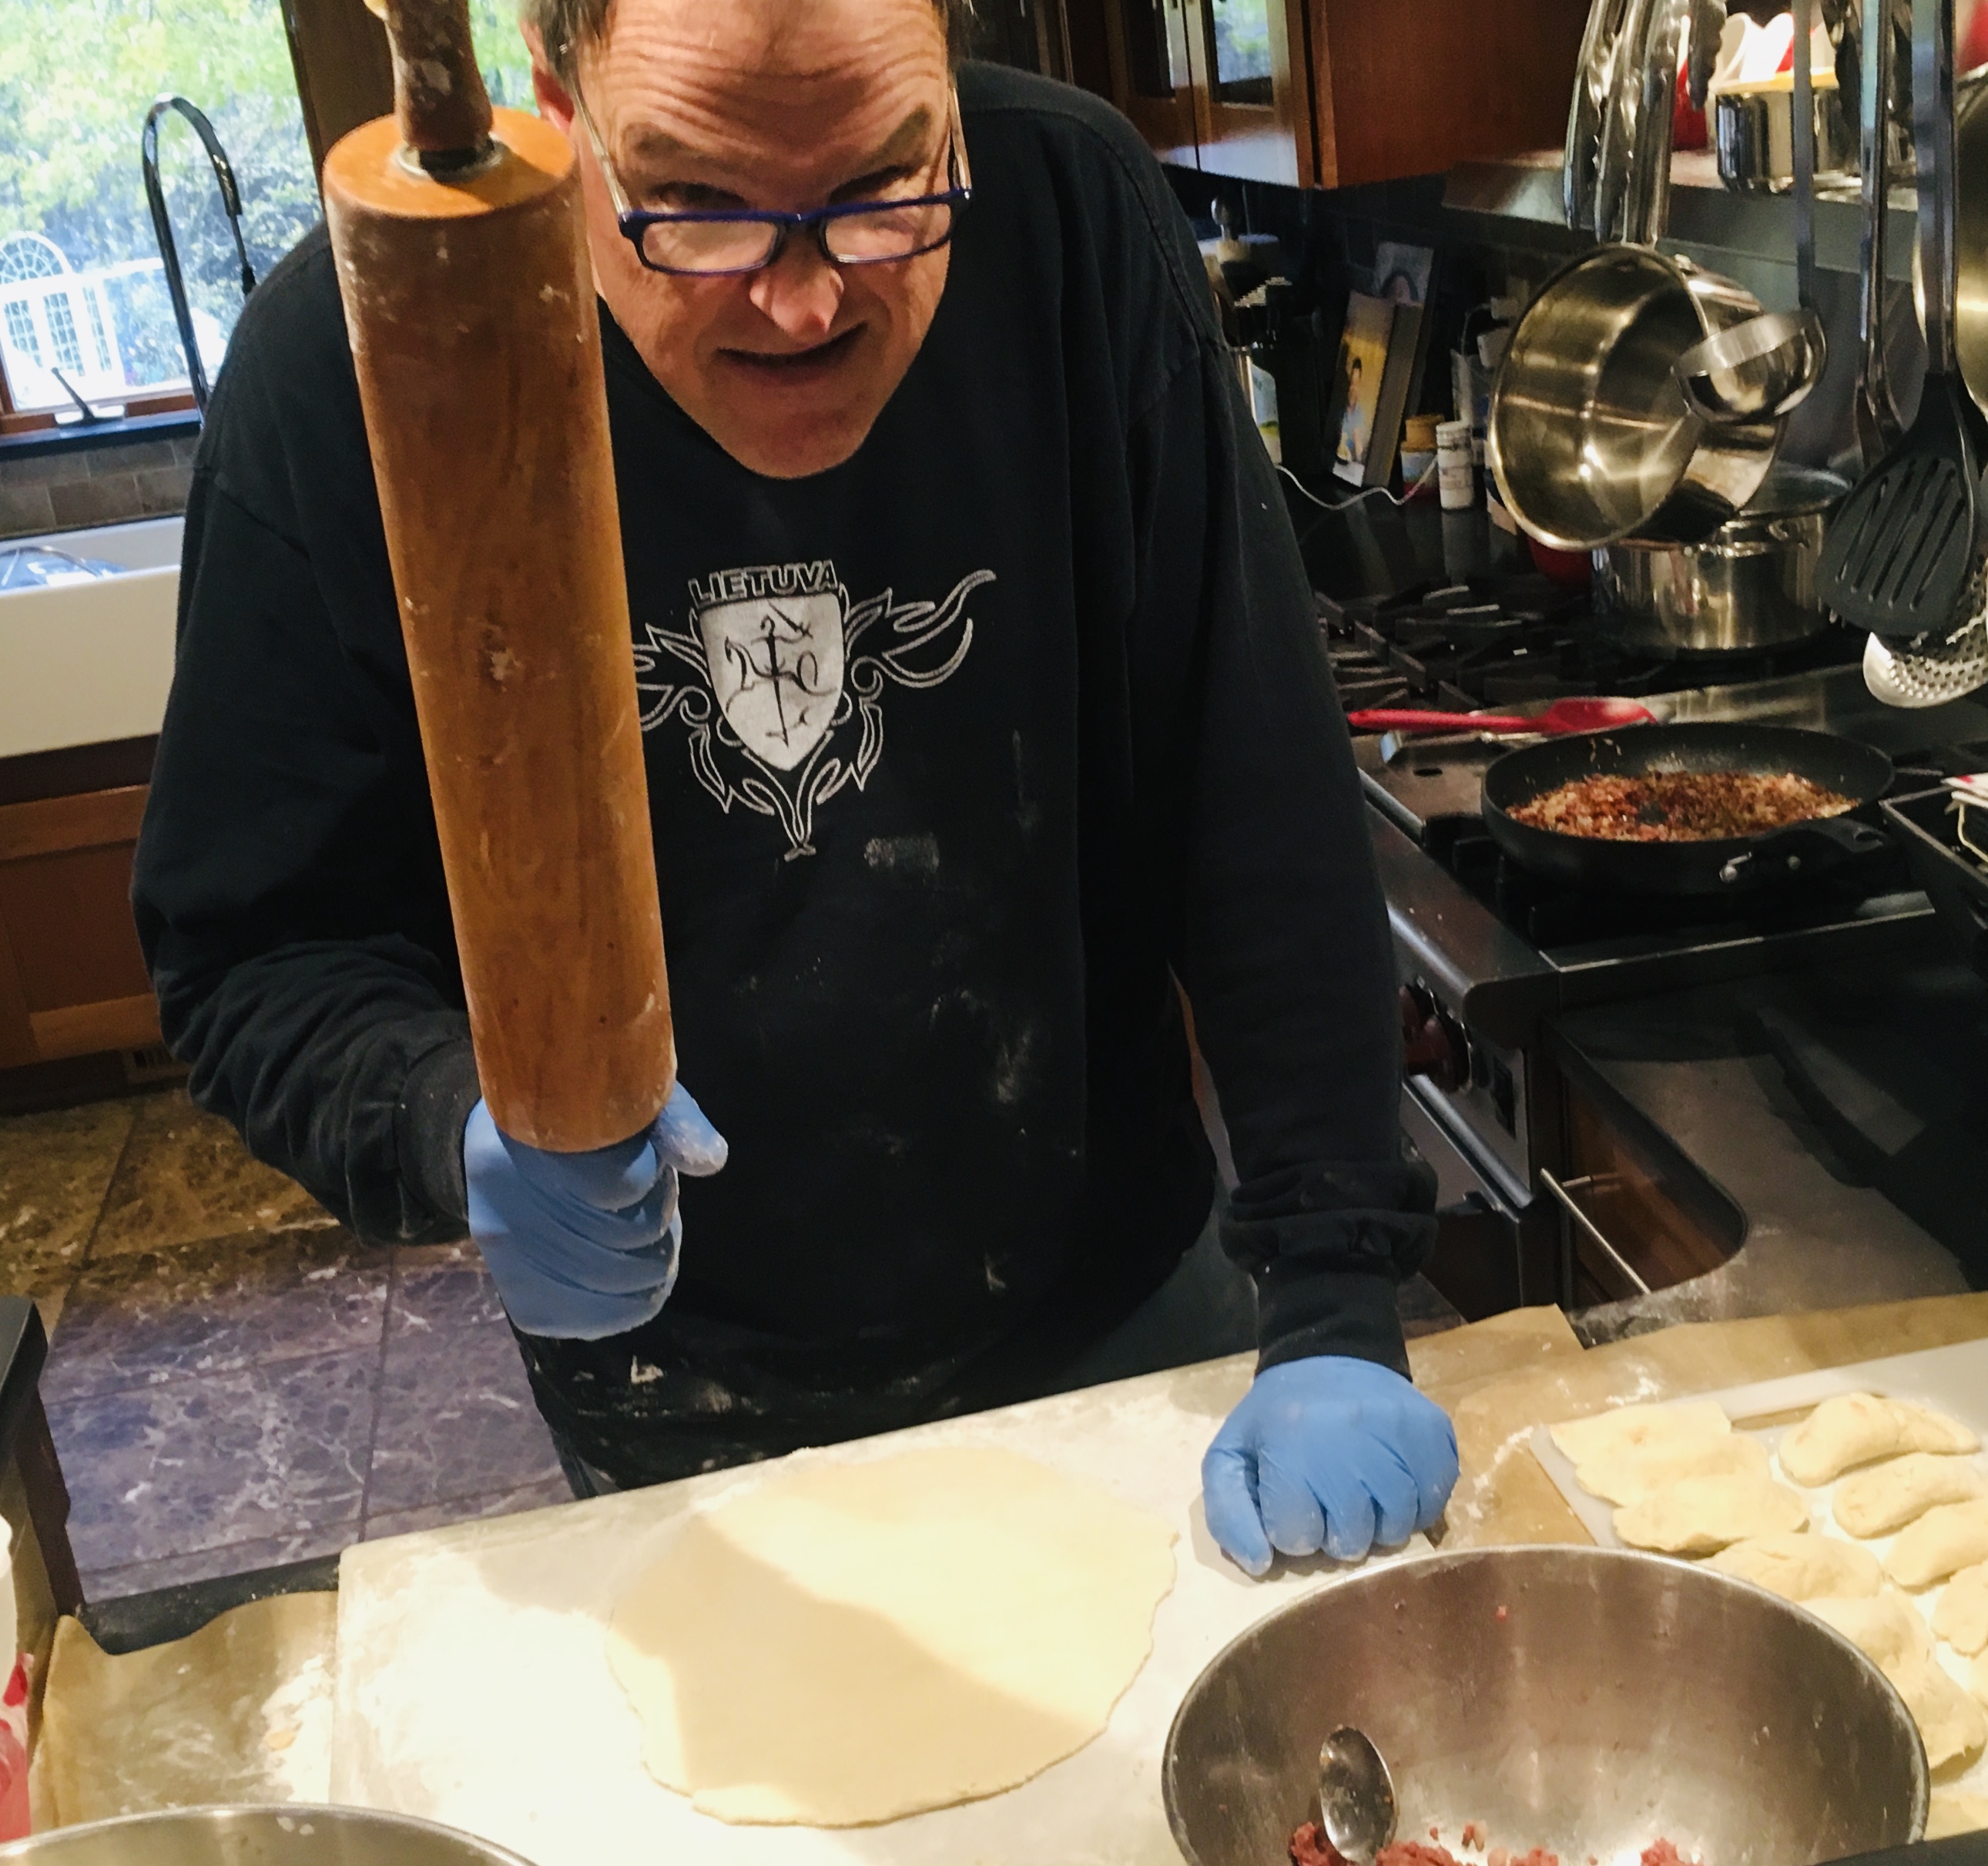
Sometimes the chef gets punchy after making koldūnai all day long!
Get a large pot of salted water boiling. Drop the koldūnai in gently, being careful not to overcrowd them. If the dough is thin, the koldūnai will be ready when they float up to the surface. A thicker dough will need longer cooking. The best way to know if they’re done is by taking one out, cutting it open and having a look (and taste!)
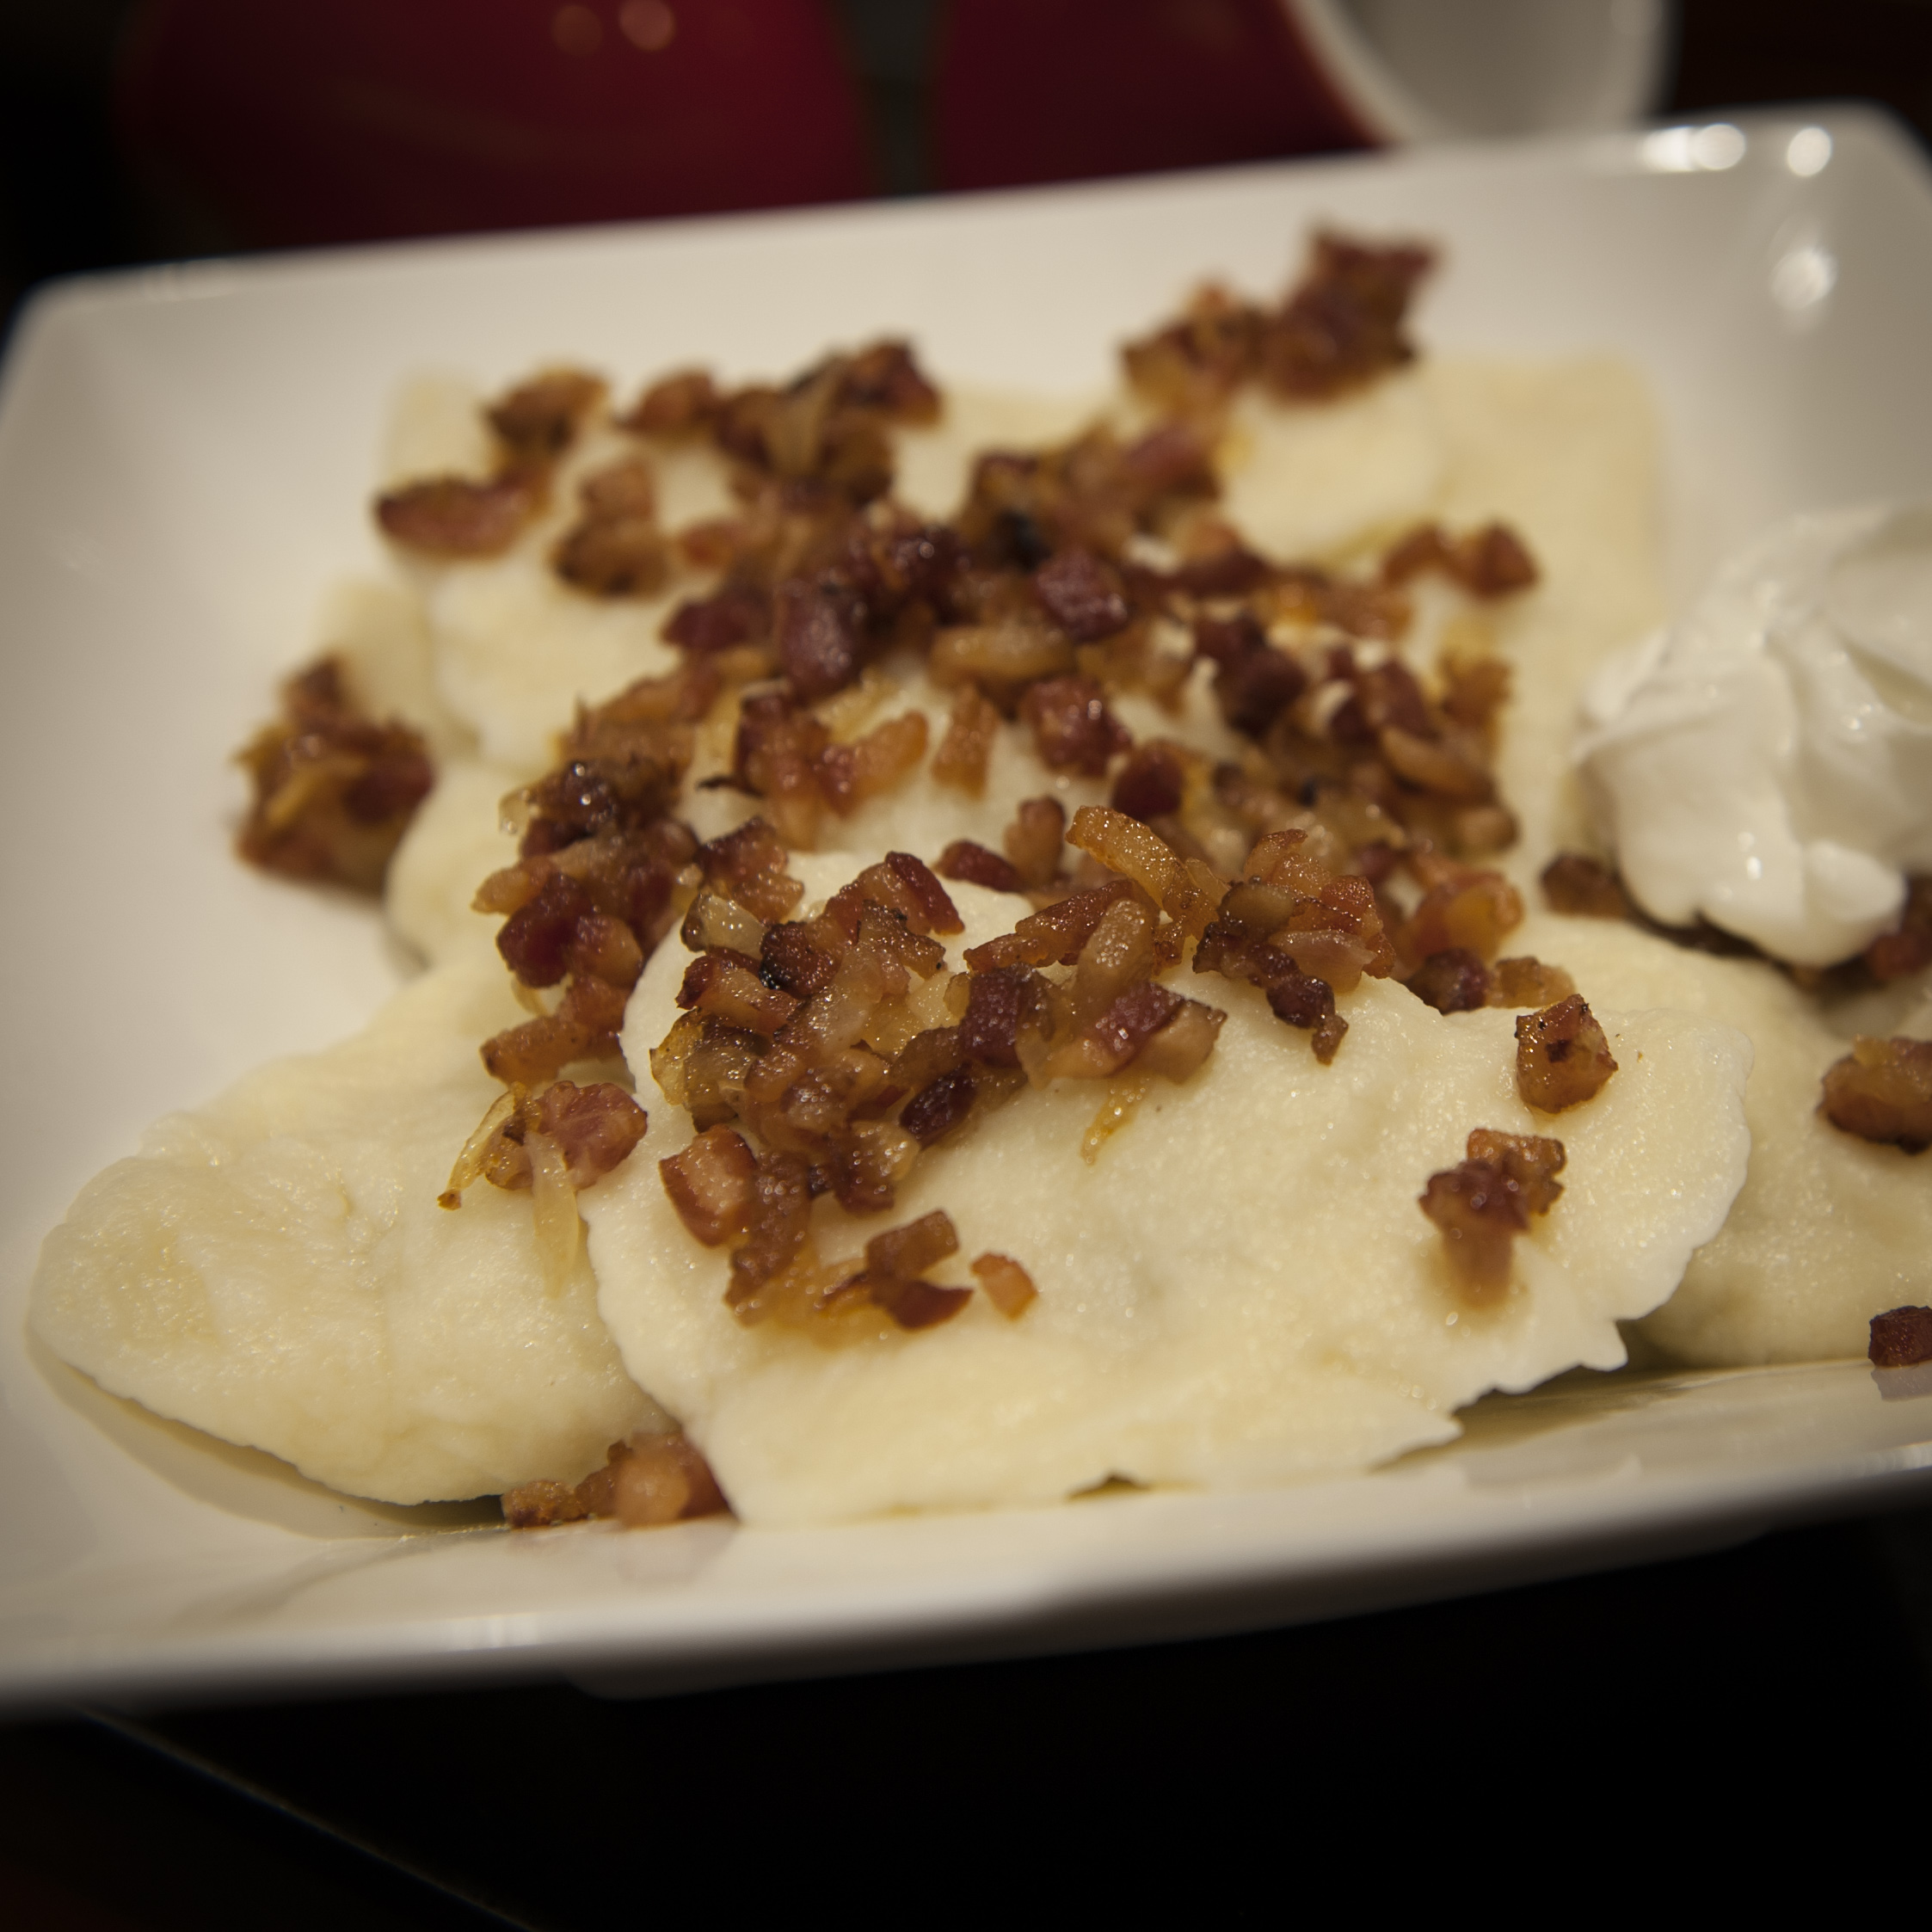
When plating, sprinkle generously with spirgučiai, and serve with sour cream on the side.
If you need to go gluten-free…good news! You can still have your koldūnai! The mushroom filling is already gluten-free. For the breadcrumbs in the beef filling, I take slices of Udi GF bread, toast them, and zap them in a food processor. Excellent breadcrumbs! And I use store-bought GF mac-and-cheese.

GF Mac and cheese, with a little extra cheddar.
For a rustic dough, this recipe works great. (Thanks to my sister, who shared it with me.)

Excellent GF flours.
1 1/2 cups all-purpose gluten-free flour (I use Cup4Cup)
1 1/2 cups rice flour (I use Cup4Cup Wholesome Flour)
2 eggs
pinch of salt
water
Combine the flour and salt in a bowl. Add the eggs and mix. (I use my hands for this.) Slowly add water to the dough until it pulls from the sides of the bowl and makes a nice ball of dough. I cut the dough in half and use a well-floured rolling pin to roll it flat.

The finished product! The rice flour gives it a darker, grainier texture. A more rustic taste, but still delicious!
A newer, less rustic gluten-free version here…
These are also gluten-free, but I used a different recipe and a different brand of flour. I mixed 2 cups of King Arthur GF flour with one cup of water and 1 teaspoon of xanthan gum. Then I added more flour or water, depending what was needed, to get the right consistency. A very easy to work with dough!