Now’s the time to head to your local farm stand and pick up a bag of gorgeous plum tomatoes, before the season is gone! And this is what you do with them…
These are not sun-dried tomatoes. They’re better, because fresh plum tomatoes are still moist after roasting, with a bit of that magic tomato liquid in every cup! A great, simple platter to offer at parties.
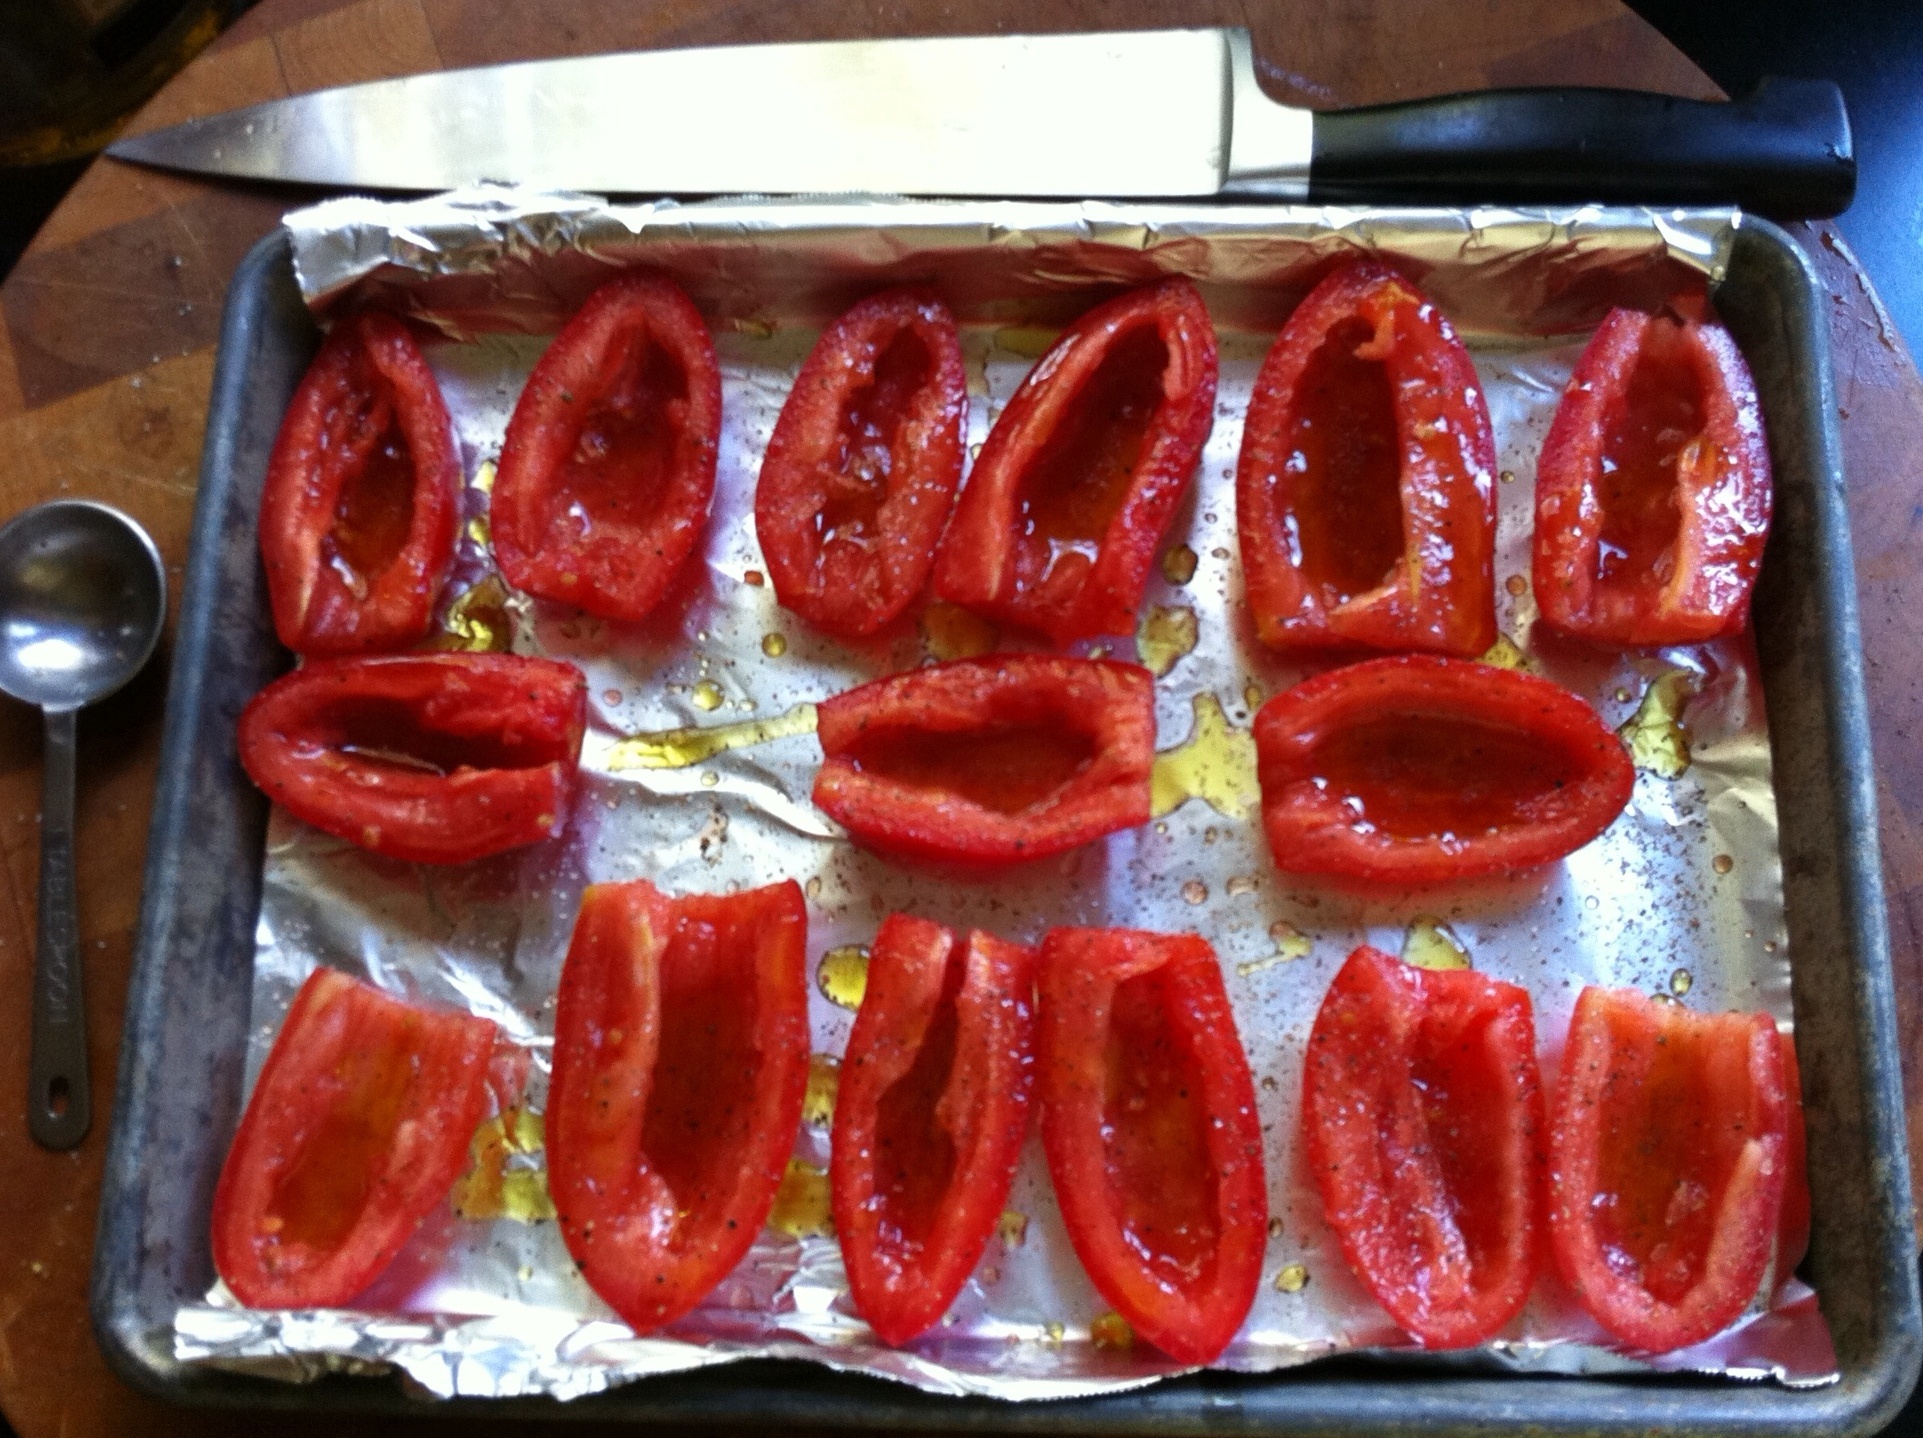
Tomatoes before.
12 to 18 halved, seeded plum tomatoes
1/4 cup extra virgin olive oil
2 tablespoons organic cane sugar
Freshly ground pepper
Fleur de Sel or sea salt
Pre-heat the oven to 250.
Line a baking sheet with foil and rub it lightly with olive oil.
Arrange halved and seeded tomatoes on it in a single layer, cut side up. Drizzle evenly with 1/4 cup olive oil, sprinkle with 2 tablespoons sugar, and season with pepper to taste.
Bake the tomatoes until they are still juicy but slightly wrinkled, about 3 hours. Transfer them to a platter and let them cool slightly.
Just before serving, sprinkle the tomatoes with Fleur de Sel, and garnish if you like, with chopped parsley leaves, mint leaves, or basil. (Bacon bits sound pretty good, too!)

Tomatoes after!


