Archive for the ‘tomatoes’ Category

ORGANIC OR NOT ORGANIC?

Posted: December 29, 2015 in Food, garden, tomatoes
Tags: , , , ,

You might be thinking of eating more healthy fruits and veggies in 2016, and organic is usually the way to go. But considering the price difference, it’s not always easy to simply buy organic over non-organic produce. Although I tend to buy mostly organic products, there are times when I think it’s not all that necessary. By the same token, there are times when it is absolutely necessary.

organic

Despite the organic label… despite the fact that produce has been triple washed or whatever other nonsense they claim, I always wash my produce before eating. And I store it in a new, clean plastic bag or container in the fridge, recycling the old clam shell container.

I try to avoid any produce from Mexico or South America, where they’re allowed to use pesticides banned long ago in the United States. I don’t even trust the organic products from those areas. (Hey, if they tell you not to drink the water when you vacation in Mexico, why would you want them to water your produce with it?)

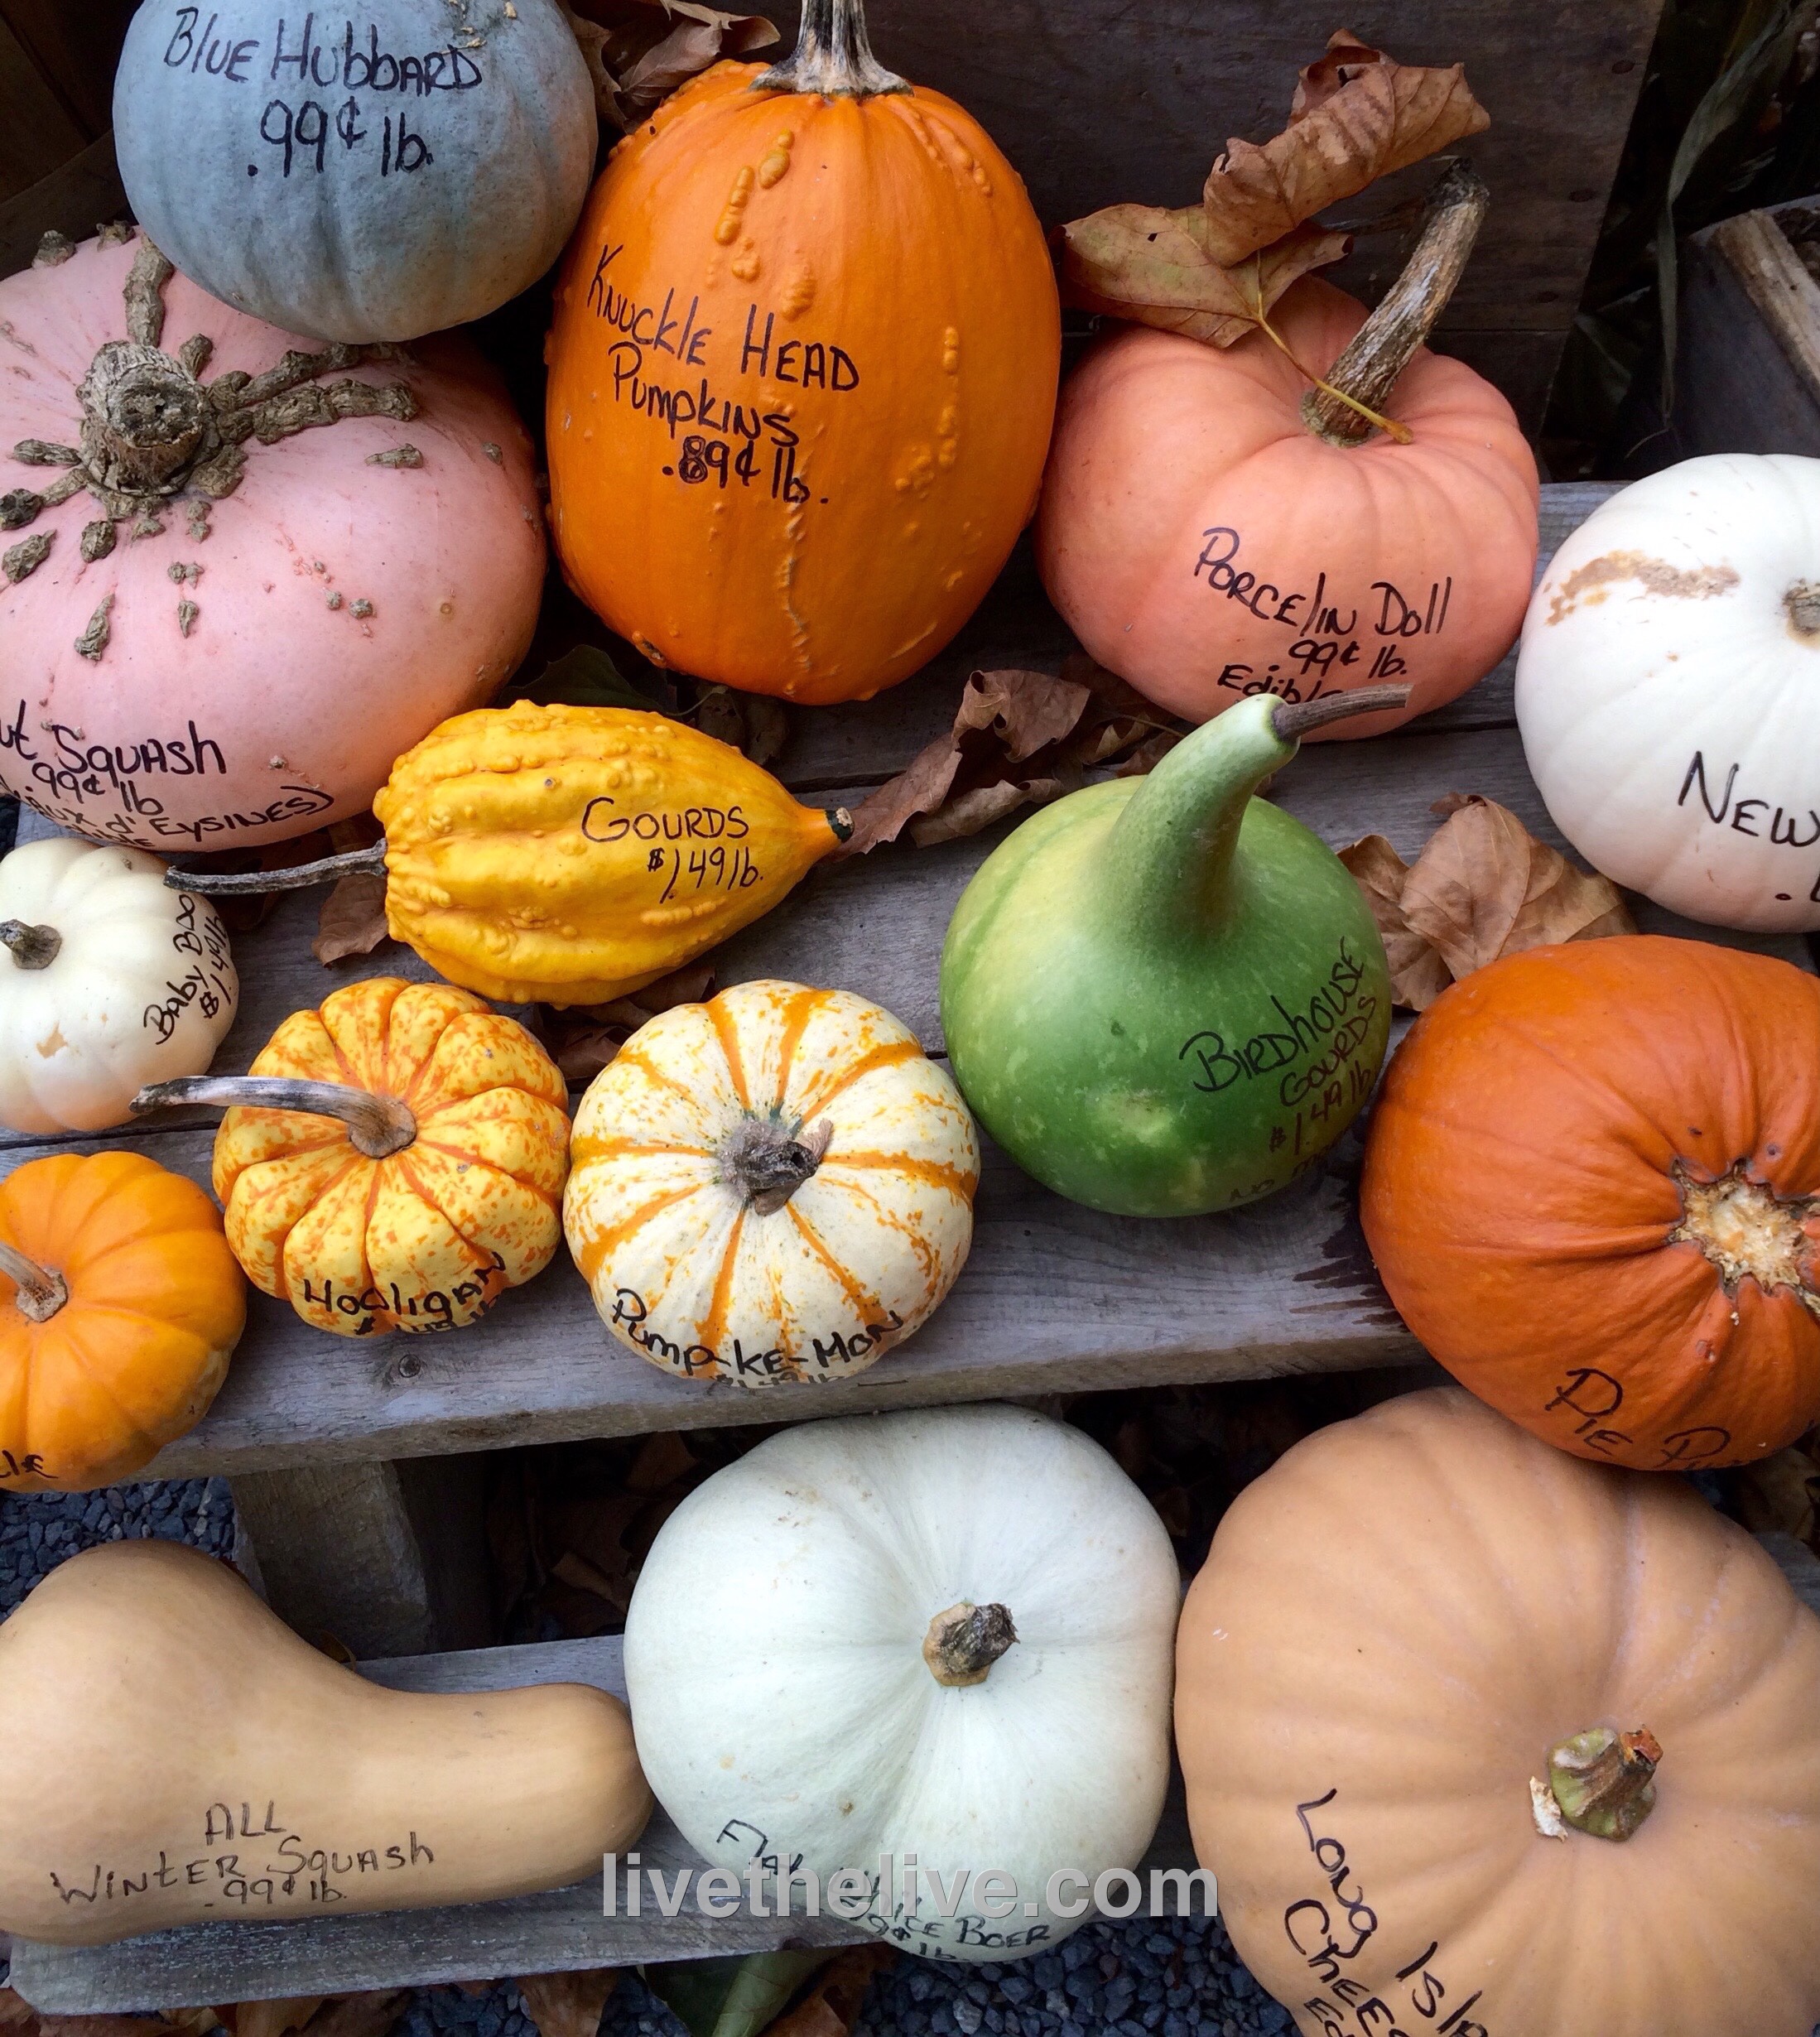
And I buy seasonal organic produce from my local farmers whenever possible.

Here are a few of what are known as the “dirty dozen:”

Strawberries: Always go organic. Non-organic strawberries are bathed in pesticides and no amount of washing with water will remove them. There’s no way I’m going to put that in my daughter’s smoothie.
Speaking of strawberries, the greens on each fruit are totally edible, and you won’t notice them at all if you’re using them for smoothies. Just wash the fruits and then throw the whole thing into your blender.
I usually buy a large quantity of organic strawberries when they’re on sale, wash them thoroughly in cold water, and then freeze them in small bags to use for smoothies later.

Apples: Always go organic. I have two apple trees in my yard and I know what a nightmare it is to keep the bugs away from them. The only way you can do that is by spraying the living hell out of those trees. Unfortunately for me, the days of going to an orchard with the family and picking our own apples are long gone, because I know what they have to do to make them look pretty on the branch.

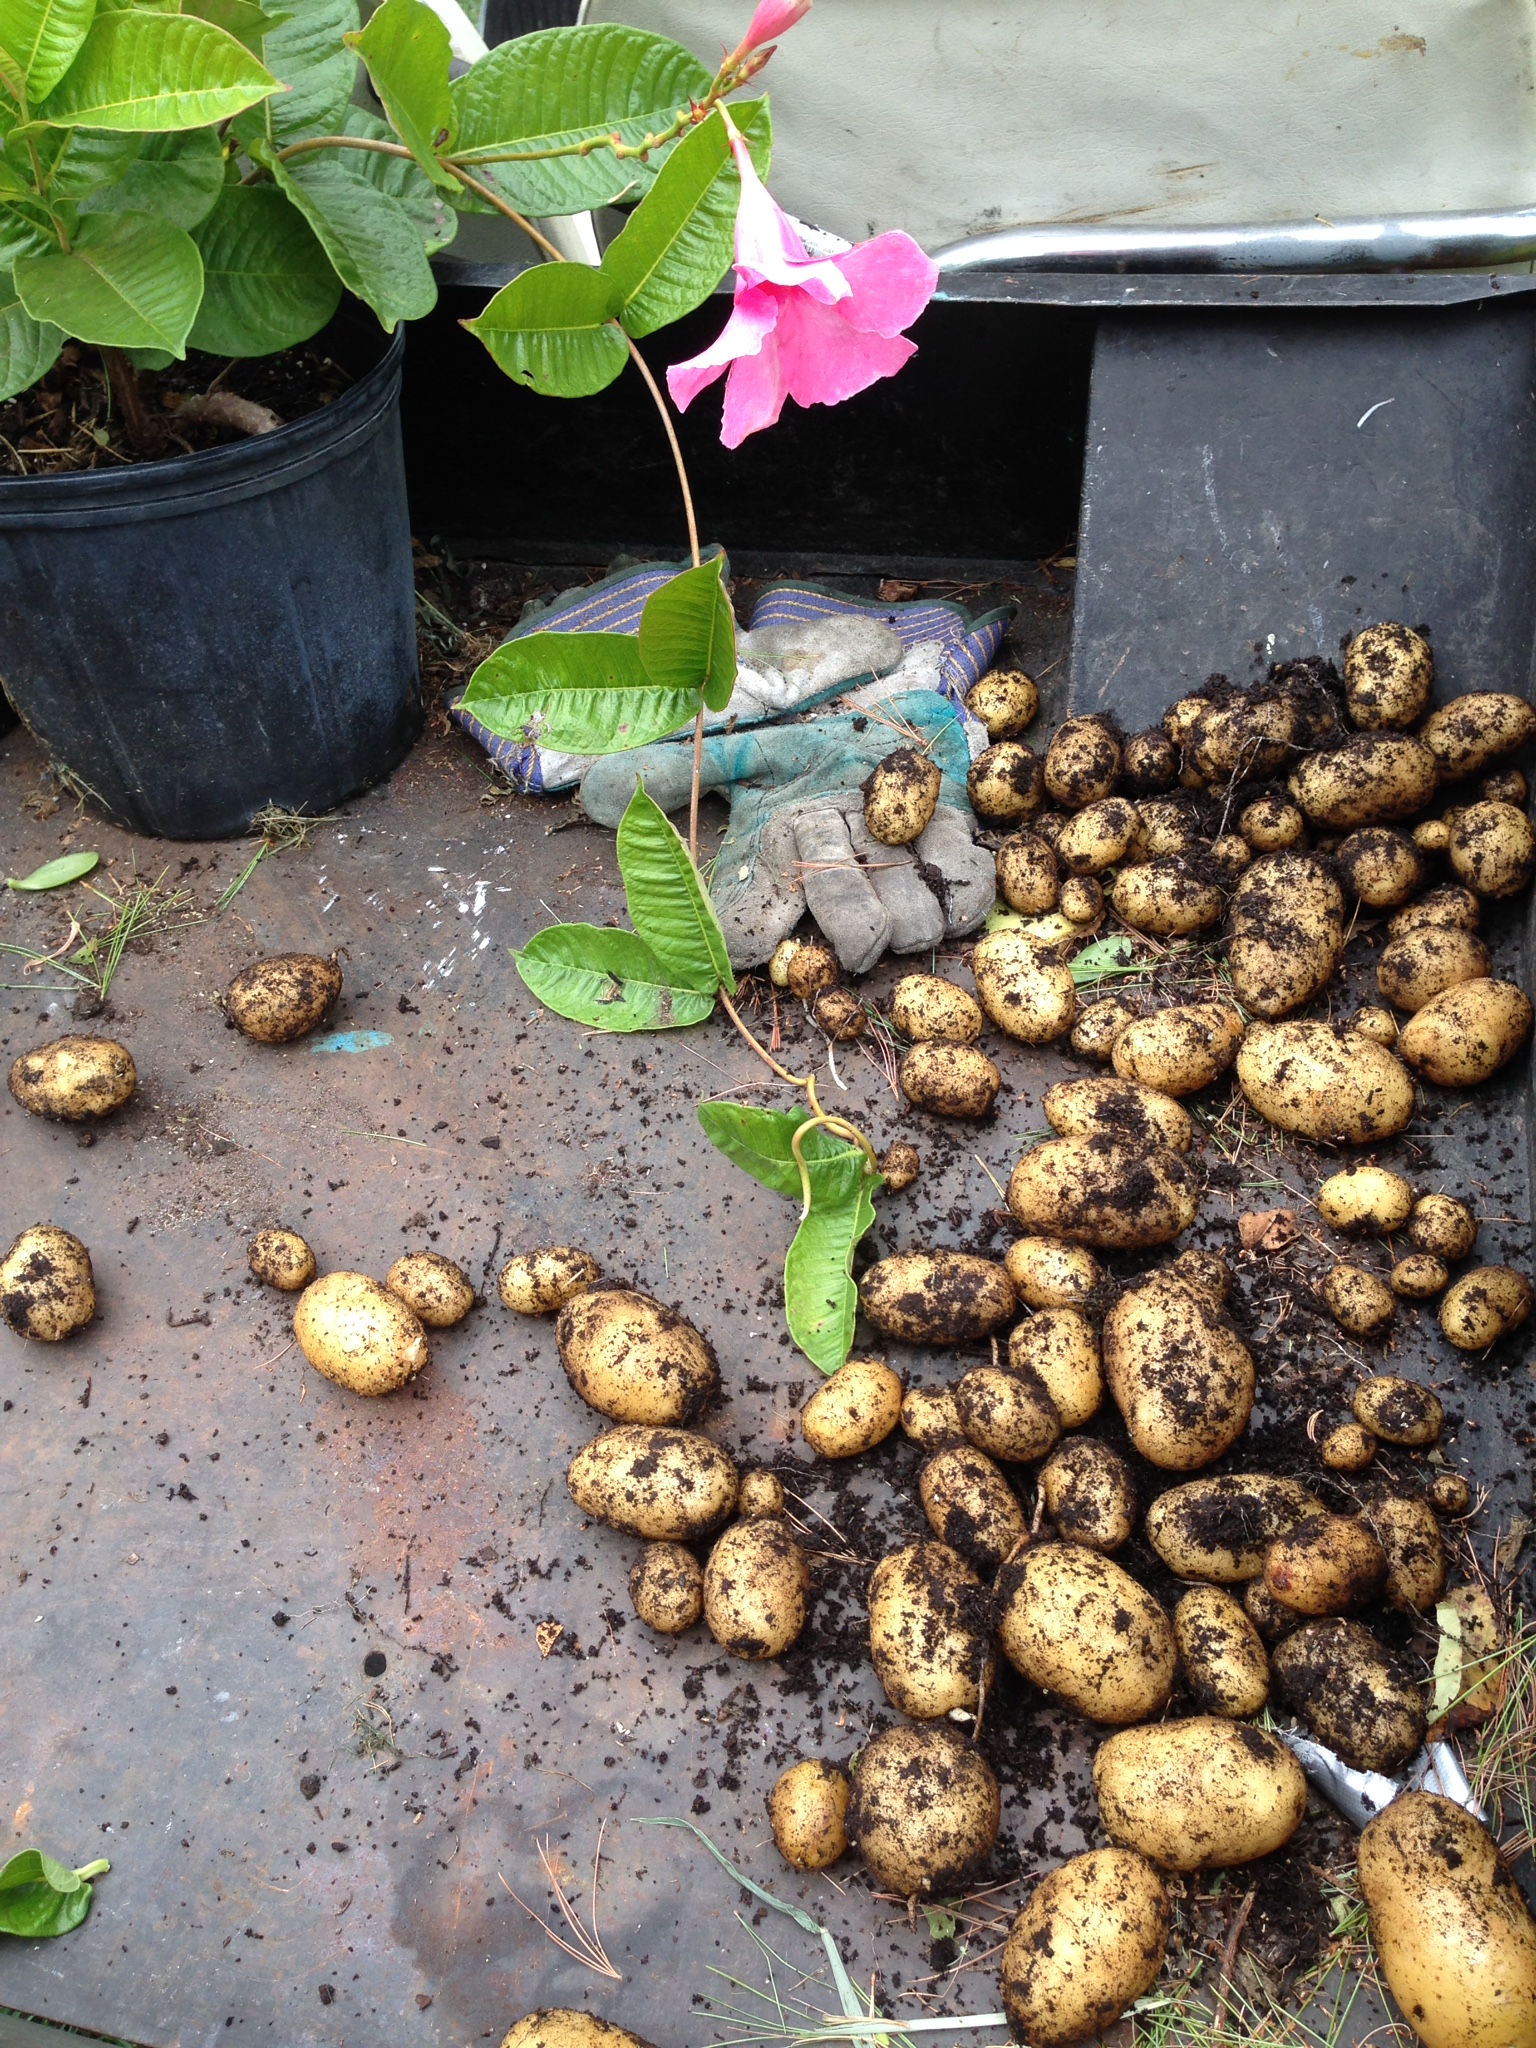
Potatoes: Always go organic. These are sprayed heavily as well. And then there’s the added bonus of spraying the harvested potatoes afterwards to prevent them from sprouting while in storage.


Since the US Environmental Protection Agency doesn’t do its job to let you know about pesticides in your food, groups like the EWG, the Environmental Working Group, do it for them. Other produce that falls into the “dirty dozen” category, as listed by the EWG: celery, peaches, bell peppers, spinach, imported nectarines, cucumbers, cherry tomatoes, kale, collard greens, zucchini, lettuce, blueberries. Always buy organic versions of these if you want to avoid ingesting pesticides. Remember, washing the fruit does not wash off the pesticide!


Fruits with skin you peel: bananas, oranges and other citrus, melons, etc…I’m OK with non-organic, but I wash the outside thoroughly before cutting into the fruit, and I don’t use the skin. If I need the zest of citrus for a recipe, I use organic…but those can be hard to find.

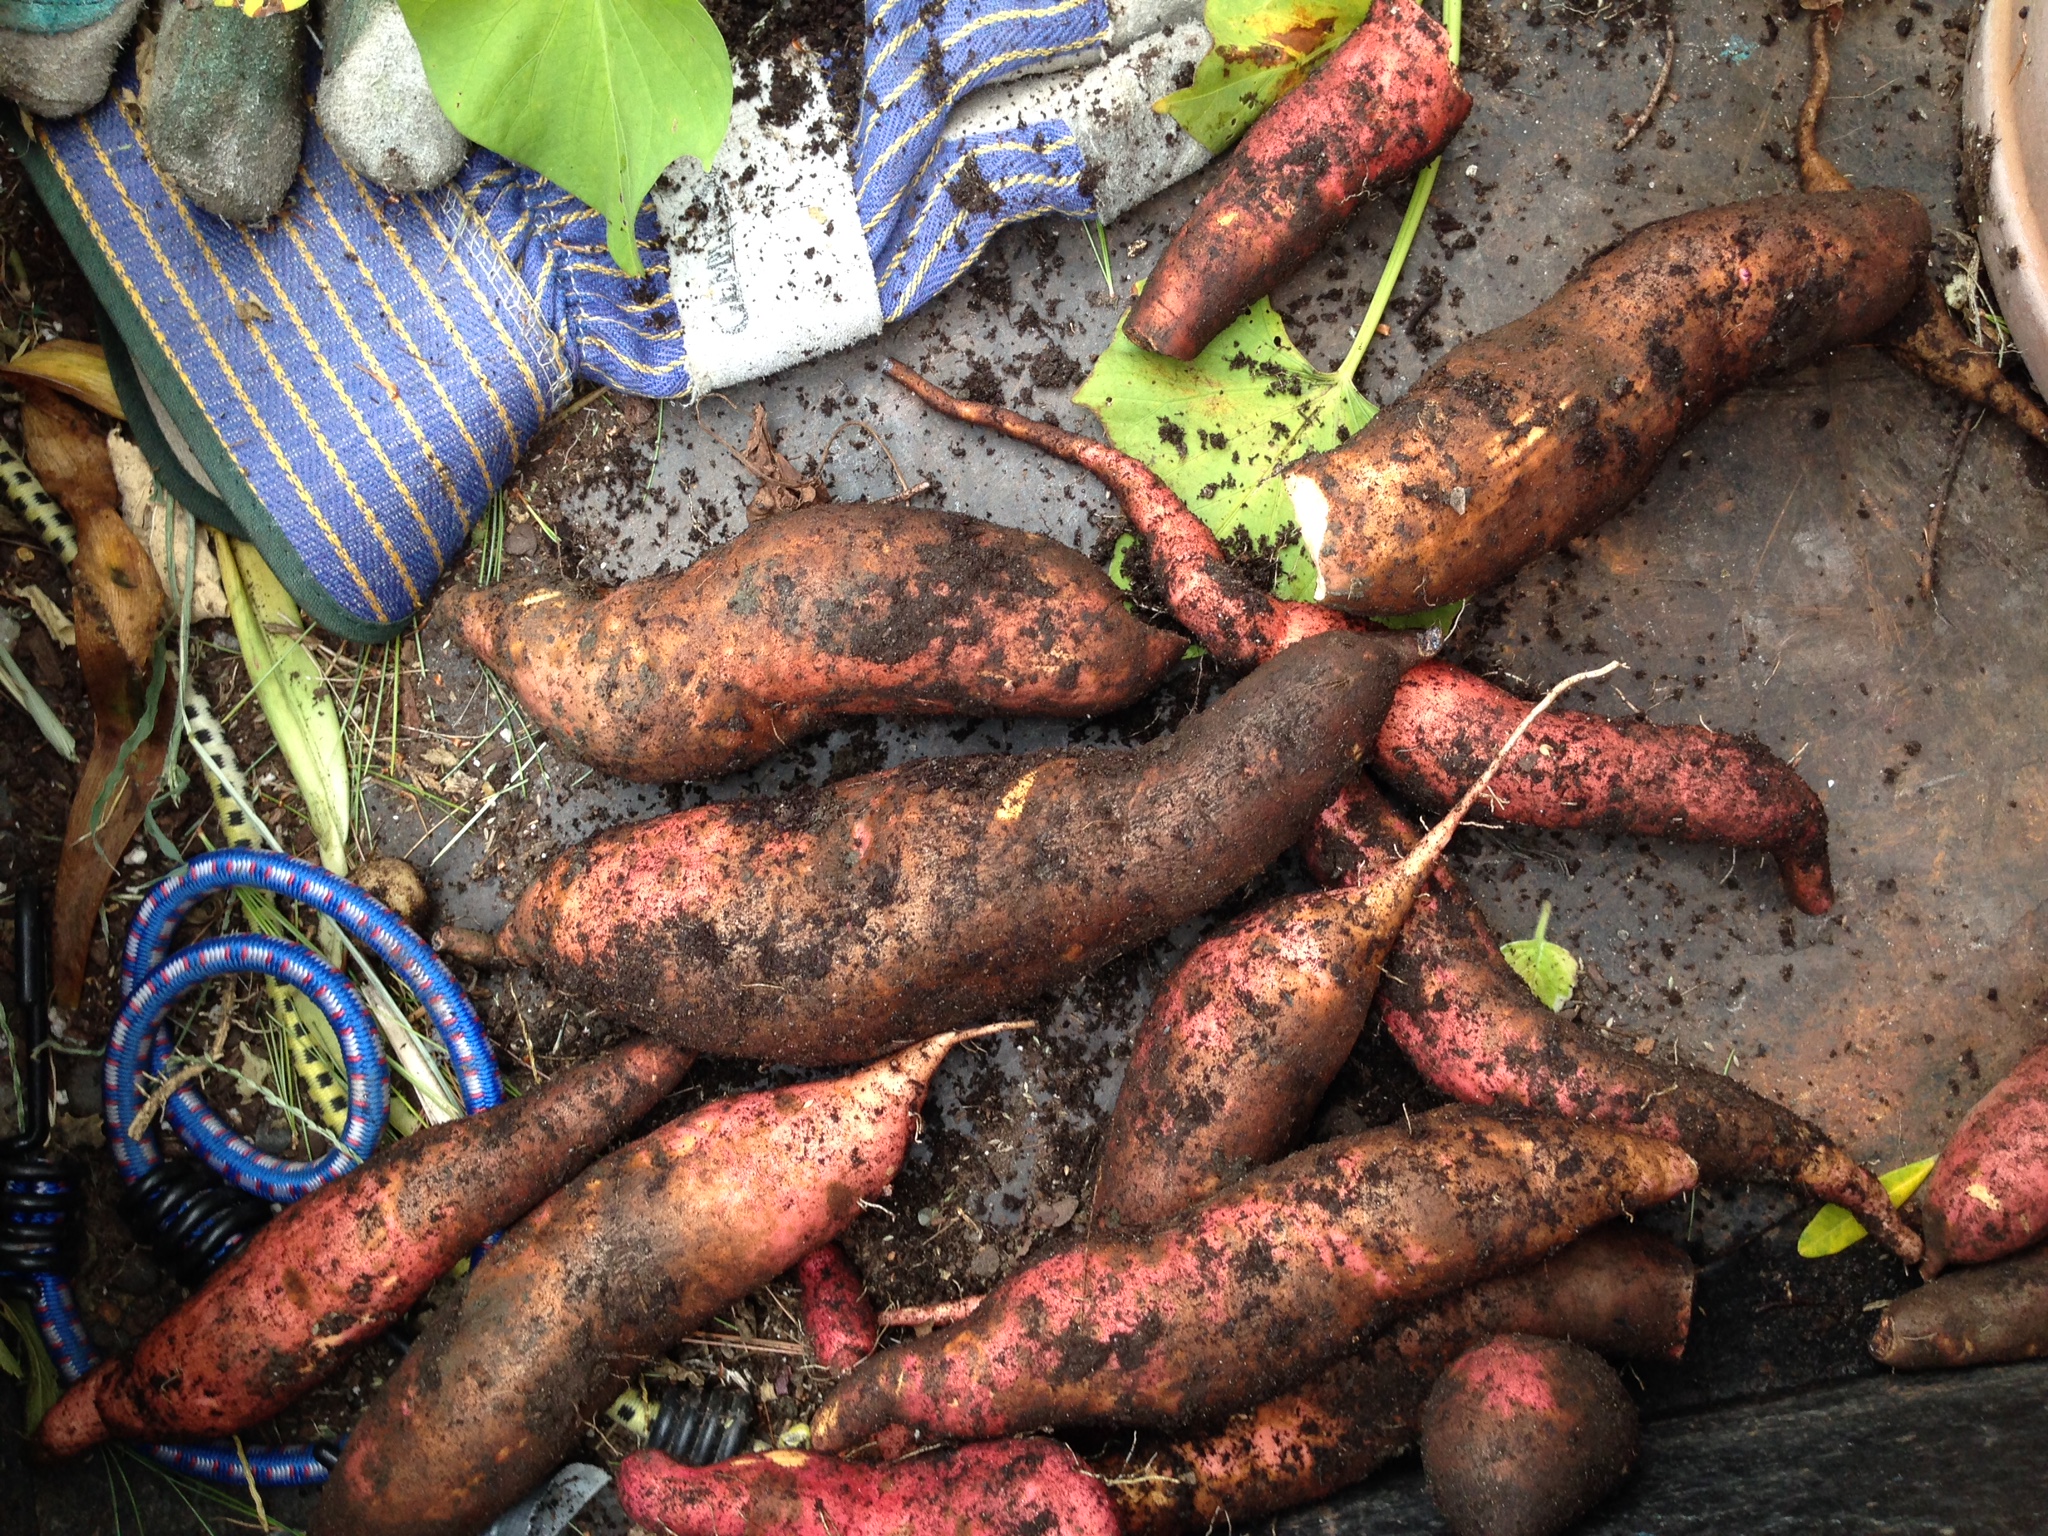
“The clean fifteen,” meaning produce you can buy that is not organic (according to the EWG): onions, sweet corn (which I totally disagree with, thanks to Monsanto’s Round-Up ready crops), pineapple, avocado, asparagus, frozen sweet peas, mango, papayas, eggplant, cantaloupe (domestic), kiwi, cabbage, watermelon, sweet potatoes, grapefruit, mushrooms. I would still keep my purchases to produce grown in the USA. Pesticides that are banned in the USA are still used in other countries.

Here’s some technical labeling info you may or may not know…

Natural: This is a marketing word – not a scientific label. The FDA requires only one natural ingredient to be present for an entire product to be labeled “natural.” This means that as long as a company has one natural ingredient despite multiple harmful chemical ingredients, they can still call the product natural. (As my buddy, Lee, a PhD in Chemistry once told me: “Hey…cyanide is ‘natural!'”) So always read the label!

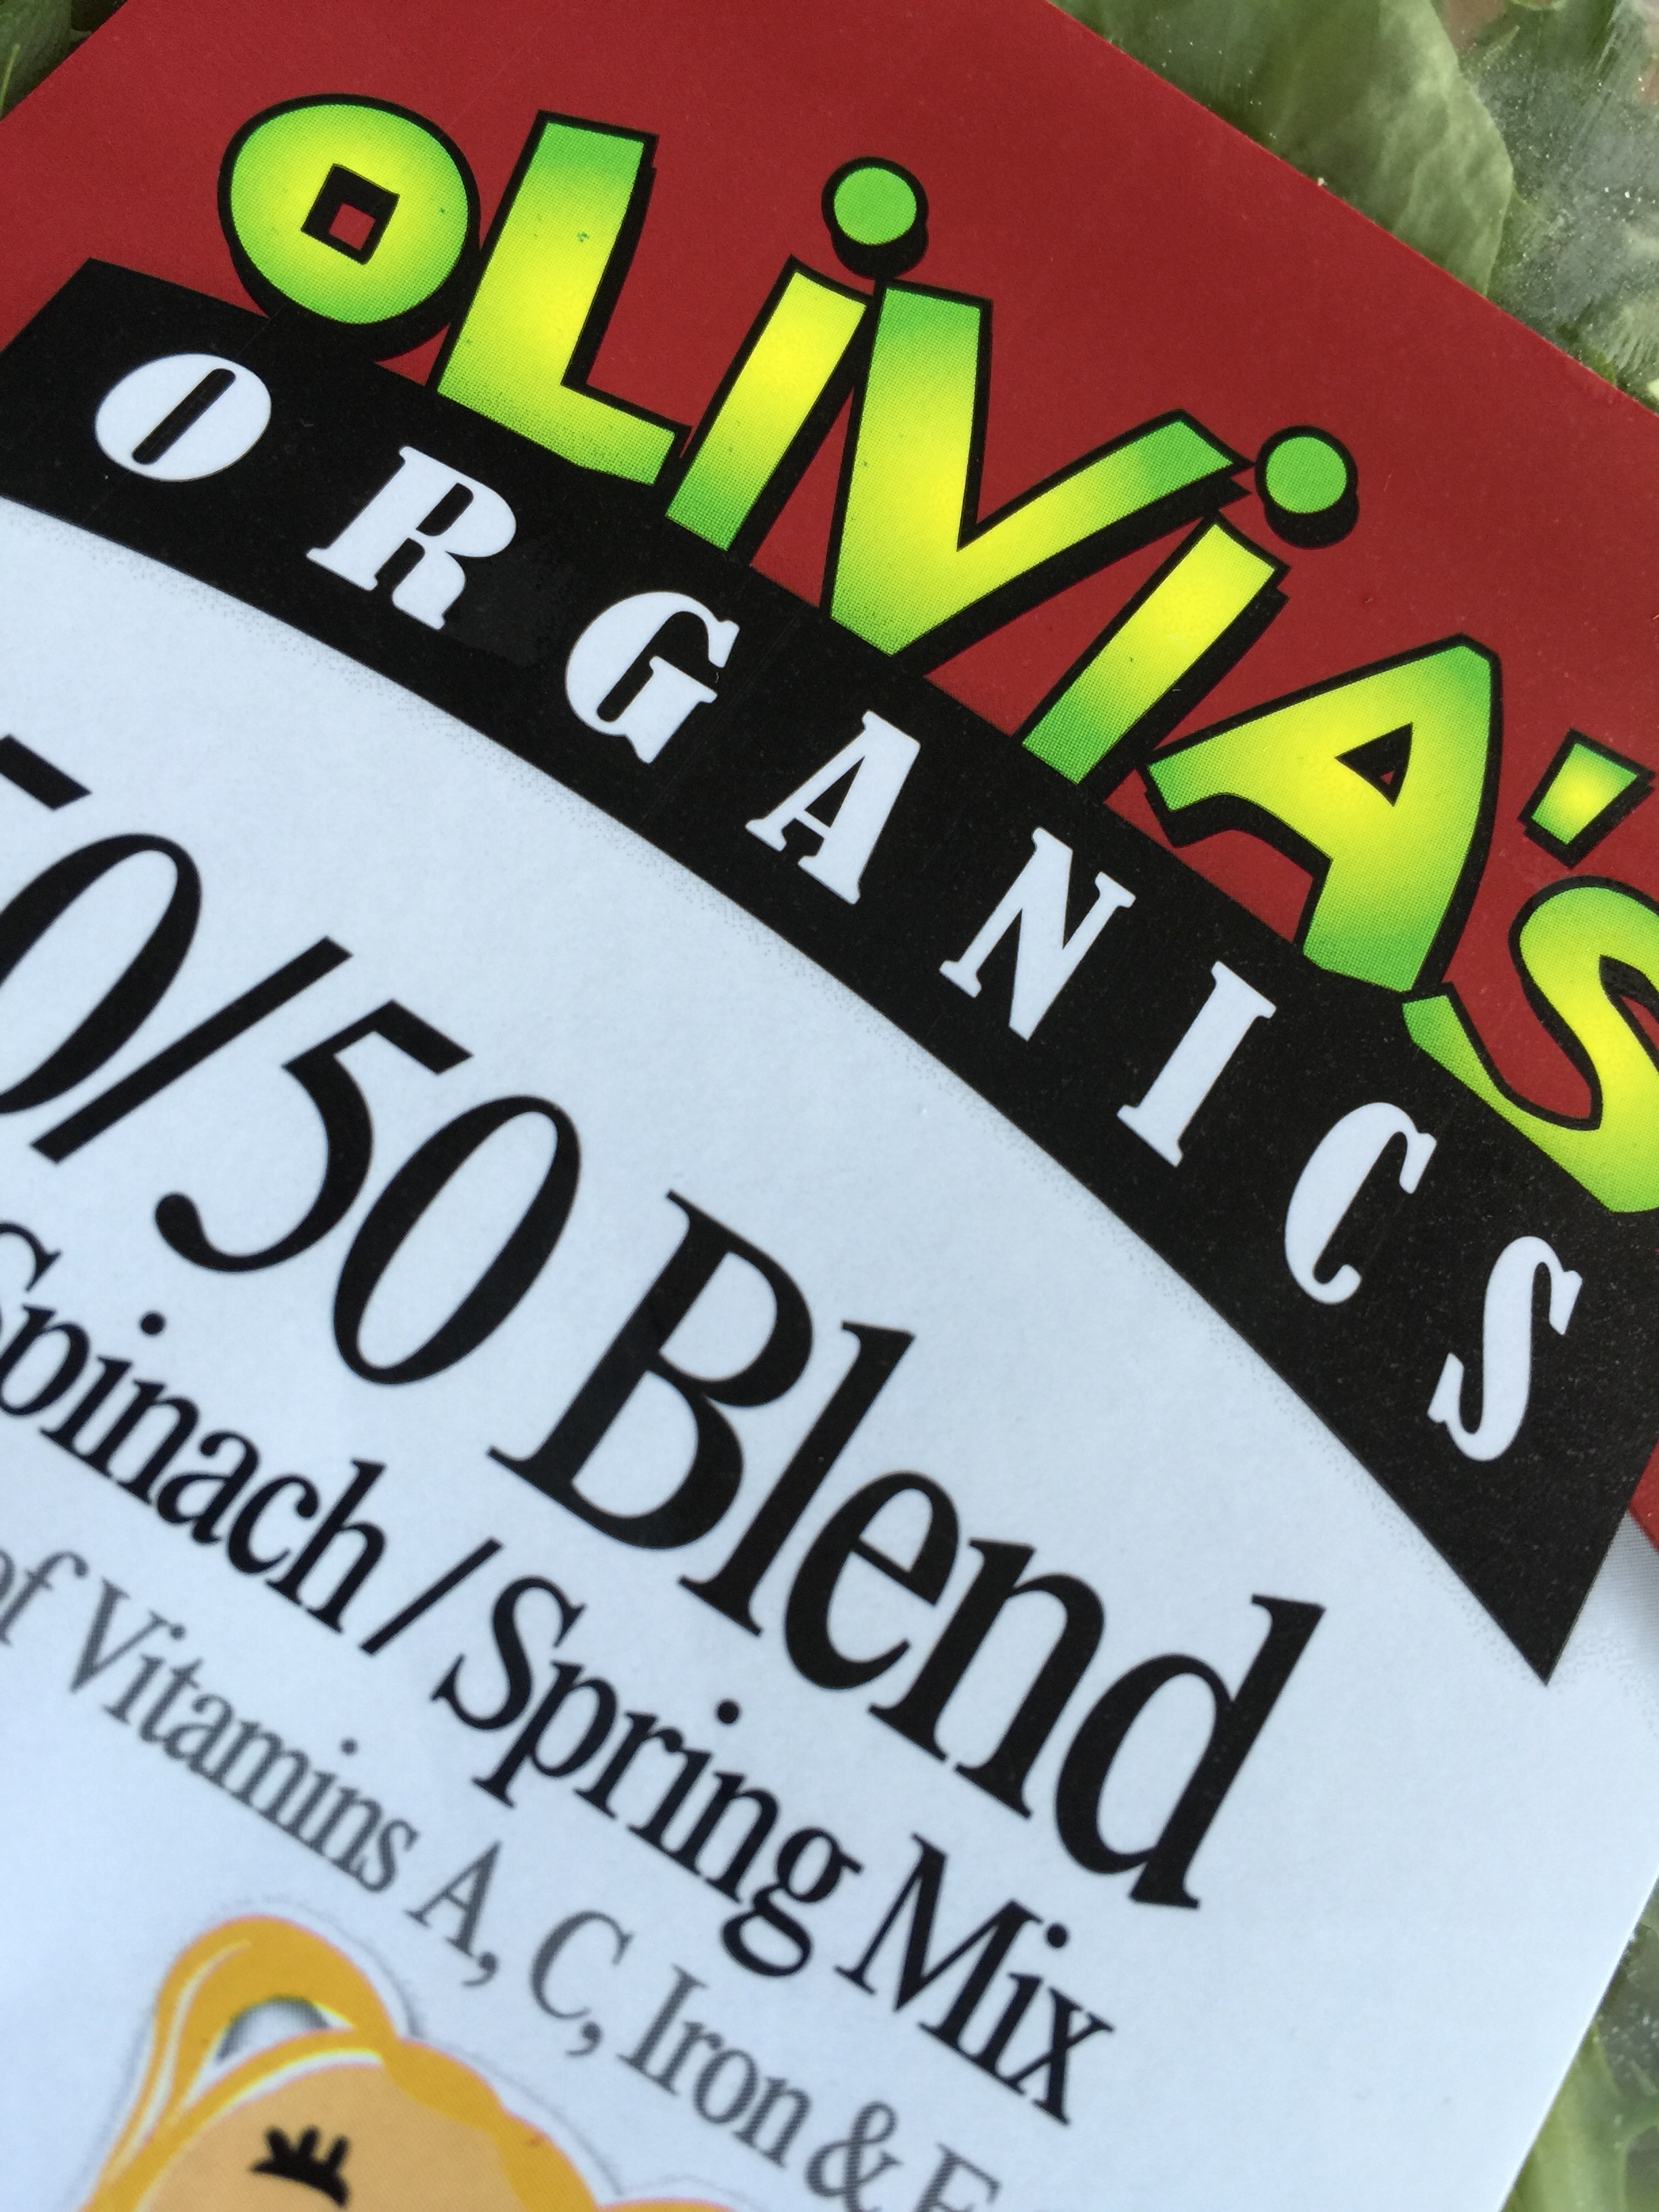
USDA Certified Organic: Product labels that feature this term are manufactured by operators who comply with annual inspections, as well as random checks, to ensure they’re adhering to the USDA’s organic standards. This includes, among many things, a three-year process to properly fortify the farmland. It’s also important to note that many local farmers that do adhere to “organic” standards can’t afford the fee to apply the “organic” label to their products. So, talk to your local farmer about it.

Here are a few permutations of the USDA’s “organic” label:

    • 100 percent organic: Product must contain (excluding water and salt) only organically produced ingredients. Products may display the USDA Organic Seal and must display the certifying agent’s name and address.
    • Organic: Product must contain at least 95 percent organically produced ingredients (excluding water and salt). Remaining product ingredients must consist of non-agricultural substances approved on the National List or non-organically produced agricultural products that are not commercially available in organic form, also on the National List. Products may display the USDA Organic Seal and must display the certifying agent’s name and address.
    • Made with more organic ingredients: Products contain at least 70 percent organic ingredients and product label can list up to three of the organic ingredients or “food” groups on the principal display panel. For example, body lotion made with at least 70 percent organic ingredients (excluding water and salt) and only organic herbs may be labeled either “body lotion made with organic lavender, rosemary, and chamomile,” or “body lotion made with organic herbs.” Products may not display the USDA Organic Seal and must display the certifying agent’s name and address.

    Of course, all this assumes honest labeling on packaging. Bottom line: read labels, ask questions, and support your local farmers.


    If you grow tomato plants in pots, you already know that you don’t need an actual garden plot to have a successful harvest of fresh produce. Herbs and greens can also be grown without much effort.

    But have you tried potatoes or sweet potatoes?

    image

    POTATOES

    Growing potatoes in pots is actually better in many ways than growing them in your garden. They can take up some serious garden space, especially tough for gardeners that have a relatively small space to grow their veggies. Putting potatoes in pots makes them concentrate their growing efforts on the limited space they’re given, and I’ve found that they produce a sizable harvest despite their restrictions.

    You can buy seed potatoes from gardening companies online but you can also go to the store and simply buy a bag of organic potatoes. Have some of them for dinner, and leave the rest in a corner without sunshine to sprout right in the bag. Because they’re organic, they haven’t been sprayed with a sprout-inhibitor, and you’ll see that they’ll start to grow in no time. (You can also place each potato in a glass of water to aid in sprouting.) Once the potatoes sprout, cut each into 2 or 3 pieces, each piece with a bud. Get a large pot you want to grow them in (plastic is lighter and easier), making sure it has holes in the bottom for drainage, and fill it with only 3 inches of soil. Gently press the potato buds into this soil about 4 inches apart and water them. Every week as they grow, keep adding soil to the pot all the way up the stems to just under the top leaves. When you’ve filled the pot with soil, let the potatoes continue growing…they’re now on their own. They will bloom, and then the stems will start to wither and die. When the stems have died off (if you can wait that long!) simply tilt the pot over and you’ll pour out your potato harvest! Lots of fun for the kids to find this “buried treasure.”


    Sweet potatoes growing in my yard in a pot with elephant ears.

    Sweet potatoes growing in my yard in a pot with elephant ears.

    SWEET POTATOES

    My wife loves sweet potato vines to decorate flower pots. So instead of  buying decorative sweet potato vines that don’t produce edible fruit, I buy edible sweet potato plants from a reliable garden catalog. I simply stick them in the potting soil next to our favorite flowers and let them grow all season long. The decorative leaves will cascade down the sides of the flower pots, but inside, under the soil surface, they’ll be secretly making delicious sweet potatoes!

    When the growing season is over, gently dig away the potting soil in the pot (I use my hands to prevent damaging the sweet potatoes) and admire your harvest!

    image

    Potatoes and sweet potatoes need to be store in a cool place away from sunlight (and away from onions.) A cool garage works great.


    My interest in food and cooking goes back to my first restaurant job as a teenager, at an Italian restaurant called Pizza City East in my hometown of Plainview, NY.  (There was also an original Pizza City on Crossbay Blvd. in Ozone Park, Queens.) It was there that I learned how to open clams by the bushel, how to make the perfect cappucino, and how to use basic restaurant kitchen equipment like the convection oven and the fryer. I peeled thousands of shrimp for scampi, washed barrels of lettuce for salads, and grated hundreds of pounds of mozzarella for pizza.

    I also made baked ziti by the barrelful. It was much easier to make in large quantities than lasagna, and it basically contained all the same ingredients. No worries about making perfect layers. No pasta sheets sticking together. Just put all the ingredients in an oven-proof baking pan, mix them around and throw them in the oven. And it tasted great.

    Now I make baked ziti, or shells, or elbows–whatever pasta I have on hand–at home, using gluten-free ingredients.

    To make the perfect baked ziti, it's important to have a good helper.

    To make the perfect baked ziti, it’s important to have a good helper.

    I substitute whole milk for the usual bechamel sauce used in many lasagna recipes. Since this dish is gluten-free, I can’t use the flour required to thicken bechamel sauce, and gluten-free flour doesn’t work here.

    1 lb. regular or gluten-free pasta
    2 lbs. (32 oz.) ricotta cheese
    1/4 cup Parmigiano Reggiano cheese
    12 oz. mozzarella cheese, grated
    1 cup whole milk
    1 can (28 oz.) whole tomatoes
    1/2 teaspoon granulated garlic
    1 teaspoon salt
    1 teaspoon oregano
    1 teaspoon basil
    1 teaspoon parsley

    image


    In a bowl, mix together the ricotta cheese, Parmigiano Reggiano, half of the mozzarella, and the milk.

    Pour  the contents of the tomato can in a blender and blend until smooth. Add this to the bowl and combine.

    Add the granulated garlic, salt, oregano, basil, and parsley to the bowl and combine again.

    Cook the pasta until just before al dente. You want it to be chewy because it will still bake in the oven. Drain the pasta and place it in an ovenproof baking dish.

    Add the contents of the cheese and milk blend bowl to the pasta and stir thoroughly to combine. It’s going to be mushy.

    Pre-heat the oven to 350°.

    Top the baking dish with the rest of the mozzarella cheese. Sprinkle a little oregano on top. Bake for 30-45 minutes, until the cheese on top has melted and it’s bubbling hot.

    Let it rest for about 10 minutes before serving.


    Baked elbows, this time with meatballs.

    Baked elbows. This time, I added meatballs.

    Now’s the time to head to your local farm stand and pick up a bag of gorgeous plum tomatoes, before the season is gone! And this is what you do with them…

    These are not sun-dried tomatoes. They’re better, because fresh plum tomatoes are still moist after roasting, with a bit of that magic tomato liquid in every cup! A great, simple platter to offer at parties.

    Tomatoes before

    Tomatoes before

    12 to 18 halved, seeded plum tomatoes
    1/4 cup extra virgin olive oil
    2 tablespoons organic cane sugar
    Freshly ground pepper
    Fleur de Sel or sea salt

    Pre-heat the oven to 250.

    Line a baking sheet with foil and rub it lightly with olive oil.

    Arrange halved and seeded tomatoes on it in a single layer, cut side up. Drizzle evenly with 1/4 cup olive oil, sprinkle with 2 tablespoons sugar, and season with pepper to taste.

    Bake the tomatoes until they are still juicy but slightly wrinkled, about 3 hours. Transfer to a platter and let cool slightly.

    Just before serving, sprinkle tomatoes with Fleur de Sel, and garnish if you like, with chopped parsley leaves, mint leaves, or basil.

    Tomatoes after

    Tomatoes after

    If you do your share of Italian recipes, a common product found in just about any store has many people confused: San Marzano tomatoes. Most good cooks agree that San Marzano tomatoes are some of the best canned tomatoes you can buy.

    But unfortunately,  the label can say “San Marzano tomatoes” even if they are not real San Marzano tomatoes.

    San Marzano is a region in Italy near Naples and Mt. Vesuvius, and the special combination of climate and volcanic soil make these plum tomatoes world-famous. They have less water, fewer seeds and are picked off the vine when perfectly ripe, then processed the same day.

    But San Marzano is a variety of tomato, too…and so you can have a can of San Marzano tomatoes that are not from San Marzano. And to add to the confusion, there’s actually a brand of tomatoes called San Marzano, with tomatoes grown in the United States. Bet your ass the sellers of these tomatoes are counting on you not to know the difference!

    Sold everywhere, but not real San Marzanos from Italy. Grown in the USA.

    The company has now changed their label, just calling it "SM."

    The company has now changed their label, just calling it “SMT.”

    Real San Marzano Tomatoes are a very old variety, extremely limited in quantity, grown and produced exclusively in the San Marzano region of Italy. Because production is so very limited, the Italian Government and the European Union have formed a way of protecting consumers from fraud by having San Marzano tomatoes tightly controlled. DOP, or denomination of protected origin, is the mechanism that the government is using to control the production and marketing of genuine San Marzano tomatoes. Labels for DOP products must be individually numbered and manually applied to each can in specific lots and government officials must oversee this application. So here’s the deal: unless you see “DOP” on the label with a hand-stamped number on the can, it’s not a real San Marzano tomato.

    Nope. Italian, but not from the region.

    Nope. Italian, and the correct variety, but not from the region.

    Nope. "San Marzano region," but not necessarily the variety.

    Nope. “San Marzano region,” but not necessarily the variety.

    Nope. San Marzan "style."

    Nope. San Marzan “style.”

    Yes! Always look for D.O.P. on the can or jar.

    Yes! Always look for D.O.P. on the can or jar.


    There are few foods that people take as personally as pizza. Tell someone that your pizza place is better than their pizza place, and chances are you’ll start a fight. Well, my pizza place is better than your pizza place, because I make it at home. Besides, I can run faster than you.

    I’m not going to say that much of the pizza that I’ve tried here in Rhode Island is mediocre, but I was born in Brooklyn and grew up working in many New York pizza places in my youth. So I do have a very strong opinion on what I think makes a good or bad pizza.

    My homemade pizza is all about the basics. The better quality my original ingredients are, the better my pizza will be:


    The dough…

    The key ingredient is 00 flour, and it can be found in specialty stores,  or online. My favorite new source is Central Milling in Logan, Utah. They make an organic 00 flour that makes for a great crust. Ratios for this recipe depend on the humidity in my kitchen on any given day, but my basic pizza dough recipe is as follows:

    6 cups (16 oz.) 00 flour
    1 1/3 cups tepid water
    1 tablespoon salt
    1 tablespoon yeast
    a squirt of extra virgin olive oil

    I mix all the dry ingredients in the bowl of a stand mixer or food processor with a dough blade, then slowly add the water as it mixes. After the ingredients are well mixed, and the dough pulls from the side of the bowl, I remove it to a floured board, where I knead the dough by hand for another 5 minutes, until it is smooth and elastic, shaping it into a ball. I rub a little olive oil over the ball of dough, place it in a bowl covered with plastic wrap, and let it rise for at least 2 hours, punching it down after that, and letting it rise at least another 2 hours again.

    The sauce…

    I’ve written before about real and fake cans of San Marzano tomatoes. I feel that San Marzanos make the best sauce, but not all cans of San Marzanos are created equal. The only way you can be guaranteed you have a real can of these beauties, grown in volcanic Italian soil in the shadow of Mt. Vesuvius, is by the D.O.P. designation on the can. (D.O.P. stands for “Denominazione d’Origine Protetta,” and signifies that it’s the real deal.) Anything else that says San Marzano may not be.

    San Marzanos are so amazing, that all I do is puree them in a food processor, pour the sauce into a pan, and let it reduce until it has thickened. No spices or additions of any kind.

    The cheese…

    I don’t need to go super-fancy with mozzarella di bufala (cheese made from the milk of the water buffalo) …but I don’t use the mass-produced supermarket stuff, either. A nice hunk of your favorite fresh mozarella is all you need.

    The toppings…

    A matter of choice. I wrote a while ago about how I make my own guanciale, a cured meat that comes from pork cheeks. Chopped and fried, that is one of my daughter’s favorite pizza toppings.

    But my signature pizza that wows my dinner guests is my marinated beef tenderloin and fried chive blossom pizza. I marinate and grill a piece of beef tenderloin, slicing it thin. And in the springtime, when my chive plants are budding like crazy, I snip the blossoms before they open and place them in freezer bags to use all year long. When it’s time, I grab a handful of the blossoms and fry them in a little olive oil, salt and pepper, and sprinkle them over the top of the beef tenderloin pizza. A touch of Fleur de Sel on top seals the deal.

    My signature marinated beef tenderloin and chive blossom pizza.

    The oven…

    Many professional pizza ovens reach a temperature of 1000 degrees. My home oven only reaches 500, but it does the trick. I do use a pizza stone, and place it on the center rack of the oven, and let it heat up thoroughly for about 45 minutes before sliding a pizza onto it for cooking.

    Recently, I’ve also started cooking pizzas on my barbecue grill (using a special stone for the grill) to add a smoky component. The grill gets hotter than my home oven, which is great, but it’s obviously a more work to set-up and clean.


    My favorite pizza?

    There are only a few pizzerias that I know of—all in NYC–that make pizza montanara, and for my money, it’s the best I’ve ever had. It’s a small, rustic pizza margherita using mozzarella di bufala and simple tomato sauce, garnished with a basil leaf. What makes it magical is the fact that after they stretch the dough–but before they put the toppings on it–they fry the dough in deep fryer with olive oil for just a minute. It puffs up like a pillow. Then they put the toppings on and quickly bake it in a very hot oven. The end result is a non-greasy, absolutely heavenly pizza cloud…the most delicious I’ve ever had.

    I’ve had some great success recreating this pizza at home, frying the dough in a very large skillet of olive oil. The challenge is removing the dough out of the skillet and into a pizza pan without dripping olive oil all over my stove and setting my house on fire! So far, so good!

    We’re home in Rhode Island for Christmas this year. Usually, we go to New York and my Lithuanian family celebrates Christmas Eve with loads of herring, smoked eel, smelts, potato pancakes, and a family favorite: porcini mushroom pierogis or grybiniai koldunai. The table is loaded with food, and we feast.

    This year, it’s a bit simpler here in Rhode Island: one main dish. For one thing, I don’t know anyone that supplies quality herring or smoked eel around here. And secondly, the one dish I’m making is simply fantastic.

    One of the best dishes we’ve ever had on the beautiful island of Santorini, Greece, is lobster with pasta. It sounds so simple, bit it’s one of those dishes that takes time to prepare, because the lobster sauce they make is made to order…time consuming but so spectacular.

    Cooked lobster LTL

    To try to recreate that lobster sauce we had in Santorini, I start with a kick-ass lobster stock. It’s simple but flavorful:


    Stock ingredients:


    2 1-1/2 lb. lobsters, slightly under-cooked

    12 cups water

    1/2 onion, chopped into quarters

    3 celery stalks, chopped into quarters

    1 carrot, chopped into quarters


    Under-cook (steam or boil, whatever your favorite method) the lobsters, less than the usual 8 minutes, or so. Remove the lobster meat from the shells and set aside.

    Place the cleaned lobster shells, claws, tails, legs and bodies in a large pot. (You don’t want any of the internal organs or tommaley.) Add the water, onion, celery and carrot. Set heat on high. Crush the lobster shells with potato masher as it cooks. Cook until it is reduced by half.

    Strain the stock, discarding the lobster shells and veggies. Bring the stock back to the heat and reduce until all you have left is 1 cup of intense stock.


    Pasta with lobster sauce

    Lobster sauce ingredients:


    1/2 onion, finely chopped

    1 garlic clove, finely chopped

    pinch of Italian red pepper flakes

    teaspoon parsley

    extra virgin olive oil

    1/2 cup lobster stock

    1/4 cup San Marzano tomato sauce (see below)

    splash of white wine (I use Alice white Chardonnay)

    salt and pepper


     Also:


    reserved lobster meat

    1/2 lb. cooked pasta


    Add some olive oil to a large pan and saute the onions until translucent. Season with salt and pepper. Add the garlic and cook for 10 seconds. Add the red pepper flakes and parsley.

    Add 1/4 cup of the lobster stock and let it cook, reducing by half. Add the other 1/4 cup of lobster stock and the tomato sauce. Let it cook for a couple of minutes and add the white wine. Cook for a few minutes more.

    Cook the pasta and drain it even before it reaches the al dente stage. Place the pasta in the pan with the sauce, heating and coating thoroughly. Add the reserved lobster pieces and warm them through, tossing in the sauce. Serve immediately.

    For the San Marzano tomato sauce: I take a can of San Marzano tomatoes and place it in a food processor or Vita-Mix and blend. Pour into a pan and reduce over medium heat by half, until sauce has thickened.

    Walker’s farm stand, in Little Compton, Rhode Island, is open for just one more week! The fall colors are just spectacular!

    image


    image


    image


    image


    image


    image


    One of the most incredible dishes I’ve had on the beautiful island of Santorini, Greece, is lobster with pasta. It’s one of those dishes that takes time to prepare, because the pasta lobster sauce they make is a labor of love…time consuming but so spectacular.

    Cooked lobster LTL

    I often have friends over for dinner, but when I prepared this dish for them recently, it was the first time they all licked their plates clean!

    To try to replicate that lobster sauce we had in Santorini, I started with a kick-ass lobster stock. It’s simple but flavorful:

    Stock ingredients:

    clean, empty claws, tails and bodies from two 1-1/2 lb. lobsters (use the legs, too)

    12 cups water

    1/2 onion

    3 celery stalks

    1 carrot

    Place all ingredients in a large pot and set on high heat. Crush lobster shells with potato masher. Cook until it is reduced by half.

    Strain the stock, discarding the lobster shells and veggies. Bring the stock back to the heat and reduce until all you have left is 1 cup of intense stock.

    Now that you have the stock, you can make the sauce!

    Pasta with lobster sauce

    Sauce ingredients:

    1/2 onion, finely chopped

    1 garlic clove, finely chopped

    pinch of Italian red pepper flakes

    teaspoon parsley

    extra virgin olive oil

    1/2 cup lobster stock

    1/4 cup San Marzano tomato sauce (see below)

    splash of white wine (I use Alice white Chardonnay)

    salt and pepper

    1/2 lb. cooked pasta

    Add some olive oil to a pan and saute the onions until translucent. Season with salt and pepper. Add the garlic and cook for 10 seconds. Add the red pepper flakes and parsley.

    Add 1/4 cup of the lobster stock and let it cook, reducing by half. Add the other 1/4 cup of lobster stock and the tomato sauce. Let it cook for a couple of minutes and add the white wine. Cook for a few minutes more.

    Cook pasta and drain even before it reaches the al dente stage. Place the pasta in the pan with the sauce, heating and coating thoroughly. Serve immediately.

    For the San Marzano tomato sauce: I take a can of San Marzano tomatoes and place it in a food processor or Vita-Mix and blend until I get sauce. Pour into a pan and reduce over medium heat by half, until sauce has thickened.

    There’s something magical about a simple plate of spaghetti and meatballs. When my parents took me to an Italian restaurant as a child, a plate of spaghetti and meatballs made me feel like the luckiest kid on the planet. And even now, when I prepare a plate of spaghetti and meatballs for my 7-year-old daughter, she can’t wait to sit down at the dinner table. She’s so busy shoveling the food into her mouth, she can’t even speak. I just get a quick thumbs-up between bites! meatballs


    Great meatballs start with great meat. I always use 80/20 grass-fed beef. I don’t use a ton of breadcrumbs as filler. And the tomato sauce is homemade as well, from canned tomatoes. I start with the sauce…


    B.F.I.M. SAUCE

    Inspired by a lovely but large Italian lady I once knew, my Big Fat Italian Mama sauce is the best tasting sauce I’ve had anywhere.


    Ingredients:

    1 medium onion, finely chopped

    2 cloves garlic, through a press

    1/2 cup extra virgin olive oil

    10 cups ground and peeled tomatoes…or 3 cans (28 oz.) tomatoes pureed in food processor

    2 teaspoons each: dried oregano, basil and parsley

    3/4 teaspoon each anise seed and fennel seed

    1 1/2 teaspoons salt

    1/2 teaspoon black pepper

    2 bay leaves

    1 small can (6 oz.) tomato paste

    1 teaspoon sugar (optional)


    Heat olive oil in a large pot and add the onions. Cook until onions are translucent, then add the garlic. Stir for 10 seconds.

    Add tomatoes and cook on high until orange foam disappears, stirring frequently. Don’t let it burn.

    Add oregano, basil, parsley, anise seed, fennel seed, salt and pepper, bay leaves and tomato paste. Allow sauce to just come to a boil so that the tomato paste reaches optimum thickening power.

    Reduce heat to a simmer and cook for at least an hour, until sauce reaches desired thickness. Stir often.


    While the sauce is cooking, I start the meatballs…


    THE BALLS


    Ingredients:

    2 lbs grass-fed ground beef

    1 cup plain breadcrumbs (homemade are best)

    2 tablespoons dried parsley

    2 tablespoons dried oregano

    1 tablespoon dried basil

    1 tablespoon granulated garlic

    1 tablespoon onion powder

    1 teaspoon black pepper

    2 teaspoons salt

    2 eggs, cracked and scrambled

    1/2 cup extra virgin olive oil


    Mix all the ingredients, except the olive oil, thoroughly but gently in a large bowl. Don’t overwork it.

    Pour olive oil a medium-hot pan (don’t let it burn), make the meatballs, and sear them on all sides until brown.

    When the meatballs are nice and brown, place them into the pot of sauce, making sure they are covered. Pour all the little bits and the olive oil from the pan into the sauce as well! Great flavor there.

    Cover the pot and cook the meatballs in the sauce on low for a few hours. Pour over pasta, and sprinkle with freshly grated Parmigiano Reggiano.