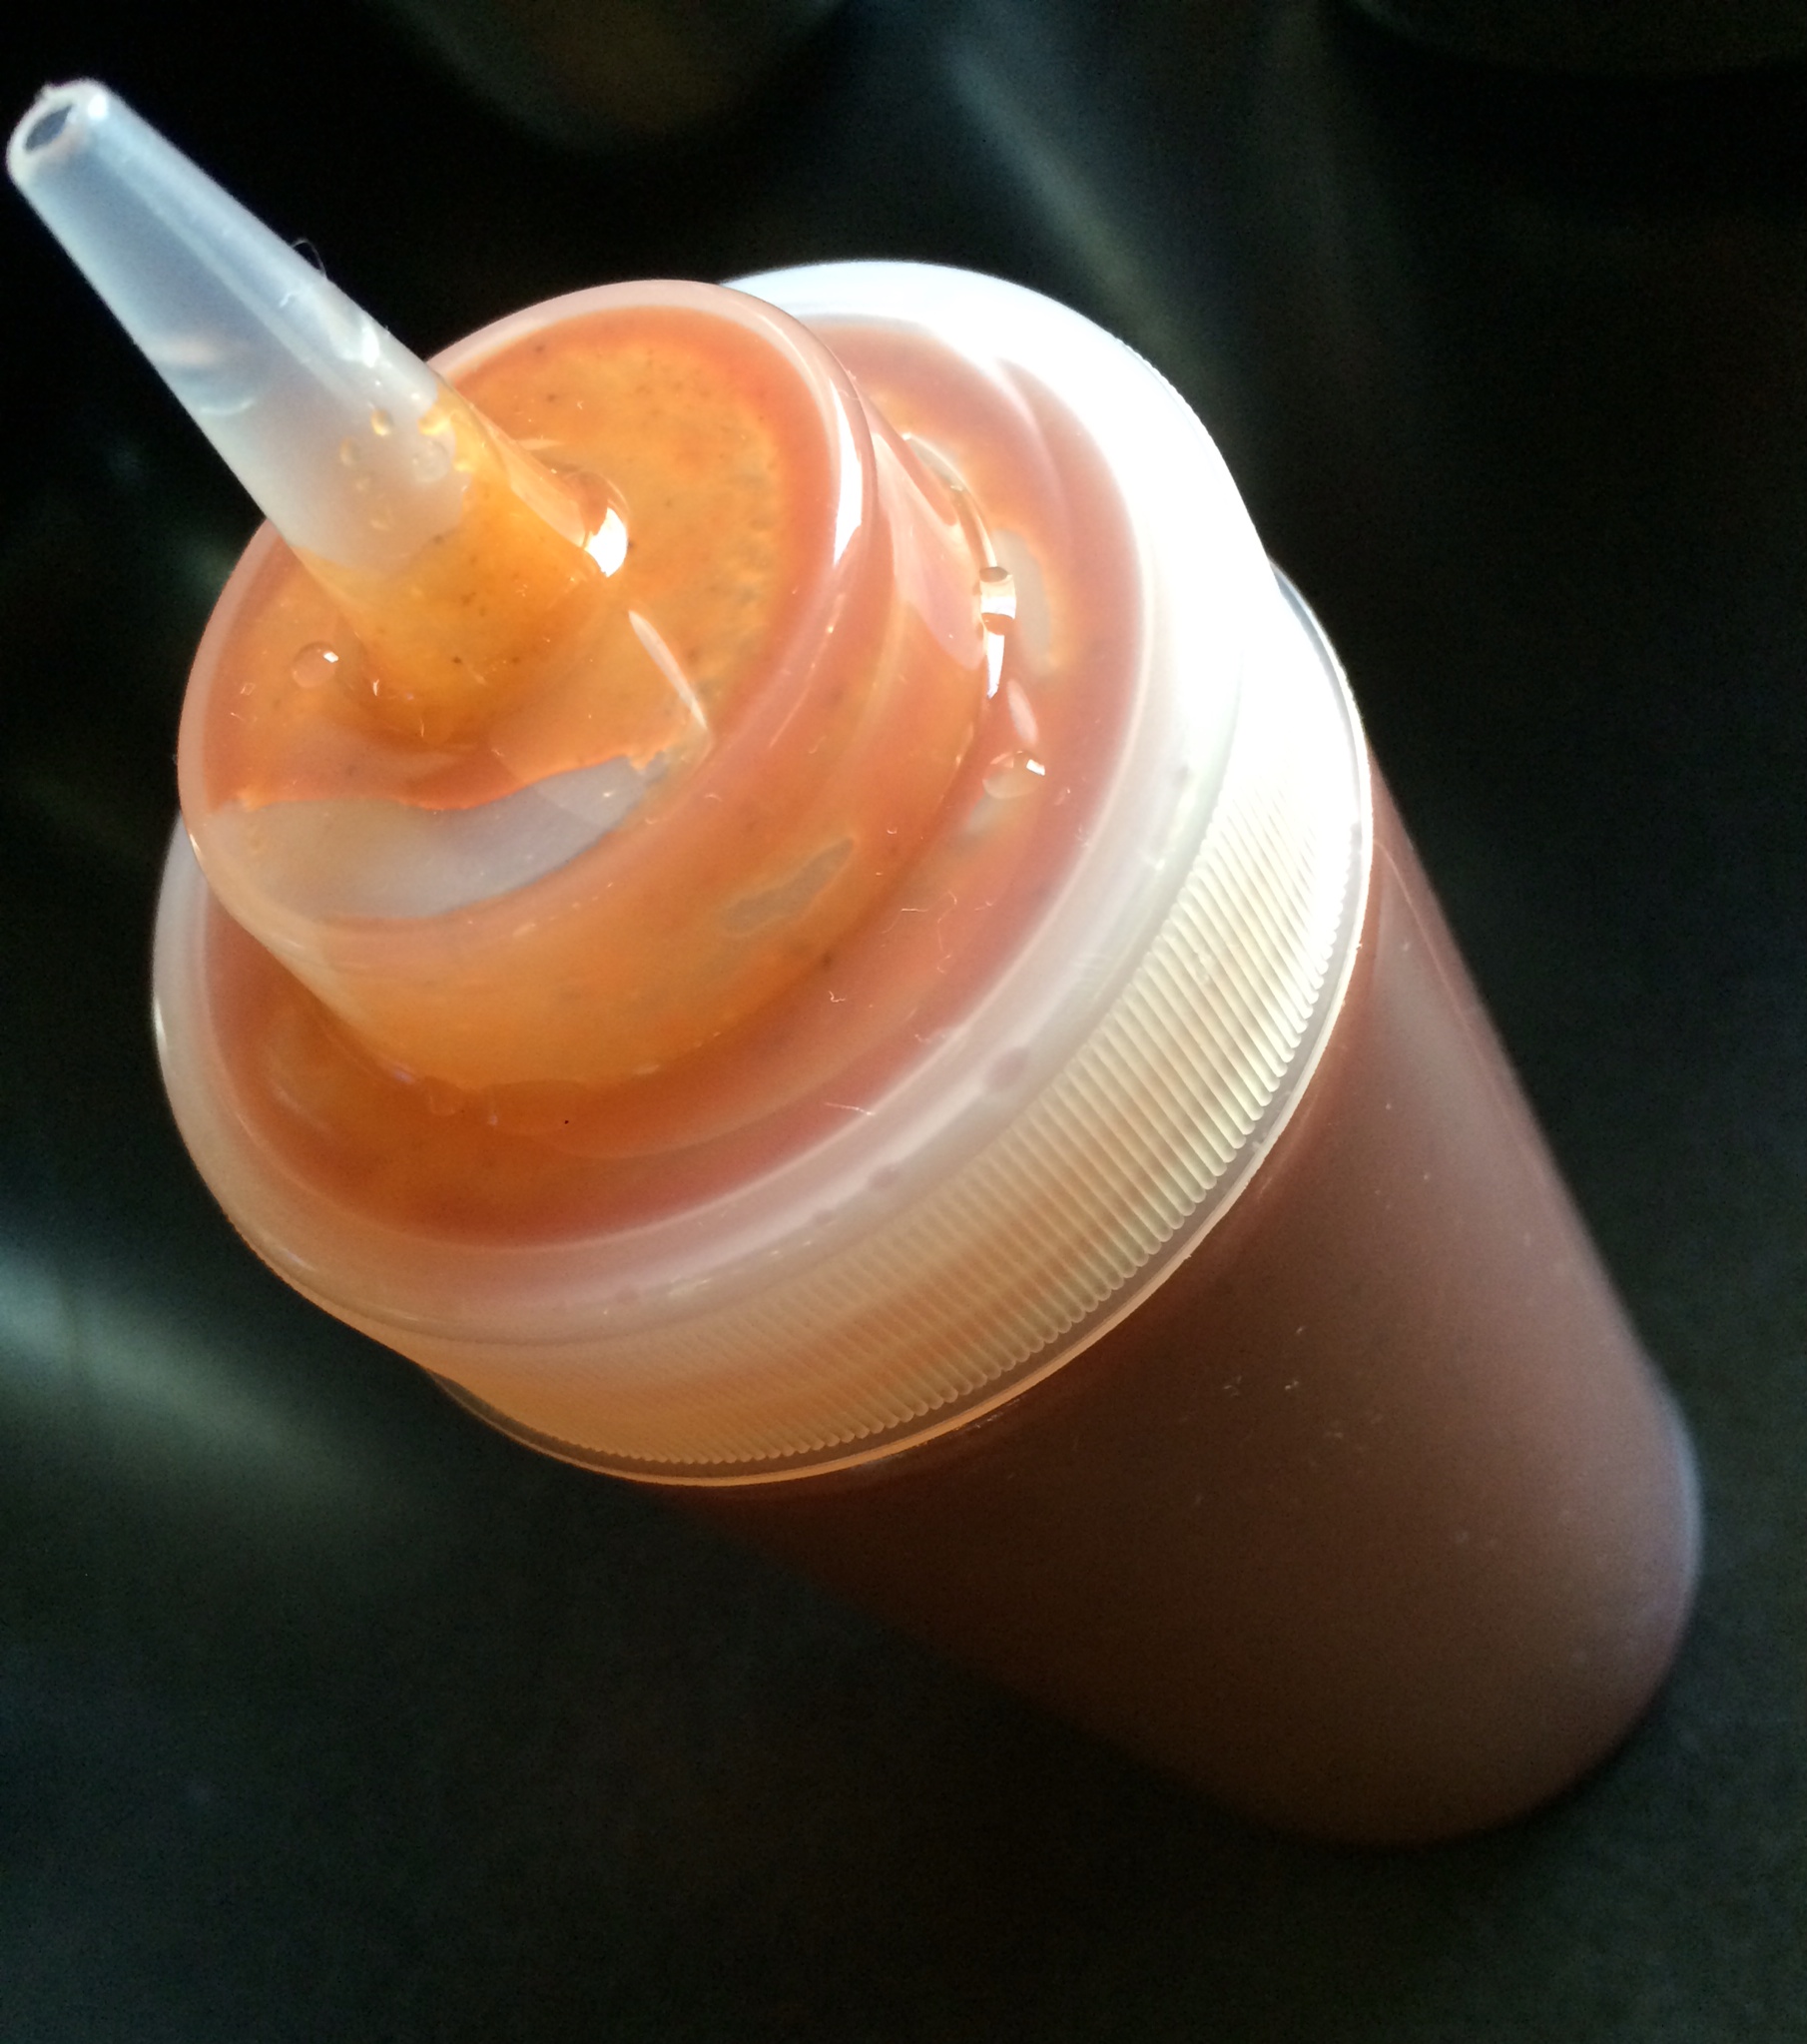
I grill year-round. I’ll stand in 3 feet of snow to get smoked ribs just right, if I have to. Through years of tireless experimentation, I’ve come up with a barbecue sauce that I can be proud of. I prefer a slightly sweet and tangy barbecue sauce, and it works really well with pork or chicken.
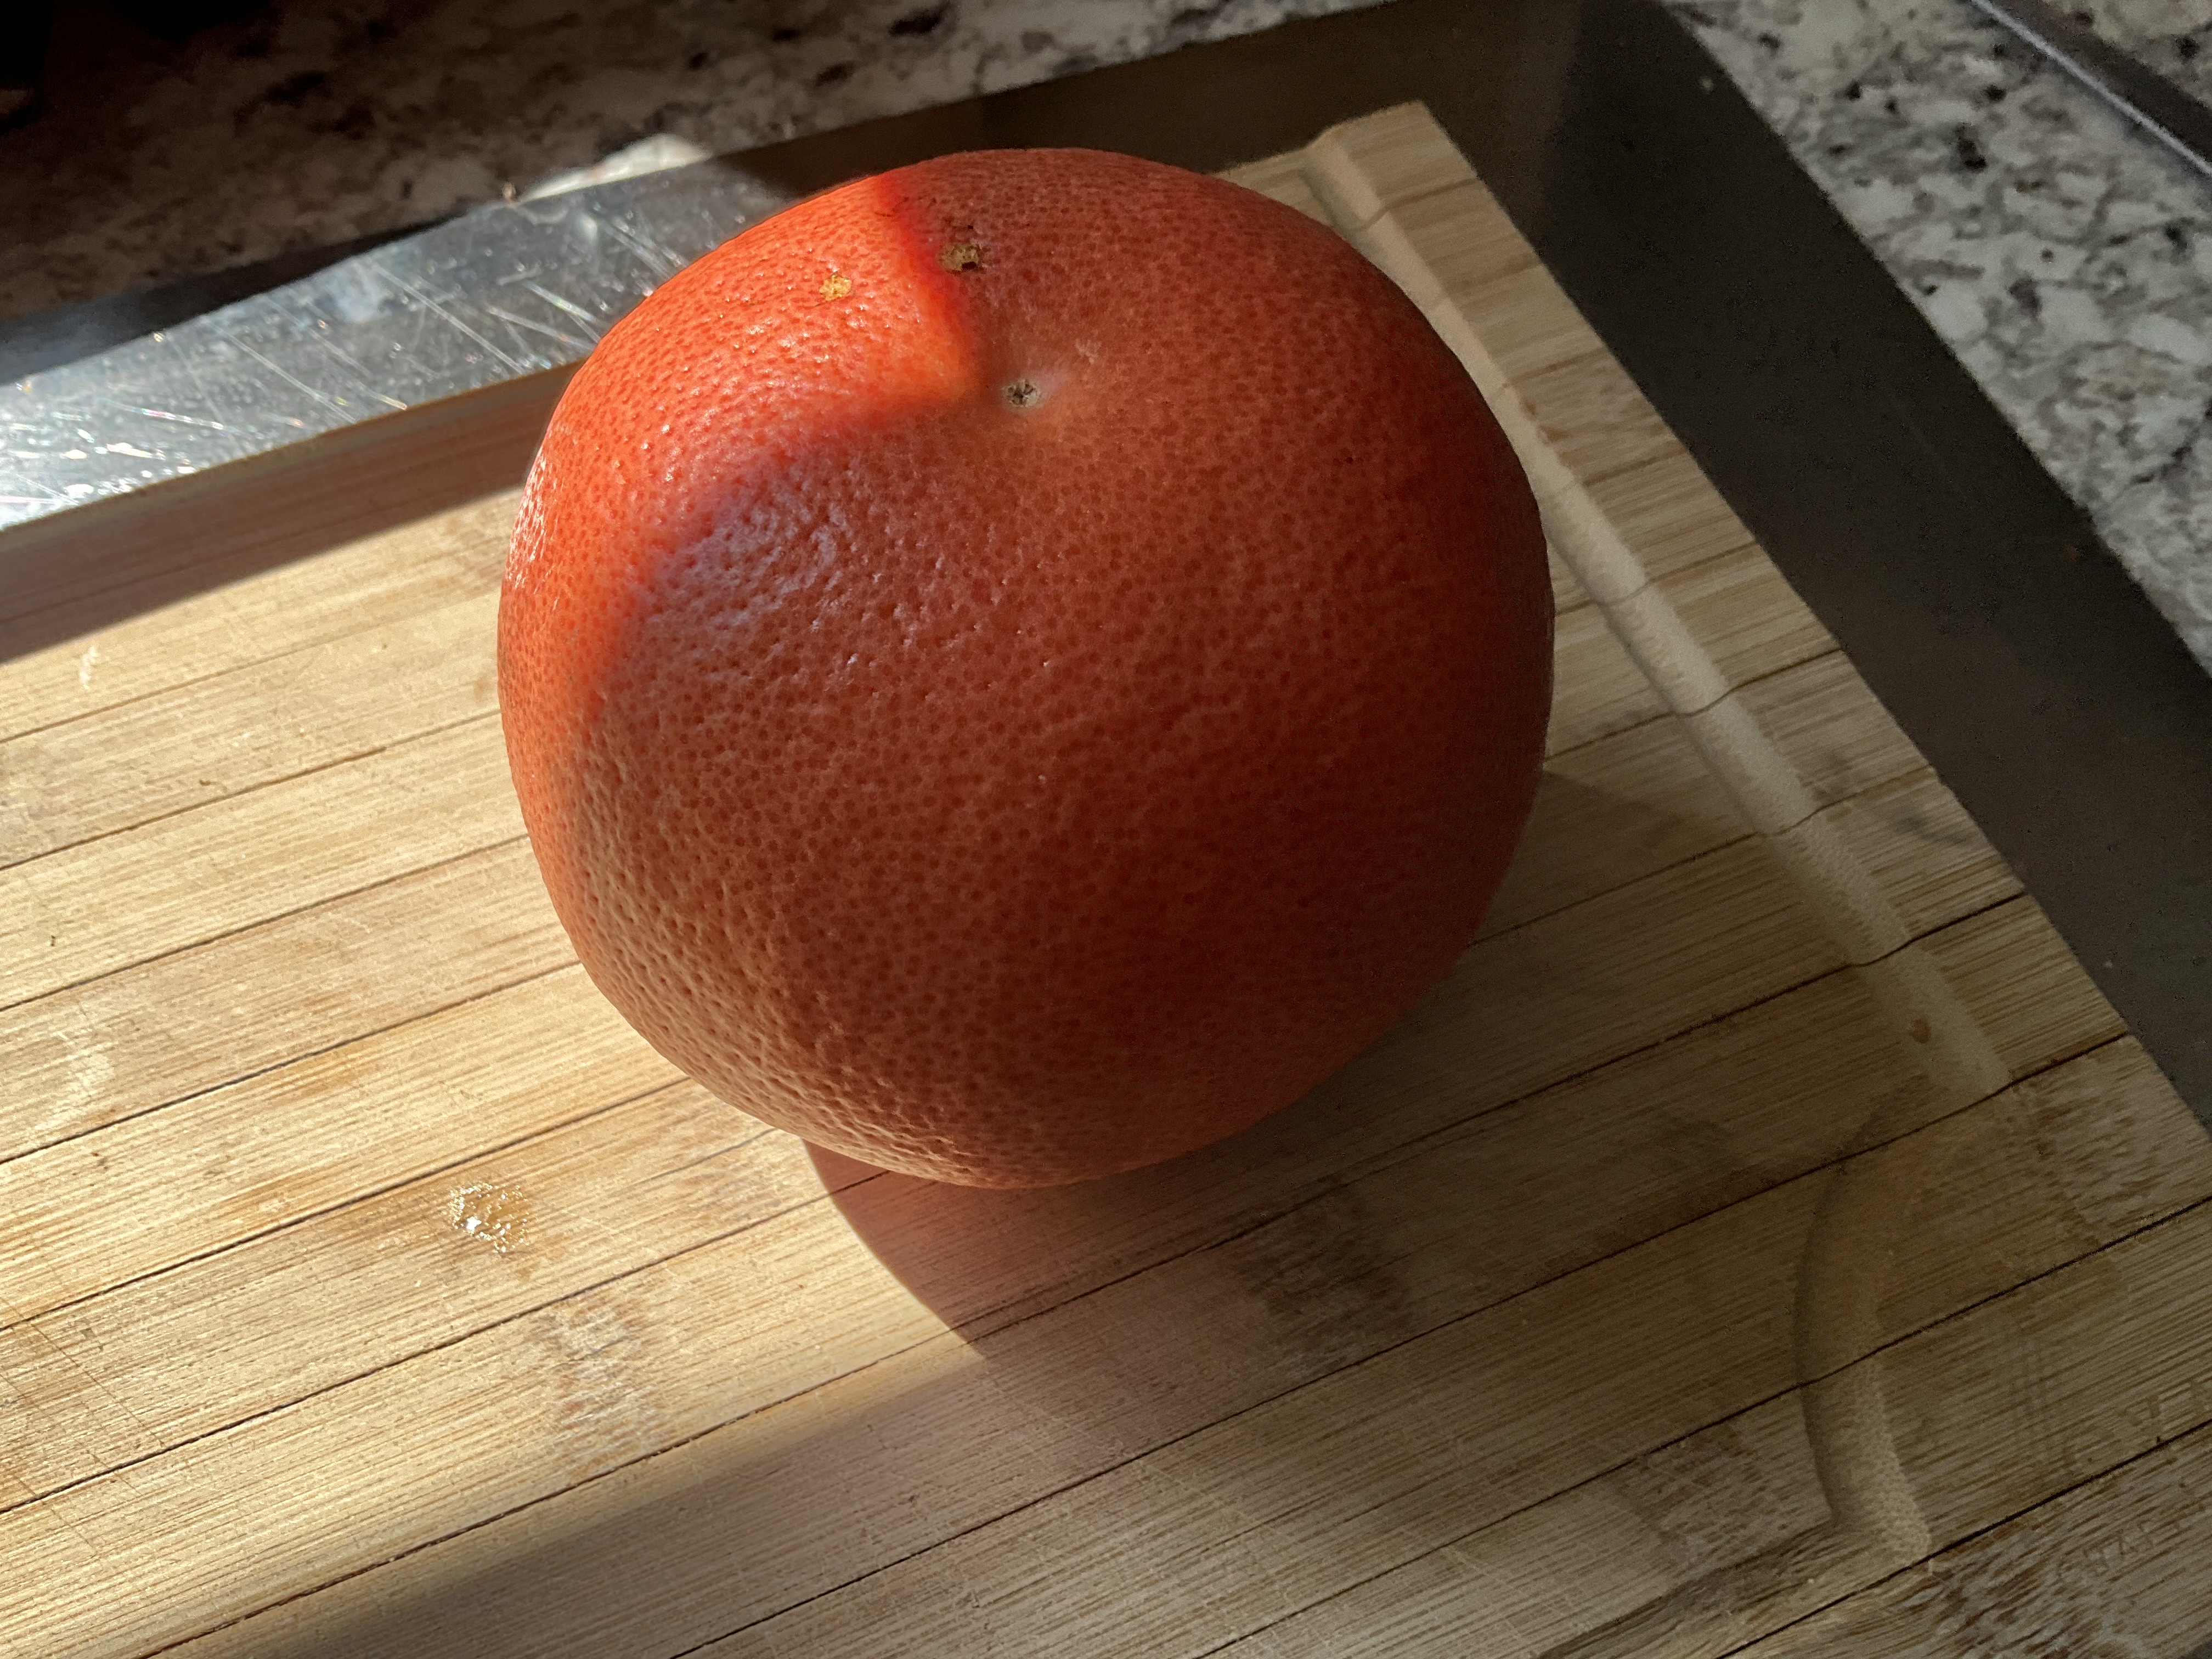
What makes this sauce special is the citrus. I originally used lemon juice for this recipe and it was good. Lime juice was better. Adding lime zest: even better than that. I tried orange juice and zest, even Meyer lemon. But the Big Daddy of ’em all was grapefruit. I was craving my barbecue sauce one day and only had a grapefruit in the fridge. I thought: how bad could this be? Turned out to be the perfect foil to the sweetness of the brown sugar and ketchup.
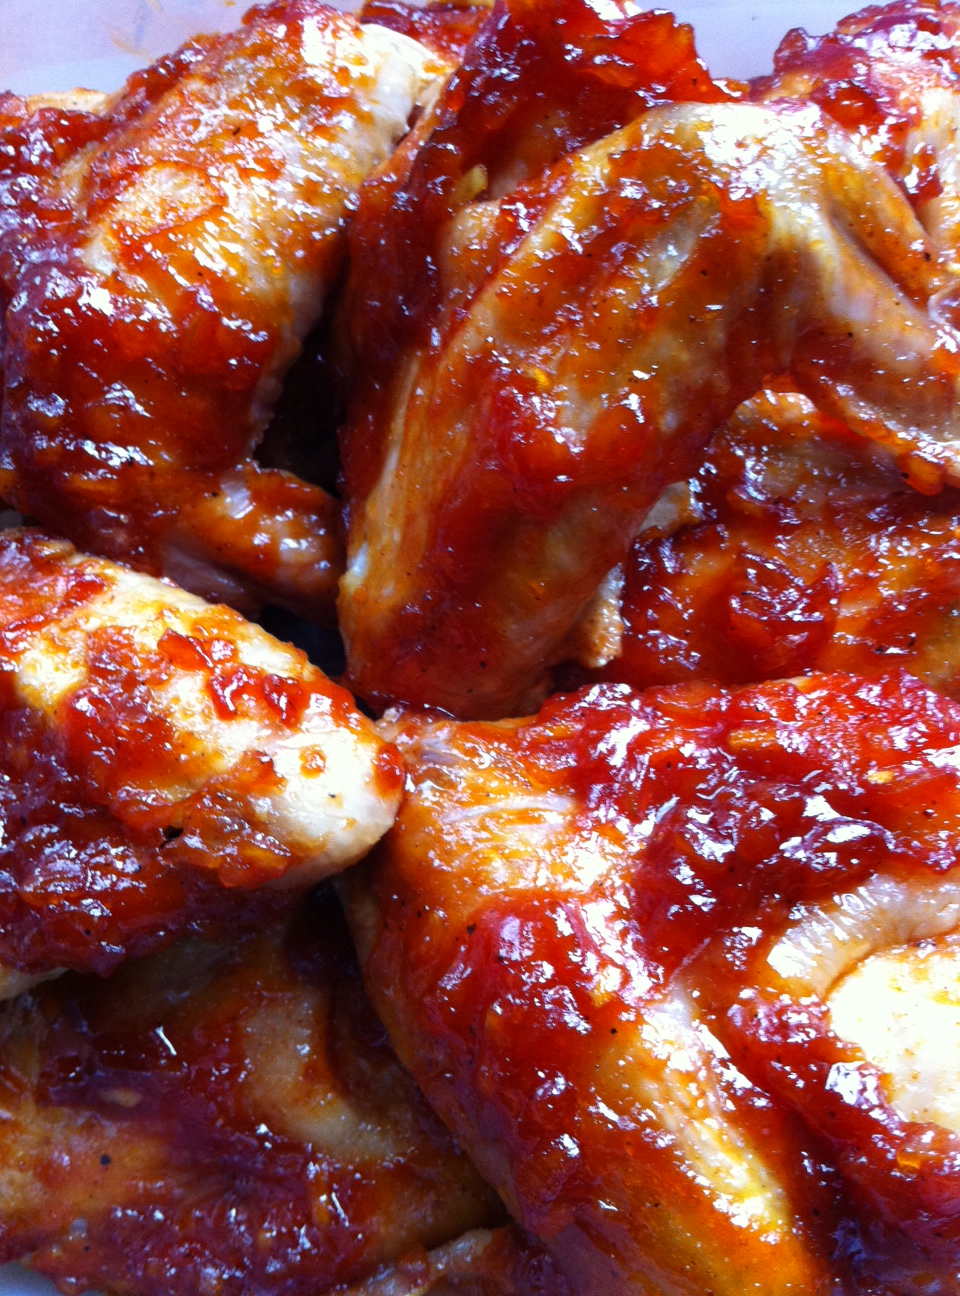
Try this sauce on your next rack of ribs, batch of chicken wings, or even a whole bird. Cook the meat almost all the way through, brushing the sauce on for the last 20 minutes so that the sugars don’t burn. Then just try to stop eating it!
GRAPEFRUIT BARBECUE SAUCE
1 cup ketchup
1/2 cup firmly packed brown sugar
Juice and zest of 1 grapefruit
3 tablespoons unsalted butter
1 teaspoon granulated onion
1 teaspoon cayenne pepper sauce, like Frank’s Red Hot
1 teaspoon Worcestershire sauce
1 teaspoon granulated garlic
1/4 teaspoon black pepper
(no salt)
Combine all the ingredients in a sauce pan. Bring it to a boil and then simmer for about 20 minutes on low, until it’s slightly thickened.
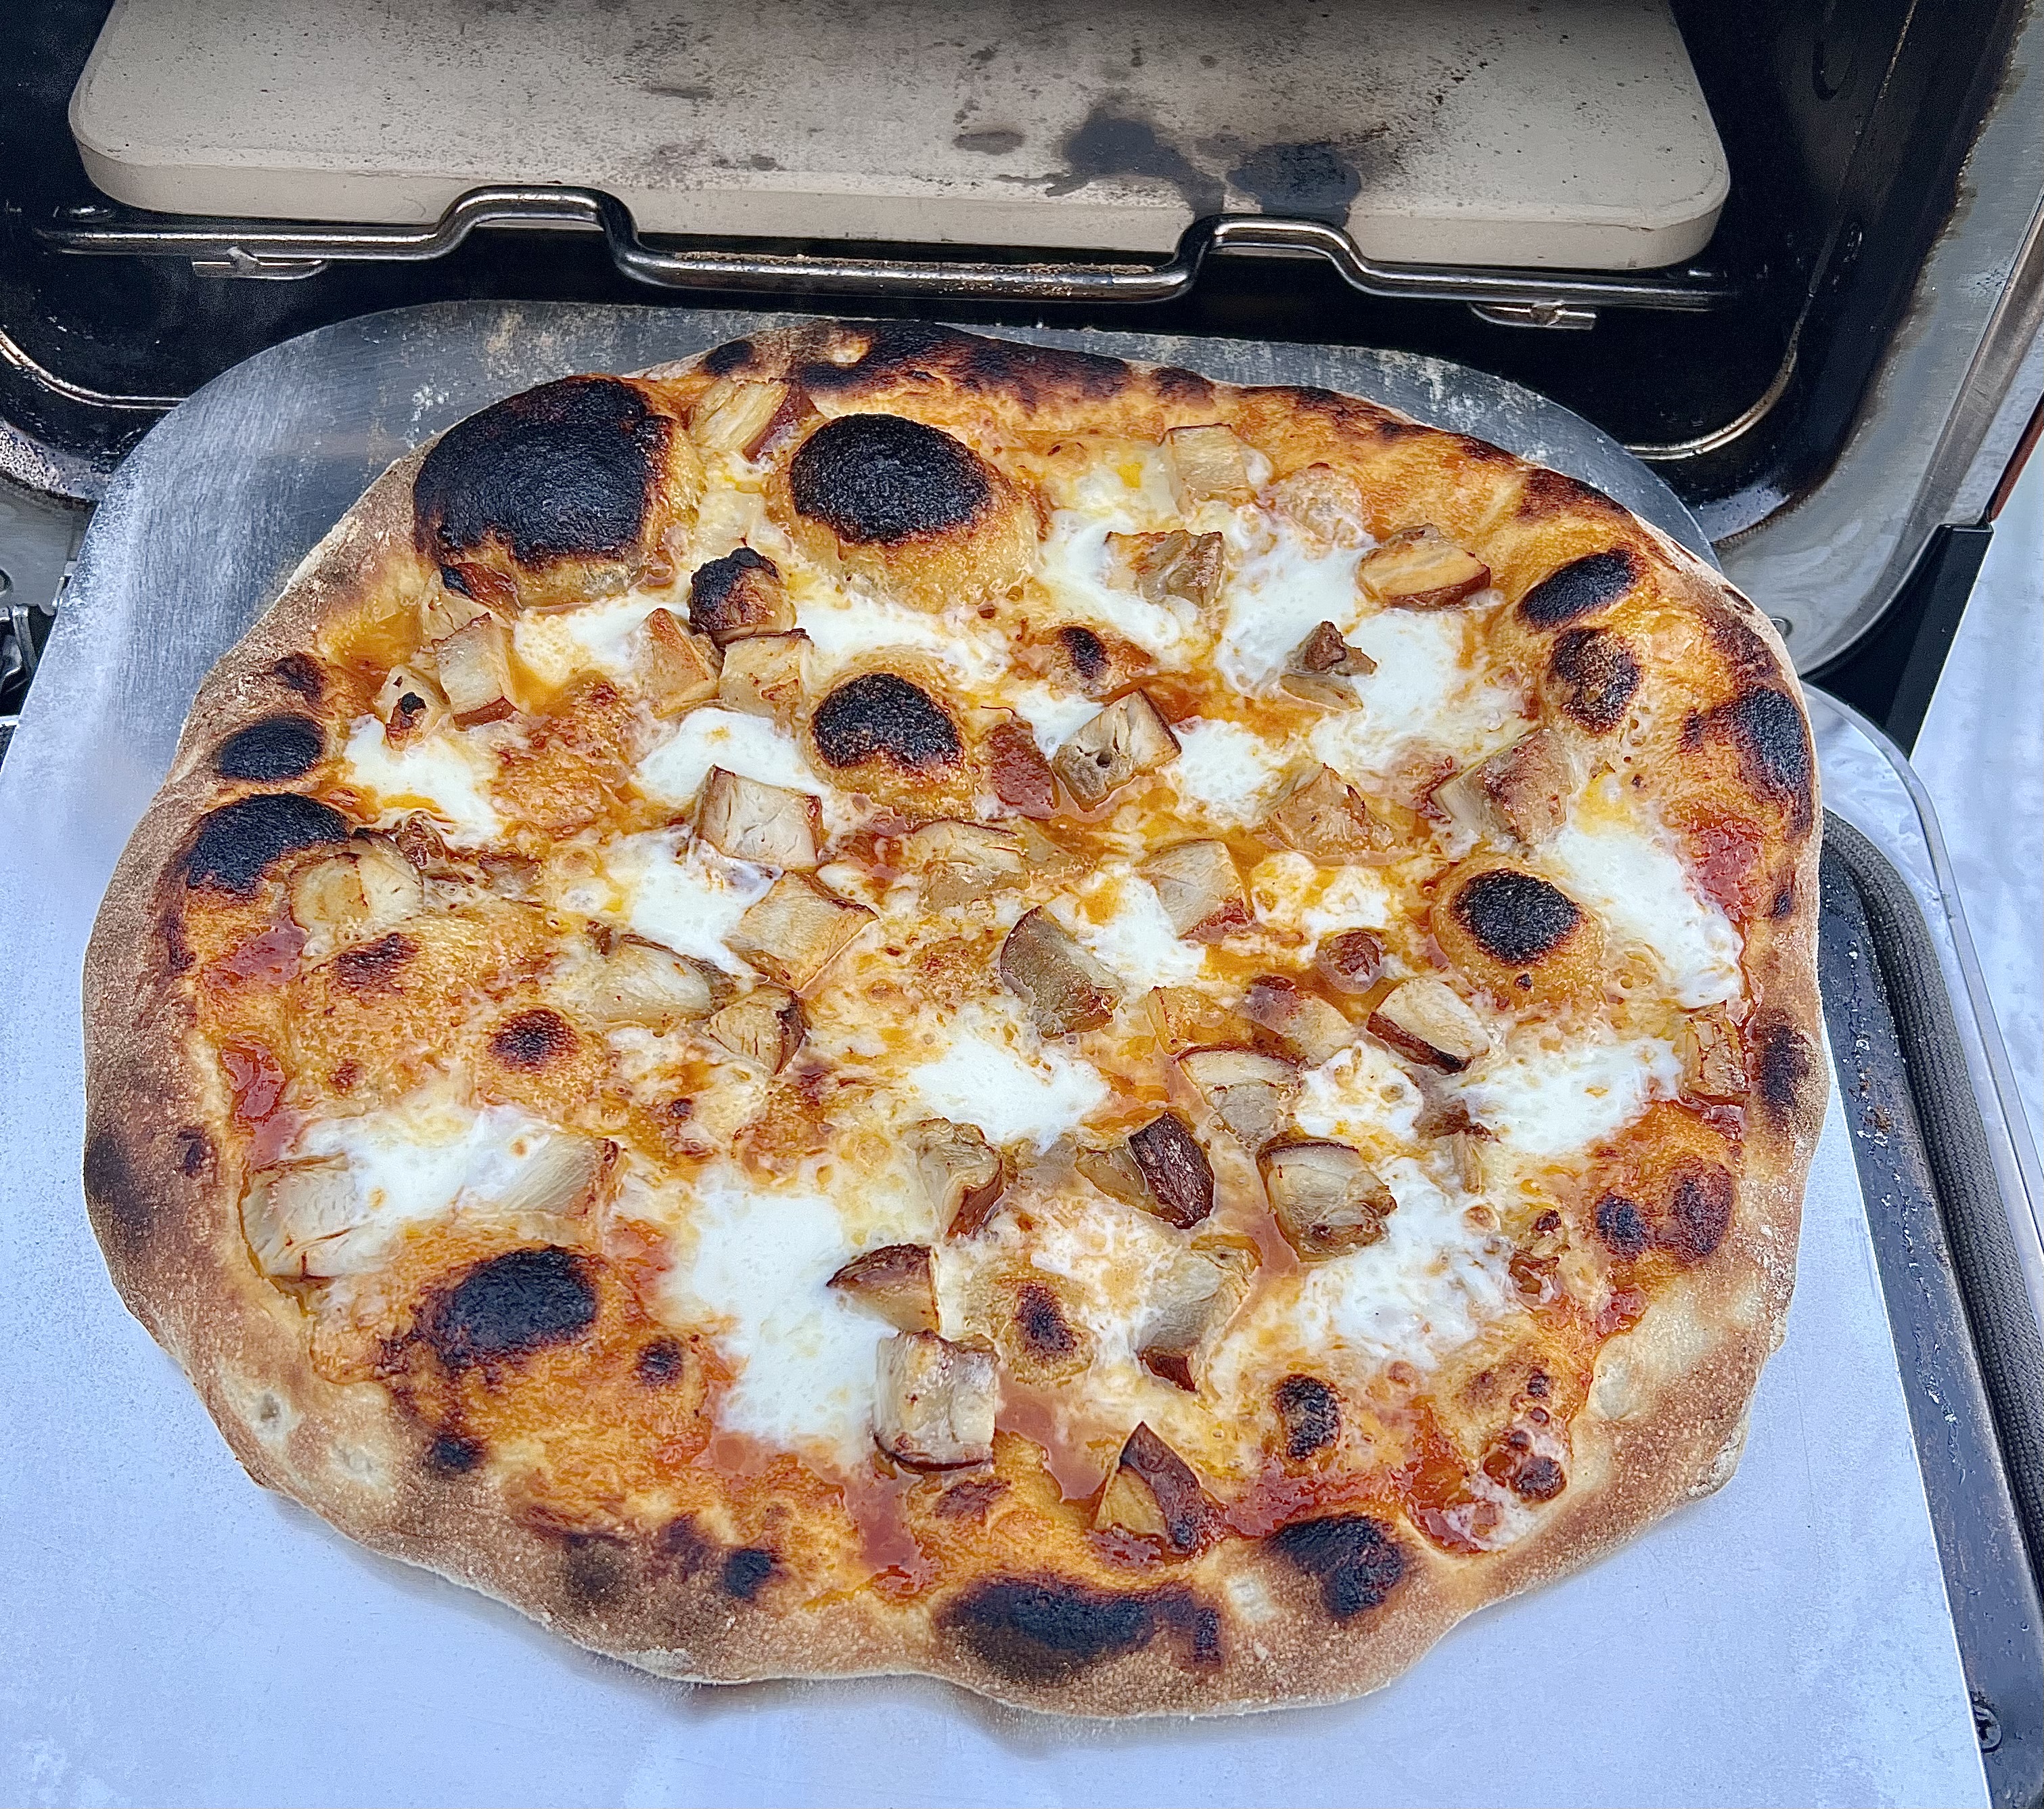
It’s almost impossible to imagine that there would be any leftovers, but the last time I made a batch of boneless skinless barbecued chicken thighs with the sauce, we had a little bit left over. So we decided to make a barbecued chicken pizza with it the next day.
Fresh pizza dough, some of the barbecue sauce, a combination of sharp cheddar and mozzarella cheeses, and of course, the barbecued chicken thighs.
These pancakes are made from fresh ricotta cheese, whether homemade or store-bought. Light as air…and really delicious! I’ve made a few batches of fresh ricotta cheese in my day, but when my daughter has a craving for pancakes at the last minute, a good-quality store-bought ricotta cheese will do.
1 1/2 cups all-purpose flour (I use Cup4Cup GF flour if I want to make these gluten-free)
1/4 cup yellow cornmeal
2 tablespoons sugar
1/2 teaspoon salt
1/2 teaspoon baking powder
1/2 teaspoon baking soda
2 cups milk
2 large eggs, separated
1/2 cup fresh ricotta
In a large bowl, combine the flour, cornmeal, sugar, salt, baking powder and baking soda. In another large bowl, whisk together the milk, ricotta, and egg yolks. Fold the wet ingredients into the dry ingredients.
In a large stainless steel bowl, whisk the egg whites until they are stiff, but not dry. Fold gently into the batter.
Spray a non-stick griddle with a little cooking spray and drop about 1/4 cup of batter per pancake. Cook over medium heat for about 2 minutes per side, until golden and fluffy.
Sometimes, a cool adult beverage is just what you need after a long day of yard work. The cucumber plants in my garden have started producing, so it’s time to make this refreshing cocktail!
4 fresh cucumbers, peeled and seeded
Small ice cubes
1 cup loosely packed fresh mint leaves
2 teaspoons granulated organic cane sugar
3 tablespoons fresh lime juice
4 oz. vodka (I like Tito’s or Ketel One)
1 oz. orange liqueur (I like Cointreau)
Peel and seed the cucumbers. Coarsely chop them and then purée them in a food processor until smooth. Strain them through a fine sieve, pressing the solids to extract as much liquid as possible. Or, if you have one, use a juicer. Set the extracted cucumber juice aside.
To a large glass pitcher, add the mint leaves, sugar and lime juice. Muddle the ingredients so that the mint leaves release their oils. Add 3/4 cup (at least) of the cucumber juice. Add the vodka and Cointreau. Muddle again briefly.
Fill tall drinking glasses with ice cubes. Strain the cocktail into the glasses. Garnish with a cucumber spear or peel…or mint.
If you grow your own cucumbers and mint in your garden, this cocktail tastes even better…a fine reward for a job well done!
It’s not often that my daughter spends extended time at my house, so when I asked her for a food shopping list, and she said she was craving applesauce, I went out and bought a few pounds of organic apples to make my own. Applesauce is so easy to make, I don’t know why people buy that over-sweetened over-processed stuff in the supermarket.
Apples are a heavily sprayed crop, so I always buy organic. (Sadly, that’s also why I never go to you-pick-’em orchards anymore. For those apples to look as pretty as they do, they’ve been sprayed with a ton of pesticides, which I prefer not to eat. You can’t wipe or even wash them off completely.)
My basic applesauce has only 4 ingredients. And if you don’t want any sweetener at all, it’s 3. Can’t be easier than that. The hardest part is getting the apples ready.
Apples, cinnamon, and water. That’s it.
I happened to have a bunch of organic Fuji apples this time, but use whatever apples you like. My Mom used to combine varieties. It’s up to you.
And if I choose to sweeten my applesauce, I use maple syrup instead of sugar.
2 lbs. organic apples, peeled, cored, and cubed 1/3 cup water 1/2 teaspoon cinnamon 1/4 cup (or more) maple syrup
I clean and peel the apples and chop them up into nice chunks, placing them in a pan with the water.
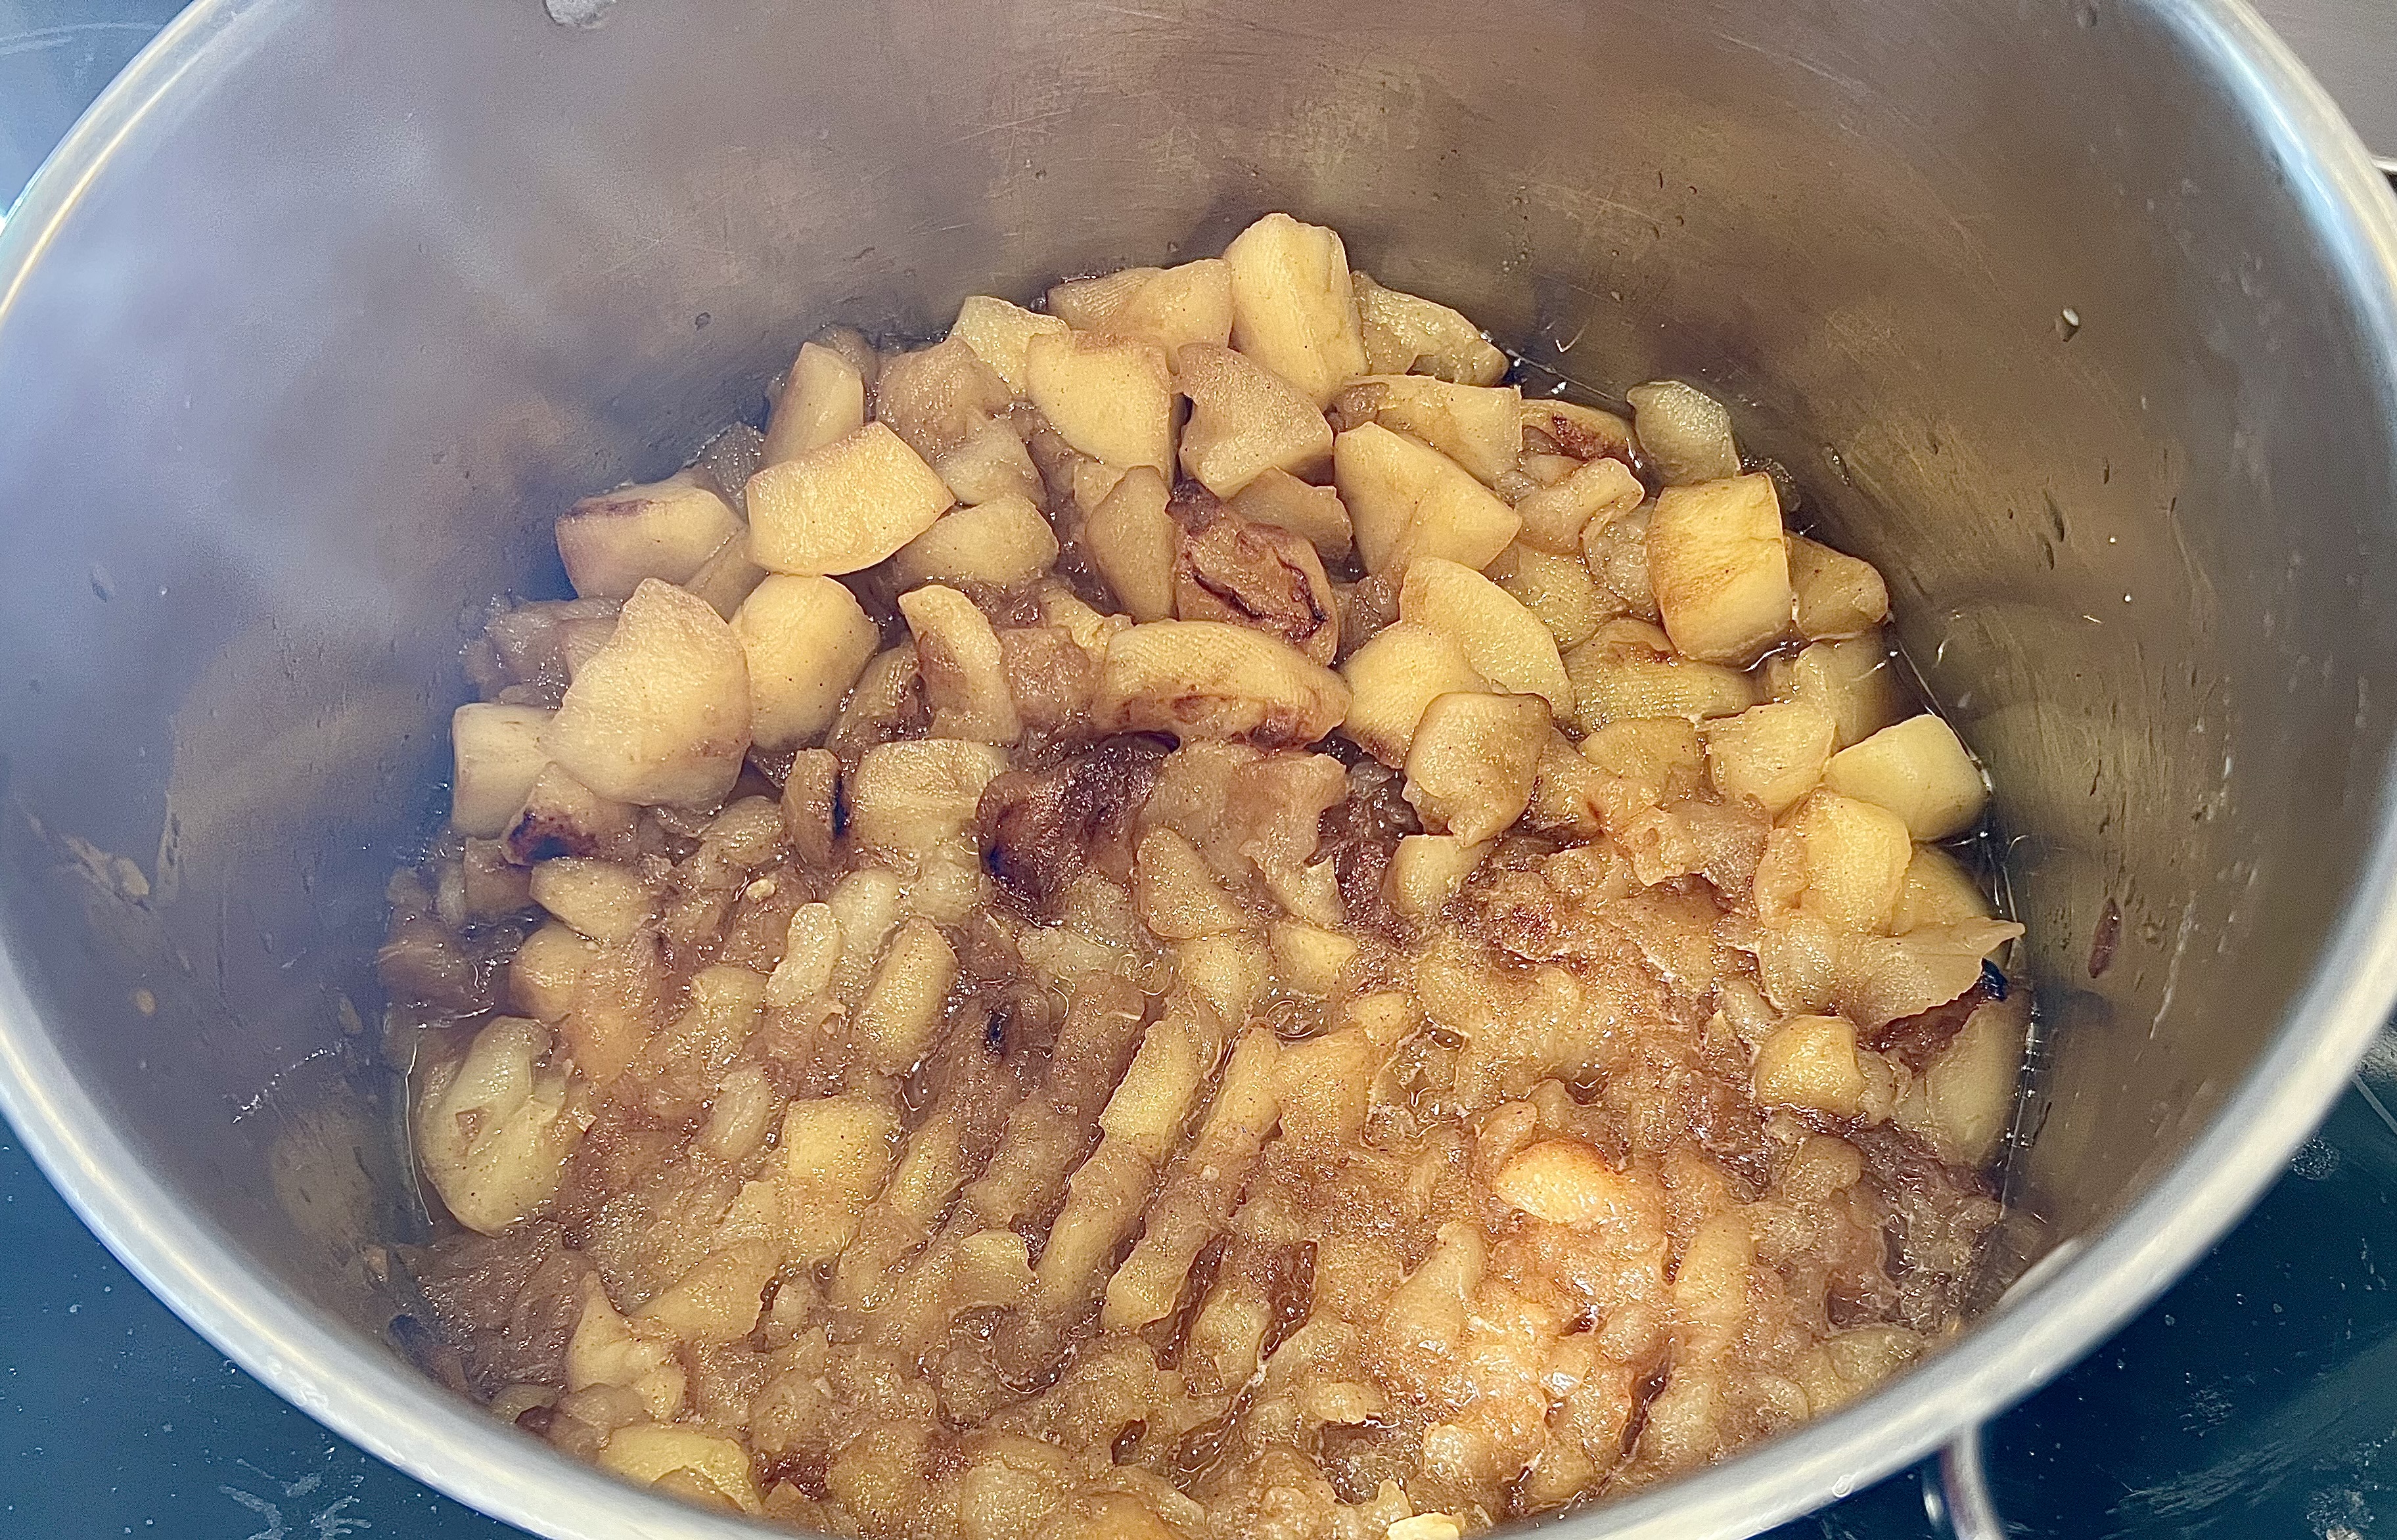
I turn the stovetop on high, and bring the apples and water to a boil. As the apples cook, they will release a lot of their own liquid, and you’ll have “apple soup” for a while before it finally reduces.
I add the cinnamon, and continue cooking the apples until have the consistency I like. (Some people like a more watery applesauce than others.) Depending on the apples, you might have to add water if all of it has evaporated, and the apples aren’t soft enough.
I pull the pot off the stove and mash most of the apples with a potato masher, then put it back on the stove to cook further. I leave some of the chunks whole, because I like a chunky applesauce. I always keep an eye on it, because I don’t want the natural sugars in the apples to burn.
When the apples are cooked to my desired softness, I take the pan off the heat and add the maple syrup.
Is there anything better than pure Vermont maple syrup? I don’t think so!
If it still looks too watery, I bring it back over the heat, but I watch it carefully.
I let the applesauce cool and enjoy! Keep it refrigerated.
I recently drove up to Maine to pick my daughter up from the Hardy Boat in New Harbor, a ferry that takes you to and from Monhegan Island, about 10 miles offshore. My daughter spent a week there with her mom, and we decided we’d take our time getting home, with a night in Portland and a night in Kennebunk.
Lunch was in Wiscassett, Maine, home of the famous and overrated and overpriced Red’s Eats, which always has a line down the street. We chose Water Street Kitchen and Bar for our lunch with my sister, who lives in the area, and it has a fun menu and great drinks. Lunch was simple: some oysters to start, followed by a beef burger for her and a salmon burger for me, but it was exactly what we were craving.
No food shots, but the drinks were wonderful!
Portland, Maine, is my favorite food town in New England, beating out my close-to-home Providence and even Boston. What makes Portland better is the walkability of the town. If your hotel is in town, once you park your car, you’re done. You can pretty much walk anywhere for food and drinks, and there are so many great small, eclectic restaurants to choose from. (We stayed at the Residence Inn, because I try to use my Marriott Bonvoy points, and we want to be near Commercial Street, on the water. But over the years, we’ve stayed at the Hampton Inn, Hilton Garden Inn, Holiday Inn, Westin, and Courtyard byMarriott. For us, it’s all about not having to drink and drive.)
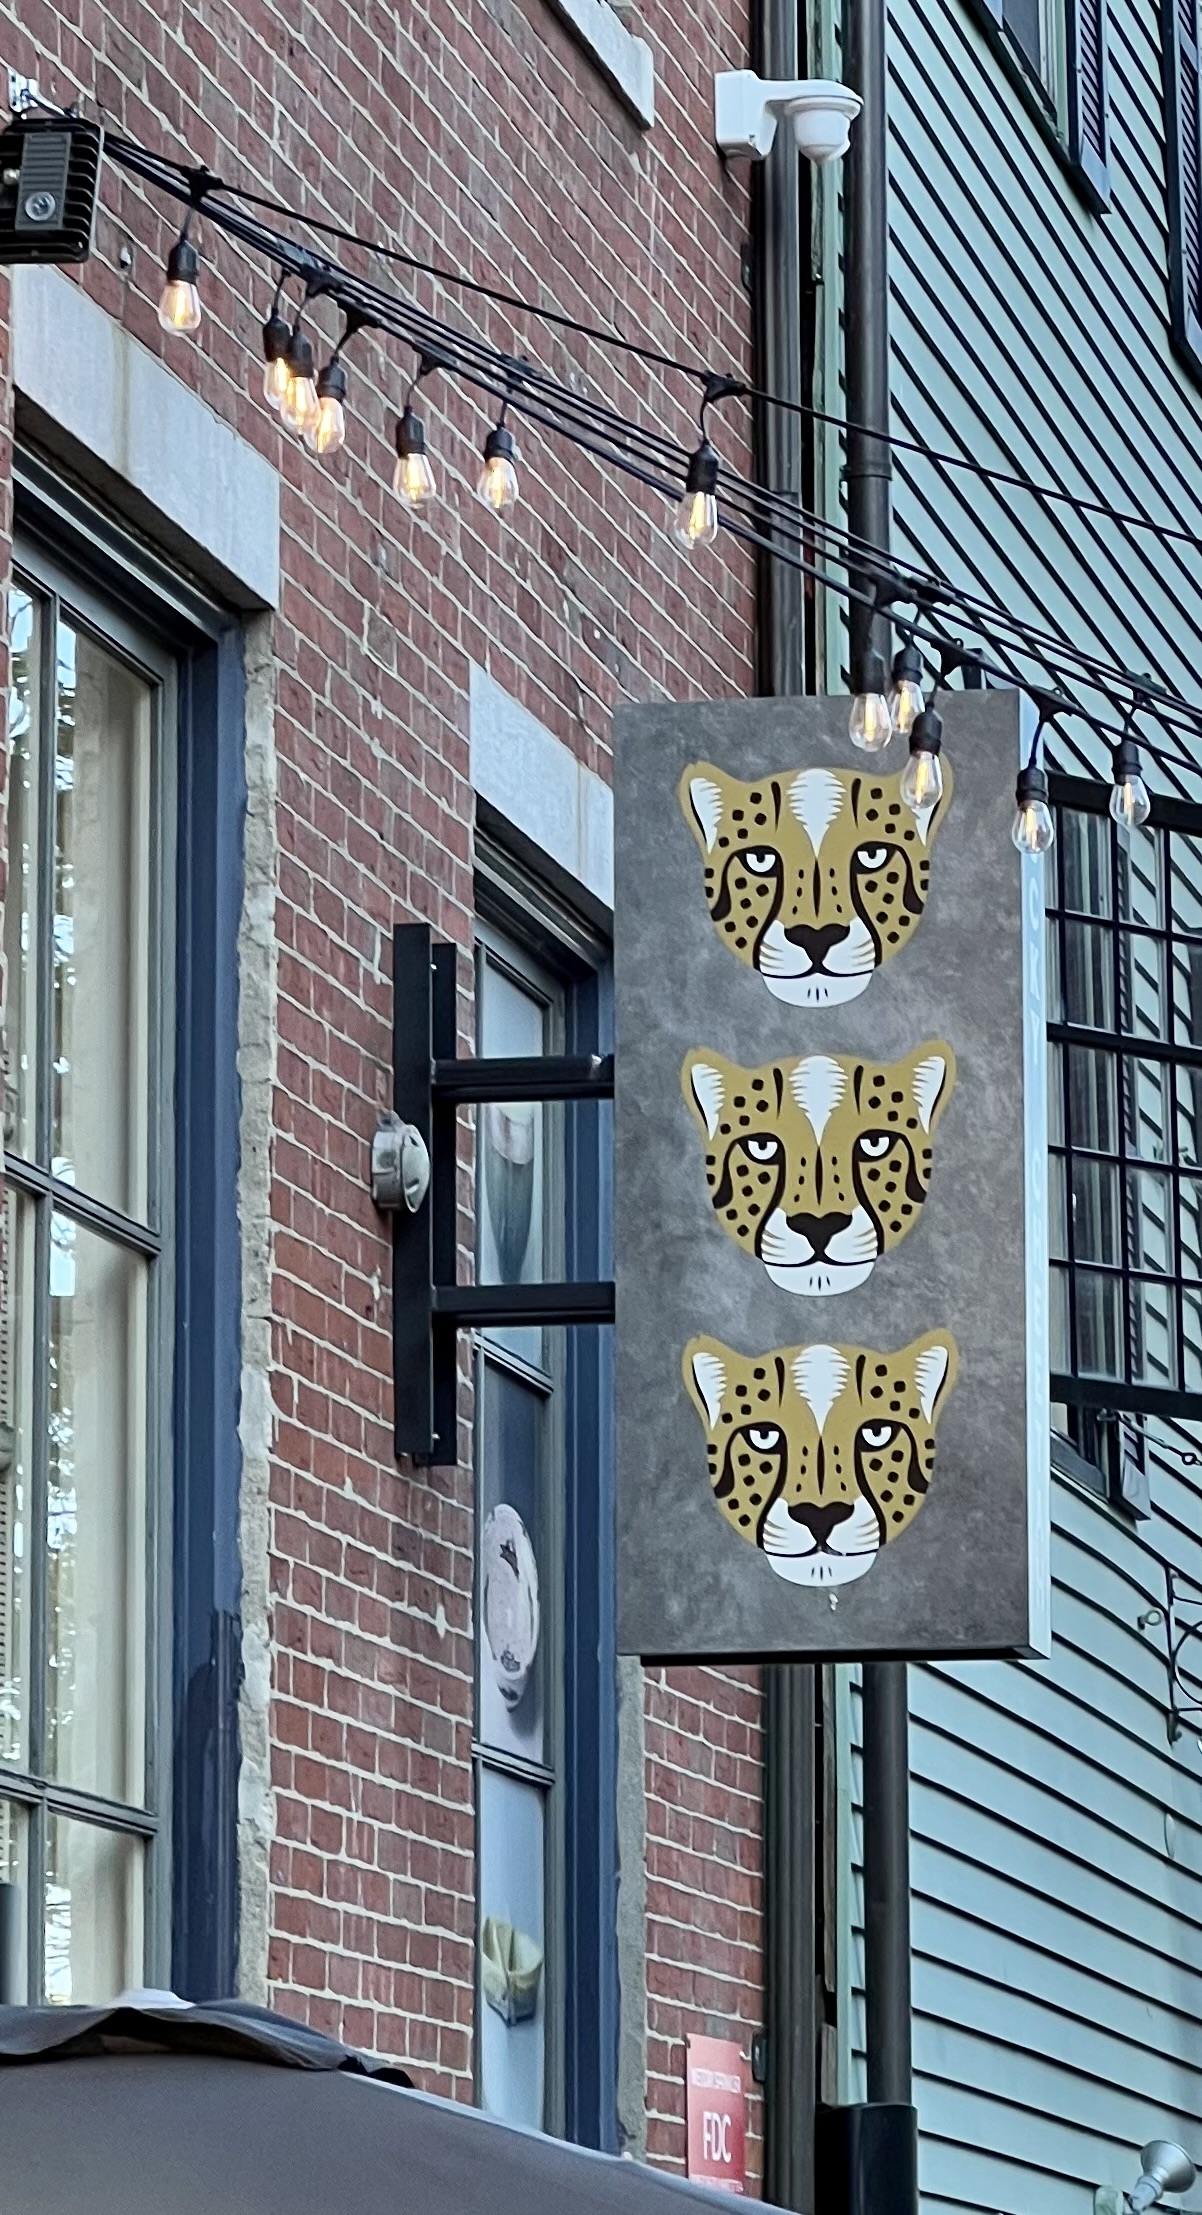
For whatever reason, the choice of Asian restaurants in Portland is incredible. Some of our favorites over the years have been Crispy Gai, The Honey Paw, Boda, Miyake, and Jin Yan Tavern. We decided to try a newer one, Lucky Cheetah, serving dim sum and and other plates meant to be shared. We were not disappointed!
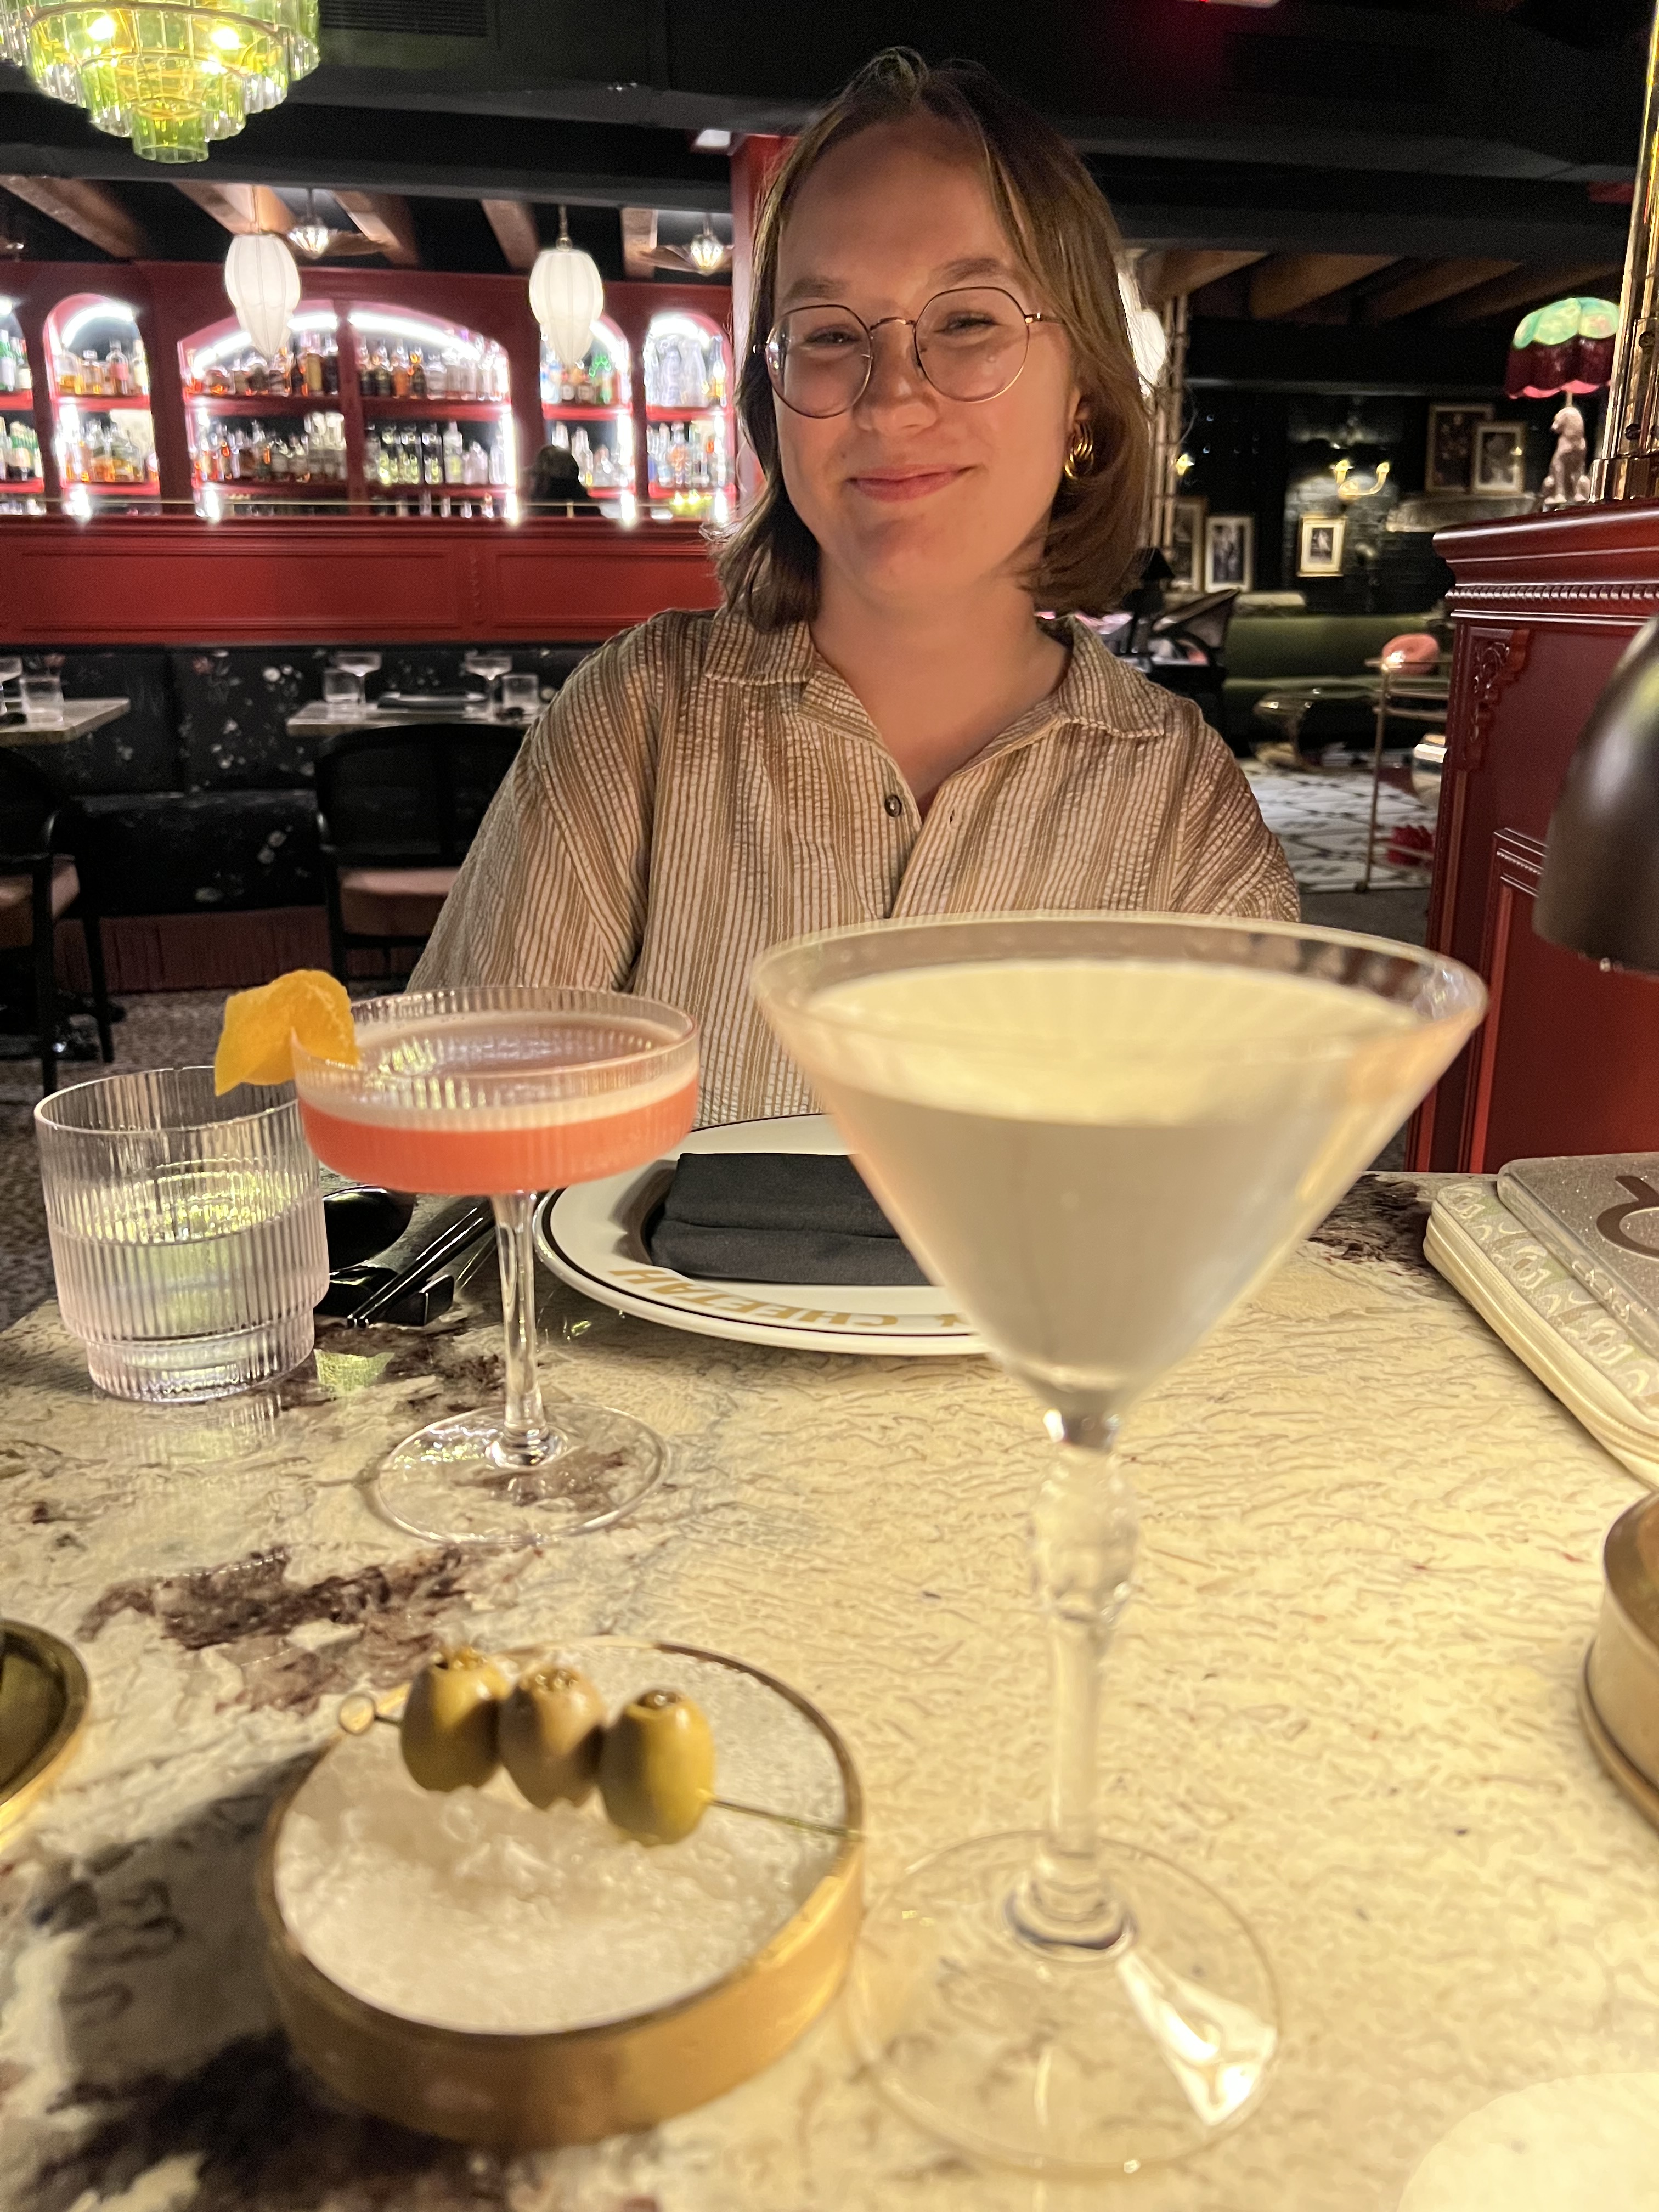
What a cool space! This is definitely a great date night out kind of place.
A beautiful bar, really cool decor, great food, and awesome cocktails.
I recently read an article about fat-washed vodka, where sesame oil is thoroughly mixed with vodka, then frozen. The oil hardens into a disc that is removed, but the tiniest droplets of the oil remain, infusing the vodka. They had it at Lucky Cheetah, and they served it with caviar-stuffed olives on the side.
It was weird, wild, intense, and strangely delicious.
Caviar stuffed olives.
Our dinner was a lot of fun, too.
Iberico pork soup dumplings, lobster dumplings with scallion sabayon and caviar.A refreshing plate of sichuan cucumbers.Mushroom and truffle dumplings.Fantastic broccolini and chicken cracklins.Sesame beef bao.
We chose not to have dessert at Lucky Cheetah, and instead decided to walk around town a bit. We landed at my favorite Italian restaurant in Portland: Solo. It was well past the dinner rush, so we found a couple of seats at the bar and ordered dessert.
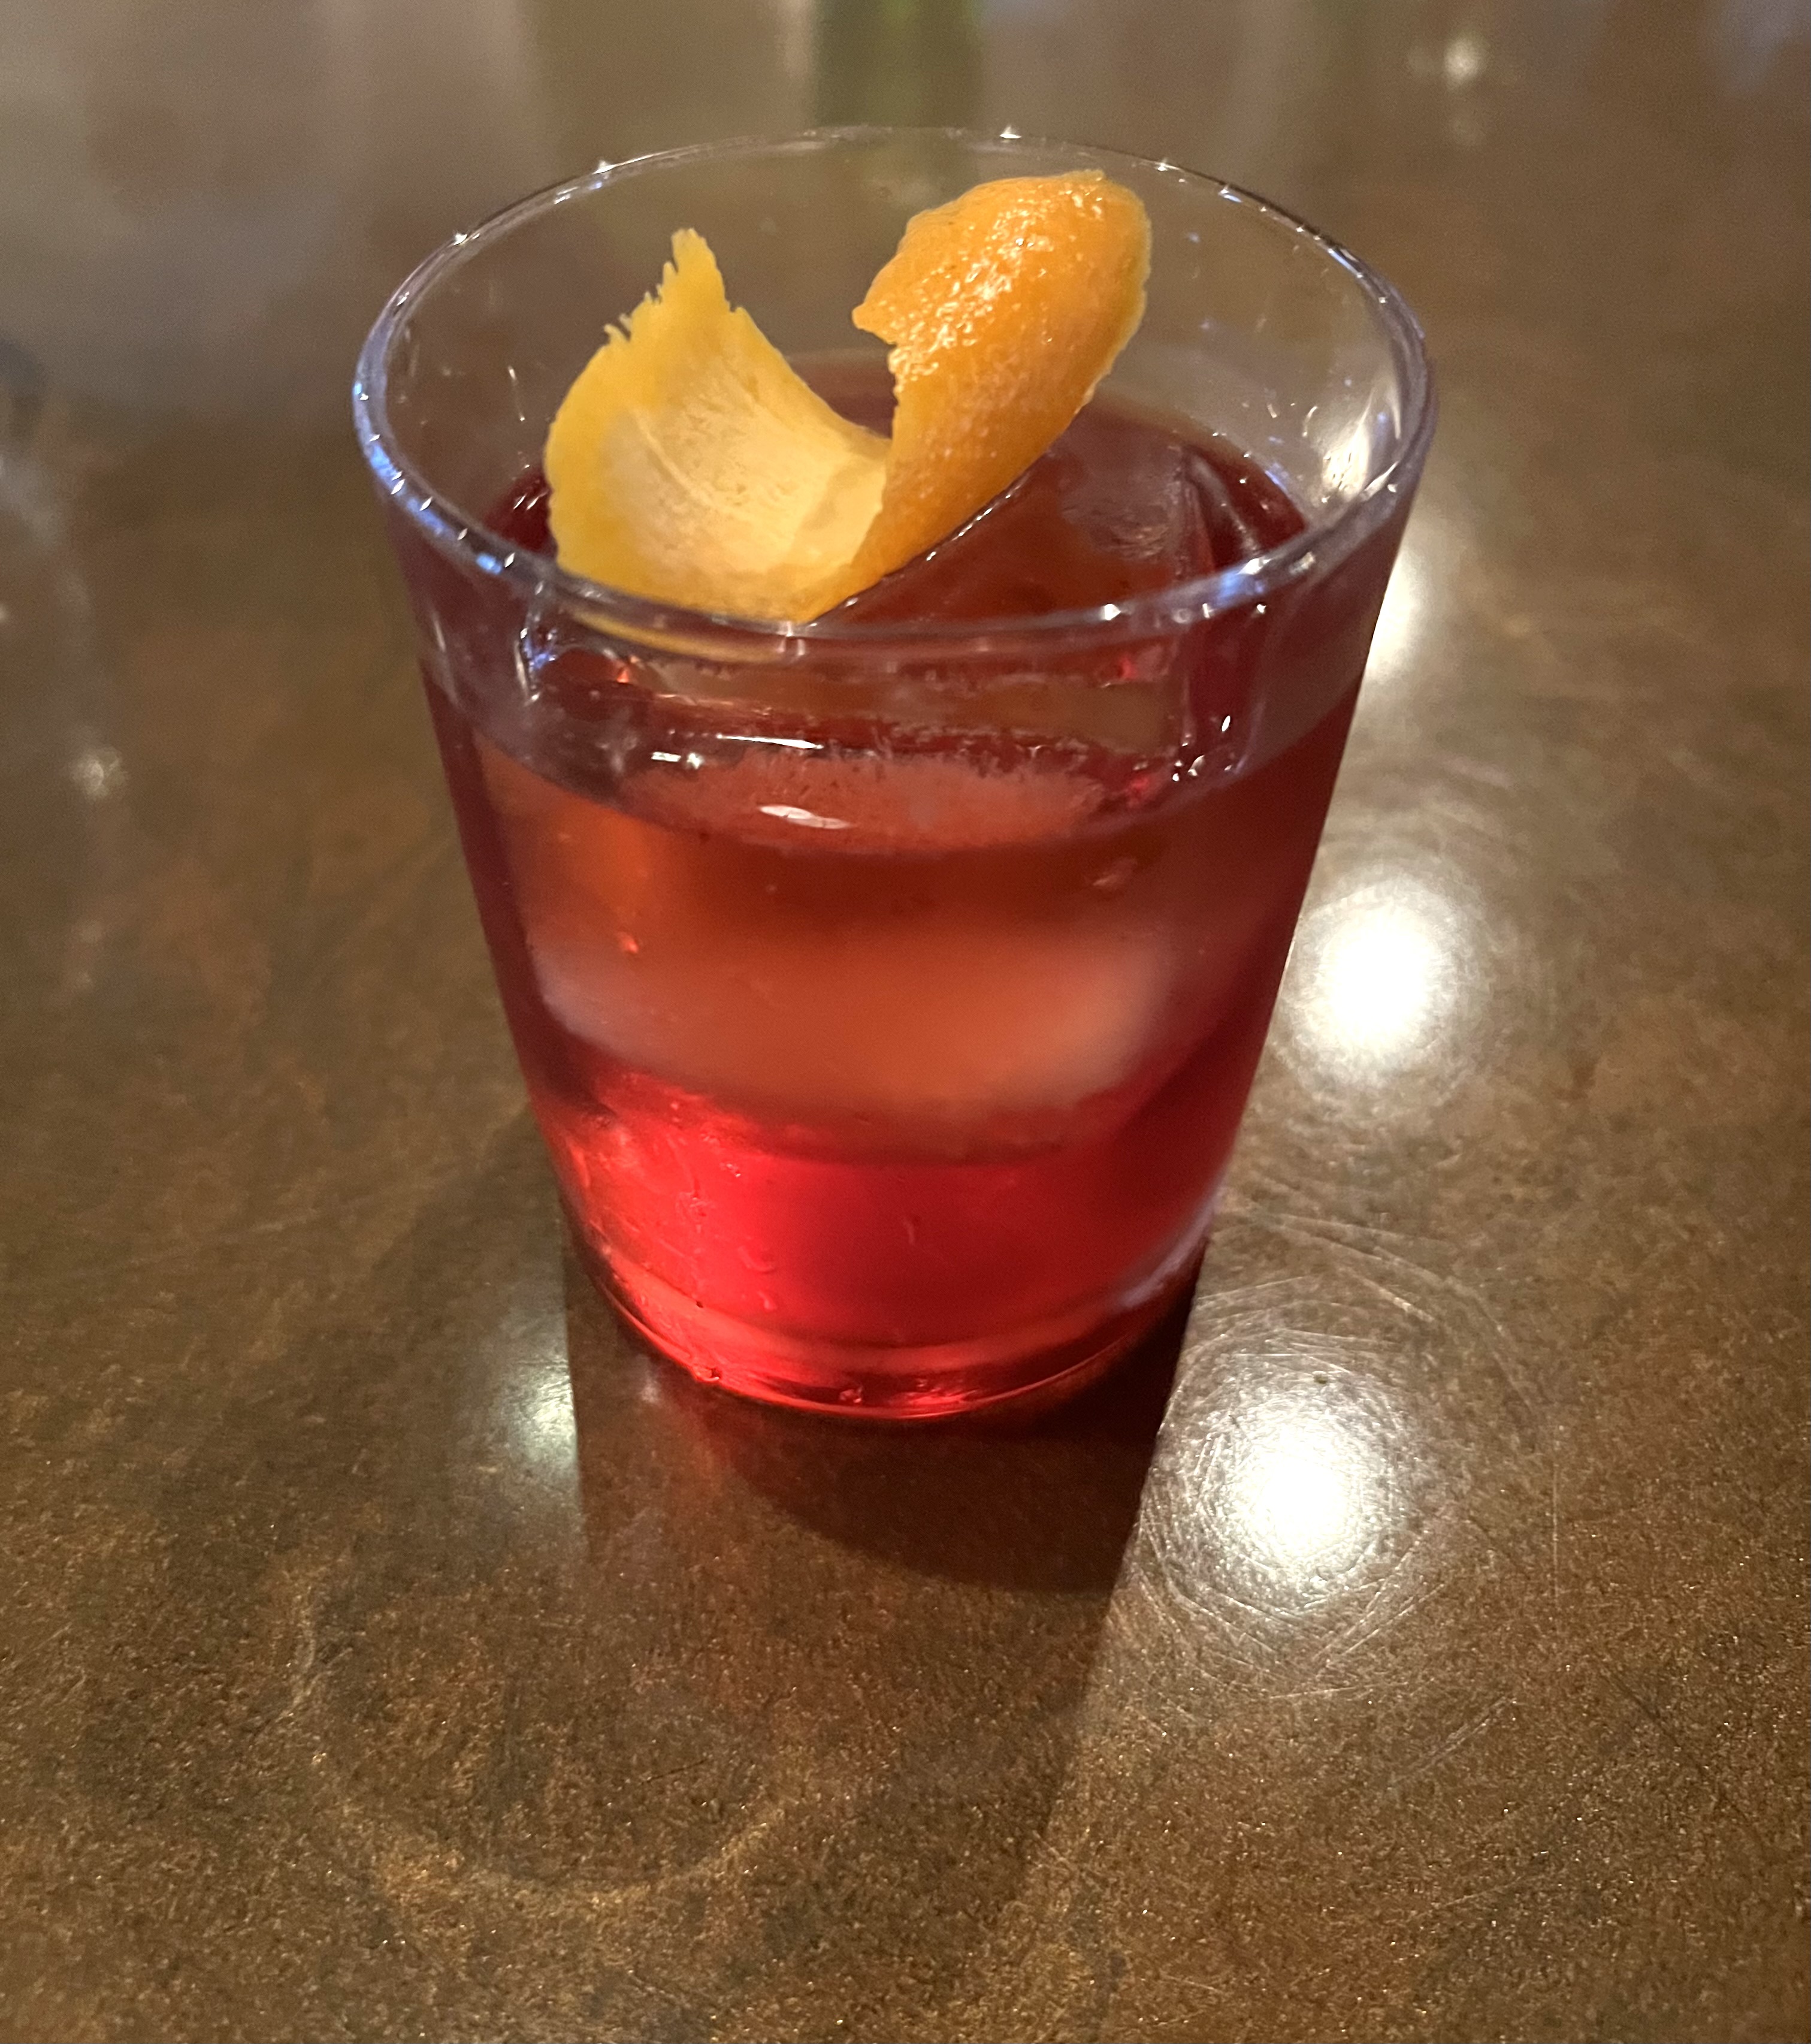
My daughter ordered a semifreddo.My dessert came in liquid form: the well-made house negroni.
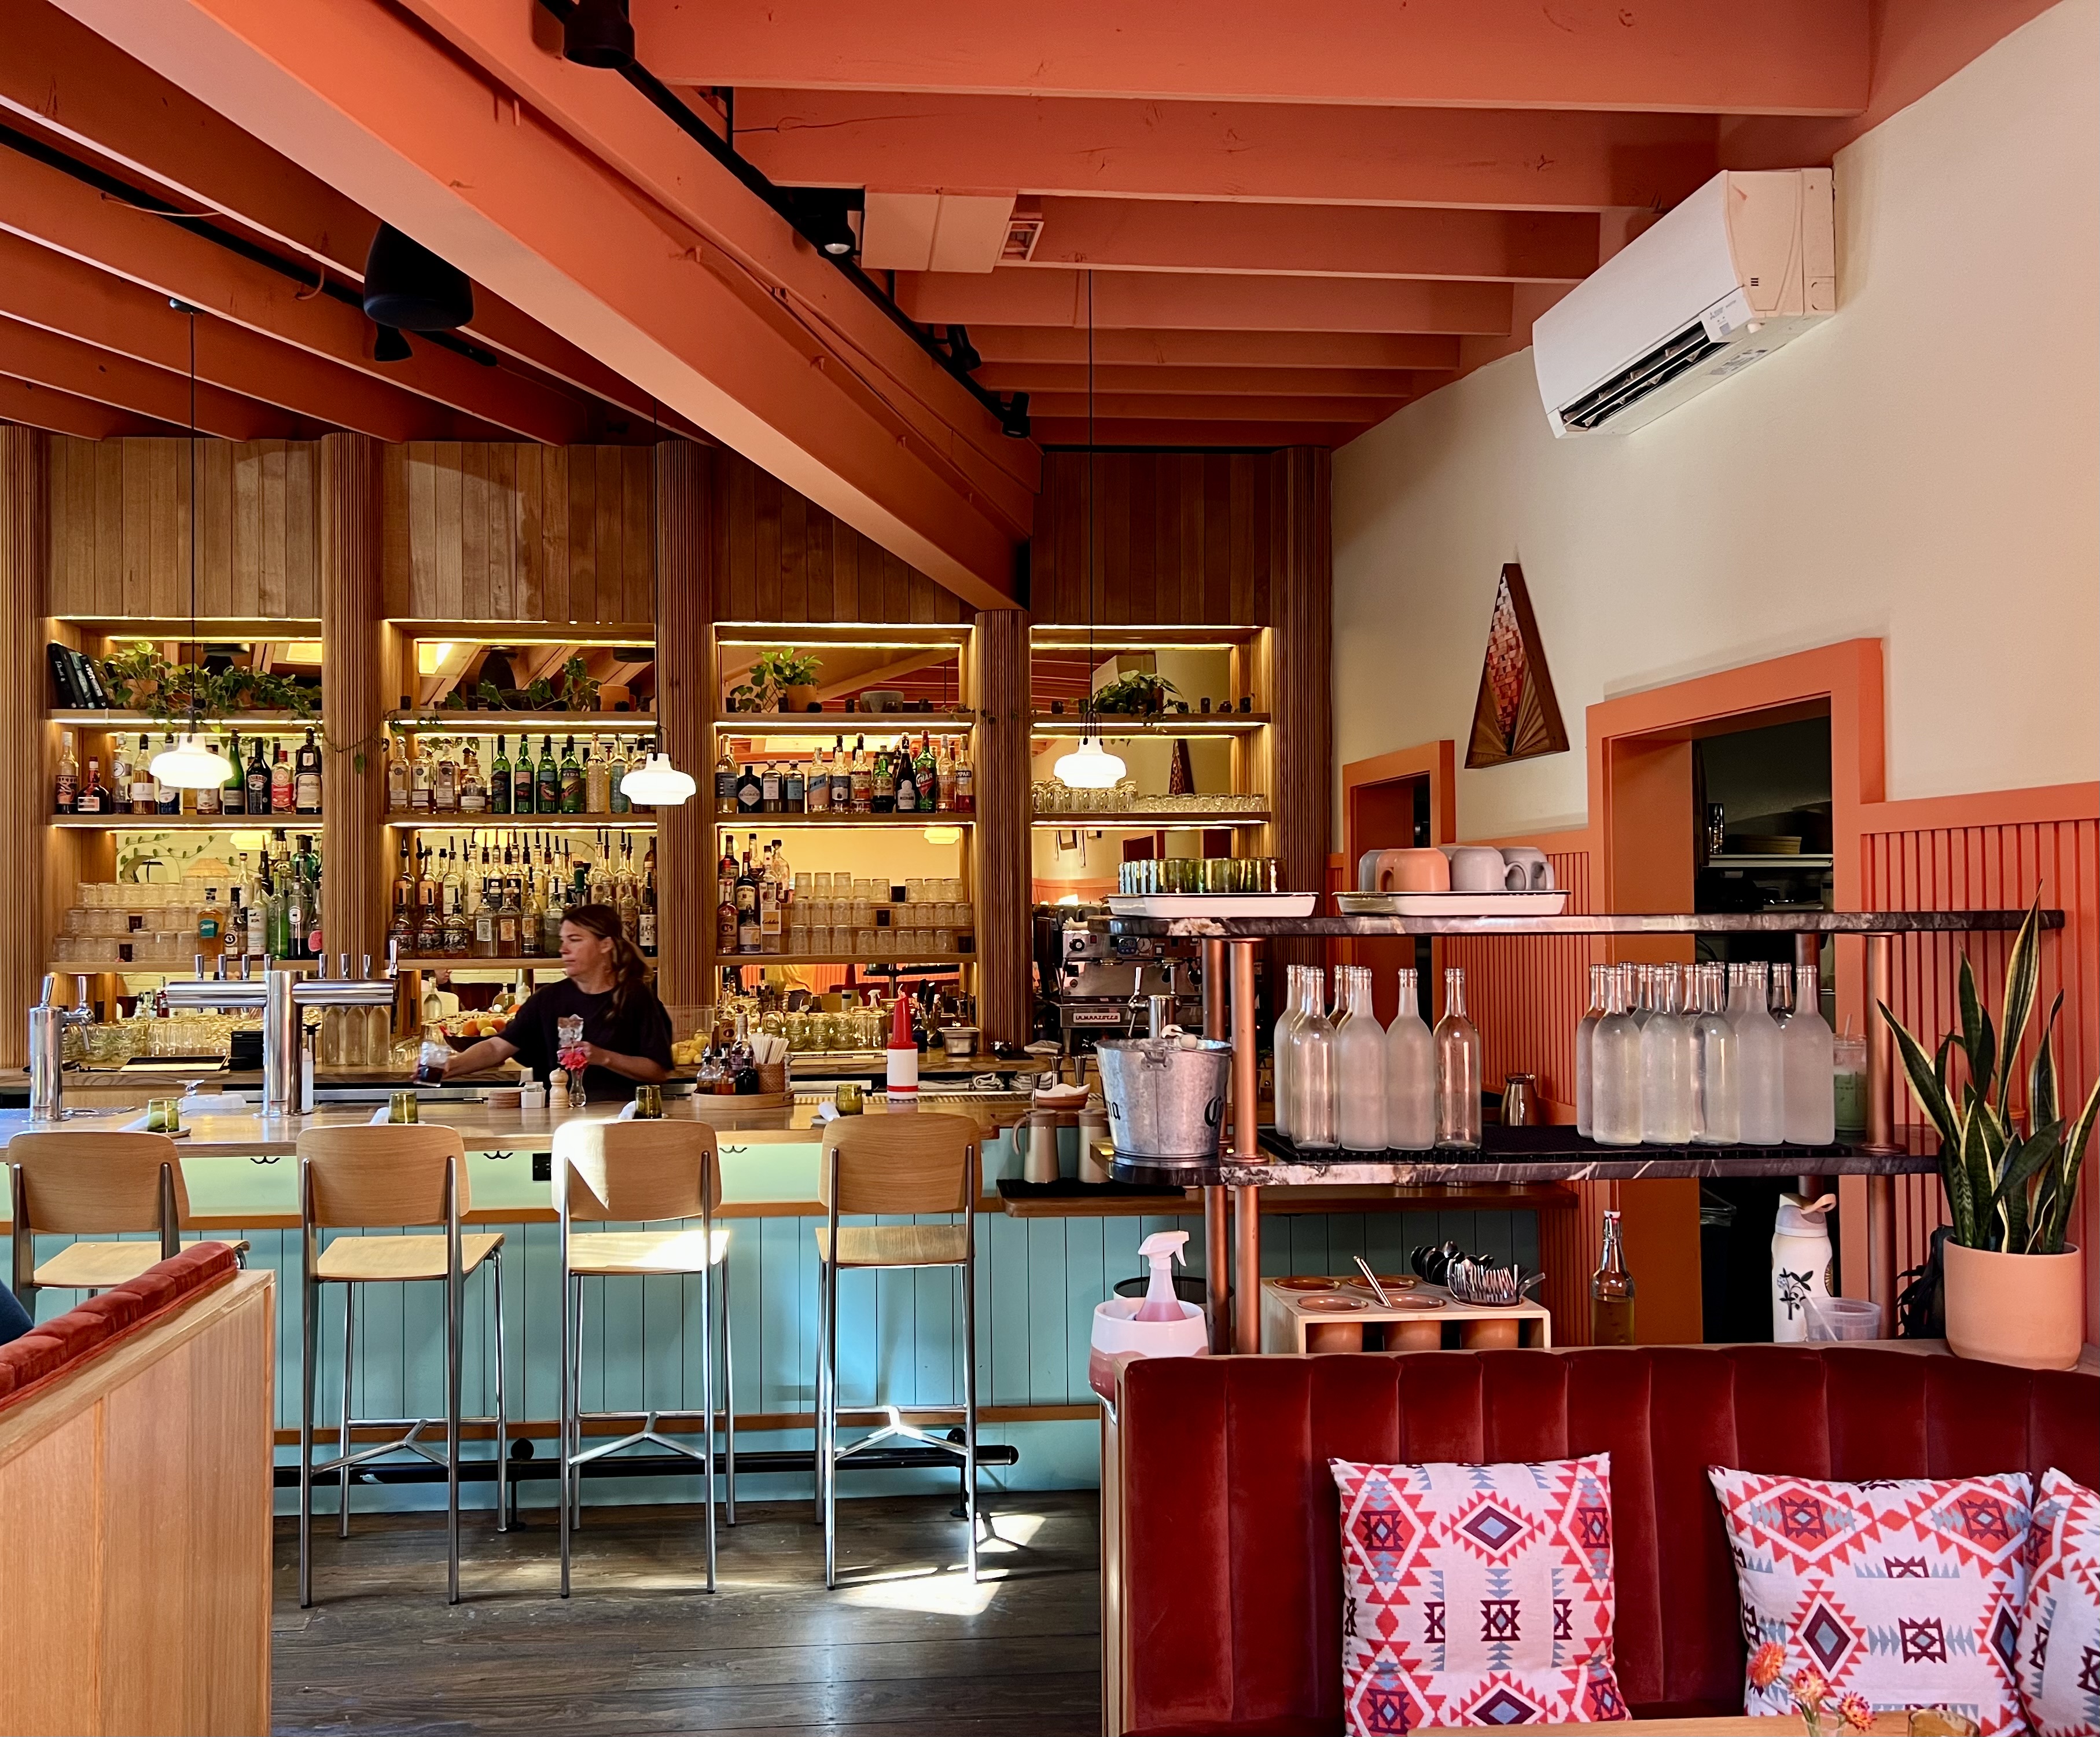
Breakfast the next day was at Ocotillo, a cute place on the west side of Portland that serves Mexican-style brunch food. (The name means “little torch” in Spanish, referring to the bright red flower clusters that bloom at the tips of the ocotillo plant every spring.)
What great food and fun atmosphere!
I bet this place jams in the evening as well!
Breakfast was awesome, starting with a great cup of coffee!
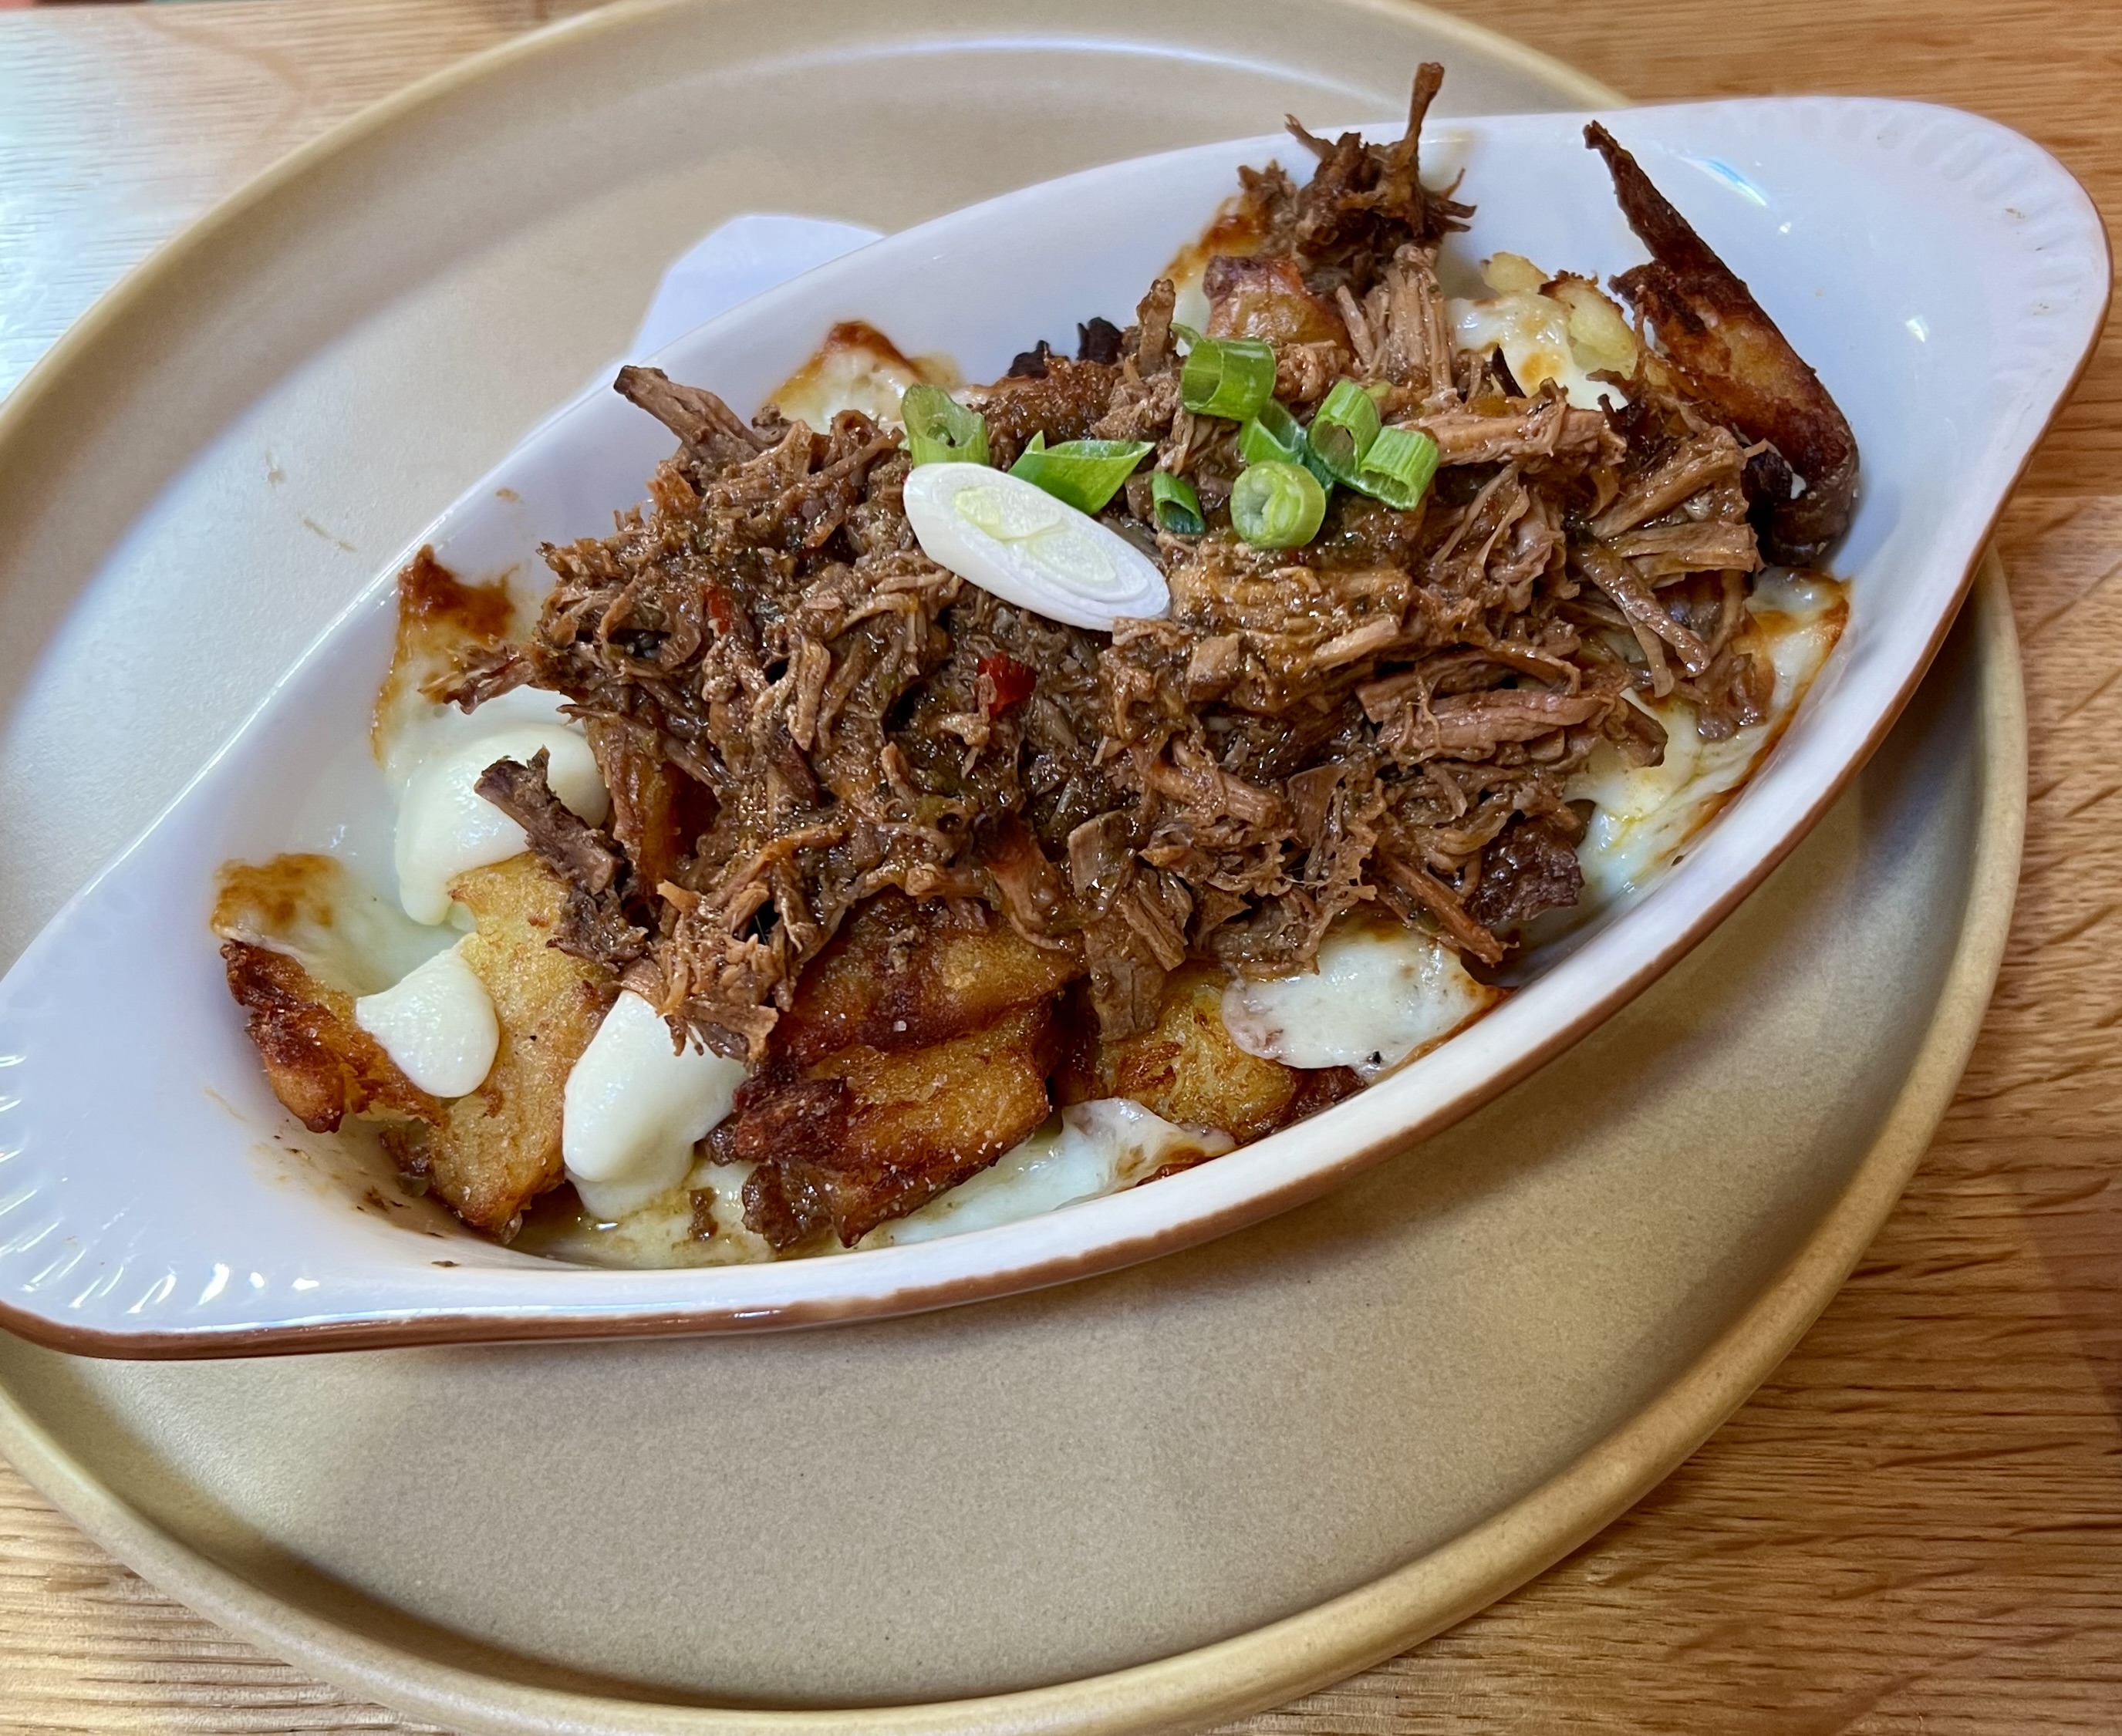
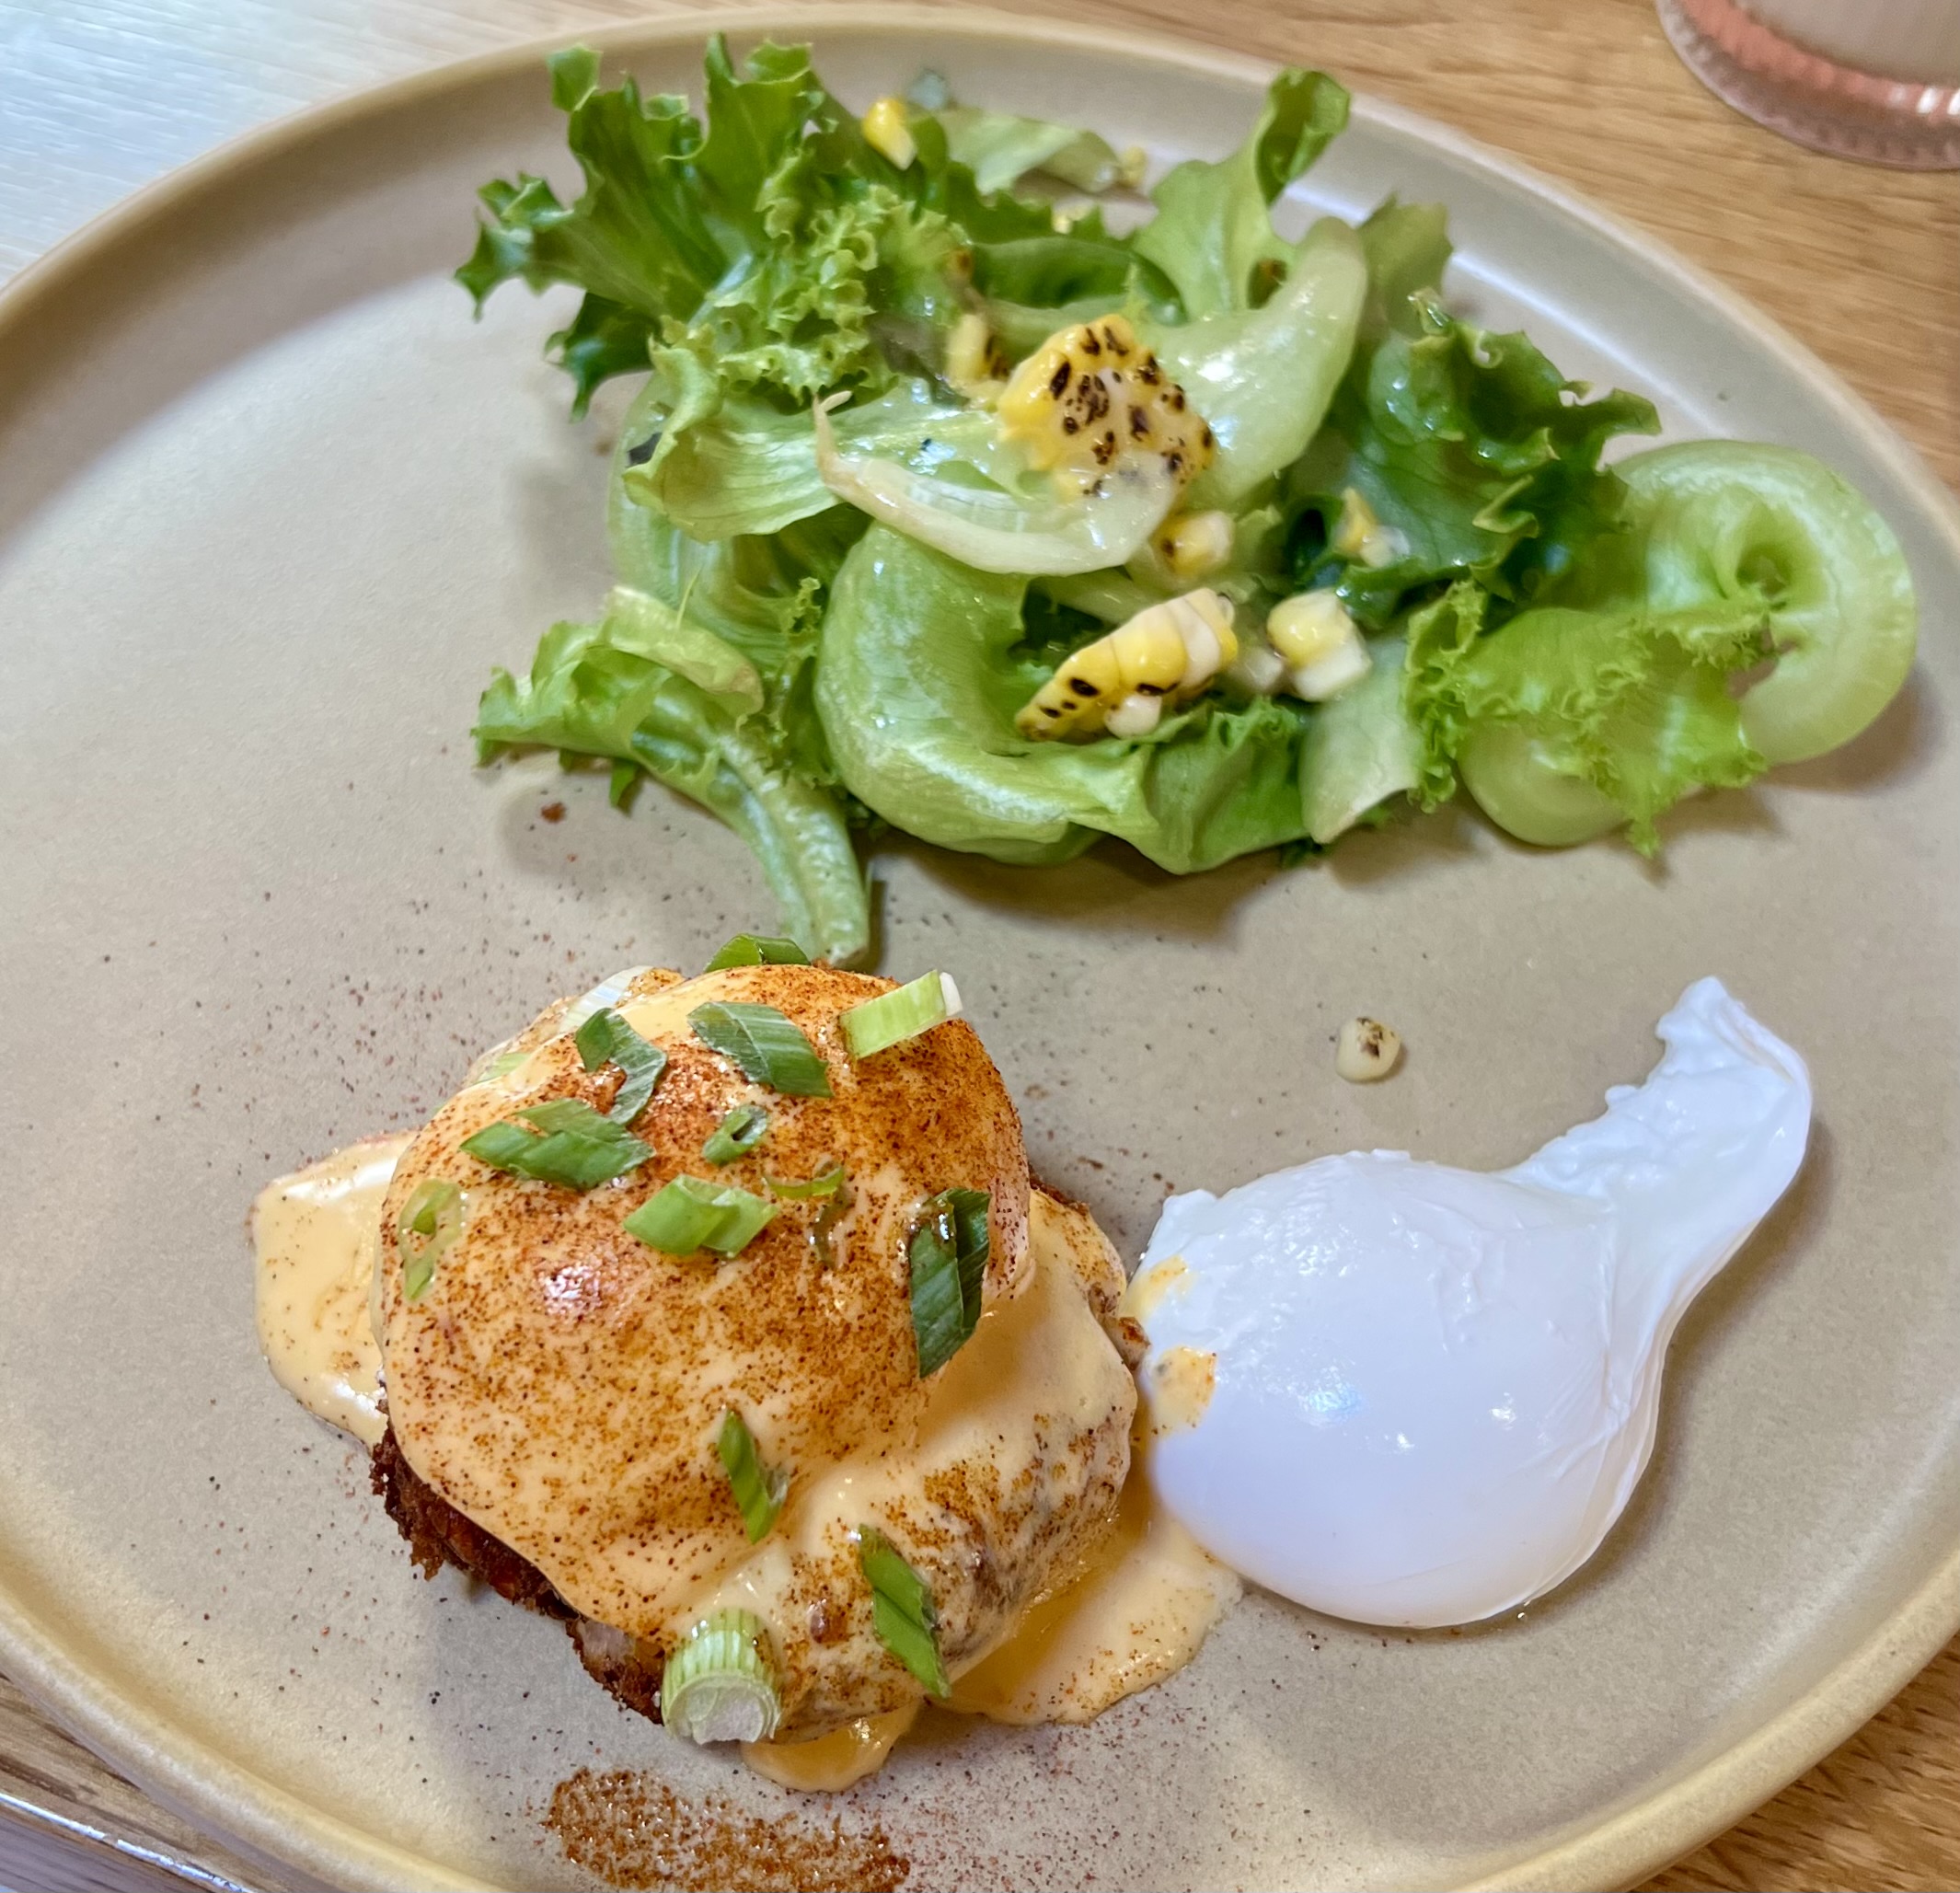
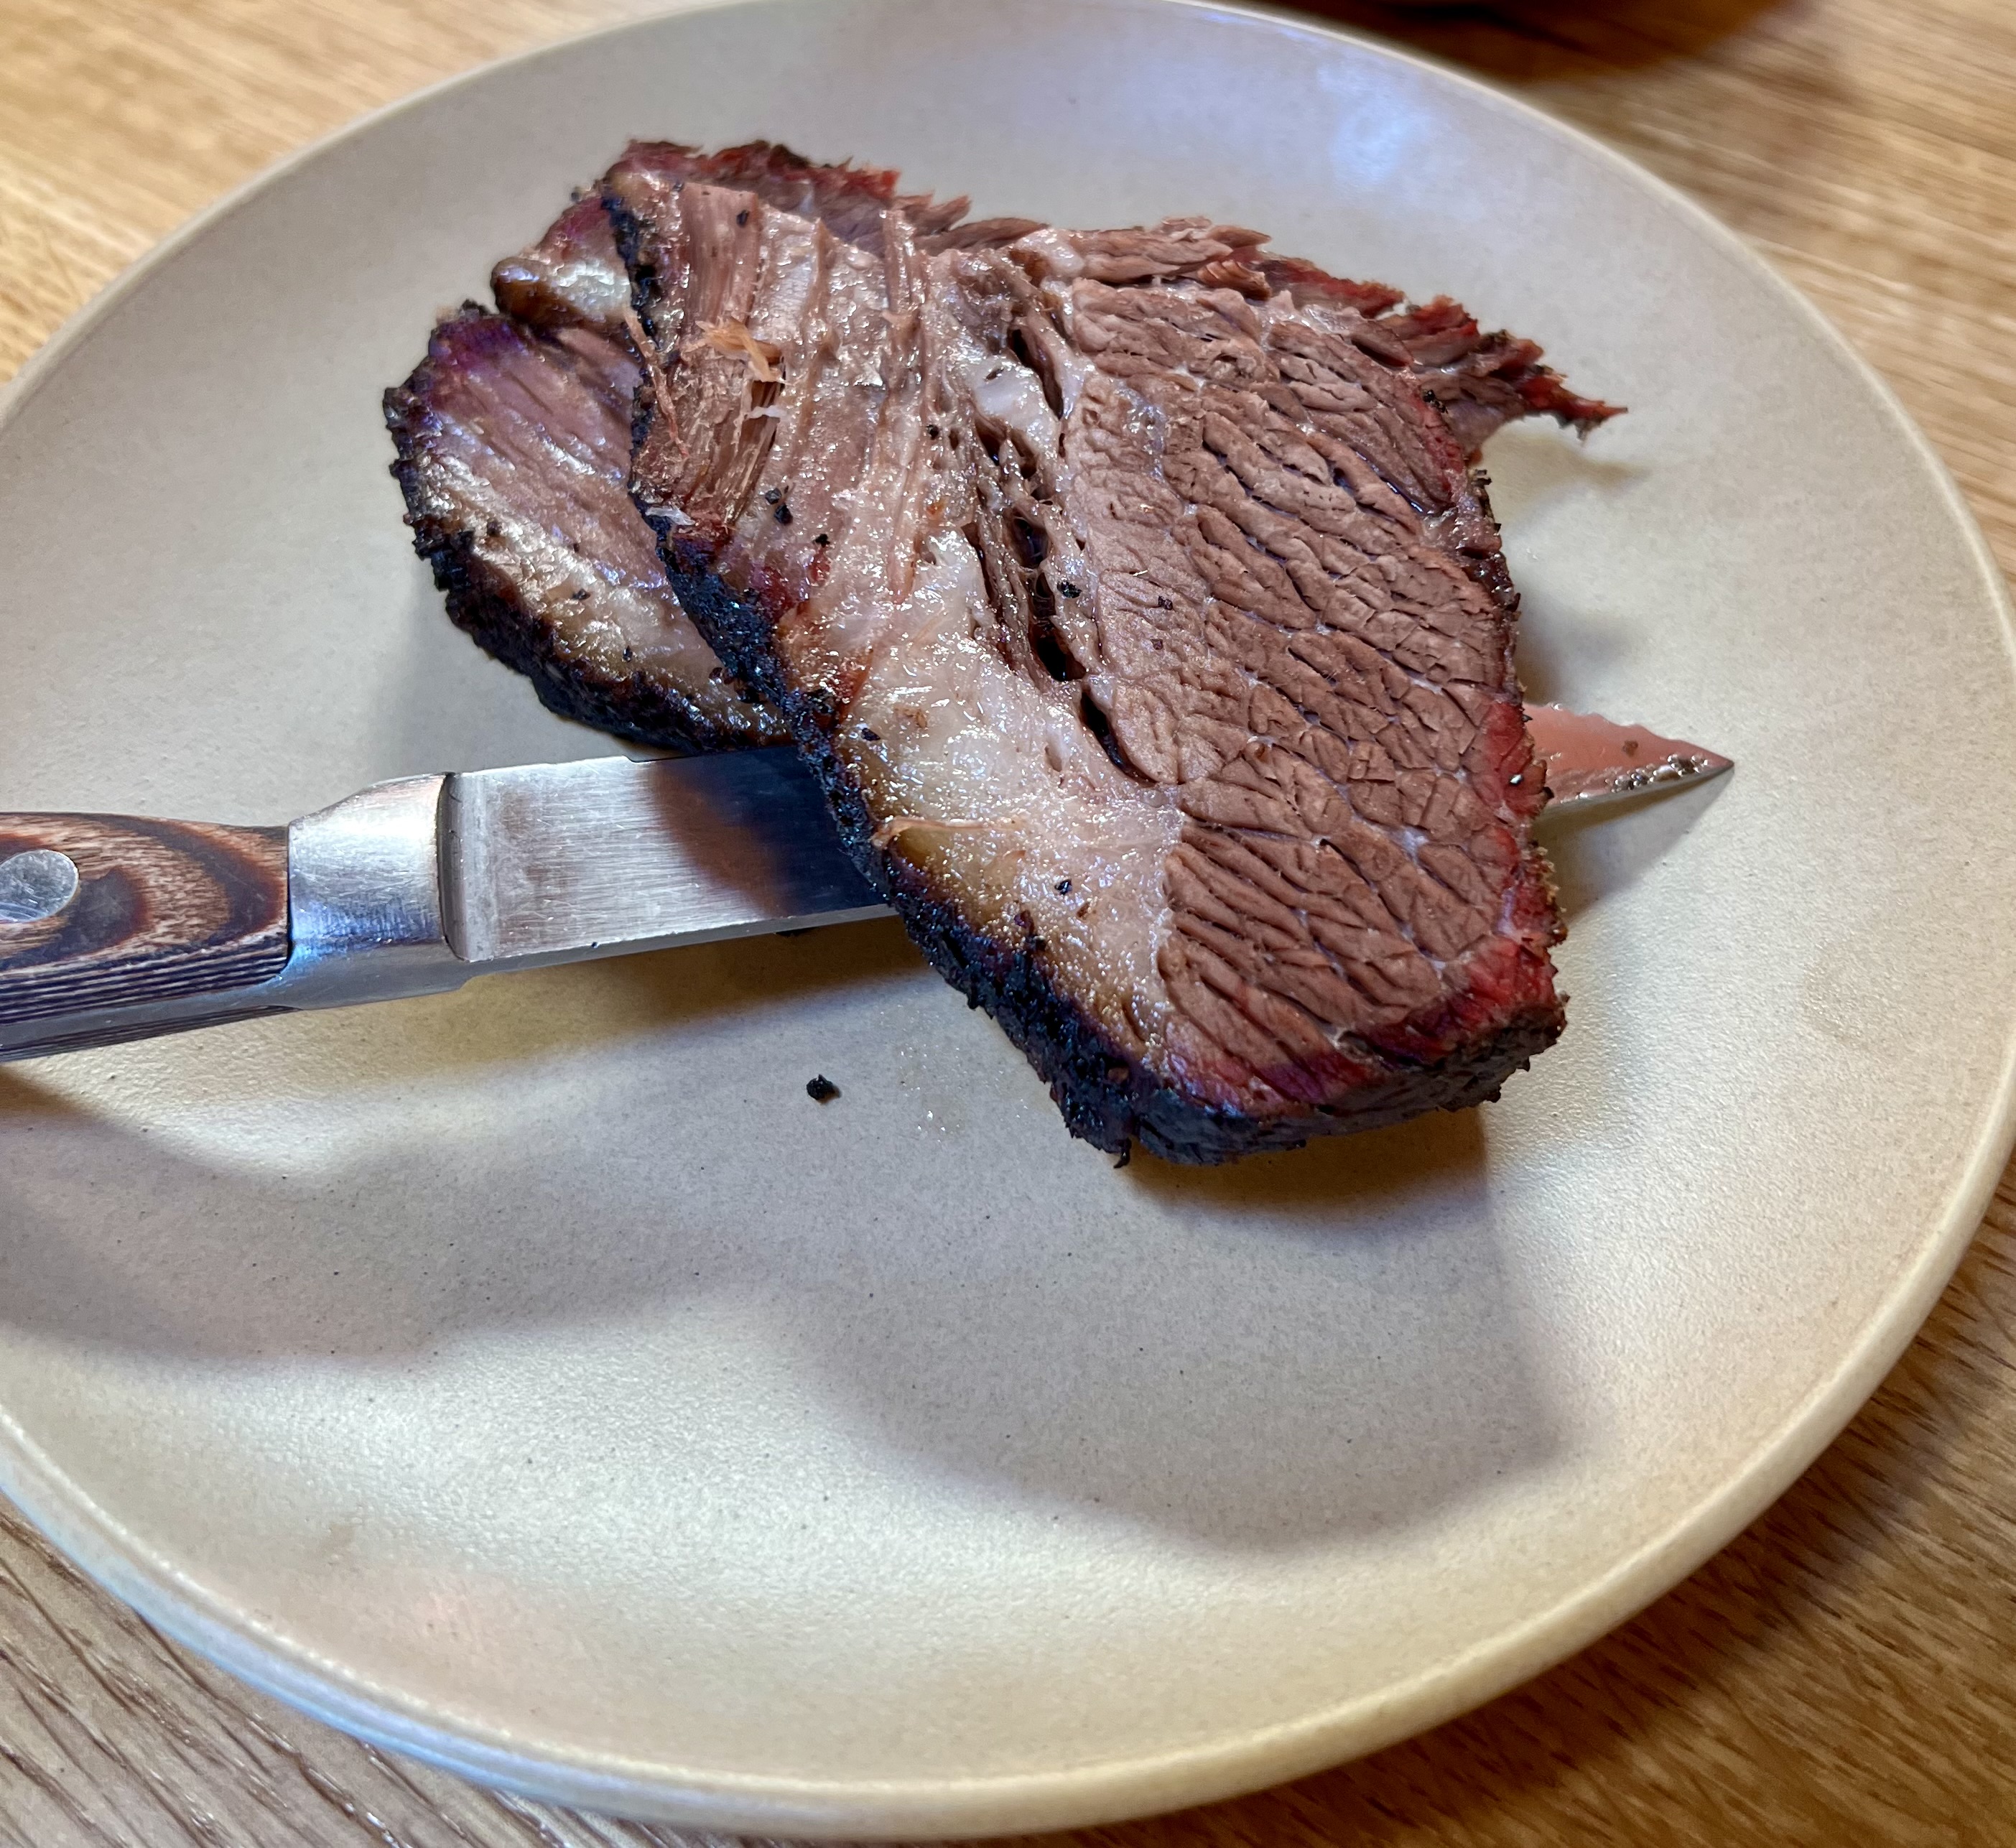
Cowboy curds and gravy. Basically a breakfast poutine. It comes with a poached egg, which my daughter didn’t want, so……the extra egg made it to my incredible plate of smoke haddock benedict!When I saw they smoke their own brisket, I had to have a side plate of it! Really good!Oh, and something healthy.
We arrived in Kennebunk too early to check into our hotel, so we walked around town, the very busy and touristy Dock Square, where you cross into Kennebunkport.
Since we had that amazing breakfast, lunch was a quick but very tasty bite at KPORT Provisions, where we shared a ham and cheese sandwich on freshly baked bread, and a lobster roll. (We are in Maine, after all.)
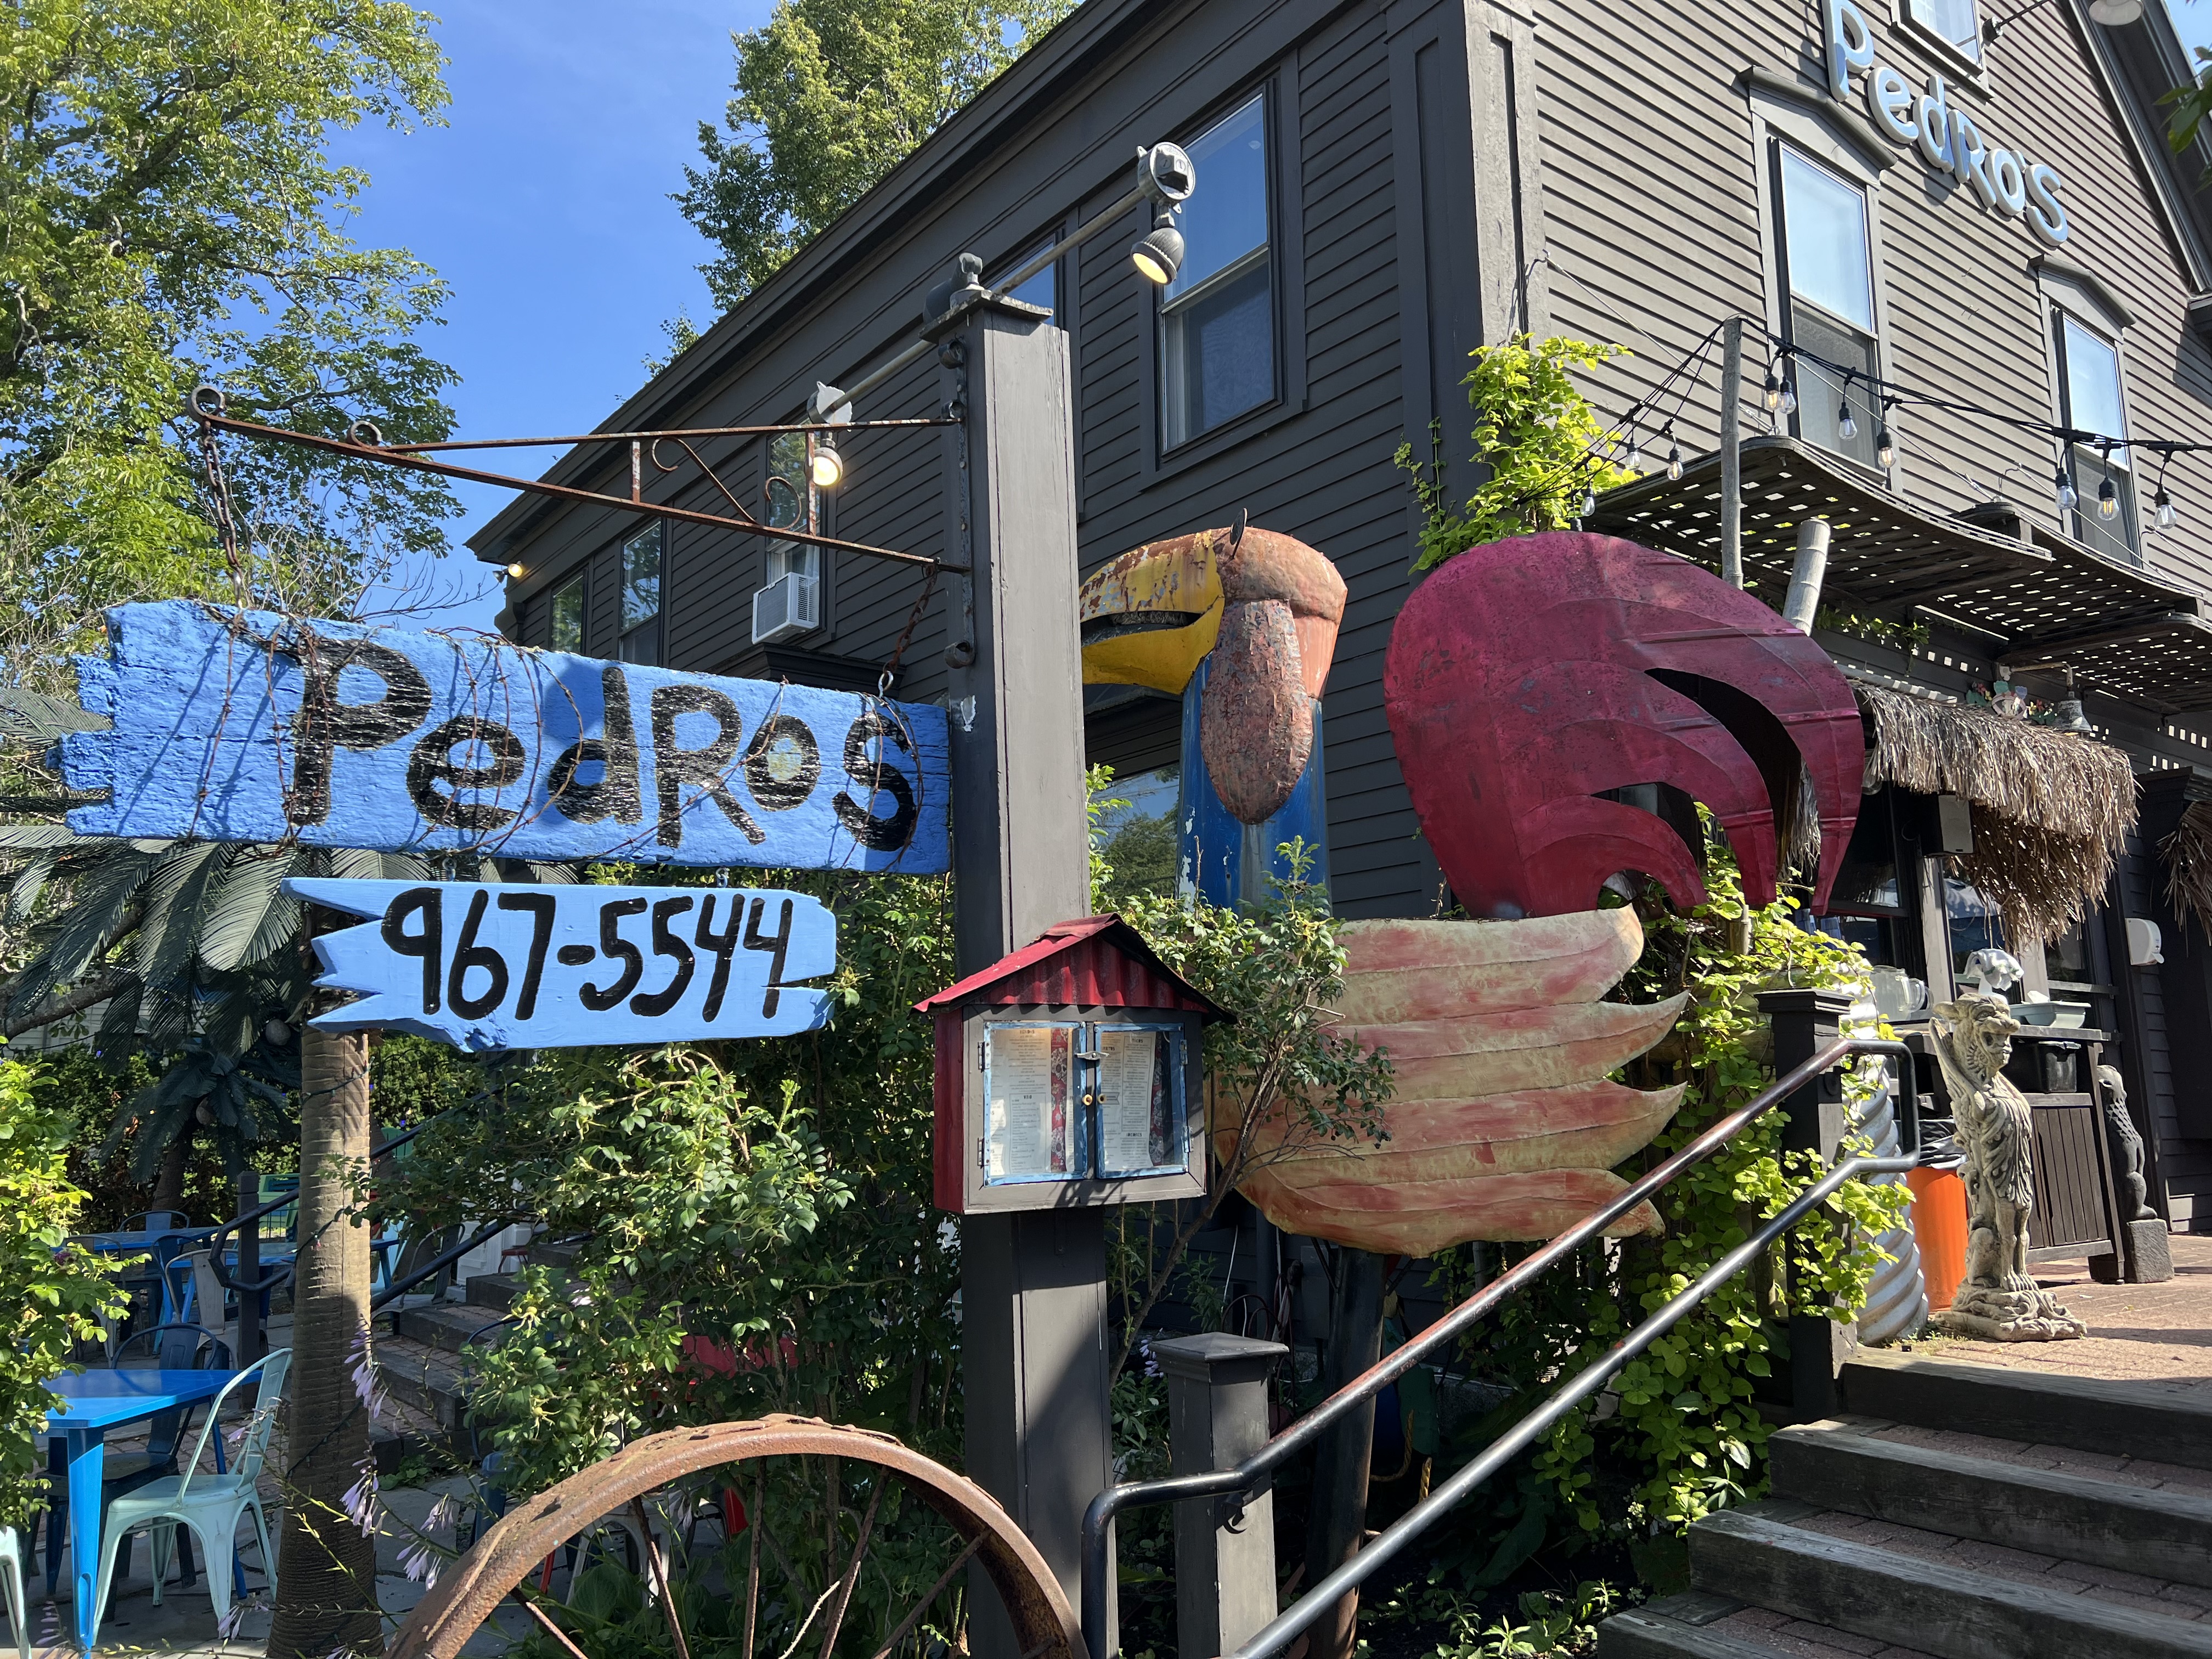
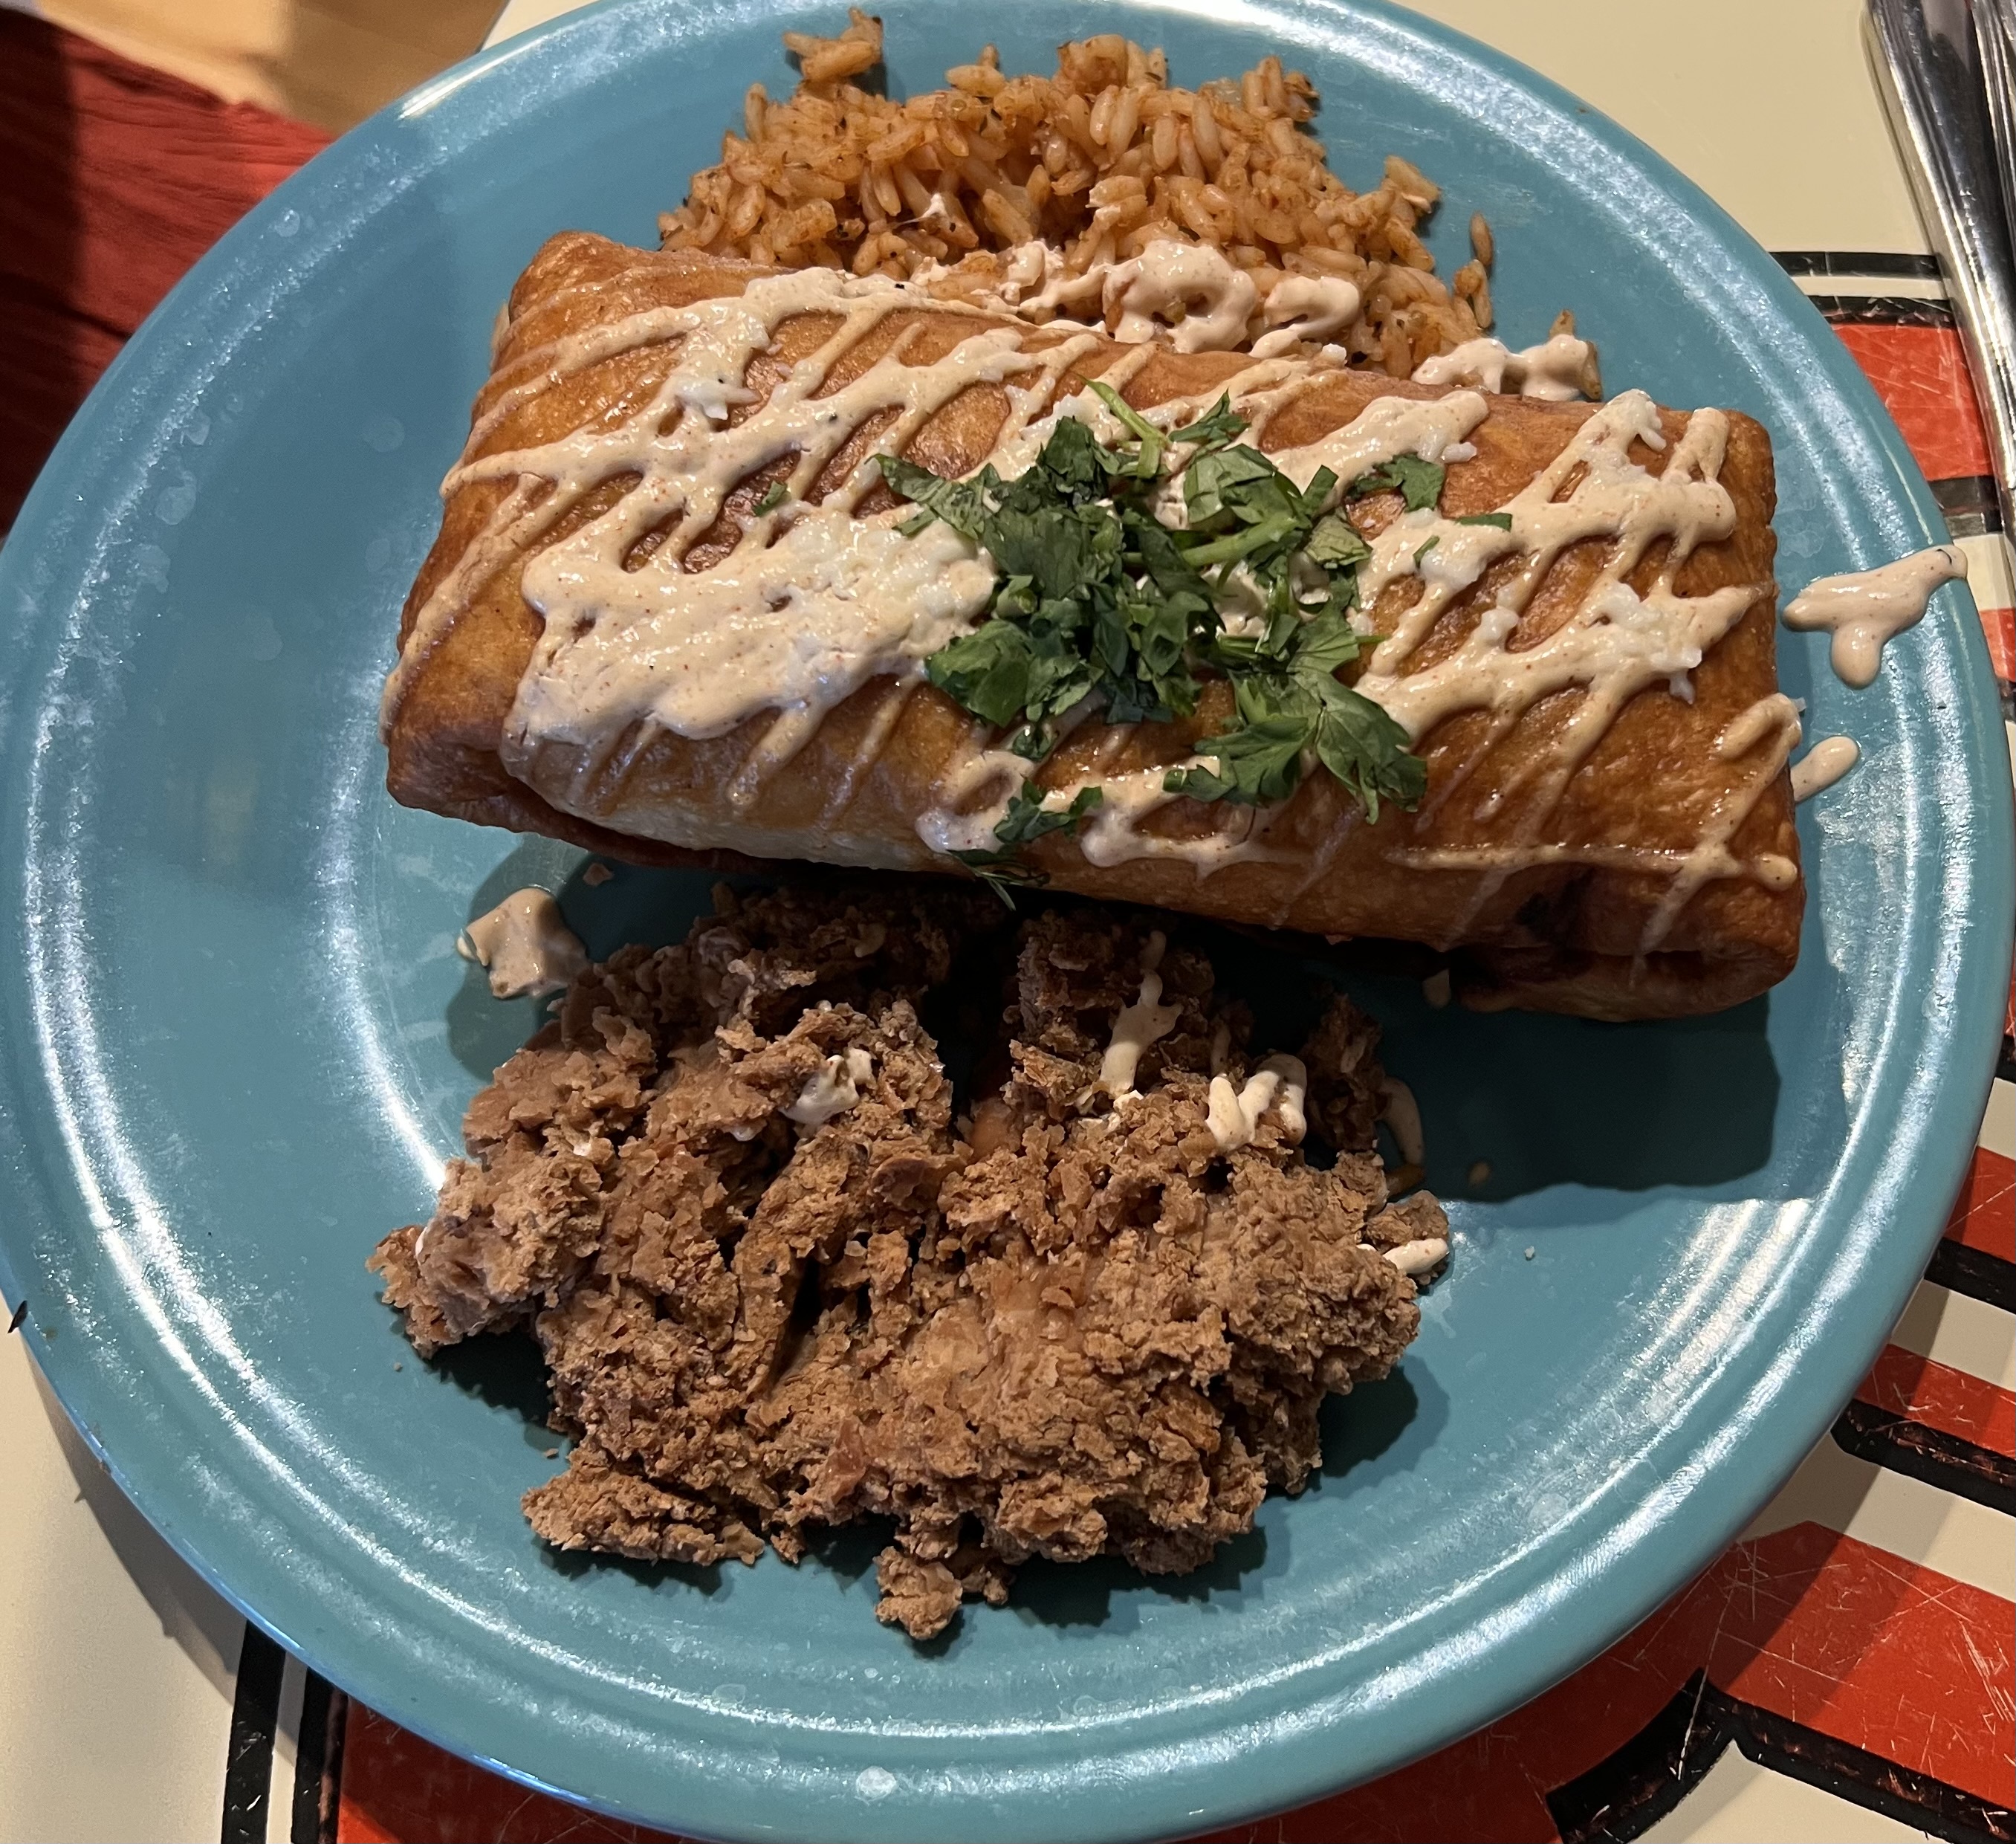
My best friend, Lee, has a home in Kennebunk, so we met him and his family for dinner at Pedro’s, a most excellent Mexican restaurant, serving up great food and very tasty watermelon margaritas!
After dinner, cocktails at the Hurricane were recommended, an old-school restaurant that has been in Kennebunkport for over 30 years.
Our bartender was very sweet, and gave me a generous pour of Weller’s, my favorite bourbon!
The next morning, we opted for the continental breakfast at our hotel, because we knew we wanted to hit the road to get home to Rhode Island. (We stayed at the King’s Port Inn. Literally steps from Dock Square, so we walked everywhere. Clean rooms, great water pressure! What more do you need?)
We decided we were still craving Asian food, so for lunch, we made a stop in Portsmouth, NH (another great town you should explore) and enjoyed the food at Domo.
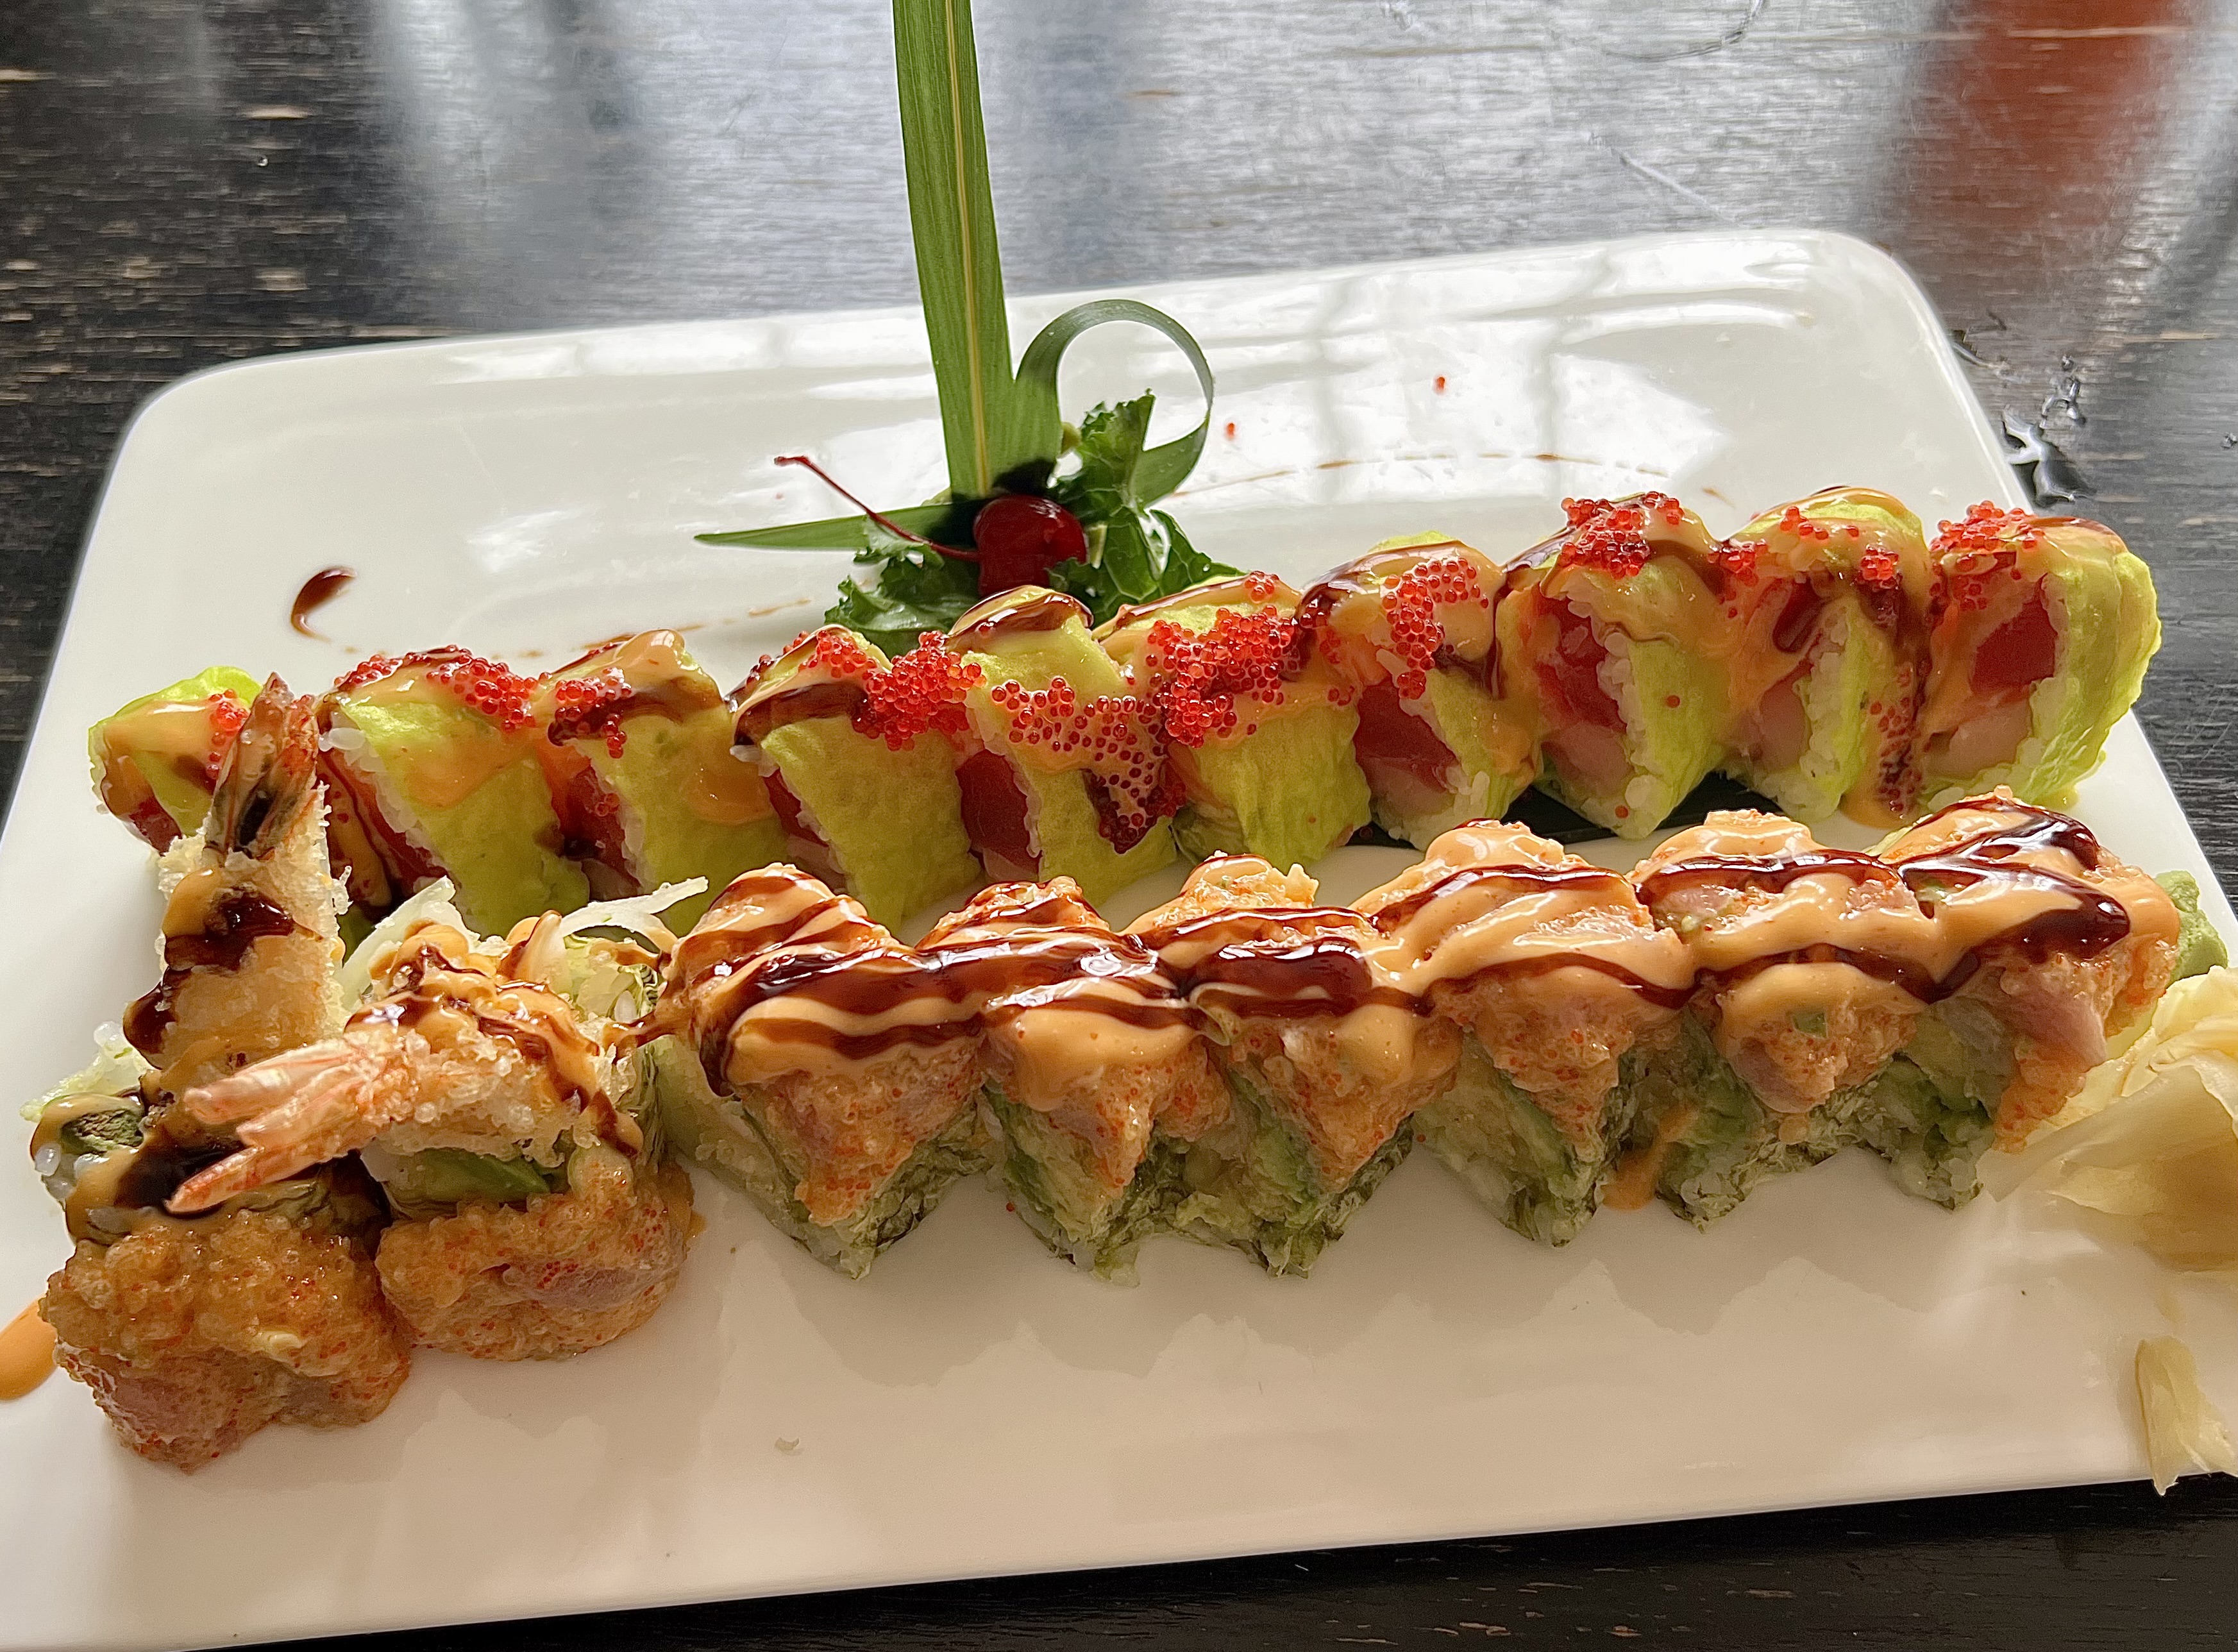
The sushi was fresh and delicious, but I didn’t realize just how huge the maki rolls were! I ate way more than I should have!
Domo’s Triple Three Roll and Sexy Girl Roll.Beef Yaki Udon.
A great food adventure!
But I think it goes without saying that yet another diet is in order!
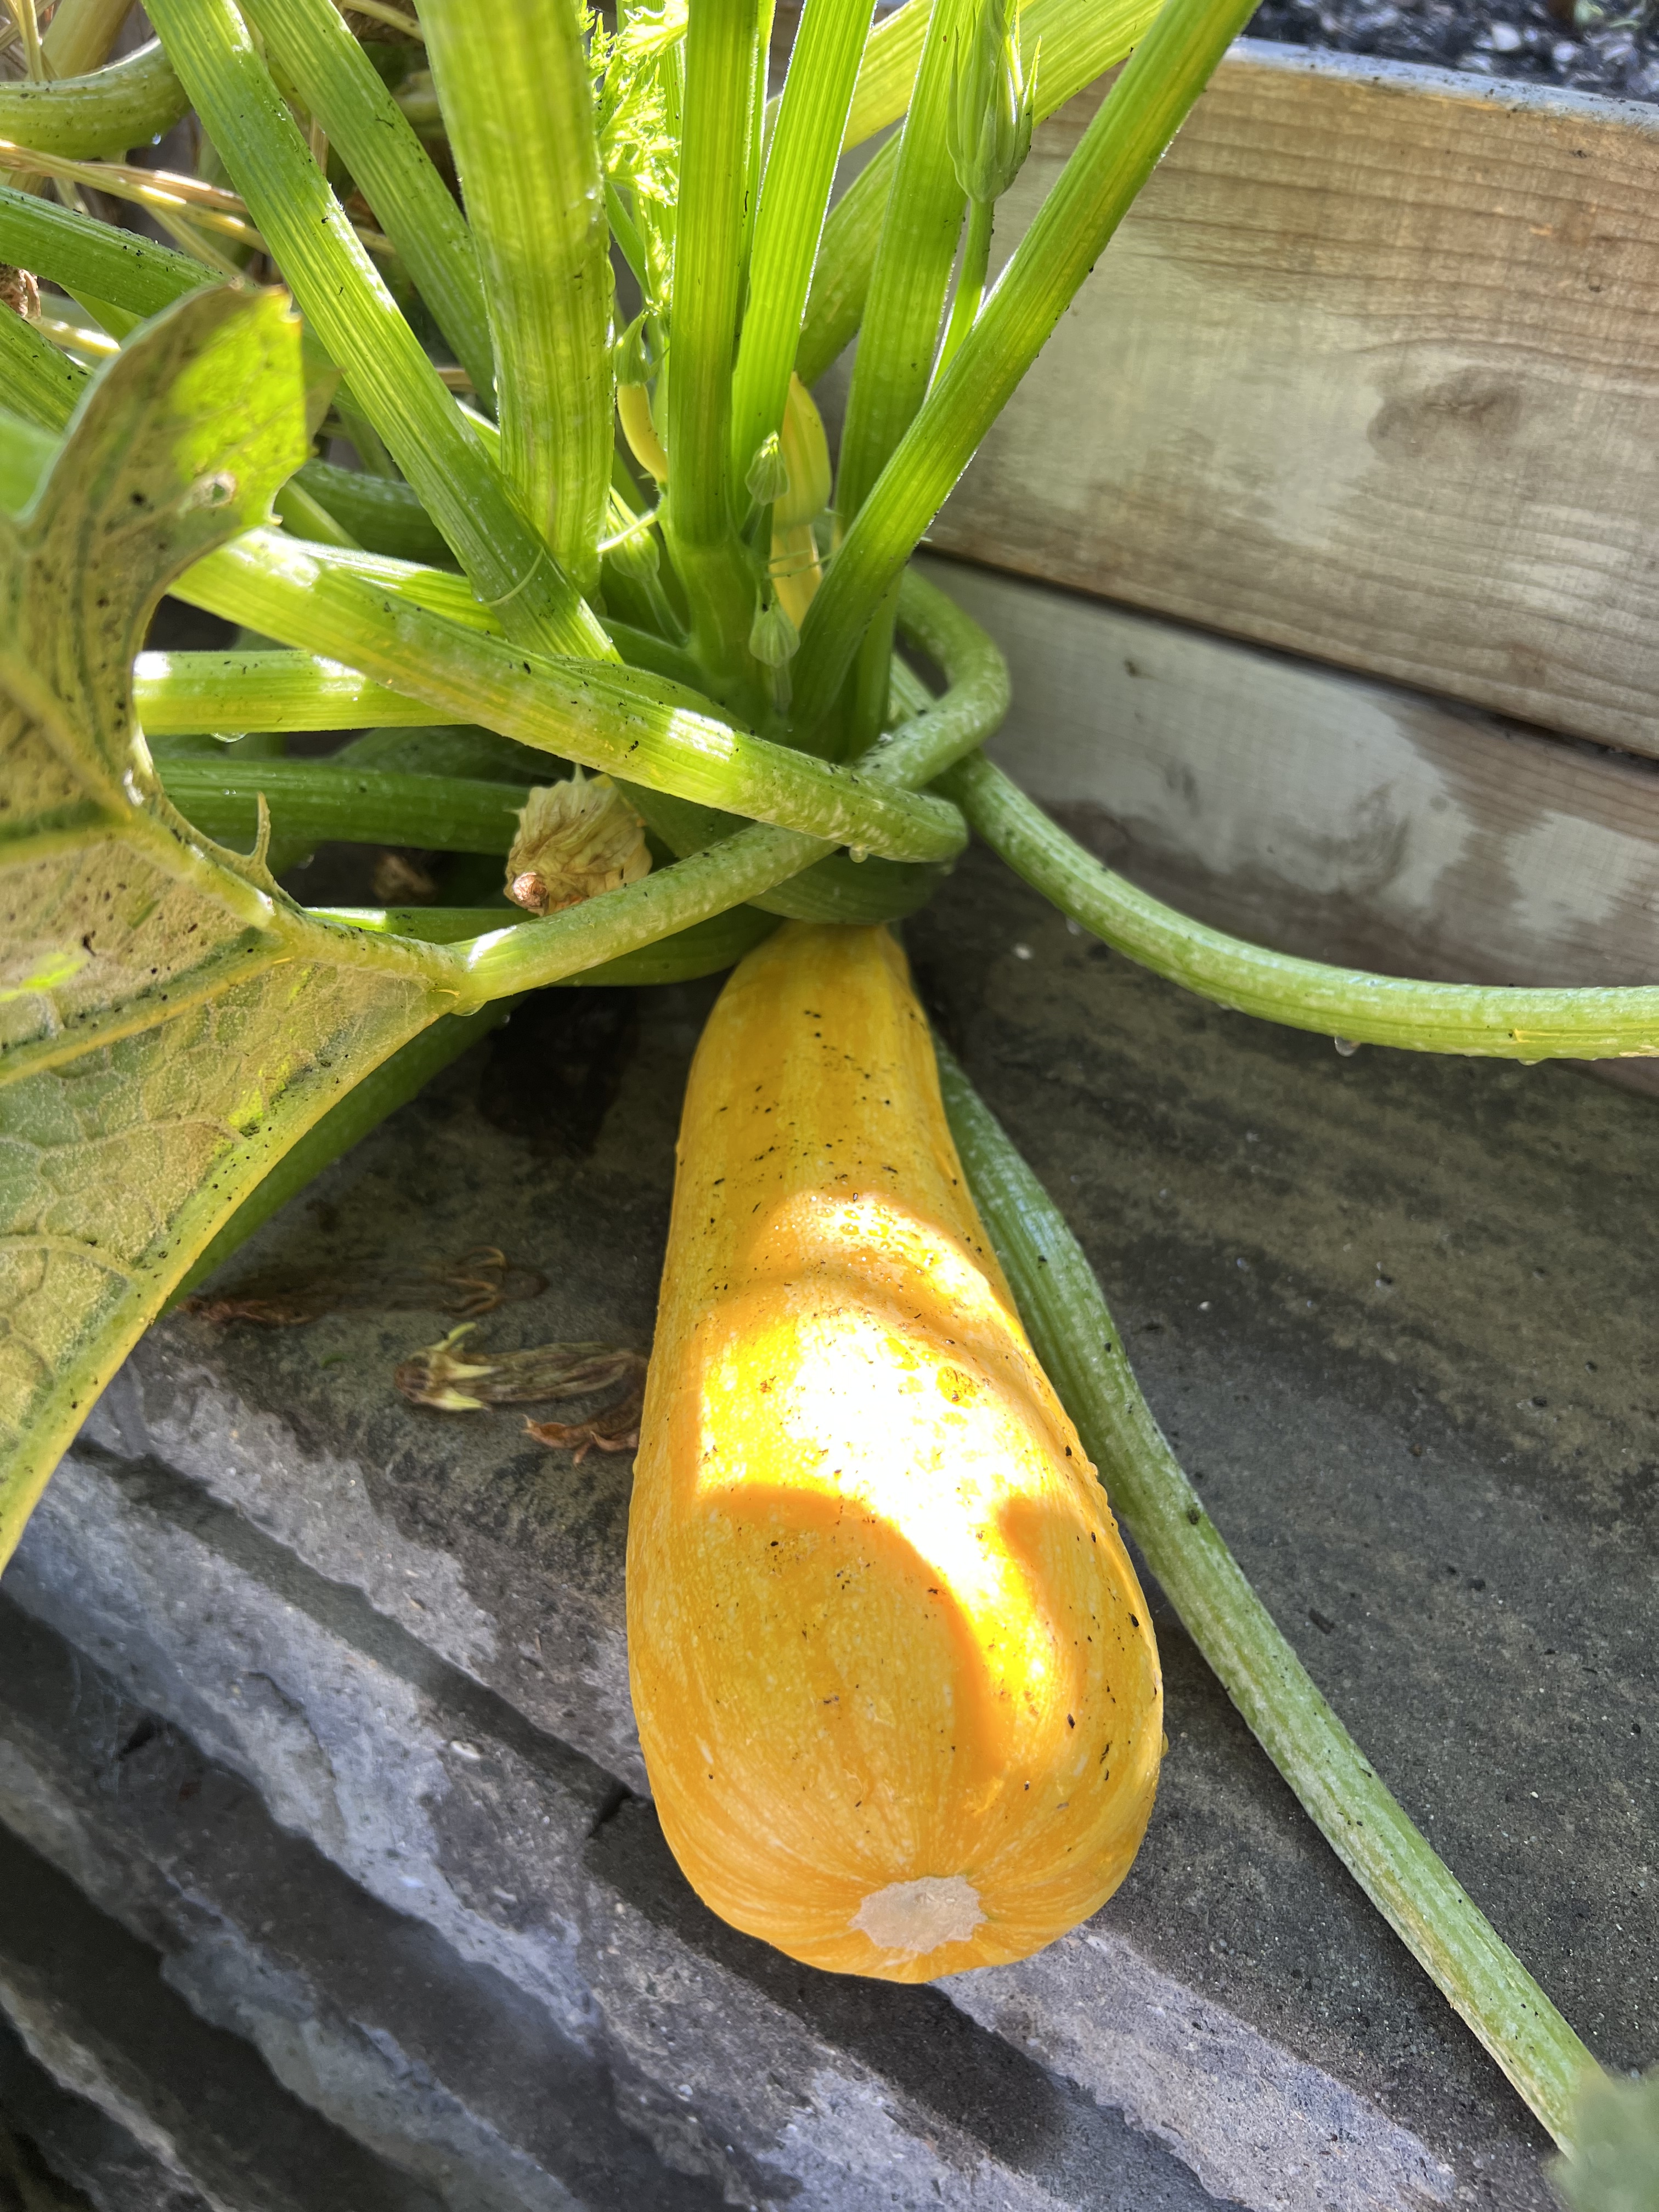
I’m pretty good at keeping the zucchinis in my garden harvested on a regular basis, so they don’t get too big. But once in a while, I miss one, and it gets to be huge. That’s when it’s time to make zucchini bread.
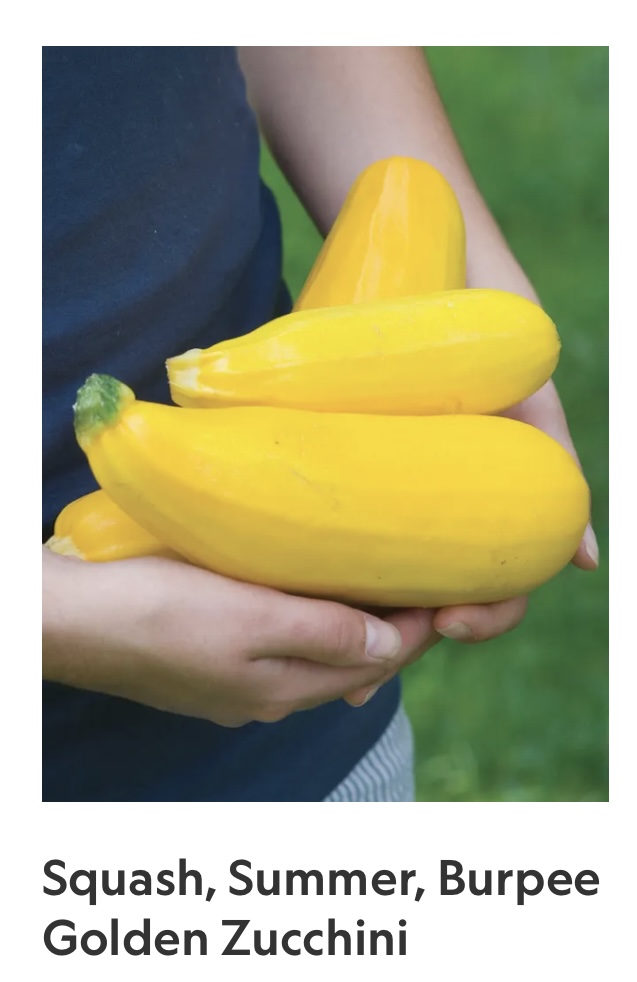
I was recently told that zucchinis are green…summer squash is yellow. I use the word “zucchini” interchangeably, but technically, the variety I grow is, in fact, a zucchini and a squash!
Whatever you call it, use it! And make some delicious bread!
If the zucchini is really large, I slice it lengthwise, and remove the center section with all the seeds, because I don’t want that in my bread. But the smaller ones don’t have that problem. Then I grate the rest on a box grater. This recipe needs about 2 1/2 cups of grated zucchini, which is about 16 ounces.
When it comes to baking, I use my small kitchen scale to make most of the crucial measurements, because accuracy counts. It’s much more accurate than going by volume. But this recipe has both measurements, so you can try either method.
Substituting gluten-free flour for the basic all-purpose flour, will make this recipe gluten-free. I like to use the all-purpose GF flour by Cup4Cup.
And I like using olive oil as my vegetable oil, because I love the flavor and its health benefits. But feel free to use whatever vegetable oil you like.
2 cups all-purpose flour 1 teaspoon baking soda 1 teaspoon baking powder 1 teaspoon Kosher salt 1/2 teaspoon cinnamon (optional)
1 cup light brown sugar 1/2 cup white cane sugar 3/4 cup vegetable oil 1 teaspoon vanilla extract 2 eggs, lightly beaten
2 1/2 cups (16 oz.) grated zucchini
Preheat the oven to 350°.
Grease an 8 x 8“ or 5″ x 10″ loaf pan with some of the vegetable oil. Then line it with parchment paper…it makes it easier to remove later.
In a bowl, mix together the first five ingredients.
In a separate bowl, combine the remaining ingredients except the zucchini.
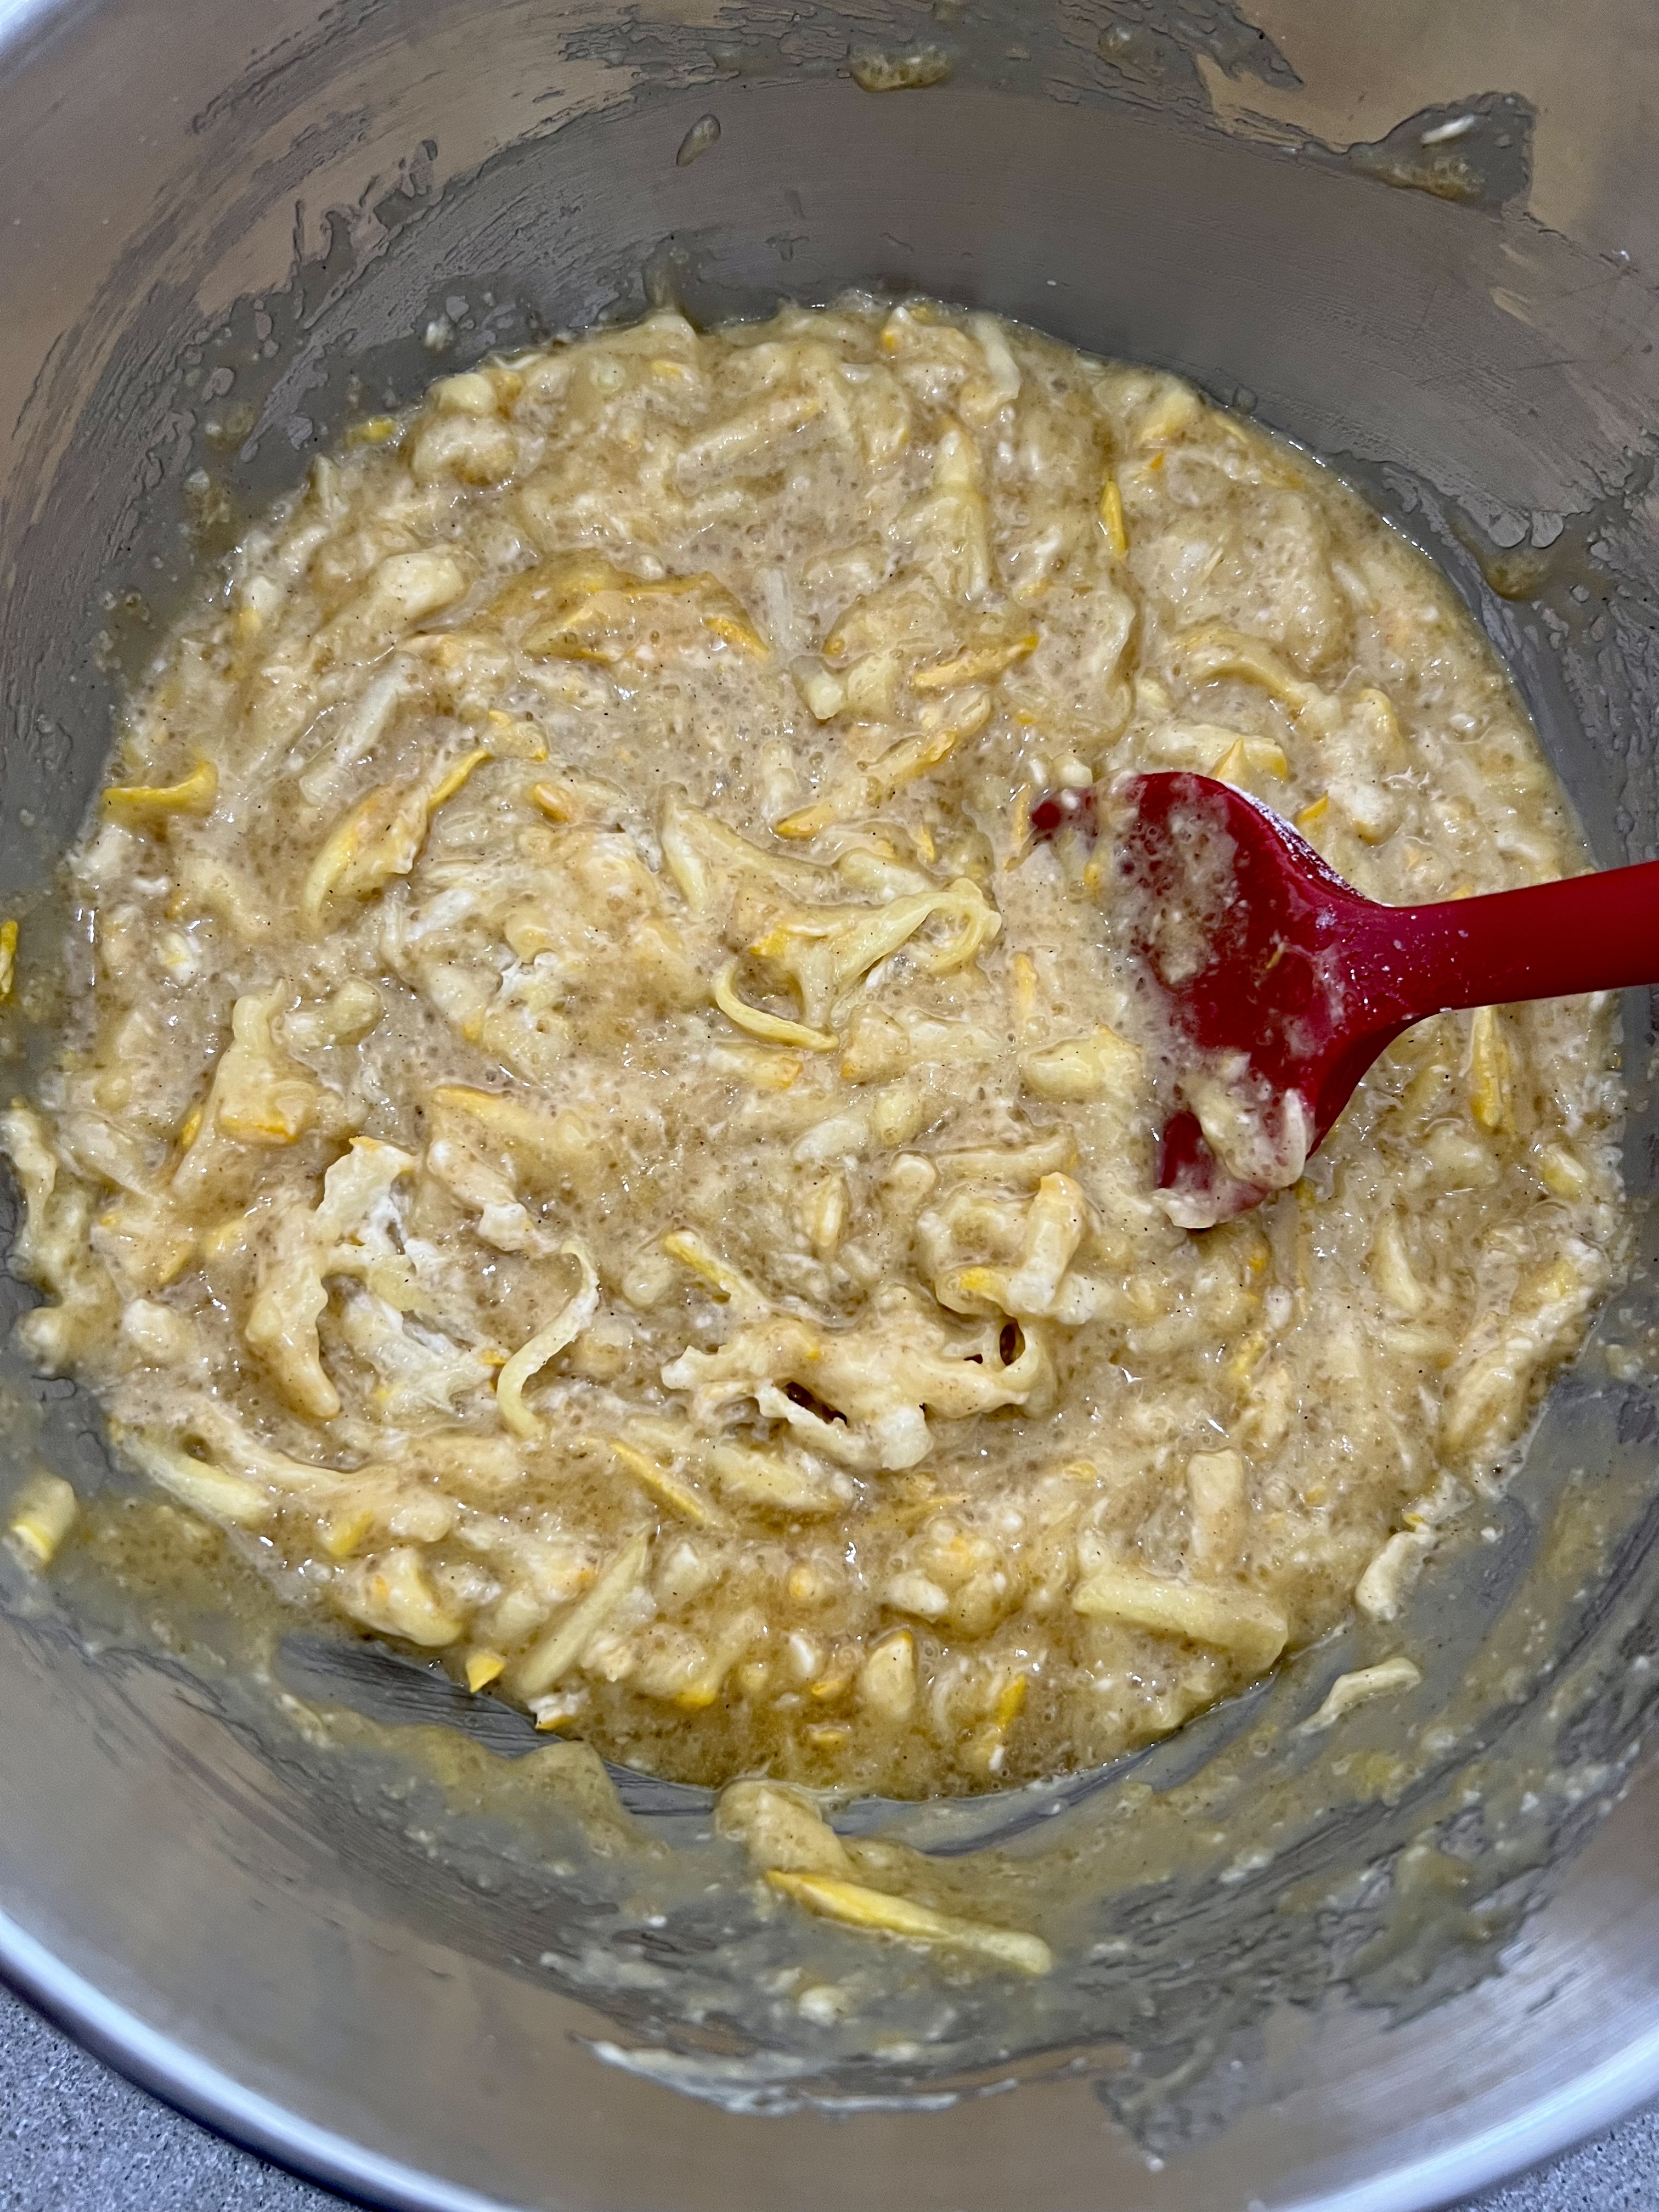
Add the grated zucchini to the bowl with the flour mixture and toss it around to coat.
Add the dry mixture to the wet mixture and stir until it’s combined.
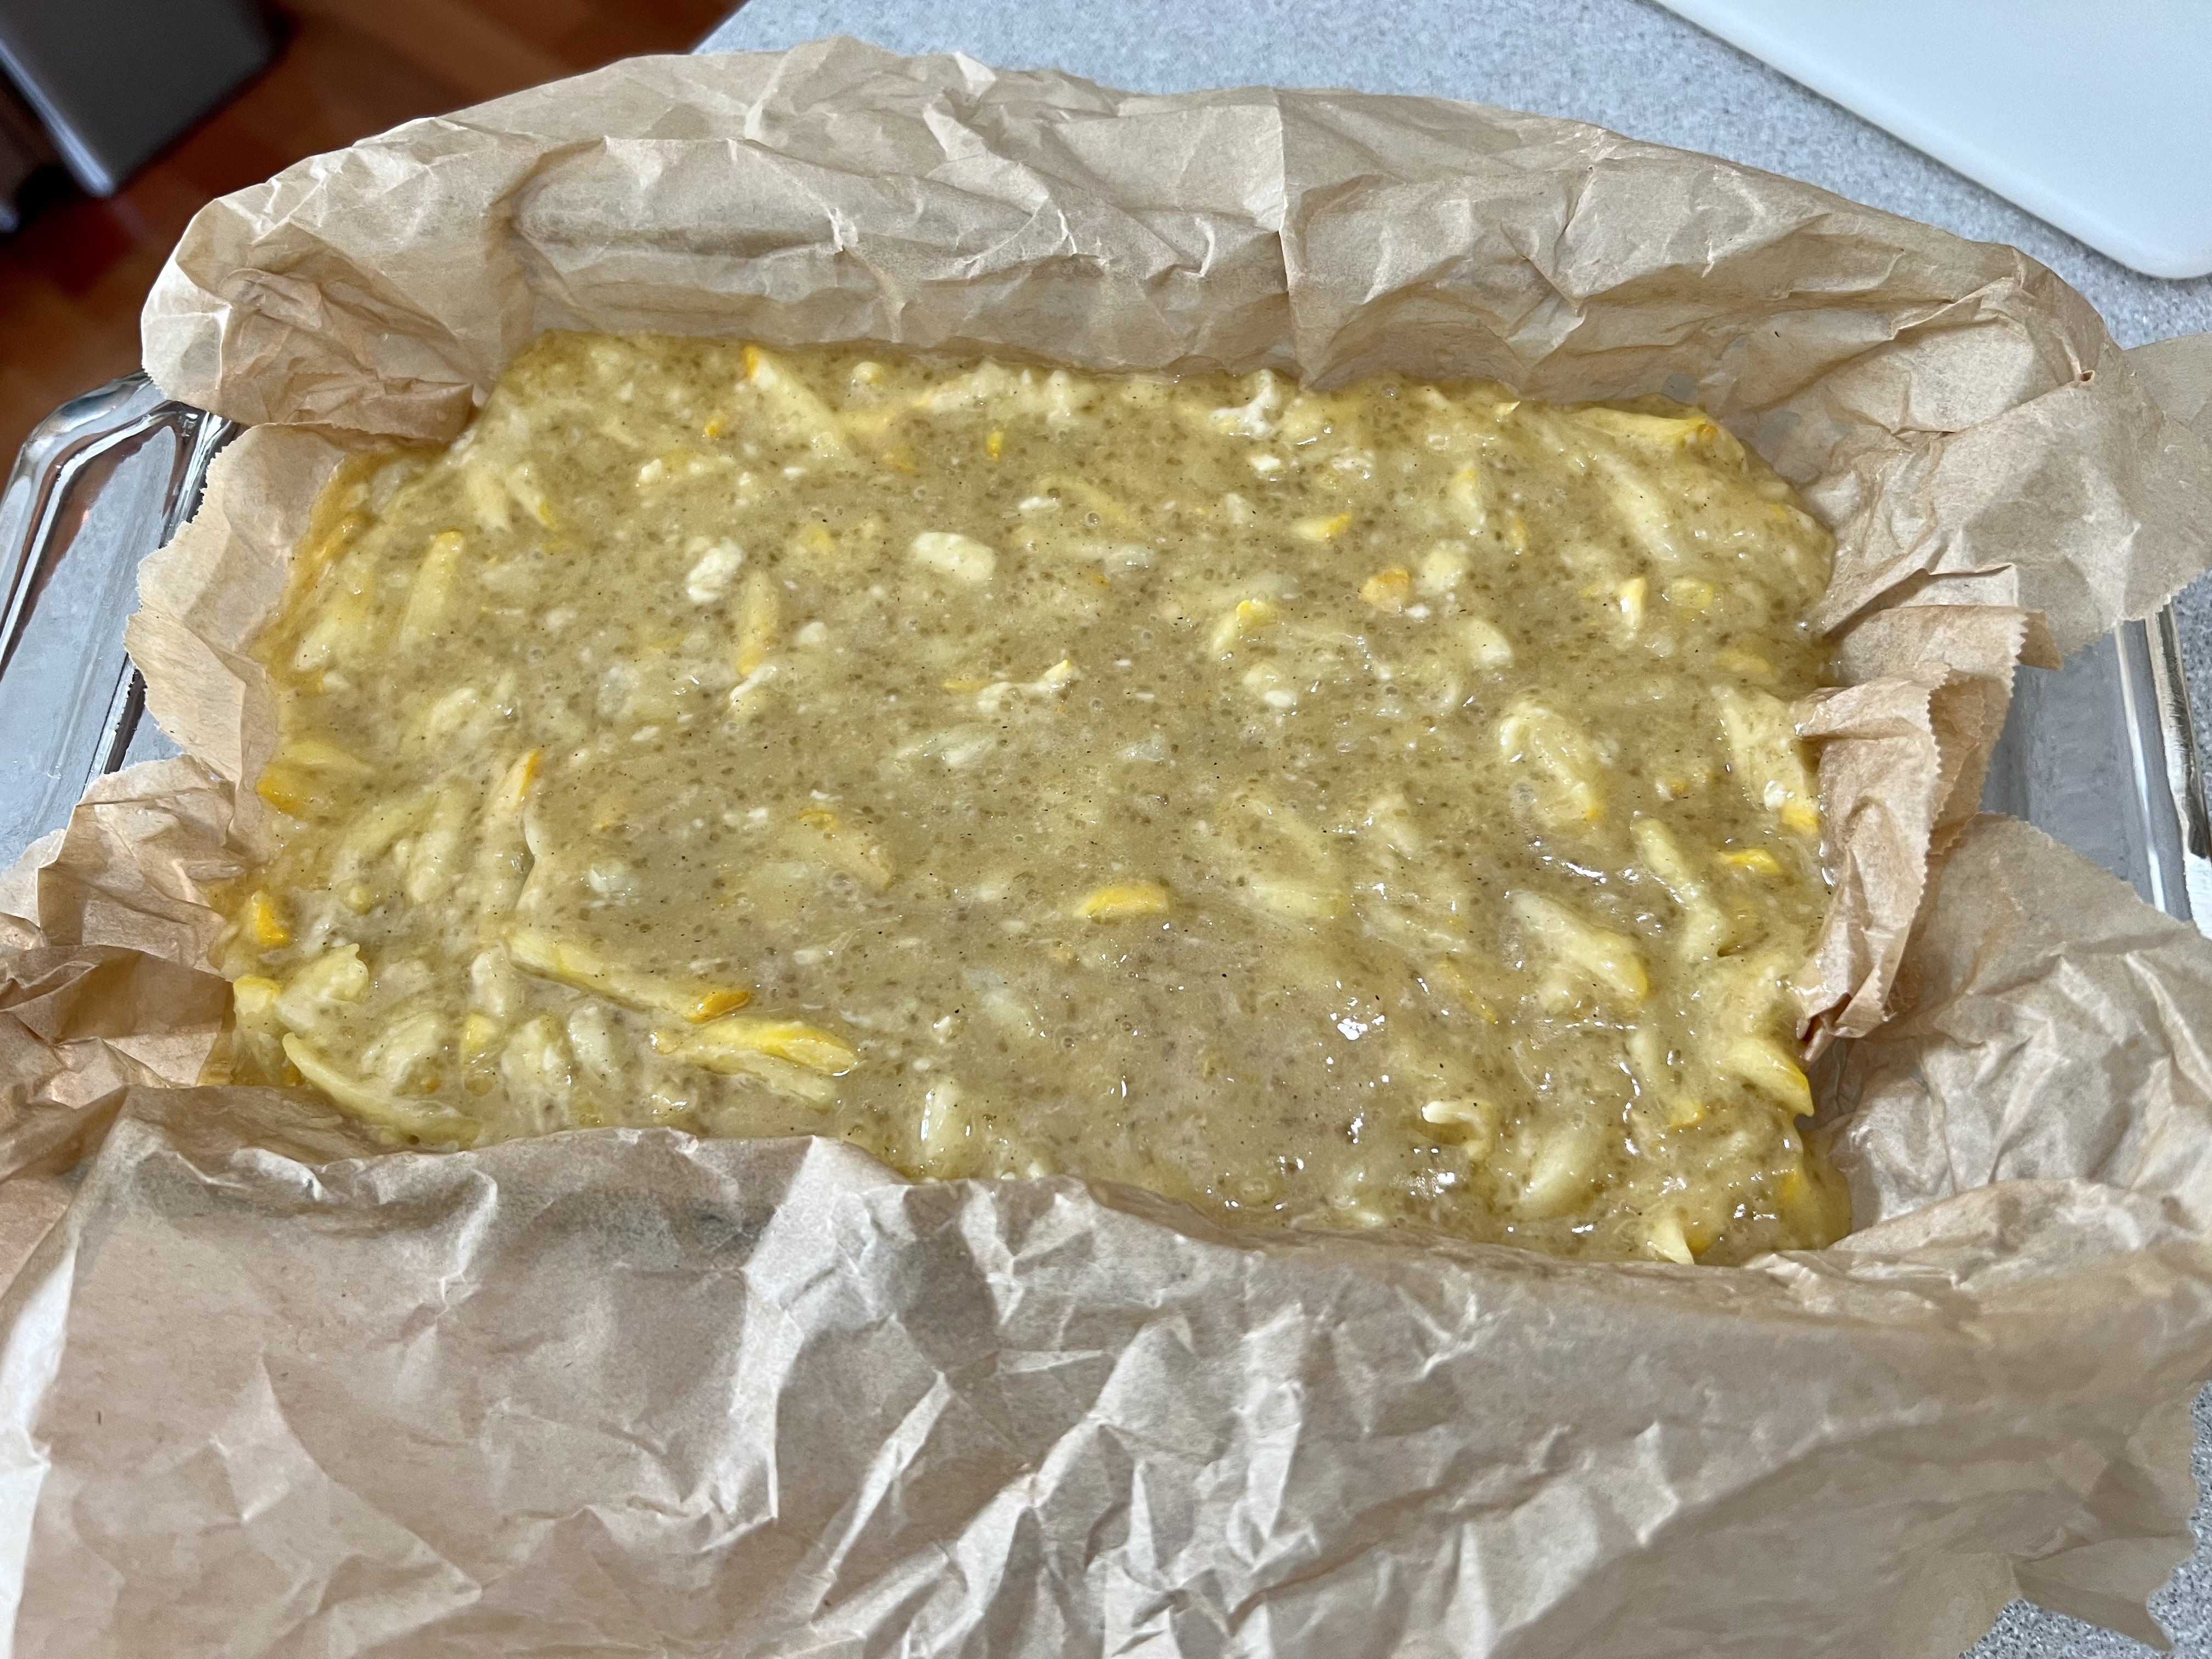
Pour it into the pan.
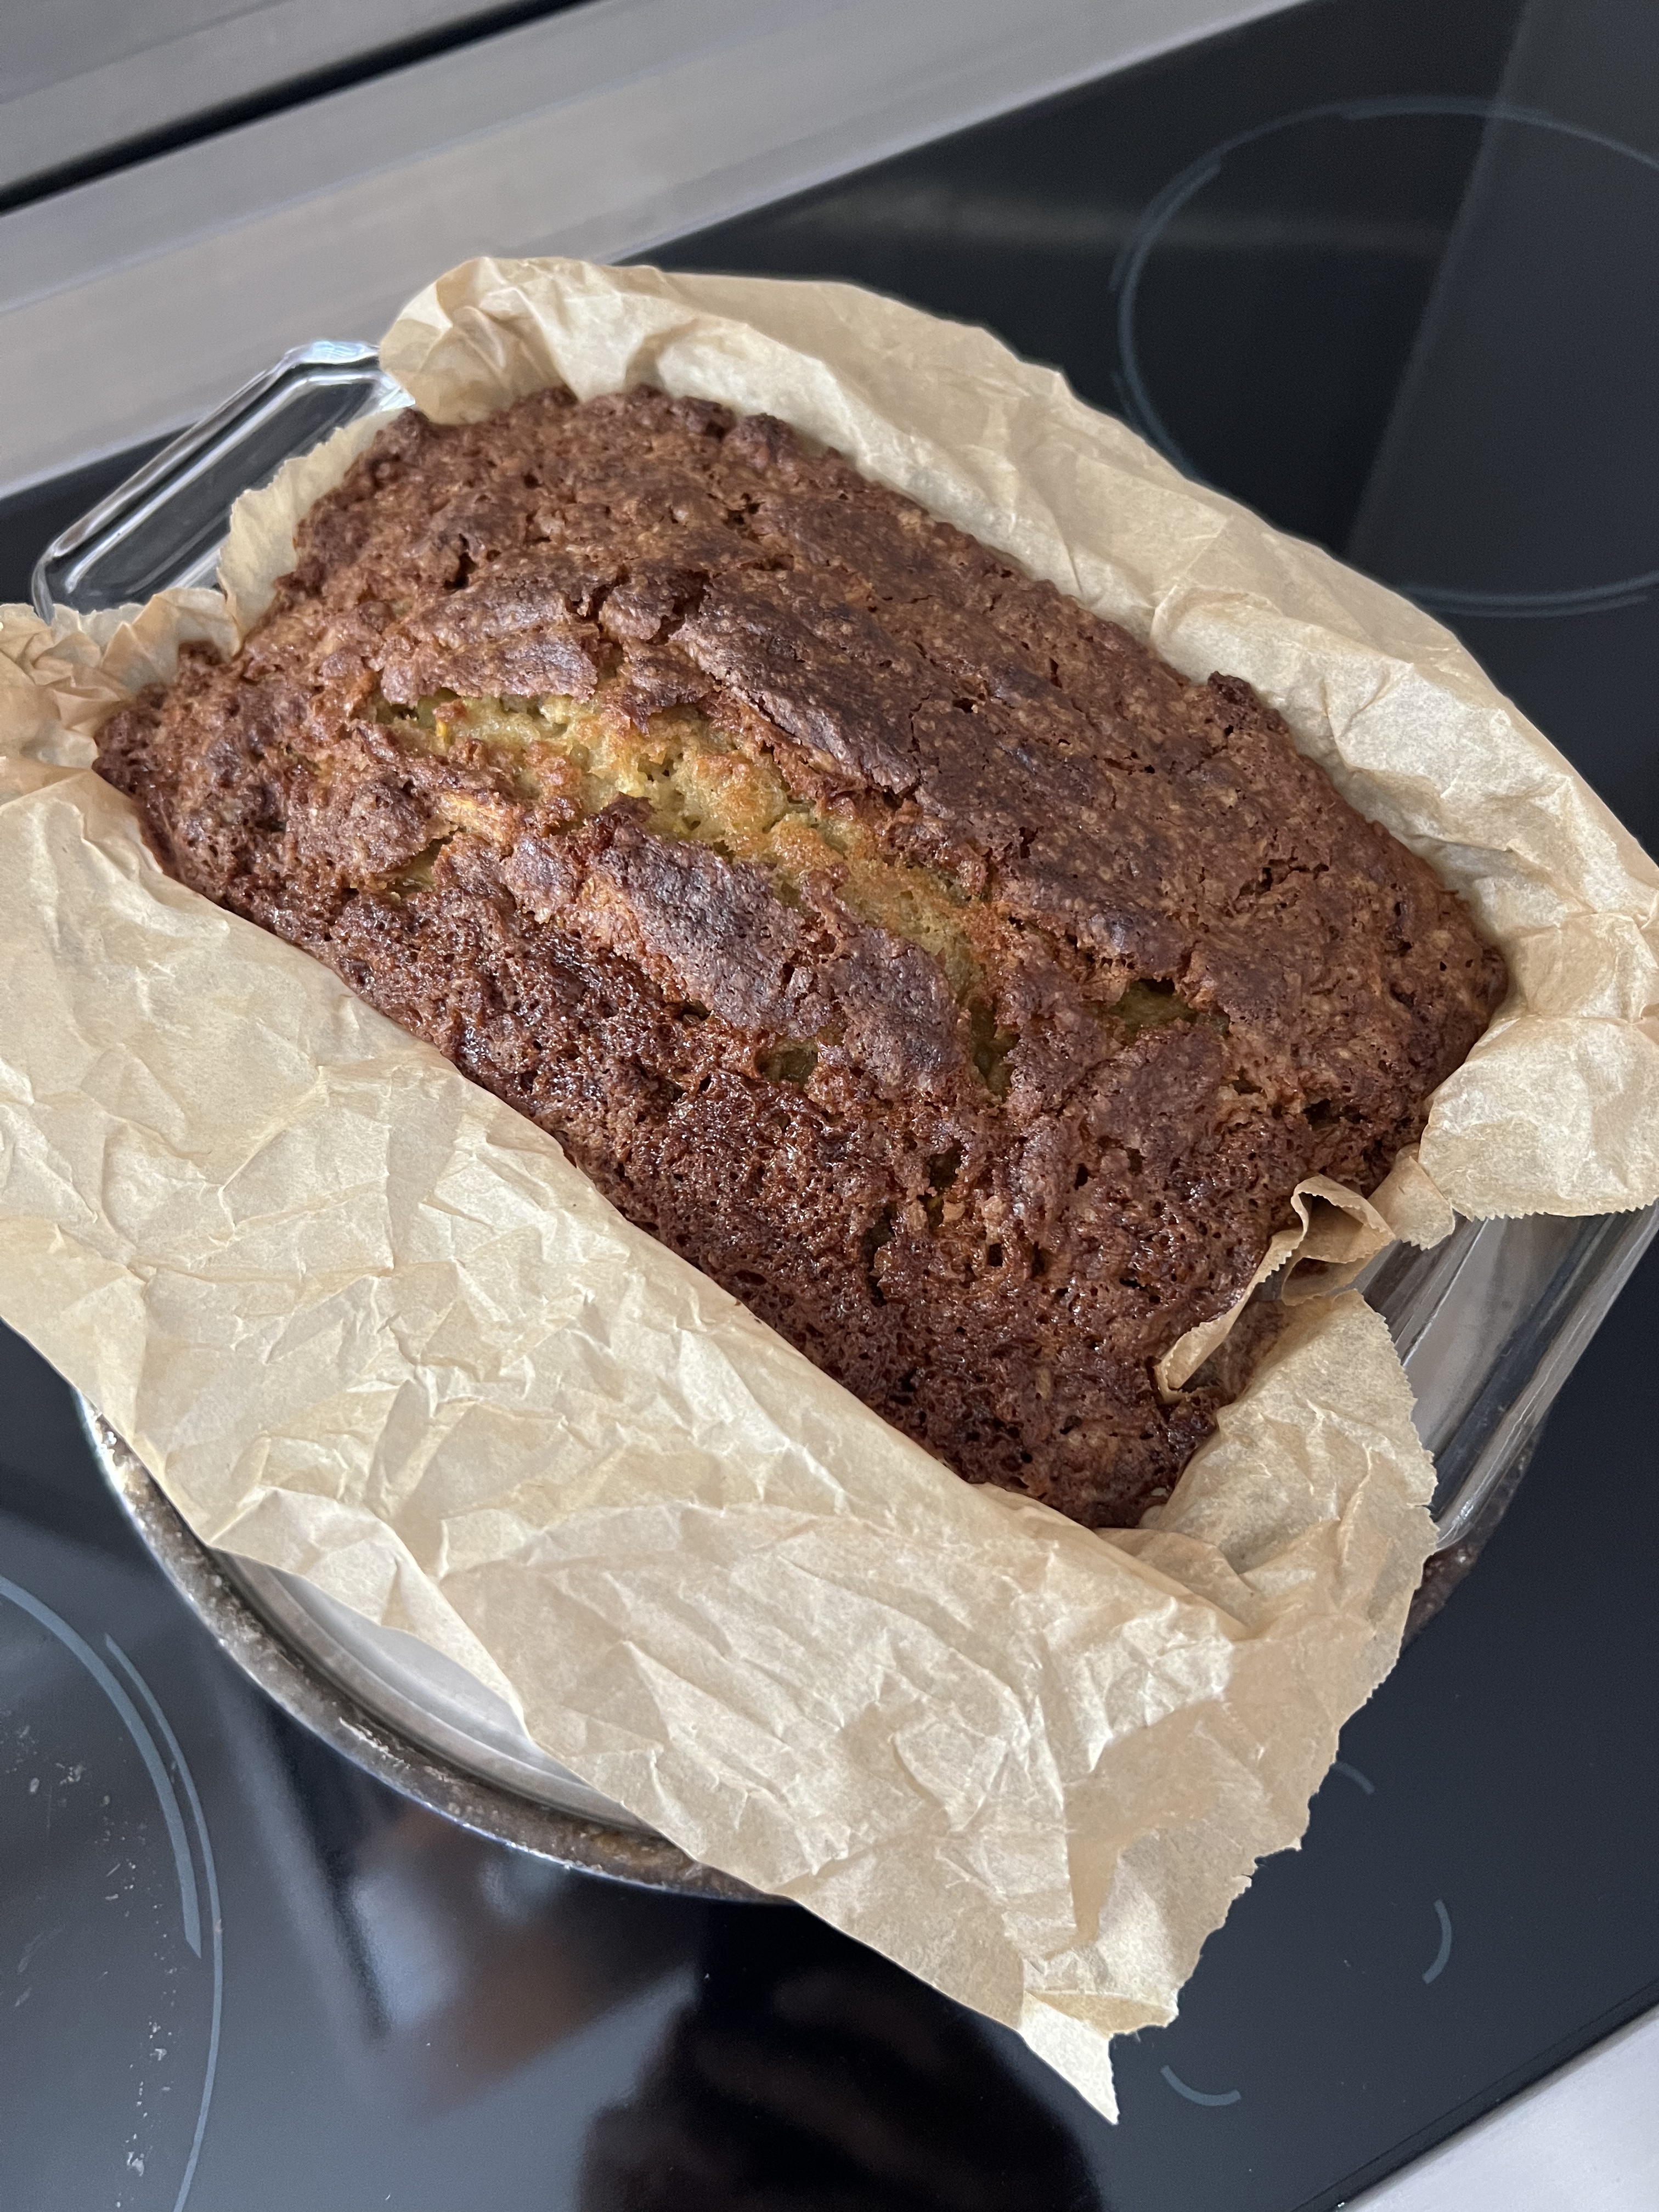
Bake until a toothpick comes out clean, about 45 to 60 minutes…but it could be even longer. Every oven is different, and different zucchini can have different moisture levels, so you may need to cook yours longer, depending on your situation. Even with all the high-tech thermometers I have, I find the good old-fashioned toothpick method still works best.
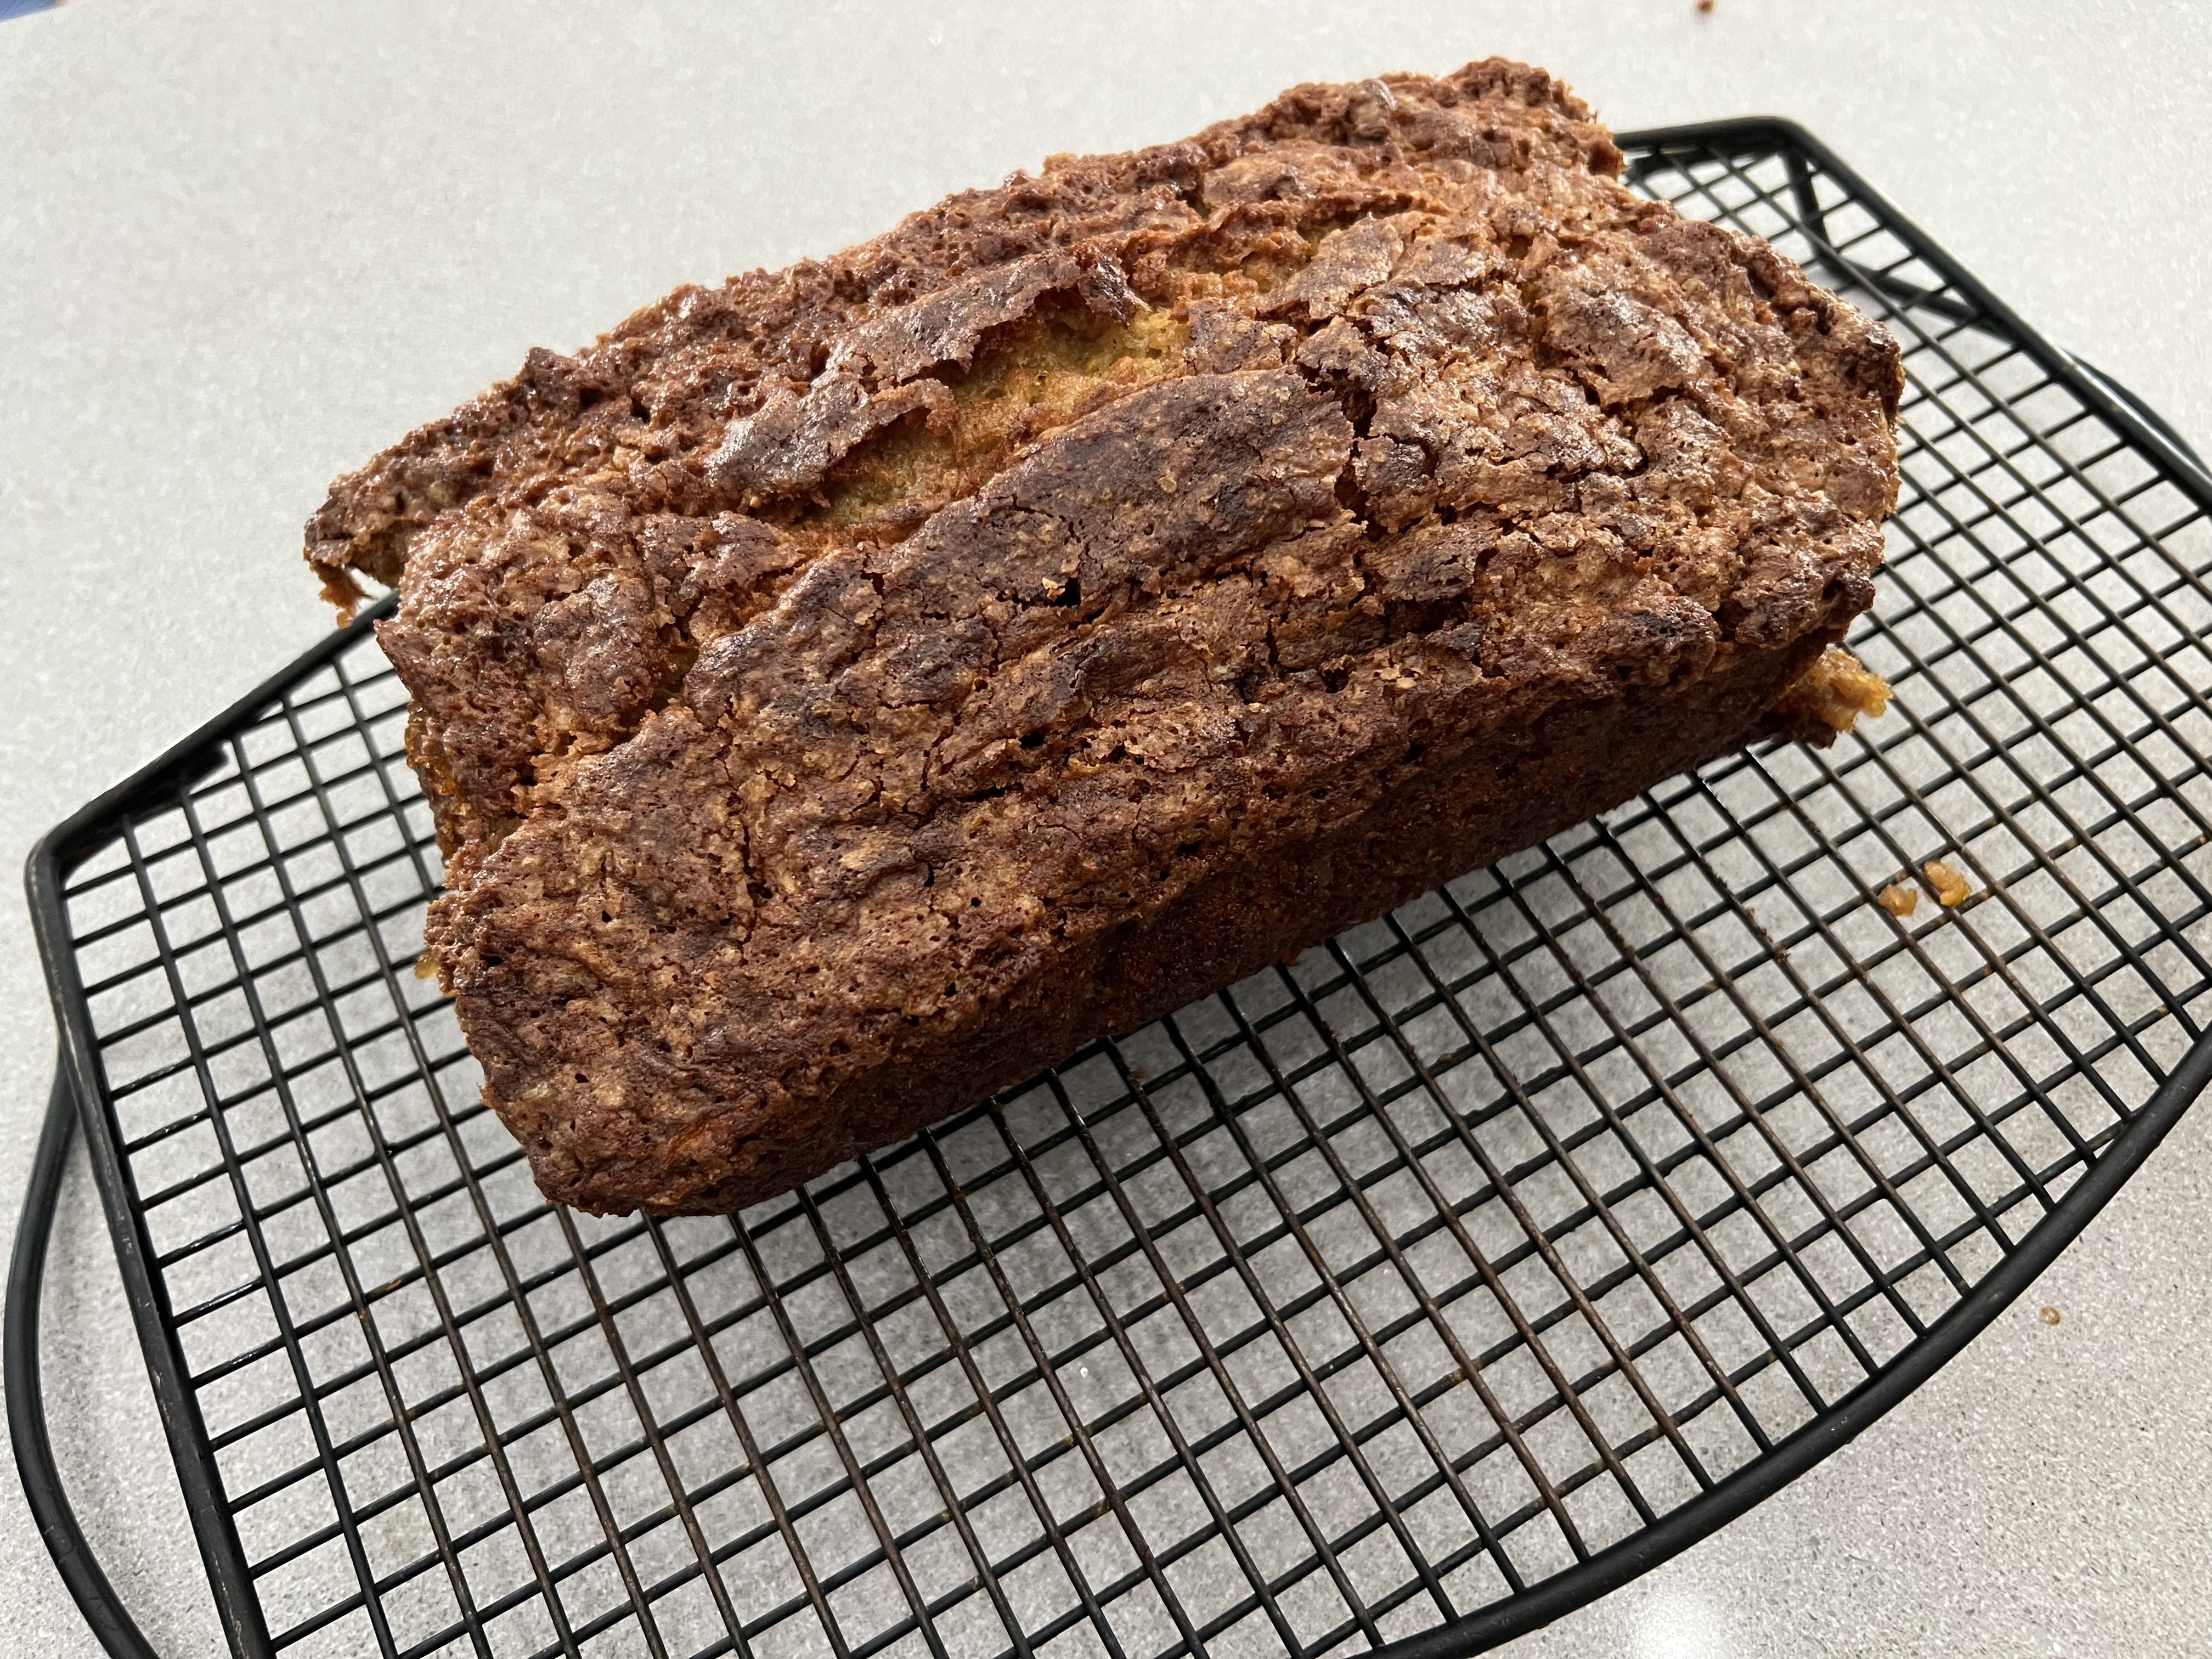
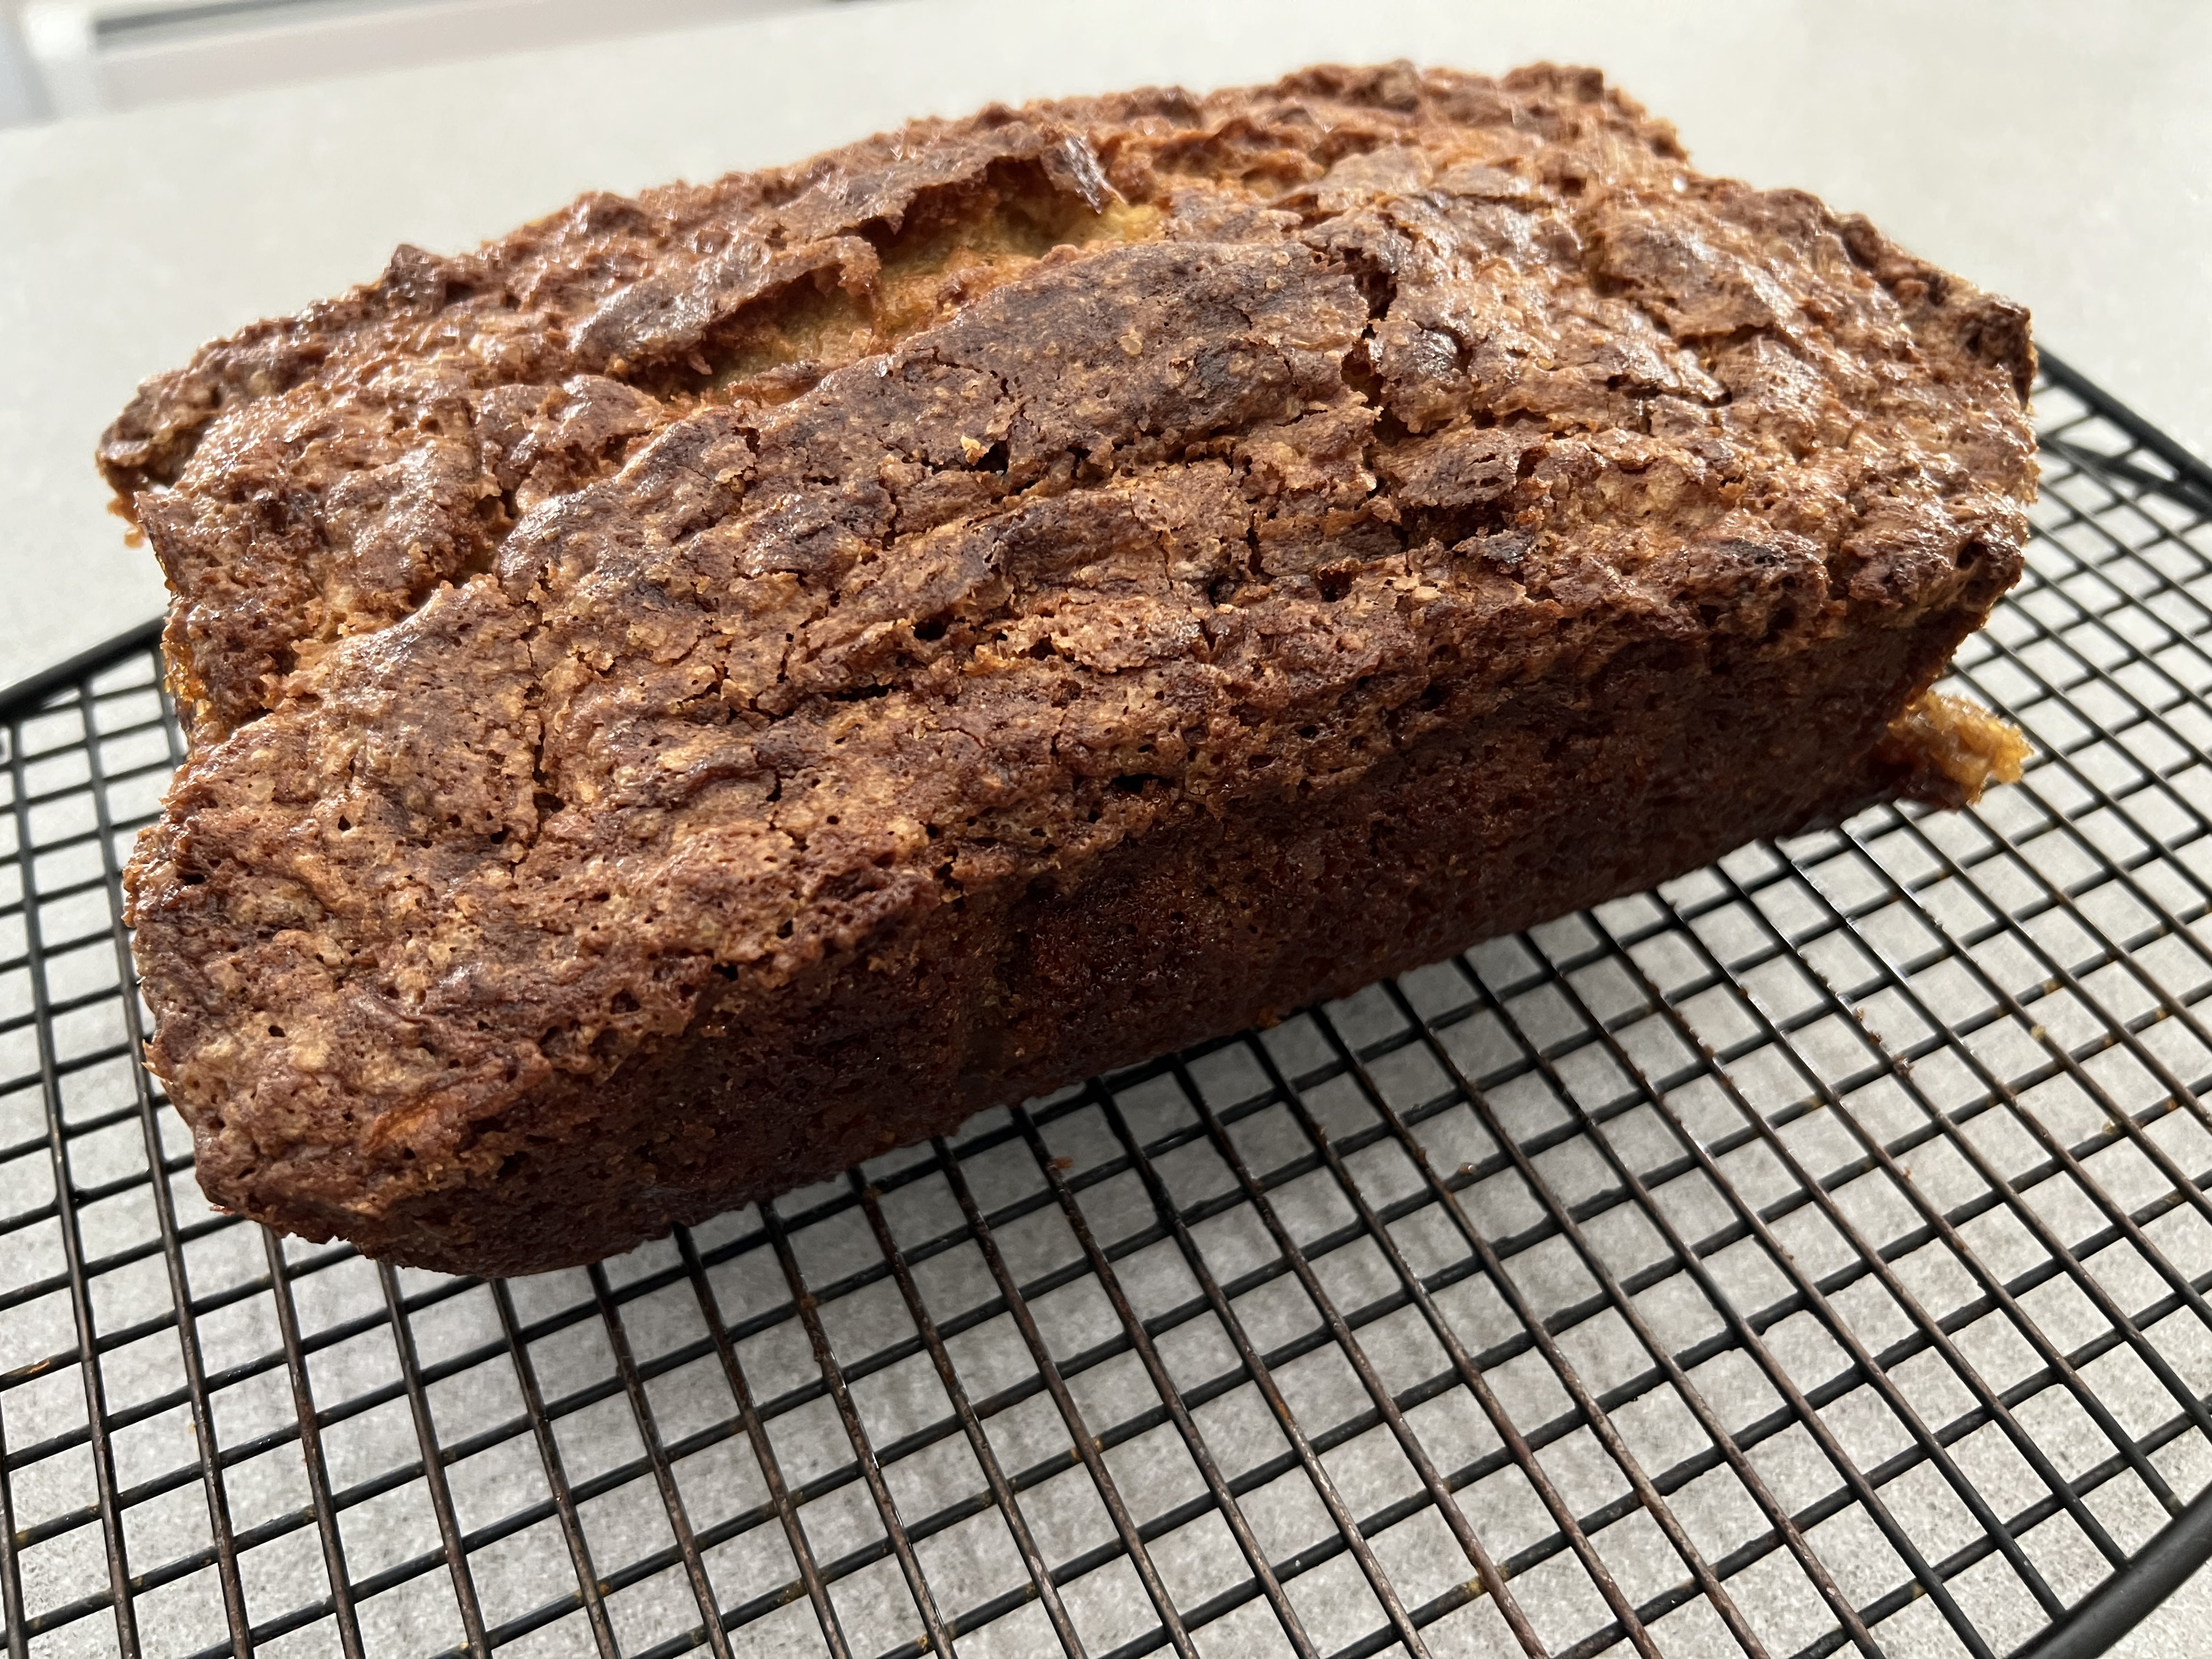
Remove the baking pan from the oven and let it cool for 15 minutes. Then turn it over on a wire rack, removing the pan, and let the zucchini bread cool completely to room temperature before slicing.
This bread is so good, I just might let the zucchini overgrow more often!
I recently cooked another batch of zucchini bread in a round pan. Worked great! And I experimented with substitutions: I replaced 1/2 cup of the all-purpose flour with corn meal to give it a more rustic taste. And I replaced the 1/2 cup white cane sugar with 1/4 cup of maple syrup. Delicious!
I grill year-round. I’ll stand in 3 feet of snow to get smoked ribs just right, if I have to. Through years of tireless experimentation, I’ve come up with a barbecue sauce that I can be proud of. I prefer a slightly sweet and tangy barbecue sauce, and it works really well with pork or chicken.
What makes this sauce special is the citrus. I originally used lemon juice for this recipe and it was good. Lime juice was better. Adding lime zest: even better than that. I tried orange juice and zest, even Meyer lemon. But the Big Daddy of ’em all was grapefruit. I was craving my barbecue sauce one day and only had a grapefruit in the fridge. I thought: how bad could this be? Turned out to be the perfect foil to the sweetness of the brown sugar and ketchup.
Try this sauce on your next rack of ribs, batch of chicken wings, or even a whole bird. Cook the bird almost all the way through, brushing the sauce on for the last 20 minutes so that the sugars don’t burn. Then just try to stop eating it!
GRAPEFRUIT BARBECUE SAUCE
1 cup ketchup
1/2 cup firmly packed brown sugar
Juice and zest of 1 grapefruit
3 tablespoons unsalted butter
1 teaspoon granulated onion
1 teaspoon cayenne pepper sauce, like Frank’s Red Hot
1 teaspoon Worcestershire sauce
1 teaspoon granulated garlic
1/4 teaspoon black pepper
(no salt)
Combine all the ingredients in a sauce pan. Bring it to a boil and then simmer for about 20 minutes on low, until it’s slightly thickened.
If you like a less sweet, more vinegary style to your barbecue sauce, this is the one. How could a sauce that’s inspired by what most people claim to be the best barbecue joint in the USA, Franklin’s Barbecue in Austin, Texas, be bad? People line up early in the morning and wait as much as four hours for a slab of brisket from this place. I’ll get there one day. In the meantime, I have the sauce.
use this sauce on chicken, pork, or beef. The vinegar really cuts through the fat.
2 cups ketchup
3/4 cup water
6 tablespoons cider vinegar
6 tablespoons white vinegar
6 tablespoons brown sugar
3 tablespoons Worcestershire sauce
1 tablespoon chili powder
2 teaspoons salt
2 teaspoons black pepper
1 1/2 teaspoons cumin
Mix all the ingredients in a saucepan and simmer until the flavors have blended, about 20 minutes. Remove it from heat and cool to room temp. If you store it in an airtight container in the fridge, it’ll stay good for a couple of months.
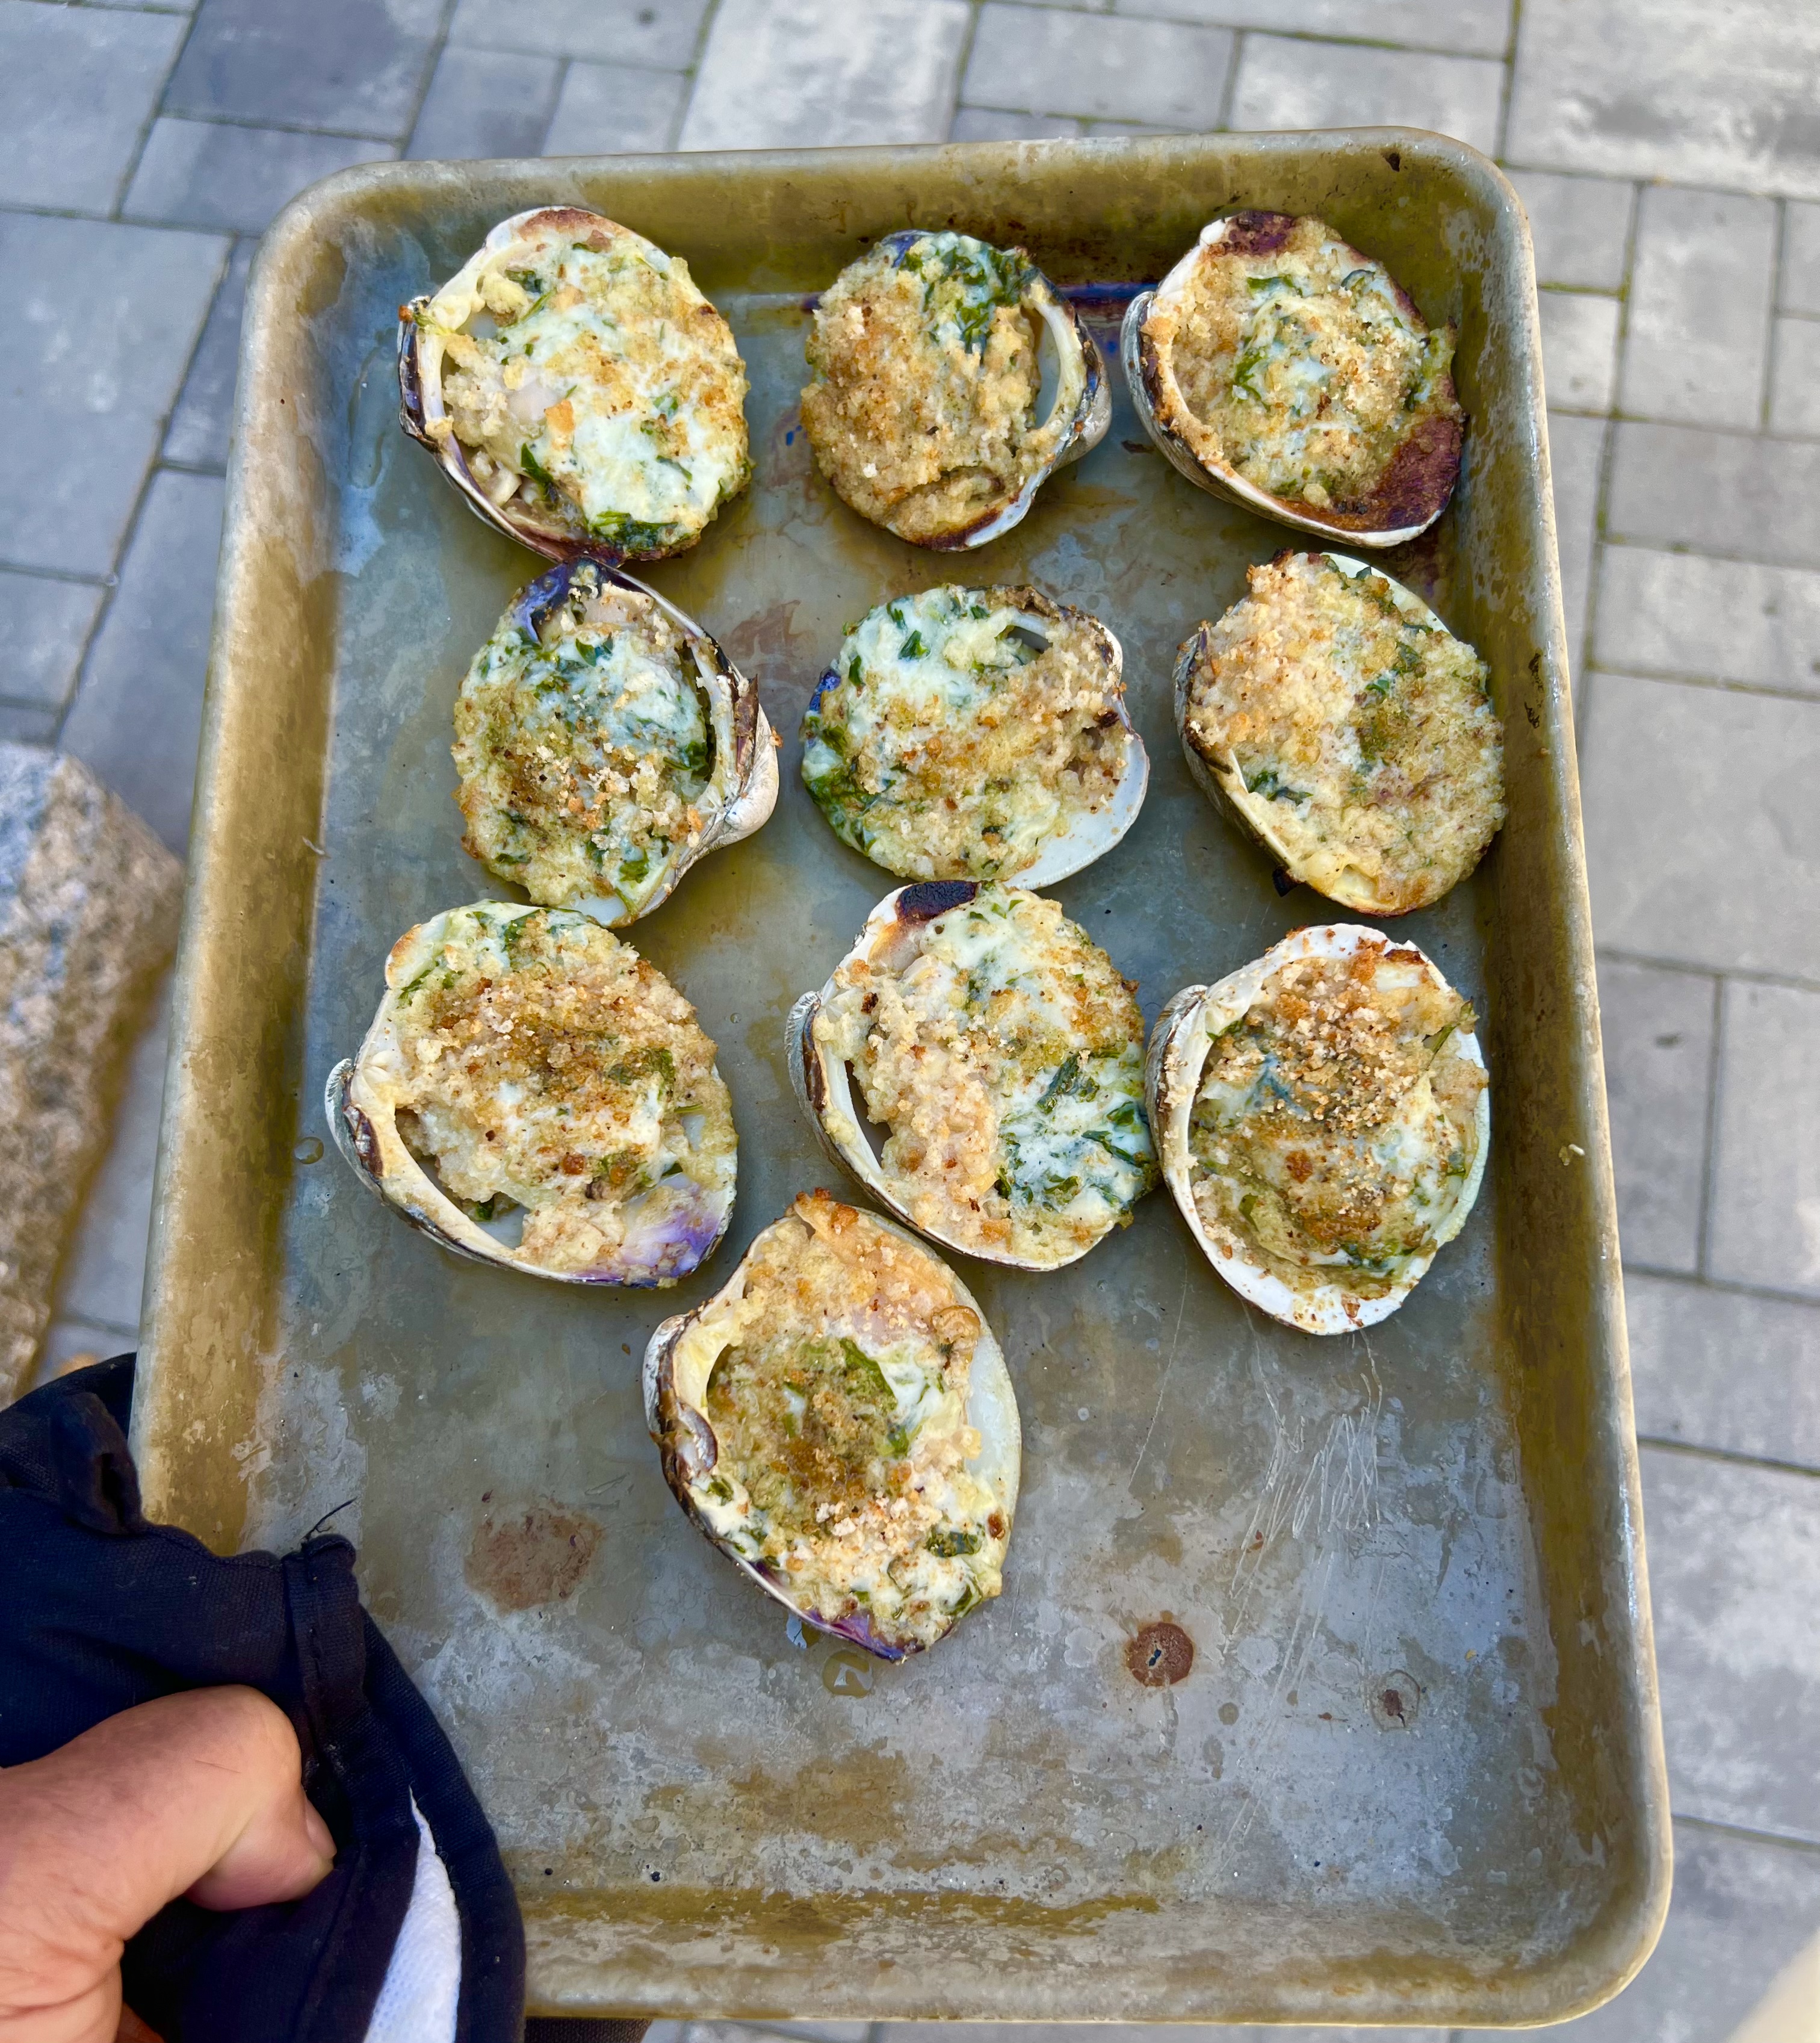
Ever since I had char-grilled oysters in New Orleans, I’ve been obsessed. I’ve made them at least once a month since I’ve been back. But the other day, I went to my local seafood store and I saw some beautiful clams, and I thought: Why not try those on the grill?
I had some friends over a couple of days ago, and I made my Oysters Rock-a-Fellow recipe for them, and I had some leftover gooey cheesy stuffing that goes on top of the oyster. I thought: Why not use it on the clams and then put them on the grill?
A hybrid recipe of two previous recipes, and it really worked!
The first step is to make the gooey cheesy stuffing mix ahead of time.
1/4 cup unsalted butter 1 small onion, finely chopped 1 garlic clove, finely chopped 1/4 cup low-fat milk salt and pepper 3 cups (tightly packed) fresh arugula, finely chopped, about a 5 oz. container 6 oz. mild cheddar cheese (the white one), grated 6 oz. mozzarella, grated Fine bread crumbs (Using GF breadcrumbs will keep this dish gluten-free)
Melt the butter in a pan and add the onion and garlic. Sauté until translucent, then add the milk, salt and pepper, and the arugula. Sauté for a few minutes, stirring, so that all of the arugula wilts down. Slowly add the cheddar until it all melts, then add the mozzarella, stirring slowly, until you have one big gooey mass of goodness in the pan.
Pour the gooey cheese mix into a shallow pan and place it in the fridge for a few hours. It will firm up and you will be able to cut it easily into cubes that you will then place on top of the clams.
Once the cheese mixture has firmed up, and it’s time to cook, start a hardwood charcoal fire in your grill.
Open the clams and put them on a tray, topping each clam with a cube of the firm cheese and arugula stuffing mix.
Sprinkle the breadcrumbs on top of each clam.
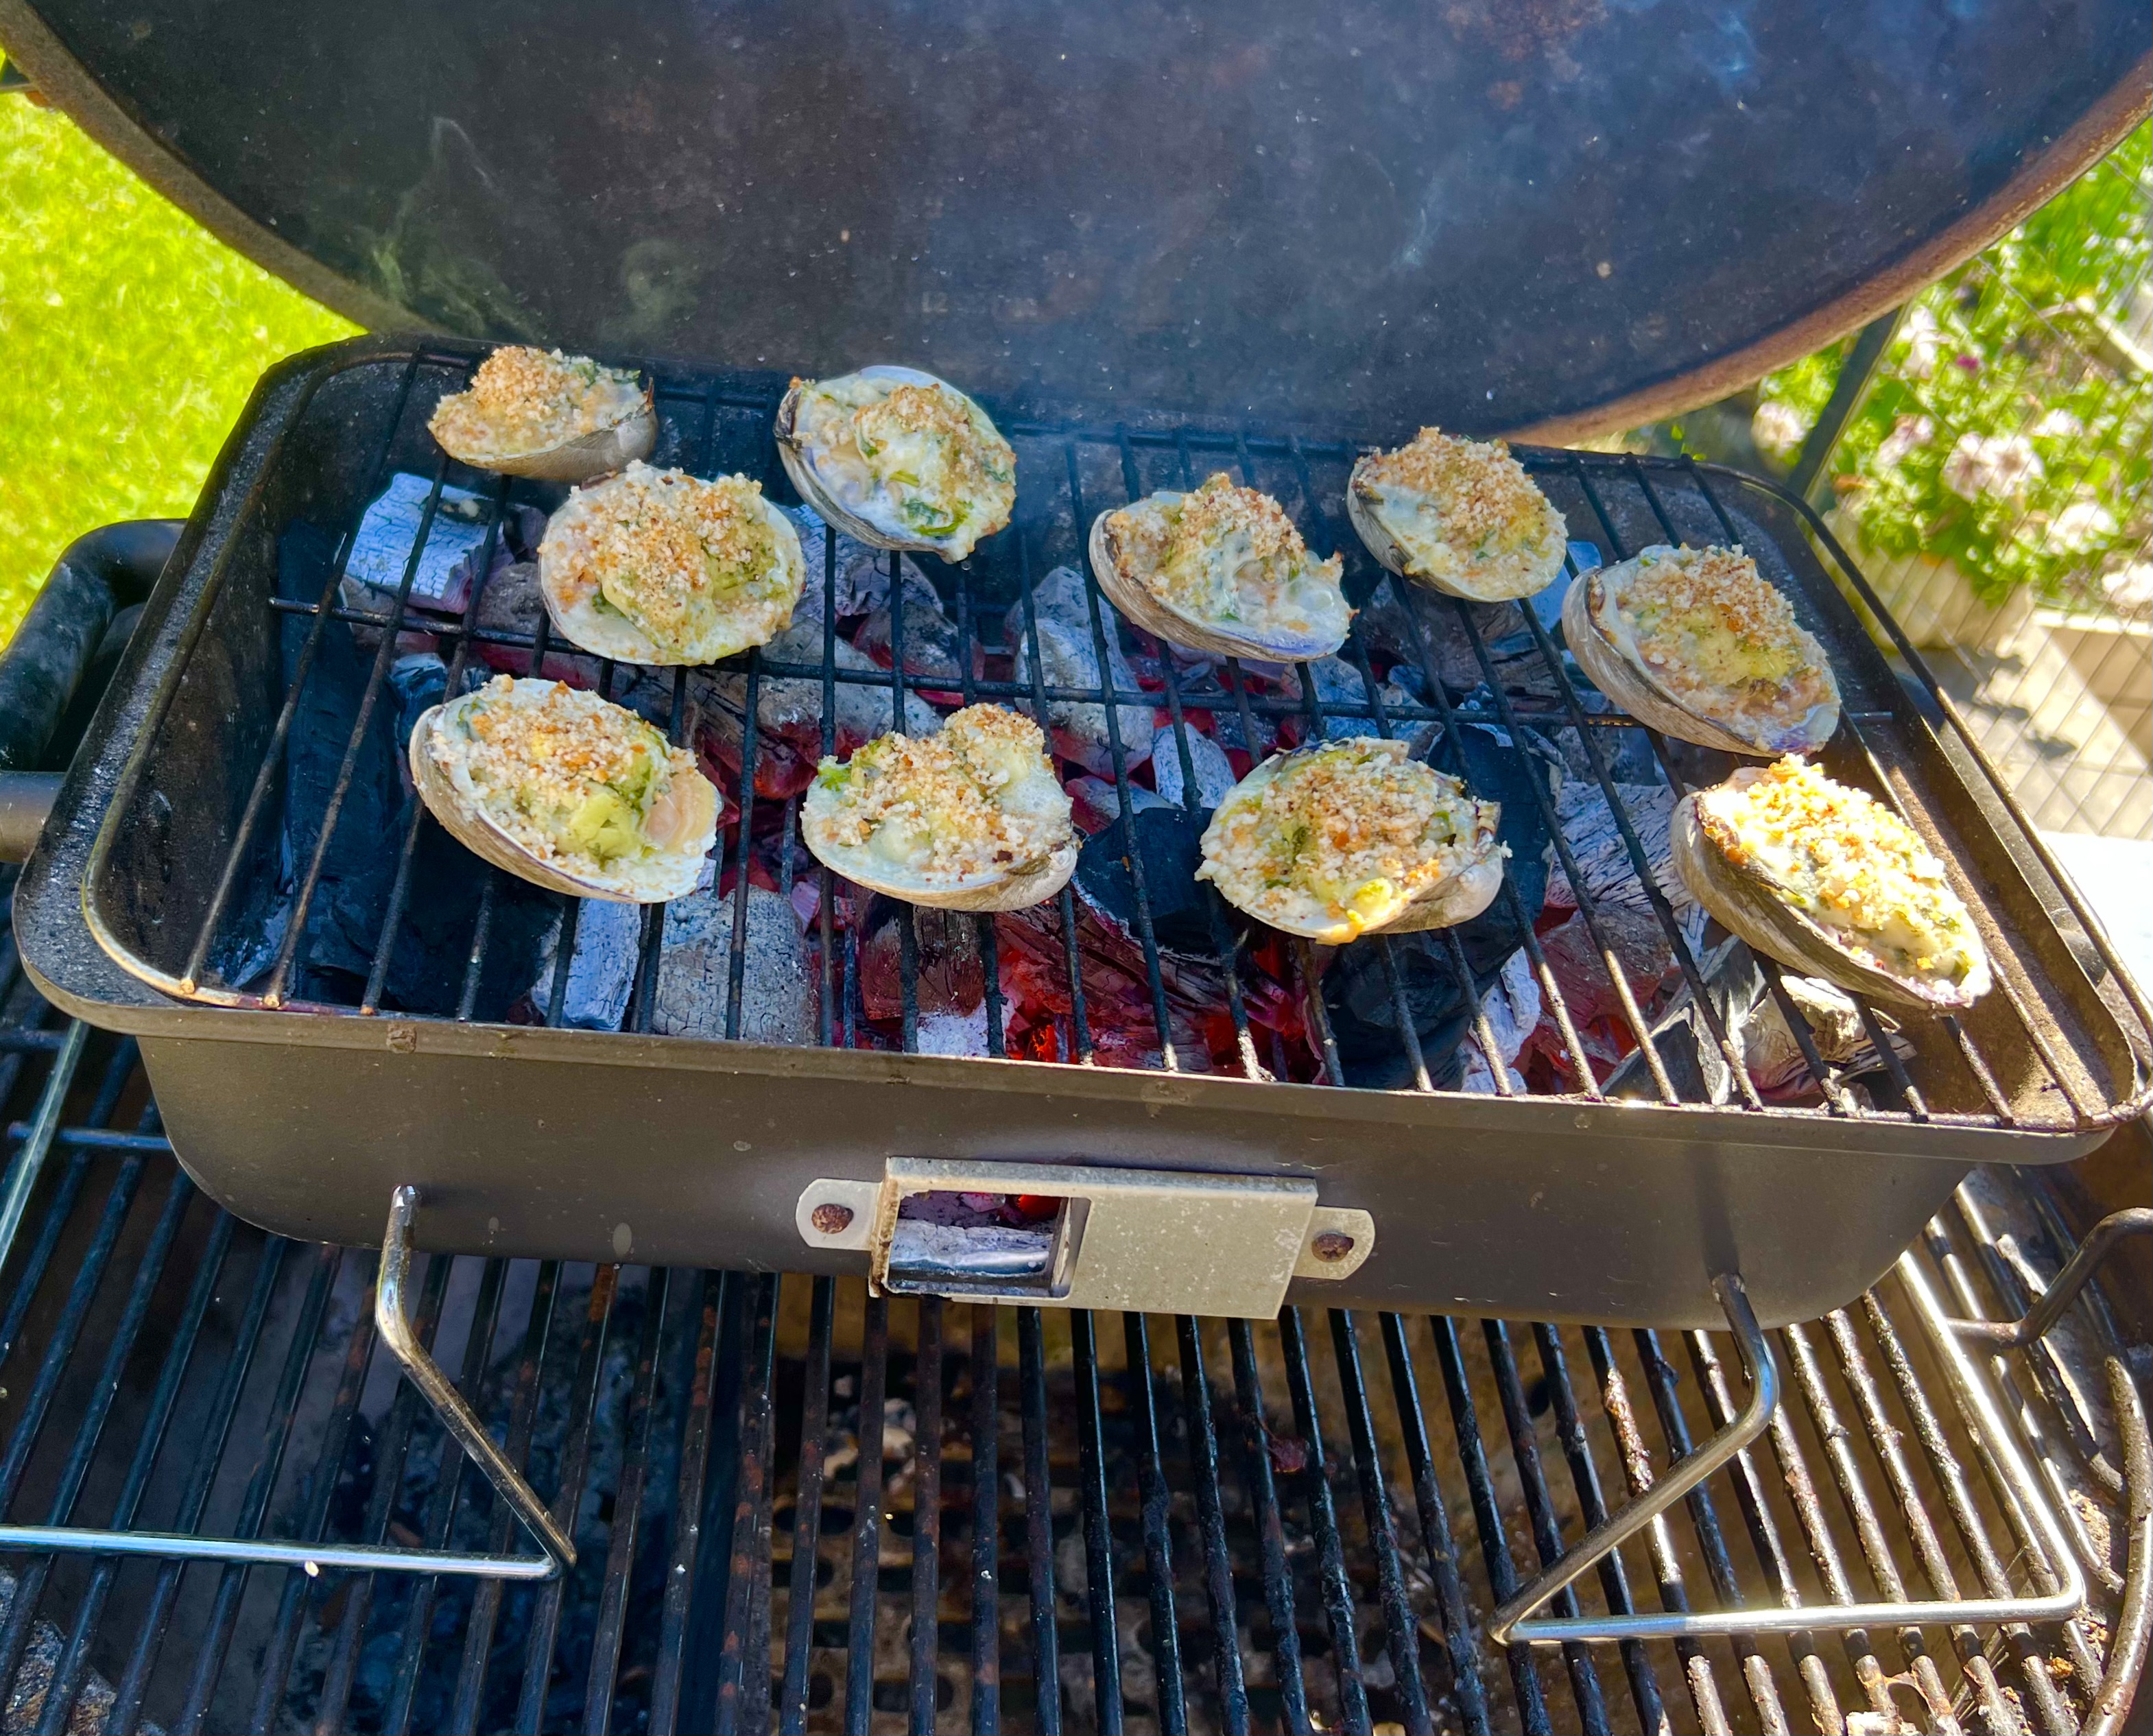
When your charcoal grill fire is hot, place the clams on the grill and cook until the cheesy topping melts and the clams have a nice char to them.
They will be lava hot when they come off the grill, so give them a few minutes before eating!
It’s that time of year when friends are coming over, and you want to make one drink you can serve everyone, rather than playing bartender all night. This one hits the spot.
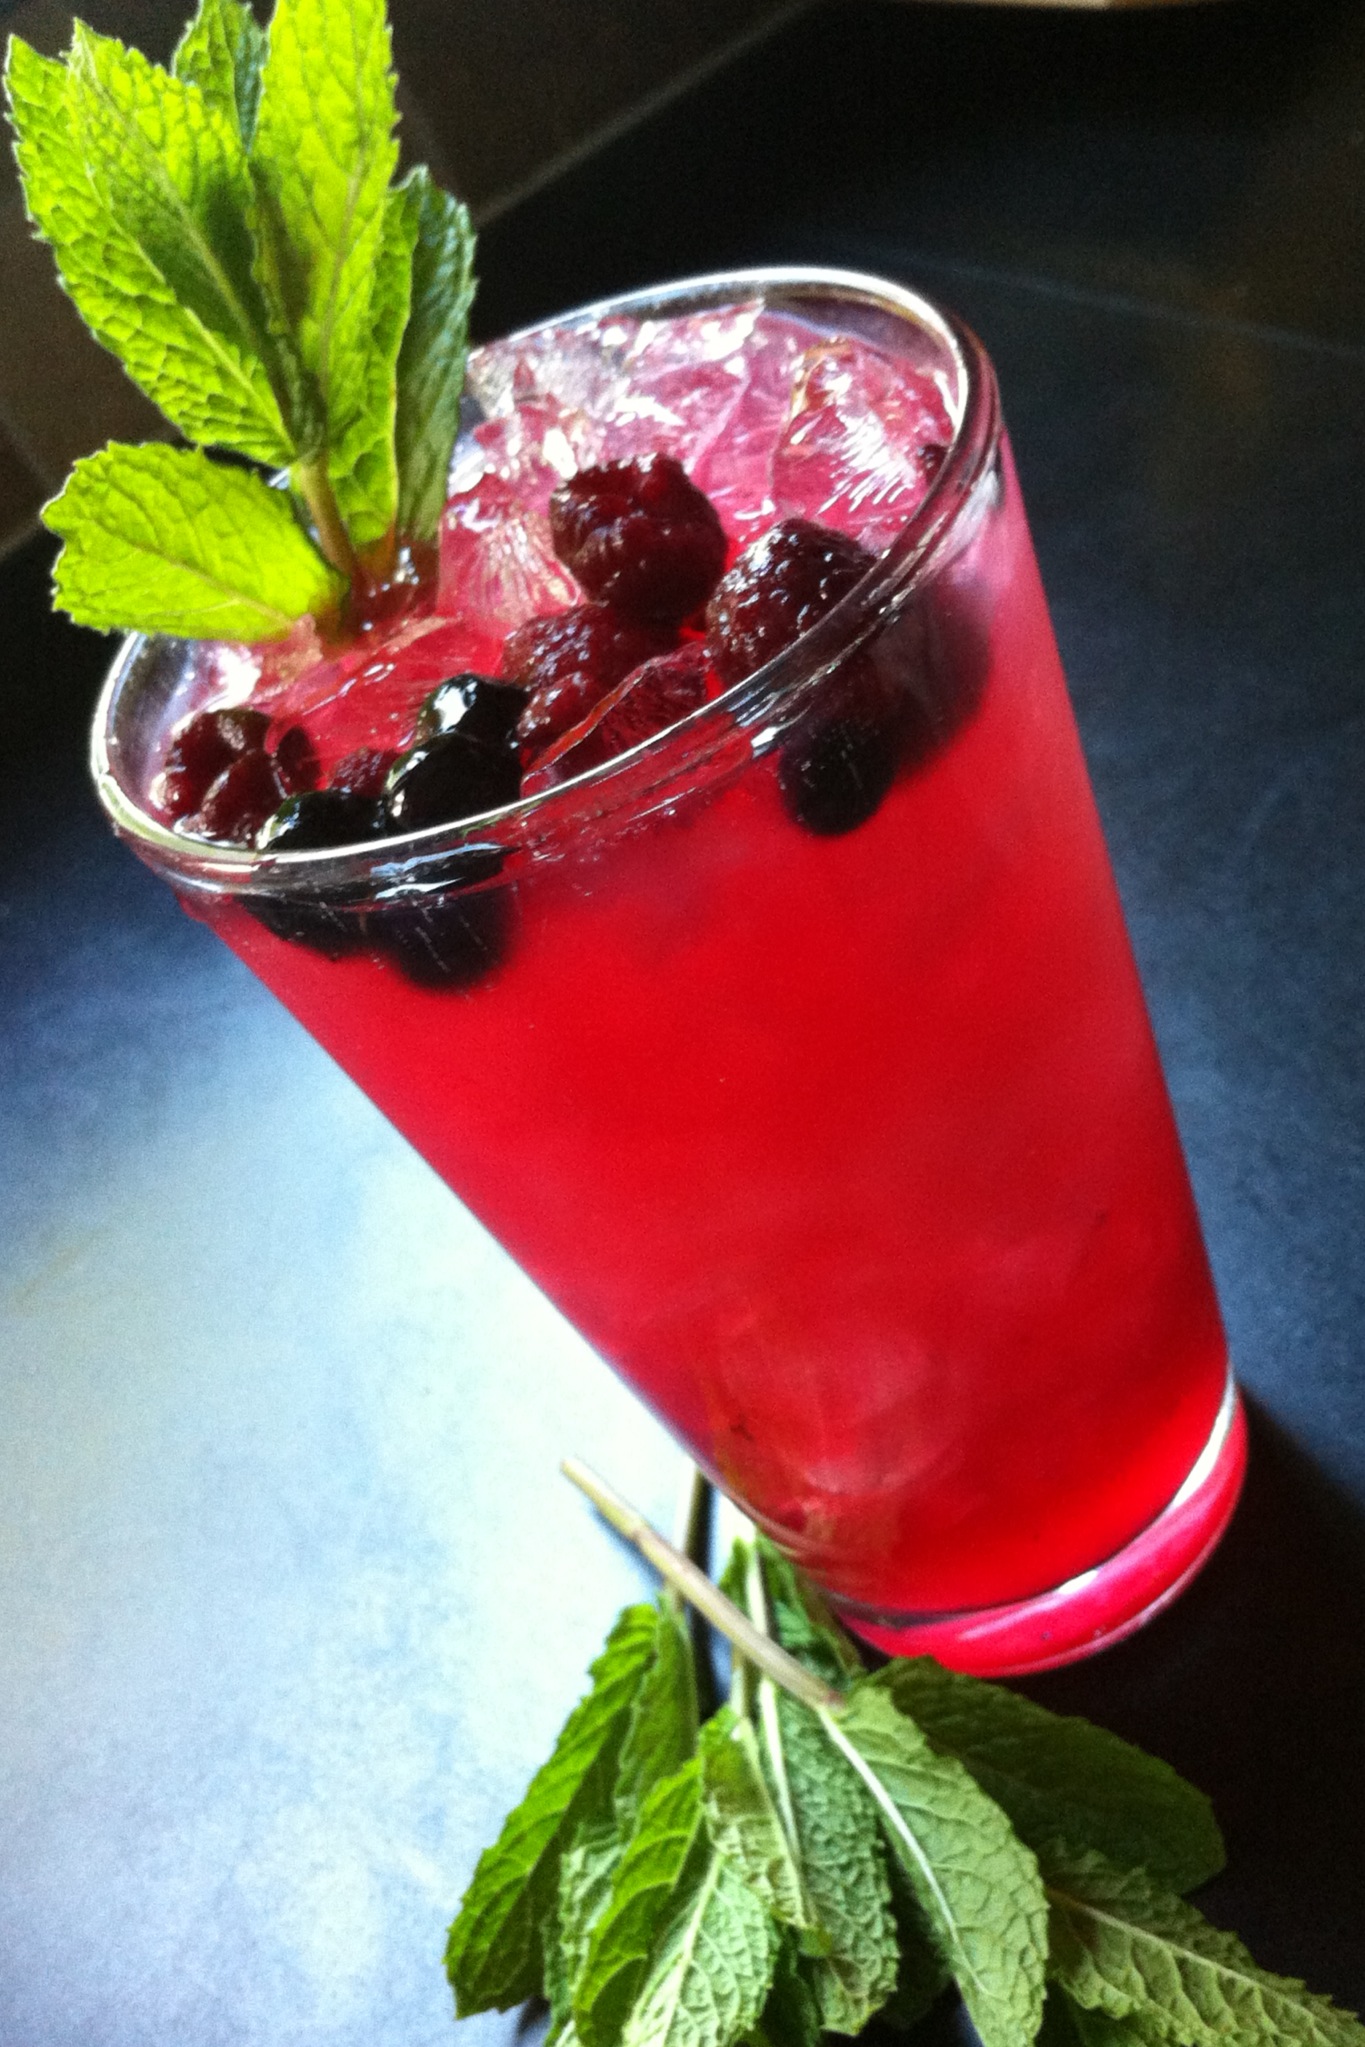
There’s only one thing better than a freshly made mojito…and that’s a pitcher of freshly made mojitos! Organic raspberries and blueberries are in the markets right now, and my mint plants are taking over the yard! All the ingredients for a great mojito!
Very often, I’ll use raspberries or blueberries alone, but mojitos are even better when you combine them! I stock up on organic berries, rinsing them and placing them in plastic bags that go in the freezer until I’m ready to make my mojitos. I always go organic with berries. Pesticides should never be a cocktail ingredient! Pay a little extra and get the good stuff…it makes a difference!
Once you make mojitos by the pitcher, you’ll never have them any other way. (Even if you’re drinking alone!)
Make ahead of time…
1 1/2 cups fresh squeezed lime juice (don’t use the bottled stuff!)
1 1/3 cups turbinado sugar (Sugar in the Raw is a common brand)
Mix both ingredients together, letting it stand at room temperature for a few minutes. I like to combine them in a Mason jar, then shake really hard until the sugar has dissolved. I keep it in the fridge, and it’s good for up to 3 weeks…ready to use any time. Shake it well again before using.
For the Mojitos…
1 cup sugar/lime mixture
1 cup mint leaves, packed
1/2 pint blueberries (fresh or frozen)
1/2 pint raspberries (fresh or frozen)
3 or 4 cups white rum (I use Don Q Cristal rum)
3 or 4 cups seltzer (or club soda)
Combine the mint leaves and 1/2 cup of the sugar/lime mixture in bottom of a pitcher. Muddle the mint up very well to release mint oils.
Add the remaining sugar/lime mixture, rum and berries. Mix well. Just before serving, add the club soda and ice. Stir. Pour into tall glasses.
Or…for drinks one at a time, I put in a shot (1 oz.) of the sugar/lime mixture into a tall glass. I throw in about 8 mint leaves and muddle them for a minute. Then I add 2 shots of rum, and a few berries. I add ice, and I top it with the seltzer, stirring well. I garnish with a mint leaf.
Back from a trip to Poland and Lithuania with my daughter, where I literally ate my weight in herring.
I know a lot of folks aren’t as crazy about herring as I am. But I was raised in a Lithuanian home, and it was everywhere. Growing up on Long Island, outside of New York City, there were dozens of great Jewish delis that served herring in white cream sauce, one of my favorite ways to enjoy it.
These days, I don’t need to go home for it when the craving hits me. Instead, I go to my herring hack.
I buy a jar of Blue Hill Bay herring in wine sauce, available at Whole Foods. Blue Hill Bay is distributed by what I consider the best salmon/herring/smoked fish company in the country: Brooklyn’s own AcmeSmoked Fish.
I grab a couple of sweet onions, like Vidalias, and I peel them and slice them as thinly as possible.
I take a quart-sized container with a lid, and I line the bottom with some of the onions. I then pour some of the contents of the jar of herring into the container. I then take a couple of spoonfuls of sour cream (gotta be Breakstone’s–I’m a New Yorker) and place it on top. Then I keep working in layers: onions, herring, sour cream…until it’s all gone and jammed into the container.
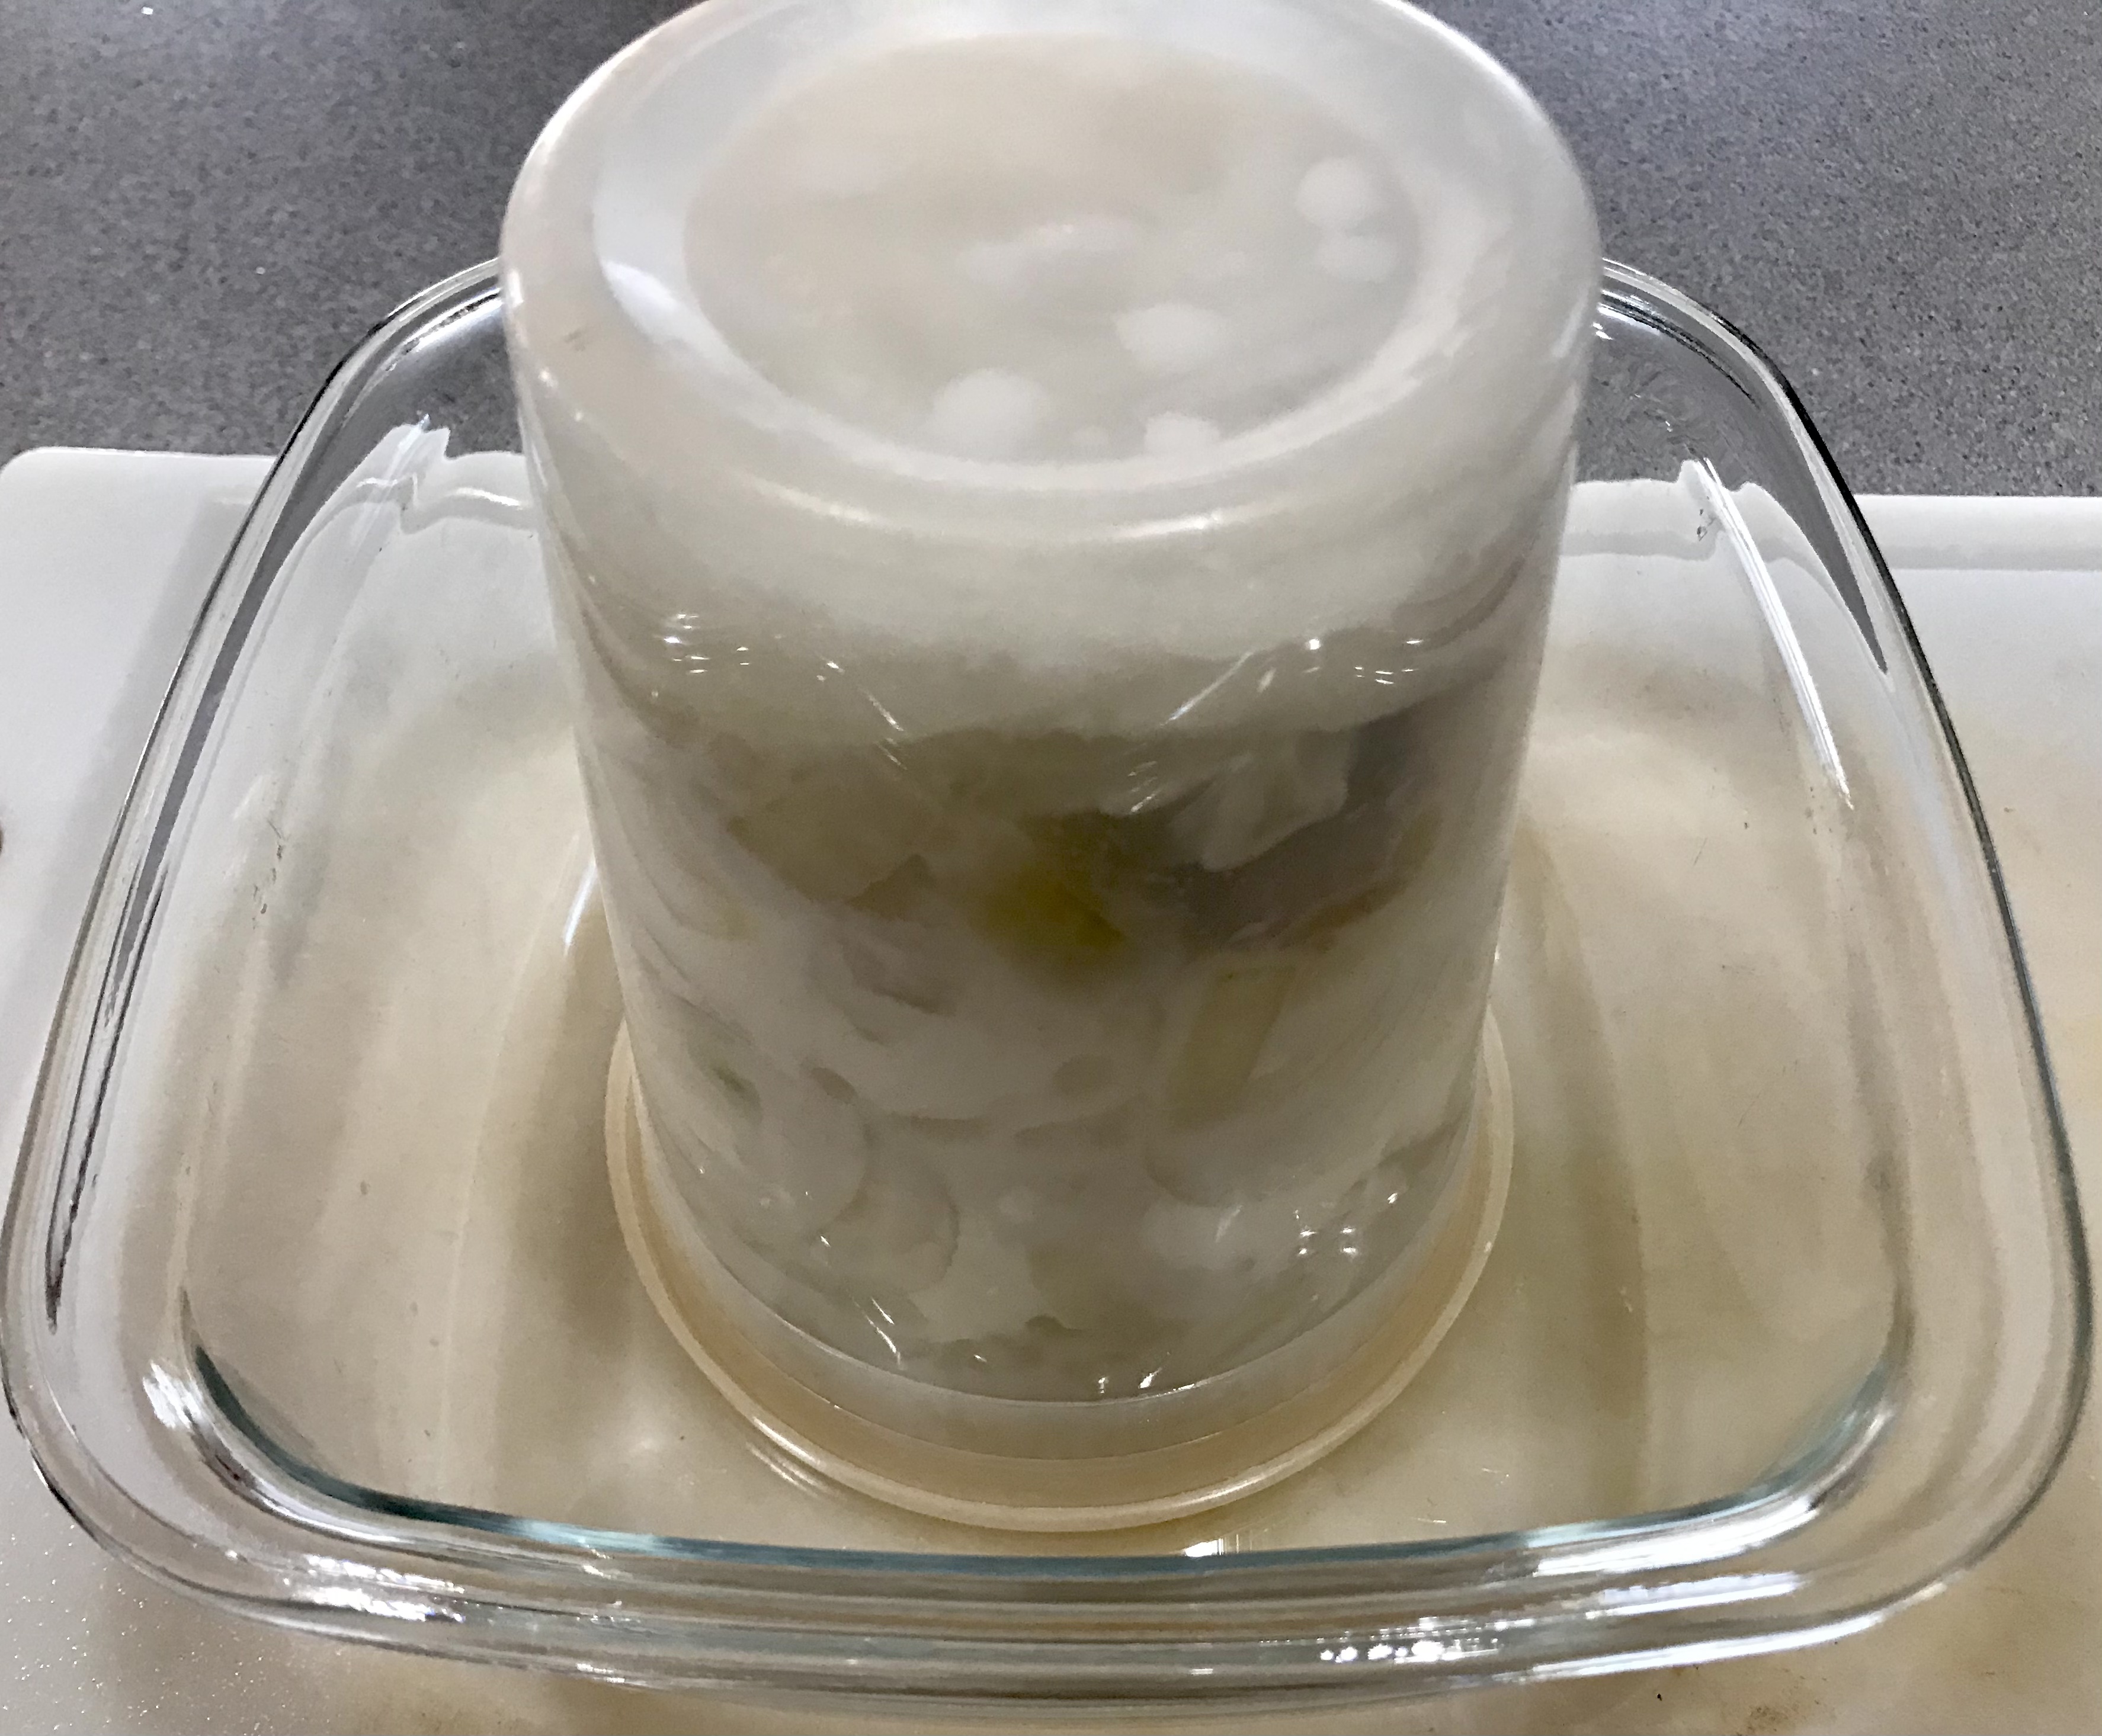
I place the lid on the container and shake it vigorously to combine the ingredients. Then I place it upside-down in a dish (in case of spills) and put it in the fridge.
A few hours later, I’ll turn the container right side-up and let it sit in the fridge some more.
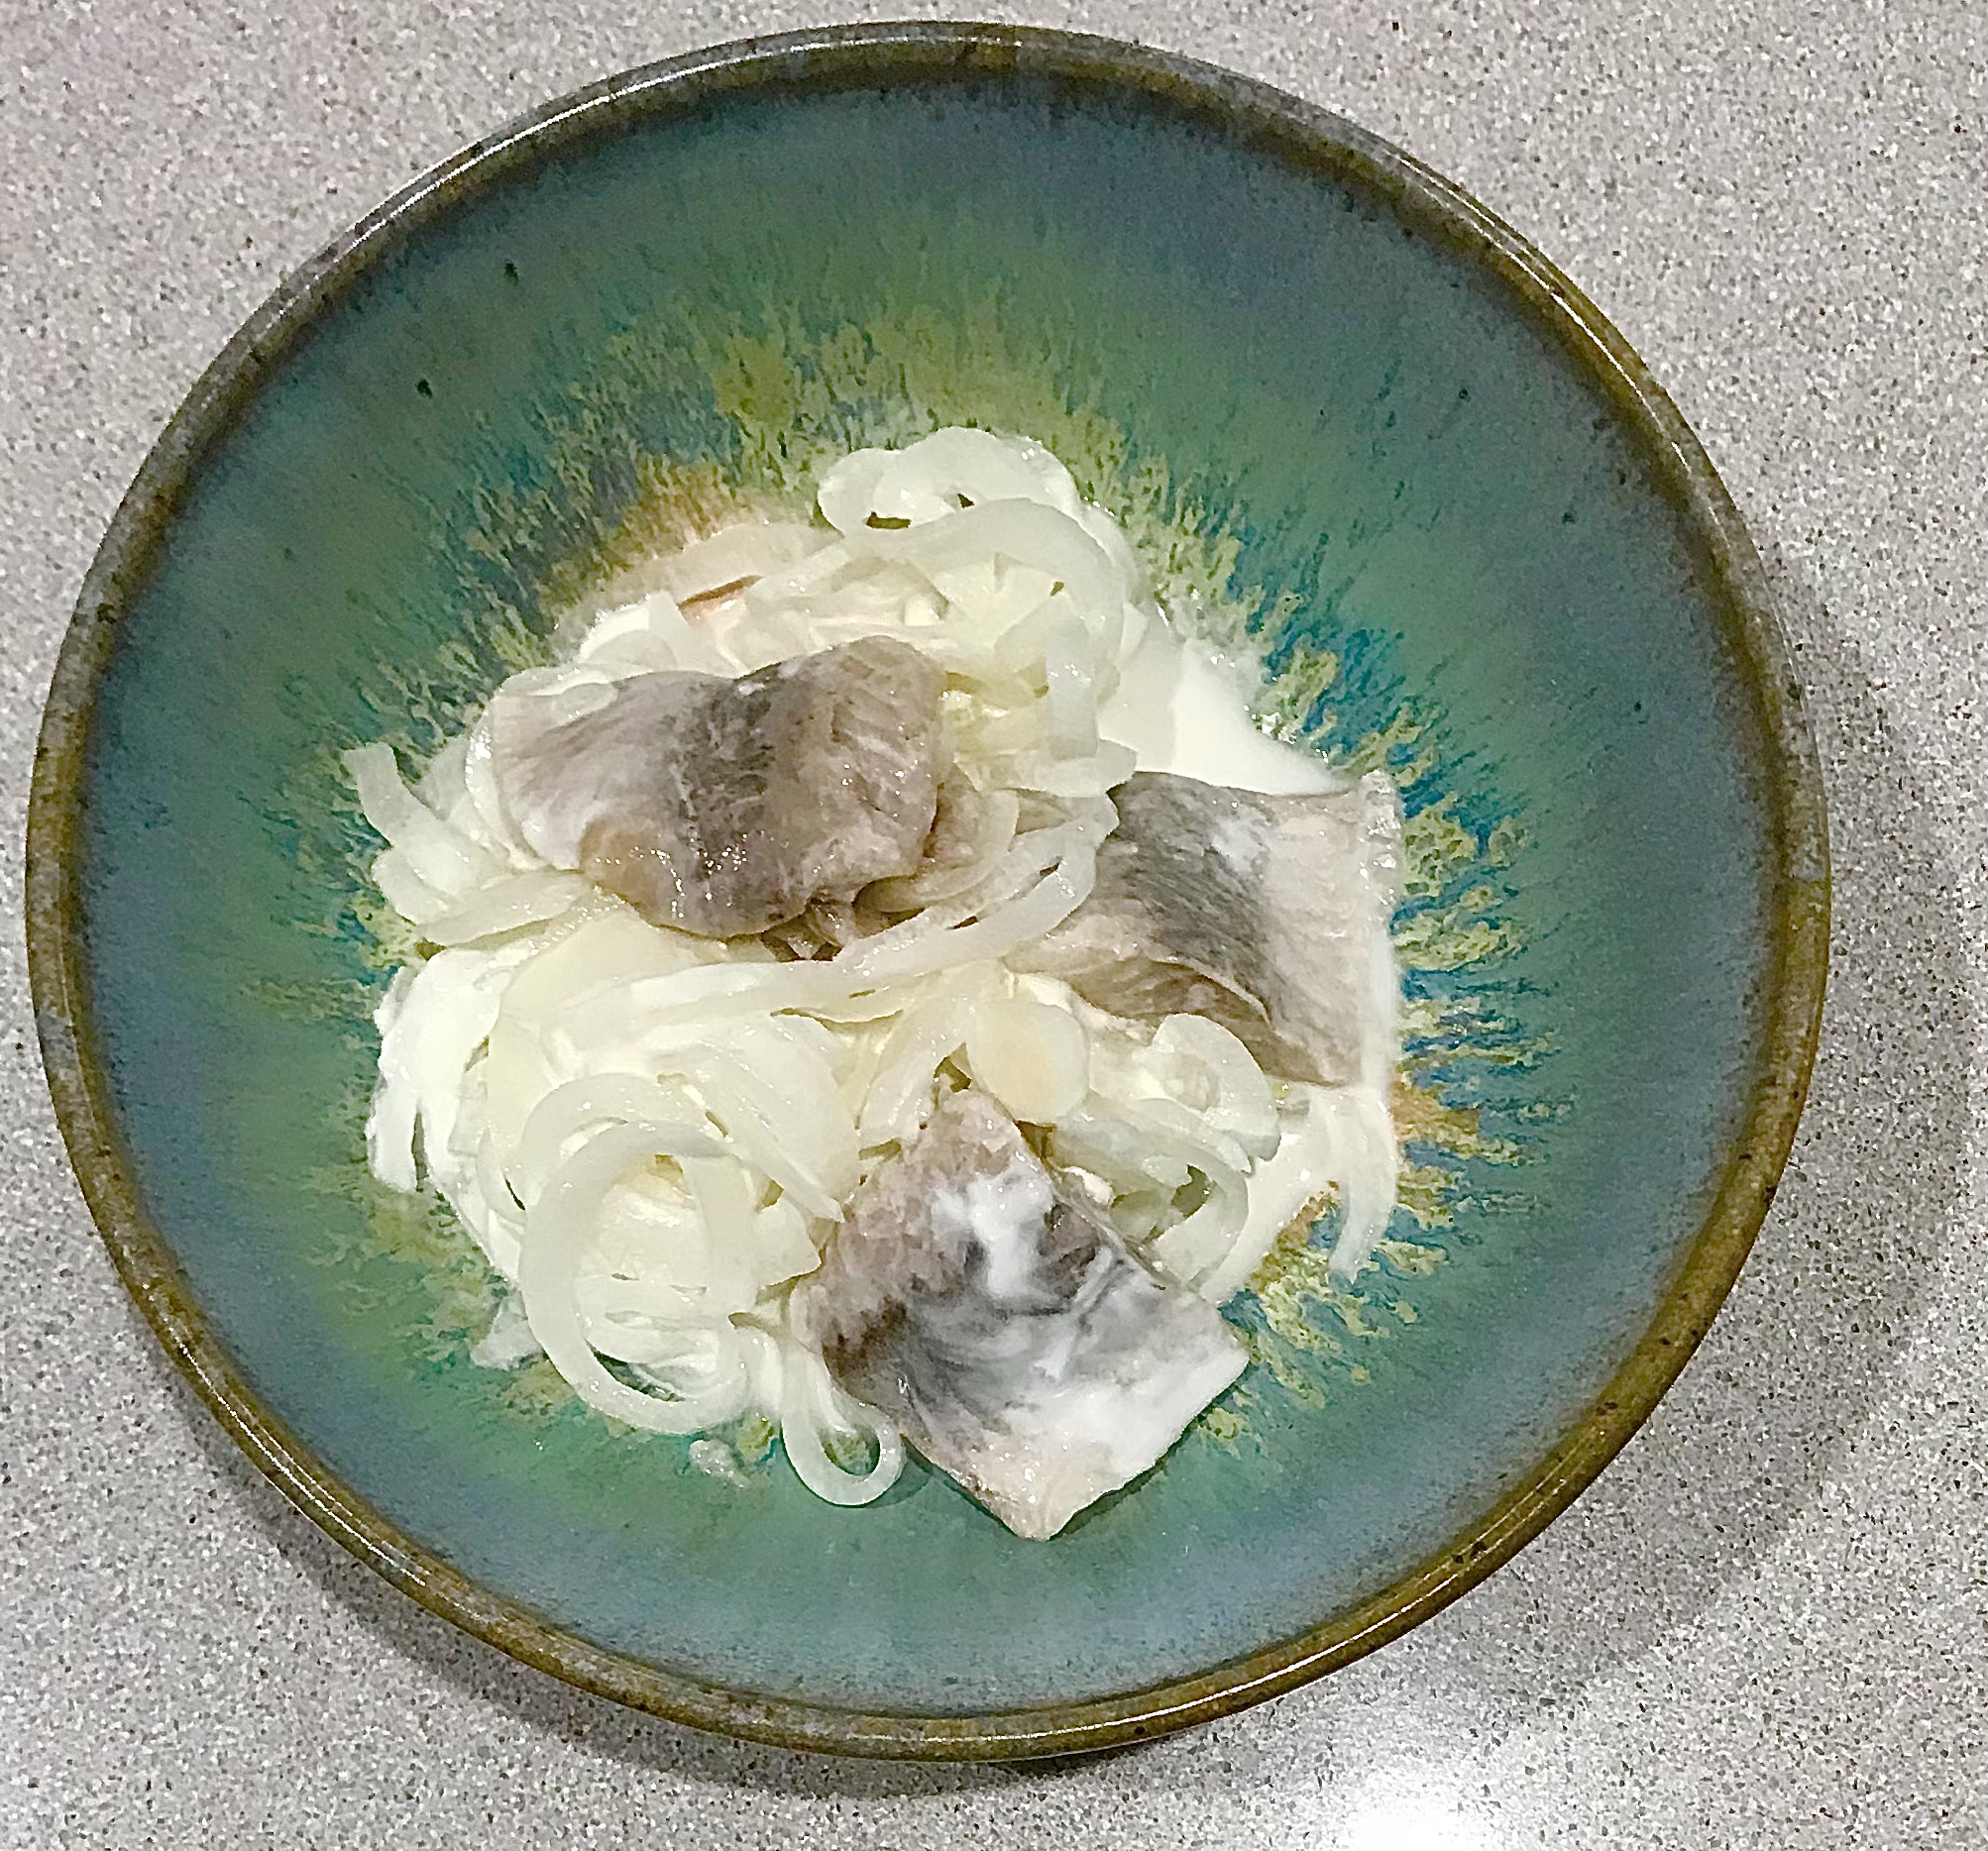
The wine sauce will blend with the sour cream to make a delicious cream sauce, and the onions will slowly break down and soften.
Of course, you can combine everything in a large bowl and then move it to a container, but it gets messy. My layering method avoids the need for clean-up.
After a few hours–if I can wait that long–it’s time to eat! A slab of bread is always good on the side.
I have to say my herring hack is good. Maybe not New York Jewish deli good. But good enough to satisfy my craving!



























 Live the Live ™