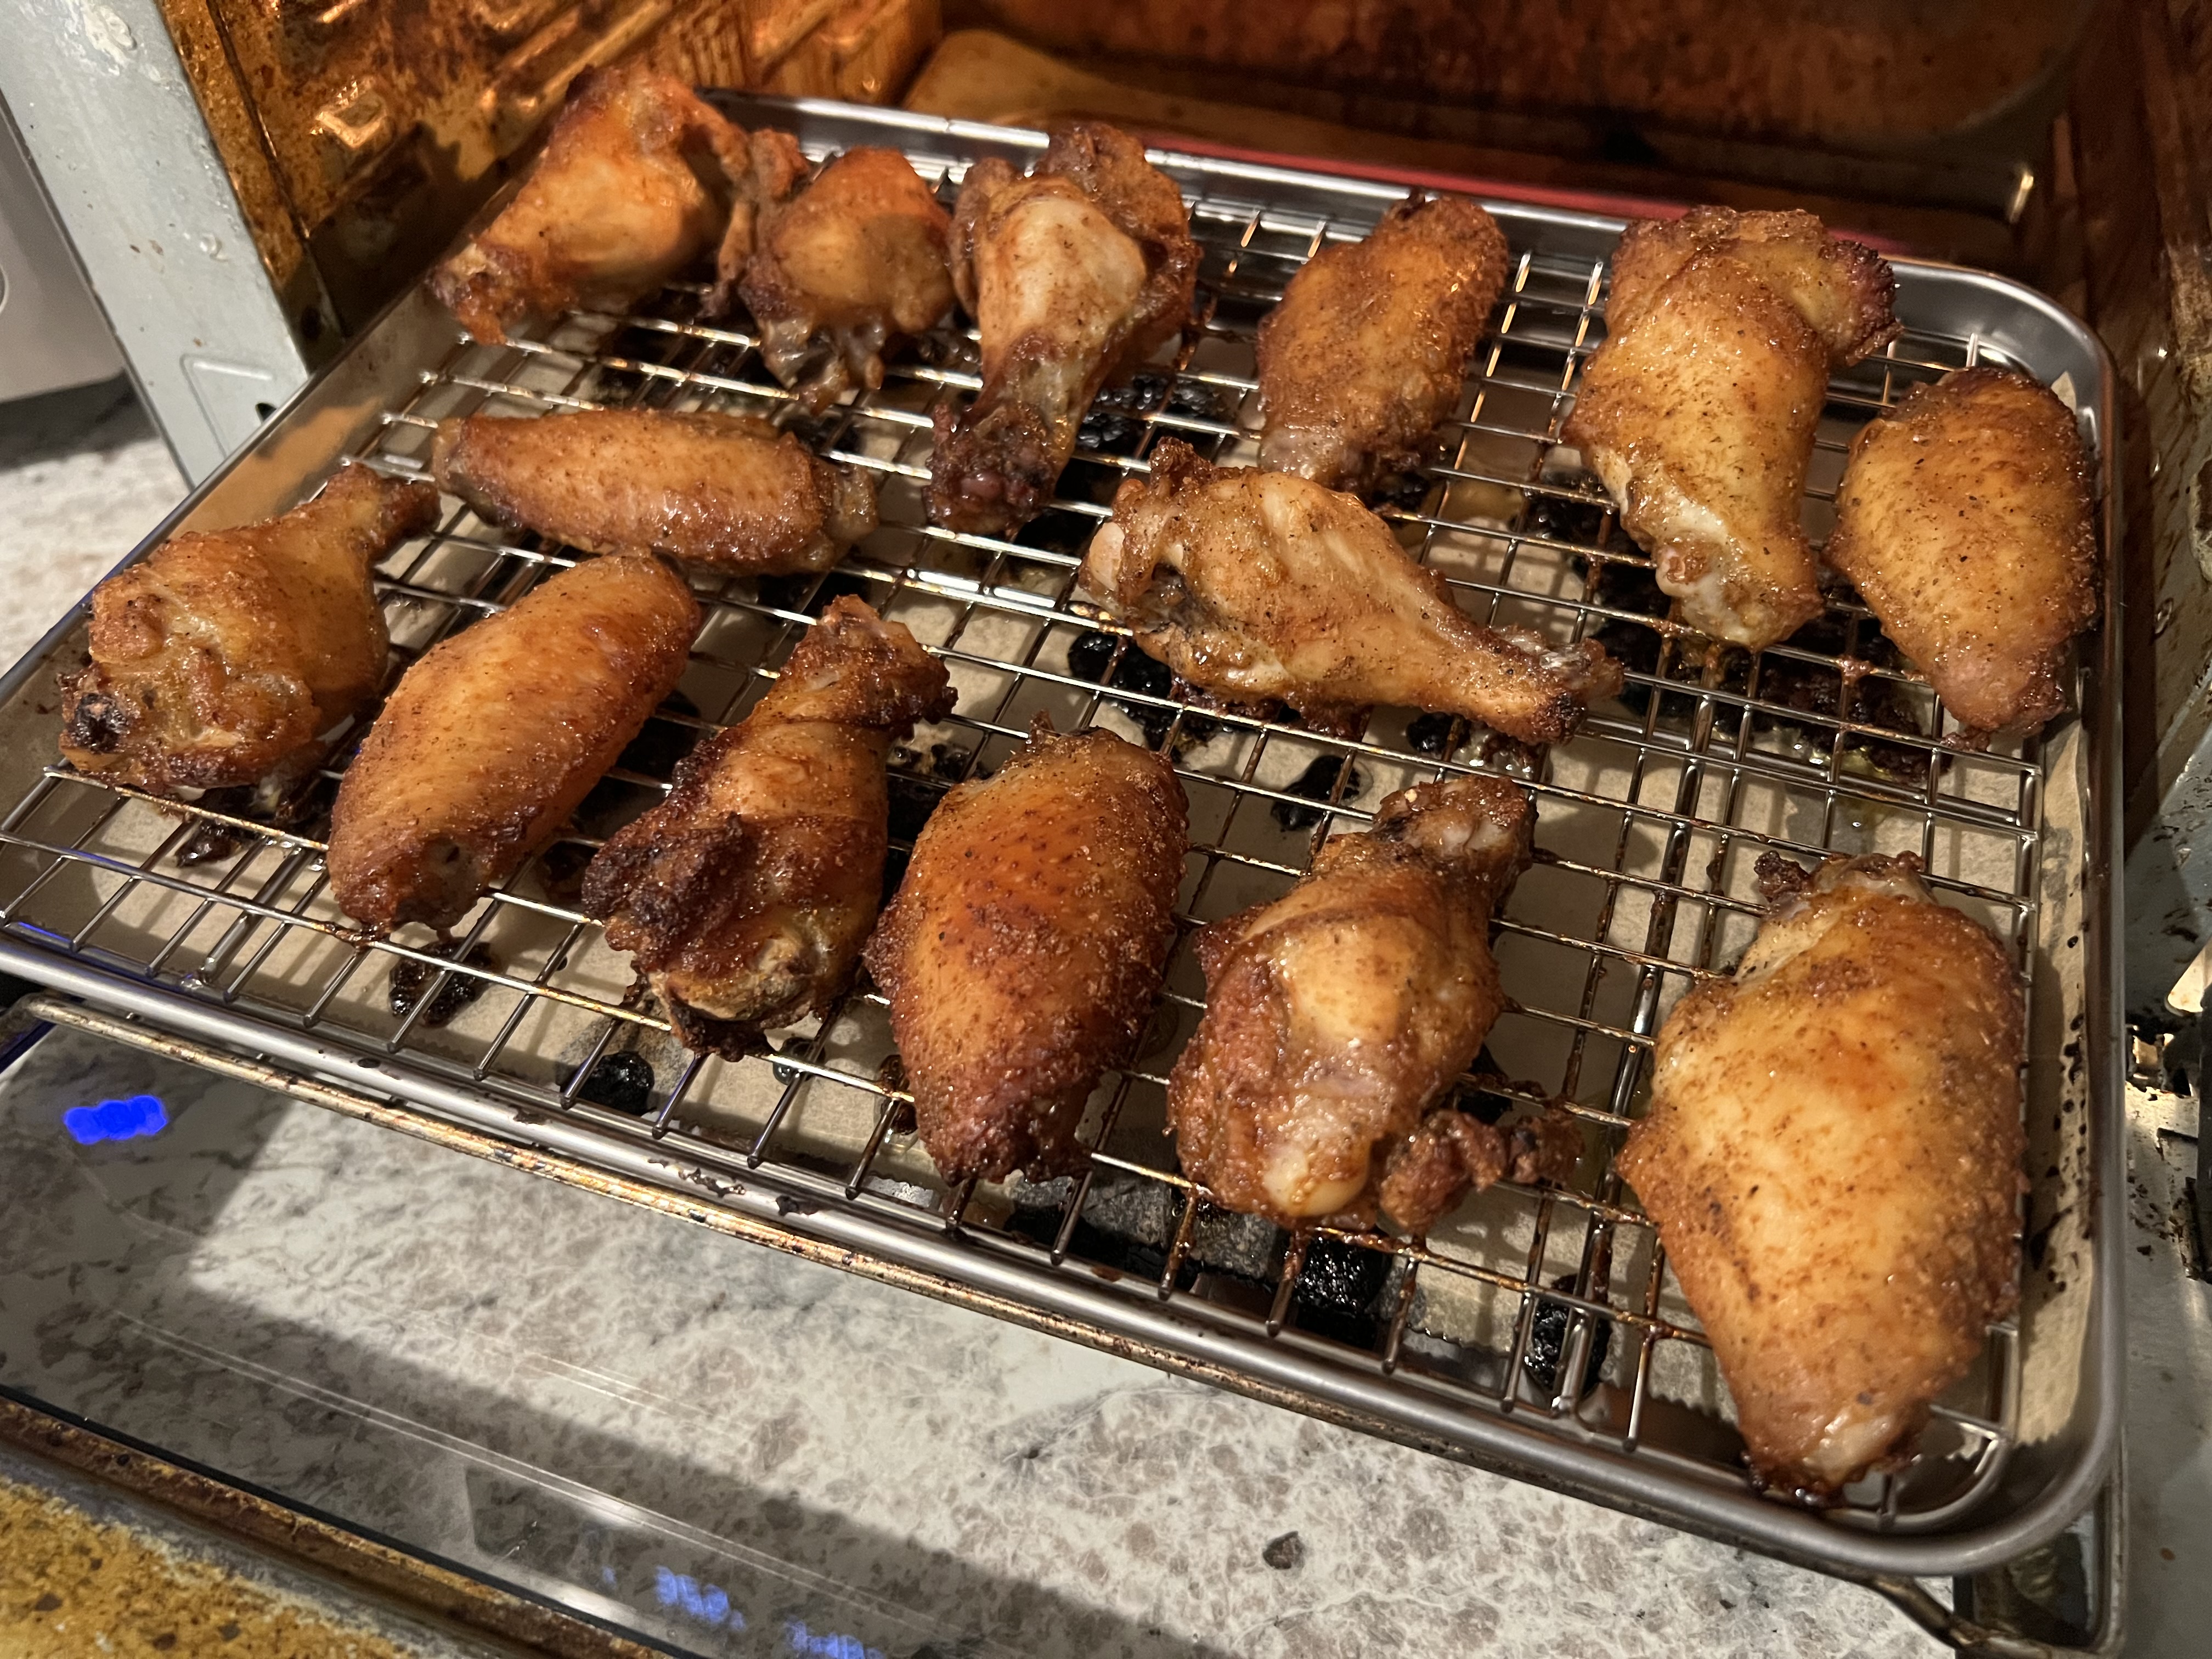
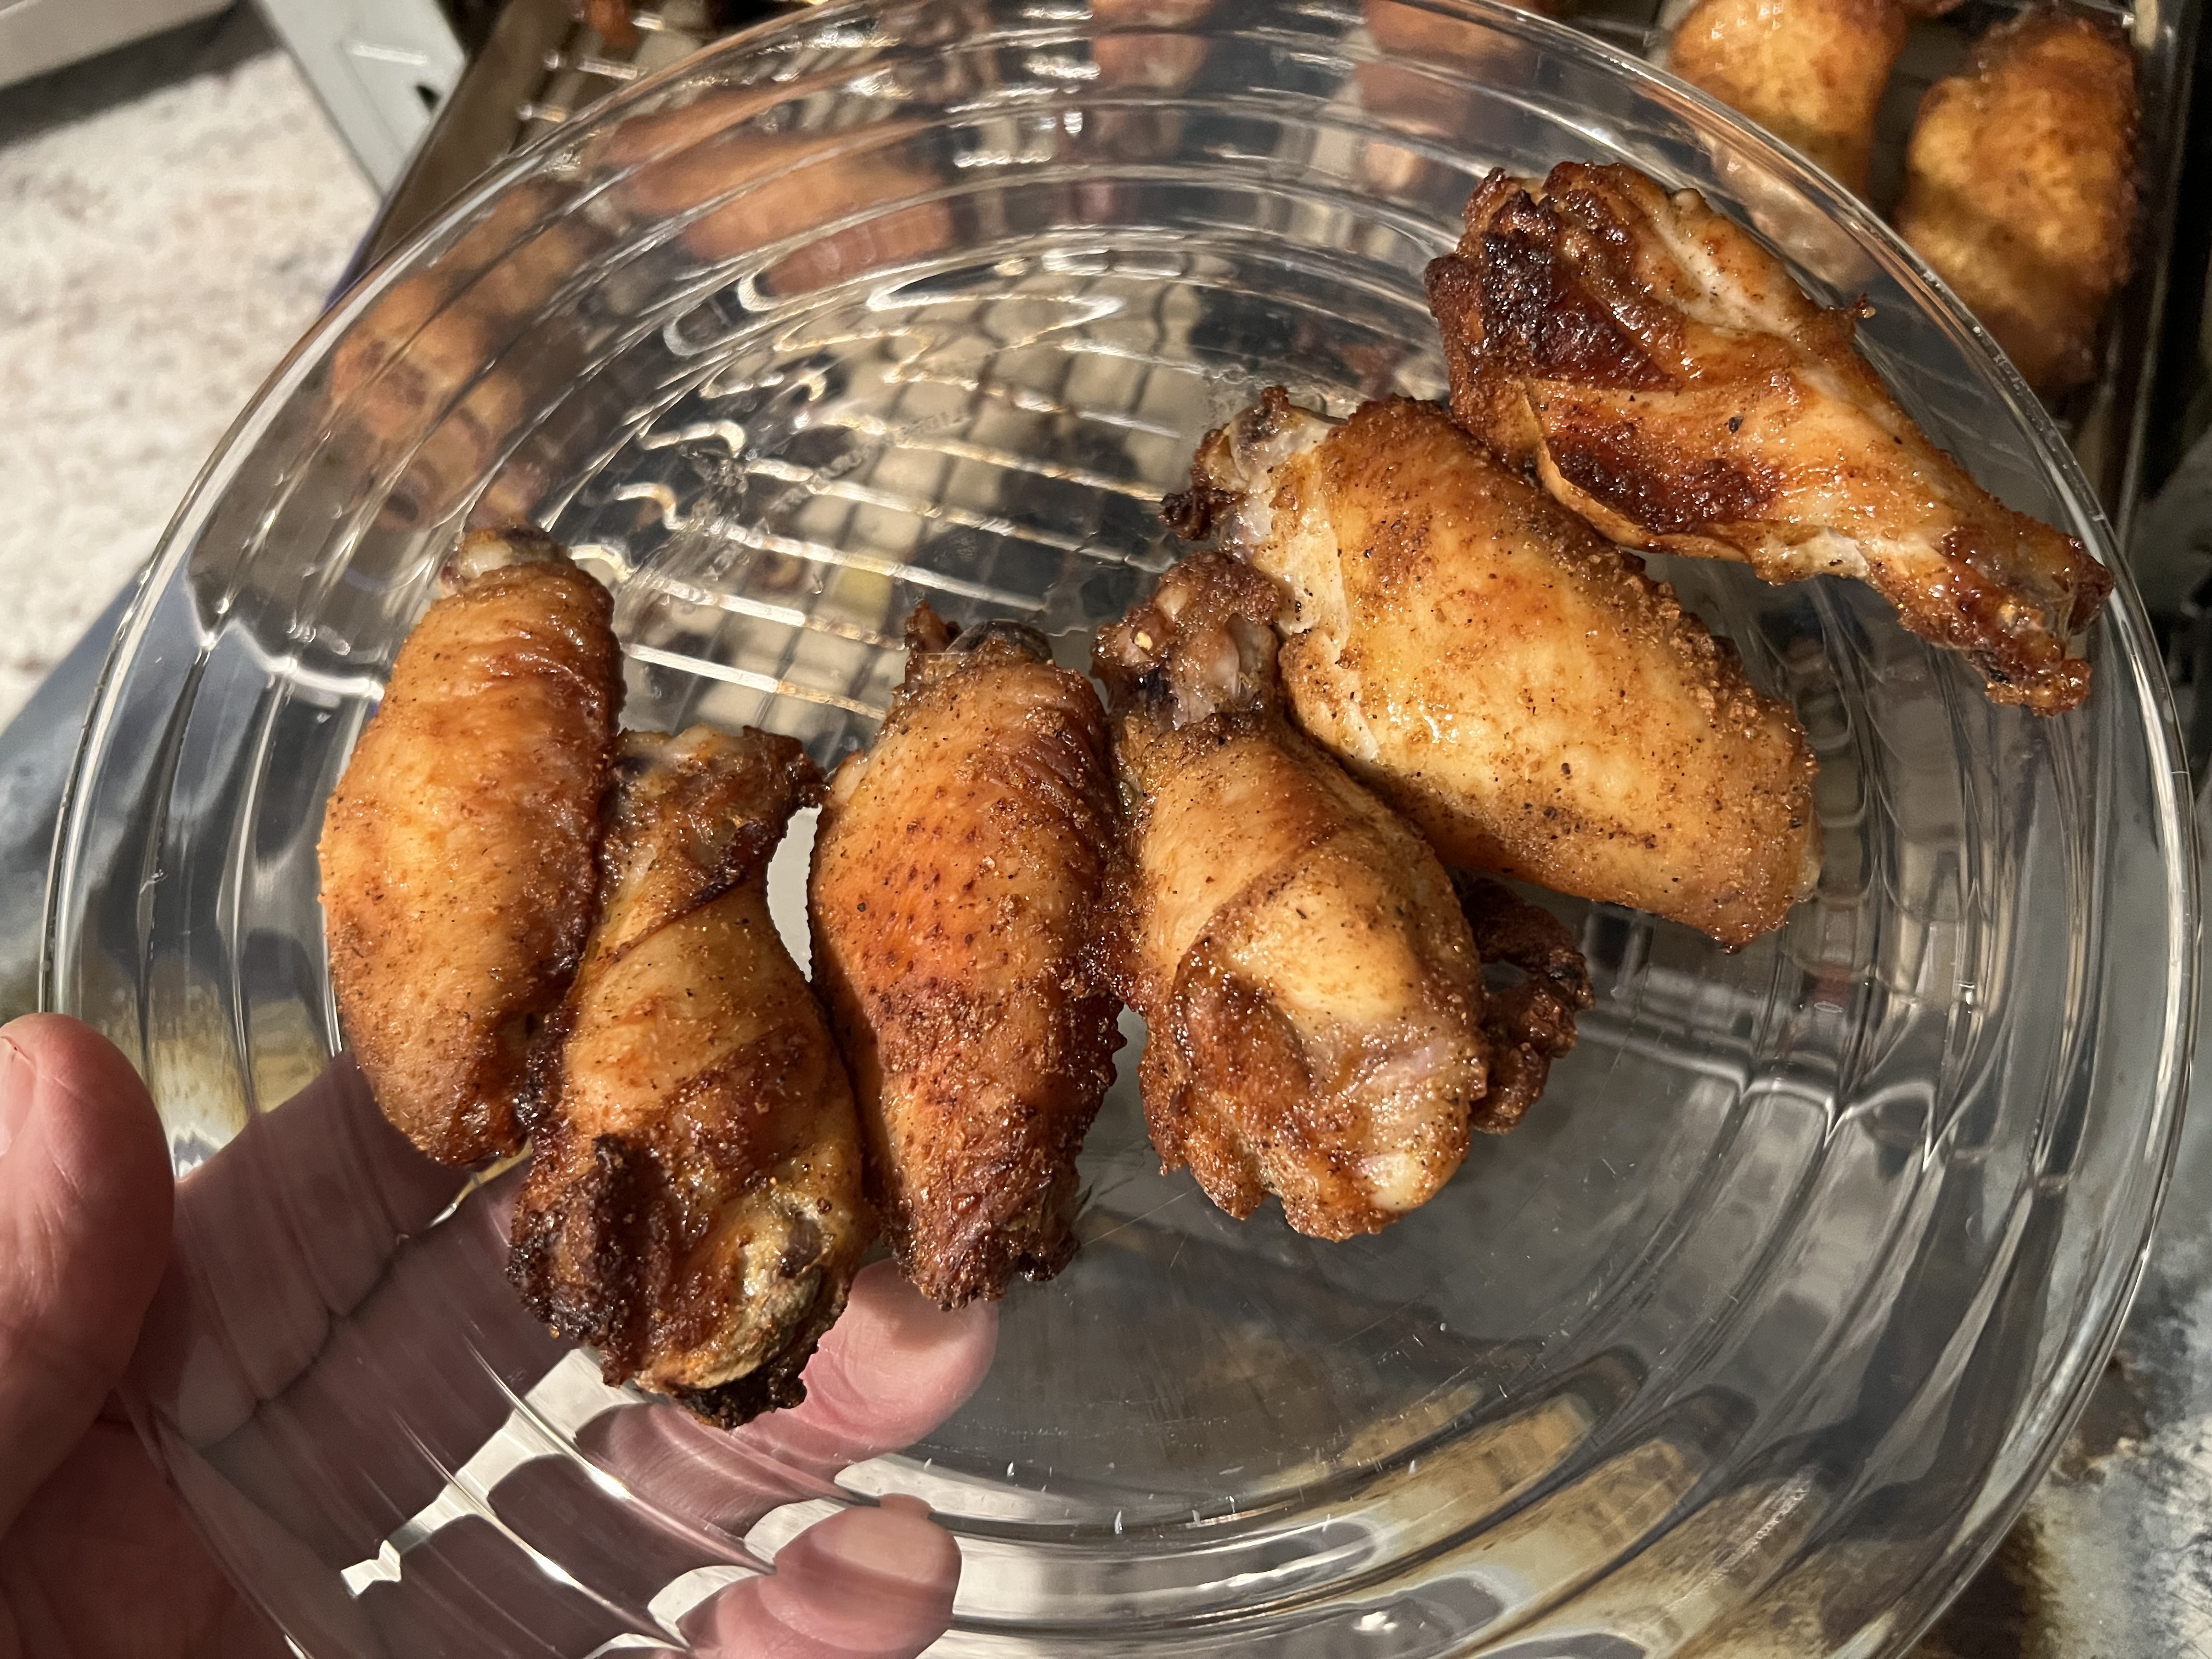
I love chicken wings. I could eat them every day. But I like to change up the flavors once in a while. So I often improvise. Sometimes, it’s…meh. But this last time, it was pretty tasty!
To keep calories a little lower–because, let’s face it, chicken wings are full of tasty fat and gristle–I usually bake my wings, not fry them.
4 tablespoons brown sugar 2 tablespoons granulated garlic 2 tablespoons granulated onion 2 tablespoons Kosher salt 1 teaspoon black pepper
I cut the tips off the wings and save them for future use, when I’m making chicken broth. And I like to cut the wings at the joint to get two pieces, but that’s a personal preference. Place all the wing pieces in a large plastic zip bag.
In a bowl, combine the rice vinegar, soy sauce, and sesame oil. Pour this into the bag of wings, seal it tightly, and squish it around so that the marinade gets to every part of the wings. Let this marinate for at least an hour at room temperature.
In a separate bowl, combine the brown sugar, garlic, onion, salt and pepper.
When the wings have marinated long enough, get a bowl large enough to hold all the wings. Transfer the wings to this bowl, and discard the used marinade.
Dust the wings with about 1/3 of the seasonings, and toss the wings to coat. Dust again and toss. Do it one more time, using up all the seasonings, making sure the wings are evenly coated.
Pre-heat a convection oven (or air fryer, for you younger kids) to 325. Place the wings on a raised rack above a baking sheet (I like to line the sheet with parchment paper to catch the drips) and bake for about an hour, until the wings are crispy.
Note: If you bake the wings at a higher temperature, you could burn the sugar, so low and slow is the way to go!
I posted an Instagram photo of soup I made the other day, and had quite a few friends ask me what the recipe was. My daughter got hit with a cold a while back, and I knew only one thing would help: a bowl of my homemade chicken soup. But rather than adding pasta or potatoes, I decided to give it an Asian kick. It was simple, delicious, and soothing.
Making the ingredients for a great bowl of chicken soup, or wonton soup for that matter, takes a little time. But once you’ve got them, you can freeze them, so that putting them all together takes no time at all.
The key to a great chicken soup is making your own chicken stock. Let’s be honest, nothing out of a carton can possibly compare. For one thing, I buy the best quality pastured chicken I can get. Here in Rhode Island, that means buying from local farms when available.
I prefer buying a whole bird, roasting it for dinner, then removing all the meat from the carcass before I start making stock. If I’m making fried chicken for dinner, I’ll cut the raw bird up into pieces, then drop the raw carcass into a pot to start the process. Either way–a cooked bird or raw bird works great. (Just remember that a cooked bird can have some salt on it, so you don’t want to add any.)
Making chicken stock is incredibly easy. It just takes time, which is an ingredient many people don’t have enough of. Honestly, though, if you’ve got time to binge-watch your favorite show on Netflix or watch a football game on a Sunday afternoon, you can make stock. If you can’t make stock at the same time you’re making dinner, simply put the carcass in a Ziploc bag and toss it in the freezer until you’ve got more time.
If you don’t want to deal with cutting up a chicken carcass, buy a pack of chicken parts. It doesn’t really matter what parts you use, as long as it’s something on the bone. You want all that good fat and gelatin.
Once you’re ready to make stock, fill a large pot with clean, filtered water. Drop in the chicken carcass or pieces. Chop an onion in half, 2 or 3 celery spears, and 2 or 3 carrots. (Wash the carrots well, or just peel them.) Everything goes in the pot. Turn the burner on high, and let it come to a boil. If it’s boiling too hard and spilling over, reduce the heat to medium.
Let it go for at least an hour, two or three is better. If it looks like too much water has evaporated, simply add more. How intense you want your stock is really up to you. You can reduce it like crazy to make something very concentrated, or you can cook it down to a point where it’s user-friendly right away. The best way to know is to taste it along the way.
When making your stock, feel free to add any other ingredients you like. But I stick with only the onion, carrots, and celery–avoiding garlic, salt, bay leaves, and other flavorings–adding them only when I use the stock at a later time in a particular soup or recipe.
Once the stock is done, I let it cool a bit before I strain it and pour it into individual plastic containers with tightly sealing lids. (Don’t use glass if the stock is going into the freezer!) Then it’s off to the freezer until I need to use it in a recipe.
When it’s time to make soup, I run the frozen container under warm water, and drop the frozen “block of stock” into a sauce pan, adding a little water to it, setting the burner on medium to thaw. Then it’s time to decide on what I want to put in my soup. Most of the time that simply means using whatever I’ve got in my fridge.
When I made my almost-instant wonton soup the other day, I had some carrots and organic kale in the fridge. (I only buy organic kale. The regular stuff is loaded with pesticides.)
I peeled and thinly sliced the carrots, and I removed the stem from the kale before chopping it up. I dropped the veggies in the soup and brought the heat up to high to get it to a boil.
If I’m using potatoes, I usually peel and chop them into small cubes and add them raw to the boiling stock. If I’m adding chicken, I usually choose already-cooked chopped breast meat. And if I’m using pasta, I use dry or pre-cooked, but I only add the pre-cooked pasta at the very end to avoid it turning mushy. When making chicken noodle soup, I add a pinch of salt and, for flavor, a pinch of dried bouquet garni to the pot.
With my wonton soup, I skipped the pasta and potatoes, because I had a package of dumplings in my freezer. A half-dozen of them, still frozen, go right into the boiling water. They’re fully cooked in about 5 minutes.
These dumplings were delicious in my soup.
Once the dumplings are cooked, the soup is done! I turn the heat off, and add a couple of drops of sesame oil to the soup, mixing it in well.
Once I’ve placed the soup in the bowl, a few splashes of soy sauce, and it’s ready to serve.
If you’re like me and you grill outdoors year ’round, this is for you. But in case of nasty weather, this works indoors as well.
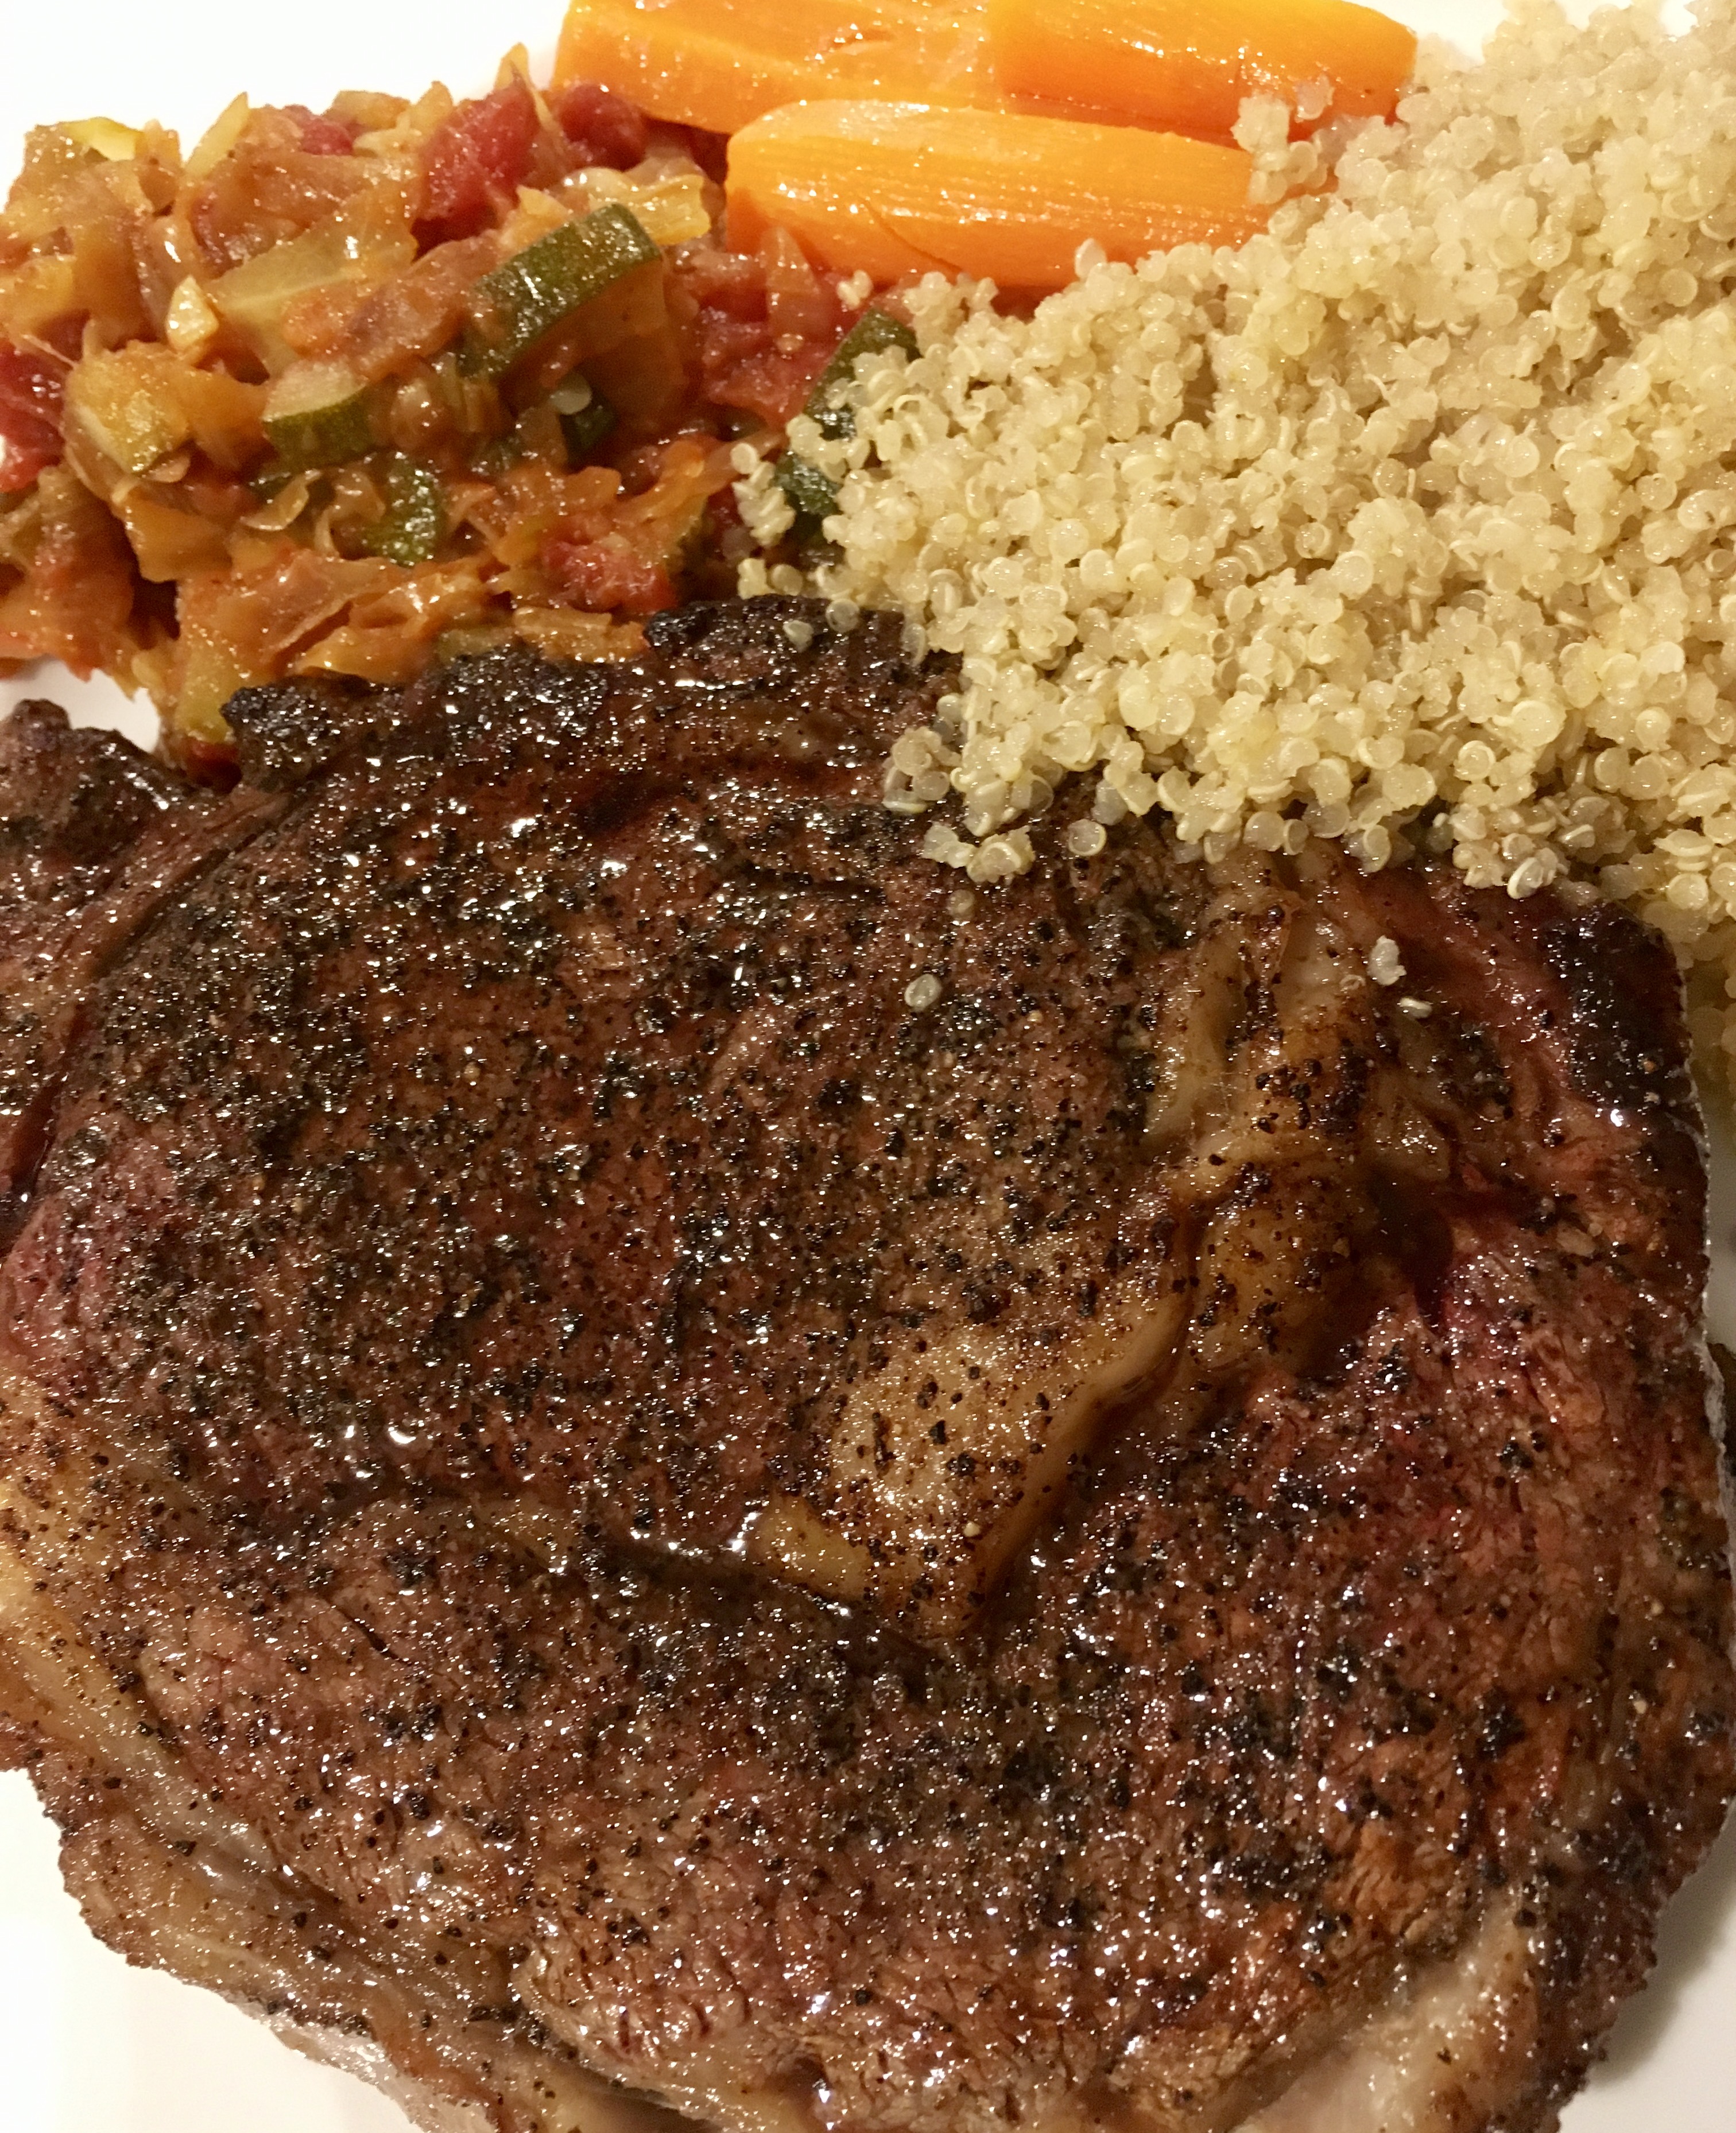
I rarely order beef at a restaurant, because I can usually make a better steak at home. For one thing, I use humanely raised grass-fed beef, something few restaurants offer. And I can cook it for less than a third of the price of a steakhouse. Granted, most steakhouses dry-age their beef, a time-consuming process of taking slabs of beef and keeping them in a fridge for weeks until a certain amount of moisture is sucked out of the meat, intensifying the flavor. I’ve done that at home in my fridge, but it takes a lot of time and effort.
There is one steak that I couldn’t match for the longest time, and that was the Capital Grille’s bone-in Kona crusted dry-aged NY strip. I would have dreams about that steak! It was time to find a way to make something that would satisfy my craving for that amazing steak at home.
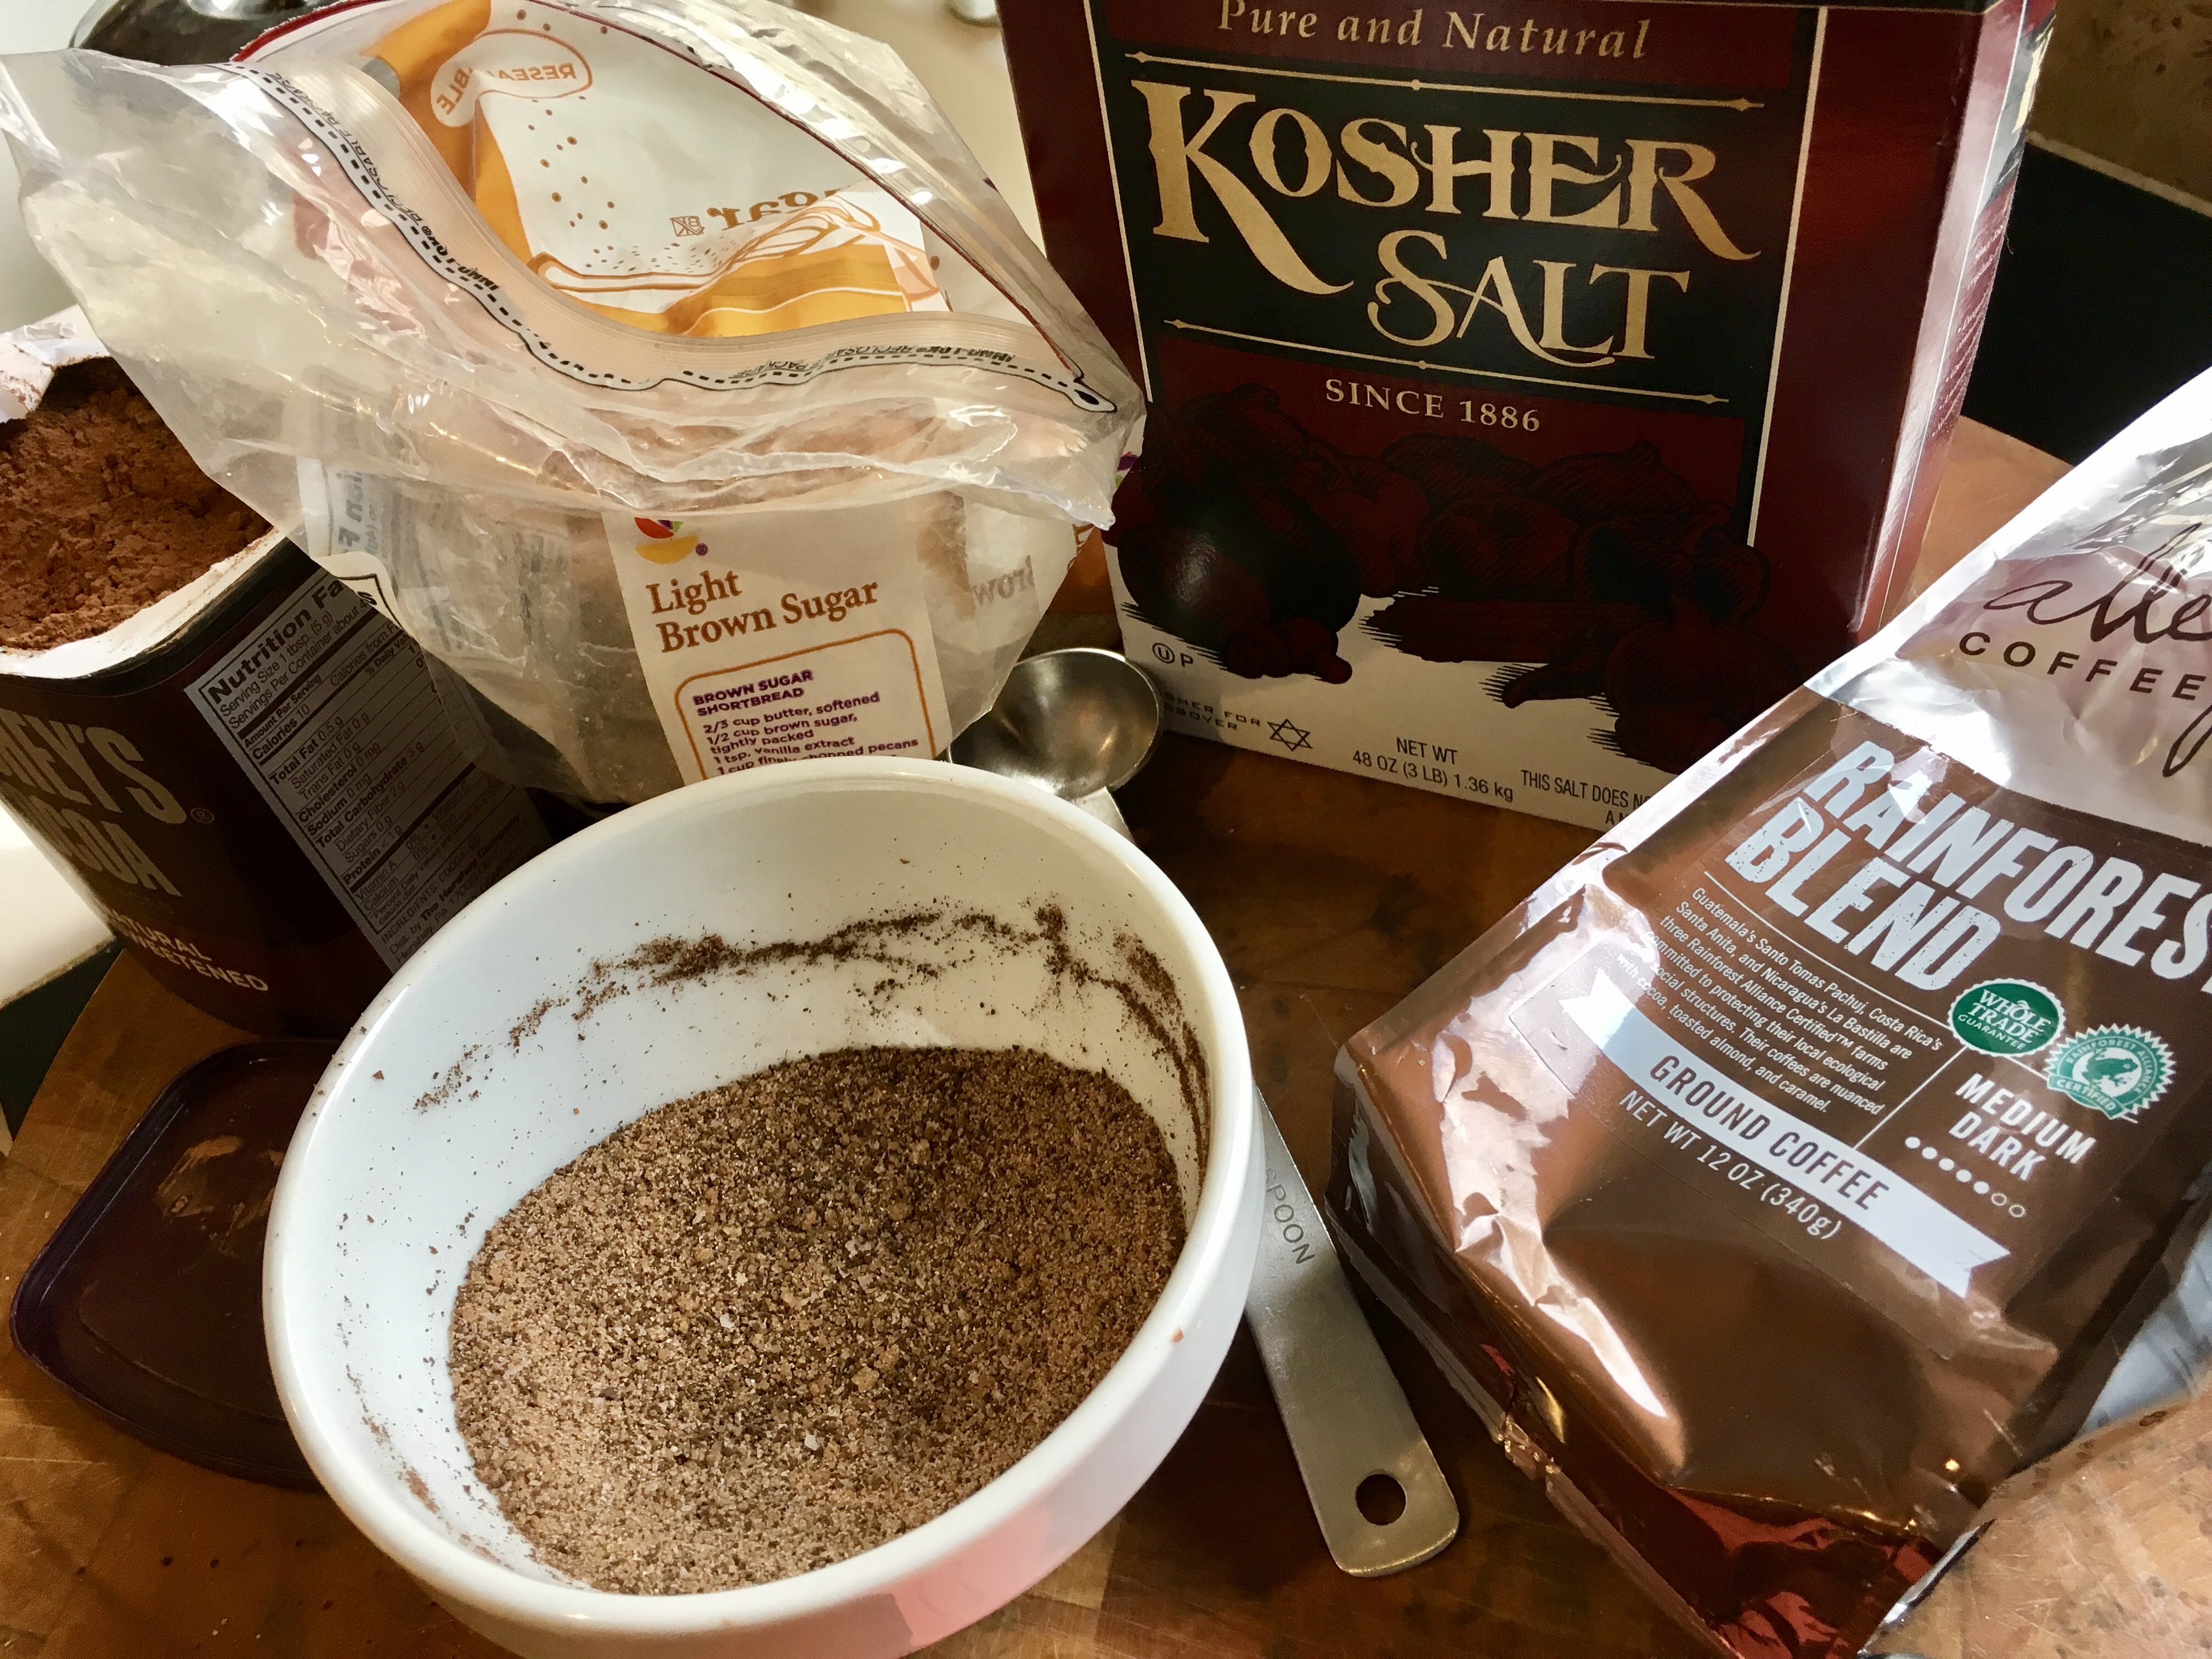
Looking at a variety of coffee rub recipes on-line, I started the slow and steady process of combining ingredients in just the right proportions, tasting as I went. What I came up with really accentuated the flavor of the beef I was cooking, better than I had imagined!
3 tablespoons brown sugar
1 tablespoon Kosher salt
1 tablespoon ground coffee (use your favorite)
1 teaspoon granulated garlic
1 teaspoon granulated onion
1 teaspoon unsweetened cocoa powder
Combine the ingredients, mixing well, and keep them in a tightly sealed container at room temperature.
The secret ingredients are the brown sugar and the cocoa. The brown sugar gives the steak a caramelized crust when cooking, and the cocoa rounds out the flavors and gives the beef an extra “umph!”
When using, sprinkle the seasoning liberally on both sides of the steak before cooking. When cooking indoors, I like to add bacon fat to a hot cast iron skillet, searing the steak on all sides, and then finishing it in the oven. But let’s face it: nothing beats the grill!
A side note : I’m going to a party today where I was asked to bring pulled pork. I used this rub on the pork shoulder, and it came out fantastic! It also works really well with chicken!
It’s been a while since I posted this. Inspired by a recent conversation I had with a friend, I decided to share it again…
It’s never a healthy option to eat fast food. Michael Pollan said it best: “It’s not food if it arrived through the window of your car.”
Years ago, a guy who claimed to be the nephew of Colonel Sanders, revealed the 11 secret herbs and spices that made KFC‘s original recipe chicken a worldwide success. He said he worked for his uncle for many years and had to make huge batches of the seasoning mix.
For me, KFC is like crack. Although I’m a big proponent of grass-fed this and pastured that, my kryptonite is KFC‘s original recipe chicken. There’s a KFC right next door to a local Home Depot in my area and my car literally drives itself to the pick-up window…I can’t help it. I justify the consumption of this heavenly grease by asking for no sides–no biscuit, no nothing. I get one breast and one thigh, and I drive off, steering my car with my knees as I indulge in my dirty secret, the hot grease dripping down my chin, a roll of paper towels at my side.
Making the KFC chicken recipe at home means I do have some control over product quality. I can use pastured chicken. I can use clean oil. I don’t have the fancy pressure fryer they use at KFC, but I can use the healthier option of oven-frying. That means I fry my chicken in oil until golden brown, then finish the cooking process in the oven.
I have to say, the recipe really works! Maybe if I placed the real KFC side-by-side with my home-made chicken, I’d notice a big difference. But my brain said it was pretty damn close and absolutely delicious! If I could change one thing, I would use smaller chicken pieces next time. I used large pieces and the meat-to-breading ratio was off. Though it was mighty tasty, I was craving more breading per bite.
The recipe calls for all-purpose flour, but if you follow a gluten-free lifestyle, using Cup4Cup GF flour works just as well.
2 cups all-purpose flour
3 tablespoons paprika
1 tablespoon celery salt
1 tablespoon dried mustard
1 tablespoon garlic salt
1 tablespoon ground ginger
2 teaspoons black pepper
1/2 teaspoon white pepper
1 1/2 teaspoons thyme
1 1/2 teaspoons basil
1 1/2 teaspoons oregano
1 teaspoon salt
1 cup milk
1 egg
5 lbs. chicken pieces…your choice
oil, for frying
Combine the flour and the “11 herbs and spices” in a bowl. Mix well.
In another bowl, whisk together the milk and the egg. Add the chicken pieces to this bowl and let the chicken soak in it for 10 minutes.
Pre-heat the oven to 350 degrees.
Pour a couple of inches of the oil into a pan with high sides and heat it to 340 degrees, using a thermometer. Don’t fill it with too much oil, because oil expands when hot and it could spill over.
Take the chicken pieces out of the milk and egg mixture and coat them with the seasoning mix one at a time, making sure you coat them well. Carefully place the chicken in the hot oil. Don’t overcrowd the pan…work in small batches. Too much chicken could cause the oil to spill over the top.
Fry the chicken pieces just until golden…no need to cook them all the way through. Place the pieces on a rack over a baking sheet lined with parchment paper. (I avoid using aluminum foil these days.)
When all the chicken has been fried, place the baking sheet in the oven and cook until the chicken pieces reach an internal temperature of at least 160 degrees.
Make a lot! Leftovers are great, and they re-heat really well in the oven! (Don’t use a microwave…the oven is best.)
Through years of tireless experimentation, I’ve come up with a barbecue sauce that I feel is one of the best I’ve ever made. Granted, everybody has their favorites, but I prefer a slightly sweet and tangy barbecue sauce.
What makes this sauce special is the citrus. I originally used lemon juice for this recipe and it was good. Lime juice with lime zest was better. I also tried oranges, tangerines, even Meyer lemons. But my breakthrough happened on a day when I was craving barbecued chicken and all I had in my fridge was a grapefruit. I thought: how bad could it be? Turned out to be the perfect foil to the sweetness of the brown sugar and ketchup.
My favorite chicken pieces are the leg quarters: thigh and drumstick all in one. Chicken breasts, even on pastured birds, are pretty flavorless and dry, so I pass on them for the darker meat that’s juicy and fatty. (Honestly, I find it hard to trust anyone that won’t eat meat off a bone.)
Cooking chicken in the oven before putting it on the grill has several advantages. I don’t have to stand over the grill, constantly worrying about the meat burning or the fire going out. I can simply set a timer when I need to brush on the barbecue sauce or remove the chicken pieces. And the chicken cooks evenly…one piece won’t be burned while another piece is undercooked. Cooking them low and slow in the oven keeps the chicken juicy and tender. And I’m assured that my chicken is thoroughly cooked…no worries about salmonella.
I pre-heat the oven to 350 just to get it nice and hot. I line a sheet pan with non-stick aluminum foil, placing the chicken pieces on it. I rub each piece with a little olive oil, and season them lightly with Lawry’s Seasoned Salt. The chicken goes into the oven and I immediately lower the temperature to 200 degrees.
While the chicken is cooking, I combine all the barbecue sauce ingredients in a sauce pan, bring it to a boil, then reduce it to a simmer, letting it cook for about 20 minutes, until it has thickened. Then I turn the heat off and set the pan aside.
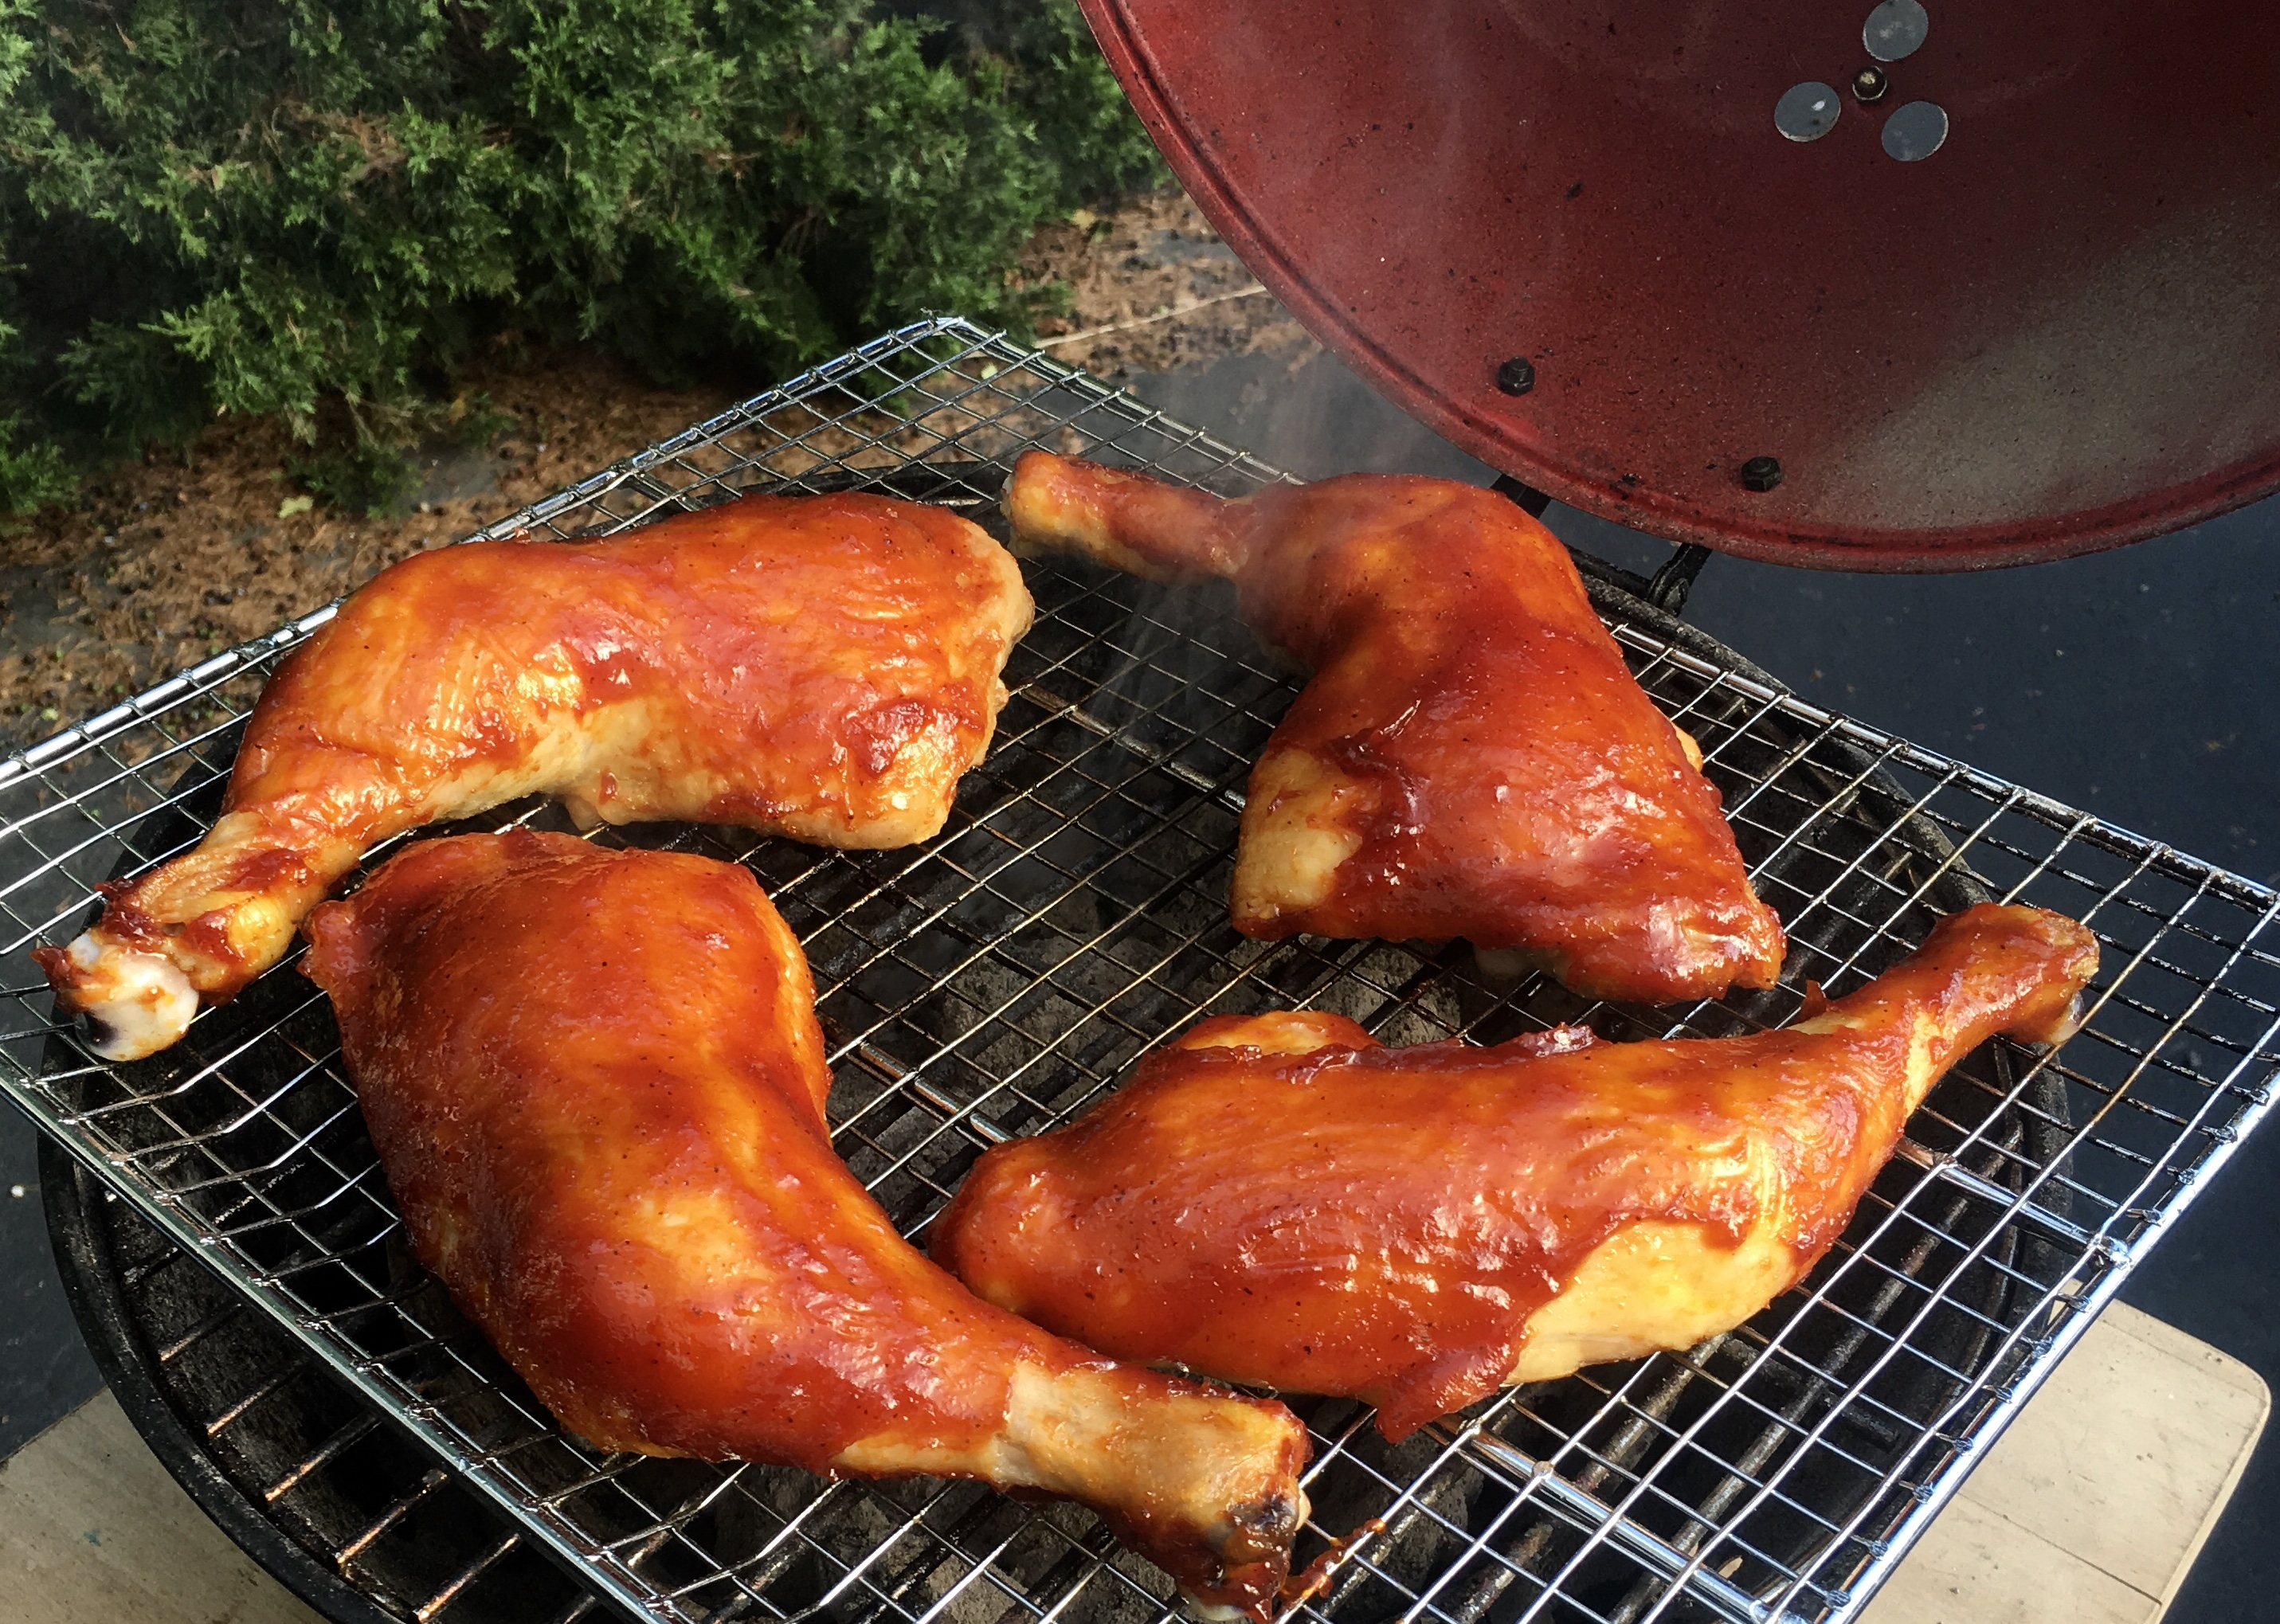
I’ll bake the chicken for about an hour, taking the sheet pan out of the oven to brush the barbecue sauce on the pieces before returning to the oven again, now bringing the temperature up to 300 degrees. (Because there’s sugar in the barbecue sauce, I don’t want to crank the heat or it will burn.)
Taking the chicken out of the oven and brushing it with sauce.
In 30 minutes, I take the sheet pan out a second time, and brush the sauce on the chicken pieces again…then back in the 300-degree oven for another 30 minutes.
Once the chicken’s back in the oven, it’s time to start the grill. For projects like this, I like to use a small grill I bought for our family camping trips. It’s like a mini-Weber, and it grills enough food for 4 people easily, without wasting charcoal like a larger grill would.
These small grills are just 20 bucks, and they save you a ton of otherwise wasted, unused charcoal.
I use a smaller charcoal chimney for this project, and I use charcoal briquets, not hardwood, because I want an even fire. The coals are ashed over in just 10 minutes.
Out of the oven and onto the fire! The grill grate was nasty and rusty, so I just grabbed a clean one I had handy and popped it right on top. (I hate scrubbing grills!)
Once the chicken has cooked its total of 2 low-and-slow hours in the oven, I bring the pieces outside. I spread the coals evenly on my little grill, and place the chicken pieces on it, flipping the pieces so that both sides get nice and smokey with a little bit of char…about 5 or 10 minutes per side will do the trick.
Getting that char on the chicken is key to making it taste like it’s been on the grill all the time.
The chicken goes back to the kitchen, and while it’s still hot, I brush with the barbecue sauce one last time before serving.
Perfectly done…perfectly delicious!
Here is the magical barbecue sauce recipe…
1 cup ketchup
1/2 cup firmly packed brown sugar
Juice and zest of 1 grapefruit
3 tablespoons unsalted butter
1 teaspoon cayenne pepper sauce, like Frank’s Red Hot
1 teaspoon Worcestershire sauce
1 teaspoon granulated garlic
1 teaspoon granulated onion
1/4 teaspoon black pepper
(no salt)
Combine all the ingredients in a sauce pan. Bring it to a boil and then turn it down low, and let it simmer for about 20 minutes, or until slightly thickened.
I recently discovered a new version of chimichurri, one where I use basil instead of parsley, and I don’t know if I’ll go back to the old chimi ever again!
Chimichurri is a garlicky, herby green sauce usually used with grilled meats. This pesto-like condiment originated in Argentina and is also commonly used in Nicaragua and Uruguay. Though some recipes include cilantro, many people insist the original is made only with parsley. This time, I decided to substitute basil for the parsley.
I’ve used this new “chimi” on salads, I’ve cooked shishito peppers with it, and recently, I had great success roasting chicken with it. To make the chimi…
1 large handful of fresh basil leaves, about 4 cups, loosely packed 1/4 cup water 1 medium onion, chopped 3 cloves garlic, minced 3–4 tablespoons fresh oregano, leaves only (or 1 tablespoon dry) 1 tablespoon paprika 1 teaspoon crushed bay leaf 1 tablespoon coarse sea salt 1 teaspoon freshly ground black pepper pinch red pepper flakes 1/4 cup white wine vinegar 1/2 cup extra virgin olive oil
Place all the basil and the water in a food processor and begin to chop, pulsing for a second at a time. When the basil is in small pieces, stop pulsing and add the remaining ingredients, except the vinegar and olive oil. Start the processor on a full run now, and slowly pour in the vinegar, then the olive oil. Try not to make it too smooth…leave some tasty bits. Allow it to rest for at least 30 minutes, but overnight in a sealed container in the fridge is best.
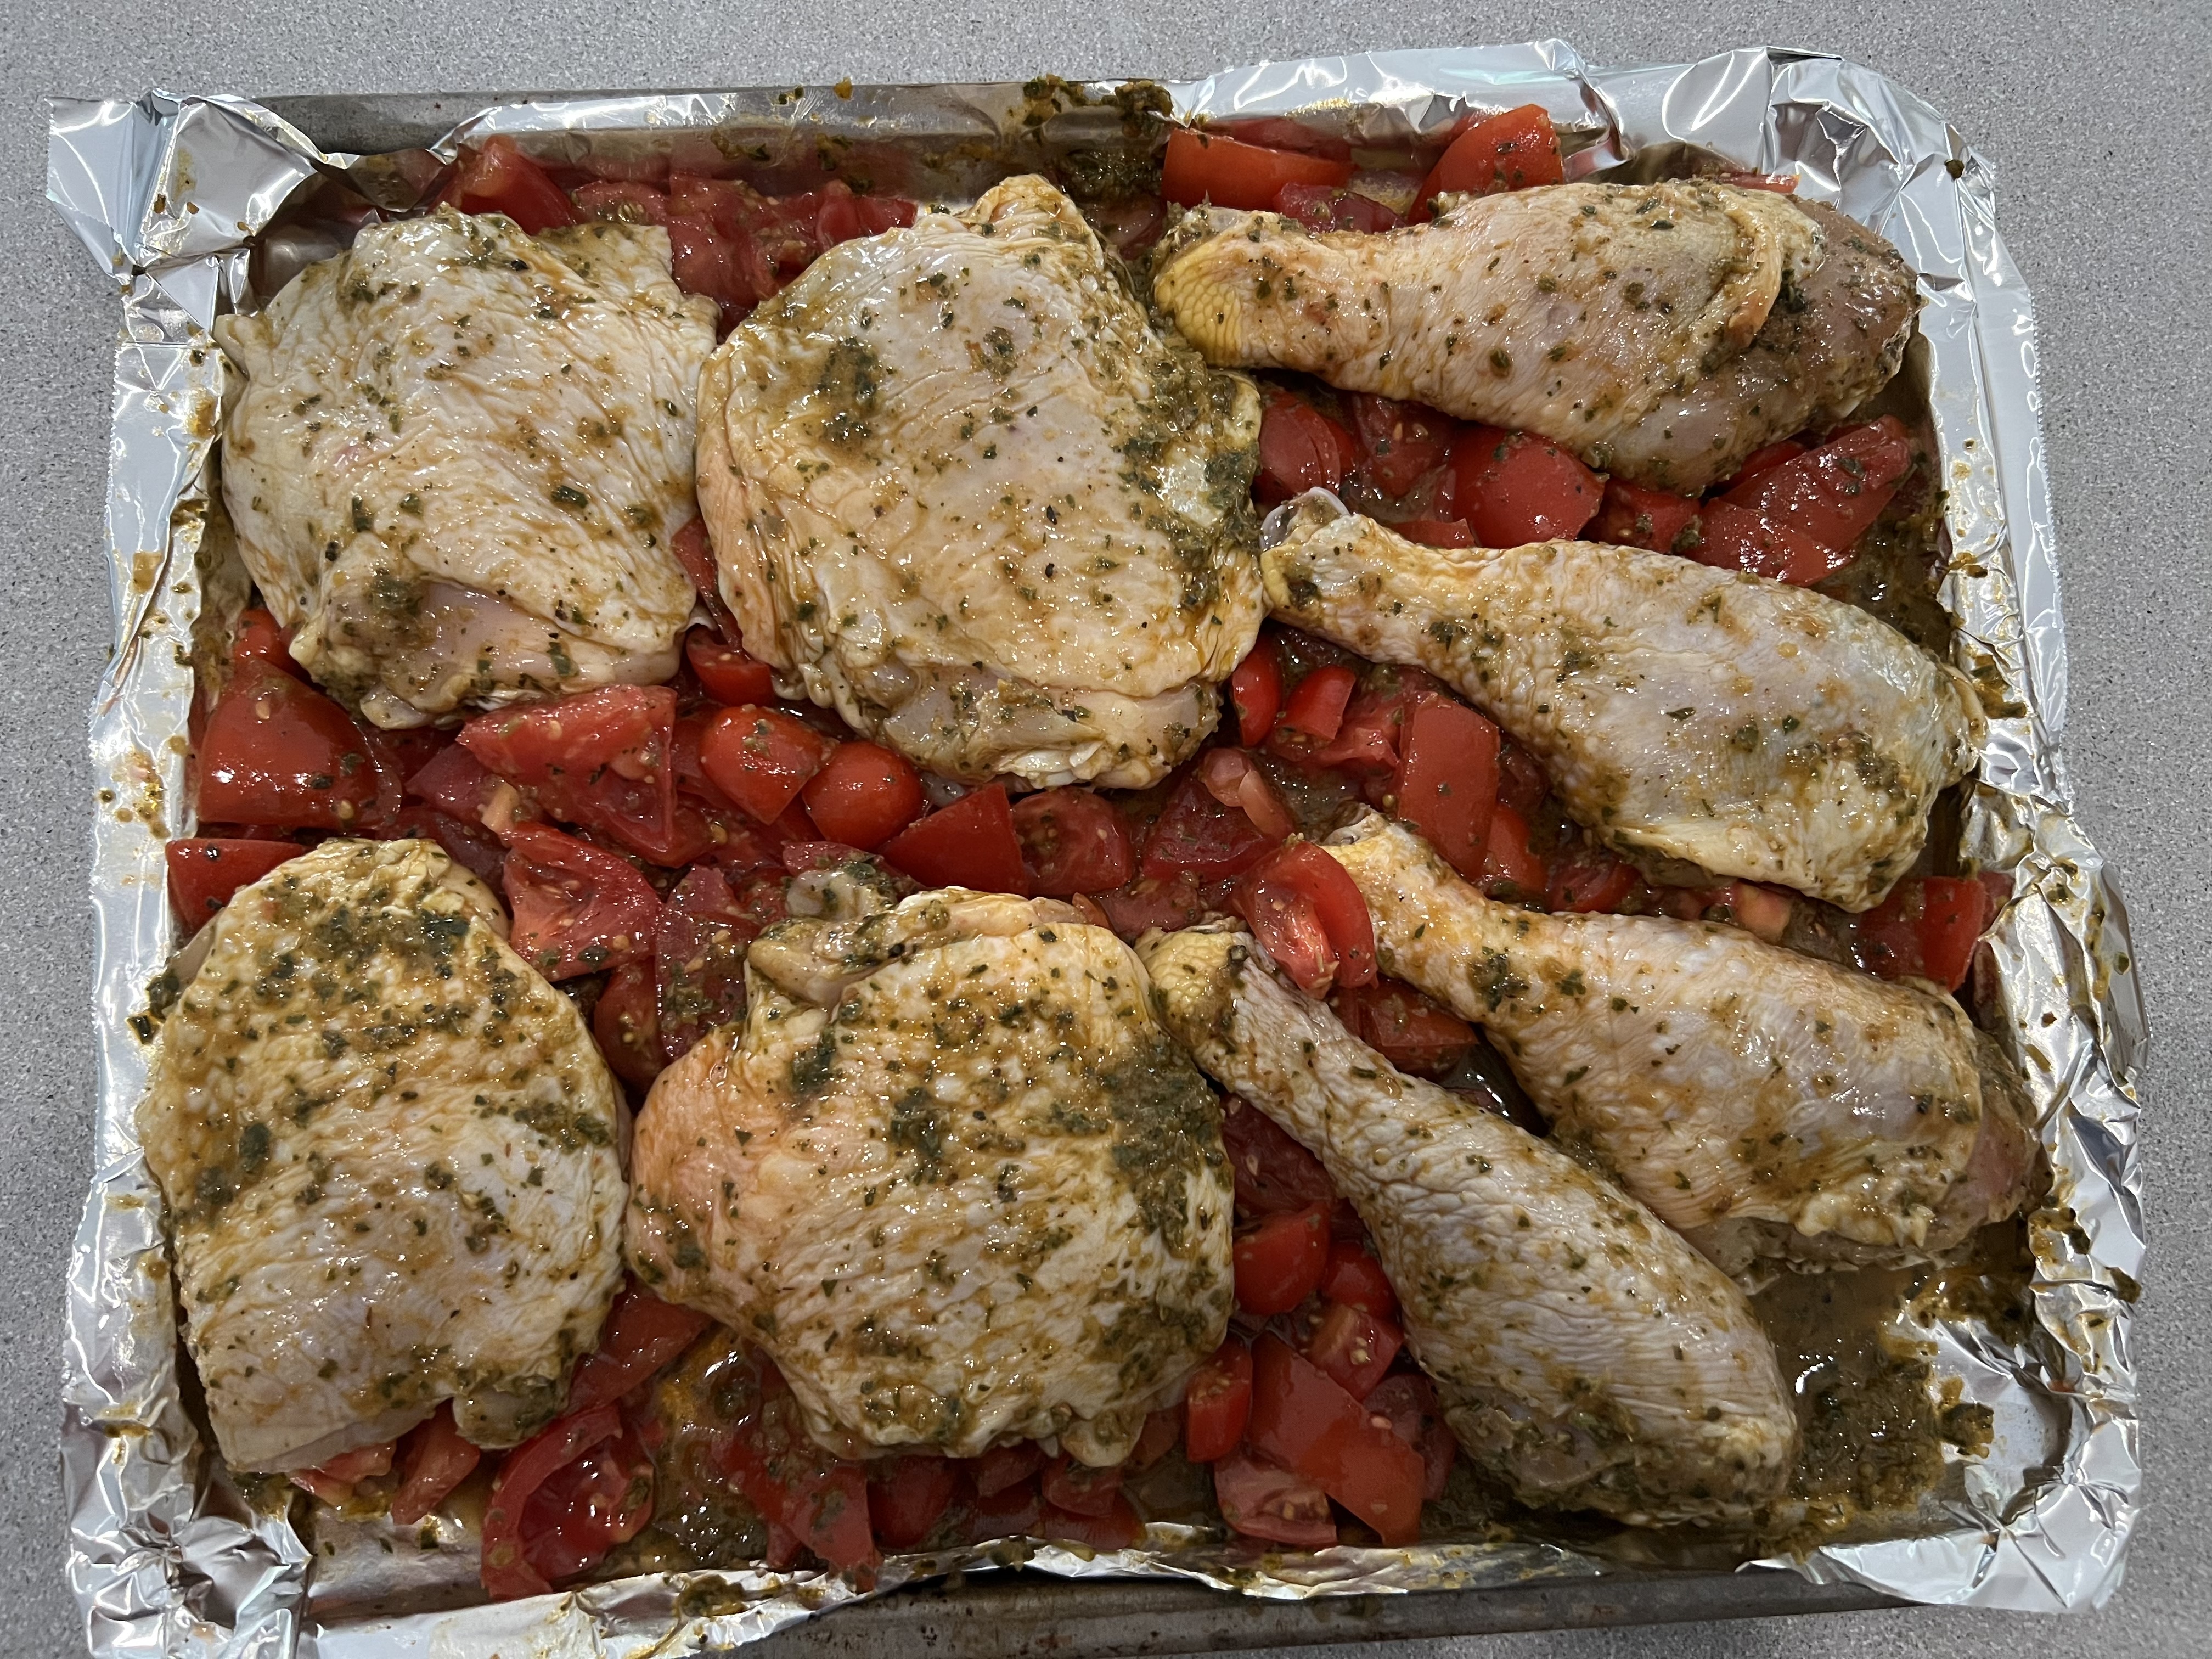
I had a 4-pack of chicken thighs and a 4-pack of drumsticks in my freezer, so that’s what I used for this dish. But it’s just as easy to use a spatchcocked (a butterflied chicken where the backbone is removed so it lays flat) whole chicken, or any parts you prefer.
8 pieces of chicken a bunch of tomatoes, cut into small chunks 3 to 4 oz. of feta cheese
Pre-heat the oven to 350.
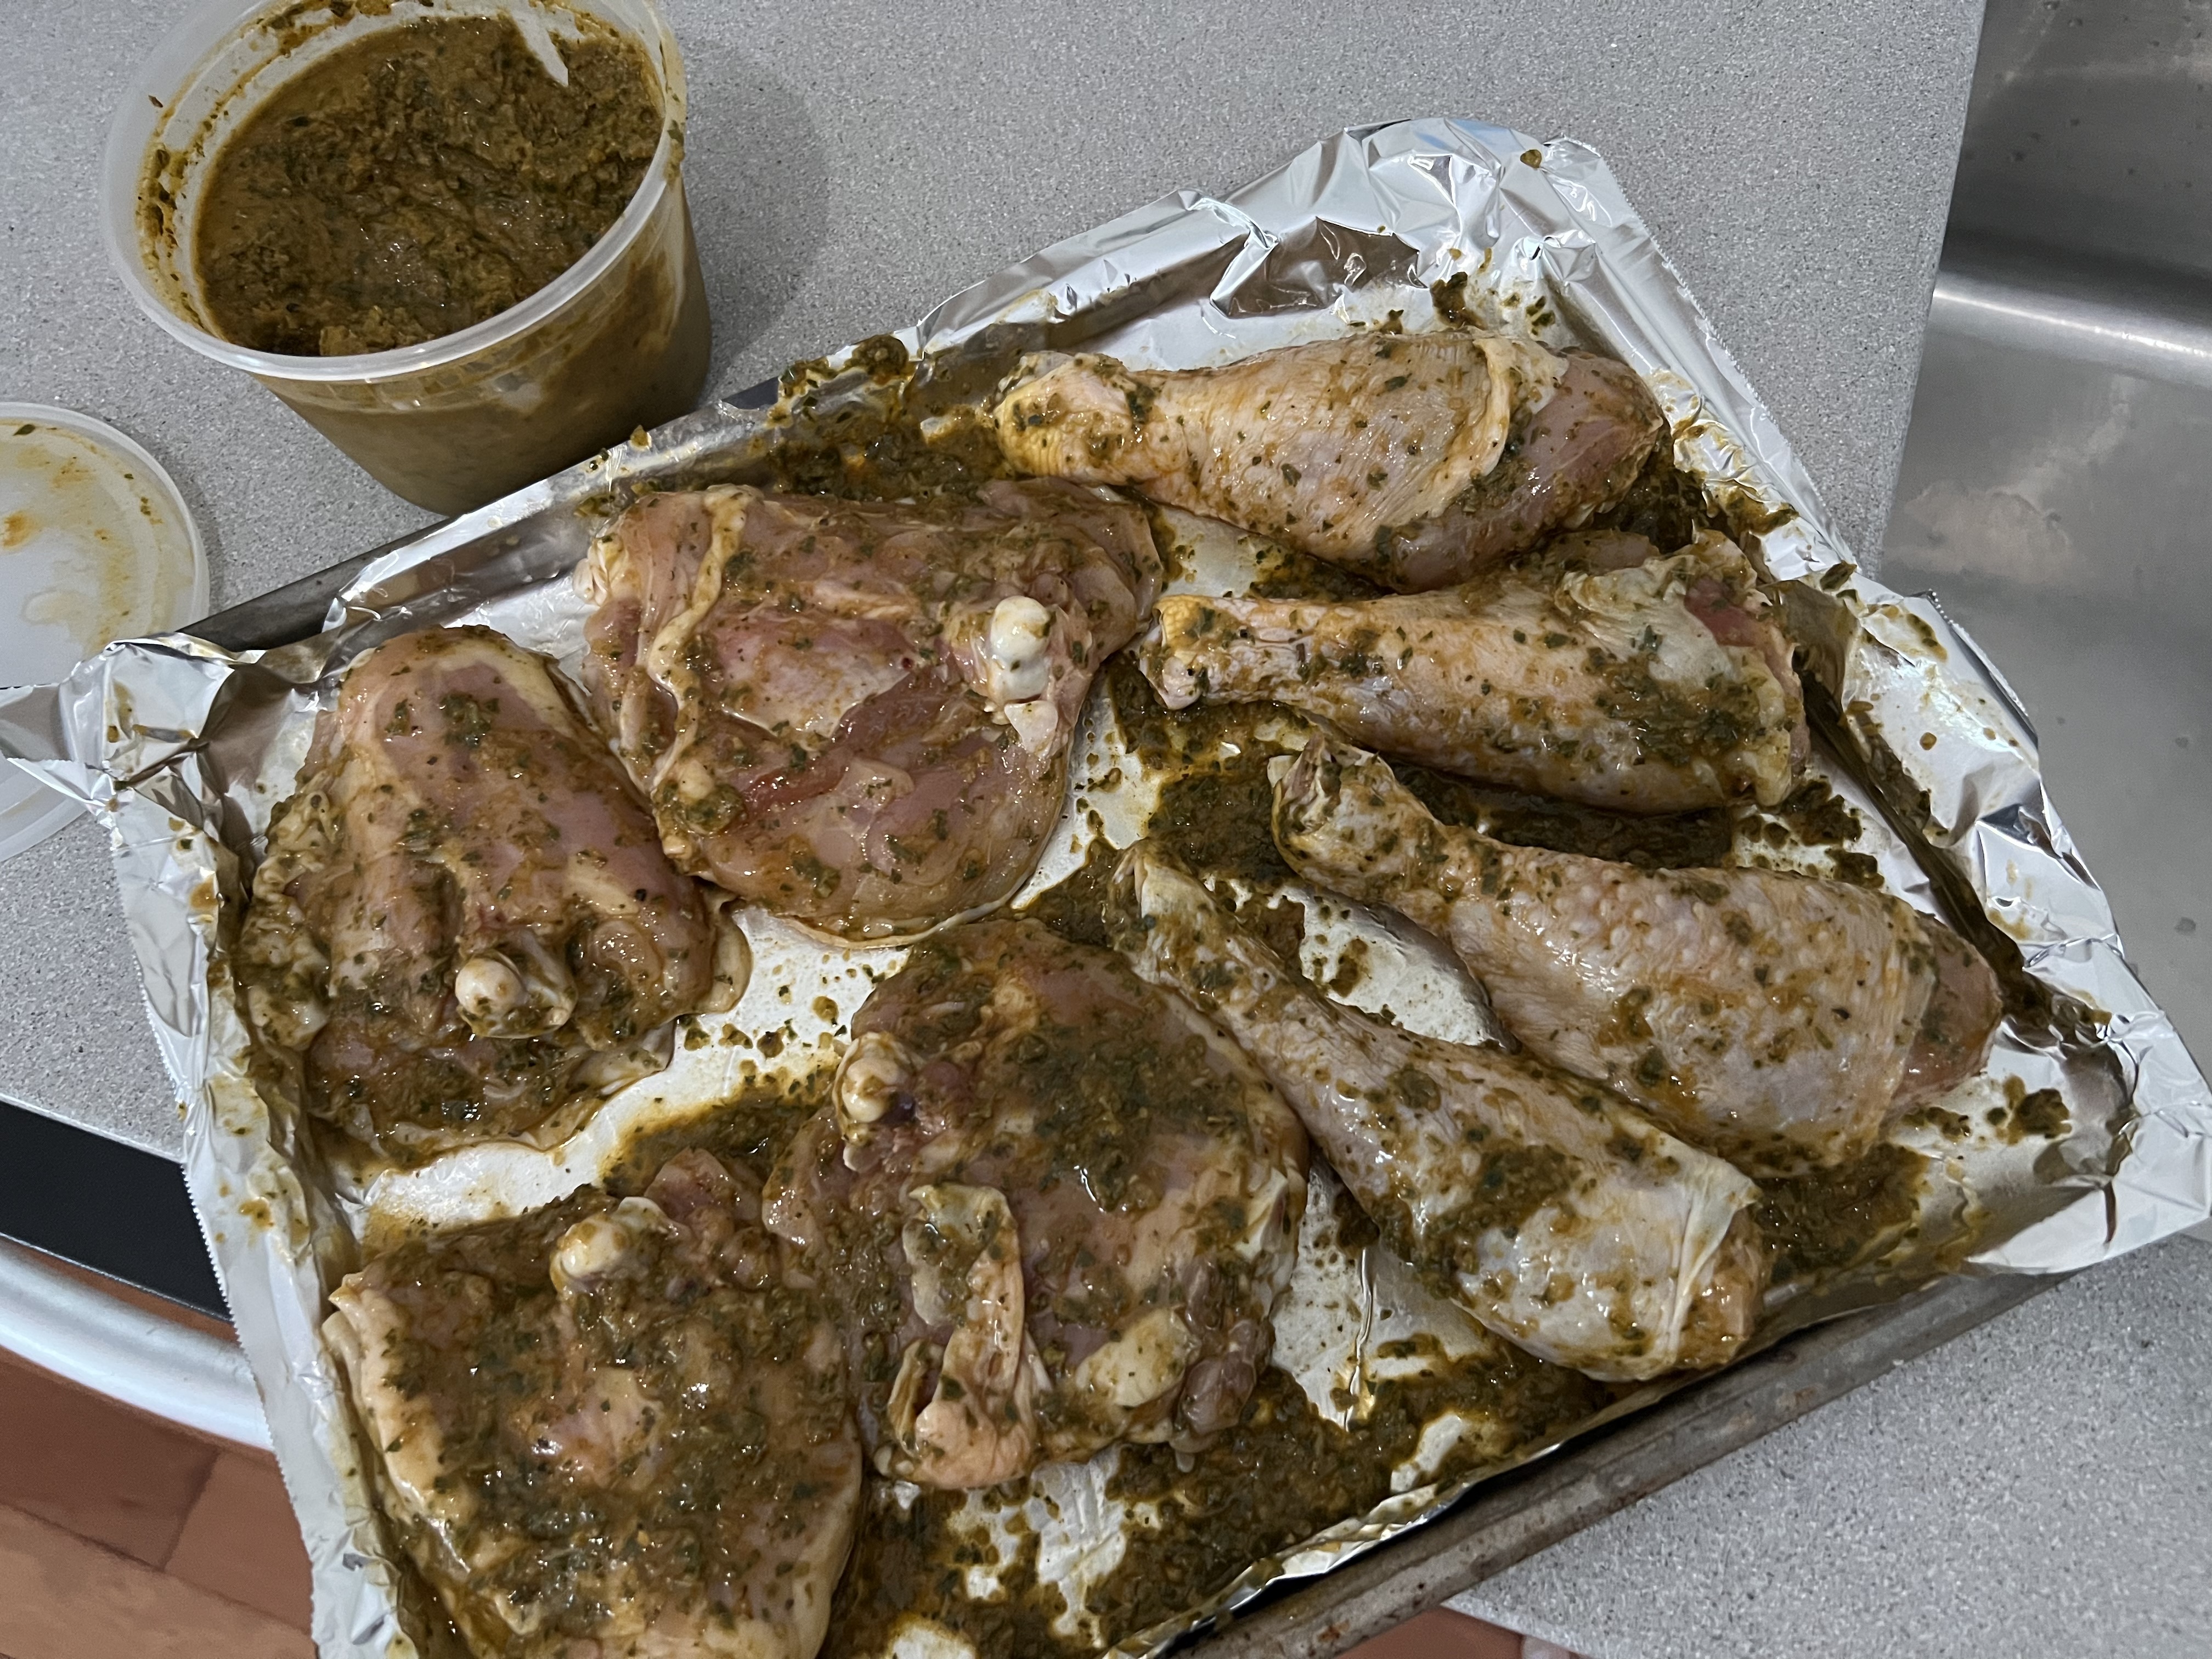
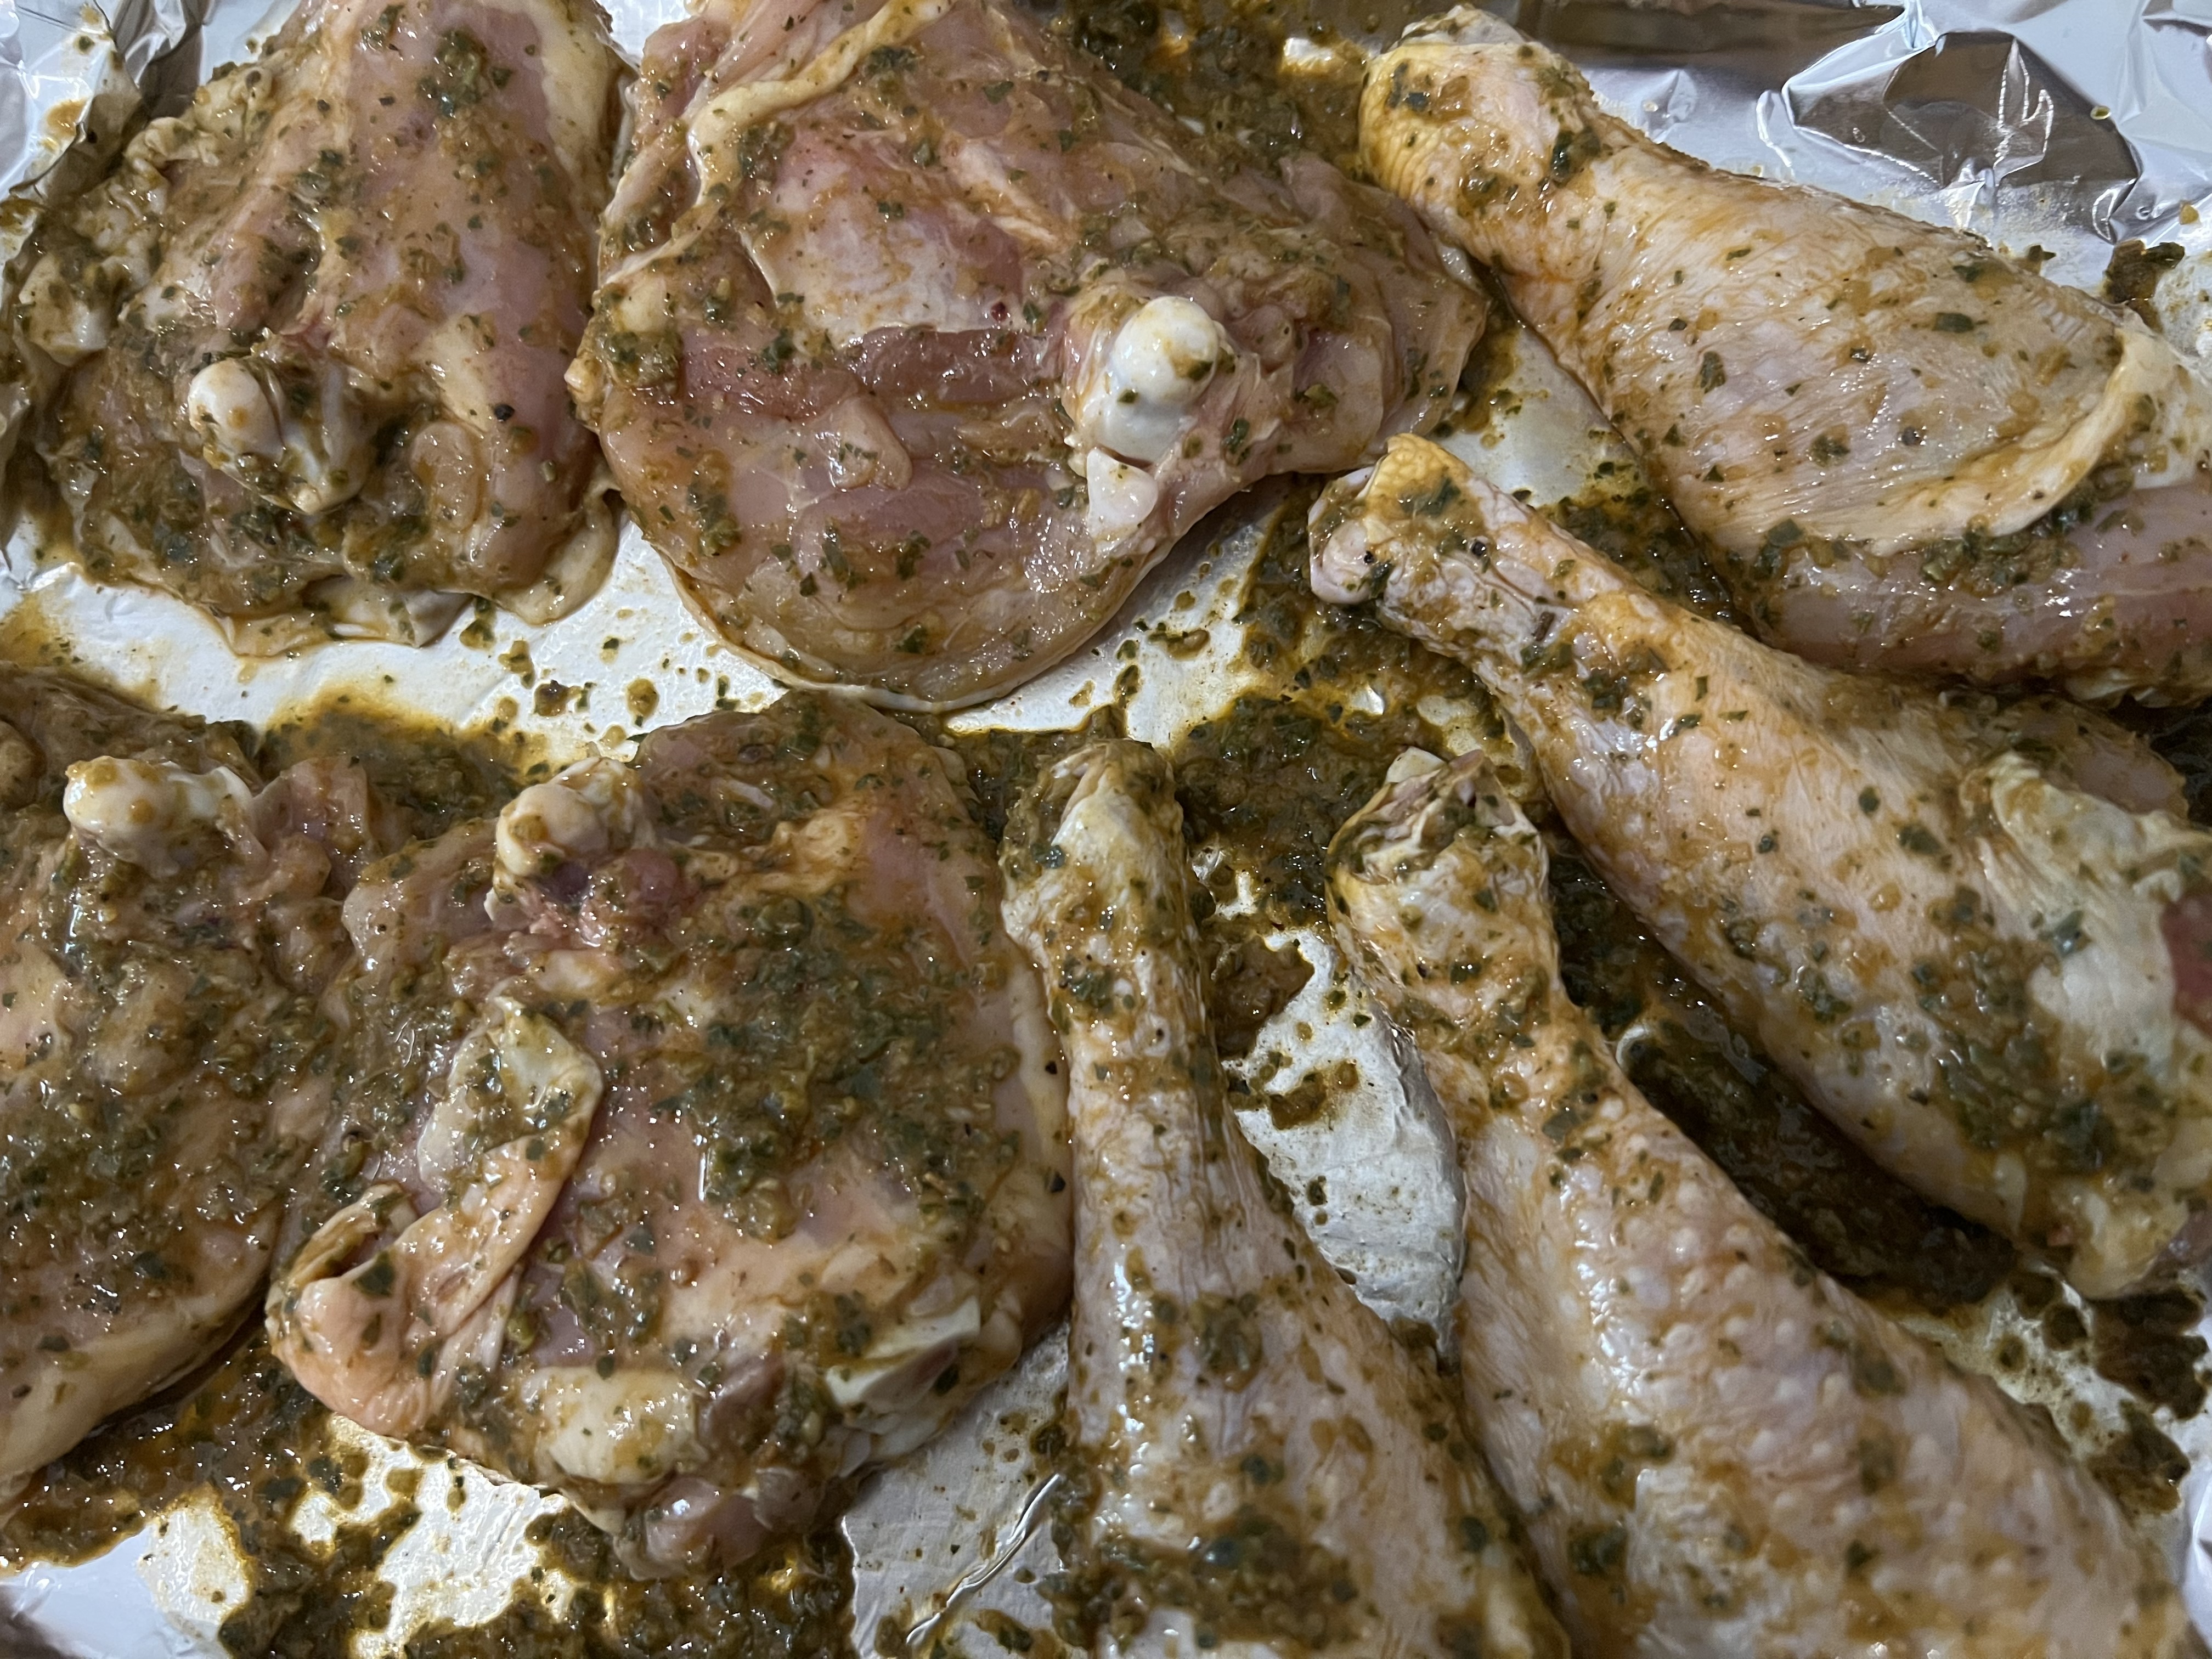
Place the thawed chicken pieces in a baking pan, and rub them really well with a generous amount of the chimi. Get it under the skin where you can, not just the outside. (Just remember that you’re handling raw chicken, so the moment you touch the chimi with raw chicken hands, you’ve contaminated the batch! Use a separate bowl with part of the chimi, so you don’t ruin the rest.)
Let the chicken marinate in the chimi at room temp for a few hours, or in the fridge overnight.
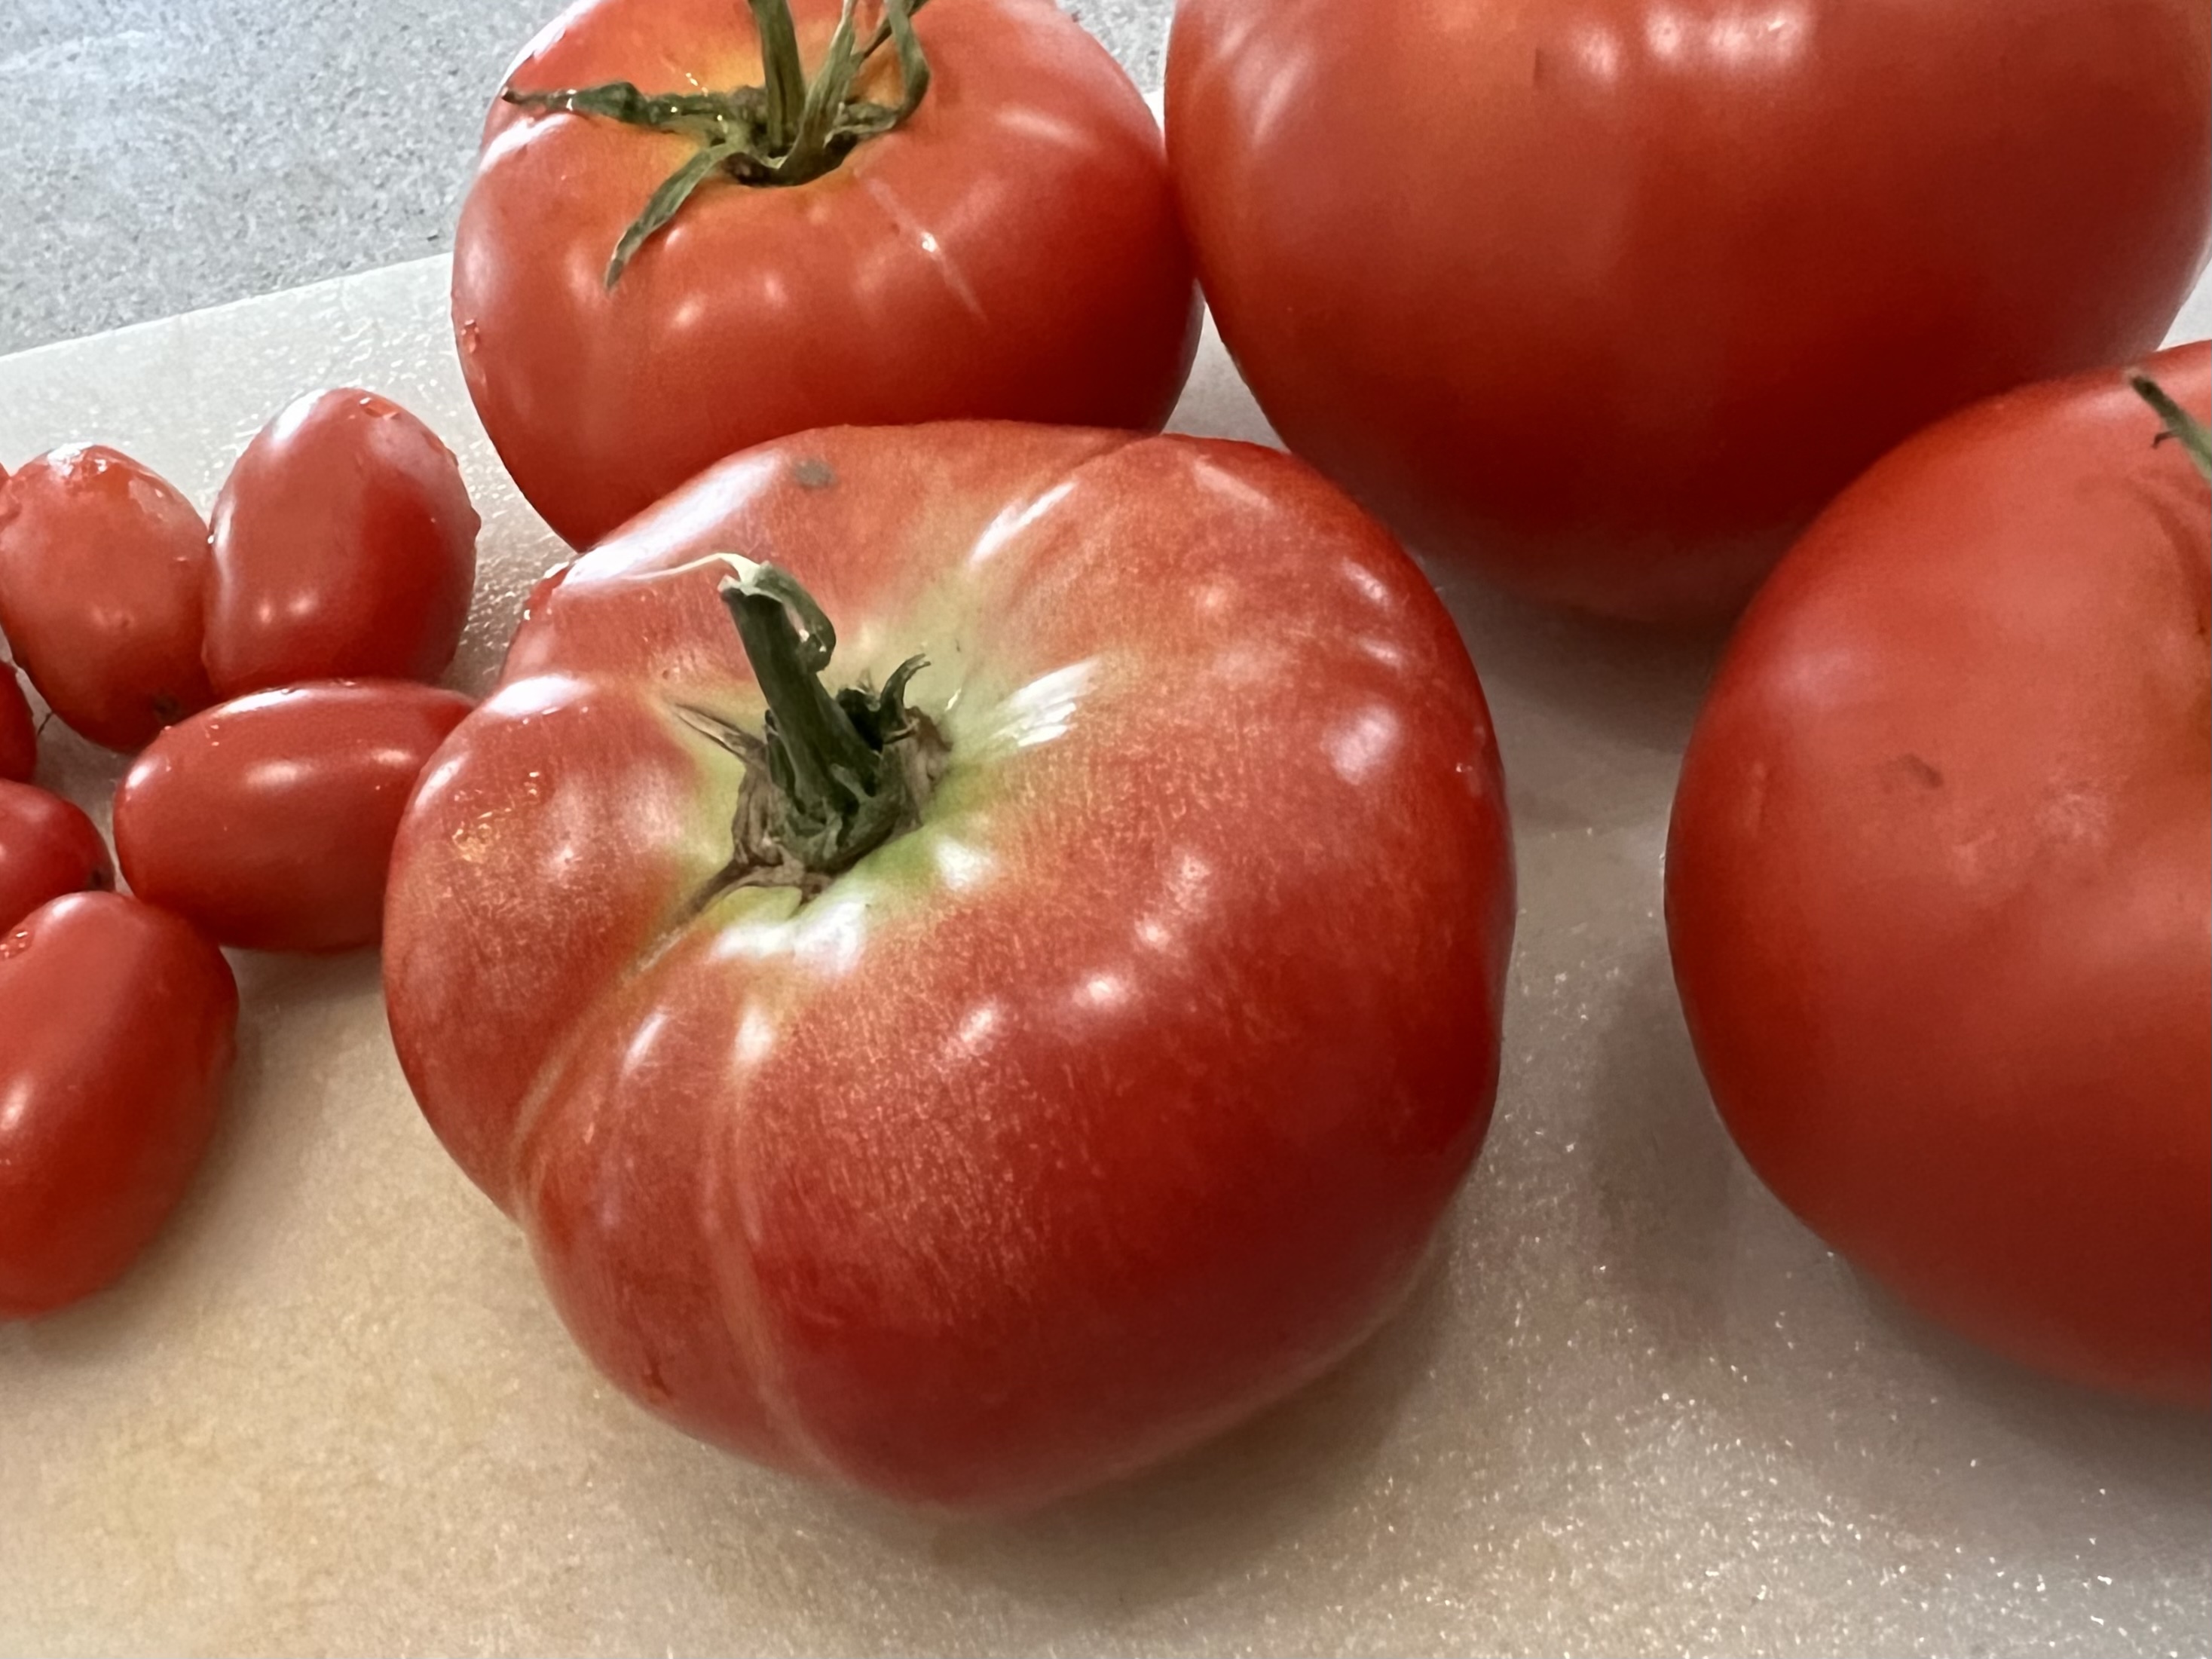
Grab a bunch of tomatoes, cut them up, removing some of the seeds (but not really worrying about it either way) and mix a little chimi in the tomatoes. Place the tomatoes on the bottom of the roasting pan, and place the chicken pieces on top, so the chicken skin will crisp up while it cooks.
Sprinkle the cubes of feta cheese all around and place the roasting pan in the oven, baking for about 45 minutes.
Serve over pasta, potatoes, or as I did, over rice. I simply boiled some jasmine rice, adding a 1/2 teaspoon of Italian seasoning in the rice water before cooking. No salt, no oil.
My daughter likes to find new recipes on line for us to try. And although they might look like new ideas to her, the ingredients tell me these recipes came from somebody’s cookbook from the 70’s.
Hey, maybe I’m the exception to the rule, but I haven’t opened a can of cream-of-anything soup in at least 30 years…and that includes cream of mushroom for the classic Thanksgiving bean casserole. (I’ve never made one.) Maybe it’s because I wasn’t raised on Betty-Crocker-midwest-American fare. My parents were from Lithuania, and we had our own list of favorites that would probably raise a few American eyebrows.
But my daughter had friends coming over to hang out for a few hours, and I always like to cook something for them. (I learned from my mom and grandmother a long time ago that you don’t invite someone over without feeding them.)
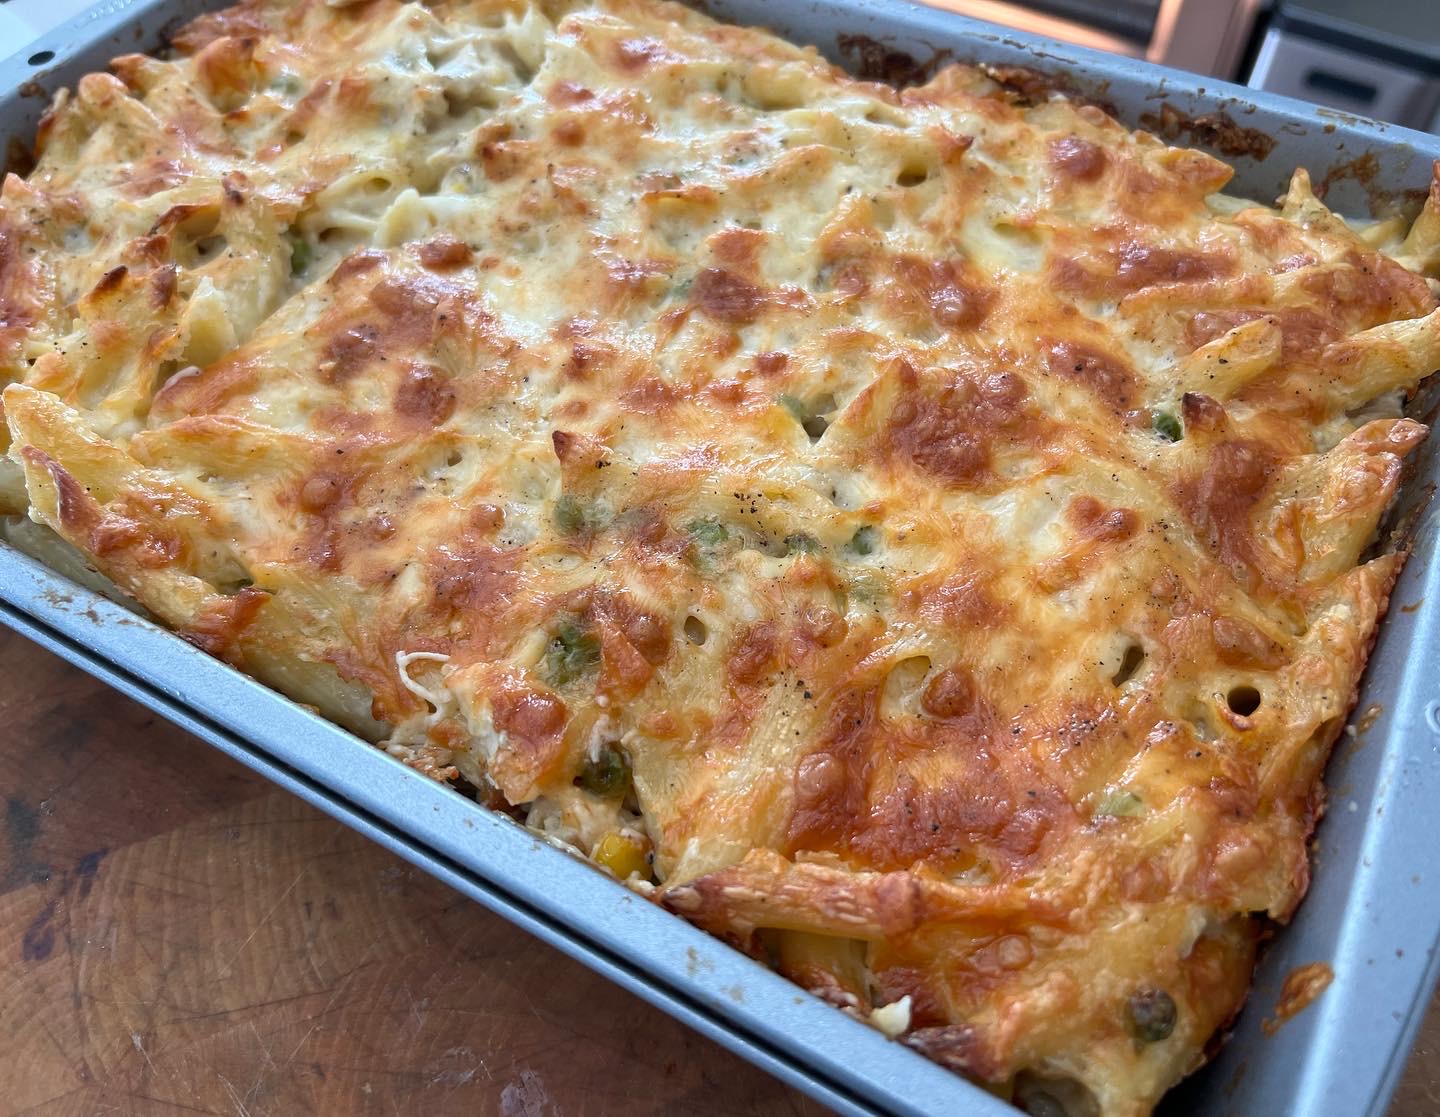
This casserole recipe my daughter chose, originally called something like “Chicken Spaghetti,” had some good ideas, but wrong ingredients for a group of teenage girls who could be a bit finicky. For example, it called for 2 cans of cream of mushroom soup. I decided to ditch the mushrooms and I substituted one can each of cream of celery and cream of onion. The recipe called for green peppers. I chose to use peas and corn. And since it was all going into a casserole dish, spaghetti seemed like the wrong pasta. We went with smaller penne instead.
We made it a day ahead…keeping it wrapped in the fridge. But if we needed less than what this recipe made, we would’ve divided it into two smaller casseroles, freezing one of them (before cooking) for future use.
1 lb. pasta 1 can (10.5 oz.) cream of celery soup 1 can (10.5 oz.) cream of onion soup 1 cup chicken broth 2 to 3 cooked chicken breasts (about 3 cups shredded) 1/2 cup peas (frozen is fine) 1/2 cup corn (frozen is fine) 1 small onion, finely chopped 1 teaspoon seasoned salt (I use Lawry’s) 1/8 teaspoon cayenne pepper salt and pepper 2 1/2 cups shredded sharp cheddar, divided
Homemade chicken stock is the best. If you don’t have any that you’ve made from the leftovers of previous chicken dinners, and you don’t have any store-bought stock in your pantry, here’s any easy cheat…
Get a pot and fill it with about 6 cups cold, clean water. Put the pot over high heat. Chop up a carrot, a stalk or two of celery, and 1/2 an onion and toss them in the pot. Then add the raw chicken breasts you’re going to use in this dish.
Bring the pot to a boil, then turn the heat down to medium until the chicken breasts are thoroughly cooked and the liquid in the pot has reduced by at least half.
Strain the veggies out, and what you have left is basic chicken stock.
If you’re going to cook this dish the same day, pre-heat the oven to 350.
Grease a 9 x 13 pan with cooking spray. (Two smaller pans if you’re dividing the recipe.)
Cook the pasta according to the package instructions, but stop the cooking even before the pasta reaches the al dente stage. (It will cook more in the oven, so you don’t want it mushy.) Drain the pasta and set it aside.
Sauté the onion in a bit of olive oil until it’s translucent.
Get out a large bowl and add the can of cream of celery, the can of cream of onion, the sautéed onions, the peas and corn, the shredded chicken, the chicken stock, the cooked and drained pasta, the seasoned salt, the cayenne, and 1 1/2 cups of the cheese. Season with the salt and pepper, to taste. Mix well.
Pour the contents of the bowl into the 9 x 13 pan (or between the 2 pans if dividing), and top it with the rest of the cheese. This is the point where you wrap and freeze or continue to the oven.
Bake for 40–45 minutes, until it’s nice and bubbly. (If it looks like the cheese might burn, cover it with foil.)
If you’re freezing this recipe for later, wrap it tightly in plastic and foil before placing it in the freezer. A day before you want to cook, take it out of the freezer and thaw it in the fridge for 24 hours. Then cook as usual.
Lamb is such an underrated meat. It was one of the things my Mom cooked really well, so I grew up loving it, and was never bothered by the gaminess of it.
If the gaminess does bother you, look for American lamb. If gamier meat doesn’t bother you, go for the gusto and get grass-fed New Zealand or Australian lamb.
The balsamic vinegar in this recipe is not the crazy expensive stuff. It’s the bottle you can get for about 9 bucks in the supermarket.
Place the lamb in a plastic bag and pour the marinade in, squishing it around to make sure it makes contact with the meat. Place it in a pan or a bowl to prevent accidental leaking.
Screenshot
Let the lamb marinate for several hours at room temperature, or in the fridge overnight.
Before cooking, bring the lamb back to room temperature.
Screenshot
Use some oil in a hot pan, and then sear the lamb on both sides. Place a lid on the pan, and reduce the heat to medium-low.
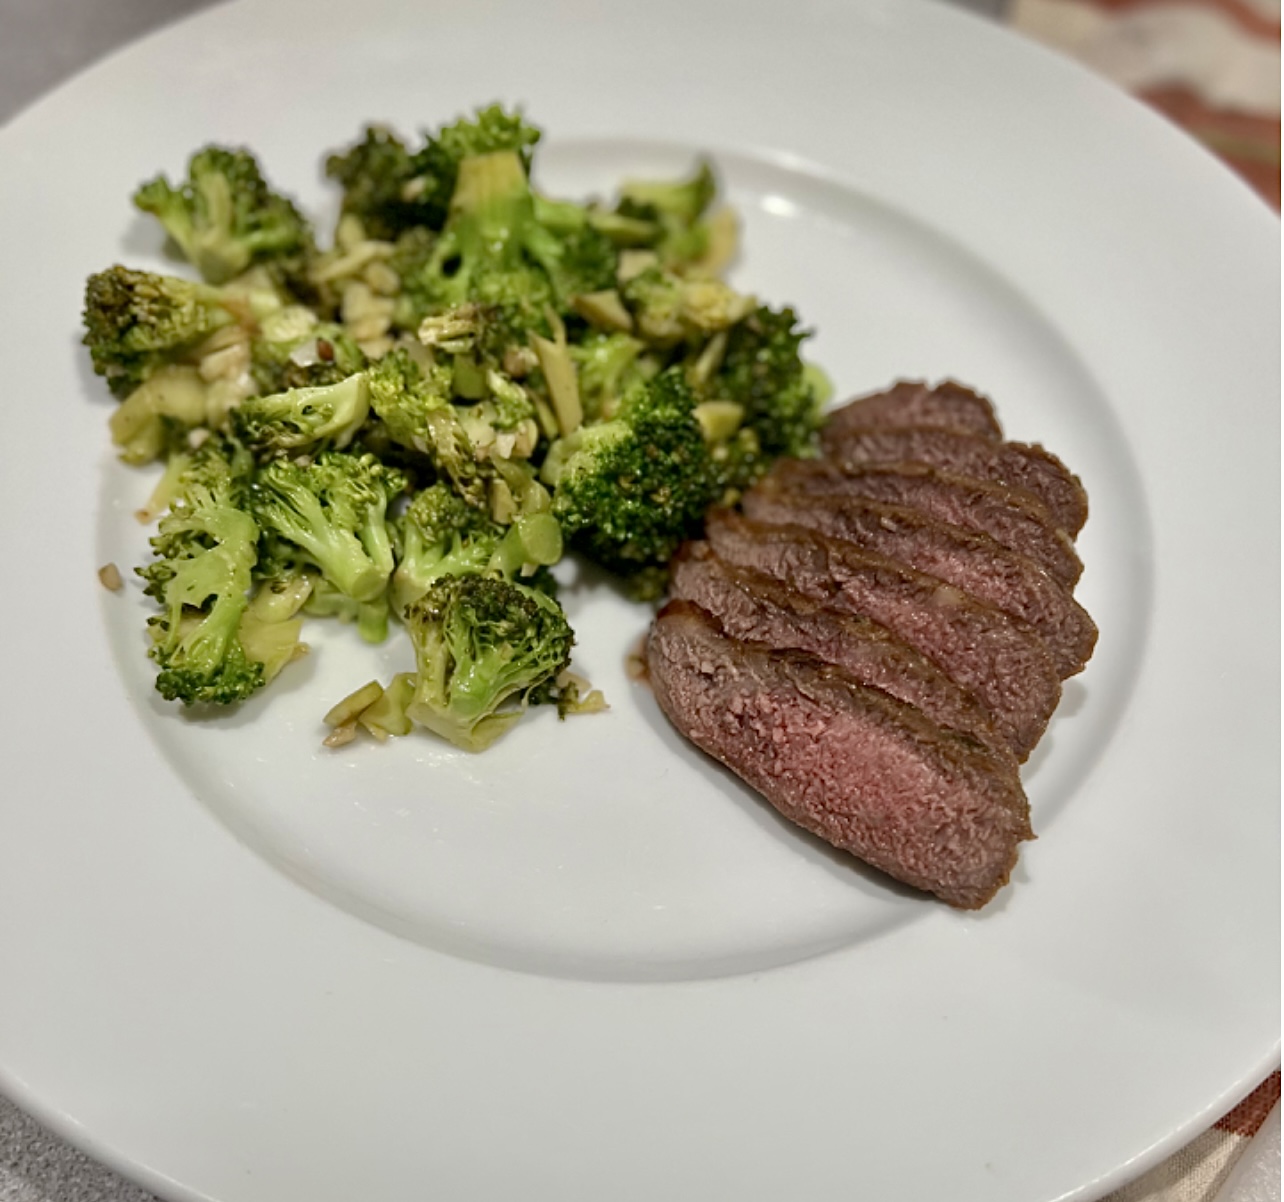
I cook lamb until I get the lamb to a perfect medium. That means cooking to 130-135 degrees. But cook it the way you like it!
Update:
Last night, I used this recipe to marinate some baby lamb chops. I love these, because they look like mini porterhouse steaks, and meat off the bone is always juicier and tastier.
I placed the lamb in a freezer bag with the marinade, and let it marinate a solid three hours at room temperature. Any longer than that, and it would go to the fridge.
I always remove meat from the fridge and let it come back to room temperature before I cook it…and this time, I decided to try my air fryer, set at 400. Not only did it cook the lamb perfectly, it gave it that nice slight char on the outside, as if I grilled it. Delicious!
There’s no problem with your bird, she said to me Just go low and slow to cook it perfectly A few choice seasonings end up deliciously There must be 50 ways to roast your chicken…
There’s nothing better than a whole roasted chicken. Simply season it, pop it in the oven and go low and slow. No maintenance, and you’ve got a great bird in a couple of hours.
Once you go with humanely raised pastured chicken, you’ll never go back to supermarket chicken again. The flavor is fantastic, and you’ll devour it right down to the bones, which you can use to make the best home-made chicken stock or soup you’ve ever had. Nothing goes to waste.
I roast at least one chicken every week, so to change it up, I’ve come up with many different rubs and sauces over the years. All of the rubs are sugar and gluten-free preparations.
Chicken with Rosemary and Lemon
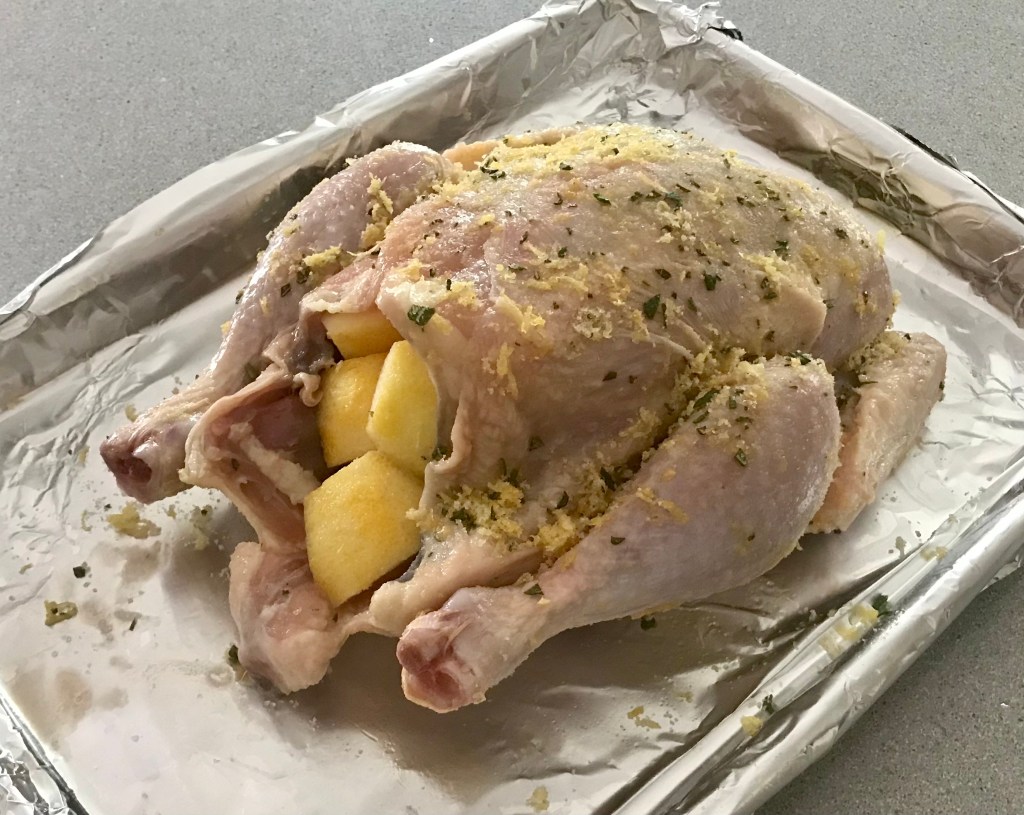
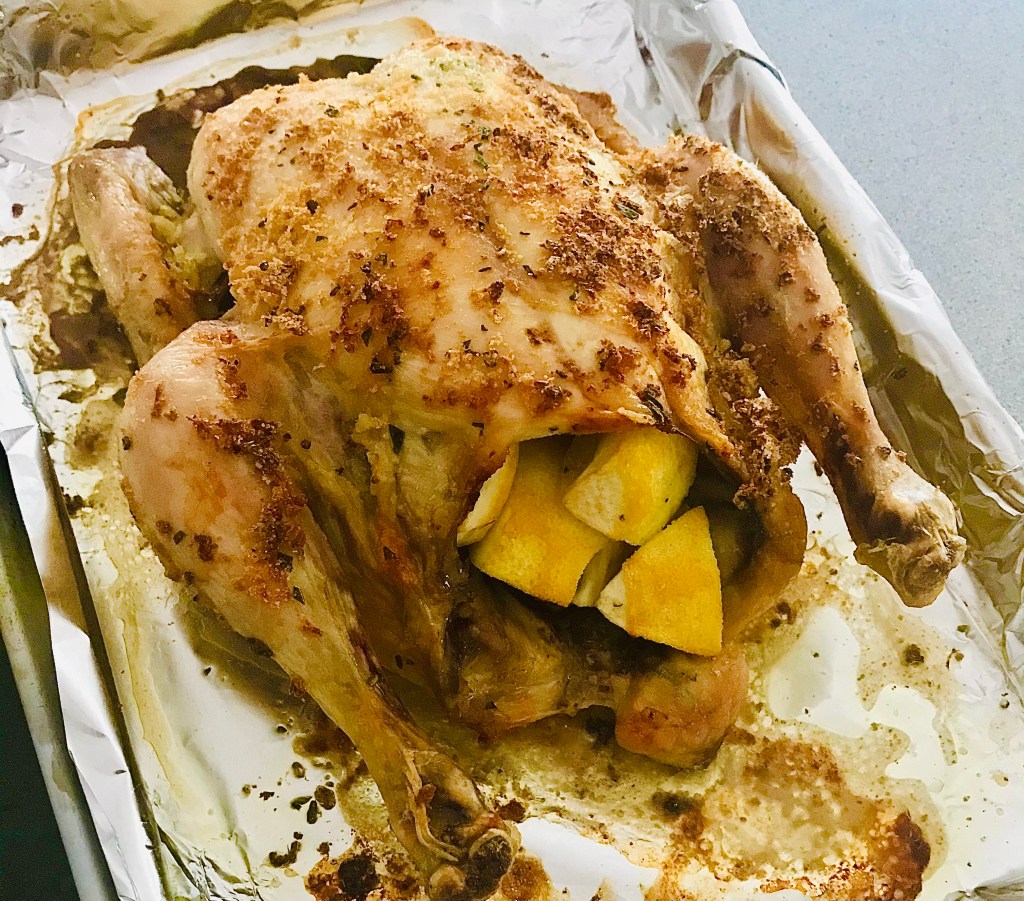
The lemon serves double-duty in this dish. You use the zest to season the outside skin, then you place the remaining cut up pieces inside the carcass to flavor from the inside out.
1 tablespoon finely chopped fresh rosemary 1 teaspoon granulated garlic
2 teaspoons salt
zest from 2 lemons, using a micro plane zester, the leftover lemons quartered
1/2 teaspoon black pepper
In a bowl, combine the rosemary, garlic, salt, lemon zest, and pepper.
Thaw a bird, remove the giblets, and rub it all over with olive oil. Shove the quartered lemon pieces into the carcass of the bird. Season the bird inside and out with the rosemary seasoning mix.
Place the bird on a pan lined with non-stick aluminum foil in a pre-heated 450-degree oven. Cook for 10 minutes at this temperature, then reduce to 275 degrees and cook low and slow until done.
Tarragon Chicken
I love the taste of chicken seasoned with tarragon. Careful with this, or you will accidentally devour your fingers!
1 tablespoon dried tarragon, crumbled into a powder 1 teaspoon garlic salt
1 teaspoon salt
1/2 teaspoon black pepper
olive oil
In a bowl, combine the tarragon, garlic salt, salt and pepper.
Thaw a bird, remove the giblets, and rub it all over with olive oil. Season the bird inside and out with the seasoning mix.
Place the bird on a pan lined with non-stick aluminum foil in a pre-heated 450-degree oven. Cook for 10 minutes at this temperature, then reduce to 275 degrees and cook low and slow until done.
Italian Chicken
The darker color of the bird comes from rubbing it first with balsamic vinegar, then olive oil, before coating it with Italian seasonings. Don’t use the fancy, expensive balsamic. The bottles that go for about 9 bucks in the supermarket work well for this recipe.
Thaw a bird, remove the giblets, and rub it all over with the balsamic vinegar. Then rub it all over with the olive oil. Season the bird inside and out with the seasoning mix.
Place the bird on a pan lined with non-stick aluminum foil in a pre-heated 450-degree oven. Cook for 10 minutes at this temperature, then reduce to 275 degrees and cook low and slow until done.
My Grandma’s Chicken
My grandmother would cook chicken thighs low and slow all Saturday morning, knowing that I was coming over for lunch after Lithuanian school. The meat just fell off the bone, and I couldn’t stop eating it. This recipe is so simple and works just as well for a whole bird. Every time I make this, I think about those days at my grandmother’s house.
Lawry’s Seasoned salt
Olive oil
Thaw a bird, remove the giblets, and rub it all over with olive oil. Season the bird inside and out with the Lawry’s Seasoned salt.
Place the bird on a pan lined with non-stick aluminum foil in a pre-heated 450-degree oven. Cook for 10 minutes at this temperature, then reduce to 275 degrees and cook until done.
If you’re using chicken thighs, like my grandmother did, make sure they have the skin on and the bone in.
I love avocado, and using it in this chicken burger recipe gives each bite a creamy, fatty richness the chicken needs. It’s a simple burger, with just a handful of ingredients, but it’s really full of flavor.
If you want to go lo-carb, you can skip the breadcrumbs (and the bun for that matter.) If you’re going gluten-free, simply use GF breadcrumbs and buns and you’re all set to go.
If you don’t like avocado, leave it out. There’s still plenty of flavor.
Wanna add cheese? Go for it.
The bacon is optional, but what burger isn’t better with bacon?
The one thing I wouldn’t substitute is ground turkey for the chicken. To me, ground turkey is the cardboard of the meat world. It’s just nasty, and I won’t eat it.
1 lb. ground chicken
1/4 cup breadcrumbs
1 ripe avocado, sliced into small cubes
1/2 teaspoon salt
1/4 teaspoon black pepper
pinch granulated garlic
slices of bacon, cooked
Sauce (recipe below)
Combine the chicken, breadcrumbs, chopped avocado, salt and pepper, and garlic in a bowl and mix them thoroughly but carefully so that you don’t squash the cubes of avocado. I like to put the meat in the freezer for about 10 minutes to firm it up a bit.
Form the meat into burger patties. It will be a bit sticky, but just make sure you get the avocado evenly distributed. (I find that using gloves and lightly spraying my hand with avocado oil helps me make the patties without sticking.) Chill the patties again in the freezer for about 10 minutes to firm them up some more before cooking.
Pre-heat the oven to 350 degrees.
Heat a little avocado oil (or bacon fat!) in an oven-proof pan, and place the burgers in it when it’s hot. Let the burgers sear on one side, then flip them. (Make sure they sear well, or they’ll fall apart when you try to flip them.) Place the pan in the oven to finish cooking. It’s chicken…so you don’t want to undercook your burgers!
When they’re ready to serve, place the patties on a bun and with a slice of or 2 of bacon and slather with this burger sauce…