The combination of sweet with a little heat is something I just can’t get away from. Whether I’m barbecuing, putting together a poke bowl, or preparing my favorite Asian recipe, I gotta have it.
I was looking back at a previous blog I had written about Korean barbecue, and I was really craving a lot of the flavors in my recipe…but I was comfy here at home on a bad weather day, and I wasn’t about to go out to the store to buy the one key ingredient I didn’t have: a spicy sauce called Gochujang. So, I looked in my fridge for a reasonable substitute, and there, on the shelf, was a brand new bottle of Chinese chili garlic sauce. It was exactly what I needed.

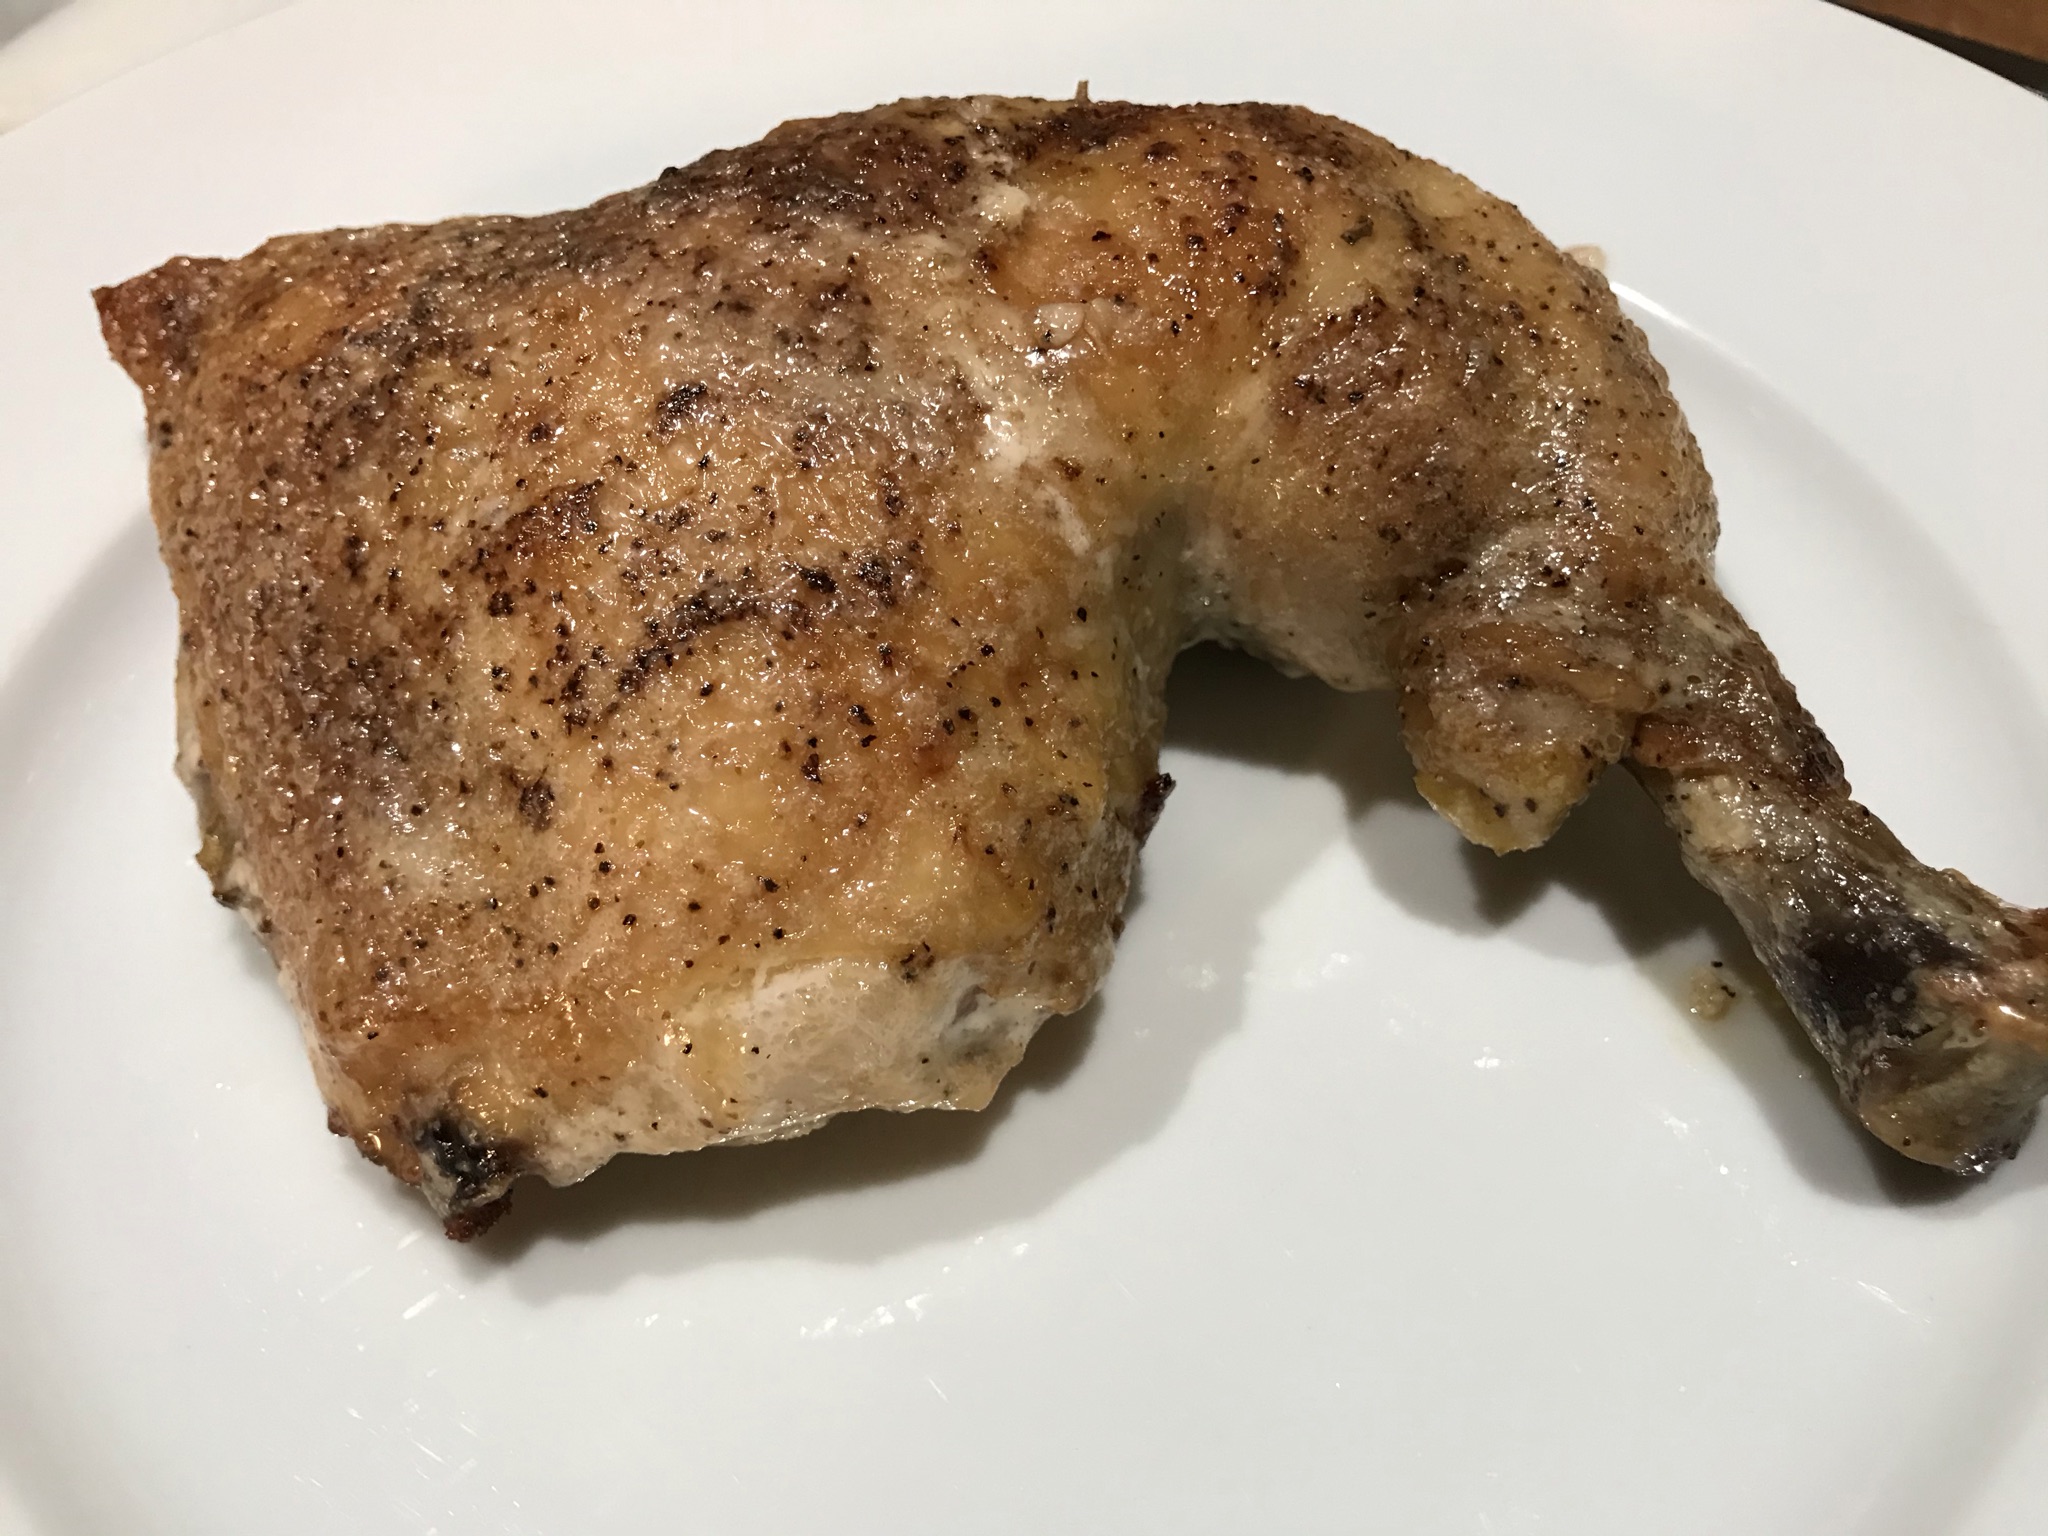
I grabbed chicken leg quarters at the supermarket last week, because the quarters have a drumstick and a thigh, my favorite parts of the chicken.
*Raw chicken hack*
I keep disposable gloves in my kitchen to use whenever I handle raw chicken. I’ve got a special trimming knife that I use…and it goes right in the dishwasher after I’m done. (I don’t normally put knives in the dishwasher, but this inexpensive blade goes in.) I also use an acrylic cutting board, because it, too, can go right in the dishwasher to be sanitized. (Doesn’t matter how much you scrub a wooden board, it will absorb odors and liquids and never get completely clean.) I have two beautiful wooden boards in my kitchen, but they’re more for show than practical use. And then the gloves: I wear them while trimming the chicken, then toss them when I’m done.
The amazing sauce that I use here will last through the preparation of this dish and then some. Once you’ve mixed up a batch, it might be good to separate it into 2 bowls. Use one bowl to brush it onto the raw chicken. The other bowl will be untouched by anything that touches the chicken, so you can use it cooked or uncooked. As soon as the brush you’re using touches the raw chicken and then sauce, you can no longer use it uncooked. (Salmonella!) No licking the bowl by accident!
The extra sauce will be awesome if you want to brush even more sauce on leftovers.

More sauce than you need, but trust me: you’ll keep slathering it on more and more!
3 lb. package of chicken parts (I used leg quarters)
3/4 cup ketchup
1/2 cup hoisin sauce
1/2 cup honey
1/2 cup soy sauce
1/4 cup brown sugar
1/4 cup chili garlic sauce
2 tablespoons freshly grated ginger
1 tablespoon unseasoned rice vinegar
1 teaspoon granulated garlic
Combine everything but the chicken in a bowl and mix well, then divide them into two bowls…one to use with the raw chicken and one for later.
*Ginger root hack*
I love fresh ginger. But I never use it often enough. It gets moldy in my fridge and I have to toss it out. But I learned a trick from a local organic farmer who grows their own ginger– Liz, at at Wishing Stone Farm in Little Compton, RI: Put the ginger root in a plastic bag, and keep it in the freezer. When you need it for a recipe, take the frozen root out of the freezer and grate it–skin and all–according to your recipe. Then put the rest back in the freezer. An amazing trick that really works, and you’ll never peel ginger again!
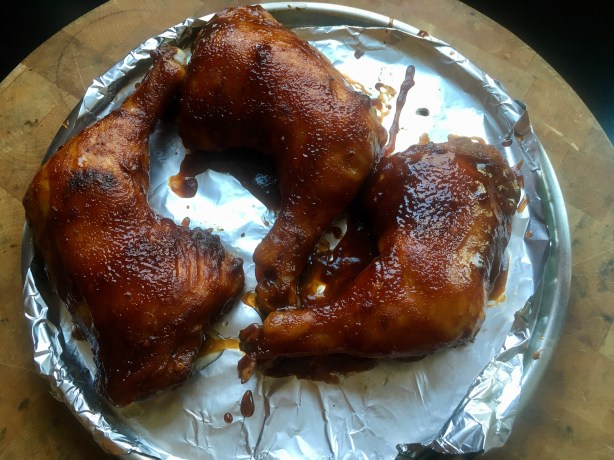
Looks good, but it’s not cooked yet! Once it’s basted, fold the foil over the top of the chicken to make a packet.
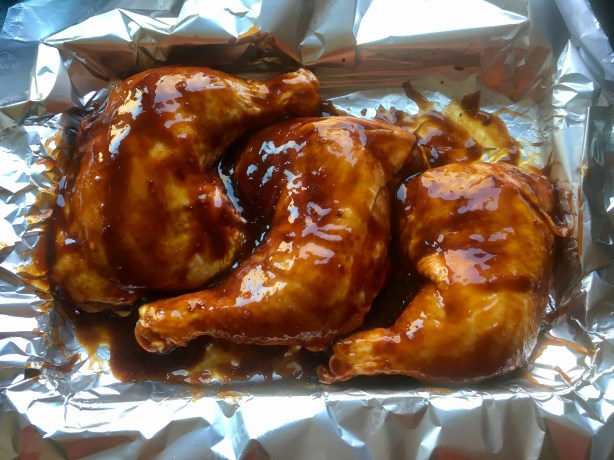
Grab a baking pan, and tear a long sheet of aluminum foil, placing it over it. Place the chicken pieces on the foil bottom-side up. (I need to use 2 sheets of foil overlapping each other because my chicken pieces were larger.)
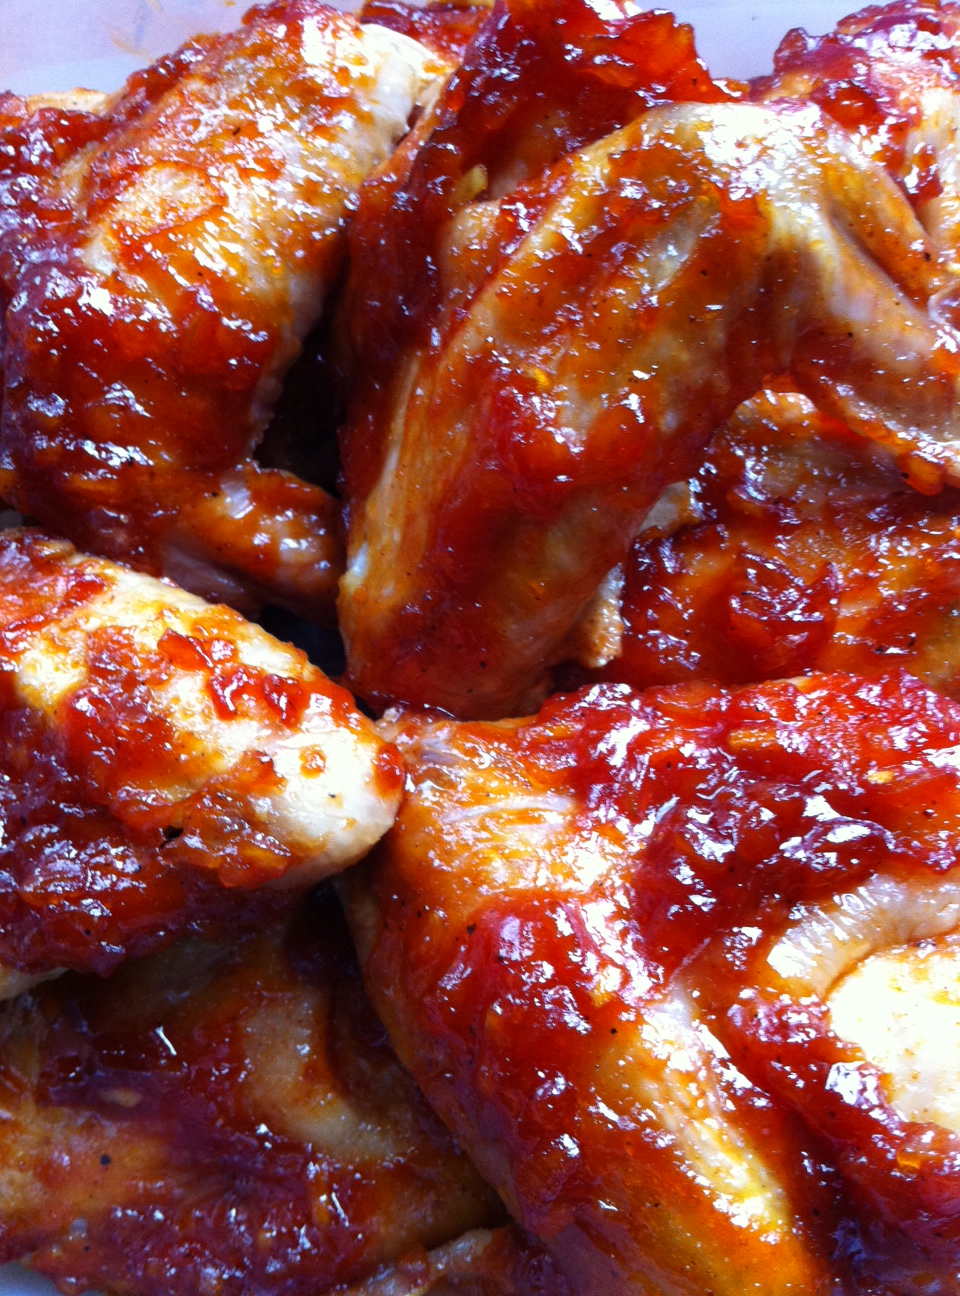
Brush the bottoms of the chicken pieces with the sauce, then flip them over and brush the tops. Be generous!
Wrap the foil around the chicken pieces to make a pouch, making sure the pieces are not sticking out.
Pre-heat the oven to the highest temperature it will go. When the oven is hot, place the pan with the chicken in the oven, close the door, and turn the oven down to 325.
Bake the chicken for one hour.
When the chicken is done, open the foil packet. It will look like this…

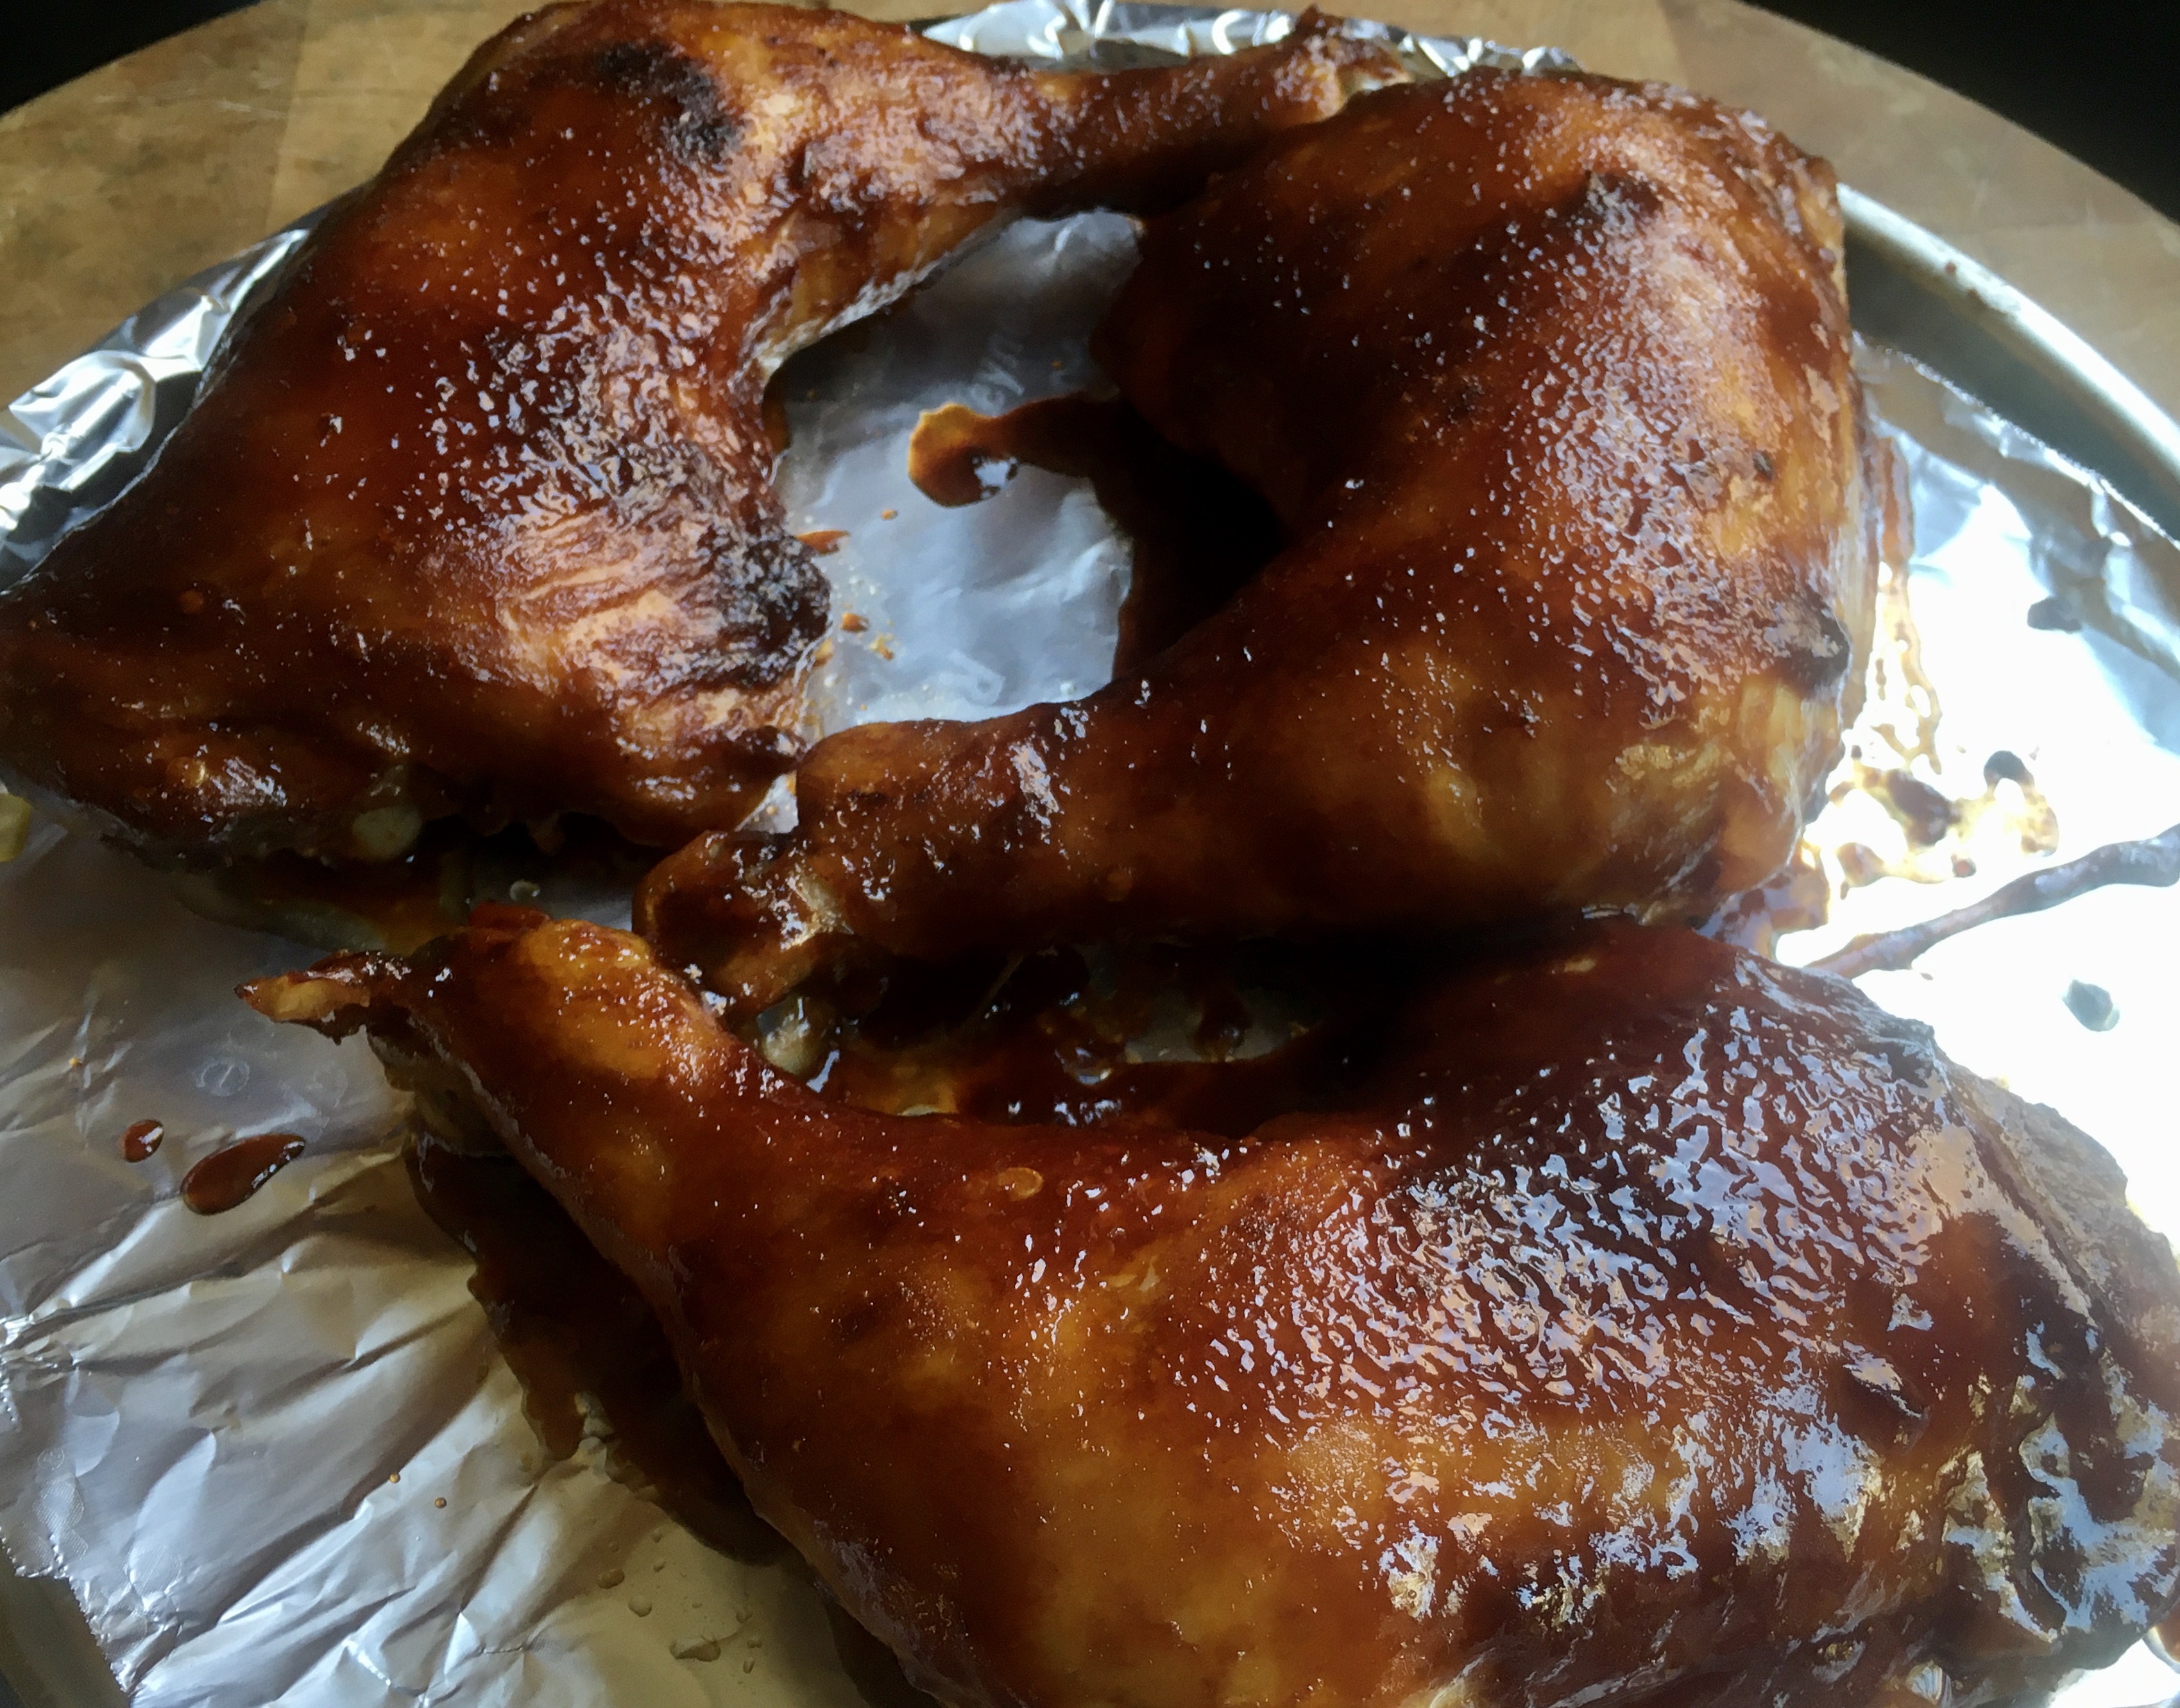
Carefully pour off the fat, then brush more of the sauce on the chicken, and place it under the broiler, watching it carefully so that the sugars in the sauce don’t burn. Broil it until it’s caramelized. (Another option is to light a charcoal grill and cook it on the grill rather than putting it under the broiler. It’s just a matter of how much time and effort you want to spend, and what the weather’s like.)
I used a new sheet of foil and a new pan under the broiler.
Discard any of the sauce that touched the raw chicken. Use the “clean” bowl of sauce on the cooked chicken, if you want to add more.
Leftovers are awesome. Simply take the chicken out of the fridge, brush with more sauce, and place it in a 300-degree oven for about 10–15 minutes. It will take on an even darker color.

Leftovers the next day: I brushed more sauce on it before re-heating.