When it comes to new dinner dishes, my daughter and I often look on line for inspiration. She found a recipe that featured gnocchi and prosciutto in a garlicky cream sauce with a splash of truffle oil. We came up with two similar dishes based on our individual preferences.

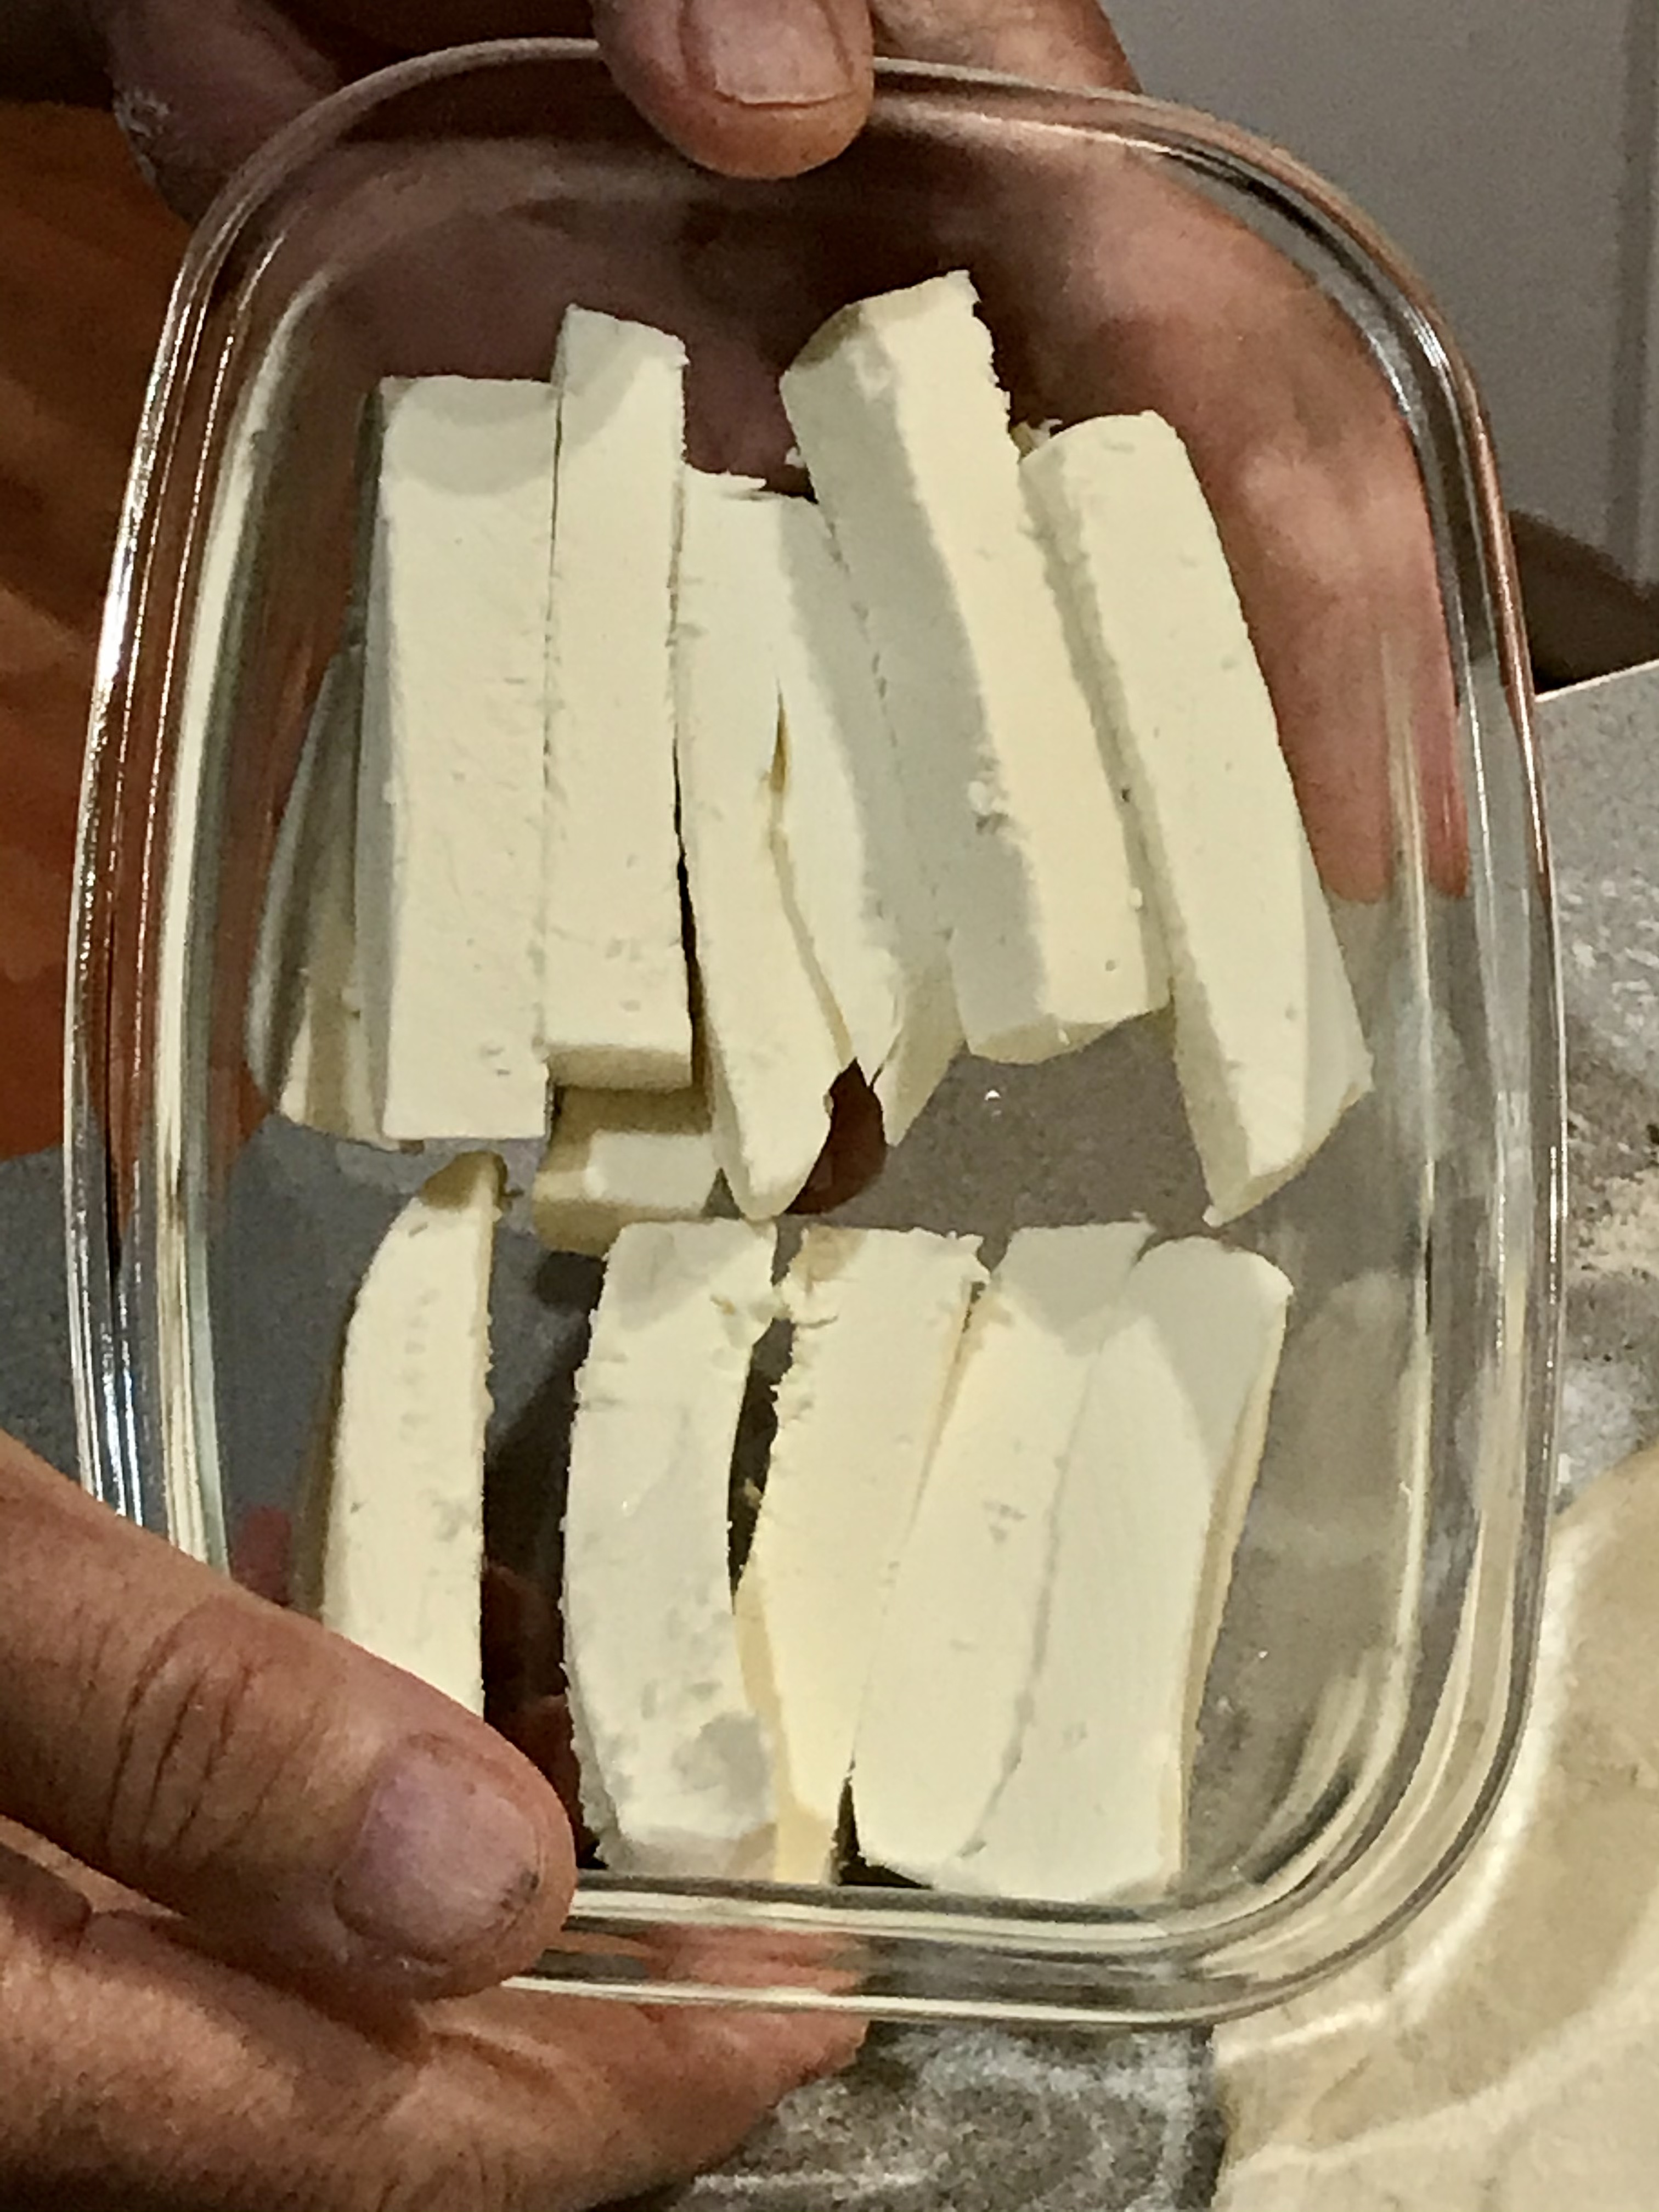
I had cured my own guanciale a while ago, and I had a few slabs of it in the freezer, so we decided we’d use that as our salty pork instead of the prosciutto. And we weren’t in the mood for gnocchi, so we went to the local market and found frozen raviolis from Venda, a well-known shop in Providence’s Federal Hill (our little Italy.) My daughter went the cheese ravioli route…I opted for porcini mushroom raviolis.
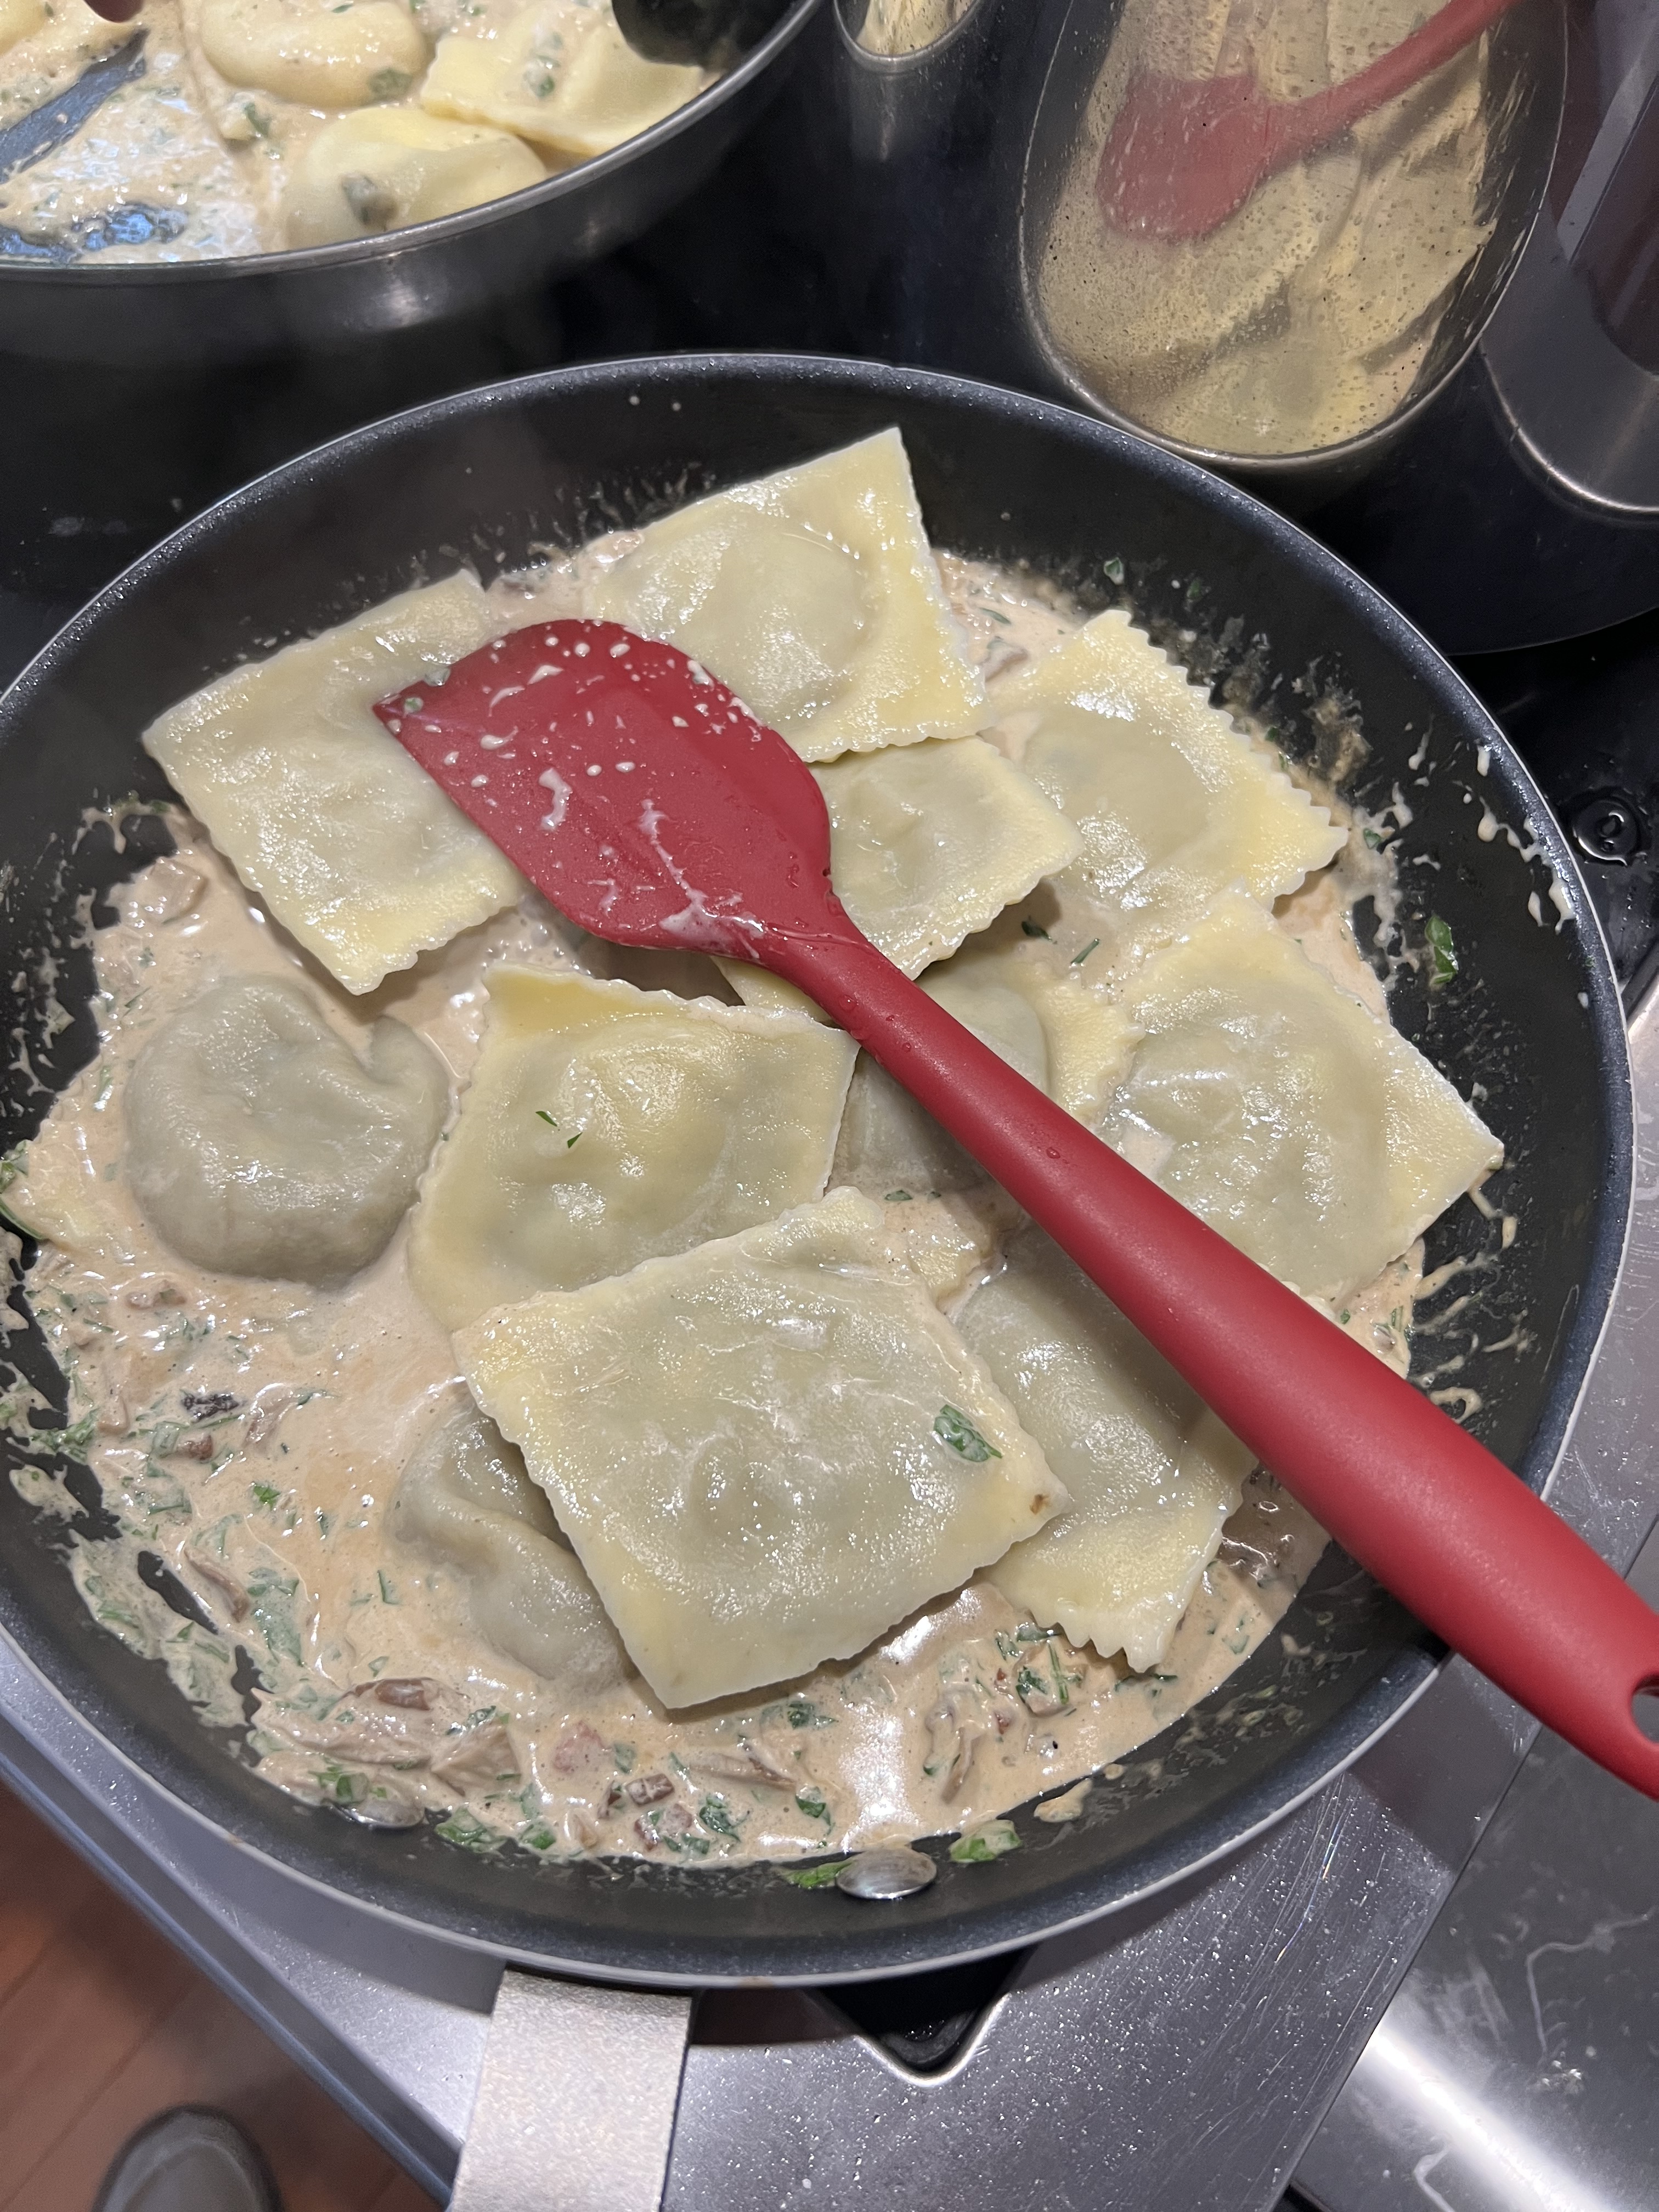
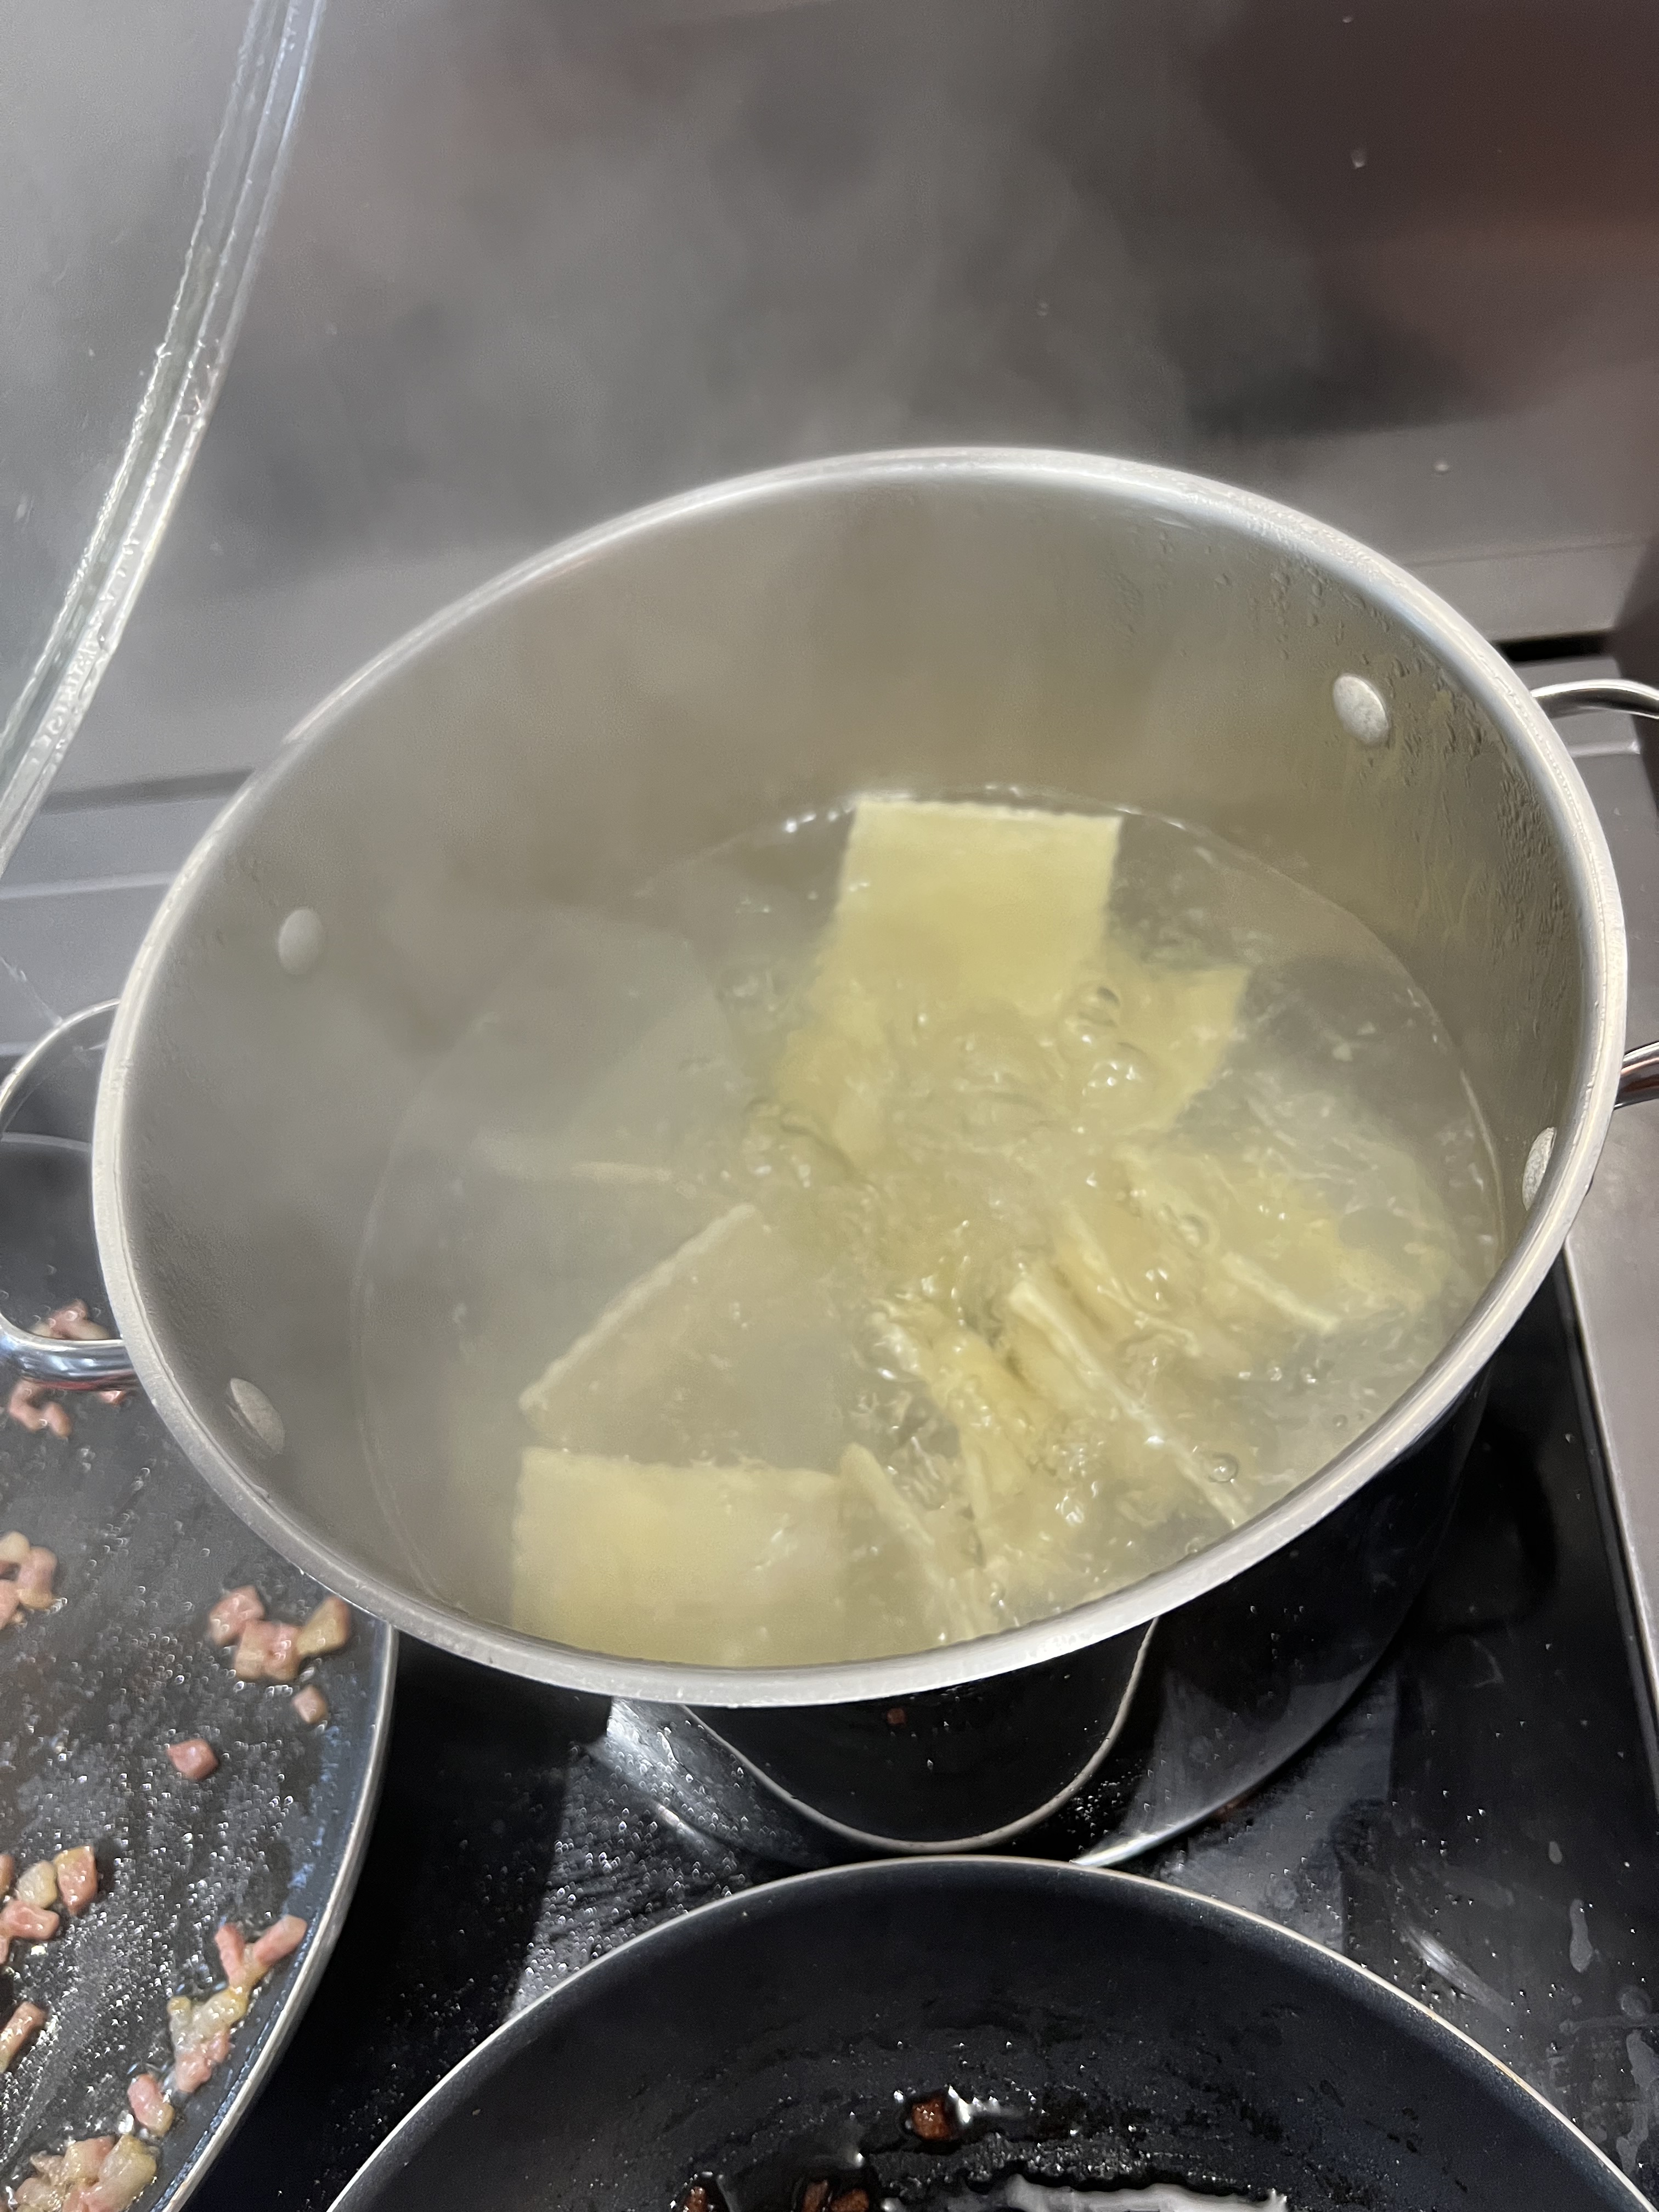
We boiled 2 separate pots of salted water for the raviolis, and we had 2 separate pans to make our cream sauces. They started basically the same, but ended up different and delicious in their own ways.
Like many first time recipes, it’s not about measurements. It’s about the ingredients. As long as you’re familiar with what goes in, add as much or as little of it as you like.
Ava’s dish: Cheese ravioli with a Parmesan garlic cream sauce with guanciale, chicken breast, peas and truffle oil.
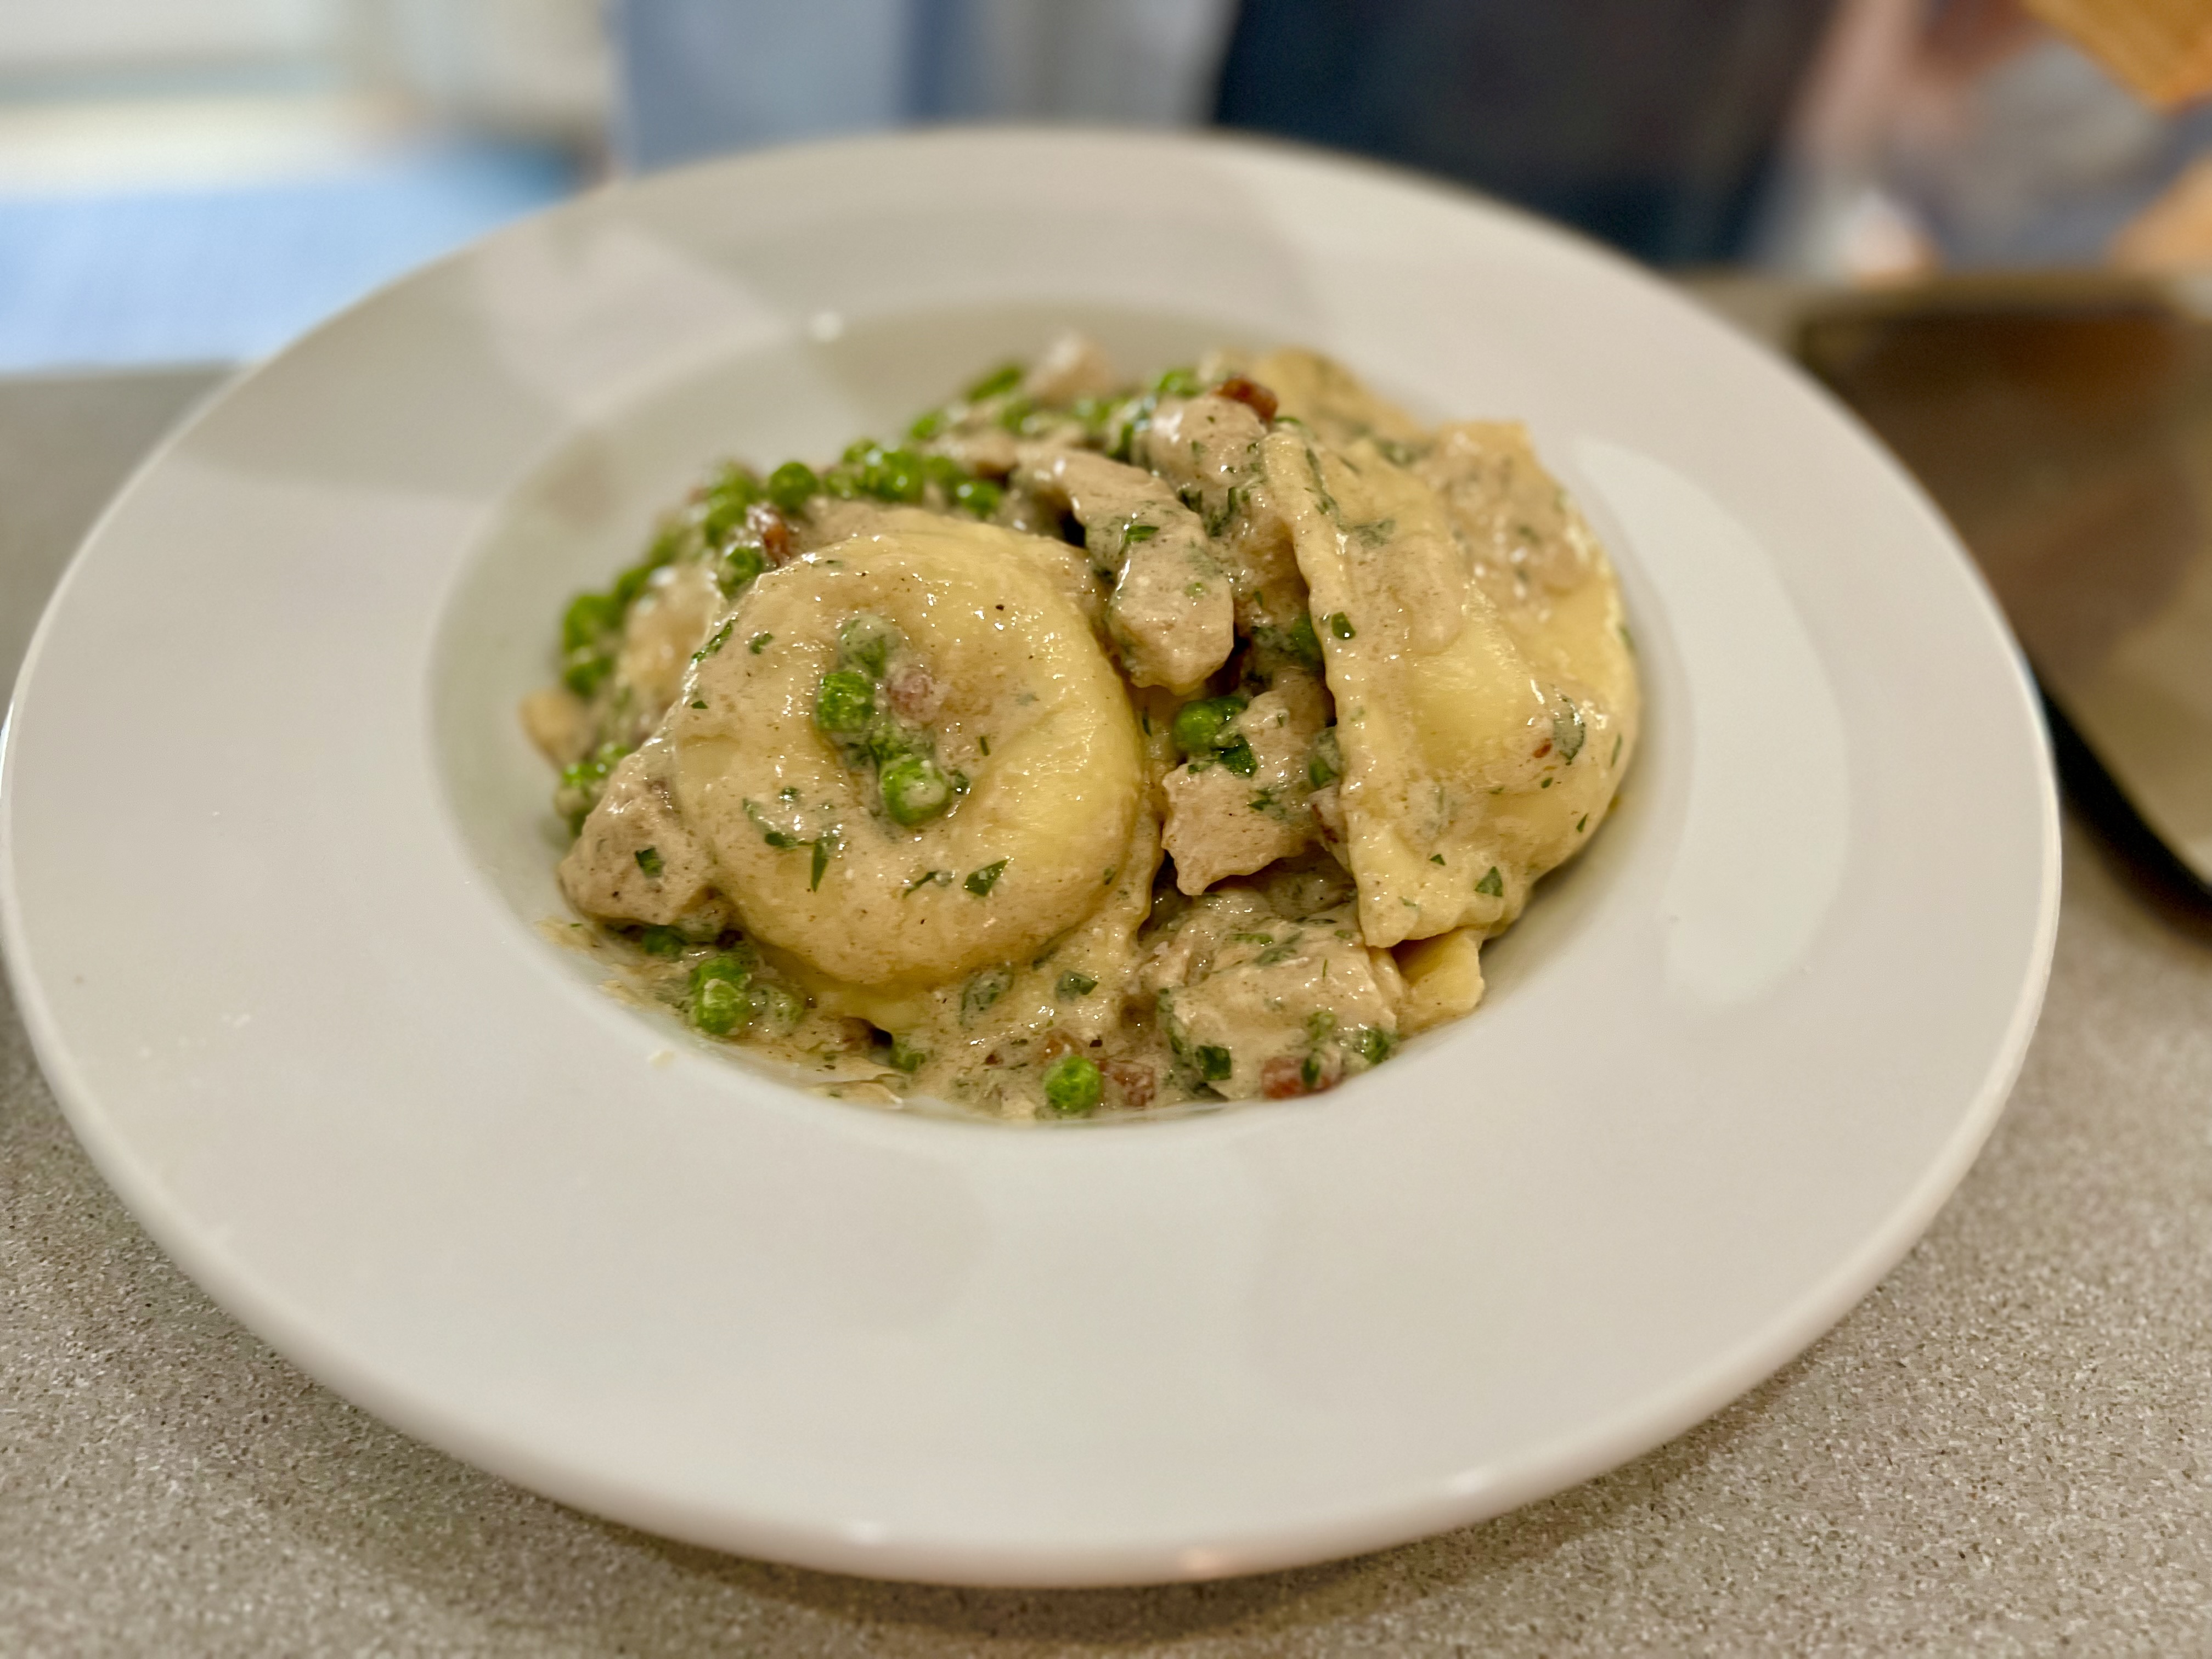
Package of cheese ravioli
1/2 head of roasted garlic
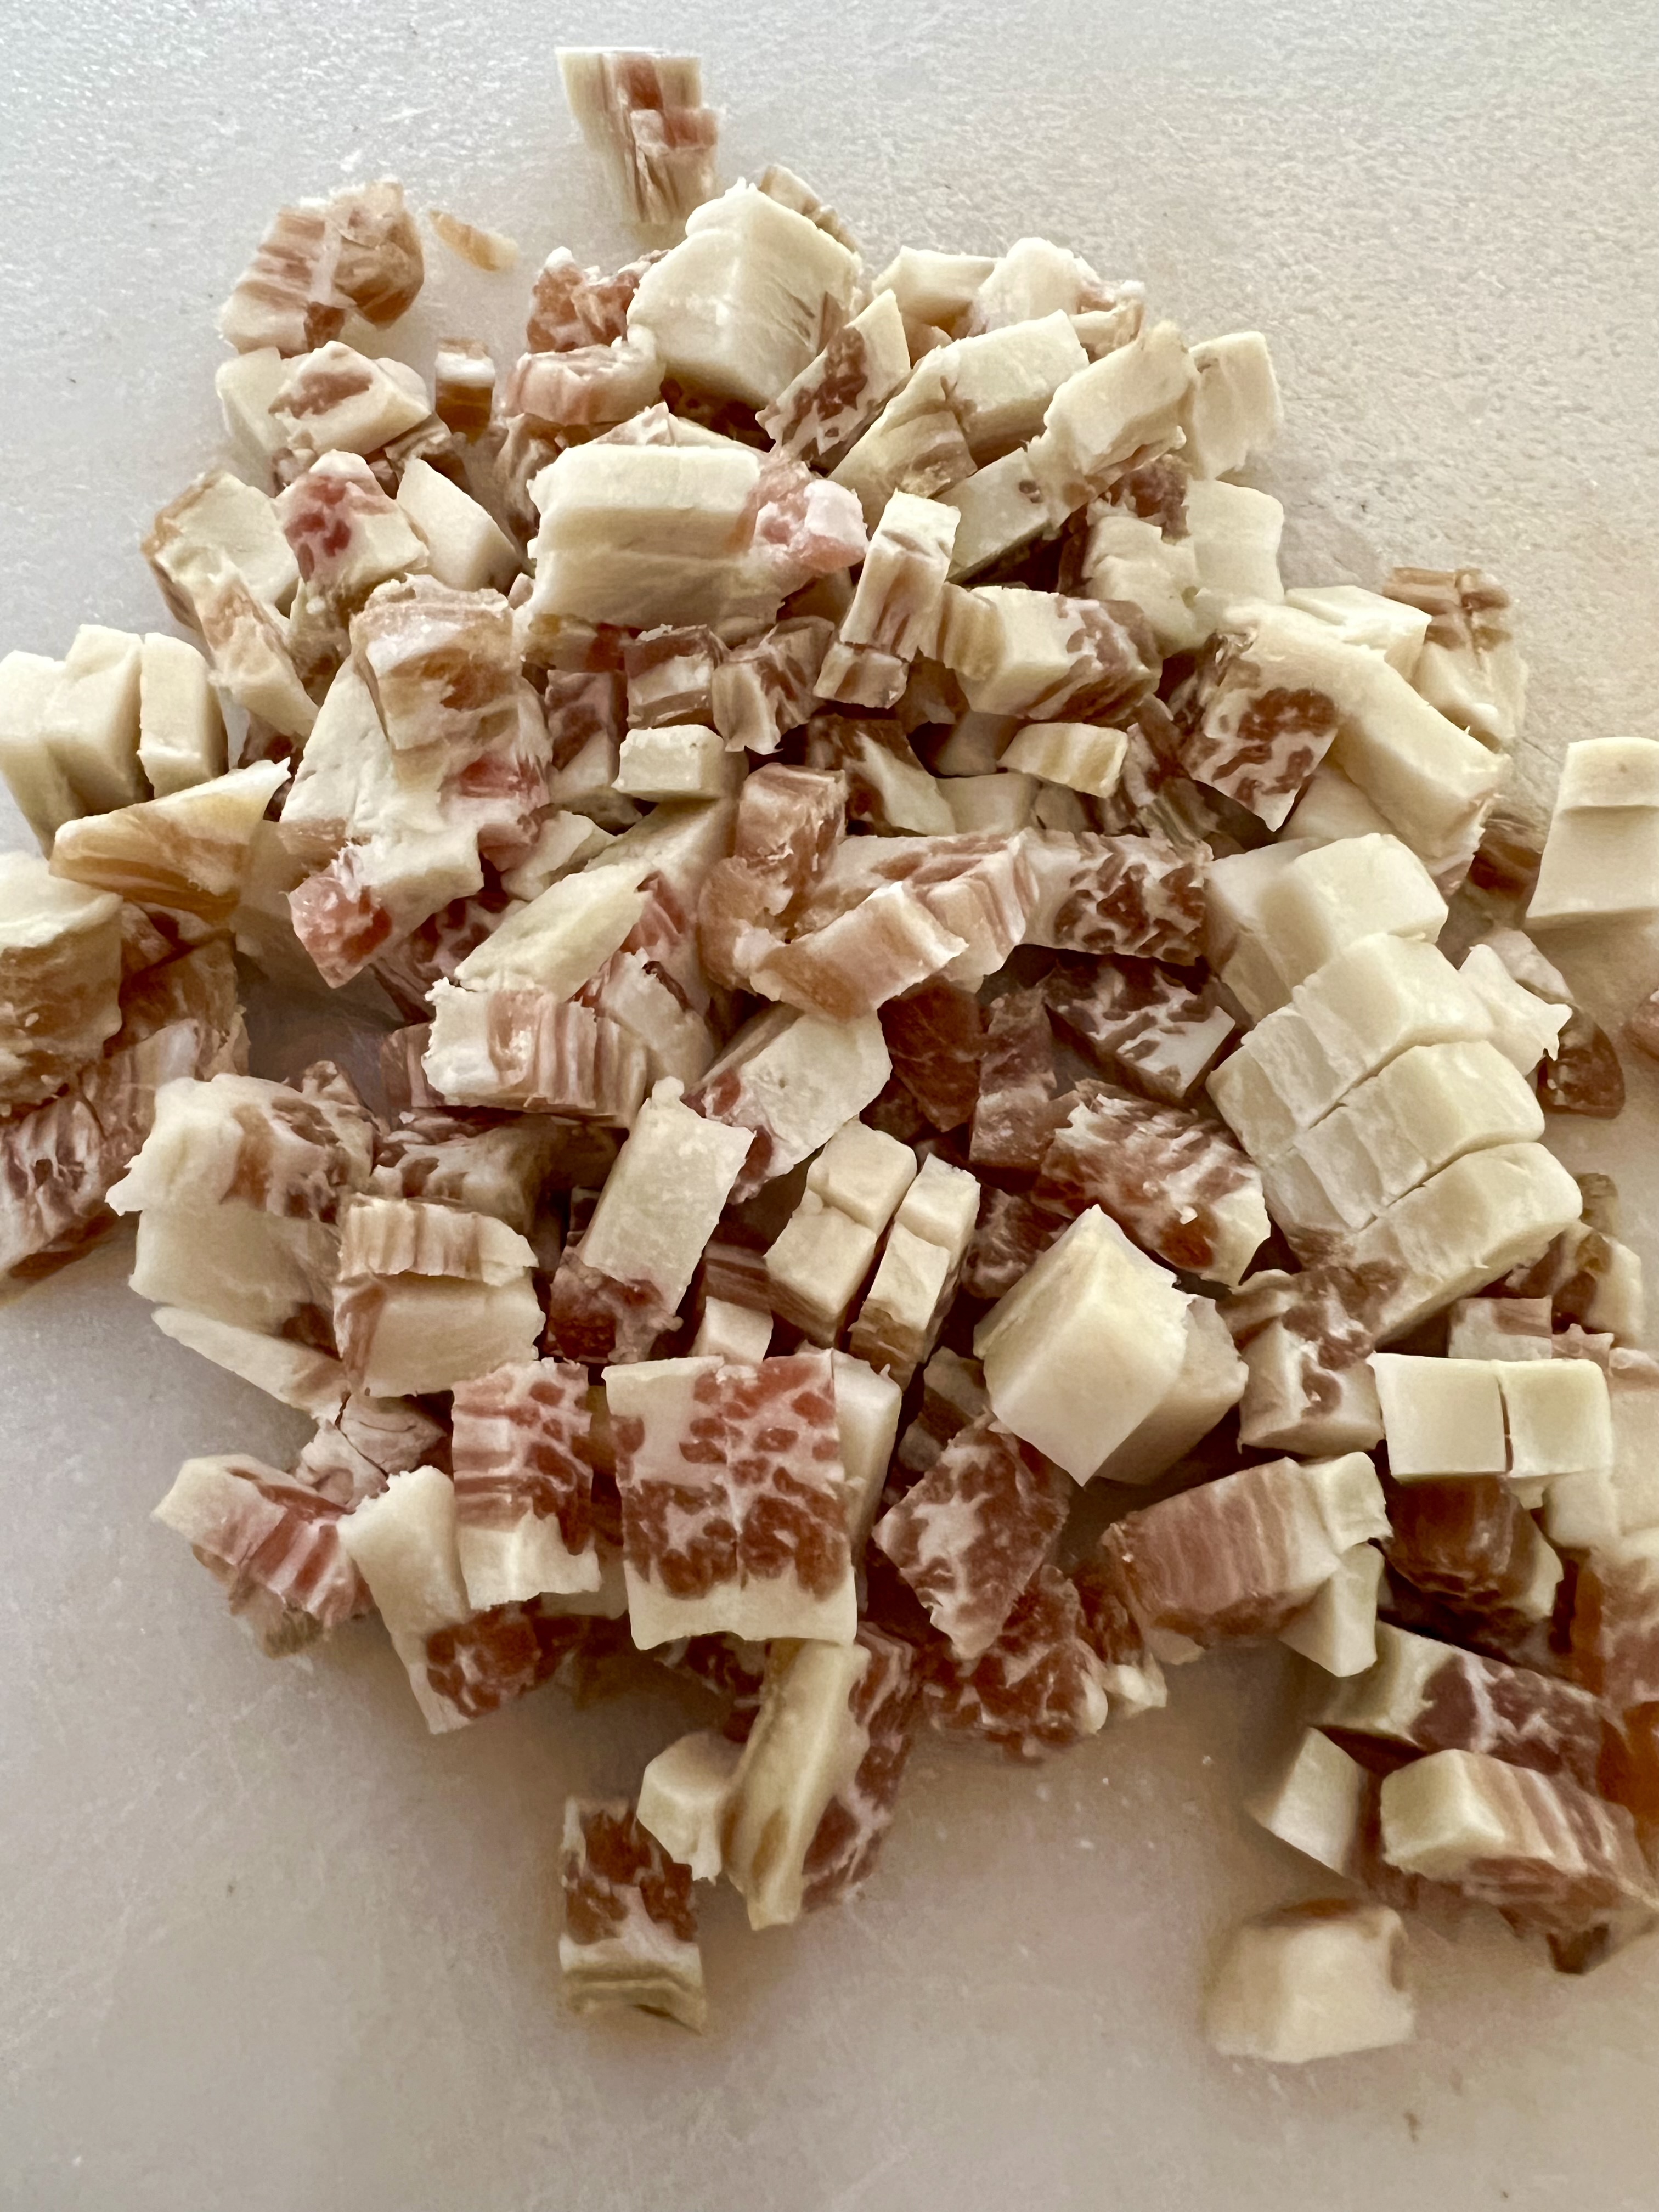
4 oz chopped guanciale
Light cream or half-and-half
Chopped fresh parsley
Parmigiano Reggiano, freshly grated
Chicken breast pieces, fully cooked
Frozen peas
Truffle oil
Fleur de Sel

My dish: Porcini ravioli with a Parmesan garlic cream sauce with guanciale, chicken breast, peas and porcini mushrooms.
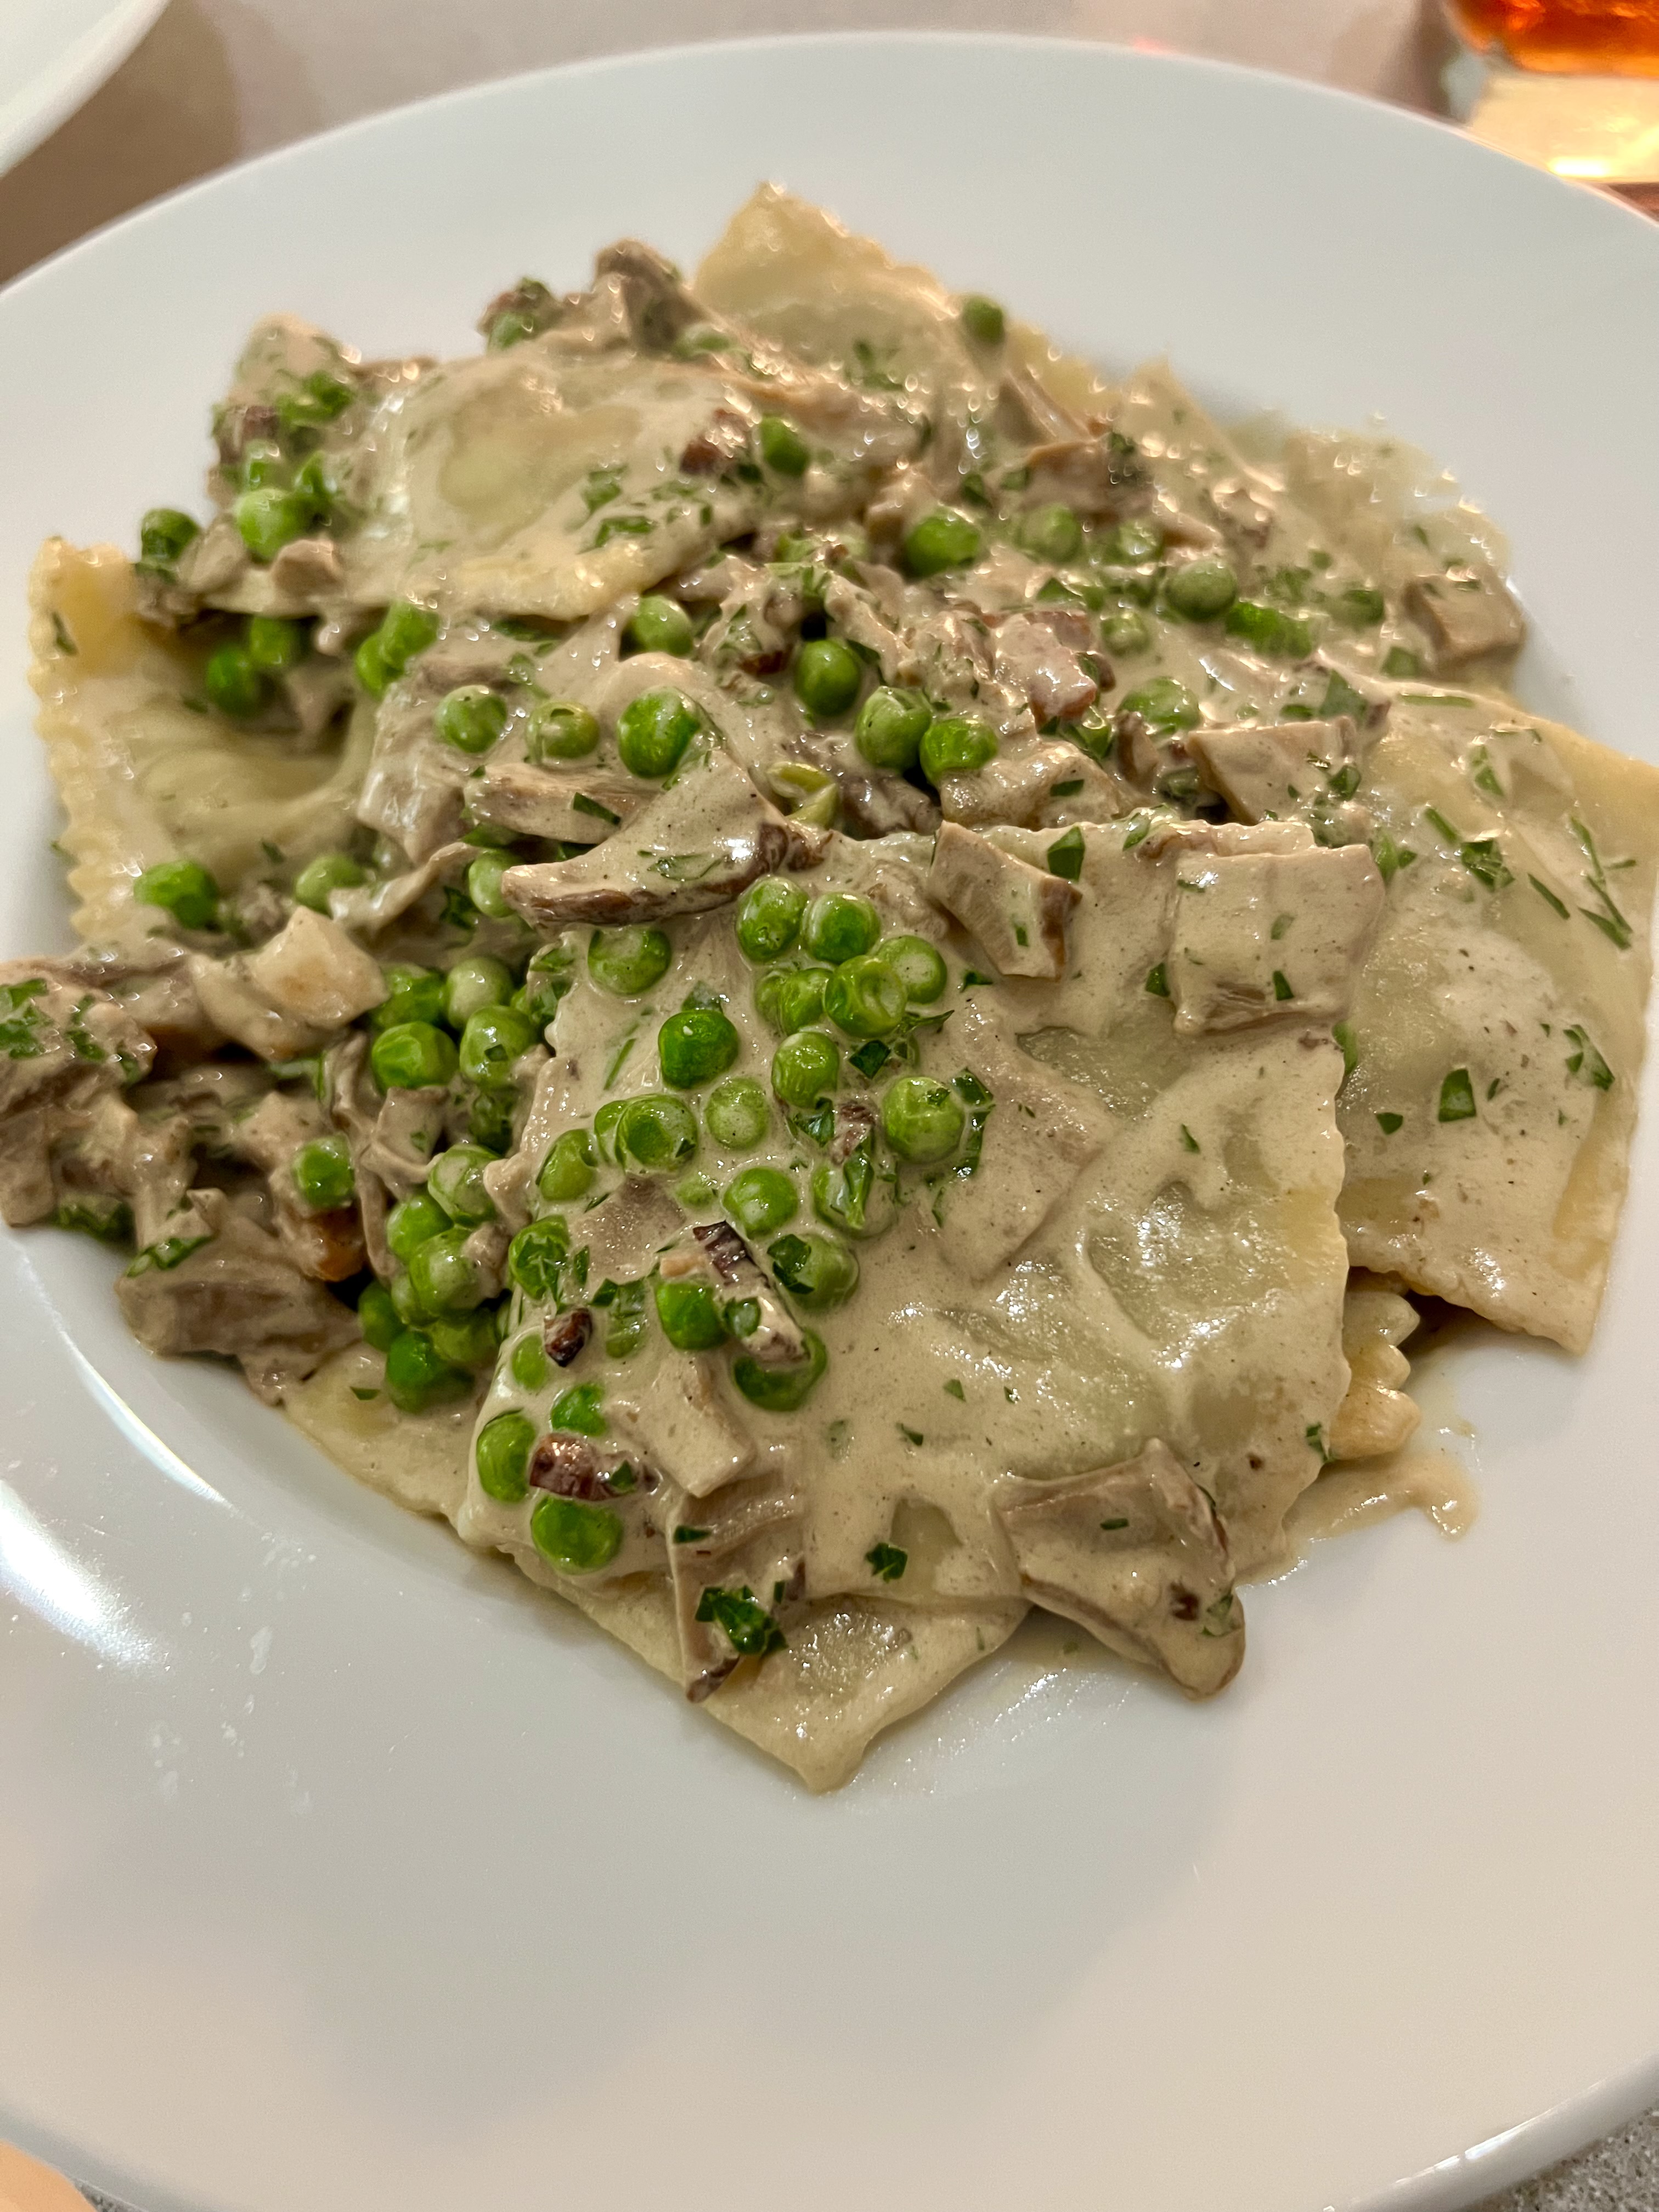
Package of porcini ravioli
1/2 head roasted garlic
4 oz chopped guanciale
Light cream or half-and-half
Chopped fresh parsley
Parmigiano Reggiano, freshly grated
Chicken breast pieces, already cooked
Frozen peas
Dried porcini mushrooms, rehydrated and chopped
Reserved porcini liquid, strained and reduced
Fleur de Sel
Both dishes: I start by roasting an entire head of garlic. I slice the top off of it, drizzle some olive oil on it, and wrap it in foil, placing it in a 350 degree oven for 45 minutes to an hour. I unwrap it and let it cool a bit so it’s easier to handle.
In a pan, I heat up some olive oil and cook the chicken breast, which I cut into 1/2” pieces that I seasoned with salt and pepper. I stir the pieces in the pan constantly until they’re cooked all the way through. I set the chicken aside.
I start the 2 pots of salted water for the raviolis over high heat.
My dish: I rehydrate some dried porcini mushrooms in hot water. I chop the mushrooms up and set them aside. I strain the liquid, and reduce it to 1/2 cup or so.

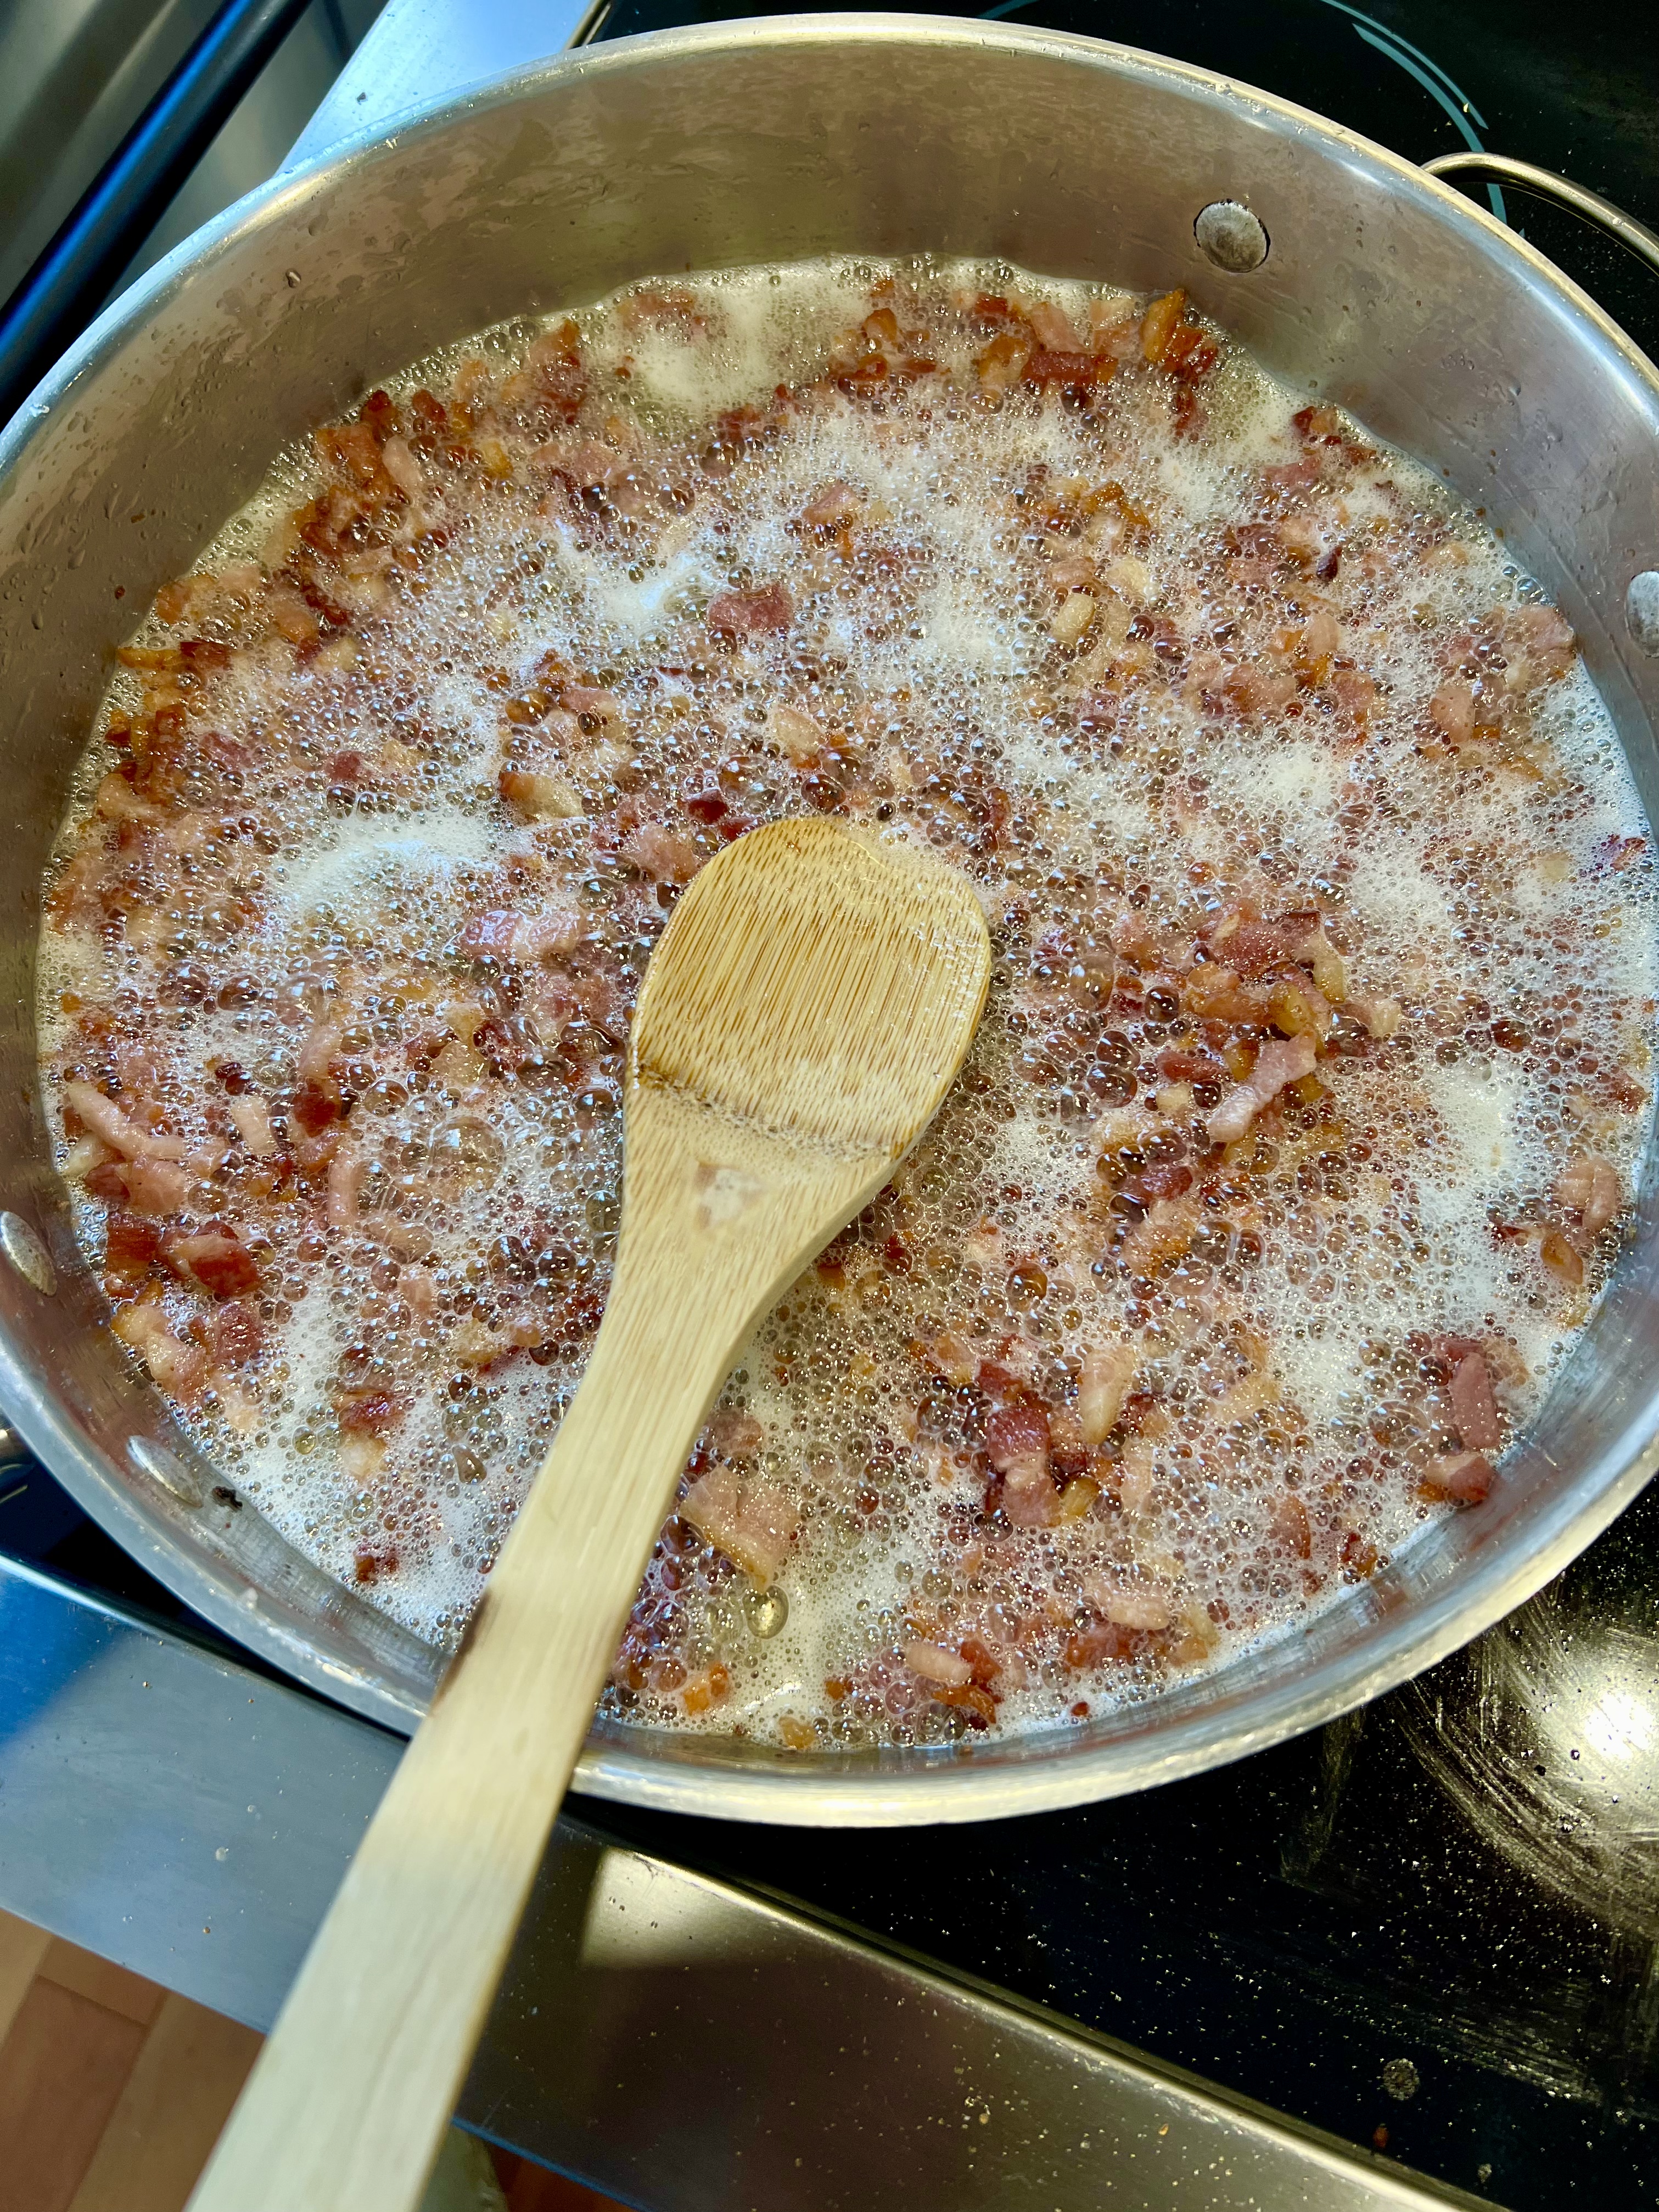
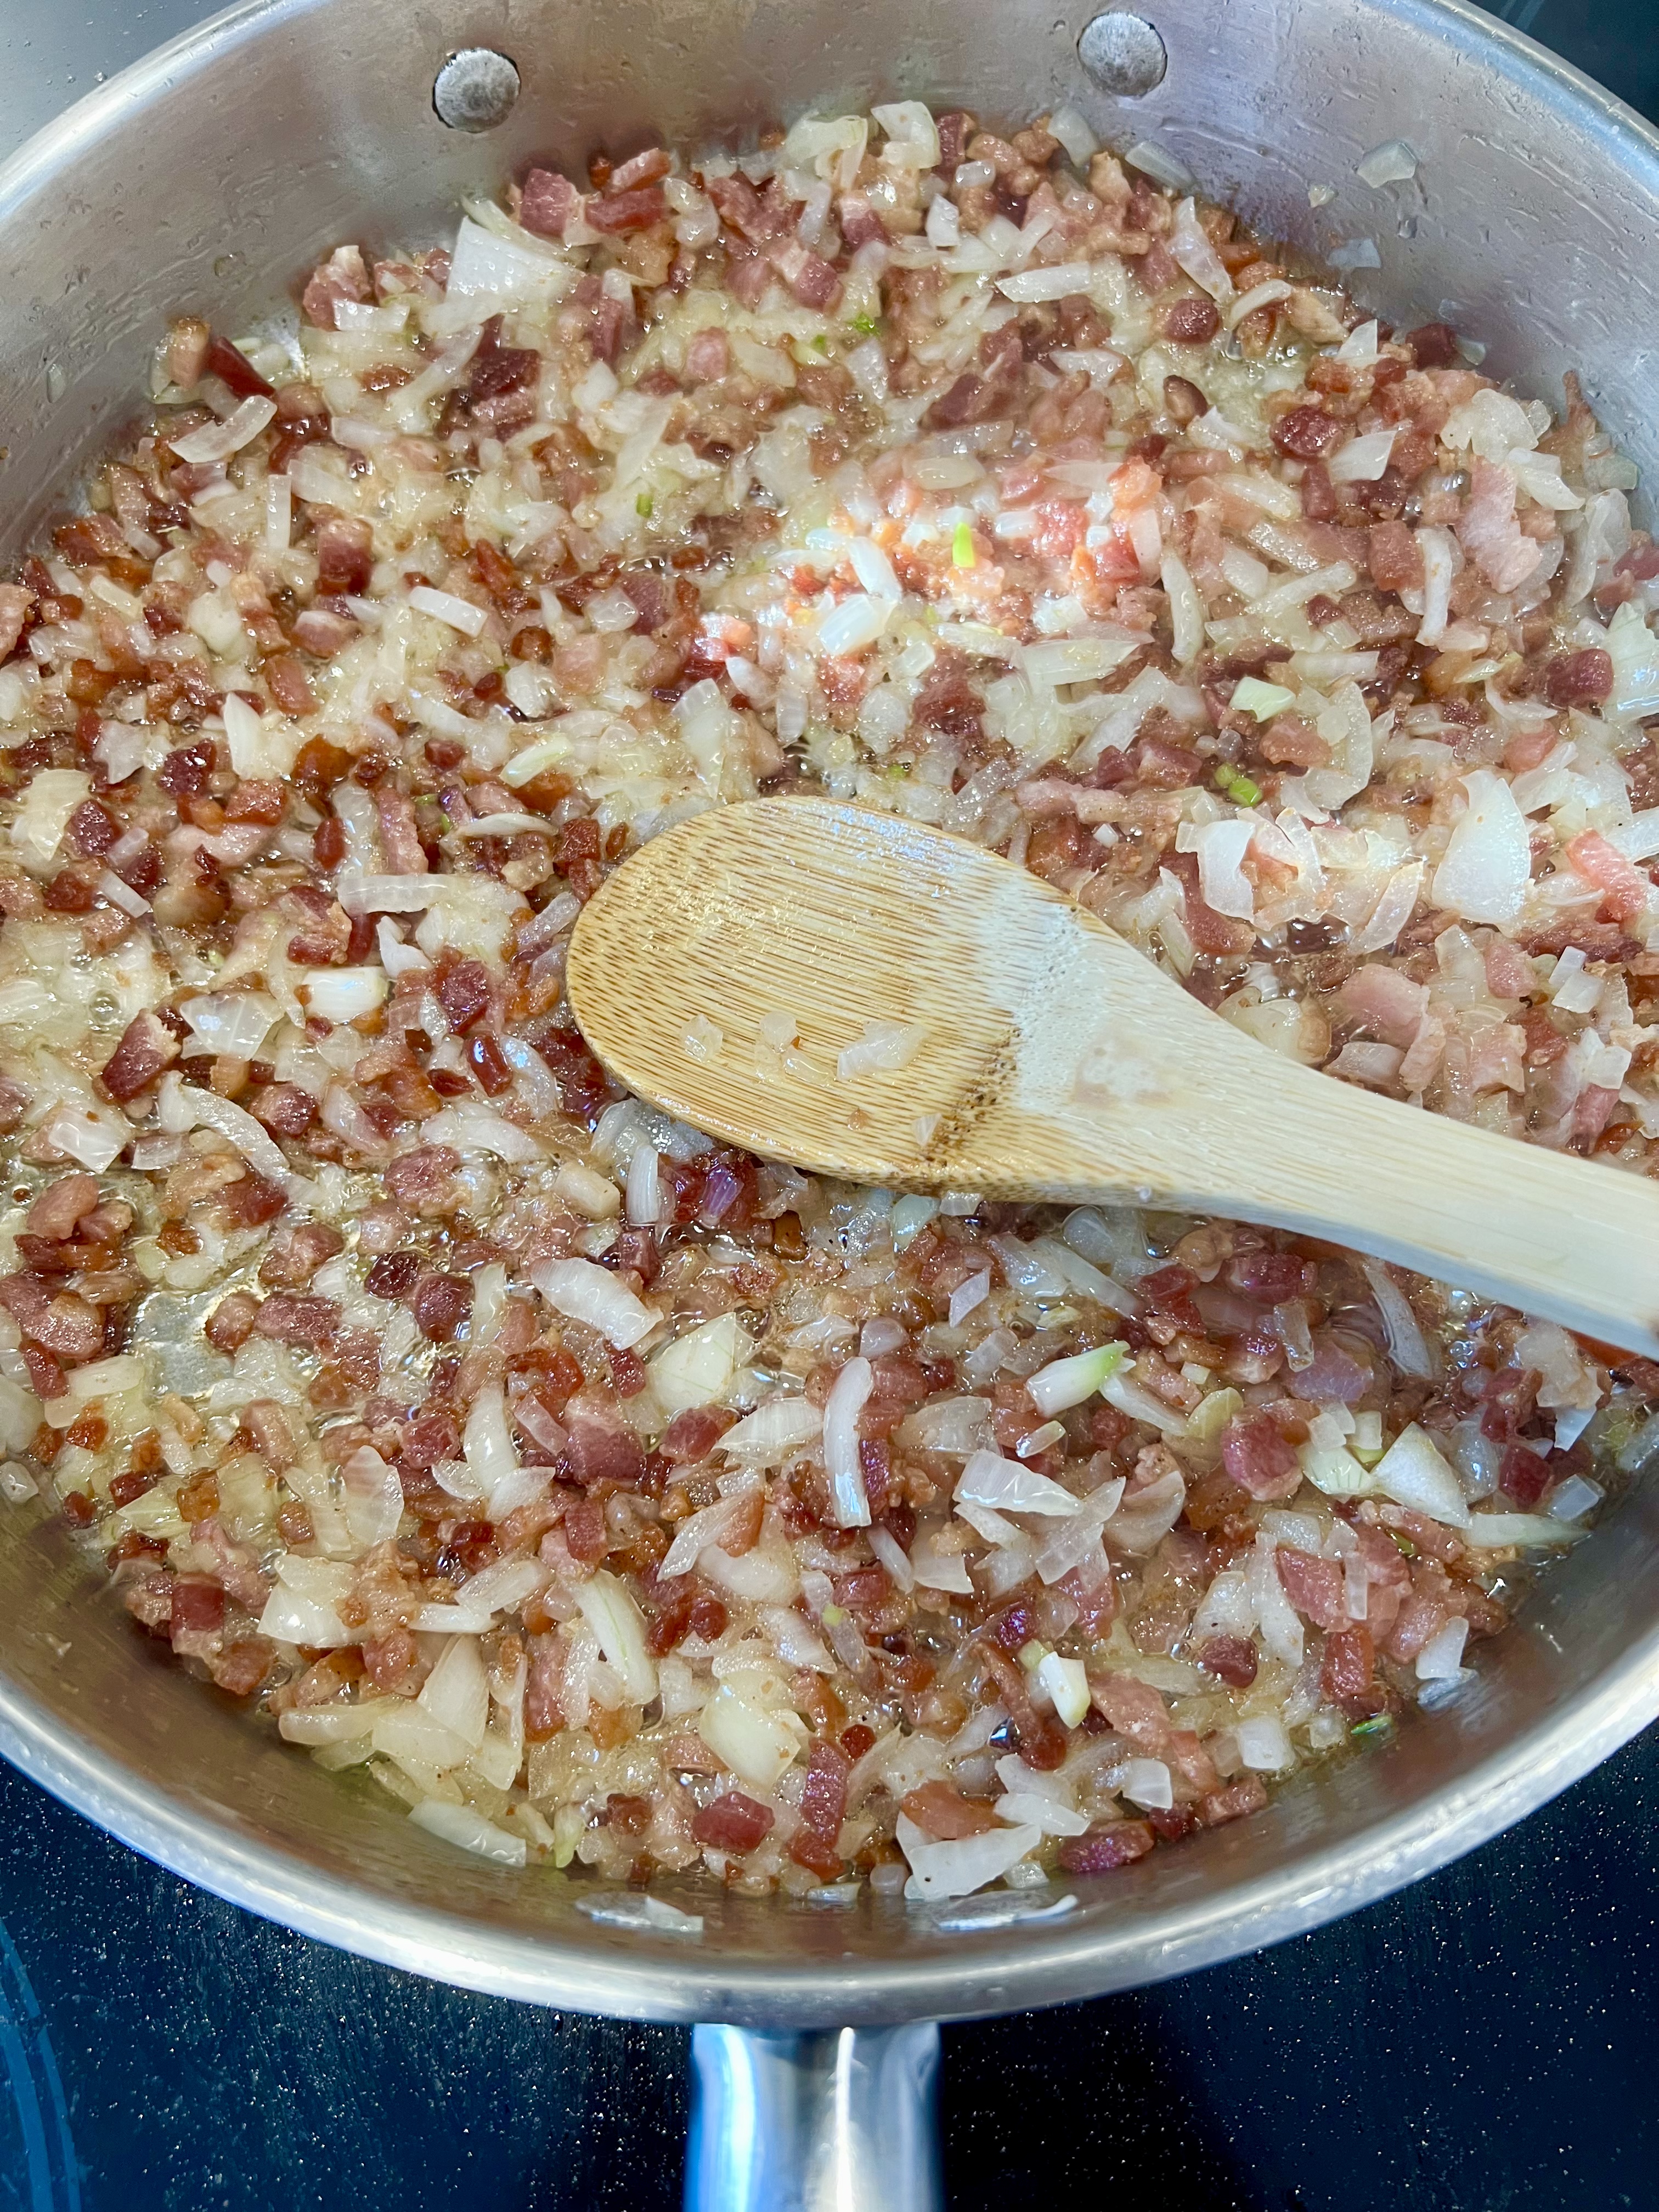
I put the 2 pans on medium heat, adding a little olive oil, and then cooking the guanciale until it’s crispy, but not burned. I remove the guanciale from the pans, but leave the fat.
I squeeze half of the roasted garlic head into each pan, stirring, and then add the cream. I sprinkle in the parsley and the cheese. I add the cooked chicken pieces. A little freshly cracked black pepper.

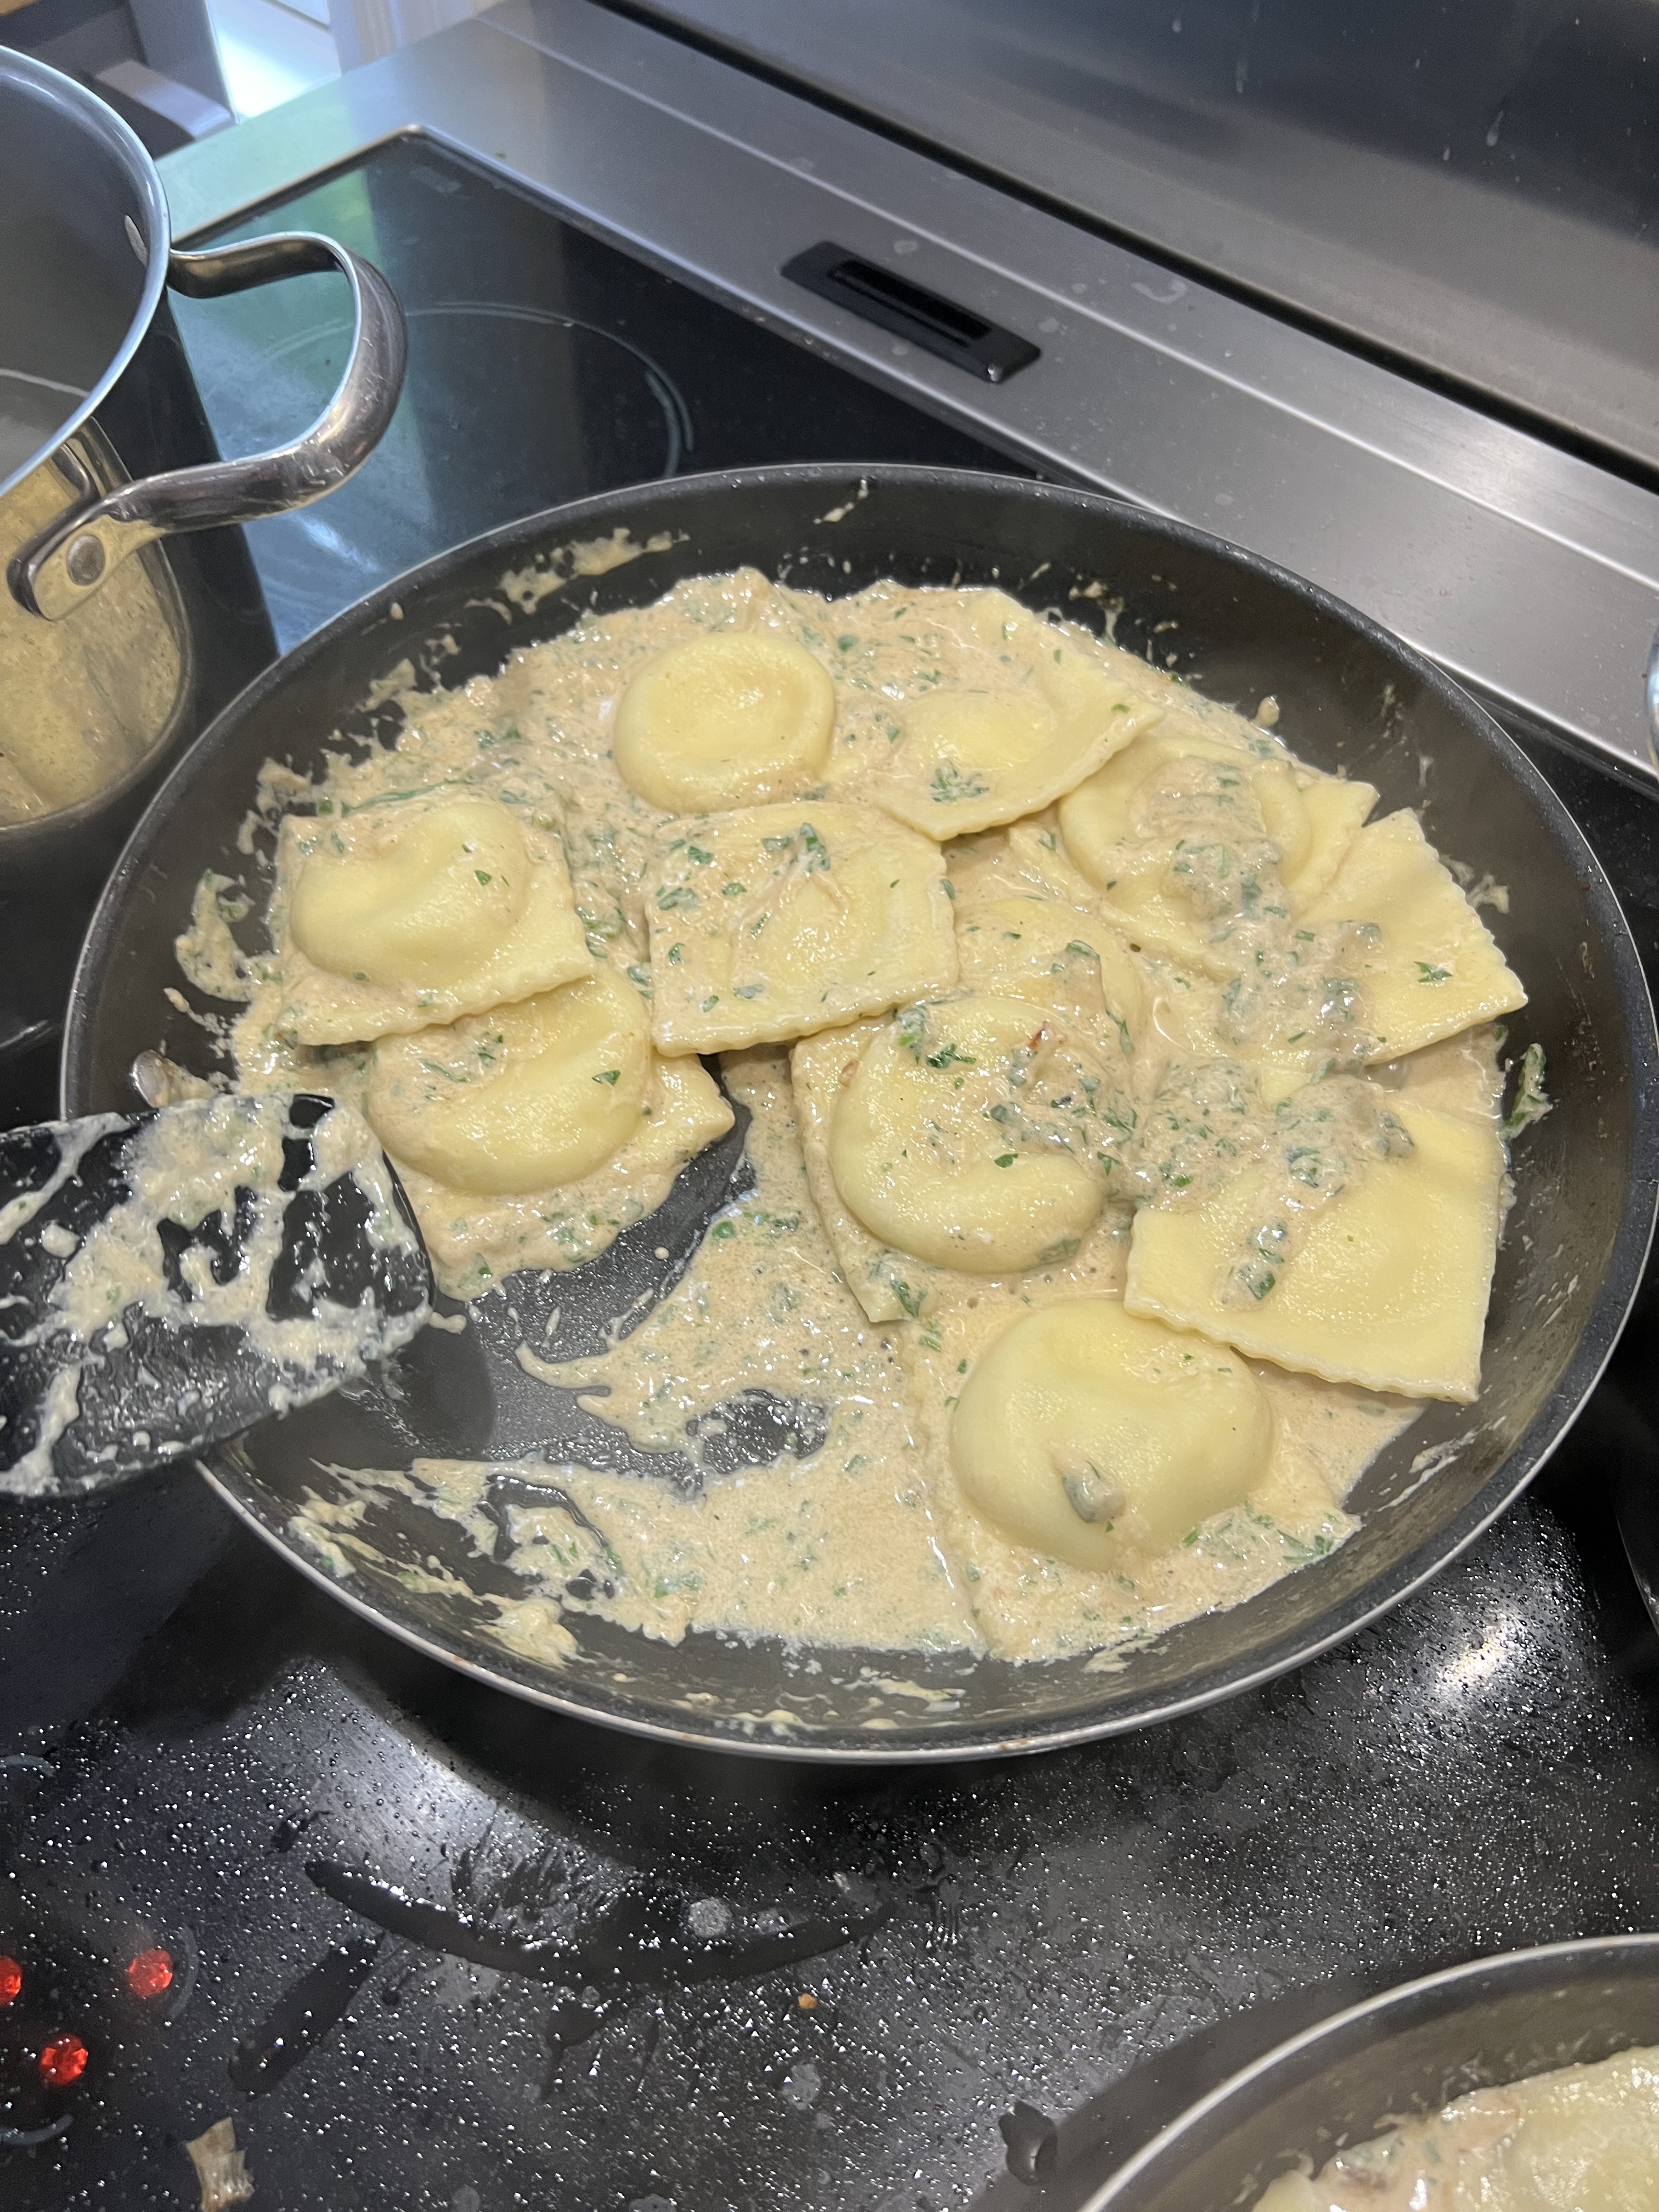
When the raviolis are even firmer than al dente, I remove them from the boiling water and place them in the individual pans, stirring well.
Ava’s dish: I add the peas, stirring to warm them up, and add back the guanciale. Truffle oil, to taste, at the end. When serving, I season at the very end with Fleur de Sel.
My dish: I add the peas, the mushrooms and the mushroom liquid, and let the sauce reduce until it thickens a bit. I add back the guanciale. When serving, I season at the very end with Fleur de Sel.