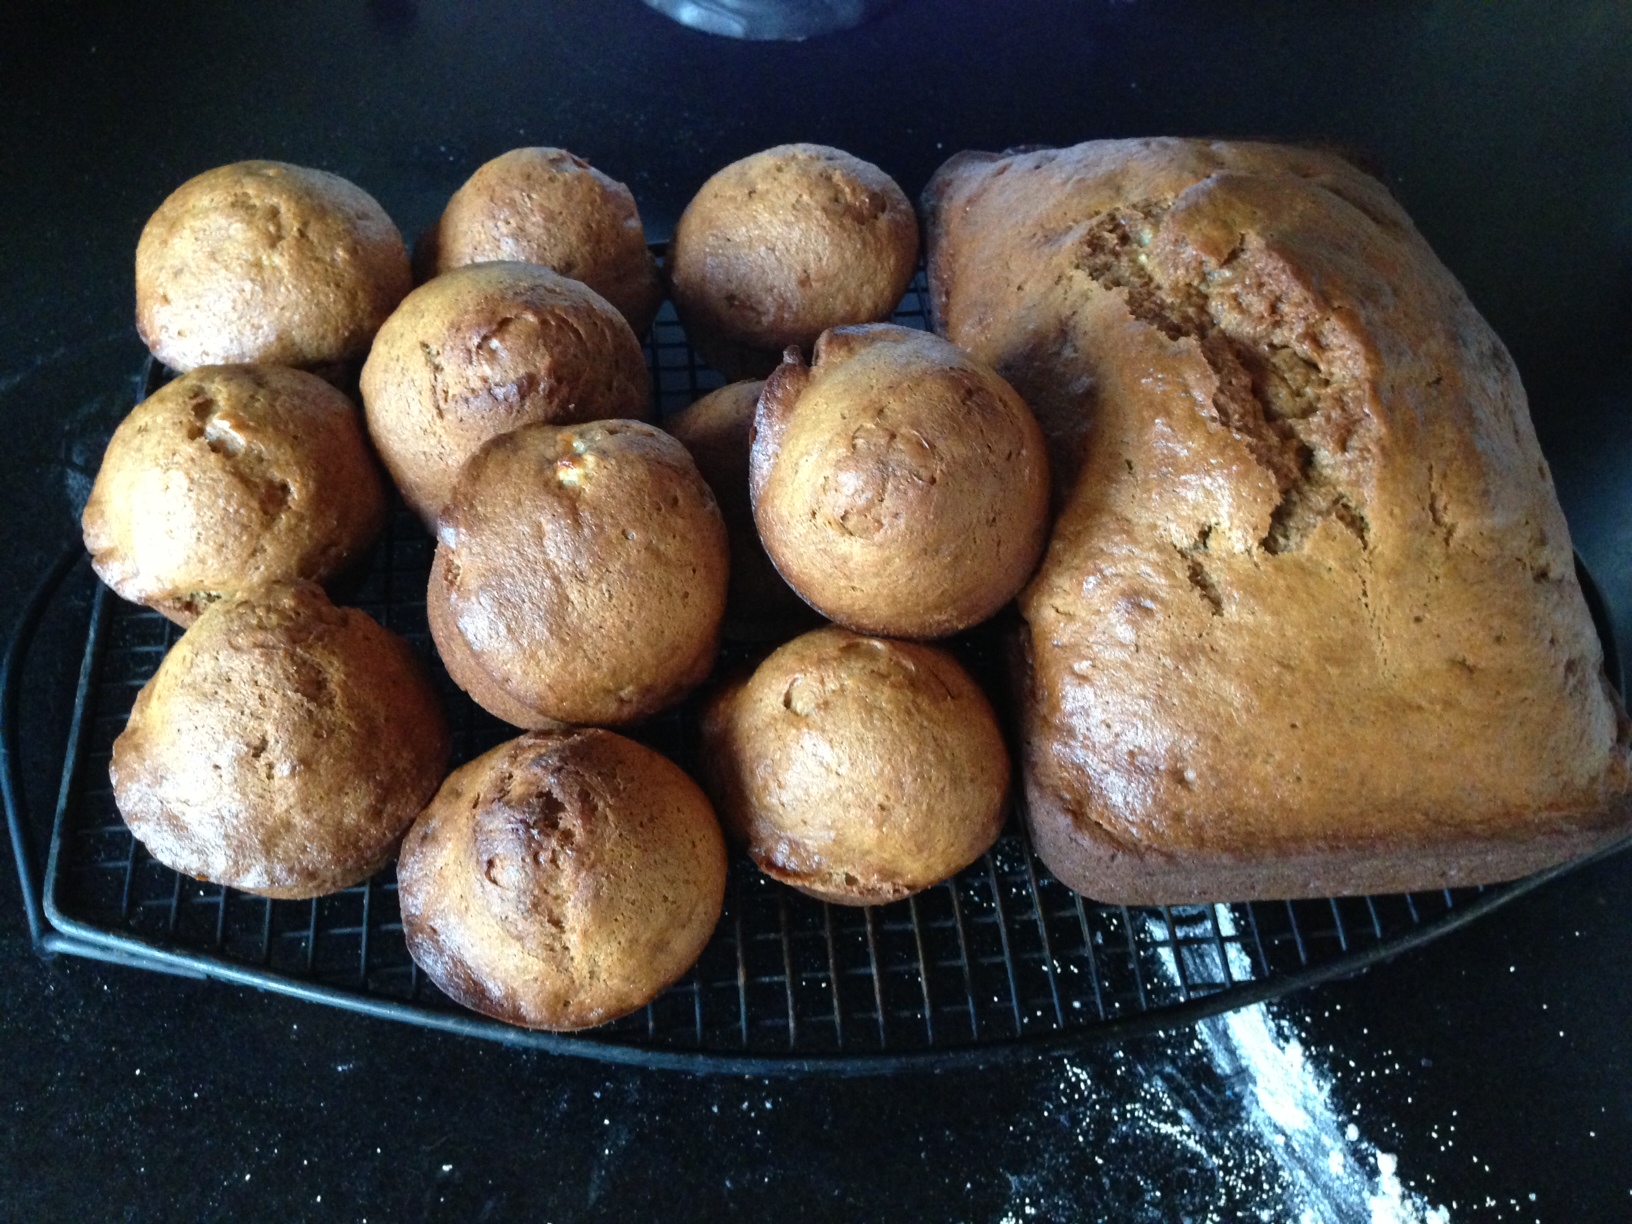
This is one of my favorites because it not only tastes amazing, it freezes really well.
Lately, I’ve been baking quite a few batches of this banana bread for the people I work with. Lord knows they don’t deserve it, but…
My original banana bread recipe has been tweaked a bit over time. One of the things I’ve changed is the amount of sugar I use. I’ve reduced it, and added maple syrup instead. Not only does it give it a better flavor, but it makes the dough just a little wetter, which, I think, makes a moister bread.
If you follow a gluten-free lifestyle, my gluten-free version of the recipe, at the bottom of the page, is so good, you won’t miss the wheat!

The original recipe…
What makes this banana bread special is that it uses whole wheat flour…less sugar…and no artificial extracts that make most banana breads taste like crap. It relies on very ripe bananas to give it its wonderful natural flavor.
It’s not always easy to get bananas to ripen exactly when you’re trying to make your banana bread recipe. So I buy a large bunch of bananas and let them get very ripe at room temperature. I then take 5 at a time (for this recipe), peel them, and place the bananas in a Ziploc bag in the freezer. When it’s time to make banana bread, I just pull one of those Ziplocs out of the freezer, let it thaw, and mash with a potato masher.
Since Roundup is a very common herbicide used on wheat, and its cancer-causing characteristics are widely known by now, I always use organic wheat for my baking recipes.
I use organic cane sugar when I have it. I don’t use vegetable oils, especially not canola, so I use healthier avocado oil or olive oil. Eggs are pastured when I can get ’em. Bananas are organic. And I rub the pans with avocado oil or I use an olive oil or avocado oil cooking spray.
3 cups all-purpose flour
1/2 cup whole wheat flour
2 tsp baking soda
1/2 tsp salt
1 cup sugar (brown or cane)
1/4 cup maple syrup
3/4 cup vegetable oil (I prefer avocado or olive oil)
2 eggs
5 medium-sized bananas, peeled and mashed
2 tsp real vanilla extract
Avocado or olive oil cooking spray
Pre-heat the oven to 350°.
Combine the all-purpose flour, whole wheat flour, baking soda and salt in a medium bowl. Set it aside. (For a less rustic bread, simply substitute more all purpose flour for the whole wheat flour. Corn meal is also a good substitute for the whole wheat flour.)
Combine the sugar, maple syrup and oil in a mixing bowl and mix at medium speed for 2 minutes. (I use the whisk attachment.) Add the eggs, one at a time. Beat until the mixture is light and lemon colored.
With the mixer running at low-speed, add the flour mixture alternately with the bananas, beginning and ending with the flour mixture. Blend well after each addition. Add the vanilla extract and blend some more to mix.
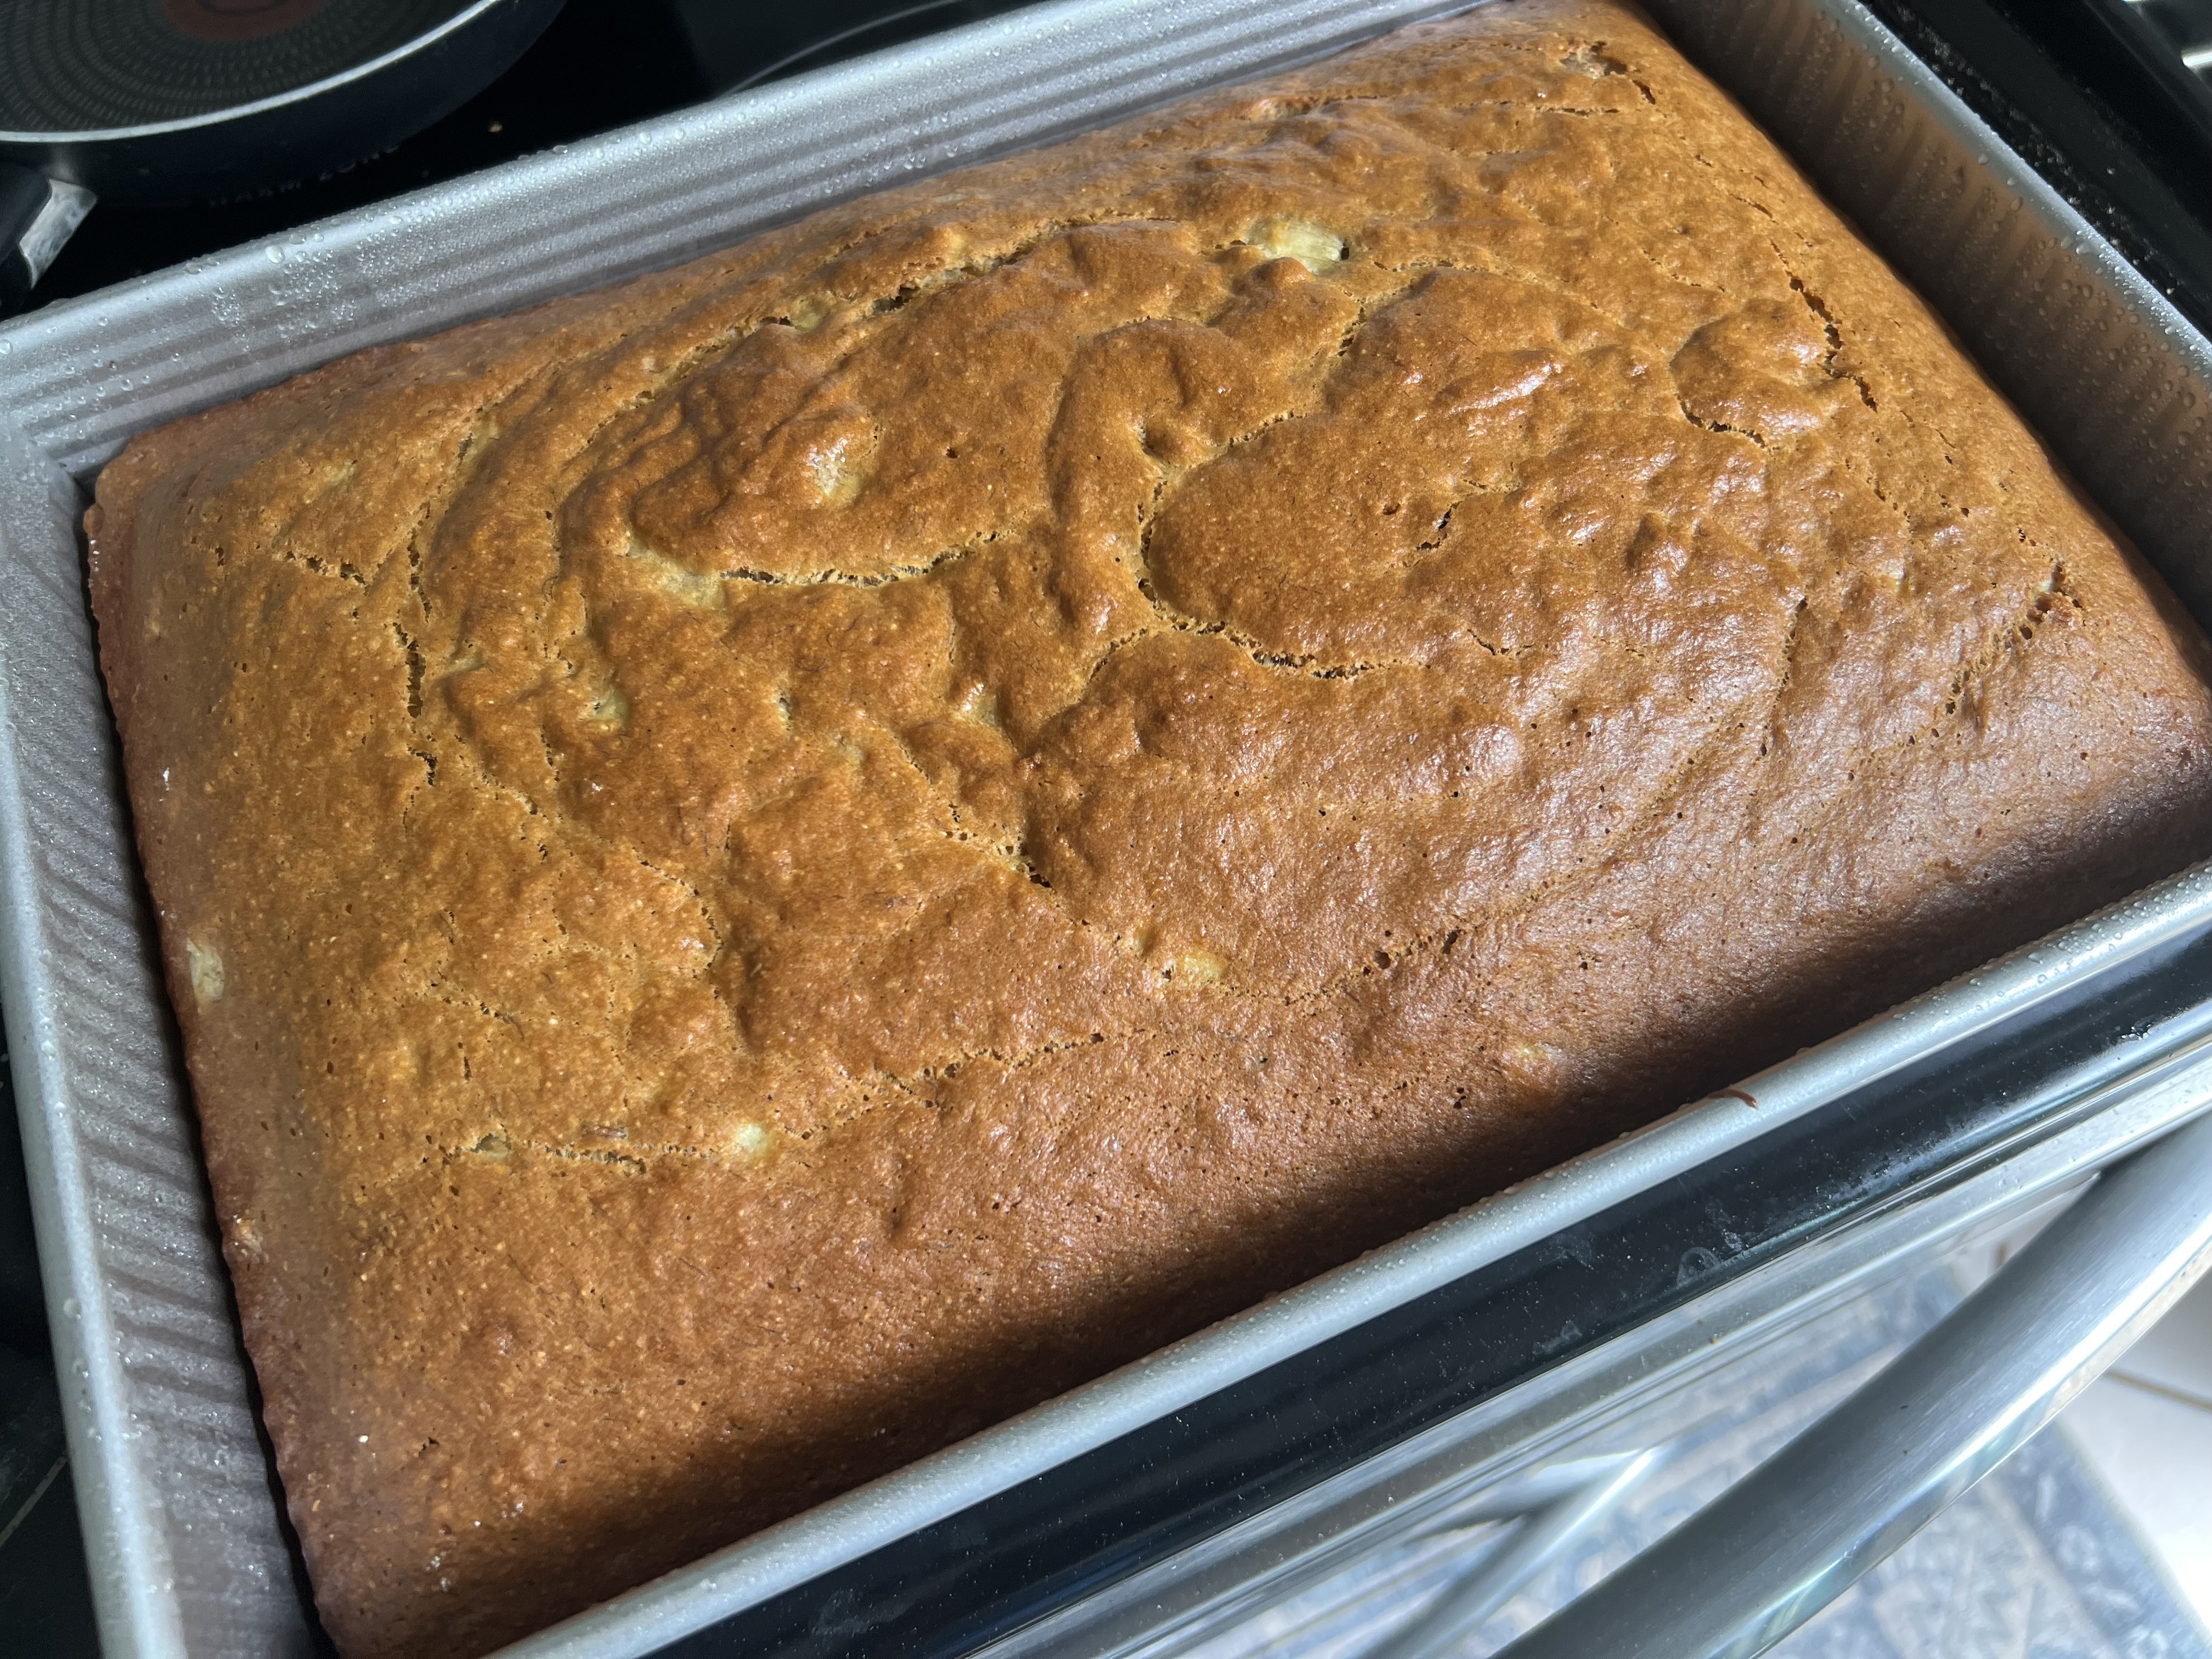
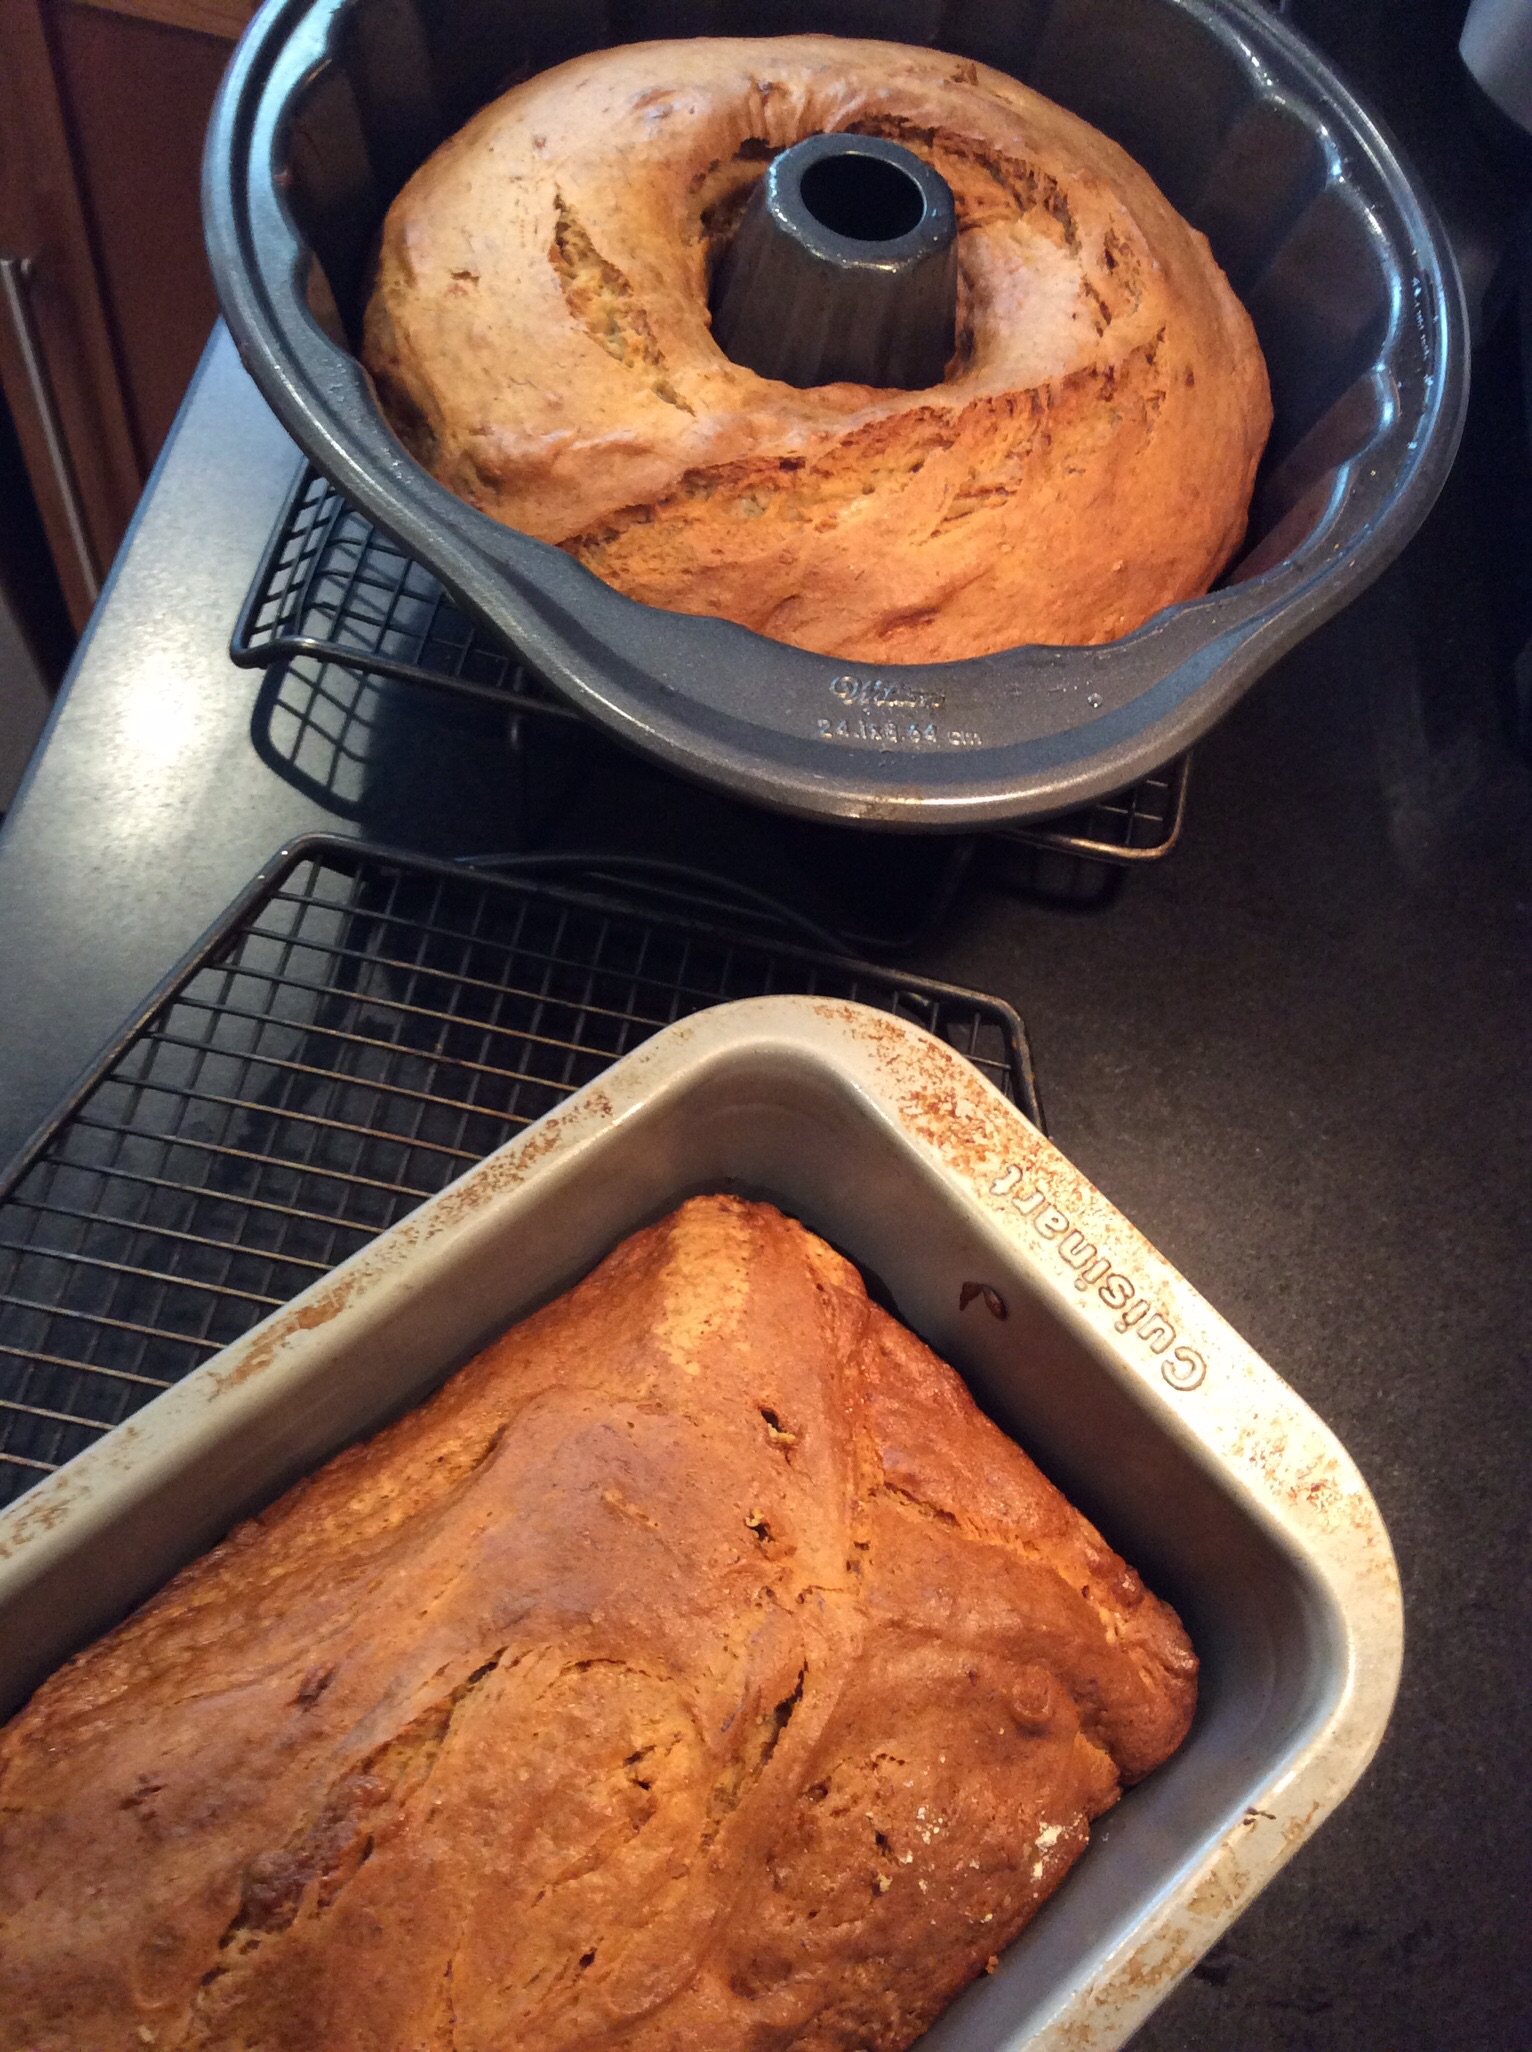
Pour the batter into a large baking pan or 2 smaller loaf pans that have been sprayed with cooking spray. Bake for 45 minutes or until a wooden pick inserted in the center comes out clean. Cool 15 minutes in the pan on a wire rack. (A bundt pan works as well.)
Remove the loaves from the pans and let them cool completely on the wire rack before slicing.
The gluten-free recipe…
My go-to gluten-free flour is the brand called Cup 4 Cup. You can find it in most supermarkets. They also offer a more rustic version they call “Wholesome Flour,” which is made mostly of rice. I found that the two combined worked really well for a rustic, chewy texture much like whole wheat.


3 cups Cup4Cup all-purpose gluten-free flour
1 cup Cup4Cup Wholesome Flour
2 teaspoons baking soda
1/2 teaspoon salt
1 cup cane sugar (or light brown sugar)
1/4 cup maple syrup
3/4 cup avocado or olive oil
2 eggs
5 medium-sized bananas, peeled and mashed
2 teaspoons real vanilla extract
avocado or olive oil spray
Pre-heat the oven to 350°.
Combine the flour, baking soda and salt in a bowl. Set aside.
Combine the sugar, maple syrup and oil in a mixing bowl and mix at medium speed for 2 minutes. (I use the whisk attachment.) Add the eggs, one at a time. Beat until the mixture is light and lemon colored.
With the mixer running at low-speed, add the flour mixture alternately with the bananas, beginning and ending with the flour mixture. Blend well after each addition. Add the vanilla extract and blend some more to mix.
Pour the batter into a large baking pan or 2 loaf pans or one large bundt pan that have been sprayed with avocado or olive oil. Bake for 45–60 minutes or until a wooden toothpick inserted in the center comes out clean. Cool 15 minutes in the pan on a wire rack.
Remove the bread from the pan and let it cool completely on the wire rack before slicing.

Gluten-free and delicious!