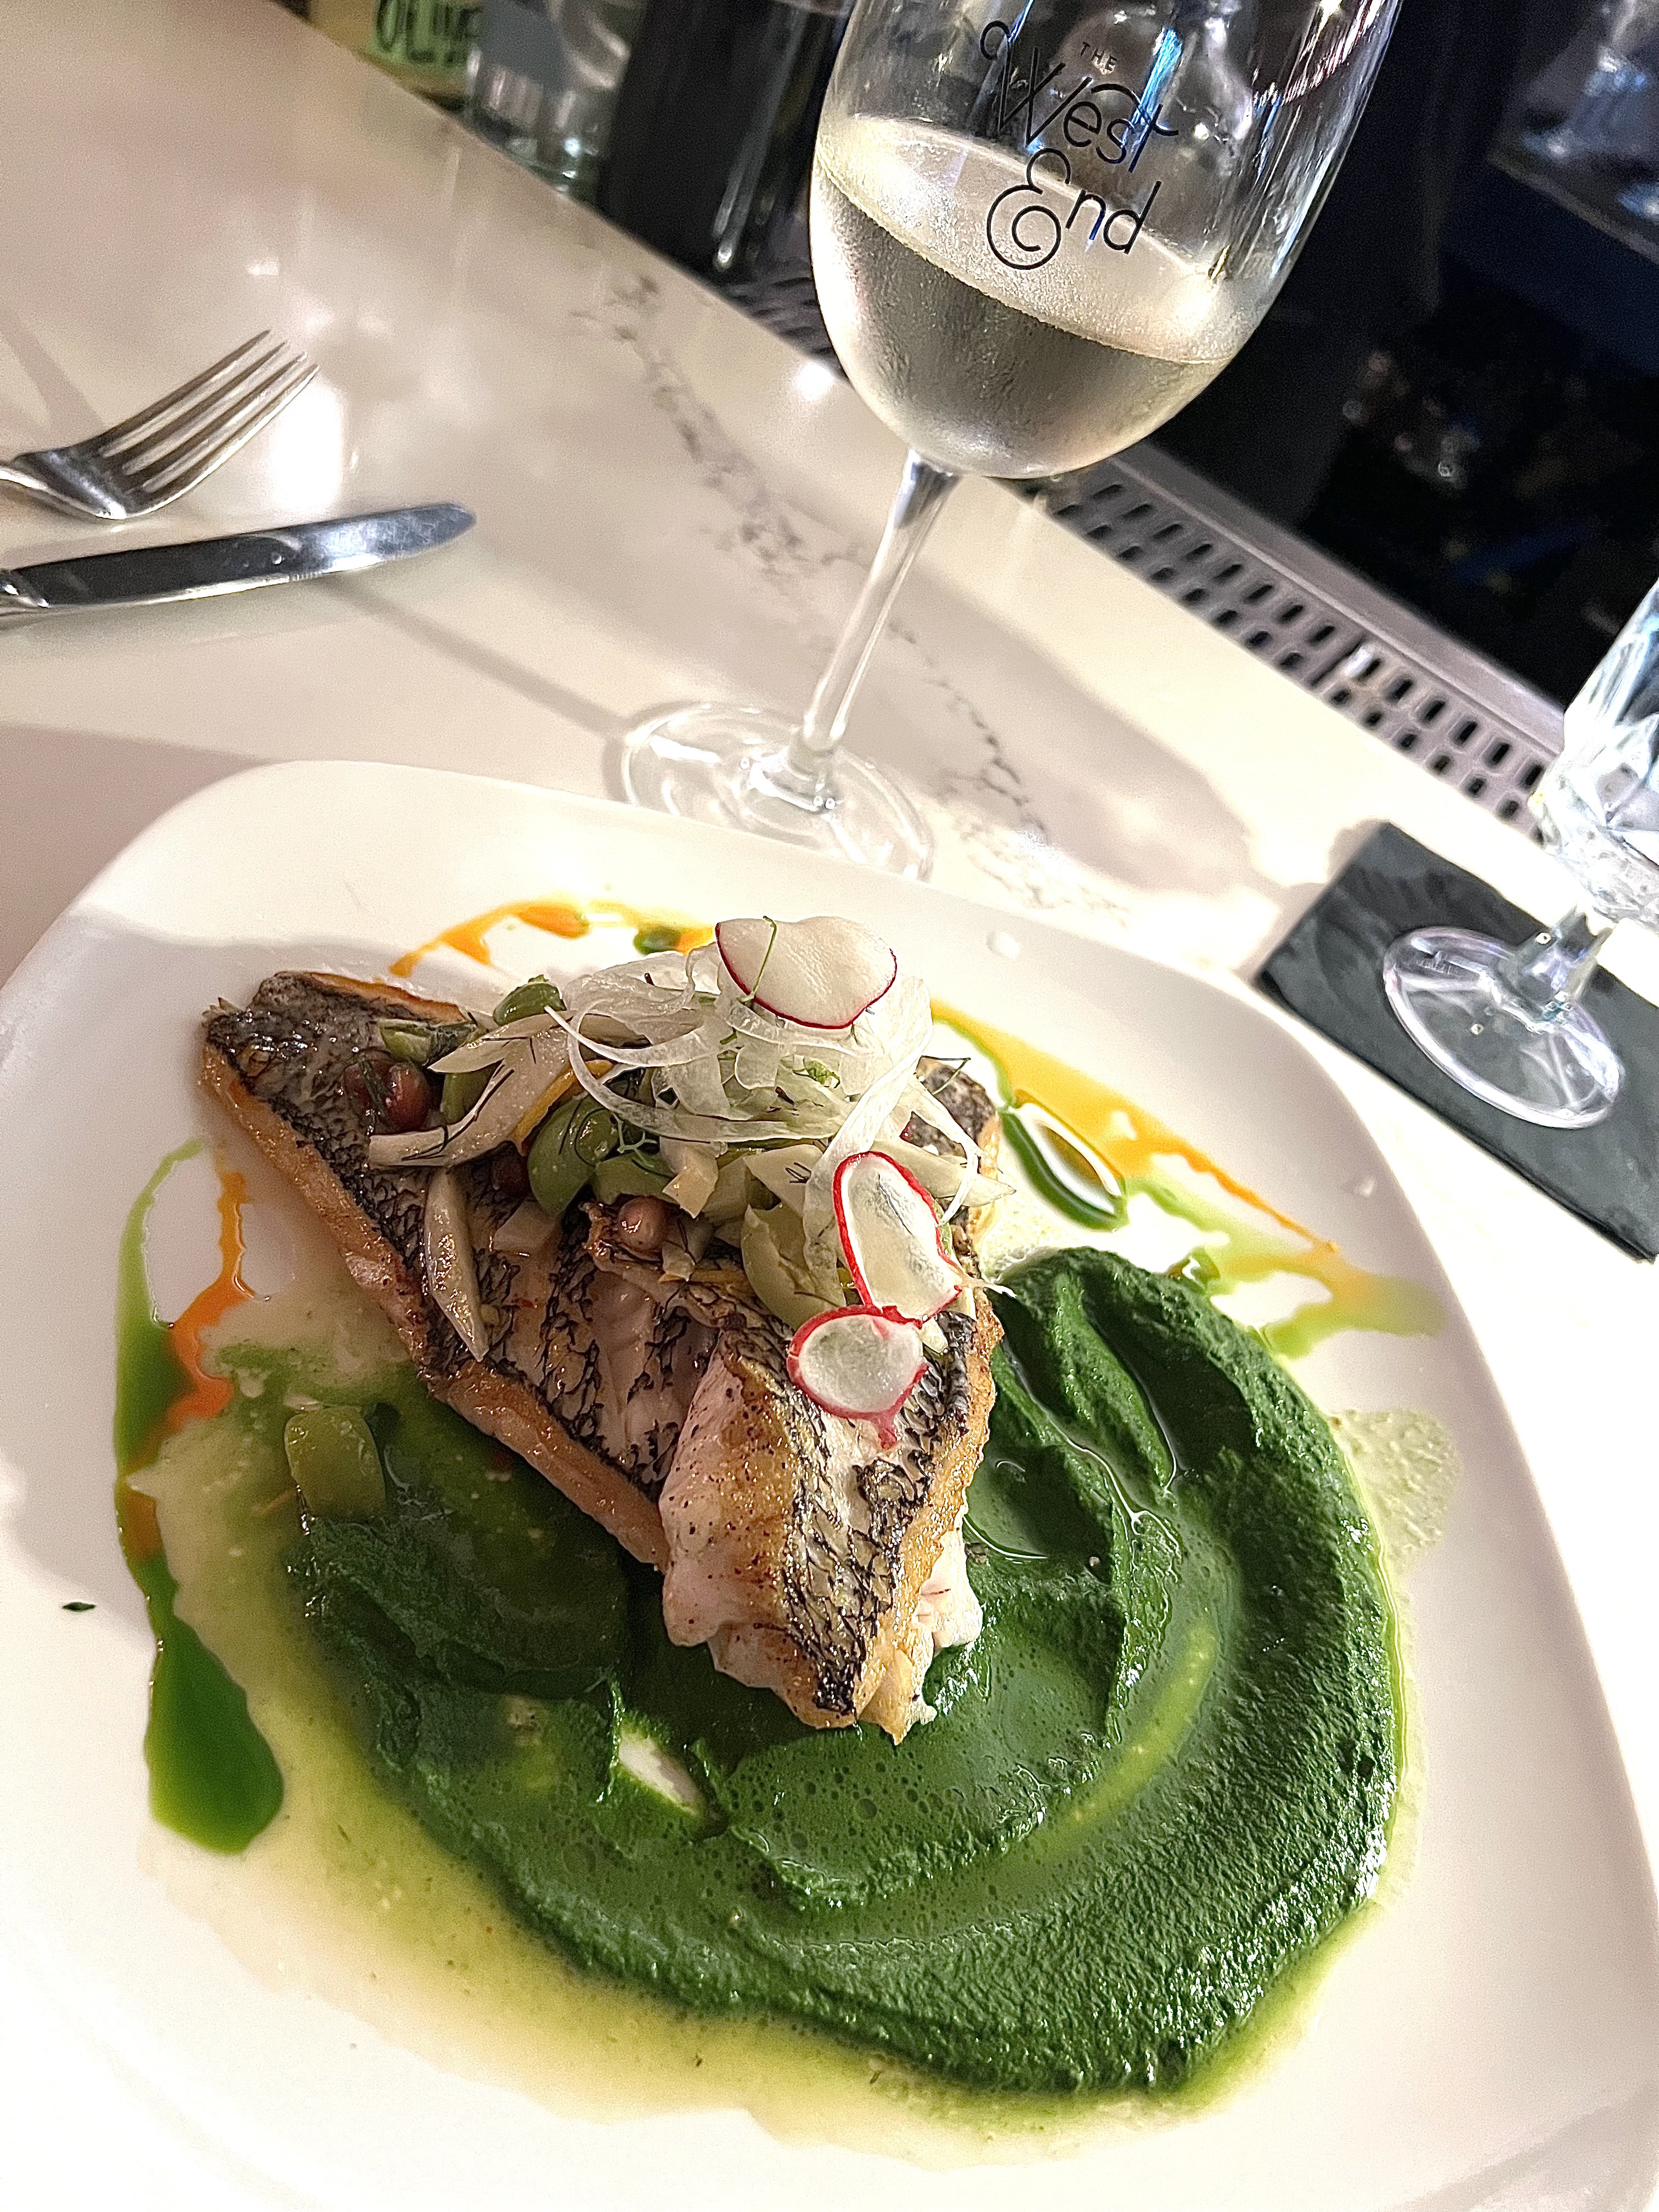
Yeah, I’m one of those food nerds that takes a picture of everything. Here’s some of the latest.
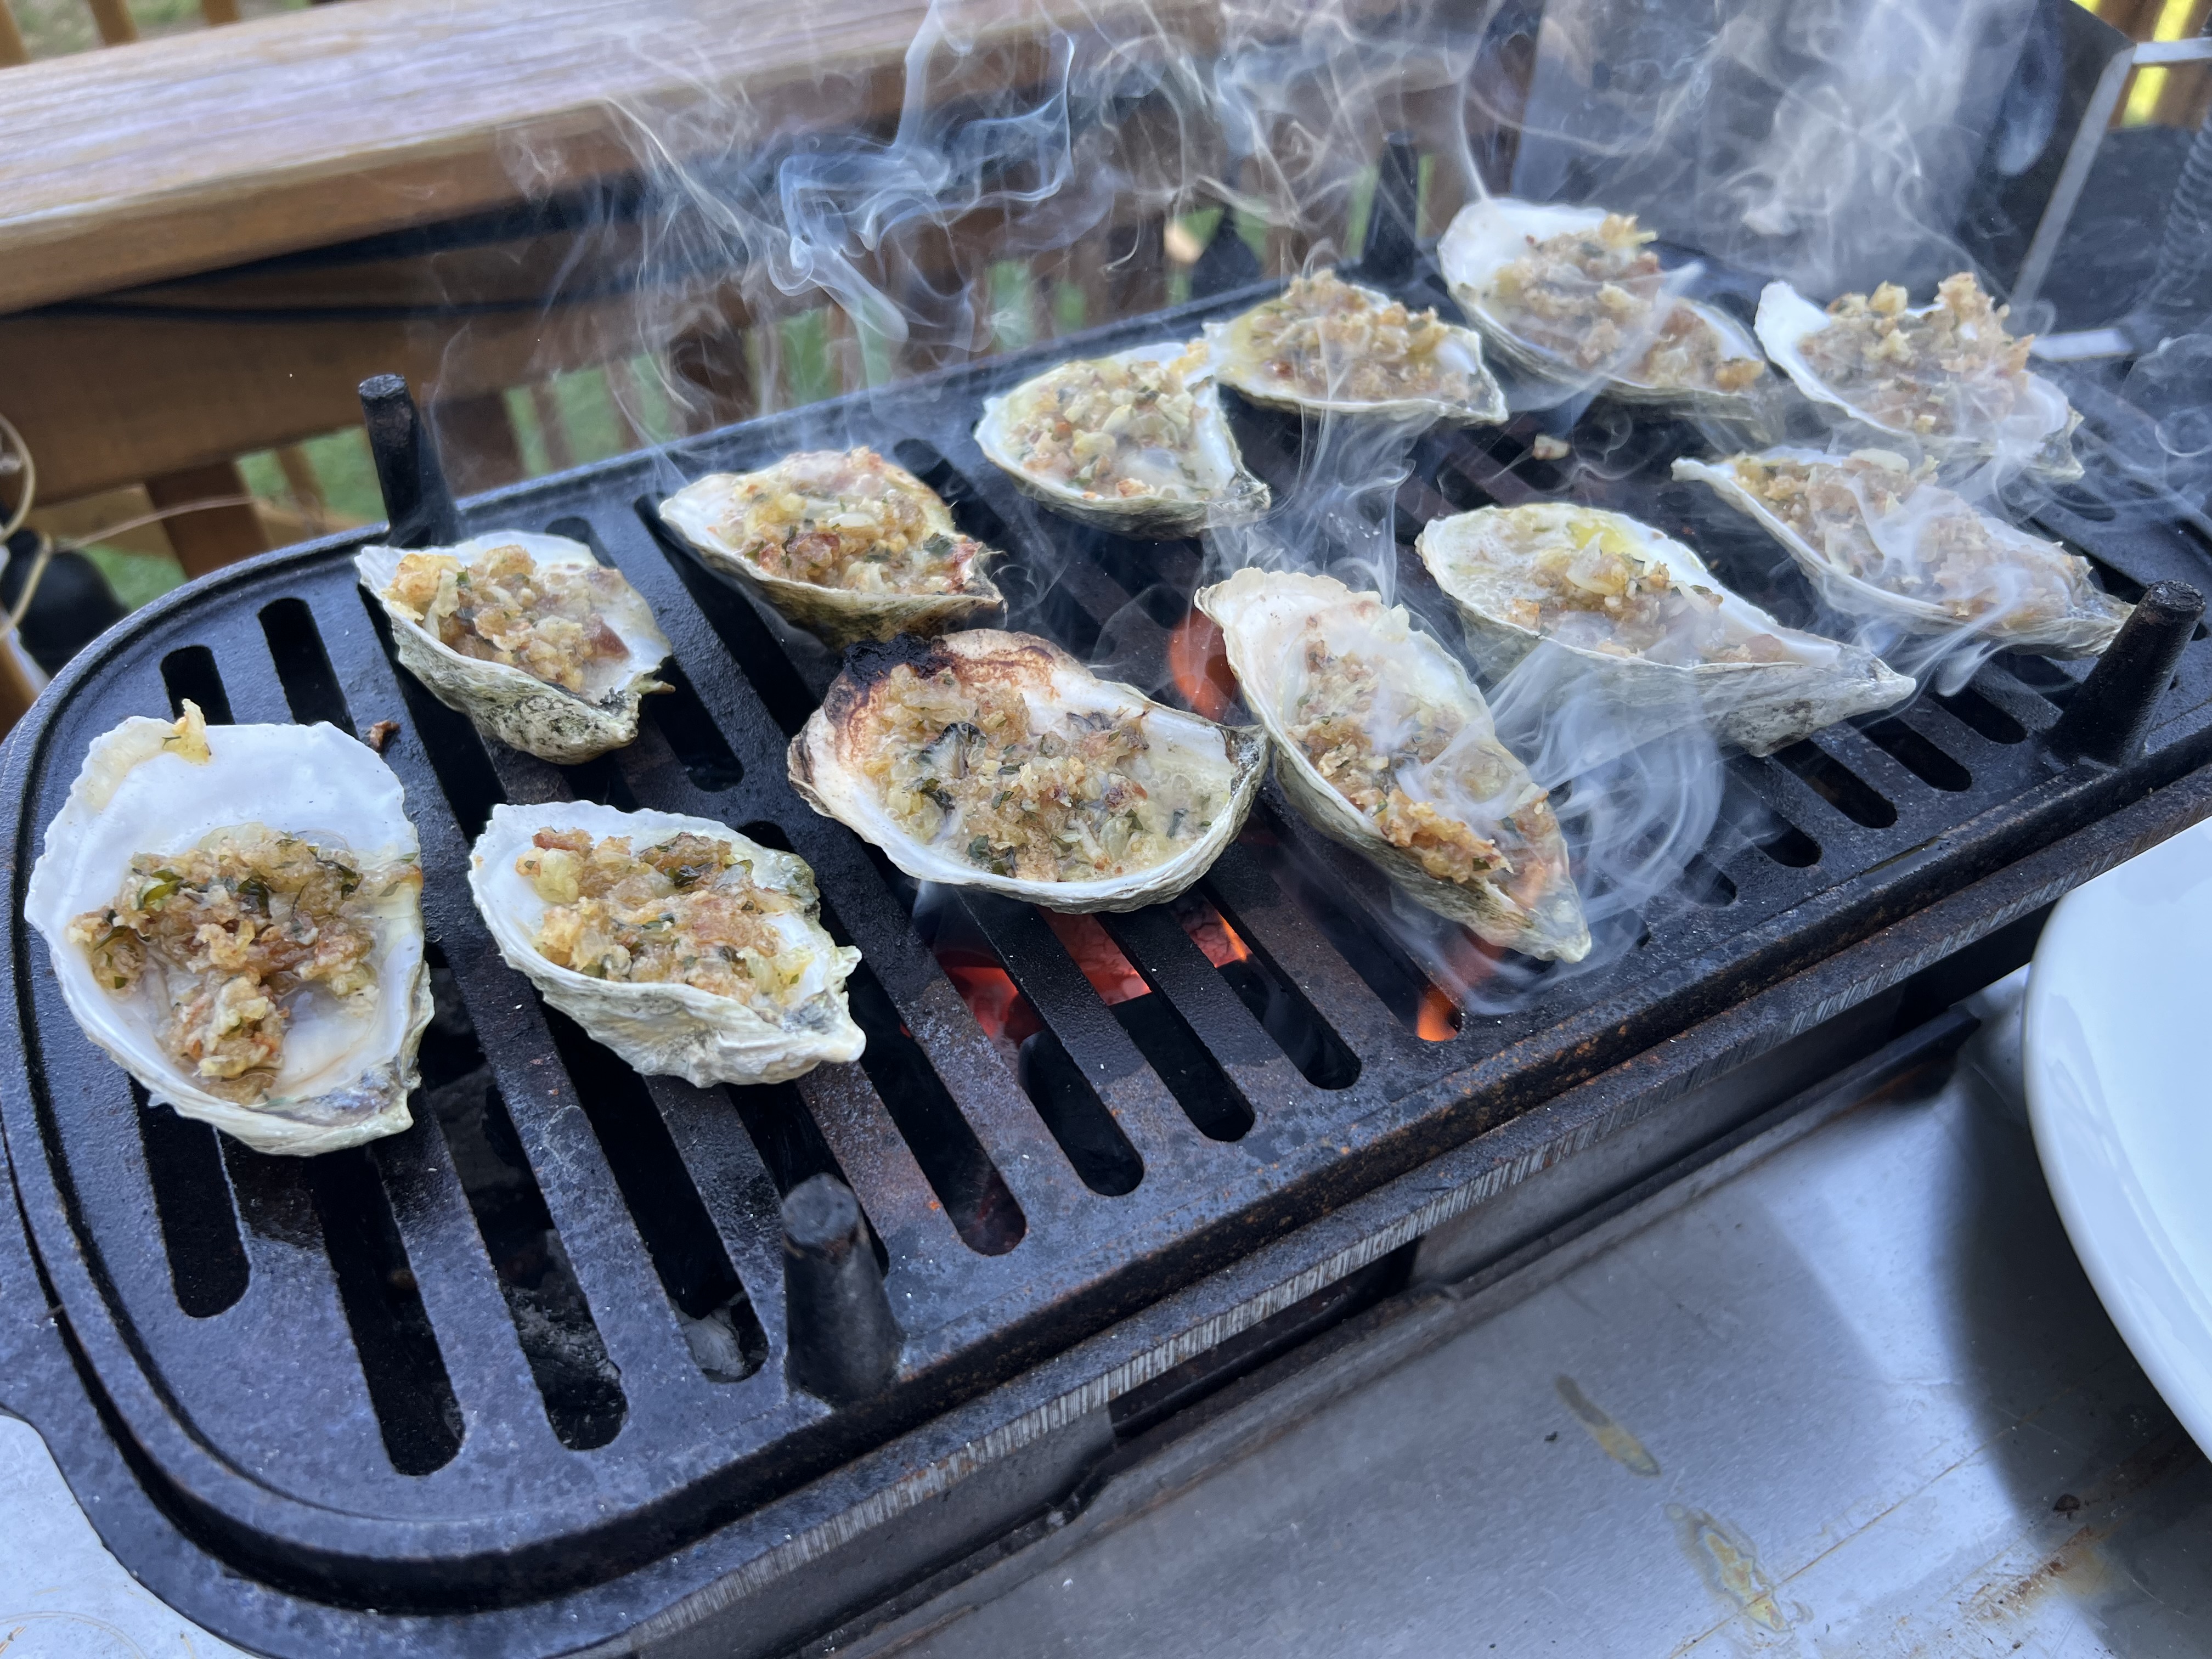
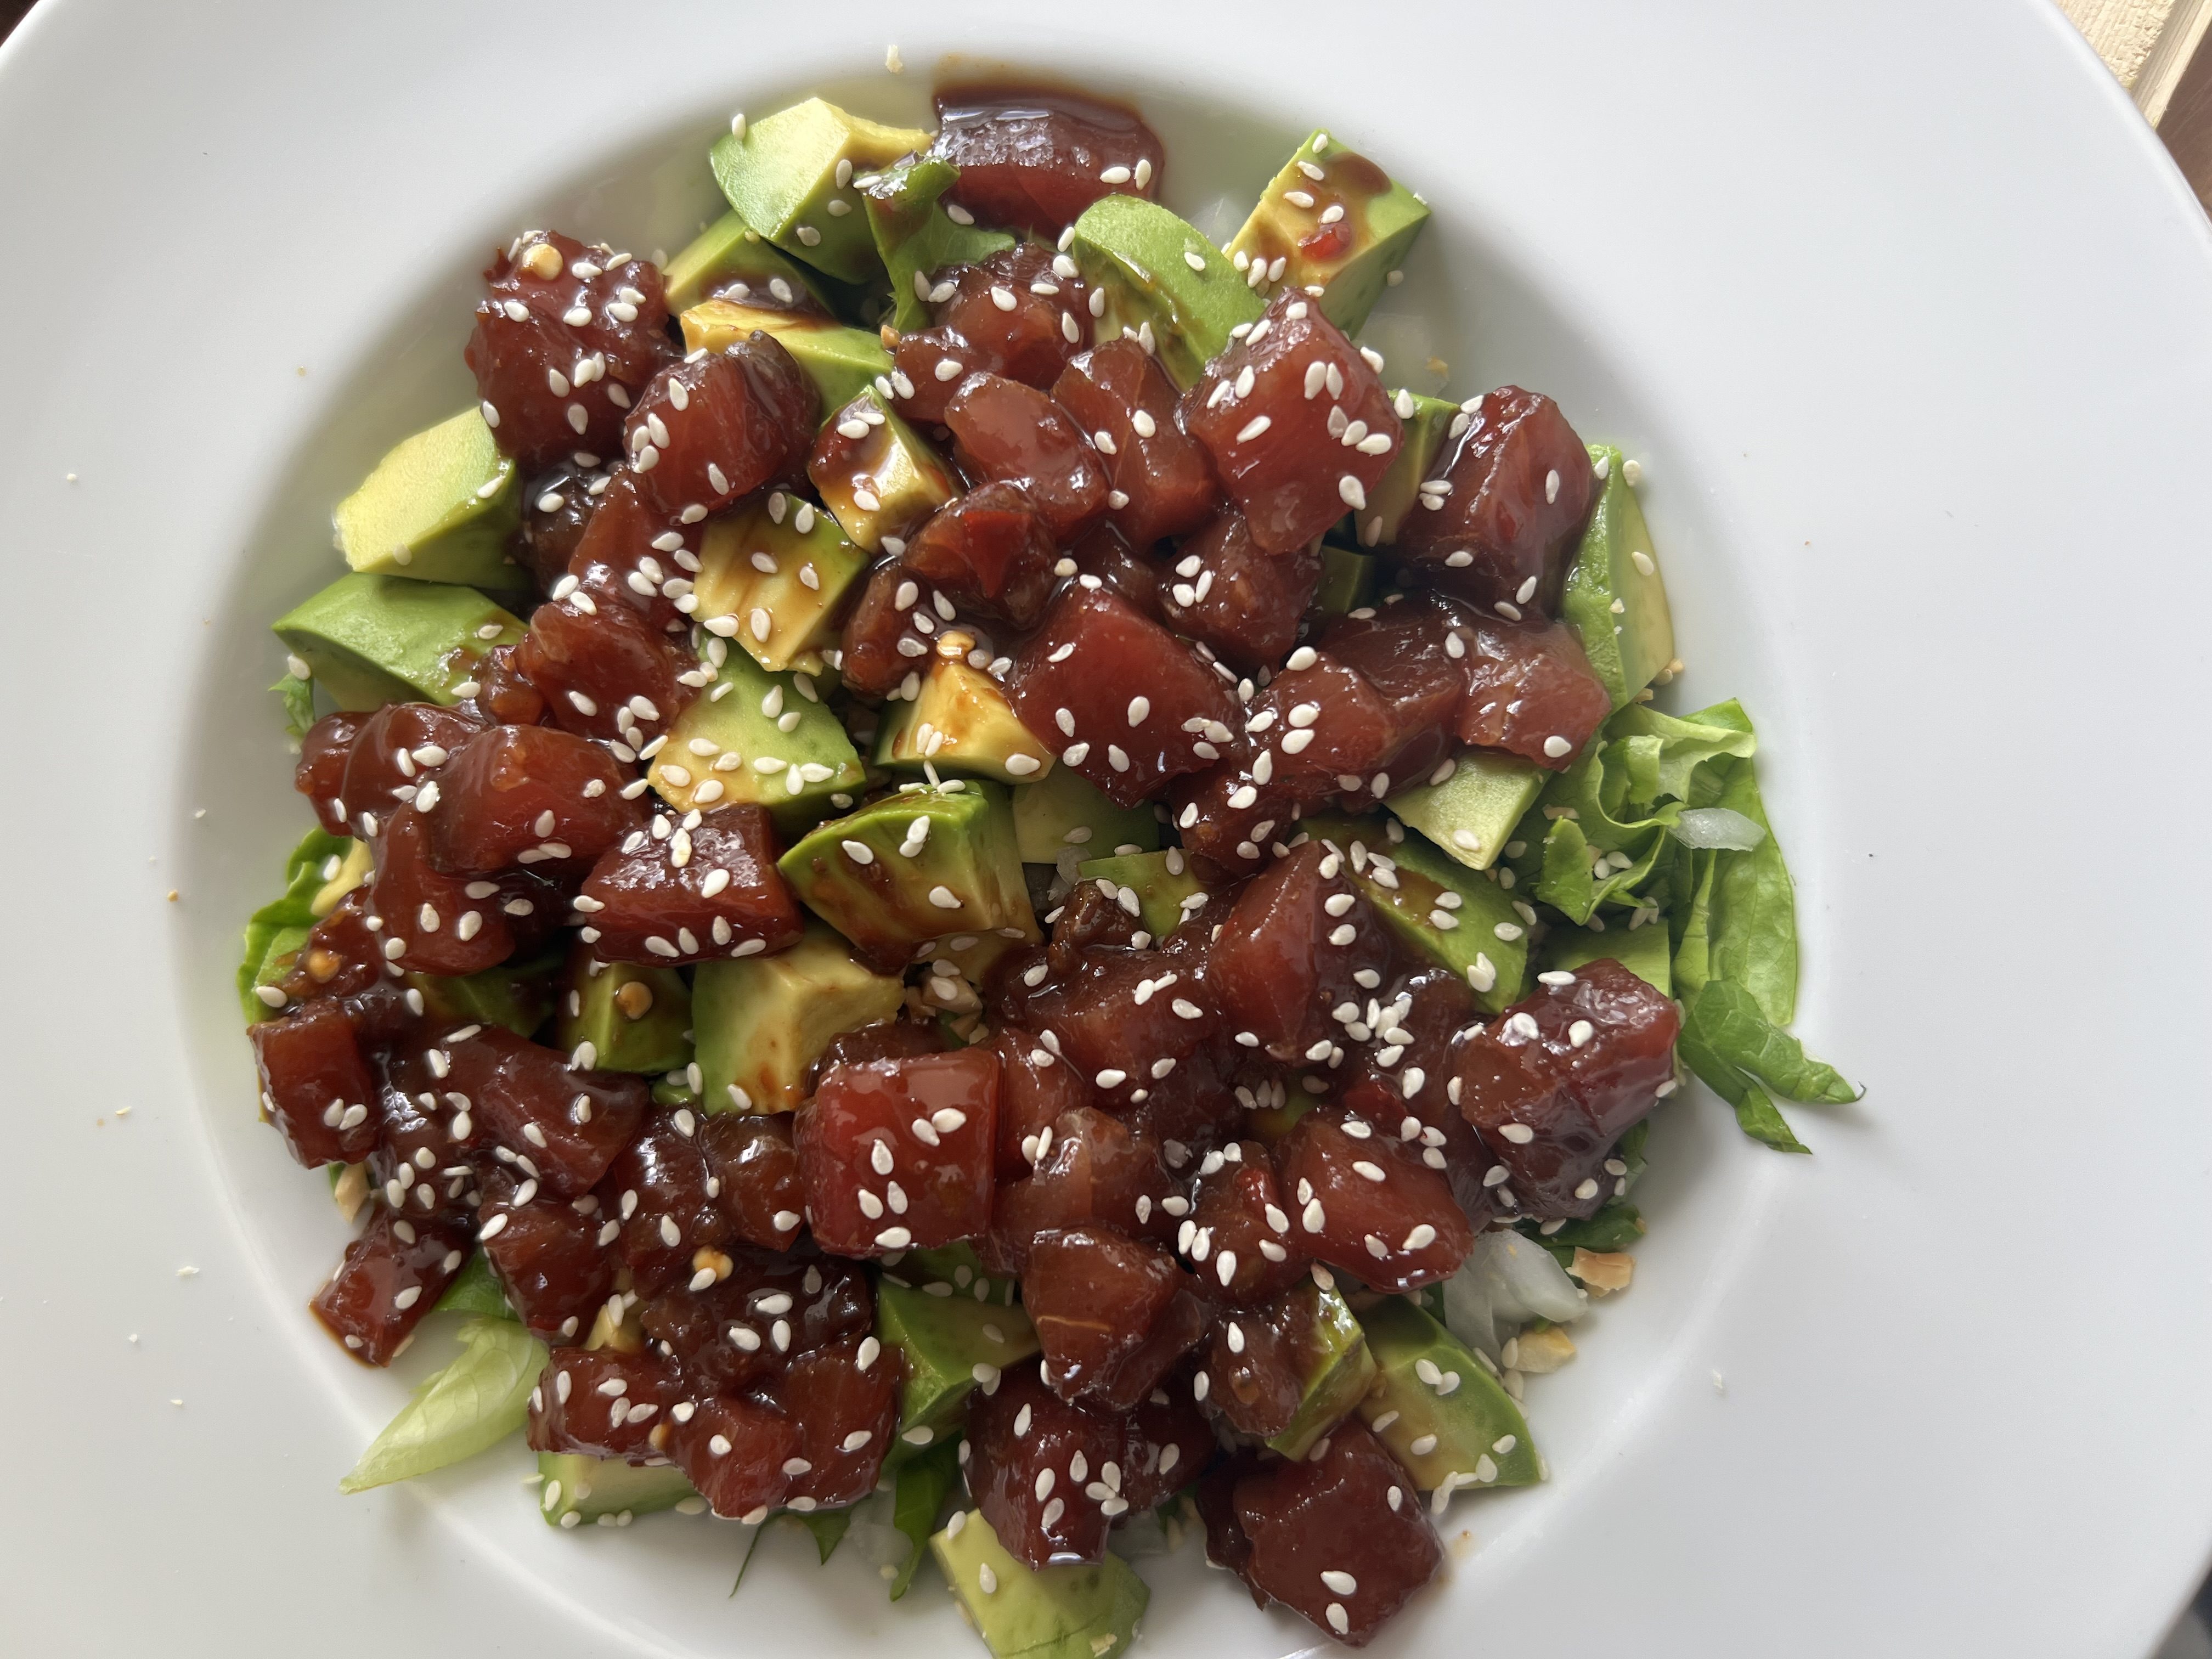
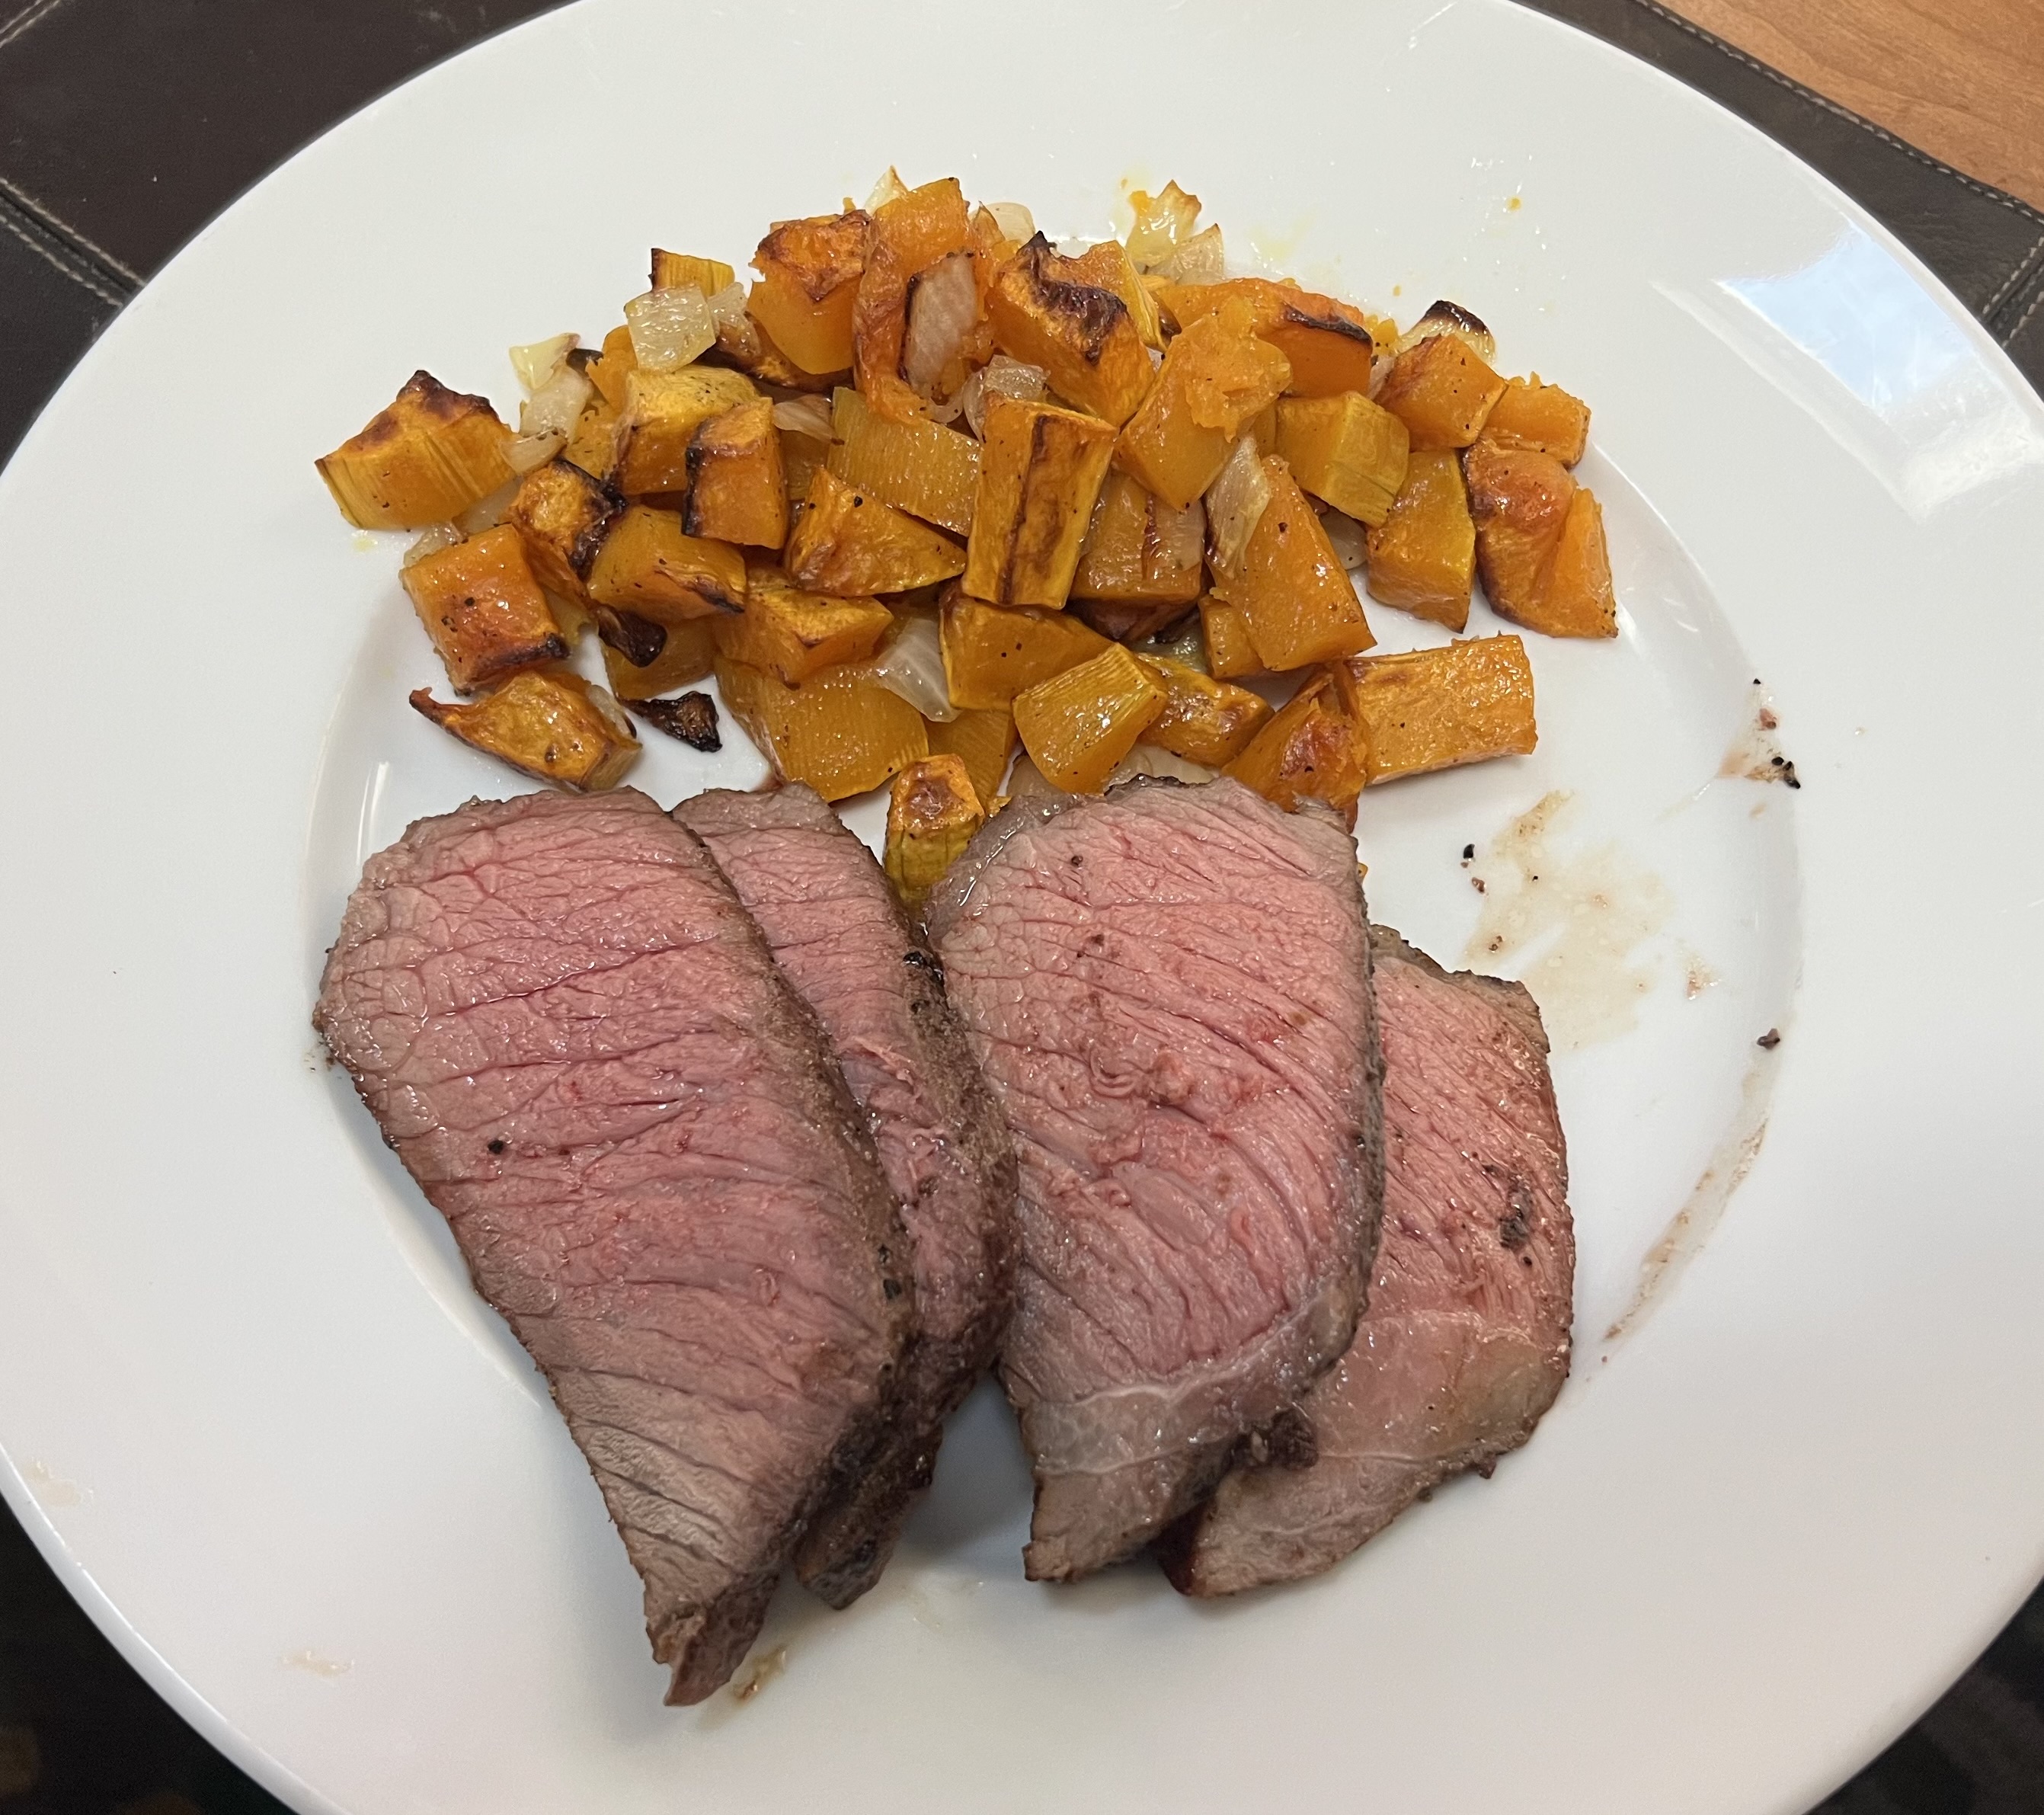
Yeah, I’m one of those food nerds that takes a picture of everything. Here’s some of the latest.
Now that I’ve got a little more time on my hands, I will occasionally post random food and cocktail photos as the days go by.
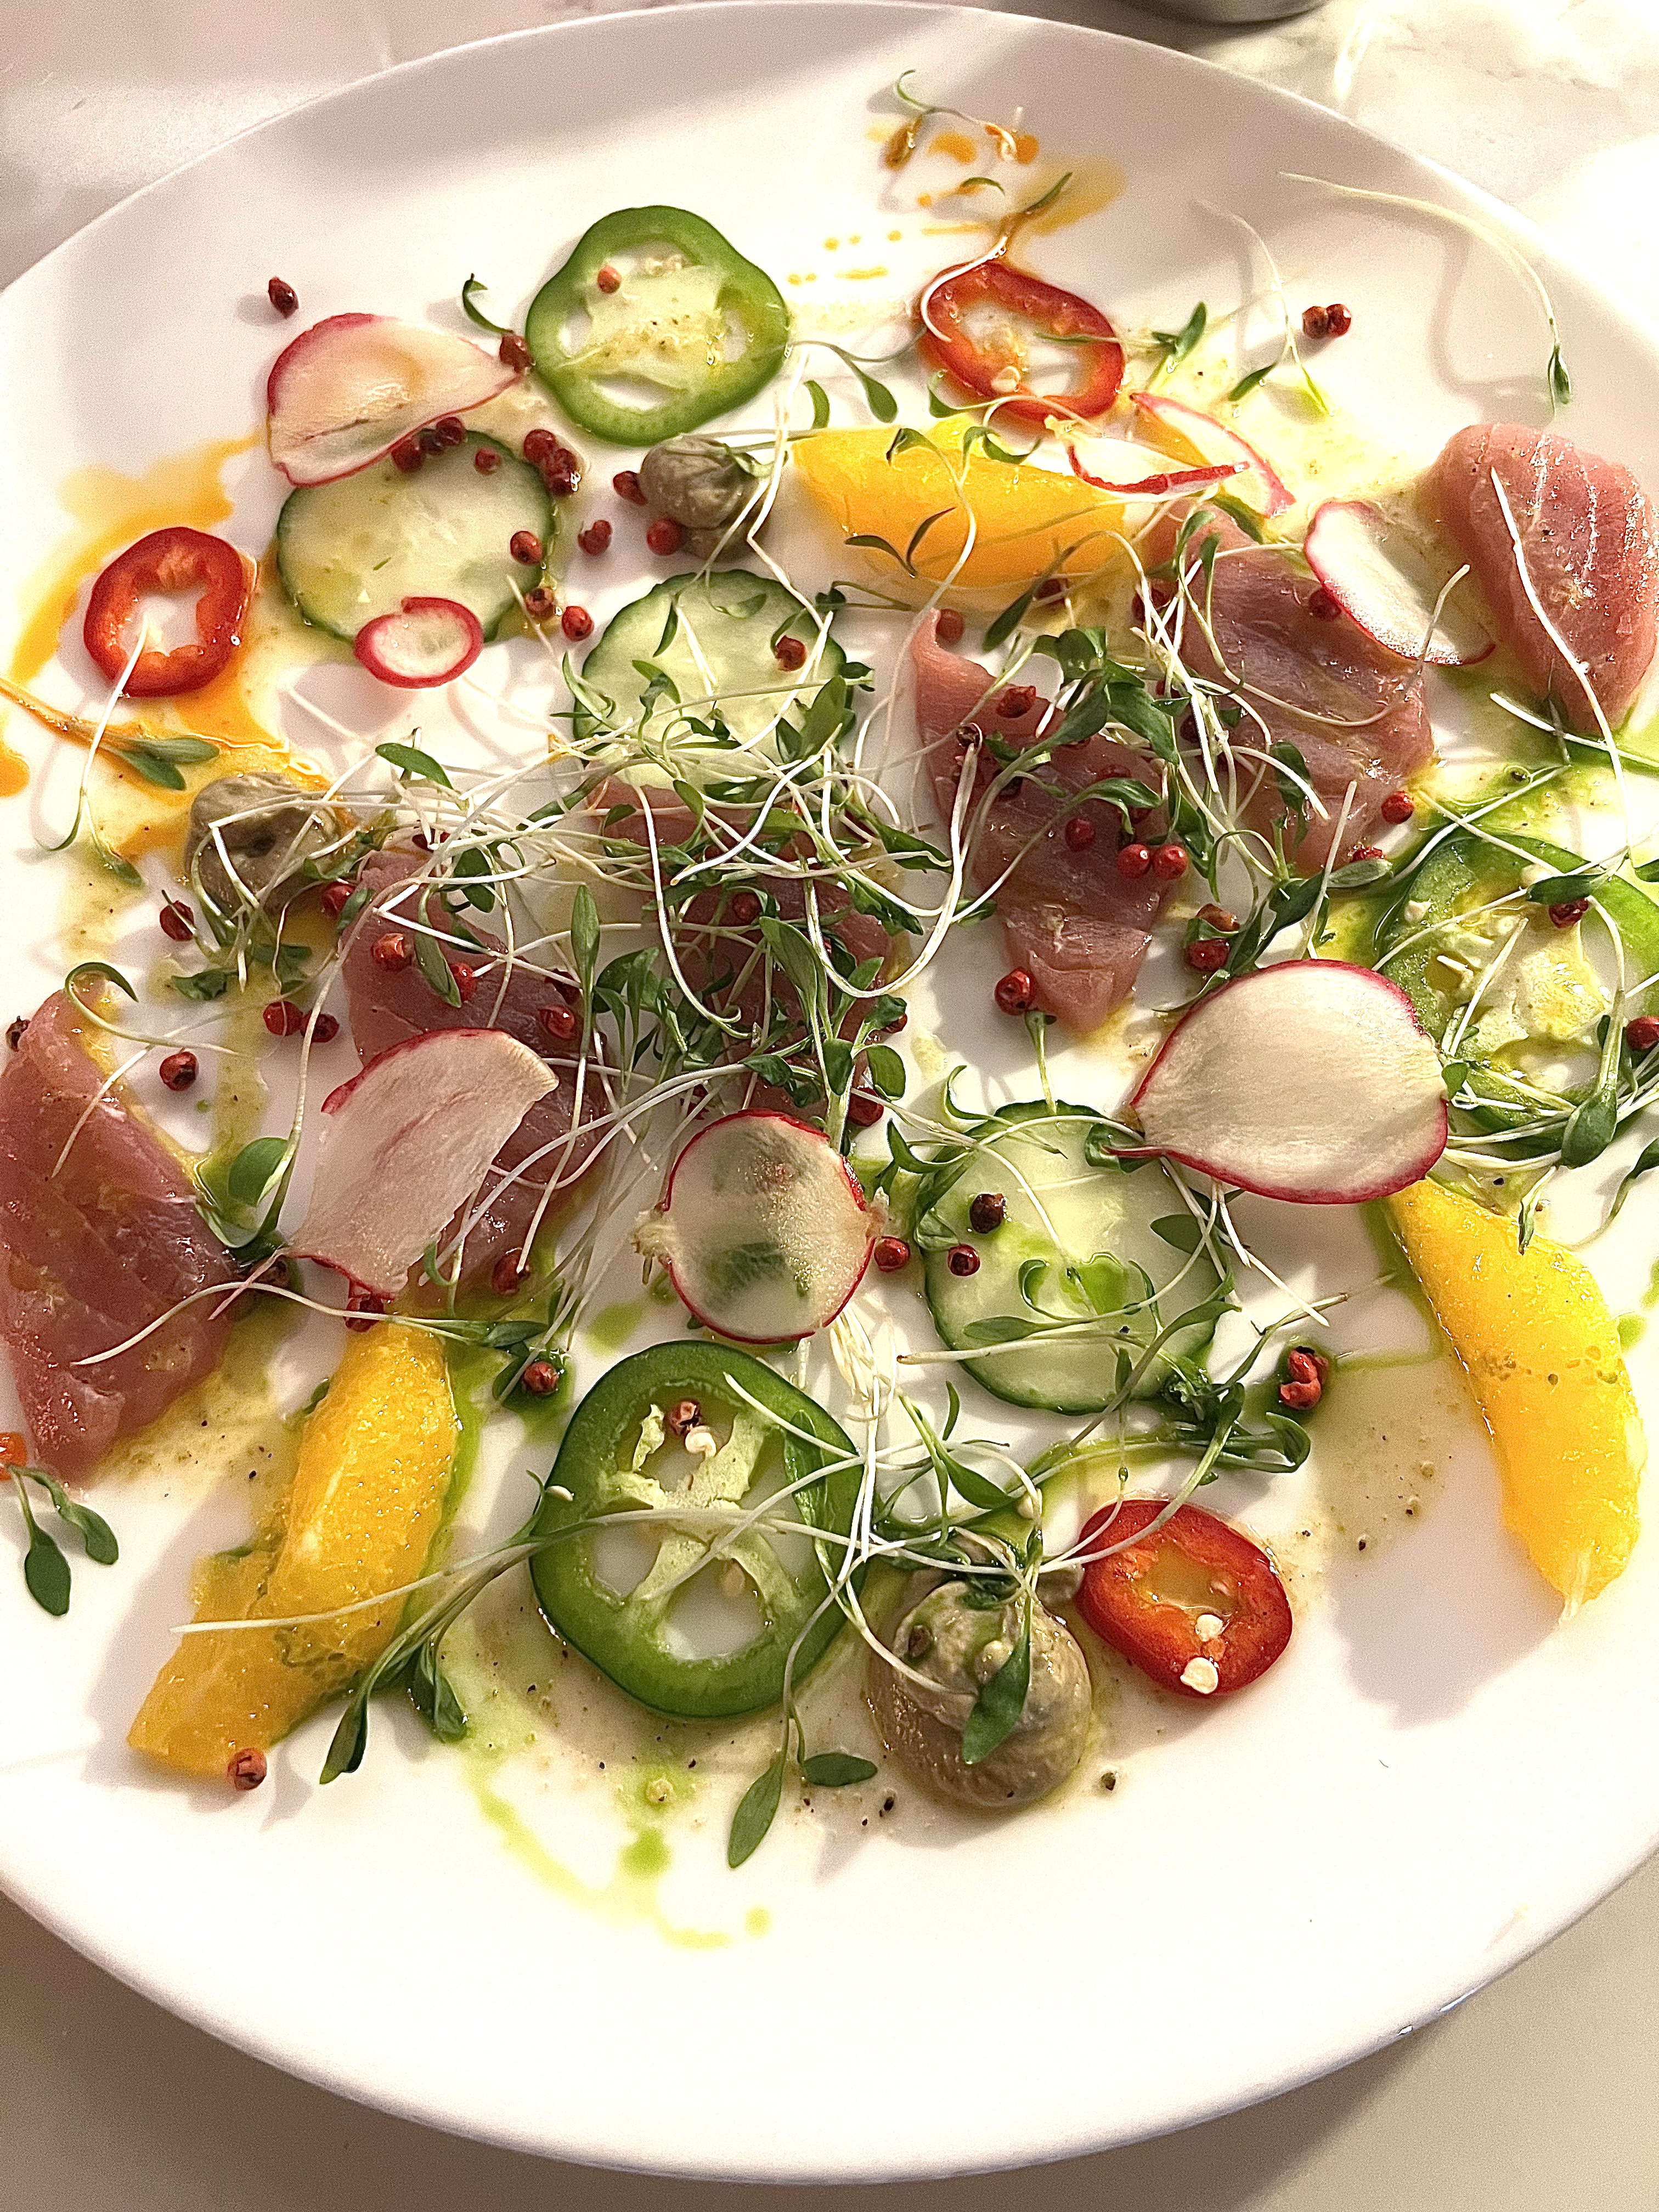
This is one of my favorite restaurants, owned by good friends, Blane and Jen, and located in Hyannis, Massachusetts, on Cape Cod.
Labor Day marks the end of the summer season, but the fall is a great time to visit the Cape! And the food and drink here are top-notch!

Through years of tireless experimentation, I’ve come up with a barbecue sauce that I feel is one of the best I’ve ever made. Granted, everybody has their favorites, but I prefer a slightly sweet and tangy barbecue sauce.
What makes this sauce special is the citrus. I originally used lemon juice for this recipe and it was good. Lime juice with lime zest was better. I also tried oranges, tangerines, even Meyer lemons. But my breakthrough happened on a day when I was craving barbecued chicken and all I had in my fridge was a grapefruit. I thought: how bad could it be? Turned out to be the perfect foil to the sweetness of the brown sugar and ketchup.
My favorite chicken pieces are the leg quarters: thigh and drumstick all in one. Chicken breasts, even on pastured birds, are pretty flavorless and dry, so I pass on them for the darker meat that’s juicy and fatty. (Honestly, I find it hard to trust anyone that won’t eat meat off a bone.)
Cooking chicken in the oven before putting it on the grill has several advantages. I don’t have to stand over the grill, constantly worrying about the meat burning or the fire going out. I can simply set a timer when I need to brush on the barbecue sauce or remove the chicken pieces. And the chicken cooks evenly…one piece won’t be burned while another piece is undercooked. Cooking them low and slow in the oven keeps the chicken juicy and tender. And I’m assured that my chicken is thoroughly cooked…no worries about salmonella.
I pre-heat the oven to 350 just to get it nice and hot. I line a sheet pan with non-stick aluminum foil, placing the chicken pieces on it. I rub each piece with a little olive oil, and season them lightly with Lawry’s Seasoned Salt. The chicken goes into the oven and I immediately lower the temperature to 200 degrees.
While the chicken is cooking, I combine all the barbecue sauce ingredients in a sauce pan, bring it to a boil, then reduce it to a simmer, letting it cook for about 20 minutes, until it has thickened. Then I turn the heat off and set the pan aside.
I’ll bake the chicken for about an hour, taking the sheet pan out of the oven to brush the barbecue sauce on the pieces before returning to the oven again, now bringing the temperature up to 300 degrees. (Because there’s sugar in the barbecue sauce, I don’t want to crank the heat or it will burn.)

Taking the chicken out of the oven and brushing it with sauce.
In 30 minutes, I take the sheet pan out a second time, and brush the sauce on the chicken pieces again…then back in the 300-degree oven for another 30 minutes.
Once the chicken’s back in the oven, it’s time to start the grill. For projects like this, I like to use a small grill I bought for our family camping trips. It’s like a mini-Weber, and it grills enough food for 4 people easily, without wasting charcoal like a larger grill would.

These small grills are just 20 bucks, and they save you a ton of otherwise wasted, unused charcoal.
I use a smaller charcoal chimney for this project, and I use charcoal briquets, not hardwood, because I want an even fire. The coals are ashed over in just 10 minutes.
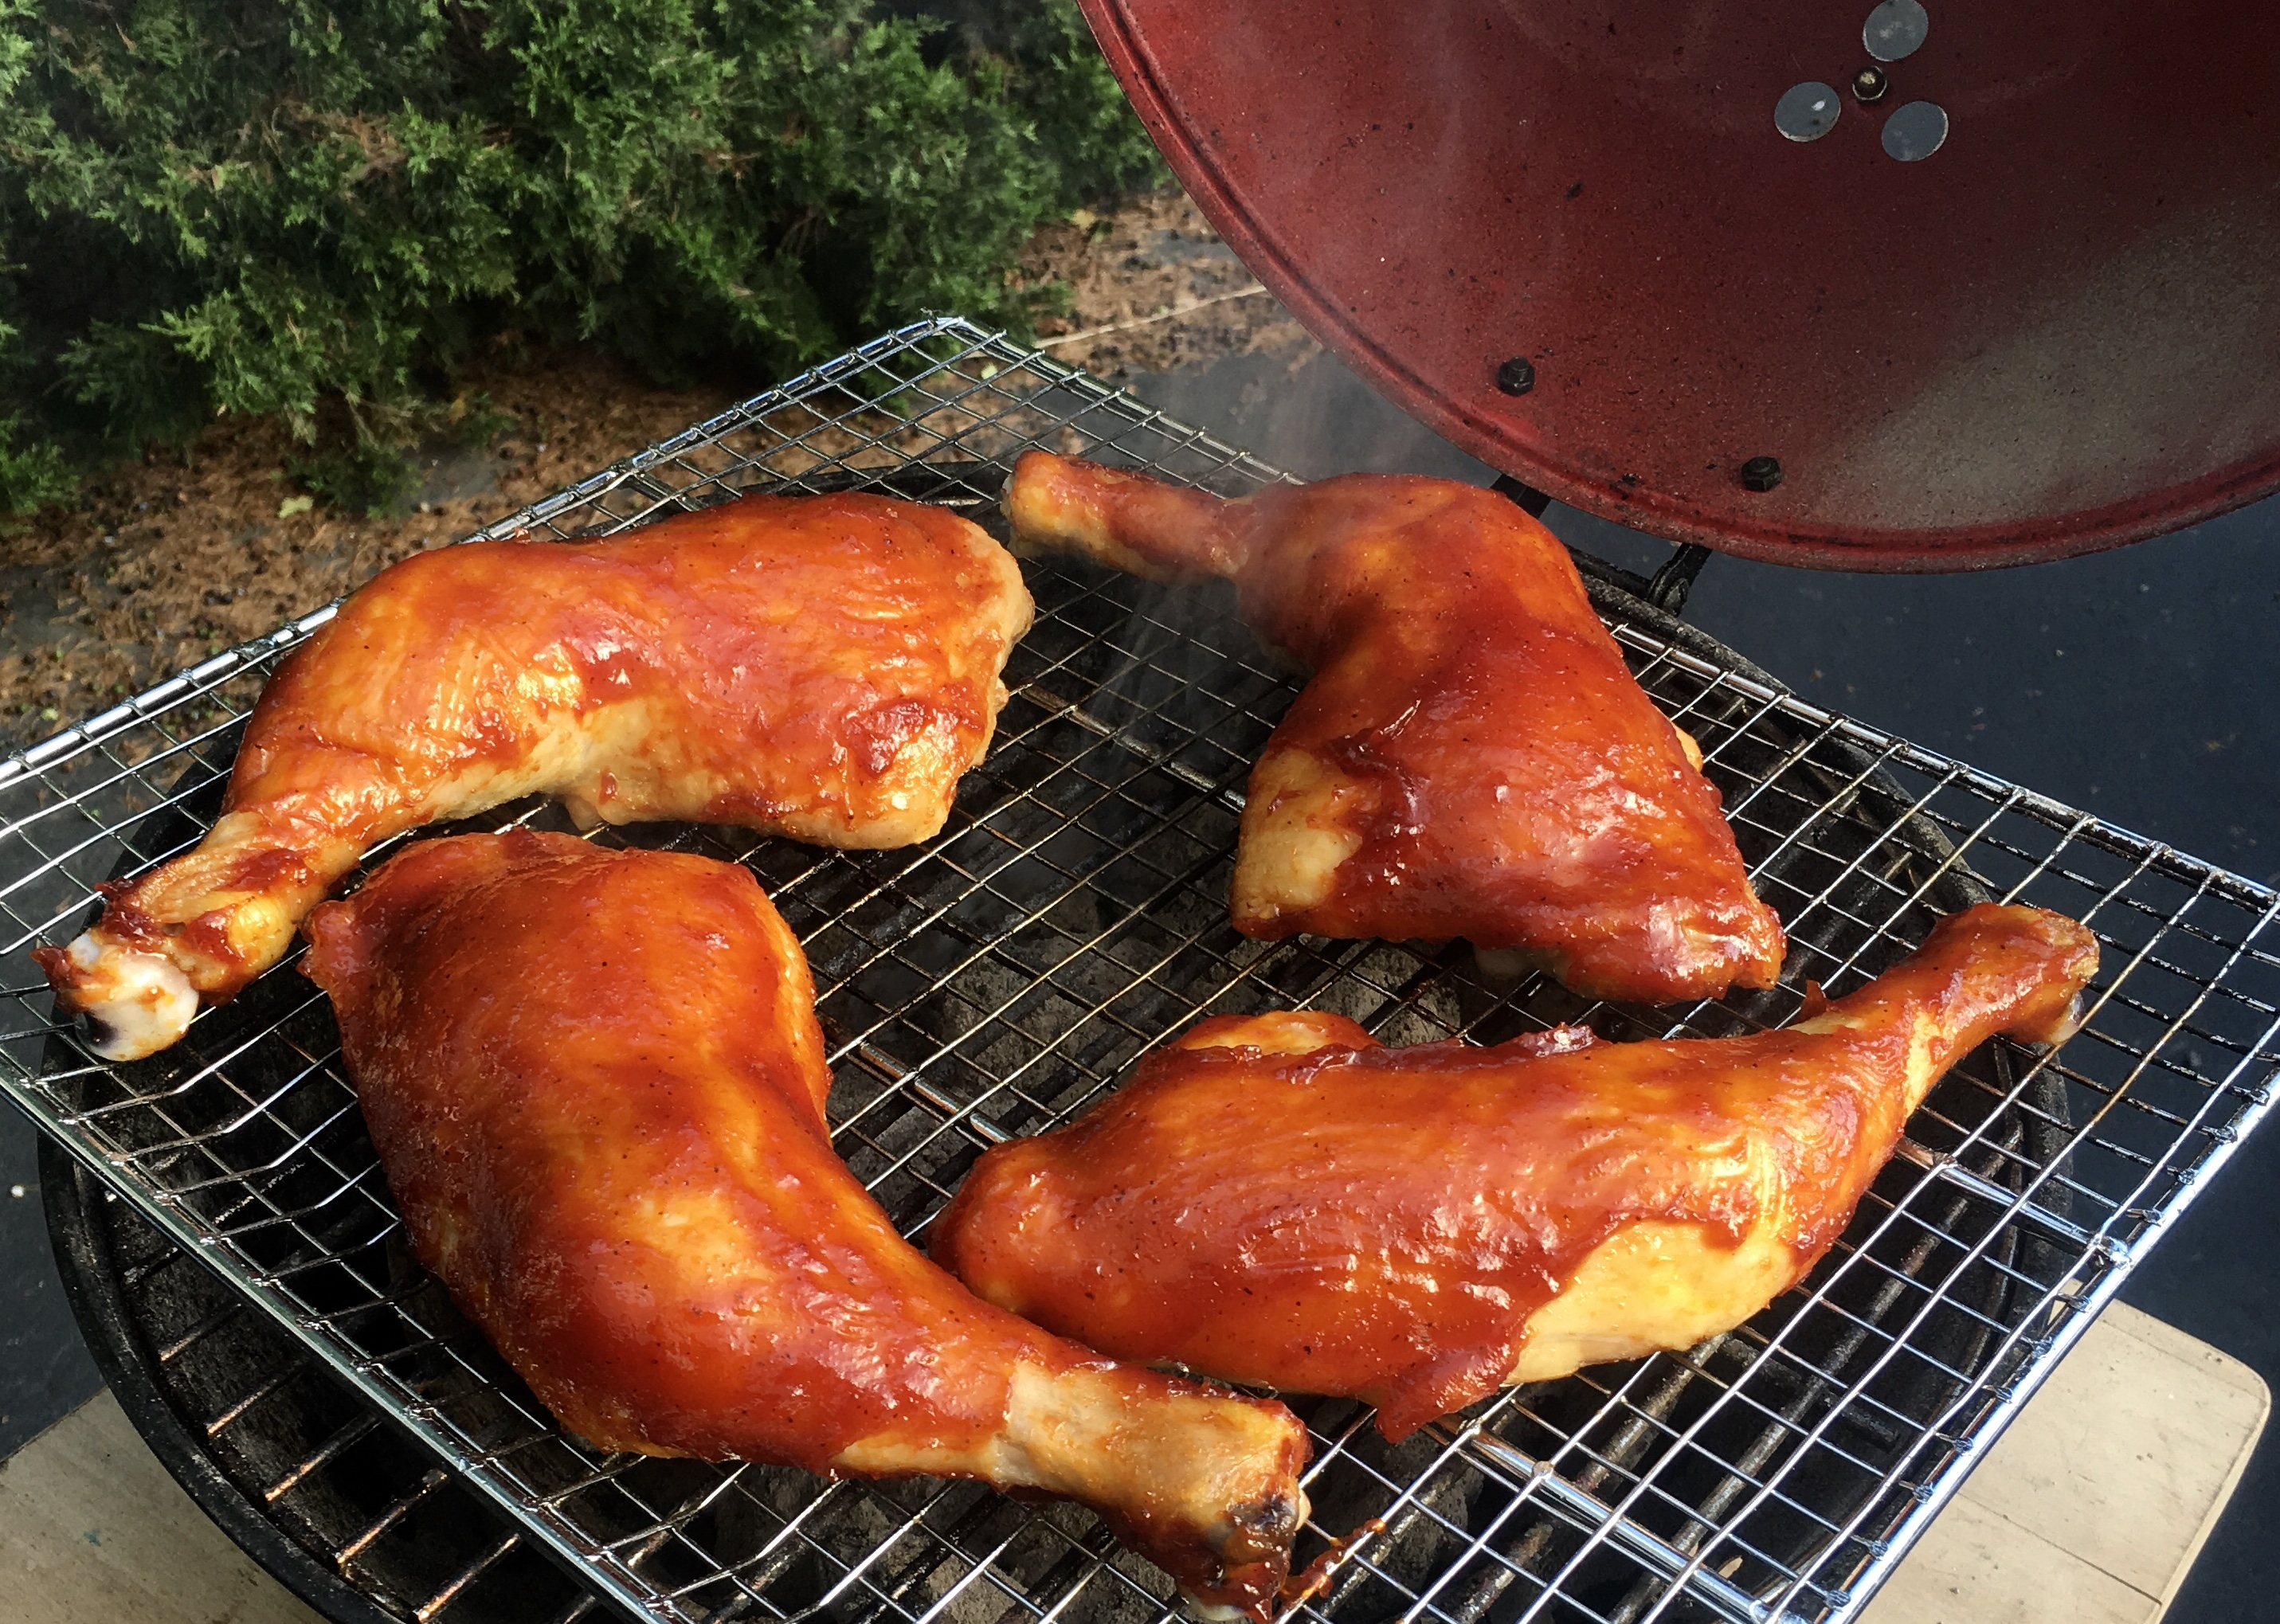
Out of the oven and onto the fire! The grill grate was nasty and rusty, so I just grabbed a clean one I had handy and popped it right on top. (I hate scrubbing grills!)
Once the chicken has cooked its total of 2 low-and-slow hours in the oven, I bring the pieces outside. I spread the coals evenly on my little grill, and place the chicken pieces on it, flipping the pieces so that both sides get nice and smokey with a little bit of char…about 5 or 10 minutes per side will do the trick.

Getting that char on the chicken is key to making it taste like it’s been on the grill all the time.
The chicken goes back to the kitchen, and while it’s still hot, I brush with the barbecue sauce one last time before serving.

Perfectly done…perfectly delicious!
Here is the magical barbecue sauce recipe…
Combine all the ingredients in a sauce pan. Bring it to a boil and then turn it down low, and let it simmer for about 20 minutes, or until slightly thickened.
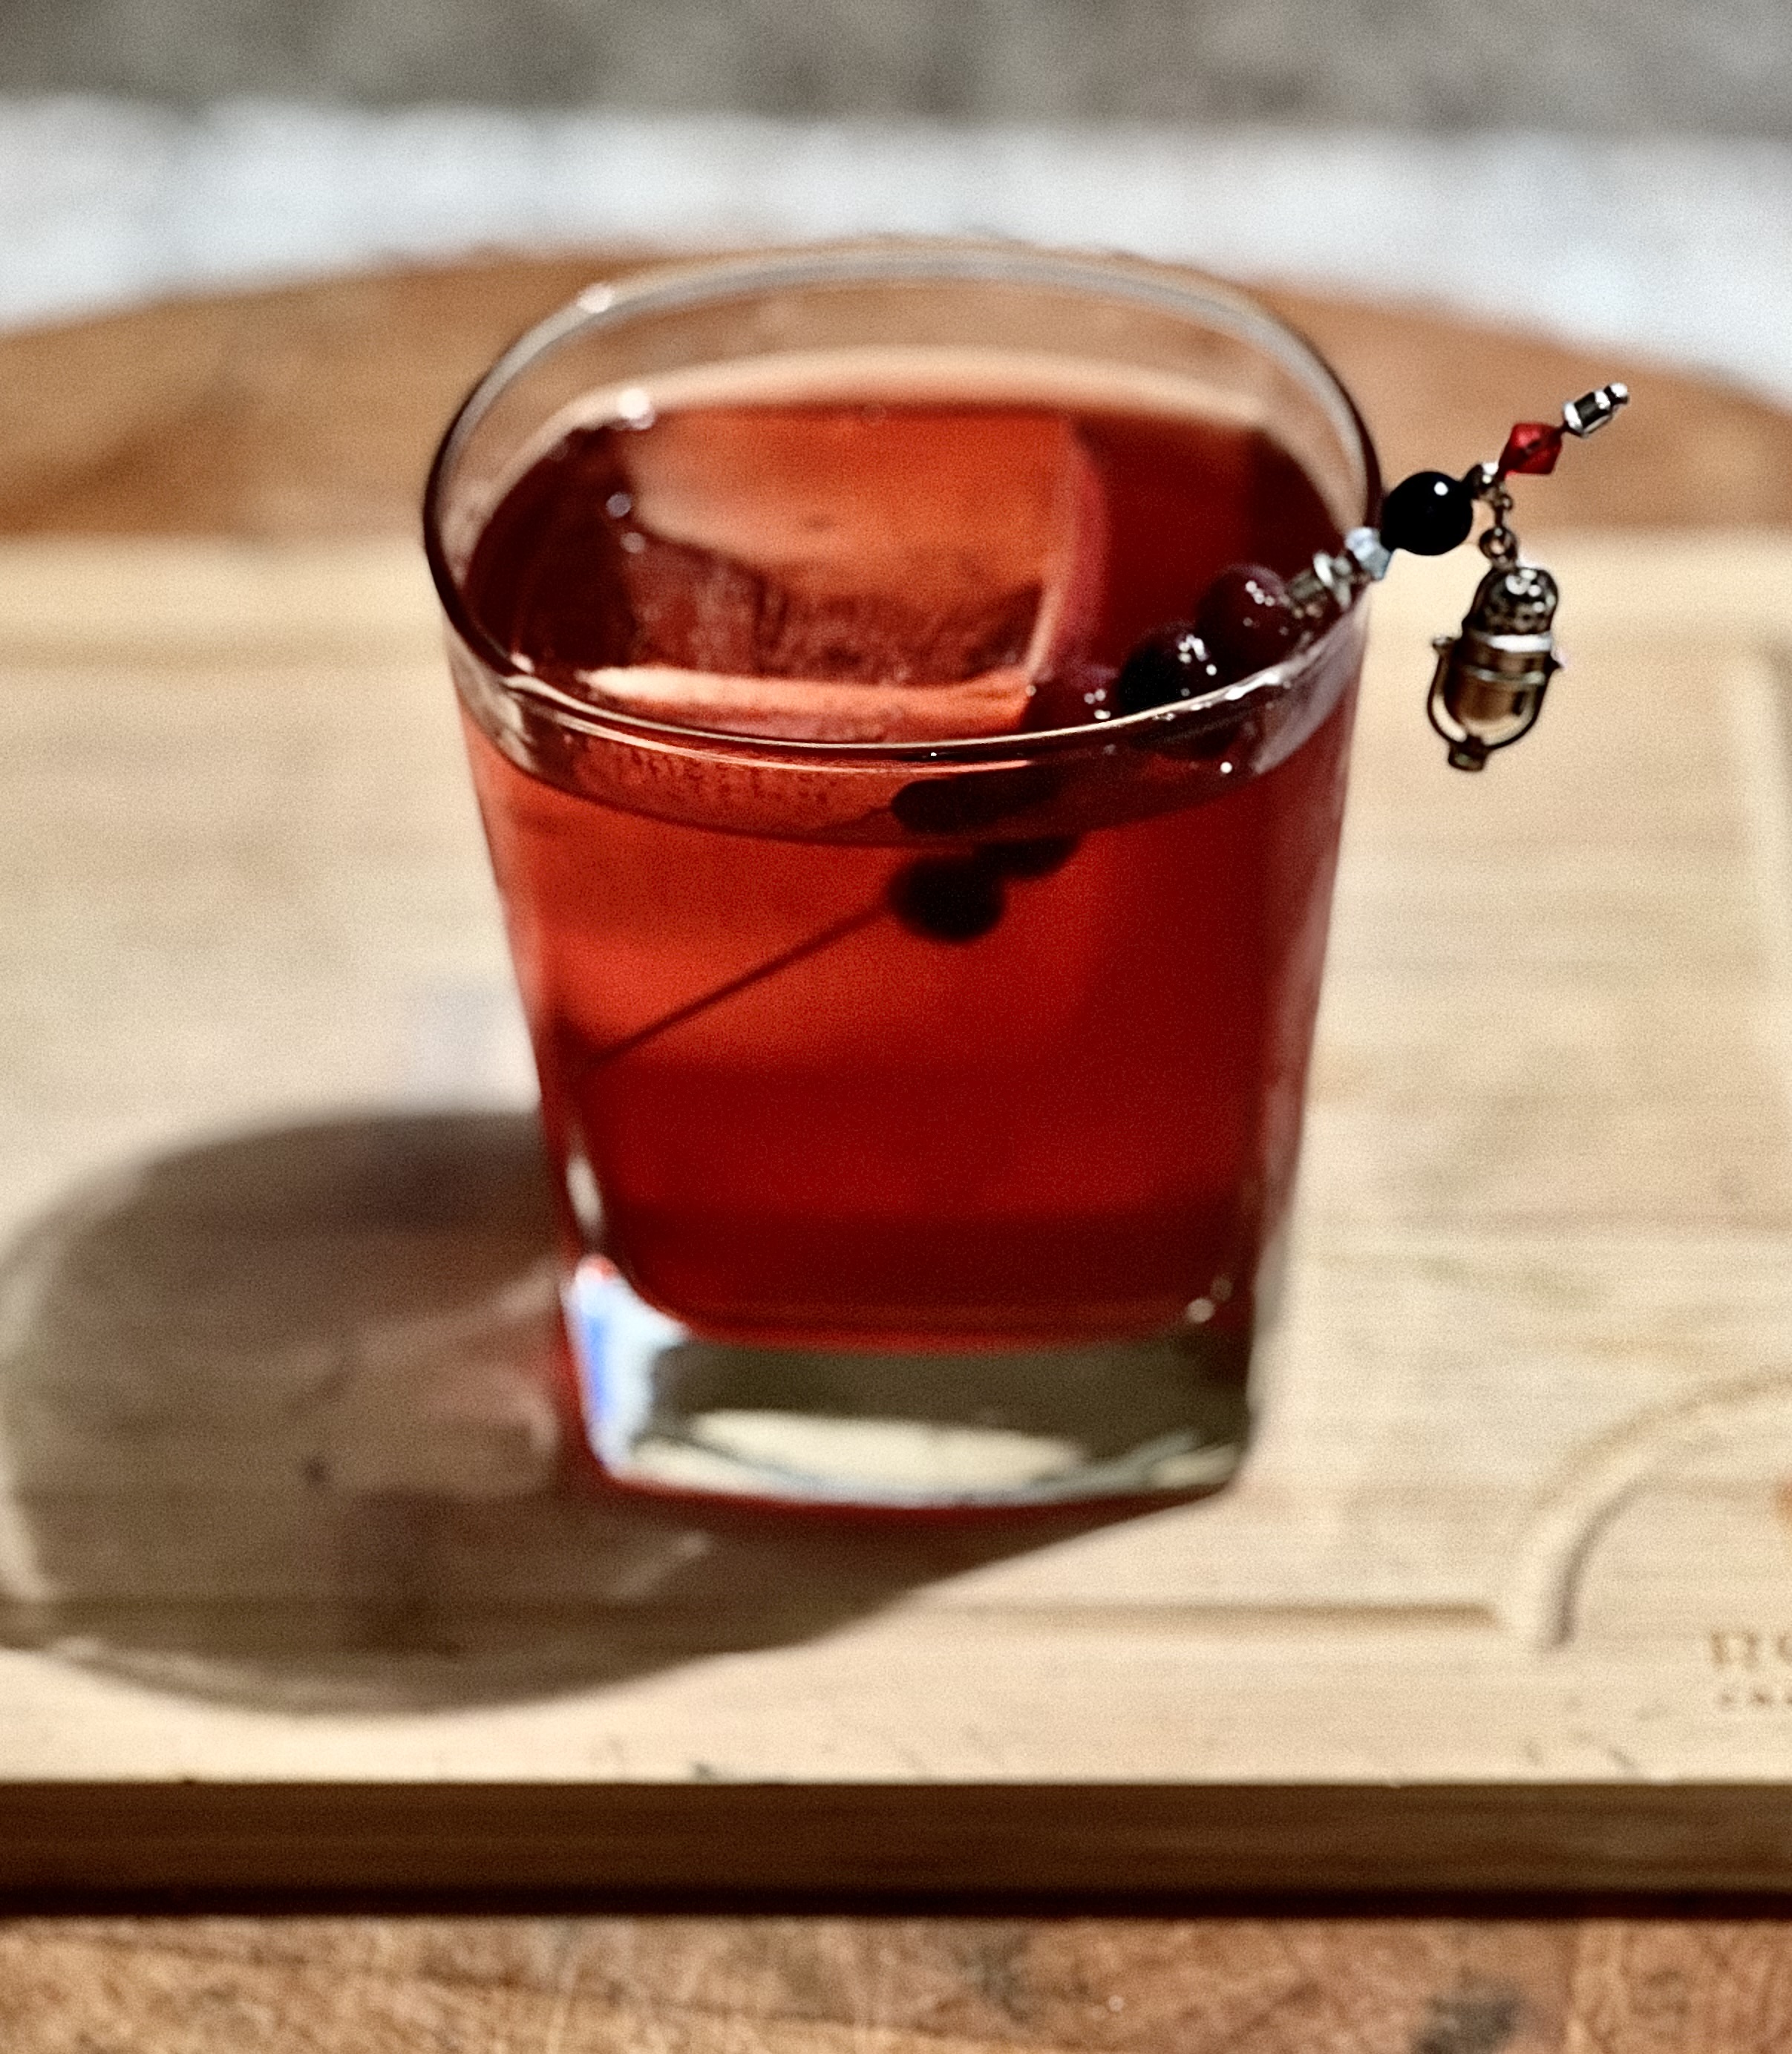
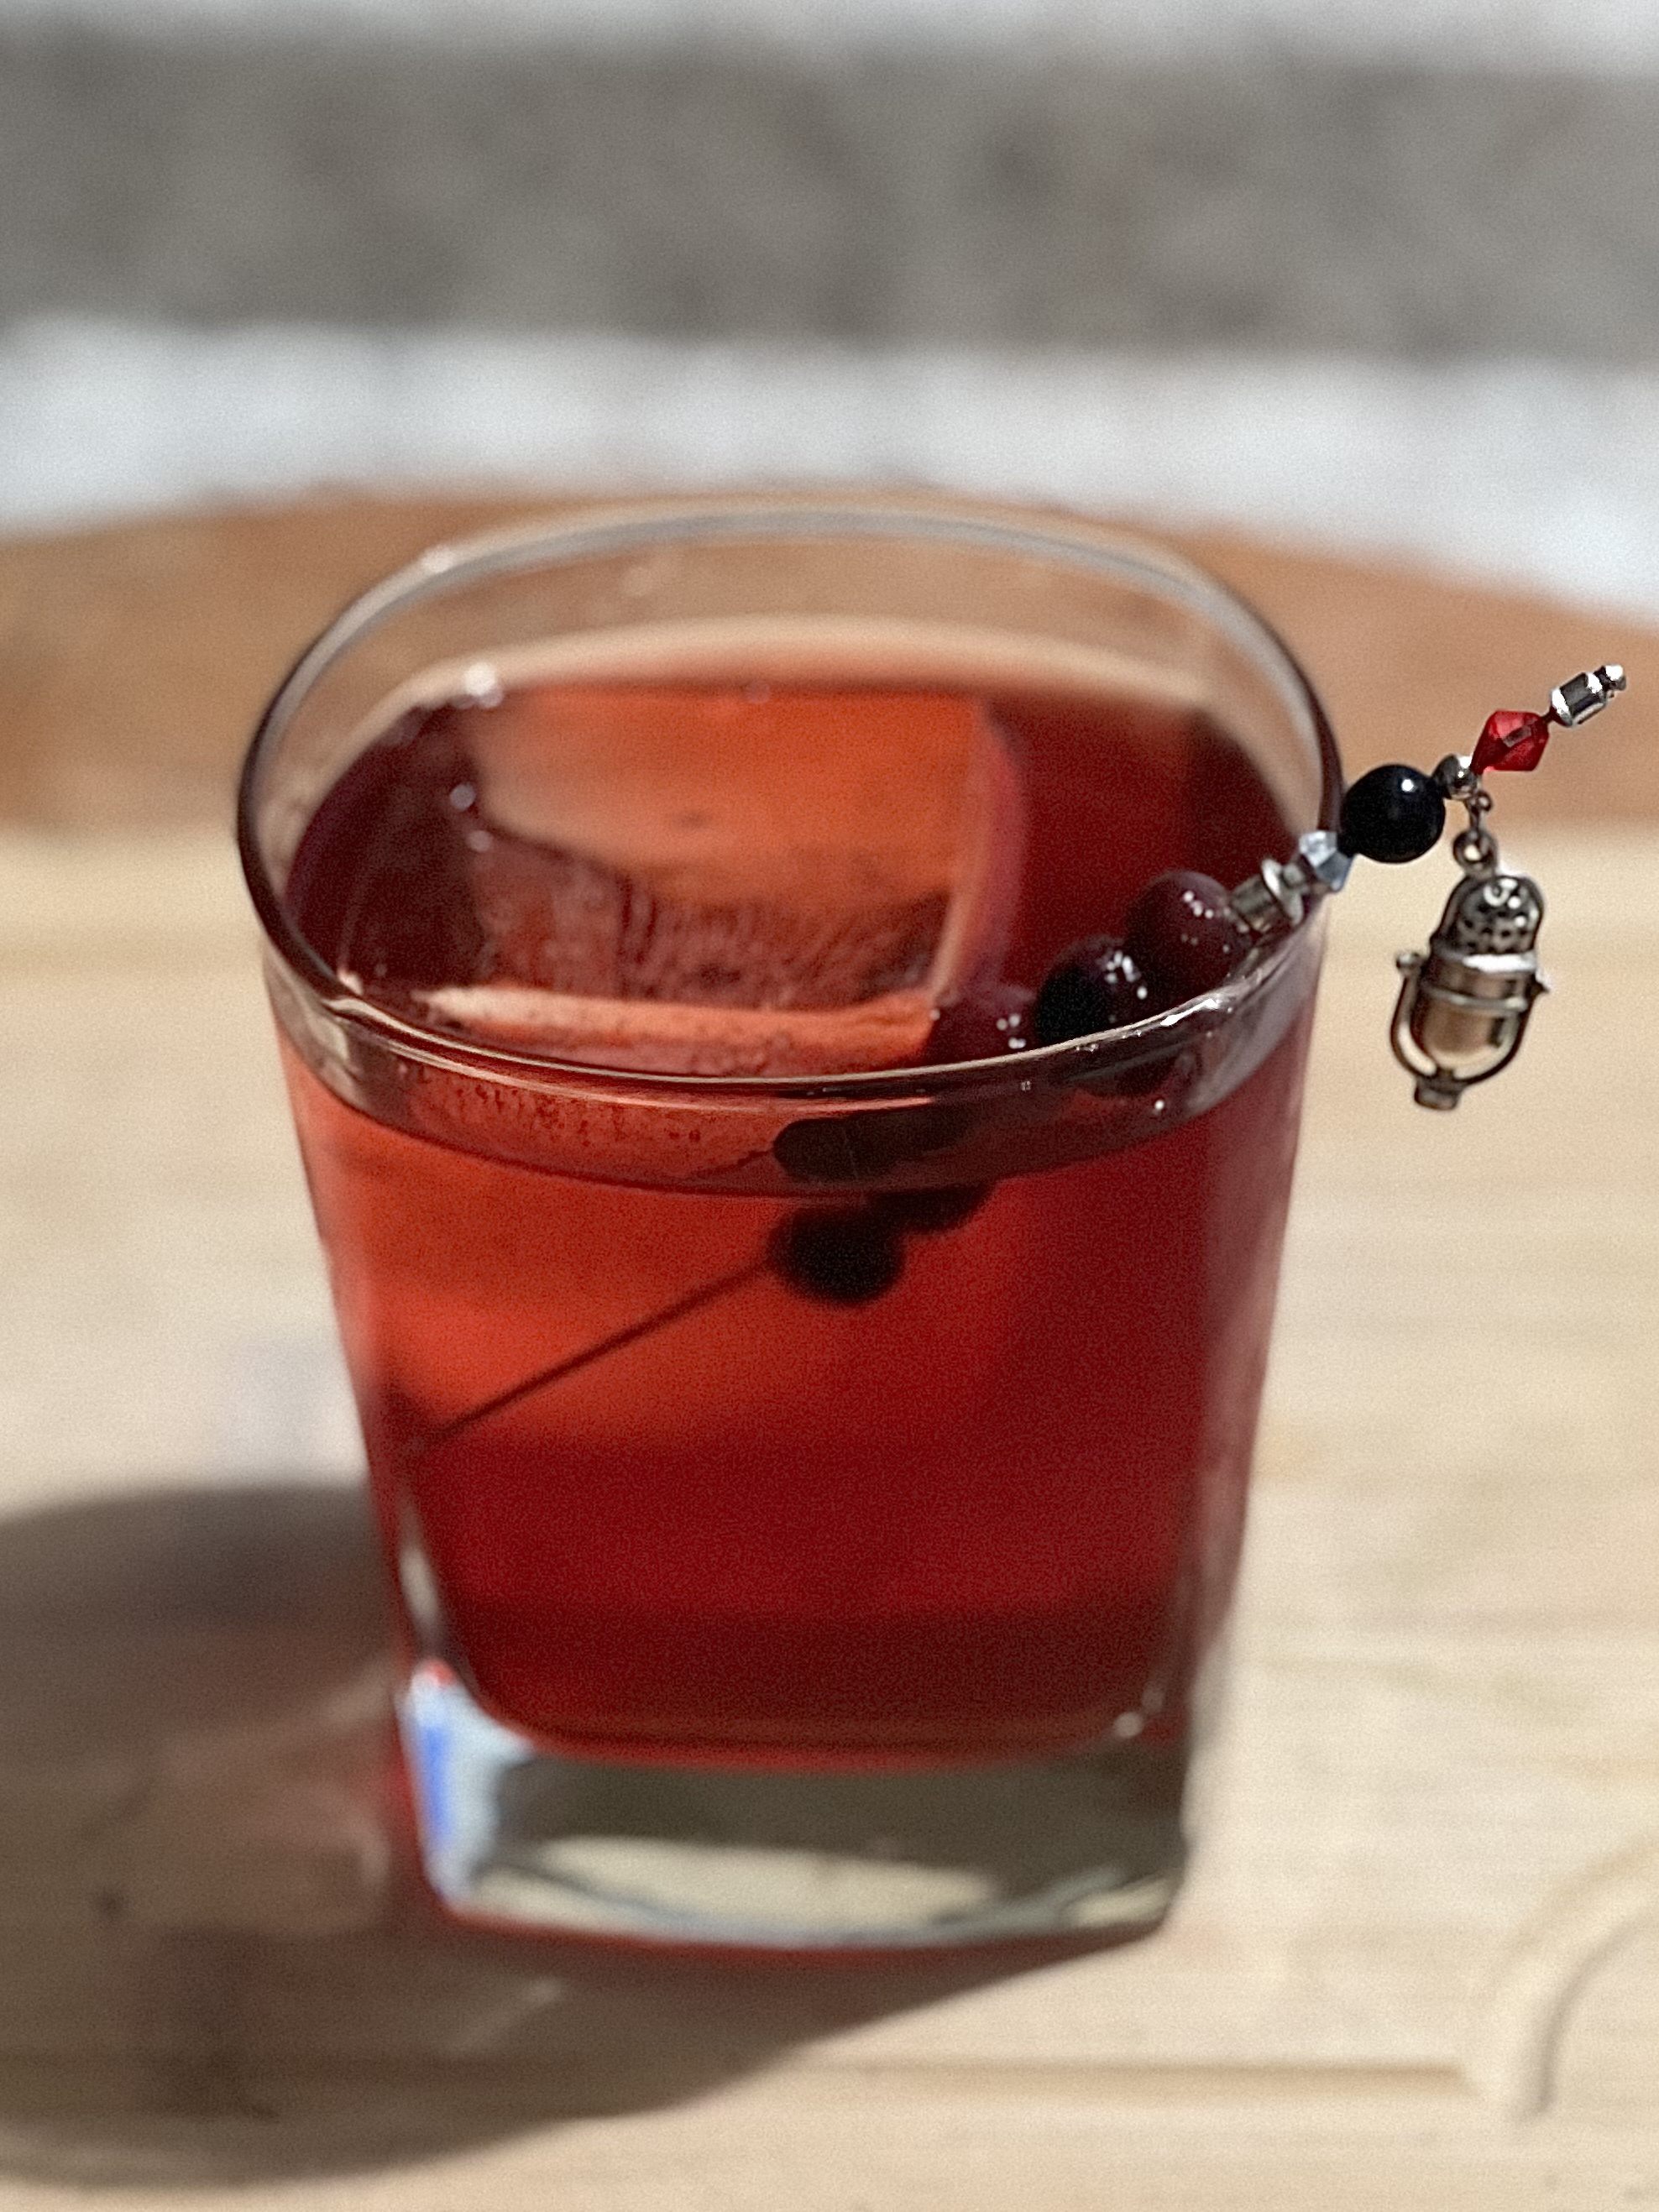
I recently read a recipe where a chef infused blueberries in gin for a barbecue sauce. As interesting as that was, I thought it would also be interesting to use that infused gin in a Negroni, and I was right! The blueberries round the drink out and don’t overpower the drink.
I used frozen wild blueberries for this, because the farmed ones just don’t have the flavor.
I used Bluecoat American Dry Gin for this recipe, because that’s what I had! I don’t think you need to spend big bucks on a fancy gin for this recipe. Another excellent choice would be a somewhat neutral gin, like Ford’s gin, from England.
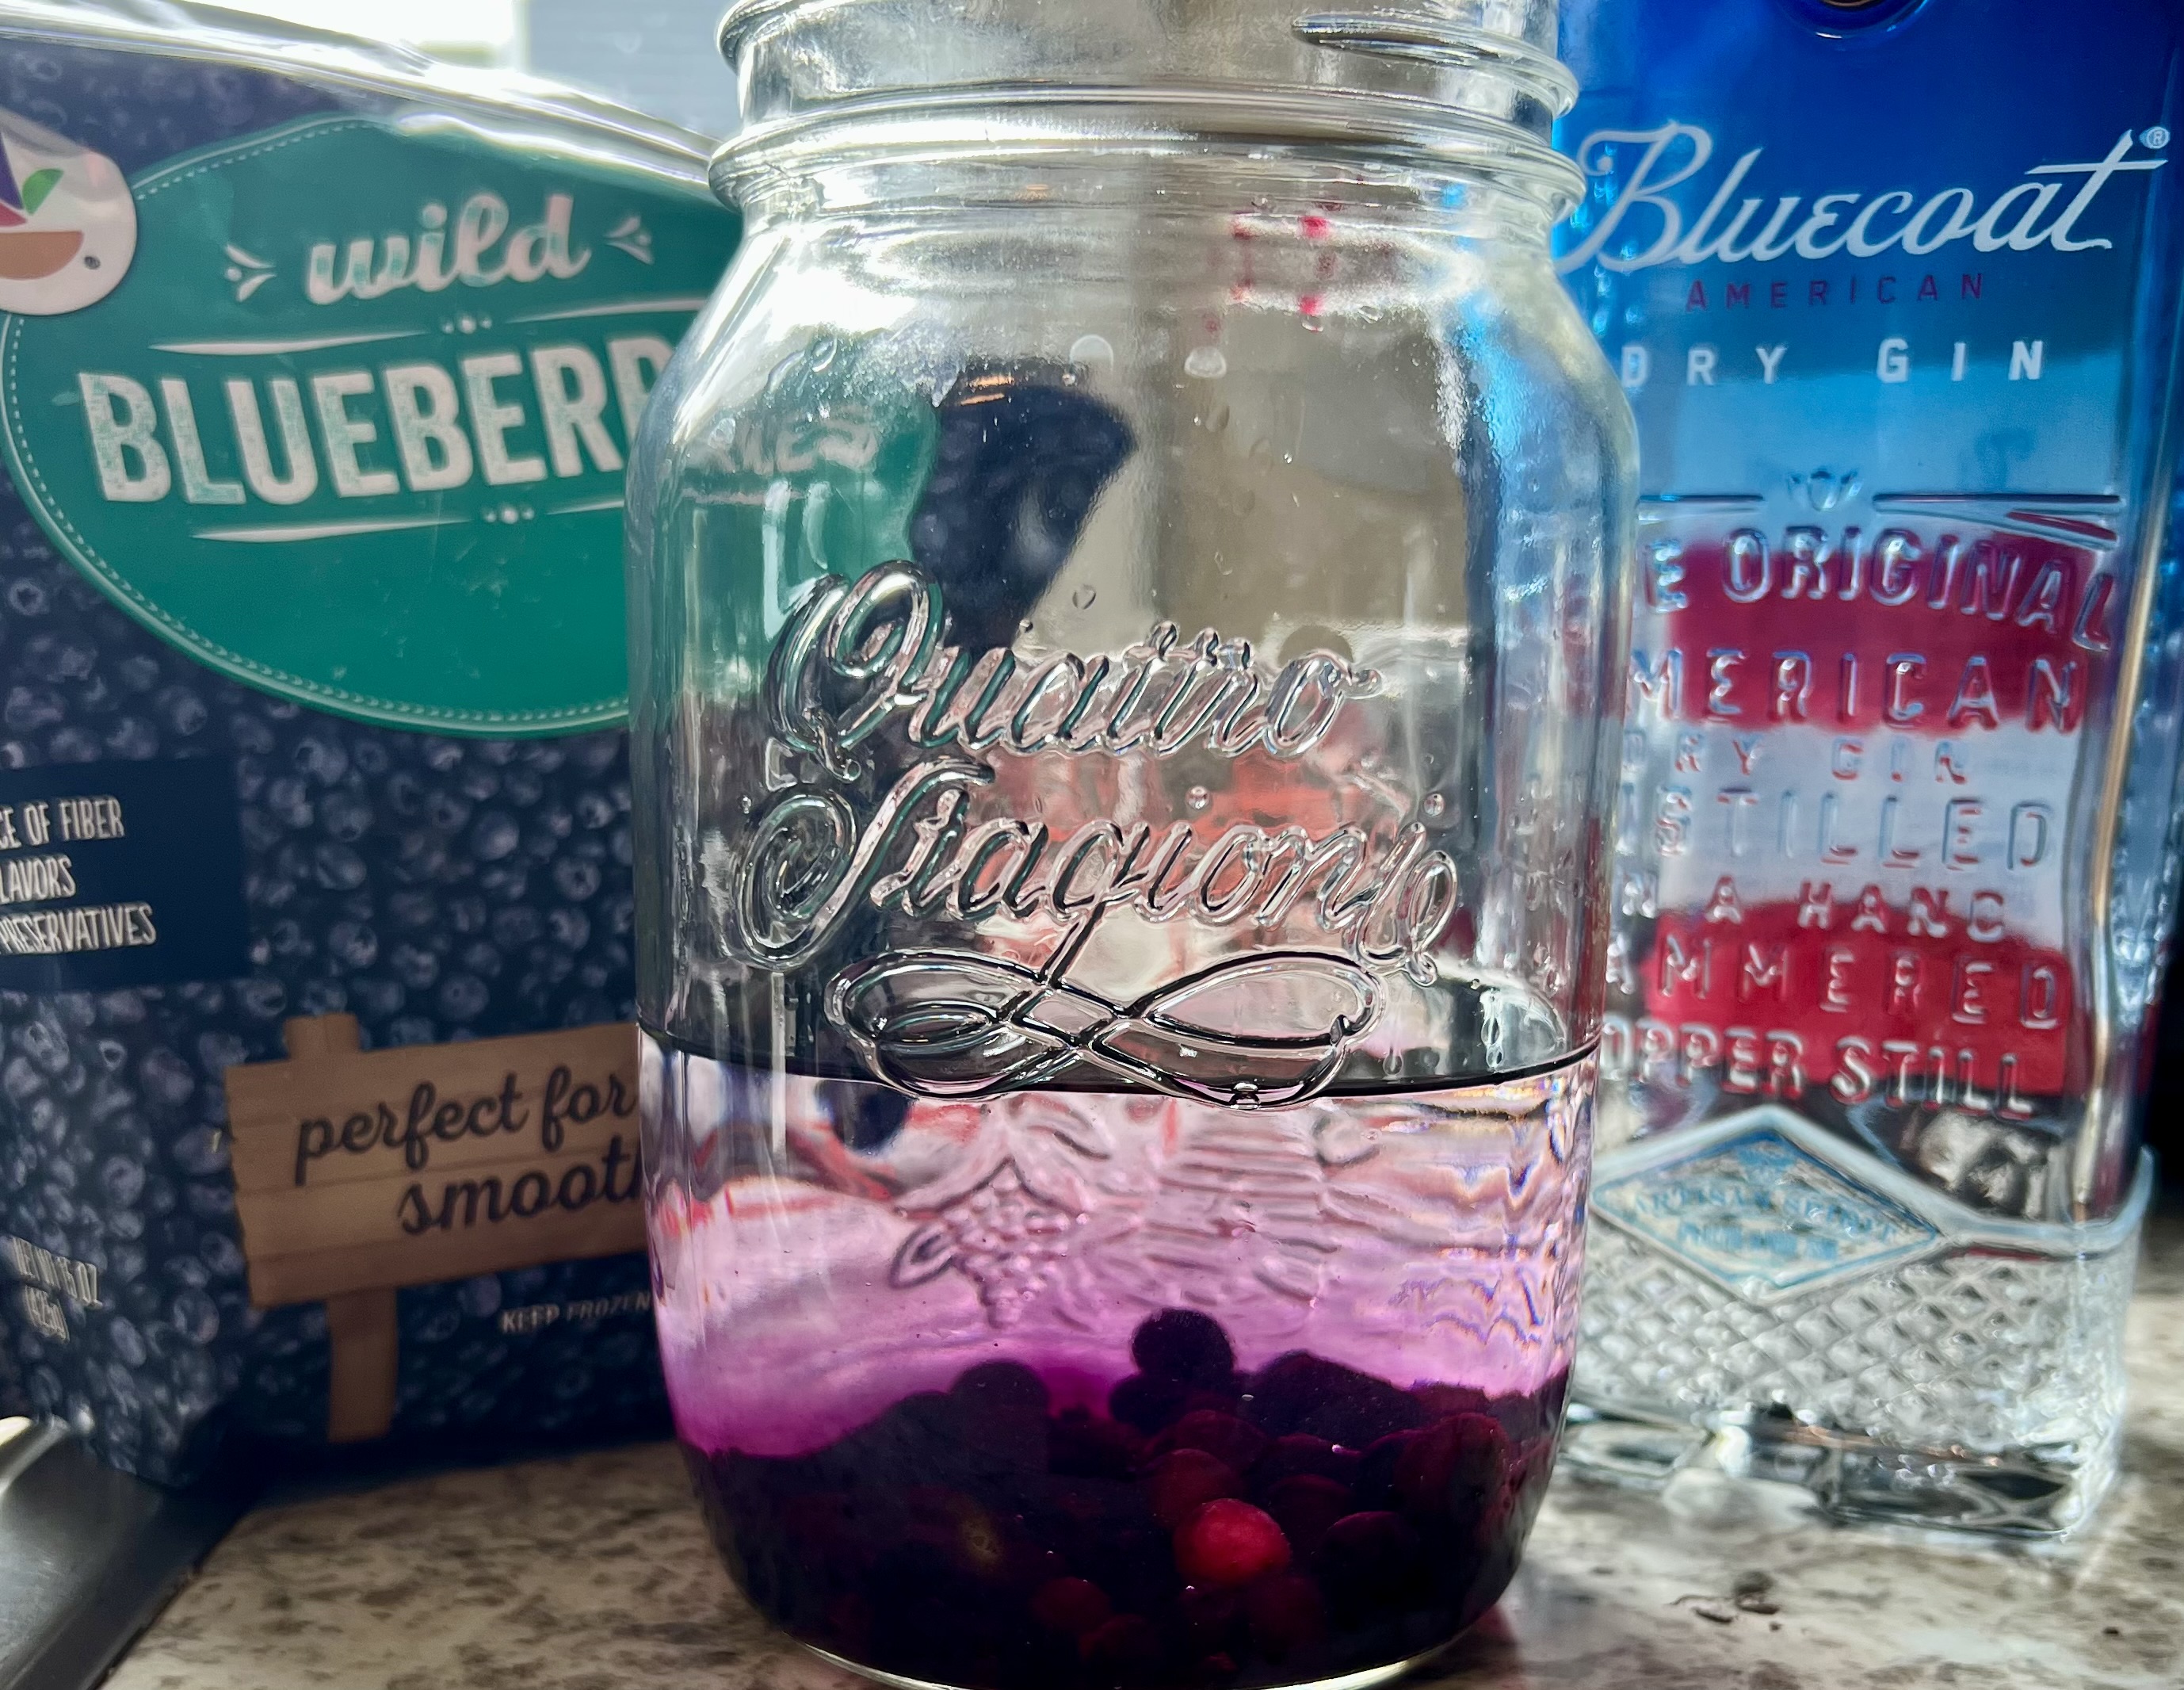
I poured the gin into the mason jar, and added the blueberries. I let the flavors infuse for several hours at room temperature. Then I strained the blueberries out of the gin.
I put the blueberries in a sealed container in the freezer, where they got cold, but didn’t freeze solid. I skewered them as a garnish for the drink. (Of course, if you want, you can just eat them!) I keep the gin in a sealed jar in the refrigerator.
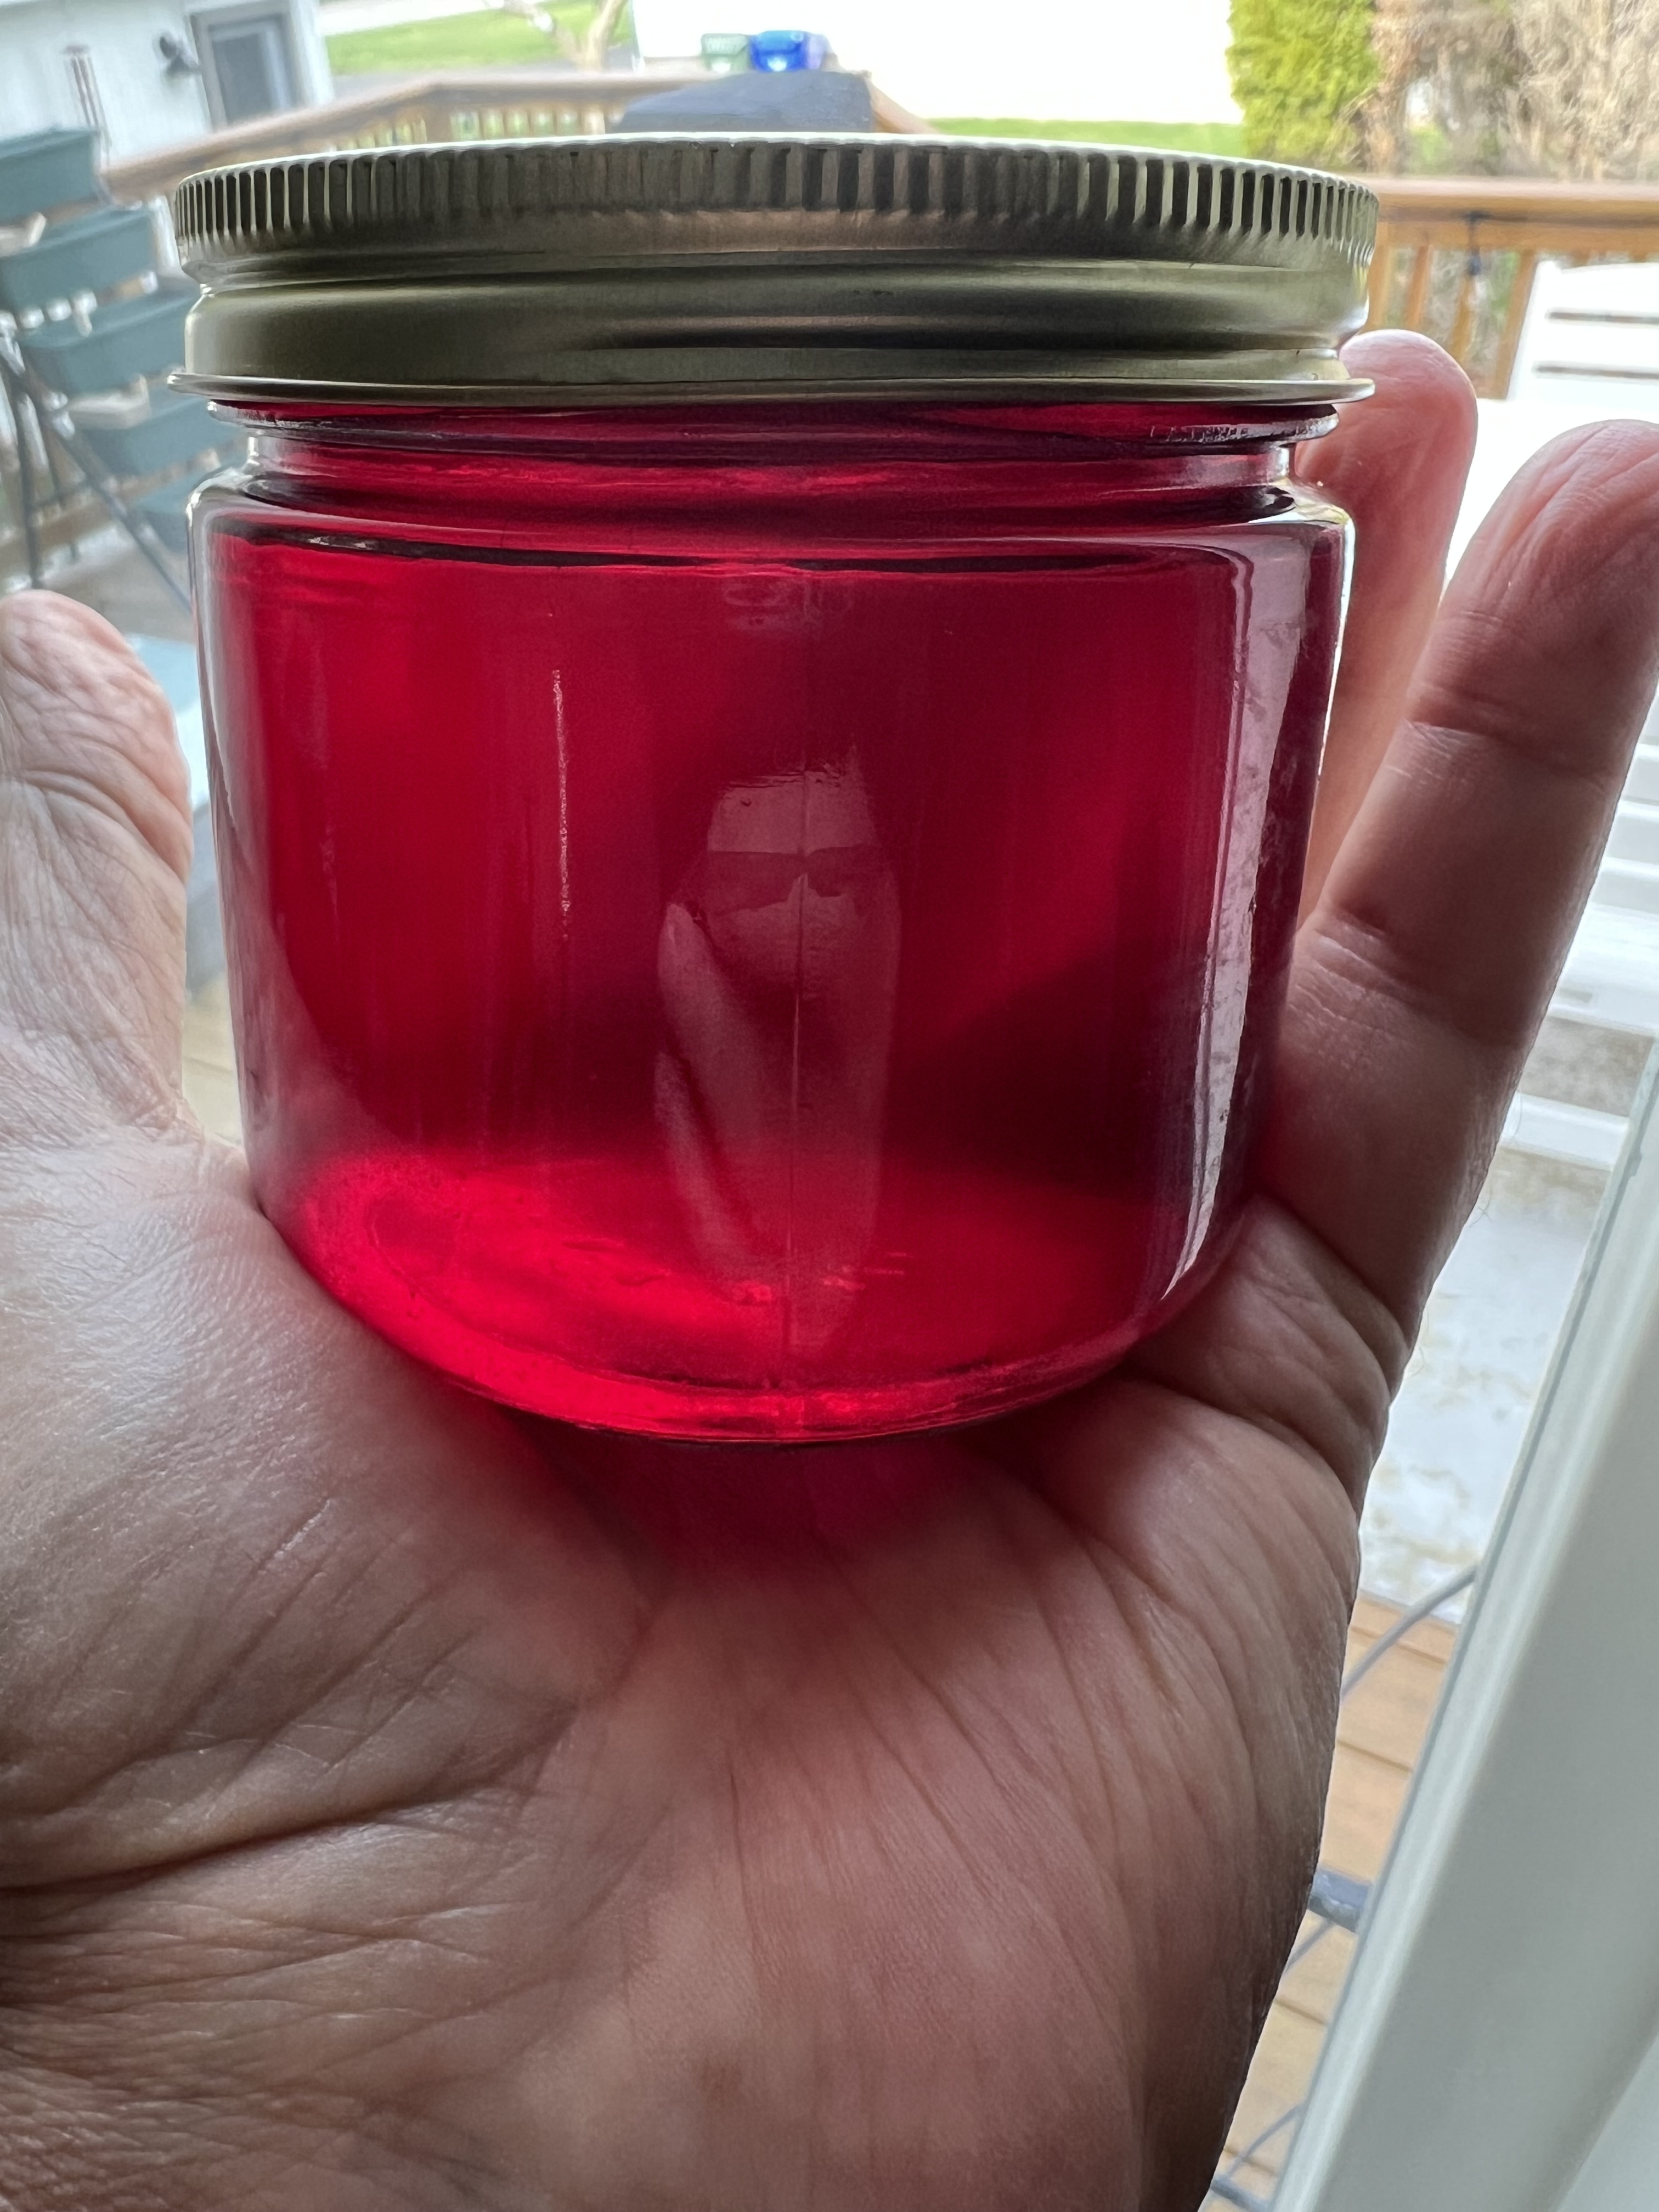
For my Negroni, I don’t use the standard 1-1-1 ratio, because I want a real drink!
Combine the ingredients over ice, and stir well.
Get a rocks glass, and put a big cube in it. Strain the Negroni into the glass with the big cube. Skewer as many blueberries from the infusion as you like to top the drink off.
I recently discovered a new version of chimichurri, one where I use basil instead of parsley, and I don’t know if I’ll go back to the old chimi ever again!
Chimichurri is a garlicky, herby green sauce usually used with grilled meats. This pesto-like condiment originated in Argentina and is also commonly used in Nicaragua and Uruguay. Though some recipes include cilantro, many people insist the original is made only with parsley. This time, I decided to substitute basil for the parsley.
I’ve used this new “chimi” on salads, I’ve cooked shishito peppers with it, and recently, I had great success roasting chicken with it. To make the chimi…

Place all the basil and the water in a food processor and begin to chop, pulsing for a second at a time. When the basil is in small pieces, stop pulsing and add the remaining ingredients, except the vinegar and olive oil. Start the processor on a full run now, and slowly pour in the vinegar, then the olive oil. Try not to make it too smooth…leave some tasty bits. Allow it to rest for at least 30 minutes, but overnight in a sealed container in the fridge is best.
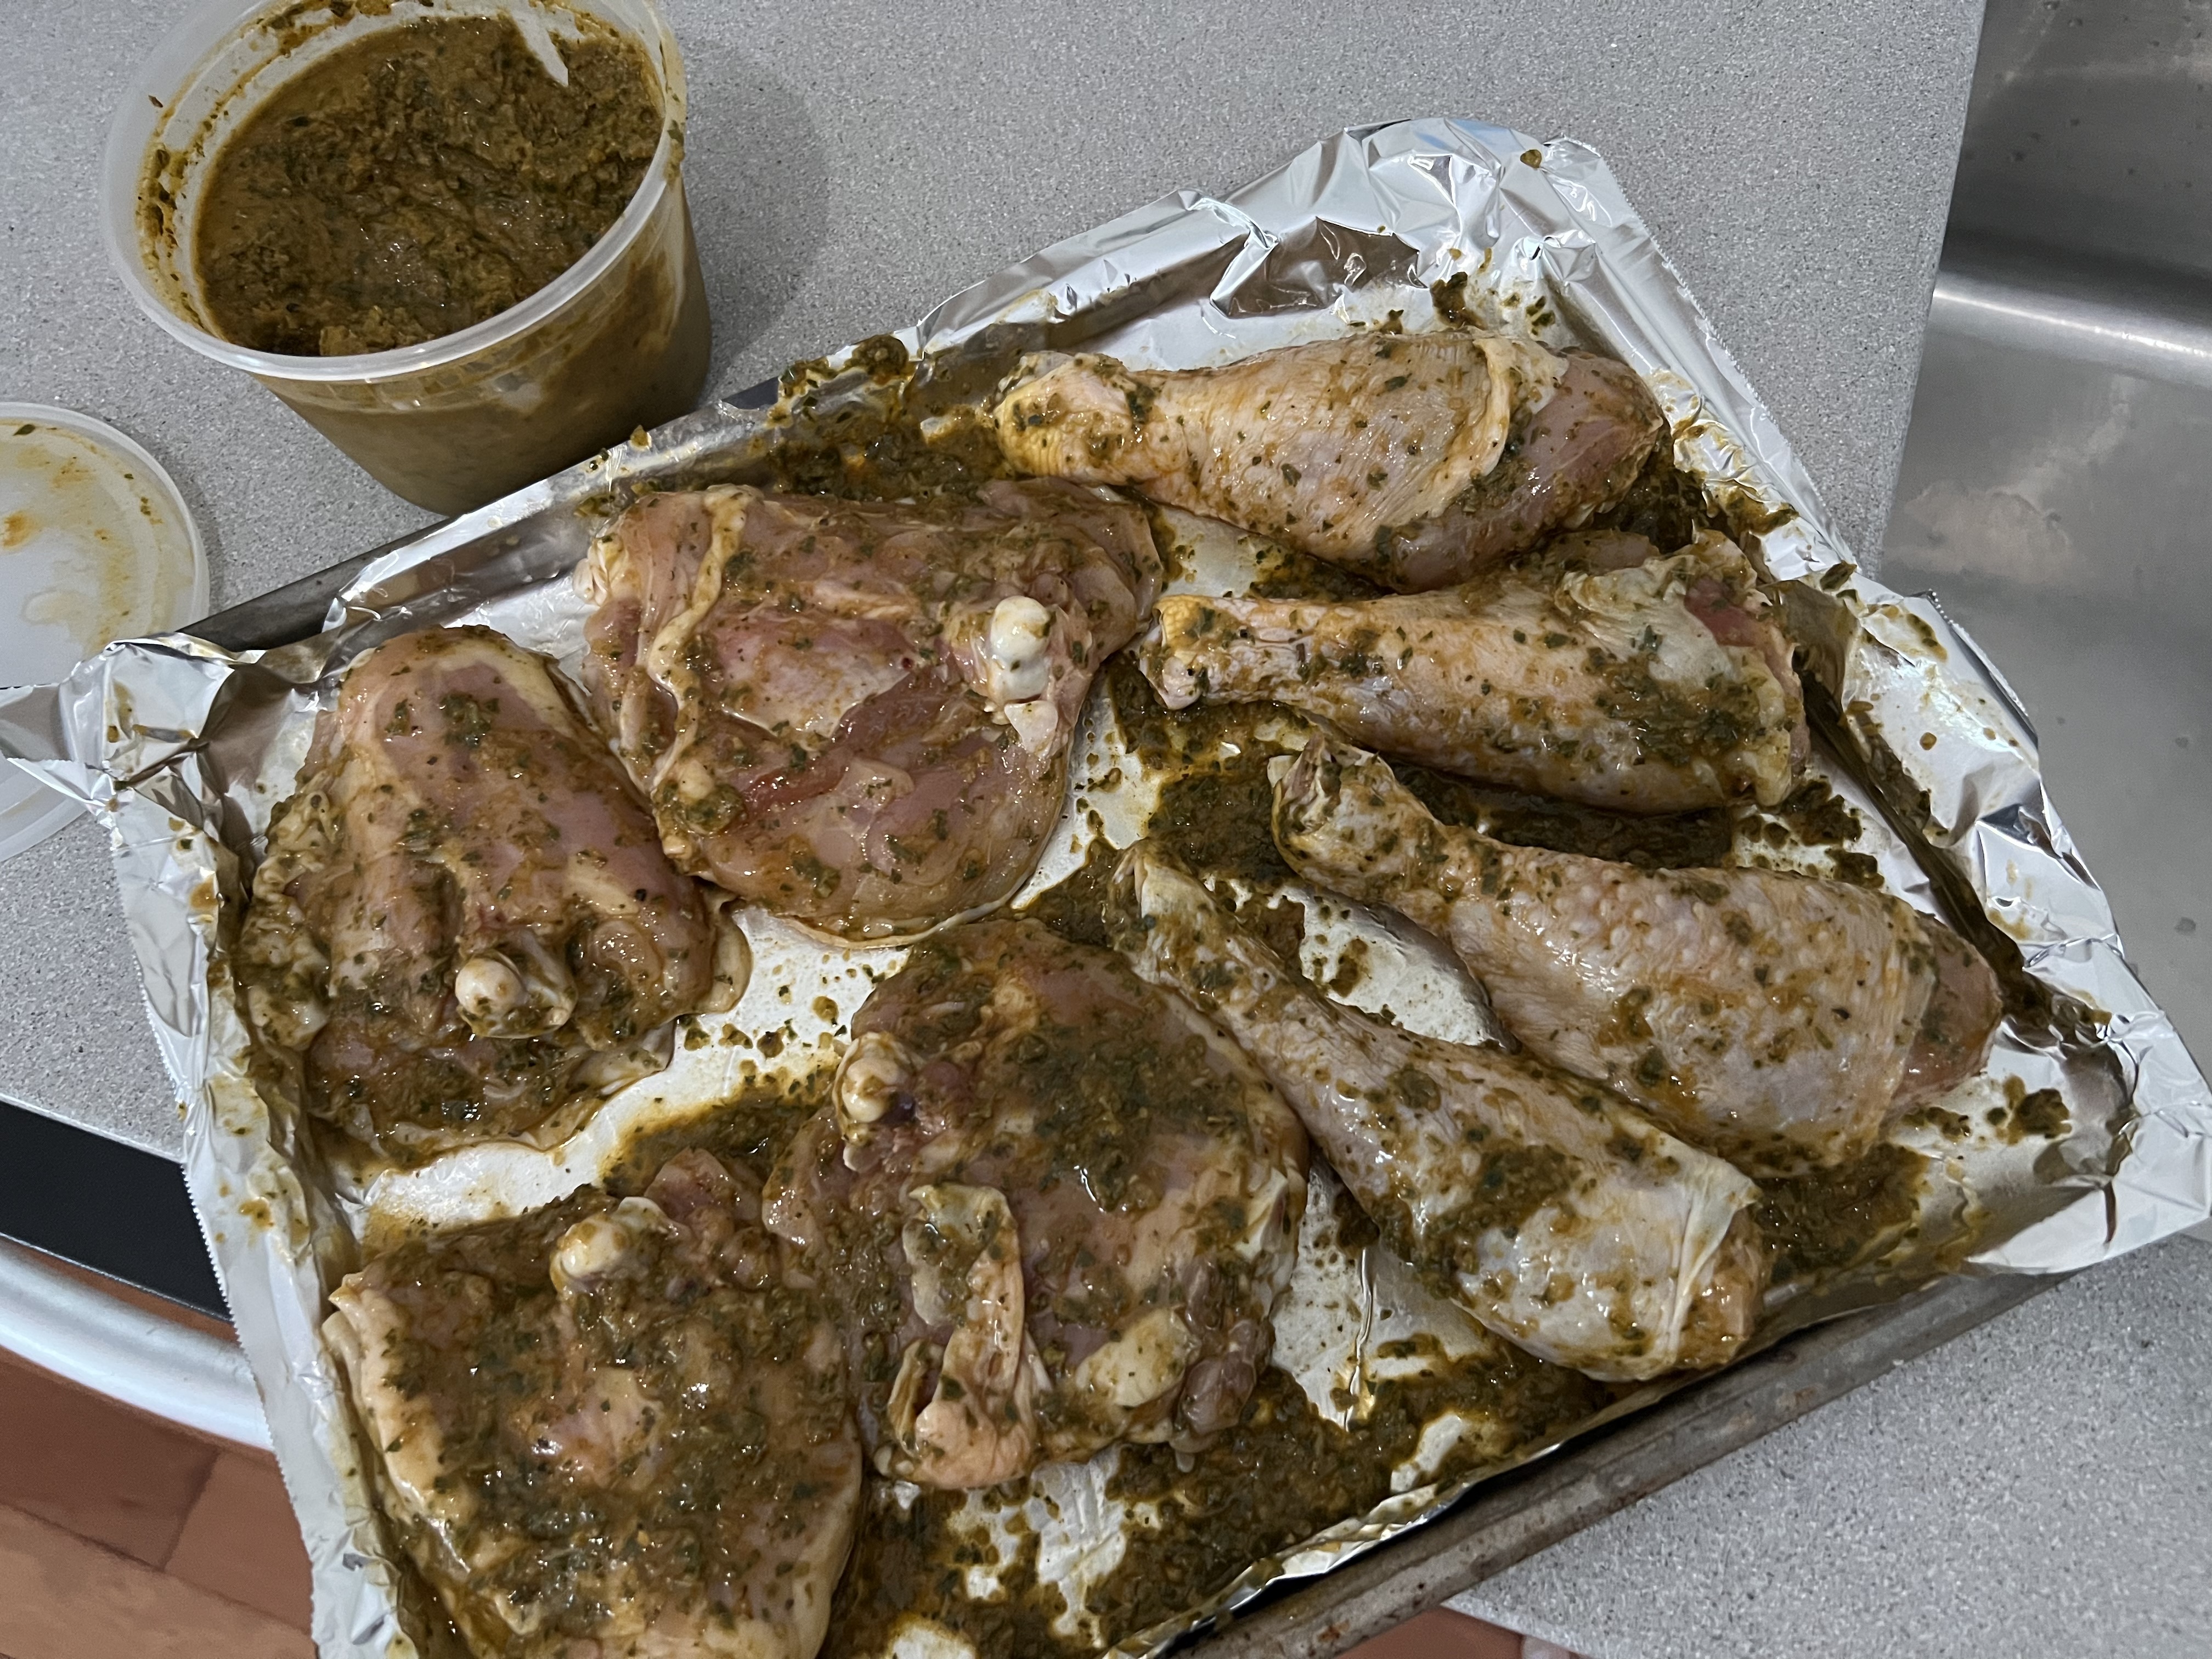
I had a 4-pack of chicken thighs and a 4-pack of drumsticks in my freezer, so that’s what I used for this dish. But it’s just as easy to use a spatchcocked (a butterflied chicken where the backbone is removed so it lays flat) whole chicken, or any parts you prefer.
Pre-heat the oven to 350.
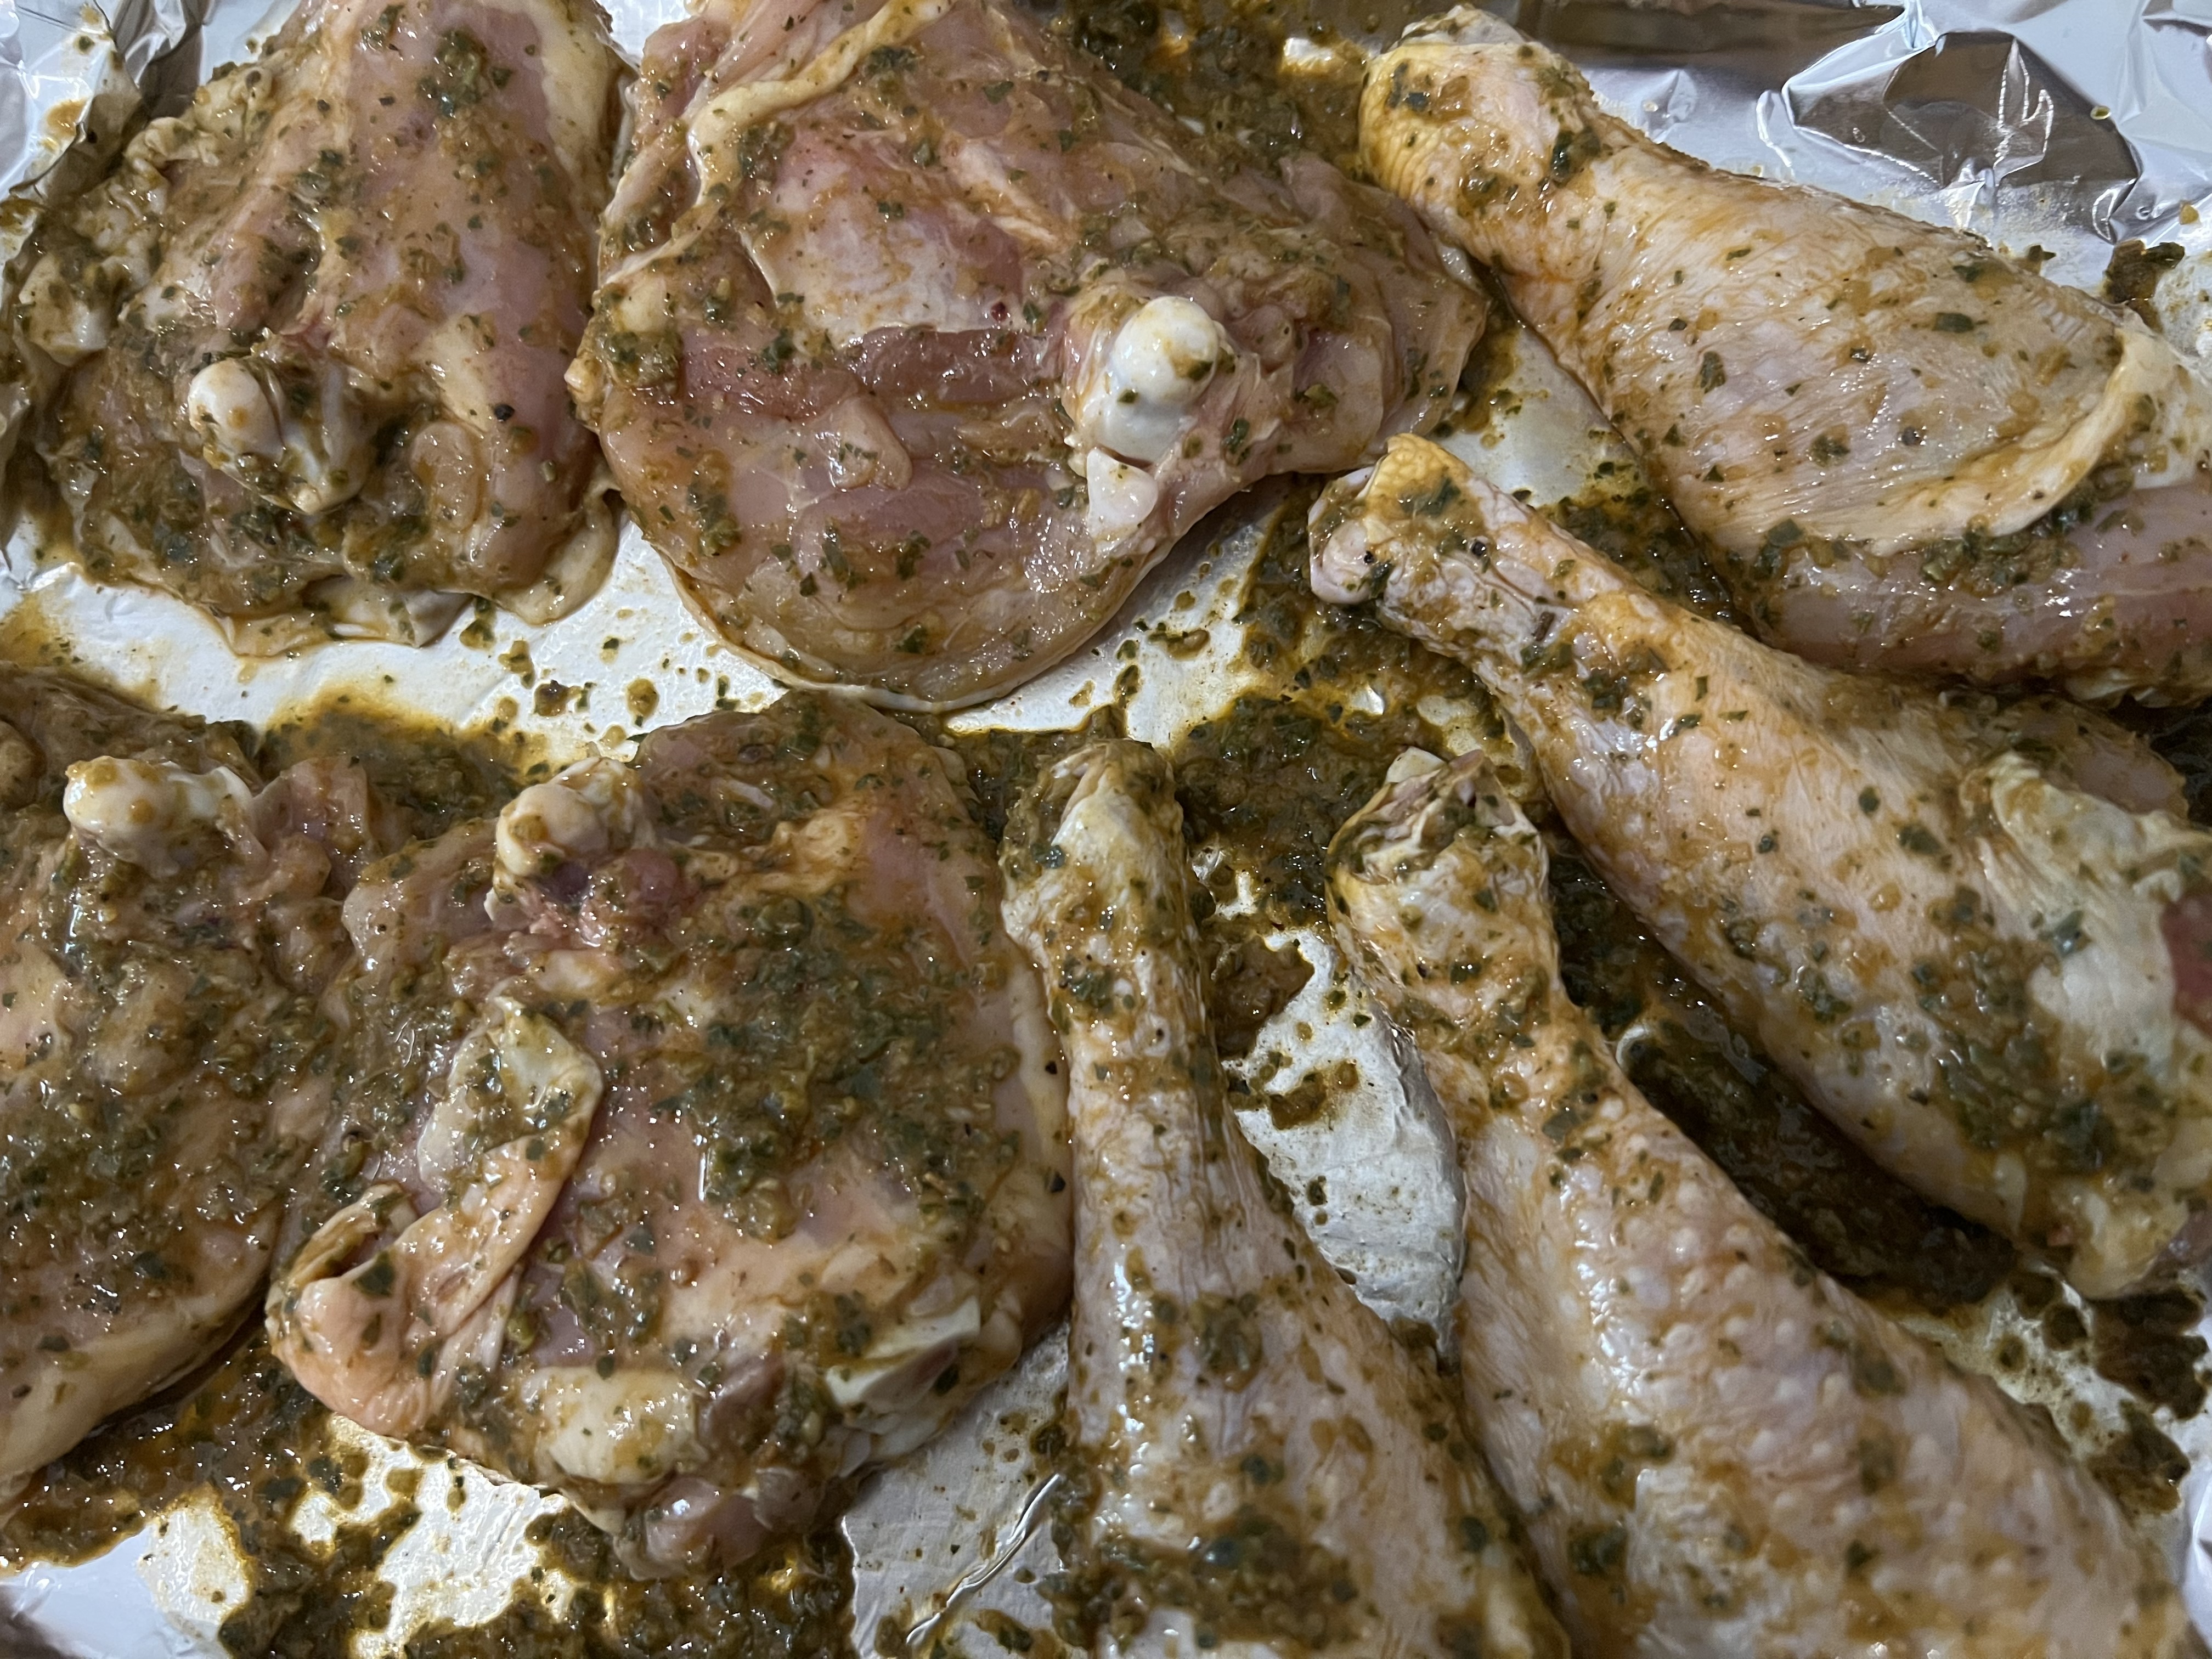
Place the thawed chicken pieces in a baking pan, and rub them really well with a generous amount of the chimi. Get it under the skin where you can, not just the outside. (Just remember that you’re handling raw chicken, so the moment you touch the chimi with raw chicken hands, you’ve contaminated the batch! Use a separate bowl with part of the chimi, so you don’t ruin the rest.)
Let the chicken marinate in the chimi at room temp for a few hours, or in the fridge overnight.

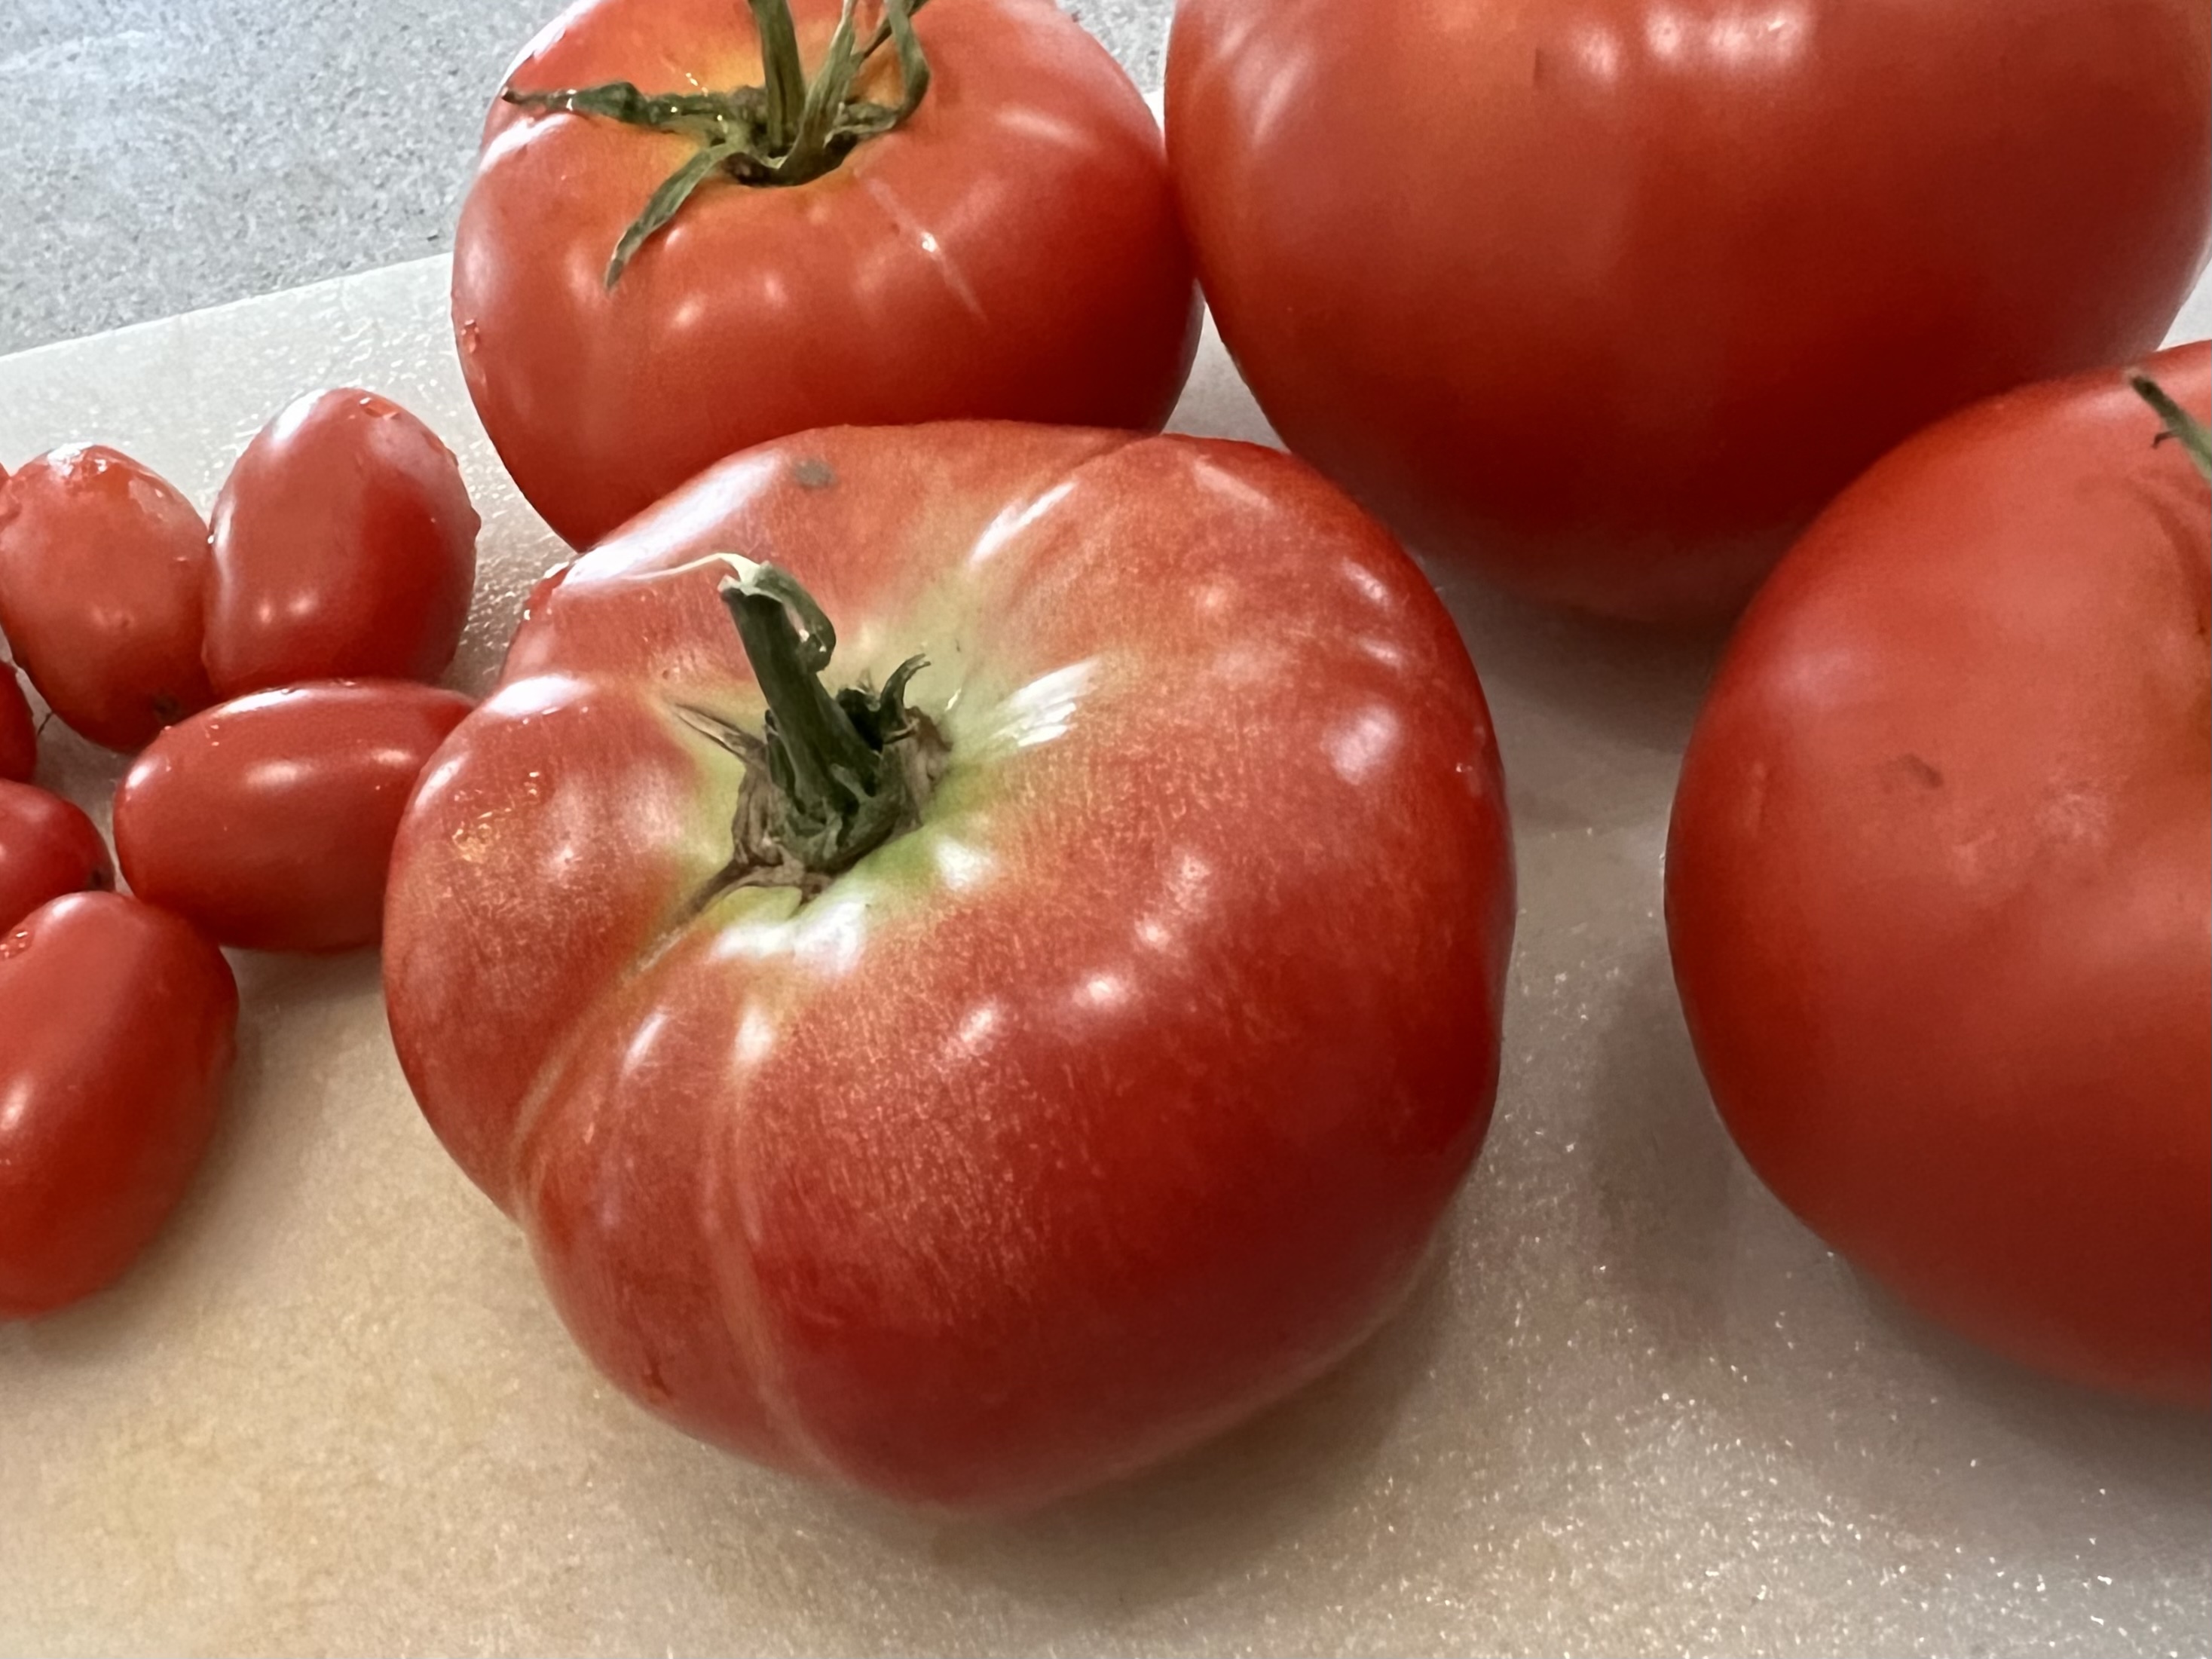
Grab a bunch of tomatoes, cut them up, removing some of the seeds (but not really worrying about it either way) and mix a little chimi in the tomatoes. Place the tomatoes on the bottom of the roasting pan, and place the chicken pieces on top, so the chicken skin will crisp up while it cooks.
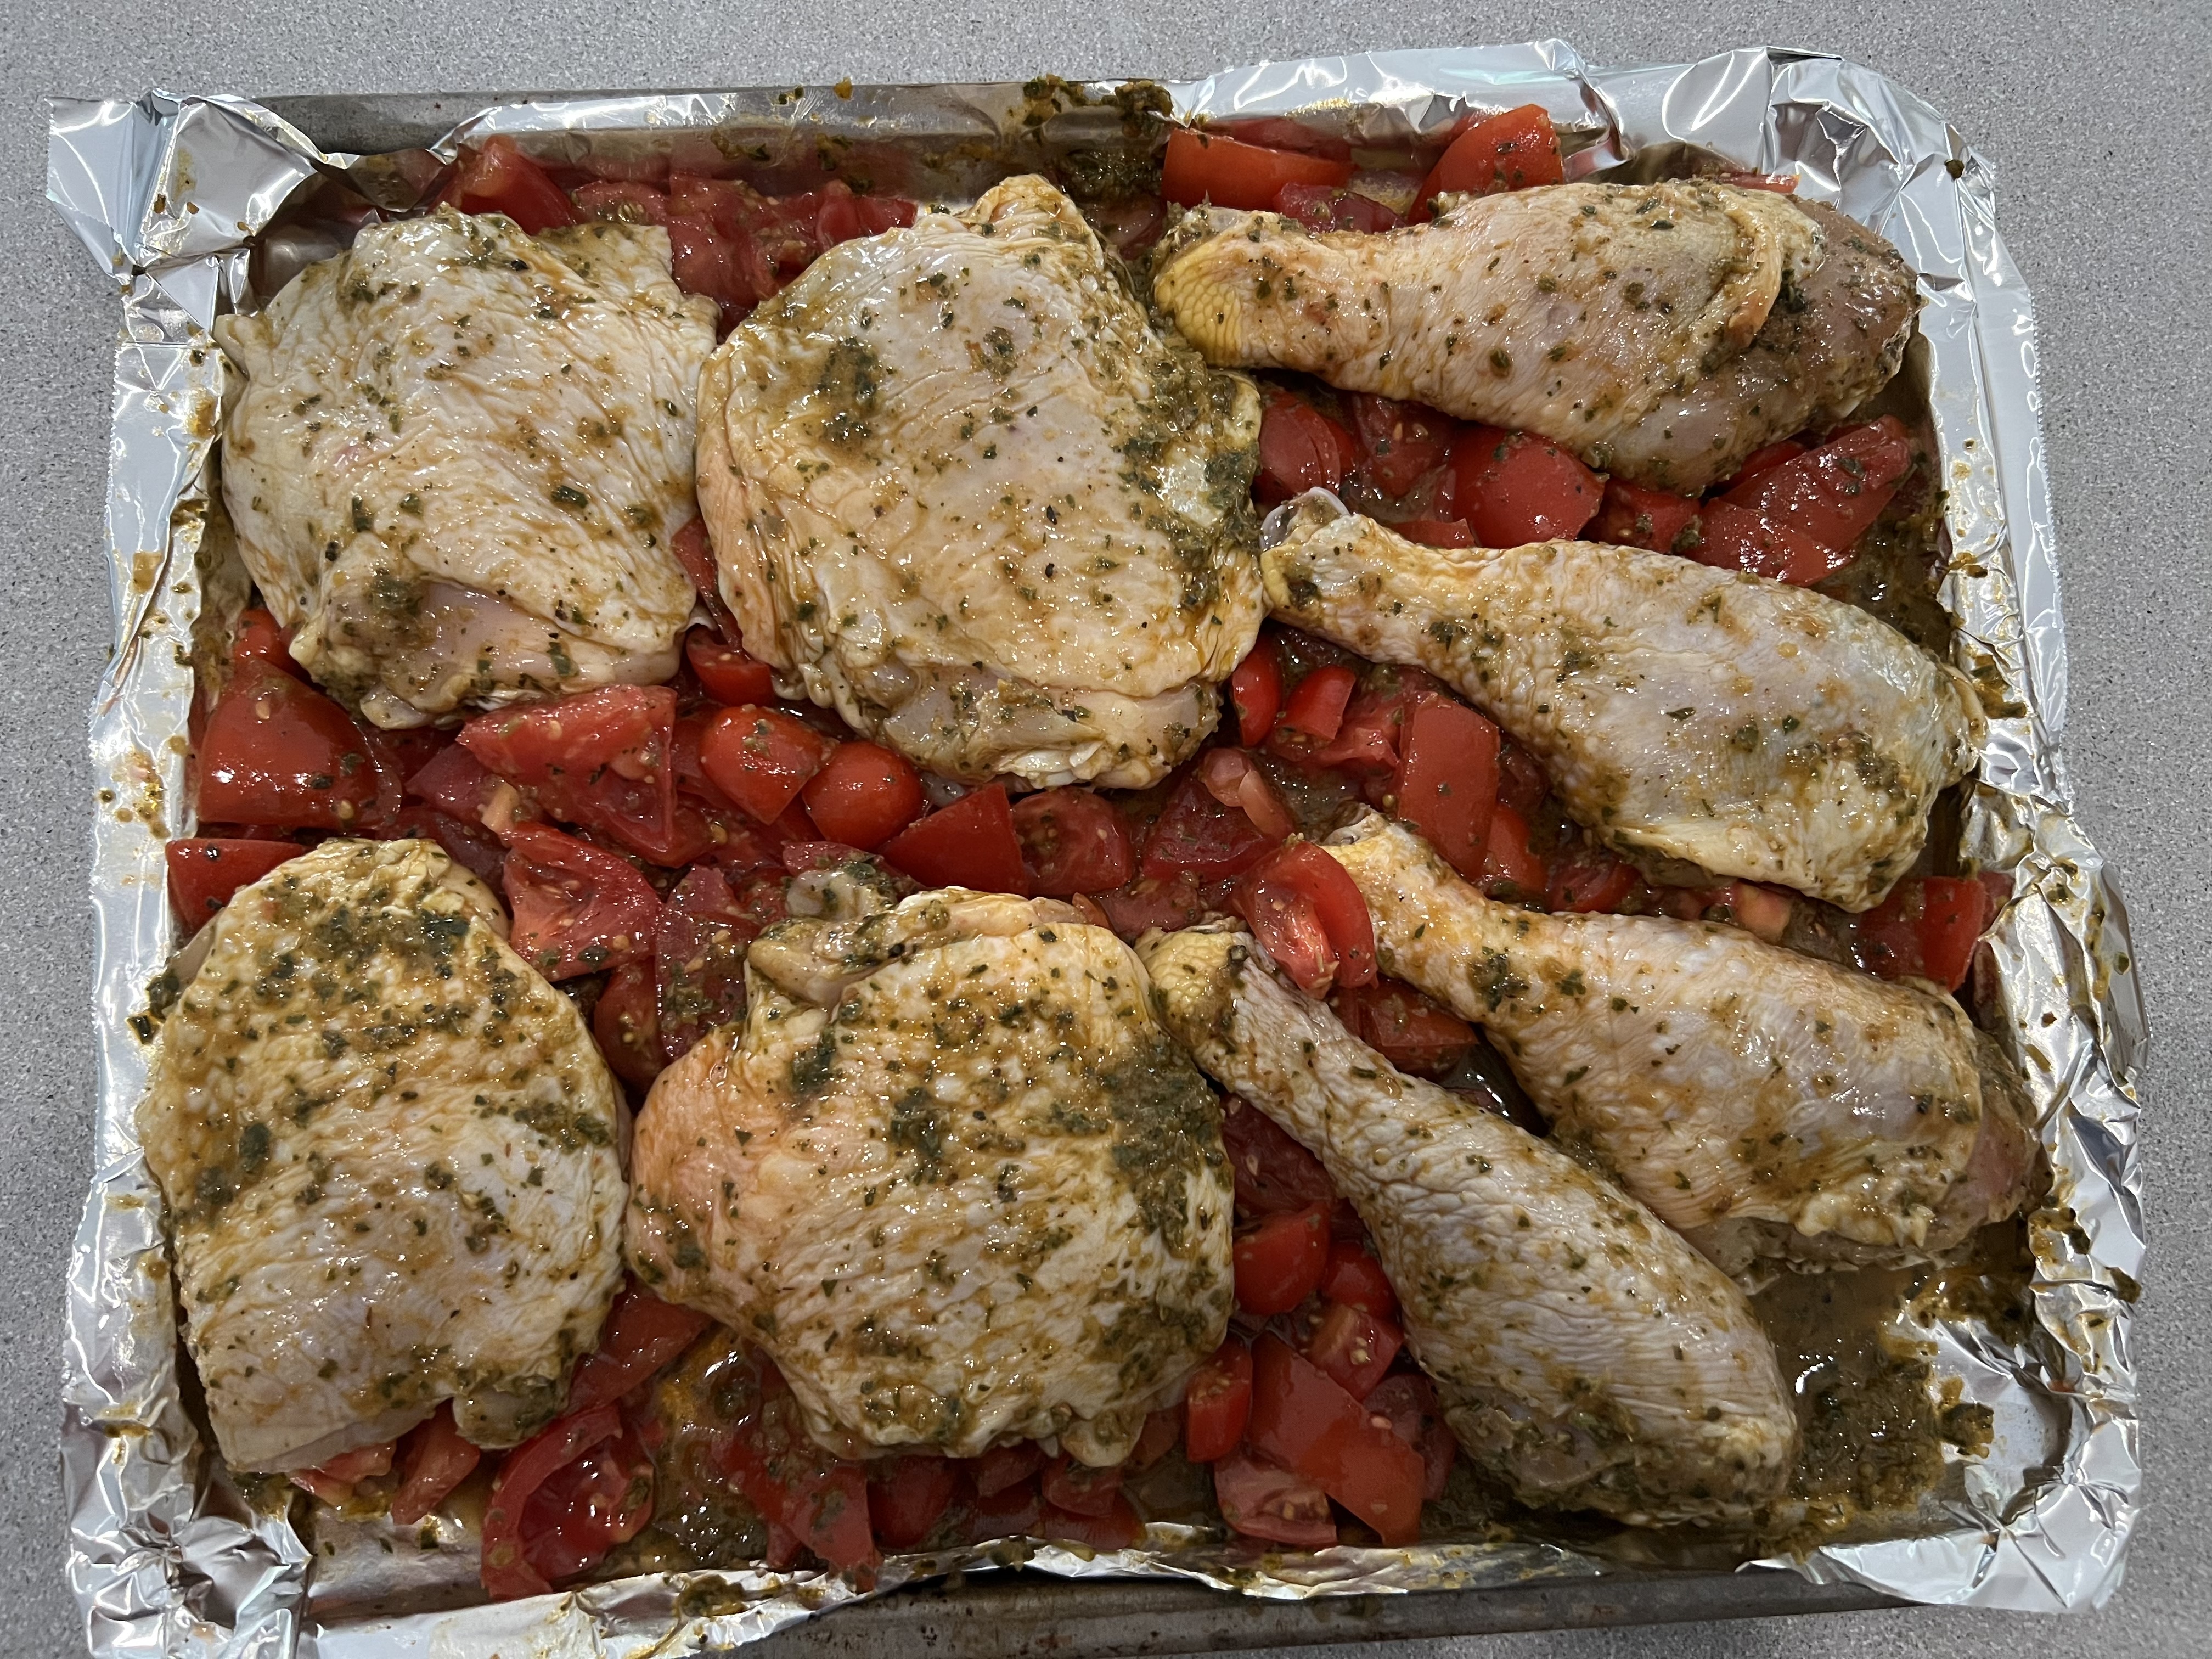
Sprinkle the cubes of feta cheese all around and place the roasting pan in the oven, baking for about 45 minutes.


Serve over pasta, potatoes, or as I did, over rice. I simply boiled some jasmine rice, adding a 1/2 teaspoon of Italian seasoning in the rice water before cooking. No salt, no oil.


This is a story about my Mom’s dad, my grandfather. Born in Lithuania, he came here during WWII. He was a short man, barely 5’5″ tall, but he was the strongest man I ever knew. As a kid, I watched him crush walnuts, and even hazelnuts, in his bare hands. He would go out into the water at Rockaway Beach, and the waves would hit him head-on, but never knock him down. He had little or no formal education, but he could fix or build anything, from concrete driveways to dog houses. And no matter what chore he took on, he wore a white shirt and tie with a vest while he did it. He never became a US citizen because he had a hard time with the English language, but he maintained his legal alien status, and spoke enough English to work in the kitchens of several high-end restaurants in Queens, NY.

I smoked my first cigarette with him when I was 12, and we had a good talk about it after my face returned to a lighter shade of blue-green. We would walk to his favorite bar on Jamaica Avenue in Richmond Hill, the Triangle Hofbrau (it’s still there) and they let me sit at the bar, snacking on pretzels with a 7-Up while he enjoyed a beer. My Mom was an only child, so I was the only grandson, and nobody made me feel more special than he did.
One of my grandfather’s passions was horseradish…homegrown, homemade horseradish.
It’s been 50 years since I watched my grandfather dig the long, dirty, gnarled horseradish roots out of his garden with a sharp spade, lunging at the ground with all of his strength to cut through the thick fibers of the plant.
After harvesting a large piece, he would wash the dirt from it and then peel it, leaving behind a beautifully smooth white root.
He had a large bowl set under a grater, and he would hand grate the horseradish root with incredible speed. But no matter how fast he went, the potent vapors released by the root would make their way to his eyes, and he was forced to stop several times to wipe the tears away with his old handkerchief and regain his composure before returning to grate the root again.
Onions were child’s play compared to horseradish, and I understood why he did all the preparation just outside of the kitchen door of his Queens, NY home.
Once grated, he would add some water, vinegar, and salt, and his prepared horseradish was complete. He’d store it in tightly sealed glass jars in the fridge, and when it was time to sample the goods, he would carefully open a jar, poke his knife in, and spread the prepared horseradish over beef, beets, twice-smoked bacon, or anything else he desired.
I’d watch his face slowly turn red, small beads of perspiration developing on his forehead, and he’d turn and smile at me and tell me in Lithuanian: “Labai skanu!” (Very tasty!)
At the age of 10, I couldn’t figure out what he saw in horseradish, but it didn’t take long before I was hooked myself, as it was a staple at every family dinner table.
Opting for the stuff that came in a jar in the supermarket, I never made my own prepared horseradish until almost 50 years later.
I’ve had a huge horseradish plant growing in my garden for years, and I just never got around to doing anything with it. But one night, as I was preparing my cocktail sauce recipe and I realized that I was out of prepared horseradish, it became clear that the time of reckoning had arrived. It was time, in the finest tradition of my grandfather, to make my own prepared horseradish.

I went out to the yard with a sharp shovel and lunged at the horseradish plant, splitting a few roots off of the main crown. I pulled them out of the ground, detached the long leaves, and headed back to the kitchen.
Today’s kitchen technology gave me a distinct advantage over my grandfather, and after washing and peeling the root, I chopped it into smaller pieces and tossed them into a food processor. No hand grating necessary!
The processor pulverized the root in no time, and I added water, vinegar and salt as my grandfather did, being very careful not to stick my face too close to the opening of the processor where the vapors were their most powerful.
A small taste on my tongue just about had my eyeballs shoot out of my head, and I muttered silently to myself: “Labai skanu!”
My grandfather would be proud.
Horseradish is a member of the Brassicaceae family, which includes mustard, cabbage, wasabi, and broccoli. The horseradish root itself hardly has any aroma. But when you crush it, enzymes from the broken plant cells produce mustard oil, which irritates the mucous membranes of the sinuses and eyes. To keep the horseradish from losing its pungency and freshness, vinegar must be added immediately.
Prepared Horseradish
Chop the horseradish root into small pieces and add water, vinegar and salt. Process until proper consistency is reached.
Careful! Use proper ventilation or the vapors will blow your eyeballs and sinuses out!
My daughter likes to find new recipes on line for us to try. And although they might look like new ideas to her, the ingredients tell me these recipes came from somebody’s cookbook from the 70’s.
Hey, maybe I’m the exception to the rule, but I haven’t opened a can of cream-of-anything soup in at least 30 years…and that includes cream of mushroom for the classic Thanksgiving bean casserole. (I’ve never made one.) Maybe it’s because I wasn’t raised on Betty-Crocker-midwest-American fare. My parents were from Lithuania, and we had our own list of favorites that would probably raise a few American eyebrows.
But my daughter had friends coming over to hang out for a few hours, and I always like to cook something for them. (I learned from my mom and grandmother a long time ago that you don’t invite someone over without feeding them.)
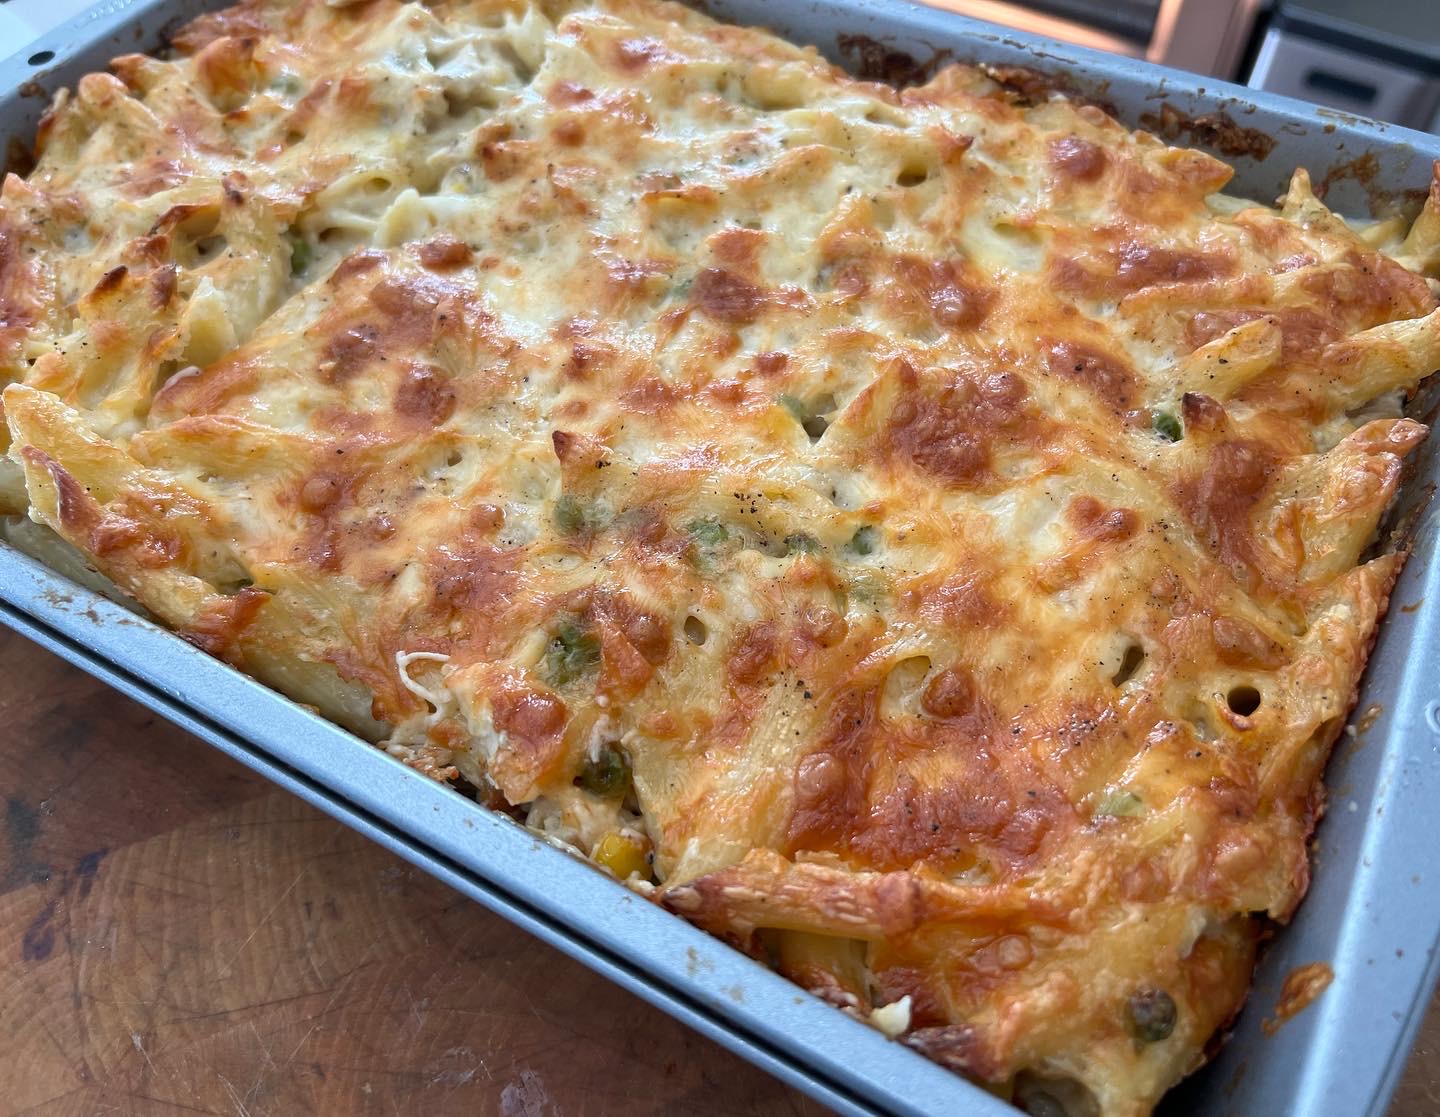
This casserole recipe my daughter chose, originally called something like “Chicken Spaghetti,” had some good ideas, but wrong ingredients for a group of teenage girls who could be a bit finicky. For example, it called for 2 cans of cream of mushroom soup. I decided to ditch the mushrooms and I substituted one can each of cream of celery and cream of onion. The recipe called for green peppers. I chose to use peas and corn. And since it was all going into a casserole dish, spaghetti seemed like the wrong pasta. We went with smaller penne instead.
We made it a day ahead…keeping it wrapped in the fridge. But if we needed less than what this recipe made, we would’ve divided it into two smaller casseroles, freezing one of them (before cooking) for future use.

Homemade chicken stock is the best. If you don’t have any that you’ve made from the leftovers of previous chicken dinners, and you don’t have any store-bought stock in your pantry, here’s any easy cheat…
Get a pot and fill it with about 6 cups cold, clean water. Put the pot over high heat. Chop up a carrot, a stalk or two of celery, and 1/2 an onion and toss them in the pot. Then add the raw chicken breasts you’re going to use in this dish.
Bring the pot to a boil, then turn the heat down to medium until the chicken breasts are thoroughly cooked and the liquid in the pot has reduced by at least half.
Strain the veggies out, and what you have left is basic chicken stock.

If you’re going to cook this dish the same day, pre-heat the oven to 350.
Grease a 9 x 13 pan with cooking spray. (Two smaller pans if you’re dividing the recipe.)
Cook the pasta according to the package instructions, but stop the cooking even before the pasta reaches the al dente stage. (It will cook more in the oven, so you don’t want it mushy.) Drain the pasta and set it aside.
Sauté the onion in a bit of olive oil until it’s translucent.
Get out a large bowl and add the can of cream of celery, the can of cream of onion, the sautéed onions, the peas and corn, the shredded chicken, the chicken stock, the cooked and drained pasta, the seasoned salt, the cayenne, and 1 1/2 cups of the cheese. Season with the salt and pepper, to taste. Mix well.

Pour the contents of the bowl into the 9 x 13 pan (or between the 2 pans if dividing), and top it with the rest of the cheese. This is the point where you wrap and freeze or continue to the oven.

Bake for 40–45 minutes, until it’s nice and bubbly. (If it looks like the cheese might burn, cover it with foil.)
If you’re freezing this recipe for later, wrap it tightly in plastic and foil before placing it in the freezer. A day before you want to cook, take it out of the freezer and thaw it in the fridge for 24 hours. Then cook as usual.
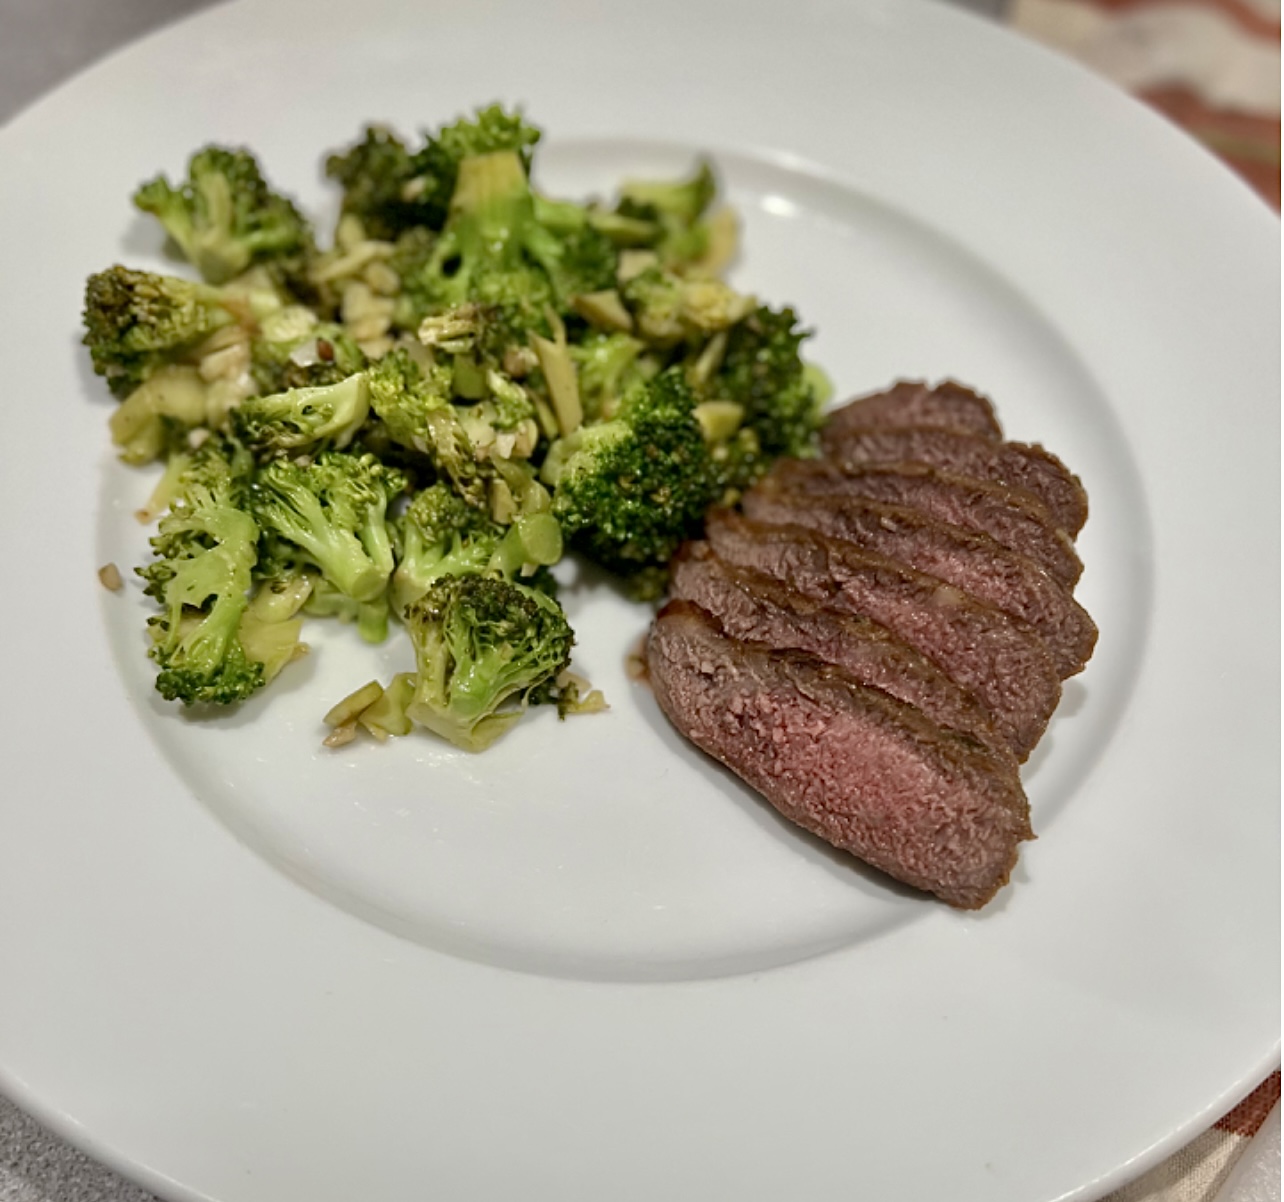
Lamb is such an underrated meat. It was one of the things my Mom cooked really well, so I grew up loving it, and was never bothered by the gaminess of it.
If the gaminess does bother you, look for American lamb. If gamier meat doesn’t bother you, go for the gusto and get grass-fed New Zealand or Australian lamb.
The balsamic vinegar in this recipe is not the crazy expensive stuff. It’s the bottle you can get for about 9 bucks in the supermarket.
Here’s the marinade I used…
Mix the marinade ingredients together in a bowl.
Place the lamb in a plastic bag and pour the marinade in, squishing it around to make sure it makes contact with the meat. Place it in a pan or a bowl to prevent accidental leaking.

Let the lamb marinate for several hours at room temperature, or in the fridge overnight.
Before cooking, bring the lamb back to room temperature.

Use some oil in a hot pan, and then sear the lamb on both sides. Place a lid on the pan, and reduce the heat to medium-low.
I cook lamb until I get the lamb to a perfect medium. That means cooking to 130-135 degrees. But cook it the way you like it!

Update:
Last night, I used this recipe to marinate some baby lamb chops. I love these, because they look like mini porterhouse steaks, and meat off the bone is always juicier and tastier.
I placed the lamb in a freezer bag with the marinade, and let it marinate a solid three hours at room temperature. Any longer than that, and it would go to the fridge.
I always remove meat from the fridge and let it come back to room temperature before I cook it…and this time, I decided to try my air fryer, set at 400. Not only did it cook the lamb perfectly, it gave it that nice slight char on the outside, as if I grilled it. Delicious!

Inspired by a garden full of fennel and my fanatical love for all things pork, this recipe just happened. I use Berkshire heritage pork when possible, a far tastier and healthier choice over standard pork you find in a supermarket.
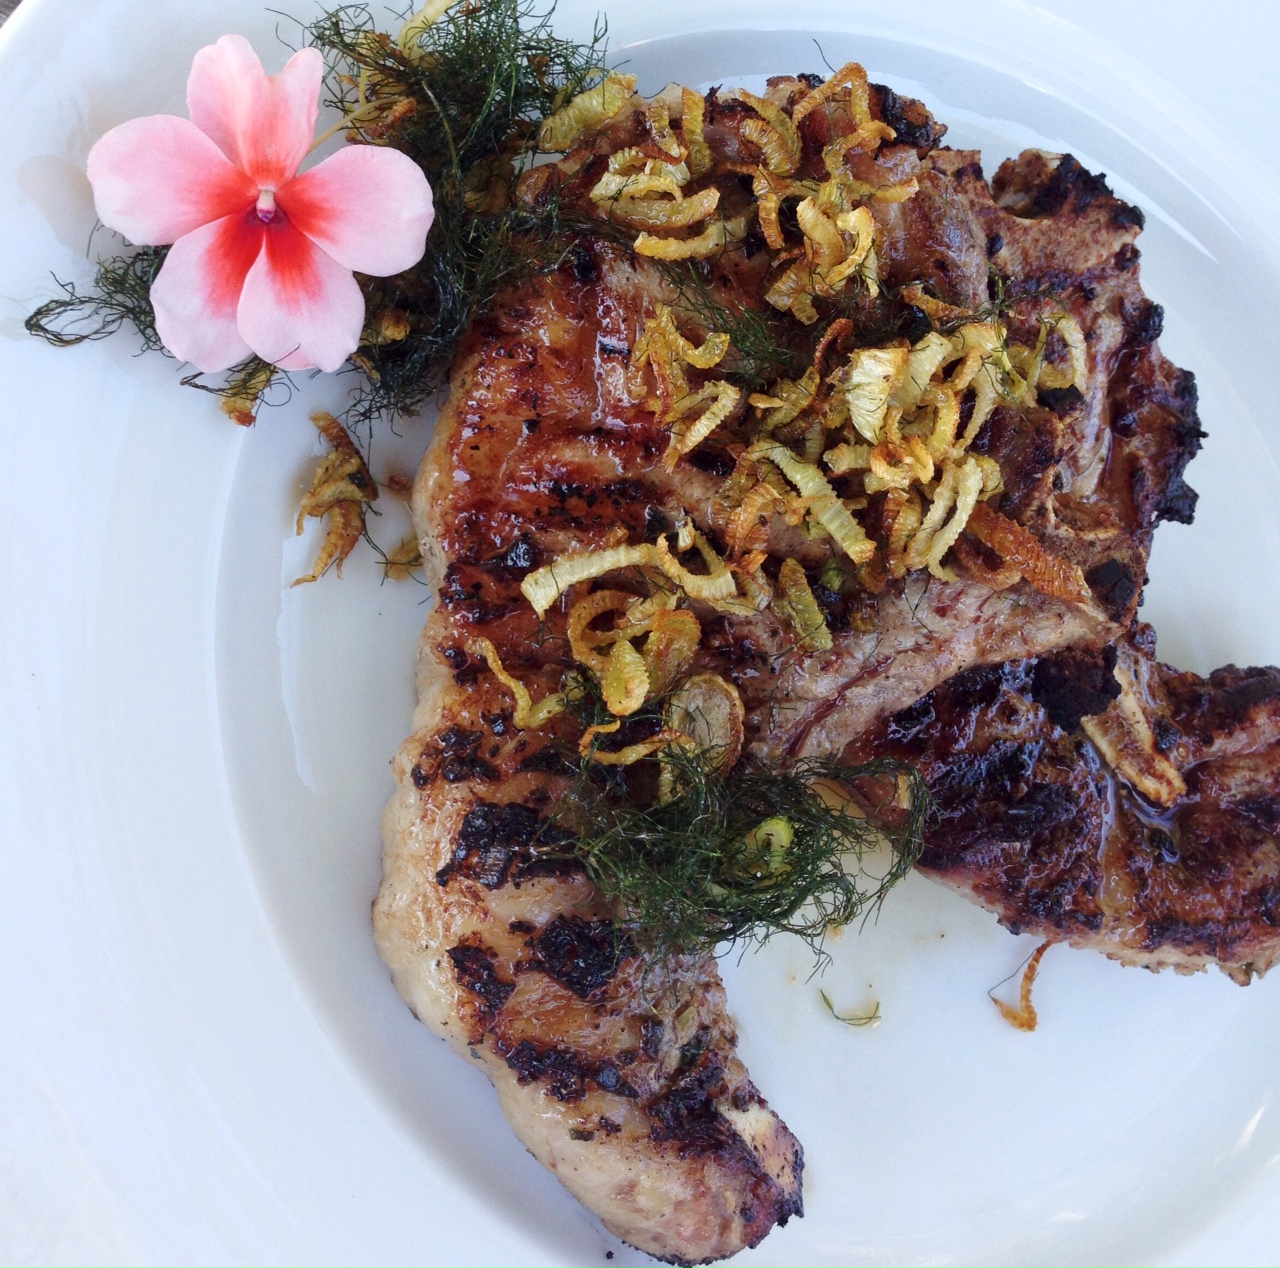
Combine the chopped fennel, sage, garlic, salt, black pepper and olive oil in a bowl. Mix well and spread it all over the pork chops. Let them stand for an hour at room temperature.
Light a hot grill. Grill the pork chops until they’re done…with quality pork, that does not mean cook it to death! (An internal temperature of 160 is the way to go.)
Chop the extra fennel bulb into thin strips about an inch long. Remove the fennel fronds from their stems. Saute the bulb strips in olive oil, salt and pepper until they are almost crisp. Toss in the fennel fronds and cook until the fronds and bulb strips are crisp.
Serve the pork chops with crispy fennel and fronds on top.
This is the time of year when I stop making banana bread for the gang at work, because the zucchini in my garden grows out of control. I’m pretty good at keeping an eye on things, but sometimes a giant zucchini pops up out of nowhere, and at that point, the only thing I can do is make zucchini bread!
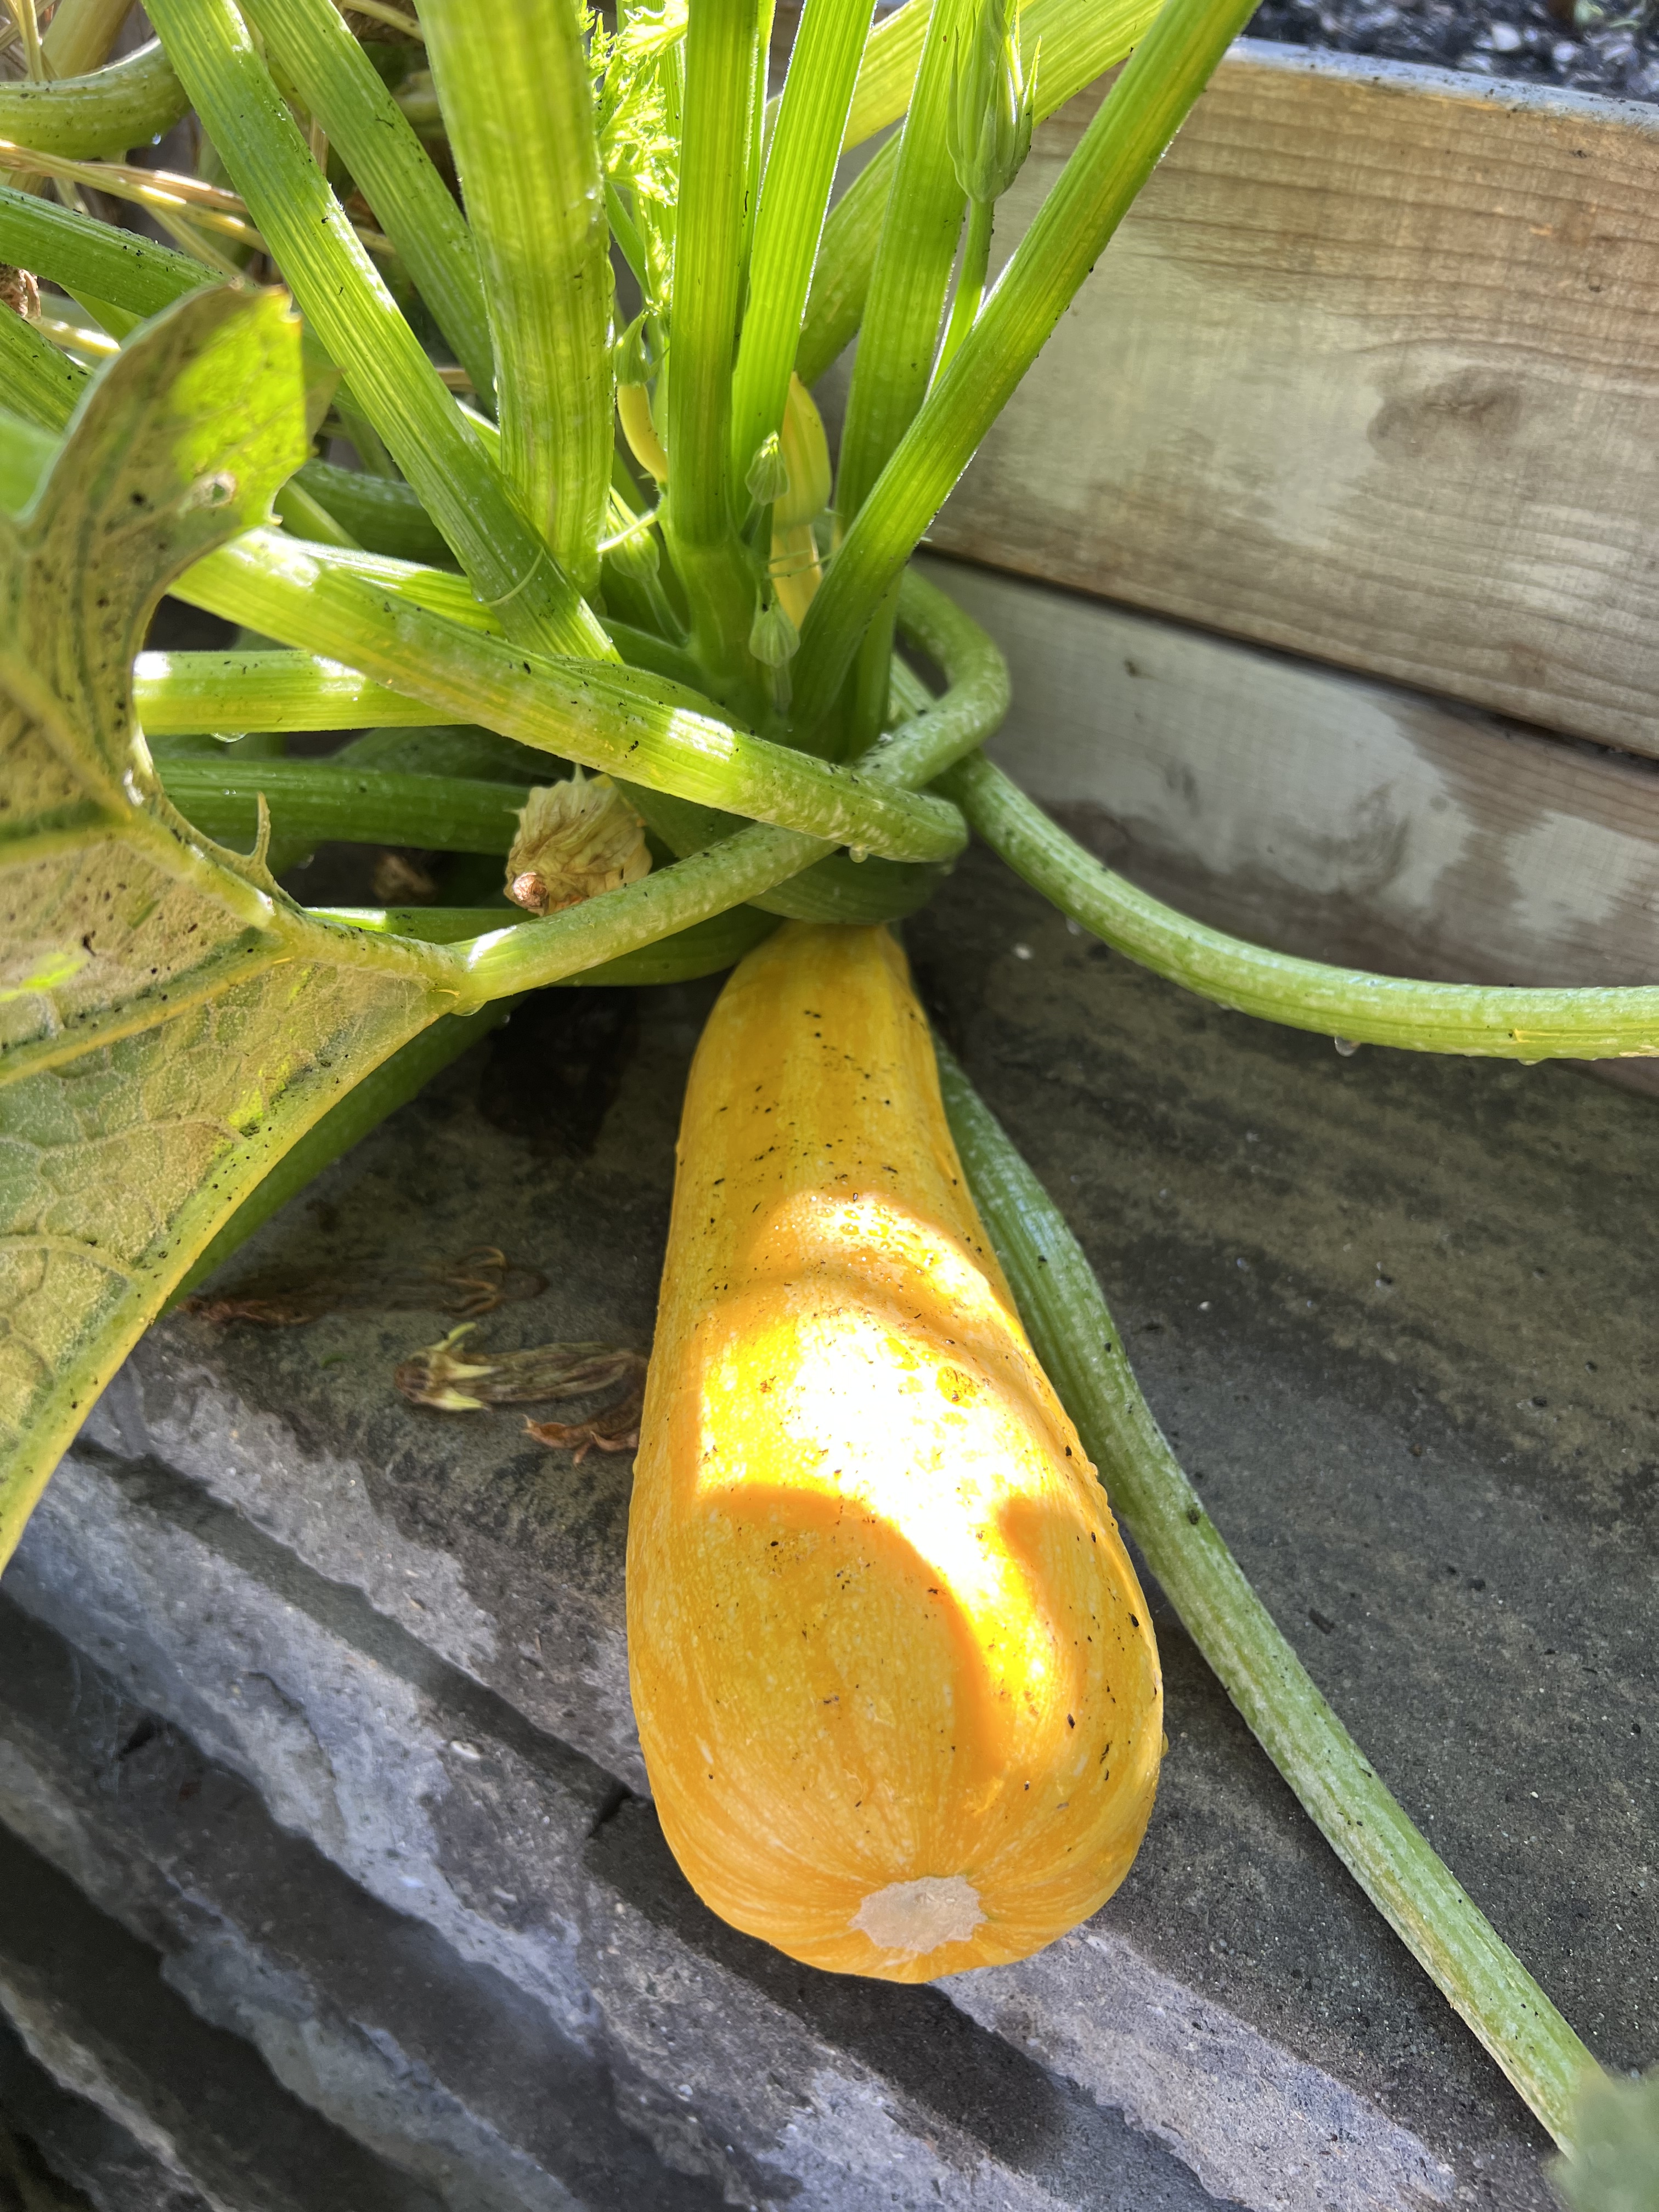
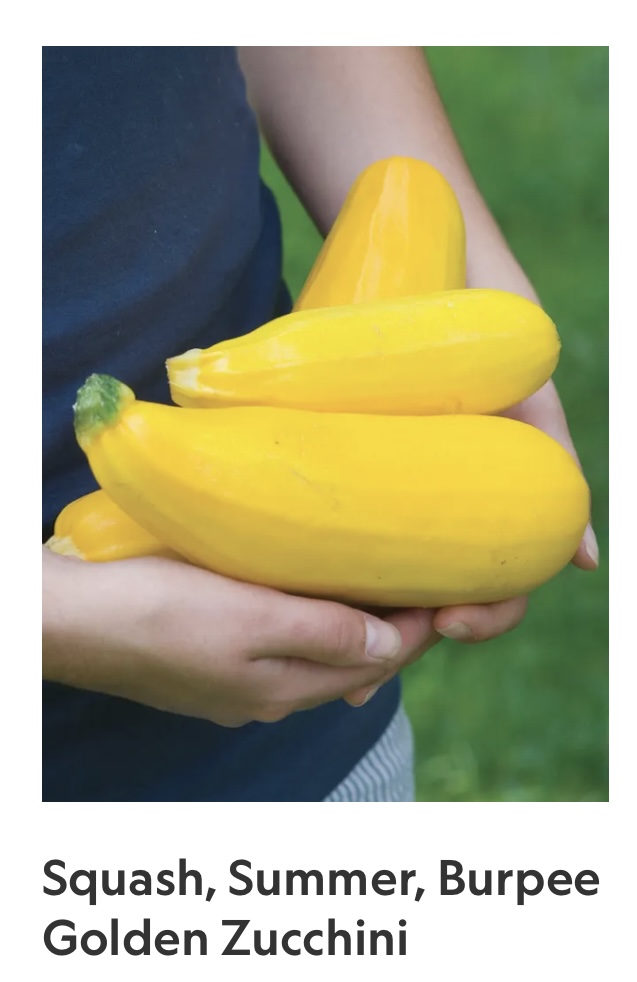
I was recently told that zucchinis are green…summer squash is yellow. I use the word “zucchini” interchangeably, but technically, the variety I grow is, in fact, a zucchini and a squash!
Whatever you call it, use it! And make some delicious bread!
If the zucchini is really large, I slice it lengthwise, and remove the center section with all the seeds, because I don’t want that in my bread. But the smaller ones don’t have that problem. Then I grate the rest on a box grater. This recipe needs about 2 1/2 cups of grated zucchini, which is about 16 ounces.
When it comes to baking, I use my small kitchen scale to make most of the crucial measurements, because accuracy counts. It’s much more accurate than going by volume. But this recipe has both measurements, so you can try either method.
Substituting gluten-free flour for the basic all-purpose flour, will make this recipe gluten-free. I like to use the all-purpose GF flour by Cup4Cup.
And I like using olive oil as my vegetable oil, because I love the flavor and its health benefits. But feel free to use whatever vegetable oil you like.
Preheat the oven to 350°.
Grease an 8 x 8“ or 5″ x 10″ loaf pan with some of the vegetable oil. Then line it with parchment paper…it makes it easier to remove later.
In a bowl, mix together the first five ingredients.
In a separate bowl, combine the remaining ingredients except the zucchini.
Add the grated zucchini to the bowl with the flour mixture and toss it around to coat.

Add the dry mixture to the wet mixture and stir until it’s combined.
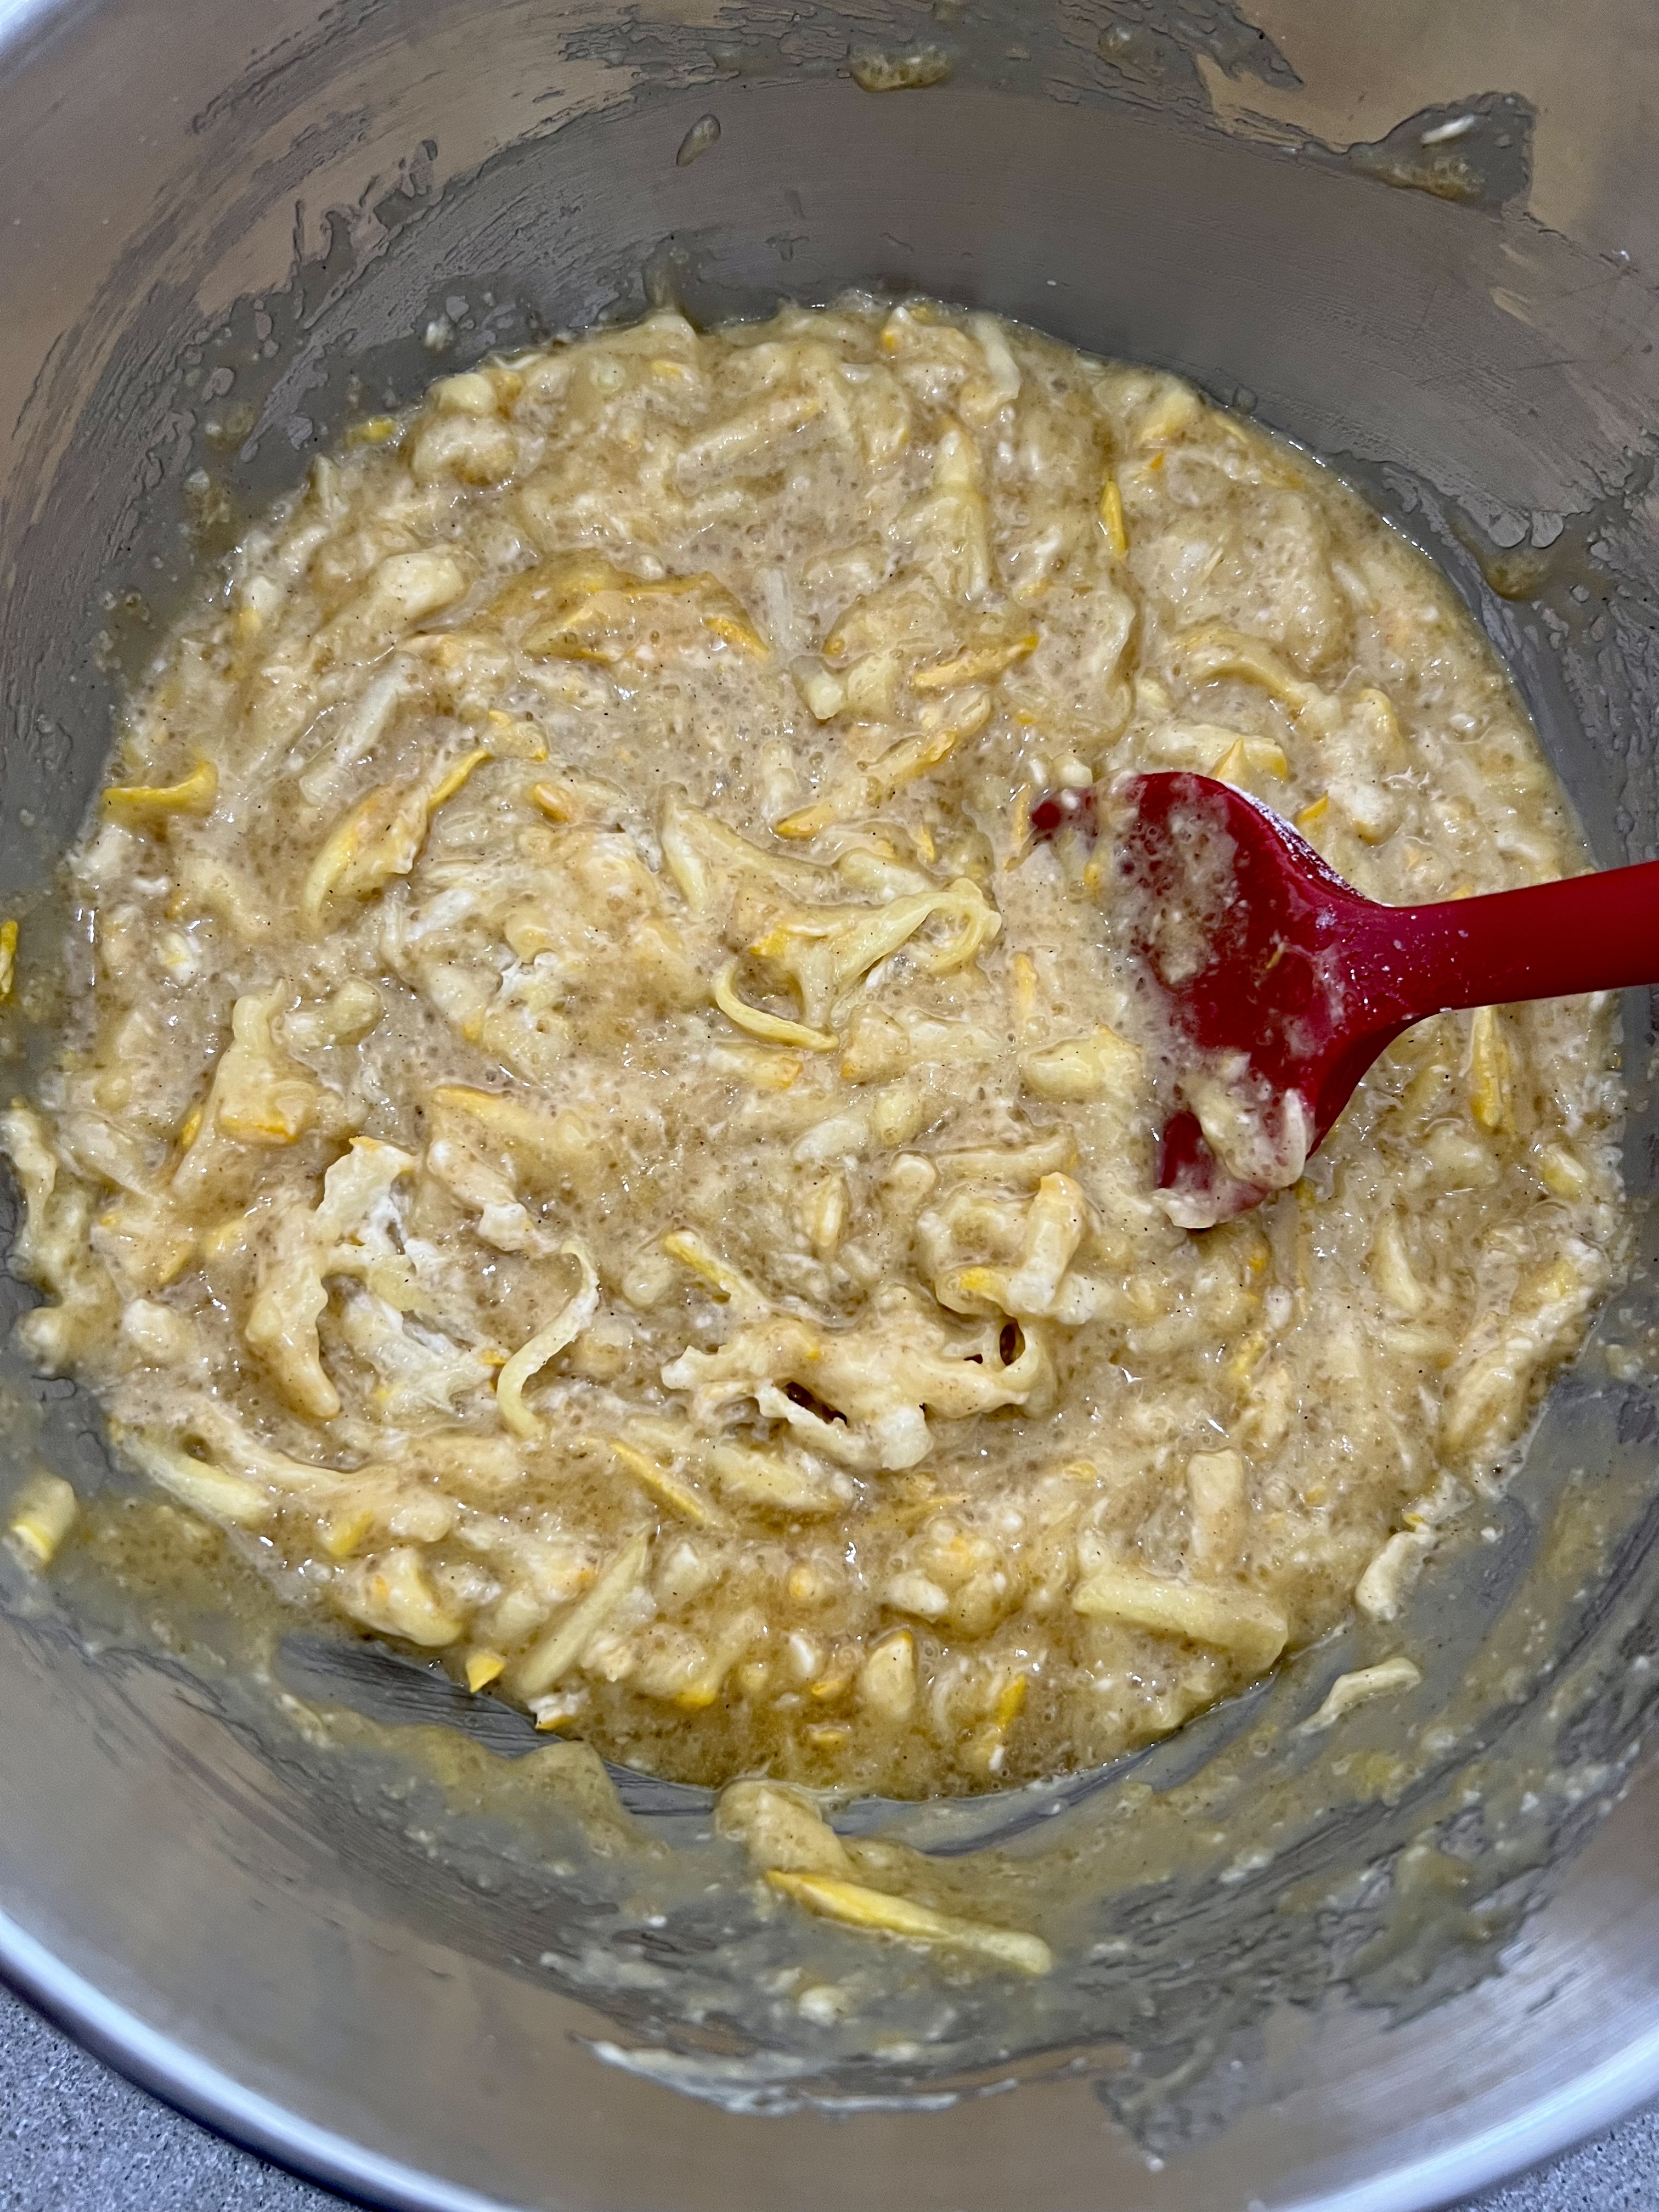
Pour it into the pan.
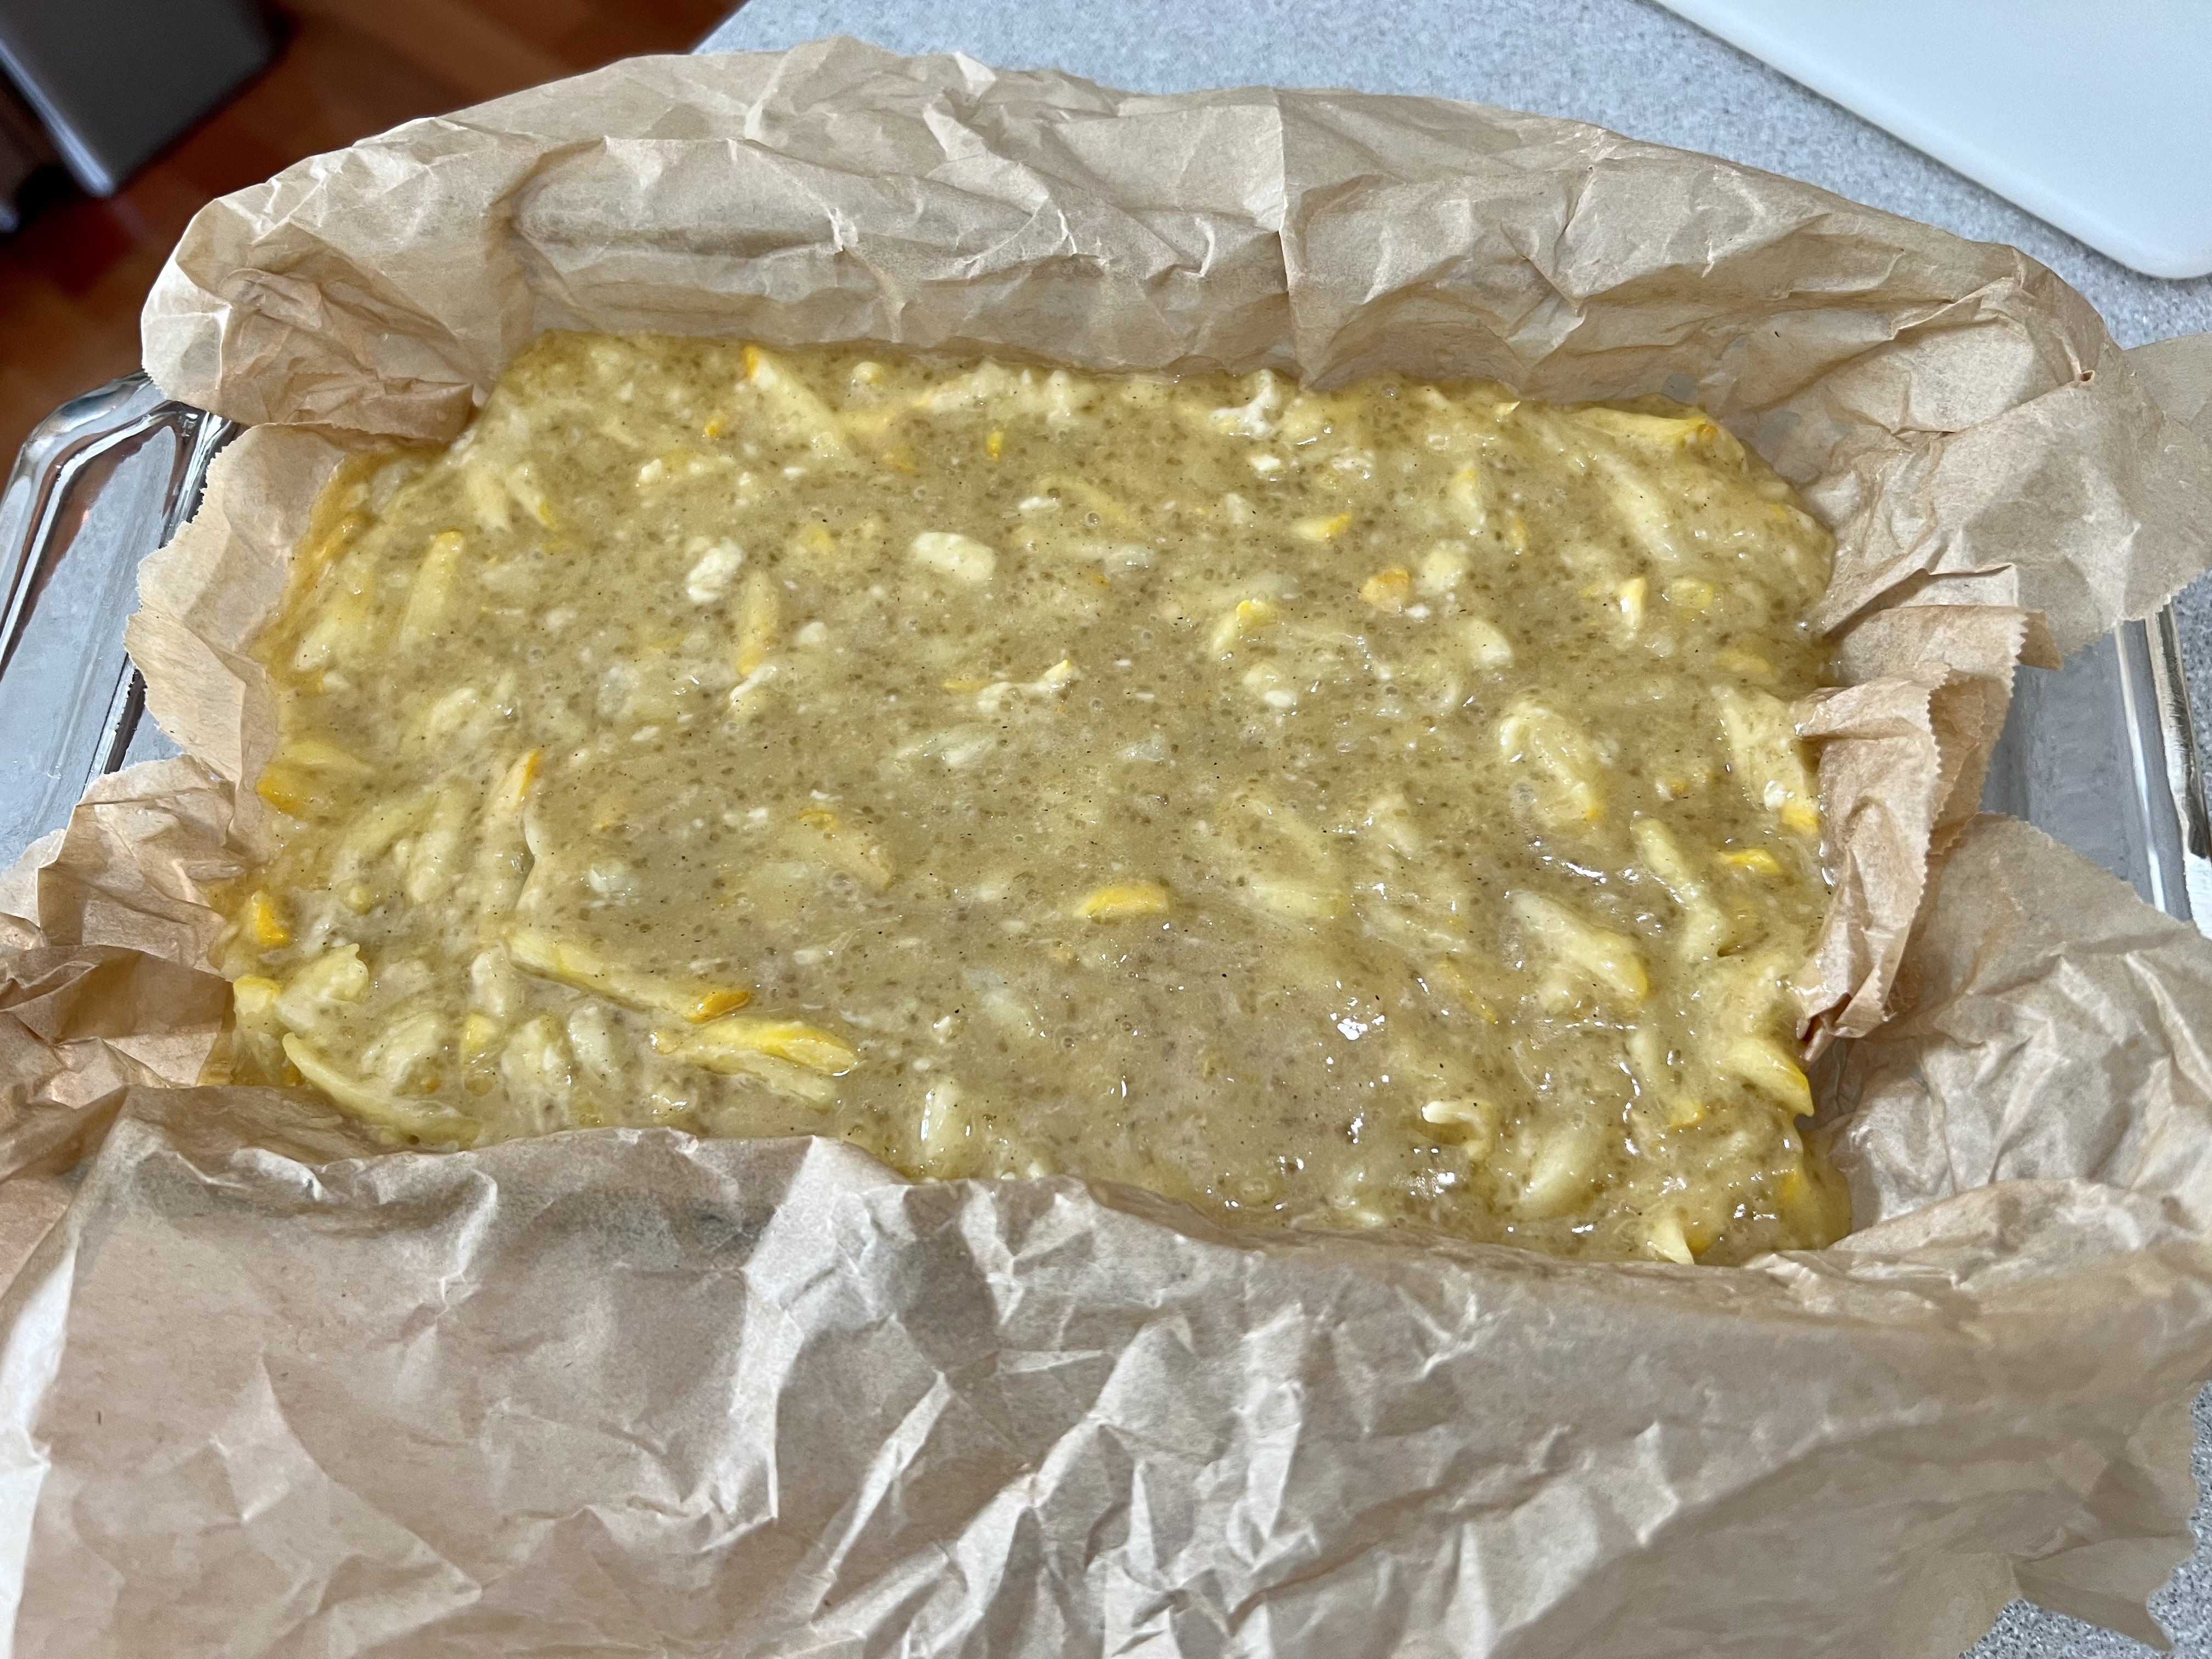
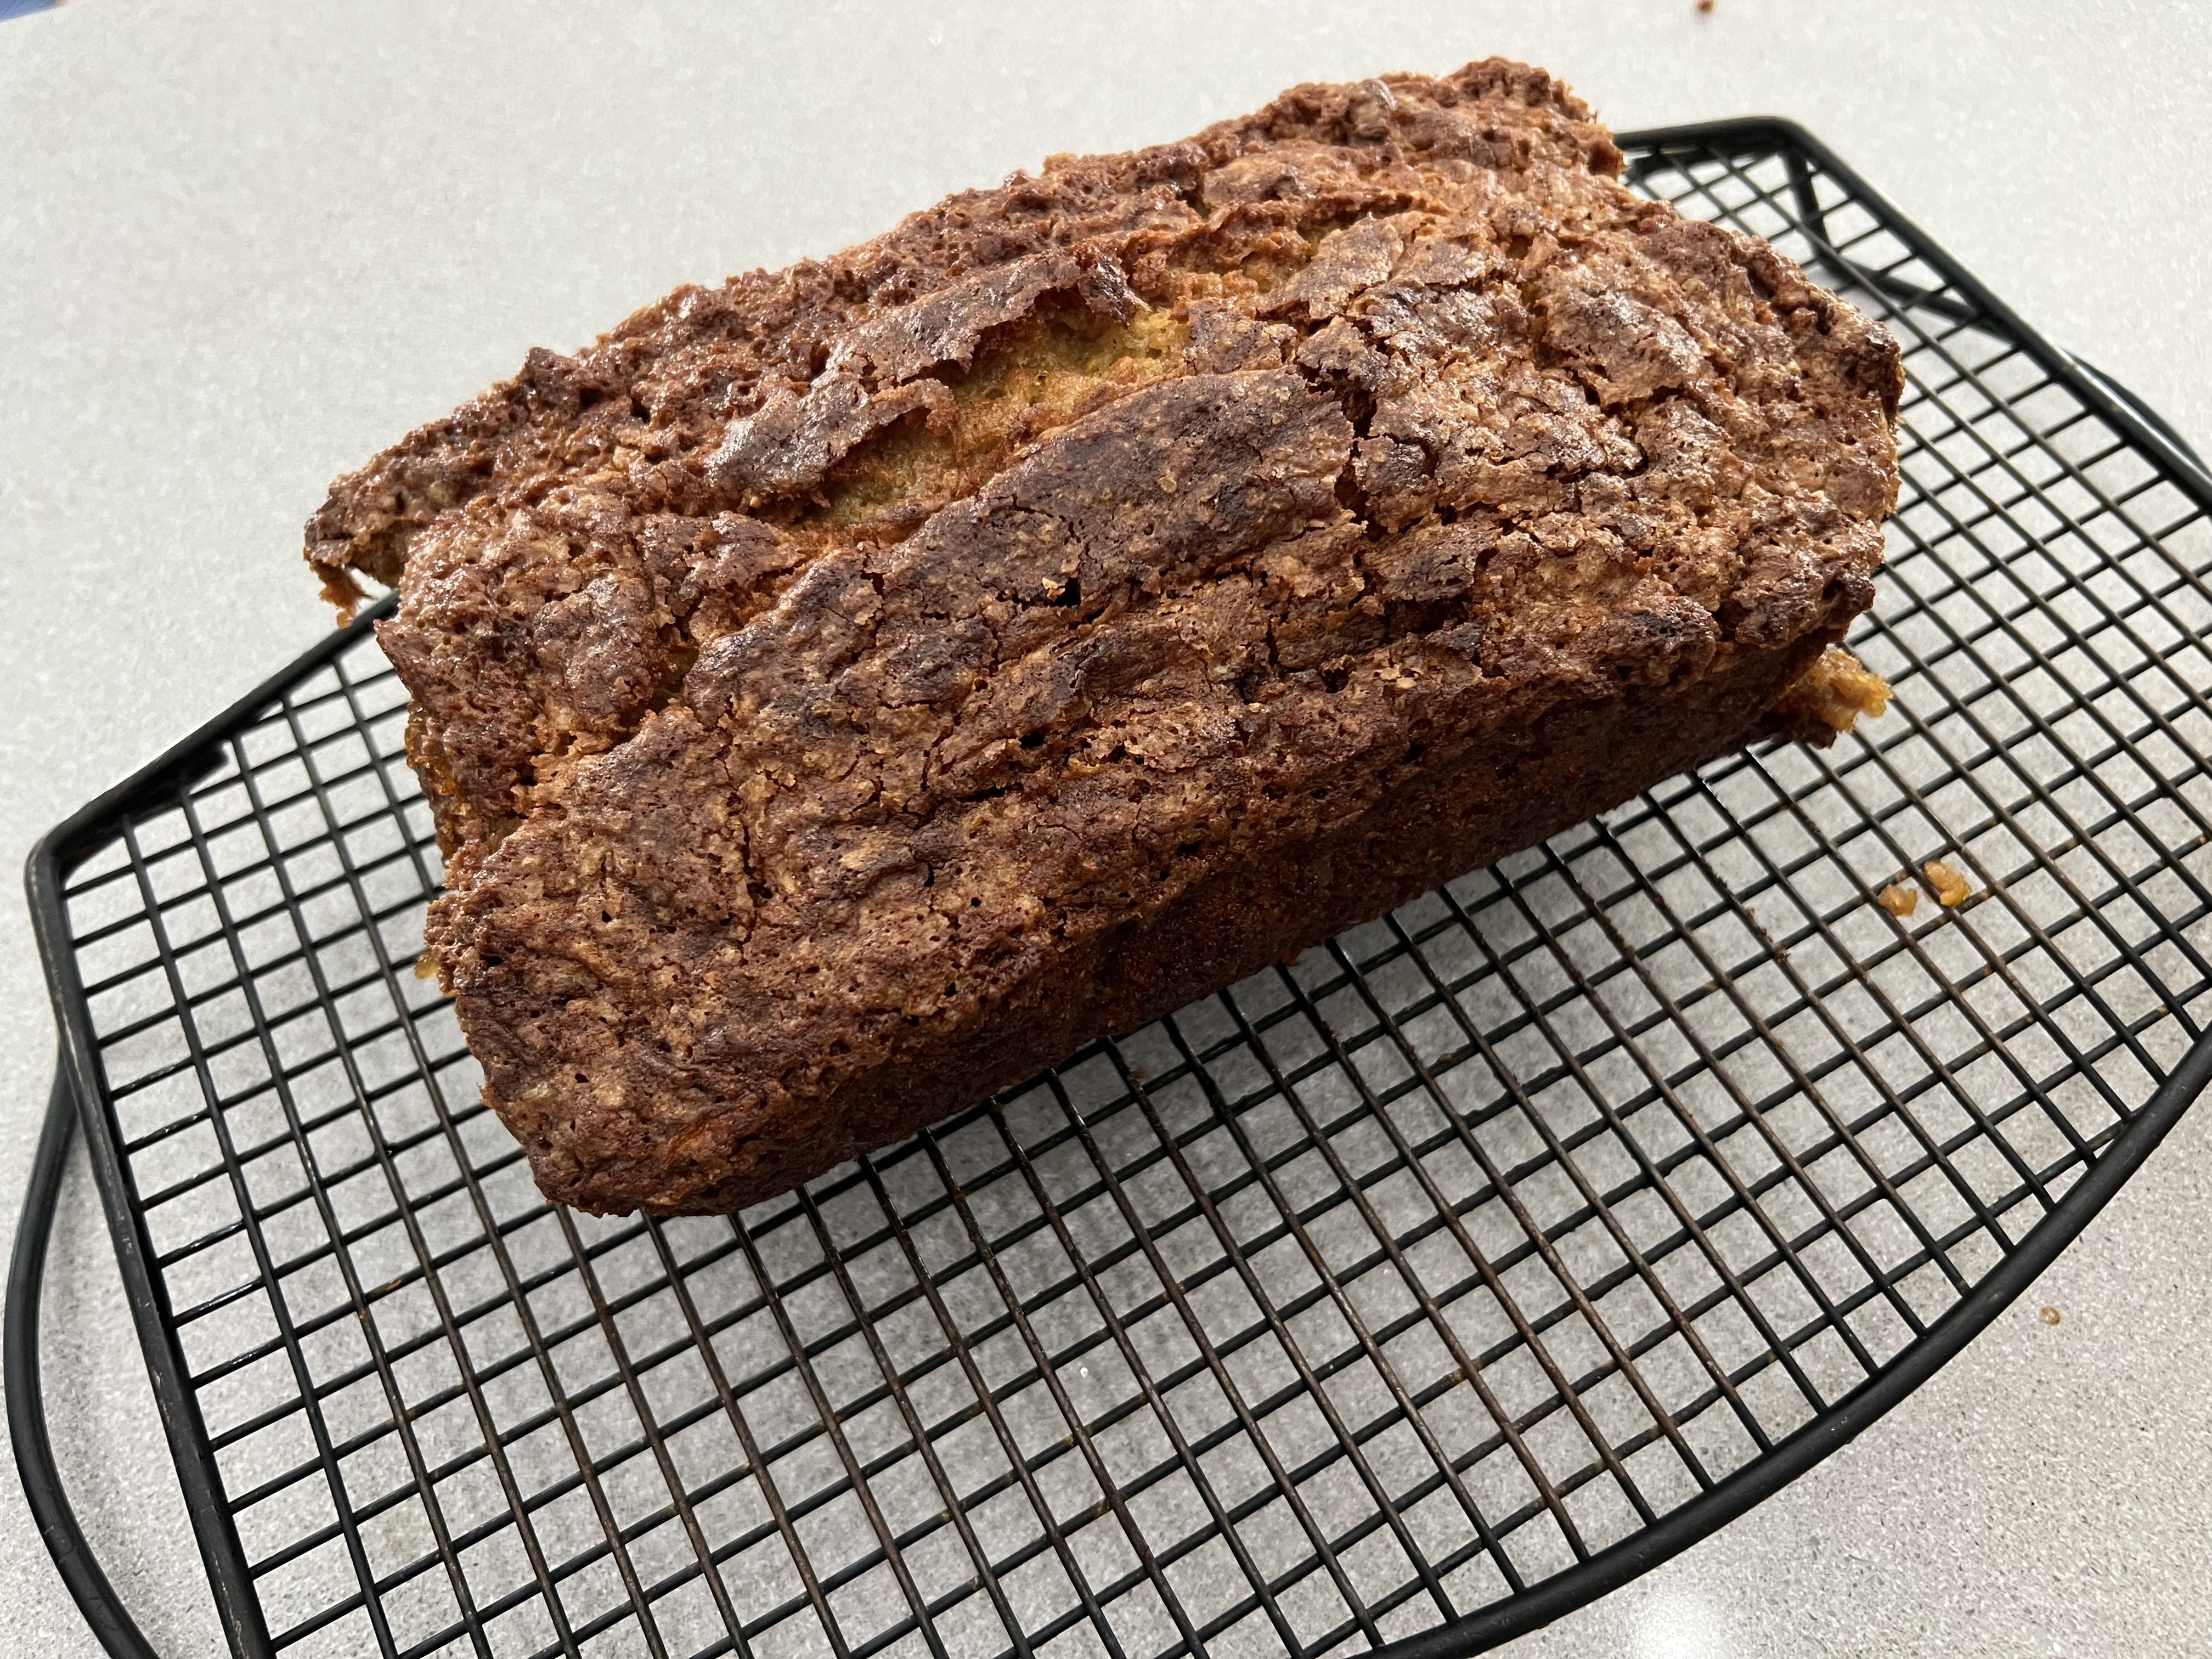
Bake until a toothpick comes out clean, about 45 to 60 minutes…but it could be even longer. Every oven is different, and different zucchini can have different moisture levels, so you may need to cook yours longer, depending on your situation. Even with all the high-tech thermometers I have, I find the good old-fashioned toothpick method still works best.
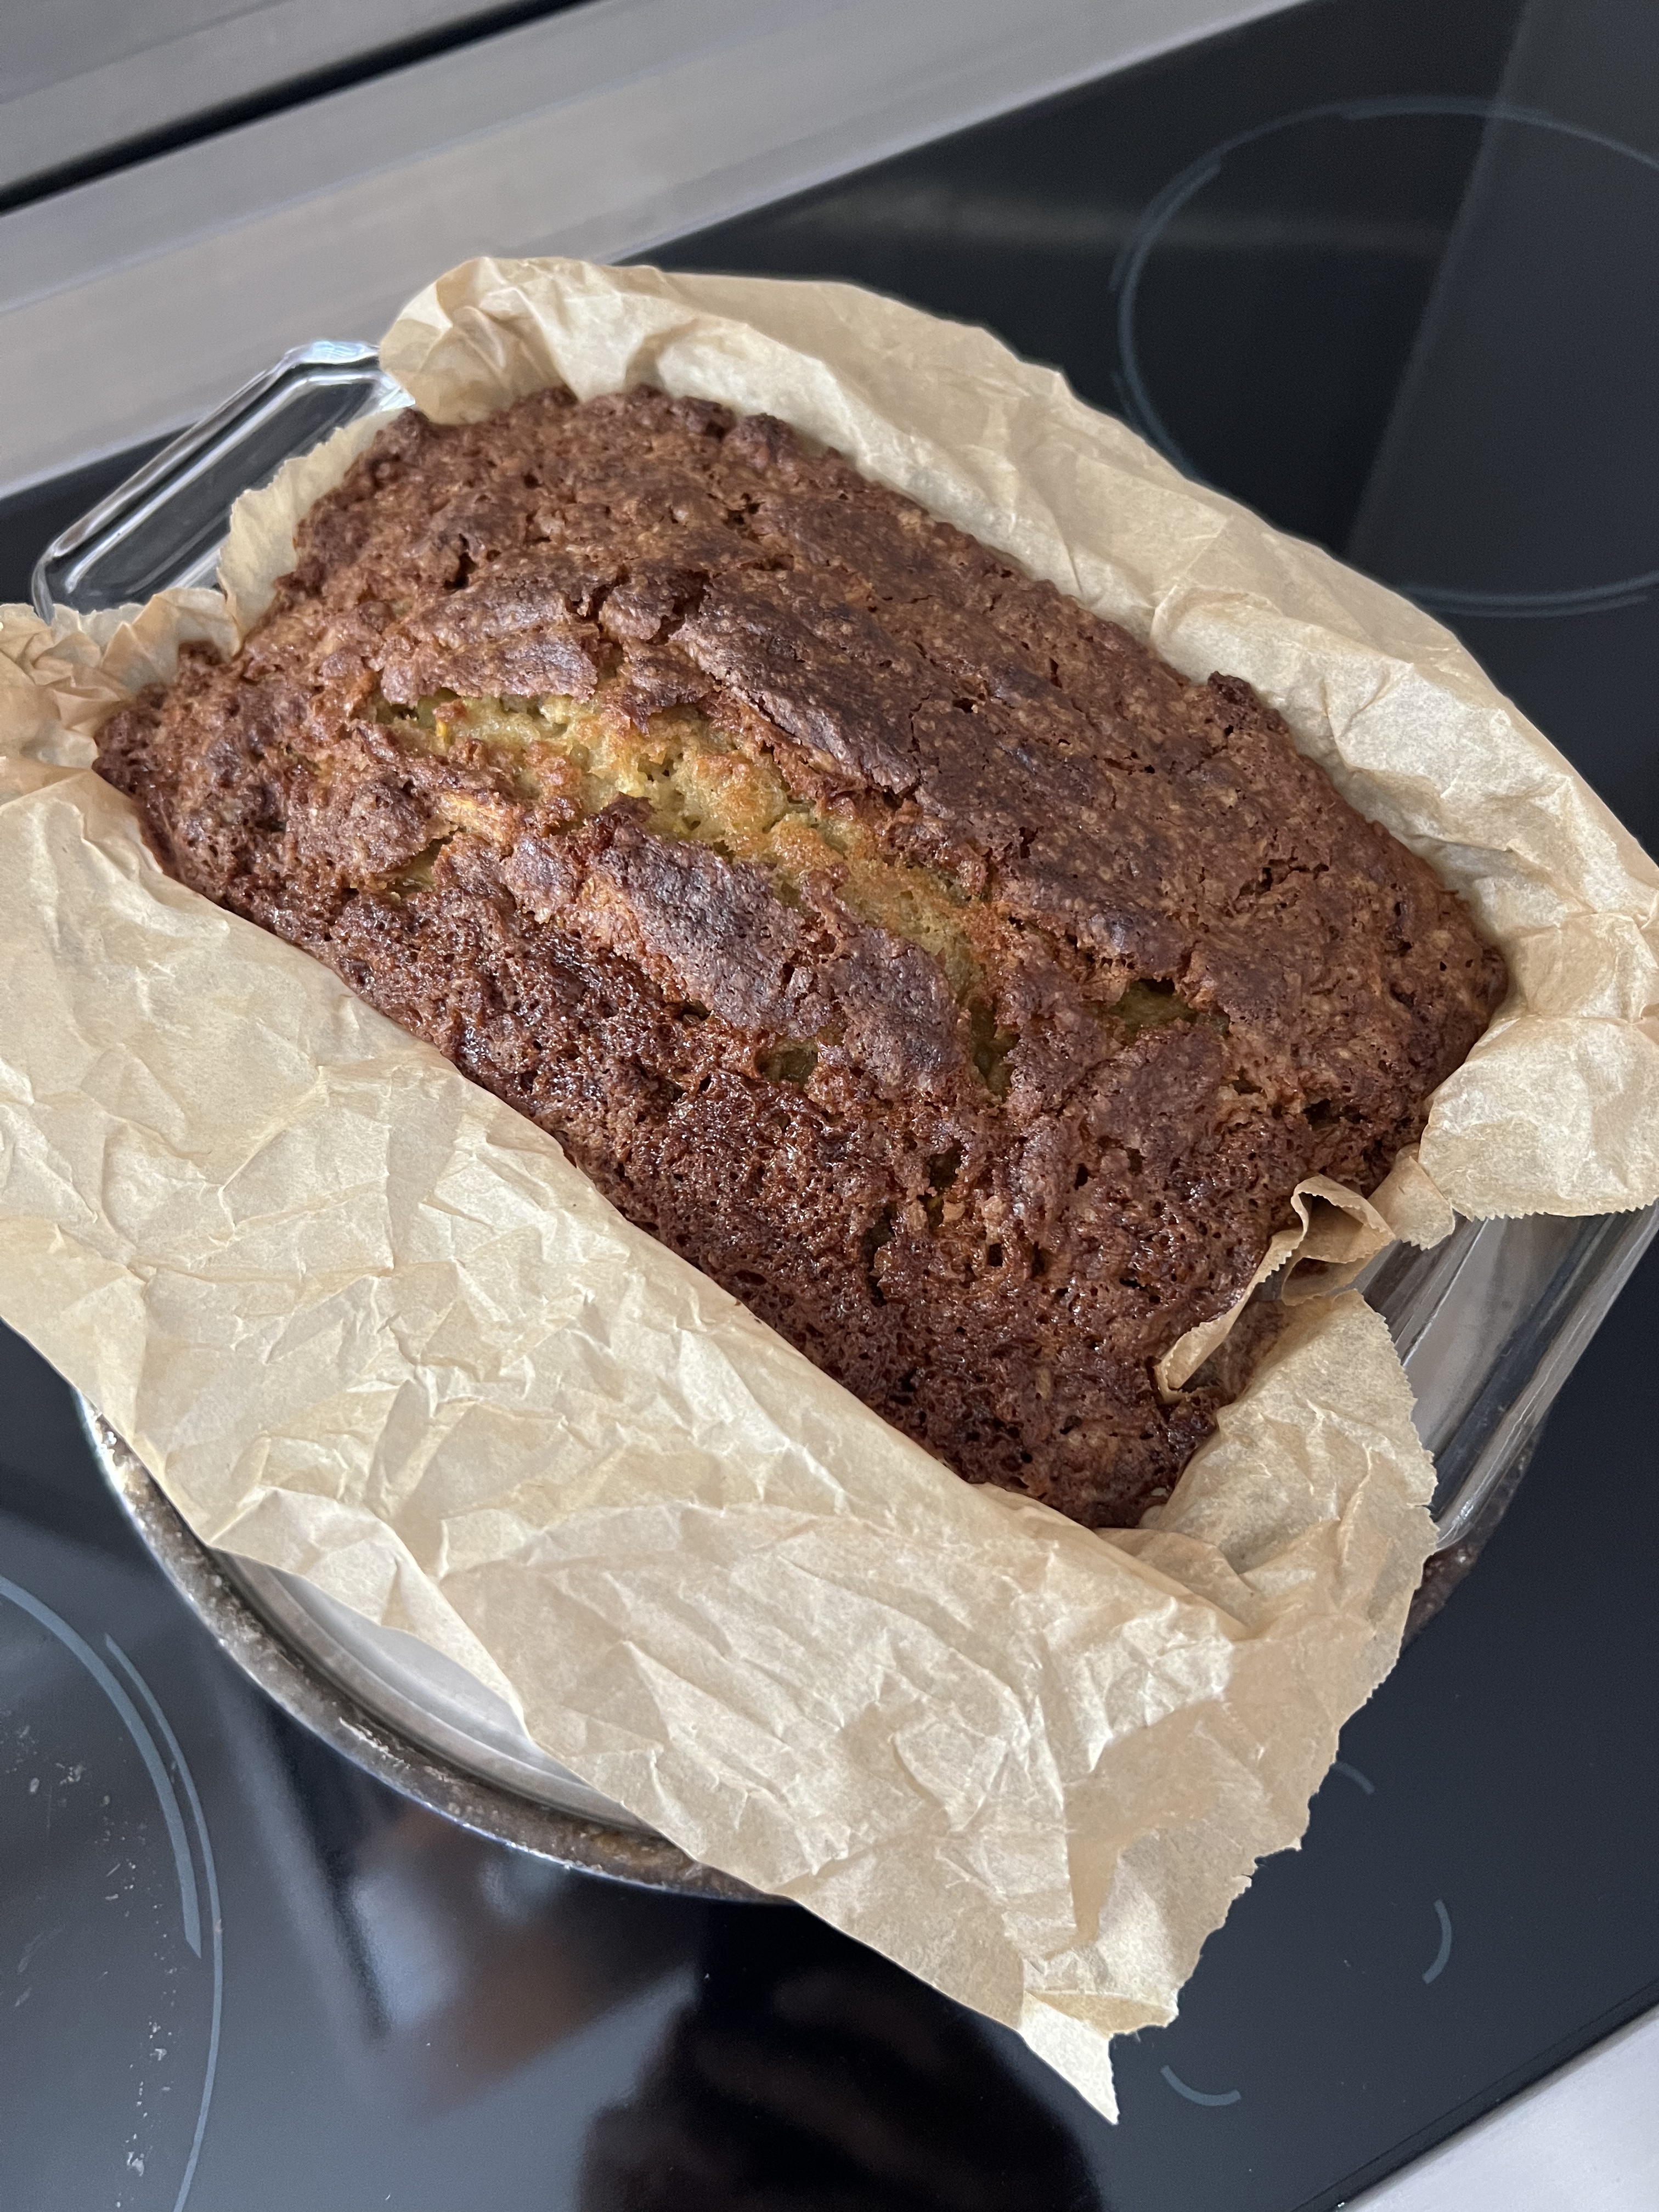
Remove the baking pan from the oven and let it cool for 15 minutes. Then turn it over on a wire rack, removing the pan, and let the zucchini bread cool completely to room temperature before slicing.
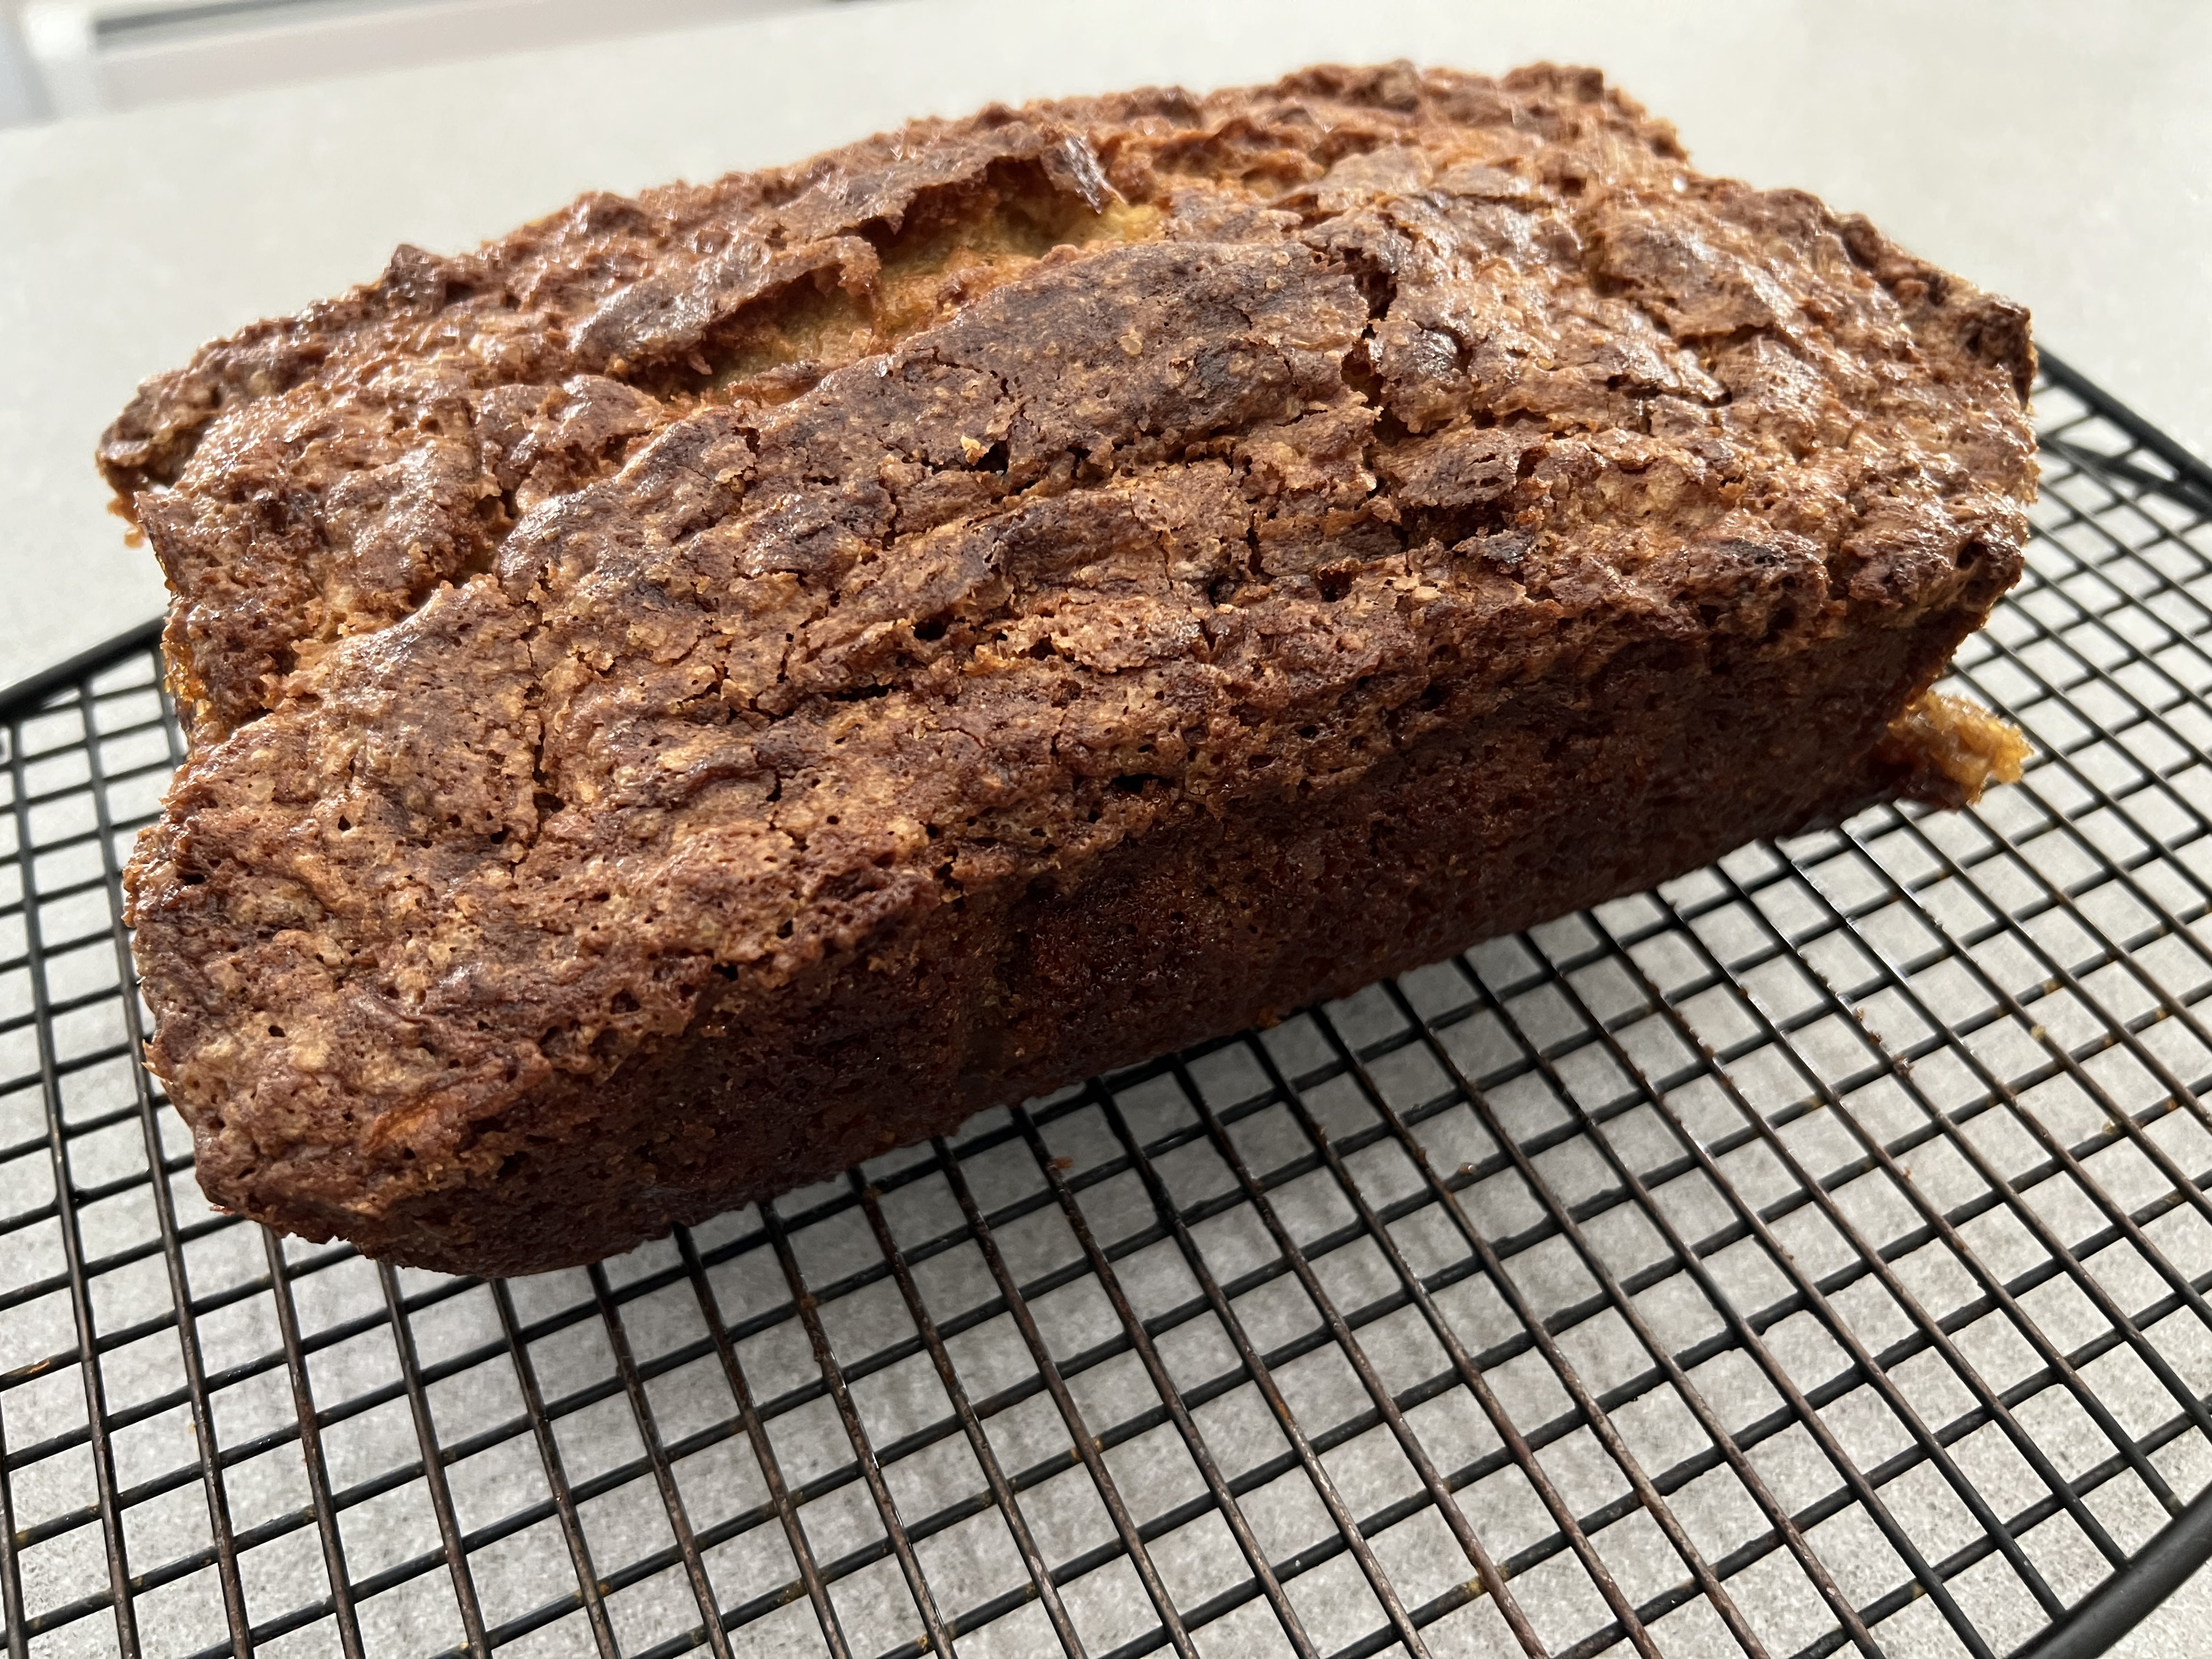
This bread is so good, I just might let the zucchini overgrow more often!
I recently cooked another batch of zucchini bread in a round pan. Worked great! And I experimented with substitutions: I replaced 1/2 cup of the all-purpose flour with corn meal to give it a more rustic taste. And I replaced the 1/2 cup white cane sugar with 1/4 cup of maple syrup. Delicious!


