Archive for the ‘Uncategorized’ Category

SHRIMP BURGERS

Posted: July 4, 2026 in Uncategorized
Tags: , , , , ,

These shrimp burgers are not only delicious, they’re pretty low in calories. The key to success is to use raw shrimp, not cooked. (Overcooked shrimp is never a good thing.)

I always use wild-caught American shrimp, not that nasty stuff from Asia. I’ve found wild-caught American shrimp almost everywhere, from supermarkets to membership clubs, and for a great price. You just have to make a bit of an effort to read the packages.

For this recipe, you don’t need to spend extra money for large shrimp. You’ll be chopping them up anyway…and I think the smaller shrimp are tastier. (A white fish, like cod, is also a good substitute for the shrimp.)

These patties hold together pretty well without a lot of breadcrumbs because the shrimp that goes in the food processor becomes a sticky paste that holds everything together. At around 1 calorie per gram, shrimp is a dieter’s best friend.

This recipe can be made gluten-free simply by using GF breadcrumbs. I make my own by buying frozen GF bread, like Udi’s. I toast it, then put it in the food processor to make breadcrumbs. They’re delicious, and you’d never know they’re gluten free!

1 lb. thawed, peeled and deveined medium wild-caught American shrimp
1/3 cup breadcrumbs
1 tablespoon fresh-squeezed lemon juice
1/2 teaspoon sea salt
1/4 teaspoon granulated garlic
1/4 teaspoon freshly ground black pepper
1/2 small Vidalia onion or 1 scallion, finely chopped
1 large egg, lightly beaten
Splash of cayenne pepper sauce, like Frank’s Red Hot, or a pinch of cayenne pepper (optional)
Oil, for frying

Coarsely chop half of the shrimp. Place the other half in a food processor, and pulse it until smooth.

Combine all the shrimp in a bowl with the breadcrumbs, lemon juice, salt, garlic, pepper, onion, egg and optional cayenne pepper sauce.
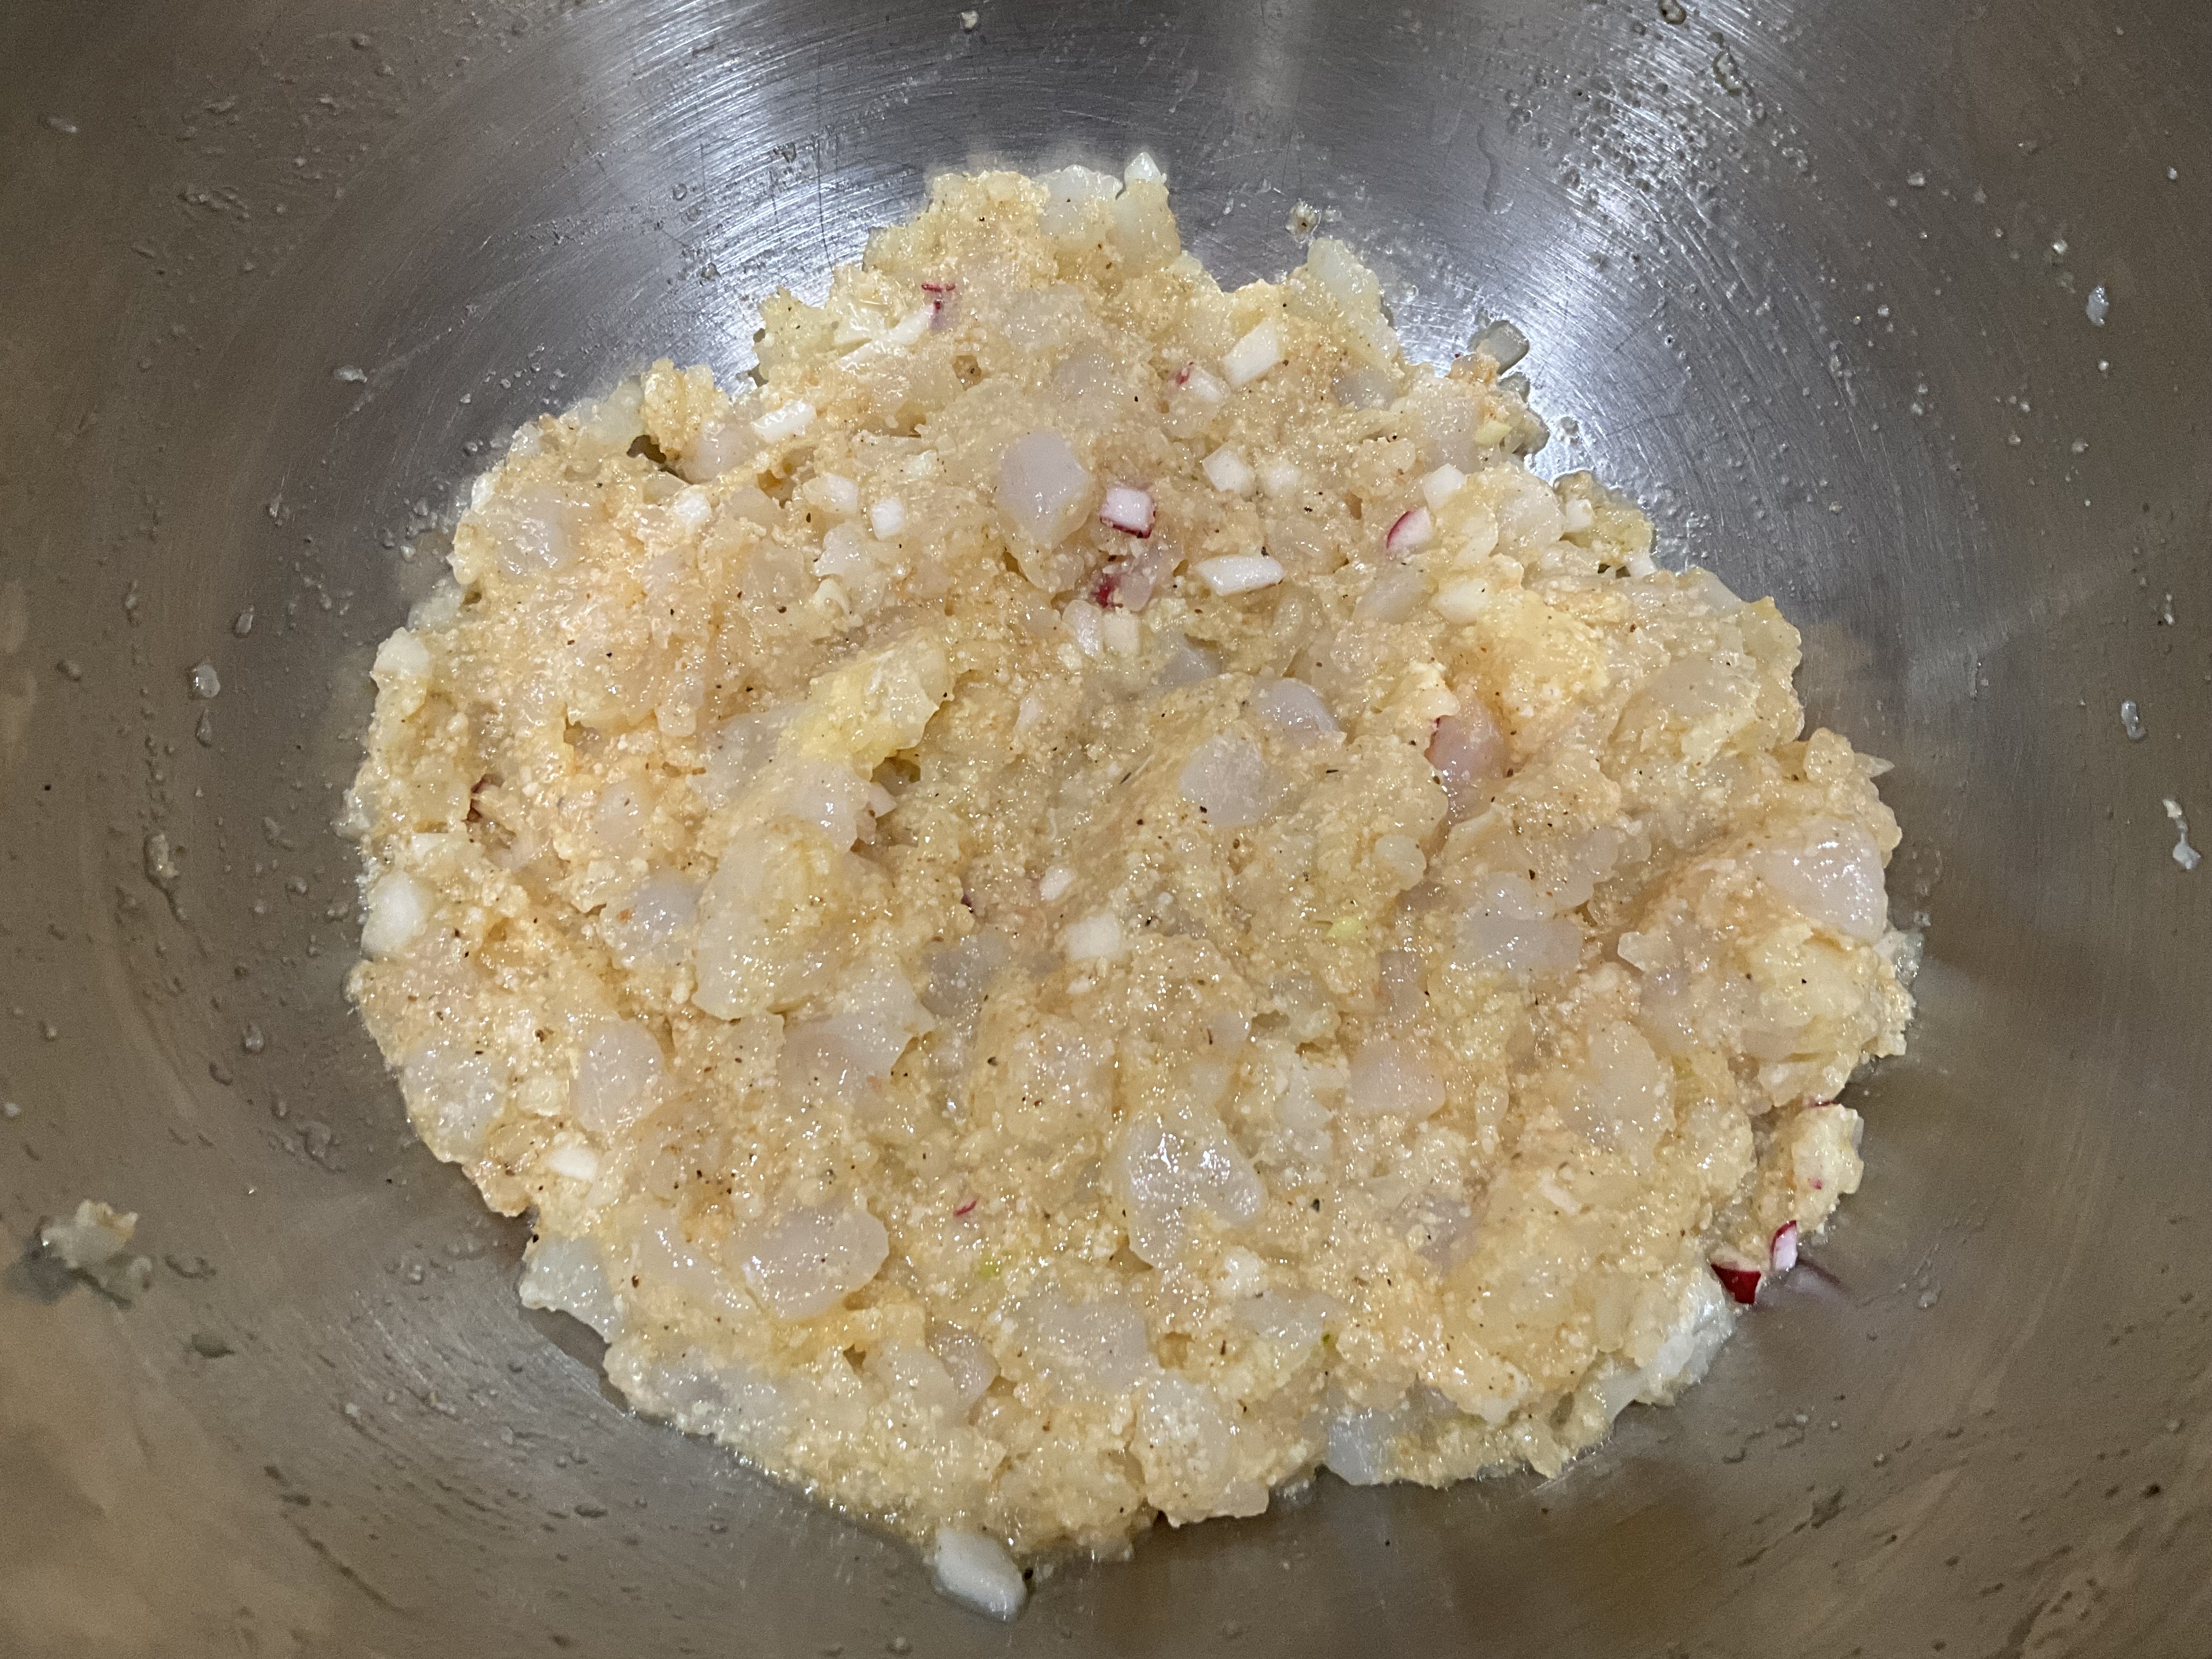
I had a few radishes, so I chopped them up and mixed them with the onion. (That’s what the little red flakes are.) But that’s just me!

Refrigerate the mix for 10 minutes. Then remove it from the fridge and form the patties. (I like to use a 1/3 cup measure for this.) Once you’ve formed the patties, put them back in the fridge for another 10 minutes.

Heat the oil (I try to use as little as possible for calories’ sake) in a non-stick pan over medium-high heat. I like avocado oil, but use your favorite. And if you’re not on a diet, use 1/4 cup of oil to get a nice fry going. Carefully place the burgers in the pan (they’re fragile!) and cook them about 3 minutes per side.
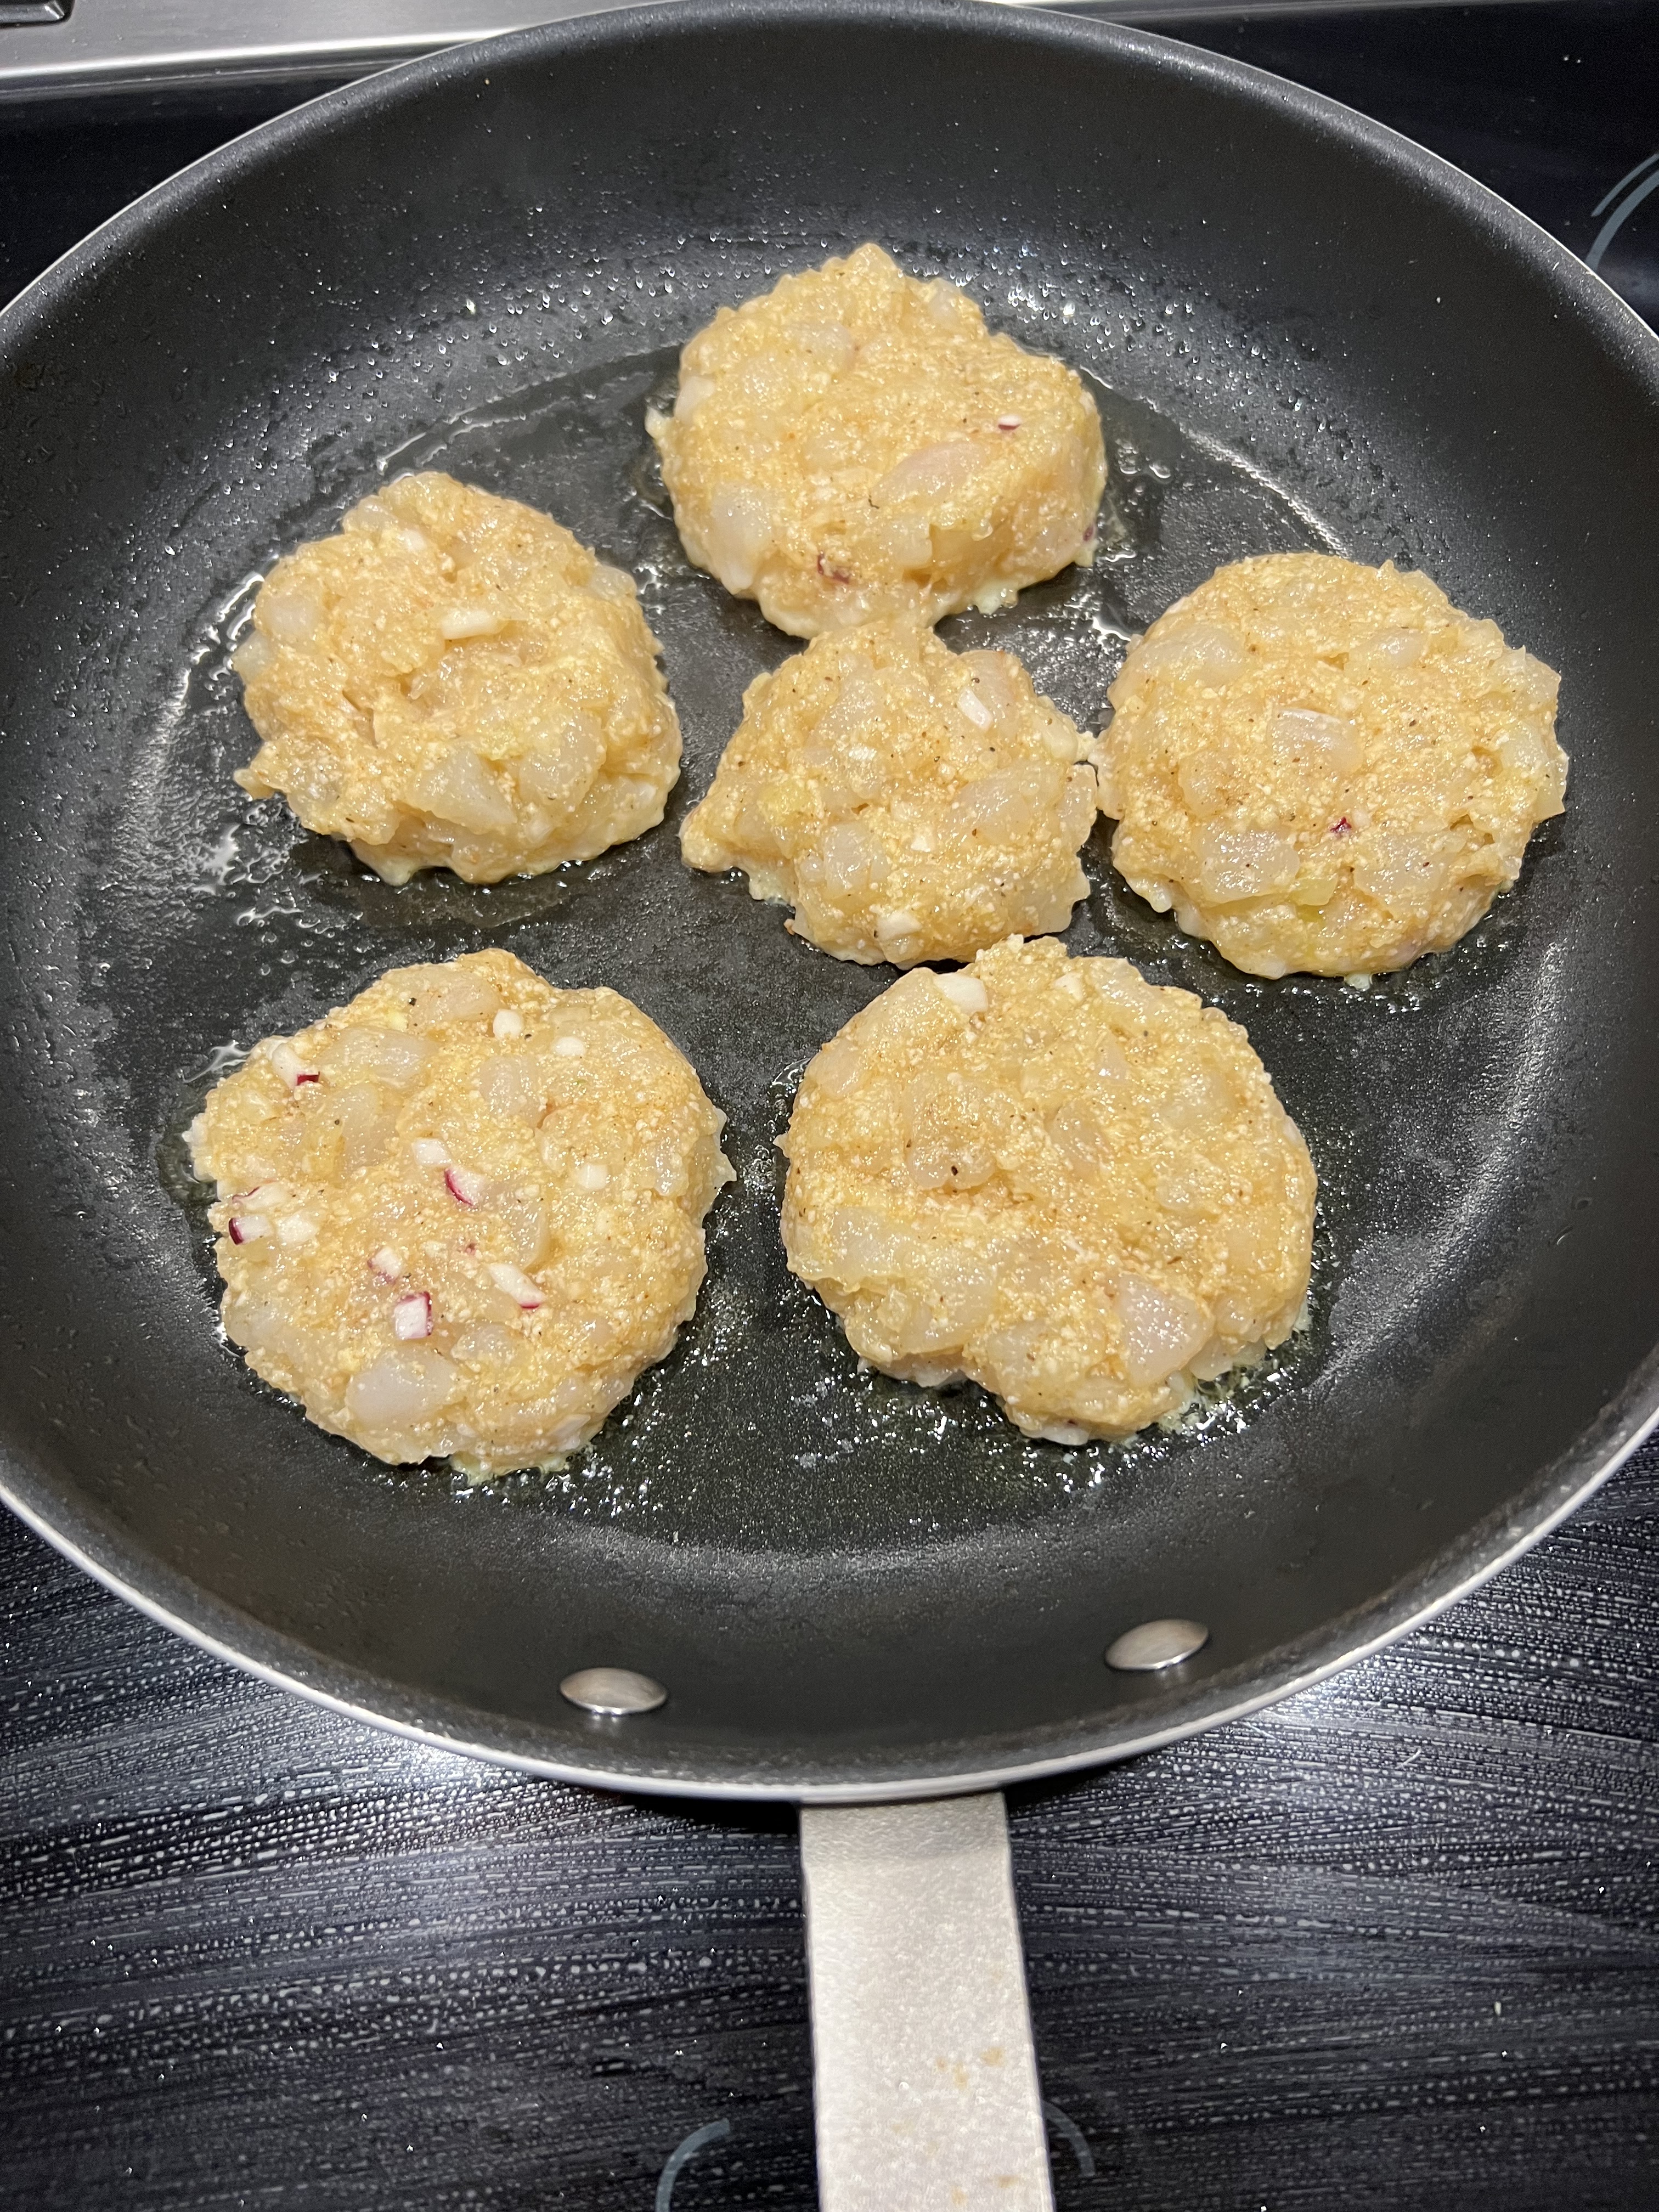
Getting a good sear on the first side before flipping them will help hold them together. You don’t want to undercook the burgers, but you don’t want to overcook shrimp, either.

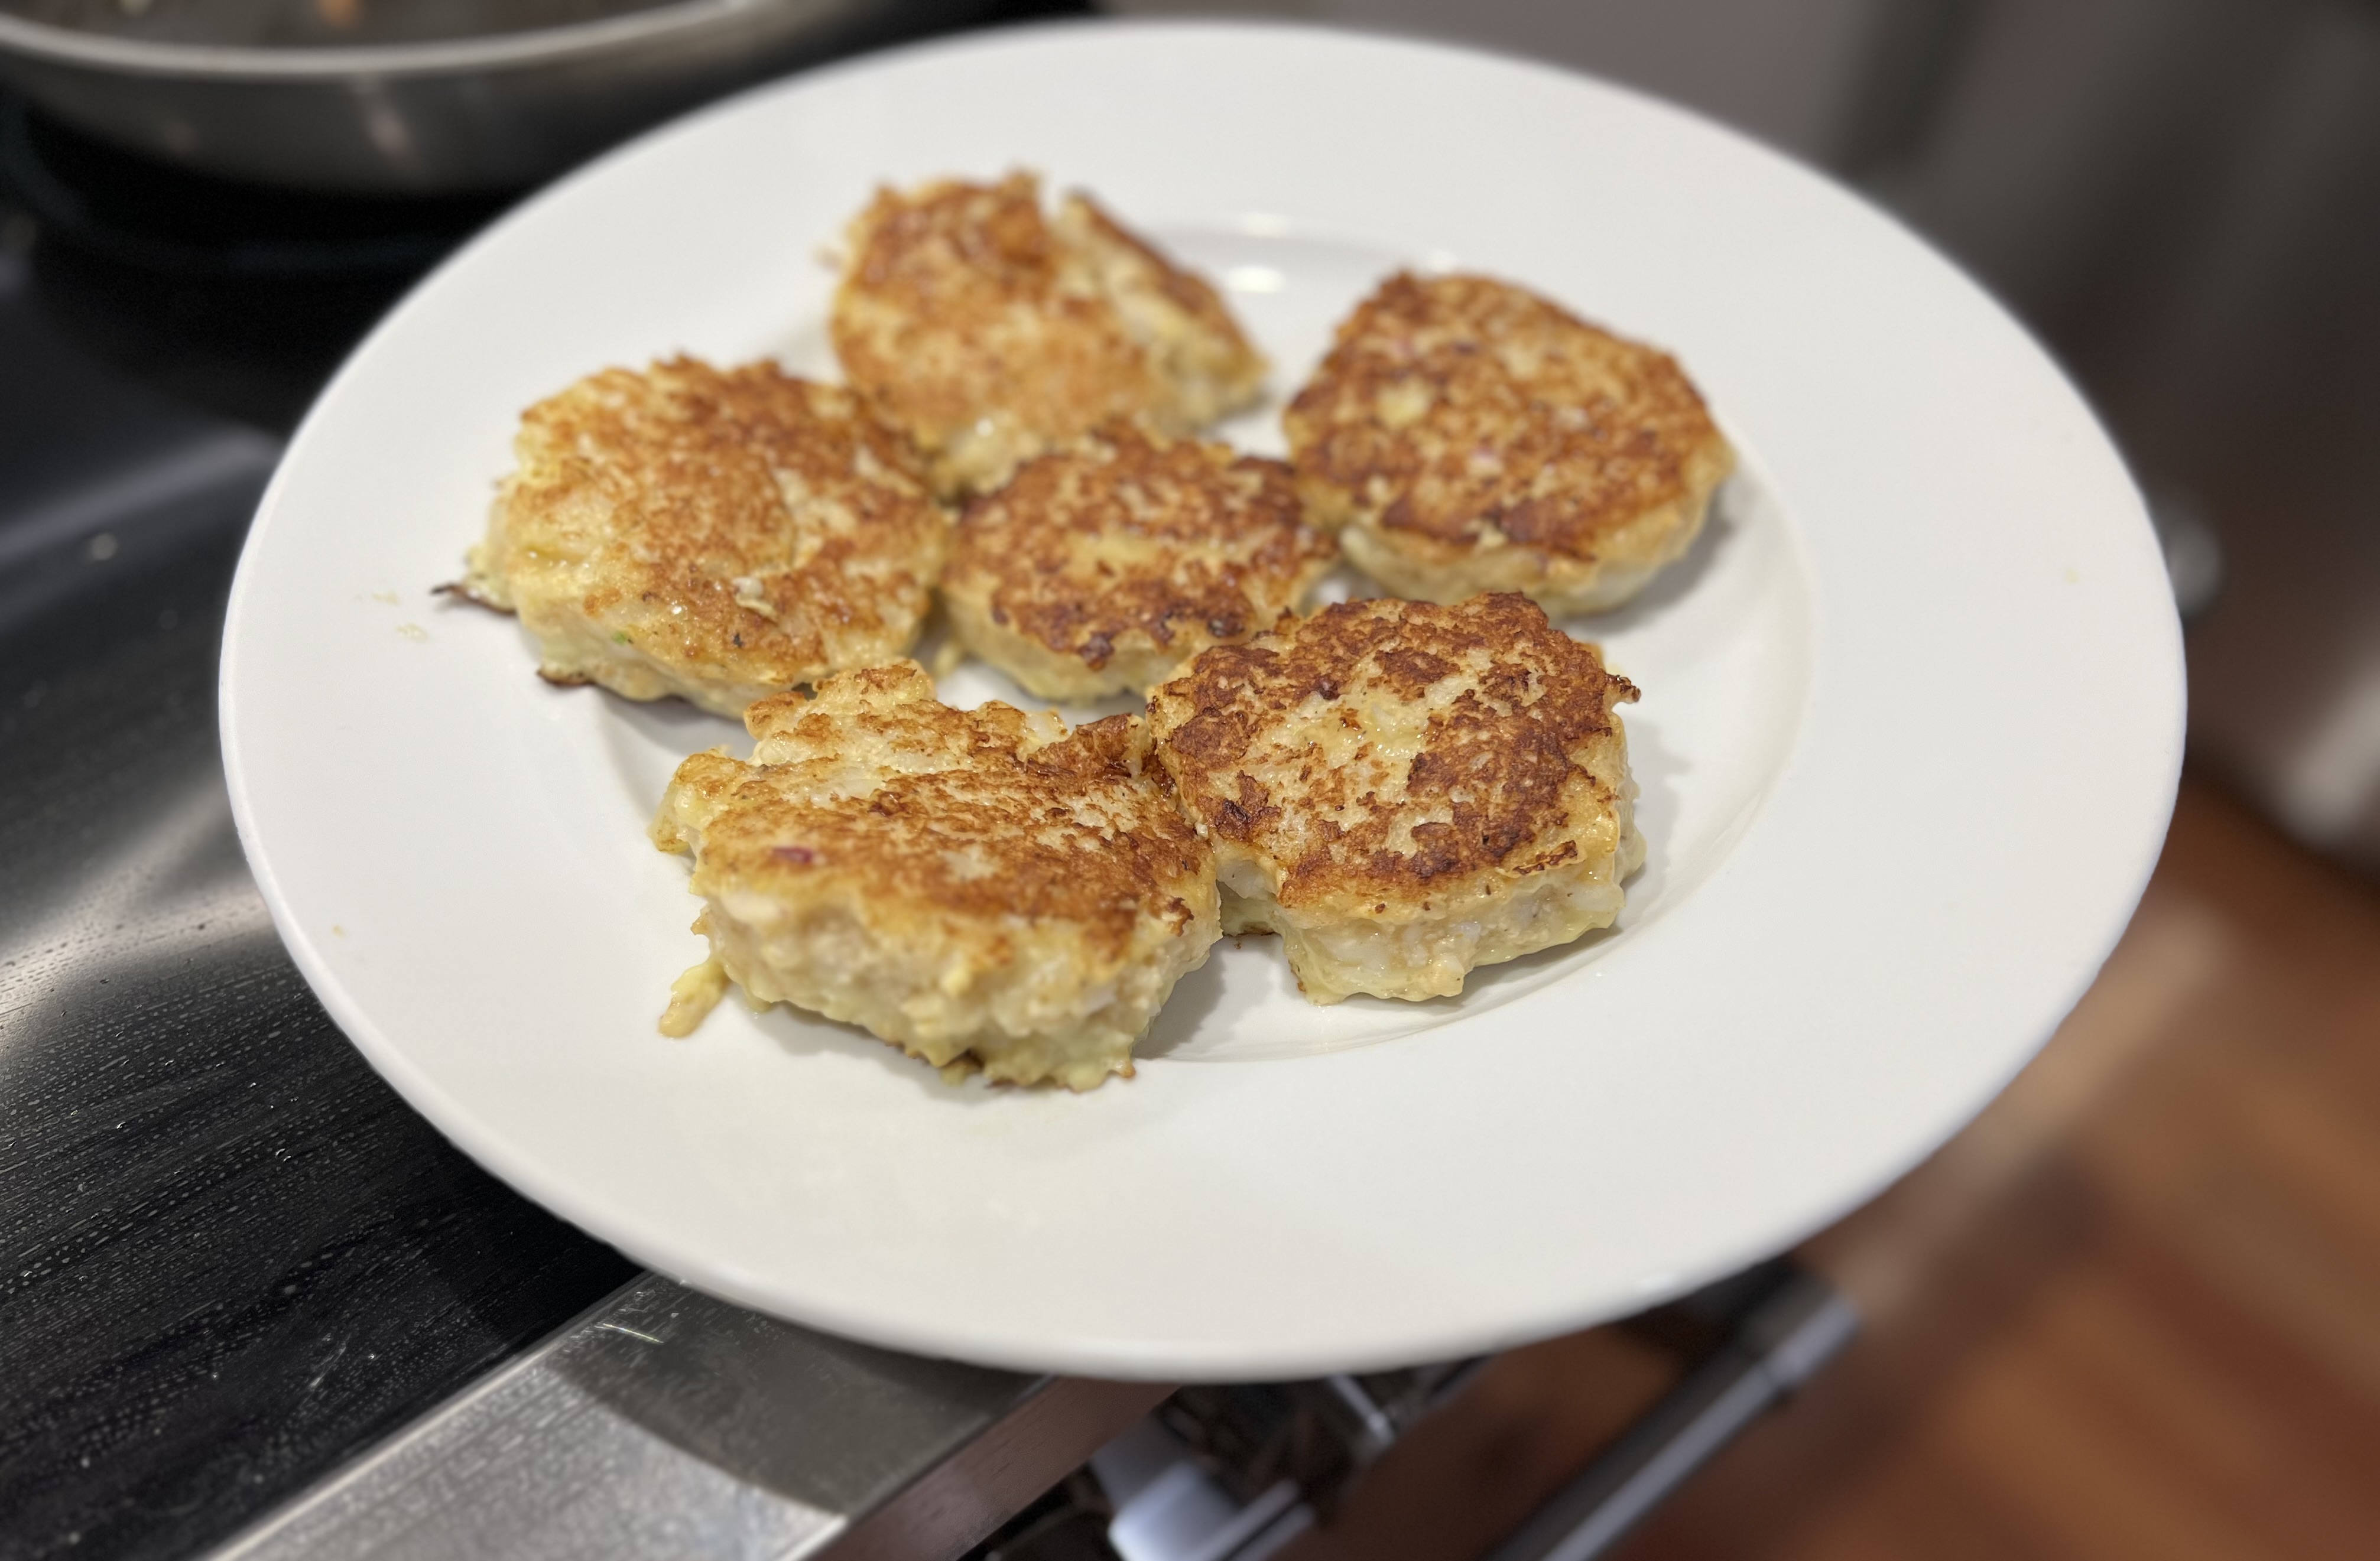
Sometimes a piece will break off. That’s OK!

I make a simple remoulade using 1 teaspoon Dijon mustard to 1 tablespoon mayonnaise. Another option is to combine mayo with some Old Bay seasoning.
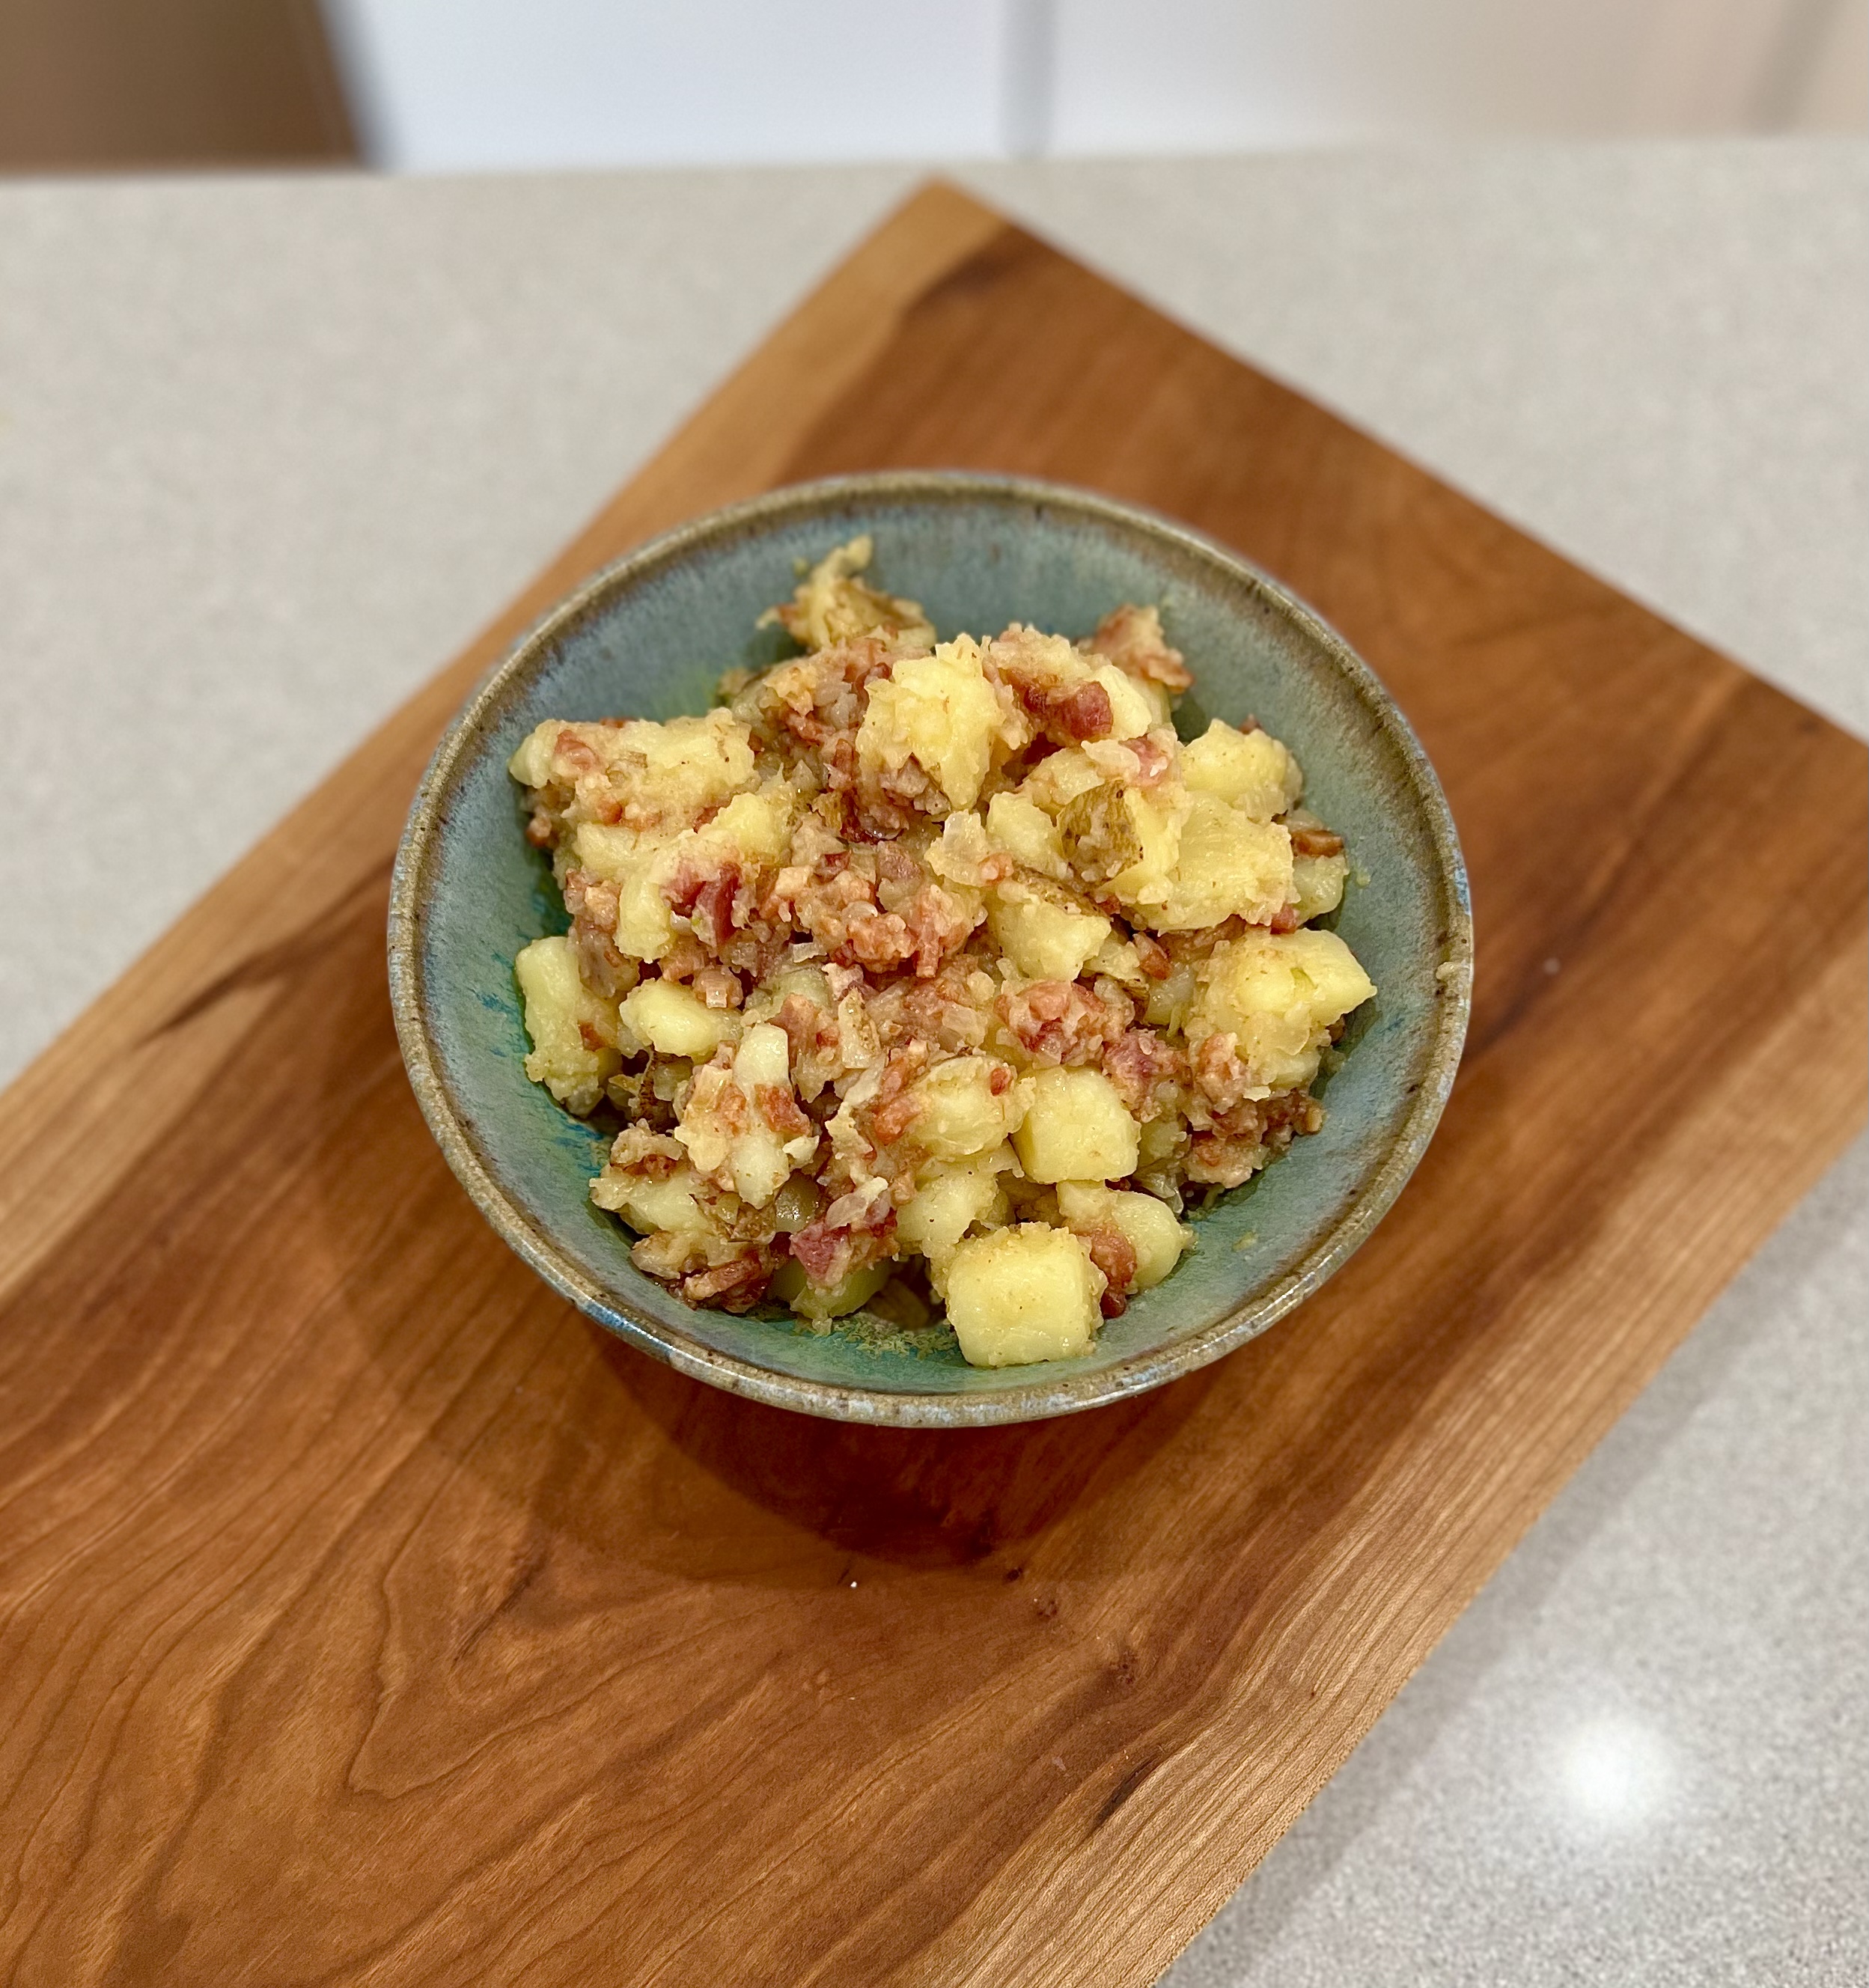
Home fries are a simple thing. But we’ve all been to a diner where the home fries tumbled out of a bag of frozen pre-cut potatoes, and tasted like cardboard. It’s time home fries got the respect they deserve.


Let’s get one thing out in the open from the very beginning: home fries were never meant to be low in calories! Mine are definitely not diet food! So, as you read this blog, if you’re shaking your head at the fat and calories, know that I know that you know!

3 lbs. Yukon gold or yellow potatoes, washed and cut into 1/2″ cubes
1 lb. bacon, chopped
2 Vidalia onions, finely chopped
Lawry’s Seasoned Salt
4 tablespoons unsalted butter


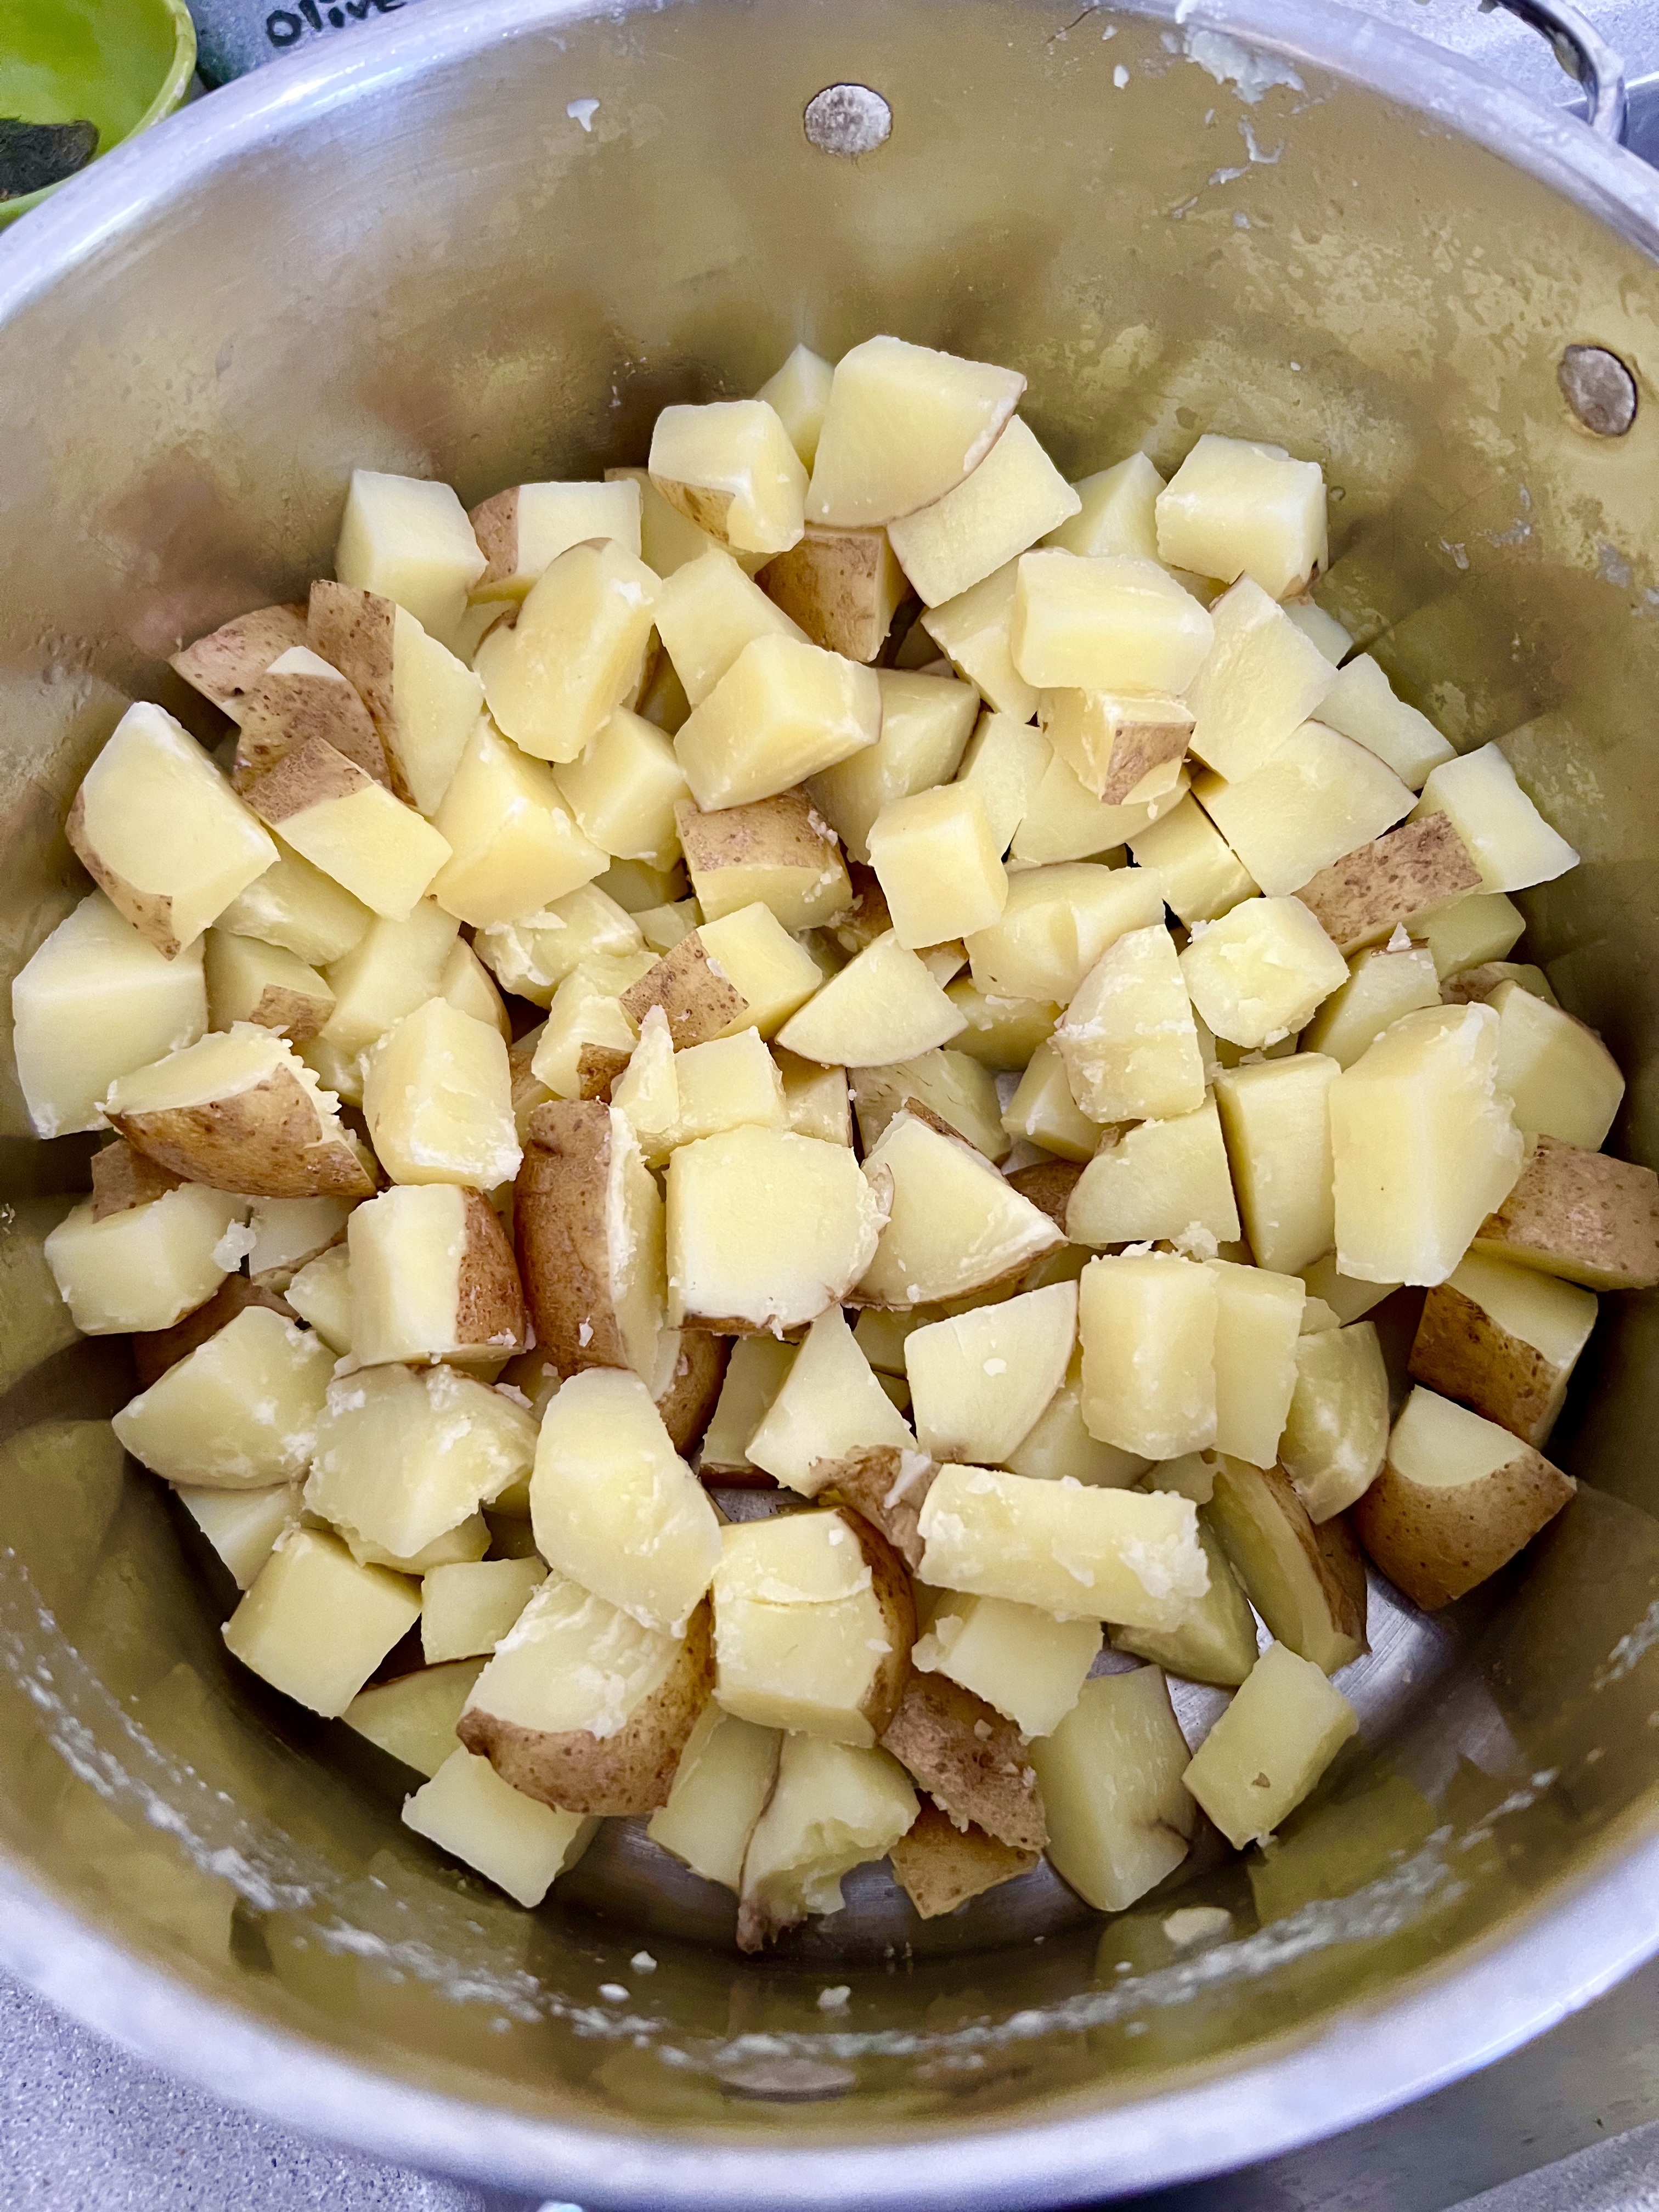
I like my potatoes with the skin on, so I remove any blemishes on the skins, then cut the potatoes in approximately 1/2” cubes. Some can be larger, some smaller, and they don’t have to be perfect squares. The smaller pieces will cook and soften faster, while the larger pieces will retain their shape and texture.

Place the cut potatoes in a pot of clean, cold water over high heat on the stove. Add a little Kosher salt to the water. Let the potatoes cook until they are a bit al dente…a bit underdone. They will cook some more later in the pan. Drain them and set the potatoes aside.


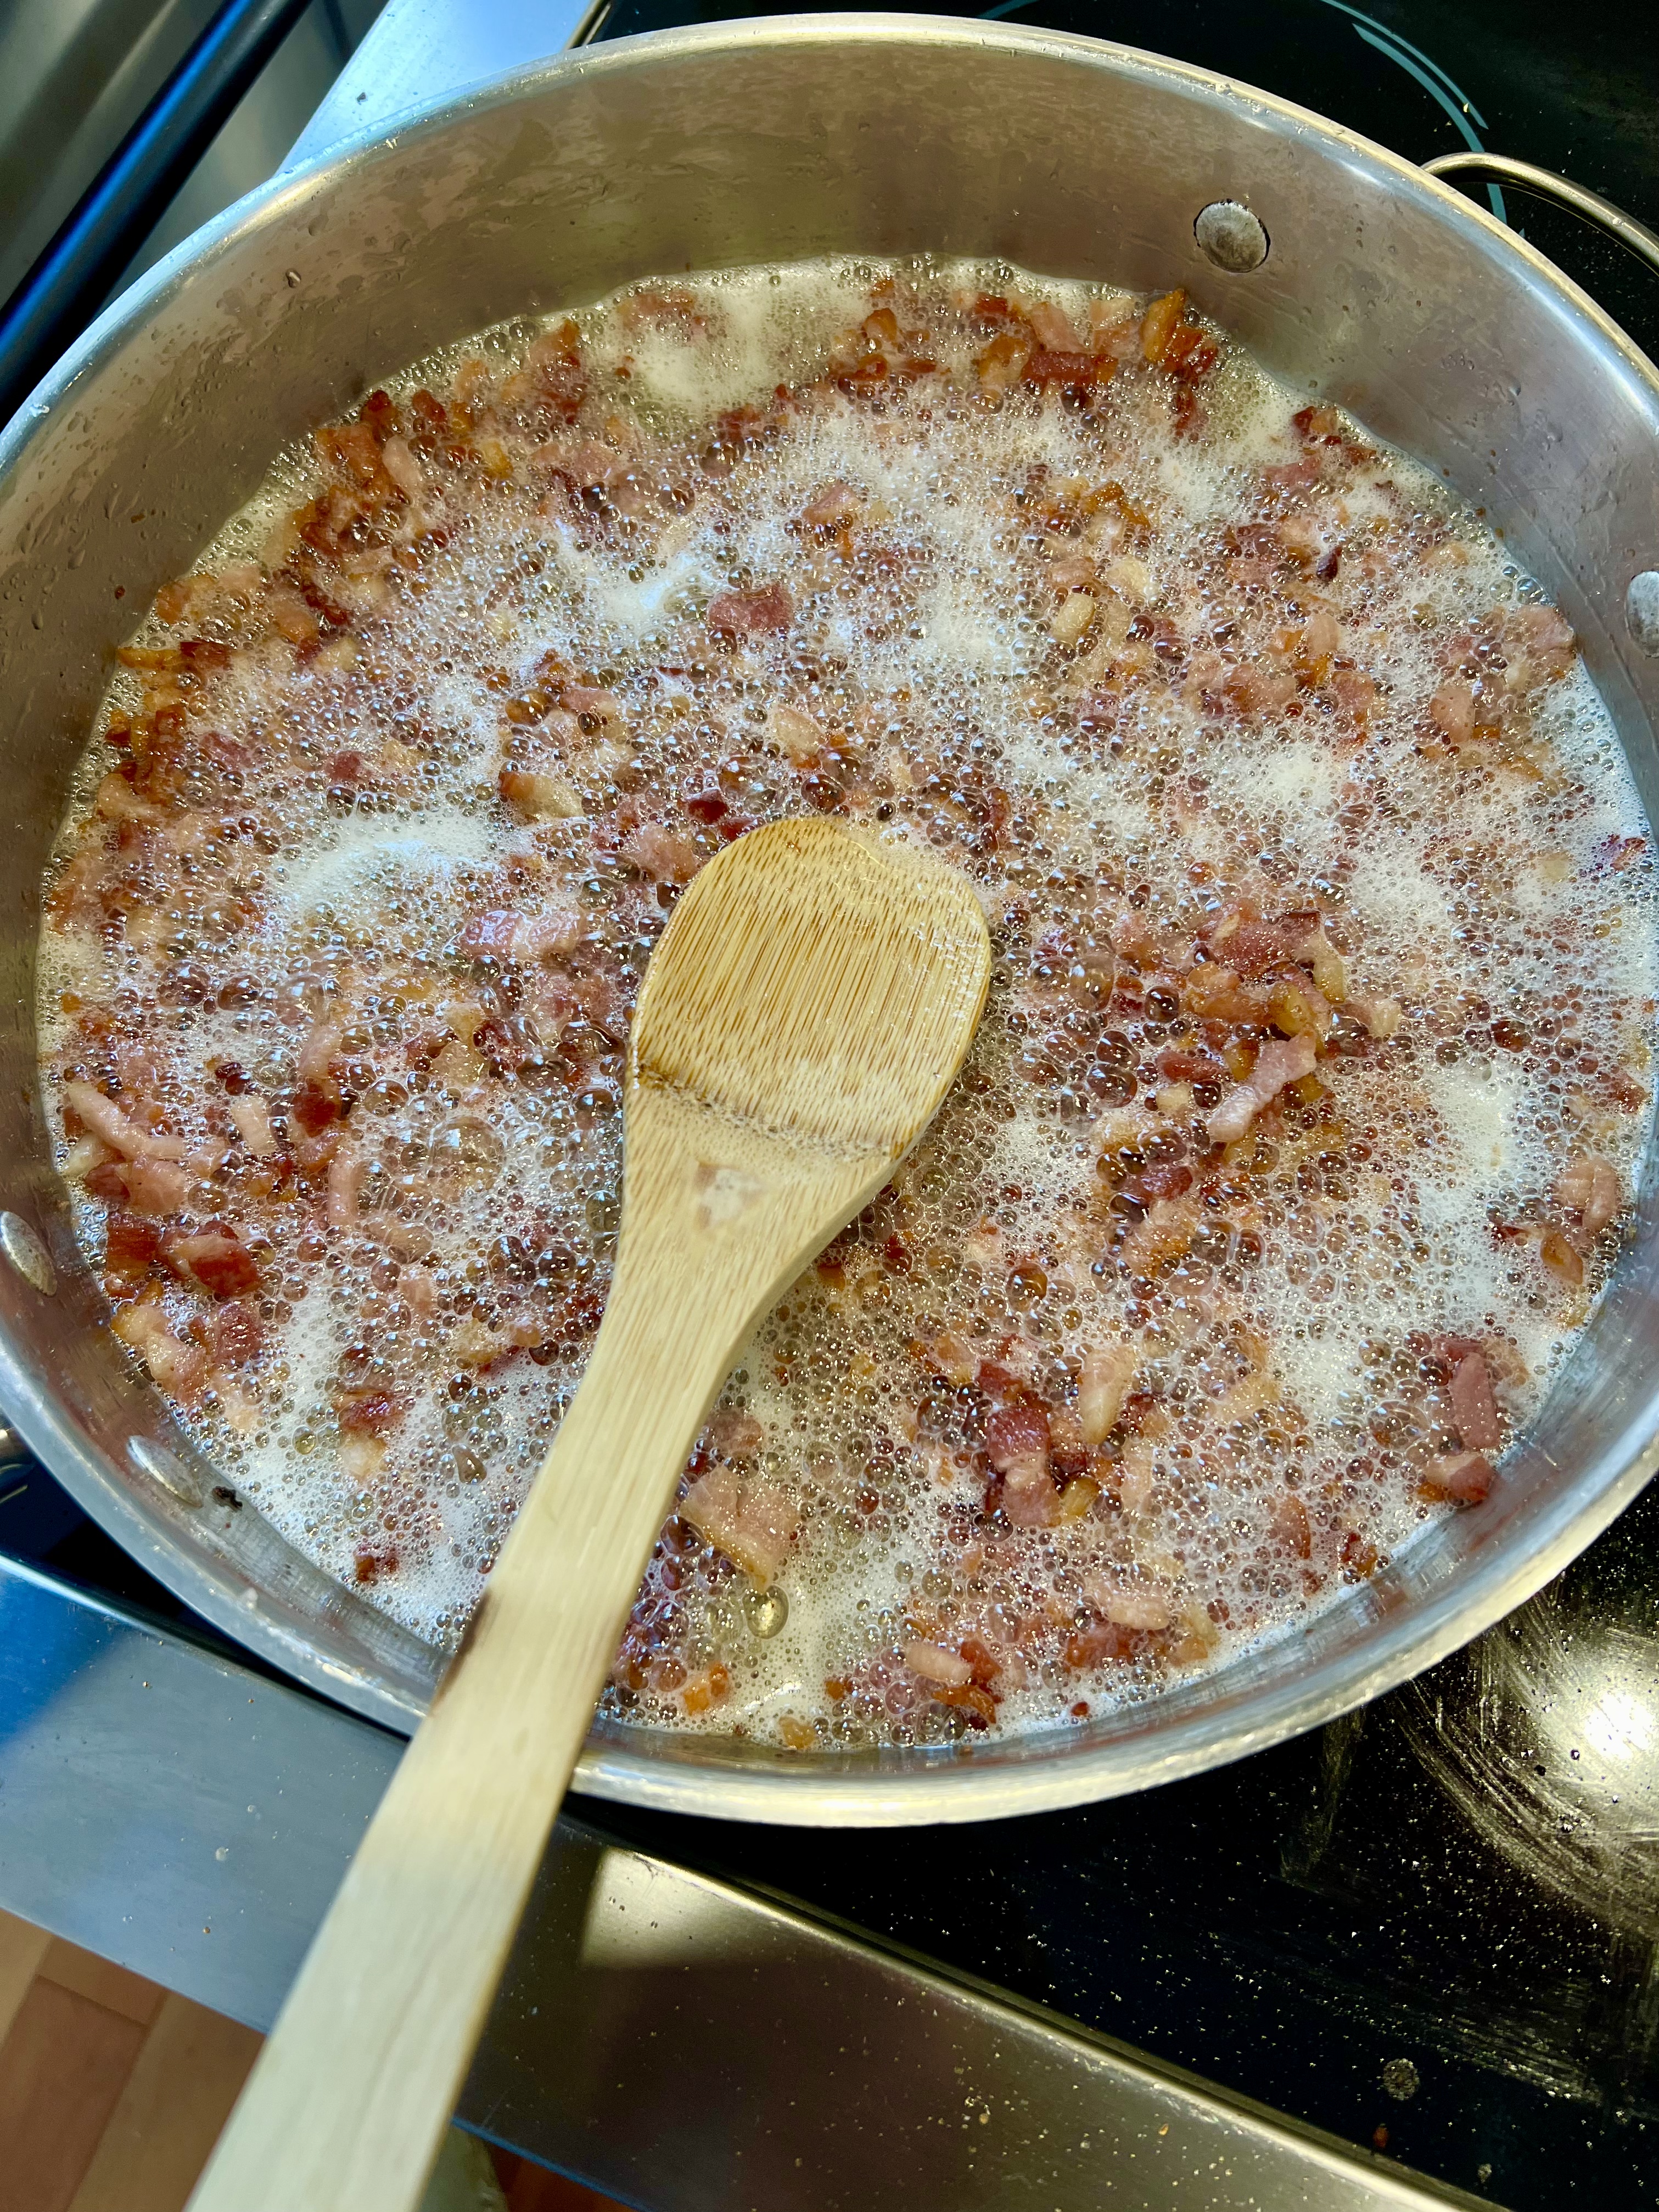
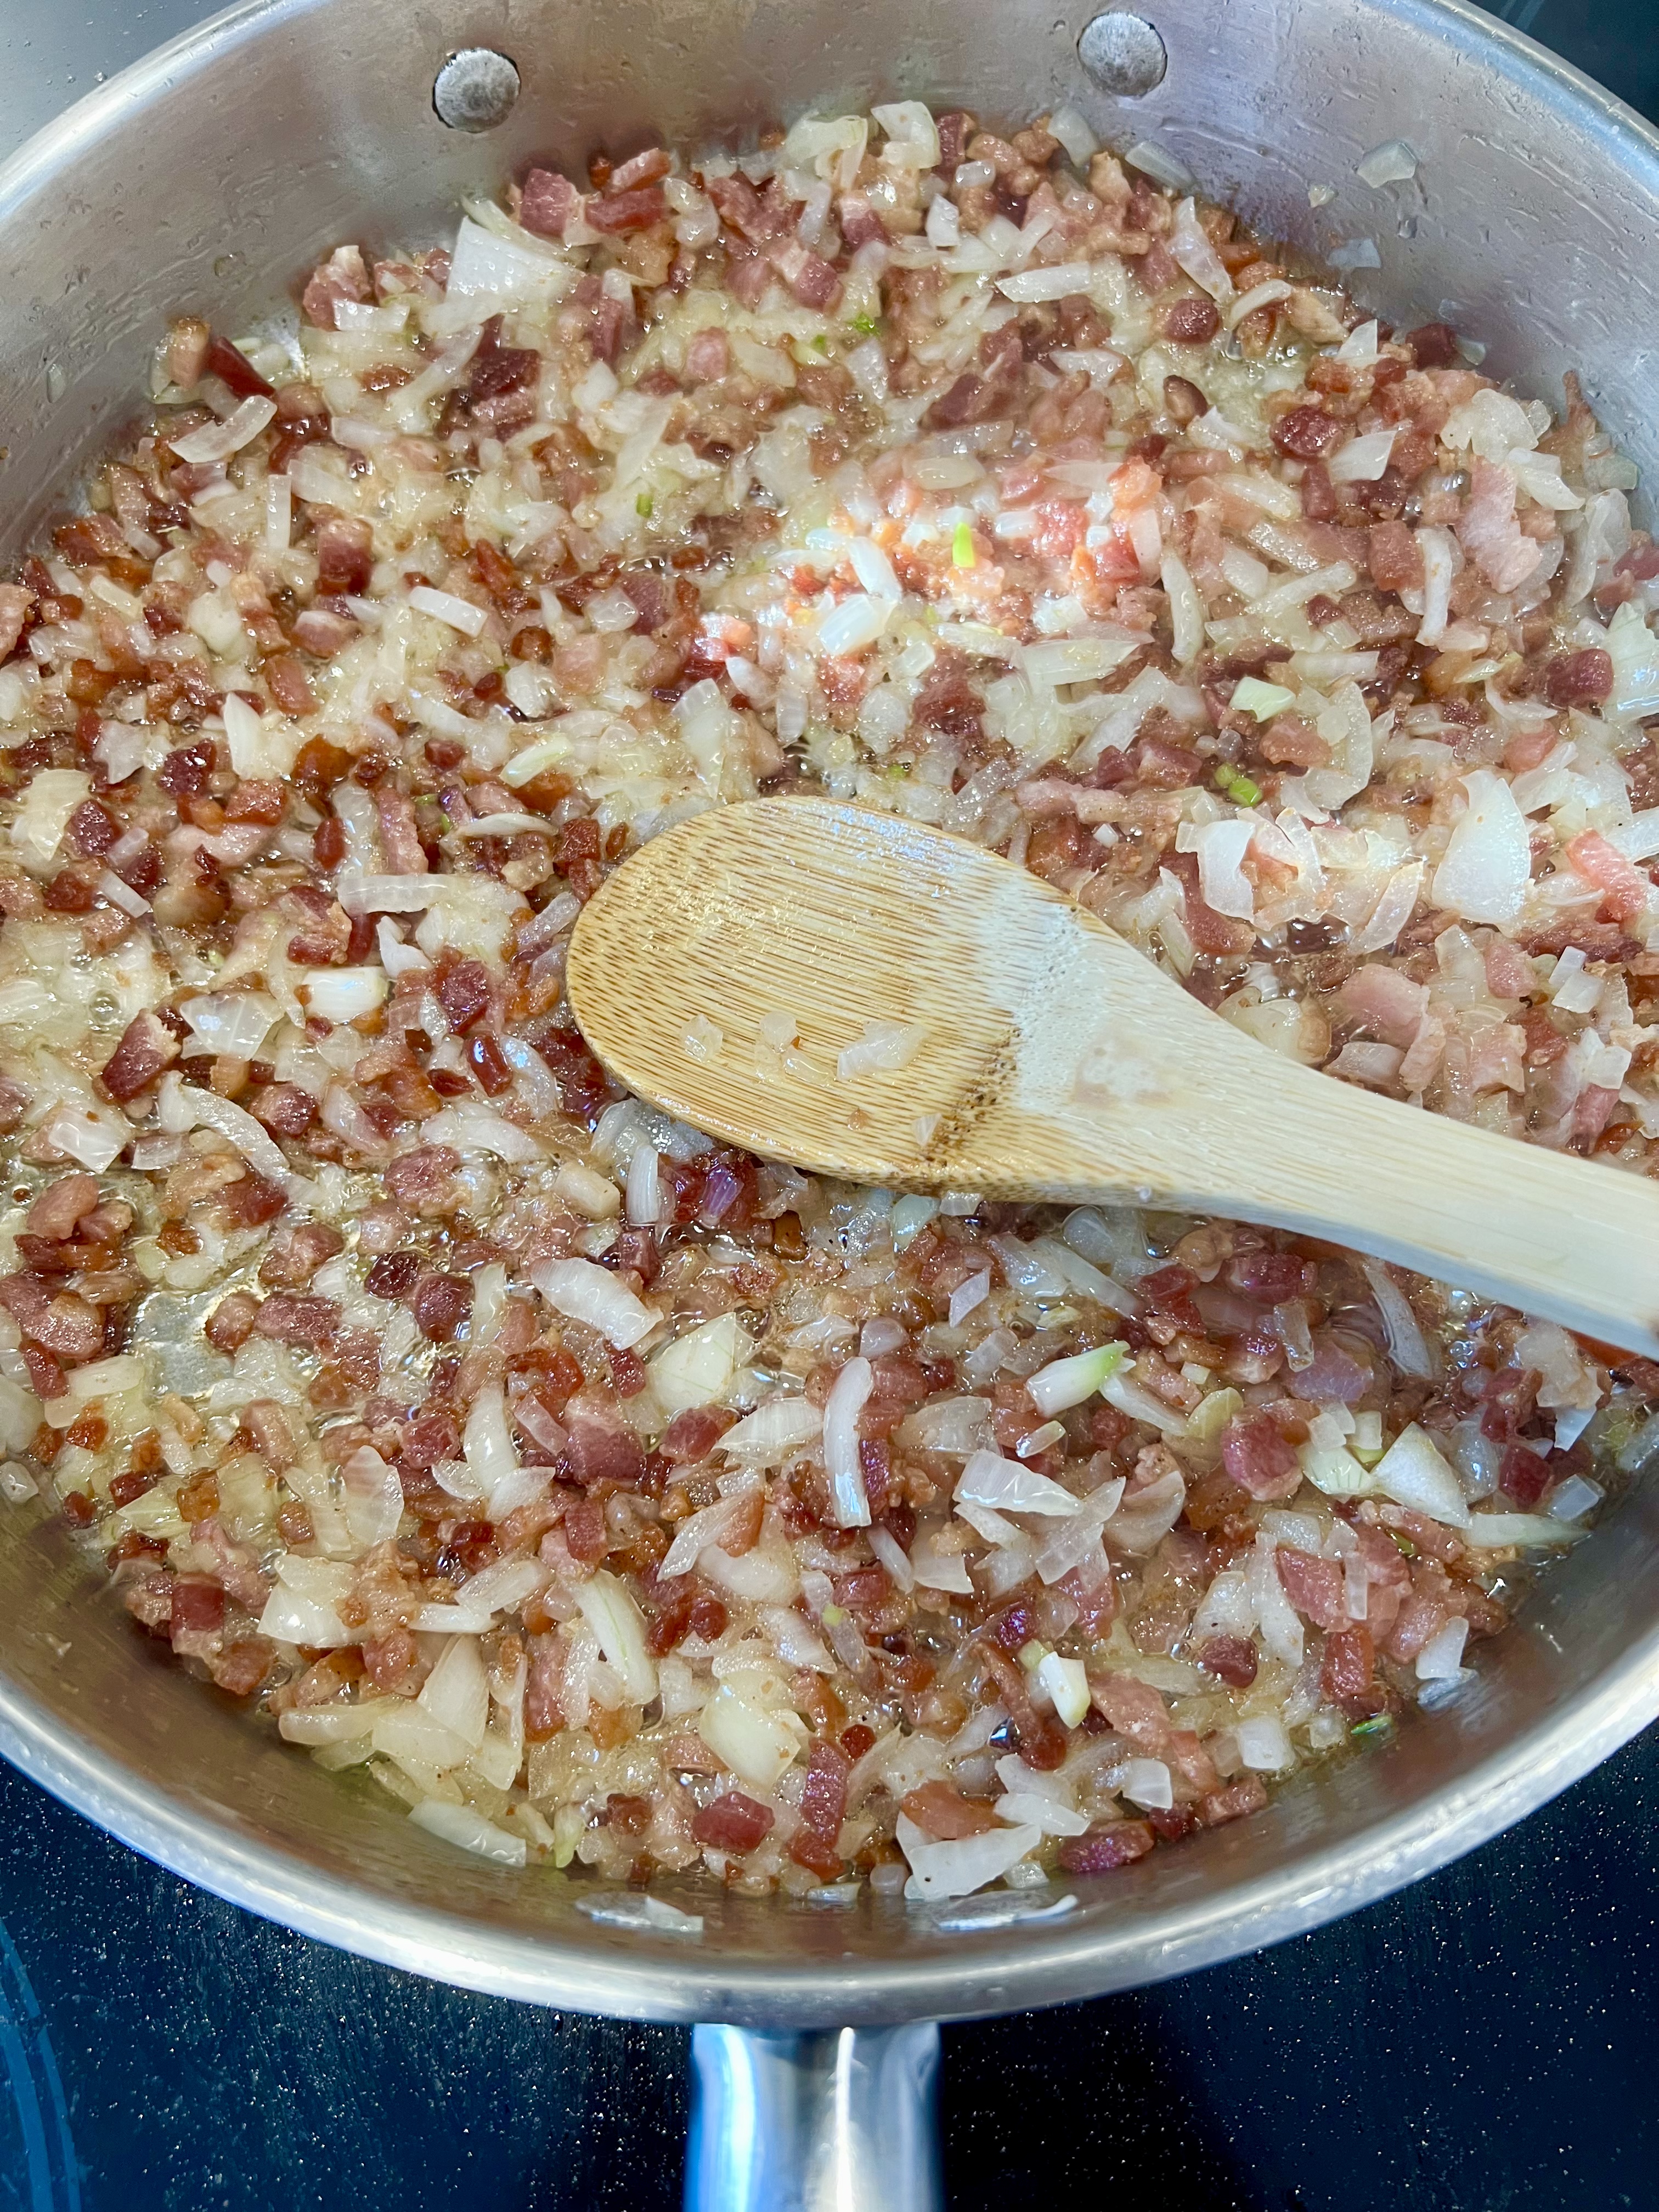
Chop the bacon and start frying it. While the bacon is frying, finely chop the two onions. Add the onions to the pan when the bacon fat has rendered and the bacon has cooked completely to a golden brown. Now, here’s where eyebrows are often raised: Leave all the bacon fat in the pan!

Leave the bacon fat! It’s all about flavor!

Cook the onions until they are soft and translucent.


Now add the drained potatoes to the pan, mixing well, coating the potato pieces in the bacon fat.

Lightly season the potatoes with the Lawry’s Seasoned Salt. Remember: there’s a lot of salt already in the pan from the bacon.

Cook the potatoes in the pan, mixing well, and then add the butter in small pieces, scattered around the pan. Keep mixing until the potatoes brown a little.


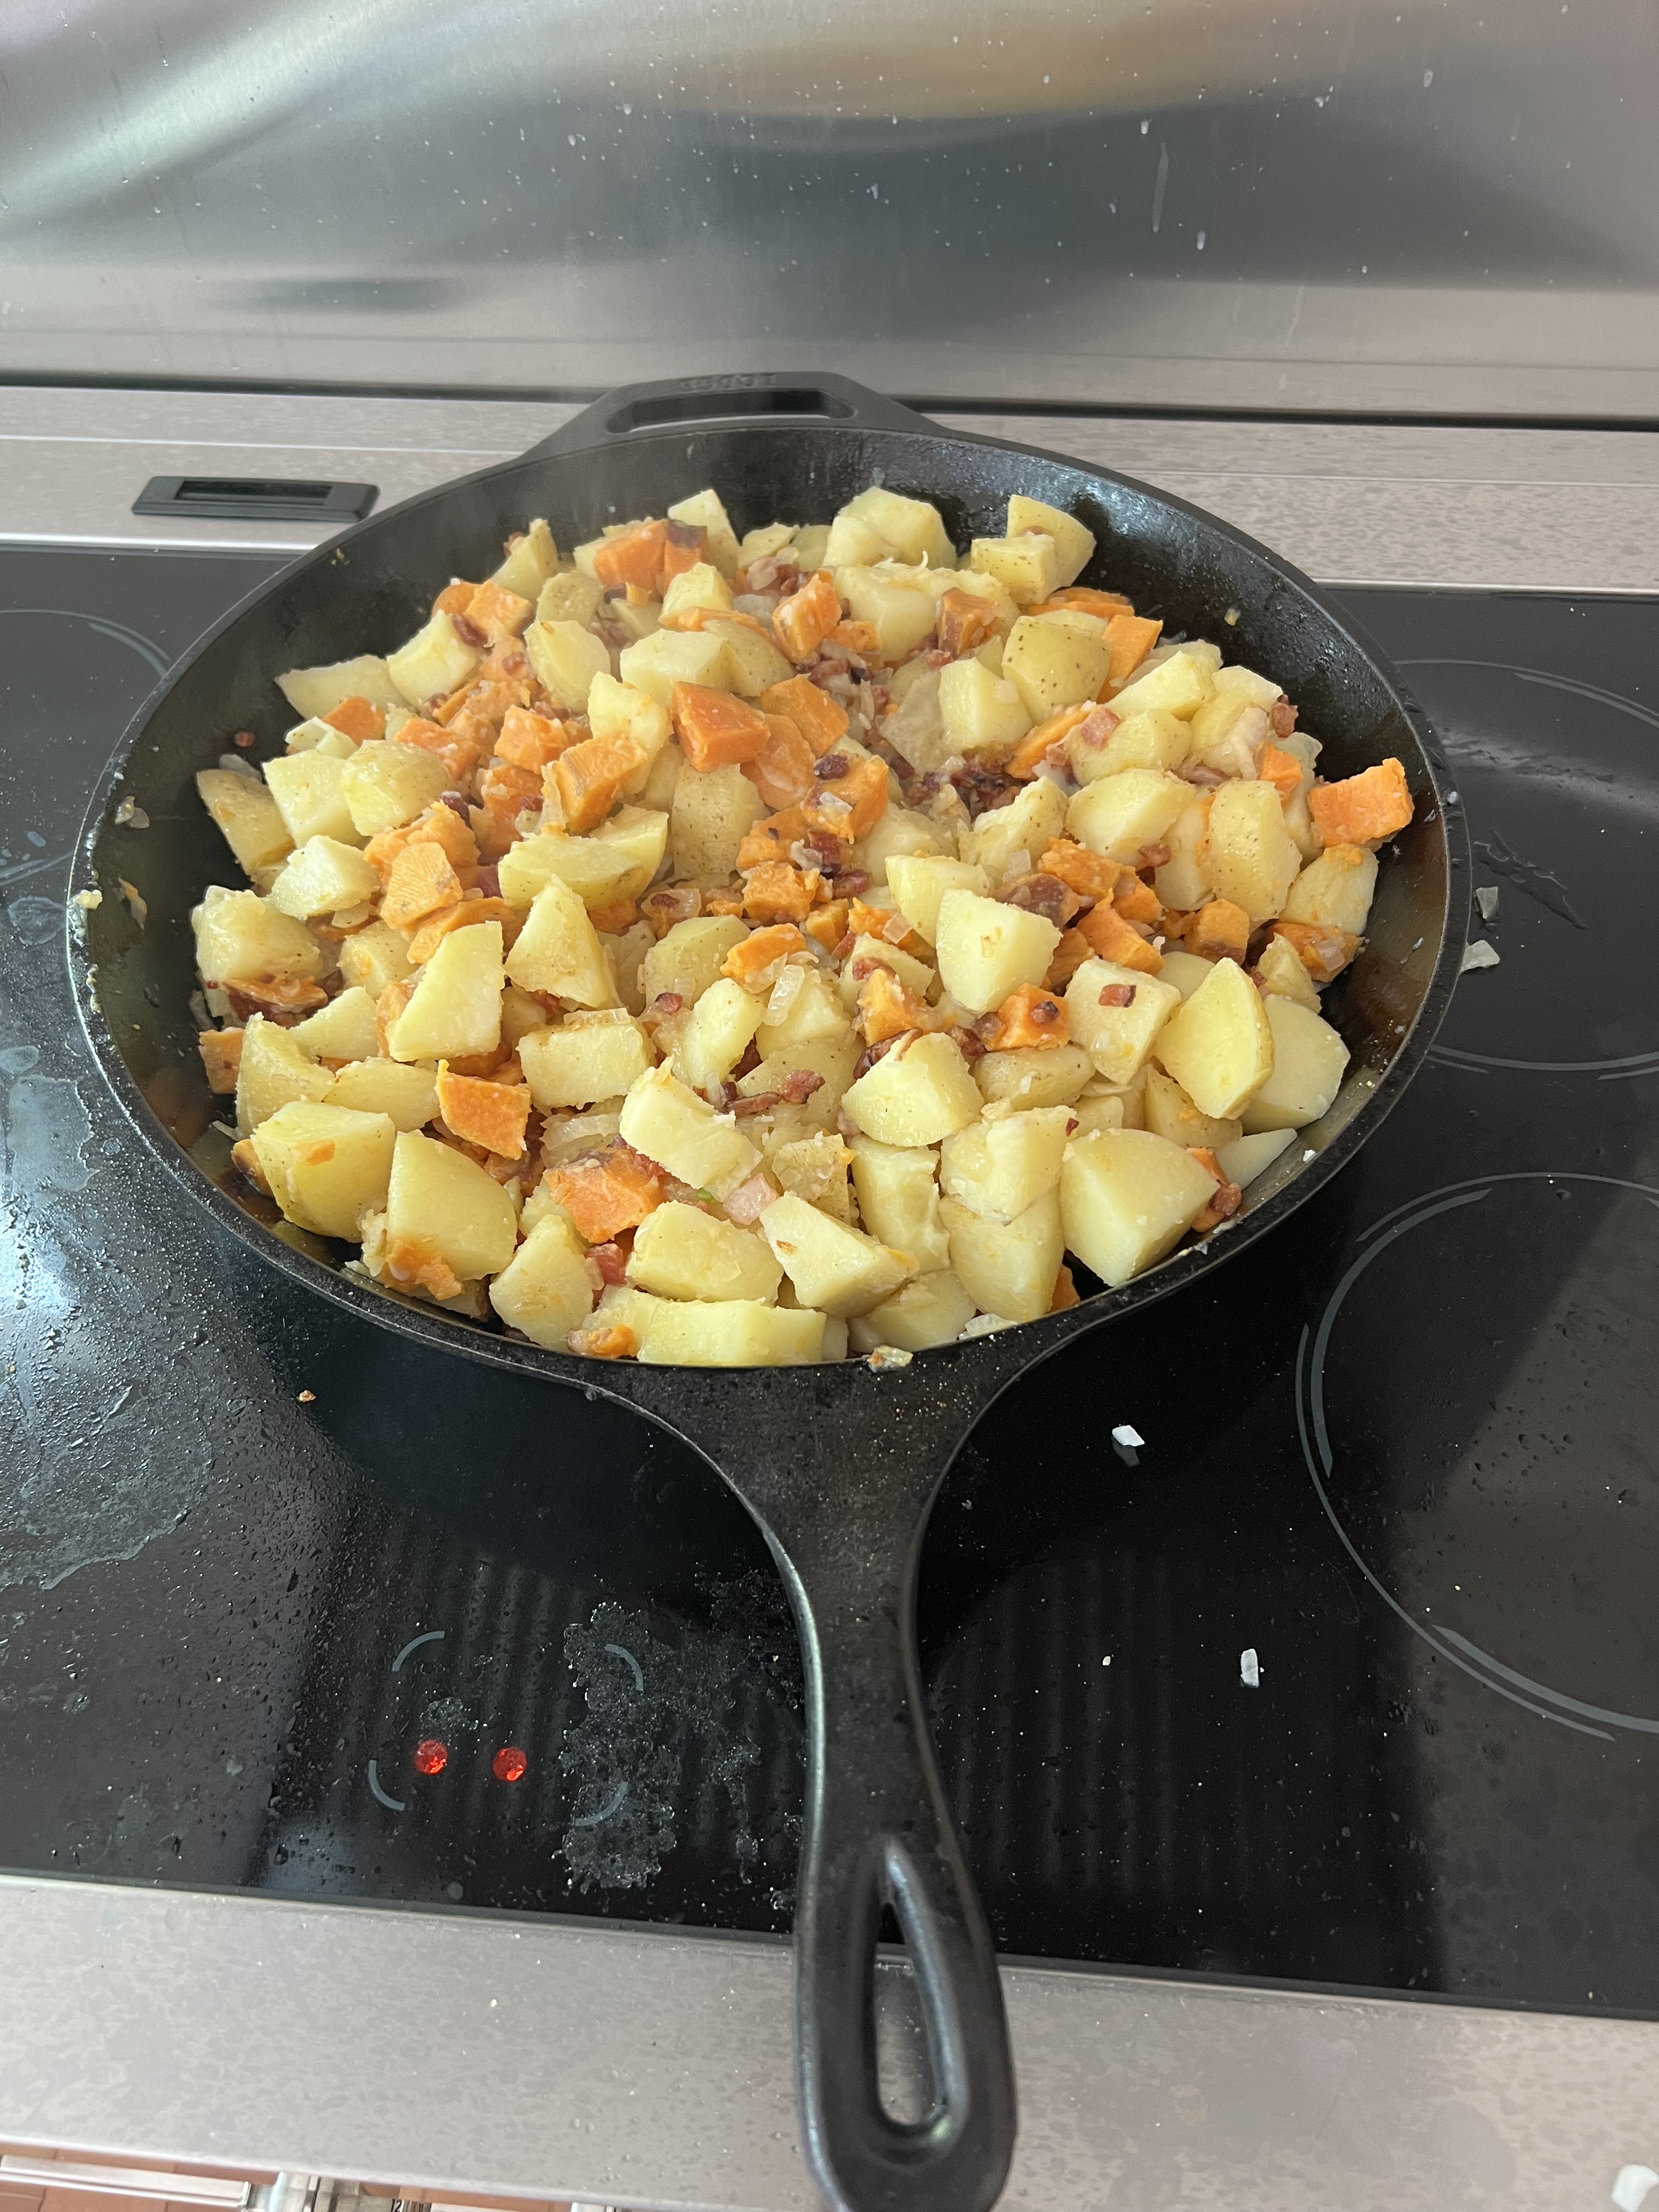
One option that I like and started doing only recently: I add a pound or two of sweet potatoes to the mix. I keep the measurements of all the other ingredients exactly the same. I boil the sweet potatoes separately from the regular potatoes, because they cook more quickly. I drain them and set them aside and then mix them with the regular potatoes in the pan.

Either way, these home fries are delicious, and they store well in the freezer. So if you have guests coming over, you can make them a few days ahead of time and then just thaw them and re-heat them in the pan when it’s time to serve.

It’s that time of year when friends are coming over, and you want to make one drink you can serve everyone, rather than playing bartender all night. This one hits the spot.

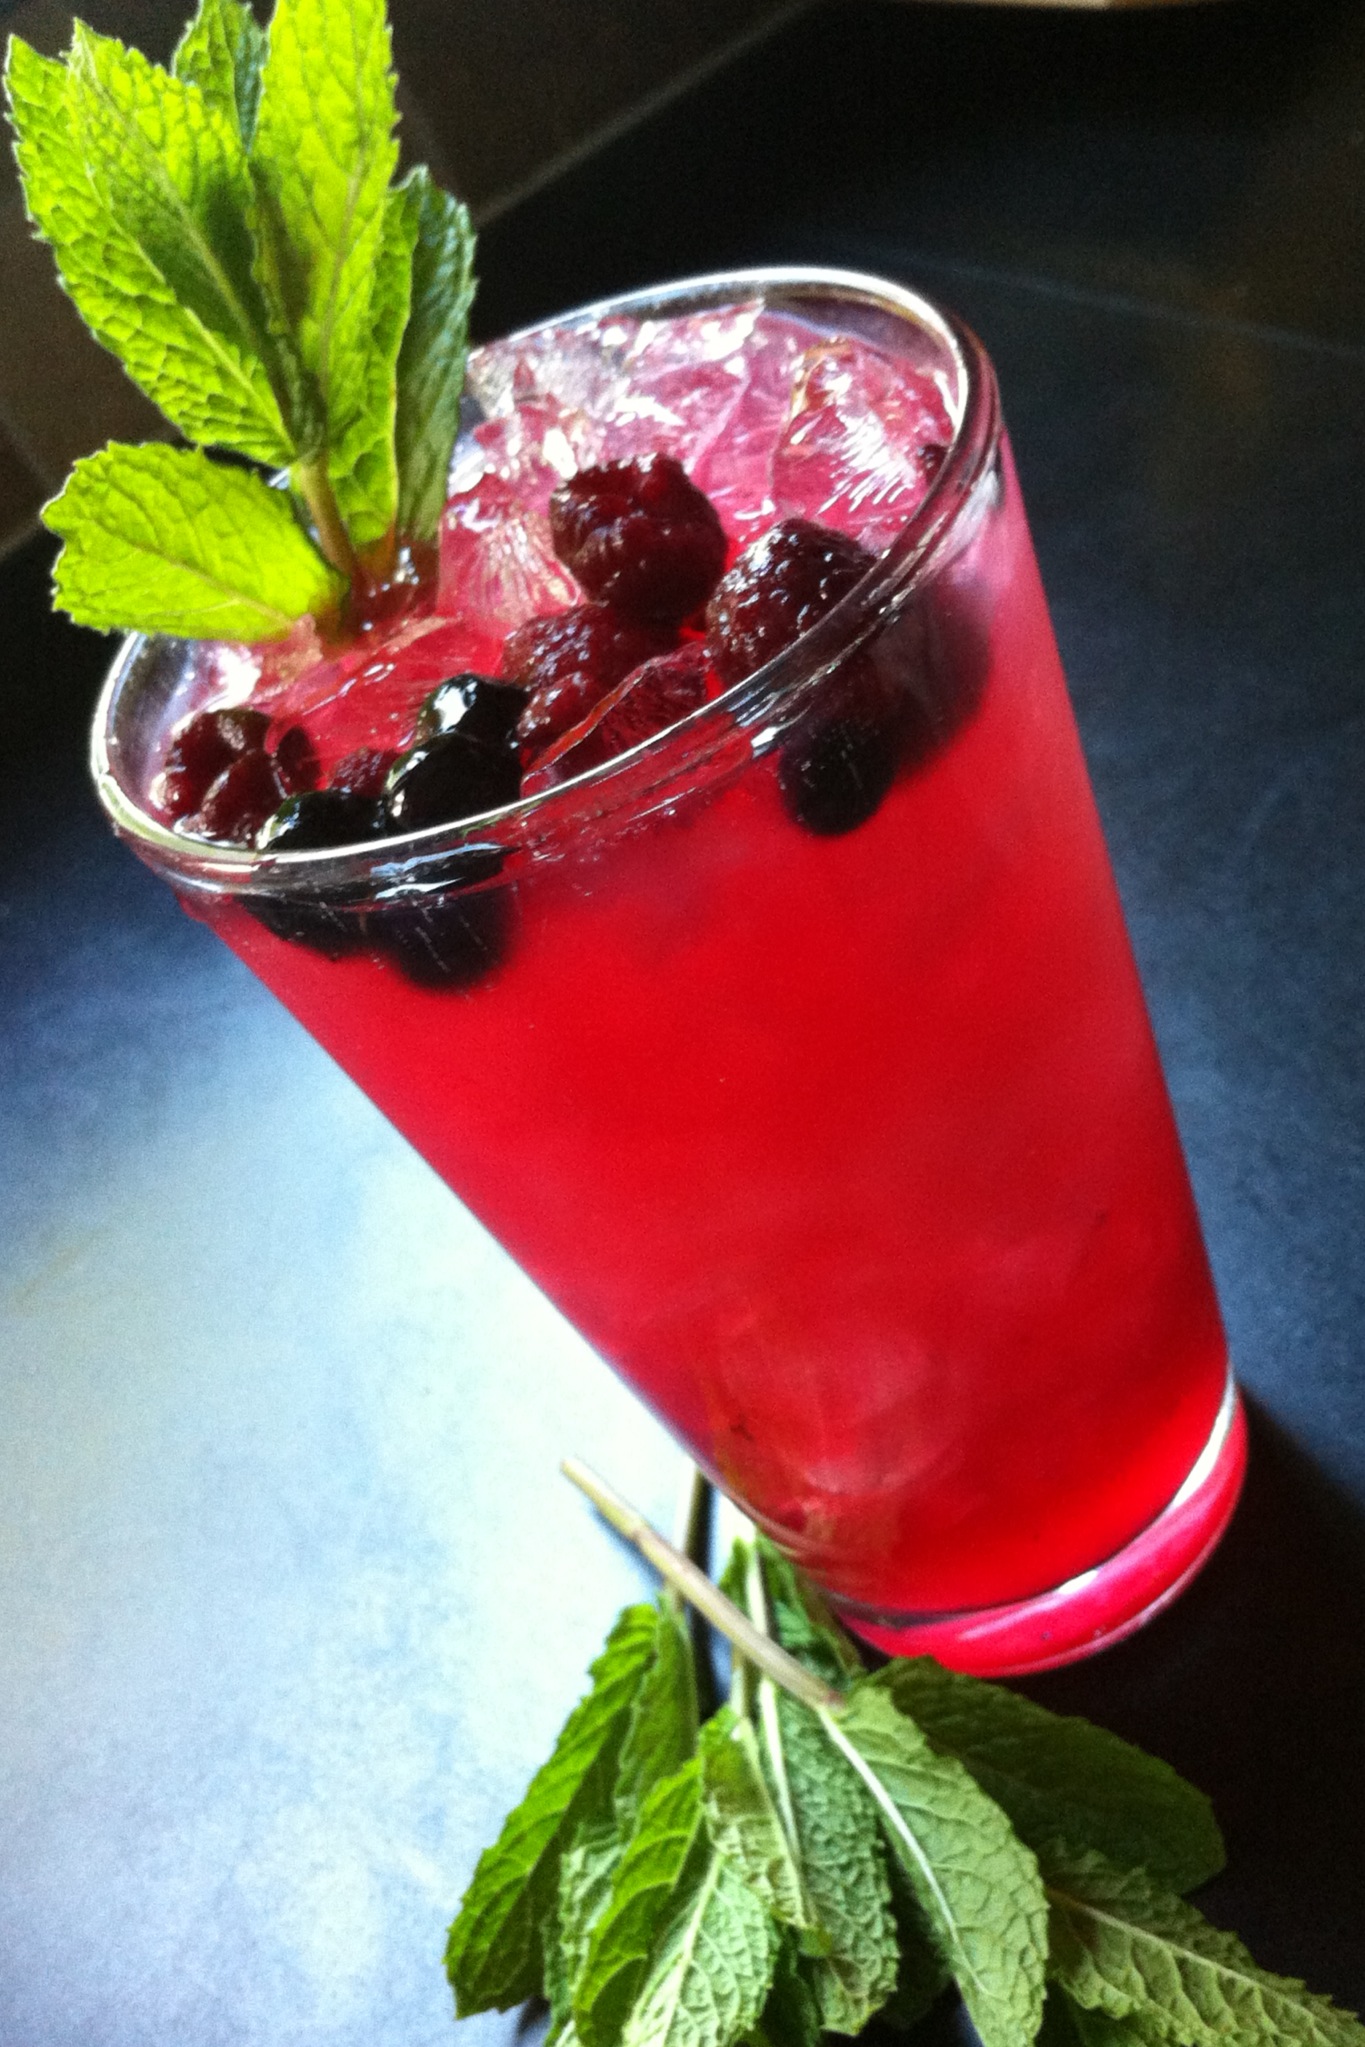
There’s only one thing better than a freshly made mojito…and that’s a pitcher of freshly made mojitos! Organic raspberries and blueberries are in the markets right now, and my mint plants are taking over the yard! All the ingredients for a great mojito!

Very often, I’ll use raspberries or blueberries alone, but mojitos are even better when you combine them! I stock up on organic berries, rinsing them and placing them in plastic bags that go in the freezer until I’m ready to make my mojitos. I always go organic with berries. Pesticides should never be a cocktail ingredient!  Pay a little extra and get the good stuff…it makes a difference!

Once you make mojitos by the pitcher, you’ll never have them any other way. (Even if you’re drinking alone!)


The ingredients


Make ahead of time…
1 1/2 cups fresh squeezed lime juice (don’t use the bottled stuff!)
1 1/3 cups turbinado sugar (Sugar in the Raw is a common brand)

Mix both ingredients together, letting it stand at room temperature for a few minutes. I like to combine them in a Mason jar, then shake really hard until the sugar has dissolved. I keep it in the fridge, and it’s good for up to 3 weeks…ready to use any time. Shake it well again before using.


mojito pitcher

For the Mojitos…
1 cup sugar/lime mixture
1 cup mint leaves, packed
1/2 pint blueberries (fresh or frozen)
1/2 pint raspberries (fresh or frozen)
3 or 4 cups white rum (I use Don Q Cristal rum)
3 or 4 cups seltzer (or club soda)

Combine the mint leaves and 1/2 cup of the sugar/lime mixture in bottom of a pitcher. Muddle the mint up very well to release mint oils.

Add the remaining sugar/lime mixture, rum and berries. Mix well. Just before serving, add the club soda and ice. Stir. Pour into tall glasses.

Or…for drinks one at a time, I put in a shot (1 oz.) of the sugar/lime mixture into a tall glass. I throw in about 8 mint leaves and muddle them for a minute. Then I add 2 shots of rum, and a few berries. I add ice, and I top it with the seltzer, stirring well. I garnish with a mint leaf.


Cheers!
Cheers!

Happy Father’s Day! I think it’s time to grill some oysters!

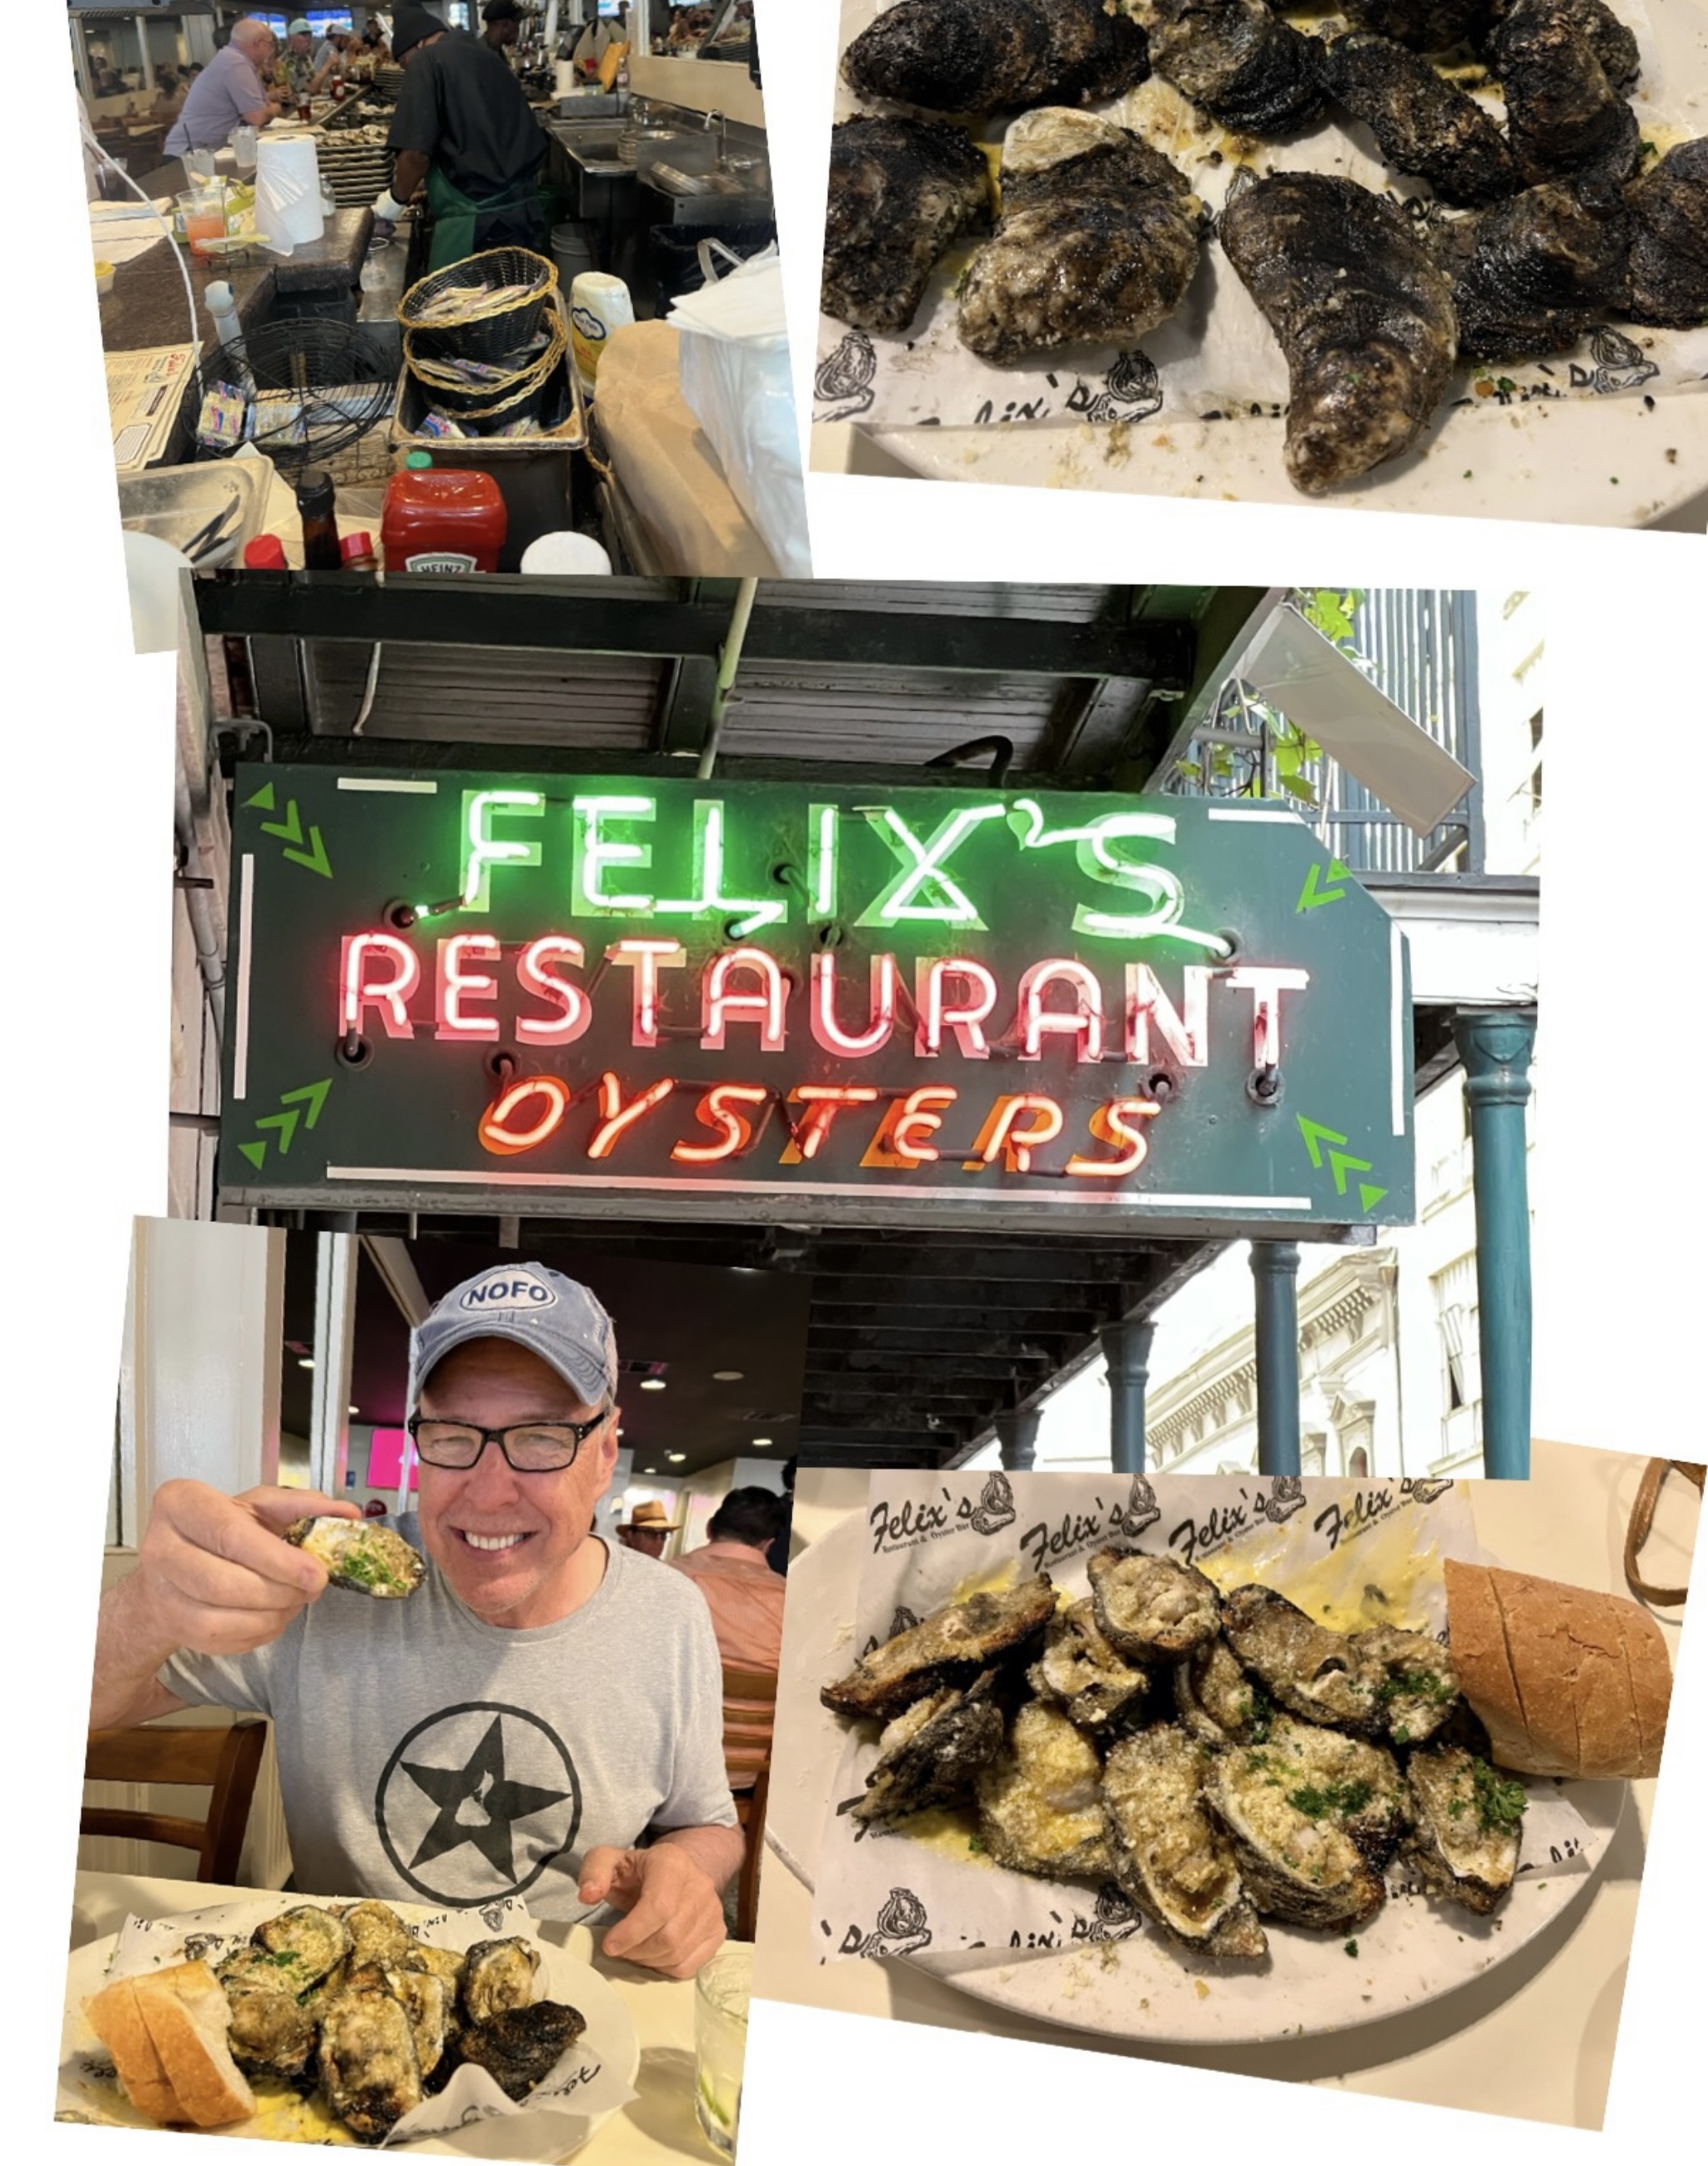
It’s been a few years since I visited New Orleans, and it was great to see that many of the old food destinations were still there: the Napoleon House, Café Dumonde, Acme Oyster House, and across the street from it: Felix‘s Oyster House.

My friend, Rick, told me I had to try the char-grilled oysters at Felix‘s. He hadn’t been there, but he read a lot about them and they were supposed to be amazing.  Well, that’s all the encouragement I needed, and I made a beeline to Felix’s that very day.

When you think about it, it’s no great culinary feat to grill an oyster. But yet, I never thought of doing it on my own. The dozen oysters I devoured that day were buttery, garlicky, with a hint of char and smoke that made them absolutely delicious, quite easily the best oysters I’ve ever had in my life.

I knew that as soon as I came home from this trip, I would have to try to make these myself. I have to say I came pretty darn close!

If you don’t use a charcoal or wood fire to make these, you’re simply leaving out one of the most important ingredients to the entire recipe. A gas grill or a kitchen stove can cook an oyster, but the only way you can take it to the next level is by putting it on open flame, a wood-burning flame.

This recipe is good for about a dozen oysters. Using gluten-free breadcrumbs makes this recipe gluten-free.

The first step is to get your hardwood charcoal fire started. I use a charcoal chimney and newspaper–never any lighter fluid.

Once the coals are lit, head to the kitchen…

4 tablespoons salted butter
2 tablespoons minced garlic
2 tablespoons fresh Italian parsley, finely chopped
2 tablespoons Parmesan cheese, grated (I use Parmigiano Reggiano)
4 tablespoons breadcrumbs


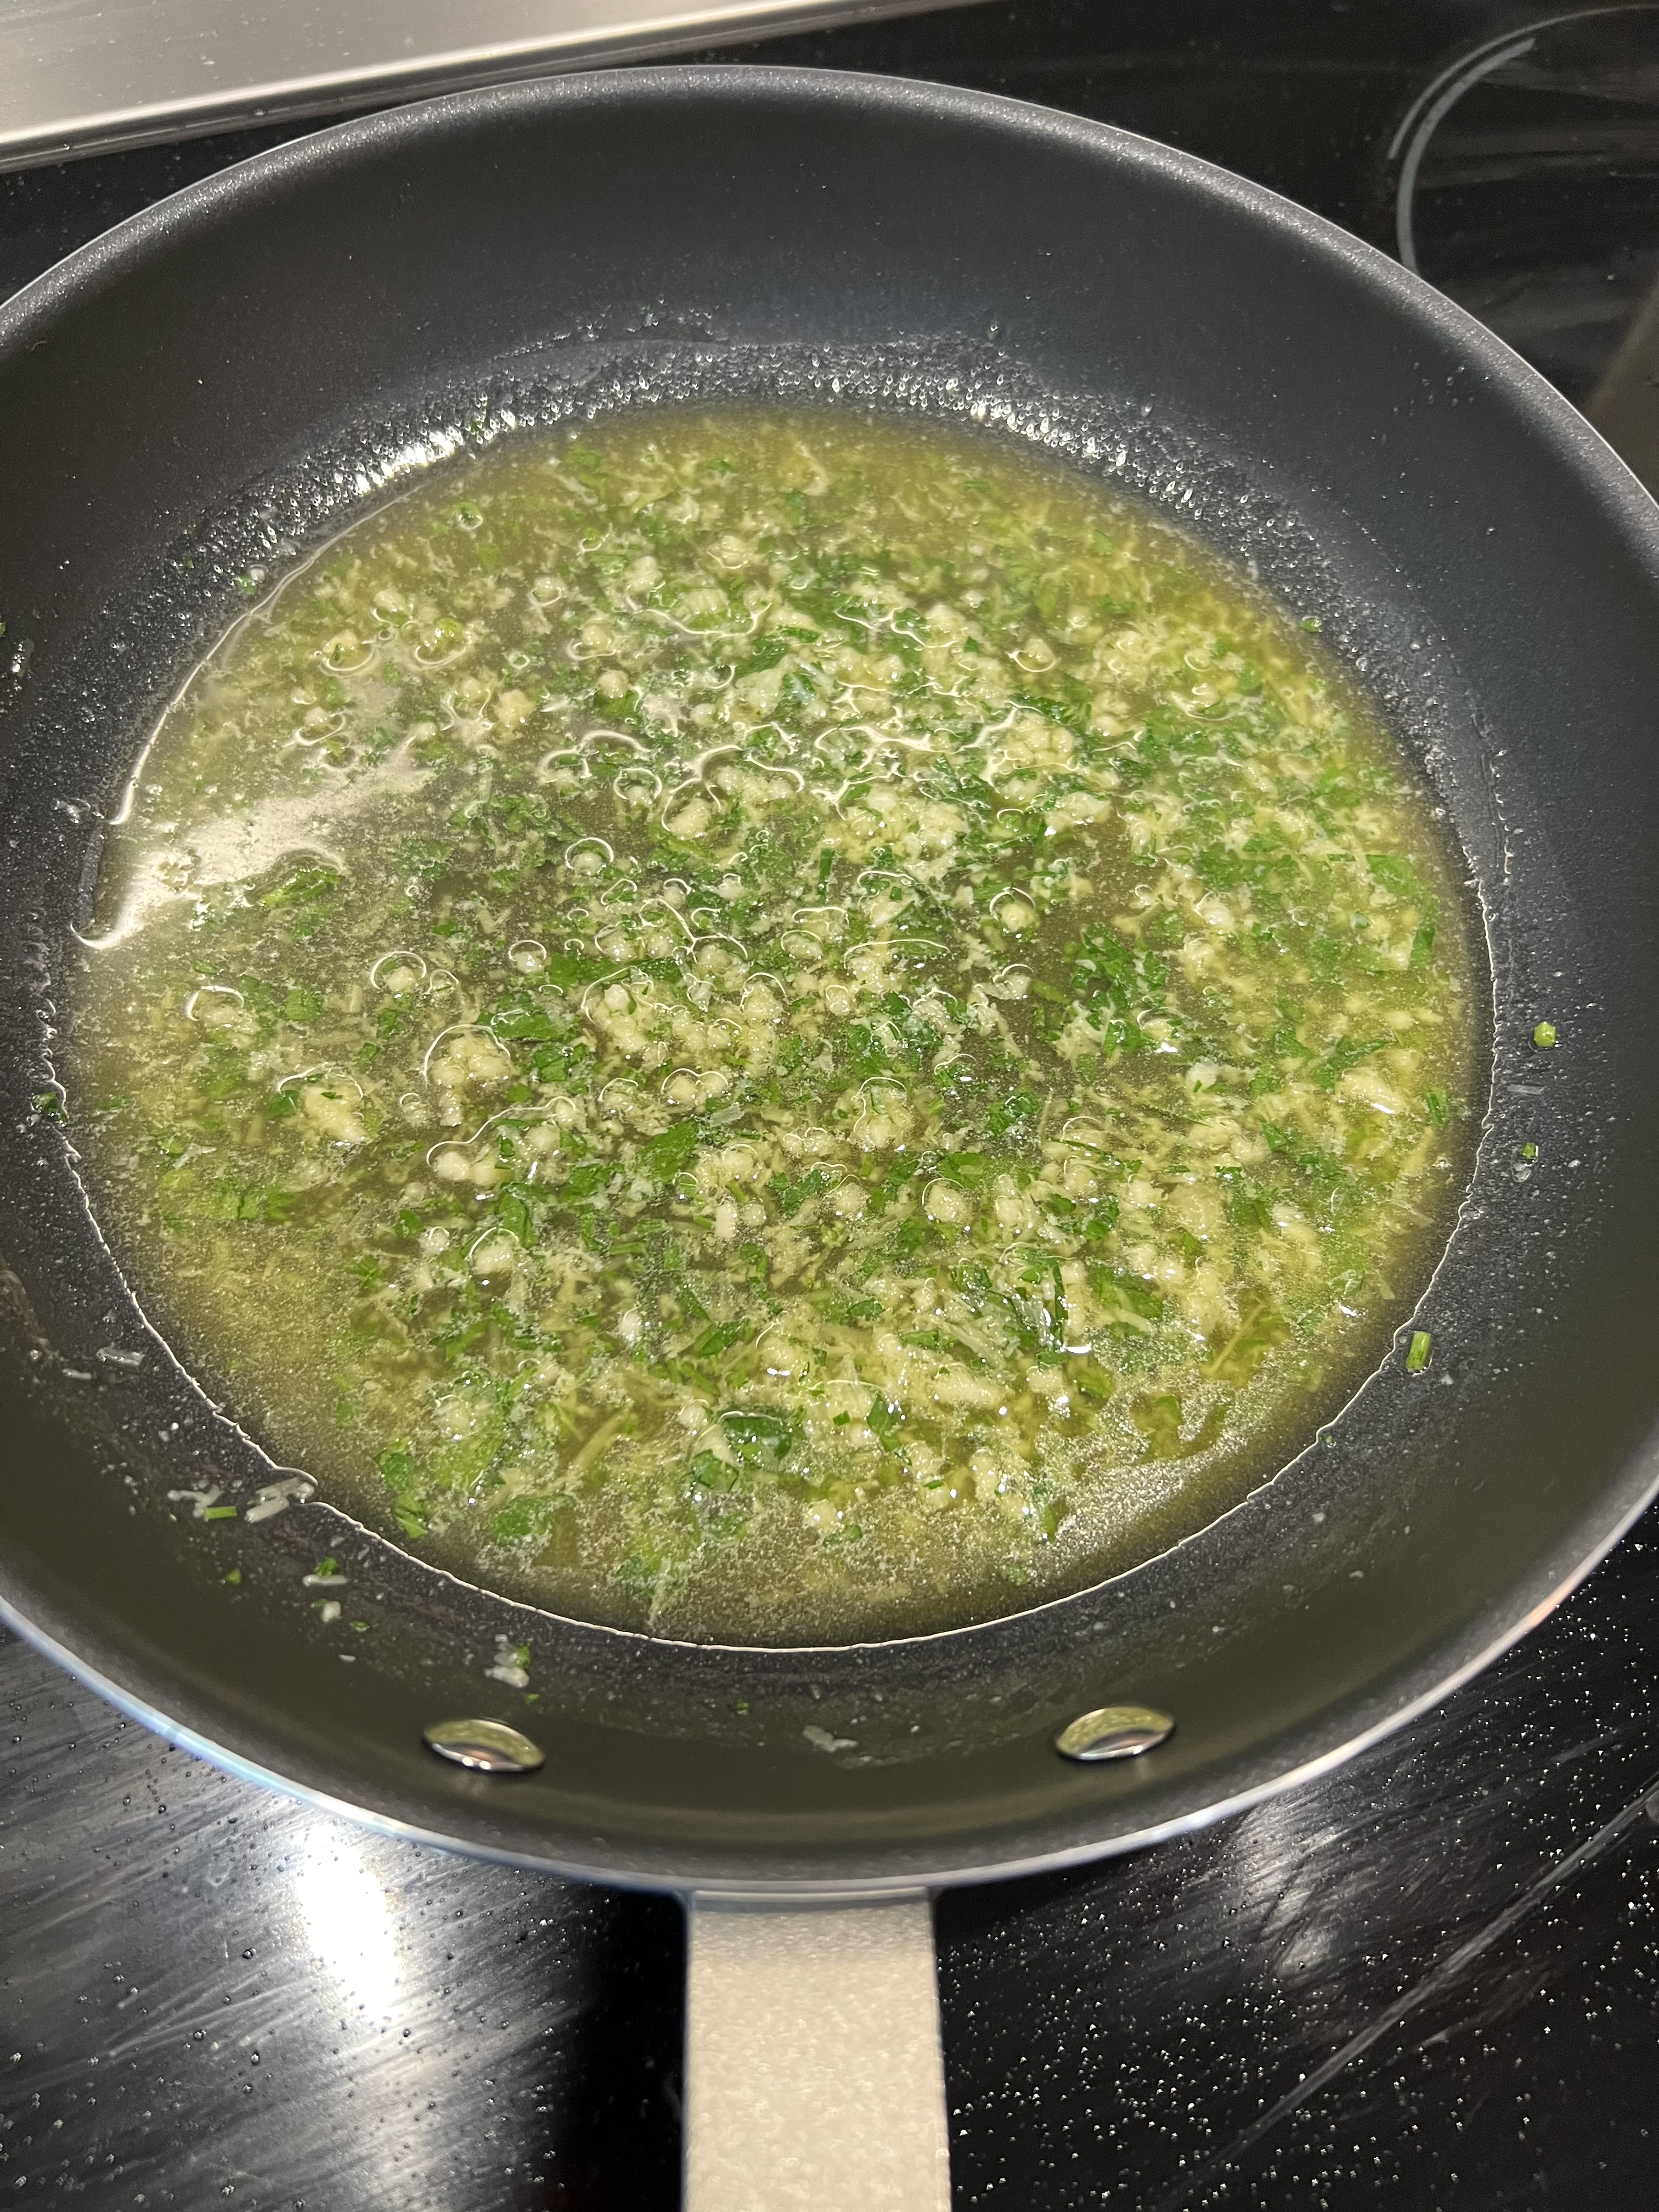
Combine the butter, garlic, parsley, and cheese in a sauté pan over medium heat. All you’re looking to do is to melt the butter, so once it’s melted, take the pan off the heat and this mix is ready to use.

Shuck your dozen oysters. Remember: they will shrink a little bit while cooking, so don’t be afraid to go for bigger ones.

Lay the opened oysters in a pan, carefully trying to preserve as much of the oyster liquor (liquid) in each shell as possible.

When the hardwood charcoal has heated up, and you’ve spread the coals evenly on your grill, you are ready to cook the oysters. You want the grill to be hot.

You don’t need to put the oysters directly on the hardwood charcoal. Putting a grill over the coals is fine, and it keeps the oyster shells from tipping over.


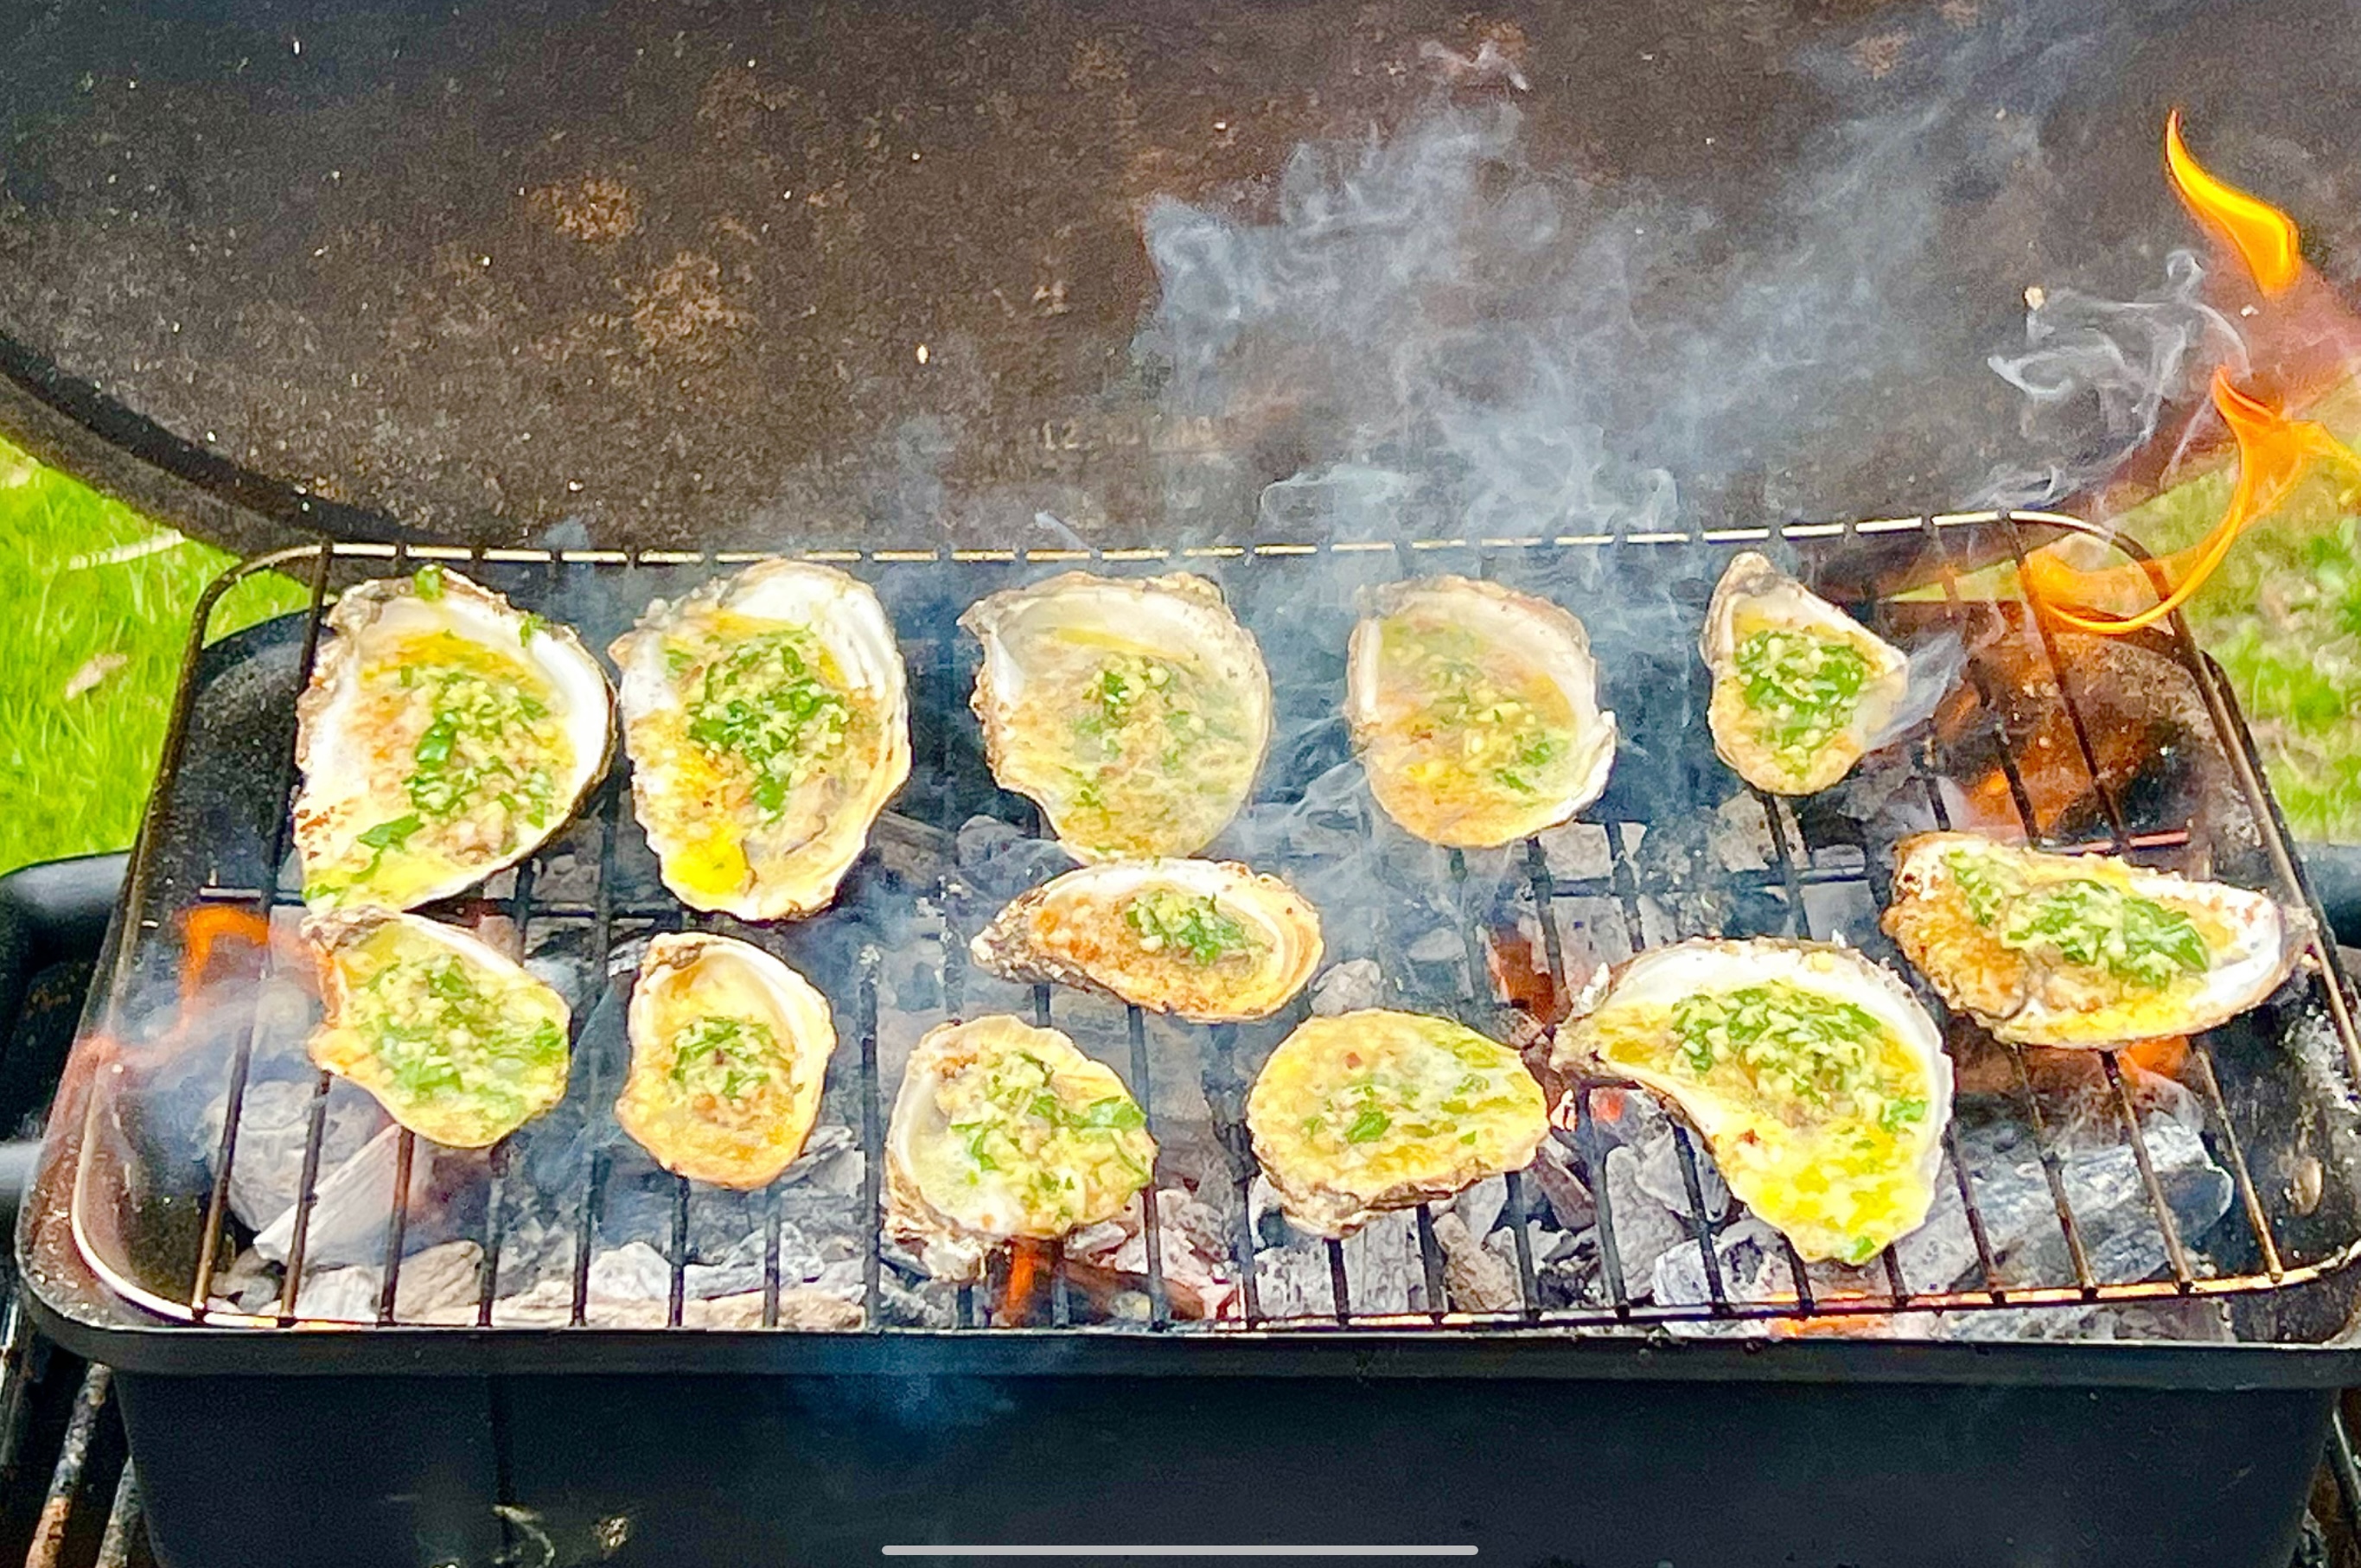
Before placing the oysters on the grill, sprinkle each one with some of the breadcrumbs. Then place the oysters on the grill, being careful not to burn your hands! 


Using a spoon, pour some of the butter mixture into each oyster shell. It will flame up! That’s OK. Use up the entire butter mixture for all 12 oysters.


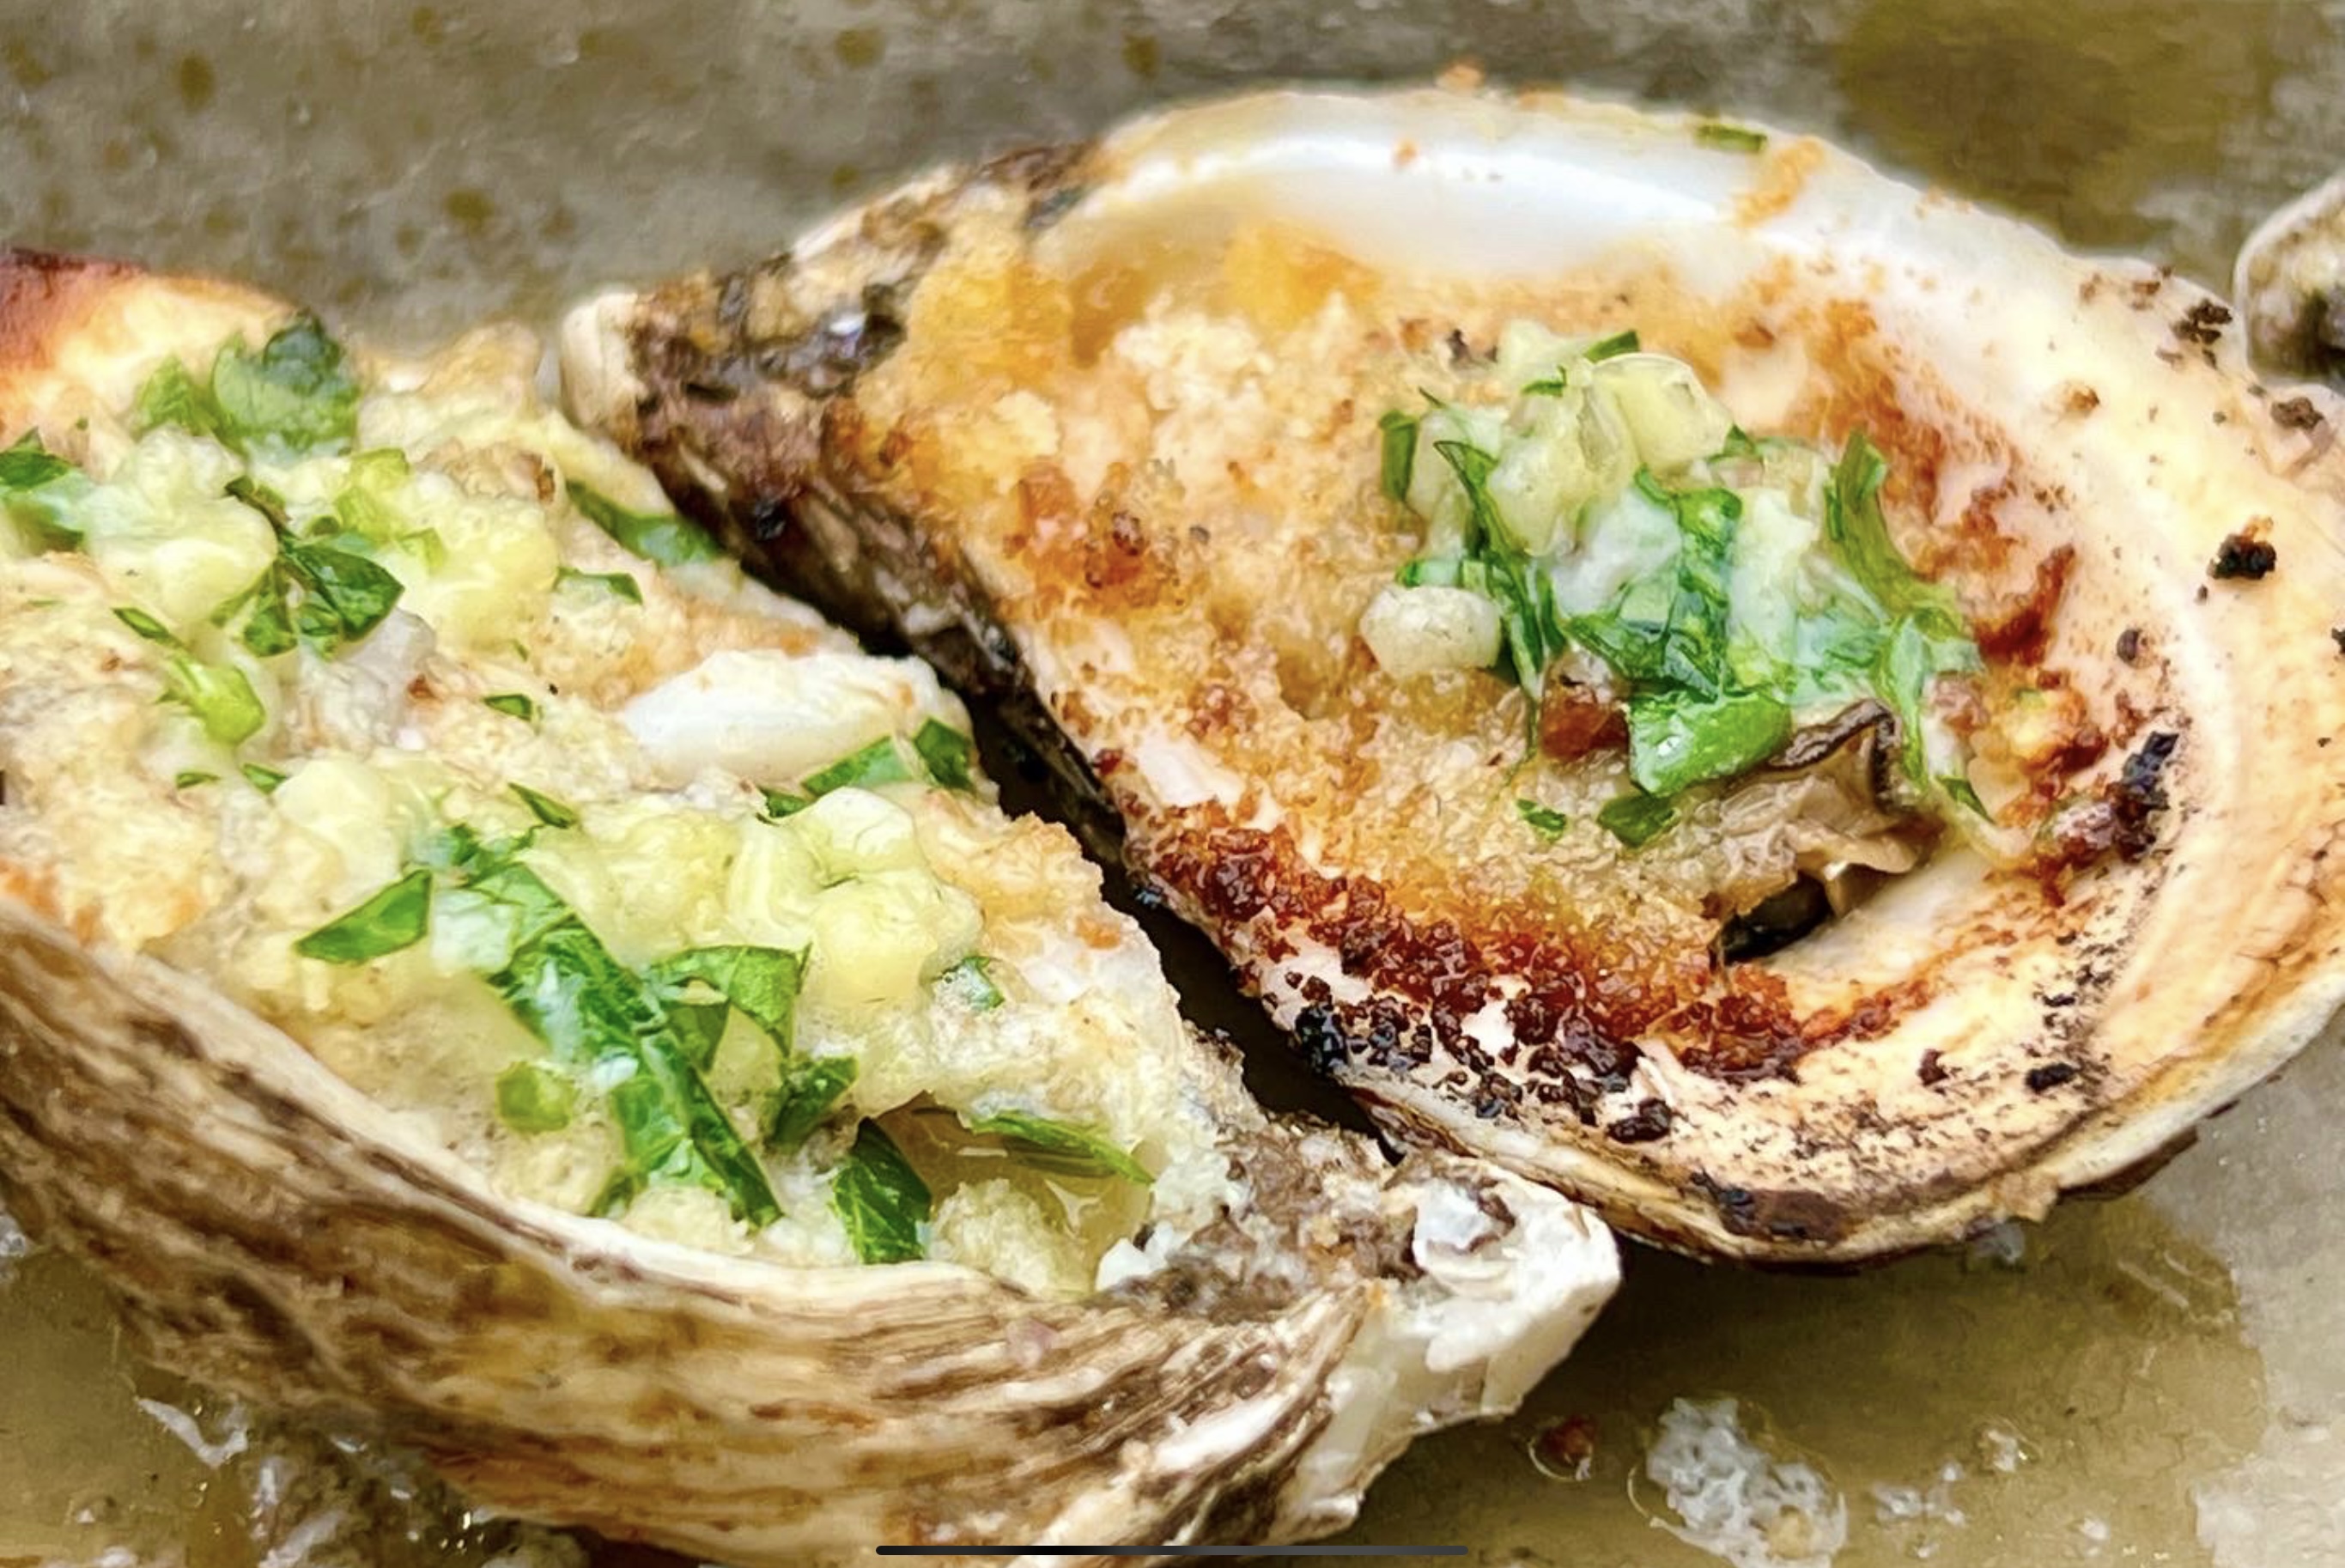
The oysters are ready when you see that golden brown color all around the edges of the oyster shell, when most of the liquid in the shell has evaporated. Don’t let them dry out completely.

Using tongs, remove the oysters from the flame and enjoy! Just be careful…they can be lava hot!

I’ve had Clams Casino in many different forms. Back when I worked in Italian restaurants in New York, we would make a breadcrumb mixture, press it onto a freshly opened whole clam, and then place a small piece of bacon on top before it went into the oven. It was good, but the clam often stuck to the shell, and many people didn’t want to gulp down a whole clam like that.


Oyster knife (left) and a clam knife (right.) Different tools for different jobs.


When it was time for me to make my own recipe, I decided that I would chop the clams and mix them into the breadcrumb mix, so that every bite was the same.

2 tablespoons olive oil
1/3 cup finely chopped Vidalia or other sweet onion (about a 1/2 an onion)
2 garlic cloves, squeezed through a garlic press
1/3 cup dry white wine
1/3 cup unflavored bread crumbs
1 tablespoon fresh Italian parsley, finely chopped
1/2 teaspoon dried oregano
Freshly cracked black pepper
2 dozen medium sized clams
1/3 lb. bacon, cut in small squares to fit the clam shells
Heat the olive oil in a pan over medium heat. Add the onions, and sauté them until they’re translucent. Add the garlic, and cook for 10 seconds. Add the wine and simmer for a minute. Add the bread crumbs, and stir the mixture until it becomes thicker, like a paste. Add the parsley and oregano. Season with pepper. (There’s going to be plenty of salt in the clam juice and bacon, so no salt is needed.)
The bread crumb mixture.
Remove the pan from the heat and let it cool.
It’s time to open the clams. If you know how to do that, open them over a sieve with a bowl underneath so that the clam meats and juices are captured. Discard any broken shells, but save the good ones.
If you struggle with opening clams, this method makes it a little easier: Bring a large pot of water to boil, and drop the clams into it, about 10 at a time, for 30 seconds. Don’t let them open! Remove the clams with a slotted spoon and place them in a bowl to cool. Continue doing this in small batches until all the clams have been in the water. You’ll find this makes opening the clams much easier. Then proceed as above.
Once you’ve shucked all the clams, let the clam juice sit for a bit, so that any grit settles to the bottom of the bowl. Then pour off the clean clam juice and add it to your bread crumb mixture. (Don’t worry if it looks soggy at this point.)
Looking a little soggy, but that’s OK.
I like to hand chop the clam meats instead of using a food processor. You want tasty clam chunks, not too big, but not mush. Add the clams to the the bread crumb mix.
At this point, if the clam mix looks very soggy, simply add a little more bread crumb to dry it out.
Preheat the oven to 350 degrees.
Line a large baking sheet with foil. Separate the clam shell halves and wash them, making sure you don’t have any shell fragments left in the clam shell.  Fill them with the clam mixture, mounding them slightly, and placing each one on the baking sheet.
Clams and bacon…delicious!
Cut the bacon in small squares to fit the clam shells. Place a small piece of raw bacon on the top of each clam.
Bake until the clams are just cooked through, the topping is golden, and the bacon is cooked, about 30 minutes.
This makes a great appetizer, but it’s hard to just eat a few!

Since it’s National Bourbon Day, let’s not just drink some bourbon…let’s cook with it!

This recipe uses a smoker. If you don’t have one, or just don’t want all the smoke, start with aper-heated oven at 250° and go from there.

image


5 lbs St Louis style pork ribs
Salt and pepper


1/4 cup honey
1/4 cup bourbon (use whatever you have on hand)
zest and juice of 1 lime
zest and juice of 1 lemon
zest and juice of 1 orange
2 tablespoons Hoisin sauce
1 tablespoon Dijon mustard (I use Maille)
1 tablespoon soy sauce
2 teaspoons Worcestershire sauce
1 teaspoon chili oil
image

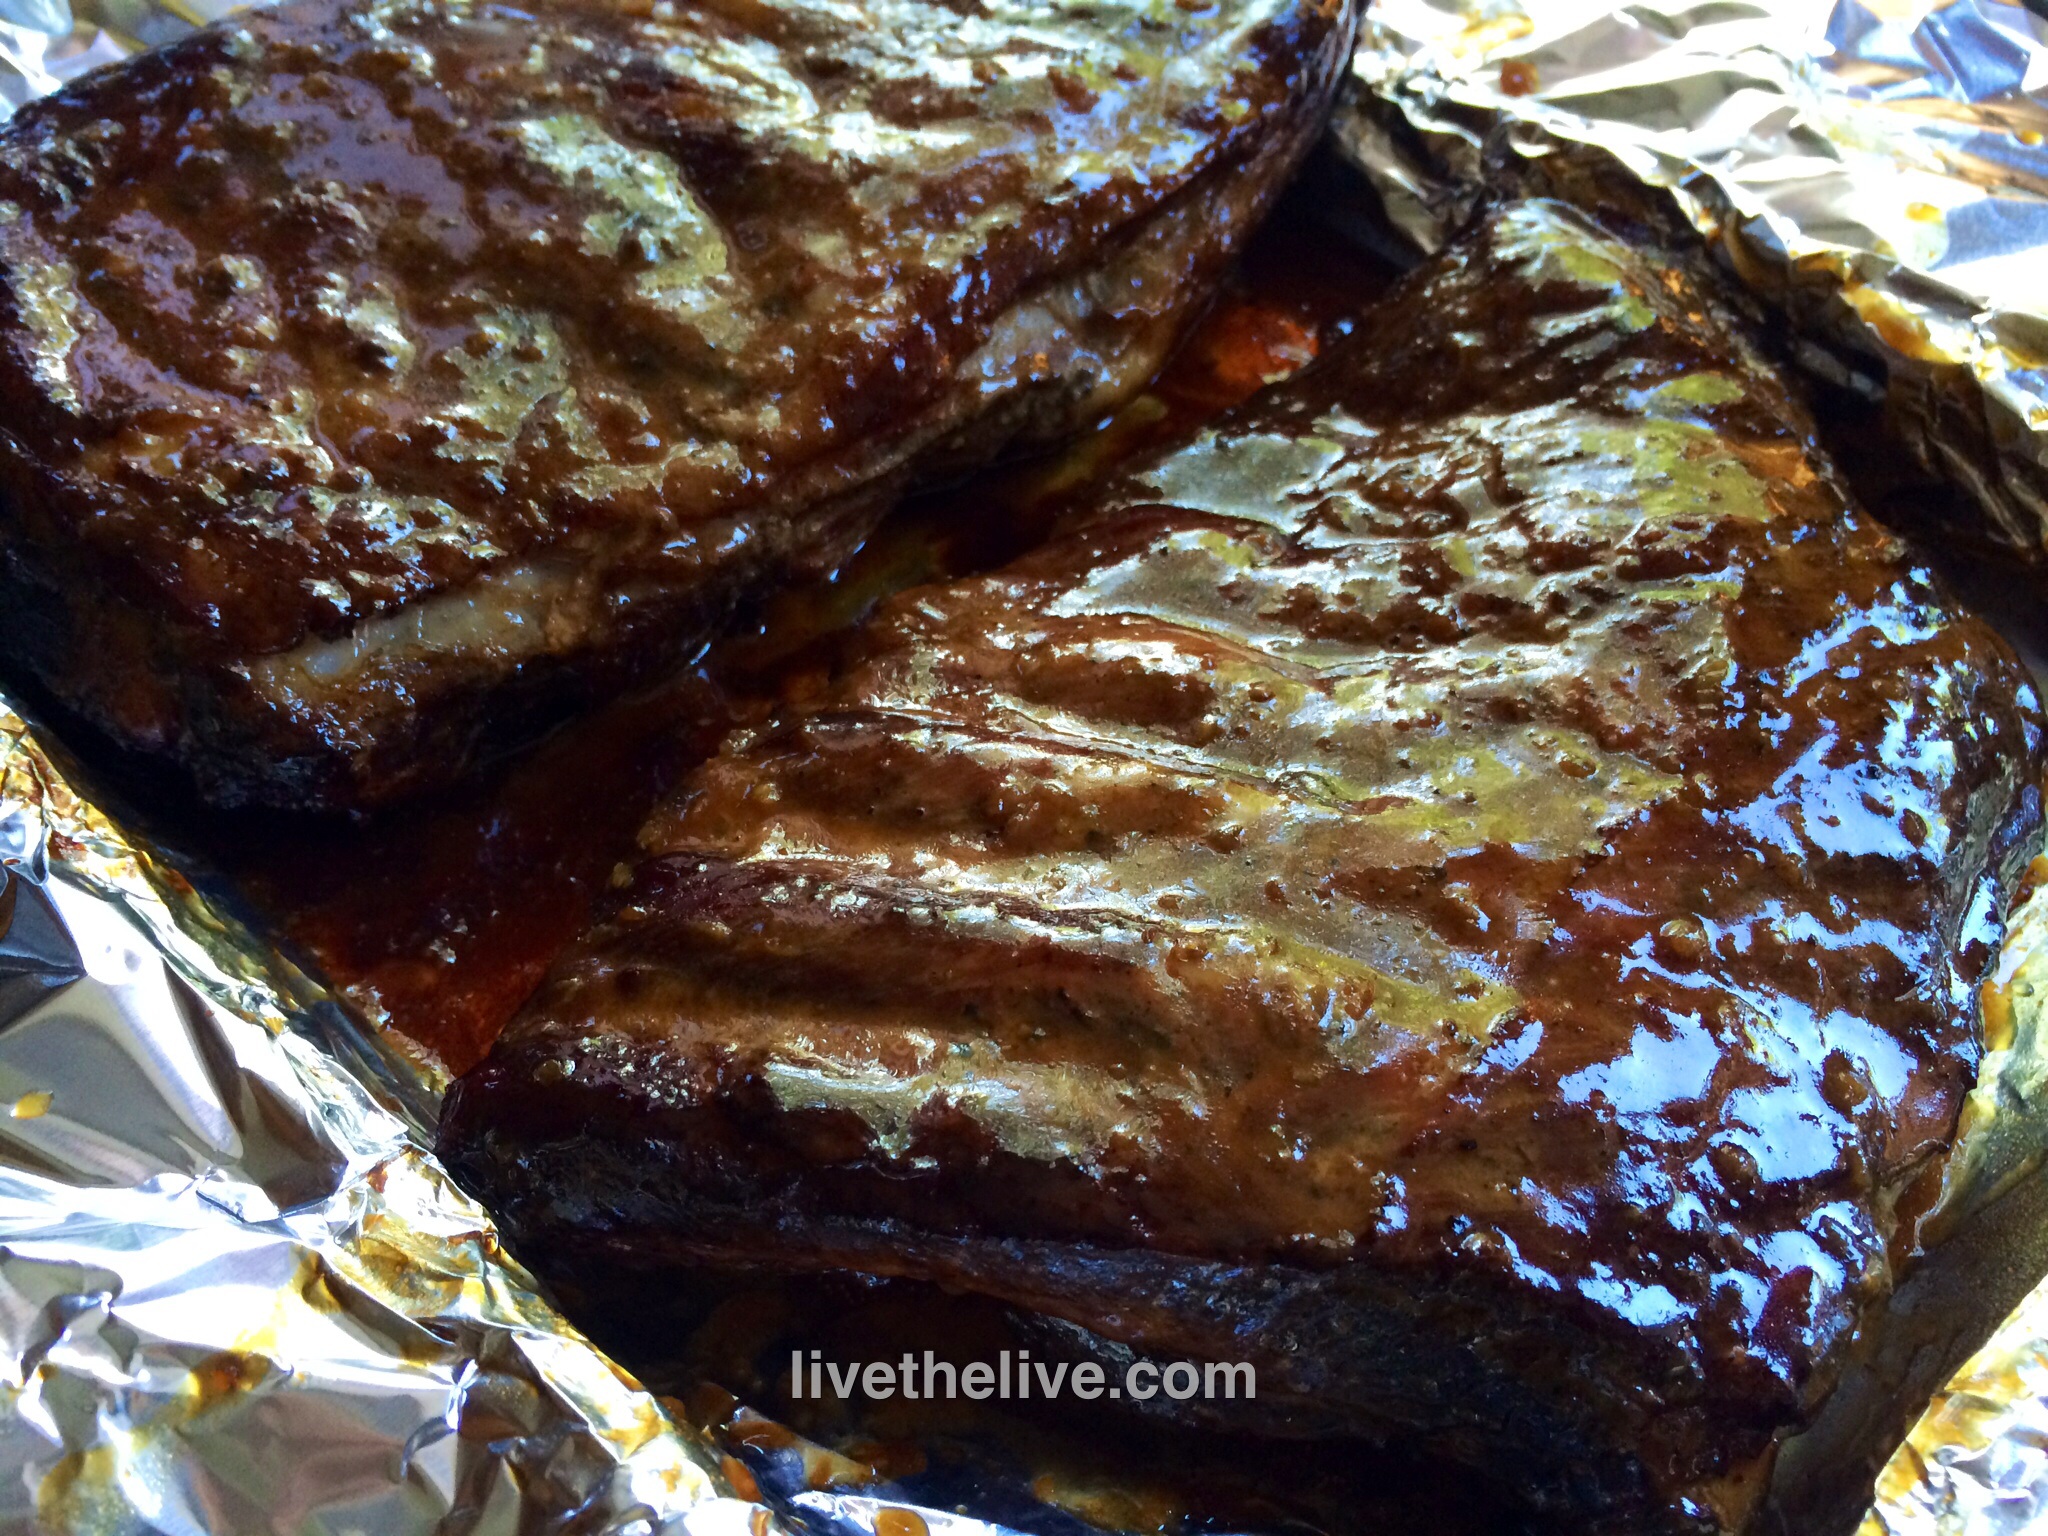
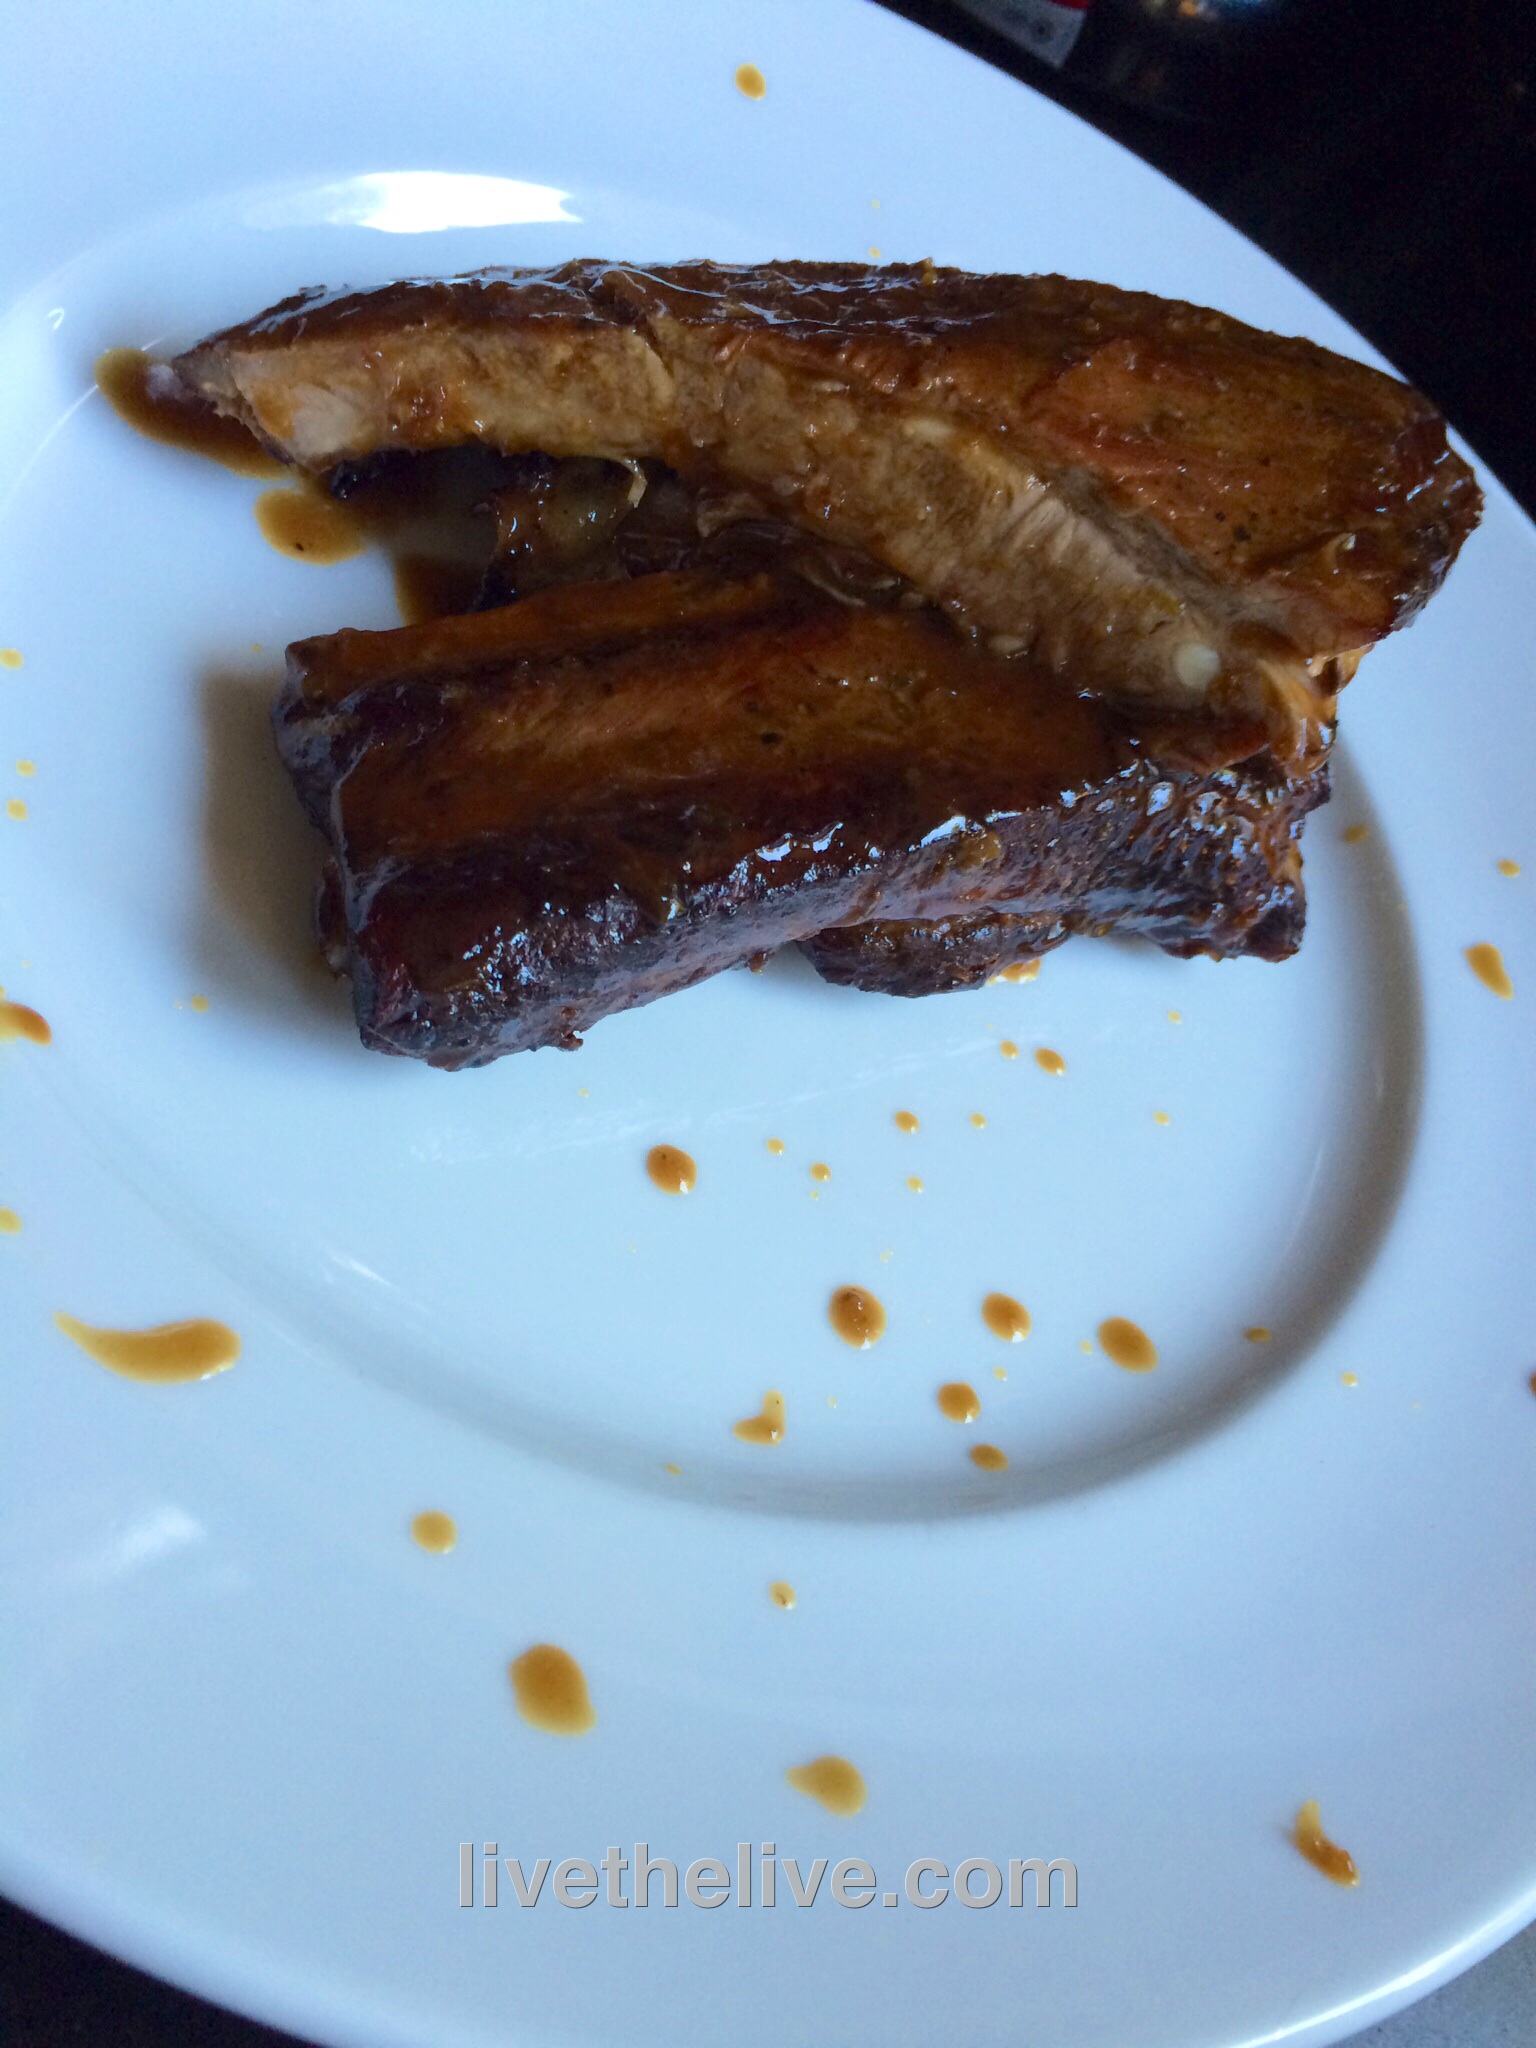
Season the ribs well with salt and pepper and cook in a smoker for 3 hours at 250°, using hickory chips.

While the ribs are smoking, combine the sauce ingredients in a sauce pan, bringing it to a boil, then lowering to medium heat and reducing the sauce by half until it thickens. Stir often, being careful not to let the honey foam up and spill over the top.

Pre-heat the oven at 250°.

Remove the ribs from the smoker and place them on a sheet pan that is lined with aluminum foil, with enough foil to wrap around the ribs. Brush the ribs on all sides with the sauce, stacking no more than 2 sets of ribs on top of each other, and then wrap them with foil.

Cook the ribs in the foil for 2 more hours, until tender.


Season it, pop it in the oven and walk away. Couldn’t be easier!

3 tablespoons brown sugar
1 tablespoon Kosher salt
1 tablespoon ground coffee (use your favorite)
1 teaspoon granulated garlic
1 teaspoon granulated onion
1 teaspoon unsweetened cocoa 


Pre-heat the oven to 325°.

Whether you spatchcock your chicken or not, doesn’t really matter. I find that doing it will cook the chicken faster and more evenly. Bell & Evans, an excellent brand, sells their whole birds that way alrerady. See if your market carries them.

To spatchcock, you cut down both sides of the backbone of the chicken. (I freeze the backbone for future chicken stock.) Then you flatten the bird out in the pan.

Combine the rub ingredients in a bowl.

Rub the chicken with a little olive oil, then sprinkle the coffee rub all over the top and bottom of the chicken.


Bake until the internal temperature of the chicken reaches 165°. Check the breast temp as well as the thigh. The thighs cook a little faster. Let the bird rest for 10–15 minutes before serving.


For me, the only way to eat tuna is raw, and not just sushi or sashimi. I’m not  a fan of what most restaurants do: serving tuna seared on the outside and rare on the inside. You can tell the quality of the tuna just isn’t there. It usually needs to be drowned in soy sauce to have any taste at all.

So getting my tuna fix often means I’ve got to prepare something at home.

If you’re paranoid about parasites, tuna is probably the safest fish to eat raw. I buy my tuna wild-caught and frozen from reputable sources. Occasionally, I’m lucky enough to buy it fresh from the fisherman, but that is a rare treat.

Technically, fish needs to be frozen at a temperature of -4°F (-20°C) or below for 7 days, for parasites to be killed. In the United States, this is required by law of all fish served at sushi restaurants, with tuna being the only exception.

Most marinades or ceviches use lemon or lime. I enjoy the freshness of grapefruit, and it really works here. This recipe was literally created by opening my fridge and pantry, and grabbing whatever looked good.


fullsizerender-10

1 lb. excellent quality raw tuna
juice of 1 grapefruit
1 teaspoon grapefruit zest
2 teaspoons low-salt soy sauce
1/2 teaspoon wasabi powder
1/2 teaspoon hot pepper sauce (I use Frank’s Red Hot)
1/2 teaspoon black pepper
1/2 teaspoon sesame oil
1/4 teaspoon sea salt (I use Fleur de Sel)
1 tablespoon chopped scallions, green part only
sesame seeds (optional)
cubed avocado or plain guacamole


If I’m starting with frozen tuna, I allow it to thaw just enough so I can cut it into small cubes easily. I place the cut tuna on paper towels to soak up excess moisture, and keep it in the fridge.

In a bowl, I combine all the other ingredients, except the sesame seeds and avocado. I add the tuna to the bowl, and mix everything carefully, putting it back in the fridge to marinate for an hour.

When I’m ready to serve, I place the tuna on a plate. (If it’s very runny, I use a slotted spoon.) I top it with a sprinkling of sesame seeds and serve with fresh cubed avocado, or even plain guacamole.


fullsizerender-6


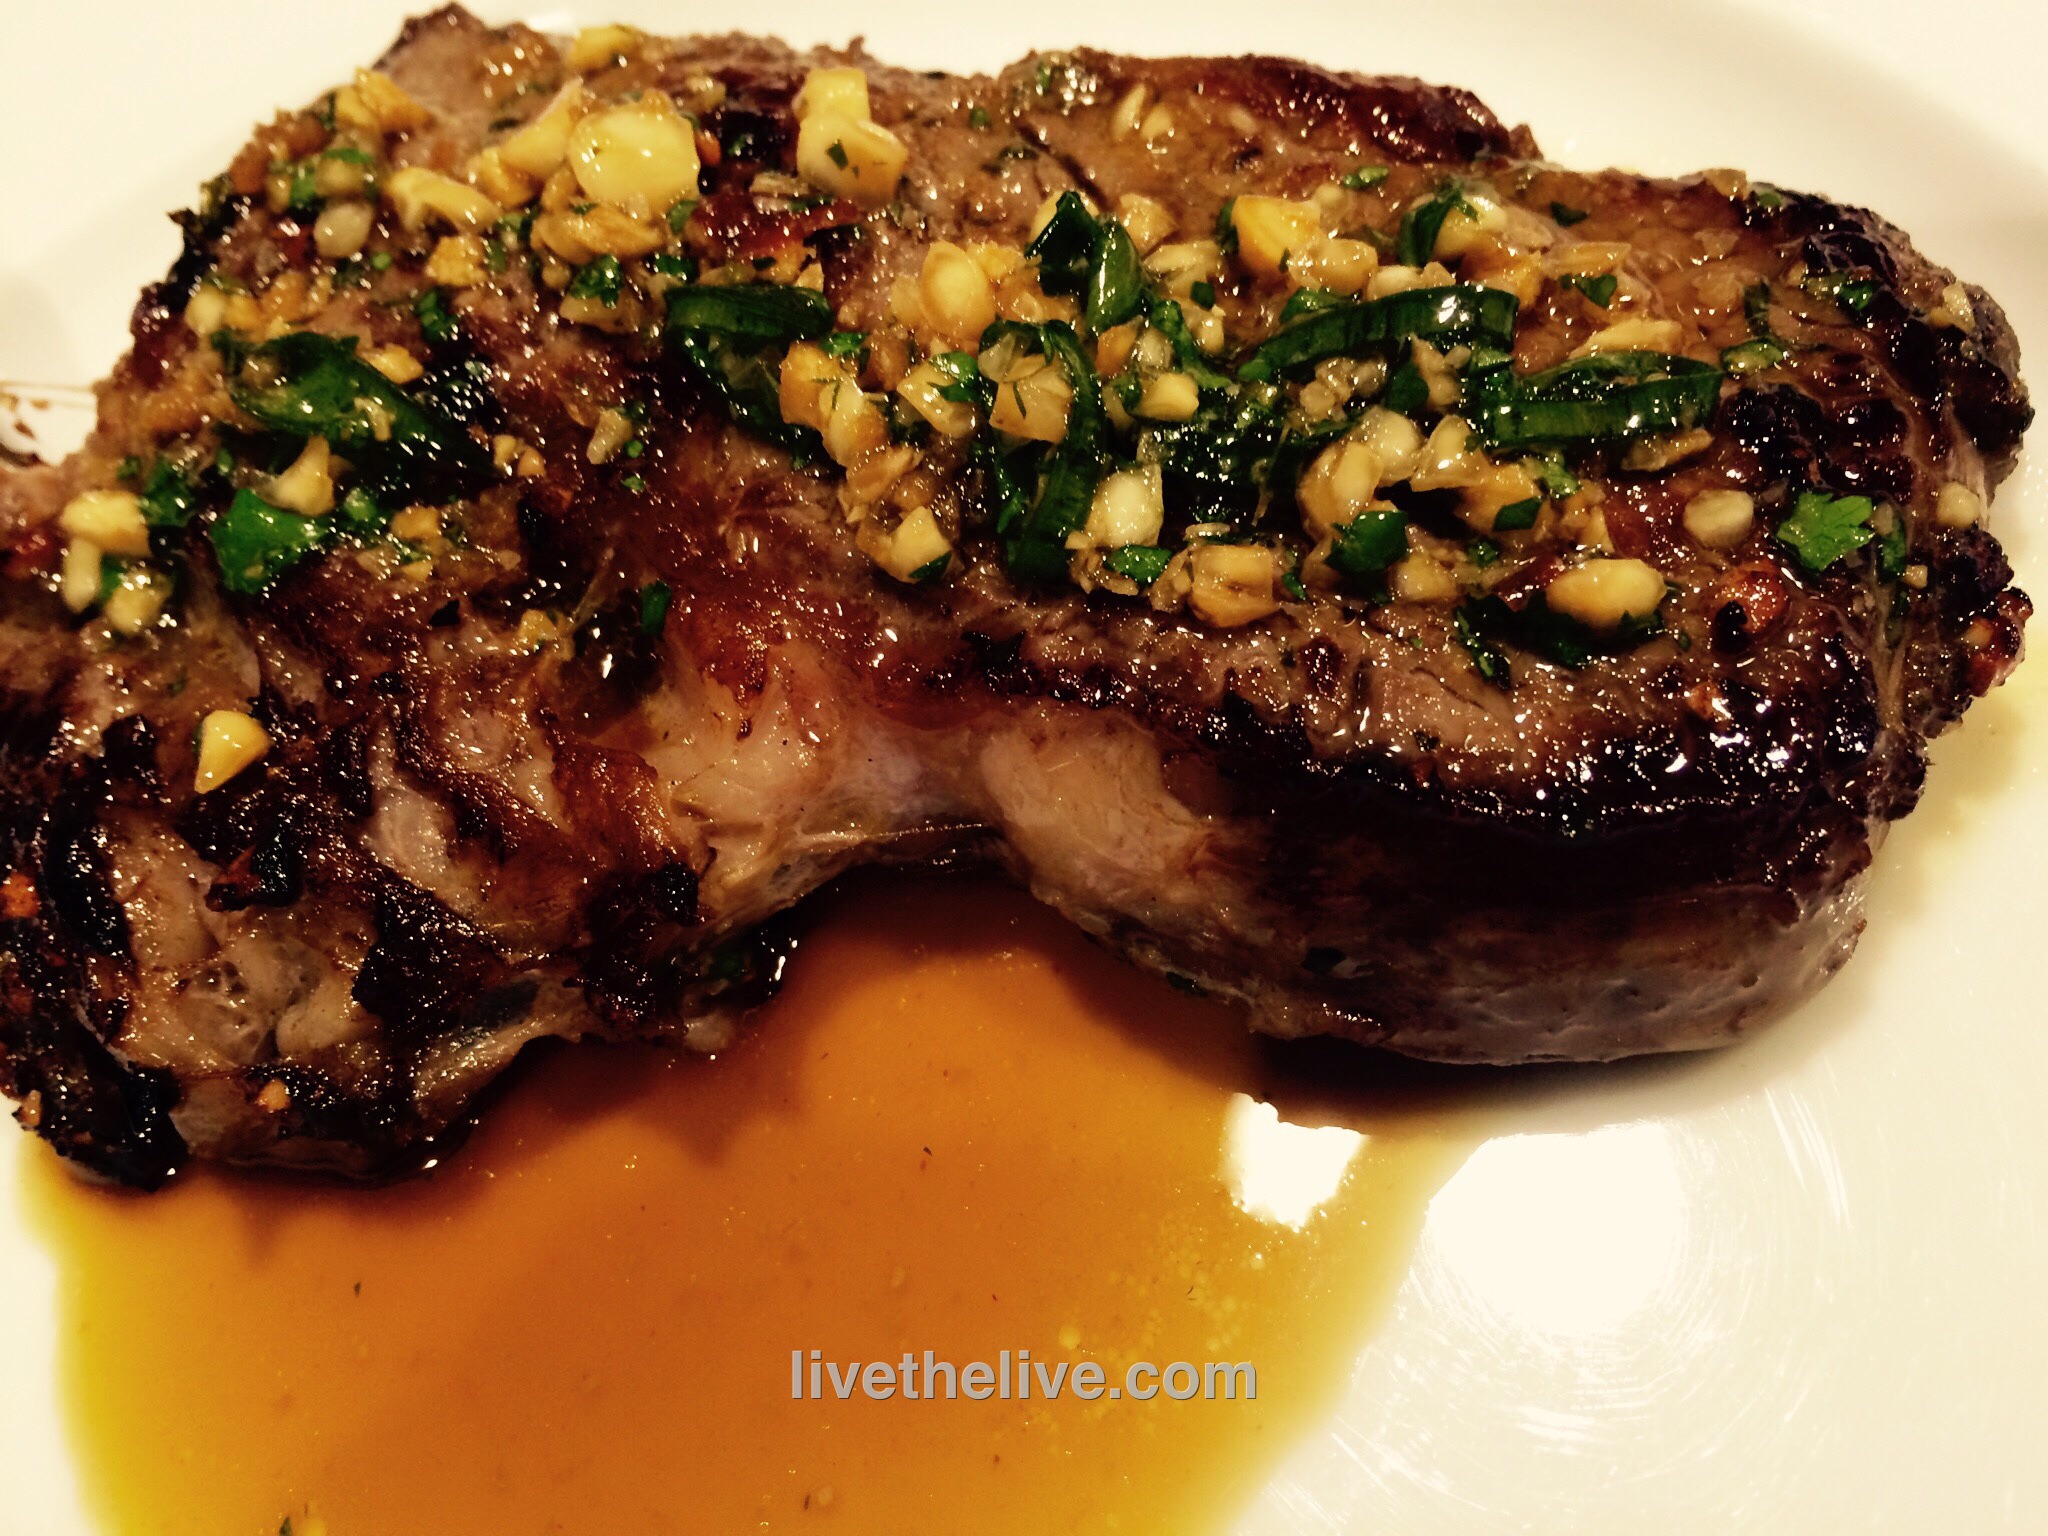
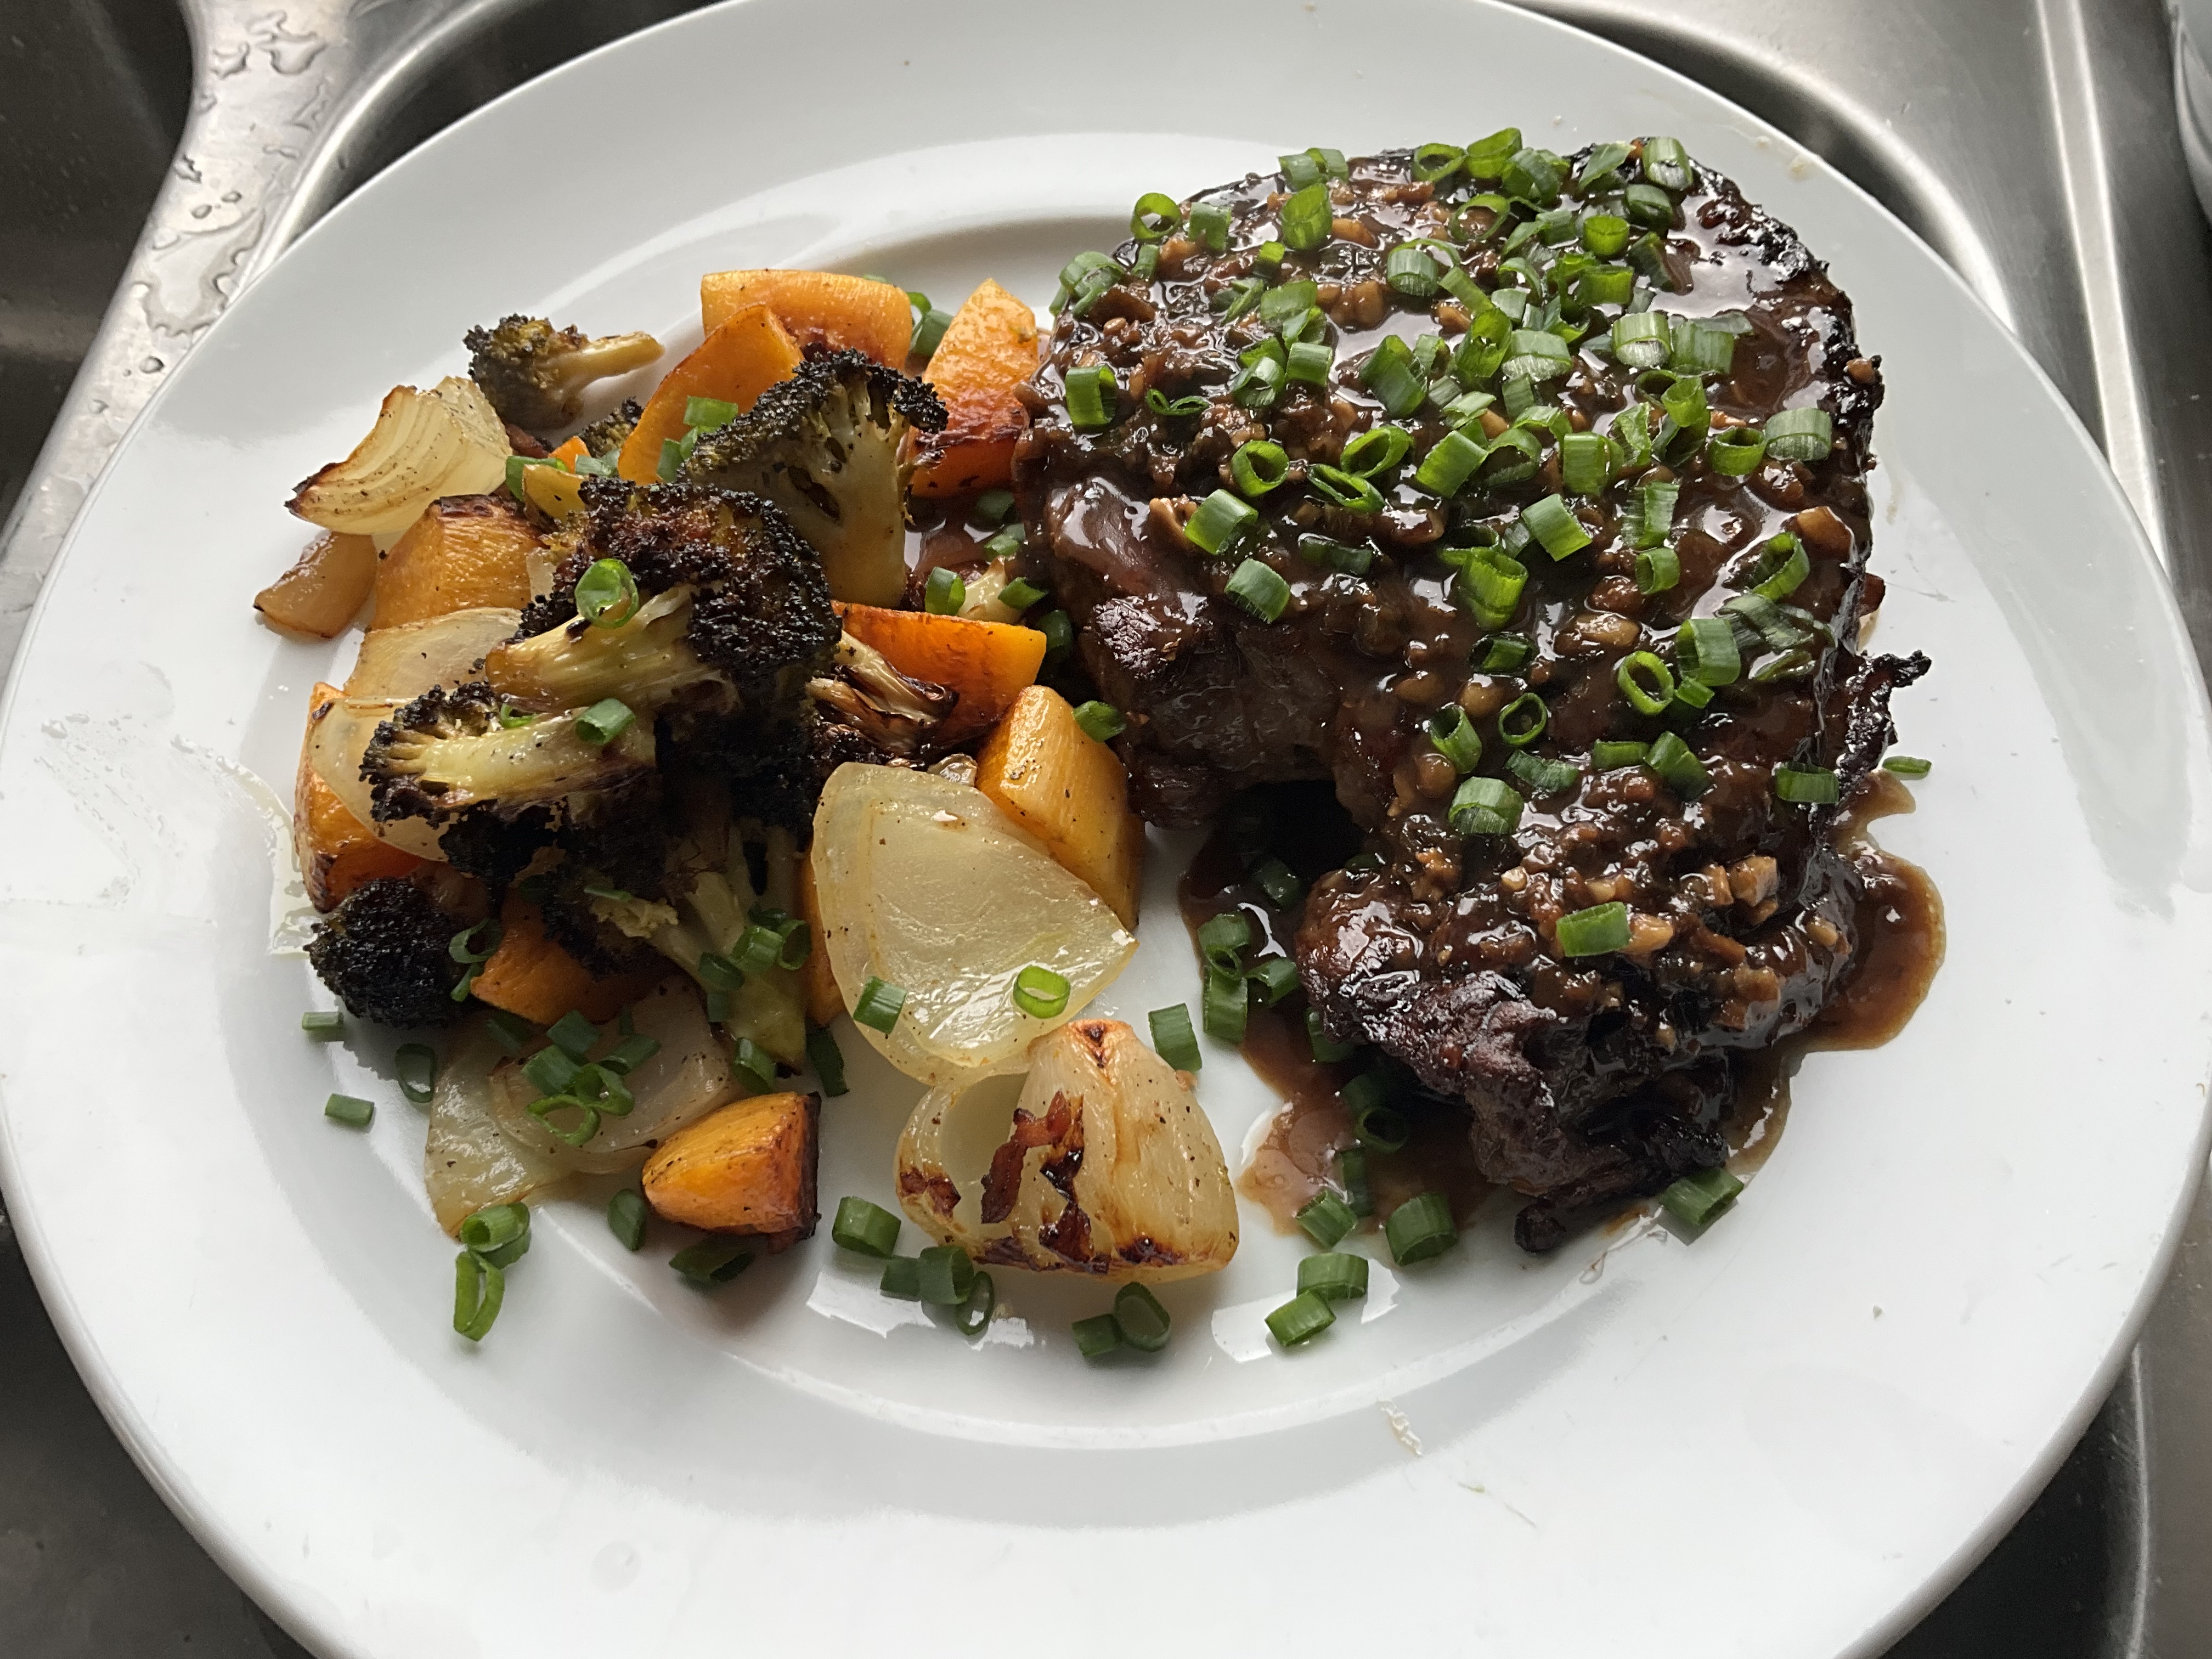
This is a really delicious grilled steak full of wonderful Thai flavors. You do need to marinate it overnight, so keep that in mind. The overnight marinating is key to the intense and unbelievable flavor of the beef.

The original recipe called for skirt steak, but I didn’t have any in my freezer. I did have a fat ribeye, though, so once I thawed it, I sliced it lengthwise to get two large, thin steaks which would easily suck up the marinade I was going to make. And the ribeye was nicely marbled, so it stayed juicy and tender. Beef flap or flank steak are cuts is that would work well with this recipe.


image

1/4 cup toasted sesame oil
1/4 cup soy sauce
2 tablespoons grated ginger
2 tablespoons finely chopped garlic
2 tablespoons finely chopped cilantro
2 tablespoons chopped dry roasted unsalted peanuts
2 scallions, minced
1 tablespoon light brown sugar
1 tablespoon fresh squeezed lime juice
1 tablespoon chile oil
2 lbs. beef ribeye (or skirt steak or beef flap)
1/4 cup chicken stock (homemade is best)

In a bowl, whisk together the sesame oil, soy sauce, ginger, garlic, cilantro, peanuts, scallions, sugar, lime juice and chile oil. Transfer half of it to a shallow dish.

Add the steak to the dish and turn the meat to coat it well. Cover and refrigerate the beef overnight. Refrigerate the other half of the marinade in a separate container.

The next day, light a grill. While it’s warming up, get out a sauce pan and pour the chicken stock in along with the reserved marinade. Heat it to combine it well, but not letting it reach a boil. Remove it from the heat and let it come to room temperature. This will be the dipping sauce for the beef.

About 30 minutes before cooking, take the marinated steak out of the fridge and let it come to room temperature. Season it with salt and pepper, and grill it over high heat until it’s medium-rare, about 5 minutes.

If it’s too cold to light a grill, or if you just want to use the oven, heat a cast iron pan on the stovetop, add a few drops of avocado oil or pork fat, and sear the beef on both sides before placing it in a pre-heated 375° oven to finish cooking.

Devour the beef with the dipping sauce!

Roasted veggies on the side.

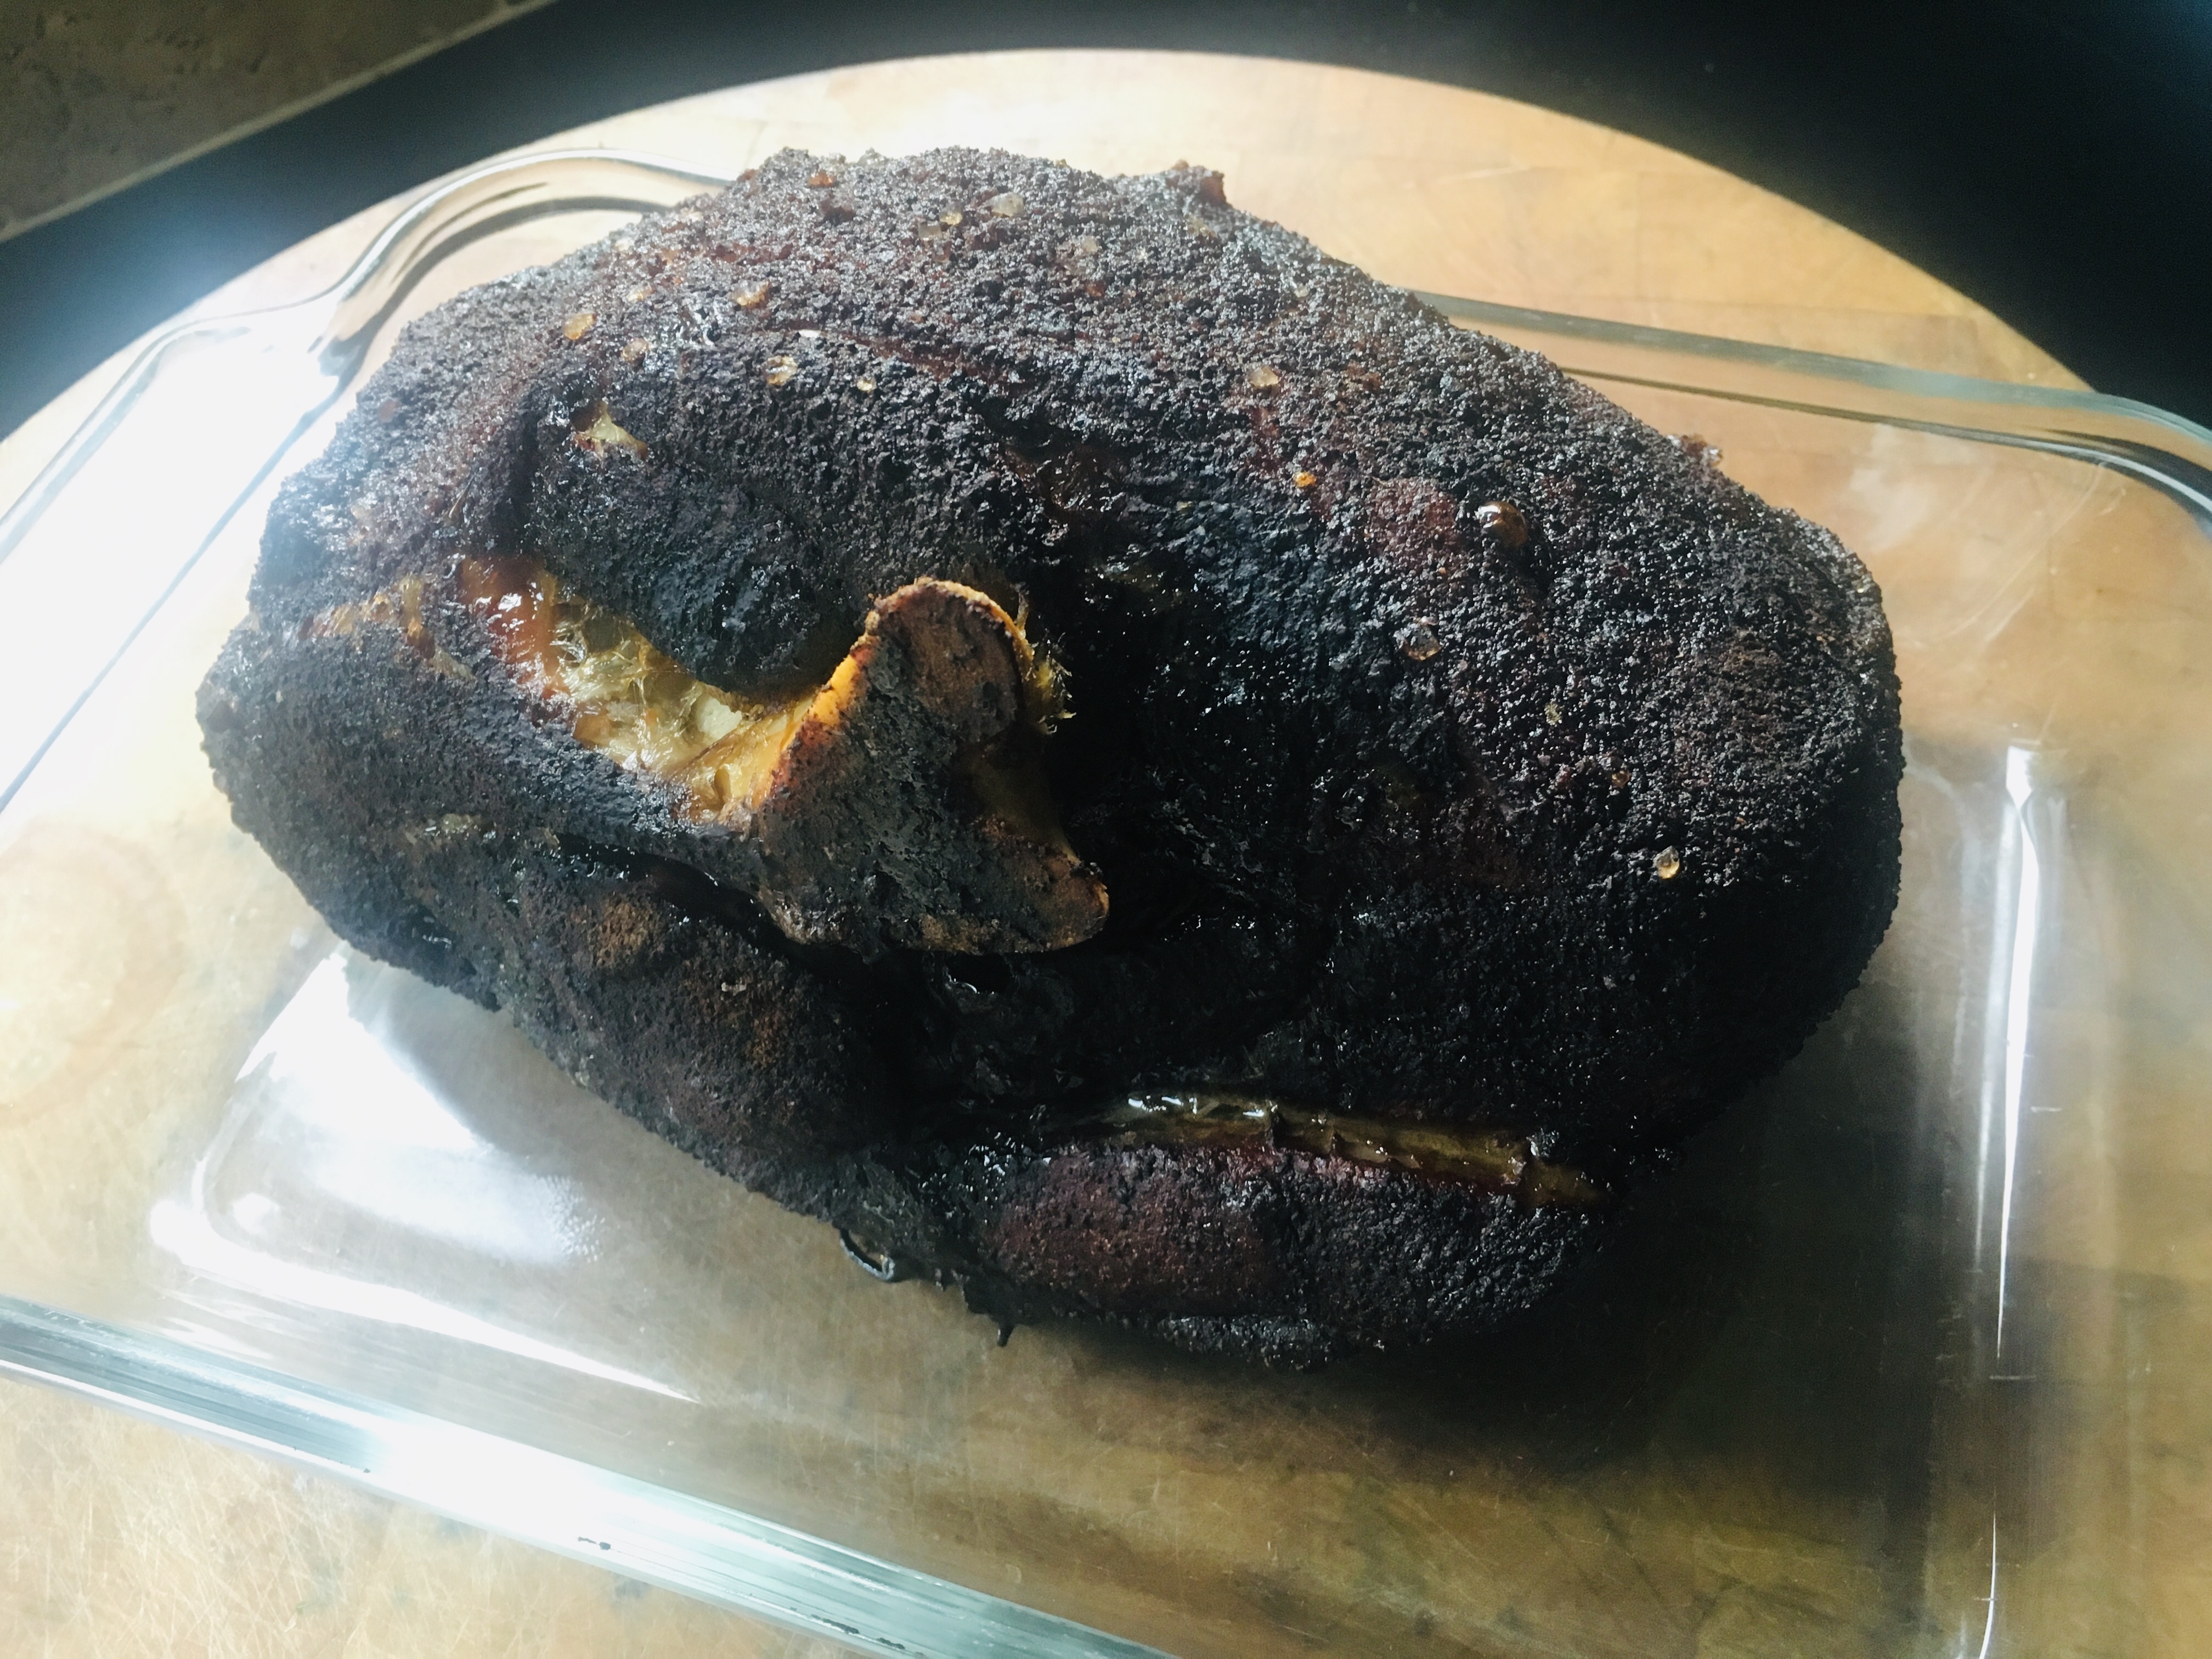
As I’ve mentioned previously, I love the Kona-crusted NY strip at the Capital Grille, so much so that it inspired me to make a coffee rub of my own. I’ve been using it on steaks and burgers for years. But recently, I used it on a slow-smoked pork shoulder for the first time, and it was fantastic!

I used a smaller pork shoulder, about 6 lbs., and smoked it for about 12 hours. Obviously, if you use a larger hunka meat, you’ll need more time. I prefer a bone-in shoulder over boneless. I think it gives greater flavor.

Rubbed and ready to smoke!

My coffee rub is easy to make, and I usually make a lot of it at once, since it stores well.

3 tablespoons brown sugar
1 tablespoon Kosher salt
1 tablespoon ground coffee (use your favorite)
1 teaspoon granulated garlic
1 teaspoon granulated onion
1 teaspoon unsweetened cocoa powder

I mix all the ingredients well, then rub generously on the pork shoulder before placing it a 250-degree smoker for about 12 hours. I use an electric smoker, which allows me to set the temperature and forget it, with the exception of occasionally adding hickory chips. I love just a hint of smokiness…I don’t want the rub to be overpowered by the smoke.

Perfectly smoked, with the bone easily sliding out of the shoulder.

The brown sugar in the coffee rub creates a beautiful crust on the meat, which goes really well with the pork and the barbecue sauce I make.

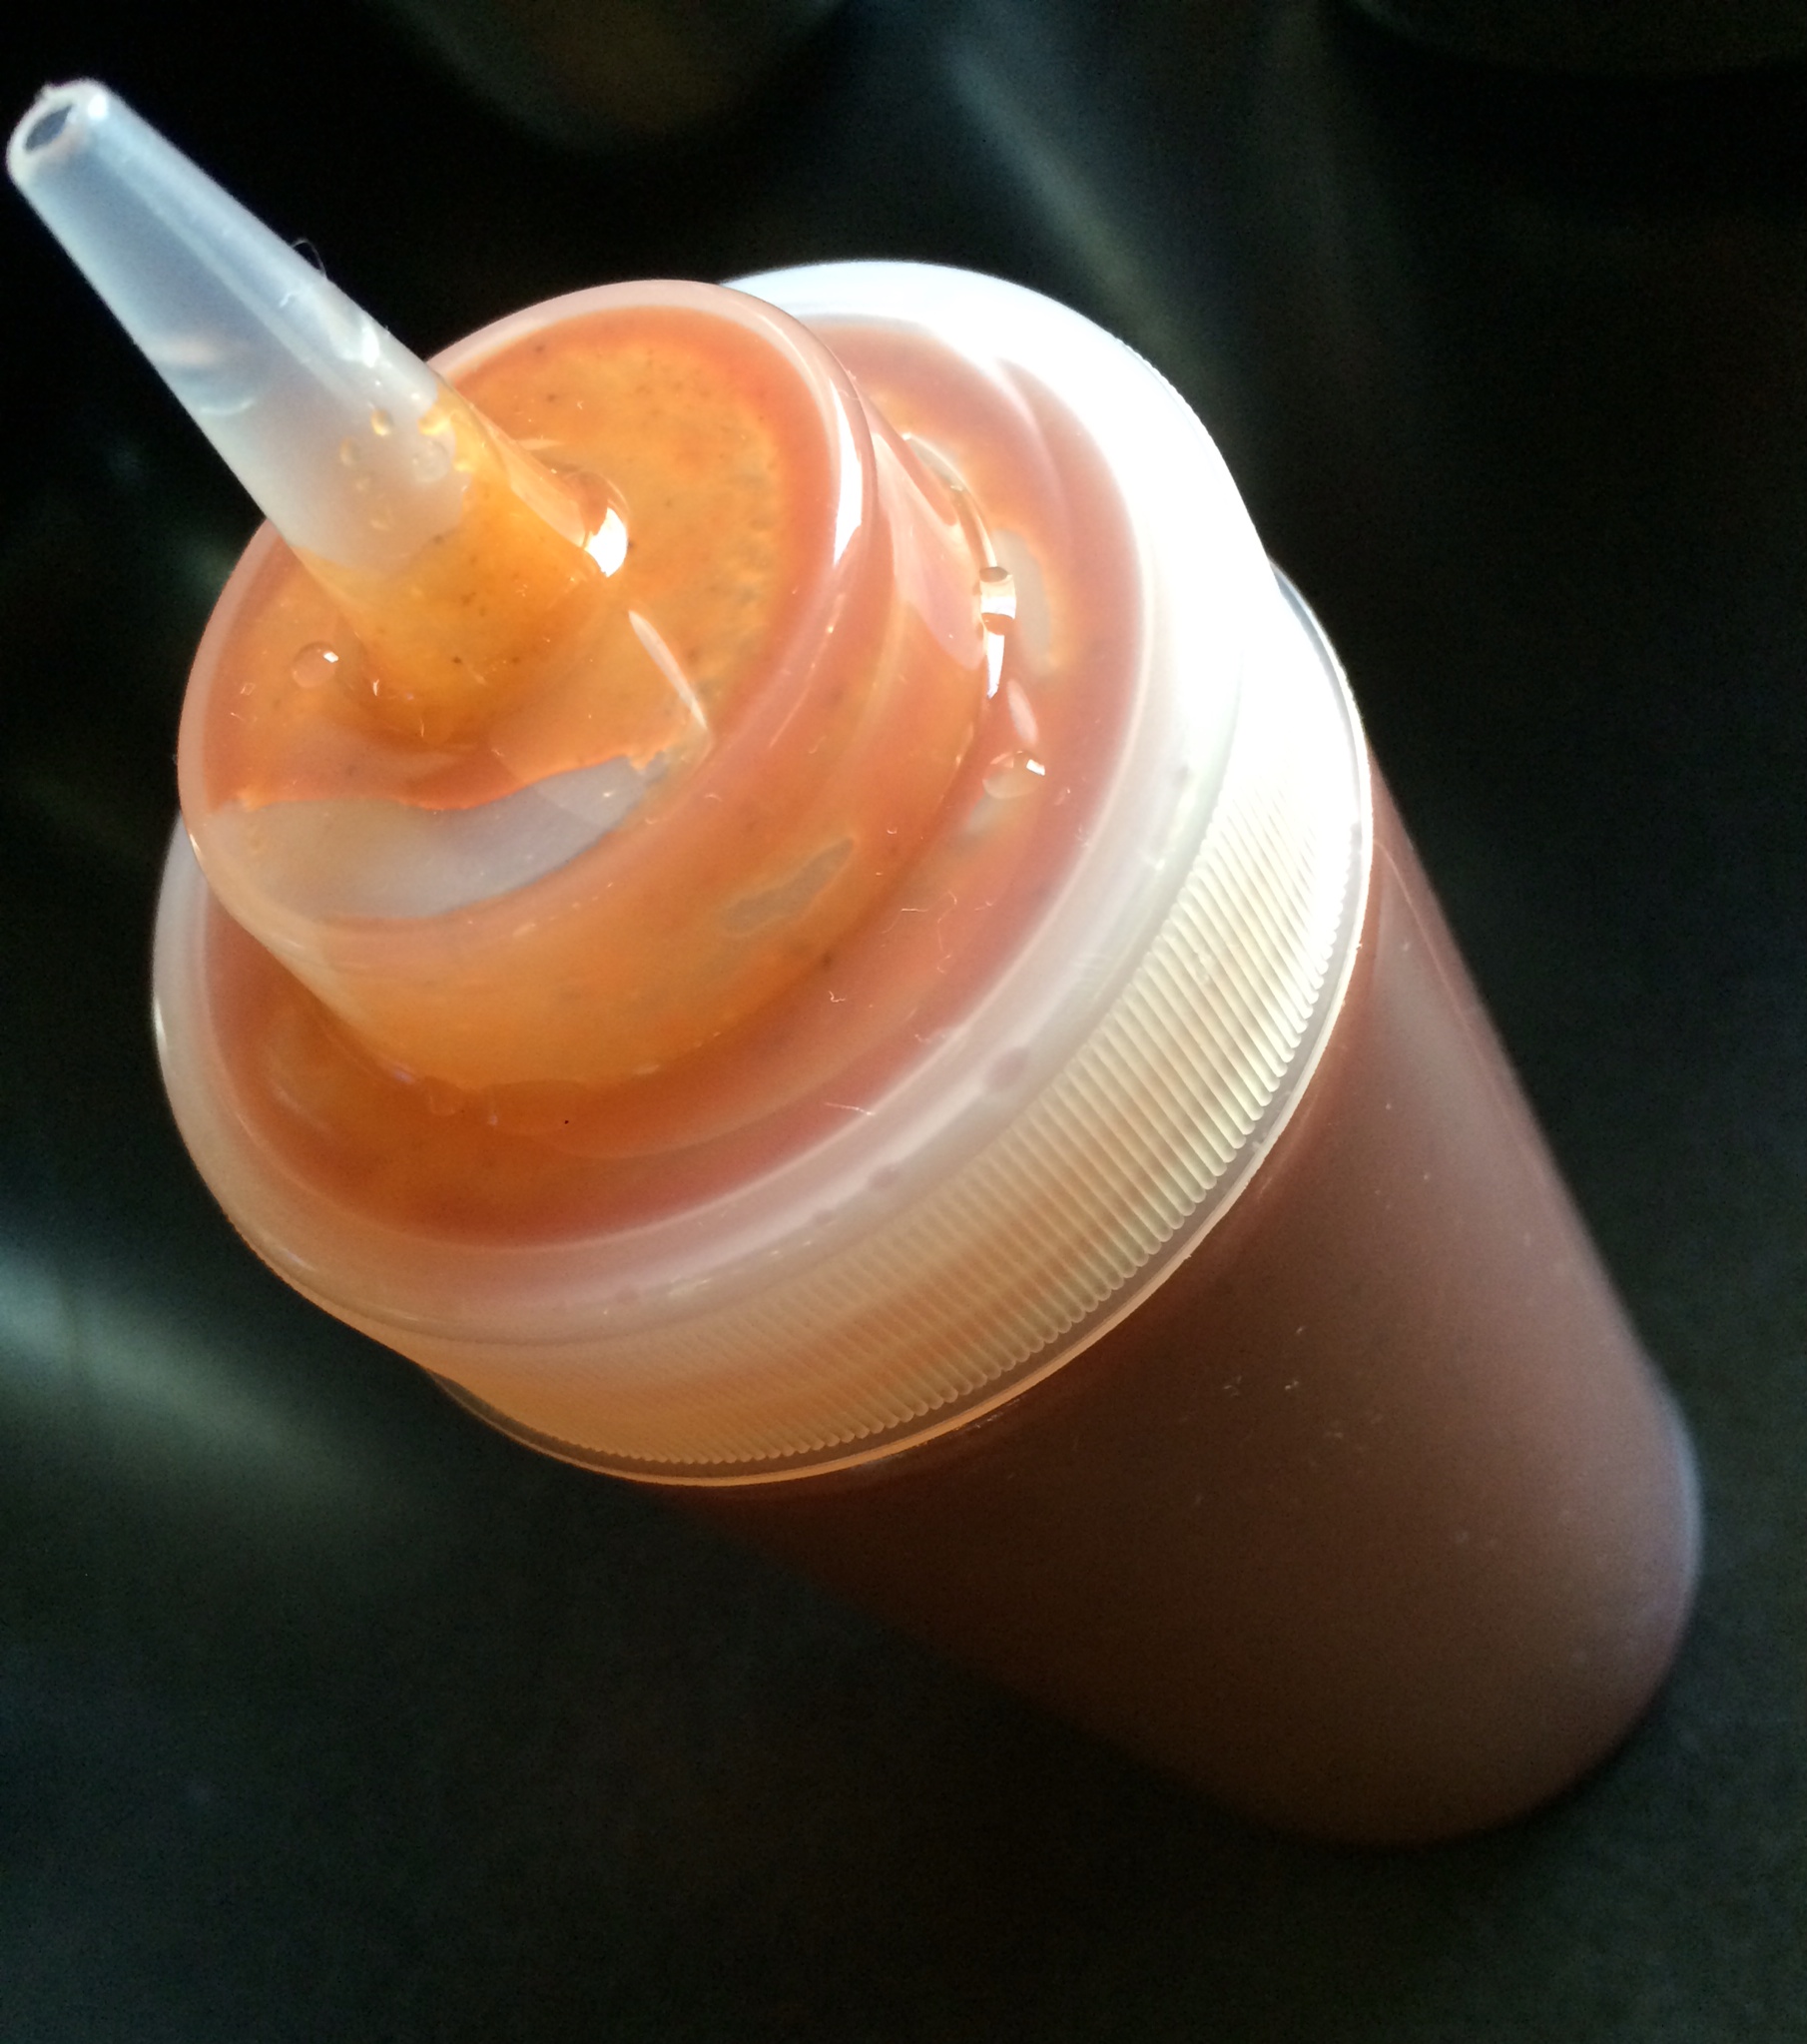
The barbecue sauce uses much-needed vinegar. It cuts through the rich fattiness of the pork, and is absolutely delicious.

2 cups ketchup
3/4 cup water
6 tablespoons cider vinegar
6 tablespoons white vinegar
6 tablespoons brown sugar
3 tablespoons Worcestershire sauce
1 tablespoon chili powder
2 teaspoons salt
2 teaspoons black pepper
1 1/2 teaspoons cumin

Mix all the ingredients in a saucepan and simmer until the flavors have blended, about 20 minutes. Remove from heat and cool to room temp. If you store it in an airtight container in the fridge, it’ll stay good for a few months.

A beautifully smoked pork shoulder, amazing barbecue sauce…what more do you need for an amazing pulled pork sandwich except a toasted brioche bun and perhaps some of my world-famous home fries on the side?

The home fries? That recipe is for another blog!