Archive for the ‘Uncategorized’ Category

Sometimes the happiest of cooking accidents happen with bacon. My original plan was to make Chinese-style honey ribs for dinner. But instead of pulling a nice rack of ribs out of the freezer, I accidentally took out a slab of pork belly. I only realized my mistake after I thawed it, so I decided to use it! The results were pretty damn tasty.
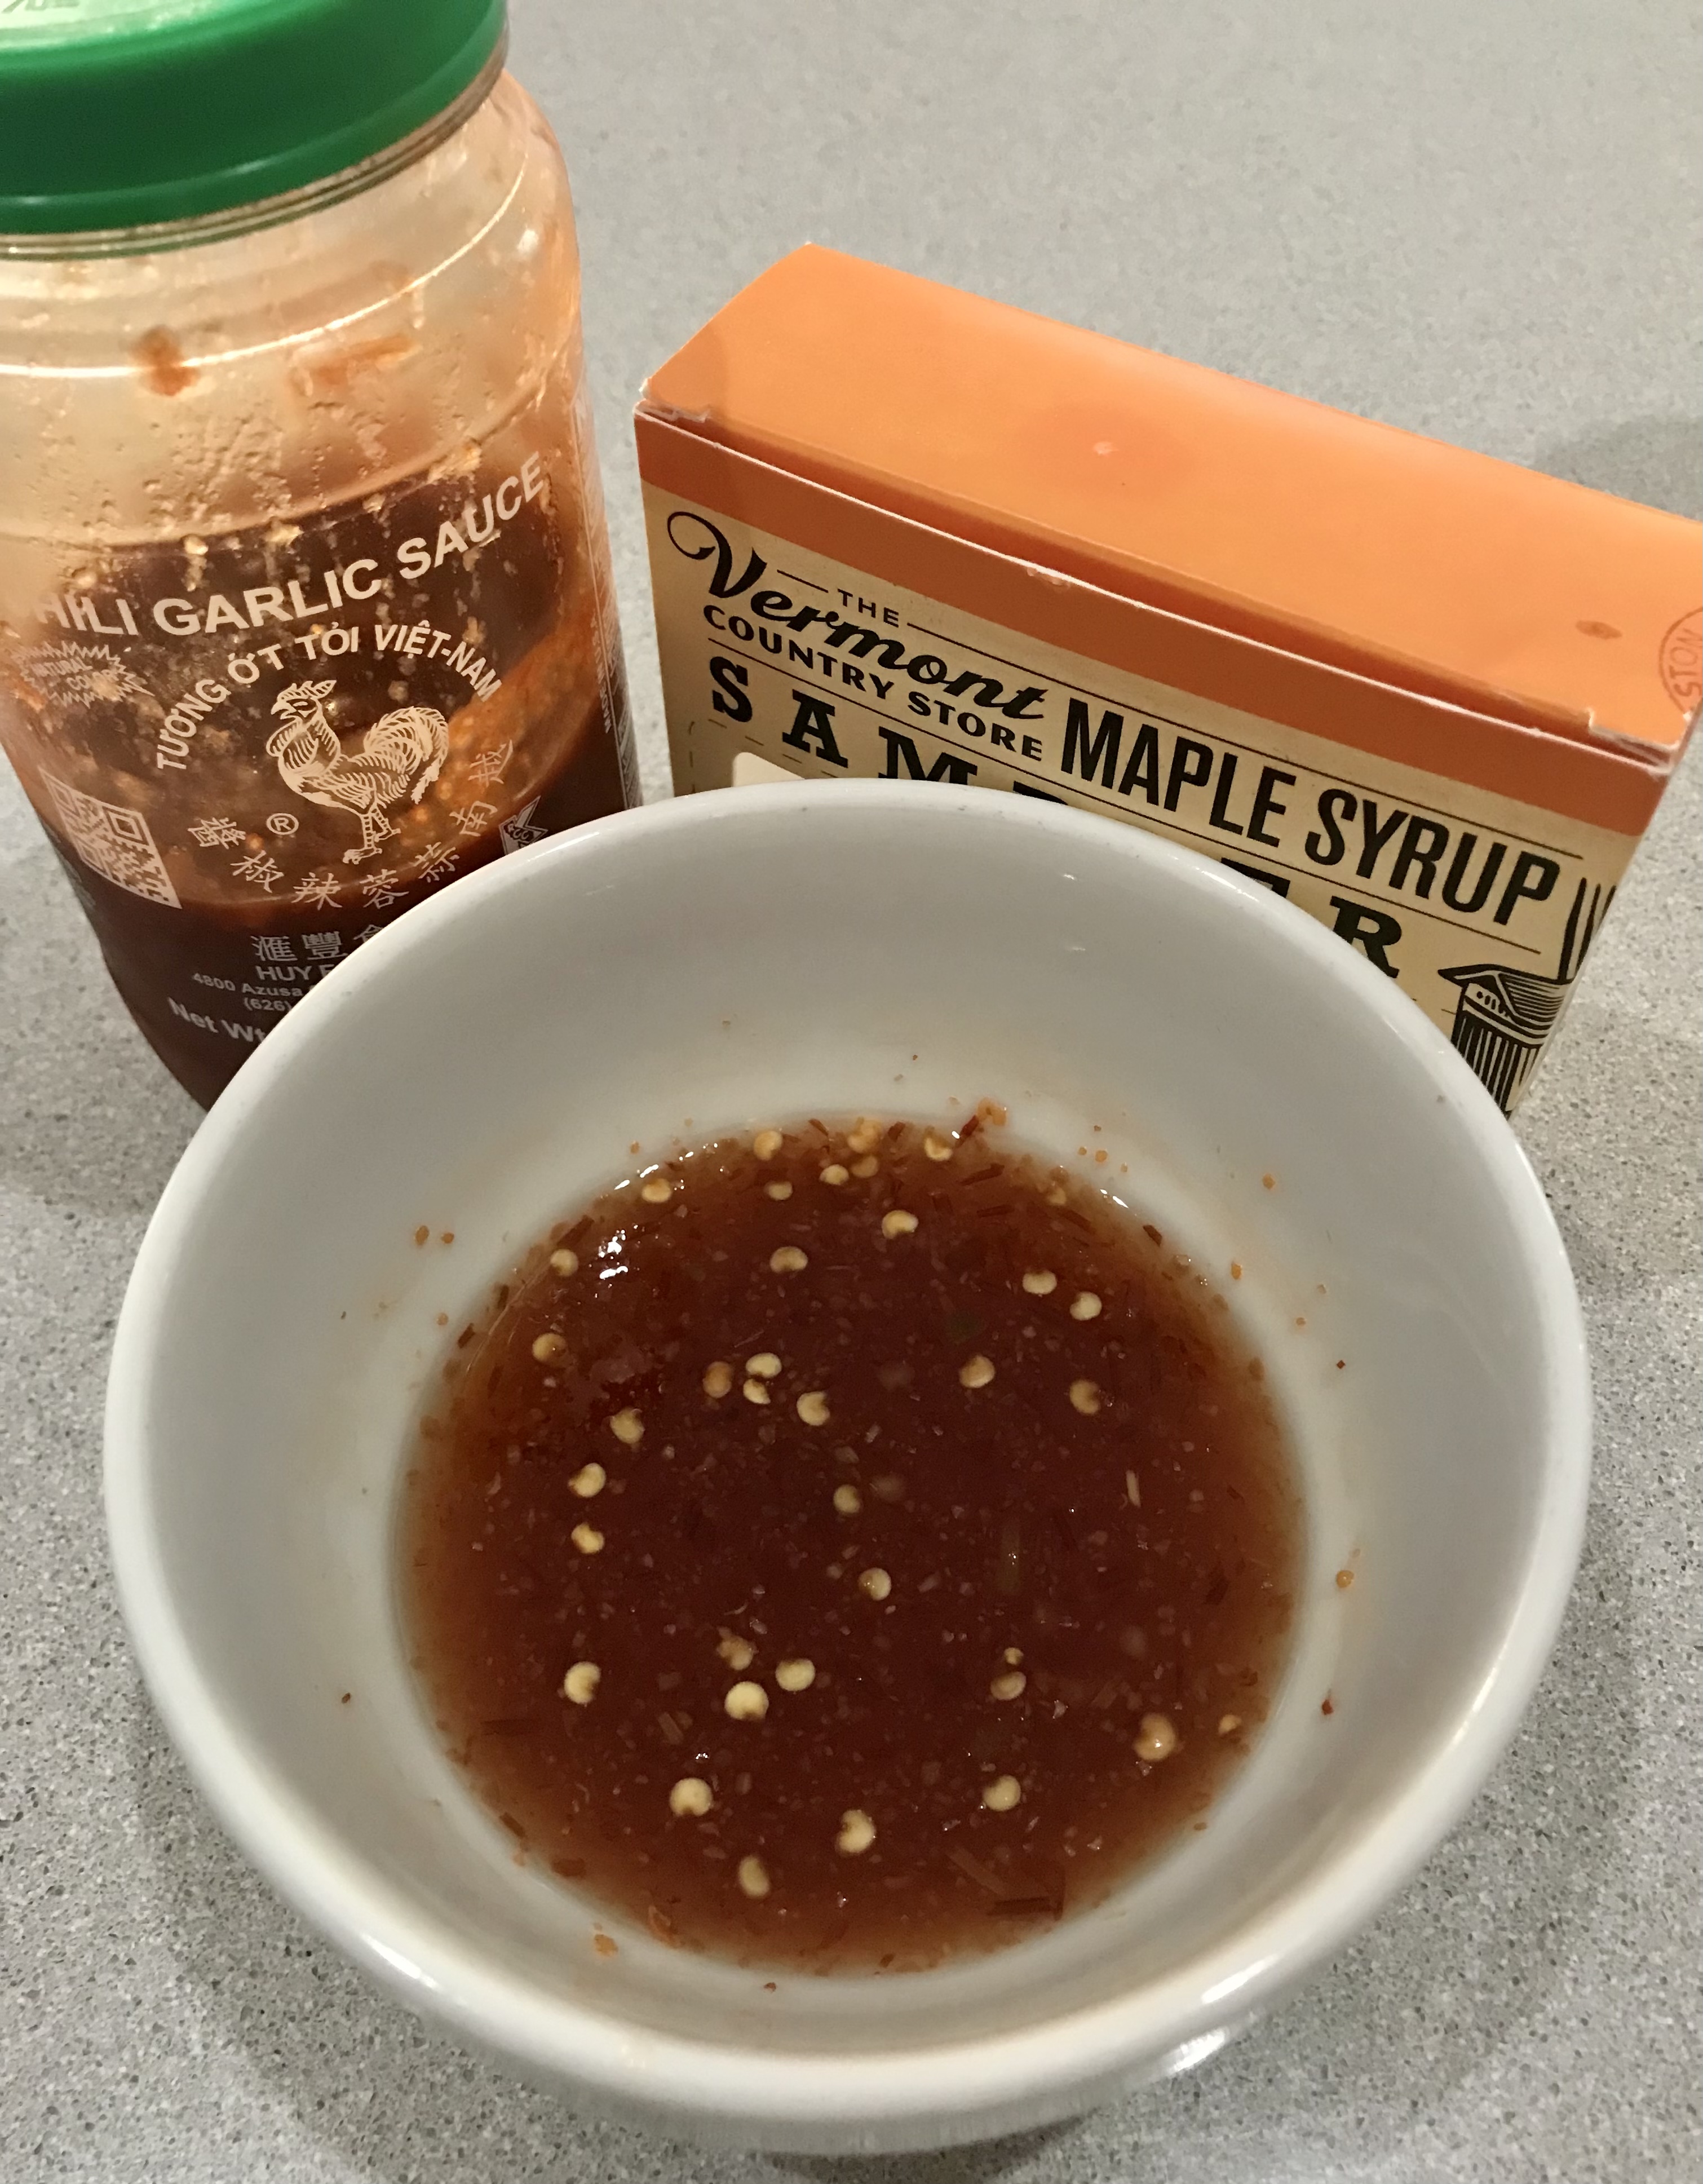
 

image

Marinade:
¾ cup light soy sauce
6 Tablespoons hoisin sauce
5 lbs. pork belly
Zest and juice of 1 lemon
2 whole star anise
2 cinnamon sticks (3”)
1/2 cup honey
4 cups chicken broth (preferably homemade)
image
Pre-heat the oven to 350 degrees.
Mix the marinade ingredients. Set them aside.
Cut the pork belly into pieces that are about 2 inches square. Place them in a large pot. Cover them with water and bring the pot to a boil. Boil for 5 minutes. Drain the water.
Place the pork belly pieces on a sheet pan lined with non-stick aluminum foil. Coat them with the marinade. Let them sit for 10 minutes.
Bake the pork belly pieces on the sheet pan in the oven for 30 minutes.
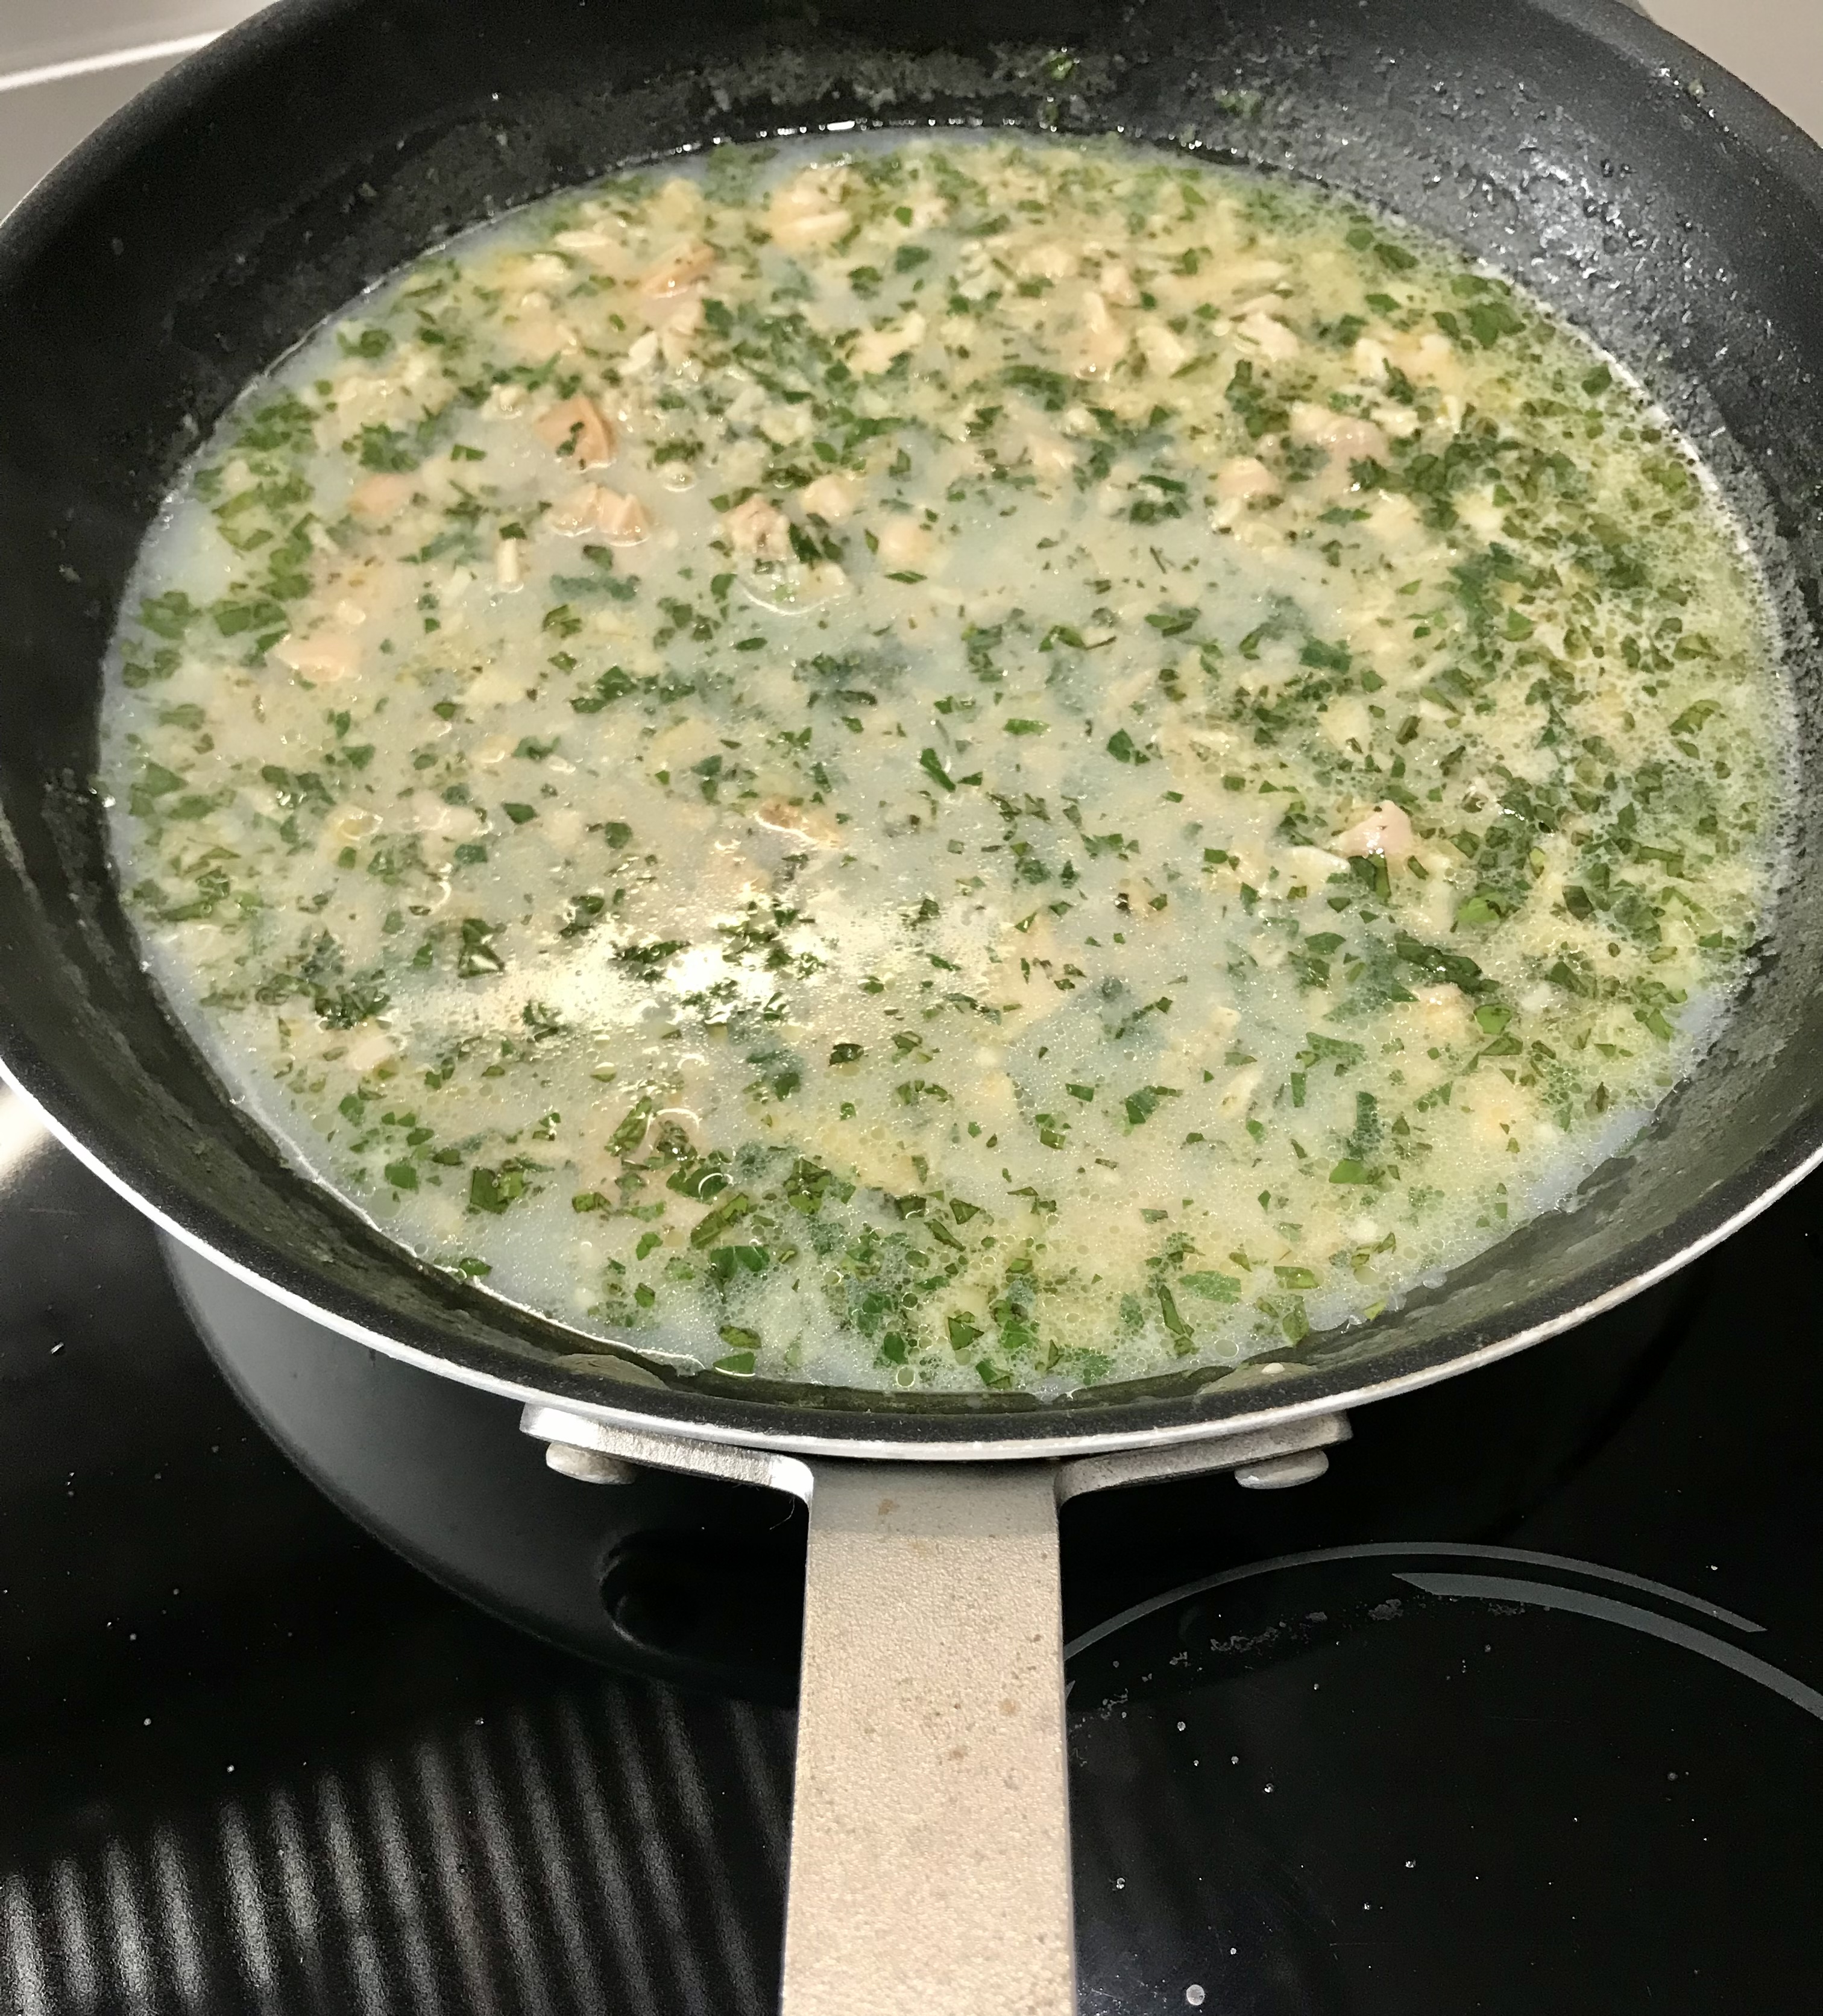
While the pork belly is baking, start the sauce in a large non-stick pan or pot: combine the lemon zest and juice, star anise, cinnamon sticks, honey and chicken broth. Bring it to a boil, then reduce it to a simmer.
When the pork belly pieces have finished baking, add them to the sauce pot and simmer (covered) for about 15 minutes or until meat is tender.
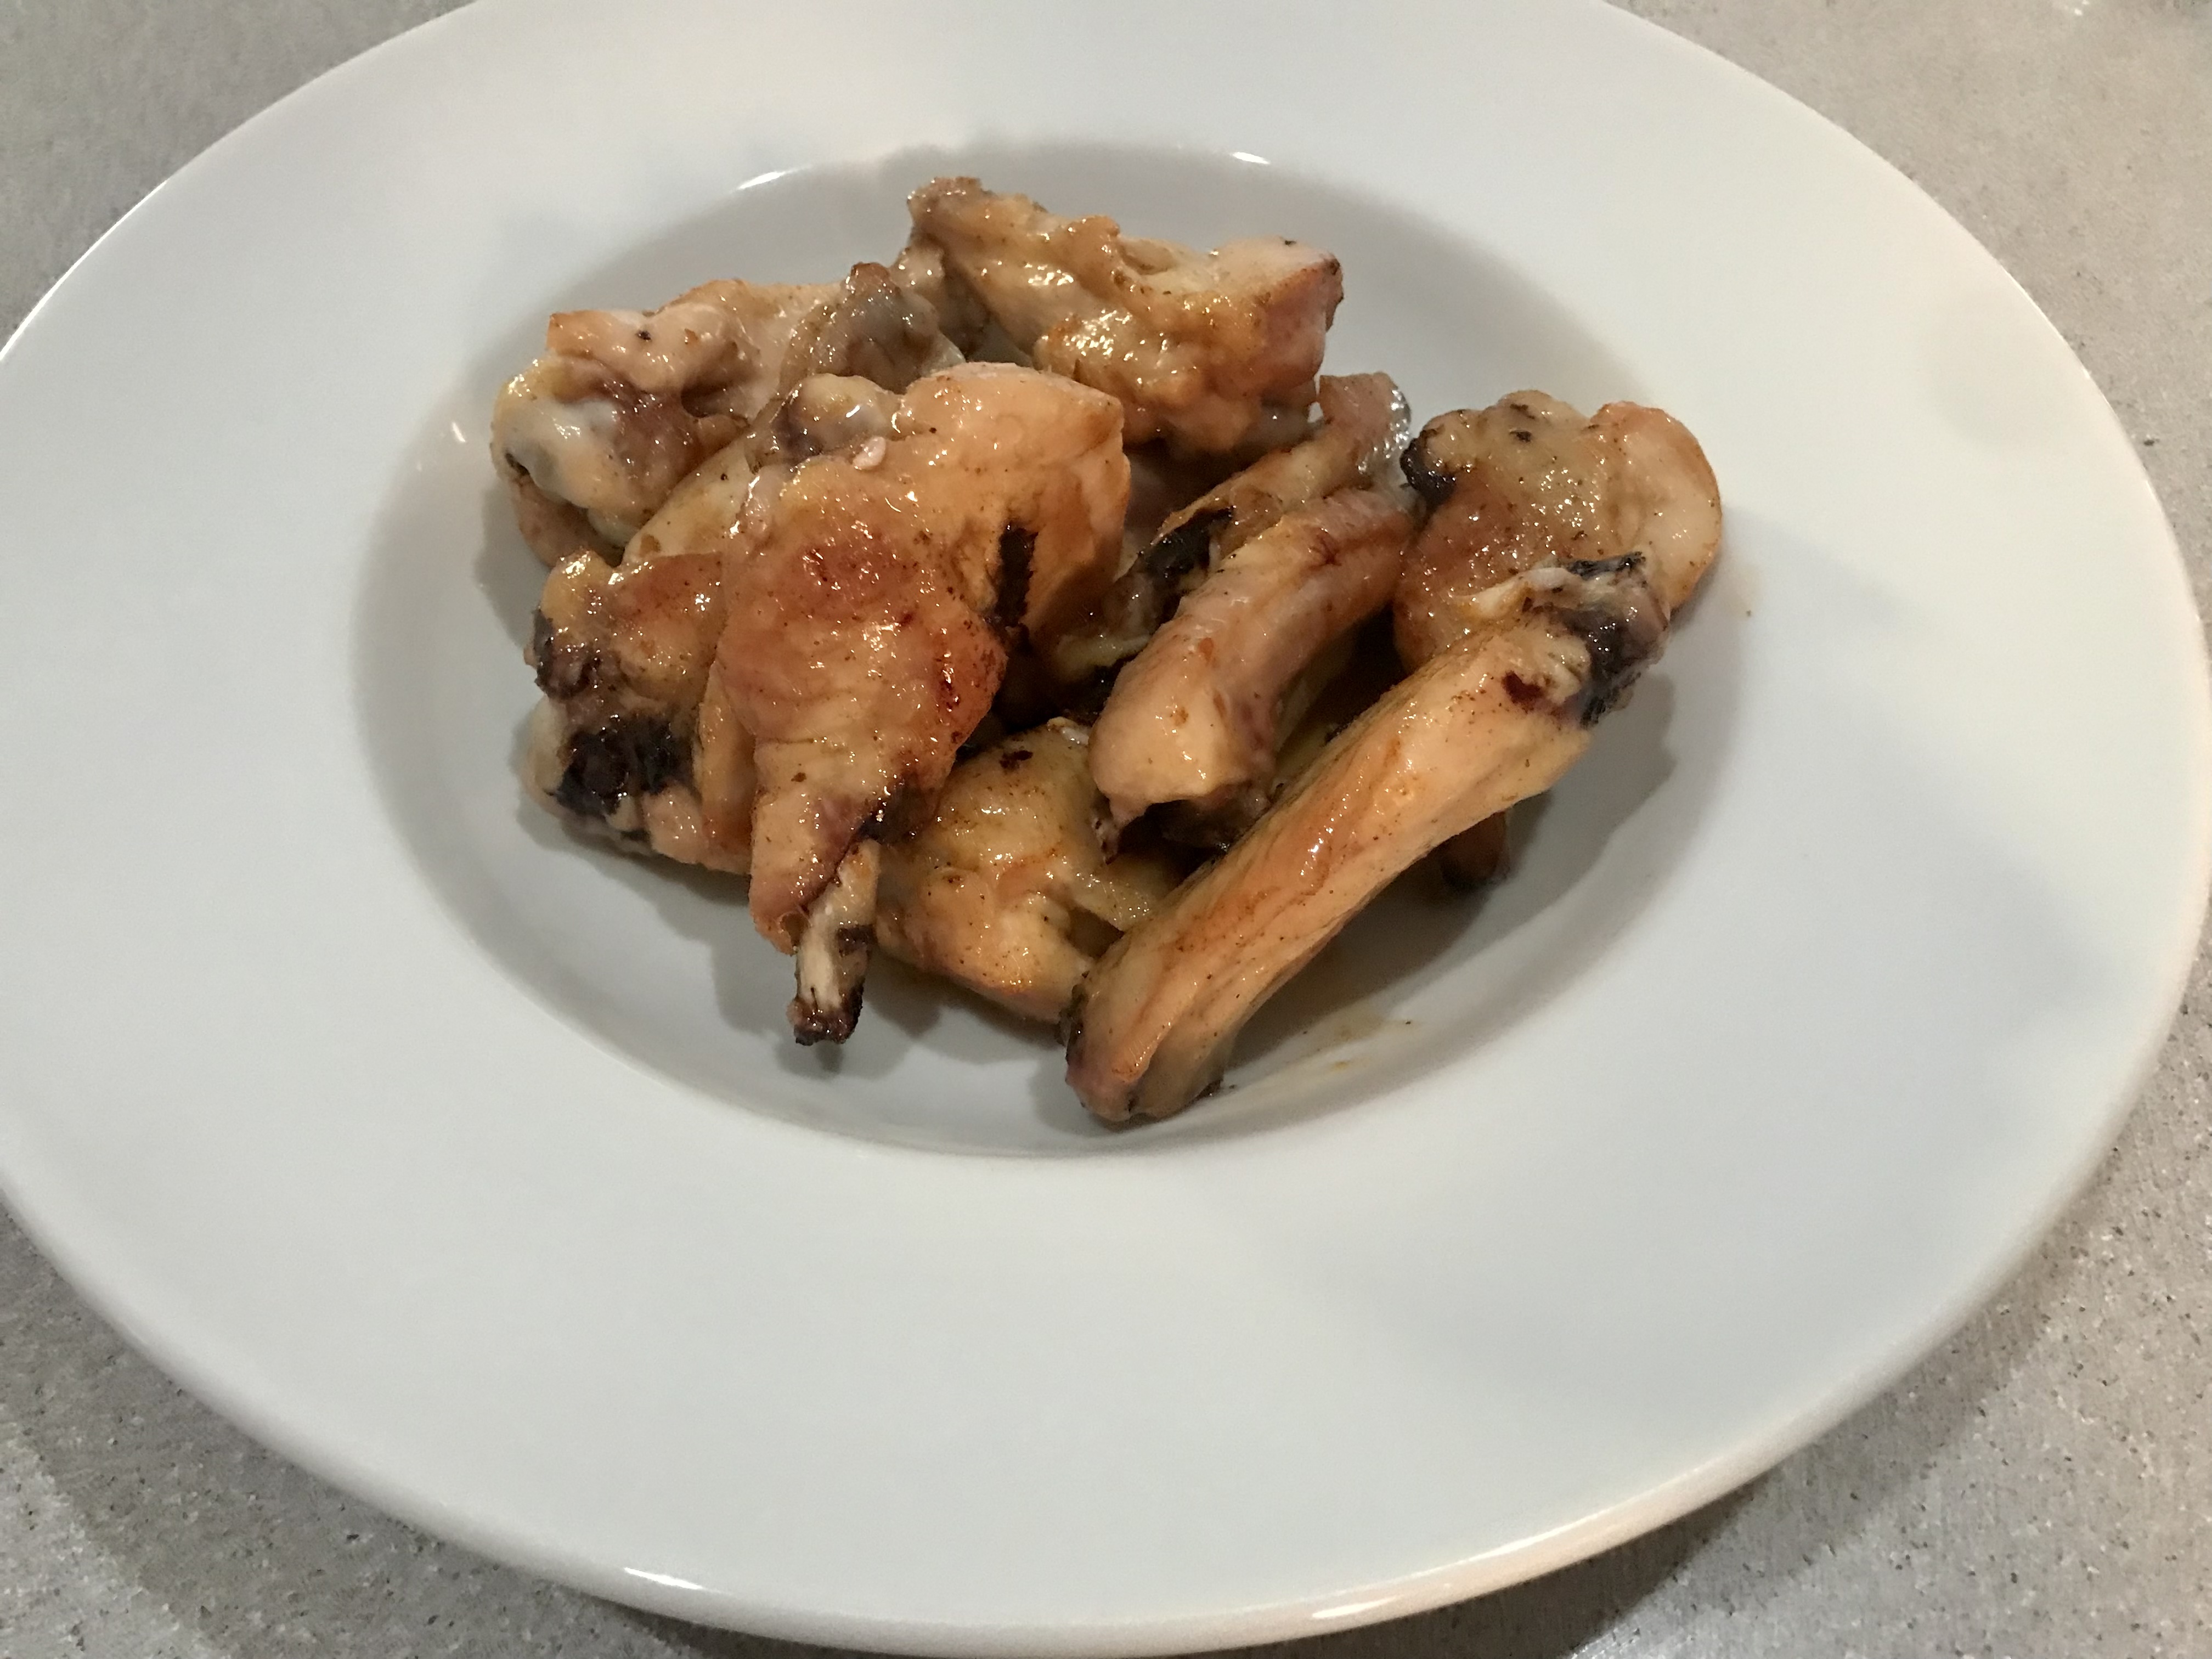
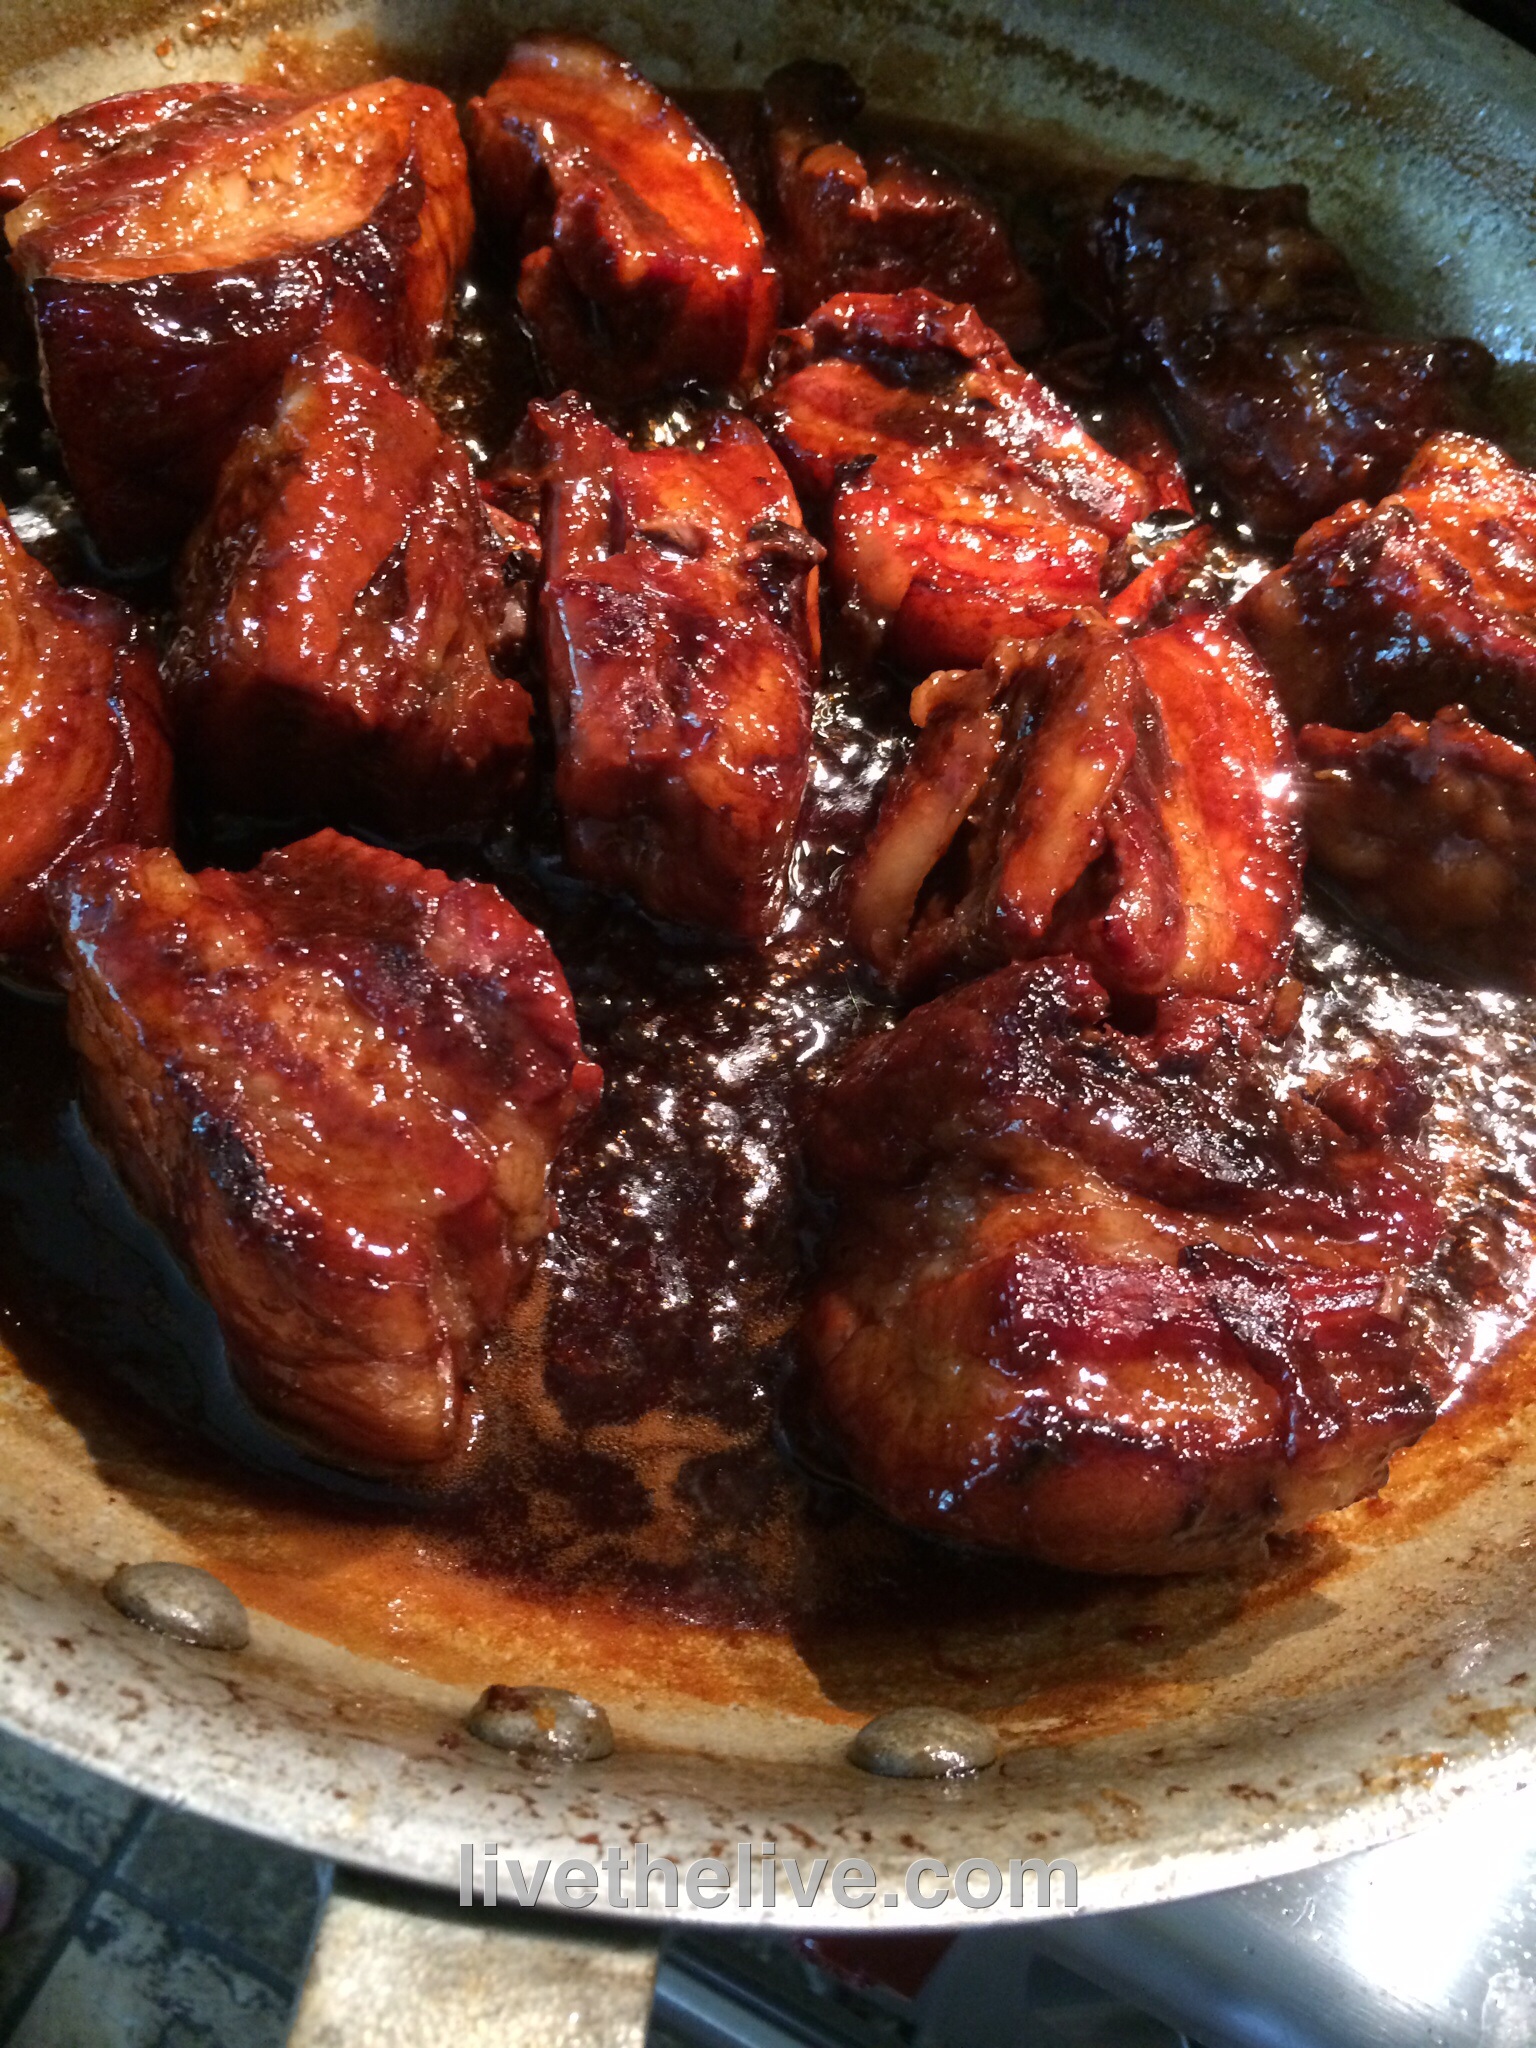
Turn the heat on high, uncover the pot and cook until the sauce has reduced to a glaze that coats the ribs. Reduce the heat as the sauce thickens to avoid the sugars in the honey from burning. When the pieces are sticky and gooey, they are ready!
Devour them just like that, or…
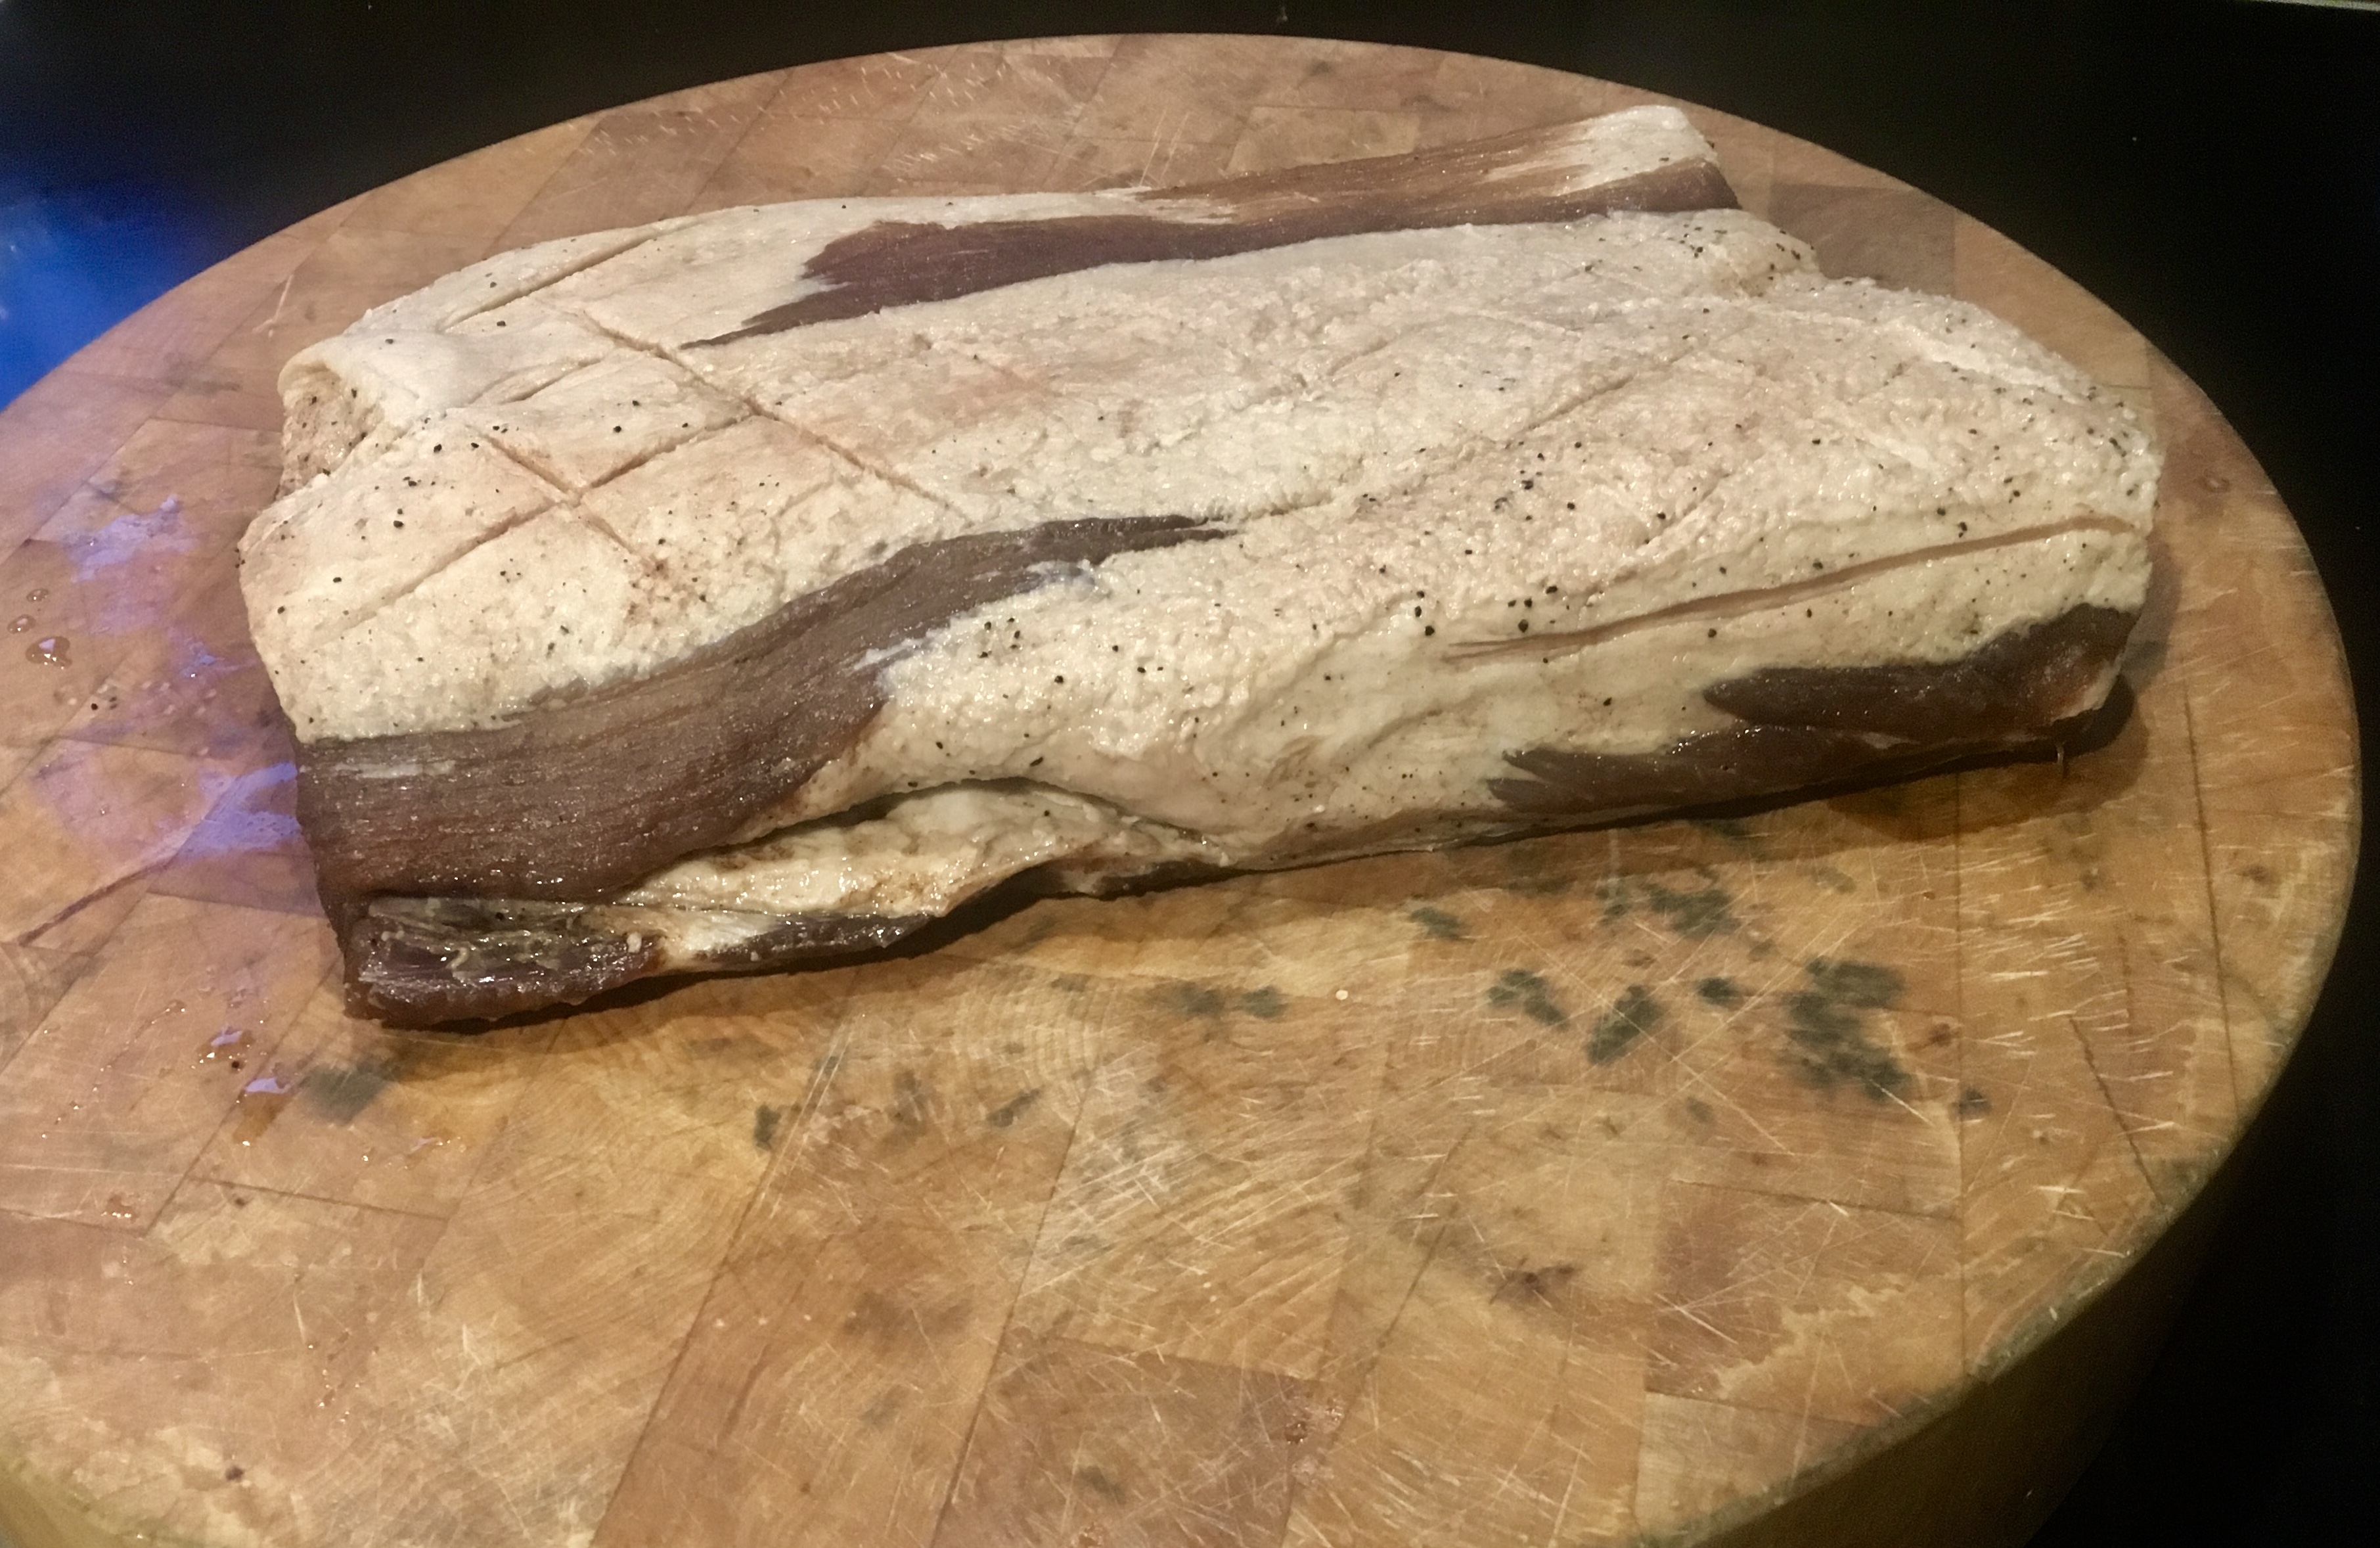
Let a piece of pork belly cool, then slice it to your desired thickness and fry it like regular bacon. It’s great with an omelet!
image

PASTA WITH WHITE CLAM SAUCE

Posted: October 12, 2021 in Uncategorized

This is a recipe that I’ve made for many years. It’s incredibly easy and doesn’t require opening any clams…just opening cans!


Since clams are super low in calories, I like to overindulge in them!

Extra virgin olive oil
2 cloves garlic, finely chopped
1 tablespoon fresh parsley, finely chopped
1 teaspoon fresh basil, finely chopped
2 cans minced clams
1/4 cup dry white wine (I like an unoaked chardonnay)
4 oz. dry pasta (I use bucatini)


Cooking the clams doesn’t take much time at all, so get your salted water boiling and start cooking the pasta.


My garlic mincer. Just roll it back and forth over the cloves.


In a pan, add the olive oil and garlic. Cook the garlic under medium heat until it just starts to brown. You don’t want to burn it.


When chopping the herbs, I rolled up tightly together and then mince.


Pour the clam juice from both cans (save the meats for later) into the pan, and stir. Add the parsley and basil.


If you leave a small part of the can lid attached, it’s easier to pour the clam juice out without spilling the clam meats.


Let it cook for a minute, then add the wine, stirring again.

Now add the clams meats from both cans, and cook under medium heat. You don’t want to overcook the clams, because they’ll get rubbery!


Once the pasta is al dente, place it in the pan with the clams and toss it all together.


Serve in a bowl with bread on the side to soak up all that clam sauce!


RATATOUILLE MY WAY

Posted: October 6, 2021 in Food, Recipes, Uncategorized
Tags: , , ,

The classic French Ratatouille uses eggplant, peppers, wine and herbs. Mine does not. So maybe it’s not ratatouille but a distant cousin. The taste, however, is awesome, and I like to use it in many ways.


Veal and pork meatballs with my ratatouille, smothered in mozzarella cheese and baked!

4 strips bacon, chopped
1 large onion, chopped
2 medium green zucchini, diced
1 cup chicken broth (homemade is best)
1 (28 oz.) can diced tomatoes
salt, pepper to taste
granulated garlic, to taste
olive oil


Using a large pan, heat a little olive oil and toss in the bacon. Cook it until crisp, then add the onions. (Don’t remove the bacon fat!)

Sauté the onions until translucent and then add the zucchini. Season with salt, pepper, and granulated garlic.

Once the zucchini has softened just a bit, add the broth and the diced tomatoes, mixing well.

Cook over medium heat until most of the liquid has evaporated and you have a nice, thick ratatouille.

Serve it as a side dish, or, as above, as part of a main dish.


It goes great with a pan-seared steak!


This is a simple salad you want to make now, while corn and tomatoes are still in season, but I’ve found that frozen organic corn and greenhouse tomatoes work pretty darn well.

2 lbs. fresh or frozen organic corn
1 container grape tomatoes, chopped
1 small red onion, finely chopped
6 oz. mild crumbled cheese, like cotija or feta
1 package (5 oz.) organic baby arugula
1 teaspoon Fleur de Sel
1 teaspoon black pepper
1 tablespoon capers, drained
2 teaspoons white balsamic vinegar
2 tablespoons extra virgin olive oil

If you’re using fresh corn, remove it from the ears, then pan sauté it  in a little olive oil, but leave it nice and crisp. If you can roast the ears of corn over some coals, even better. If you’re using frozen corn, pan sauté in a little olive oil. Set the corn aside to cool.

Mix the corn with all the other ingredients in a bowl. Cover and refrigerate.

Right before serving, taste and season it again, mixing well. I think it’s best a little cooler than room temperature.

I’ve been experimenting with my coffee rub, one that combines coffee with cocoa powder, brown sugar, salt, garlic and onion. I’ve tried it on various cuts of beef, on chicken, and pork…and it works well on everything!


A Berkshire pork belly, cured for several weeks, then rinsed.


I took some of the rub and cured a beautiful Berkshire pork belly with it, to make bacon. I simply scored the fat side of the belly, then massaged both sides of the belly with the rub, and placed it in a container in the fridge for several weeks. I flipped it over every few days to allow both sides of the belly to come in contact with the liquid that formed when the salt in the rub extracted moisture from the meat. After several weeks, I removed the belly from the container and rinsed it well with clean water, drying it with paper towels. I then re-rubbed the pork belly with more of the coffee rub and placed it in the smoker for 2 hours at 250 degrees, smoking it with hickory, my favorite wood for bacon.


The pork belly, re-rubbed and ready to smoke.


It just so happened that on the weekend I was smoking the belly, I decided to smoke a couple of racks of pork ribs for myself. These also came from a beautiful heritage Berkshire pig, and I coated them with the coffee rub, allowing them to rest in the fridge for 24 hours putting them in the smoker.


The Berkshire pork ribs, rubbed and ready to smoke. I cut the racks in half for easier handling.


Since the ribs and belly were in the smoker at the same time, the ribs first smoked at 250 degrees with hickory along with the bacon, for about 2 hours. Once I removed the bacon, I dropped the temperature of the smoker to 225, and smoked the ribs for 2 more hours. I then removed the ribs, sprinkled them with a little more coffee rub, and wrapped them in aluminum foil, before returning them to the smoker for another hour.


The ribs, and the bacon, were absolute perfection!


The ribs, smoked for several hours.


Re-sprinkling a little coffee rub on the ribs.


Wrapping the half-racks in foil. Some go back to the smoker, some head for the freezer to be enjoyed later.


Since I had 2 full racks of ribs, more than enough for several meals, I cut each rack in half before smoking for easier handling. Once I wrapped them in foil, I let a couple of them cool on the counter before placing them in a freezer bag and putting them in the freezer for future use. Already smoked and cured, all I’ll need to do is take a foil package out of the freezer, and place it in a 250-degree oven for a couple of hours to warm the ribs up and make them fall-off-the-bone tender.


The ribs, after another hour in the foil.


Here’s my coffee rub recipe. Make a lot of it and use it on everything from burgers to whole chickens to pulled pork sandwiches.

3 tablespoons brown sugar
1 tablespoon Kosher salt (I use Diamond Crystal)
1 tablespoon ground coffee (use your favorite)
1 teaspoon granulated garlic
1 teaspoon granulated onion
1 teaspoon unsweetened cocoa powder


Rib perfection!


I marinated and roasted both, lamb and chicken, with this marinade, and both worked great. So if you’re not as big a fan of lamb as I am, no worries.


The key to the success of this dish is to make sure you give the meat a lot of time to suck up the marinade, and to season the meat well.

1/4 cup Dijon mustard
The zest and juice of a lemon
2 tablespoons maple syrup
1 teaspoon garlic salt
1/2 teaspoon Kosher salt
1/4 teaspoon black pepper
Fresh thyme and rosemary, chopped fine

Combine all the ingredients in a bowl and mix well.


Place the lamb and/or chicken in a Ziploc bag and pour in the marinade, squishing it around so that it really covers the meat. Marinate the meat for at least 3 hours, but overnight in the fridge is best. Make sure to squish the bag around every few hours to make sure all parts get the marinade.

The next day, pre-heat the oven to 350 degrees.


Place the marinated meats on a sheet pan with non-stick foil. Season the meat with salt and pepper.

Pour whatever marinade is left in the bag into a bowl and use it to baste the meats as they cook. (Don’t use any of the marinade without cooking it–it has touched raw meat!) Bake until medium for the lamb, or all the way through for the chicken. At the end of cooking, toss the meat under the broiler for a few minutes to get a nice char.


Grilling is certainly an option for this dish. Lamb can be cooked directly on the grill, all the way through. Chicken will require to be pre-cooked in an oven or cooked over medium heat on the grill to make sure it’s cooked all the way through before that final char.

Cooler weather always gets us craving for comfort foods, and this is one we discovered on a trip to Spain in 2014. Croquettes are the Spanish equivalent of chicken nuggets: they’re found on every kids’ menu…and my daughter ordered them just about everywhere we went! So it’s no surprise that I “got the order” to make a batch of croquettes once we got home…and I’ve been making them ever since.

You can make these days ahead of time and then freeze them, re-heating them whenever you have guests. These are way better than your average snacks when that football game is on!


image


I found a great recipe for croquettes in Saveur magazine, and decided to try it out. I was a bit clumsy at making them at first–they do need a bit of finesse–but by the end of the batch, I got the hang of it. And to make them gluten-free, I simply substituted GF flour and breadcrumbs for the all-purpose flour and Panko. (The best tasting GF breadcrumbs are the ones you make yourself. Buy a loaf of frozen gluten-free bread, like Udi’s, and toast it in your toaster oven. Crumble the slices into a food processor, processing them until the breadcrumbs are the size you like.)


image


2 lbs. raw potatoes, peeled and cut into 1″ cubes
4 tablespoons unsalted butter
1 onion, minced
1/4 to 1/2 cup heavy cream
6 oz. cheddar cheese, grated
6 oz. ham, finely chopped
salt and pepper
1 cup all-purpose flour (or gluten-free flour like Cup4Cup)
2 eggs
2 cups Panko breadcrumbs (or gluten-free breadcrumbs)
avocado oil for frying


image


Peel the potatoes, cutting them into 1″ cubes. Boil them in salted water until tender. Drain them and set them aside.

Melt the butter in the same pot the potatoes were in, then add the onions and sauté them until they’re translucent. Put the potatoes back in the pot and add 1/4 cup of the heavy cream. Mash the potatoes with a potato masher until smooth. Add more cream, if needed, but be careful not to make it mushy.

Add the cheese and mix until it has melted in. Add the ham and mix again. Season with salt and pepper.

Pour the contents of the pot into a metal bowl and place it in the freezer to cool, stirring every 10 minutes until the mashed potato mix is cold, but not frozen.

Line up three bowls: all-purpose flour (or GF flour) in the first bowl, eggs (scrambled) in the second bowl, Panko (or GF breadcrumbs) in the third.

Remove the mashed potato mix from the freezer, and with floured hands, grab enough to gently roll a small meatball in your hands. (I’ve found that starting with a round shape makes it easier to work with.)

Roll the ball in the flour, then the egg, then drop in the Panko and roll again. With the ball in your hand, gently squeeze into a tubular (or small football) shape, and then place it on a sheet pan lined with non-stick aluminum foil. Continue with the rest of the potato mixture. (You may need to add another scrambled egg or two if you run out.)

Once you’ve rolled all the croquettes, place the sheet pan in the freezer for 20 minutes to firm up.

Heat a pan with 2″ of oil to 350 degrees. Remove the croquettes from the freezer, and working in small batches, fry them until golden brown. Place them on paper towels, and quickly season lightly with salt while hot.


image


The croquettes freeze really well, so this batch goes a long way. Once they’ve been fried, let them cool completely to room temp. Place them in freezer bags and store them in the freezer. When it’s time to cook them, let them thaw for about 15 minutes, then place them in a pre-heated 325 degree oven and cook for 15 minutes.


CHICKEN WITH A CHILI/MAPLE GLAZE

Posted: September 9, 2021 in Uncategorized

Recently on vacation, I ordered something similar to this from a take-out joint. It was chicken wings with a Sambal/maple syrup glaze, and although the idea was a winner, the execution: not so much. I found that the wings were really dry because they were over-fried. So I tweaked this at home with delicious results.

Using really good quality chicken makes all the difference, so buy the best you can find.

I also used a whole chicken as well as wings, and found that it works just as well. Cut the whole bird up into parts before cooking, saving the carcass for chicken stock later on.


Whole chicken cut up, or your favorite parts
Lawry’s seasoned salt
2 oz. real maple syrup
1 teaspoon Chinese chili garlic sauce


Pre-heat the oven to 350 degrees.

Cut the whole chicken into parts, or, if using wings, place the pieces on a baking sheet. (I like to cover the baking sheet will non-stick foil.) Season both sides of the chicken with the seasoned salt.

Bake the chicken pieces until they’re completely cooked, about 45 minutes to an hour.

While the chicken is cooking, combine the Chinese chili garlic sauce with the maple syrup. If you like things really spicy, simply add more chili garlic sauce!

When the chicken has cooked, place the pieces in large bowl, Pour the glaze over the chicken pieces and toss them around to make sure they’re thoroughly covered in the glaze. The darkness of the glaze will depend on the darkness of your maple syrup. I used a light amber syrup in these photos.


Serve right away…and bring plenty of napkins!

I’ve had Clams Casino in many different forms. Back when I worked in Italian restaurants in New York, we would make a breadcrumb mixture, press it onto a freshly opened whole clam, and then place a small piece of bacon on top before it went into the oven. It was good, but the clam often stuck to the shell, and many people didn’t want to gulp down a whole clam like that.

Oyster knife (left) and a clam knife (right.) Different tools for different jobs.

When it was time for me to make my own recipe, I decided that I would chop the clams and mix them into the breadcrumb mix, so that every bite was the same.

2 tablespoons olive oil
1/3 cup finely chopped Vidalia or other sweet onion (about a 1/2 an onion)
2 garlic cloves, squeezed through a garlic press
1/3 cup dry white wine
1/3 cup unflavored bread crumbs
1 tablespoon fresh Italian parsley, finely chopped
1/2 teaspoon dried oregano
Freshly cracked black pepper
2 dozen medium neck clams
1/3 lb. bacon, cut in small squares to fit the clam shells
Heat the olive oil in a pan over medium heat. Add the onions, and sauté them until they’re translucent. Add the garlic, and cook for 10 seconds. Add the wine and simmer for a minute. Add the bread crumbs, and stir the mixture until it becomes thicker, like a paste. Add the parsley and oregano. Season with pepper. (There’s going to be plenty of salt in the clam juice and bacon, so no salt is needed.)

The bread crumb mixture.

Remove the pan from the heat and let it cool.
It’s time to open the clams. If you know how to do that, open them over a sieve with a bowl underneath so that the clam meats and juices are captured. Discard any broken shells, but save the good ones.
If you struggle with opening clams, this method makes it a little easier: Bring a large pot of water to boil, and drop the clams into it, about 10 at a time, for 30 seconds. Don’t let them open! Remove the clams with a slotted spoon and place them in a bowl to cool. Continue doing this in small batches until all the clams have been in the water. You’ll find this makes opening the clams much easier. Then proceed as above.
Once you’ve shucked all the clams, let the clam juice sit for a bit, so that any grit settles to the bottom of the bowl. Then pour off the clean clam juice and add it to your bread crumb mixture. (Don’t worry if it looks soggy at this point.)

Looking a little soggy, but that’s OK.

I like to hand chop the clam meats instead of using a food processor. You want tasty clam chunks, not too big but not mush. Add the clams to the the bread crumb mix.
At this point, if the clam mix looks very soggy, simply add a little more bread crumb to dry it out.
Preheat the oven to 350 degrees.
Line a large baking sheet with foil. Separate the clam shell halves and wash them, making sure you don’t have any shell fragments left in the clam shell.  Fill them with the clam mixture, mounding them slightly, and placing each one on the baking sheet.

Clams and bacon…delicious!

Cut the bacon in small squares to fit the clam shells. Place a small piece of raw bacon on the top of each clam.
Bake until the clams are just cooked through, the topping is golden, and the bacon is cooked, about 30 minutes.

This makes a great appetizer, but it’s hard to just eat a few!