It’s Pizza Week here in Providence, RI, but most of the time, I prefer to make mine at home.
So let’s not talk diets right now. Let’s talk about what is probably the greatest invention since pizza itself: stuffed crust pizza.
I mean: first, there was the simple margarita pizza. Then someone thought of “extra cheese.” After that, where could we go? And then, someone who in my mind deserved the Nobel Prize for Food, came up with stuffed crust pizza. Originally the brainchild of Pizza Hut, it boldly put cheese where no cheese had gone before.

So for me, since I love to make my own pizzas, the next step was to figure out a way to make stuffed crust pizza at home. Turns out it wasn’t really that difficult.
If you’re not into going through the hassle of making your own dough, most supermarkets have pre-made pizza dough balls in the refrigerated section. Grab a couple of them, and save yourself some time and effort. (If you want to make the dough from scratch, see my recipe at the bottom of this blog.)
Same thing with the sauce: I prefer to make my own from real San Marzano tomatoes, but if you have a brand of jarred sauce you like, use that.
The rest is pretty straightforward: cheese!!
Let’s get started…
You bought or made the dough. If you bought two balls, you rolled them together to make one larger one. You poured a little olive oil in a bowl, and placed the ball of dough in that, covering with a clean towel, to let the dough rise for a few hours.
After a few hours, you punch the dough down to get rid of the air bubbles, and roll it into a ball again, putting it back in the bowl, covered, to rest for another hour or so.
Preheat the oven to 500 or it’s hottest temperature, with a pizza stone on the middle rack.
Now the dough is ready to work. Place your pizza peel on the counter you’re working on. Sprinkle the peel with a large-grained flour, like corn meal or semolina. (That acts like little ball-bearings to let the dough slide off easily.) On top of the pizza peel, stretch the dough out to a size that will be about 2 or 3 inches bigger in diameter than the peel or pizza stone you have in the oven.

Made the mistake of stretching the dough out on the counter rather than the peel, which made it hard to lift. Perhaps it was the influence of the bourbon in the background! I fixed the problem later. (I kept the bourbon.)
Buy a firm mozzarella that slices nicely into sticks. (If you use fresh mozzarella, it will get mushy in the crust.) Cut it into pieces the size of the average mozzarella stick.
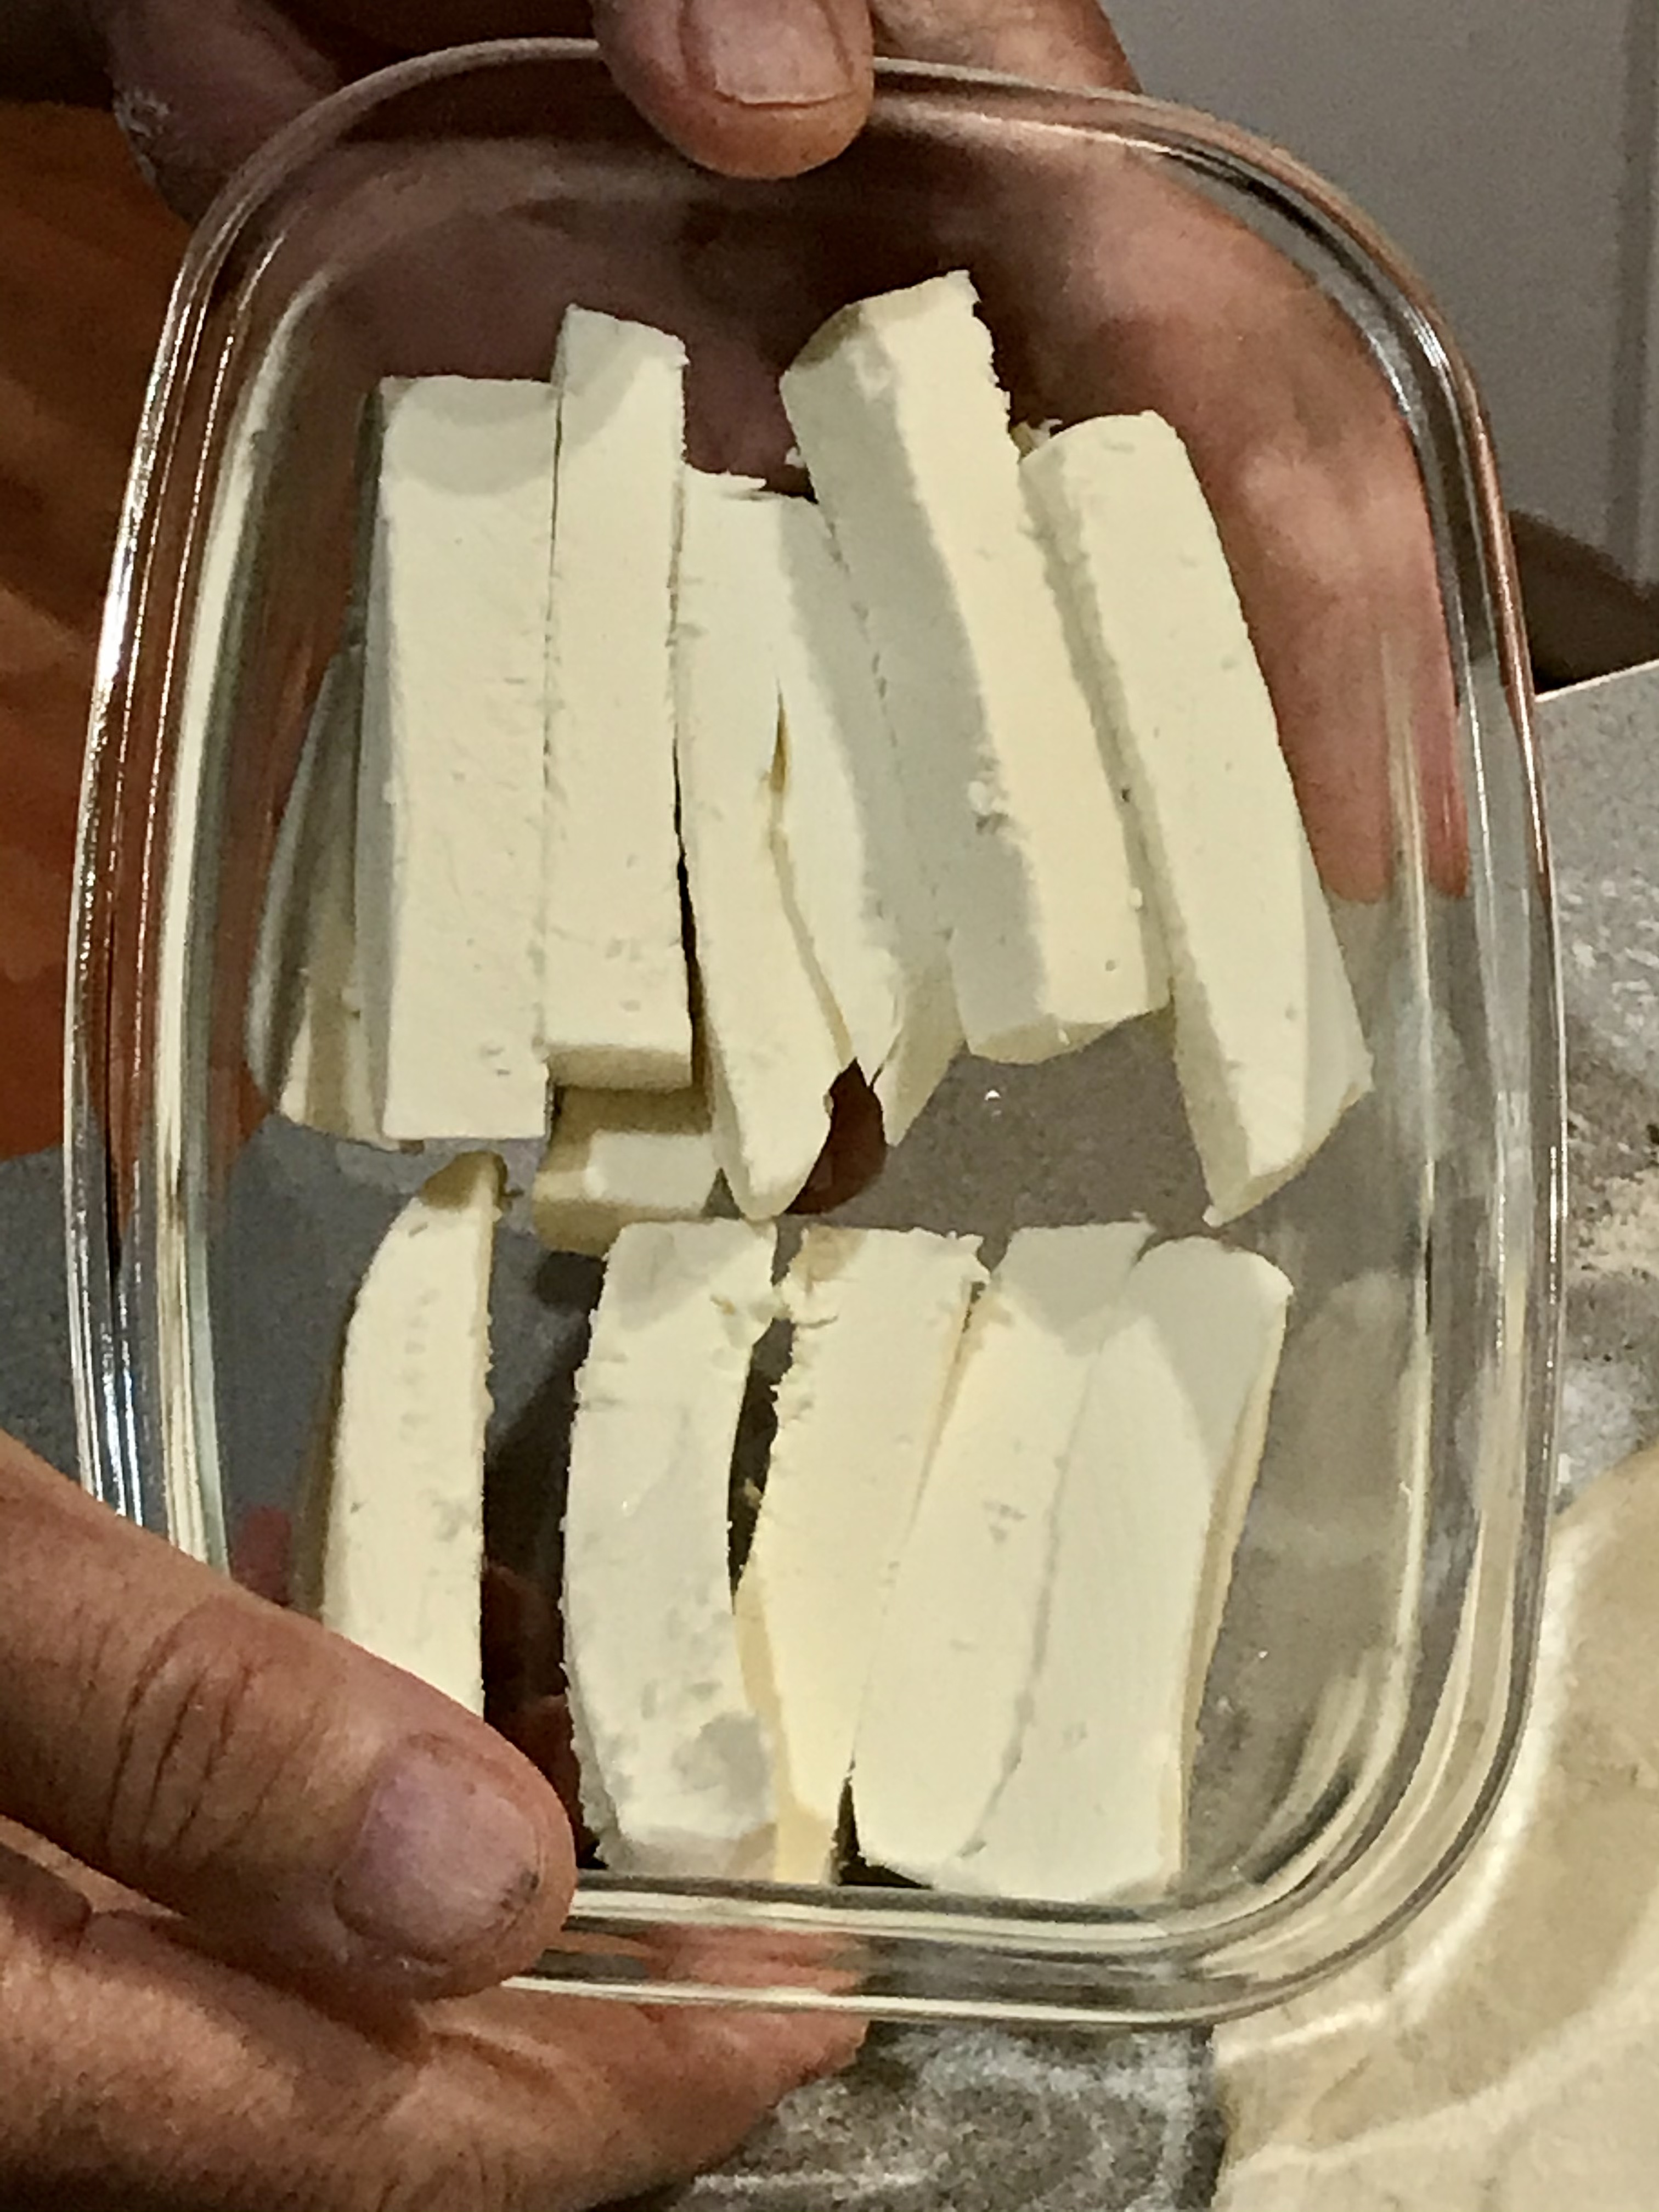
Place the sticks of mozzarella around the dough in a circle, about an inch away from the edge.

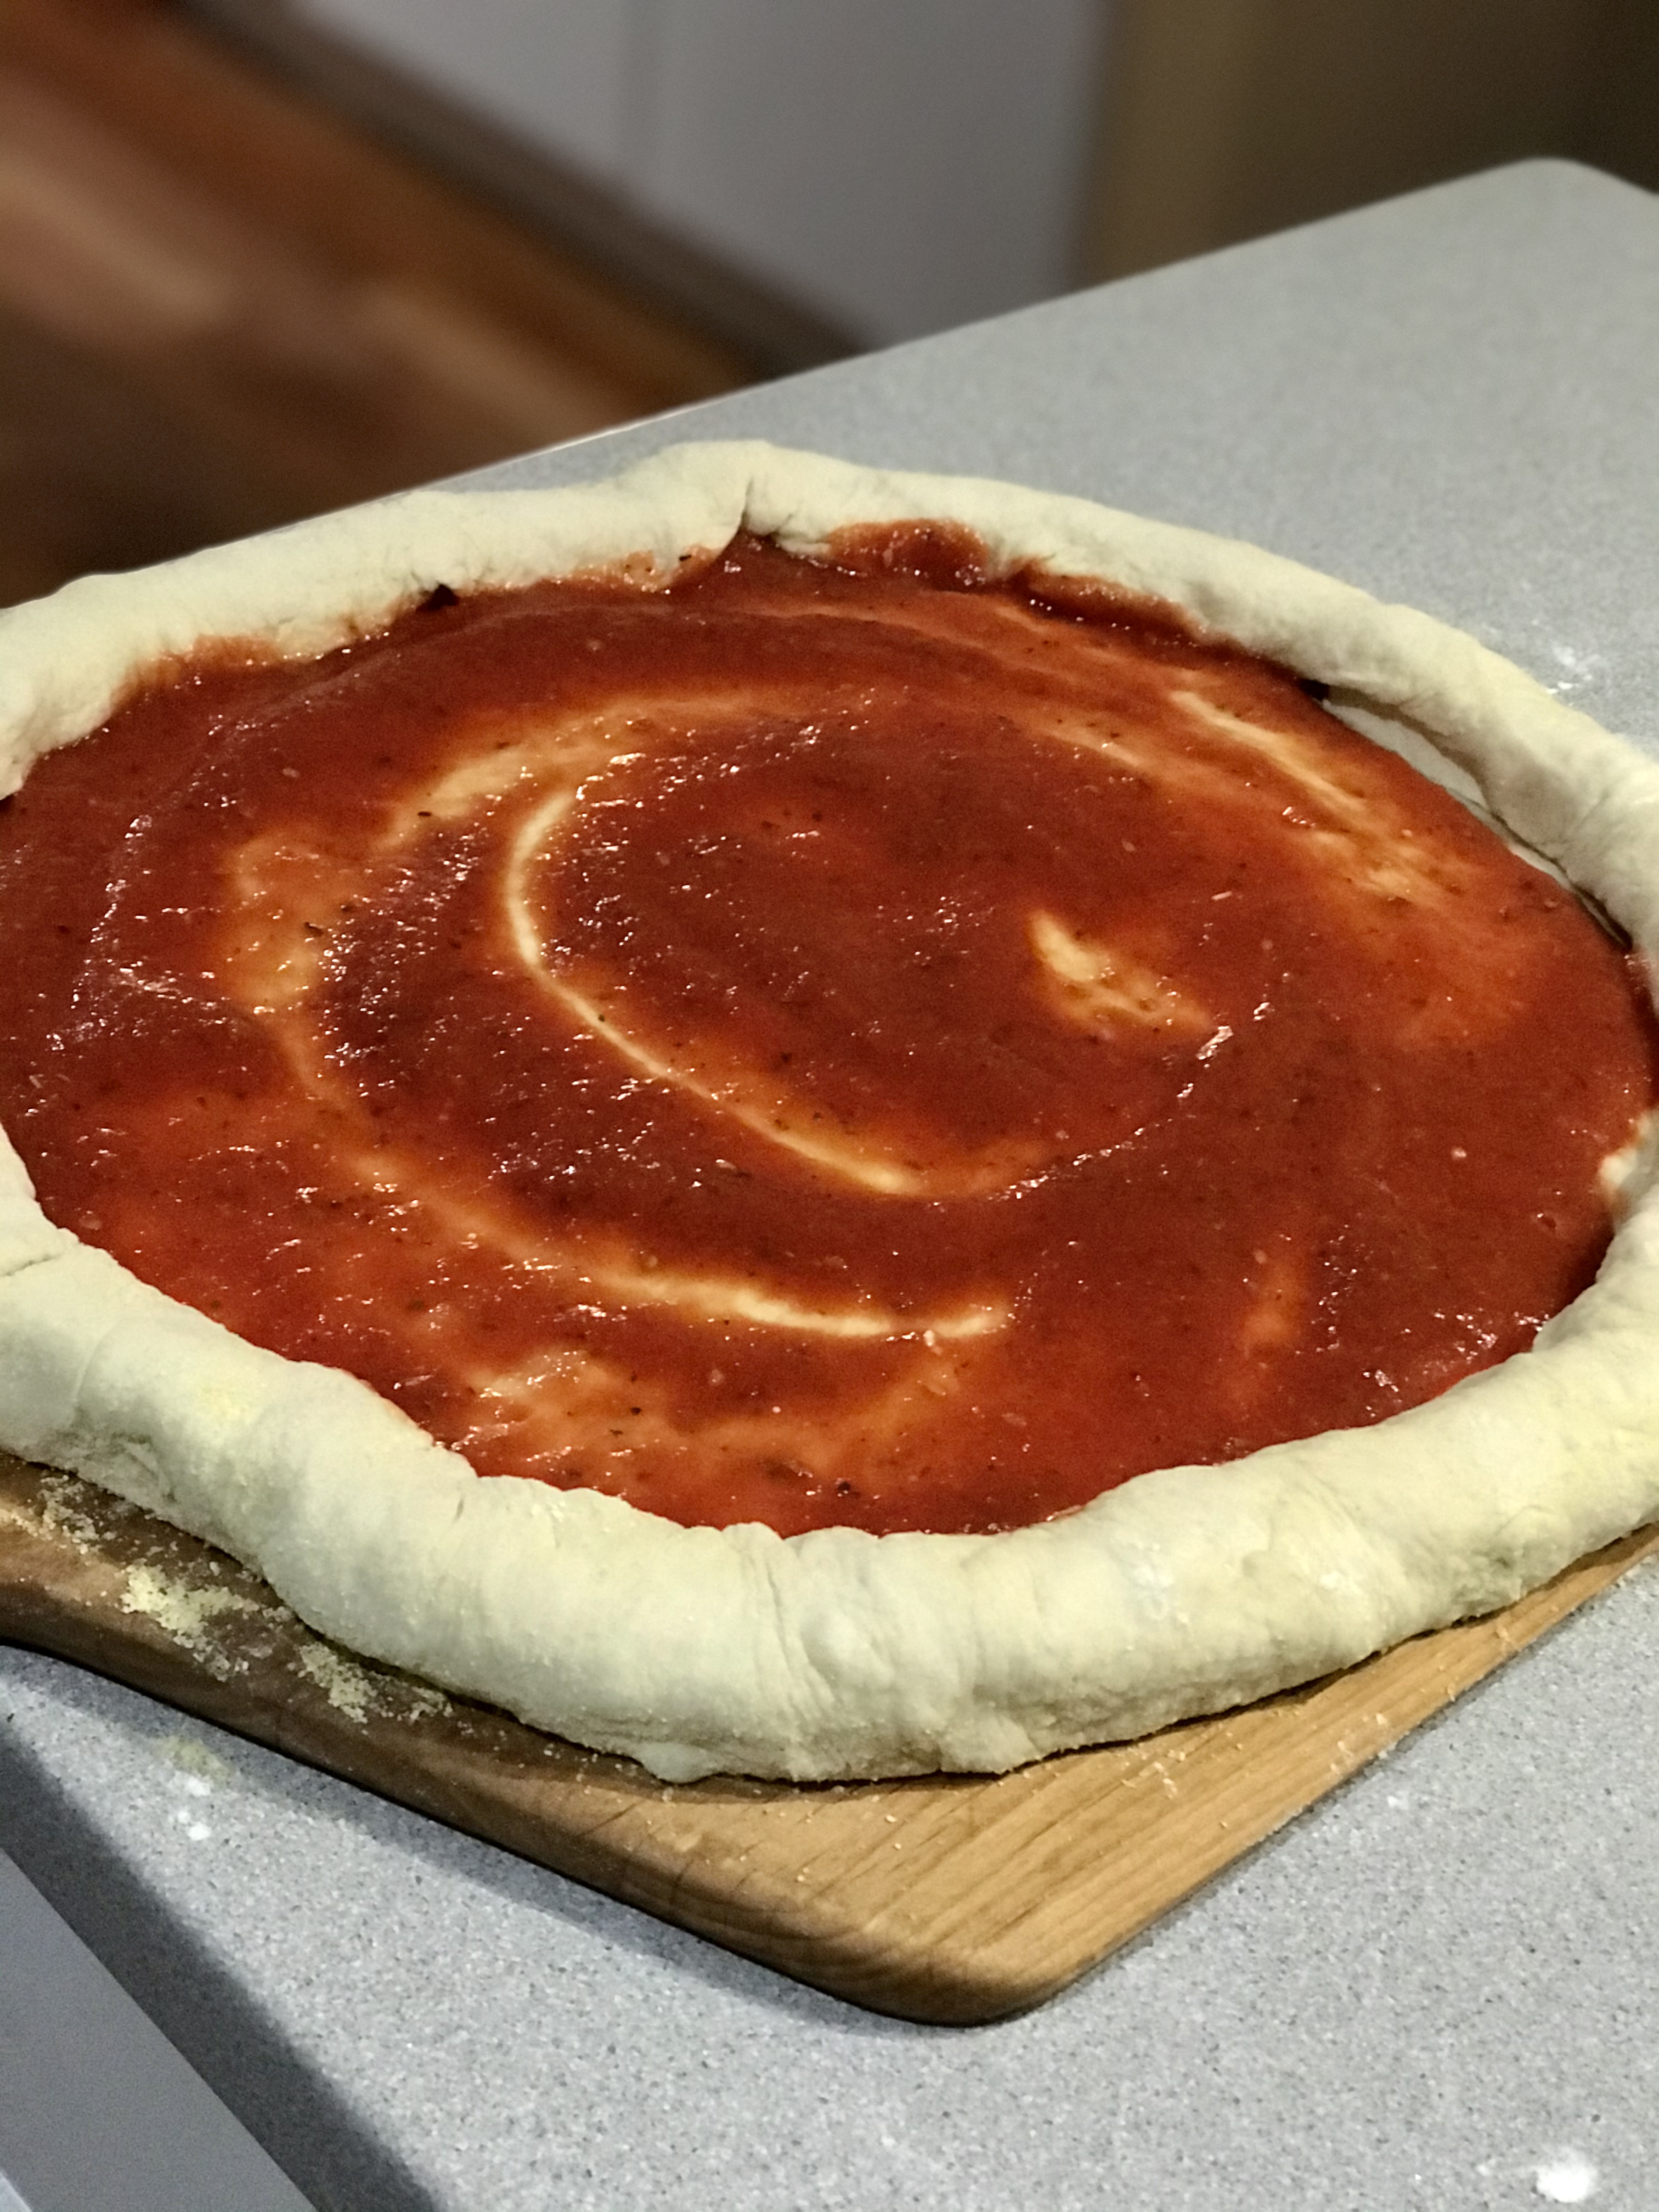
Now fold the dough over the mozzarella sticks. You might need a touch of water to make the dough stick to itself.
Now make your pizza like you normally would. Sauce it…
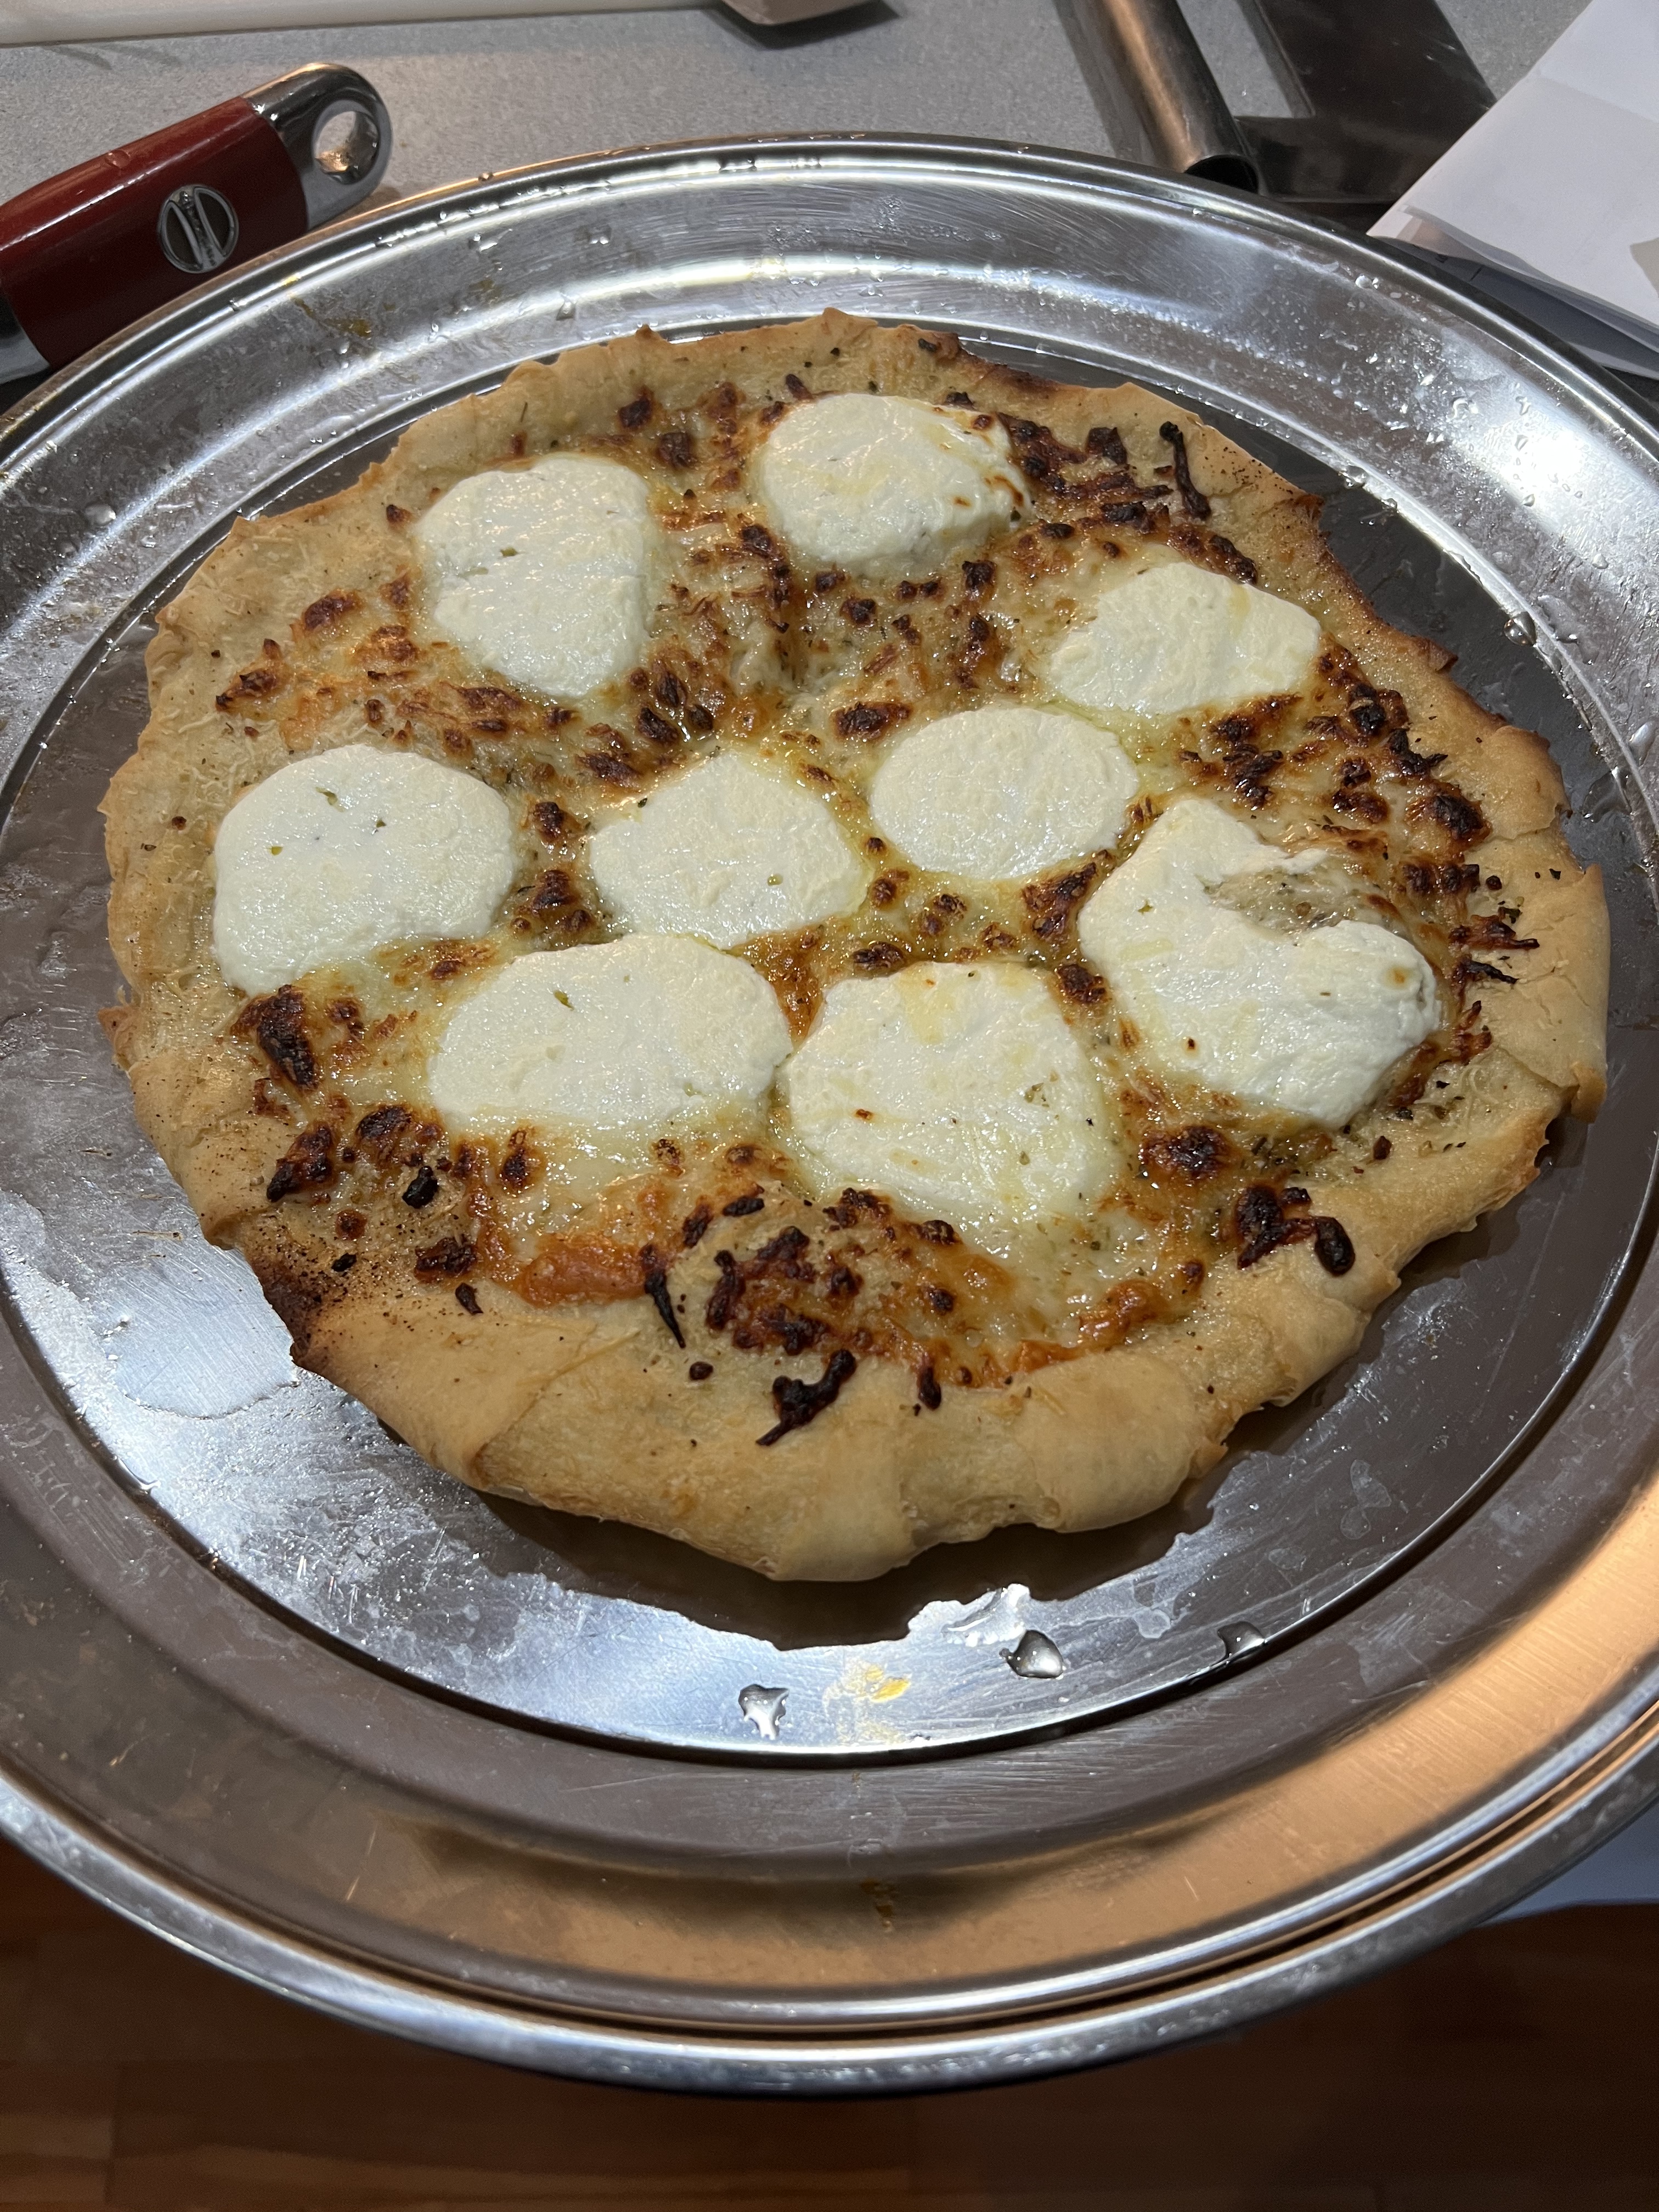
Cheese it…

Add toppings…

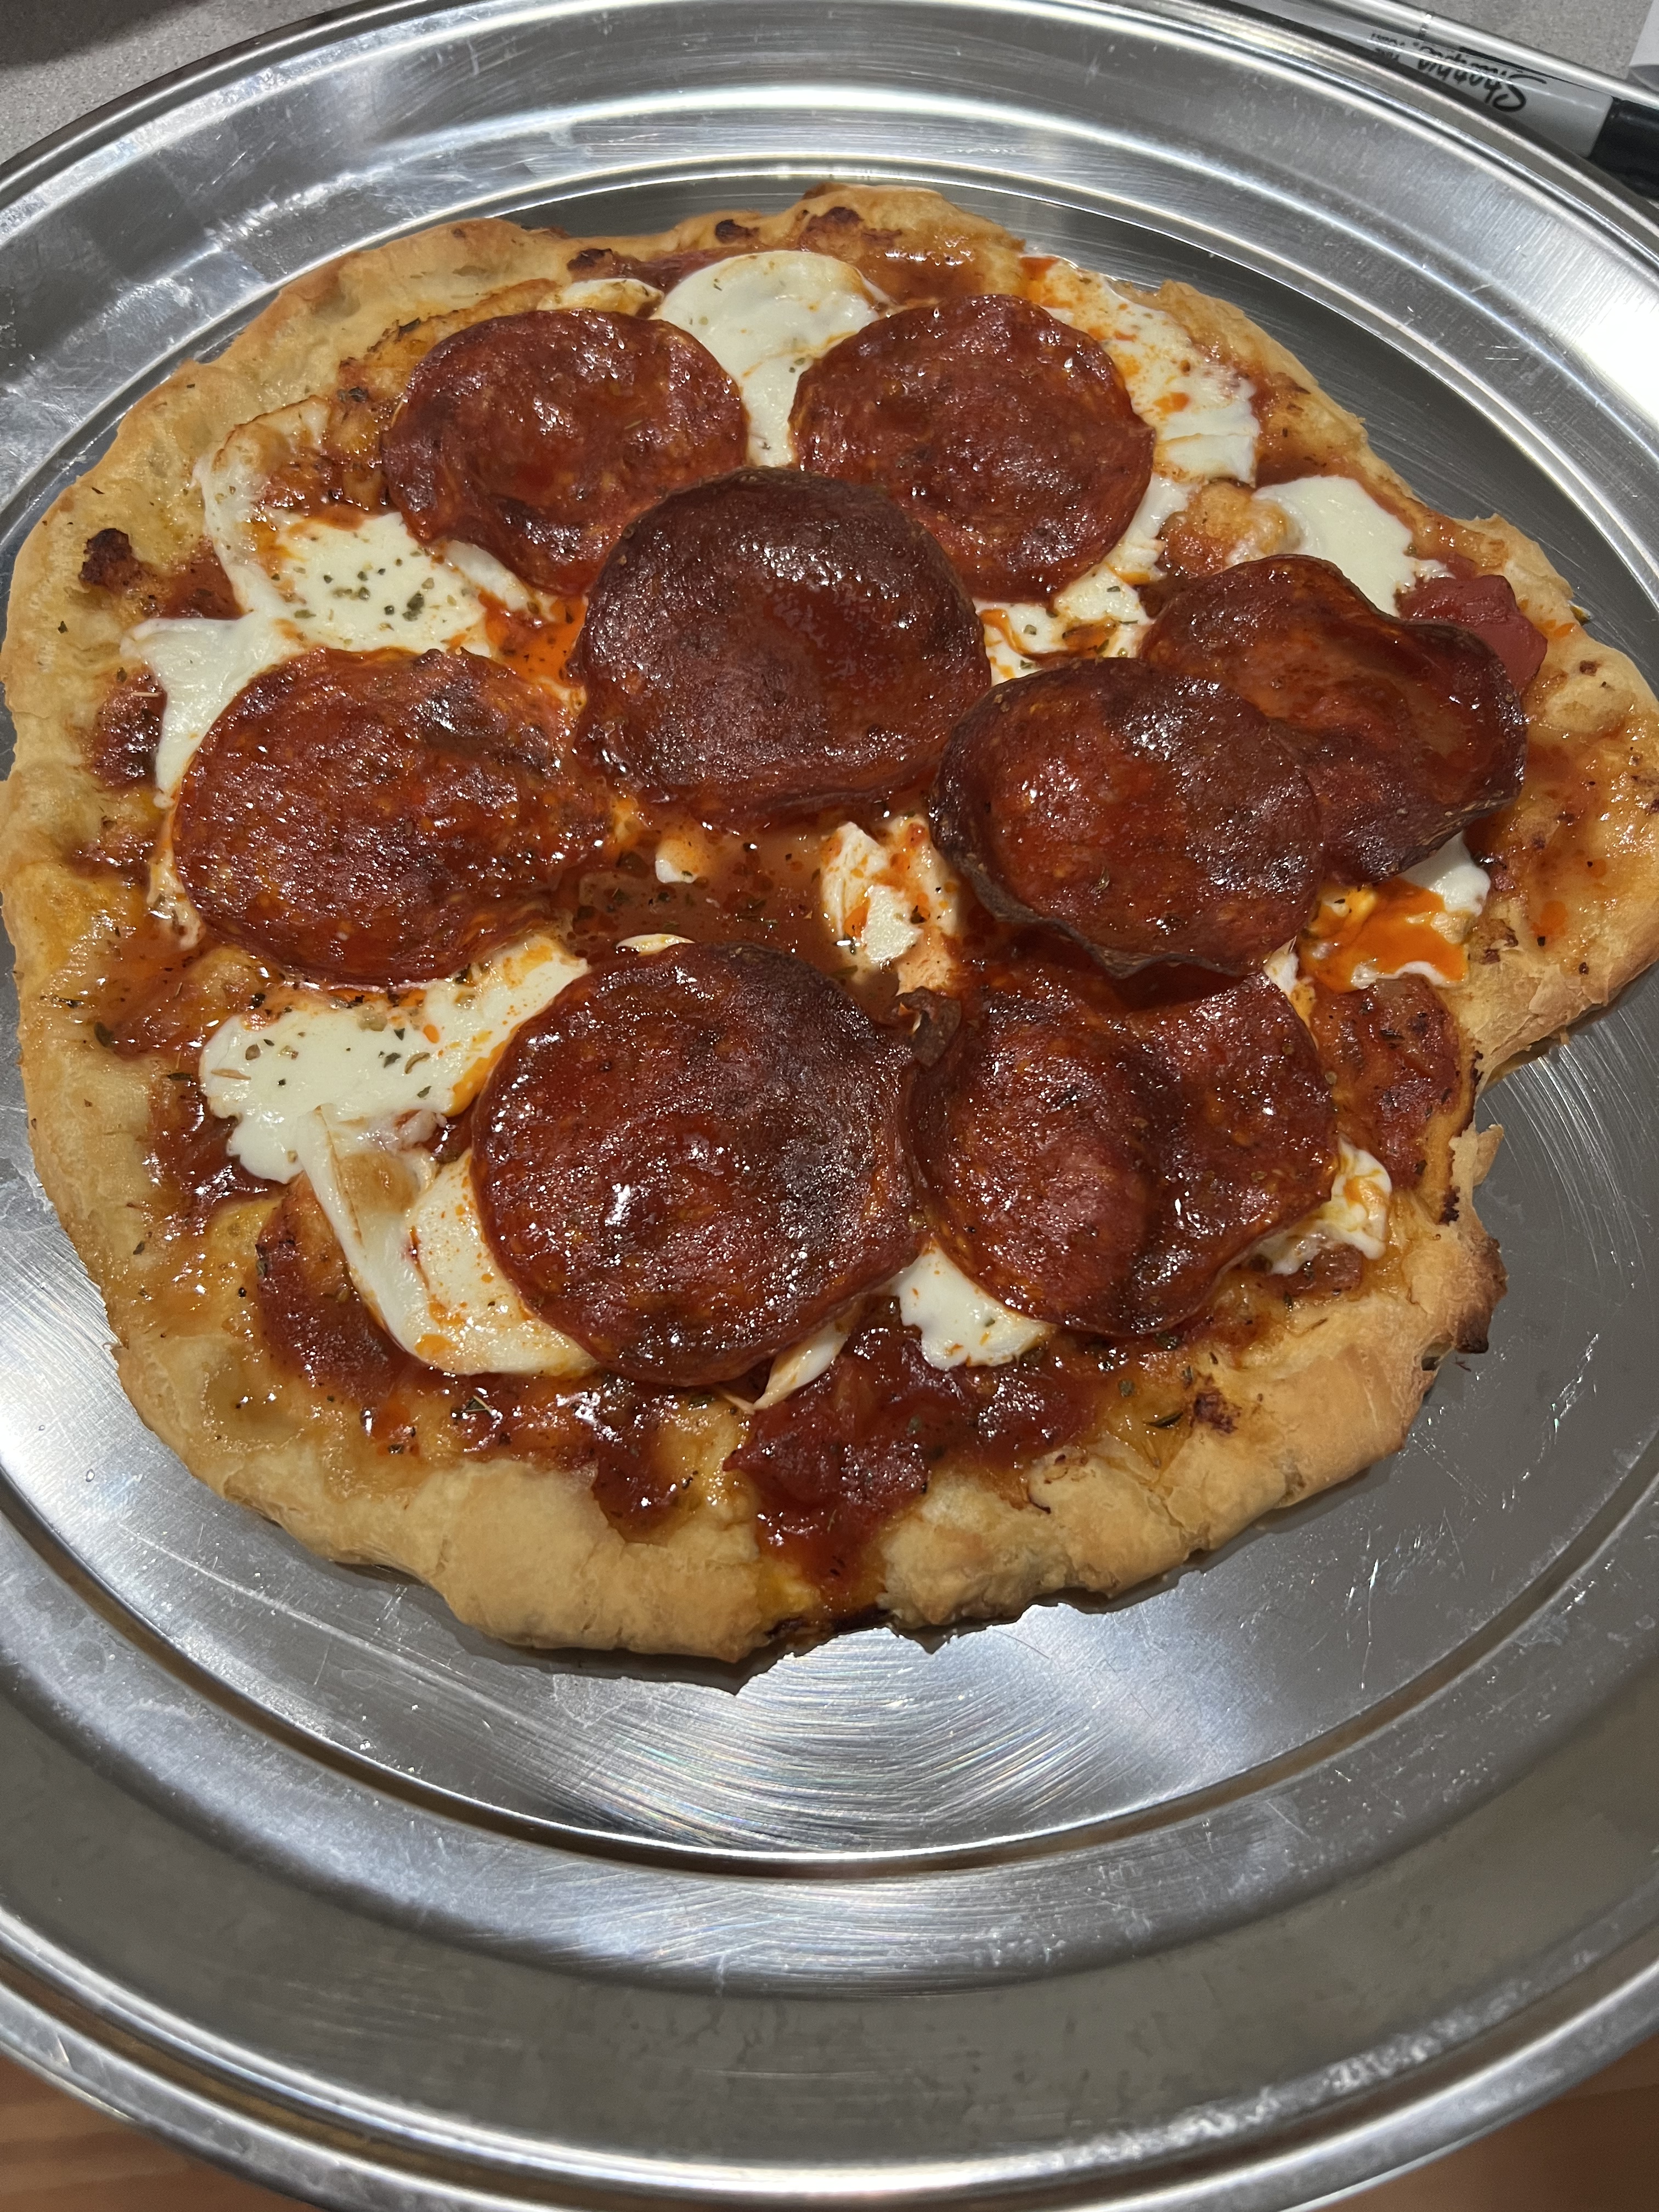
And bake!

You can never have too much cheese!
If you want to make your own pizza dough, here’s my recipe…
The key ingredient is 00 flour, and it can be found in specialty stores, or online. Ratios for this recipe depend on the humidity in my kitchen on any given day.
4–5 cups 00 flour
1 cup tepid water (100 to 110 degrees)
1 tablespoon salt
1 tablespoon active dry yeast
a squirt of extra virgin olive oil
I mix all the dry ingredients in the bowl of a stand mixer, then slowly add the water as it mixes. After the ingredients are well mixed, and the dough pulls from the side of the bowl, I remove it to a floured board, where I knead the dough by hand for another 5 minutes, until it is smooth and elastic, shaping it into a ball. I rub a little olive oil over the ball of dough, place it in a bowl covered with plastic wrap or a clean towel, and let it rise at room temp for 2 hours, punching it down after that. I roll it back into a ball again, and let it rise, covered, for at least another hour.