PULLED PORK ARONCINI

Posted: September 15, 2023 in Uncategorized

I was minding my own business, watching an episode of “Diners, Drive-Ins and Dives” on Food Network. Guy Fieri went from a barbecue joint to an Italian restaurant. Pulled pork at the BBQ place, arancini at the Italian. Then it hit me….

It just so happened that I had slow-roasted a pork shoulder that day. It just so happened that I had an opened box of Arborio rice I wanted to use up. It just so happened that I had several containers of homemade chicken stock in the freezer, an open bottle of white wine in the fridge, already opened packages of mozzarella and Parmigiano Reggiano, and a small container of ricotta. And I just made a batch of tomato sauce from my garden tomatoes.

I mean, come on! This recipe practically wrote itself!

First, I made the risotto. There were 3 cups of Arborio rice left in the package, so I used it all up…

2 tablespoons olive oil
3 cups Arborio rice
2/3 cup dry white wine
10 cups (or so) homemade chicken broth
1/2 cup grated Parmigiano Reggiano

I brought the chicken broth to a low simmer in a saucepan.

In a large skillet, I warmed the olive oil and rice over medium heat for a few minutes.
I added the wine and sautéed for another minute or two, until it had been absorbed.
I added the hot broth to the rice about a half-cup at a time, stirring until the broth absorbed completely each time before doing more.

I continued adding the broth a half-cup at a time and stirring until it was fully absorbed and the rice was Al dente and creamy, not mushy. This usually takes about 20 minutes…and you don’t always have to use up all the broth.

I removed the pan from the heat, and stirred in the Parmigiano Reggiano.
I set it aside and let it cool.

In a saucepan, I warmed the tomato sauce up.

Meanwhile, I chopped the mozzarella up into small cubes, a little bigger than a 1/4″ square.

I took the pork out of the fridge, and finely chopped up about a pound of it. I didn’t know if I would need that much, but it was a good start. I added about a 1/2 cup of ricotta cheese to it, mixing well, making it into a paste.
Using a scoop, I made small meatballs out of the pork mixture, pushing a cube of mozzarella into each one before rolling it into a little meatball.

Then, scooping up some of the cooled risotto with my hands, I molded it around the meatball, forming a larger rice ball, setting aside on a tray.

I used plain gluten-free breadcrumbs in this recipe to keep it GF, but regular breadcrumbs are just fine. I like to make my own breadcrumbs by toasting GF bread and then putting it in a food processor. This gets it to a crumbly stage. If I want it fine, I move the breadcrumbs to a blender to grind it down to almost a powder, first adding oregano, parsley, basil, salt, pepper, granulated garlic and granulated onion, then blening well.

With the oil in my fryer hot and ready to go at 350 degrees, I roll each rice ball in the egg, and then the seasoned breadcrumbs.

Then I place them gently in the fryer, being careful not to overcrowd them.

I fry them until they’re golden brown.

I place the fried arancini on a wire rack to cool, sprinkling them with sea salt while they’re still hot.

I don’t have the patience to boil Mason jars and lids and all that. But I love me my pickles, especially when this year’s garden cranked out cucumbers in record numbers!

This is such an easy way to make great pickles, it’s almost unbelievable…and no water is needed! The salt extracts just enough moisture, like when curing meat, to make it work. This method works great if you want fresh pickles to eat immediately, but if you want to keep them for longer periods of time, you’ll have to go back to the old tried-and-true methods.

Fortunately for me, I devour these pickles as soon as they’re ready!

I originally used a plastic bag for this, but a plastic container also works well. Use what you have.

pickles

fresh cucumbers
sea salt or Kosher salt
a handful of fresh dill
a couple of cloves of garlic, thinly sliced

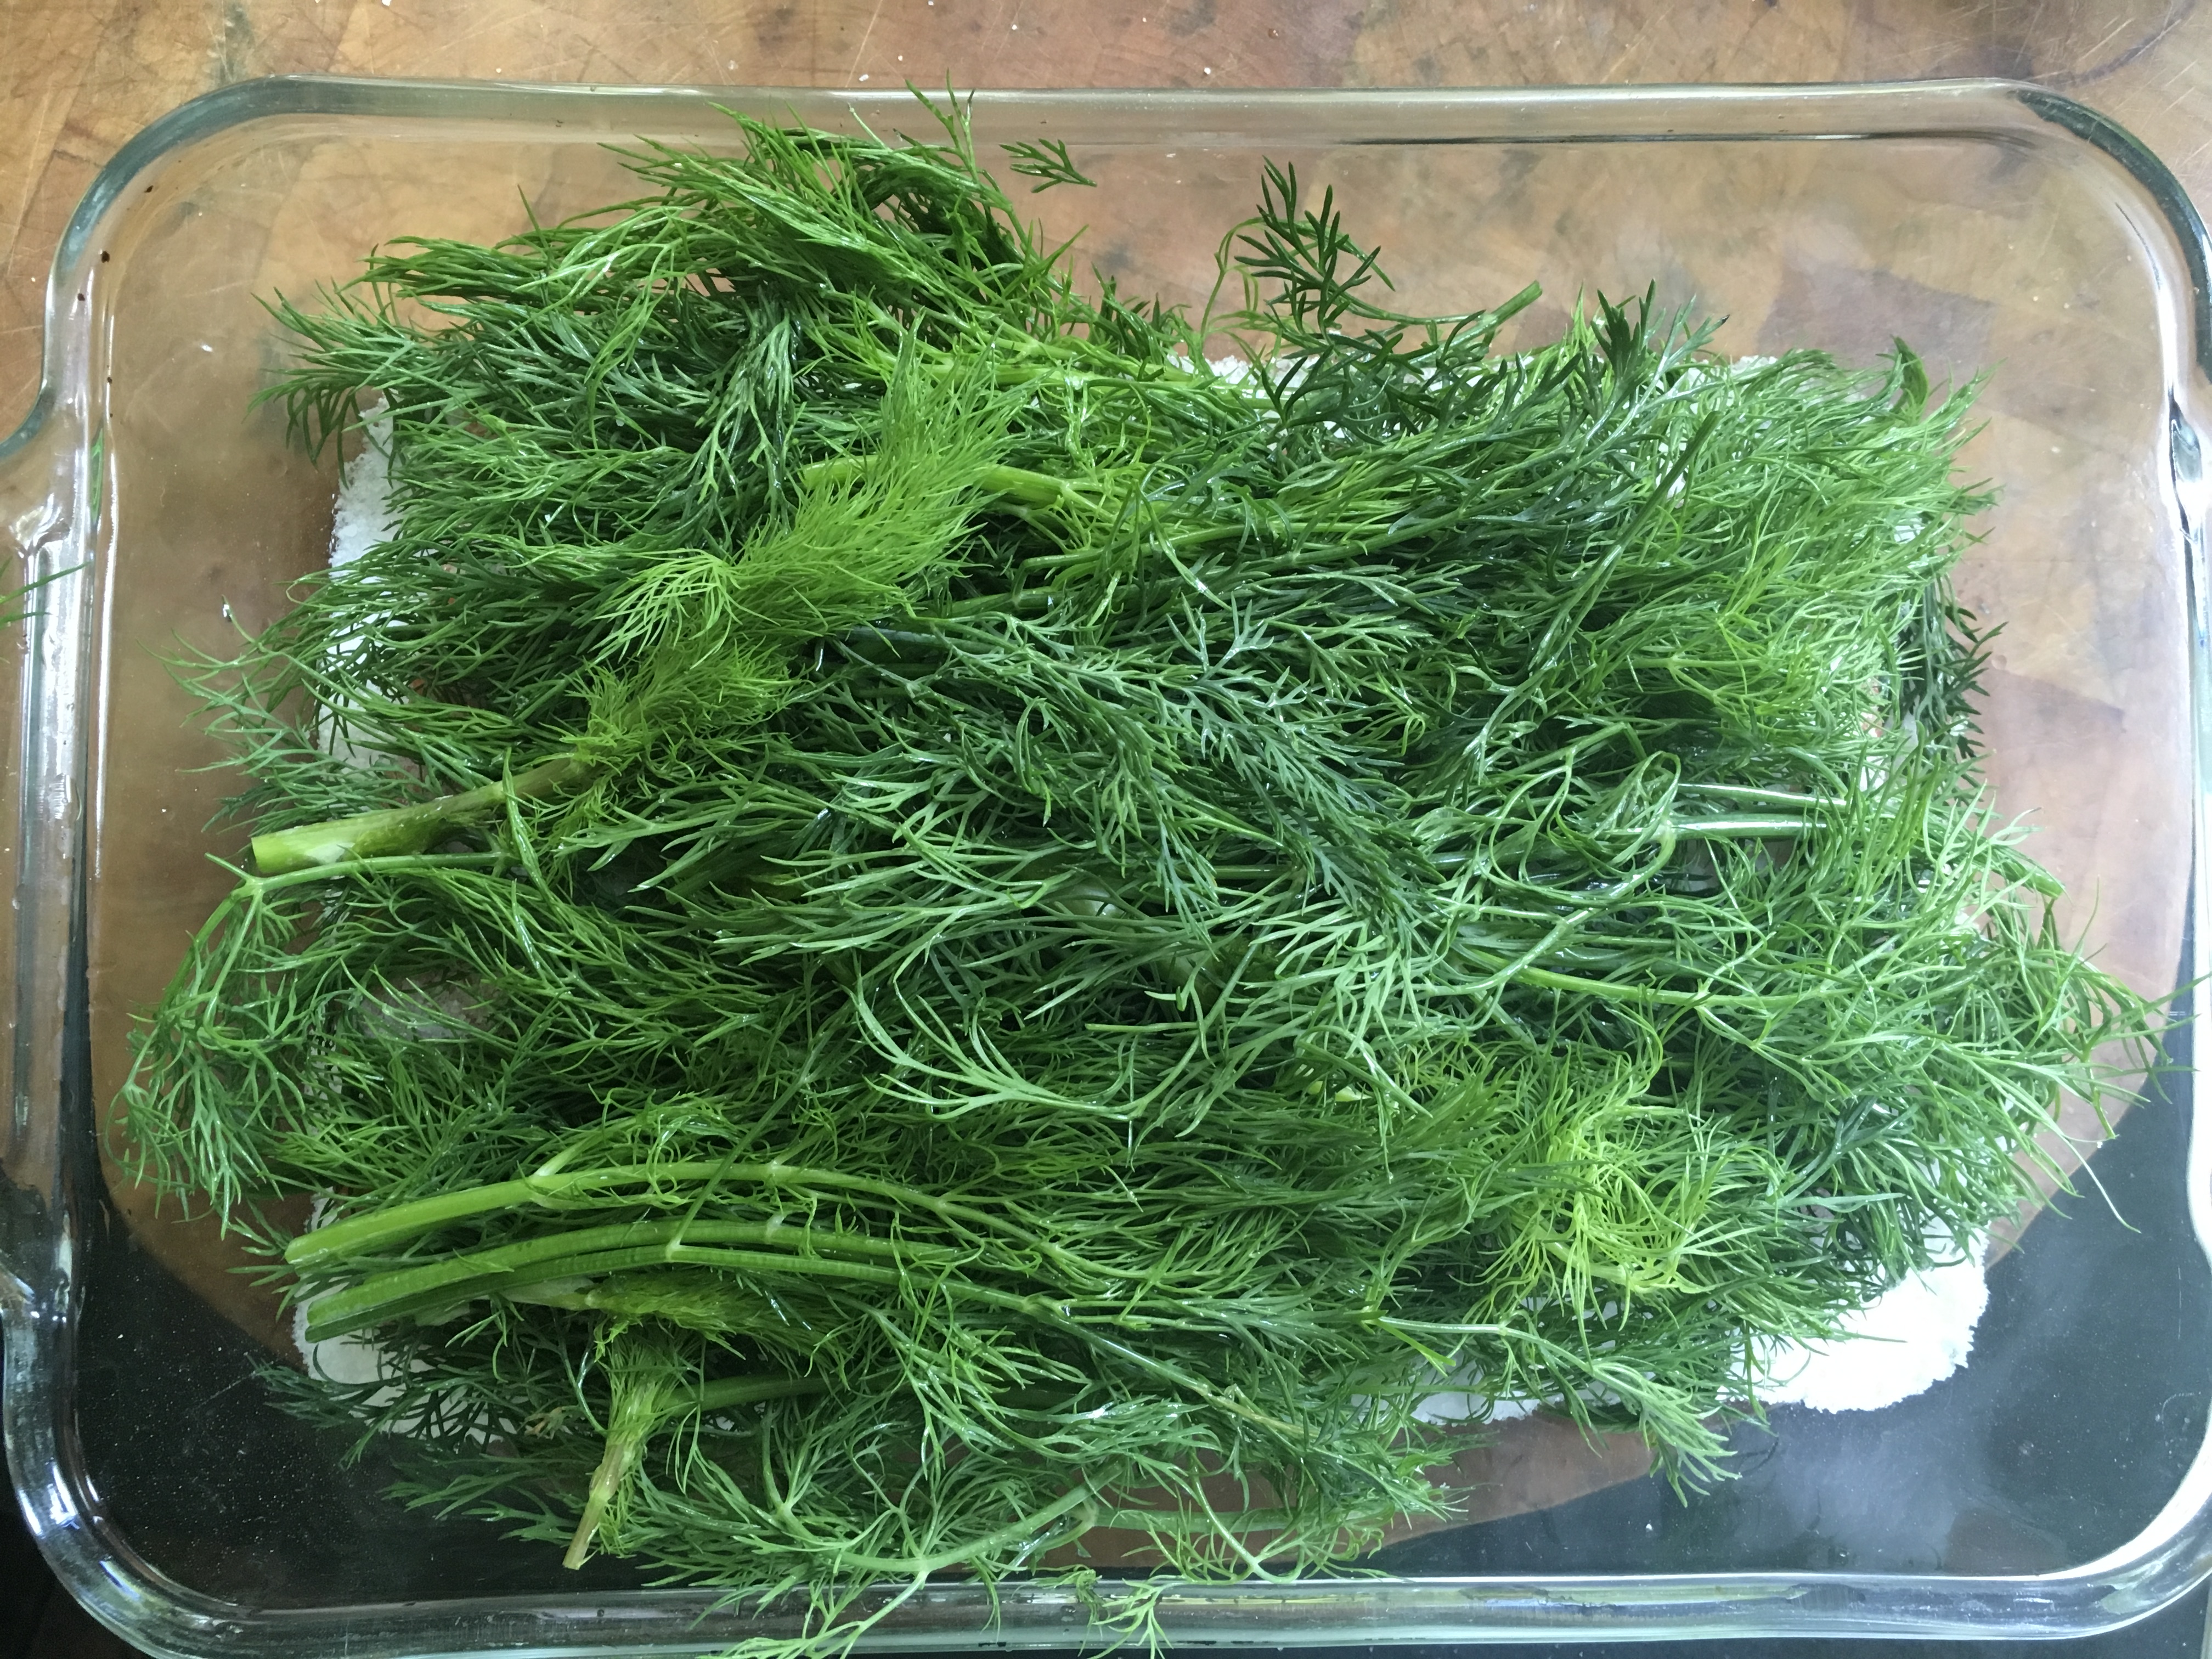
Cut the ends off the cucumbers and then slice them lengthwise, in half or in quarters. Lay them neatly next to each other in one layer in a container, or on a piece of plastic wrap, skin-side down. Sprinkle the salt over the cucumbers. Sprinkle some of the chopped garlic on top. Then, tear off some fresh dill and lay it to cover the pickles.

If using a container, you should be able to get a second row of pickles on top of the first, again sprinkling with the salt, garlic, and topping with dill.

Placing the lid on the container, squeeze out as much air out of the container as you can.

If using plastic wrap, roll it up tightly and place it inside a Ziploc bag, and seal it.
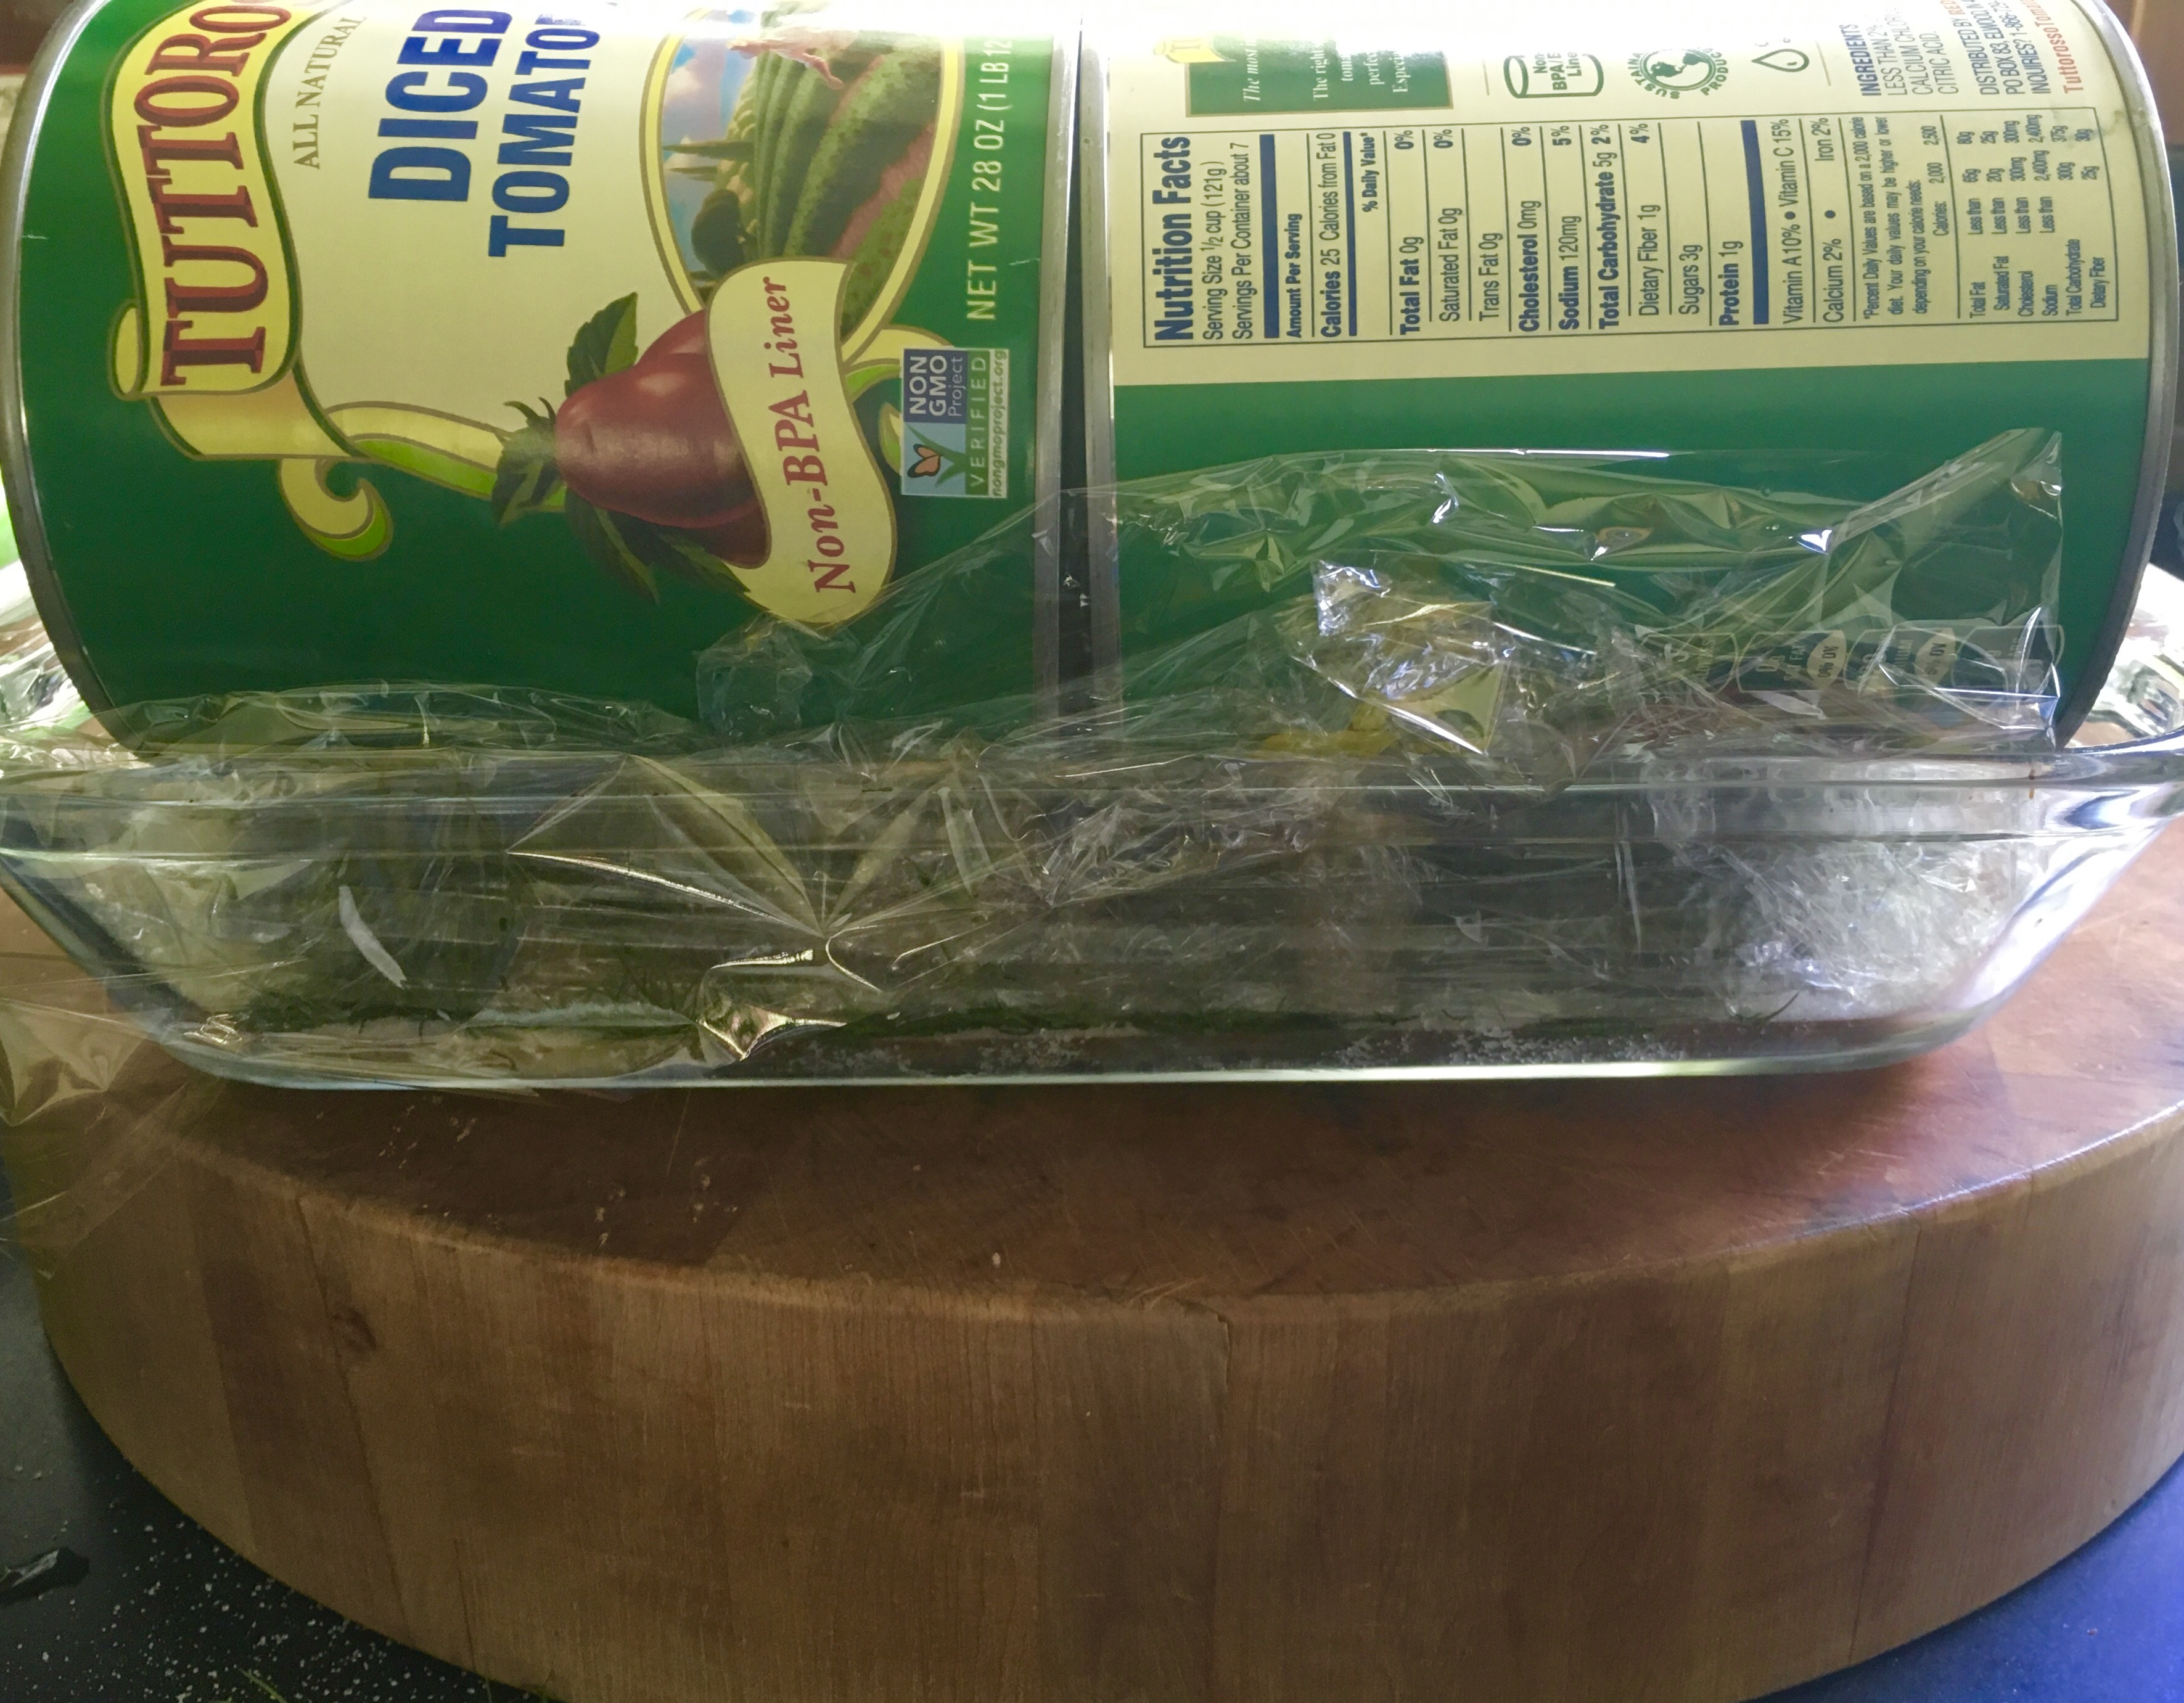
Put the container or bag  in the fridge overnight. Making sure the lid is tightly sealed on the container, flip it over every few hours. (I always put a plate underneath it when it’s upside down in case it leaks a little.) 

The plastic wrapped pickles don’t need to be flipped.

The pickles will be ready to eat the next day, but they’re even better after 48 hours.

SPICY SOY TUNA BITES

Posted: September 10, 2023 in Food, seafood, spicy, taco, tuna
Tags: , , , , , ,

I’ve served this to visiting friends often, and received many requests for the recipe. It requires a bit of setting up, but you can put it together right before serving to your guests…or yourself.

I use sushi-grade tuna for this dish, which is easily found online. It comes in 4-ounce packages, which is the perfect size for a single recipe. I buy them in quantity (it’s cheaper that way), and keep them in the freezer. You can also find tuna in small frozen “bricks” at Whole Foods or similar higher-end supermarkets. They might even have some fresh, in season.

It’s important you know where your tuna comes from, and if it was handled properly. If you go to a reputable seafood market, that shouldn’t be a problem.

If you’re concerned about parasites in raw fish, buying the bricks that have been in the deep-freeze is the way to go. And when it comes to mercury, the smaller the fish, the better. So if this is a concern, opt for ahi (also called yellowfin) tuna.

The topping…
¼ cup sour cream
1 tablespoon fresh squeezed lime juice
The marinade…
6 tablespoons soy sauce
1/2 teaspoon chili garlic sauce
Other Ingredients…
½ lb. sushi grade raw tuna, chopped into ¼-inch cubes
Tortilla chips, regular or the little bowls
Finely chopped scallions

Combine the topping ingredients in a bowl, and place it in the fridge.

Mix the marinade ingredients in a separate bowl and set it aside.

Chop the tuna into ¼-inch cubes, and if it looks wet, place it on some paper towels to absorb the excess moisture. (It can release quite a bit of moisture if it was frozen…you don’t want it watery before you marinate it.)

Marinate the tuna in the soy/chili garlic mix for just 10 minutes, then pour off the excess. (It will be really salty if you let marinate any longer.) Keep it in the fridge as well.

Finely chop the scallions.

Just before serving, take a tortilla chip or little bowl, place 1 tablespoon of the tuna on top, top this with ½ teaspoon of the sour cream mixture, and then garnish it with the finely chopped scallions.

Serve them immediately, and eat these quickly, before the tuna makes the tortilla soggy!

Now’s the time to head to your local farm stand and pick up a bag of gorgeous plum tomatoes, before the season is gone! And this is what you do with them…

These are not sun-dried tomatoes. They’re better, because fresh plum tomatoes are still moist after roasting, with a bit of that magic tomato liquid in every cup! A great, simple platter to offer at parties.

Tomatoes before

Tomatoes before.

12 to 18 halved, seeded plum tomatoes
1/4 cup extra virgin olive oil
2 tablespoons organic cane sugar
Freshly ground pepper
Fleur de Sel or sea salt

Pre-heat the oven to 250.

Line a baking sheet with foil and rub it lightly with olive oil.

Arrange halved and seeded tomatoes on it in a single layer, cut side up. Drizzle evenly with 1/4 cup olive oil, sprinkle with 2 tablespoons sugar, and season with pepper to taste.

Bake the tomatoes until they are still juicy but slightly wrinkled, about 3 hours. Transfer them to a platter and let them cool slightly.

Just before serving, sprinkle the tomatoes with Fleur de Sel, and garnish if you like, with chopped parsley leaves, mint leaves, or basil. (Bacon bits sound pretty good, too!)


Tomatoes after

Tomatoes after!

FRIED GREEN TOMATOES

Posted: September 6, 2023 in Uncategorized

I don’t know why it took me so long to try this recipe. But this year, perhaps with a late start due to a cold spring, my tomato plants didn’t start forming fruits until much later in the season. And so, I still had a lot of green tomatoes on the vine as the summer came to an end. Fried green tomatoes were the tasty solution to the problem.

It’s a really simple process of slicing the tomatoes, seasoning them with salt and pepper, dusting them with flour, dipping them in egg, and then rolling them in some flavored breadcrumbs before frying.

Good news for those that need it all gluten-free! It can happen if you follow my instructions below.

Green tomatoes, sliced
Salt and pepper
All-purpose flour (I use Bob’s Red Mill 1-to-1 Gluten-Free Baking Flour)
2 eggs, beaten
Seasoned breadcrumbs (I make them gluten-free…see below)

At first, I sliced my tomatoes at about 1/4″ thick, but I found that if I could make them just a bit thinner, they would come out even crispier.

I placed the tomatoes on a cutting board, and seasoned them with the salt and pepper.

I then set up my 3 bowls for adding the breading. In the first bowl, the all-purpose flour. (I like using the Bob’s Red Mill 1-to-1 Gluten-Free Baking Flour because it’s mostly rice flour and it makes the coating lighter.)

In the second bowl, I whisk a couple of eggs.

In the third bowl, I place my seasoned breadcrumbs. (You can buy Italian seasoned breadcrumbs, but I make my own by toasting a loaf of Udi GF bread, tossing the pieces into a blender to mill them down to a powder. I add oregano, basil, parsley, salt and pepper, granulated garlic and granulated onion, then whiz the blender for just a few seconds to combine everything. I place this in the third bowl.)

Then it’s time to do the one-handed method of dipping the tomato slices one-by-one into the egg, then dropping it into the breadcrumbs, where the other hand takes over to cover the tomato with a light layer of breadcrumb. Do the same for all the tomatoes.

Fry the tomatoes at 350 in an oil with a high smoke point, like grapeseed oil or avocado oil, until golden.

Place the tomato slices on a wire rack to cool, seasoning them immediately out of the fryer with some sea salt.

I’m not a jealous guy….usually. But when I saw my friends post that they’re on their way to one of my favorite islands in the world, St. John in the USVI, I wanted to just drop everything and join them.

I’ve been to St. John at least 7 times, whether solo, or with family and friends, and I always had a dream of retiring there…that is, until Hurricane Irma devastated the island almost to the day 6 years ago. (September 6, 2017) It changed St. John forever, and I haven’t been back since before that catastrophic event. I am long overdue.

I thought about the many trips I’ve taken there, and the mandatory catamaran trip we took to sip Painkillers at my all-time favorite beach bar, the Soggy Dollar on the island of Jost Van Dyke in the British Virgin Islands.

The Painkiller is one of the tastiest rum drinks you can make, and one that certainly brings you back to the Caribbean. And it was invented at the Soggy Dollar. Located on White Bay, a stretch of the whitest most beautiful sand in the Caribbean, surrounded by sparkling turquoise waters, there is no dock. You have to anchor your boat offshore and swim…hence the name: the Soggy Dollar.

Daphne Henderson was the owner of the Soggy Dollar years ago, and she is credited for inventing the Painkiller, which used Pusser’s rum, a British rum that is readily available here in the United States. Charles Tobias, a businessman that received permission from the British Royal Navy to commercialize Pusser’s rum in 1980, tasted the Painkiller and realized the potential of this amazing drink. He took some Painkillers home to the island of Tortola, where he experimented in recreating that drink, coming up with what he thought was something that was as good as—if not better than—the original. He called it the Pusser’s Painkiller.

Tobias never found out what Daphne Henderson’s original recipe was, but when he brought his own Pusser’s Painkillers back to the Soggy Dollar, and had a tasting battle between the two recipes, legend has it that his recipe won 10 out of 10 times. With Pusser’s bars and restaurants in the Caribbean and more in the states, Tobias quickly made the Pusser’s Painkiller the signature drink of these now-famous establishments…and perhaps the most popular drink among the sailing community in the US, Caribbean and West Indies.

The drink itself is simple…

PUSSER’S PAINKILLER
4 parts pineapple juice
1 part cream of coconut
1 part orange juice

Combine these 3 ingredients, with lots of fresh grated nutmeg in a glass with ice. How much Pusser’s rum you use depends on how hammered you want to get! A Pusser’s #2 uses 2 parts rum…a Pusser’s #3 uses 3 parts rum…and a Pusser’s #4 uses 4 parts rum!

I’ve had several Pusser’s #4’s back when there was a Pusser’s bar on St. John many years ago. I’ve also sampled them in the BVI at the Pusser’s locations on Tortola.  But I still prefer going back to Jost Van Dyke and knocking back a few at the place where the Painkiller was born, the greatest beach bar on planet Earth: the Soggy Dollar Bar.

Sailing away many years ago…

A short time ago, there was an article that posted what they claimed was the original recipe of the Painkiller from the Soggy Dollar. It seems the only difference between the original and the Pusser’s version was the ratio of pineapple to orange juice. That’s just a personal preference.

Recently, the Soggy Dollar folks upped the game by putting their name on a line of rum. I just saw it in the store the other day, and have not yet had a chance to try it.

Whether you use this rum, Pusser’s, or whatever your favorite rum is, fact is, the best Painkiller is the one in your hand!

I didn’t mean to cheat…honest. But I wasn’t thinking when I bought my corn in the supermarket, and I bought ears that were already shucked. Classically, Mexican street corn is made by throwing unshucked ears of corn on the grill to cook them. So I improvised.


I took the shucked ears of corn, placed them in a pot of cold water, and brought it to a boil. I boiled the corn for just 2 minutes, removing them from the water at that point.


I placed the ears of corn on the grill, and watched over them carefully, rolling them back and forth so that they would have a nice char on them but wouldn’t burn. When I liked the color of the corn, I brought the ears inside and added the remaining ingredients, which can be prepared ahead of time.


1/2 cup mayonnaise
1/2 cup sour cream
juice of 1 lime
1/2 teaspoon granulated garlic

Combine these ingredients in a bowl and place it in the fridge until it’s ready to use.

Cotija cheese, crumbled
Tony Chachere’s Creole Seasoning
Fresh cilantro, finely chopped


Once the corn comes off the grill, brush on the mayo/sour cream mixture all over the corn. Traditionally, chili powder is sprinkled on, but I prefer the Tony Chachere’s. Sprinkle the cotija cheese on top, and garnish with a little cilantro.

A favorite.

The definition of a consomme is: “a clear soup made with concentrated stock.” I might add “mind-blowing” to that sentence, especially with this recipe. The key to success– and this is crucial–is to use absolutely garden-fresh, in-season ingredients. If you try this with greenhouse or supermarket tomatoes, you’re just wasting your time.


FullSizeRender (9)

4 1/2 lbs. of fresh garden tomatoes (my favorite is the heirloom: Brandywine)
1 large bunch of fresh basil, leaves and stems
1 2-inch piece of fresh horseradish, peeled
1 clove of garlic, peeled
1 tablespoon white wine vinegar (I use Alessi)
2 oz. vodka (I use Tito’s)
sea salt and pepper

Remove the core of the tomatoes, but leave everything else, including seeds and skin.

Put all the tomatoes, basil, horseradish, garlic, vinegar and vodka in a blender or food processor. You might need to do this in batches if your equipment can’t handle it all.

Process until you get a kind of slush.

Line a mixing bowl with a double layer of cheesecloth and pour the tomato slush mixture into it. Gather up the corners of the cheesecloth carefully, and tie them securely so you can lift the bundle up by the knot. Hang the bundle from a hook over a clean bowl in the fridge so that it catches the liquid that drips out, and leave the whole thing in there overnight. The liquid that drips out will be clear.


Cheesecloth bundle dripping overnight in the fridge.

Cheesecloth bundle dripping overnight in the fridge.


To serve, chill bowls (or in this case: the sipping glasses) in the fridge. When you’re ready to serve, ladle out the consomme and garnish each with a tiny basil leaf. A drop of excellent quality olive oil is optional.


Synthetic cheesecloth apparatus. The real thing works better.

Synthetic cheesecloth apparatus. The real thing works better.


I tried using a synthetic cheesecloth for this recipe, and I found that it doesn’t filter out enough of the solids to make a clear consomme. You could use it along with real cheesecloth, just to use the stand, or just hang it all in real cheesecloth, as described in this recipe.

I’m always looking for a new way to enjoy chicken, and I found a chicken wing recipe that sounded pretty good…but it needed a few special tweaks to make it my own.


Sweet, a bit spicy, and incredibly delicious, you can’t stop eating these wings once you get started!

My next project will be to cut up a whole chicken and use this amazing glaze on an entire bird!

3 lbs. chicken wings
1/2 cup ketchup
1/2 cup unseasoned rice vinegar
1/4 cup soy sauce
2 tablespoons honey
1 tablespoon Chinese chili garlic sauce
salt and pepper
chopped scallions
white sesame seeds
chopped cilantro (optional)


To make the glaze, combine the ketchup, rice vinegar, soy sauce, honey, and chili garlic sauce in a sauce pan. Simmer it over medium heat, reducing the sauce by half. Set it aside.

Pre-heat the oven to 350 degrees.

Season the chicken wings with oil, salt and pepper. Spread them out on a sheet pan lined with non-stick foil and bake them until done, about 30 minutes.

Remove the chicken from the sheet pan and place them in a large bowl. Raise the oven temperature to 400. Pour off any fat or liquid from the sheet pan and discard it.


Add the glaze to the bowl with the chicken and toss the wings in it until they are really nicely coated. Then return the wings to the sheet pan.


Bake for another 5 to 10 minutes, until you just start seeing a little char on the edges of the wings.


Plate the wings and top them with the scallions, sesame seeds, and cilantro.


MAPLE CORN BREAD

Posted: August 23, 2023 in Uncategorized

I’ve been substituting maple syrup for honey in a variety of recipes lately, and I found that I prefer it. Doesn’t matter if it’s in a barbecue sauce, a marinade, or, in this case, cornbread. Pure maple syrup just makes the recipe better!


1 cup yellow corn meal
1 cup all-purpose flour (gluten-free flour works great, too)
1/2 cup sugar
1 tablespoon baking powder
1 teaspoon salt
1 cup milk
2 large eggs, beaten
1/2 stick unsalted butter, melted
1/4 teaspoon vanilla extract
1/4 cup real maple syrup

Preheat the oven to 400 degrees.

In a bowl, combine the corn meal, flour, sugar, baking powder and salt. Mix them together well.

In a separate bowl, combine the milk, eggs, butter, vanilla and maple syrup.

Add the wet ingredients to the dry, and stir them together until they’re just blended. Don’t overmix.

Grease an 8 x 8 pan with oil (I used avocado oil), and pour the batter into it.

Bake for 25 to 30 minutes, until golden brown.

To make this corn bread gluten-free, simply substitute a GF flour for the all-purpose flour. I used Bob’s Red Mill Gluten-Free 1 to 1 Baking Flour with great results.

And to reduce the dairy, oat milk is a good substitute for the milk. (But quite honestly, whole milk really adds to the richness and moisture of the corn bread.)

I even baked this once without the eggs (not on purpose!) and it came out a bit drier, but still really flavorful.