I got my first restaurant job when I was 17, working at Pizza City East, just down the street from my childhood home in Plainview, NY. It wasn’t a great job, but I learned an awful lot about food preparation. It’s where I opened and tasted my first clam on the half shell. It’s where I had my first sip of espresso and cappuccino. And it’s where I learned a lot about how to make really good pizza. My buddy, Mel, and I worked the counter. Mel made the pies and I did the rest: sandwiches, espressos, clams, and eventually even cooked in the kitchen. We were 2 hard-working slobs in high school, but we bonded in a way that kept us friends to this very day, over 40 years later.
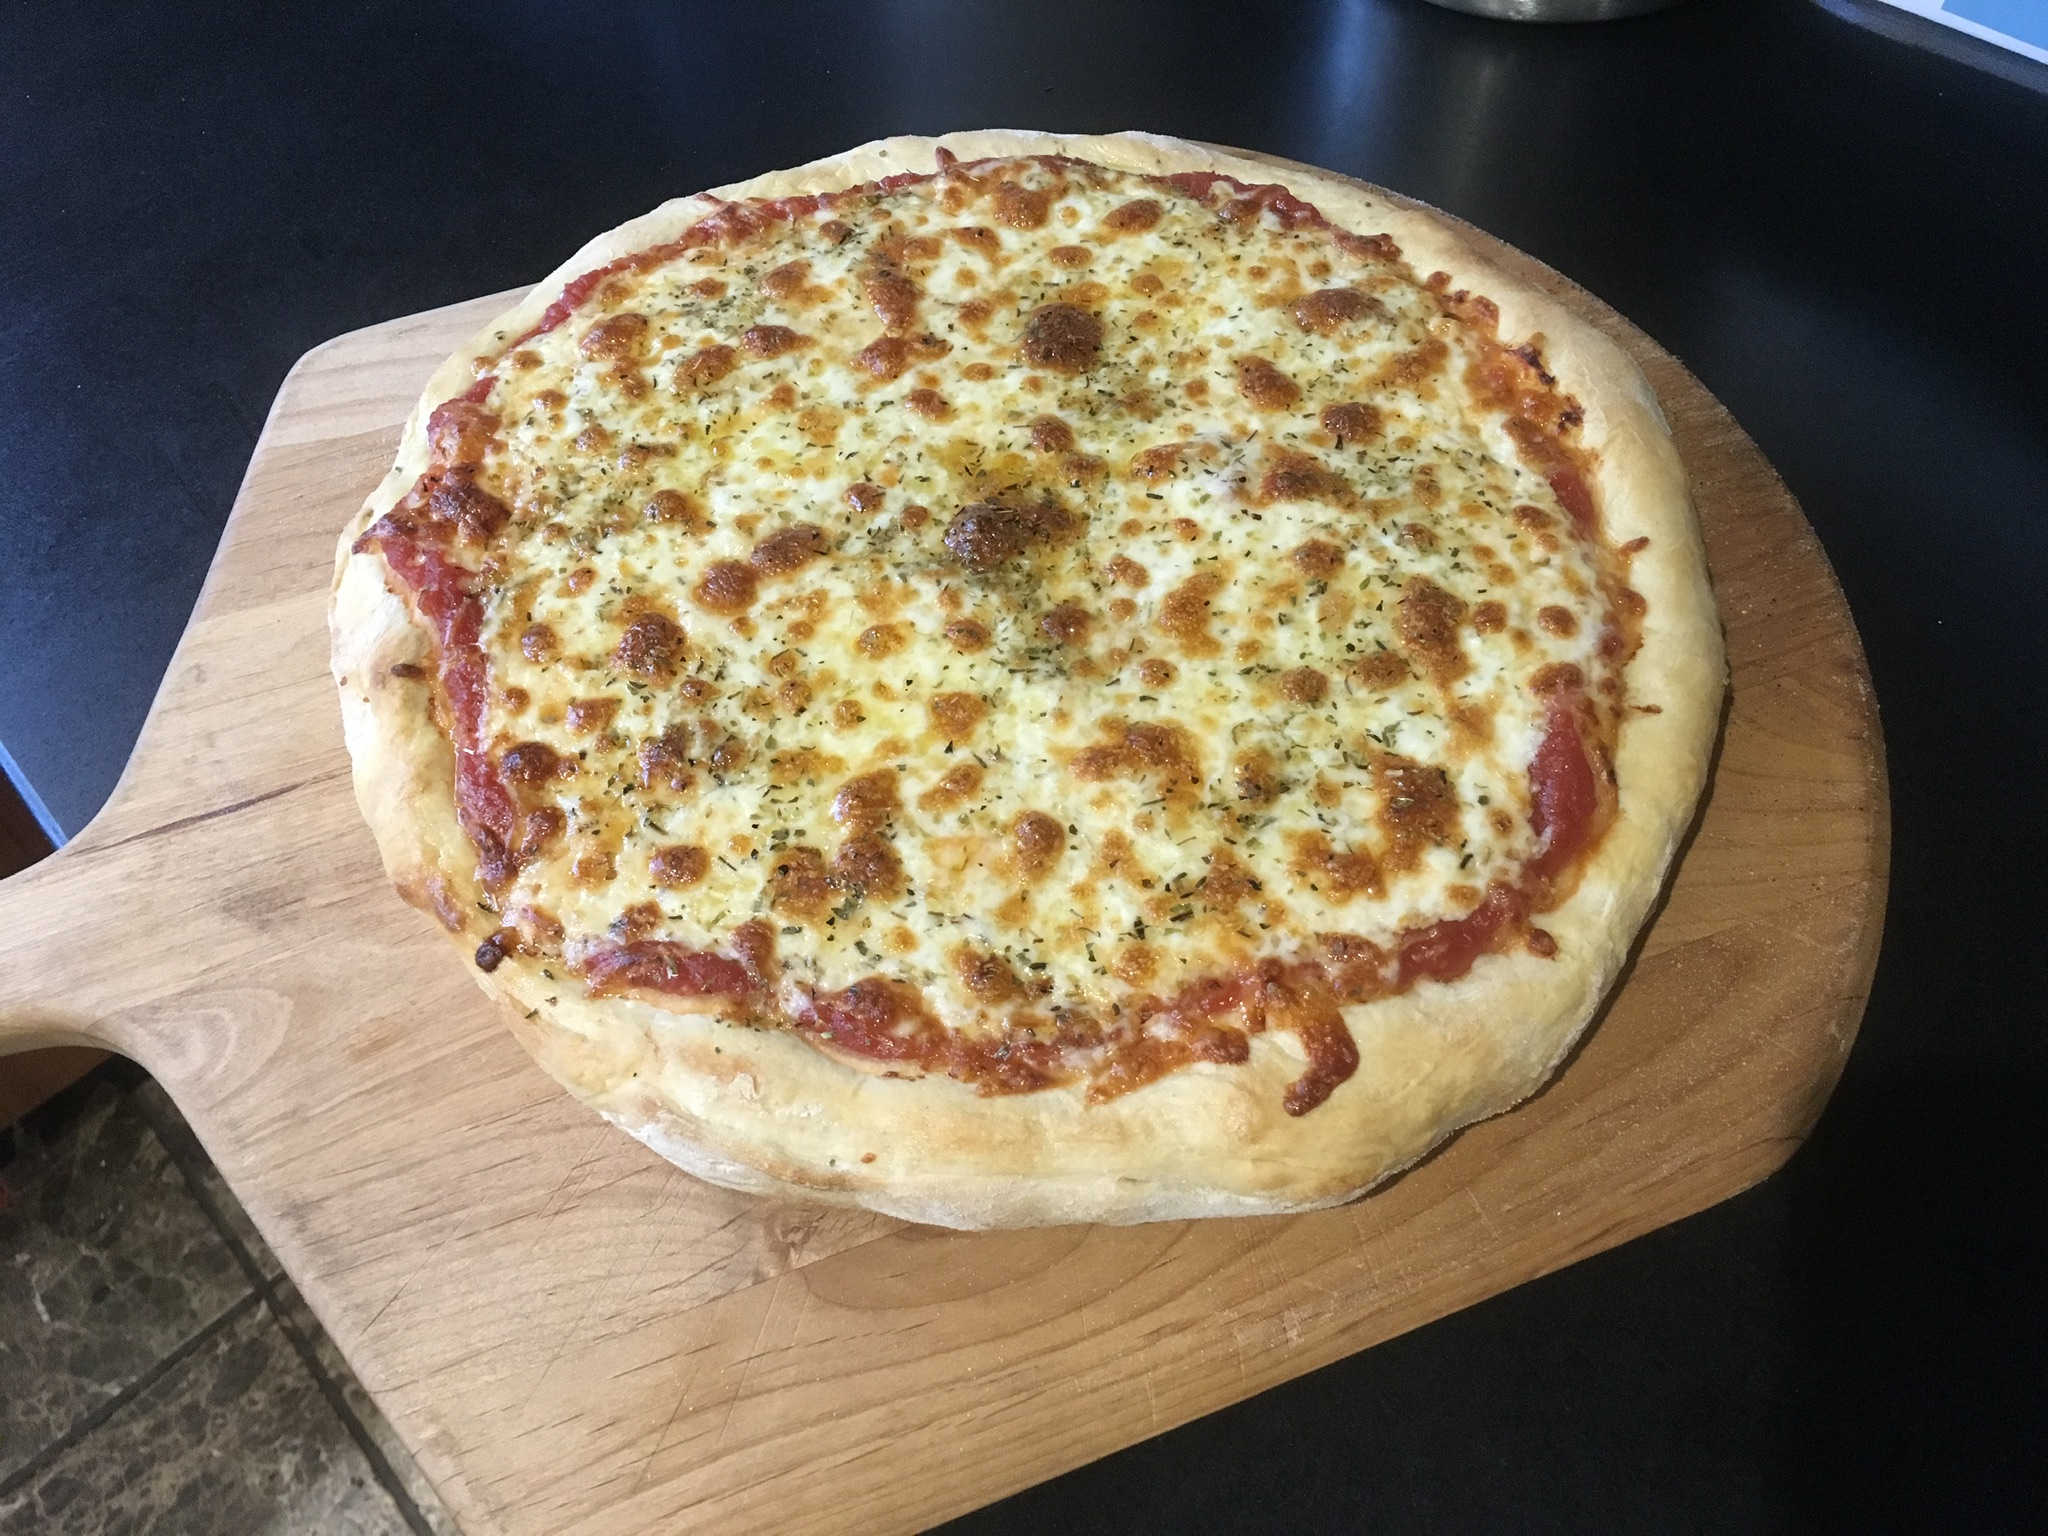
So you could say pizza was in my blood. For me, the true test of a great pie is a simple slice with only sauce and cheese. It’s not easy to get that right, despite how easy it may look.
And for me, there was no other pizza than New York style Neapolitan pizza, the classic round pie with thin crust. I have no doubt that it would be my choice for the classic question: “If you were stuck on a desert island, and you could only have one food, what would it be?”
But then I discovered Sicilian pizza: it was thicker, square, and was baked on a large sheet pan. The crust was crisp on the bottom, and light and airy inside. I thought: OK, I have room for 2 favorite pizzas. And then, believe it or not, I went to Uno’s…(Pizzeria Uno back in the day)…and I had my first pan pizza. It was thick like Sicilian, but somehow different, and heavier on the sauce. But absolutely delicious. I finally settled on 3 favorite pizzas.
Despite having 3 favorite styles of pizza, I always cooked a Neapolitan pie when I made pizza at home. Perhaps it was a bit easier, or perhaps I just never felt I really made the perfect pizza, and I needed to keep trying. In either case, it meant that after 40 years of making my own pizza, I finally made a pan pizza for the first time a couple of years ago. And it was good…really good.
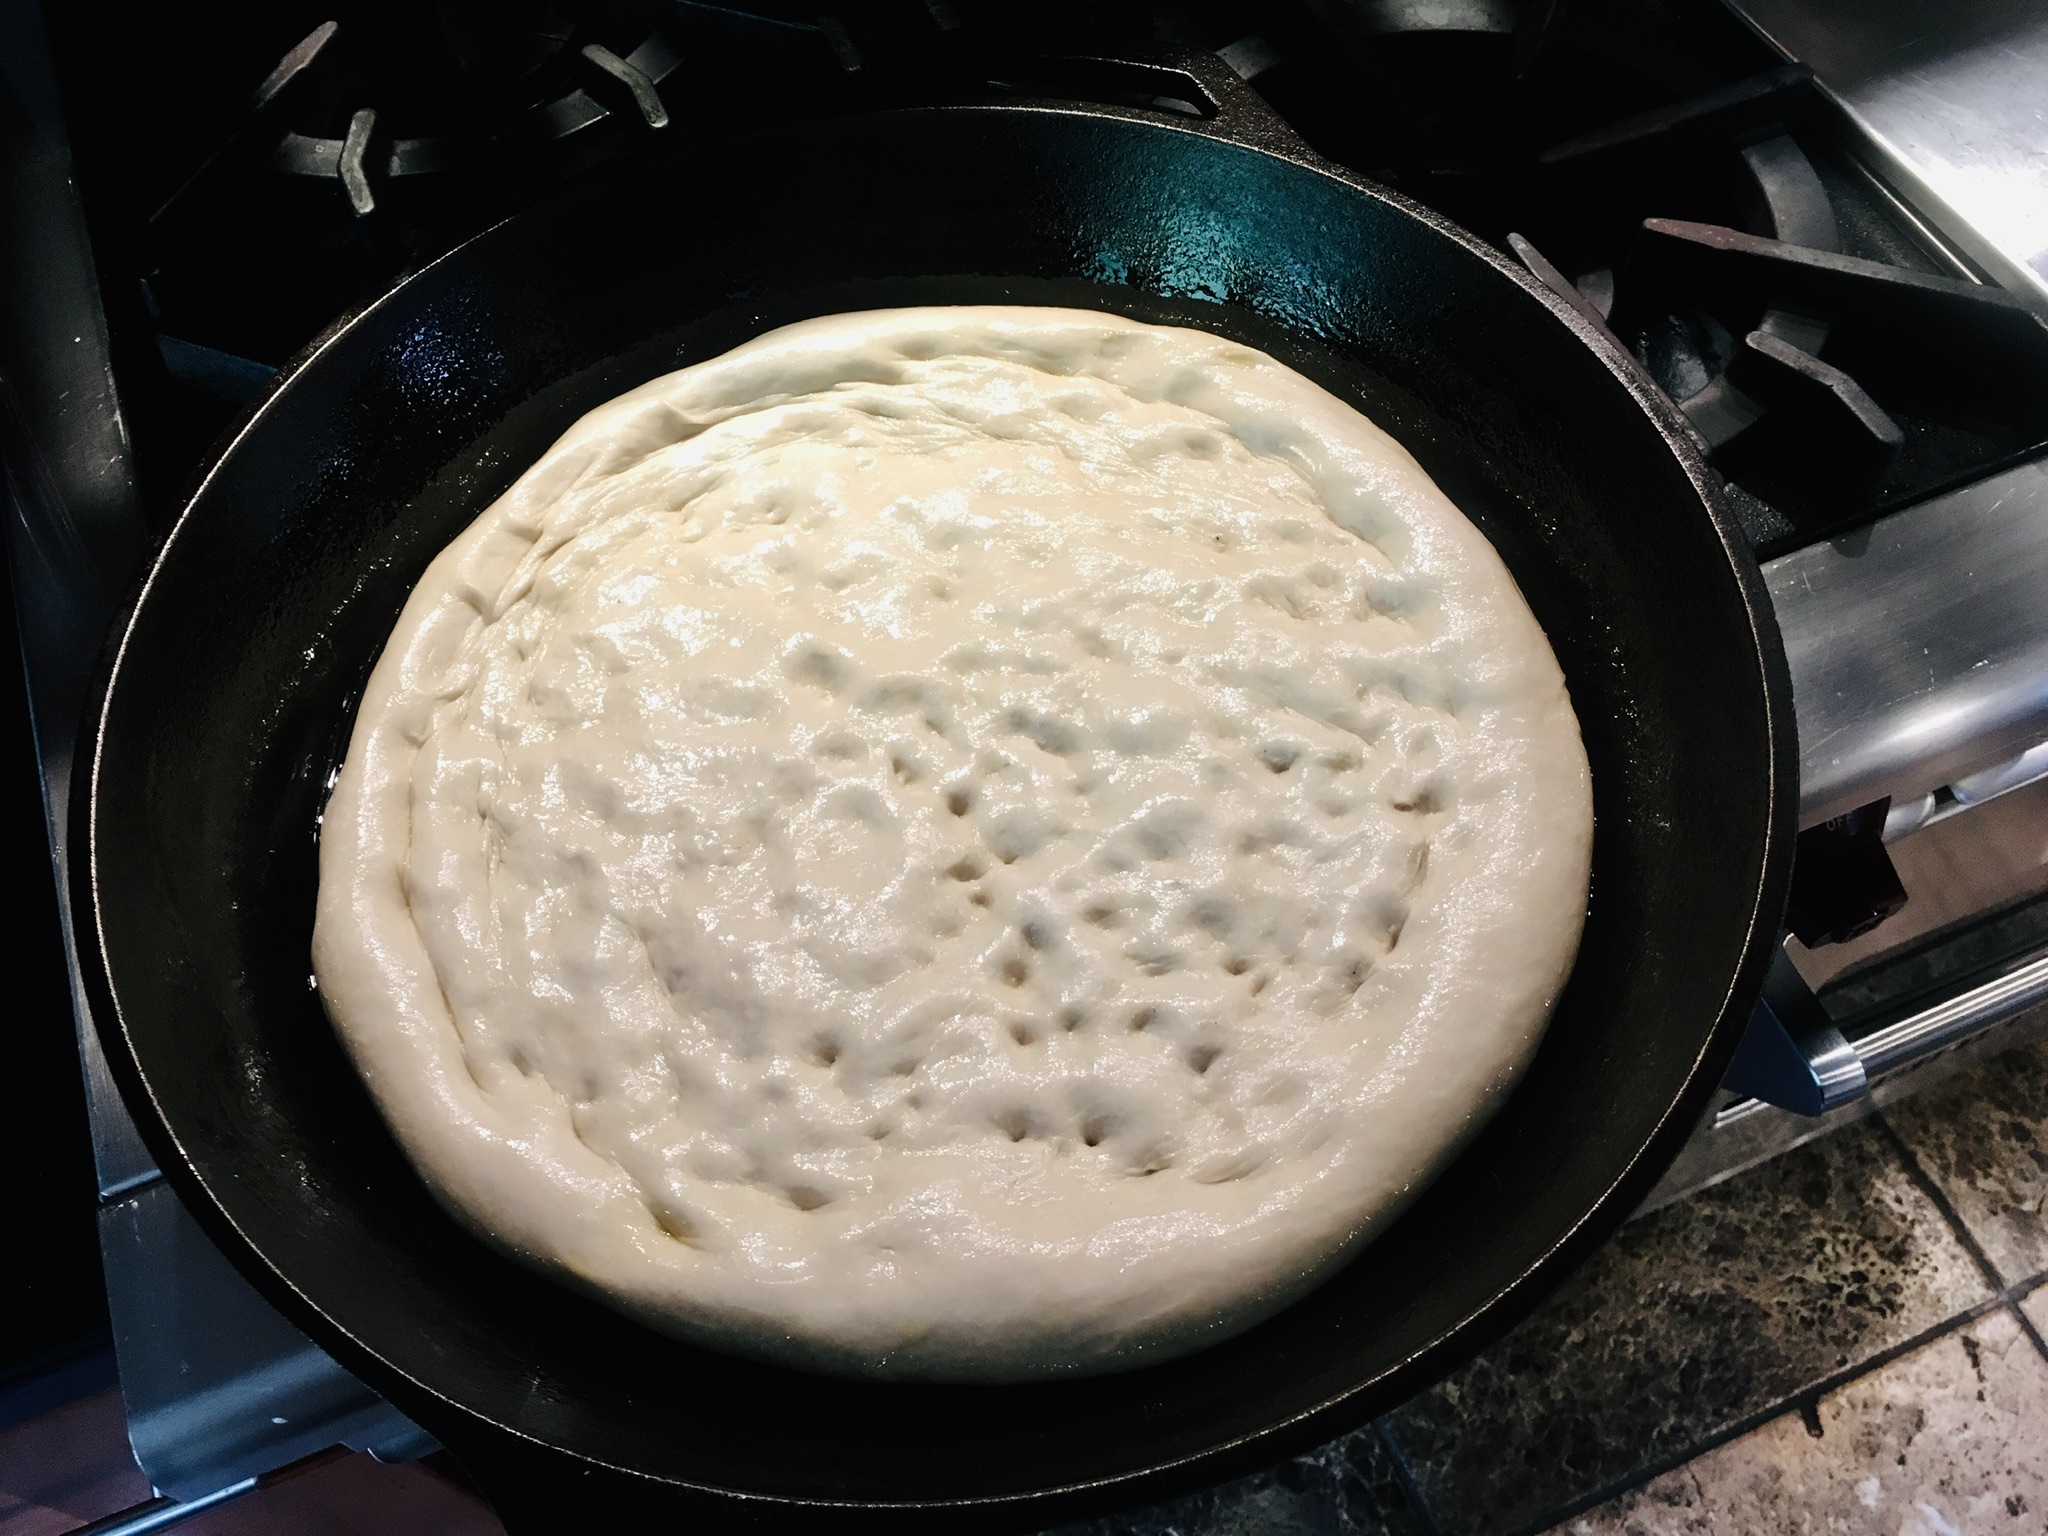
The dough is stretched out and ready to accept whatever tasty toppings you like!
The dough…
The key ingredient is 00 flour, and it can be found in specialty stores, or online. Using ready-made store-bought dough saves a lot of work, and it’s great, too. Ratios for my dough recipe depend on the humidity in my kitchen on any given day, but my basic pizza dough recipe is as follows:
4–5 cups 00 flour
1 cup warm water (about 110 degrees)
1 tablespoon salt
1 packet Italian pizza yeast or regular dry yeast (about 2 1/4 teaspoons)
a squirt of extra virgin olive oil
I mix all the dry ingredients in the bowl of a stand mixer, then slowly add the water as it mixes. After the ingredients are well mixed, and the dough pulls from the side of the bowl, I remove it to a floured board, where I knead the dough by hand for another 5 minutes, until it is smooth and elastic, shaping it into a ball. I rub a little olive oil over the ball of dough, place it in a bowl covered with plastic wrap, and let it rise for 2 hours, punching it down after that. I roll it back into a ball, cover it, and let it rise another 2 hours again.
Let’s talk pans. For me, nothing beats a real heavy duty cast iron pan for this recipe…and I’ve got a large one. I brush olive oil generously all over the inside of the pan–even on the sides–and then place the dough in the center. Slowly, using my fingertips, I spread and flatten the dough out from the center evenly all the way around. I keep spreading and stretching until the dough just starts to come up the sides of the pan. I cover the pan with a clean towel, and turn the oven on to 450 degrees to pre-heat.
I use a pizza stone for standard pizzas, but there’s no need for it when making deep-dish pizzas.
Leaving the pan on the stove top while the oven pre-heats will help the dough rise again. Meanwhile, I get my ingredients ready for my pizza.
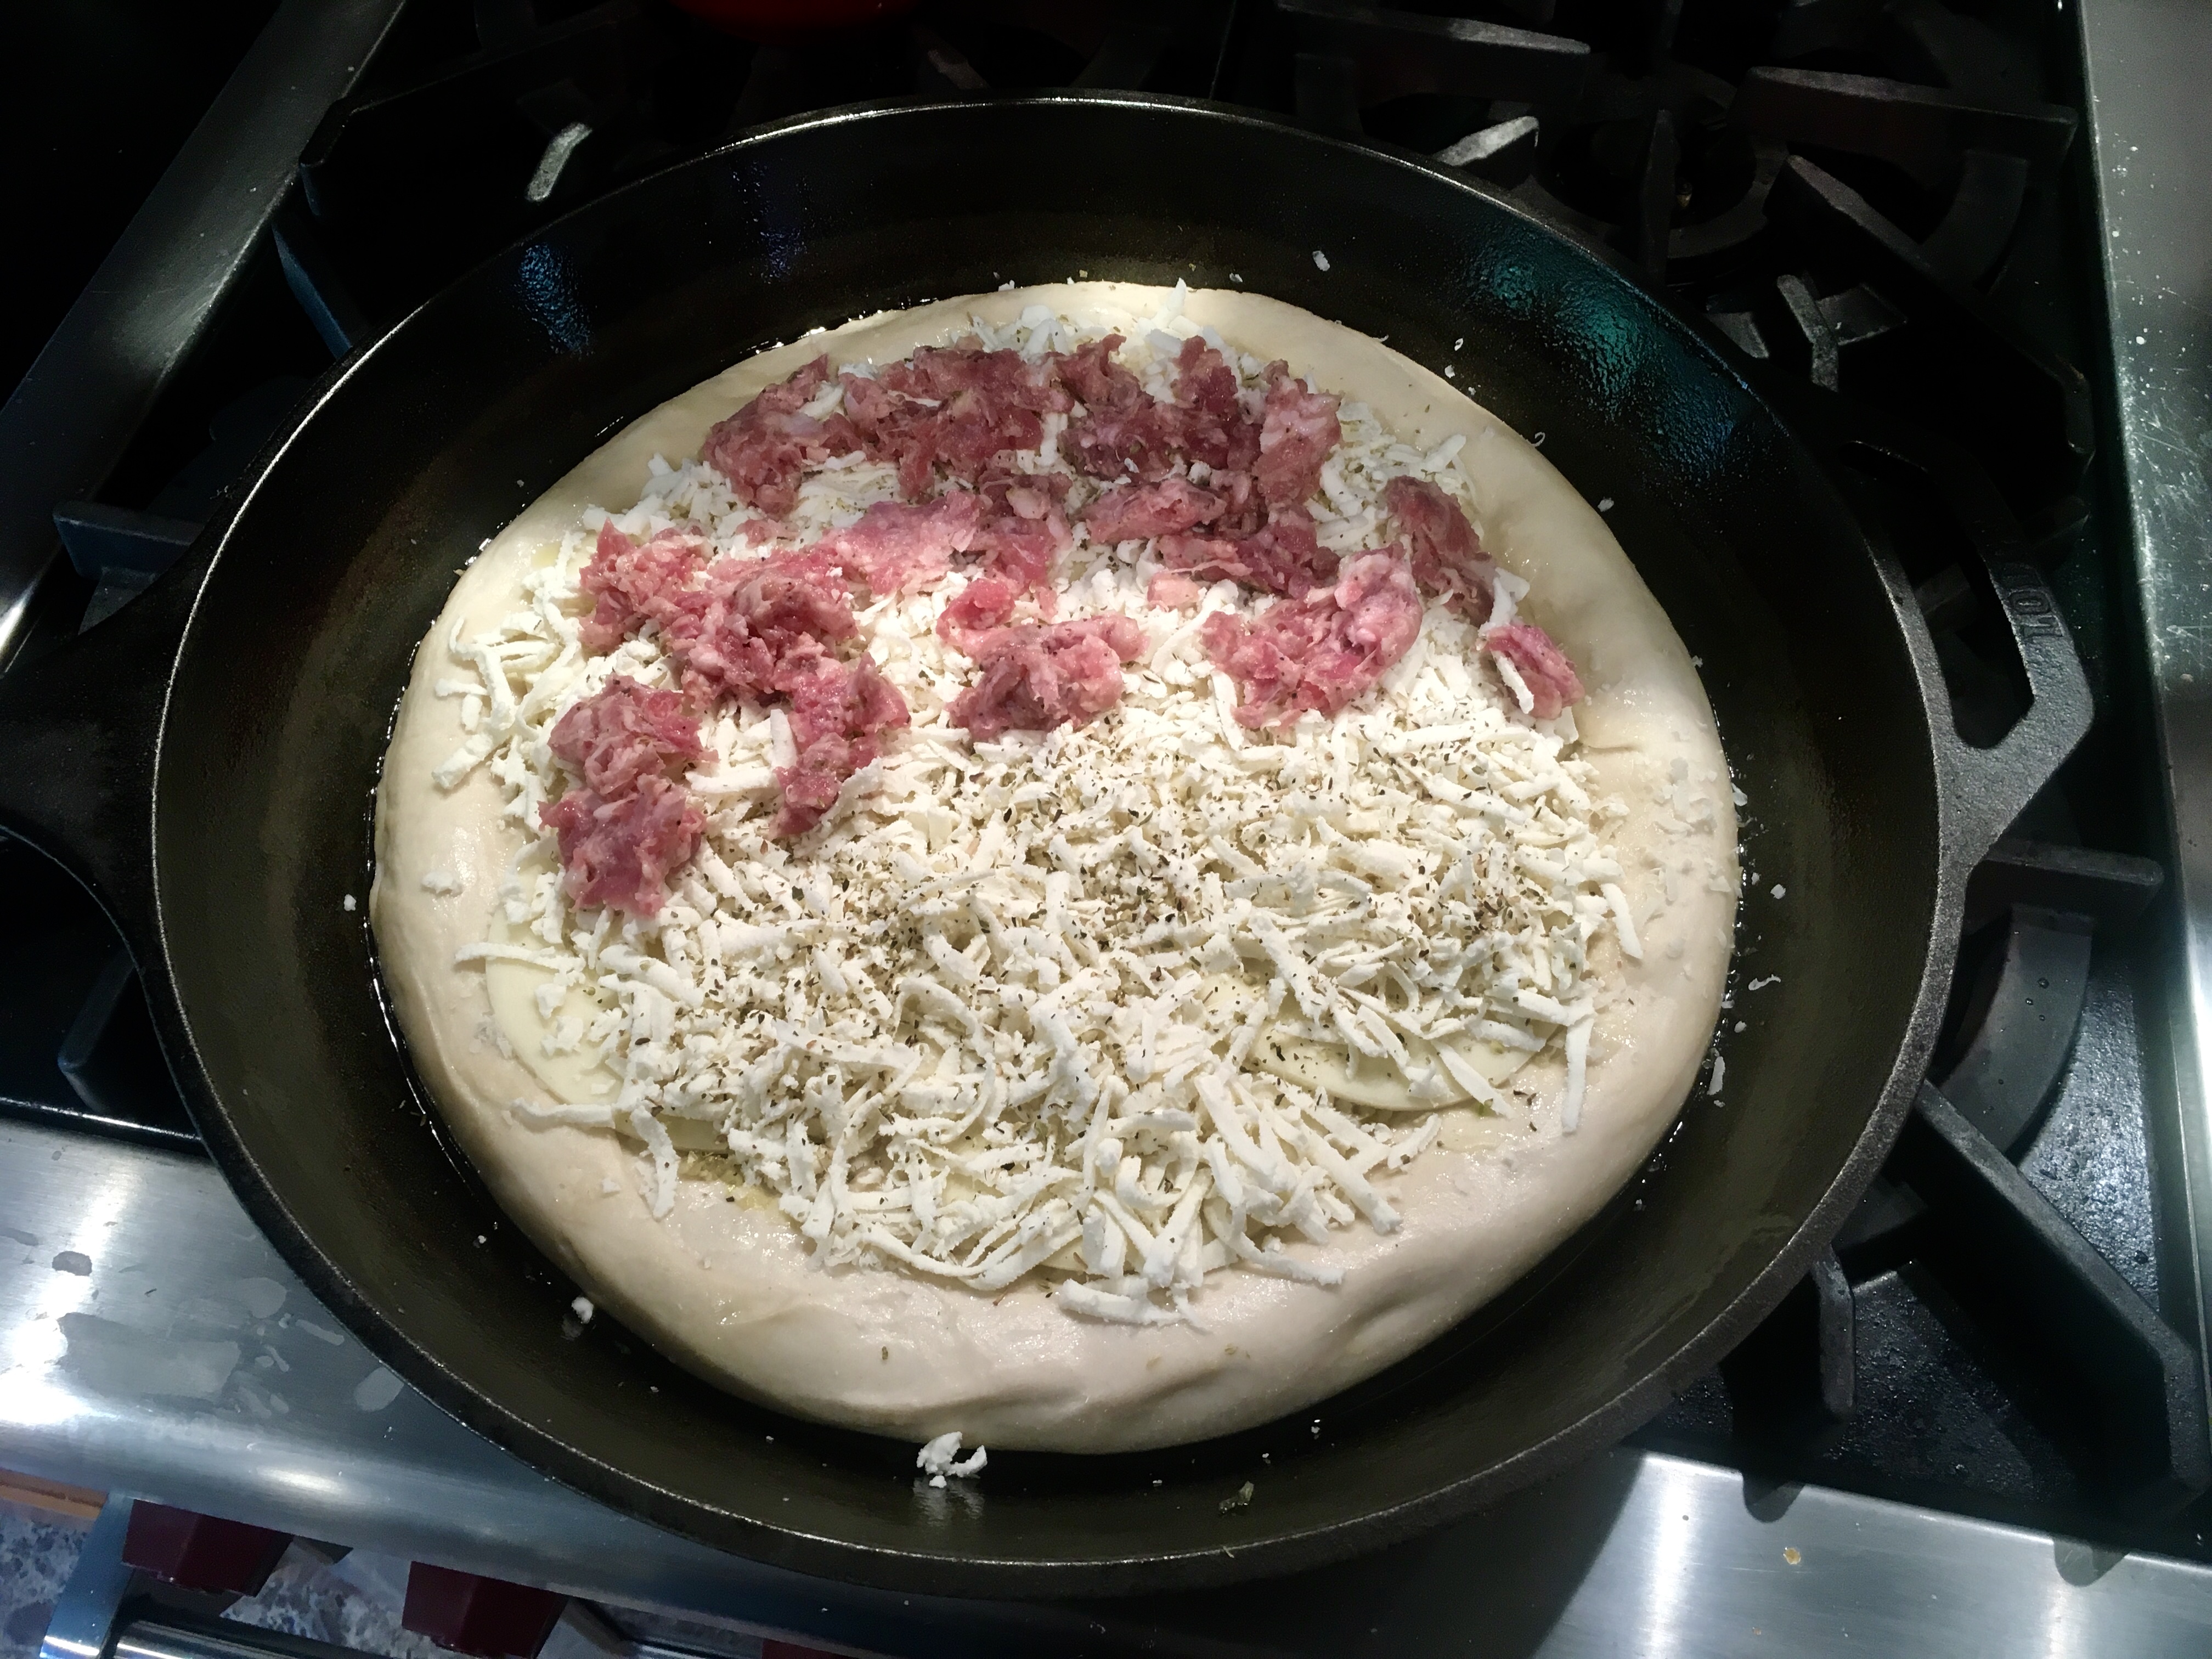
Crumbled sausage on top of the pizza.
White pizza…
3 cloves garlic, minced
olive oil
mozzarella
Parmigiano Reggiano
Provolone cheese
dried oregano
crumbled Italian sweet sausage
The first time I made a pan pizza, my daughter requested a white pizza. I minced a bunch of garlic and lightly sautéed it in olive oil, being sure not to burn it. I set that aside.
I grated mozzarella cheese and Parmigiano Reggiano, setting them aside. I also use sliced provolone.
And this time, my daughter asked for sausage on the pizza, so I got a few mild Italian sausages, cut open the casings, and crumbled the meat in a bowl, setting it aside.
I gave the oven at least a half-hour to pre-heat. I removed the towel covering the pizza dough, and stretched it out a bit more. Using a spoon, I spread the garlic and oil mixture evenly on the dough. I placed 5 or 6 slices of provolone down first. I then sprinkled the Parmigiano Reggiano on top, followed by the mozzarella. I crumbled the sausage meat over half the pie (I like my side plain), and then I finally gave the pizza a sprinkling of oregano.
The pizza went into the oven for 15 to 20 minutes. I kept an eye on it to make sure it didn’t burn.

My first pan pizza: half sausage white pizza.
My second pan pizza was a classic tomato sauce recipe…

I use canned crushed tomatoes for my tomato sauce pizza.
Tomato sauce pizza
1 cup crushed organic tomatoes
1 teaspoon sugar
mozzarella
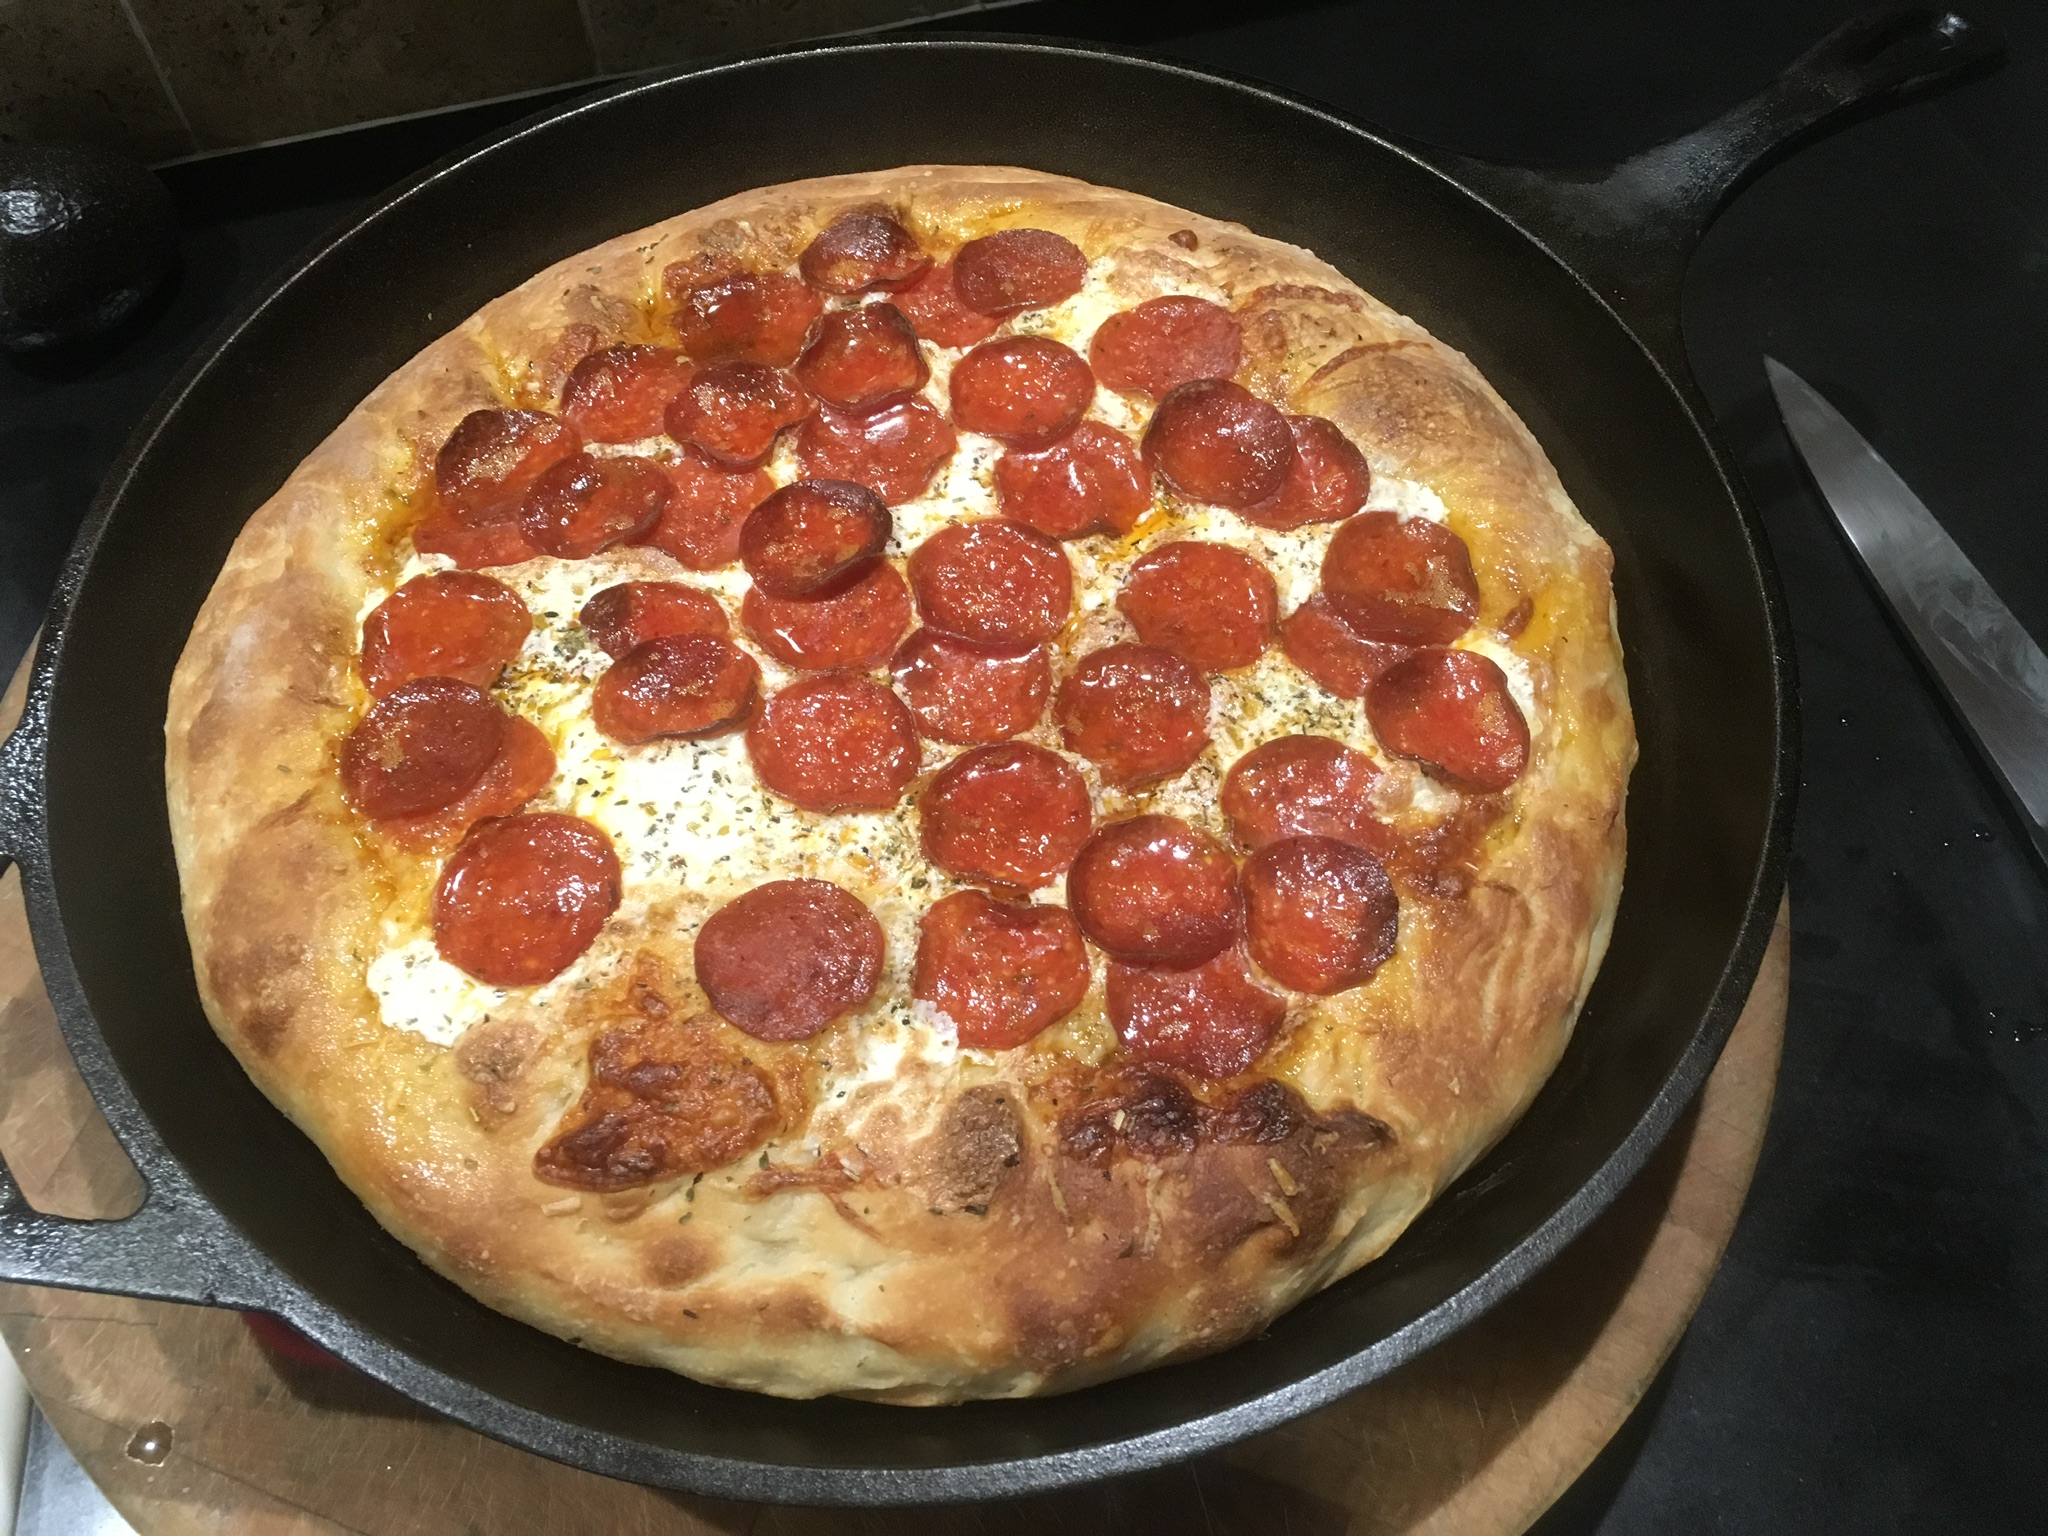
peperoni, sliced thin
dried oregano
I like my tomato sauce to be a little chunky for my pan pizza, so I bought a can of crushed organic tomatoes. I placed about a cup of the crushed tomatoes in a bowl and added a teaspoon of sugar, mixing it well. This cuts the acidity of the tomatoes, and makes the pizza even better! I spooned out the tomatoes onto the the pizza dough. I sprinkled the mozzarella over the sauce. I put slices of pepperoni on half the pizza (like I said, I like my side plain!), and I gave it a sprinkling of oregano.

Don’t skimp on the pepperoni!
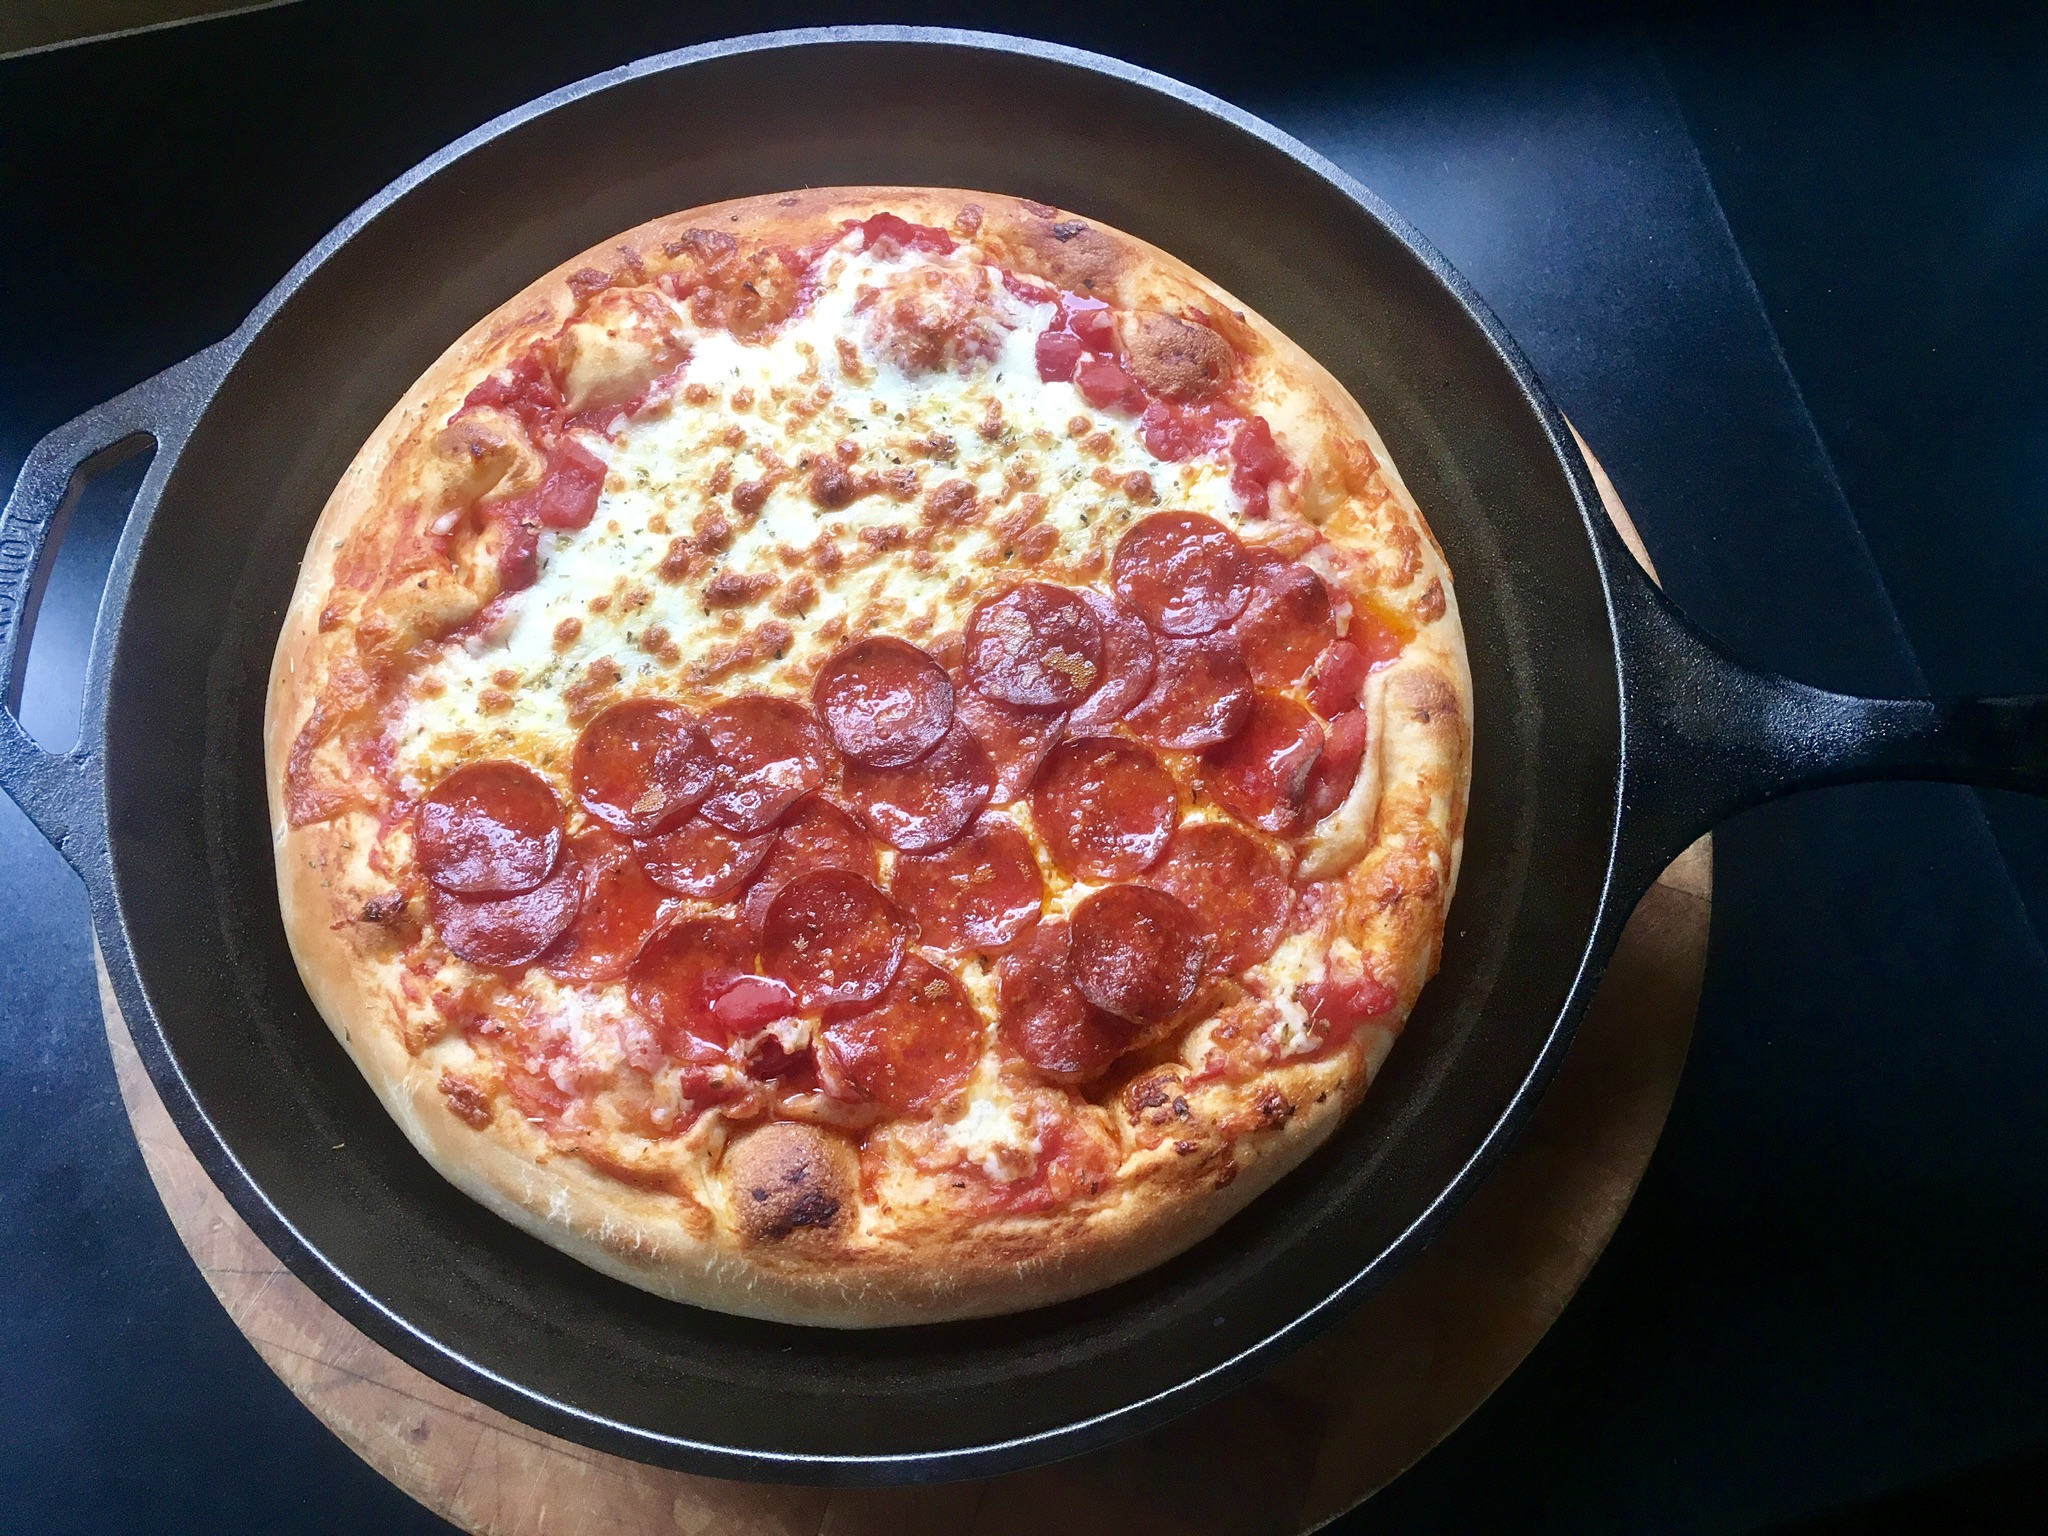
The final product!
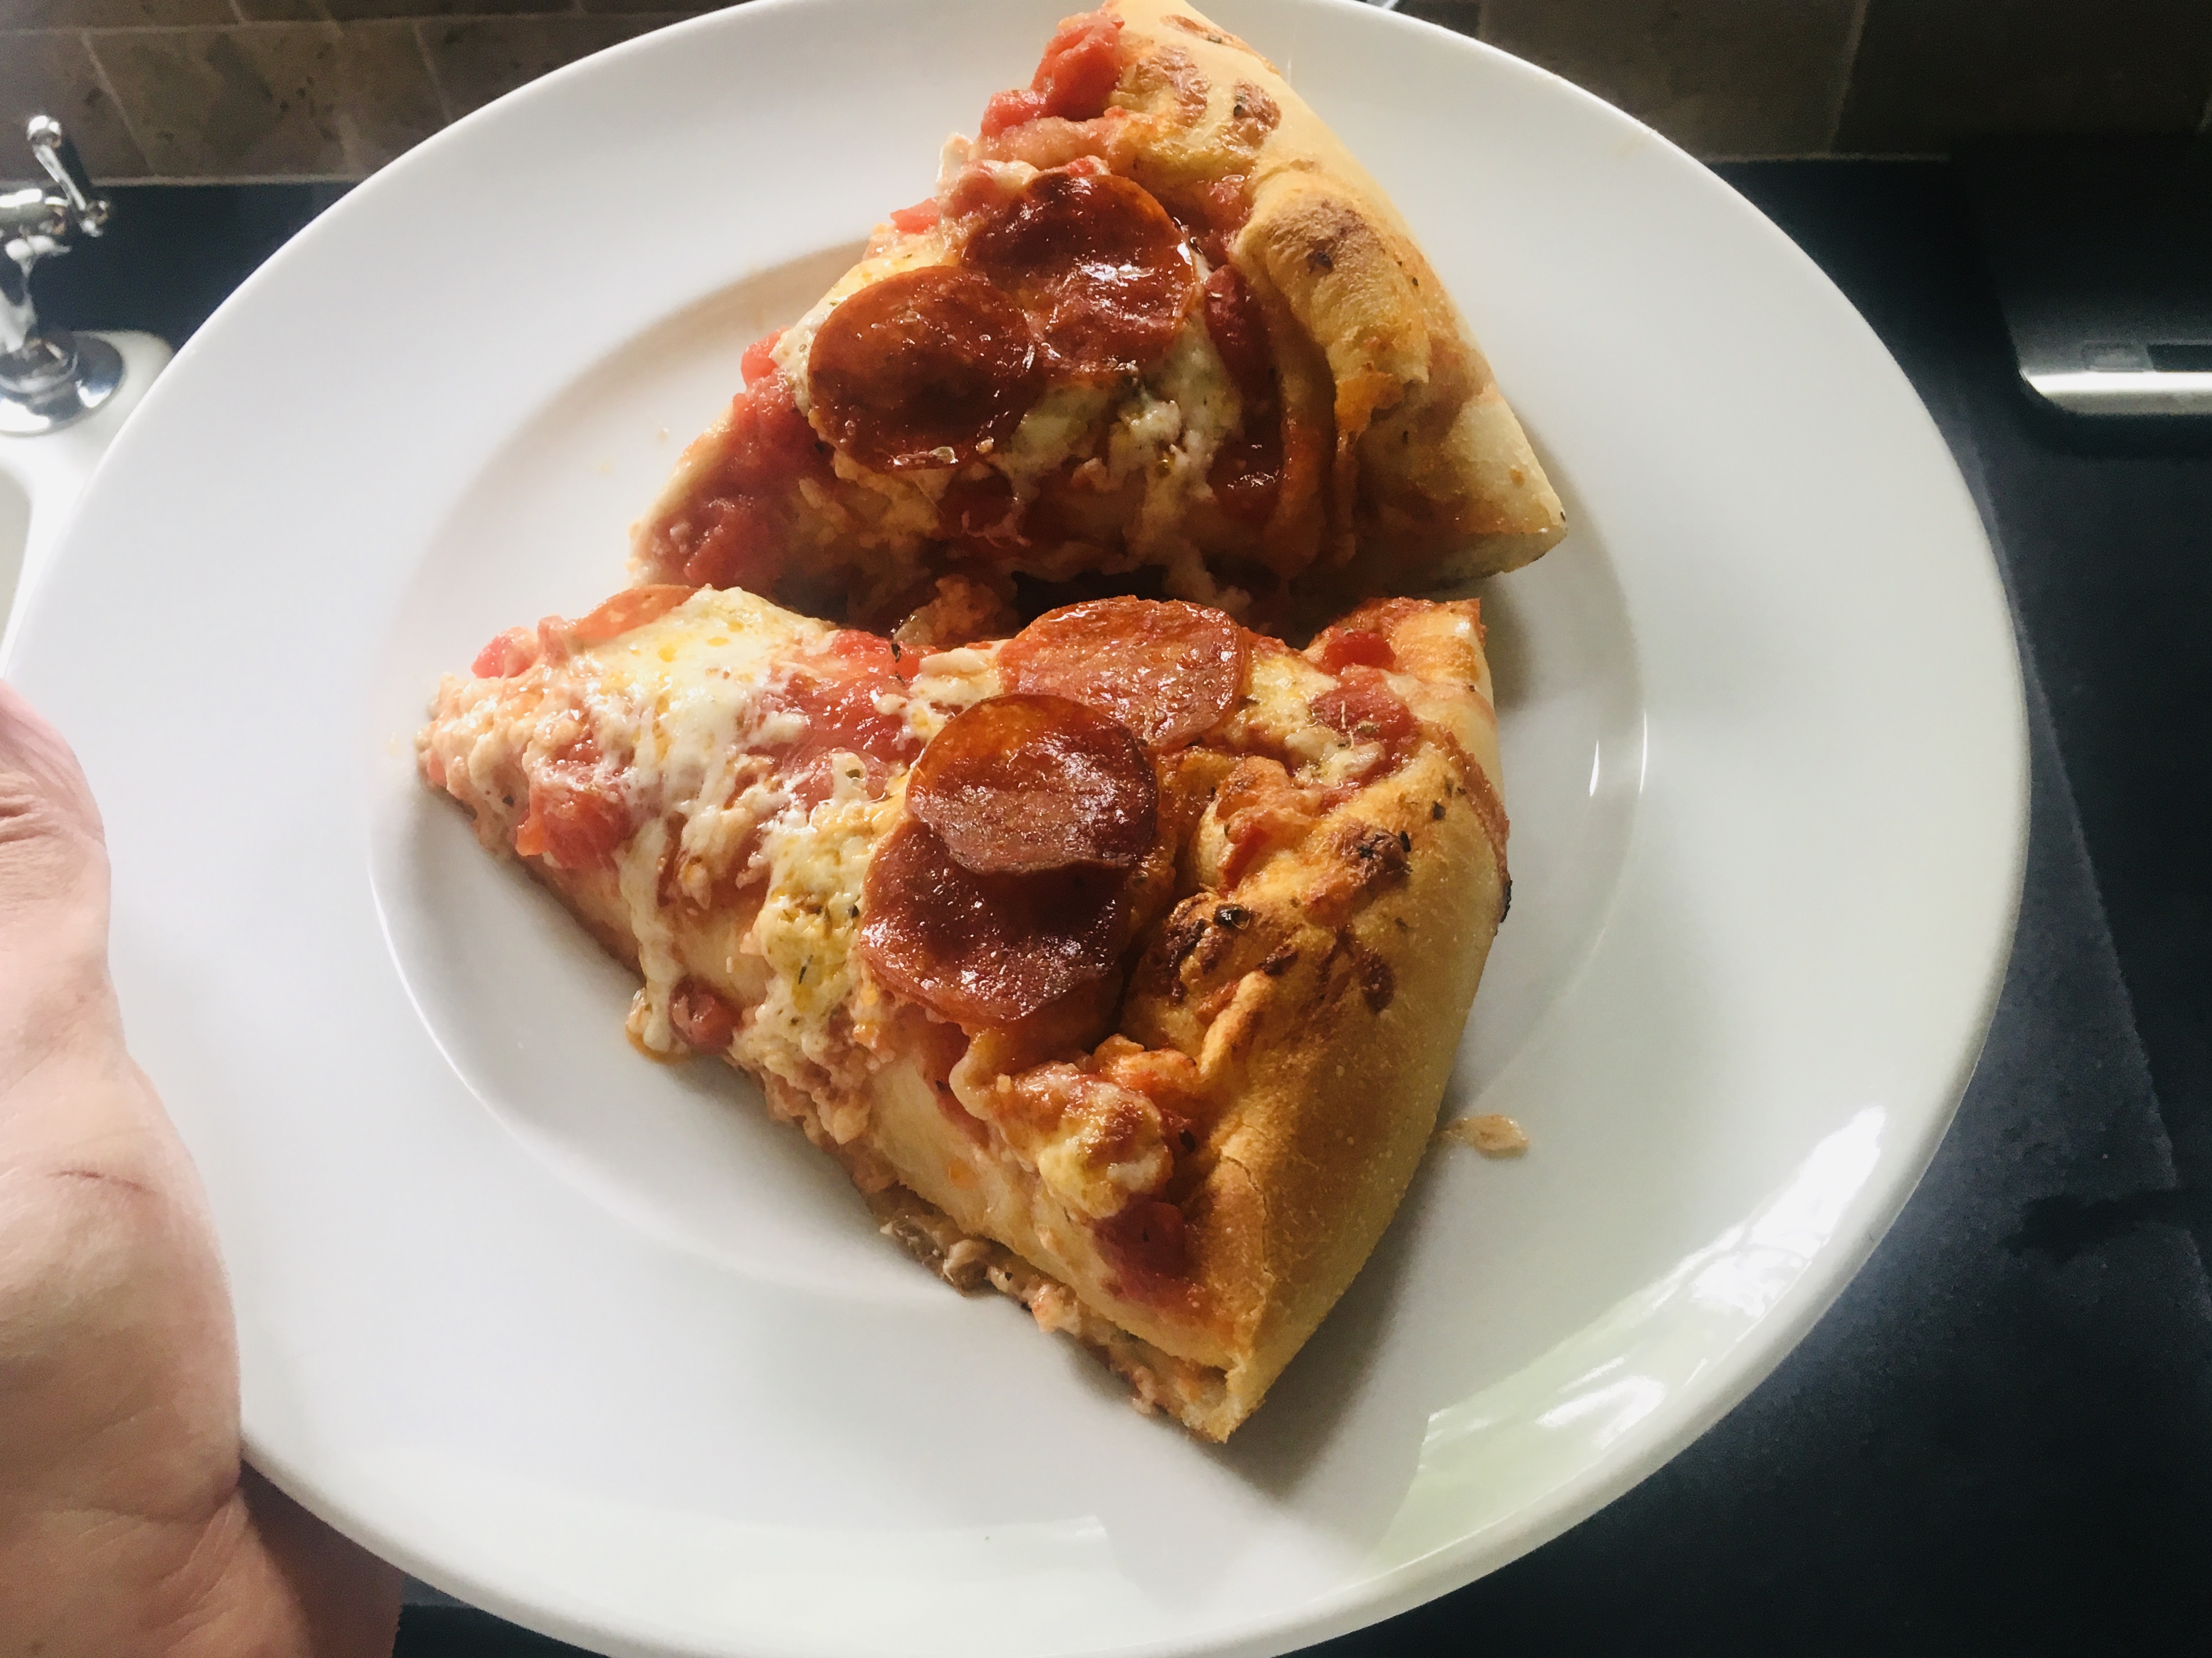
Delicious! Crispy crust on the outside, soft on the inside.
I’ve had a lot of pizza in my life. But truly great pizza? I can probably count that on one hand: Sicilian at Ben’s in the Village in NYC…Pizza Montanara at Pizzarte on W 55th in NYC…a coal-fired oven-baked clam pizza at Frank Pepe’s in New Haven, CT…Sicilian at La Piazza in my hometown of Plainview, NY…and now…my house!