Posts Tagged ‘BAKING’

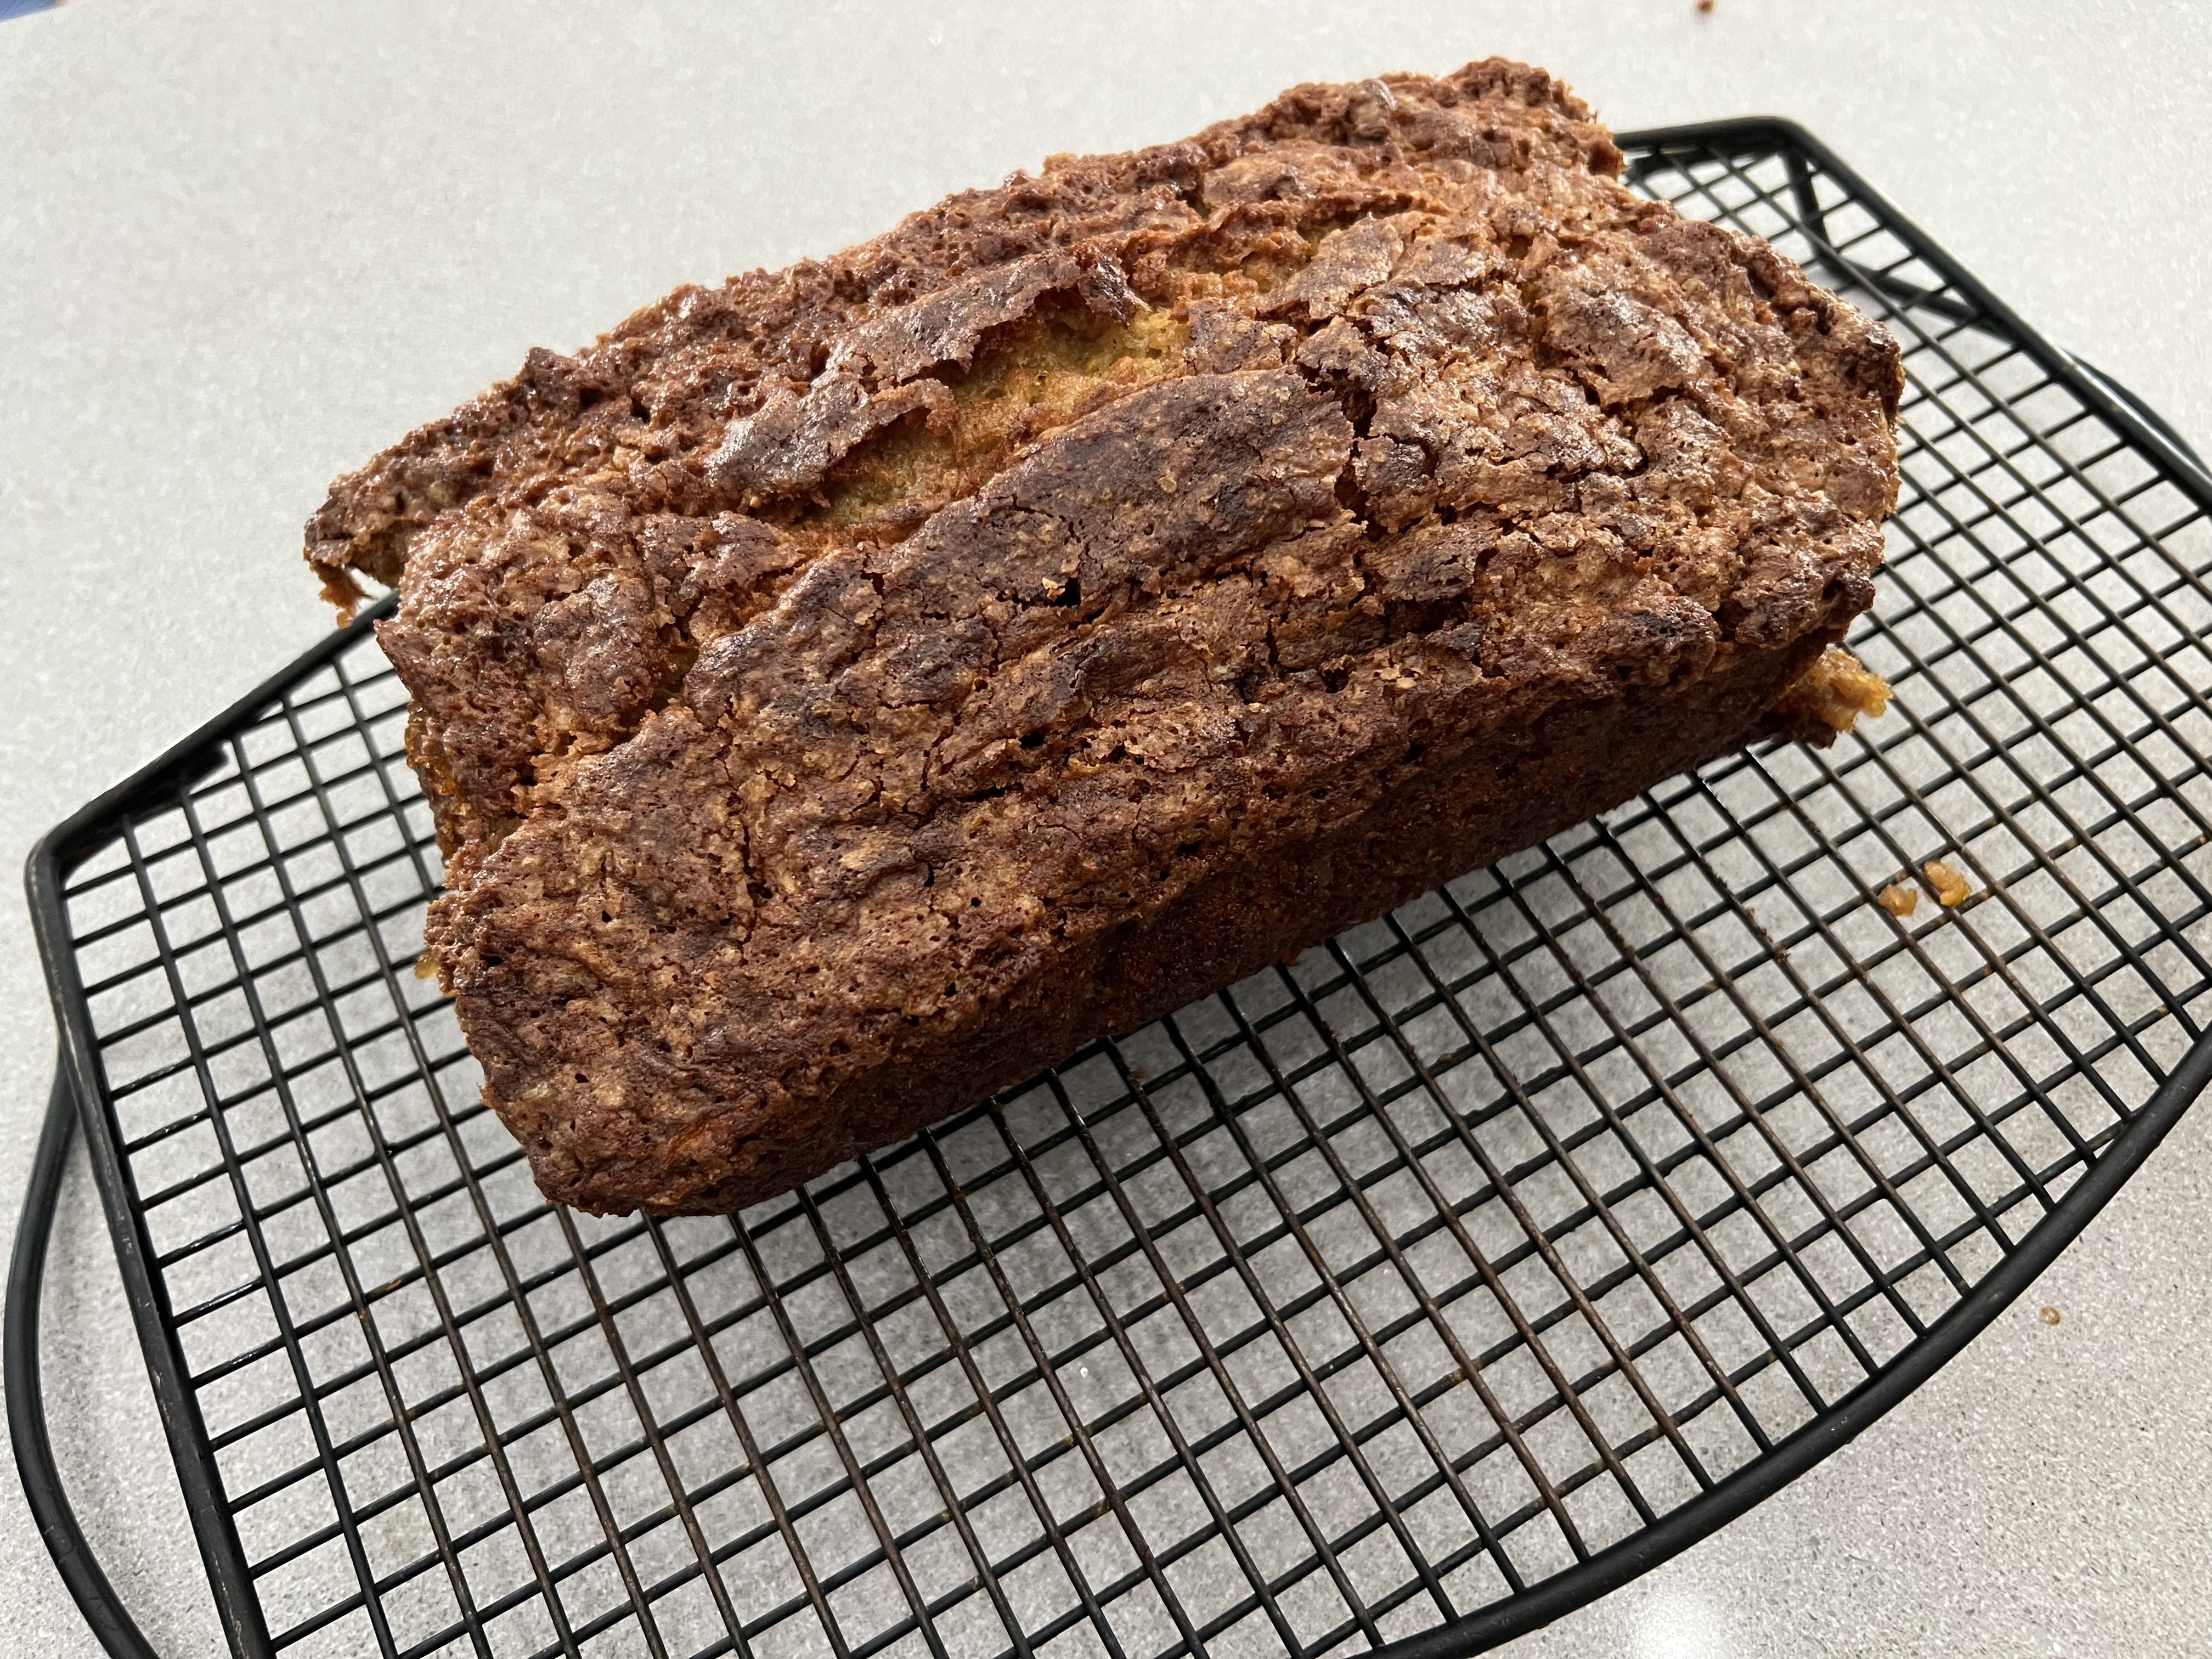
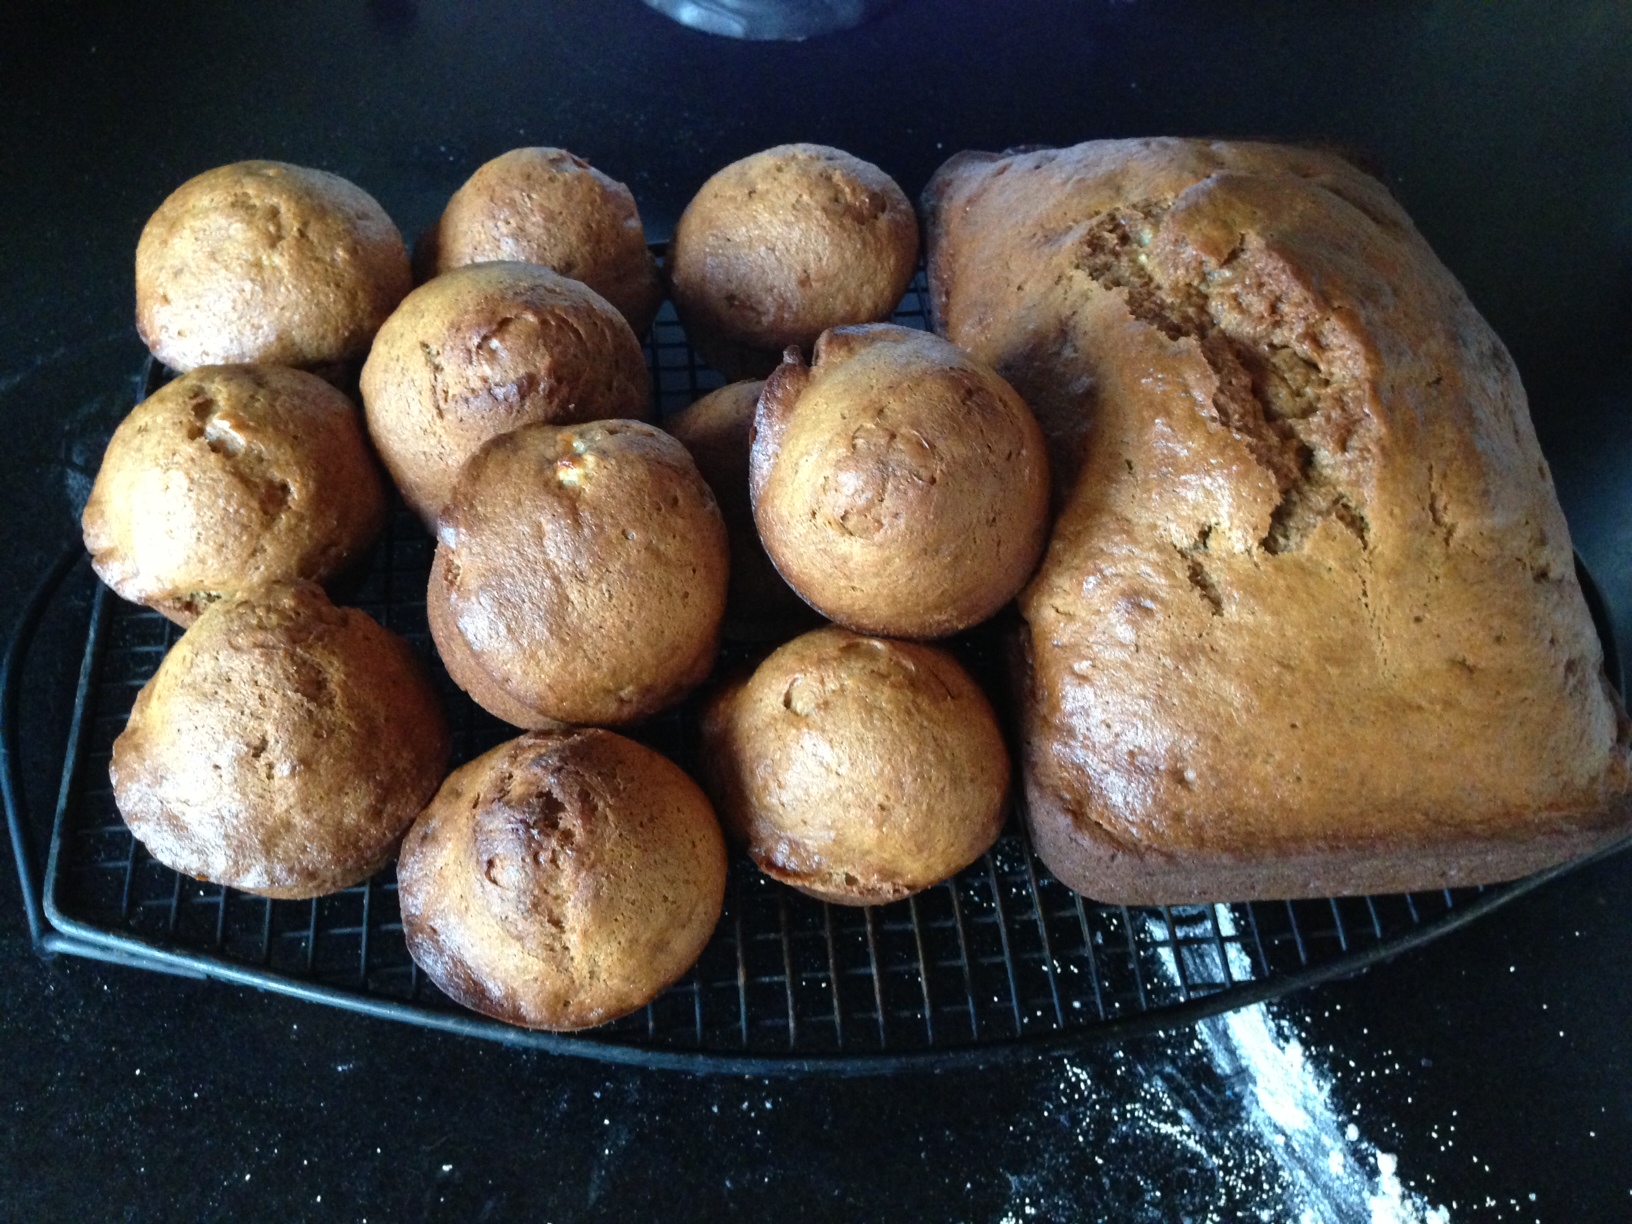
This is one of my favorites because it not only tastes amazing, it freezes really well.

My original banana bread recipe blog is featured directly below. It’s awesome. But if you follow a gluten-free lifestyle, no worries. My gluten-free version of the recipe, at the bottom of the page, is so good, you won’t miss the wheat!


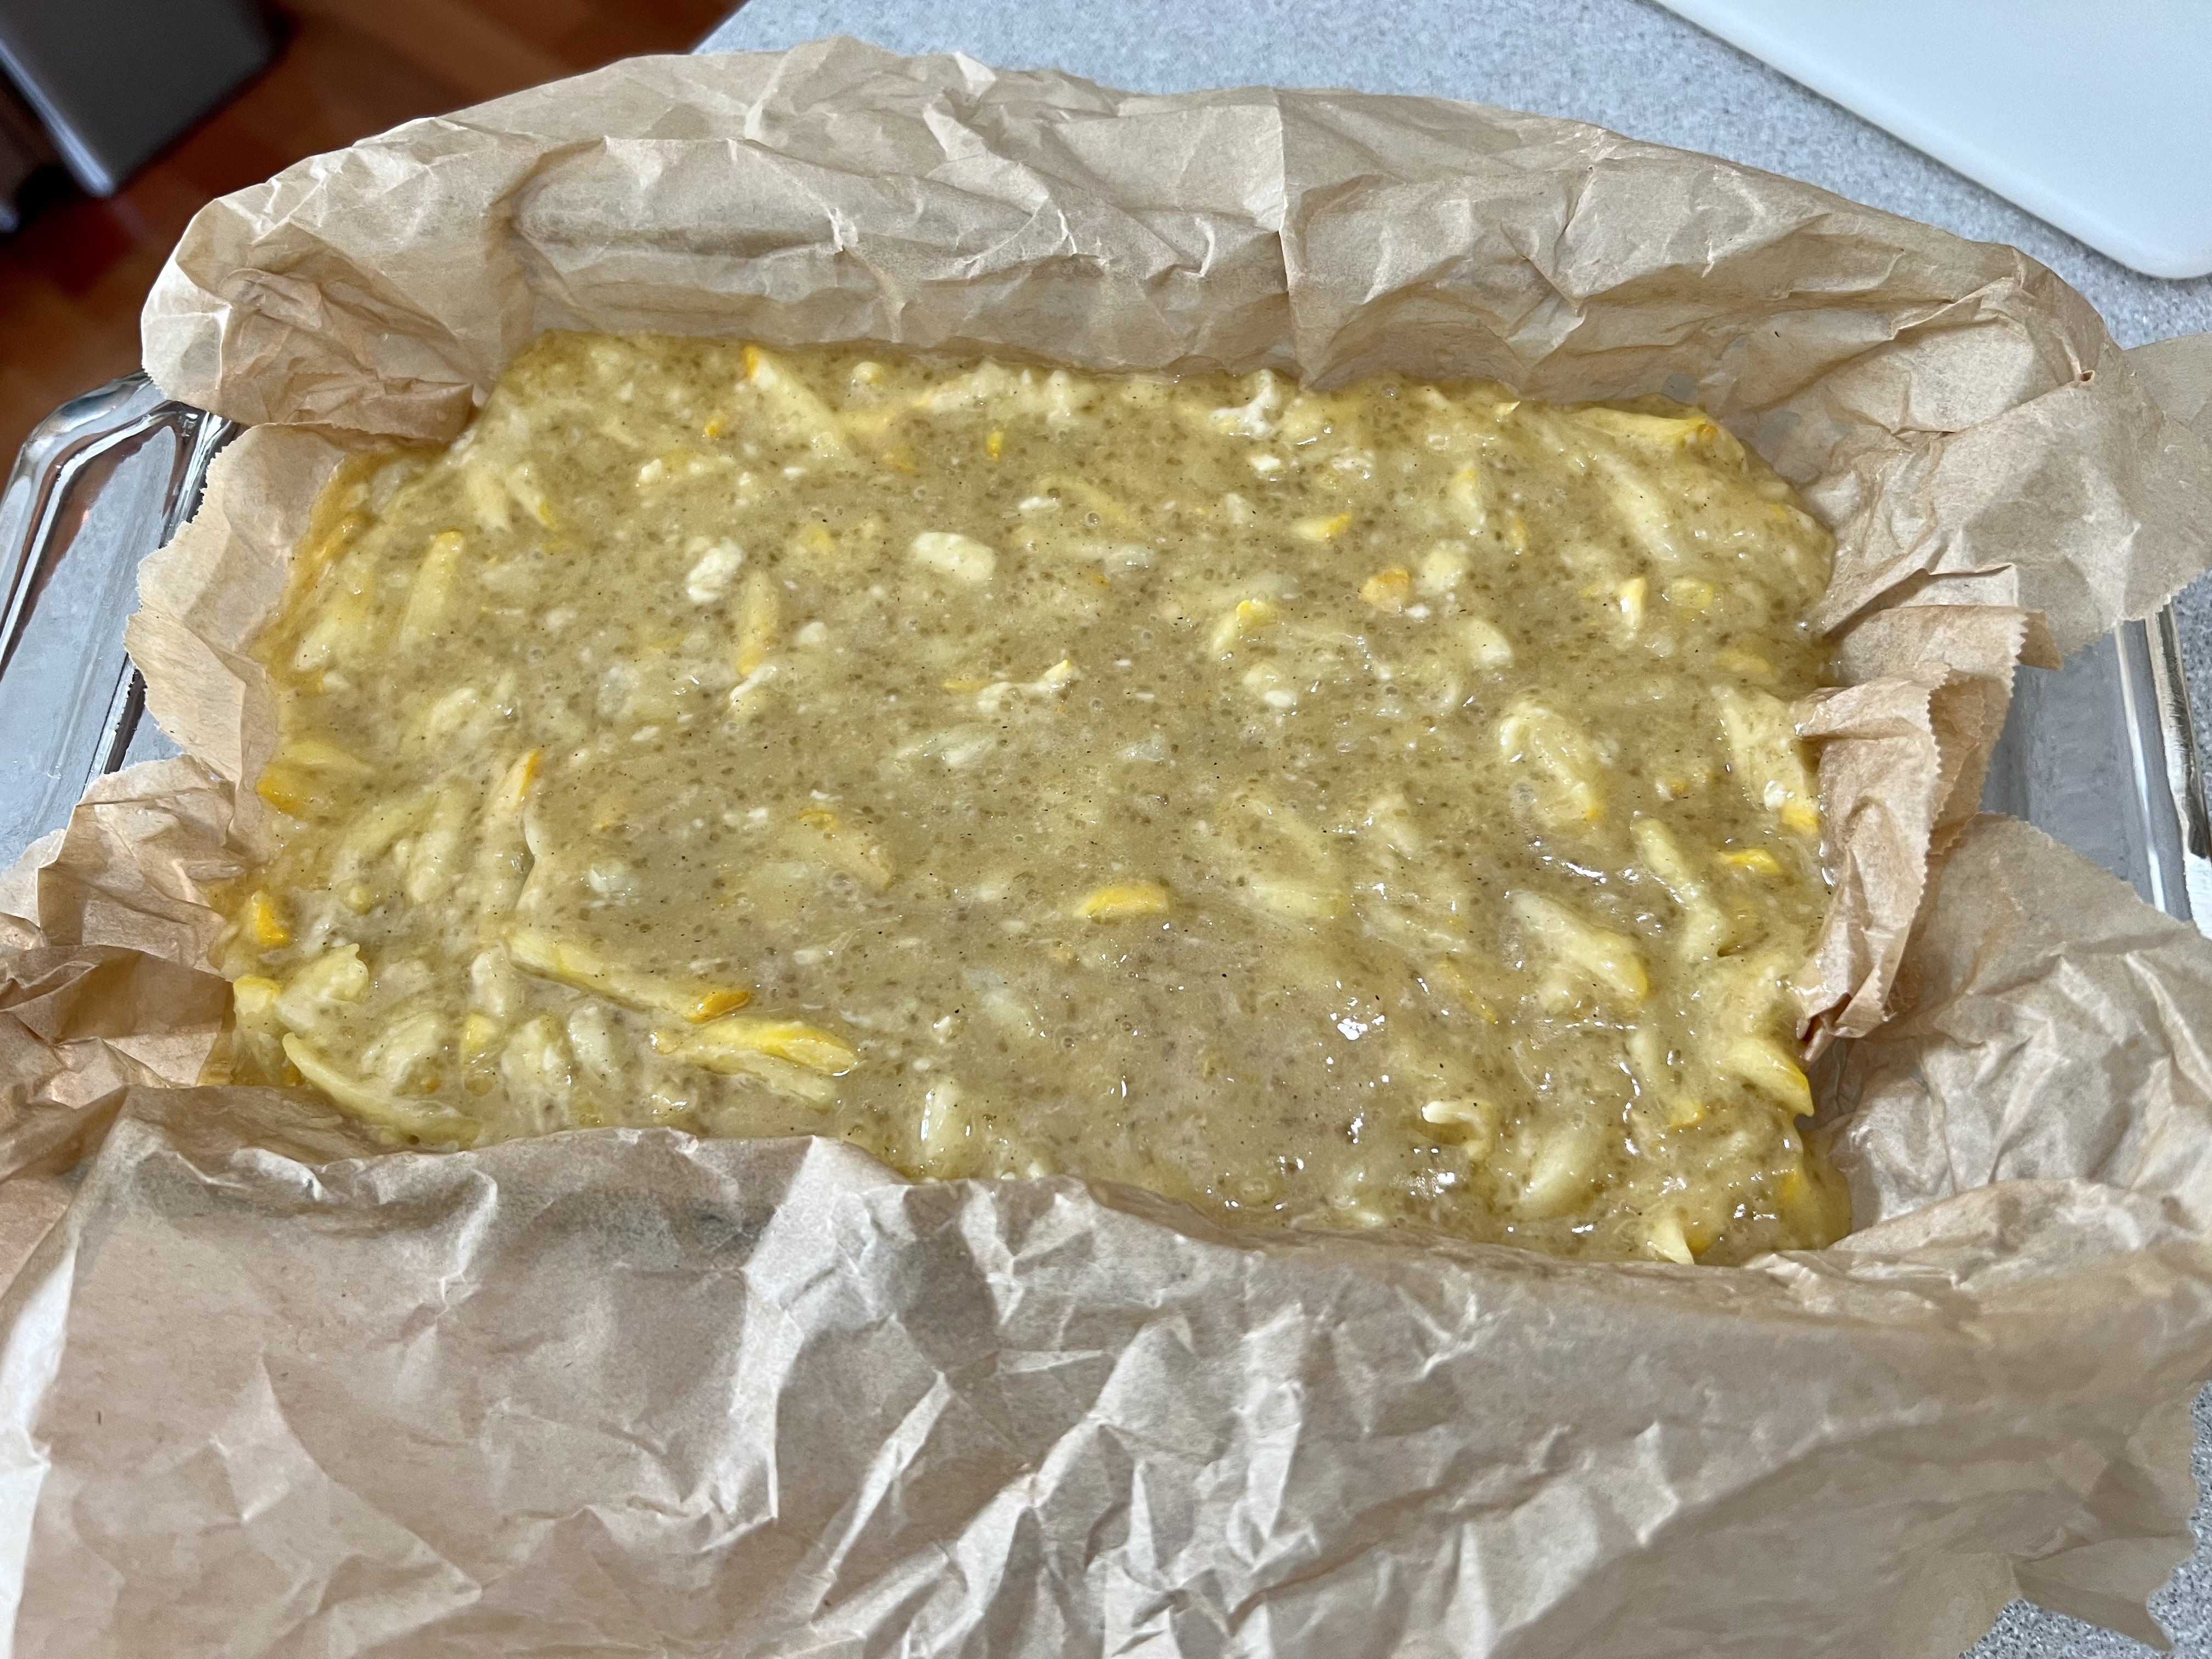
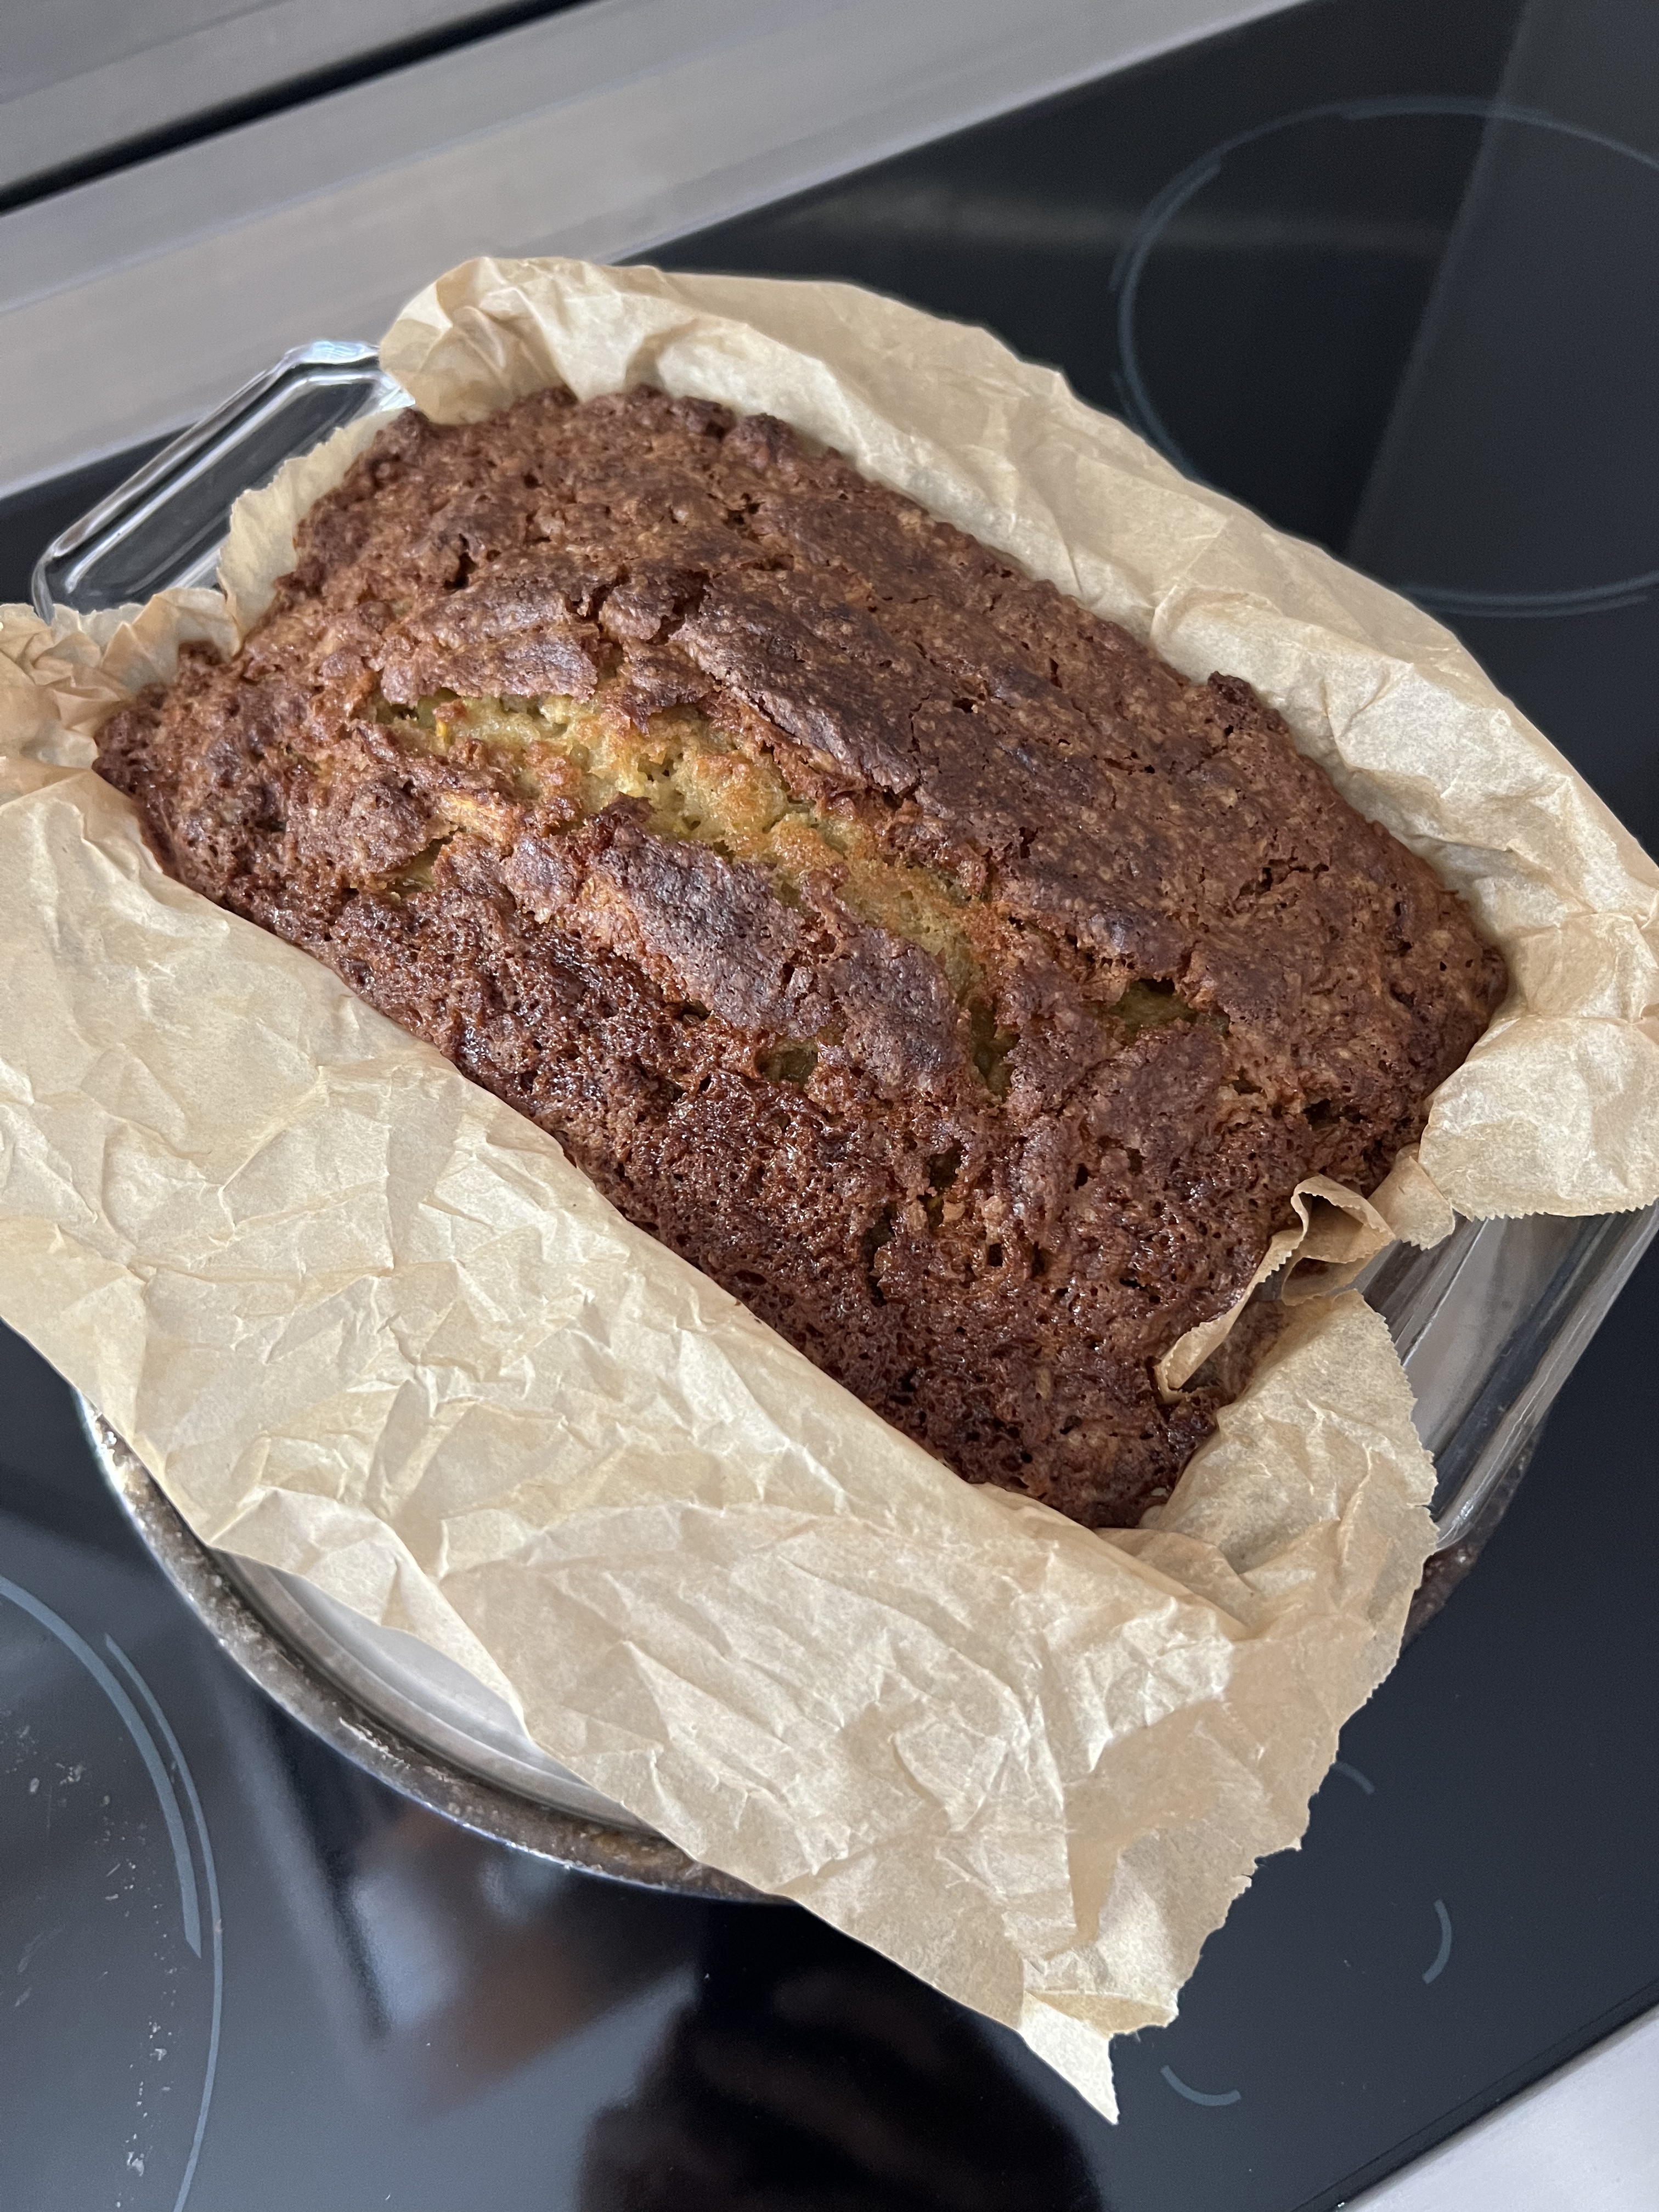
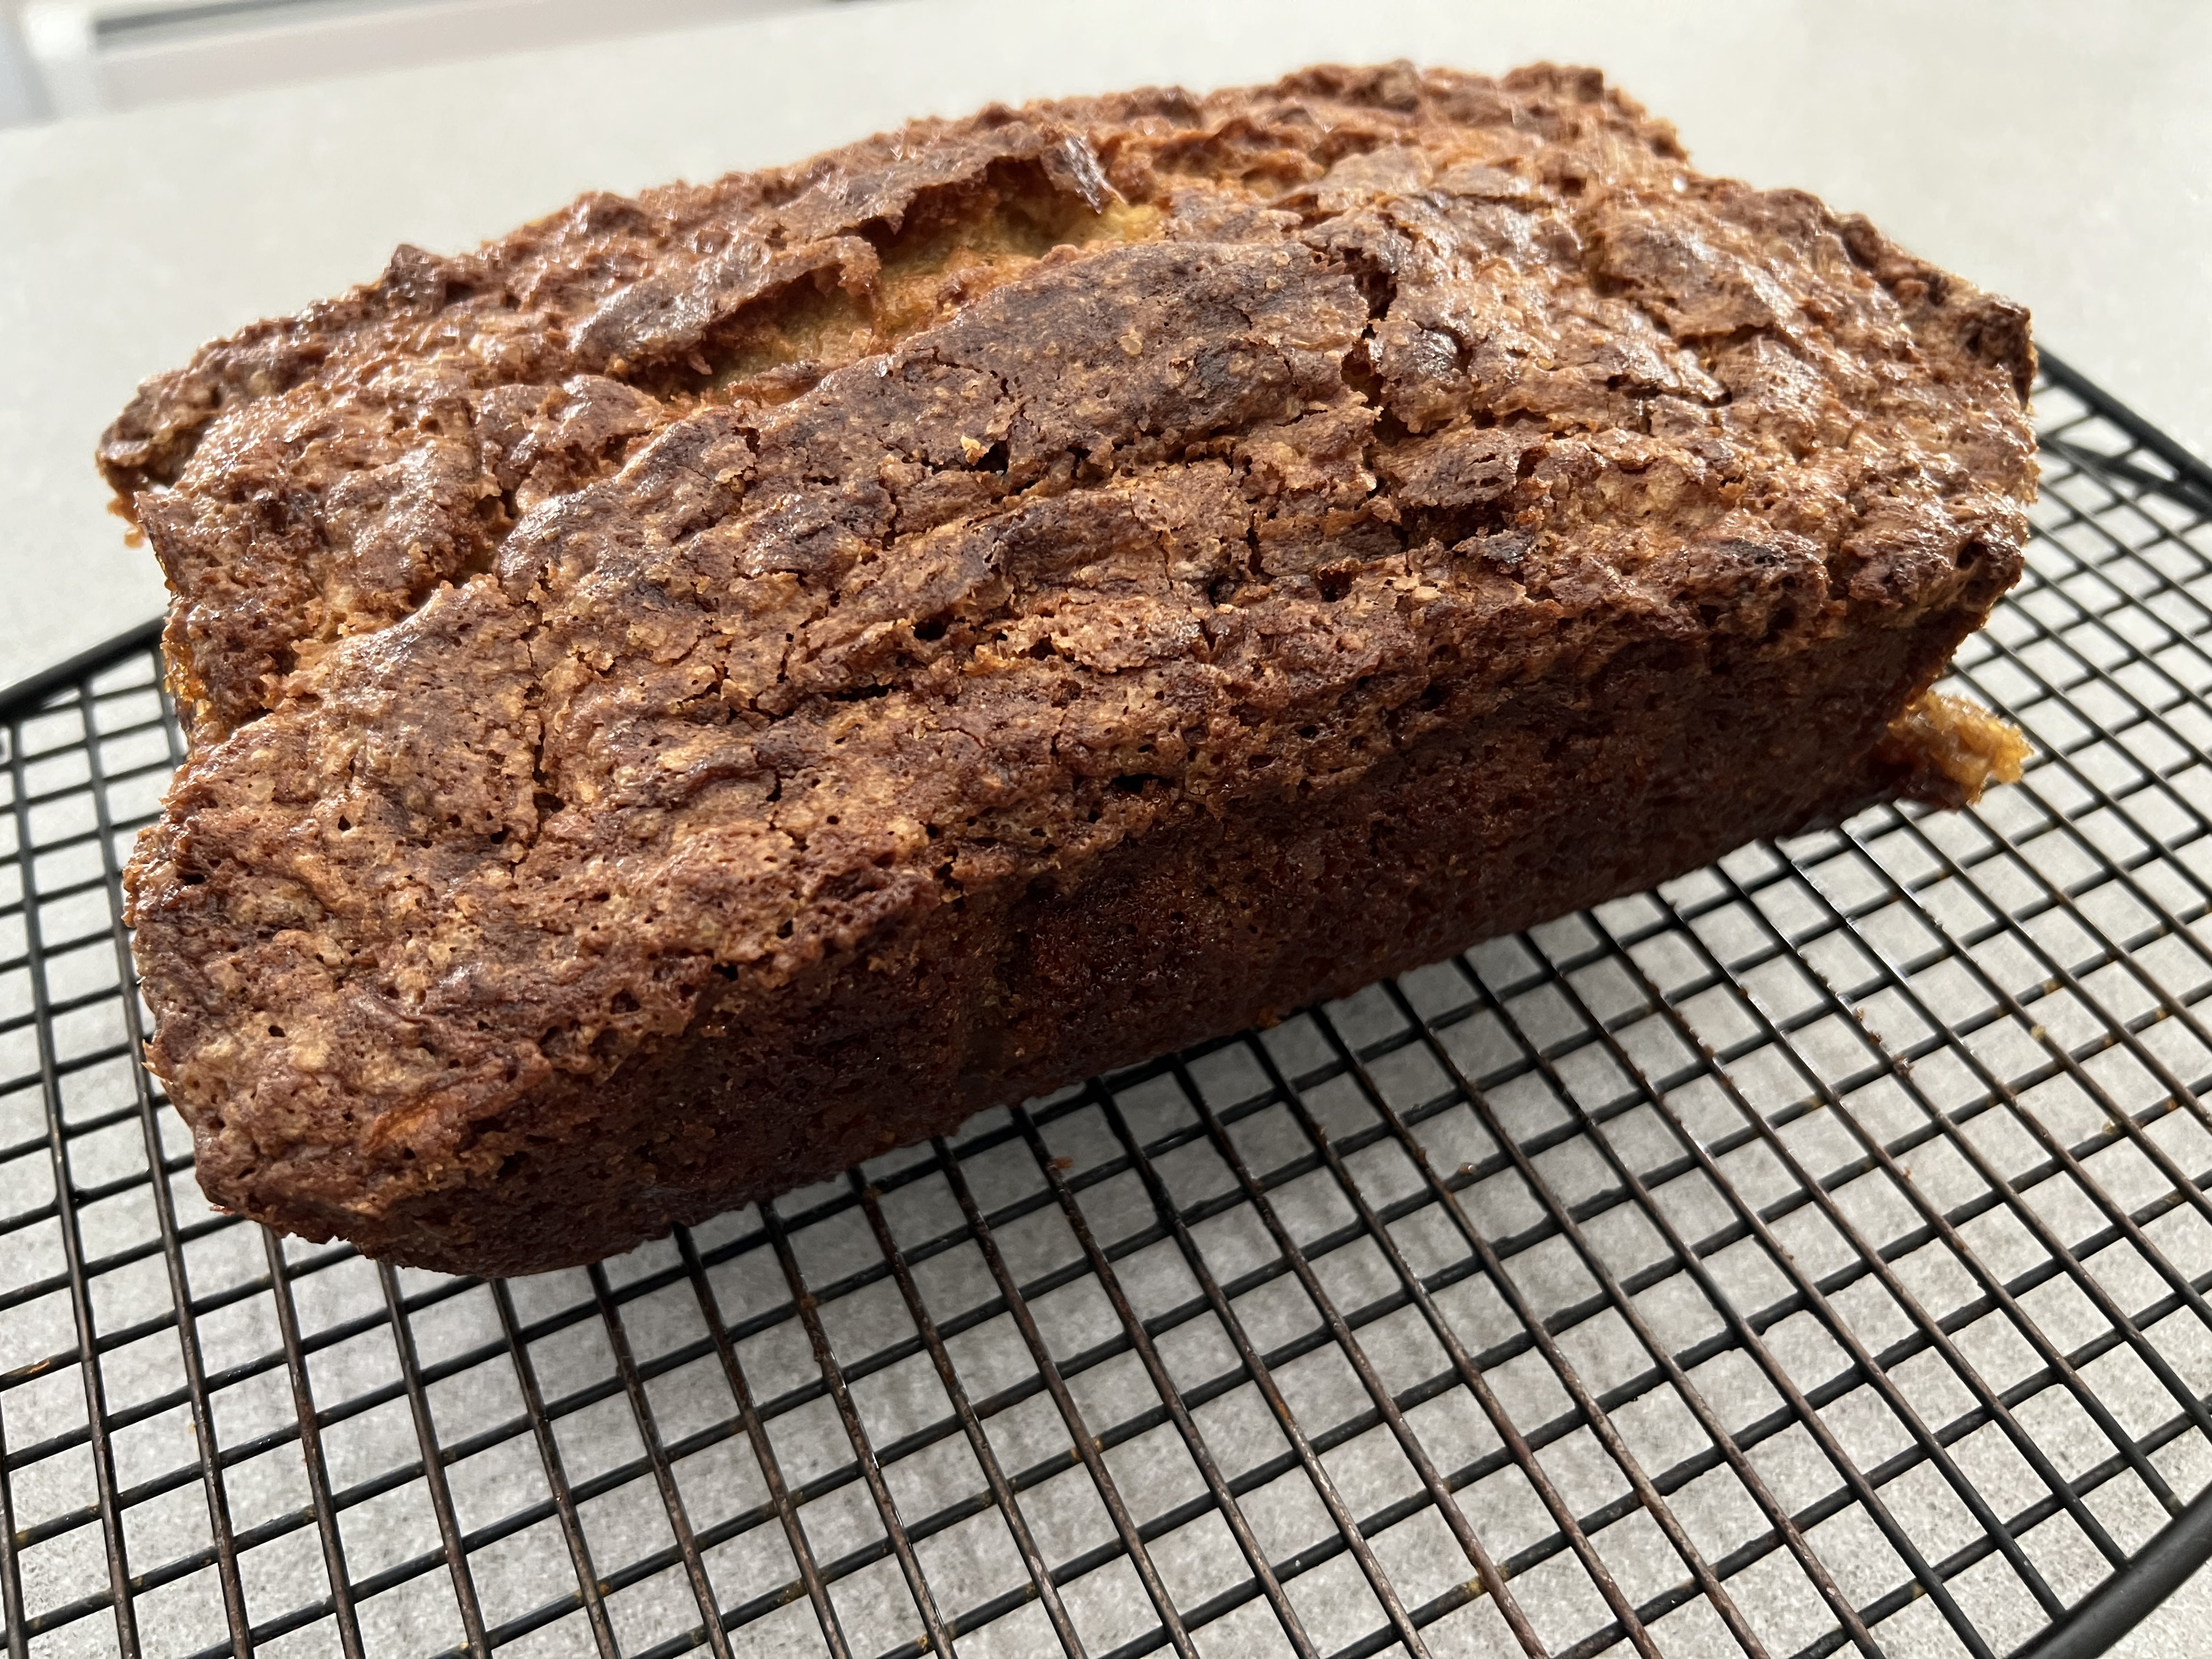
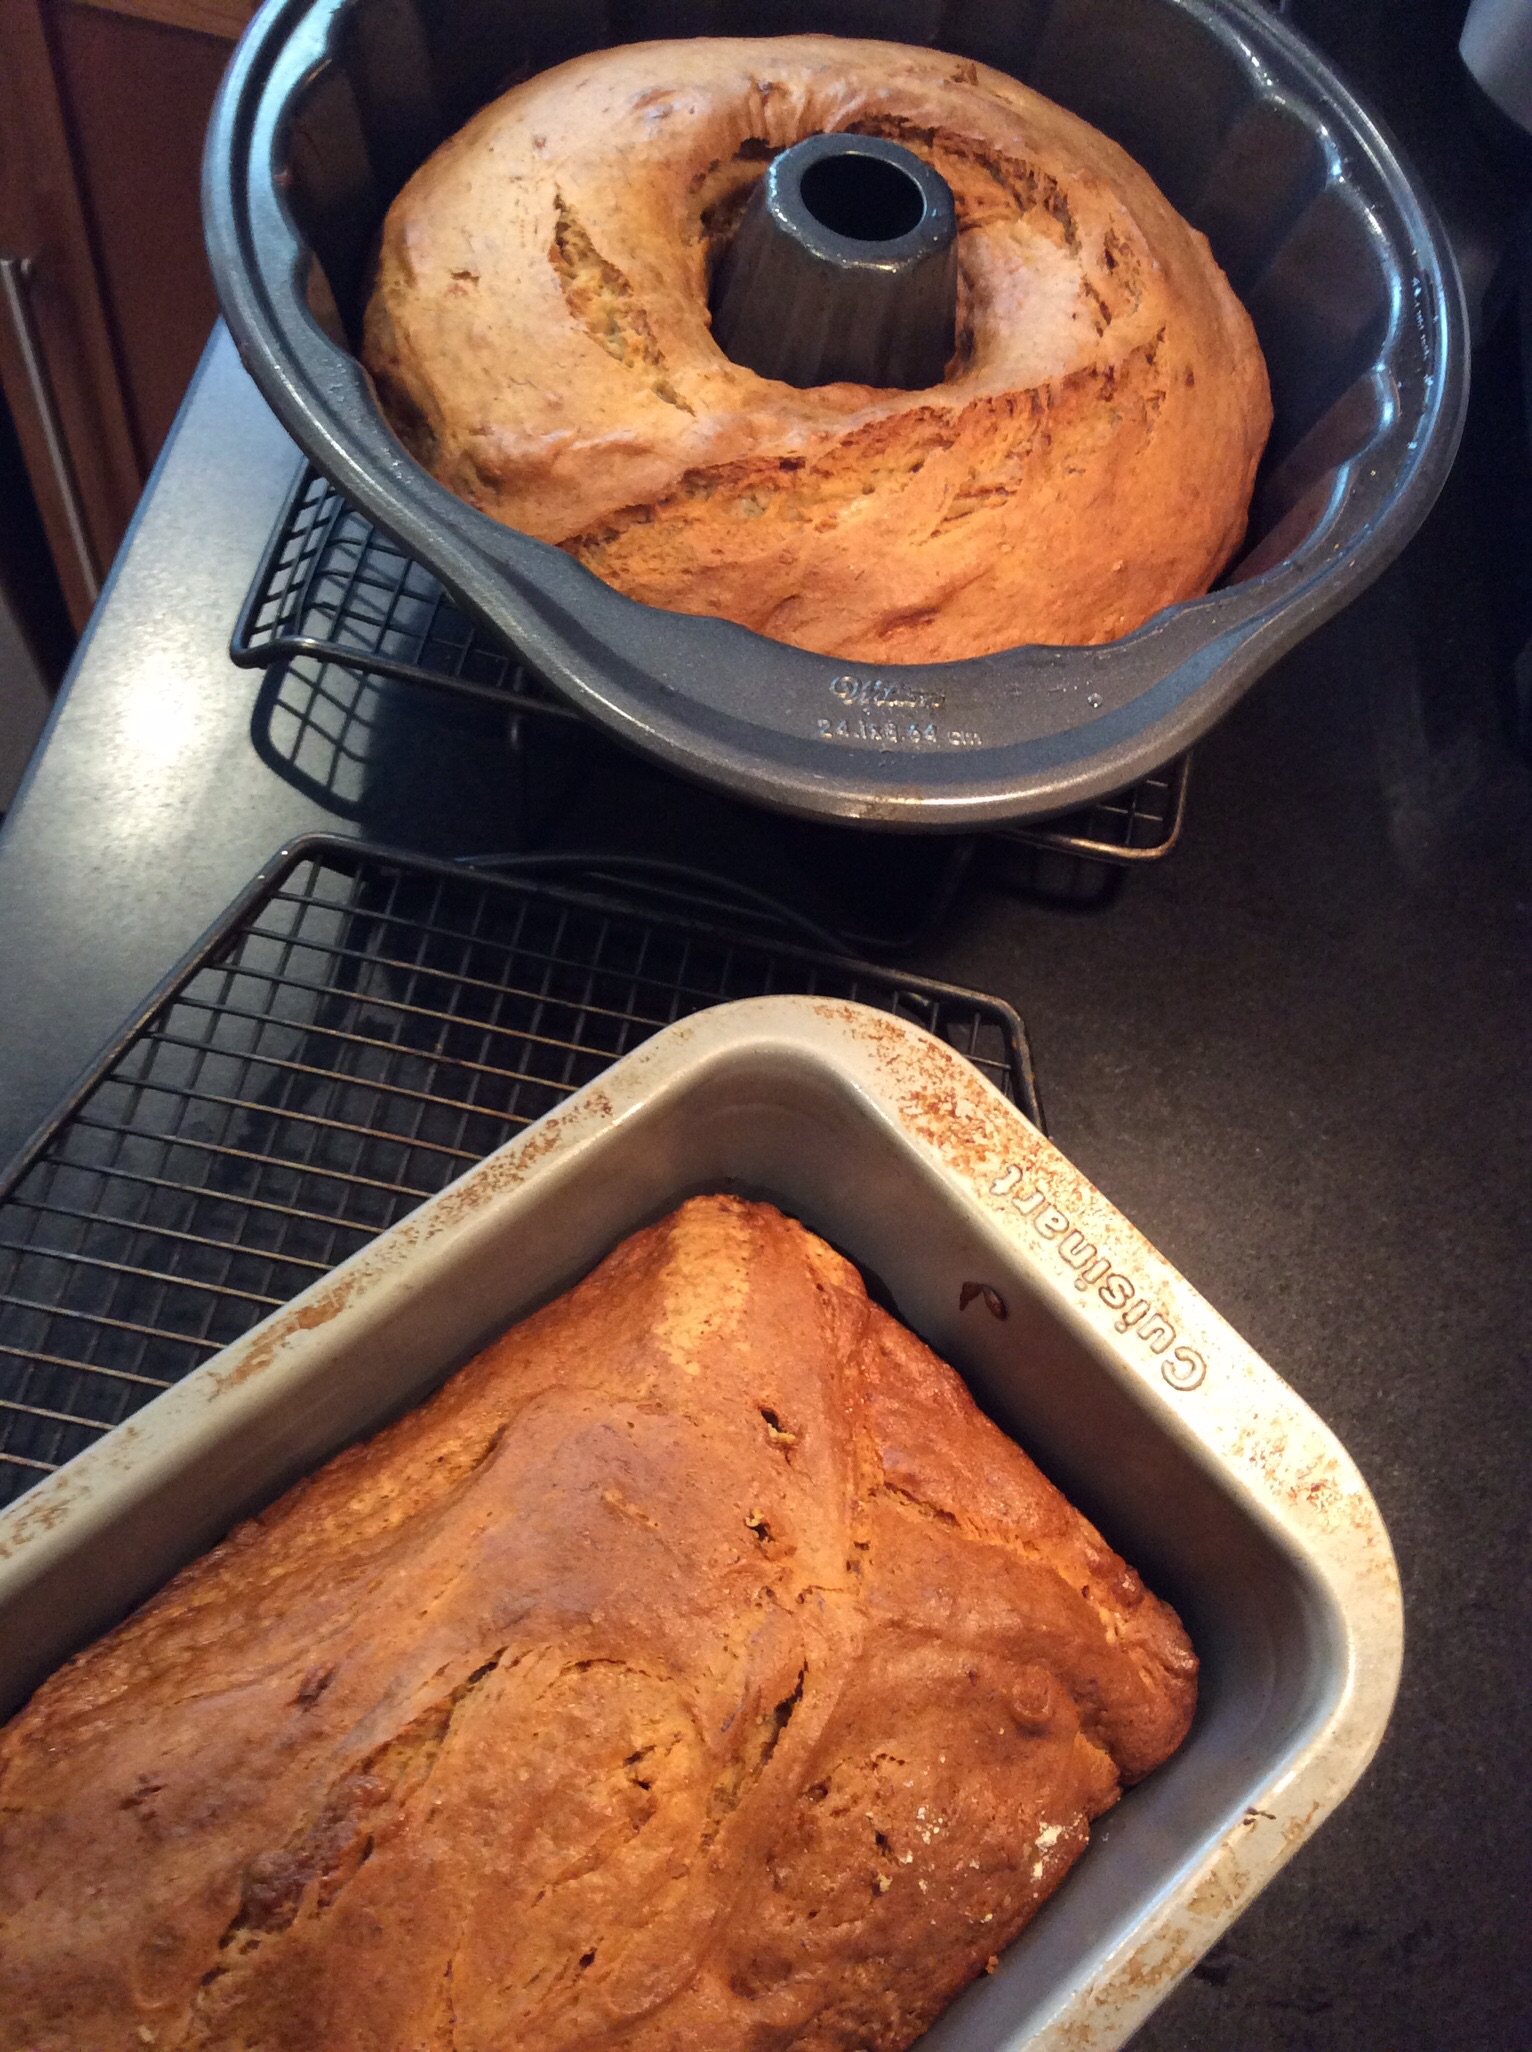
A gluten-free batch.


The original recipe…

What makes this banana bread special is that it uses whole wheat flour…less sugar…and no artificial extracts that make most banana breads taste like crap. It relies on very ripe bananas to give it its wonderful natural flavor.

It’s not always easy to get bananas to ripen exactly when you’re trying to make your banana bread recipe. So I buy a large bunch of bananas and let them get very ripe at room temperature. I then take 5 at a time (for this recipe), peel them, and place the bananas in a Ziploc bag in the freezer. When it’s time to make banana bread, I just pull one of those Ziplocs out of the freezer, let it thaw, and mash with a potato masher.

Since Roundup is a very common herbicide used on wheat, and its cancer-causing characteristics are widely known by now, I always use organic wheat for my baking recipes.

I use organic cane sugar instead of regular sugar when I have it. I don’t use vegetable oils, especially not canola, so I use healthier avocado oil or olive oil. Eggs are pastured when I can get ’em. Bananas are organic. And I rub the pans with coconut oil or I use an olive oil cooking spray.


Nana bread blog


3 cups all-purpose flour
1/2 cup whole wheat flour
2 tsp baking soda
1/2 tsp salt
1 1/4 cup sugar
3/4 cup vegetable oil
2 eggs
5 medium-sized bananas, peeled and mashed
2 tsp real vanilla extract
Cooking spray

Pre-heat the oven to 350 degrees.

Combine the all-purpose flour, whole wheat flour, baking soda and salt in a medium bowl. Set it aside. (For a less rustic bread, simply substitute more all purpose flour for the whole wheat flour.)

Combine the sugar and oil in a mixing bowl and mix at medium speed for 2 minutes. (I use the whisk attachment.) Add the eggs, one at a time. Beat until the mixture is light and lemon colored.

With the mixer running at low-speed, add the flour mixture alternately with the bananas, beginning and ending with the flour mixture. Blend well after each addition. Add the vanilla extract and blend some more to mix.

Pour the batter into 2 loaf pans that have been sprayed with cooking spray. Bake for 45 minutes or until a wooden pick inserted in the center comes out clean. Cool 15 minutes in the loaf pan on a wire rack. A bundt pan works as well.

Remove the loaves from the pans and let them cool completely on the wire rack before slicing.


image


The gluten-free recipe…

My go-to gluten-free flour is the brand called Cup 4 Cup. You can find it in most supermarkets. They also offer a more rustic version they call “Wholesome Flour,” which is made mostly of rice. I found that the two combined worked really well for a rustic, chewy texture much like whole wheat.


image


3 cups Cup4Cup all-purpose gluten-free flour
1 cup Cup4Cup Wholesome Flour
2 teaspoons baking soda
1/2 teaspoon salt
1 1/4 cup cane sugar
3/4 cup avocado or olive oil
2 eggs
5 medium-sized bananas, peeled and mashed
2 teaspoons real vanilla extract
coconut oil


Pre-heat the oven to 350 degrees.

Combine the flour, baking soda and salt in a bowl. Set aside.

Combine the sugar and oil in a mixing bowl and mix at medium speed for 2 minutes. (I use the whisk attachment.) Add the eggs, one at a time. Beat until the mixture is light and lemon colored.

With the mixer running at low-speed, add the flour mixture alternately with the bananas, beginning and ending with the flour mixture. Blend well after each addition. Add the vanilla extract and blend some more to mix.

Pour the batter into 2 loaf pans or one large bundt pan that have been rubbed with the coconut oil. Bake for 45–60 minutes or until a wooden toothpick inserted in the center comes out clean. Cool 15 minutes in the pan on a wire rack.

Remove the bread from the pan and let it cool completely on the wire rack before slicing.


Gluten-free and delicious!

PRETZEL BREAD

Posted: March 29, 2024 in Food, Recipes, Uncategorized
Tags: , , , ,

As much as I’m a fan of sourdough–or any great bread for that matter–pretzel bread has a special place in my heart.

I found a pretzel bread recipe that uses baking soda, a much milder and safer alkaline alternative to lye (which is what many bakeries use) an ingredient that I could safely pour down my drain after using.


image


½ cup water
½ cup milk
2 tablespoons butter, softened
3 cups all-purpose flour
2 tablespoons brown sugar
1 tablespoon yeast
2 teaspoons salt
1 egg, separated
Cooking spray
¾ cup baking soda
Kosher salt or pretzel salt for sprinkling

Combine the water, milk and butter in a glass container and microwave it about 45 seconds to melt the butter and warm the milk. Set it aside.

In a mixing bowl, combine the flour, brown sugar, yeast, salt and egg yolk. Slowly add the milk mixture and mix until the dough comes together. If it seems too dry, add small amounts of water. Knead the dough until it is smooth and springy, about 5 minutes.

Place the dough in a bowl sprayed with cooking spray. Flip it over so all sides get oiled, and then wrap the bowl with plastic wrap. Place it in a warm place until the dough has doubled in size, about an hour.

Pre-heat the oven to 375 degrees.

Turn out the risen dough on a floured surface and divide it into equal pieces. You can make 15 small slider-sized buns, 8 burger buns, 8 hot dog buns or any other shape you like. Once all the pieces have been rolled, cover them with a clean dish towel and set them aside to rest.

While the dough is resting, heat about 12 cups of water in a large pot. When it comes to a gentle boil, carefully pour the baking soda into it. It will foam and bubble vigorously.

Add the rested pieces of dough to the simmering water and poach them for about 30 seconds and then flip them over for another 30 seconds. Don’t overcrowd the pot; you need to do this in batches.

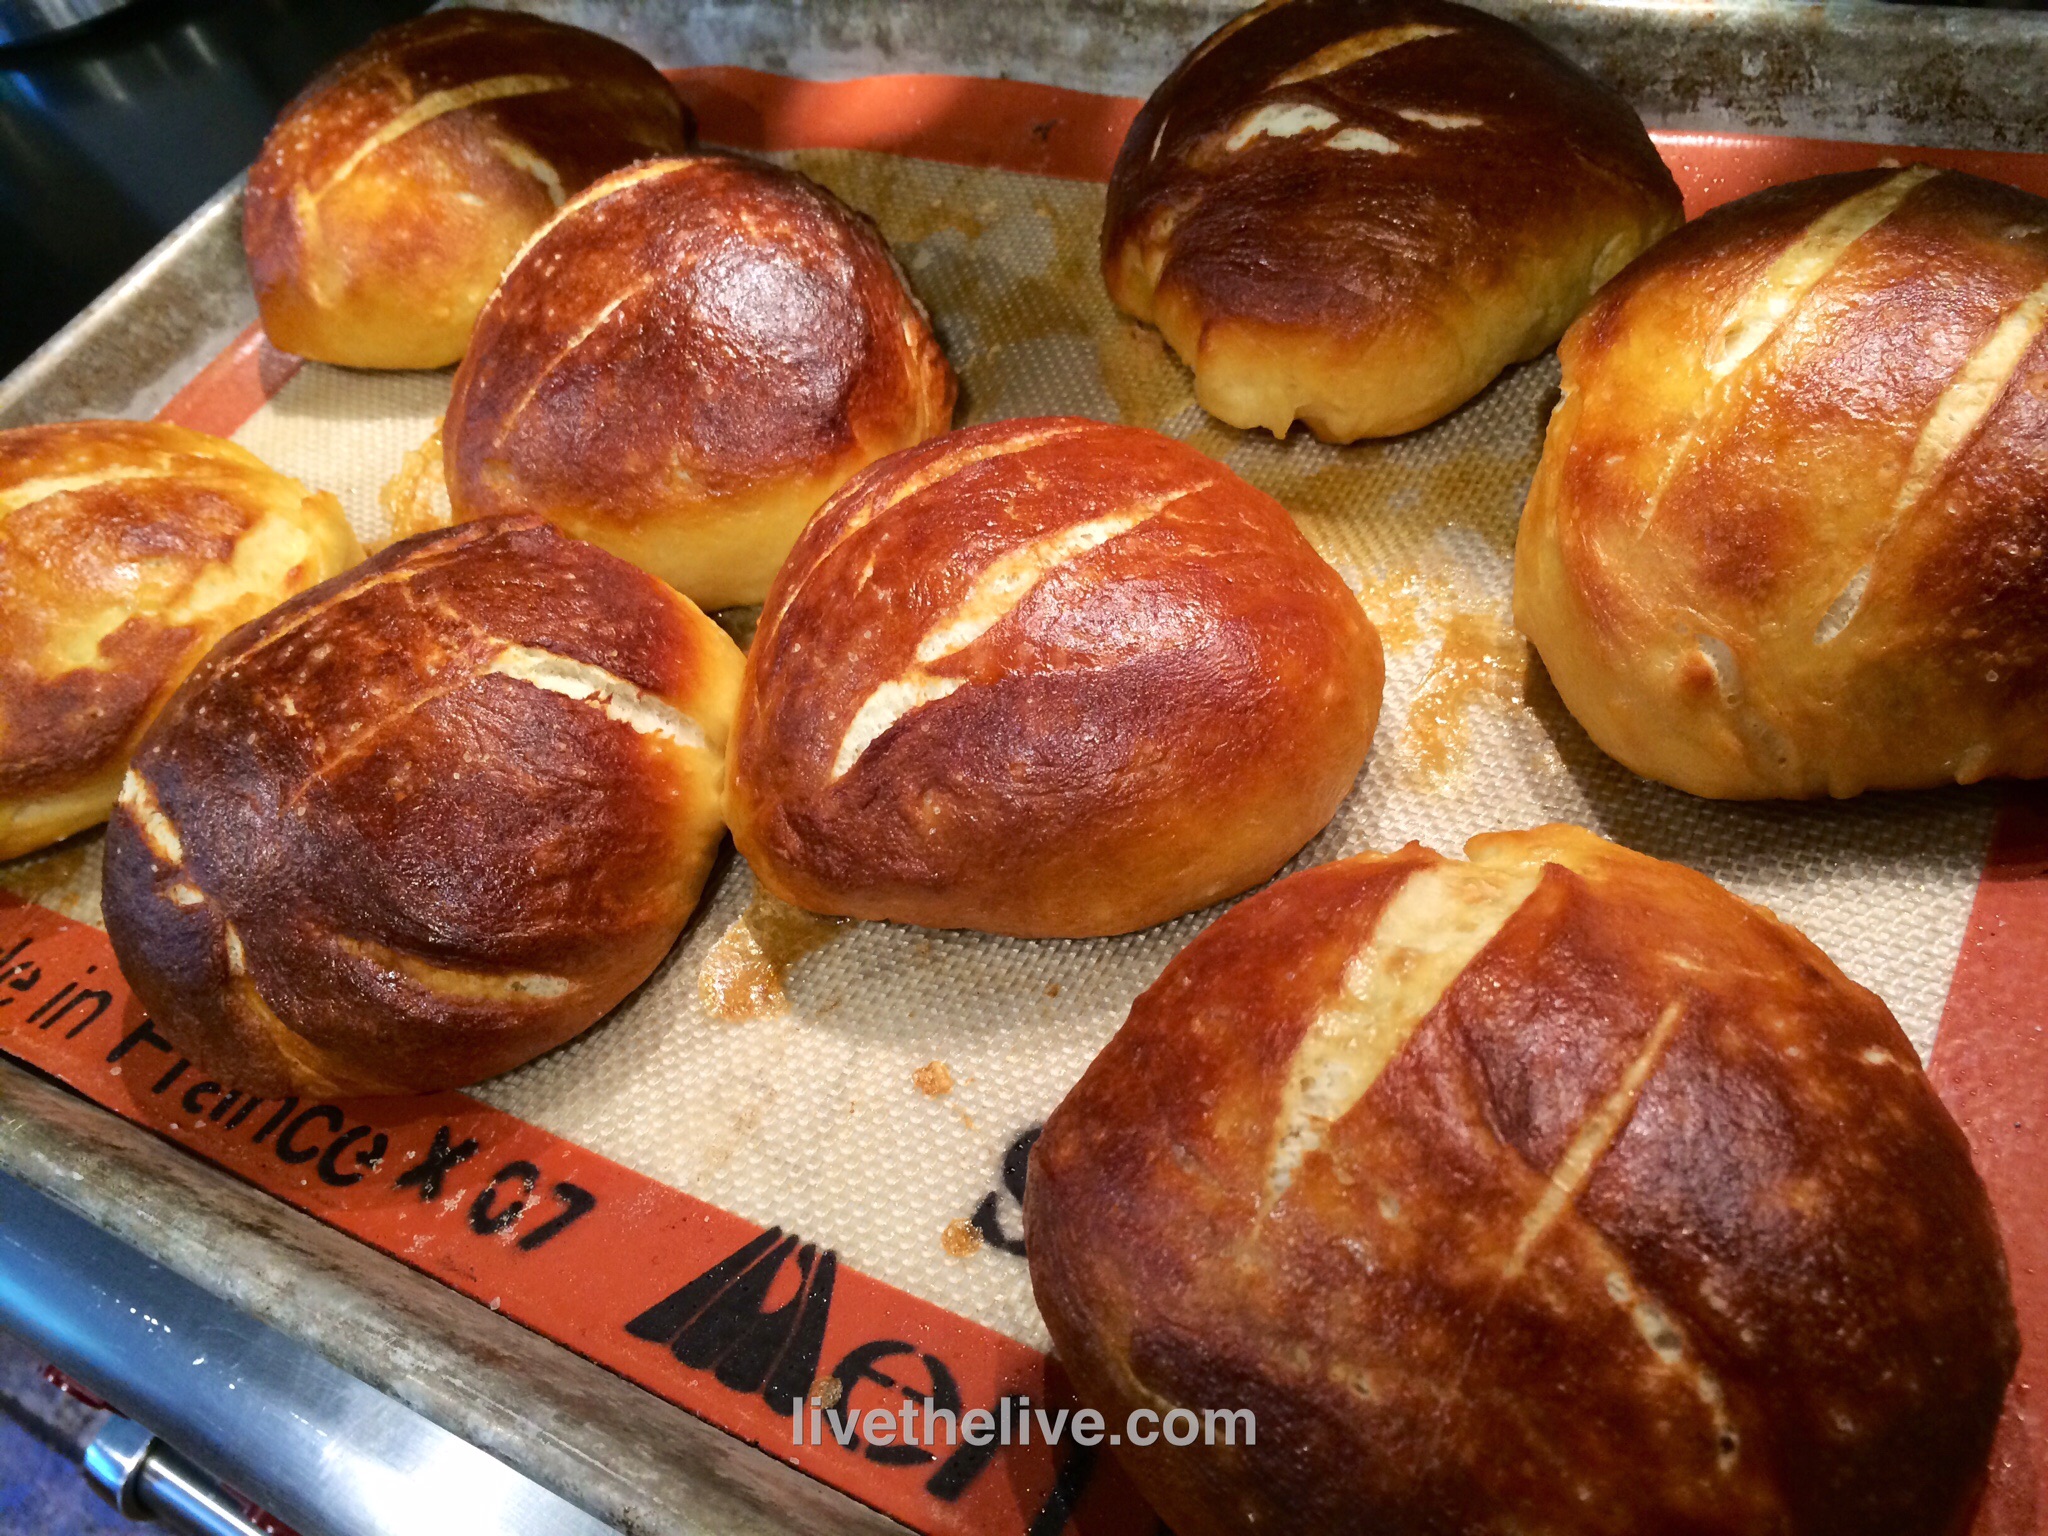
With a slotted spoon or spatula, lift the poached buns onto a Silpat baking sheet (or a baking sheet sprayed with oil, then sprinkled with cornmeal.)

Froth the egg white with a fork, then brush each bun with the egg white.

Using a sharp knife, make a few slits on the top of the buns, about ¼-inch deep. Sprinkle them with Kosher salt, then bake for 20 minutes until they’re golden brown.

It’s National Banana Bread Day!

This is one of my favorites because it not only tastes amazing, it freezes really well.

My original banana bread recipe blog is featured directly below. It’s awesome. But if you follow a gluten-free lifestyle, no worries. My gluten-free version of the recipe, at the bottom of the page, is so good, you won’t miss the wheat!

A gluten-free batch.

The original recipe…

What makes this banana bread special is that it uses whole wheat flour…less sugar…and no artificial extracts that make most banana breads taste like crap. It relies on very ripe bananas to give it its wonderful natural flavor.

It’s not always easy to get bananas to ripen exactly when you’re trying to make your banana bread recipe. So I buy a large bunch of bananas and let them get very ripe at room temperature. I then take 5 at a time (for this recipe), peel them, and place the bananas in a Ziploc bag in the freezer. When it’s time to make banana bread, I just pull one of those Ziplocs out of the freezer, let it thaw, and mash with a potato masher.

Since Roundup is a very common herbicide used on wheat, and its cancer-causing characteristics are widely known by now, I always use organic wheat for my baking recipes.

I use organic cane sugar instead of regular sugar when I have it. I don’t use vegetable oils, especially not canola, so I use healthier avocado oil or olive oil. Eggs are pastured when I can get ’em. Bananas are organic. And I rub the pans with coconut oil or I use an olive oil cooking spray.

Nana bread blog

3 cups all-purpose flour
1/2 cup whole wheat flour
2 tsp baking soda
1/2 tsp salt
1 1/4 cup sugar
3/4 cup vegetable oil
2 eggs
5 medium-sized bananas, peeled and mashed
2 tsp real vanilla extract
Cooking spray

Pre-heat the oven to 350 degrees.

Combine the all-purpose flour, whole wheat flour, baking soda and salt in a medium bowl. Set it aside. (For a less rustic bread, simply substitute more all purpose flour for the whole wheat flour.)

Combine the sugar and oil in a mixing bowl and mix at medium speed for 2 minutes. (I use the whisk attachment.) Add the eggs, one at a time. Beat until the mixture is light and lemon colored.

With the mixer running at low-speed, add the flour mixture alternately with the bananas, beginning and ending with the flour mixture. Blend well after each addition. Add the vanilla extract and blend some more to mix.

Pour the batter into 2 loaf pans that have been sprayed with cooking spray. Bake for 45 minutes or until a wooden pick inserted in the center comes out clean. Cool 15 minutes in the loaf pan on a wire rack. A bundt pan works as well.

Remove the loaves from the pans and let them cool completely on the wire rack before slicing.

image

The gluten-free recipe…

My go-to gluten-free flour is the brand called Cup 4 Cup. You can find it in most supermarkets. They also offer a more rustic version they call “Wholesome Flour,” which is made mostly of rice. I found that the two combined worked really well for a rustic, chewy texture much like whole wheat.

image

3 cups Cup4Cup all-purpose gluten-free flour
1 cup Cup4Cup Wholesome Flour
2 teaspoons baking soda
1/2 teaspoon salt
1 1/4 cup cane sugar
3/4 cup avocado or olive oil
2 eggs
5 medium-sized bananas, peeled and mashed
2 teaspoons real vanilla extract
coconut oil

Pre-heat the oven to 350 degrees.

Combine the flour, baking soda and salt in a bowl. Set aside.

Combine the sugar and oil in a mixing bowl and mix at medium speed for 2 minutes. (I use the whisk attachment.) Add the eggs, one at a time. Beat until the mixture is light and lemon colored.

With the mixer running at low-speed, add the flour mixture alternately with the bananas, beginning and ending with the flour mixture. Blend well after each addition. Add the vanilla extract and blend some more to mix.

Pour the batter into 2 loaf pans or one large bundt pan that have been rubbed with the coconut oil. Bake for 45–60 minutes or until a wooden toothpick inserted in the center comes out clean. Cool 15 minutes in the pan on a wire rack.

Remove the bread from the pan and let it cool completely on the wire rack before slicing.

Gluten-free and delicious!

This is one of my favorites because it not only tastes amazing, it freezes really well.

My original banana bread recipe blog is featured directly below. It’s awesome. But if you follow a gluten-free lifestyle, no worries. My gluten-free version of the recipe, at the bottom of the page, is so good, you won’t miss the wheat!


A gluten-free batch.


The original recipe…

What makes this banana bread special is that it uses whole wheat flour…less sugar…and no artificial extracts that make most banana breads taste like crap. It relies on very ripe bananas to give it its wonderful natural flavor.

It’s not always easy to get bananas to ripen exactly when you’re trying to make your banana bread recipe. So I buy a large bunch of bananas and let them get very ripe at room temperature. I then take 5 at a time (for this recipe), peel them, and place the bananas in a Ziploc bag in the freezer. When it’s time to make banana bread, I just pull one of those Ziplocs out of the freezer, let it thaw, and mash with a potato masher.

Since Roundup is a very common herbicide used on wheat, and its cancer-causing characteristics are widely known by now, I always use organic wheat for my baking recipes.

I use organic cane sugar instead of regular sugar when I have it. I don’t use vegetable oils, especially not canola, so I use healthier avocado oil or olive oil. Eggs are pastured when I can get ’em. Bananas are organic. And I rub the pans with coconut oil or I use an olive oil cooking spray.


Nana bread blog


3 cups all-purpose flour
1/2 cup whole wheat flour
2 tsp baking soda
1/2 tsp salt
1 1/4 cup sugar
3/4 cup vegetable oil
2 eggs
5 medium-sized bananas, peeled and mashed
2 tsp real vanilla extract
Cooking spray

Pre-heat the oven to 350 degrees.

Combine the all-purpose flour, whole wheat flour, baking soda and salt in a medium bowl. Set it aside. (For a less rustic bread, simply substitute more all purpose flour for the whole wheat flour.)

Combine the sugar and oil in a mixing bowl and mix at medium speed for 2 minutes. (I use the whisk attachment.) Add the eggs, one at a time. Beat until the mixture is light and lemon colored.

With the mixer running at low-speed, add the flour mixture alternately with the bananas, beginning and ending with the flour mixture. Blend well after each addition. Add the vanilla extract and blend some more to mix.

Pour the batter into 2 loaf pans that have been sprayed with cooking spray. Bake for 45 minutes or until a wooden pick inserted in the center comes out clean. Cool 15 minutes in the loaf pan on a wire rack. A bundt pan works as well.

Remove the loaves from the pans and let them cool completely on the wire rack before slicing.


image


The gluten-free recipe…

My go-to gluten-free flour is the brand called Cup 4 Cup. You can find it in most supermarkets. They also offer a more rustic version they call “Wholesome Flour,” which is made mostly of rice. I found that the two combined worked really well for a rustic, chewy texture much like whole wheat.


image


3 cups Cup4Cup all-purpose gluten-free flour
1 cup Cup4Cup Wholesome Flour
2 teaspoons baking soda
1/2 teaspoon salt
1 1/4 cup cane sugar
3/4 cup avocado or olive oil
2 eggs
5 medium-sized bananas, peeled and mashed
2 teaspoons real vanilla extract
coconut oil


Pre-heat the oven to 350 degrees.

Combine the flour, baking soda and salt in a bowl. Set aside.

Combine the sugar and oil in a mixing bowl and mix at medium speed for 2 minutes. (I use the whisk attachment.) Add the eggs, one at a time. Beat until the mixture is light and lemon colored.

With the mixer running at low-speed, add the flour mixture alternately with the bananas, beginning and ending with the flour mixture. Blend well after each addition. Add the vanilla extract and blend some more to mix.

Pour the batter into 2 loaf pans or one large bundt pan that have been rubbed with the coconut oil. Bake for 45–60 minutes or until a wooden toothpick inserted in the center comes out clean. Cool 15 minutes in the pan on a wire rack.

Remove the bread from the pan and let it cool completely on the wire rack before slicing.


Gluten-free and delicious!

This is one of my favorites because it not only tastes amazing, it freezes really well.

My original banana bread recipe blog is featured directly below. It’s awesome. But if you follow a gluten-free lifestyle, no worries. My gluten-free version of the recipe, at the bottom of the page, is so good, you won’t miss the wheat!


A gluten-free batch.


The original recipe…

What makes this banana bread special is that it uses whole wheat flour…less sugar…and no artificial extracts that make most banana breads taste like crap. It relies on very ripe bananas to give it its wonderful natural flavor.

It’s not always easy to get bananas to ripen exactly when you’re trying to make your banana bread recipe. So I buy a large bunch of bananas and let them get very ripe at room temperature. I then take 5 at a time (for this recipe), peel them, and place the bananas in a Ziploc bag in the freezer. When it’s time to make banana bread, I just pull one of those Ziplocs out of the freezer, let it thaw, and mash with a potato masher.

Since Roundup is a very common herbicide used on wheat, and its cancer-causing characteristics are widely known by now, I always use organic wheat for my baking recipes.

I use organic cane sugar instead of regular sugar when I have it. I don’t use vegetable oils, especially not canola, so I use healthier avocado oil or olive oil. Eggs are pastured when I can get ’em. Bananas are organic. And I rub the pans with coconut oil or I use an olive oil cooking spray.


Nana bread blog


3 cups all-purpose flour
1/2 cup whole wheat flour
2 tsp baking soda
1/2 tsp salt
1 1/4 cup sugar
3/4 cup vegetable oil
2 eggs
5 medium-sized bananas, peeled and mashed
2 tsp real vanilla extract
Cooking spray

Pre-heat the oven to 350 degrees.

Combine the all-purpose flour, whole wheat flour, baking soda and salt in a medium bowl. Set it aside.

Combine the sugar and oil in a mixing bowl and mix at medium speed for 2 minutes. (I use the whisk attachment.) Add the eggs, one at a time. Beat until the mixture is light and lemon colored.

With the mixer running at low-speed, add the flour mixture alternately with the bananas, beginning and ending with the flour mixture. Blend well after each addition. Add the vanilla extract and blend some more to mix.

Pour the batter into 2 loaf pans that have been sprayed with cooking spray. Bake for 45 minutes or until a wooden pick inserted in the center comes out clean. Cool 15 minutes in the loaf pan on a wire rack. A bundt pan works as well.

Remove the loaves from the pans and let them cool completely on the wire rack before slicing.


image


The gluten-free recipe…

My go-to gluten-free flour is the brand called Cup 4 Cup. You can find it in most supermarkets. They also offer a more rustic version they call “Wholesome Flour,” which is made mostly of rice. I found that the two combined worked really well for a rustic, chewy texture much like whole wheat.


image


3 cups Cup4Cup all-purpose gluten-free flour
1 cup Cup4Cup Wholesome Flour
2 teaspoons baking soda
1/2 teaspoon salt
1 1/4 cup cane sugar
3/4 cup avocado or olive oil
2 eggs
5 medium-sized bananas, peeled and mashed
2 teaspoons real vanilla extract
coconut oil


Pre-heat the oven to 350 degrees.

Combine the flour, baking soda and salt in a bowl. Set aside.

Combine the sugar and oil in a mixing bowl and mix at medium speed for 2 minutes. (I use the whisk attachment.) Add the eggs, one at a time. Beat until the mixture is light and lemon colored.

With the mixer running at low-speed, add the flour mixture alternately with the bananas, beginning and ending with the flour mixture. Blend well after each addition. Add the vanilla extract and blend some more to mix.

Pour the batter into 2 loaf pans or one large bundt pan that have been rubbed with the coconut oil. Bake for 45–60 minutes or until a wooden toothpick inserted in the center comes out clean. Cool 15 minutes in the pan on a wire rack.

Remove the bread from the pan and let it cool completely on the wire rack before slicing.


Gluten-free and delicious!

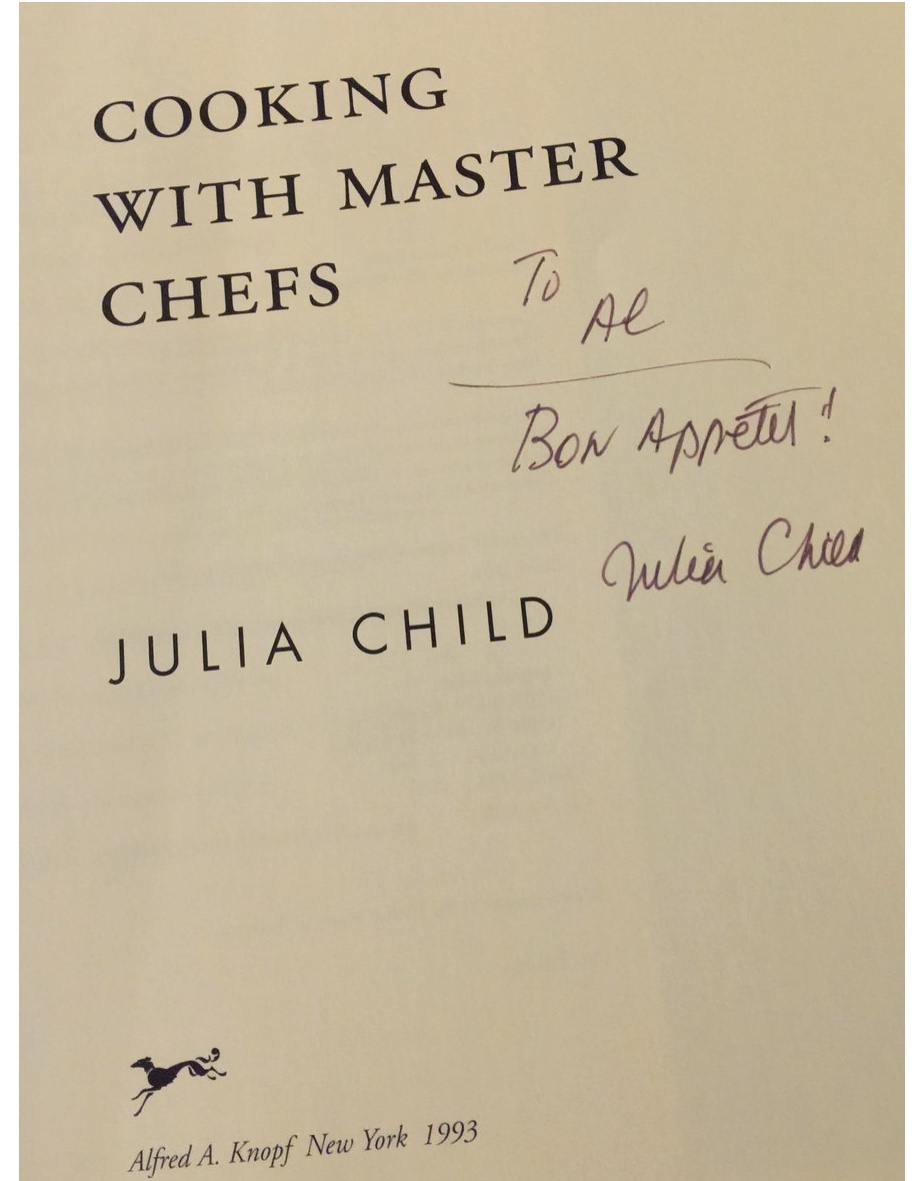
Julia Child was my first guide for many of the dishes that I still make today. My Mom and I would watch “The French Chef” on WNET, Channel 13, our PBS station back home in New York.  Later, I’d start buying Julia’s cookbooks, and I was lucky enough to not only interview her, but meet her just a few years before she passed away. She was a lovely, down-to-earth lady, and someone I’ll never forget.


The classic rustic galette was the first dessert I learned how to bake, straight from the pages of “Baking with Julia.” I generally stayed away from desserts because they required a lot of exact measurements, and that just wasn’t my style of cooking. So when I saw that this rustic galette required none of those things, and yet tasted absolutely delicious, I realized I had found my dessert! And the galette was versatile: I could use whatever ripe fruit I could get my hands on, so it became a dessert that changed with the seasons.


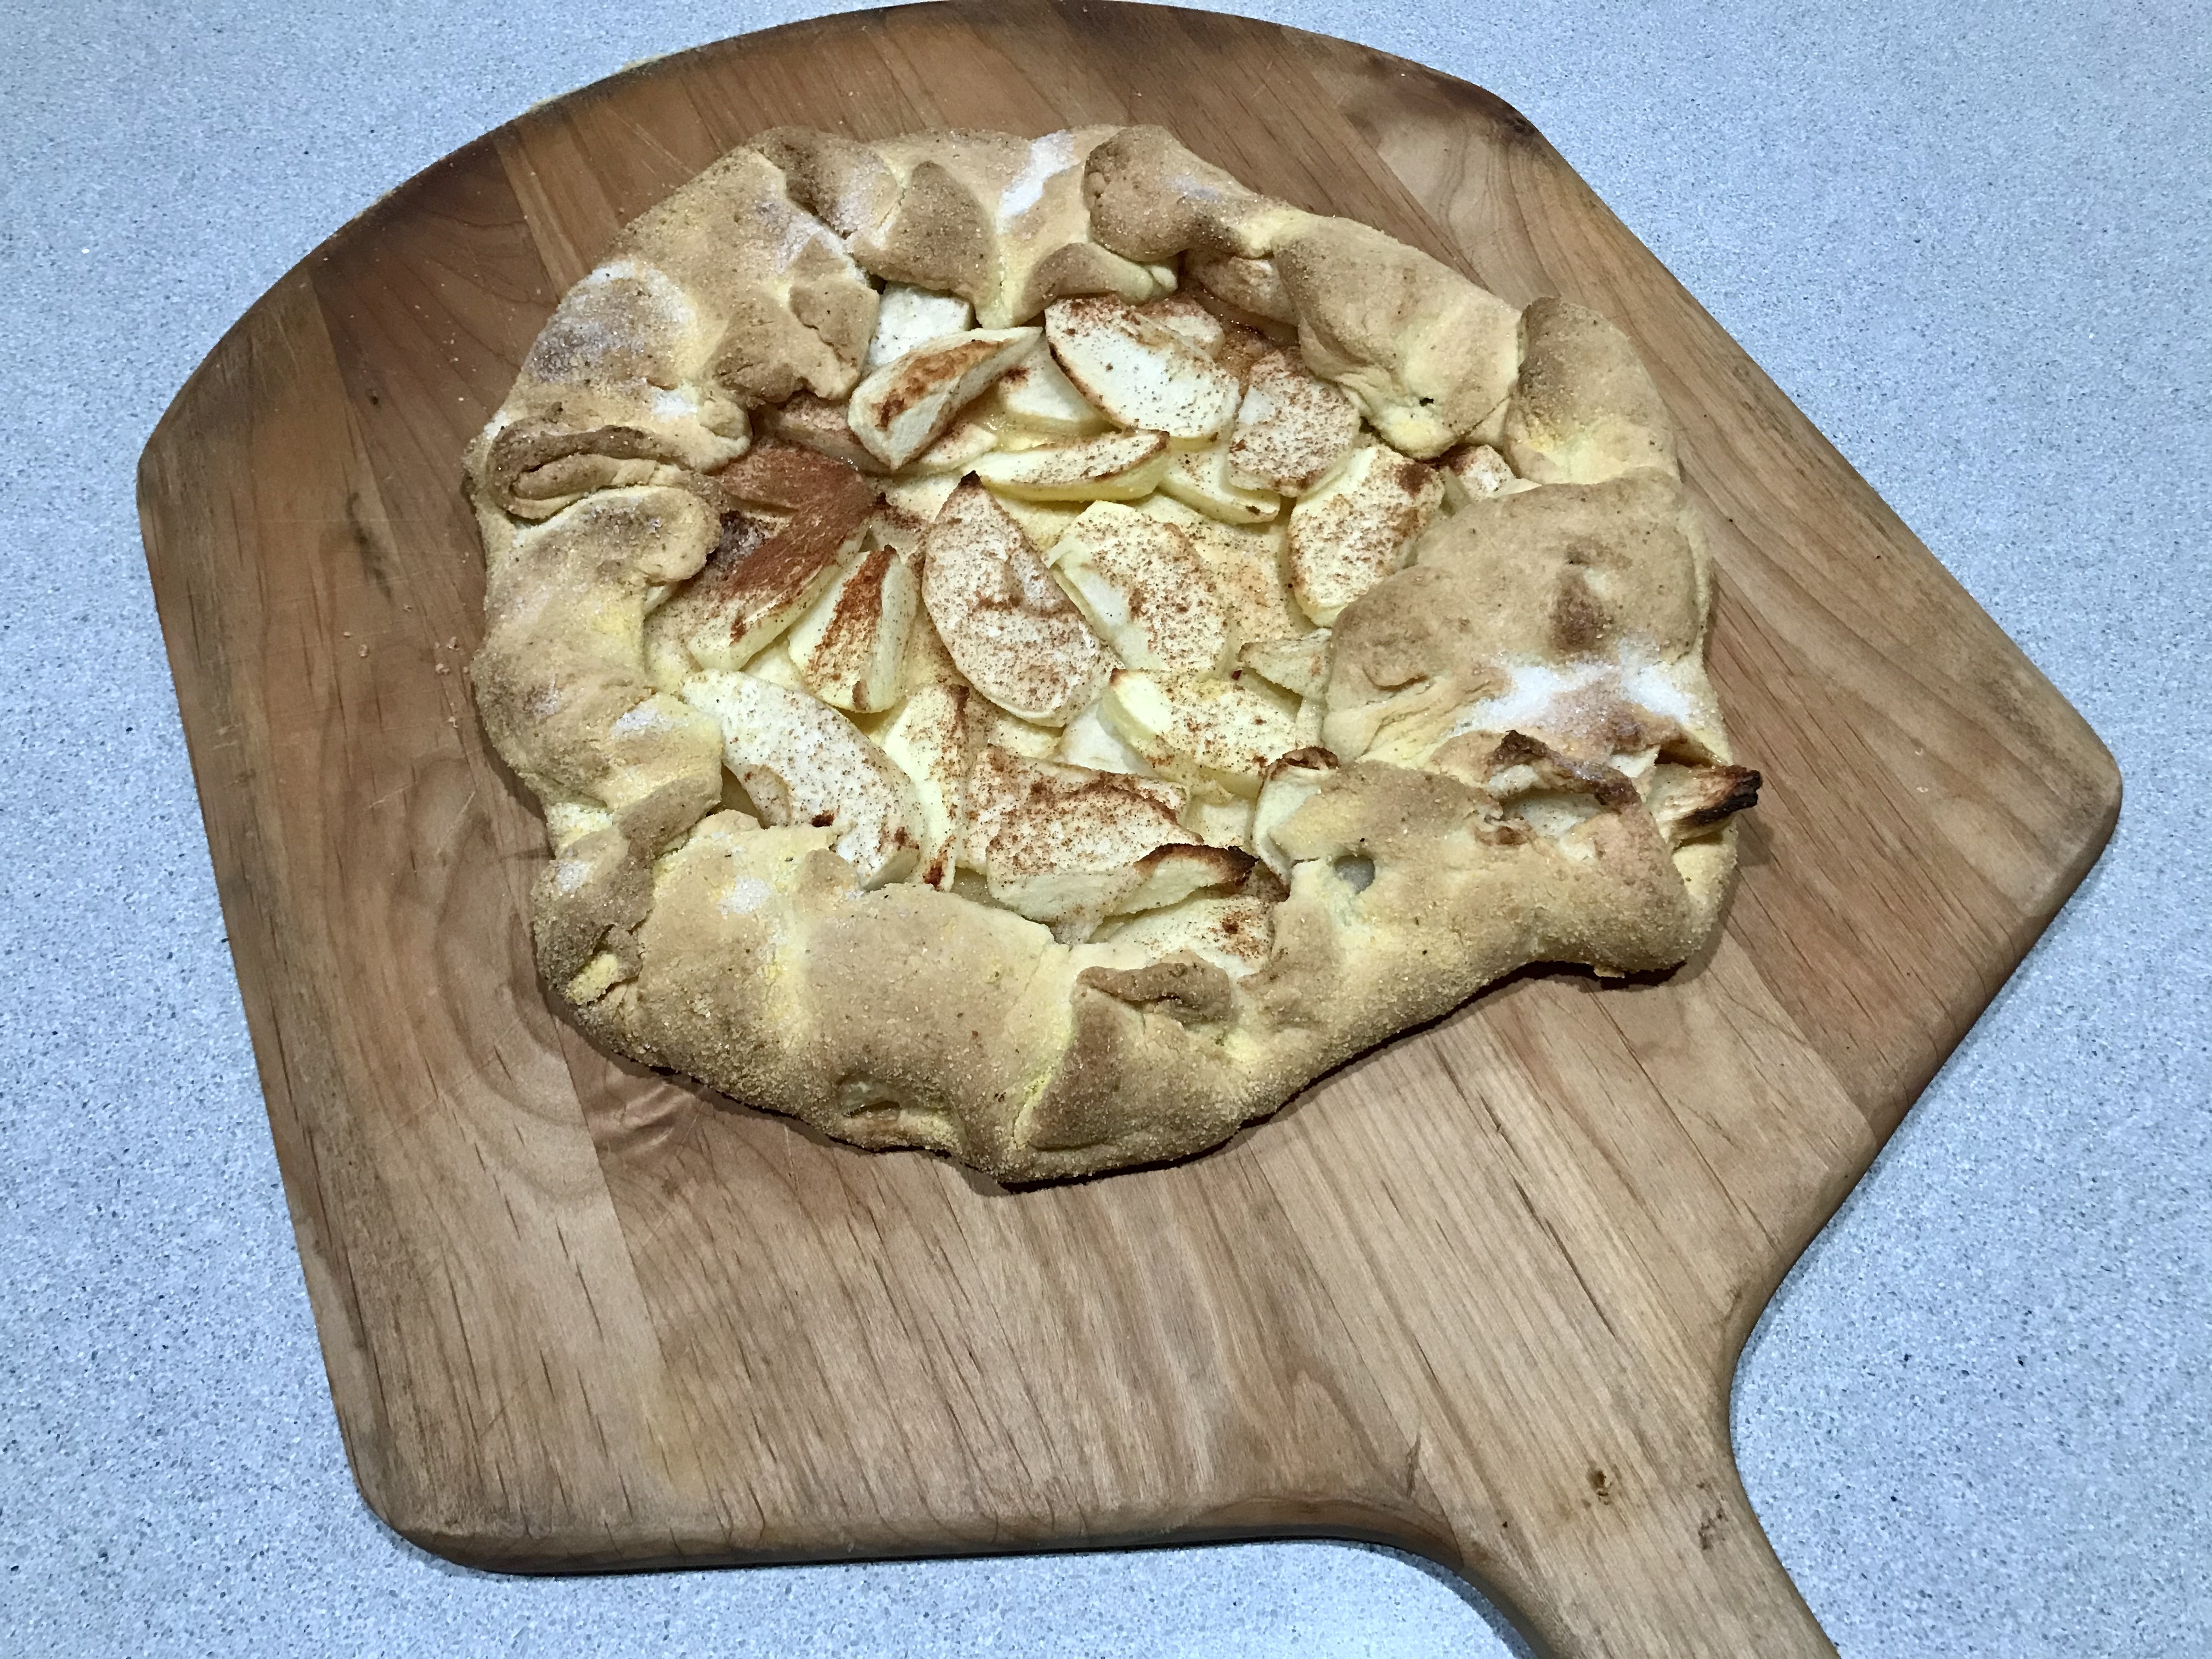
Making one large galette, I found that using my pizza peel was a great way to slide it in and out of the oven easily.


3 tablespoons sour cream
1/3 cup ice water
1 cup all-purpose flour
1/4 cup yellow cornmeal
1 teaspoon sugar
1/2 teaspoon salt
7 tablespoons cold unsalted butter, cut into about 8 pieces
1 1/2 cups mixed fresh berries or cut-up peeled fruit (I used apples)
1 tablespoon plus 1 teaspoon sugar
1 tablespoon cold, unsalted butter


I stirred the sour cream and 1/3 cup ice water together in a bowl and set it aside.

I put the flour, cornmeal, sugar, and salt in the bowl of a food processor fitted with the metal blade and pulsed it to combine.

I dropped the butter pieces into the processor and pulsed 8 to 10 times, or until the mixture was speckled with pieces of butter about the size of a pea. Then, with the machine running, I added the sour cream mixture and processed just until the dough formed soft, moist curds.

The original recipe says to divide the dough in half, pressing each into a disk. This time, I chose to make one large disc, which I wrapped and chilled in the fridge overnight.

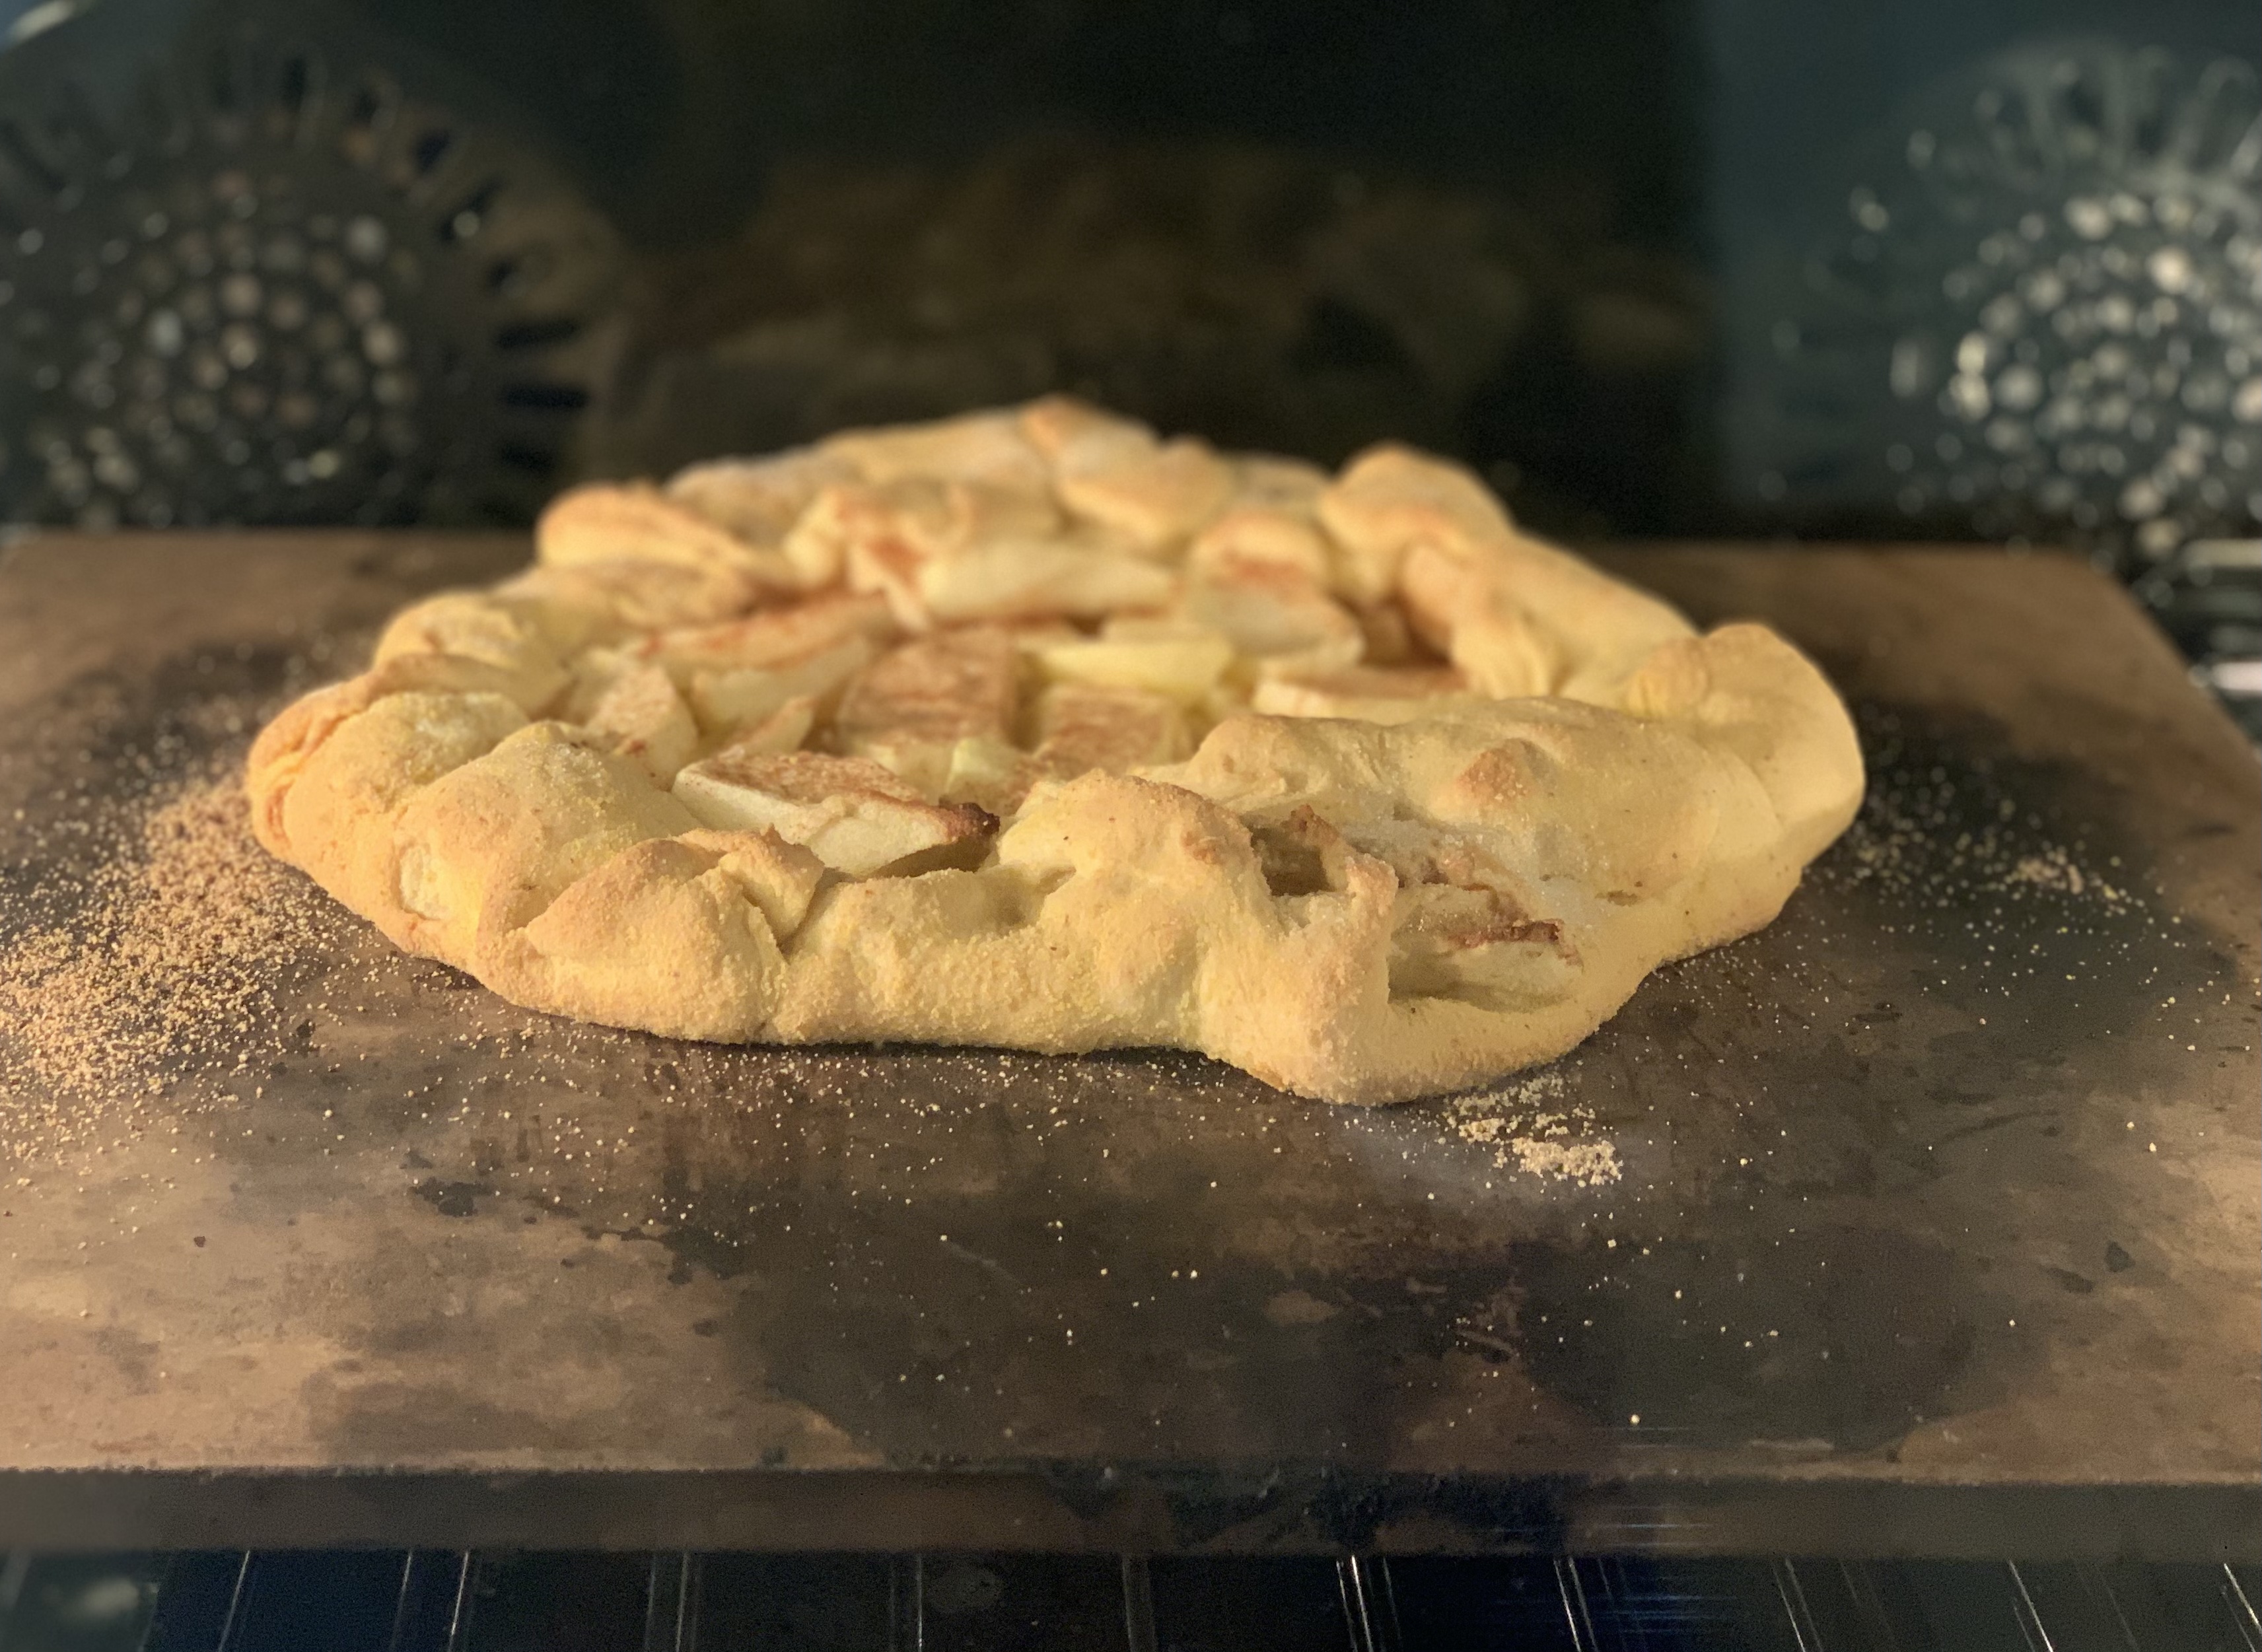
I positioned a rack in the lower third of the oven, slid in my pizza stone, and pre-heated the oven to 400.

I spread the apples (or whatever fruit is desired) over the dough, leaving a 2 to 3-inch border. I sprinkled 1 tablespoon of the sugar over the fruit. (A pinch of cinnamon with the apples didn’t hurt, too!) I cut the butter into slivers and scattered it onto the fruit. I carefully folded the uncovered border of the dough over the filling, allowing it to fold naturally onto itself as I lifted it and worked around the galette. It’s supposed to look rustic, so no sweat if it doesn’t look perfect.

Then I dipped a pastry brush in water, lightly brushing the edge of the crust with it, then sprinkling the remaining teaspoon of sugar onto the crust.

Because I chose to make one large galette, I dusted my trusty pizza peel with corn flour, and built the galette on that, sliding it onto the pizza stone that I heated up in my 400-degree oven.


I baked the galette for 35 to 40 minutes, until it was golden and crisp. I moved the baking sheet to a cooling rack and let the galette cool for 10 minutes. I like to serve it warm with fresh whipped cream on the side.

Baking on the pizza stone.


TIP: I’ve found that despite keeping the butter cold and using ice water, sometimes my dough doesn’t want to cooperate, and I don’t get the pea-sized curds when I’ve added the butter to the processor. Also, when I add the sour cream/water mixture, I often don’t get that ball of dough I’m hoping for.

No worries: I simply scrape the dough out of the processor bowl onto a floured surface, and I knead it gently into a disc. It will be really floppy and mushy sometimes. That’s OK. I just wrap it in plastic and place it in the fridge overnight.

The next day, the dough has firmed up, and I can roll it flat with a rolling pin on a well-floured surface to keep it from sticking. That’s why I like the pizza peel idea so much: I dust it really well with corn meal, which acts like little ball-bearings, build the galette right on top of it. The corn meal keeps the surface slippery so the dough slides right off the peel and into the oven.


NEW YORK STYLE CHEESECAKE

Posted: December 12, 2020 in Uncategorized
Tags: , , ,

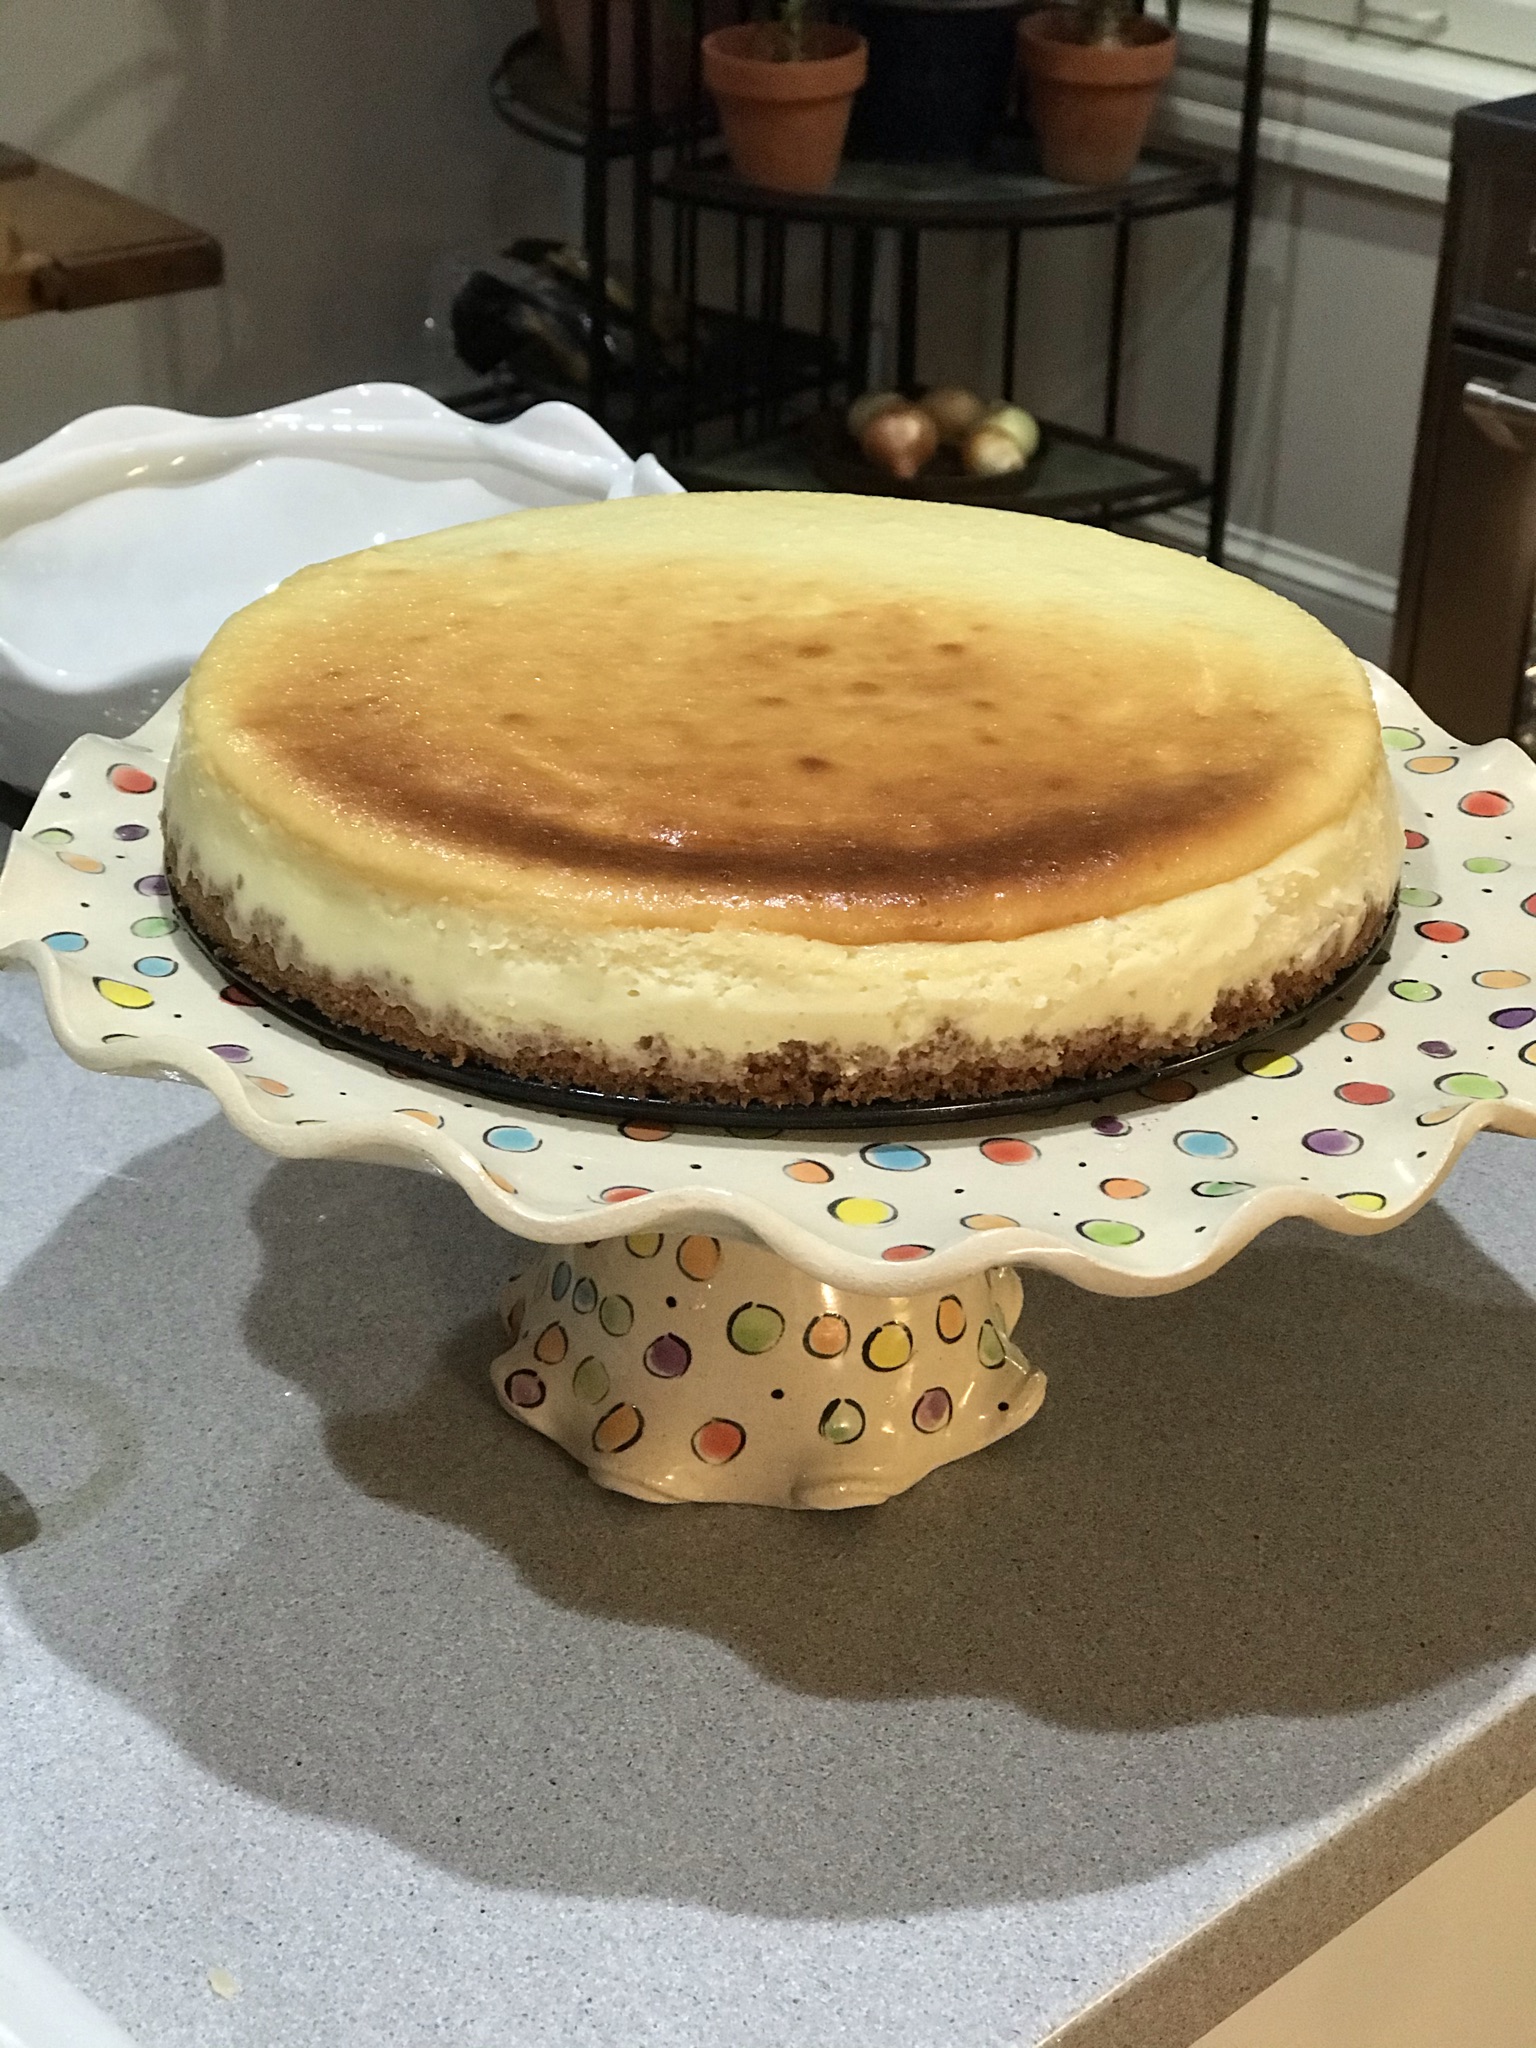
Cheesecake is one of my guiltiest pleasures, but that also means it has be the best I’ve ever had if I’m going to allow that many calories into my belly!

This recipe is not only delicious, but it results in a perfectly cooked cheesecake with no cracking!

One of the keys to a great cheesecake right is placing it in a water bath while baking. But if the springform pan allows water in (and they all do), it creates problems. The solution is to foil-wrap the springform pan really well.

But first, the crust…

1-1/2 cups graham cracker crumbs, from 12 whole crackers
5 tablespoons unsalted butter, melted
2 tablespoons sugar
1/8 teaspoon salt


Preheat the oven to 375° and set an oven rack in the lower middle position.

Here’s the crucial part: Wrap a 9- or 10-inch springform pan with one large piece of heavy-duty aluminum foil, covering the underside and extending all the way to the top so there are no seams on the bottom or sides of the pan. Just to make sure, repeat this process with another sheet of foil for insurance. This keeps the water bath out of your cheesecake, so do a thorough job of it!

Then spray the inside of the pan with nonstick cooking spray.

In a medium bowl, combine the graham cracker crumbs, melted butter, sugar, and salt. Stir until it’s well combined. Press the crumbs into an even layer on the the bottom of the prepared pan. Bake the crust for 10 minutes, until set. Remove the pan from the oven and set it aside.


32 oz. (four 8-oz. blocks) cream cheese, at room temperature
2 cups sugar 
3 tablespoons all-purpose flour
4 teaspoons vanilla extract
1 teaspoon packed lemon zest, from 1 lemon
2 teaspoons fresh lemon juice, from 1 lemon 
1/4 teaspoon salt
6 large eggs
1/2 cup sour cream


Reduce the oven temperature to 325°F. Boil some water.

In the bowl of an electric mixer fitted with the paddle attachment, beat the cream cheese, sugar, and flour together on medium speed until just smooth, about 1 minute. Scrape the bottom and sides of the bowl to be sure the mixture is evenly combined.

Add the vanilla, lemon zest, lemon juice, and salt. Beat on low speed until it’s all just combined. Add the eggs, one at a time, mixing on low speed until incorporated, scraping the bowl as necessary. Mix in the sour cream. Make sure the batter is uniform but don’t over-mix it.

By now, the oven should be cooled to 325°.

Set the cheesecake pan in a large roasting pan. Pour the batter on top of the crust. Pour the boiling water into the large roasting pan to come about 1 inch up the side of the cake pan.


Bake until the cake is just set, 1 hour and 30 minutes to 1 hour and 45 minutes (the cake should wobble just a bit when the pan is nudged). Remember: the cake will continue to cook outside of the oven before it cools!

Carefully remove the roasting pan from the oven and set it on a wire rack. Cool the cheesecake in the water bath until the water is just warm, about 45 minutes.


Remove the springform pan from the water bath and discard the foil. If necessary, run a thin-bladed knife around the edge of the cake to make sure it’s not sticking to the sides (which can cause cracks as it cools), then cover it with plastic wrap and put it in the fridge to cool for at least 8 hours or overnight.


After 8 hours, remove the sides of the springform pan. I like to serve the cheesecake right from the base of the pan. I’ve found that trying to remove the pan base only messes up the crust.

The secret to slicing beautiful pieces of cheesecake is to slice with a sharp knife, rinsing it in warm water and wiping it dry between every slice. 


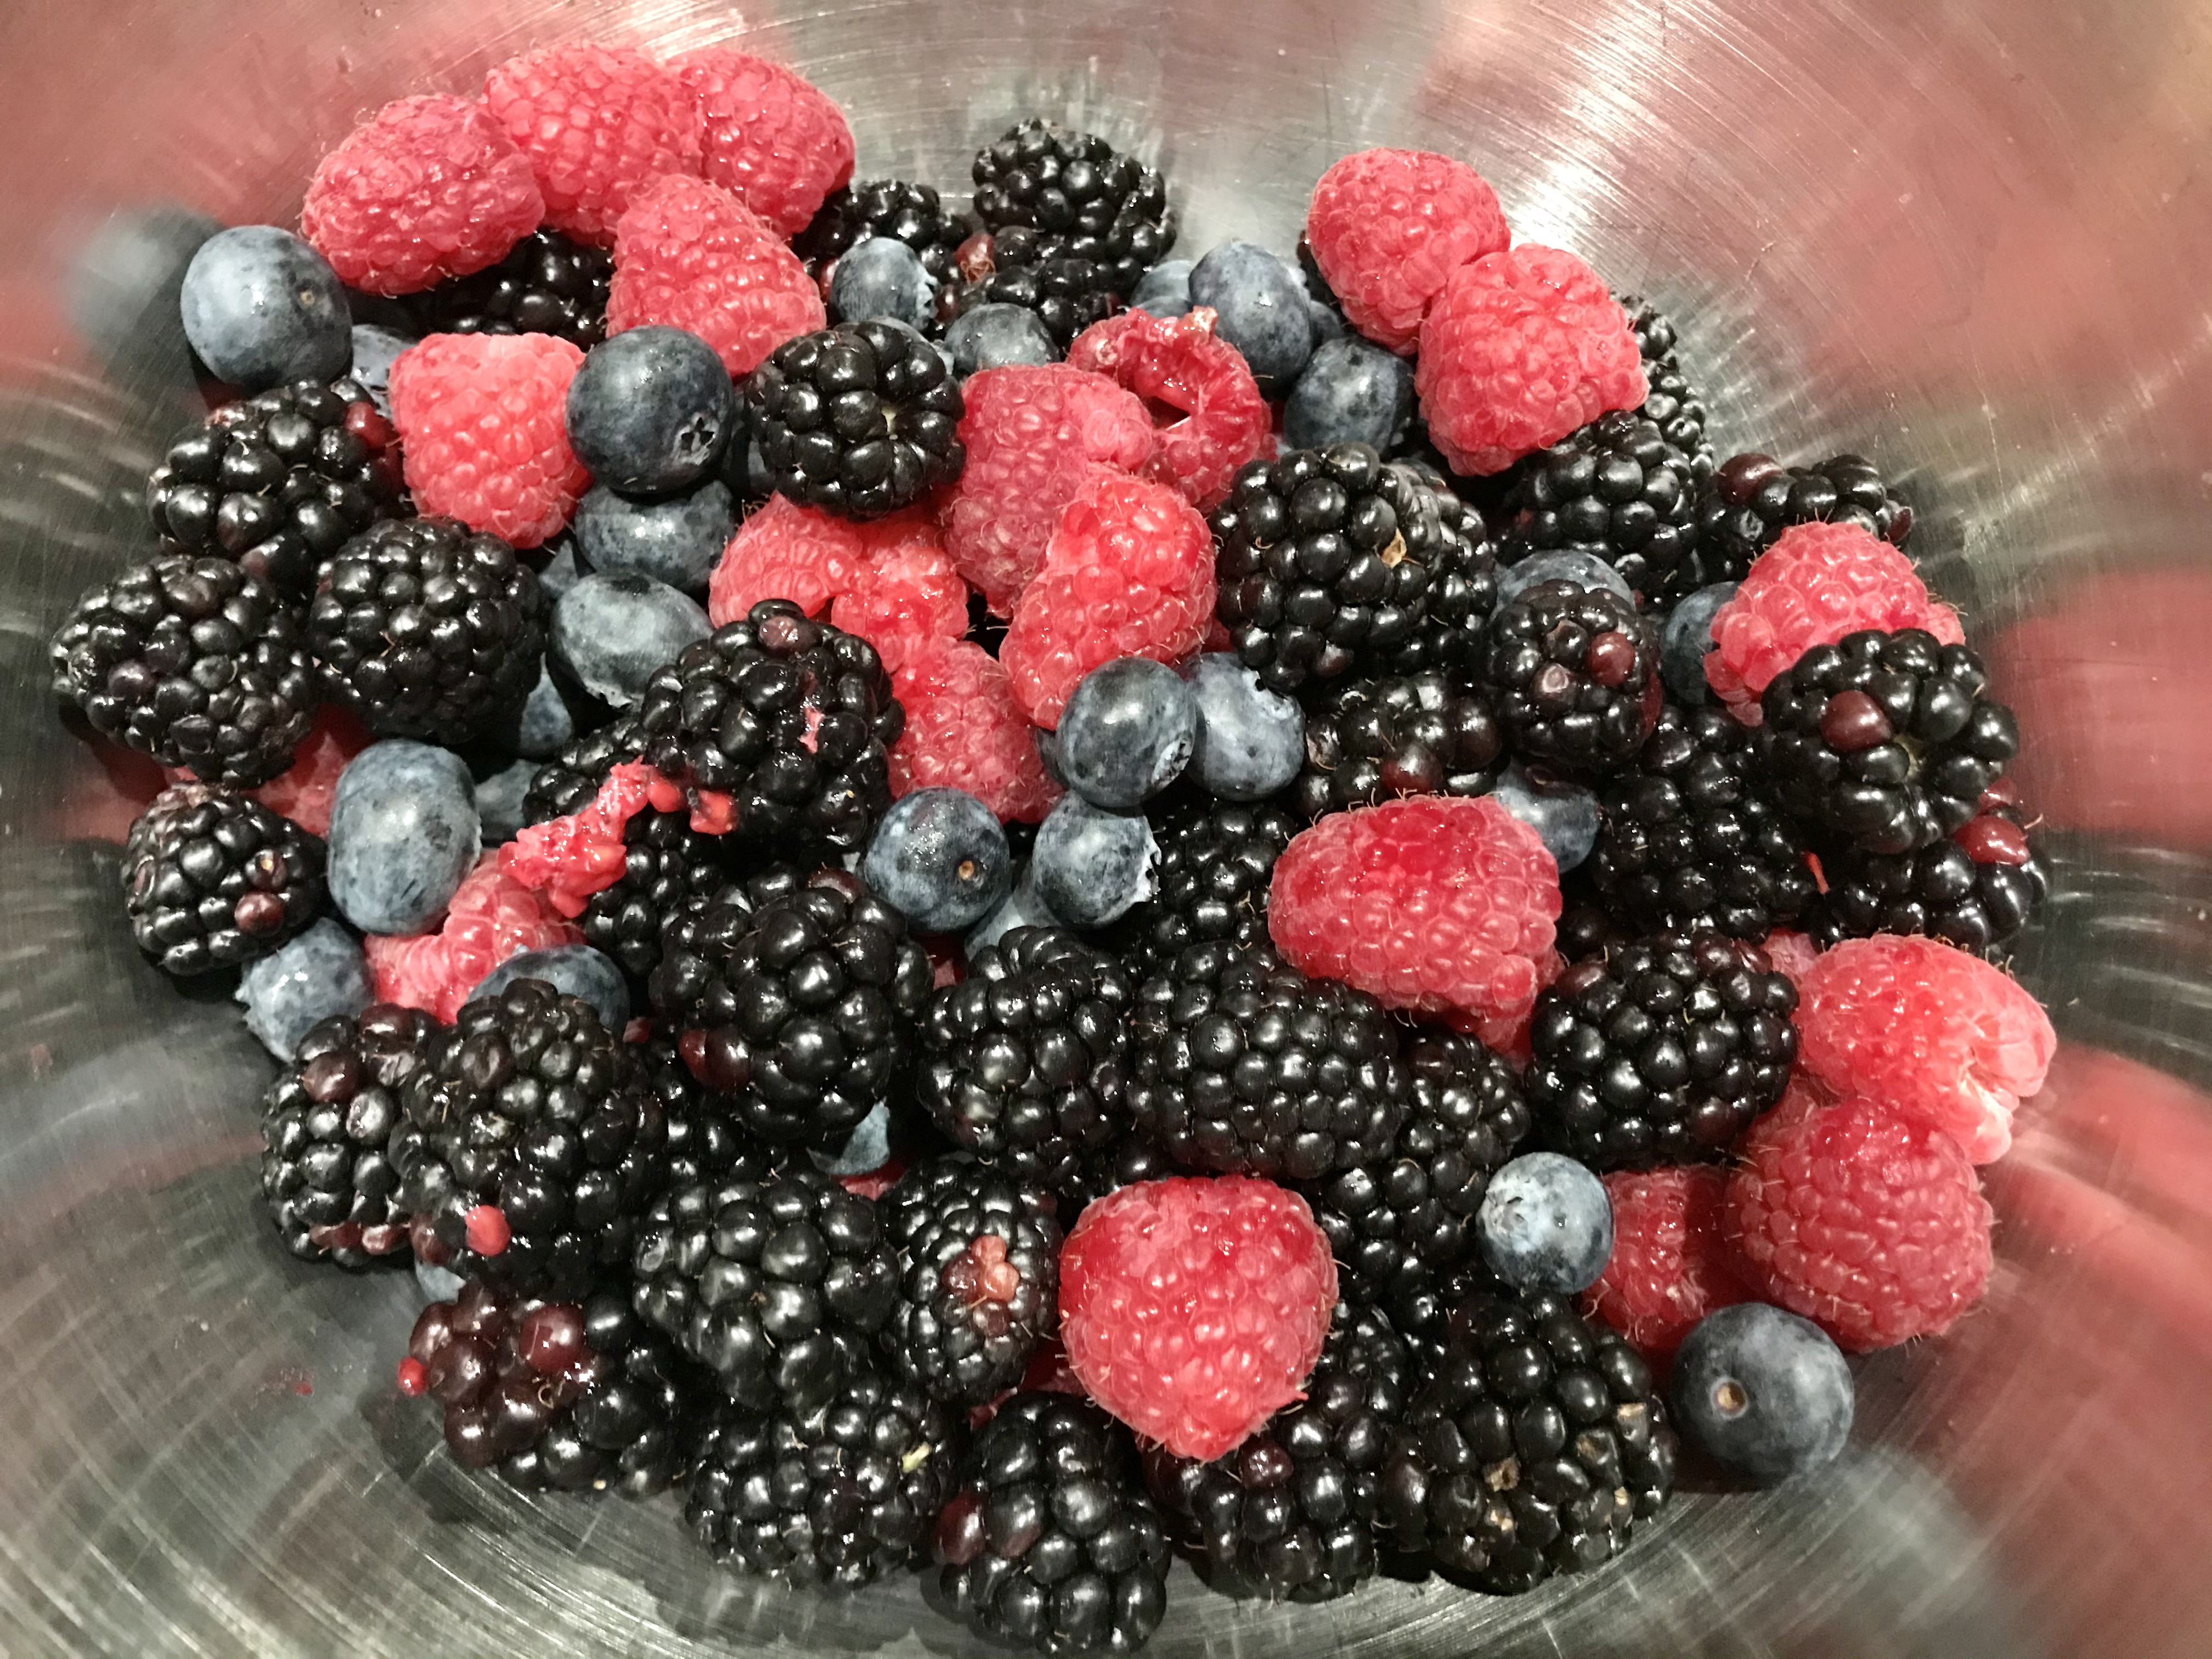
Nothing goes better with cheesecake than a simple berry sauce. I avoid the common strawberry and go for these organic berries instead…


1 small container fresh raspberries
1 small container fresh blueberries
1 small container fresh blackberries
1 tablespoon fresh lemon juice
3/4 cup sugar


Combine all of the berries in a large bowl and stir gently to combine. Spoon about 2/3 of the mixed berries into a medium saucepan. Transfer the remaining berries to a small bowl and refrigerate until ready to serve. 

Add the lemon juice and sugar to the berries in the sauce pan. Bring to a gentle boil over medium heat and cook until the fruit is syrupy, about 5 minutes.


Move the hot berry mixture to a blender and purée it until it’s smooth. Set a fine mesh strainer over a bowl. Pour the sauce into the strainer and use the back of a large spoon soup to force the sauce through the strainer and into the bowl. Discard the seeds that remain in the strainer. Refrigerate the berry sauce until it’s cold. 

Before serving, simply add the reserved berries to the sauce and stir them to combine.


Parker House rolls are one of my all-time favorite treats. They’re so light and delicious because milk and melted butter are used to make the dough. I’d make and eat them every weekend if it wasn’t for the fact that I’d gain a ton of weight in the process! So…I save them for special occasions.


There really is a Parker House. It’s a hotel in Boston where the rolls originated in the 1870’s. Legend has it that a disgruntled hotel baker threw a batch of unfinished rolls in the oven, and when they came out, they had a folded pocketbook shape that made them light on the inside, and crisp and buttery on the outside. A legend was born.


There are hundreds of Parkerhouse Roll recipes out there, but this is the one I swear by. It’s a great excuse to get out my old Kitchenaid standing mixer.


1 stick unsalted butter, melted and cooled, plus softened butter for brushing
1 tablespoon active dry yeast
1/4 cup lukewarm water (100 to 110 degrees)
1/4 cup sugar
1 cup whole milk, warmed
2 large eggs, at room temperature
4 cups all-purpose flour, plus more for dusting
2 1/2 teaspoons Kosher salt


Brush a large bowl with butter.

In the bowl of a stand mixer fitted with a paddle, combine the yeast with the water and a pinch of sugar. Let it stand until it gets foamy, about 10 minutes. This gets the yeast happy.


Add the milk, melted butter, eggs and remaining sugar and mix until it’s all combined.

Now switch to the dough hook and add the flour and salt. Knead at low speed until a smooth ball forms, about 2 minutes.

Scrape the dough onto a lightly floured board and knead it gently into a ball. Then place the ball in the buttered bowl, covering it with plastic wrap, and placing the bowl in a warm place. Let the dough double in volume. It’ll take about 1 1/2 hours.


Pre-heat the oven to 350.

Grease a 9-by-13 baking dish with more butter.

Turn the dough out onto a lightly floured board again, punching out the air bubbles, and forming it into a ball again. Cut the ball in half, then each half into 8 pieces.


You can either leave the pieces in their wedge shape, placing them in the baking dish top side up. Or you can roll the wedges into balls, placing them into the baking dish, spacing them out evenly.


Cover the baking dish with plastic wrap and let the dough rise again for about 30 minutes. By then, your oven will be nice and warm.


Bake the rolls for 20 to 25minutes, until they’re a beautiful golden color.


Serve them warm or at room temperature. If you bake the rolls earlier in the day, you can cover them in plastic wrap, and the re-heat gently before serving.


PRETZEL BREAD

Posted: August 2, 2020 in Food, Recipes, Uncategorized
Tags: , , , ,

As much as I’m a fan of sourdough–or any great bread for that matter–pretzel bread has a special place in my heart.

Making pretzel bread at home had one major stumbling block for me: the need for lye,  which has nasty corrosive qualities that I don’t want to deal with in my kitchen. Even special baker’s lye was not an option. So when I found a pretzel bread recipe that used baking soda, a much milder and safer alkaline ingredient that I could simply pour down my drain after using, I knew it was time to bake.


image


½ cup water
½ cup milk
2 tablespoons butter, softened
3 cups all-purpose flour
2 tablespoons brown sugar
1 tablespoon yeast
2 teaspoons salt
1 egg, separated
Cooking spray
¾ cup baking soda
Kosher salt or pretzel salt for sprinkling

Combine the water, milk and butter in a glass container and microwave about 45 seconds to melt the butter and warm the milk. Set aside.

In a mixing bowl, combine the flour, brown sugar, yeast, salt and egg yolk. Slowly add the milk mixture and mix until the dough comes together. If it seems too dry, add small amounts of water. Knead the dough until it is smooth and springy, about 5 minutes.

Place the dough in a bowl sprayed with cooking spray. Flip it over so all sides get oiled, and then wrap the bowl with plastic wrap. Place in a warm place until the dough has doubled in size, about an hour.

Pre-heat the oven to 375 degrees.

Turn out the risen dough on a floured surface and divide it into equal pieces. You can make 15 small slider-sized buns, 8 burger buns, 8 hot dog buns or any other shape you like. Once all the pieces have been rolled, cover them with a clean dish towel and set them aside to rest.

While the dough is resting, heat about 12 cups of water in a large pot. When it comes to a gentle boil, carefully pour the baking soda into it. It will foam and bubble vigorously.

Add the rested pieces of dough to the simmering water and poach them for about 30 seconds and then flip them over for another 30 seconds. Don’t overcrowd the pot; you may need to do this in batches.

With a slotted spoon or spatula, lift the poached buns onto a Silpat baking sheet (or a baking sheet sprayed with oil, then sprinkled with cornmeal.)

Froth the egg white with a fork, then brush each bun with the egg white.

Using a sharp knife, make a few slits on the top of the buns, about ¼-inch deep. Sprinkle them with Kosher salt, then bake for 20 minutes until golden brown.

I give up! Everyone baking their hearts out right now, so I suppose I should, too! This is one of my favorites because it not only tastes amazing, it freezes really well.

My original banana bread recipe blog is featured directly below. It’s awesome. But if you follow a gluten-free lifestyle, no worries. My gluten-free version of the recipe, at the bottom of the page, is so good, you won’t miss the wheat!


A gluten-free batch.


The original recipe…

What makes this banana bread special is that it uses whole wheat flour…less sugar…and no artificial extracts that make most banana breads taste like crap. It relies on very ripe bananas to give it its wonderful natural flavor.

It’s not always easy to get bananas to ripen exactly when you’re trying to make your banana bread recipe. So I buy a large bunch of bananas and let them get very ripe at room temperature. I then take 5 at a time (for this recipe), peel them, and place the bananas in a Ziploc bag in the freezer. When it’s time to make banana bread, I just pull one of those Ziplocs out of the freezer, let it thaw, and mash with a potato masher.

Since Roundup is a very common herbicide used on wheat, and its cancer-causing characteristics are widely known by now, I always use organic wheat for my baking recipes.

I use organic cane sugar instead of regular sugar when I have it. I don’t use vegetable oils, especially not canola, so I use healthier avocado oil or olive oil. Eggs are pastured when I can get ’em. Bananas are organic. And I rub the pans with coconut oil or I use an olive oil cooking spray.


Nana bread blog


3 cups all-purpose flour
1/2 cup whole wheat flour
2 tsp baking soda
1/2 tsp salt
1 1/4 cup sugar
3/4 cup vegetable oil
2 eggs
5 medium-sized bananas, peeled and mashed
2 tsp real vanilla extract
Cooking spray

Pre-heat the oven to 350 degrees.

Combine the all-purpose flour, whole wheat flour, baking soda and salt in a medium bowl. Set aside.

Combine the sugar and oil in a mixing bowl and mix at medium speed for 2 minutes. (I use the whisk attachment.) Add the eggs, one at a time. Beat until the mixture is light and lemon colored.

With the mixer running at low-speed, add the flour mixture alternately with the bananas, beginning and ending with the flour mixture. Blend well after each addition. Add the vanilla extract and blend some more to mix.

Pour the batter into 2 loaf pans that have been sprayed with cooking spray. Bake for 45 minutes or until a wooden pick inserted in the center comes out clean. Cool 15 minutes in the loaf pan on a wire rack.

Remove from the pan and let it cool completely on the wire rack before slicing.

image


The gluten-free recipe…

My go-to gluten-free flour is the brand called Cup 4 Cup. You can find it in most supermarkets. But this time I tried the gluten-free baking flour by Bob’s Red Mill. Both flours gave excellent–and tasty–results.


If you want a slightly more “rustic” flavor, you can substitute 1/2 a cup of corn meal for 1/2 a cup of the flour.


image


4 cups gluten-free flour
2 teaspoons baking soda
1/2 teaspoon salt
1 1/4 cup cane sugar
3/4 cup avocado or olive oil
2 eggs
5 medium-sized bananas, peeled and mashed
2 teaspoons real vanilla extract
coconut oil


Pre-heat the oven to 350 degrees.

Combine the flour, baking soda and salt in a bowl. Set aside.

Combine the sugar and oil in a mixing bowl and mix at medium speed for 2 minutes. (I use the whisk attachment.) Add the eggs, one at a time. Beat until the mixture is light and lemon colored.

With the mixer running at low-speed, add the flour mixture alternately with the bananas, beginning and ending with the flour mixture. Blend well after each addition. Add the vanilla extract and blend some more to mix.

Pour the batter into 2 loaf pans or one large bundt pan that have been rubbed with the coconut oil. Bake for 45–60 minutes or until a wooden toothpick inserted in the center comes out clean. Cool 15 minutes in the pan on a wire rack.

Remove from the pan and let it cool completely on the wire rack before slicing.