My family has made it pretty clear over the last half-dozen years or so that they’re tired of turkey on Thanksgiving. So when I saw a recipe in “Food and Wine” Magazine for a roasted turkey with Indian spices, I thought: “Why not try this with chicken?”
The recipe is from Food Network’s Maneet Chauhan, who is a regular on “Guy’s Grocery Games,” “Tournament of Champions,” etc. She’s got herself a restaurant empire in Nashville, of all places, and her knowledge of Indian food is pretty incredible. I knew I couldn’t go wrong using her recipe.
Indian cuisine is still pretty new to me, though I’ve made classic dishes like butter chicken. There are many ingredients in this dish that the average person won’t have in their cupboard, (ginger-garlic paste, tandoori masala, garam masala, kasoori methi, ghee) and maybe not even in the local supermarket. So you might have to do what I did, and look these things up on line and buy them ahead of time. But I found it all to be a great learning process.
You can marinate the bird overnight, or prepare it right before cooking. I choose to marinate overnight, because you have more time to really flavor the meat.

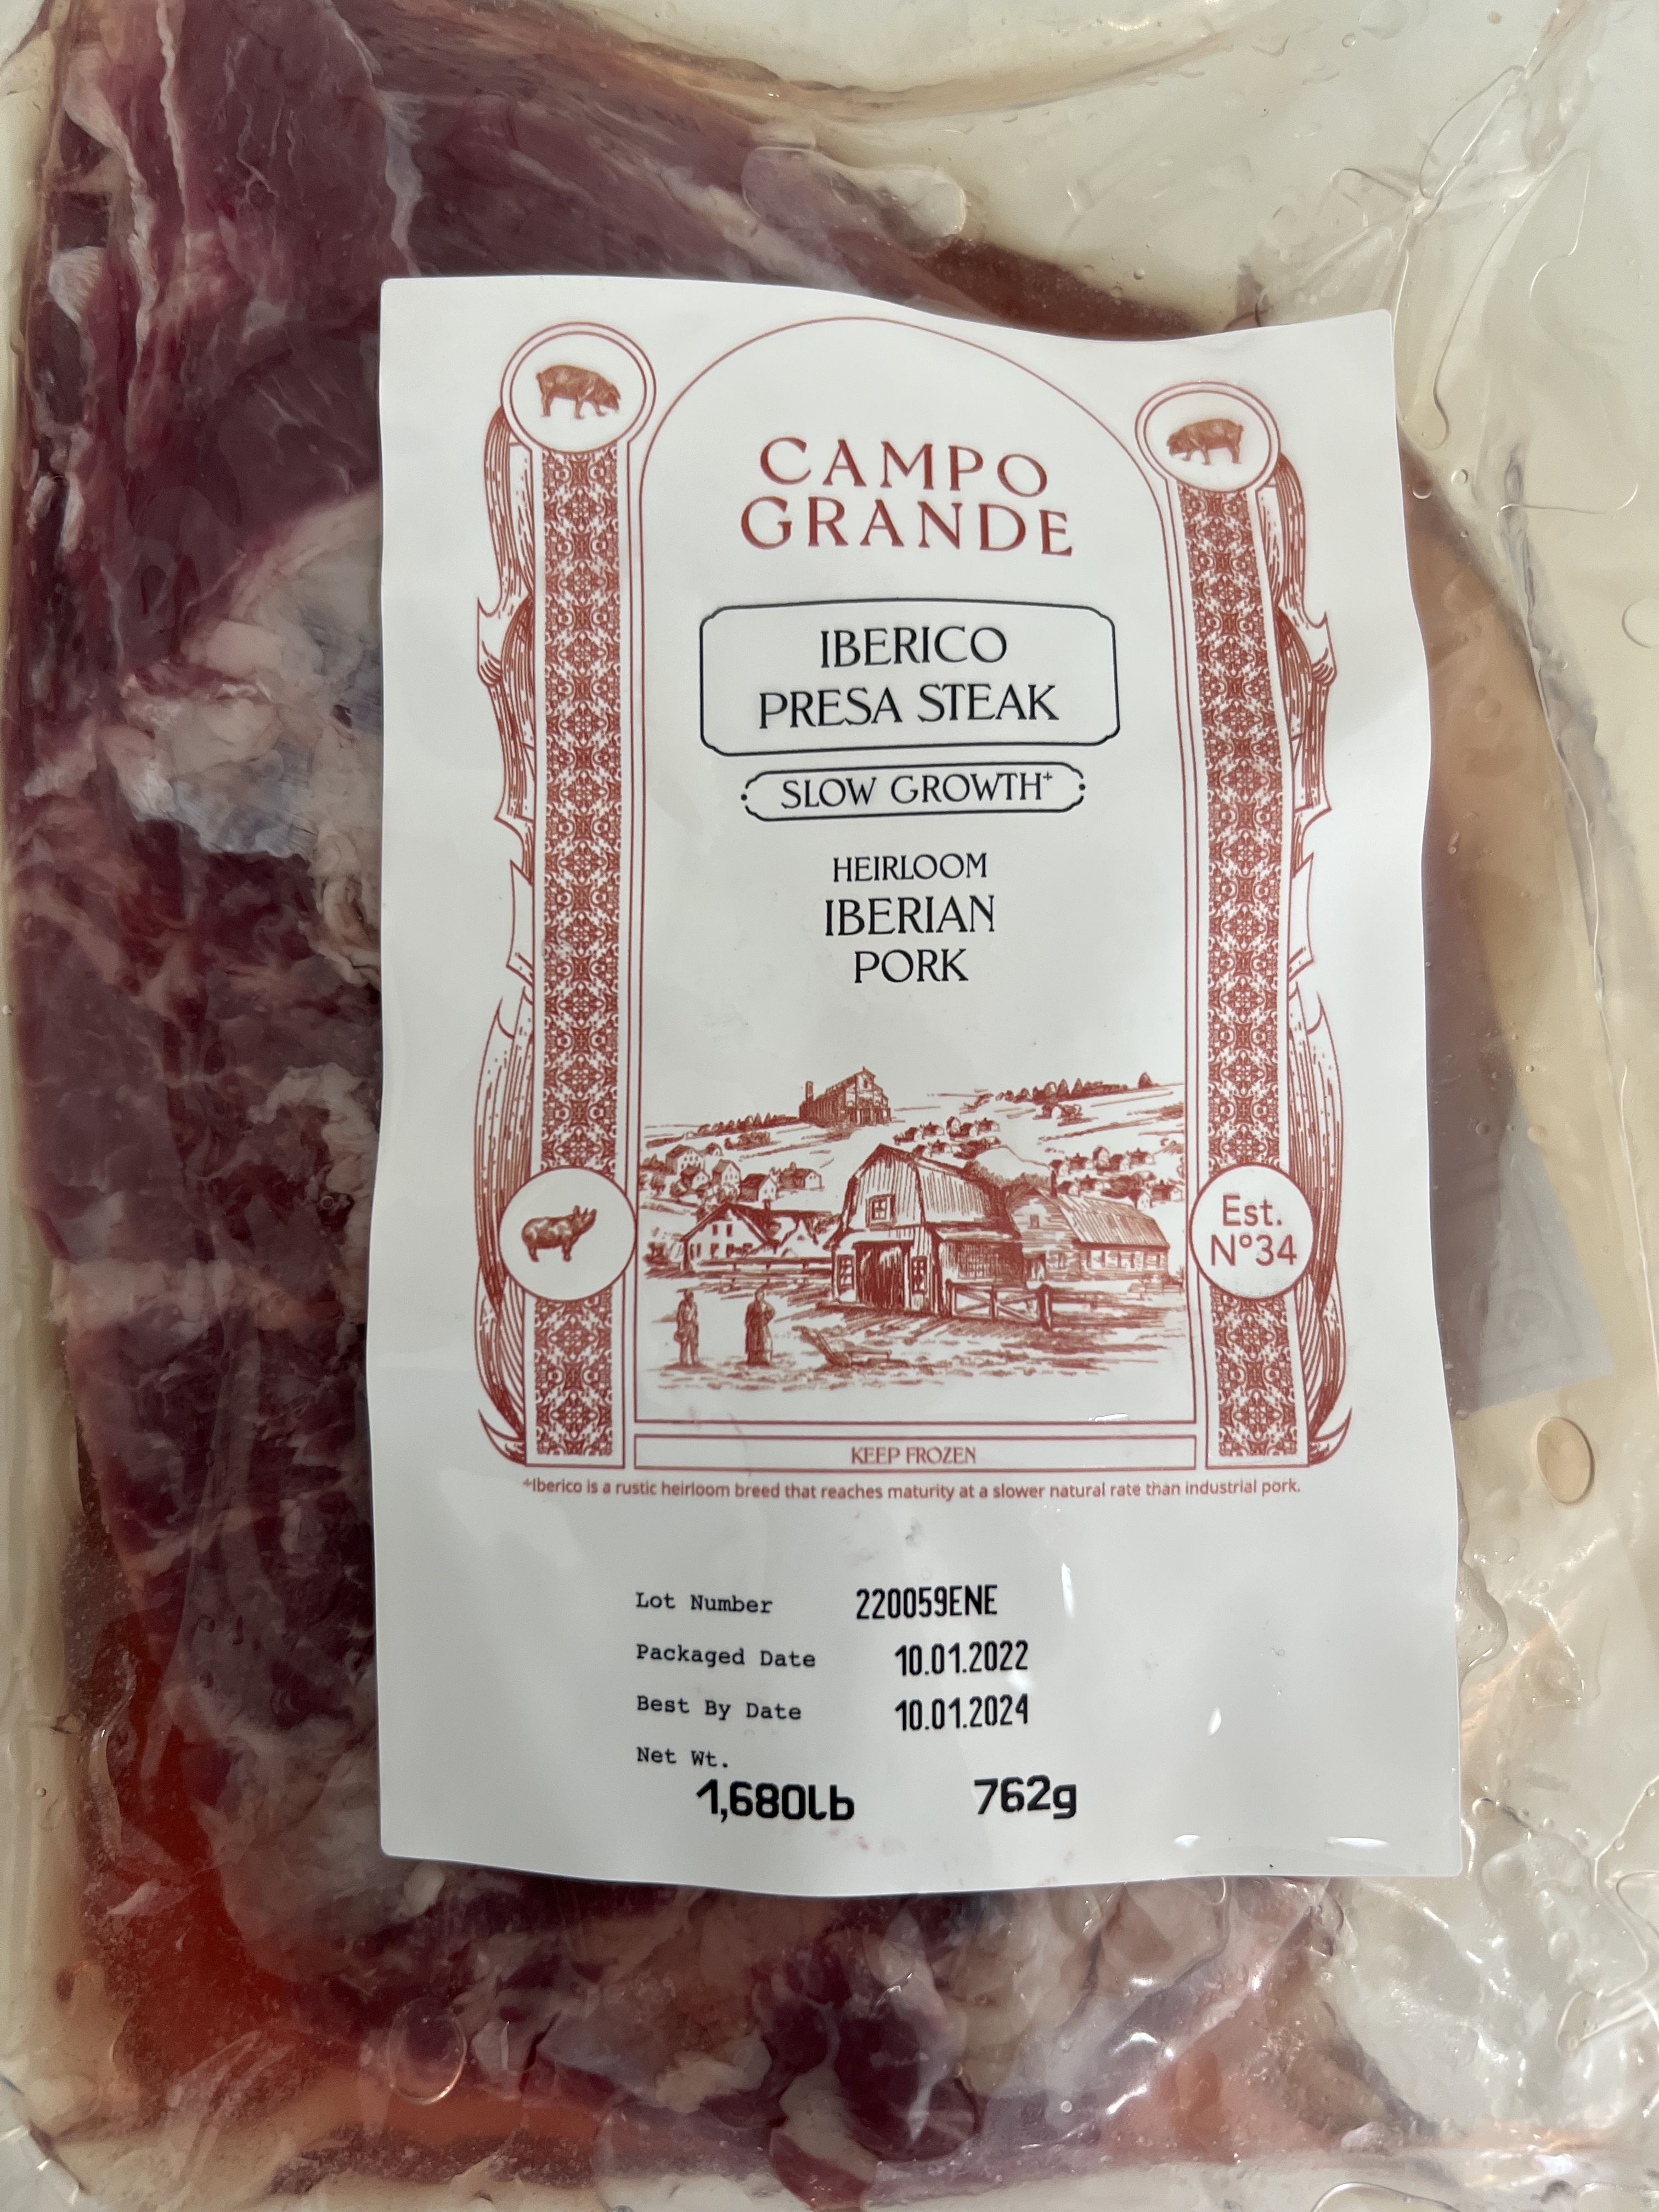
1 6-to-7-lb. chicken (I used a Perdue Oven Stuffer Roaster)
1/2 cup whole milk yogurt
1/4 cup chopped fresh cilantro
1/4 cup cream cheese, softened
1/4 cup ginger-garlic paste
1/4 cup fresh lemon juice, plus 1 lemon sliced in quarters
2 1/2 tablespoons tandoori masala
2 teaspoons Kosher salt
1 1/2 teaspoons garam masala
1 1/2 teaspoons kasoori methi
1/2 teaspoon black pepper
2 cups water
1 large yellow onion, roughly chopped
1 large carrot, roughly chopped
Thaw the bird and remove the giblets. Save them for another time.
In a bowl, combine the yogurt, cilantro, cream cheese, ginger-garlic paste, lemon juice, tandoori masala, salt, garam masala, kasoori methi and black pepper.
Gently slide your fingers under the skin of the breast and thigh of the chicken to loosen it. Generously rub the yogurt marinade under the skin as far as you can reach without tearing it. Also spread some of the marinade inside the cavity of the bird. Take the lemon quarters and stuff them into the cavity of the bird as well. Tie the legs of the bird together to close the cavity.
Note: You don’t want the marinade on the outside of the skin until right before cooking! So save some of the marinade in the fridge for the next day.
Place the bird on a pan and in the fridge, uncovered, overnight.
The next day, pre-heat the oven to 425°. Remove the chicken from the fridge one hour before cooking, to bring it to room temperature. Rub the remaining marinade all over the bird in a thin layer.
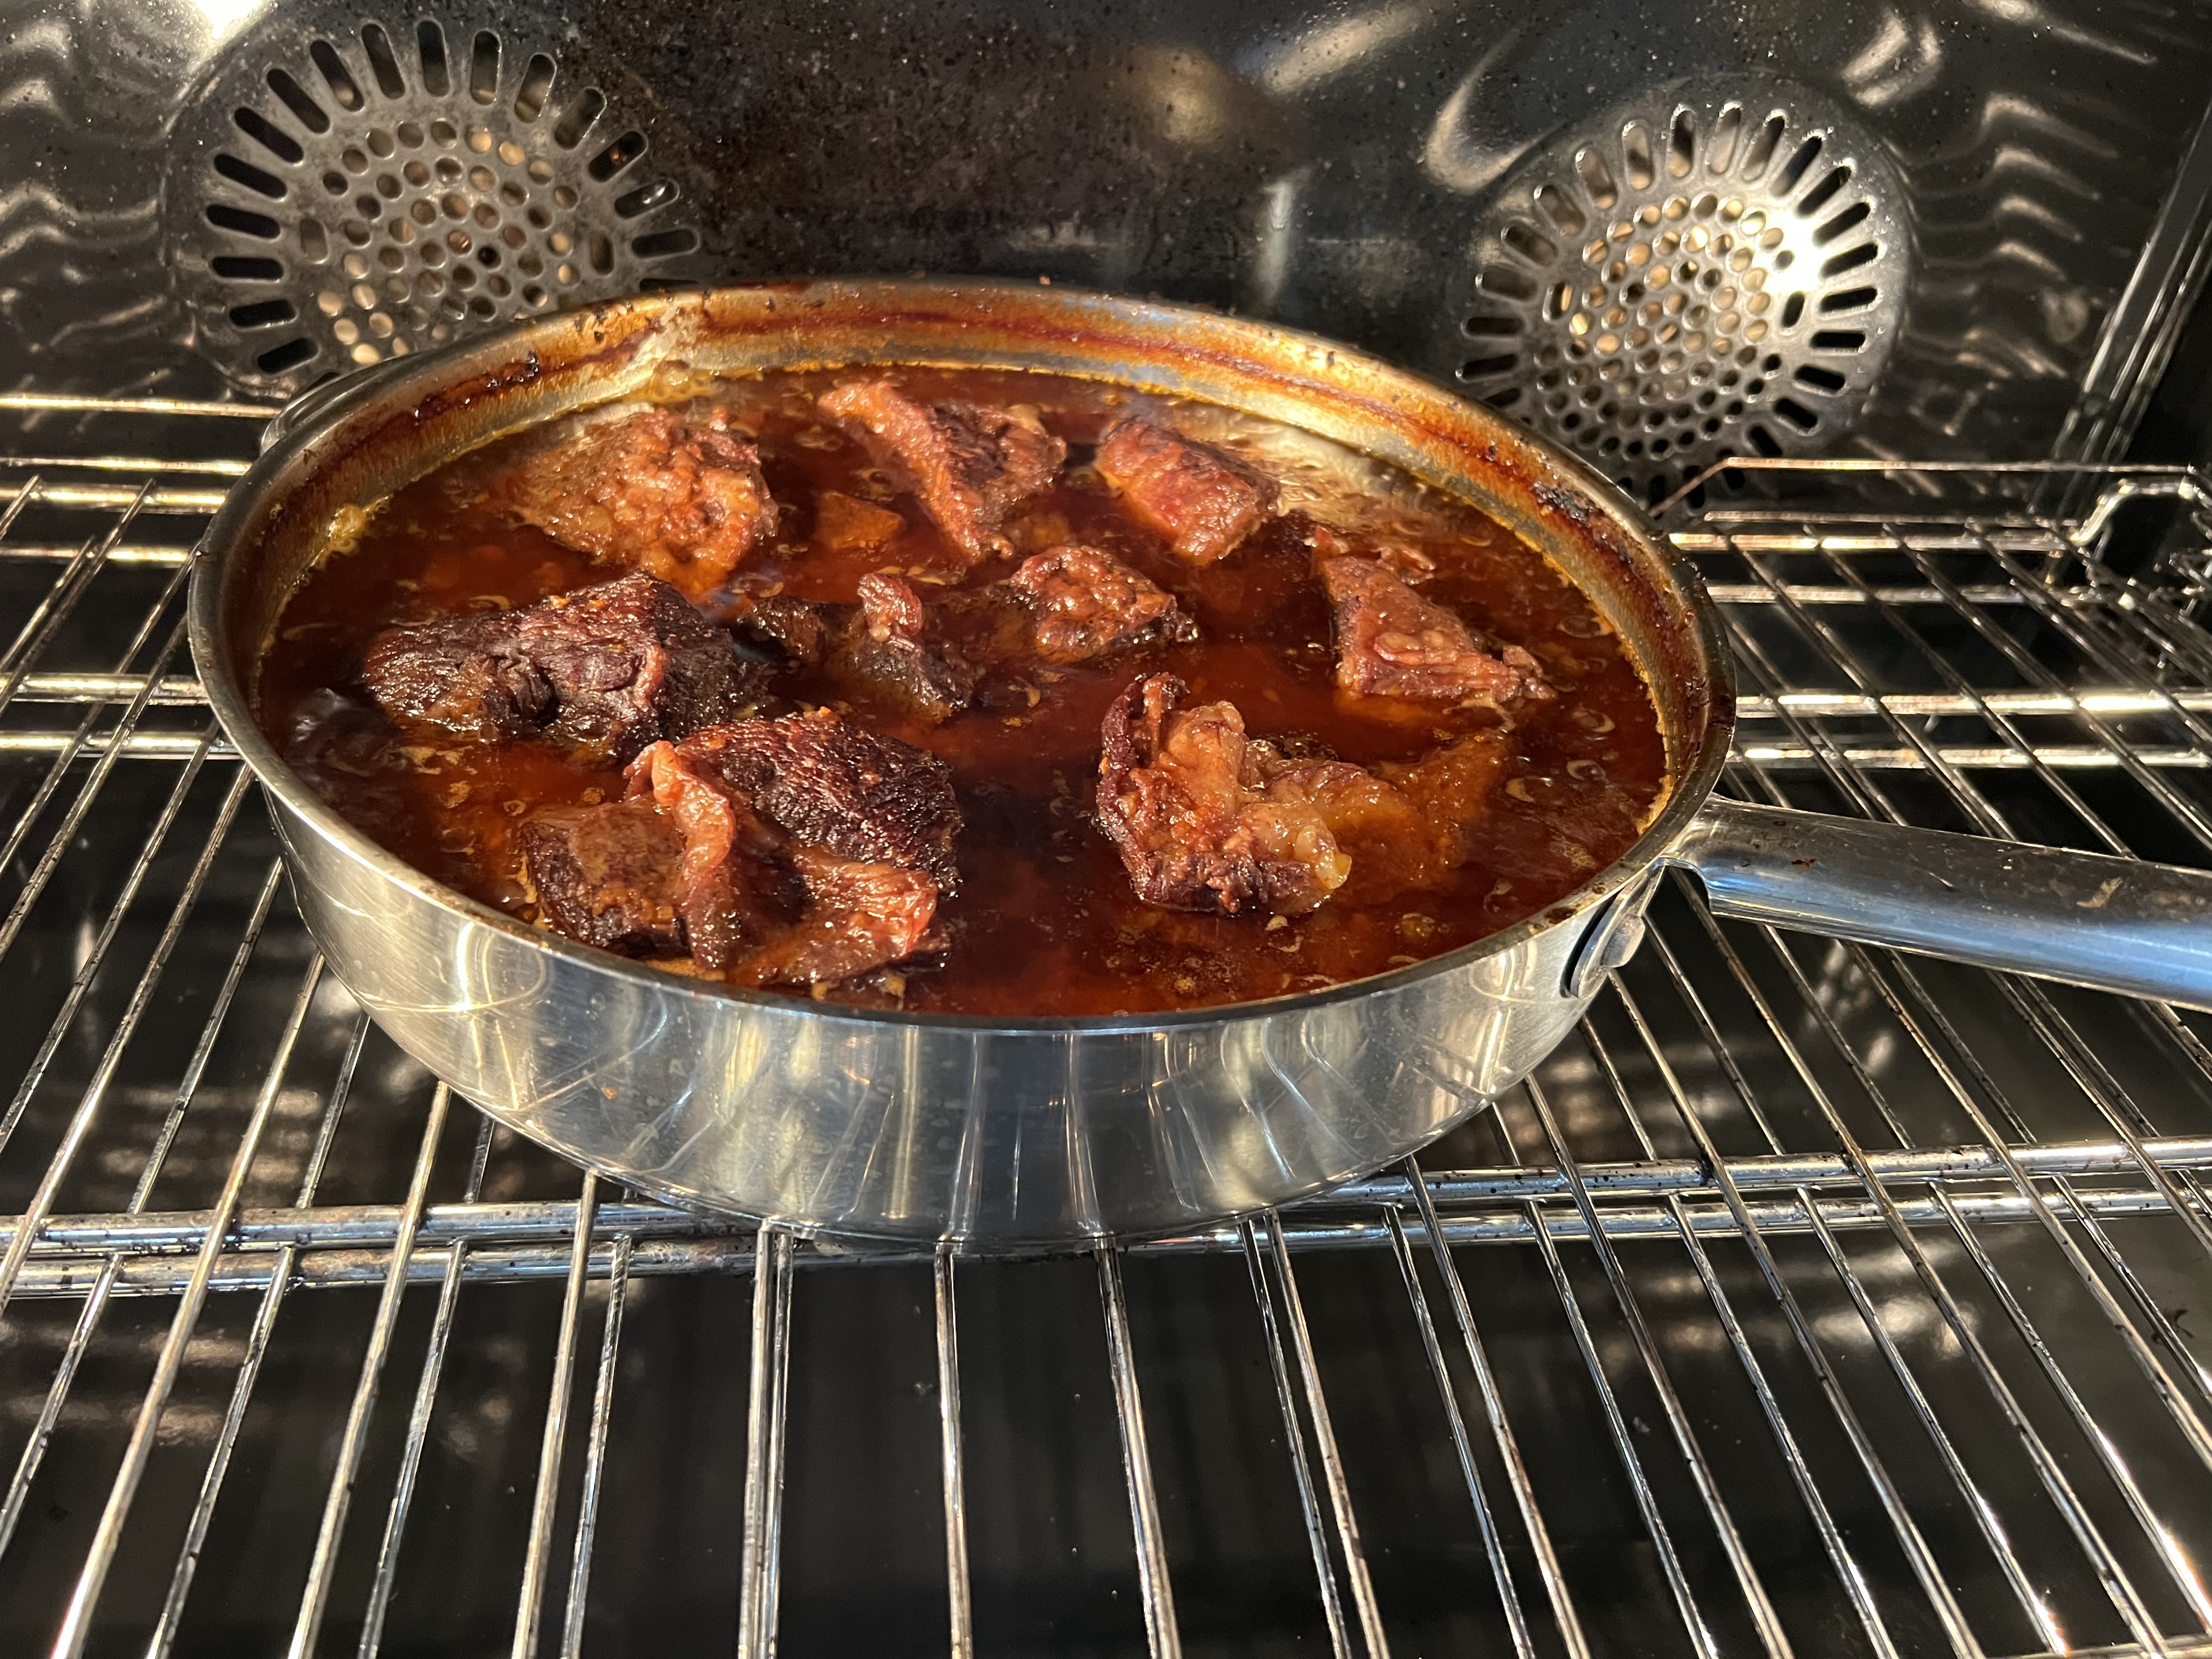
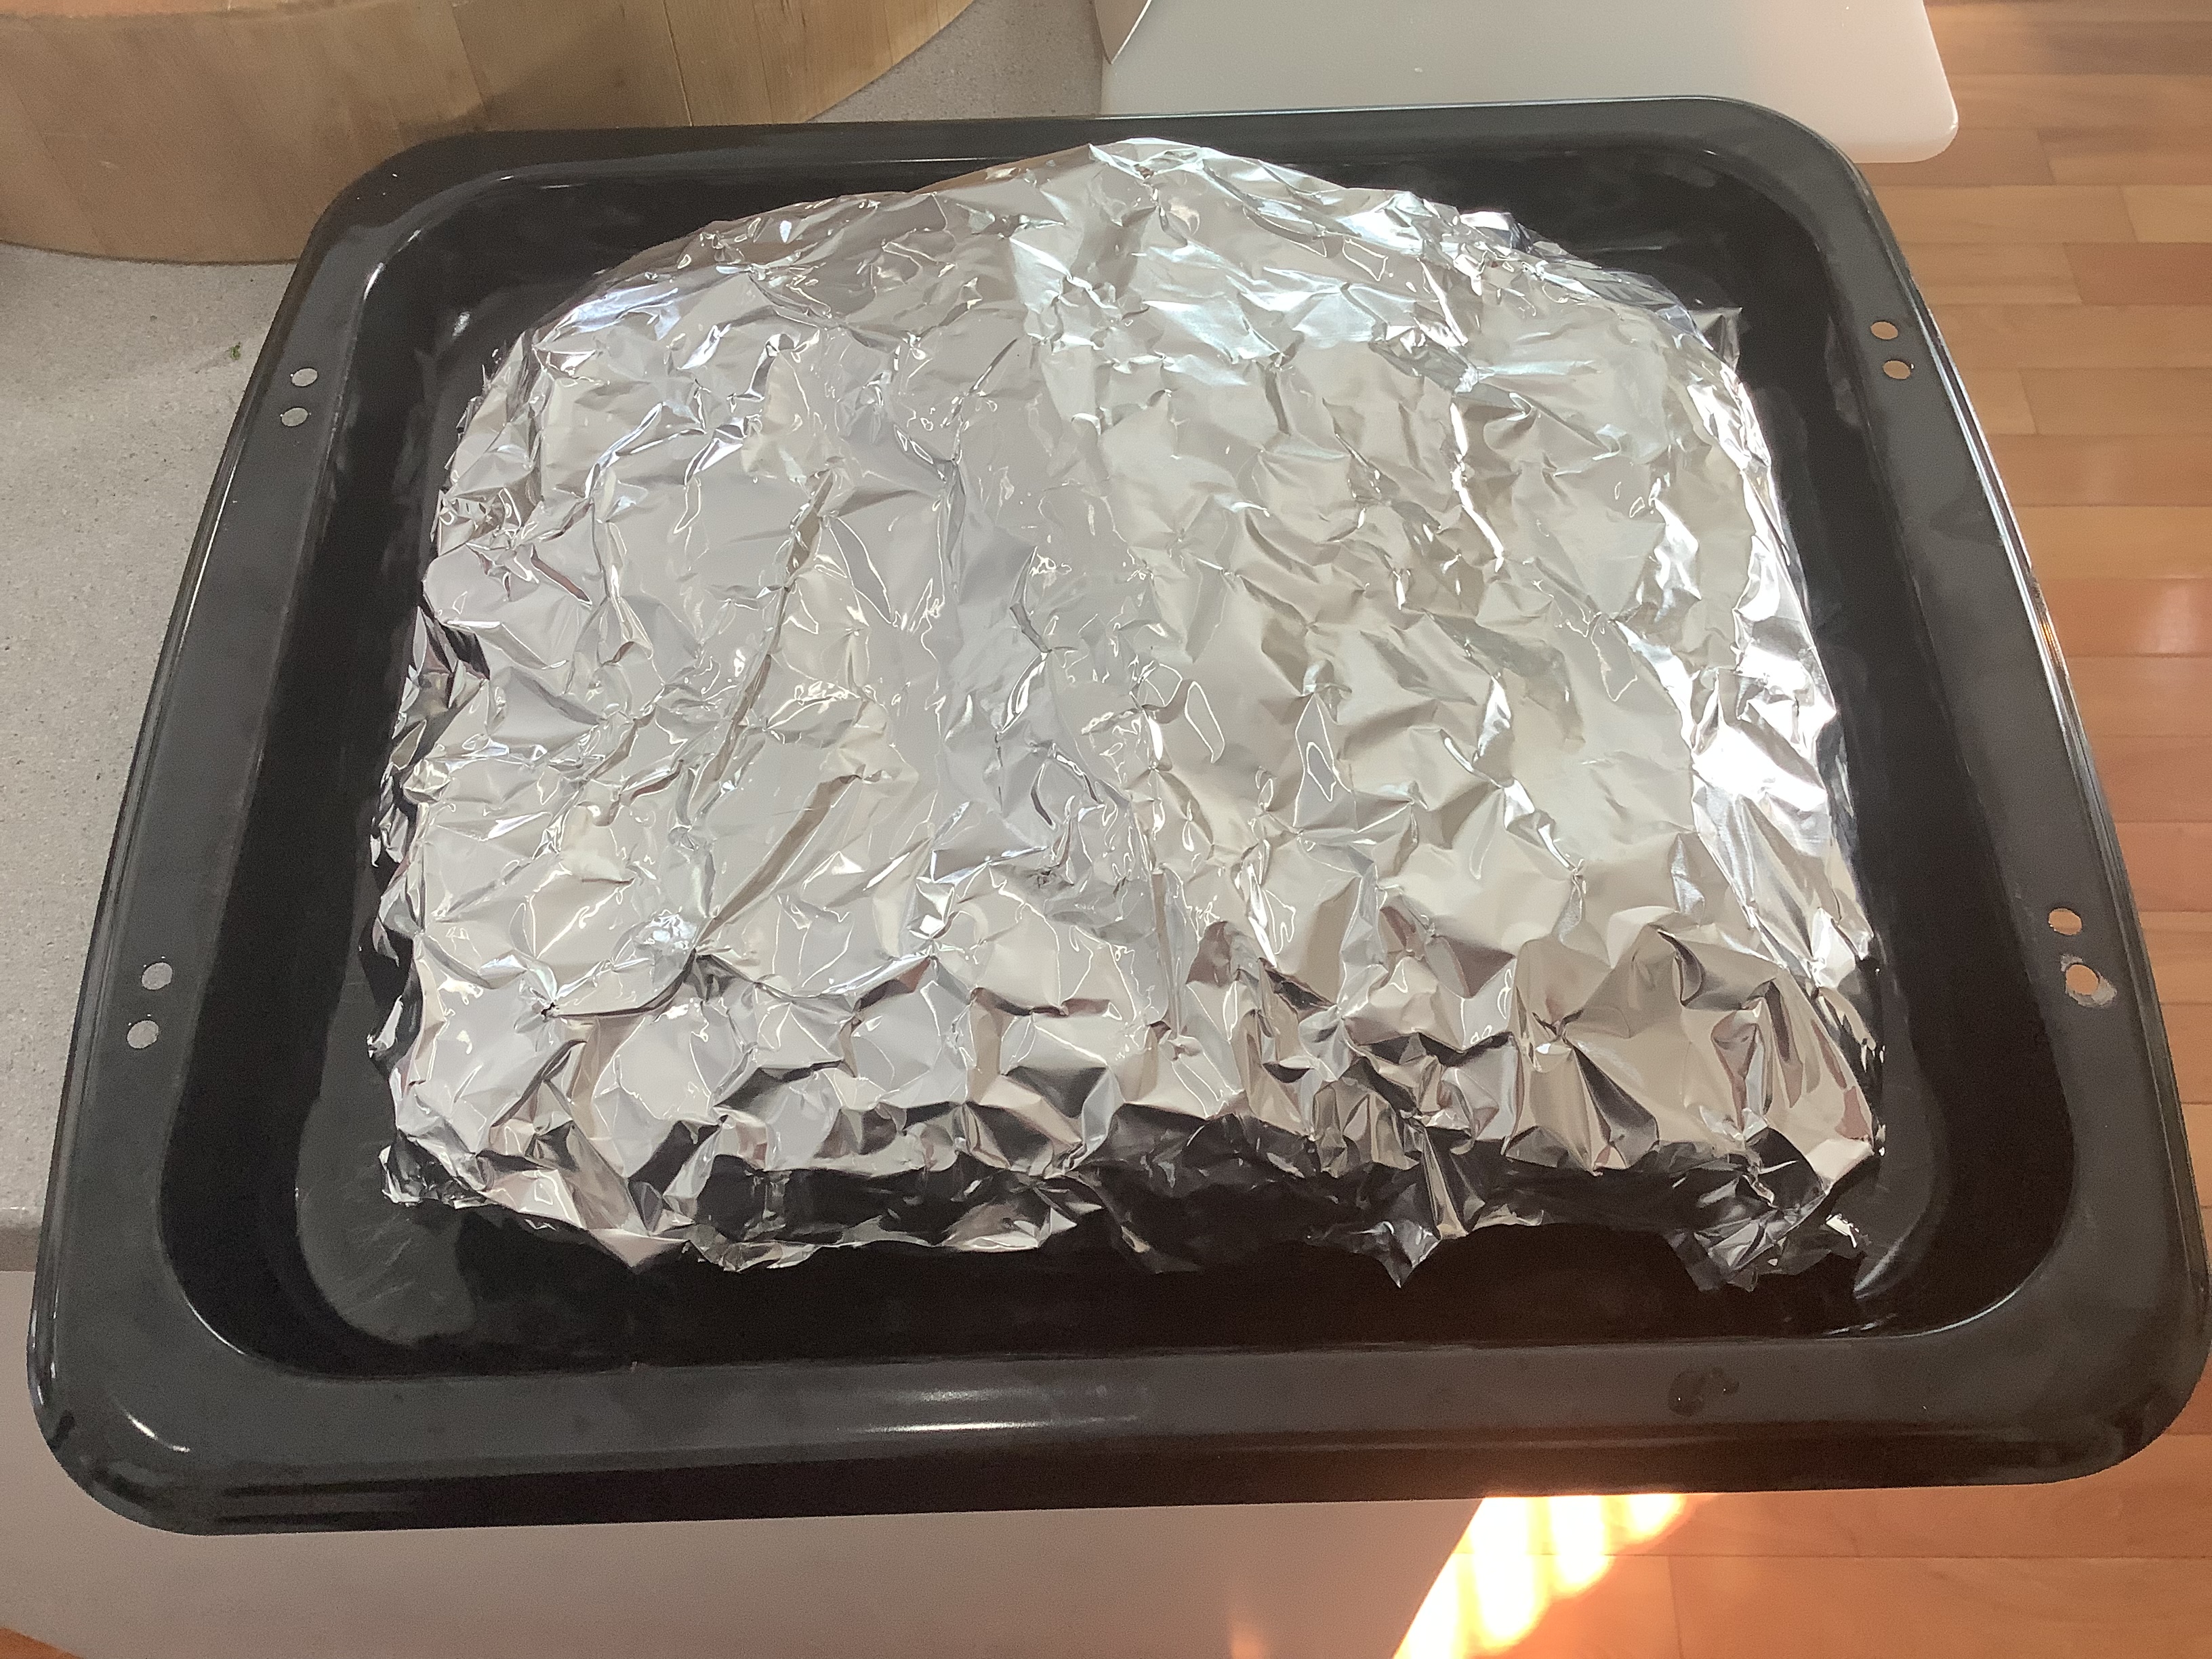
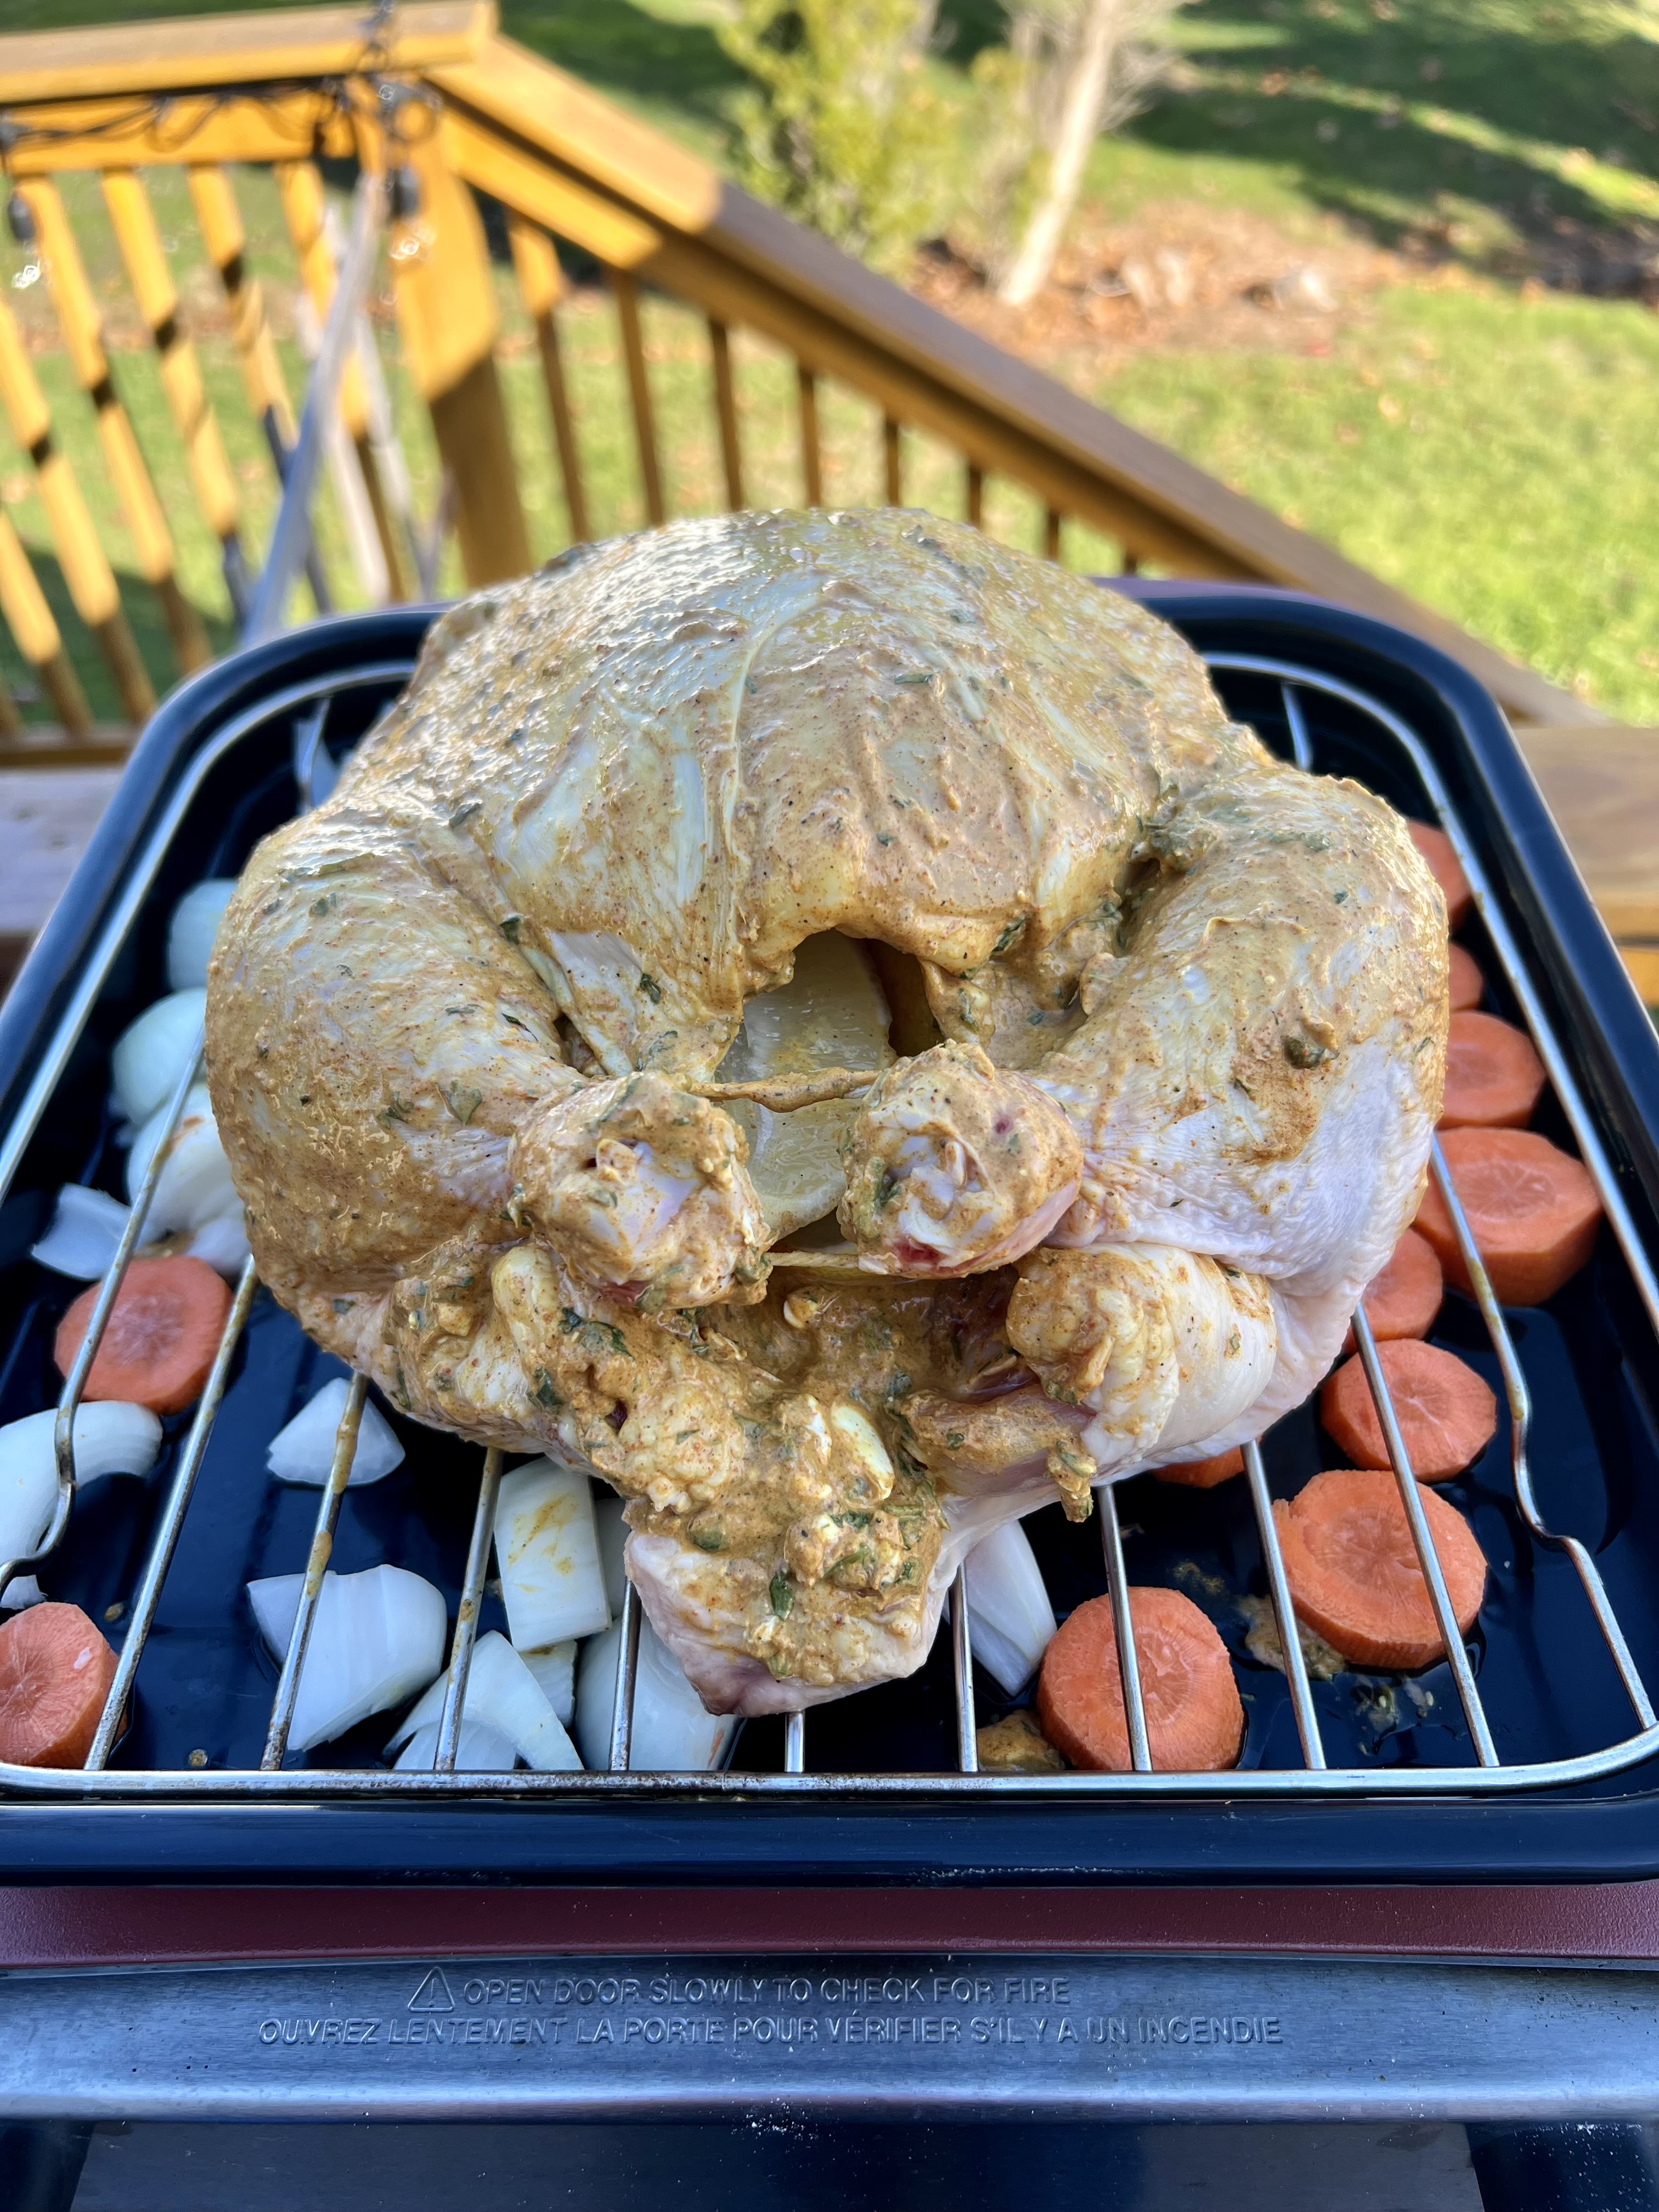
To cook the bird, you want to place it in a roasting pan that elevates it off the bottom of the pan. In the bottom of the pan, pour in the water, and add the onion and carrot pieces. Place a rack on top of that, and put the chicken on top.
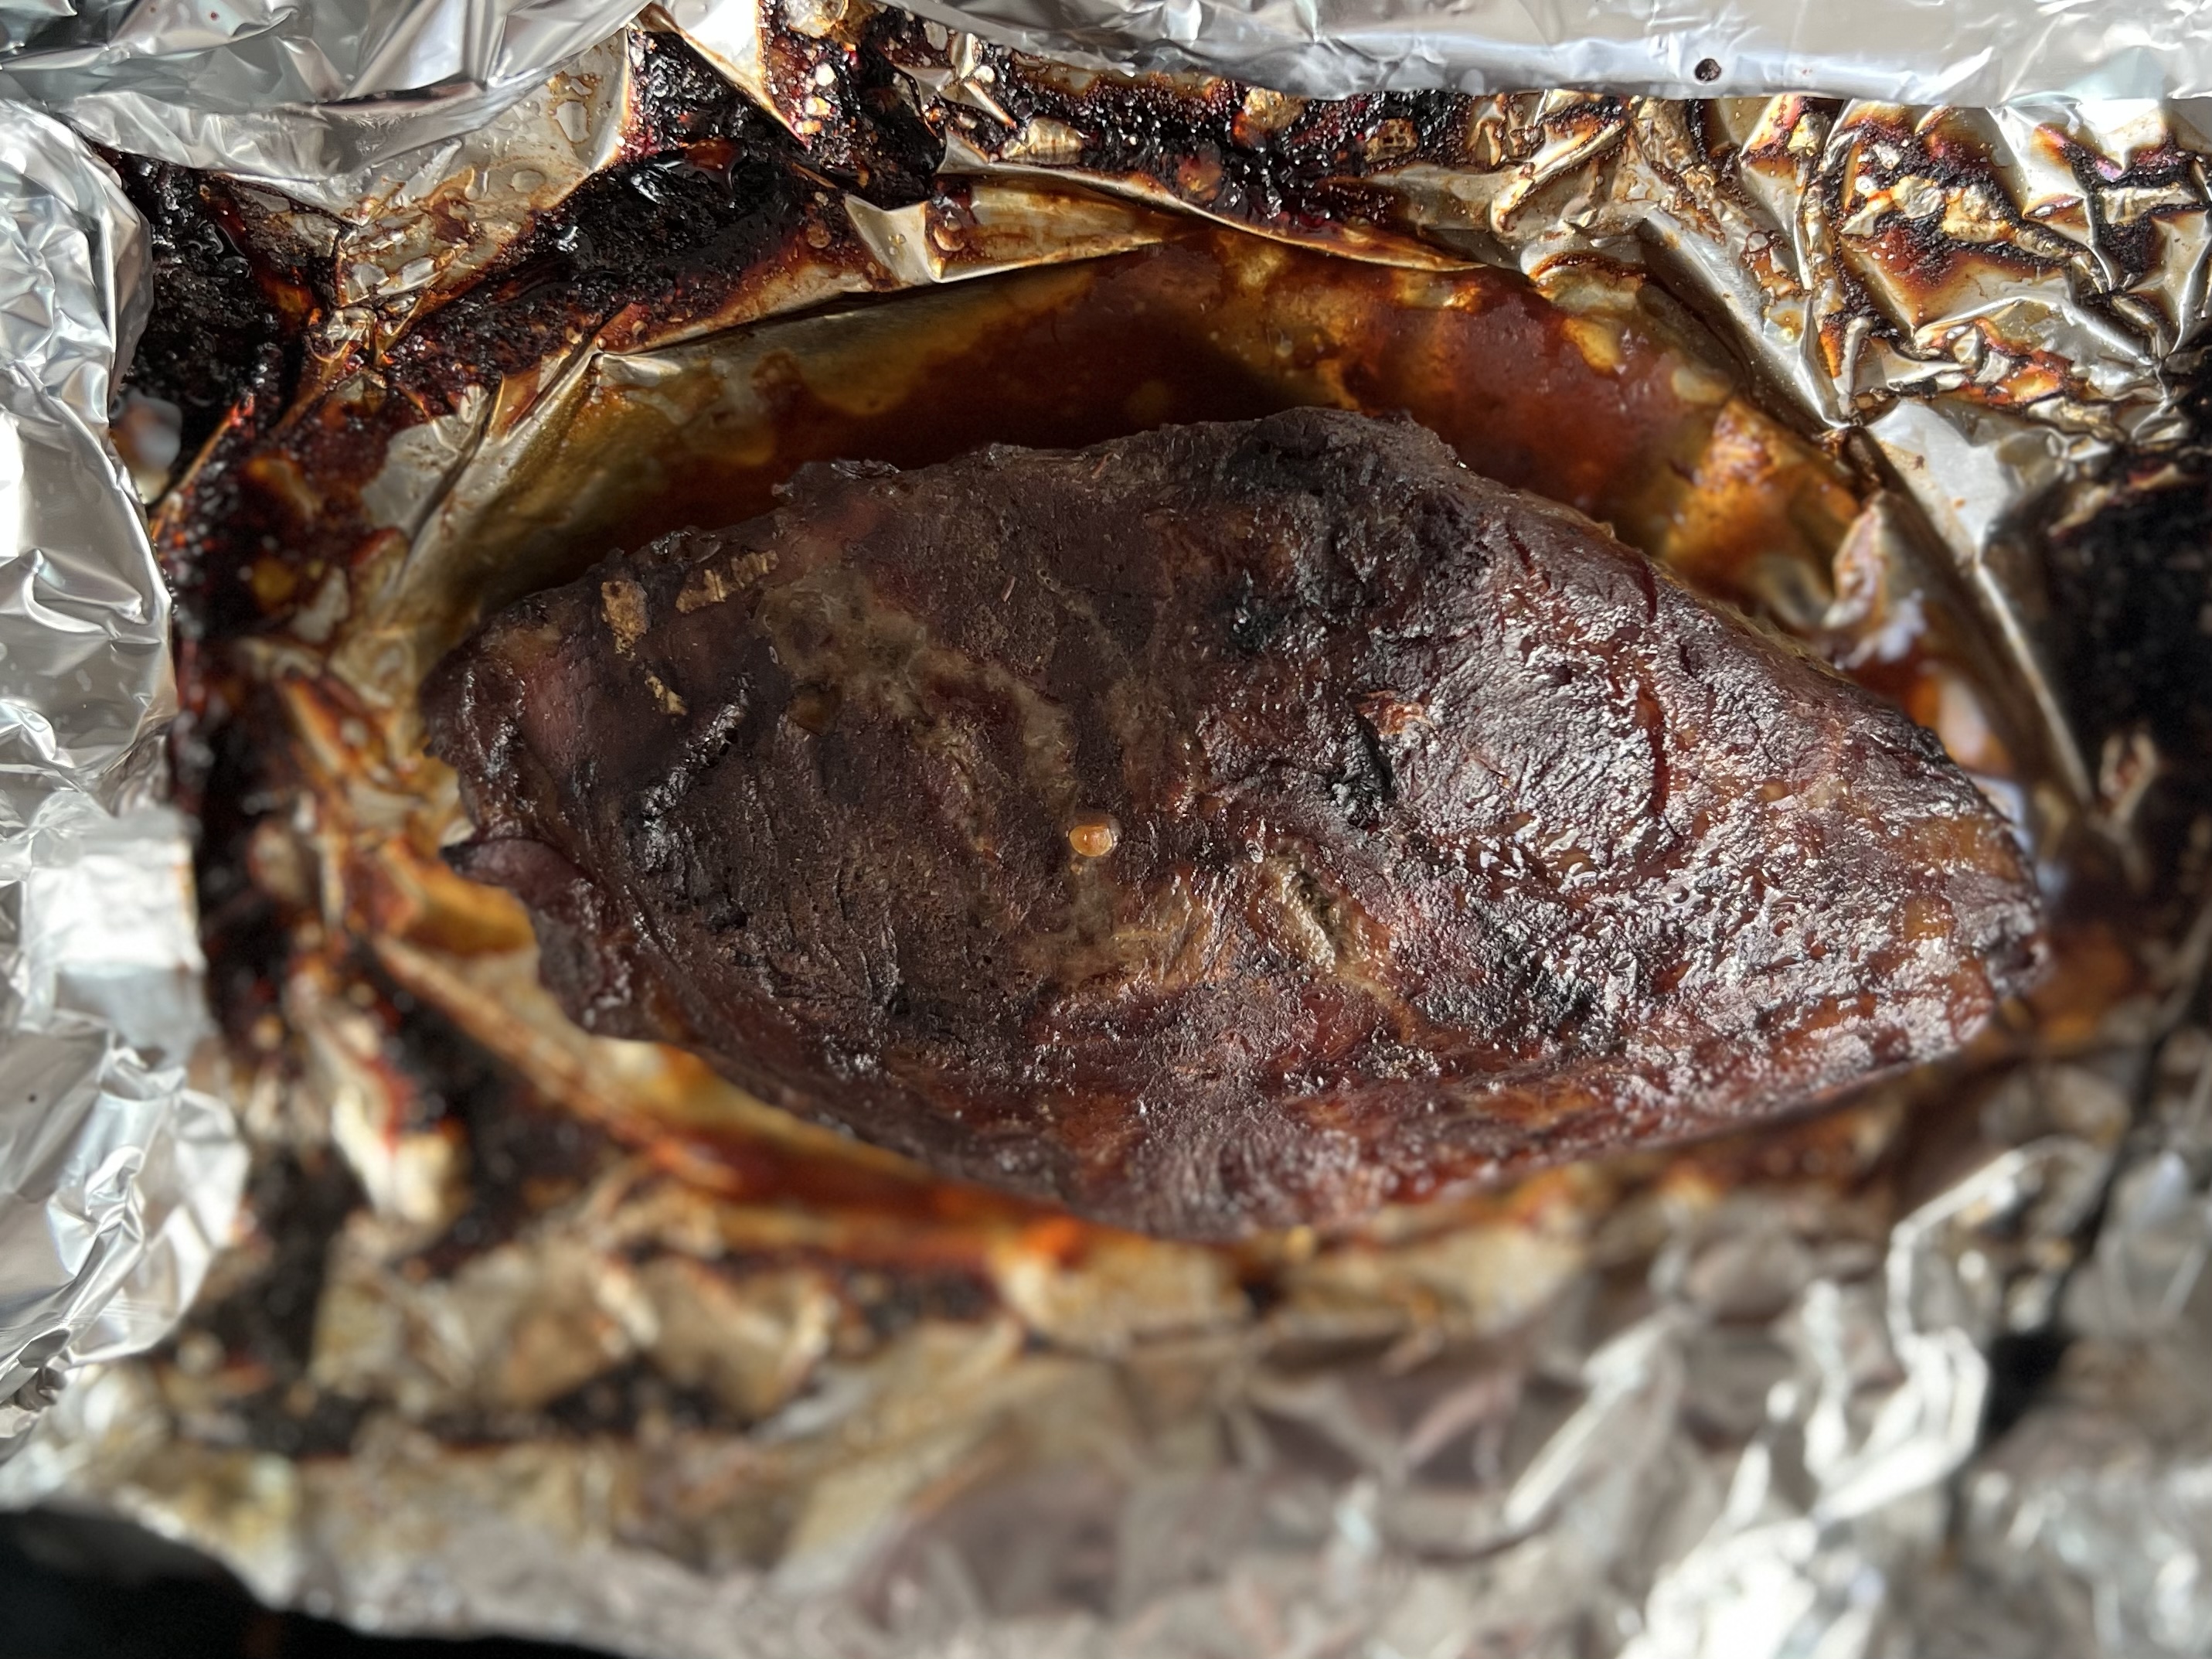
Bake the chicken at 425° for 35 minutes. Then drop the oven temperature to 350° and bake for 20 to 30 minutes more. Check the temperature of the bird by placing an instant-read thermometer in the inner thigh, being careful not to hit the bone. It should read 165°. Remove the bird from the roasting pan and place it on a plate. Cover it with foil to let it rest for 20 to 30 minutes.
While the chicken is resting, it’s time to make the gravy.
2 tablespoons ghee
1 teaspoon cumin seeds
1 teaspoon tandoori masala
2 tablespoons cornstarch
2 cups chicken stock
pan drippings from roasting the chicken
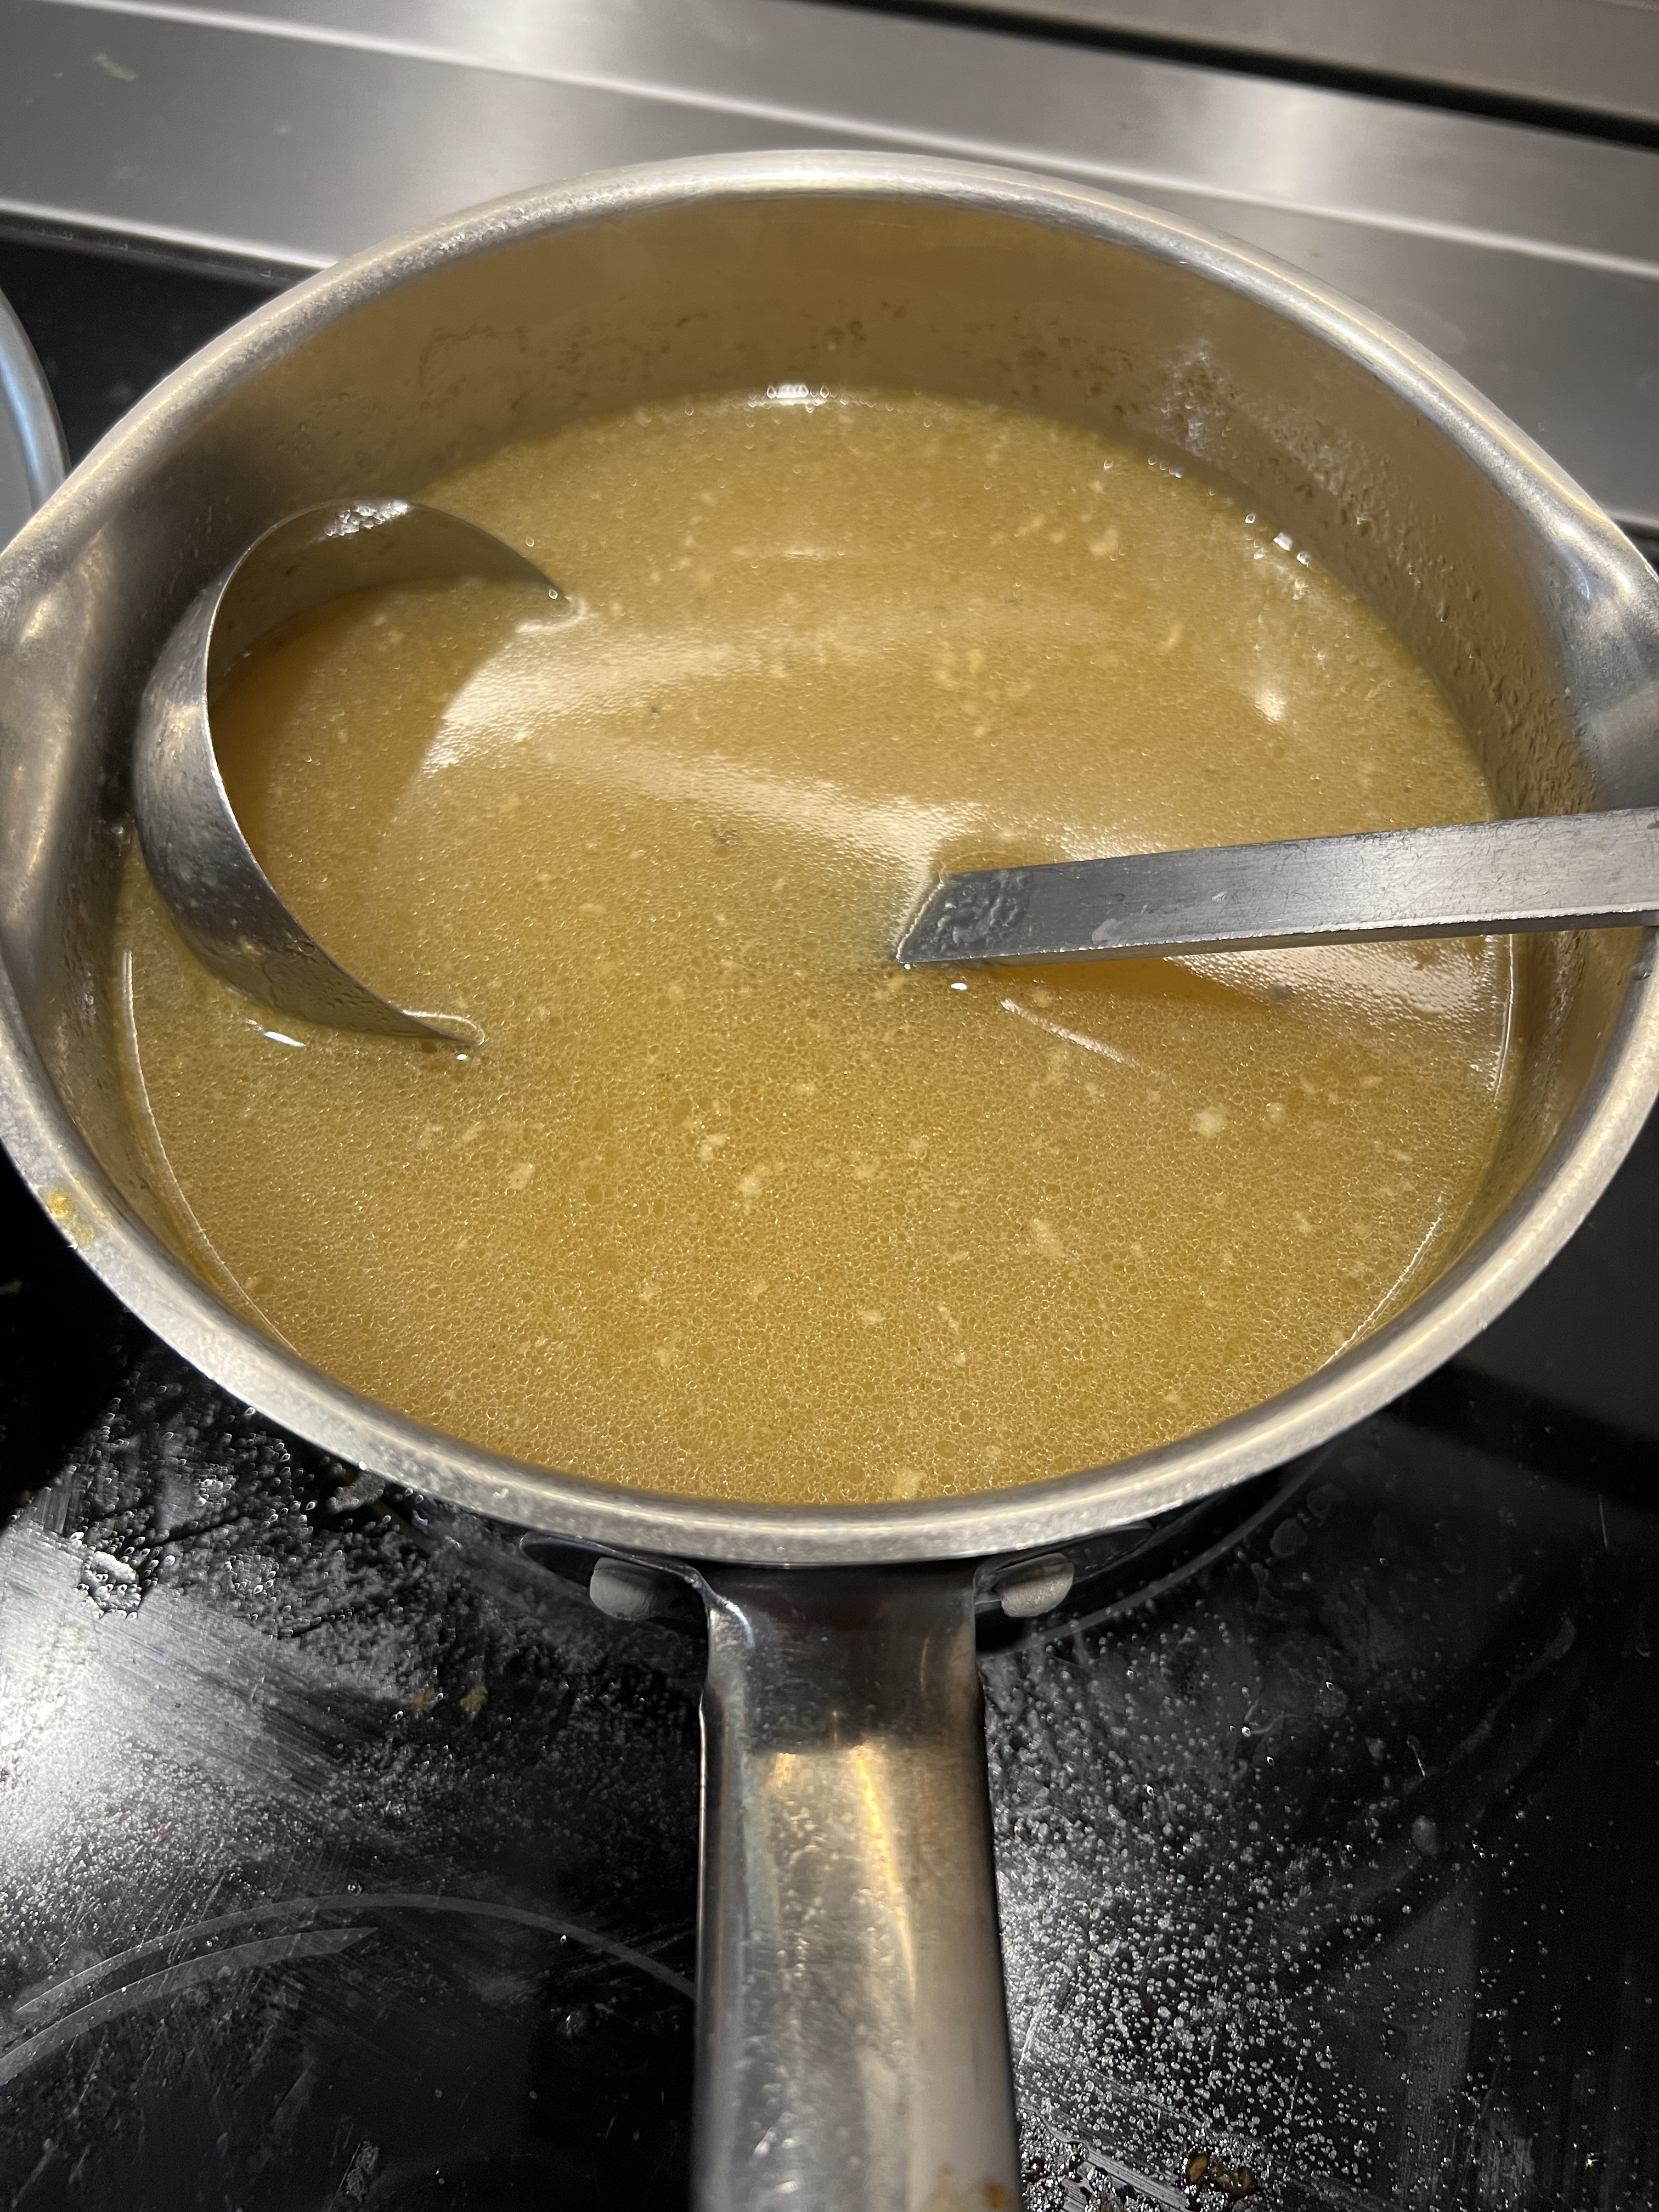
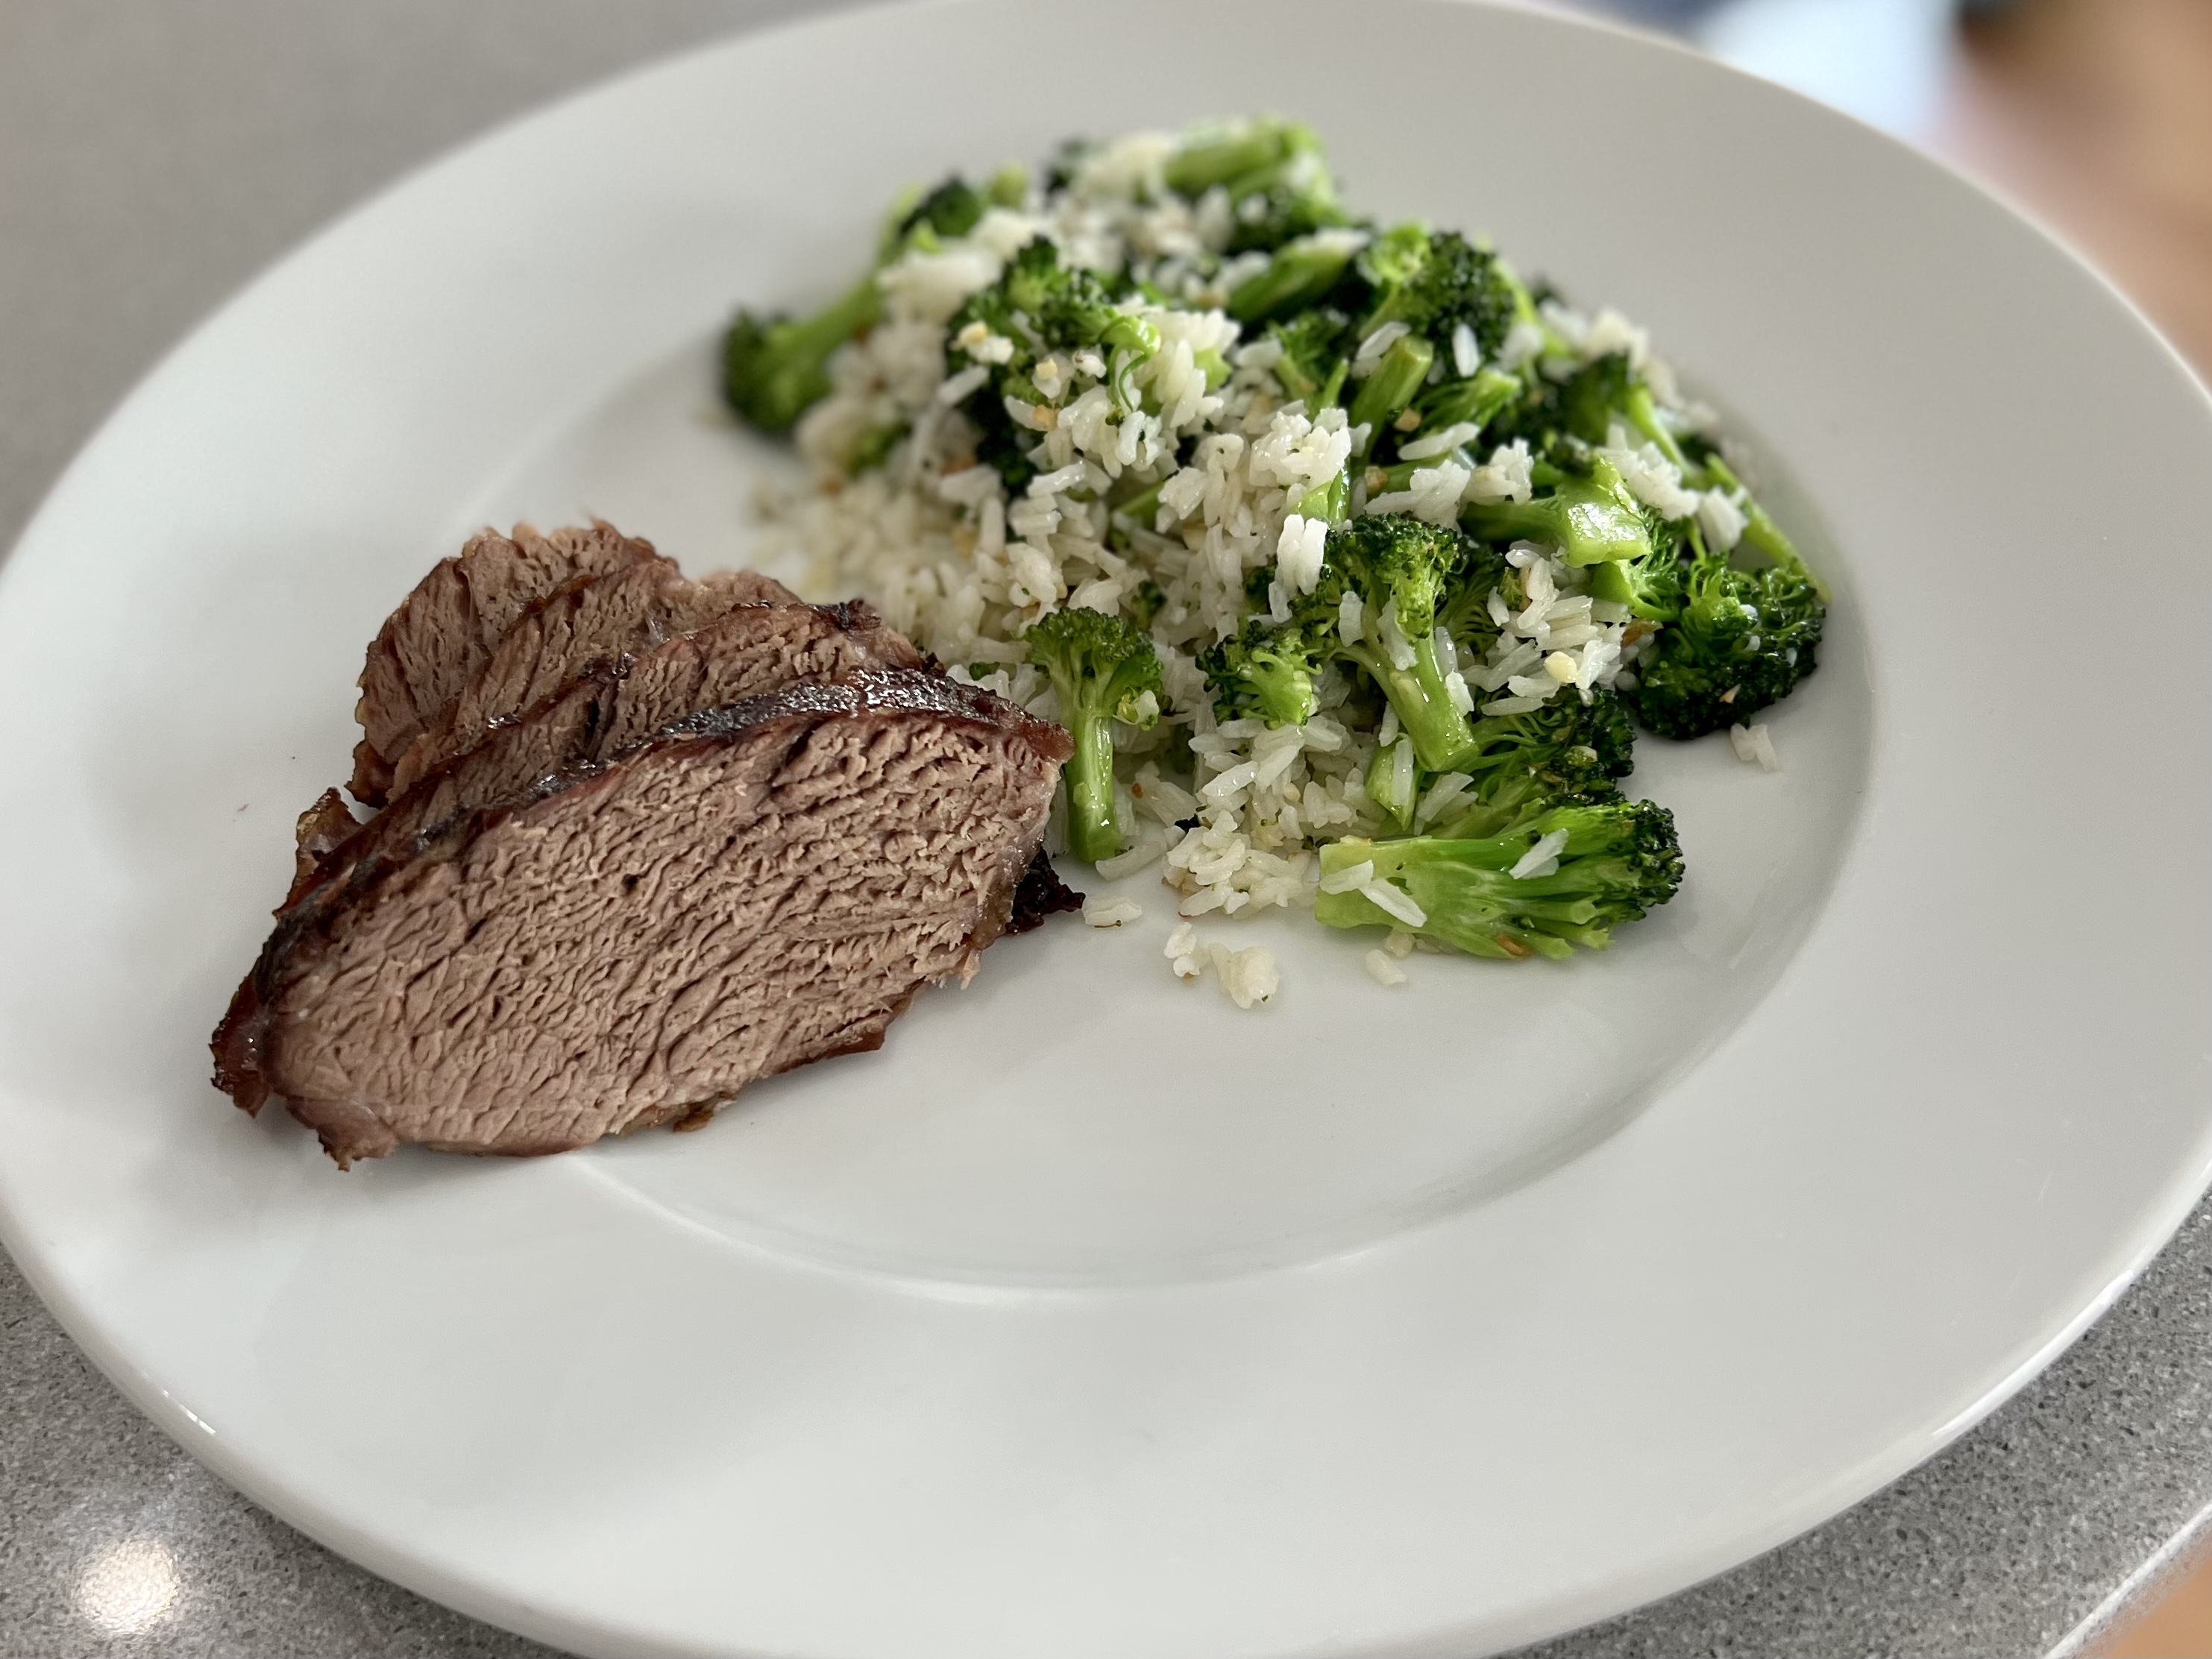
Melt the ghee in a saucepan over medium heat. Add the cumin seeds and tandoori masala. Cook, stirring often, being careful not to burn them. Whisk in the cornstarch, mixing well to avoid lumps. Then slowly add the chicken stock. Pour in the drippings from roasting the chicken. (You don’t need the onion and carrot–they’ve done their job.) Bring it to a simmer, then reduce the heat, and cook, stirring constantly, until the gravy is thick enough to coat the back of a spoon. To serve, pour the gravy through a wire-mesh strainer into a gravy boat.