My last recipe post for a while, as I head off on a journey to try some New Zealand oysters…as well as a lot of other seafood!
My dog, Fellow, turned 13 on November 5th. He stood by me in the kitchen while I created this dish, so I decided to name it after him.

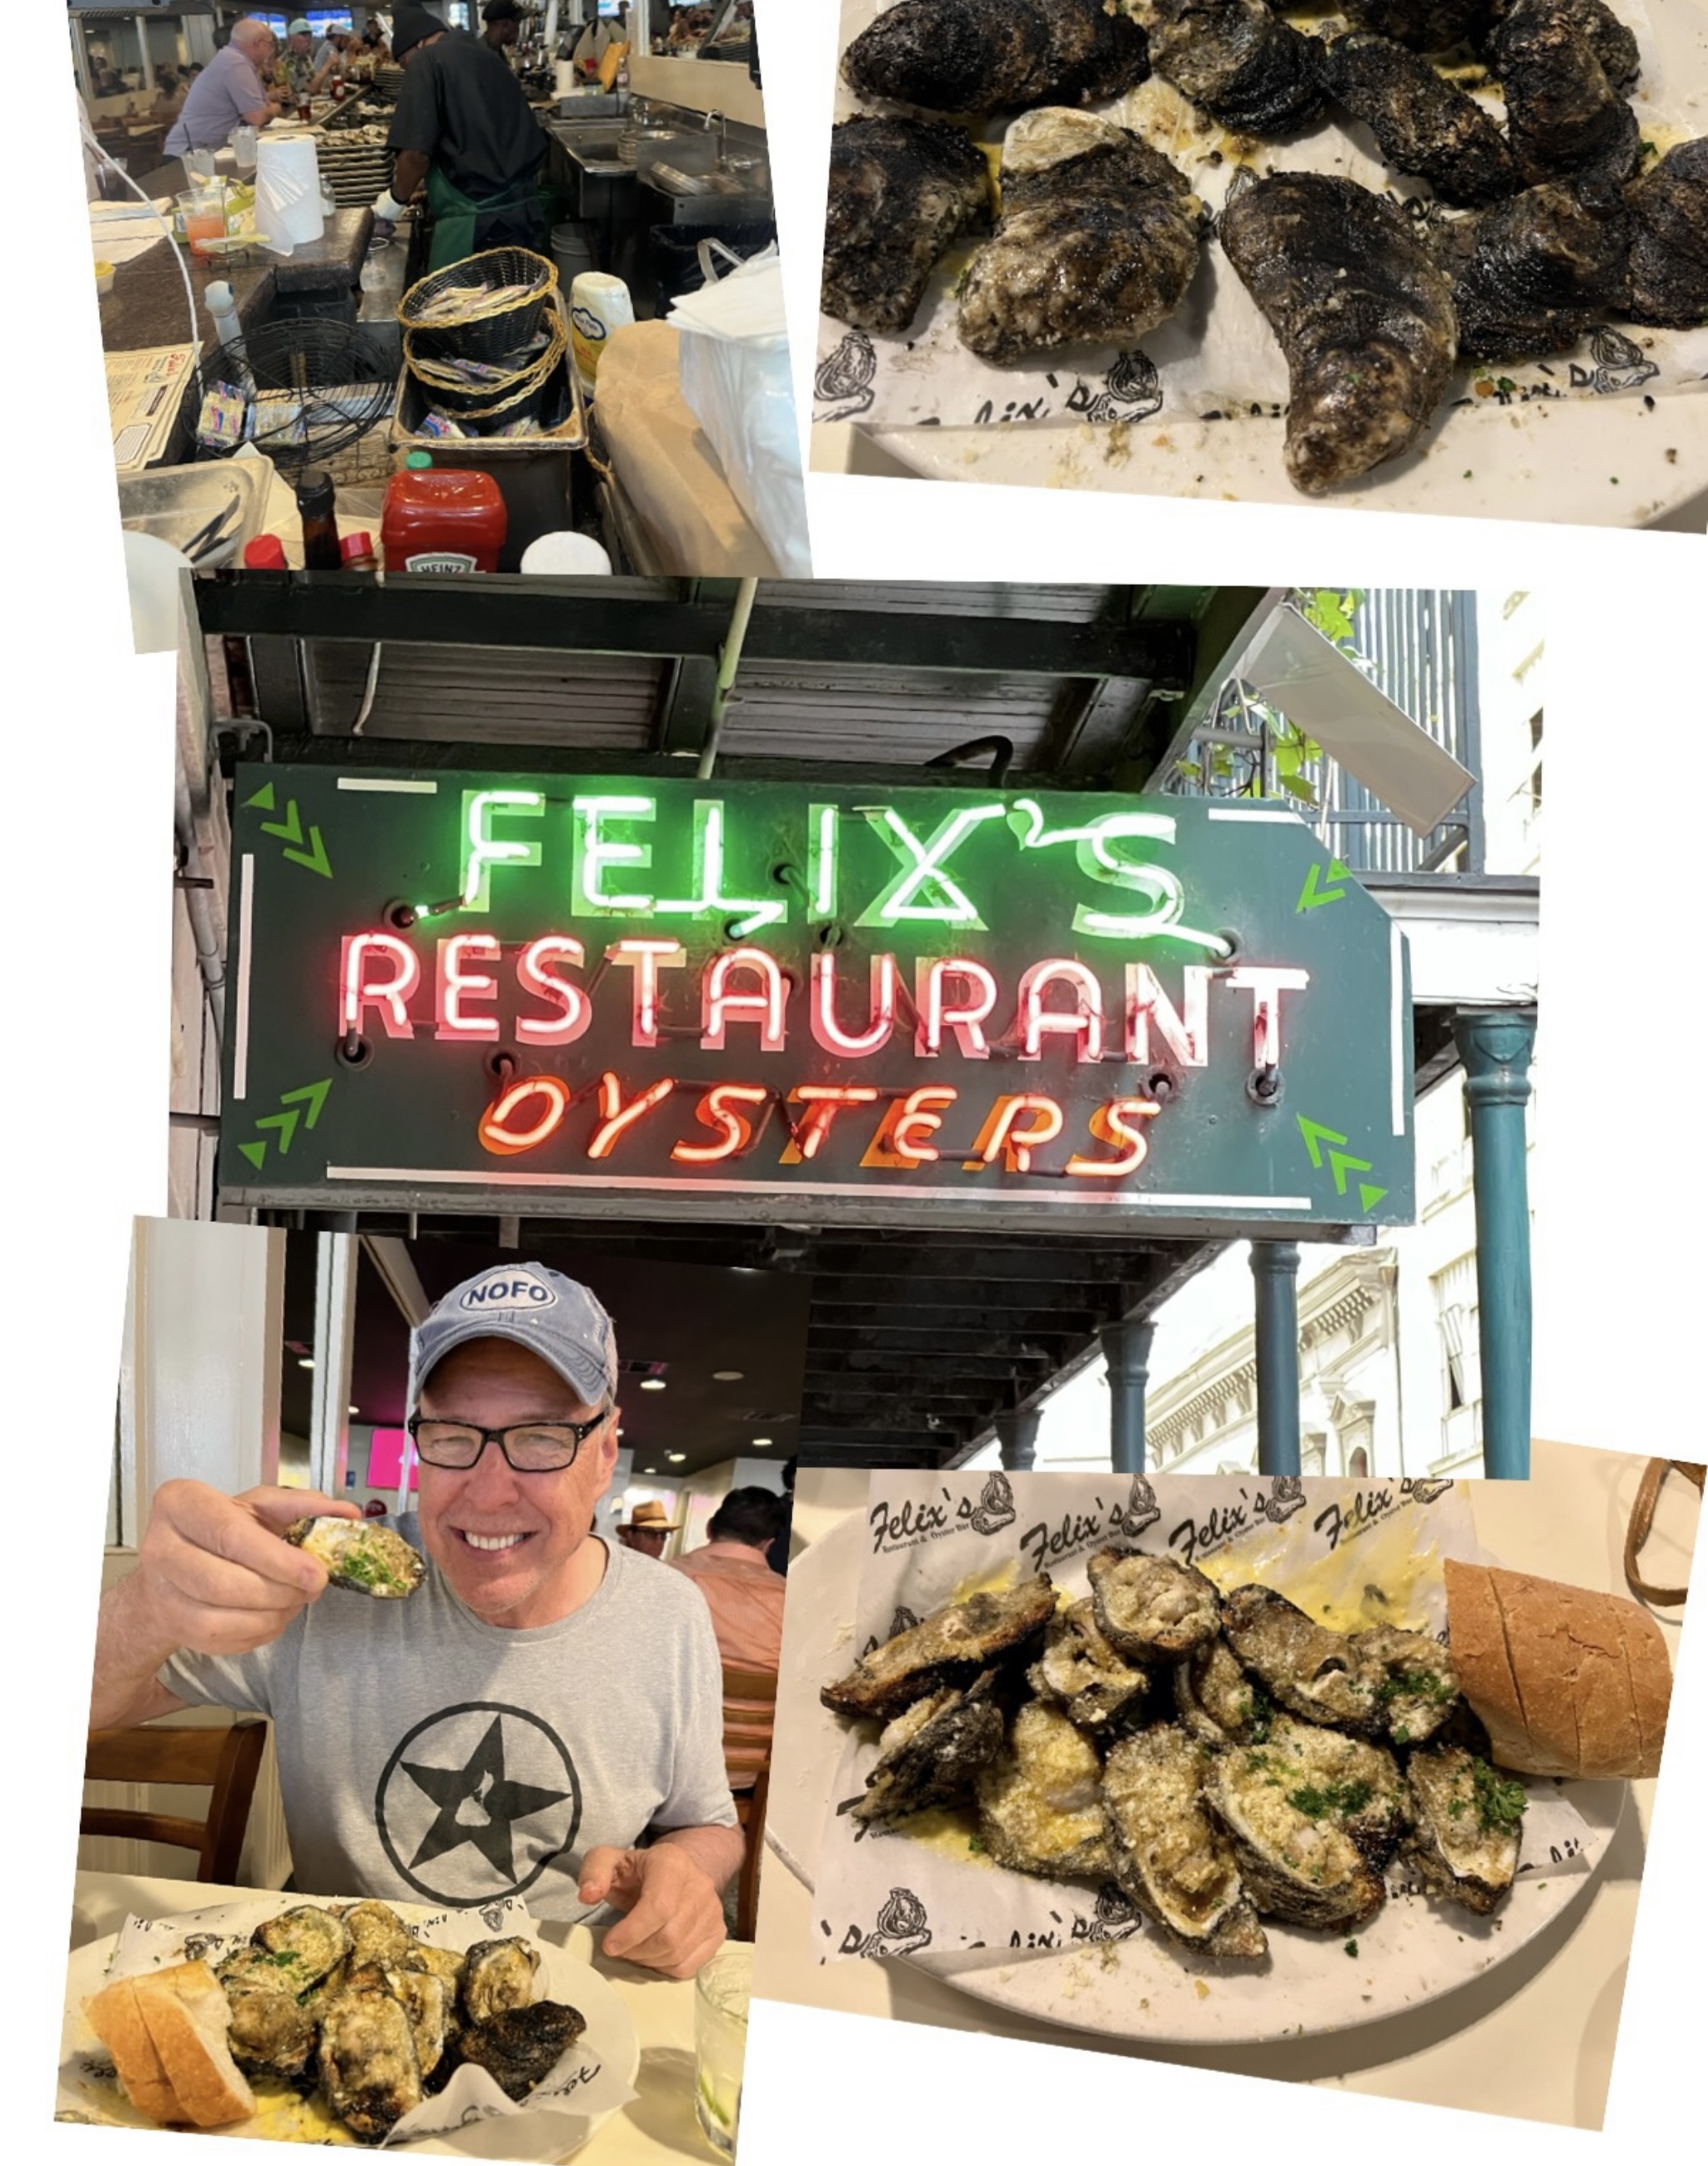
The original Oysters Rockefeller recipe is a closely guarded secret, created in 1899 at the famous New Orleans restaurant Antoine’s. Jules Alciatore, the son of founder Antoine Alciatore, developed the dish when they had a shortage of escargot, substituting locally available oysters. Antoine’s is still the only place in the world where you can be served the original Oysters Rockefeller recipe.
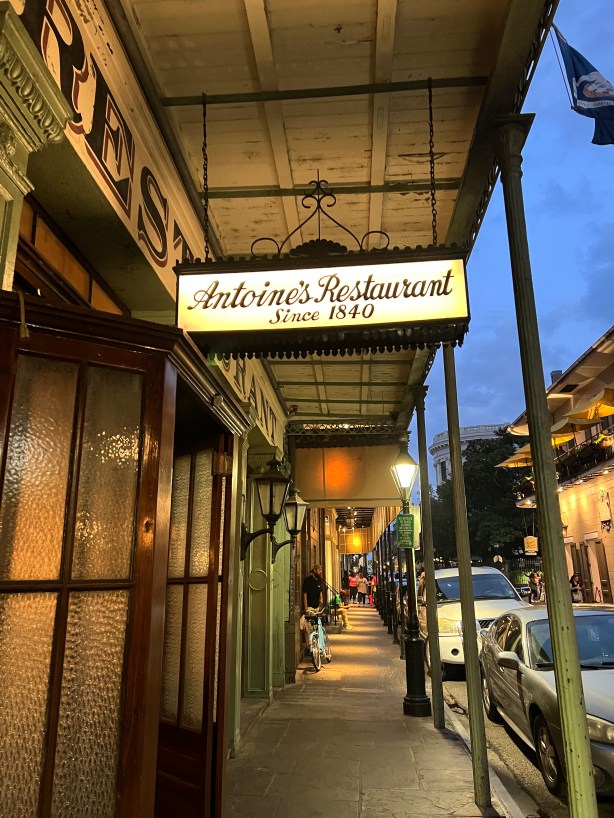
Antoine’s is the oldest restaurant in New Orleans.
If you Google “Oysters Rockefeller,” you’ll find hundreds of recipes that claim to be the real thing, or close to it. But here’s the catch: most of them use spinach in the dish, and the folks at Antoine’s insist there was never any spinach used in the original recipe. So, before attempting my own version, I decided I would leave spinach out of my recipe…and I like it better that way.

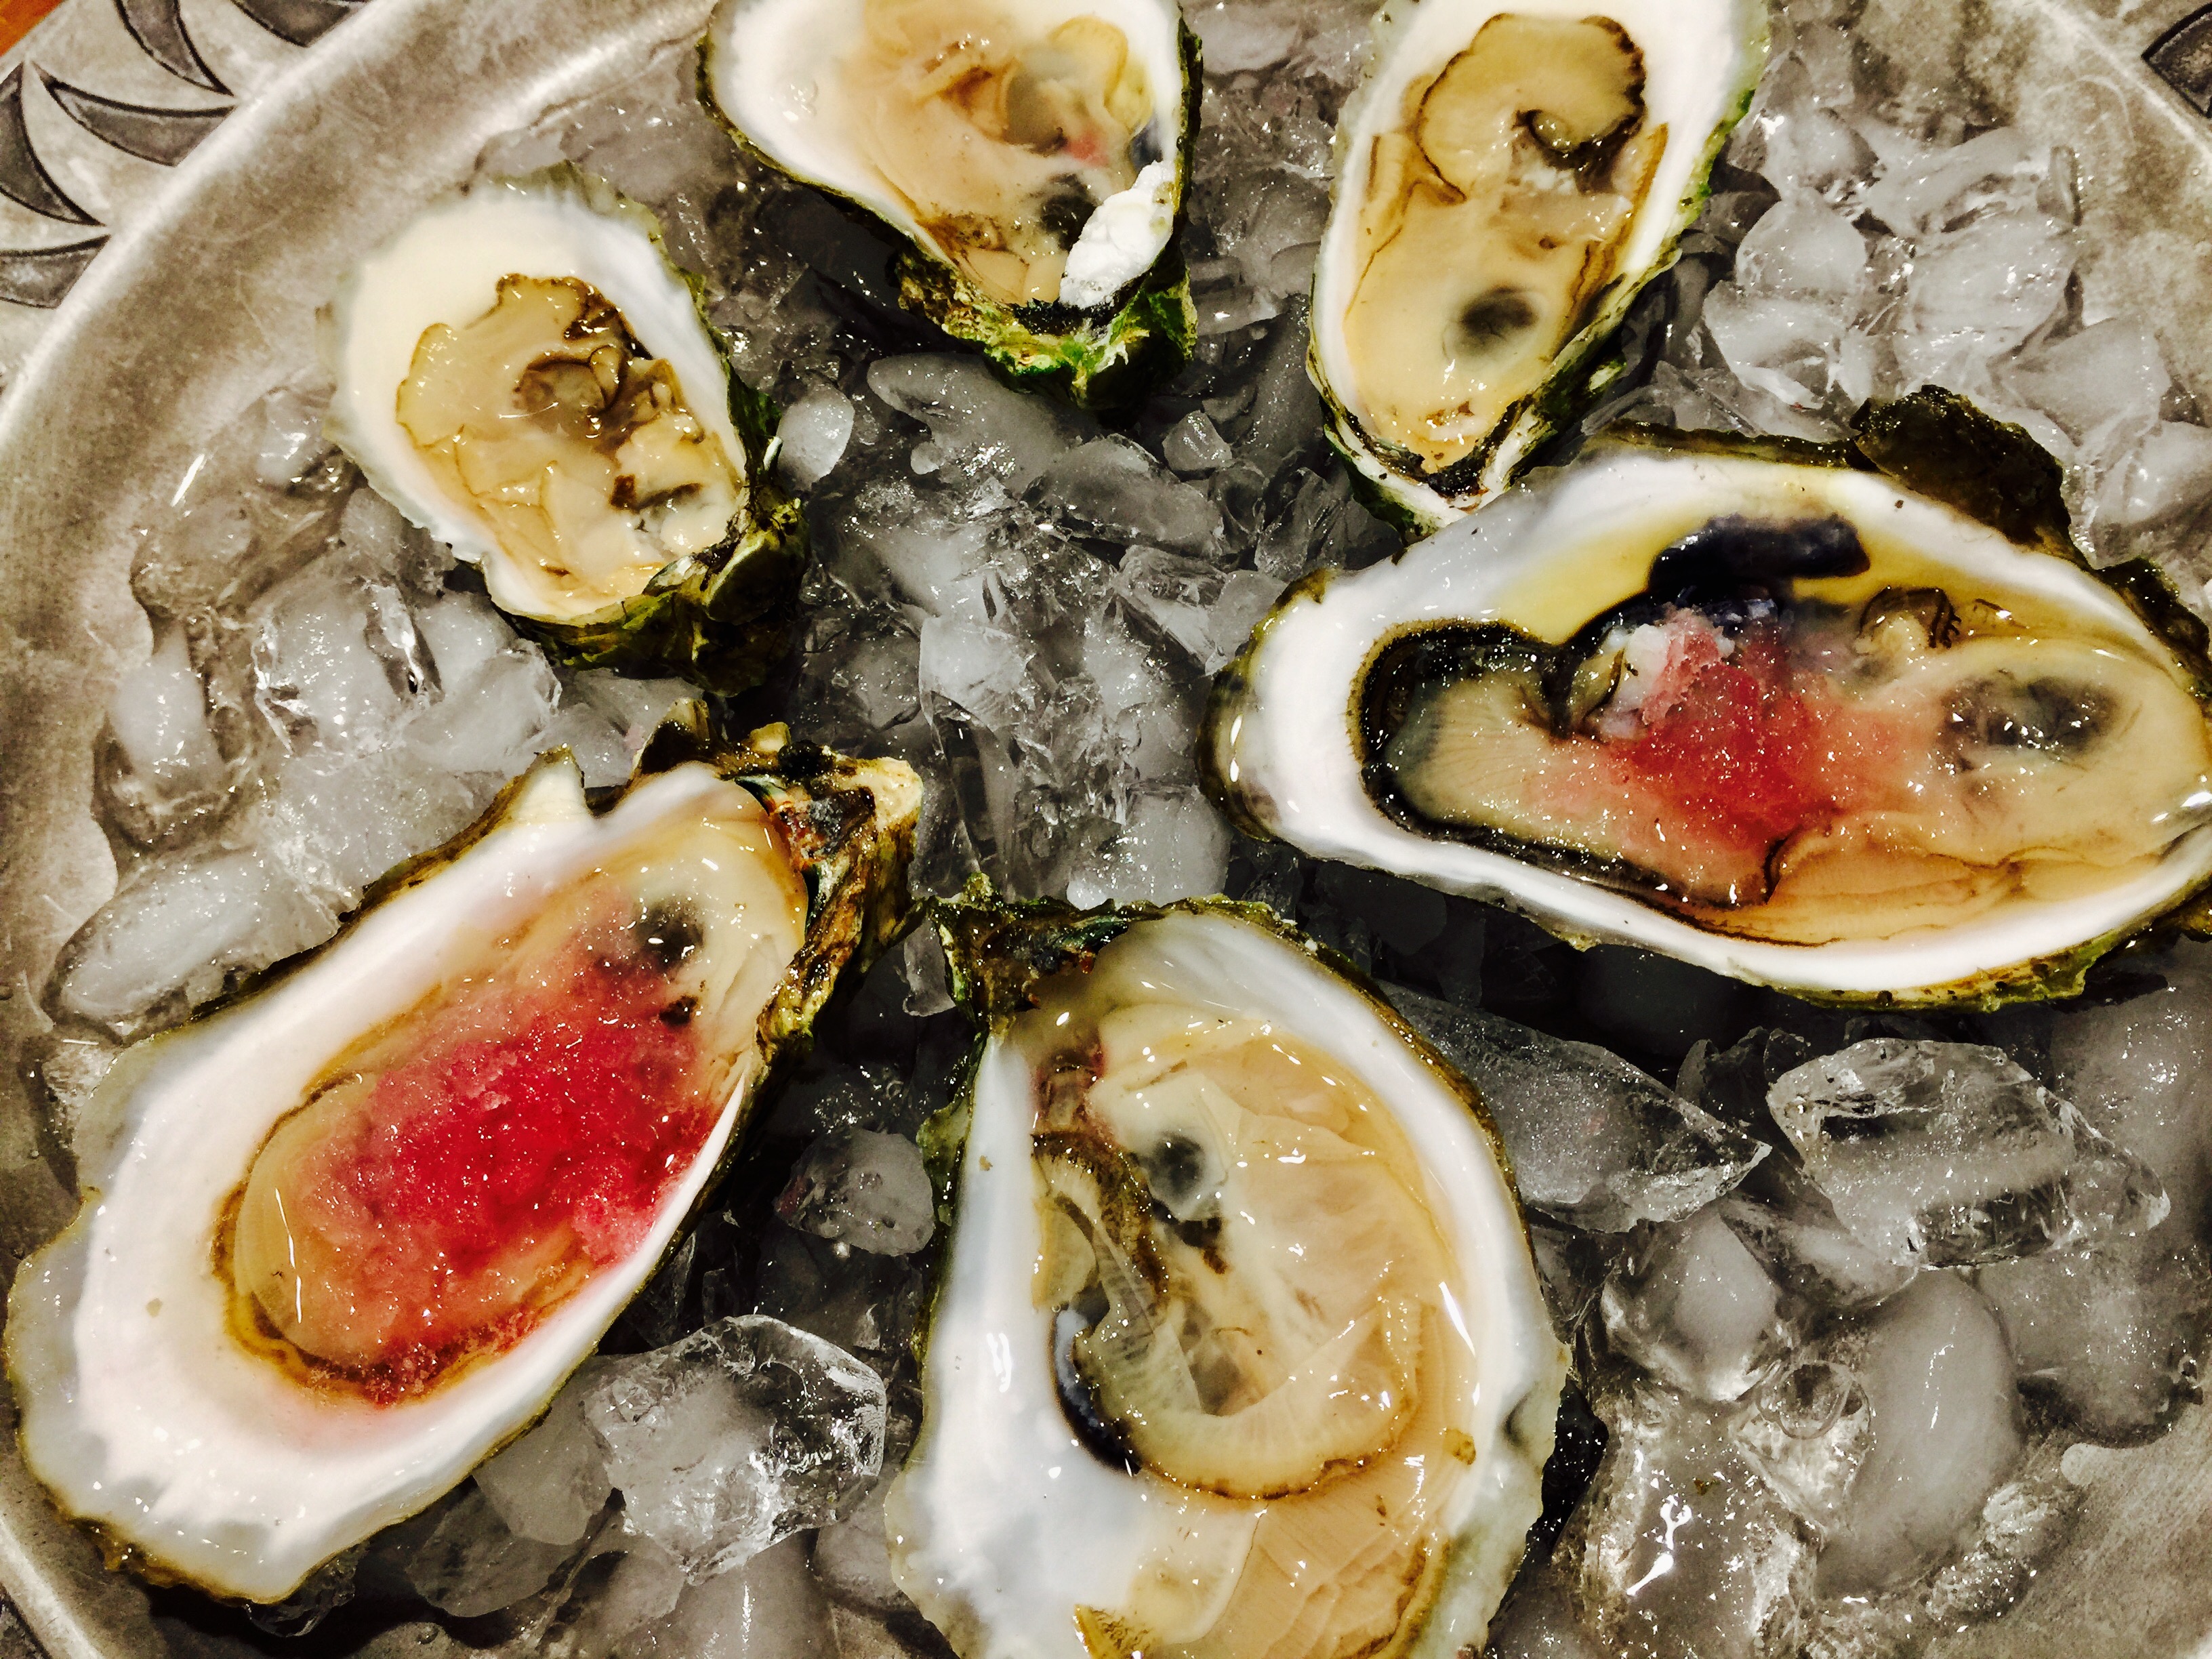
The original Oysters Rockefeller served at Antoine’s. I have to say I wasn’t all that impressed with it.
My version, my Oysters Rock-a-Fellow, is cheesier and gooier than the original. I use large, meatie oysters like Wellfleets from Cape Cod or local Rhode Island oysters. And, as you’ll see below, I can make the cheese portion of this dish the day before, saving myself a lot of time on the day I want to serve it.
So, if you’re doing this the day of…start here. If you’re doing it the day before, start with the cheese mix below, then come back to the oysters the next day.
24 oysters, washed to remove grit
Scrub the oysters under cold water to get them clean.
Here’s how I make opening the oysters easier. (Plus the hot water cleans the oyster shells nicely.)
In a large pot, pour in enough cold water to fill the pot about halfway. Turn the heat on high and bring the pot to a boil.
The moment you reach a boil, turn the heat to medium and drop in 6 oysters, letting them bathe in the liquid for only 30 seconds. Scoop them out with a slotted spoon and place them in a bowl to cool. If the oysters open, they’ve been in there too long! You want them to stay closed. Do the same with the rest of the oysters, 6 at a time. Once all the oysters have had their 30 seconds, move the oyster bowl to a cutting board. Discard the liquid in the pot.
Pour Kosher salt onto a large sheet pan lined with foil.
Once the oysters have cooled enough for you to handle, carefully remove the top shell off each one (there are plenty of videos on You Tube to show you how this is done if you need help), discarding it, and lay the oysters on the bed of salt in the sheet pan, trying not to spill any of the precious oyster liquor inside. The salt holds the oysters in place.
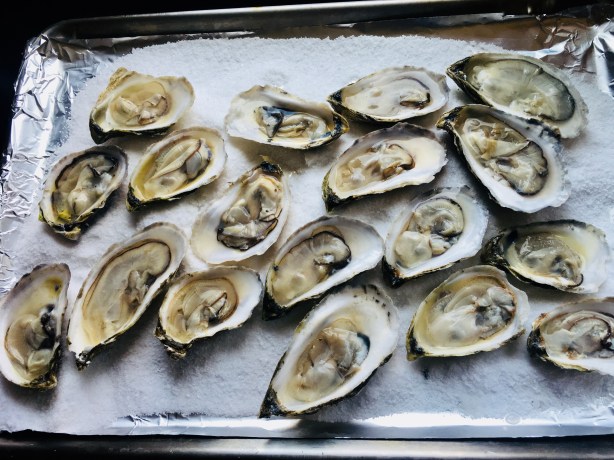
Salt holds the oysters perfectly in place.
Pre-heat the oven to 425 degrees.
1/4 cup unsalted butter
1 small onion, finely chopped
1 garlic clove, finely chopped
1/4 cup low-fat milk
salt and pepper
3 cups (tightly packed) fresh arugula, finely chopped, about a 5 oz. container
6 oz. mild cheddar cheese (the white one), grated
6 oz. mozzarella, grated
Fine bread crumbs (Using GF breadcrumbs will keep this dish gluten-free)
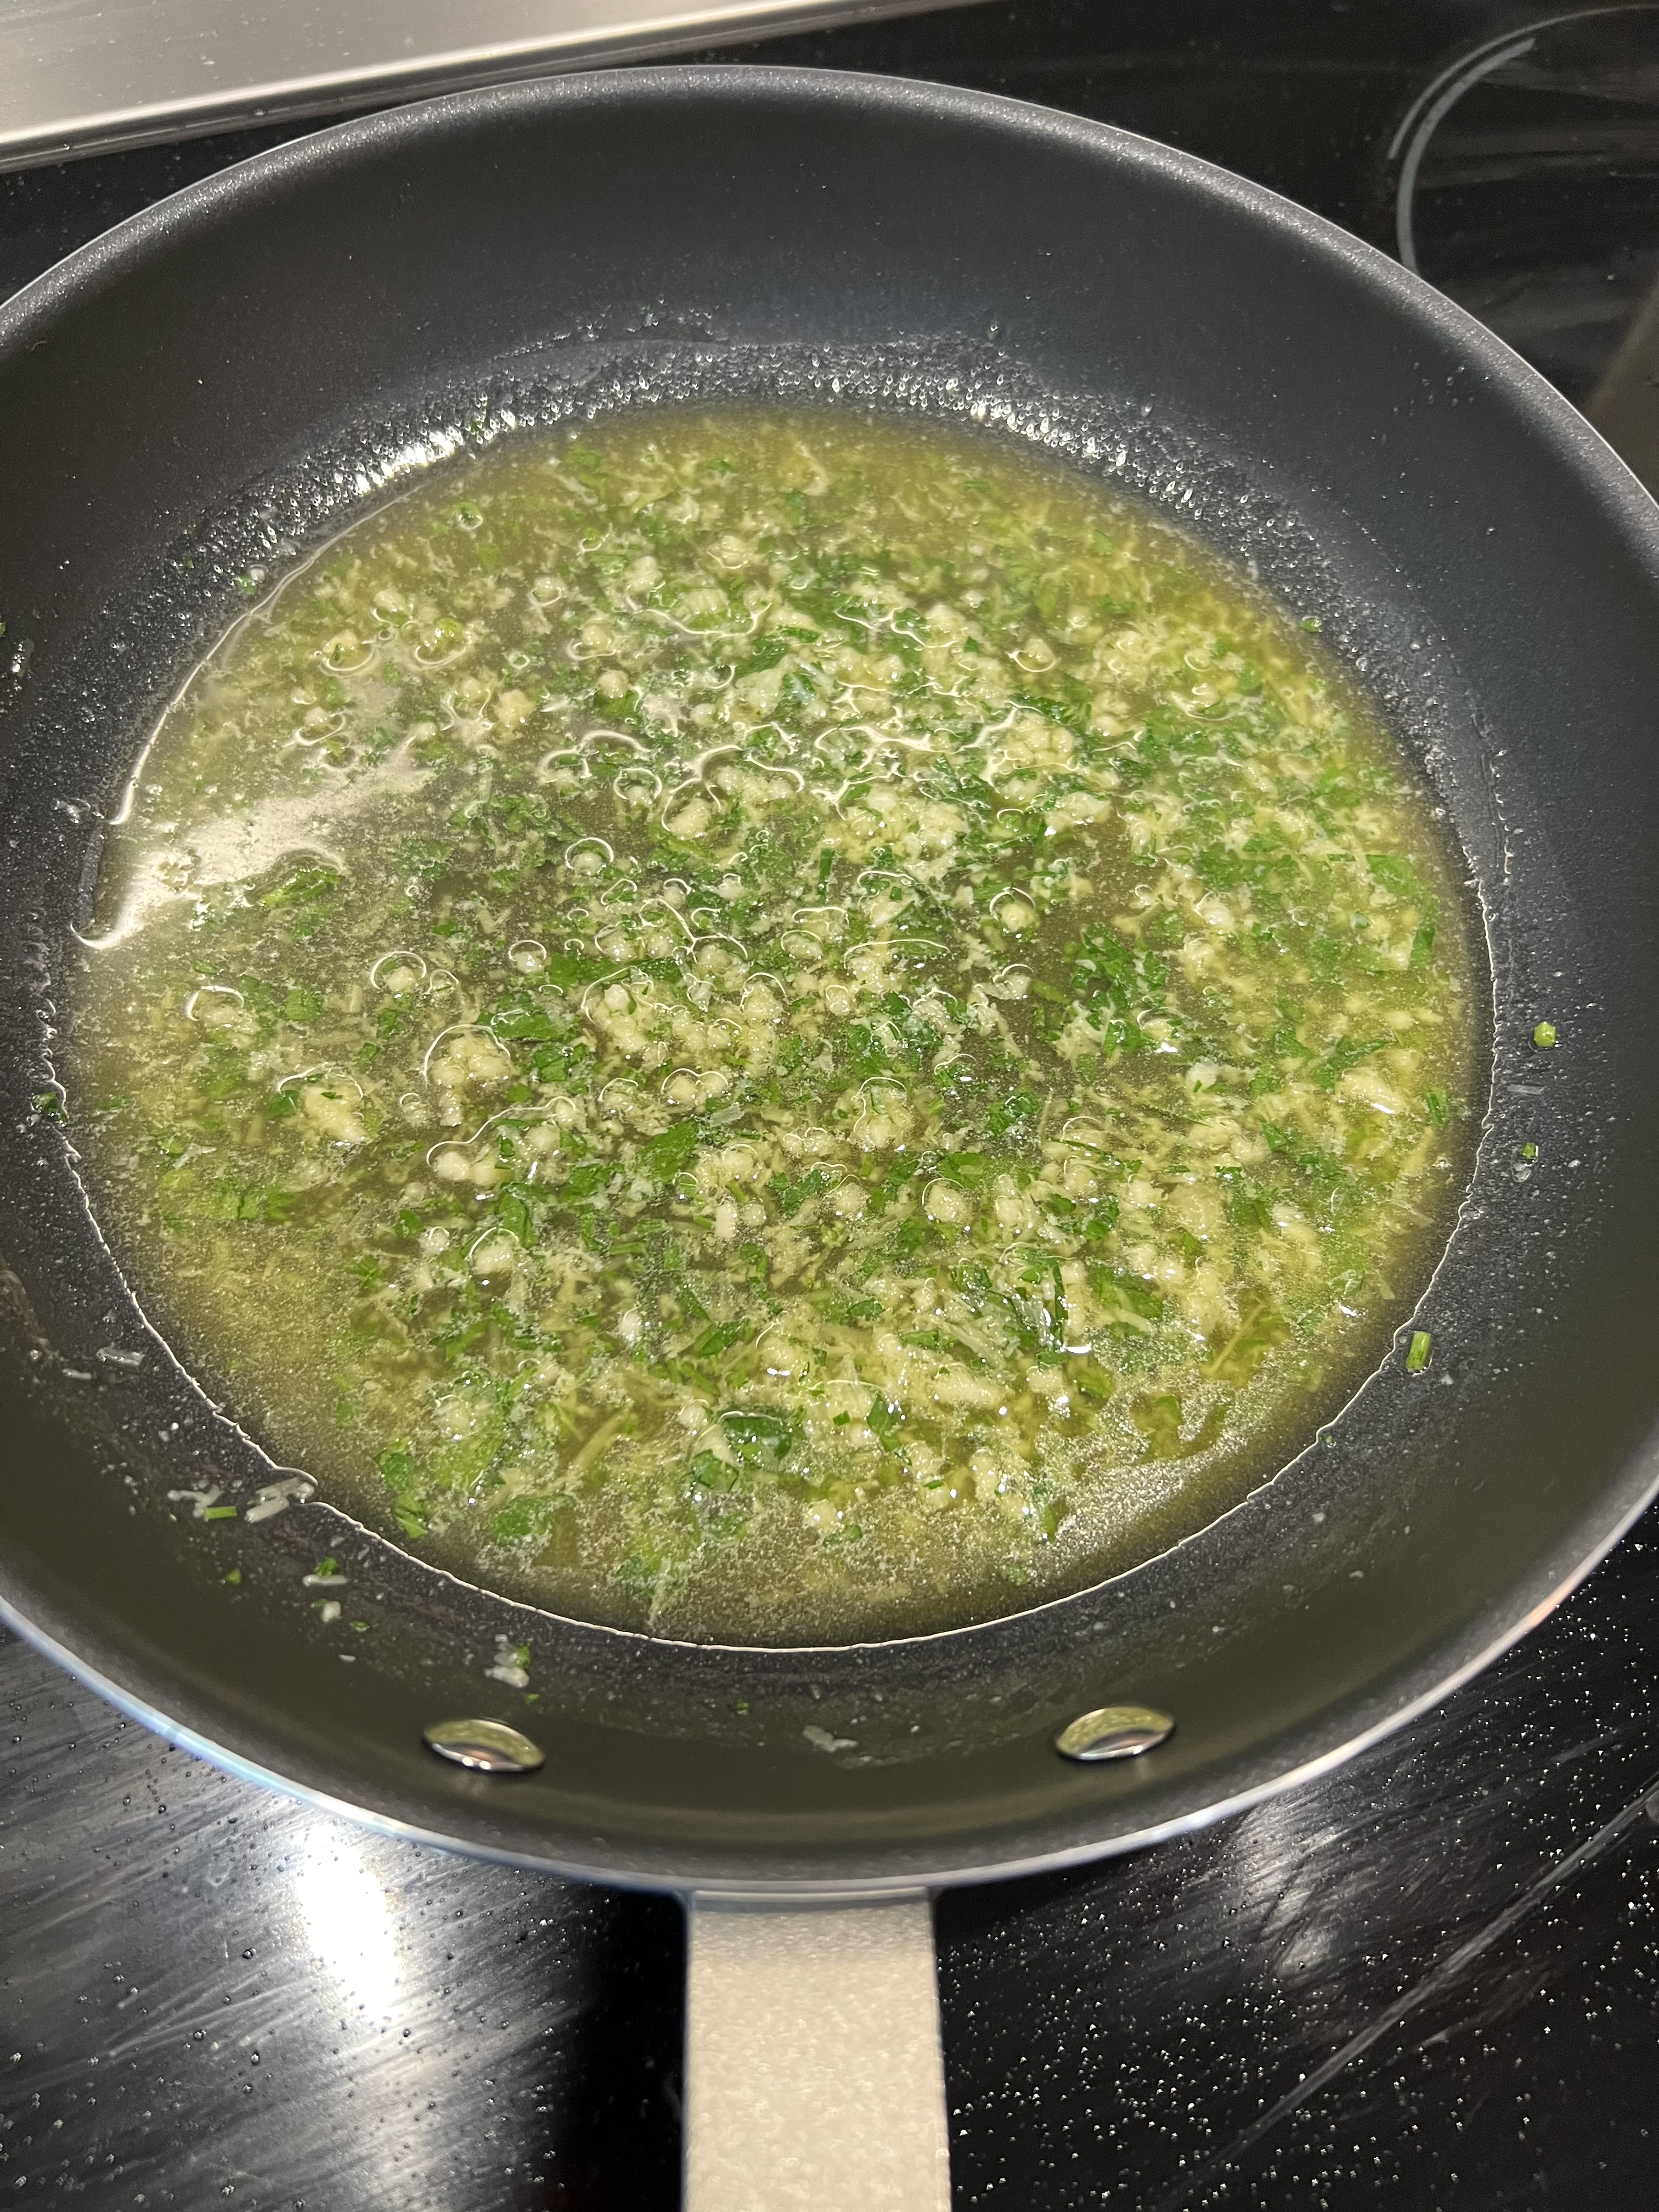
In a sauce pan, melt the butter and then add the onion and garlic. Saute until the onion is translucent.
Add the milk, season with salt and pepper, and then add the arugula a little at a time, letting it wilt before adding more. Use all the arugula.
Once all the arugula is in the saucepan, sprinkle the cheese in a bit at a time, letting it melt, until you’ve used all the cheese: the cheddar and then the mozzarella.
Pour the gooey cheese mix into a lasagna pan, smooth it out with a spatula, and place it in the fridge to cool.
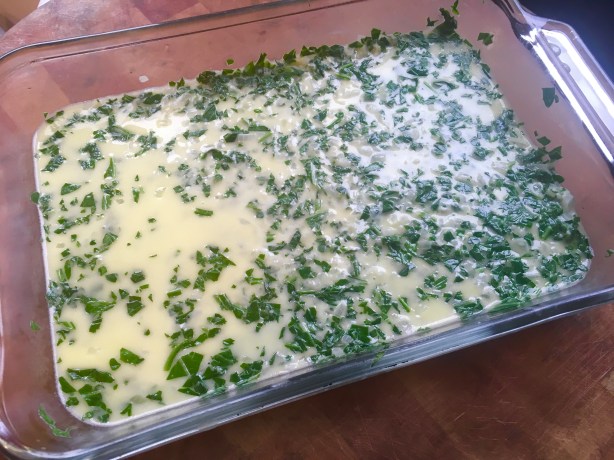
You can do this all the day before, because the cheese mix hardens and becomes easy to cut into cubes with a sharp knife.

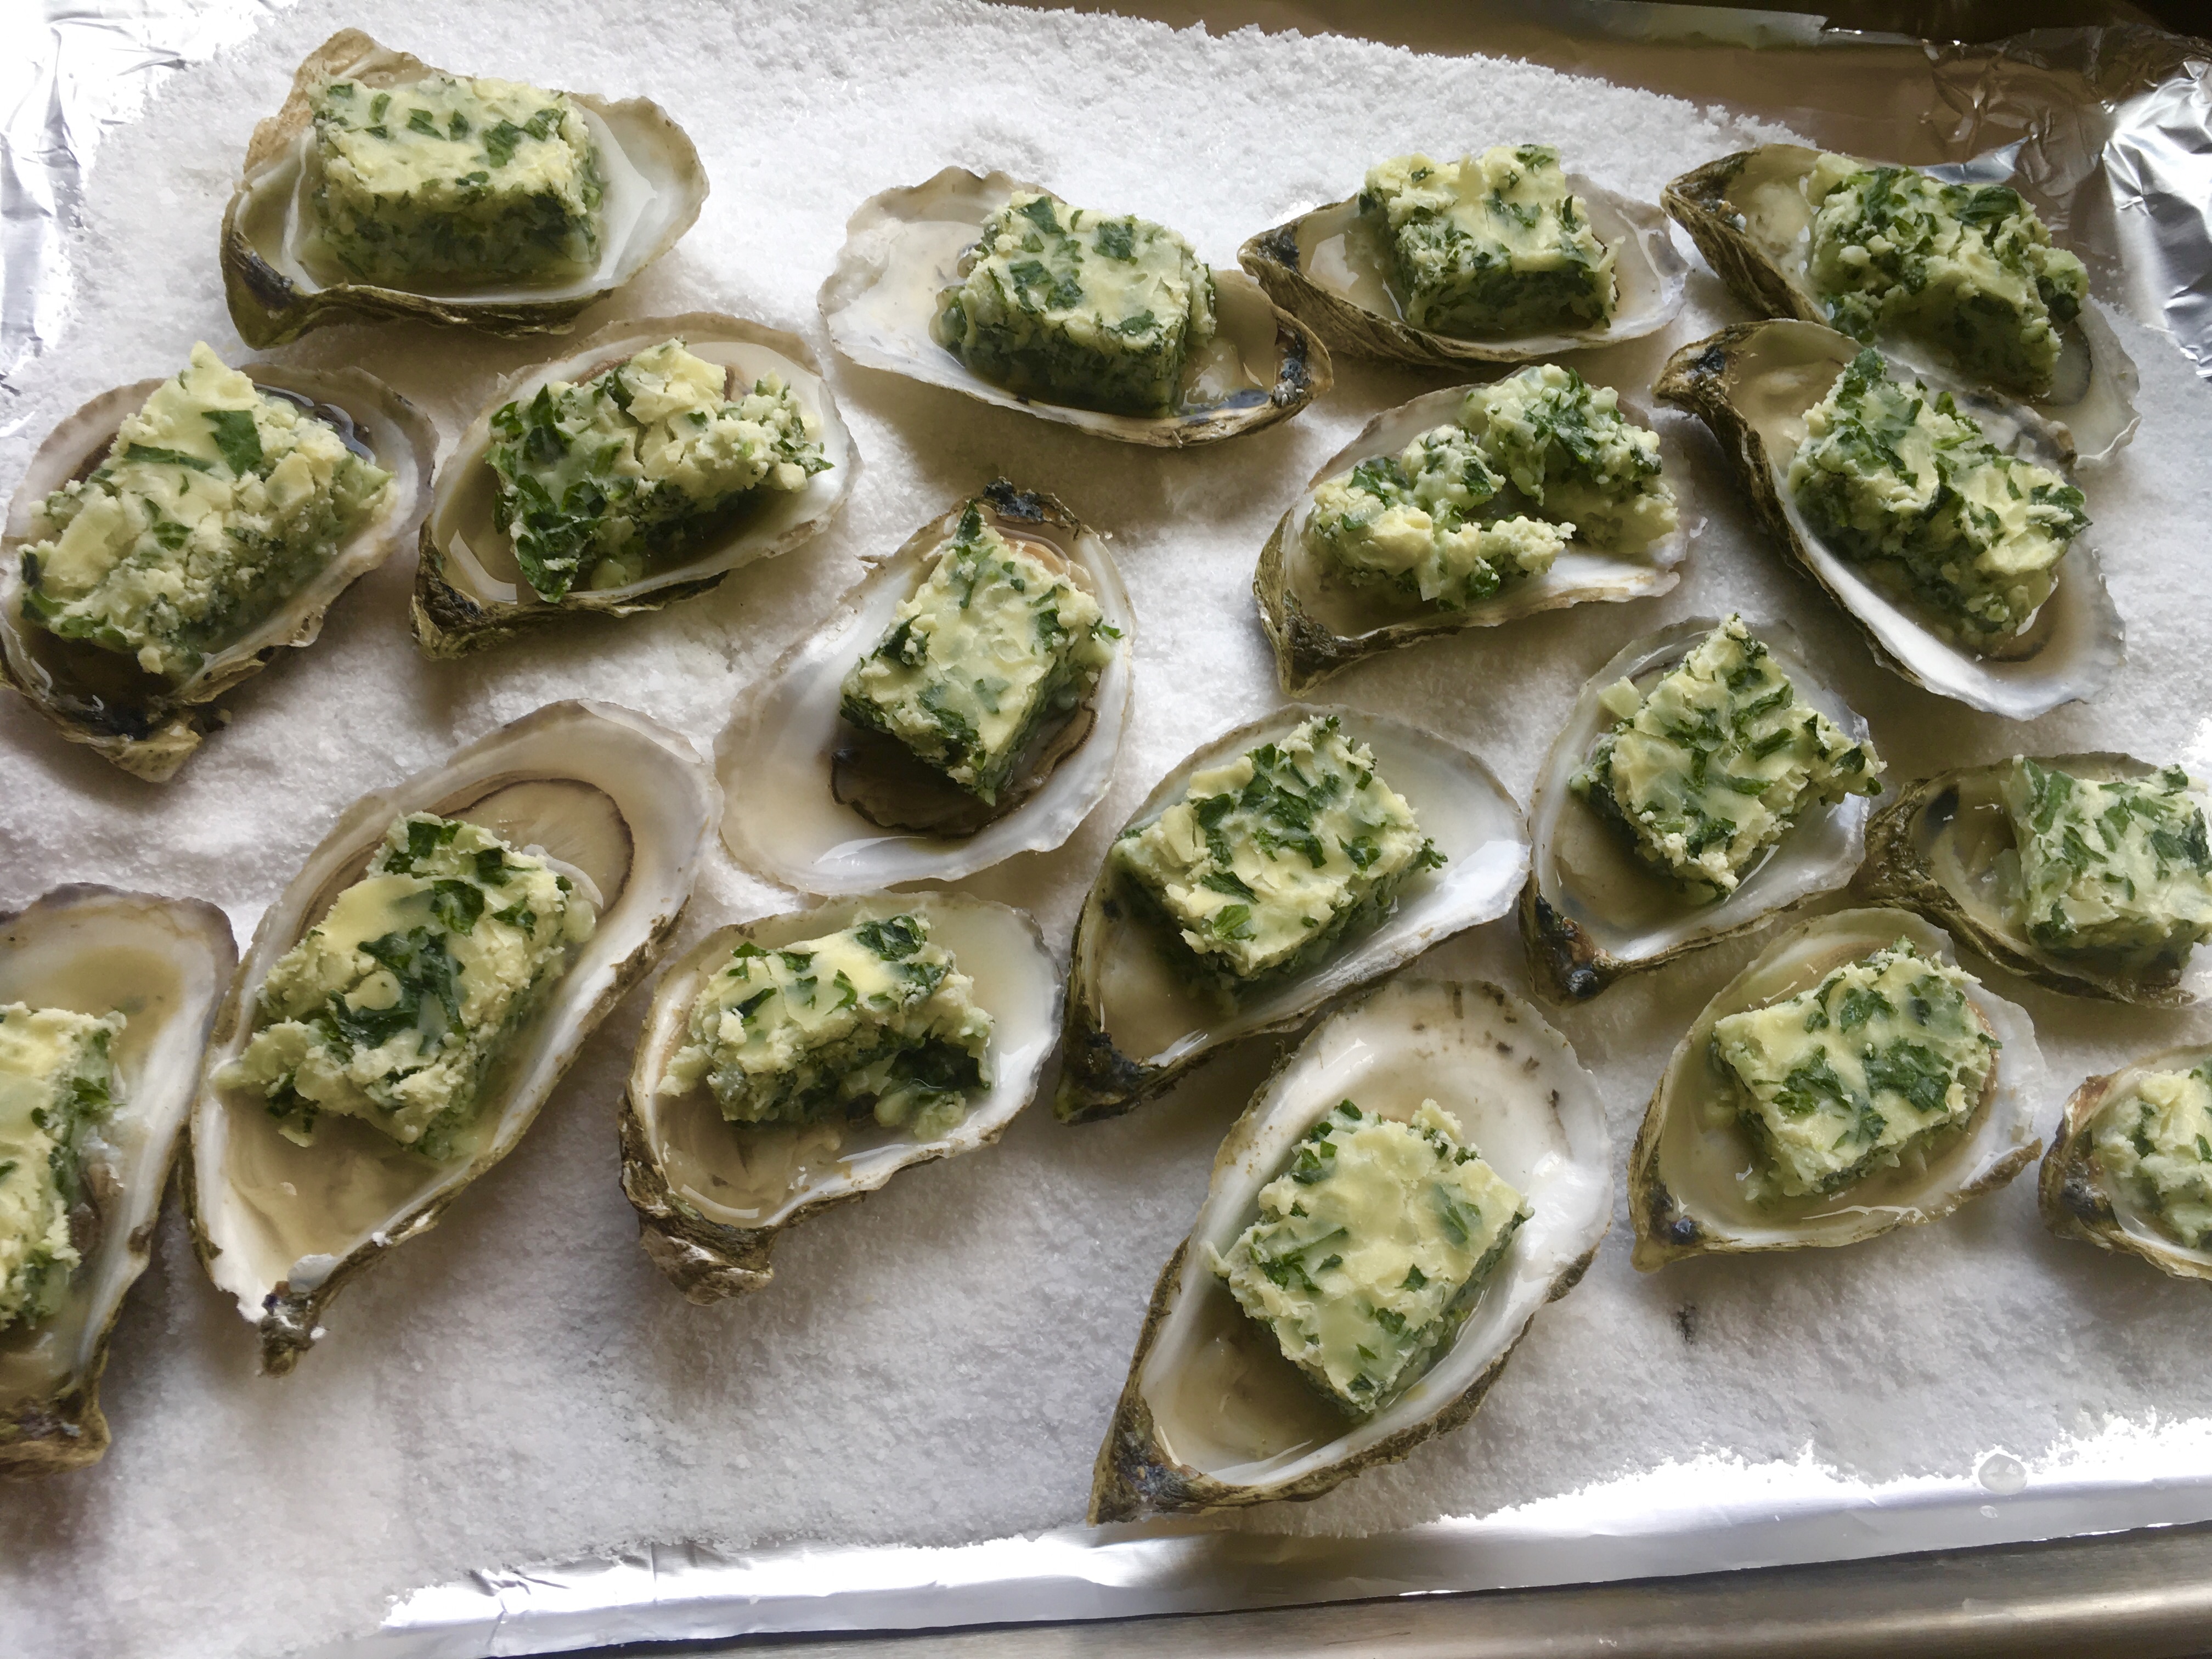
Then simply place a cube of the cheese mix on each oyster…

…sprinkle a little bread crumb on top…

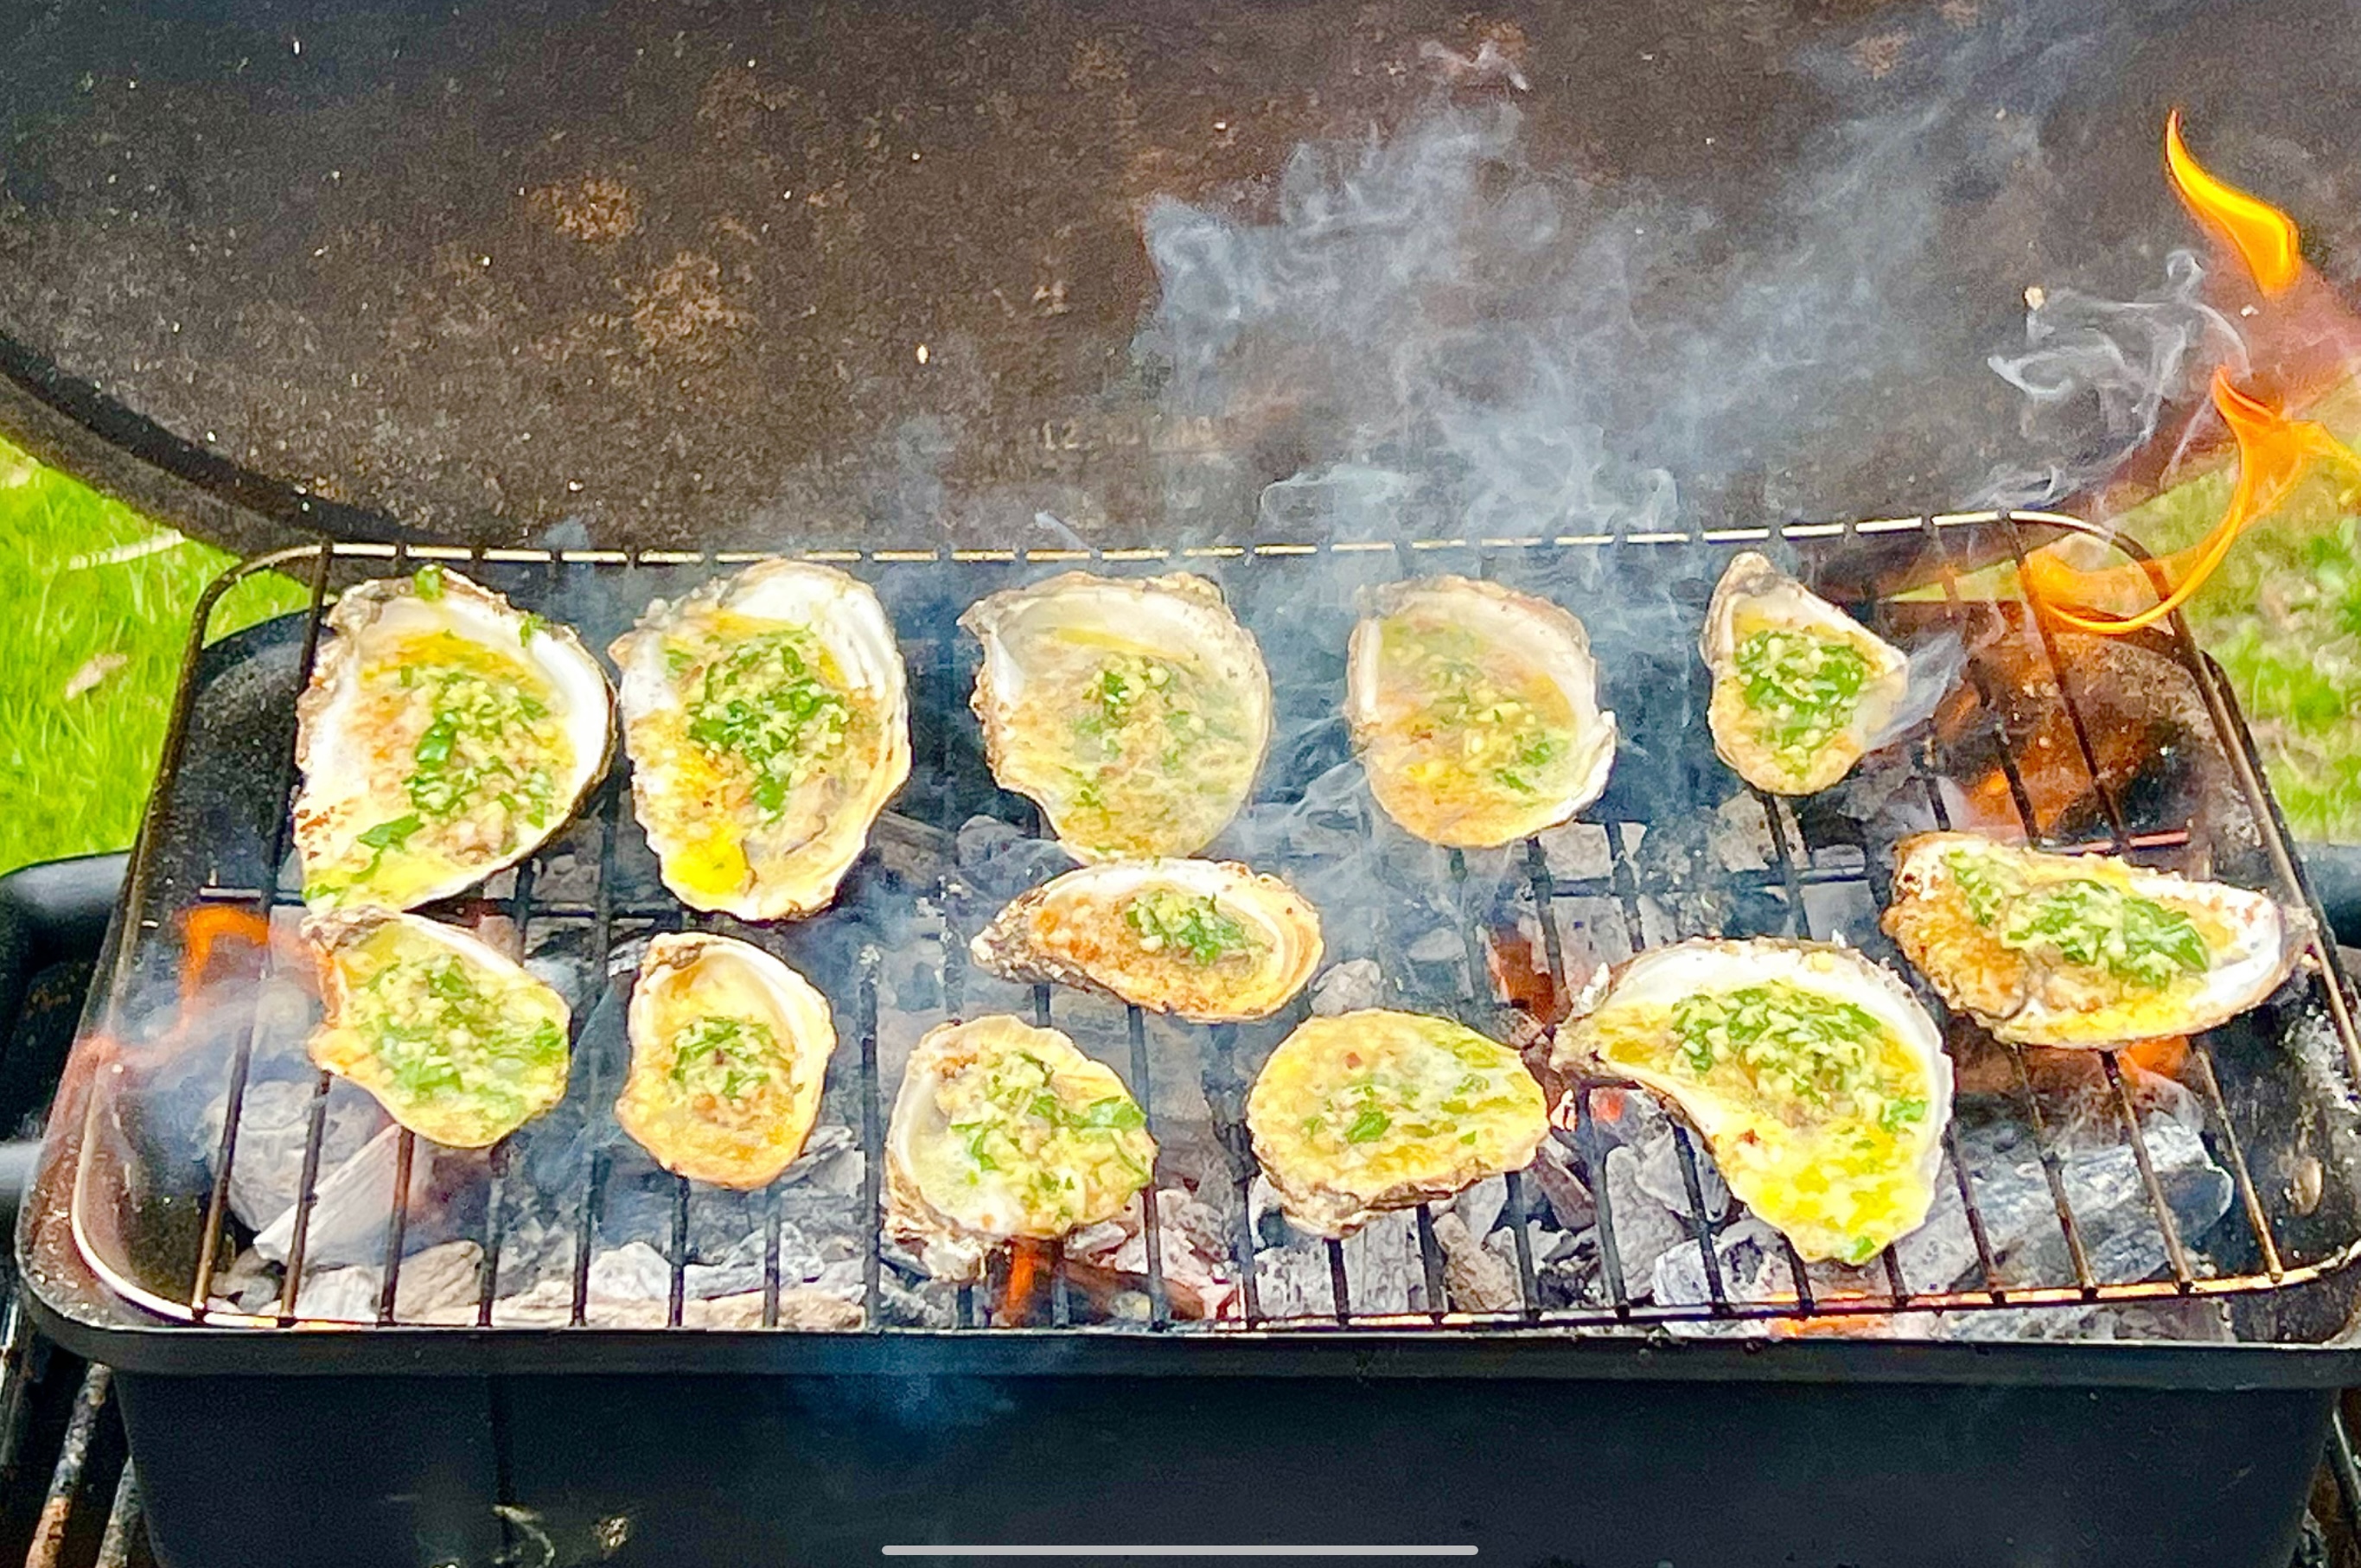
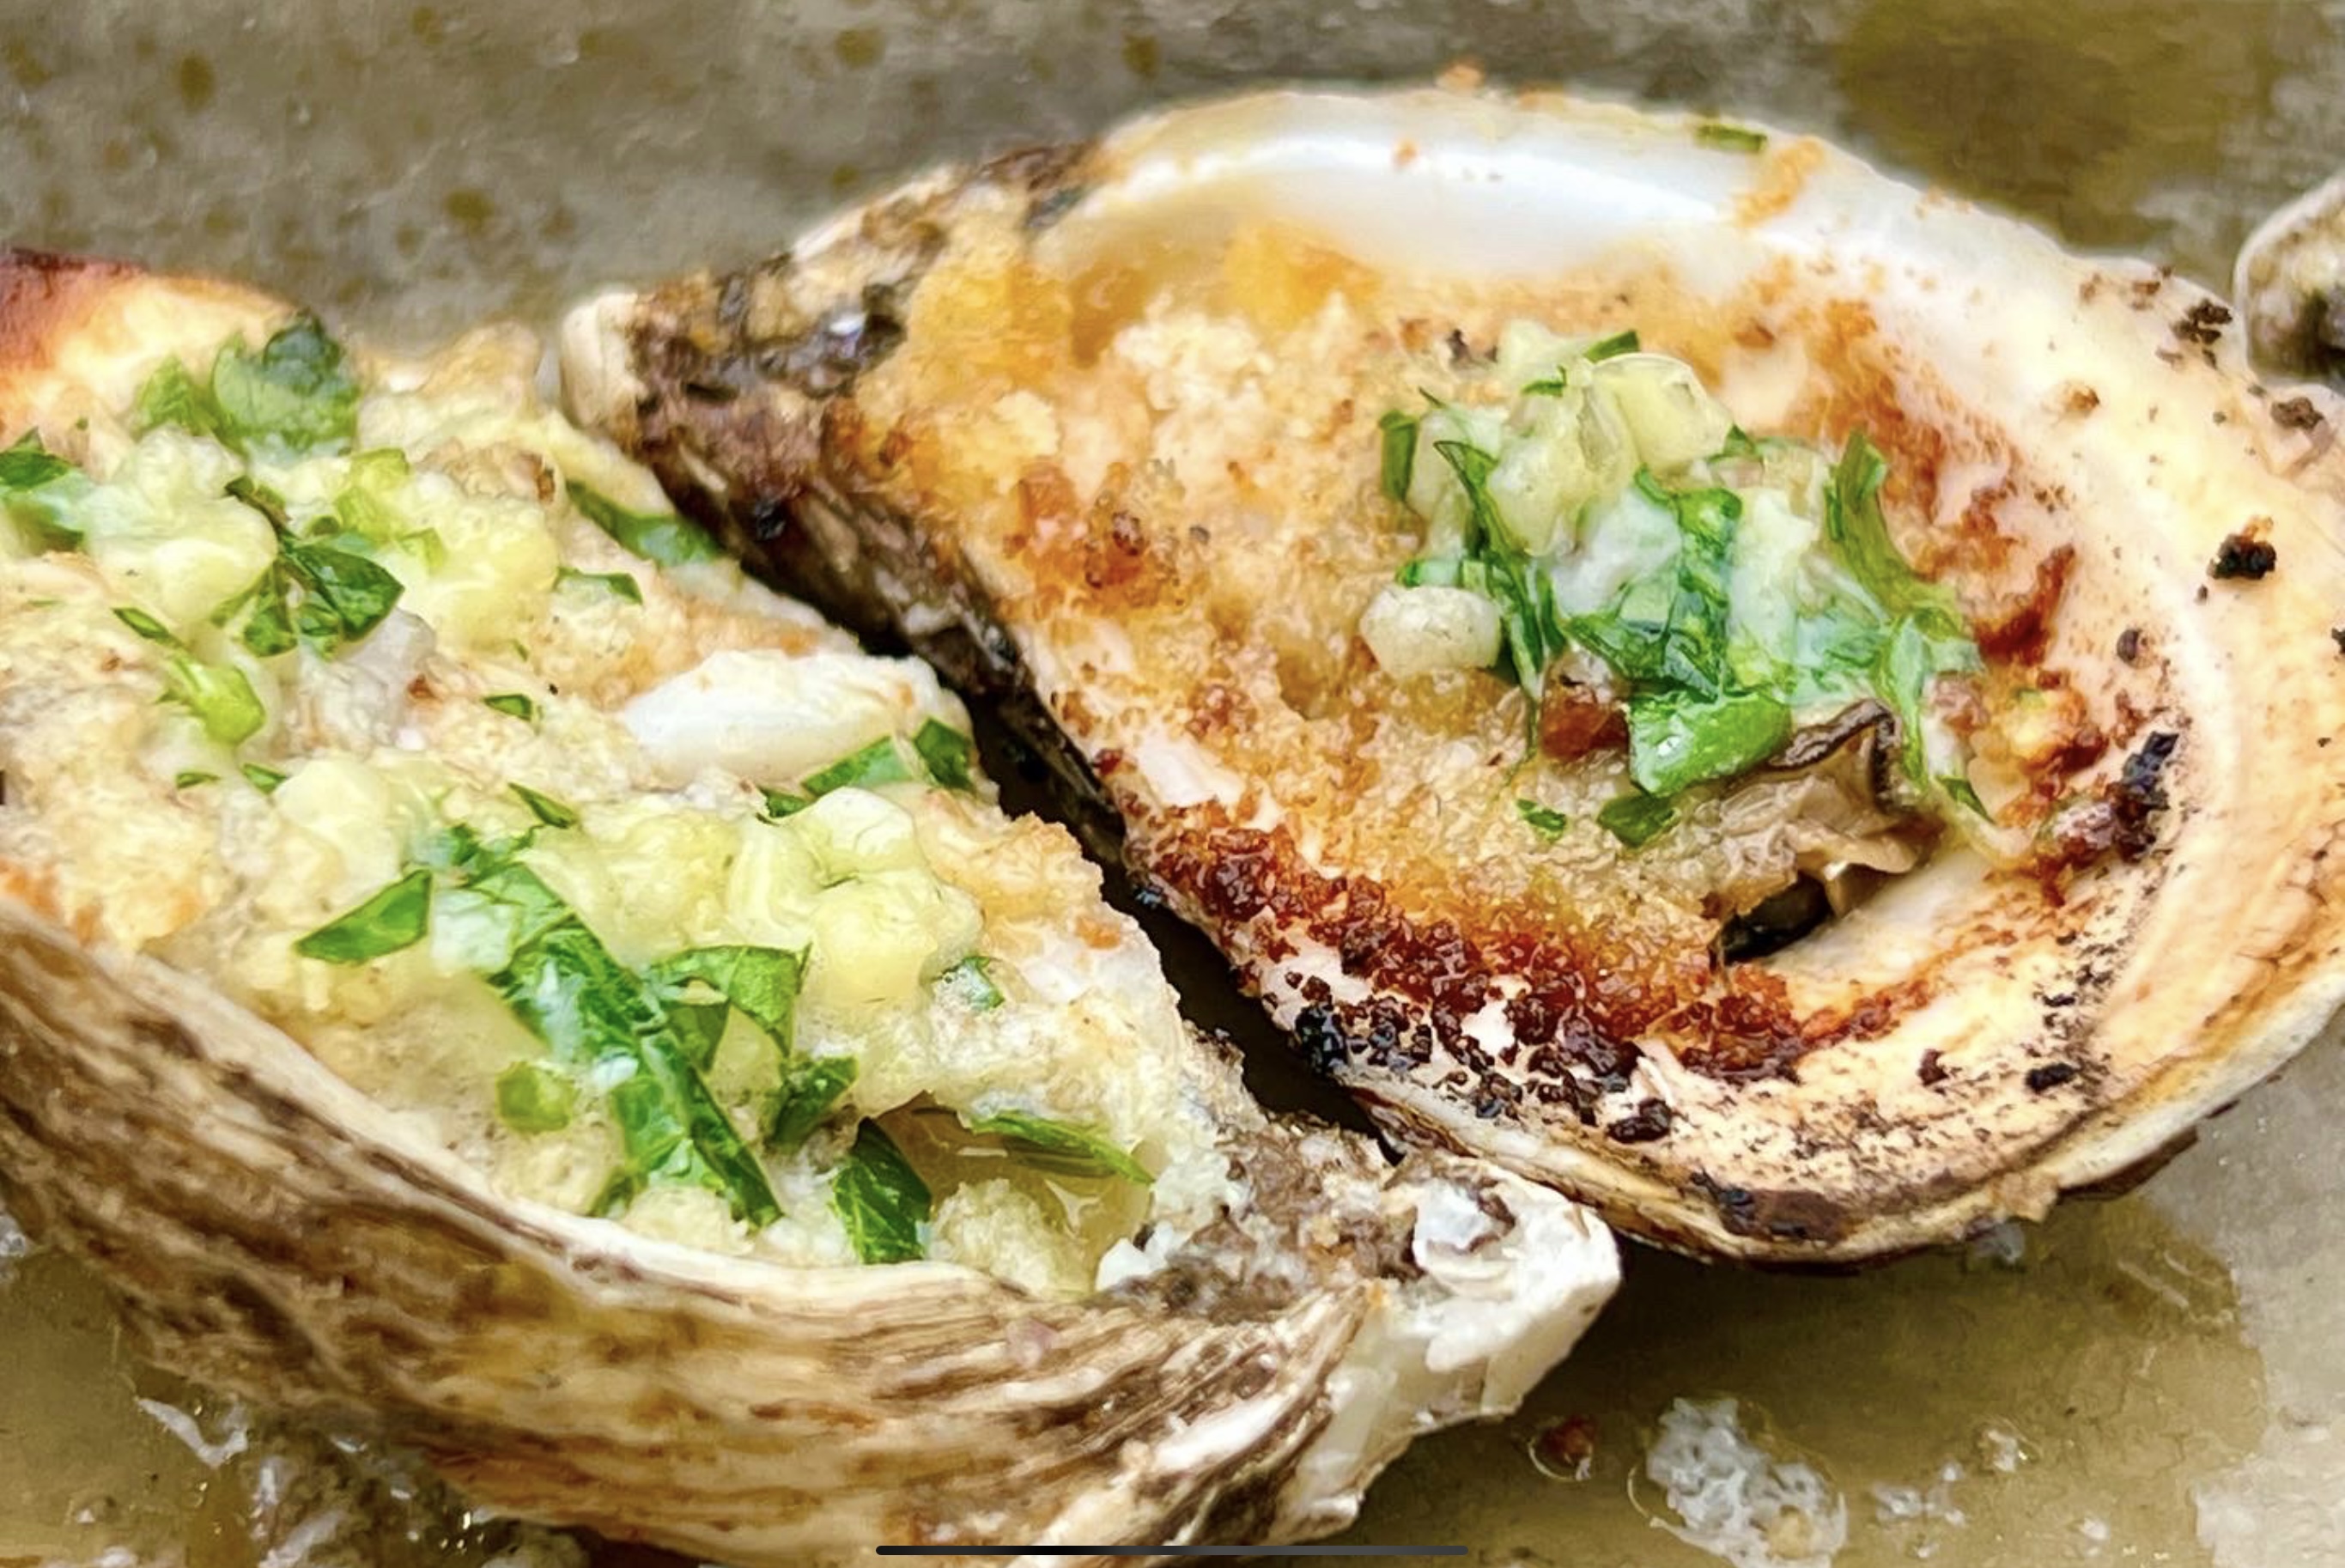
…and bake in the 425-degree oven for about 8–10 minutes until they’re golden and bubbly.

Whoever said that cheese and seafood don’t go together, never tried this!
This dish can be gluten-free if you use gluten-free breadcrumbs. I buy Udi’s gluten-free frozen bread for my breadcrumbs. I take the loaf, toast the slices, then put them through the food processor. The taste is far better than buying pre-made GF breadcrumbs. I use regular breadcrumbs if I don’t need to worry about gluten.