Author Archive

Though I’m a fan of renowned Italian chef Marcella Hazan, I had never heard of what many claim to be her most famous recipe: her 3-ingredient tomato sauce. (OK, salt makes 4.) Recently, I read an article about it and thought I had to try it for myself. The results were amazing: a subtle hint of onion, and a creamy smooth sauce thanks to the butter. You can use a regular can of tomatoes, but real San Marzano tomatoes will give the best results. How do you know if you’ve got real San Marzano’s? Just so happens I have a pet peeve about that. Read below the recipe.

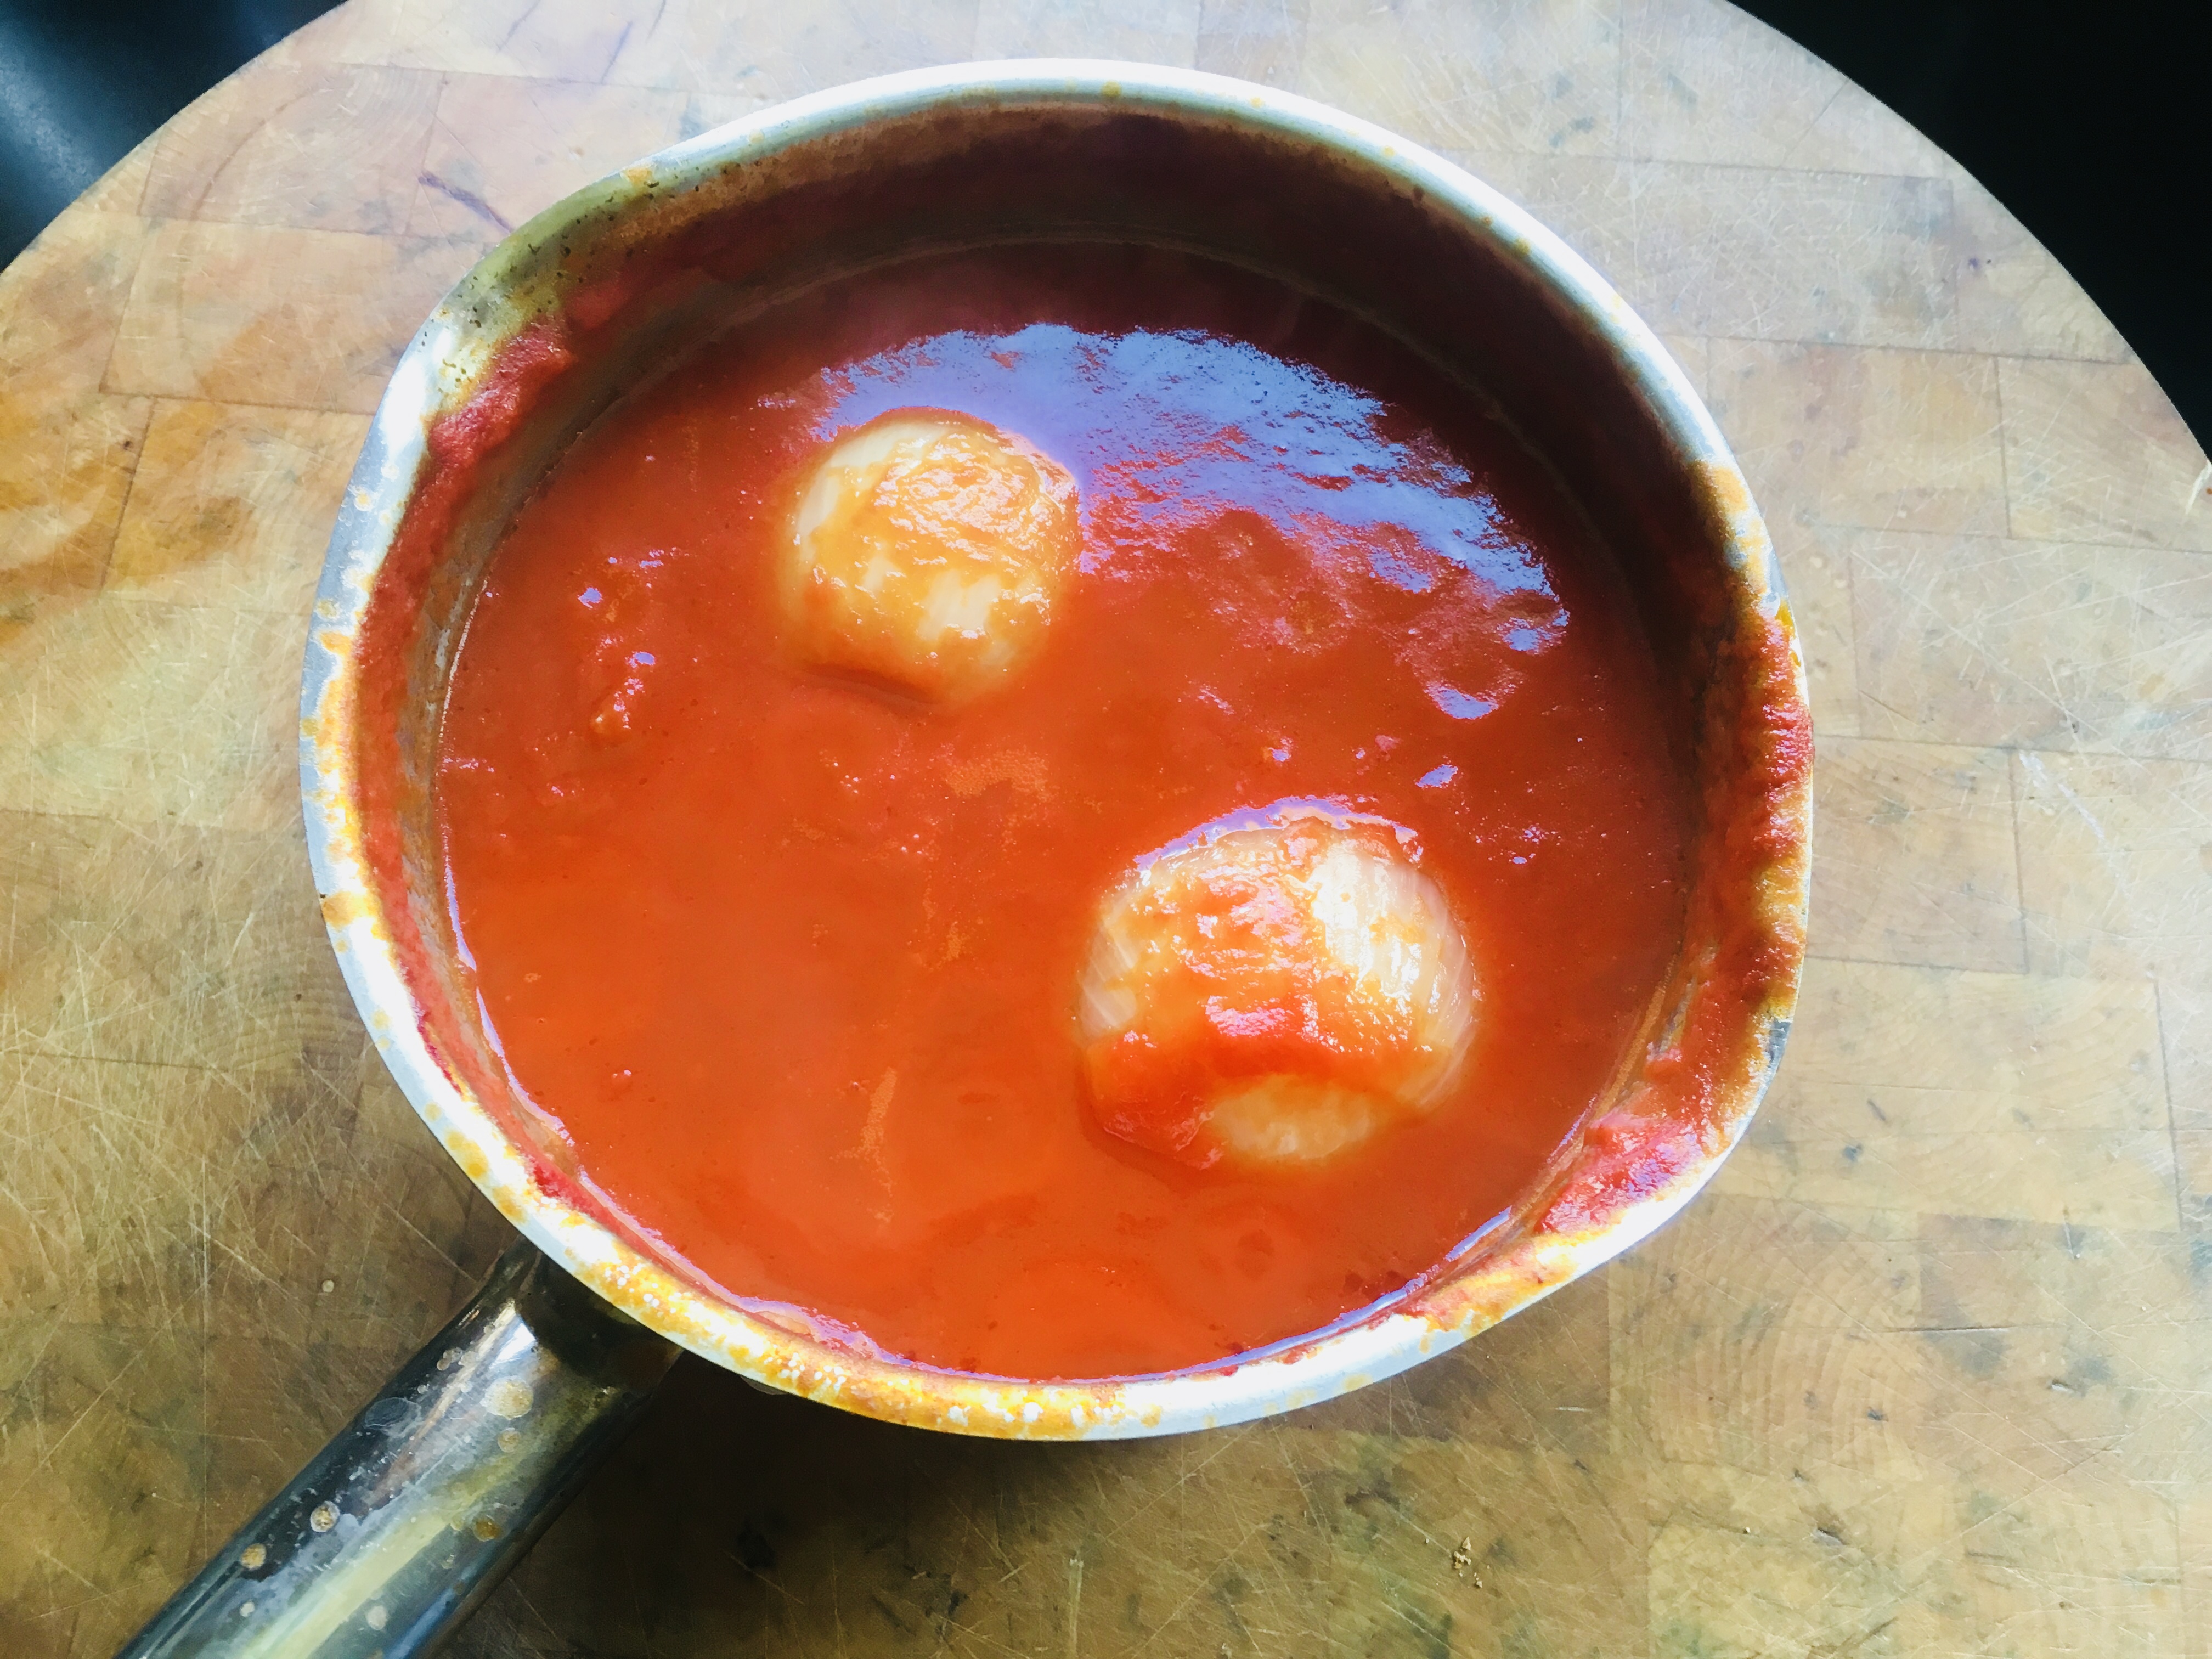
The sauce before onion removal.


1 28 oz. can San Marzano tomatoes
5 tablespoons butter (I use unsalted)
1 onion, peeled and cut in half
salt

In a saucepan, combine the entire can of tomatoes (tomatoes and juice) and the butter, and add the onion with a couple of pinches of salt. Place the heat on medium, bring it to a simmer, and then cook for 45 minutes, stirring occasionally, breaking the tomatoes with a spoon. Add more salt, if needed.

When the sauce is done, remove the onion.

Silky smooth and ready to use.


The original recipe says to discard the onion. What?! I’m an onion fanatic and I can tell you throwing the onion out is a sin. Here’s what I do: I place the onion on a baking sheet and put it under the broiler of my toaster oven: 5 minutes on one side, flip it, then 5 minutes on the other. If you’ve got a screamin’ broiler, those onions will have beautiful charred edges and the bits of tomato sauce left on the onion will caramelize to a fabulous intense, sweet paste. You then sprinkle Fleur de Sel on it, and devour it.

Never throw the onion away!


If you do your share of Italian recipes, you’ve used San Marzano tomatoes. Most good cooks agree that San Marzano’s are the best canned tomatoes you can buy.

Unfortunately,  the label can say “San Marzano tomatoes” even if they are not real San Marzano tomatoes.

San Marzano is a region in Italy near Naples and Mt. Vesuvius, and the special combination of climate and volcanic soil make these plum tomatoes world-famous. They have less water, fewer seeds and are picked off the vine when perfectly ripe and processed the same day.

But San Marzano is a variety of tomato, too…so you can have a can of San Marzano tomatoes that are not from San Marzano. And to add to the confusion, there’s actually a brand of tomatoes called San Marzano, with tomatoes grown in the United States. Bet your ass the sellers of these tomatoes are counting on you not to know the difference!

Sold everywhere, but these are NOT real San Marzano tomatoes. They’re grown in the USA.


Real San Marzano Tomatoes are a very old variety, extremely limited in quantity, grown and produced exclusively in the San Marzano region of Italy. Because production is so very limited, the Italian Government and the European Union have formed a way of protecting consumers from fraud by having San Marzano tomatoes tightly controlled. DOP, or denomination of protected origin, is the mechanism that the government is using to control the production and marketing of genuine San Marzano tomatoes. Labels for DOP products must be individually numbered and manually applied to each can in specific lots and government officials must oversee this application. So here’s the deal: unless you see “DOP” on the label with a hand-stamped number on the can, it’s not a real San Marzano tomato.


Yes! Real San Marzano tomatoes. Cento also sells non-certified San Marzano’s, so always look for the DOP on the can.


Another way to tell when you’re in the market is simple. Check the price. Your average can of tomatoes will be in the $2 range. Real DOP San Marzano tomatoes: about $4–$5 a can. It’s all about quality. Buy them on sale, and you’ll not only save a few bucks, but you’ll have them when you need them at arm’s reach!

DIY TACO SEASONING

Posted: September 27, 2023 in beets, Food, morocco, Recipes, taco
Tags: , , , ,

It’s so easy to make taco seasoning at home. So why would you buy the spice factory floor sweepings they use for packaged taco seasoning sold in supermarkets? I’m not a huge fan of Mexican cuisine, but every once in a while, I crave a good taco. My tacos don’t resemble most, but that’s OK. It’s all about making it your own.


1 teaspoon granulated garlic
1 teaspoon onion powder
1/4 teaspoon crushed pepper flakes
1 teaspoon dried Mexican oregano
1 teaspoon paprika
2 teaspoons ground cumin
1 teaspoon sea salt
1 teaspoon black pepper
1 Spanish onion, finely chopped
olive oil
2 lbs. grass-fed ground beef

Combine all the spice ingredients in a bowl.

Sauté the onions in a bit of olive oil until they’re translucent. Add the beef and sauté until it’s cooked, mixing in the spice mixture a little at a time until you’ve used it all.

My tacos are a bit unusual. Although I use a soft flour tortilla and my seasoned and cooked ground beef, I spread a little Thousand Island dressing and chop some roasted golden beets.

But this taco meat goes great with the standard beans, shredded lettuce, guac, and salsa as well.


Tacos with roasted golden beets, baby Romaine salad mix, and Awesomesauce

Tacos with roasted golden beets, baby Romaine salad mix, and Thousand Island dressing.

For the beets: I wash the beets and quarter them, cutting the top and bottom off but leaving the skin. I place them in a sheet of aluminum foil, and sprinkle with salt, pepper and olive oil. I combine the ingredients to coat the beets, wrap the foil tightly into a package, and roast in a 400-degree oven for 1 hour. After roasting and the beets have cooled a bit, I slice them into smaller pieces for the tacos.

Slices of avocado go really well with this, too!

You can also mix the spices with 1 cup of flour and use it to season chicken before frying…or mix the seasoning with strips of chicken breast or beef for fajitas.

Somebody in marketing made a fortune when they took a product that had been around since 1945 (the convection oven), renamed it an “air fryer,” and sold millions of them. I still call my old oven a convection oven, but whatever you call yours, this recipe will work in it.

I love cauliflower roasted, boiled, baked–whatever–but my daughter does not. But when she had it air-fried at a restaurant, she suddenly fell in love with the stuff, and I knew it was time to make some at home.

Cutting a head of cauliflower into florets is an easy thing to do. But it’s even easier to buy a bag of cauliflower florets already cut up at a supermarket or membership warehouse.

If you want this recipe to be gluten-free, do what I do: buy a loaf of Udi’s frozen white bread, toast it in the oven, and then let it dry out a bit at room temperature. Place it in a food processor and whiz it up for larger crumbs. I like my breadcrumbs fine for this recipe, so I then move them to a blender and grind them fine.

Fine grind.
1 head of cauliflower, cut into florets
2 large eggs
1 cup of breadcrumbs (I like them unseasoned and finely milled)
spray can of olive or avocado oil

There are many versions of sweet and spicy Asian-inspired sauces and glazes out there. Simply choose the one that has your favorite ingredients. This one works really well with the cauliflower.

4 tablespoons honey
2 tablespoons chili garlic sauce
2 tablespoons brown sugar
1 tablespoon + 1 teaspoon soy sauce
1/4 teaspoon granulated garlic
1/4 teaspoon ground ginger

Combine these ingredients in a saucepan and bring it up to a medium heat. When it comes to a boil, take it off the heat and let it cool. (I double this recipe simply because the sauce is so good, and I’ll want to put it on other things, like chicken.)

Pre-heat the oven to 400 degrees.

Scramble the 2 eggs in a bowl.

Add the breadcrumbs to another bowl.

For the oven, set up a slotted metal tray to sit on a baking tray, so that there’s airflow underneath it. The cauliflower goes on the slotted tray, and the baking tray catches any breadcrumbs that may drop. Spray some oil on the slotted tray to keep things from sticking.

Take your cauliflower pieces and place them in batches in the egg, coating them completely. Then move them to the breadcrumb bowl, tossing them to get covered. Once they’re nicely coated, place them on the slotted tray. Do the same with the rest of the cauliflower.

Spray the cauliflower with the oil, and place them in the oven, baking for 30–45 minutes, depending on how cooked you like them.

I’ve seen restaurants that completely coat the cauliflower with the sauce, but I prefer to drizzle it on, with some extra on the side for dipping.

It had been a while since I made one of these, and my inventory of booze had changed a little bit. But the end result was still quite tasty.
First, the older recipe… And then the newer one below.
Most of the recipes for a Scorpion Bowl I found on-line don’t match the one that I’ve been using for many years. This recipe comes from a bartender (whose name I can’t remember–too many Scorpion Bowls, I guess) from a long-gone Chinese restaurant, China Garden, that was in Warwick, Rhode Island. A car dealership now stands in that spot. This is the best Scorpion Bowl I’ve ever had…and continue to have!
Make sure to use top shelf booze for this or you’ll be a “Suffering Bastard” the next morning! (A little Chinese restaurant drink humor…)

Look carefully, and you may see the flame coming out of the volcano! Hope I don’t need to tell you not to drink the 151 while it’s lit! And yes, it’s an old photo: Disaronno Originale hasn’t been called Amaretto di Saronno for a long time!

2 oz. light rum (I use Don Q silver)
2 oz. dark rum (I use Mount Gay)
1 oz. gin (I use Bombay Sapphire)
½ oz. brandy (I use E&J)
½ oz. Disaronno Originale
½ oz. Cointreau
6 oz. Pineapple juice
6 oz. Orange juice
½ oz. Bacardi 151 rum for the little cup in the volcano

In a blender half-full of ice, add all the alcohol, except the 151 rum. Add the pineapple juice and the orange juice.  (Use less if you like it stronger.) Give the drink a quick 1-second pulse in the blender, and pour it with all the ice into Scorpion Bowl or a very large glass or bowl. If you do have a Scorpion Bowl with the volcano in it, add the 151 rum to the bowl in the volcano. If not, you can mix the 151 into your drink.


Although all the proportions remain the same, my newer version had a few different brands than the old recipe.

My dark rum choice this time was a Rhode Island-based rum called Thomas Tew.

I went with the user-friendly Ford’s gin.

Grand Marnier is an excellent substitute for Cointreau.

And Gozio Amaretto is a real almond liqueur. Dissaronno strayed from their almond recipe decades ago, opting for cheaper stone fruits.

Proportions remain the same as the old recipe.

A long straw is good is you’re lazy.

Don’t drive!

PAN PIZZA, TWO WAYS

Posted: September 20, 2023 in Food, pizza, Recipes, restaurants
Tags: , , ,

Today is National Pepperoni Pizza Day! So let’s talk pan pizza you can make at home…

I got my first restaurant job when I was 17, working at Pizza City East, just down the street from my childhood home in Plainview, NY. It wasn’t a great job, but I learned an awful lot about food preparation. It’s where I opened and tasted my first clam on the half shell. It’s where I had my first sip of espresso and cappuccino. And it’s where I learned a lot about how to make really good pizza. My buddy, Mel, and I worked the counter. Mel made the pies and I did the rest: sandwiches, espressos, clams, and eventually even cooked in the kitchen. We were 2 hard-working slobs in high school, but we bonded in a way that kept us friends to this very day, over 40 years later.

So you could say pizza was in my blood. For me, the true test of a great pie is a simple slice with only sauce and cheese. It’s not easy to get that right, despite how easy it may look.

And for me, there was no other pizza than New York style Neapolitan pizza, the classic round pie with thin crust. I have no doubt that it would be my choice for the classic question: “If you were stuck on a desert island, and you could only have one food, what would it be?”

But then I discovered Sicilian pizza: it was thicker, square, and was baked on a large sheet pan. The crust was crisp on the bottom, and light and airy inside. I thought: OK, I have room for 2 favorite pizzas. And then, believe it or not, I went to Uno’s…(Pizzeria Uno back in the day)…and I had my first pan pizza. It was thick like Sicilian, but somehow different, and heavier on the sauce. But absolutely delicious. I finally settled on 3 favorite pizzas.

Despite having 3 favorite styles of pizza, I always cooked a Neapolitan pie when I made pizza at home. Perhaps it was a bit easier, or perhaps I just never felt I really made the perfect pizza, and I needed to keep trying. In either case, it meant that after 40 years of making my own pizza, I finally made a pan pizza for the first time a couple of years ago. And it was good…really good.

The dough is stretched out and ready to accept whatever tasty toppings you like!

The dough…

The key ingredient is 00 flour, and it can be found in specialty stores, or online. Using ready-made store-bought dough saves a lot of work, and it’s great, too. Ratios for my dough recipe depend on the humidity in my kitchen on any given day, but my basic pizza dough recipe is as follows:

4–5 cups 00 flour
1 cup warm water (about 110 degrees)
1 tablespoon salt
1 packet Italian pizza yeast or regular dry yeast (about 2 1/4 teaspoons)
a squirt of extra virgin olive oil

I mix all the dry ingredients in the bowl of a stand mixer, then slowly add the water as it mixes. After the ingredients are well mixed, and the dough pulls from the side of the bowl, I remove it to a floured board, where I knead the dough by hand for another 5 minutes, until it is smooth and elastic, shaping it into a ball. I rub a little olive oil over the ball of dough, place it in a bowl covered with plastic wrap, and let it rise for 2 hours, punching it down after that. I roll it back into a ball, cover it, and let it rise another 2 hours again.

Let’s talk pans. For me, nothing beats a real heavy duty cast iron pan for this recipe…and I’ve got a large one. I brush olive oil generously all over the inside of the pan–even on the sides–and then place the dough in the center. Slowly, using my fingertips, I spread and flatten the dough out from the center evenly all the way around. I keep spreading and stretching until the dough just starts to come up the sides of the pan. I cover the pan with a clean towel, and turn the oven on to 450 degrees to pre-heat.

I use a pizza stone for standard pizzas, but there’s no need for it when making deep-dish pizzas.

Leaving the pan on the stove top while the oven pre-heats will help the dough rise again. Meanwhile, I get my ingredients ready for my pizza.

Crumbled sausage on top of the pizza.

White pizza…

3 cloves garlic, minced
olive oil
mozzarella
Parmigiano Reggiano
Provolone cheese
dried oregano
crumbled Italian sweet sausage

The first time I made a pan pizza, my daughter requested a white pizza. I minced a bunch of garlic and lightly sautéed it in olive oil, being sure not to burn it. I set that aside.

I grated mozzarella cheese and Parmigiano Reggiano, setting them aside. I also use sliced provolone.

And this time, my daughter asked for sausage on the pizza, so I got a few mild Italian sausages, cut open the casings, and crumbled the meat in a bowl, setting it aside.

I gave the oven at least a half-hour to pre-heat. I removed the towel covering the pizza dough, and stretched it out a bit more. Using a spoon, I spread the garlic and oil mixture evenly on the dough. I placed 5 or 6 slices of provolone down first. I then sprinkled the Parmigiano Reggiano on top, followed by the mozzarella. I crumbled the sausage meat over half the pie (I like my side plain), and then I finally gave the pizza a sprinkling of oregano.

The pizza went into the oven for 15 to 20 minutes. I kept an eye on it to make sure it didn’t burn.

My first pan pizza: half sausage white pizza.

My second pan pizza was a classic tomato sauce recipe…

I use canned crushed tomatoes for my tomato sauce pizza.

Tomato sauce pizza

1 cup crushed organic tomatoes
1 teaspoon sugar
mozzarella
peperoni, sliced thin
dried oregano

I like my tomato sauce to be a little chunky for my pan pizza, so I bought a can of crushed organic tomatoes. I placed about a cup of the crushed tomatoes in a bowl and added a teaspoon of sugar, mixing it well. This cuts the acidity of the tomatoes, and makes the pizza even better! I spooned out the tomatoes onto the the pizza dough. I sprinkled the mozzarella over the sauce. I put slices of pepperoni on half the pizza (like I said, I like my side plain!), and I gave it a sprinkling of oregano.

Don’t skimp on the pepperoni!

The final product!

Delicious! Crispy crust on the outside, soft on the inside.

I’ve had a lot of pizza in my life. But truly great pizza? I can probably count that on one hand: Sicilian at Ben’s in the Village in NYC…Pizza Montanara at Pizzarte on W 55th in NYC…a coal-fired oven-baked clam pizza at Frank Pepe’s in New Haven, CT…Sicilian at La Piazza in my hometown of Plainview, NY…and now…my house!

Negroni Week officially starts tomorrow! (Although it’s always a great time to enjoy one.)

A few years ago, I sampled a negroni-inspired cocktail in Cleveland, Ohio, dining at chef Jonathon Sawyer’s The Greenhouse Tavern. Crazy creative food, and this mind-blowing drink that inspired me to buy a small oak barrel and start cask-aging everything I could get my hands on at home. The OYO Stone Fruit Vodka, a key part of this cocktail, was not available here in Rhode Island for years, but I recently spotted a bottle at Yankee Spirits in Swansea, Massachusetts!

OYO STONE FRUIT “NEGROSKI”

1 oz. OYO Stone Fruit Vodka
1 oz. Campari
1 oz. Cocchi Vermouth di Torino

If you’re doing it The Greenhouse Tavern way, combine large quantities of these ingredients in equal parts and pour them into an oak cask, then let it age! Experience tells you that newer and smaller casks will mellow flavors faster than larger, older ones. But it’s all about experimentation. Having a taste every once in a while is must, because you don’t want to over-age it, either.

If you don’t have an oak cask lying around at home, it’s still delicious without it…

Combine all the ingredients in a rocks glass with ice. Stir gently, adding a splash of soda, and garnish with an orange peel.

OYO Stone Fruit Vodka gets its wonderful flavors from stone fruits: cherries, peaches, apricots and almonds. Terrific on its own, but amazing in this recipe.

Campari is a world-famous aperitif and bitters, and a must in any decent home bar.

Cocchi Vermouth di Torino is a sweet vermouth, made in Italy from the Moscato grape.

PULLED PORK ARONCINI

Posted: September 15, 2023 in Uncategorized

I was minding my own business, watching an episode of “Diners, Drive-Ins and Dives” on Food Network. Guy Fieri went from a barbecue joint to an Italian restaurant. Pulled pork at the BBQ place, arancini at the Italian. Then it hit me….

It just so happened that I had slow-roasted a pork shoulder that day. It just so happened that I had an opened box of Arborio rice I wanted to use up. It just so happened that I had several containers of homemade chicken stock in the freezer, an open bottle of white wine in the fridge, already opened packages of mozzarella and Parmigiano Reggiano, and a small container of ricotta. And I just made a batch of tomato sauce from my garden tomatoes.

I mean, come on! This recipe practically wrote itself!

First, I made the risotto. There were 3 cups of Arborio rice left in the package, so I used it all up…

2 tablespoons olive oil
3 cups Arborio rice
2/3 cup dry white wine
10 cups (or so) homemade chicken broth
1/2 cup grated Parmigiano Reggiano

I brought the chicken broth to a low simmer in a saucepan.

In a large skillet, I warmed the olive oil and rice over medium heat for a few minutes.
I added the wine and sautéed for another minute or two, until it had been absorbed.
I added the hot broth to the rice about a half-cup at a time, stirring until the broth absorbed completely each time before doing more.

I continued adding the broth a half-cup at a time and stirring until it was fully absorbed and the rice was Al dente and creamy, not mushy. This usually takes about 20 minutes…and you don’t always have to use up all the broth.

I removed the pan from the heat, and stirred in the Parmigiano Reggiano.
I set it aside and let it cool.

In a saucepan, I warmed the tomato sauce up.

Meanwhile, I chopped the mozzarella up into small cubes, a little bigger than a 1/4″ square.

I took the pork out of the fridge, and finely chopped up about a pound of it. I didn’t know if I would need that much, but it was a good start. I added about a 1/2 cup of ricotta cheese to it, mixing well, making it into a paste.

Using a scoop, I made small meatballs out of the pork mixture, pushing a cube of mozzarella into each one before rolling it into a little meatball.

Then, scooping up some of the cooled risotto with my hands, I molded it around the meatball, forming a larger rice ball, setting aside on a tray.

I used plain gluten-free breadcrumbs in this recipe to keep it GF, but regular breadcrumbs are just fine. I like to make my own breadcrumbs by toasting GF bread and then putting it in a food processor. This gets it to a crumbly stage. If I want it fine, I move the breadcrumbs to a blender to grind it down to almost a powder, first adding oregano, parsley, basil, salt, pepper, granulated garlic and granulated onion, then blening well.

With the oil in my fryer hot and ready to go at 350 degrees, I roll each rice ball in the egg, and then the seasoned breadcrumbs.

Then I place them gently in the fryer, being careful not to overcrowd them.

I fry them until they’re golden brown.

I place the fried arancini on a wire rack to cool, sprinkling them with sea salt while they’re still hot.

I don’t have the patience to boil Mason jars and lids and all that. But I love me my pickles, especially when this year’s garden cranked out cucumbers in record numbers!

This is such an easy way to make great pickles, it’s almost unbelievable…and no water is needed! The salt extracts just enough moisture, like when curing meat, to make it work. This method works great if you want fresh pickles to eat immediately, but if you want to keep them for longer periods of time, you’ll have to go back to the old tried-and-true methods.

Fortunately for me, I devour these pickles as soon as they’re ready!

I originally used a plastic bag for this, but a plastic container also works well. Use what you have.

pickles

fresh cucumbers
sea salt or Kosher salt
a handful of fresh dill
a couple of cloves of garlic, thinly sliced

Cut the ends off the cucumbers and then slice them lengthwise, in half or in quarters. Lay them neatly next to each other in one layer in a container, or on a piece of plastic wrap, skin-side down. Sprinkle the salt over the cucumbers. Sprinkle some of the chopped garlic on top. Then, tear off some fresh dill and lay it to cover the pickles.

If using a container, you should be able to get a second row of pickles on top of the first, again sprinkling with the salt, garlic, and topping with dill.

Placing the lid on the container, squeeze out as much air out of the container as you can.

If using plastic wrap, roll it up tightly and place it inside a Ziploc bag, and seal it.

Put the container or bag  in the fridge overnight. Making sure the lid is tightly sealed on the container, flip it over every few hours. (I always put a plate underneath it when it’s upside down in case it leaks a little.) 

The plastic wrapped pickles don’t need to be flipped.

The pickles will be ready to eat the next day, but they’re even better after 48 hours.

SPICY SOY TUNA BITES

Posted: September 10, 2023 in Food, seafood, spicy, taco, tuna
Tags: , , , , , ,

I’ve served this to visiting friends often, and received many requests for the recipe. It requires a bit of setting up, but you can put it together right before serving to your guests…or yourself.

I use sushi-grade tuna for this dish, which is easily found online. It comes in 4-ounce packages, which is the perfect size for a single recipe. I buy them in quantity (it’s cheaper that way), and keep them in the freezer. You can also find tuna in small frozen “bricks” at Whole Foods or similar higher-end supermarkets. They might even have some fresh, in season.

It’s important you know where your tuna comes from, and if it was handled properly. If you go to a reputable seafood market, that shouldn’t be a problem.

If you’re concerned about parasites in raw fish, buying the bricks that have been in the deep-freeze is the way to go. And when it comes to mercury, the smaller the fish, the better. So if this is a concern, opt for ahi (also called yellowfin) tuna.

The topping…
¼ cup sour cream
1 tablespoon fresh squeezed lime juice
The marinade…
6 tablespoons soy sauce
1/2 teaspoon chili garlic sauce
Other Ingredients…
½ lb. sushi grade raw tuna, chopped into ¼-inch cubes
Tortilla chips, regular or the little bowls
Finely chopped scallions

Combine the topping ingredients in a bowl, and place it in the fridge.

Mix the marinade ingredients in a separate bowl and set it aside.

Chop the tuna into ¼-inch cubes, and if it looks wet, place it on some paper towels to absorb the excess moisture. (It can release quite a bit of moisture if it was frozen…you don’t want it watery before you marinate it.)

Marinate the tuna in the soy/chili garlic mix for just 10 minutes, then pour off the excess. (It will be really salty if you let marinate any longer.) Keep it in the fridge as well.

Finely chop the scallions.

Just before serving, take a tortilla chip or little bowl, place 1 tablespoon of the tuna on top, top this with ½ teaspoon of the sour cream mixture, and then garnish it with the finely chopped scallions.

Serve them immediately, and eat these quickly, before the tuna makes the tortilla soggy!

Now’s the time to head to your local farm stand and pick up a bag of gorgeous plum tomatoes, before the season is gone! And this is what you do with them…

These are not sun-dried tomatoes. They’re better, because fresh plum tomatoes are still moist after roasting, with a bit of that magic tomato liquid in every cup! A great, simple platter to offer at parties.

Tomatoes before

Tomatoes before.

12 to 18 halved, seeded plum tomatoes
1/4 cup extra virgin olive oil
2 tablespoons organic cane sugar
Freshly ground pepper
Fleur de Sel or sea salt

Pre-heat the oven to 250.

Line a baking sheet with foil and rub it lightly with olive oil.

Arrange halved and seeded tomatoes on it in a single layer, cut side up. Drizzle evenly with 1/4 cup olive oil, sprinkle with 2 tablespoons sugar, and season with pepper to taste.

Bake the tomatoes until they are still juicy but slightly wrinkled, about 3 hours. Transfer them to a platter and let them cool slightly.

Just before serving, sprinkle the tomatoes with Fleur de Sel, and garnish if you like, with chopped parsley leaves, mint leaves, or basil. (Bacon bits sound pretty good, too!)


Tomatoes after

Tomatoes after!