Archive for the ‘Uncategorized’ Category

CAULIFLOWER WITH A BROCCOLI SAUCE

Posted: December 15, 2024 in Uncategorized

If you want a double bang for your veggie buck, this is it. I based this recipe on a similar one from Jamie Oliver. It’s a great side dish with any main course, especially a steak or roasted chicken.

And it’s up to you…if you don’t want to do any chopping, you can easily use frozen veggies.

Bouquet garni is an herb blend easily found in any supermarket spice section.

To make this dish gluten-free, simply use GF flour for the sauce, and a piece of GF bread for the bread crumb topping.


2 tablespoons unsalted butter
2 tablespoons all purpose flour
1 garlic clove, thinly sliced
1/2 teaspoon bouquet garni
2 cups milk
16 oz. broccoli
32 oz. cauliflower
1/2 cup grated cheddar cheese
1 or 2 pieces leftover bread
olive oil
1 tablespoon sliced almonds
salt and pepper

Pre-heat the oven to 350 degrees.

In a saucepan, melt the butter and add the flour, stirring constantly to make a roux. Stir in the garlic and bouquet garni. Slowly add the milk, stirring all the time, until you have a nice béchamel sauce. Set it aside for a moment.

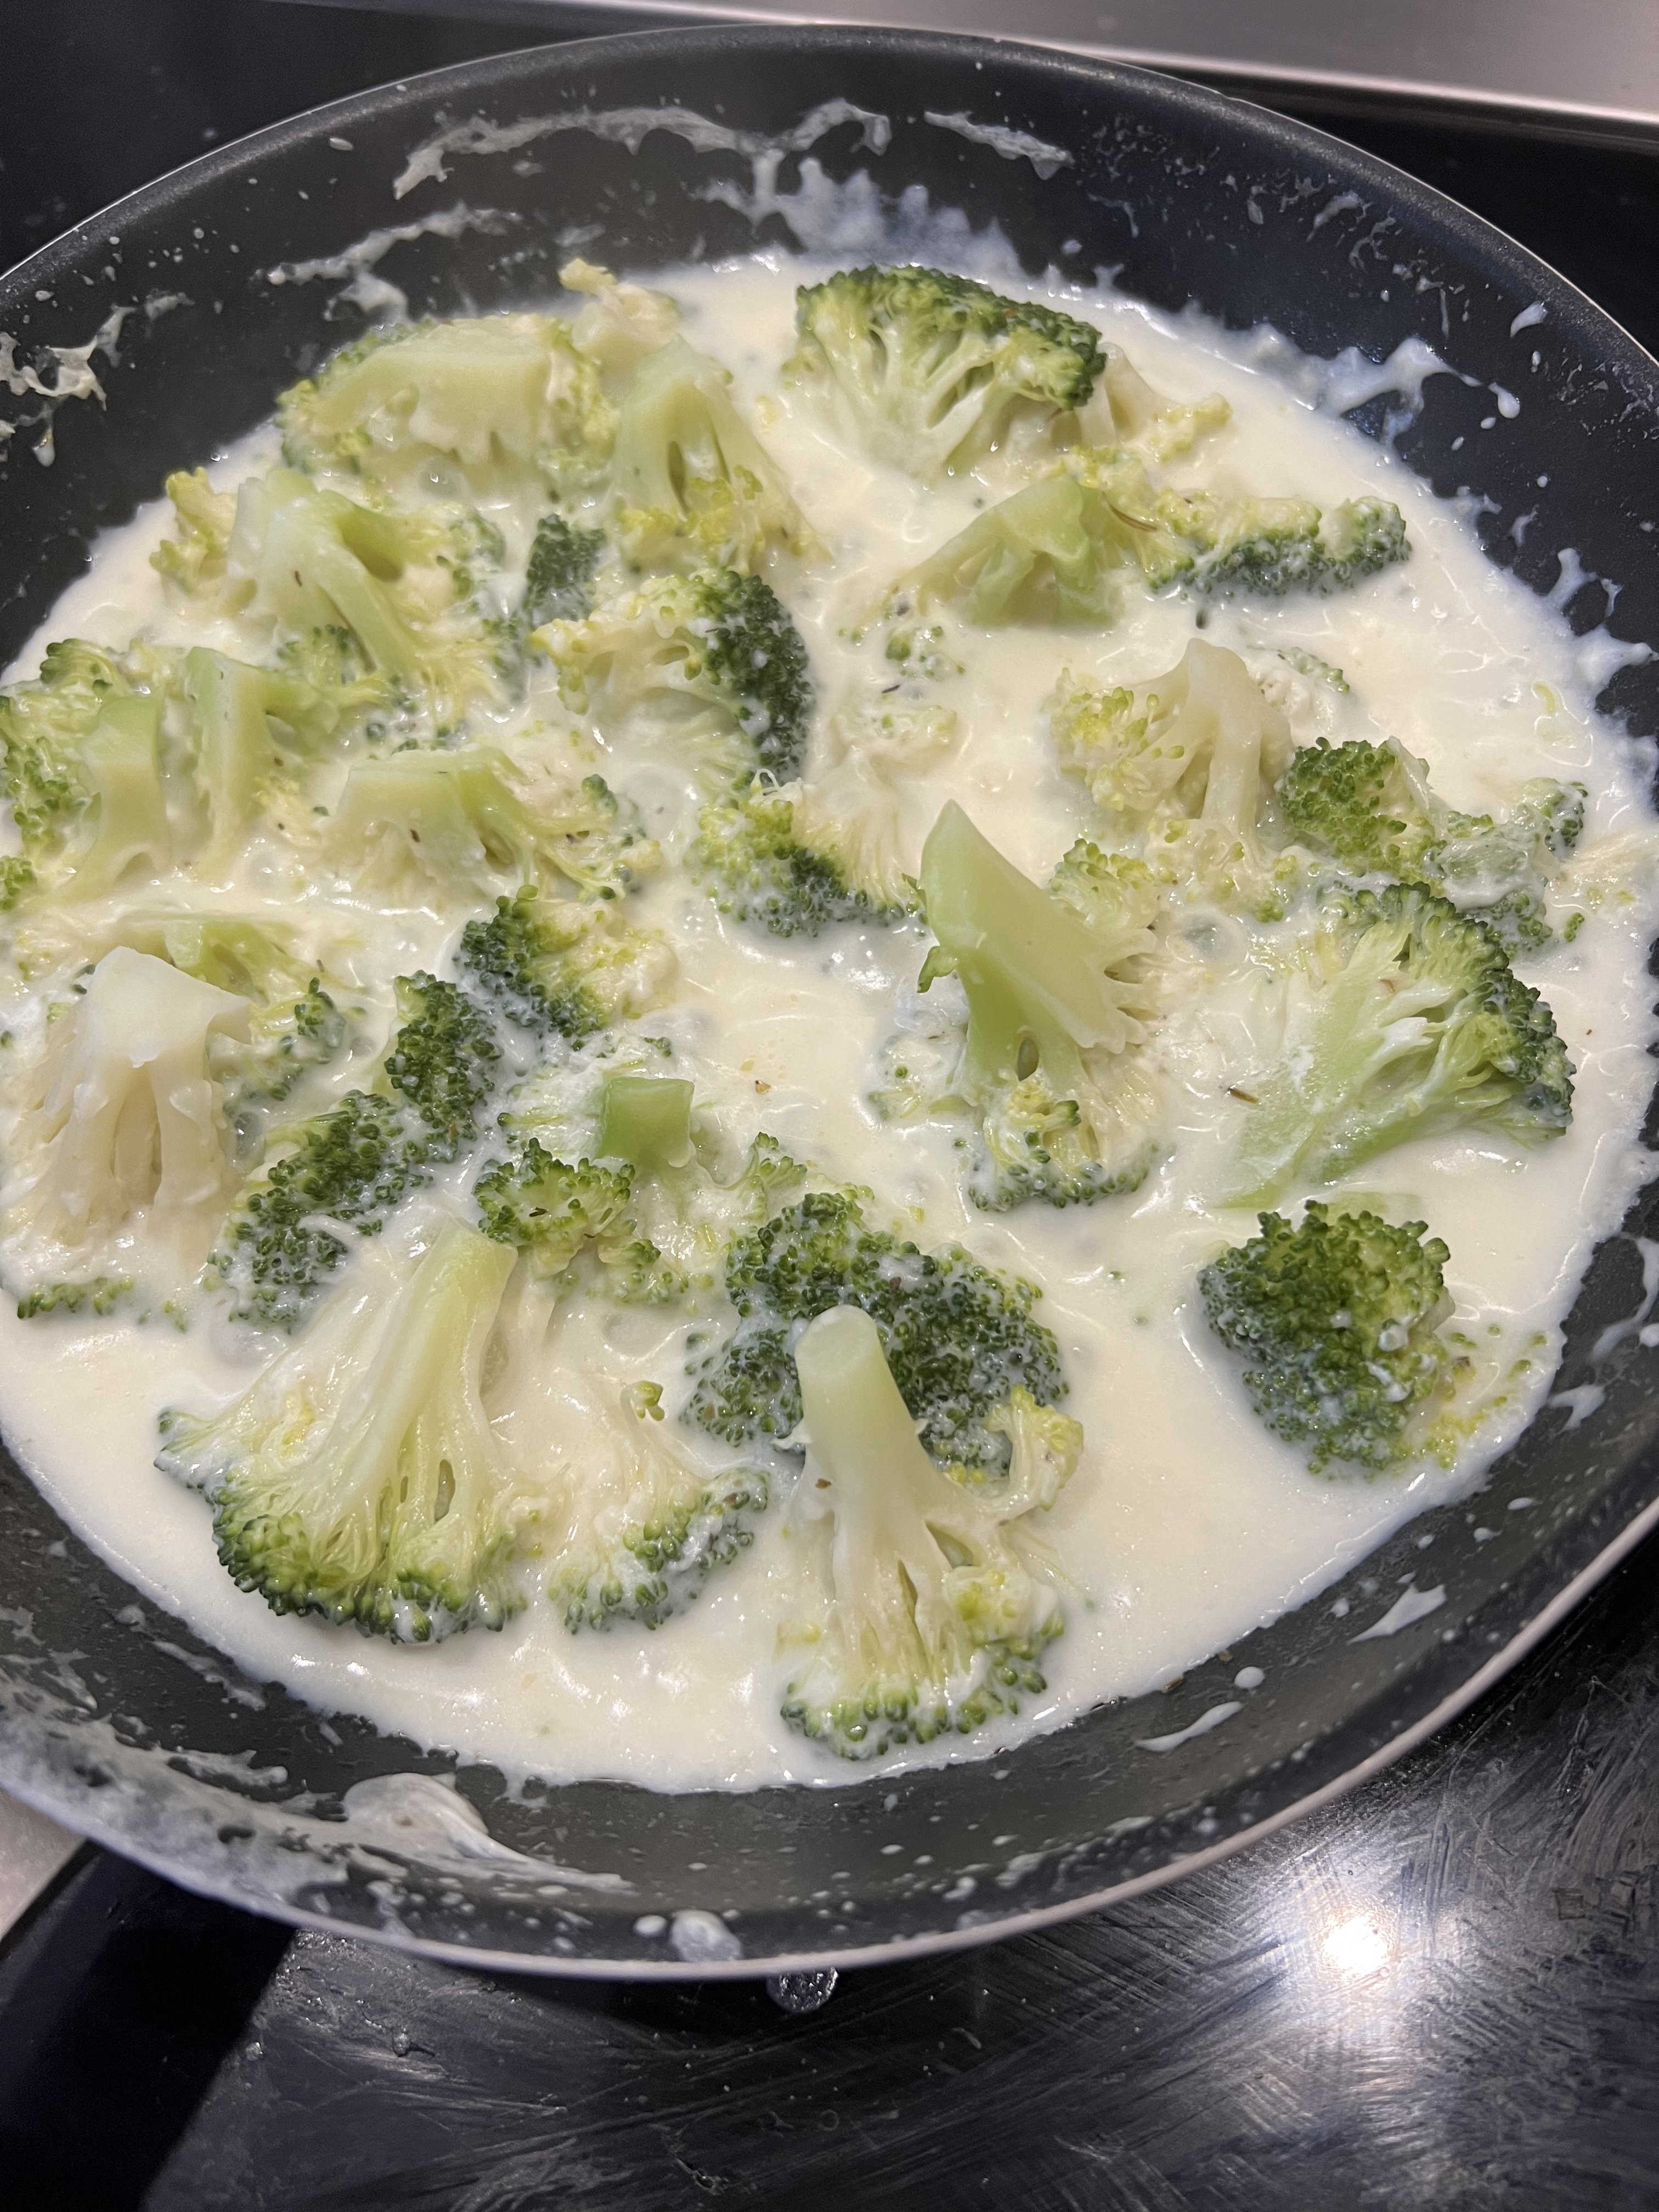
In a large pan, pour in the broccoli. (If you’re using frozen, you don’t have to thaw it.) Pour the béchamel sauce over the broccoli, and simmer it over medium-low heat, covered, for about 20 minutes, until the broccoli is soft and cooked through.


Everything in the pan goes into a blender. Season well with salt and pepper. Whiz it up until you have a broccoli sauce.


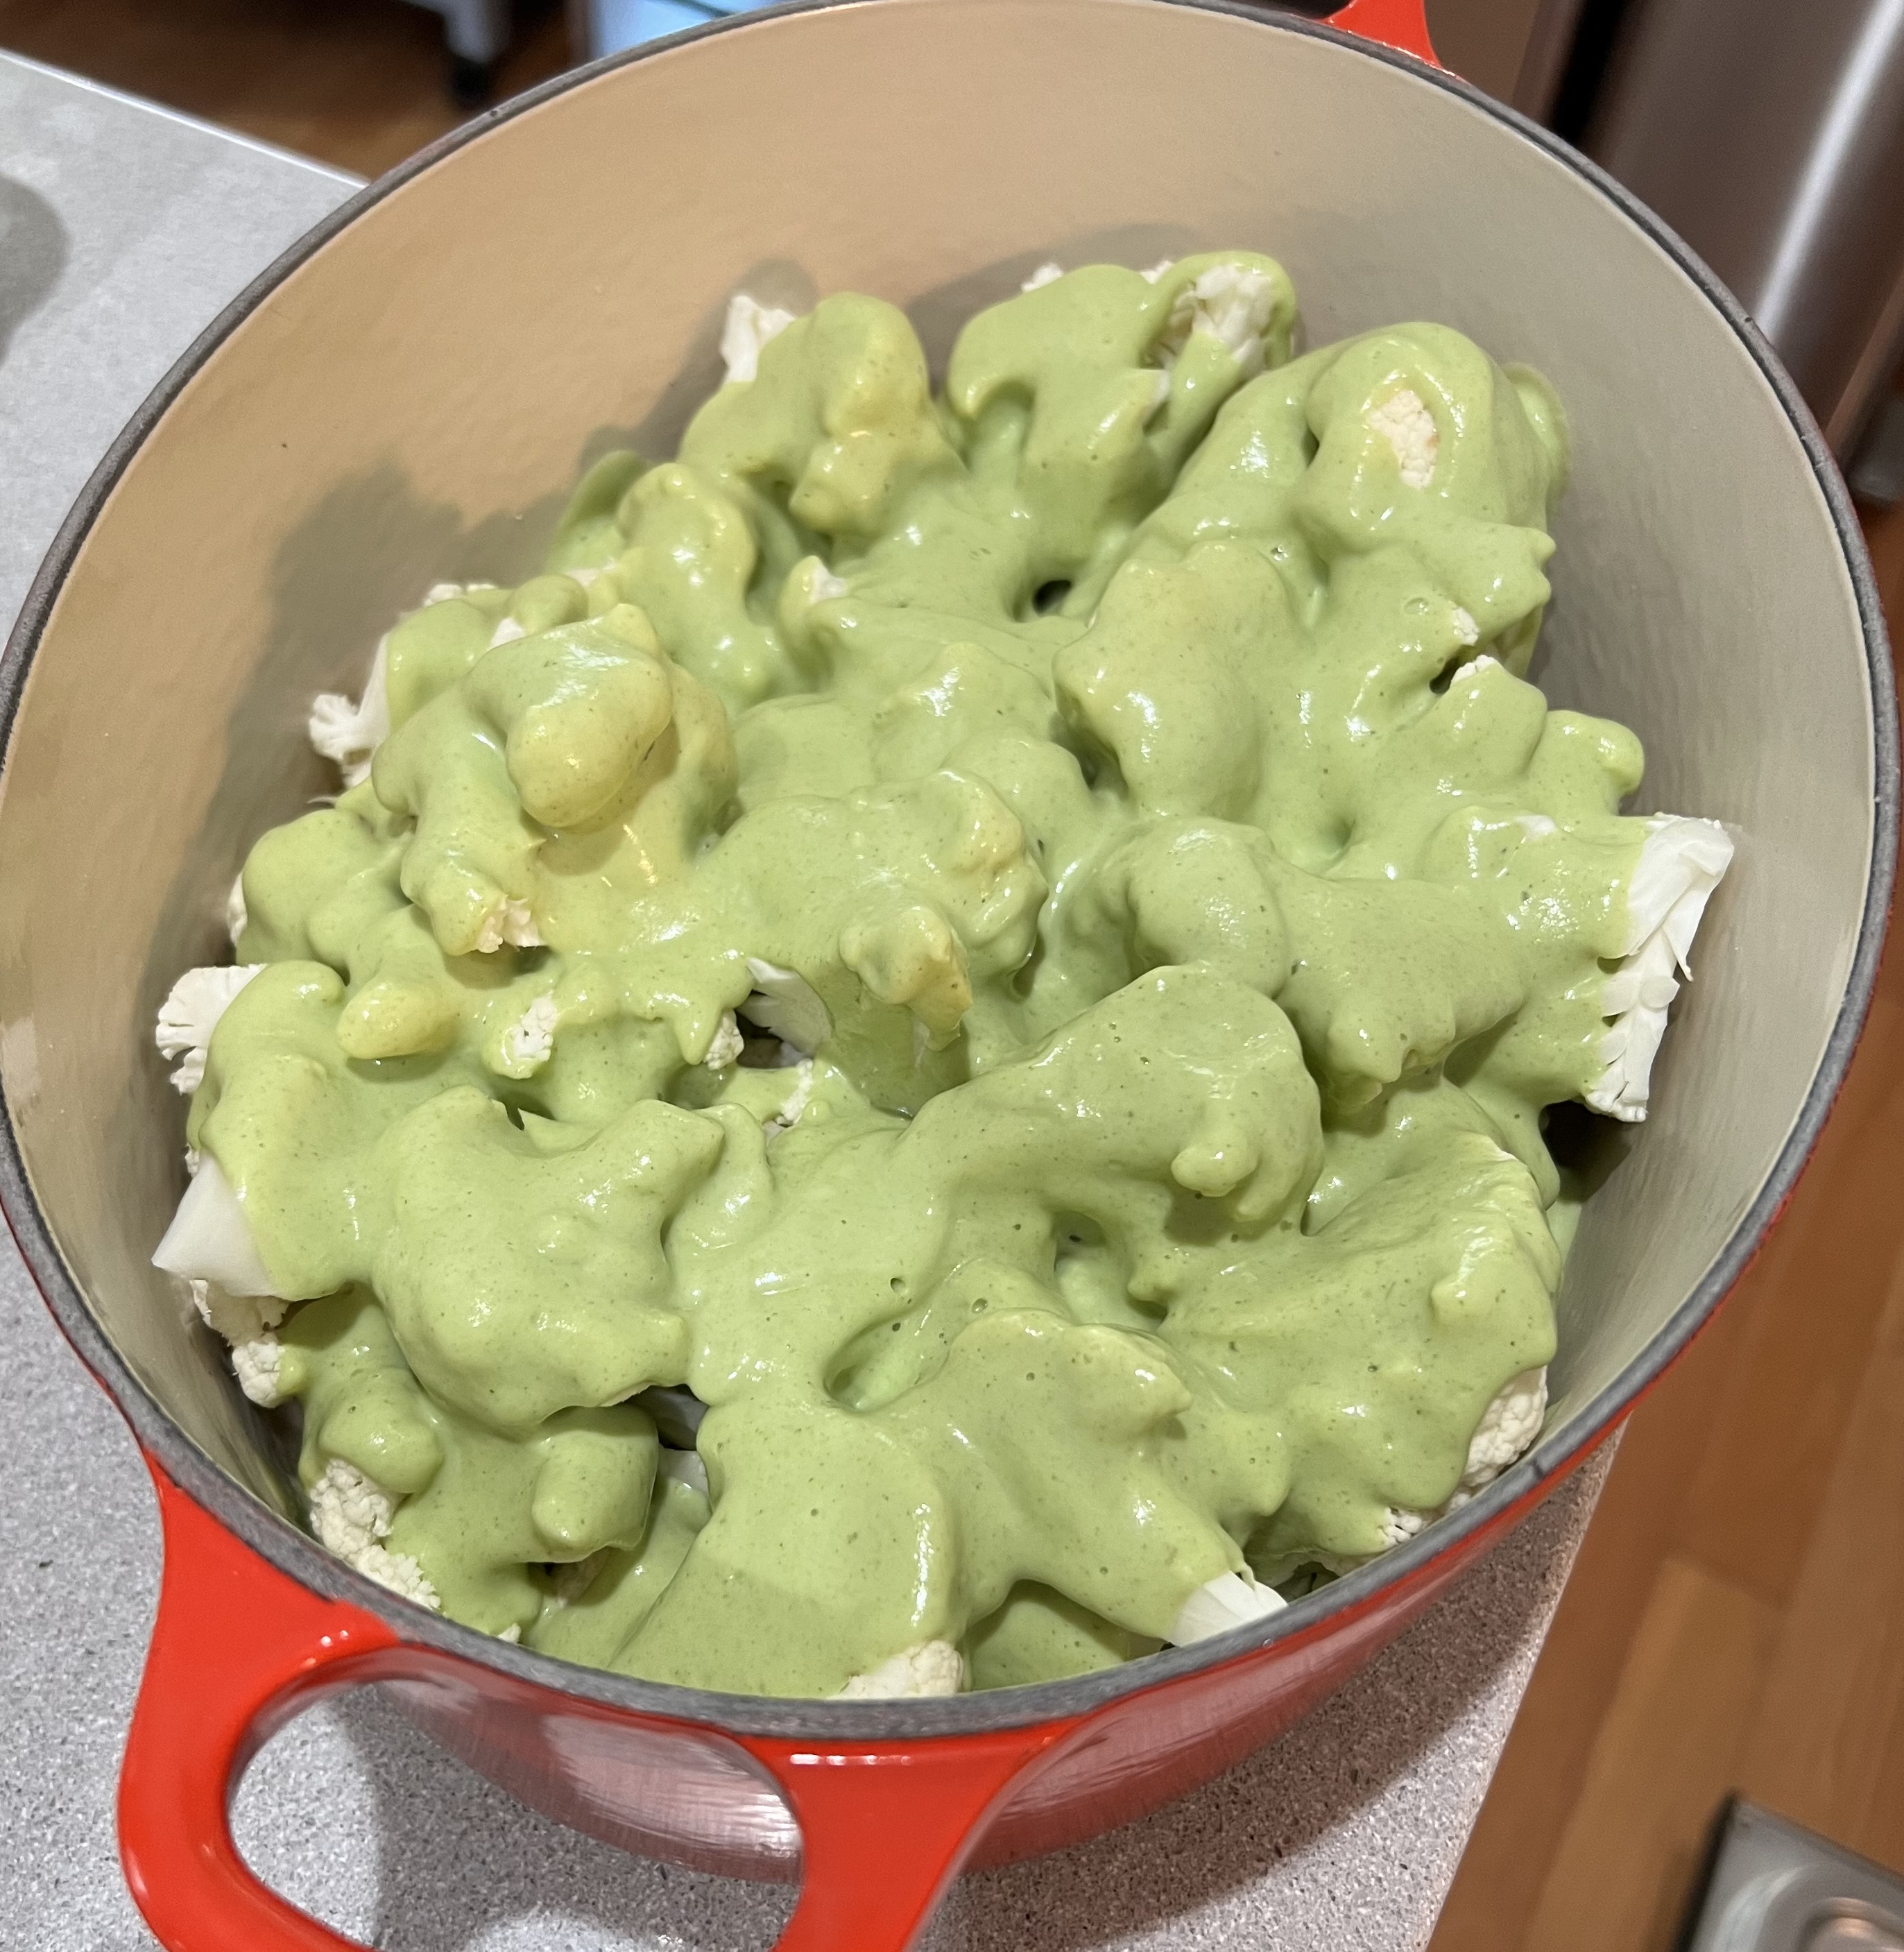
Placed all the cauliflower in a large ovenproof casserole dish. (Again, the veggies can be frozen.) Pour the broccoli sauce on top.


Sprinkle the cheddar cheese on top of that.

In a food processor, tear up and toss in the pieces of bread. (Some day-old Italian bread works great. I had a day-old brioche bun.) Sprinkle in some olive oil. Process until crumbly. Throw in the almonds and process for a few seconds again.


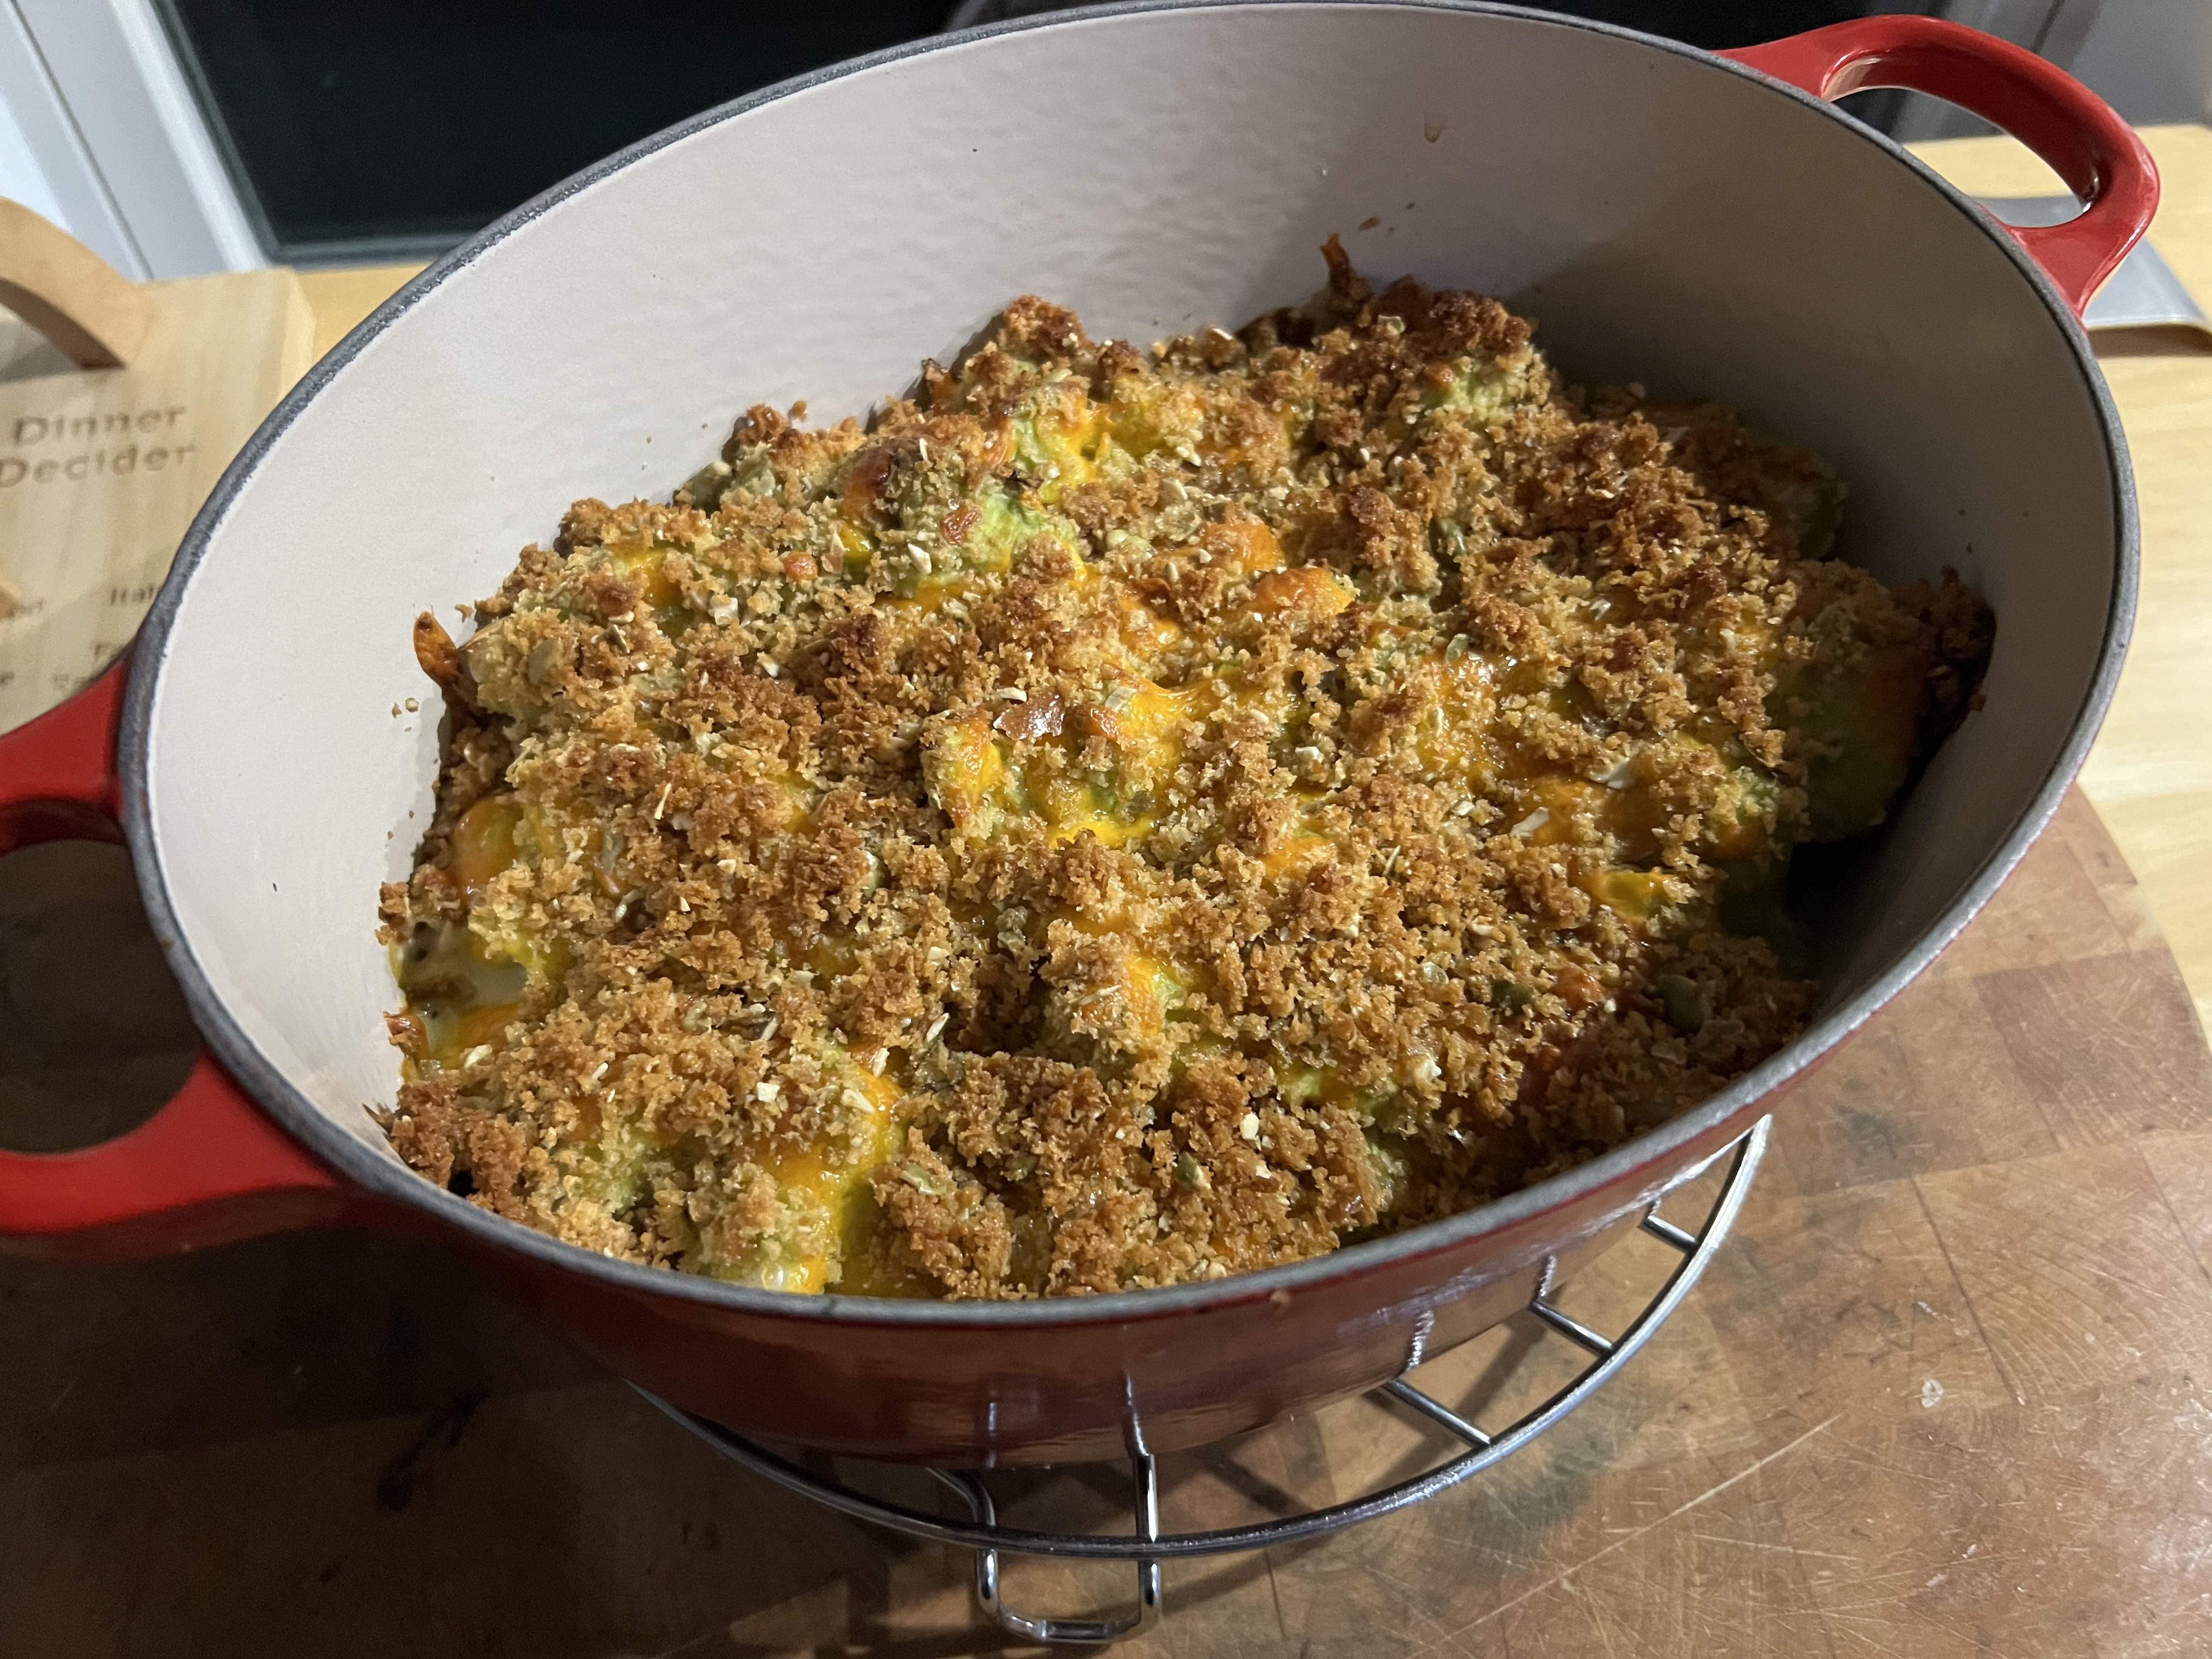
Sprinkle the bread crumb/almond mixture over the cheddar and bake for about 45 minutes until golden and cooked through.


This is an easy marinade to make and, depending on what meat you prefer, works for both.


I marinated and roasted both lamb and chicken with this marinade, and both worked great. So if you’re not as big a fan of lamb as I am, no worries.


The key to the success of this dish is to make sure you give the meat a lot of time to suck up the marinade, and to season the meat well.

1/4 cup Dijon mustard
The zest and juice of a lemon
2 tablespoons maple syrup
1 teaspoon garlic salt
1/2 teaspoon Kosher salt
1/4 teaspoon black pepper
Fresh thyme and rosemary, chopped fine

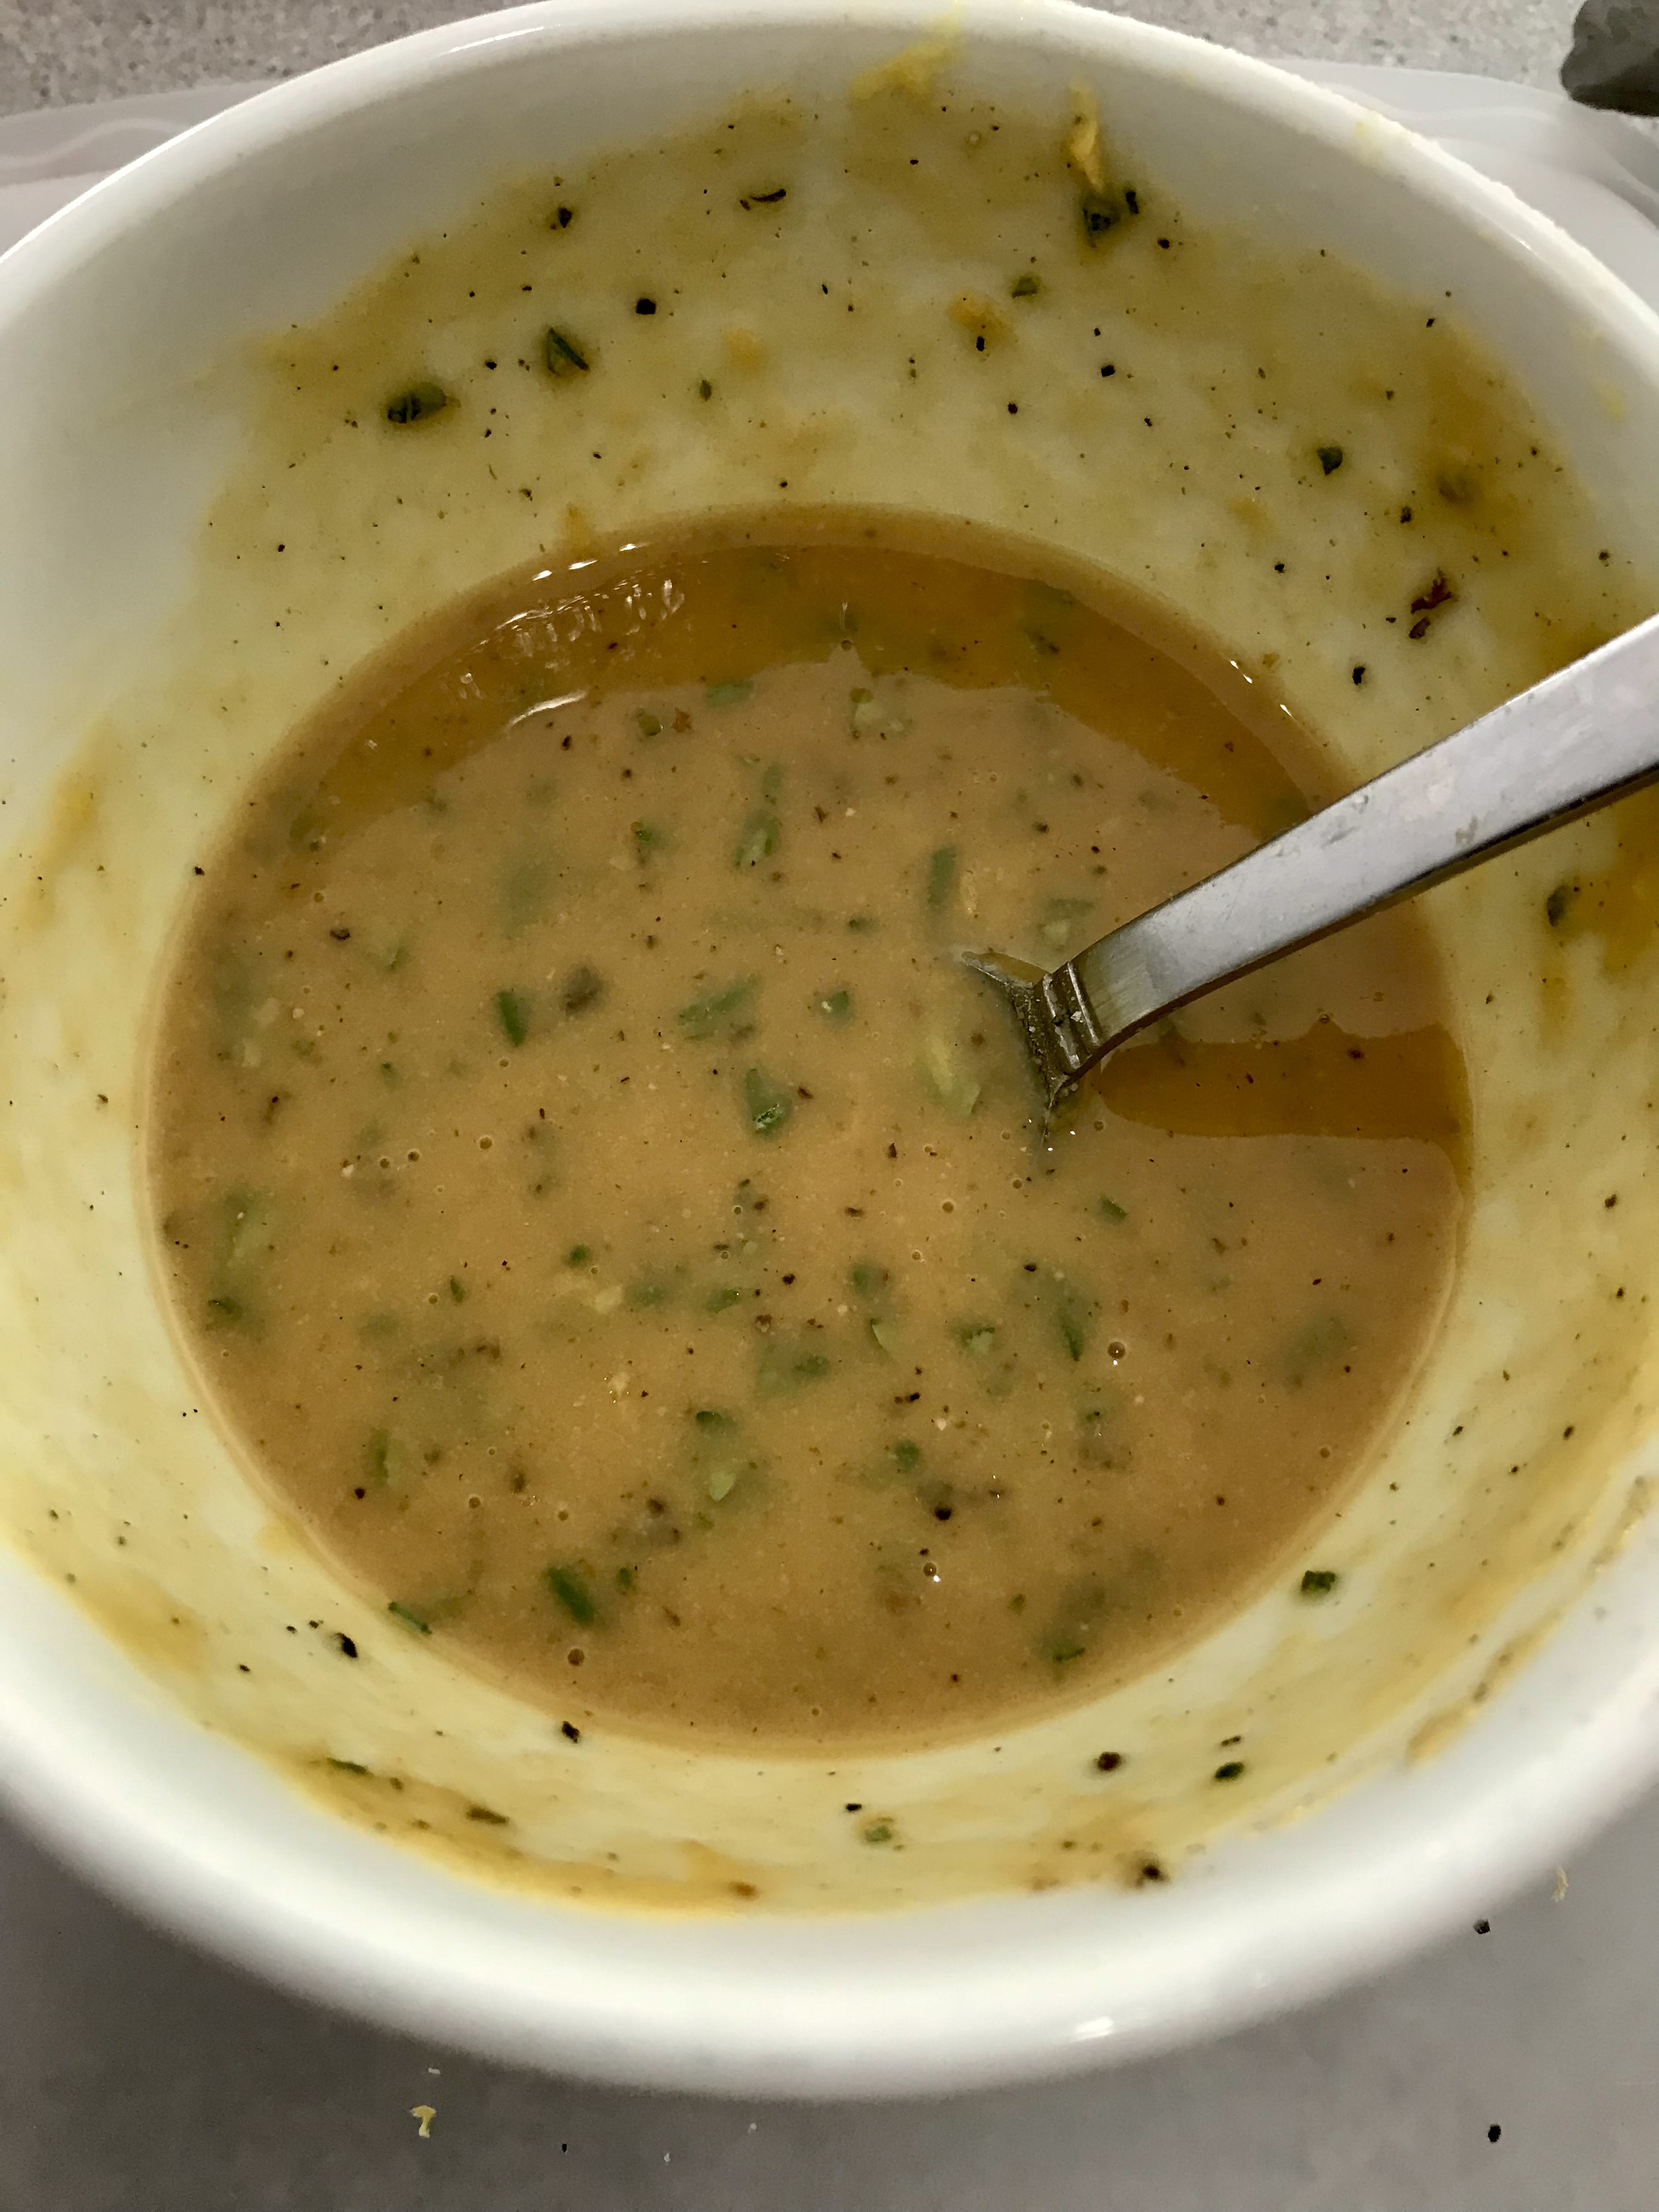
Combine all the ingredients in a bowl and mix well.


Place the lamb and/or chicken in a Ziploc bag and pour in the marinade, squishing it around so that it really covers the meat. Marinate the meat at room temp for at least 3 hours, but overnight in the fridge is best. Make sure to squish the bag around every few hours to make sure all parts get the marinade.

The next day, pre-heat the oven to 350 degrees.


Place the marinated meats on a sheet pan with non-stick foil. Season the meat with salt and pepper.

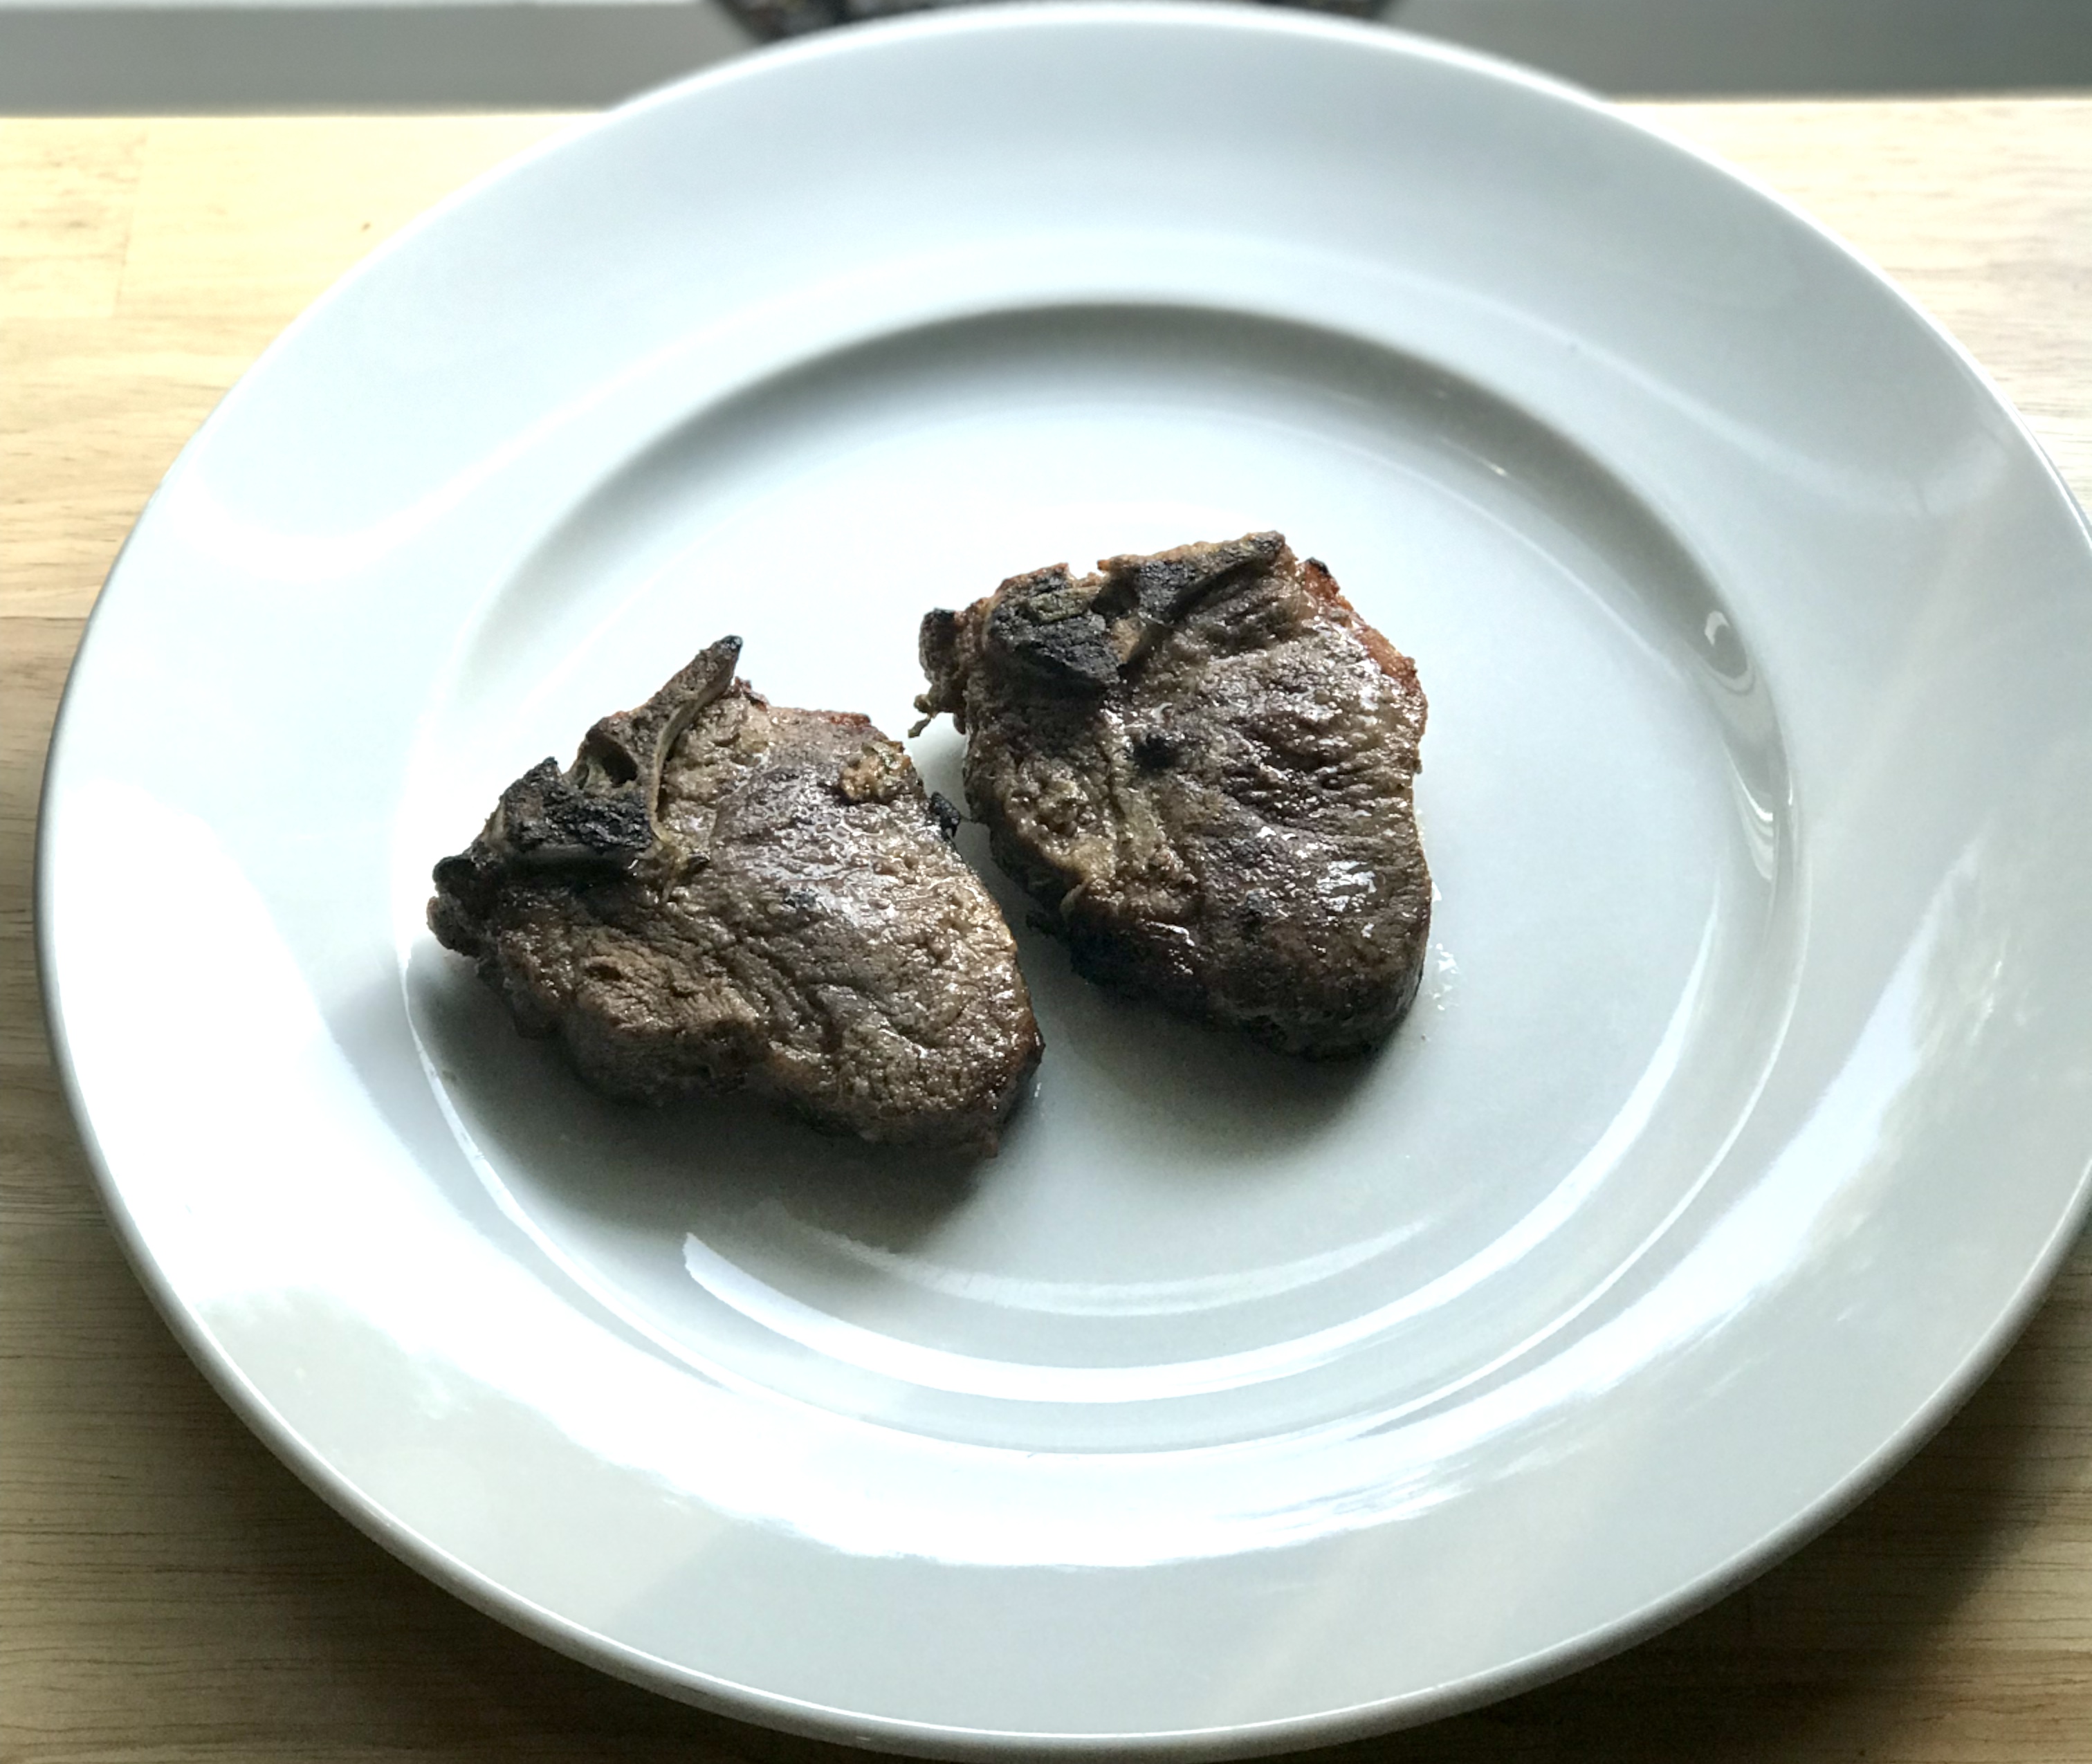
Pour whatever marinade is left in the bag into a bowl and use it to baste the meats as they cook. (Don’t use any of the marinade without cooking it–it has touched raw meat!) Bake until medium for the lamb, or all the way through for the chicken. At the end of cooking, toss the meat under the broiler for a few minutes to get a nice char.


Grilling is certainly an option for this dish. Lamb can be cooked directly on the grill, all the way through. Chicken will require to be pre-cooked in an oven or cooked over medium heat on the grill to make sure it’s cooked all the way through before that final char.

ANOTHER APPLE PIE RECIPE

Posted: December 6, 2024 in Uncategorized

There are a million apple pie recipes online, and people argue whether they should go with an all-shortening or all-butter crust, or even a crust with a combination of the two. I used to be a half-butter, half-shortening guy, myself. But over they years, I’ve become an all-butter guy, because quite frankly, shortening is nasty. And butter…is butter!

I choose to bake the pie the day before serving it. And I prepare the dough the day before that. That way, it has time to rest in the fridge overnight. When you’re ready to bake, remove the dough from the fridge and work with it as cold as you can. If you thaw it too much, you’ll lose the magic of the little butter chunks scattered through the dough.

For the dough…

2 1/2 cups all-purpose organic flour (I like King Arthur)
1/2 teaspoon salt
1 tablespoon sugar
1 cup butter, chilled and diced into cubes
1/2 cup very cold ice water

You can mix the dough ingredients by hand in a bowl, but I prefer a food processor.

Combine the flour, salt and sugar in the food processor and give it a quick pulse to mix. Drop the cubes of butter into the flour mixture, and then pulse the processor until the dough mixture resembles coarse crumbs, and the butter is reduced to pea-sized bits.

Add 1/4 cup of the water, and run the processor. Keep adding a little water at a time, and as soon as the dough forms a ball and pulls away from the sides of the processor bowl, stop! You don’t want to overwork the dough.

Remove the dough to a floured surface and knead it into a ball. Cut the ball in half, and roll each half into a thick, round pancake about an inch thick. wrap these tightly with plastic wrap and place them in the fridge until you’re ready to bake.

For the pie filling…

3 lbs. Granny Smith apples, peeled and sliced into 1/4″ thick slices
1/2 cup butter
3 tablespoons all-purpose organic flour
1/3 cup apple cider
1/2 cup granulated sugar
1/2 cup light brown sugar
2 teaspoons real vanilla extract
2 teaspoons cinnamon
1/8 teaspoon nutmeg

Preheat the oven to 425.

Remove the dough from the fridge. While it’s warming up, prepare the apples.

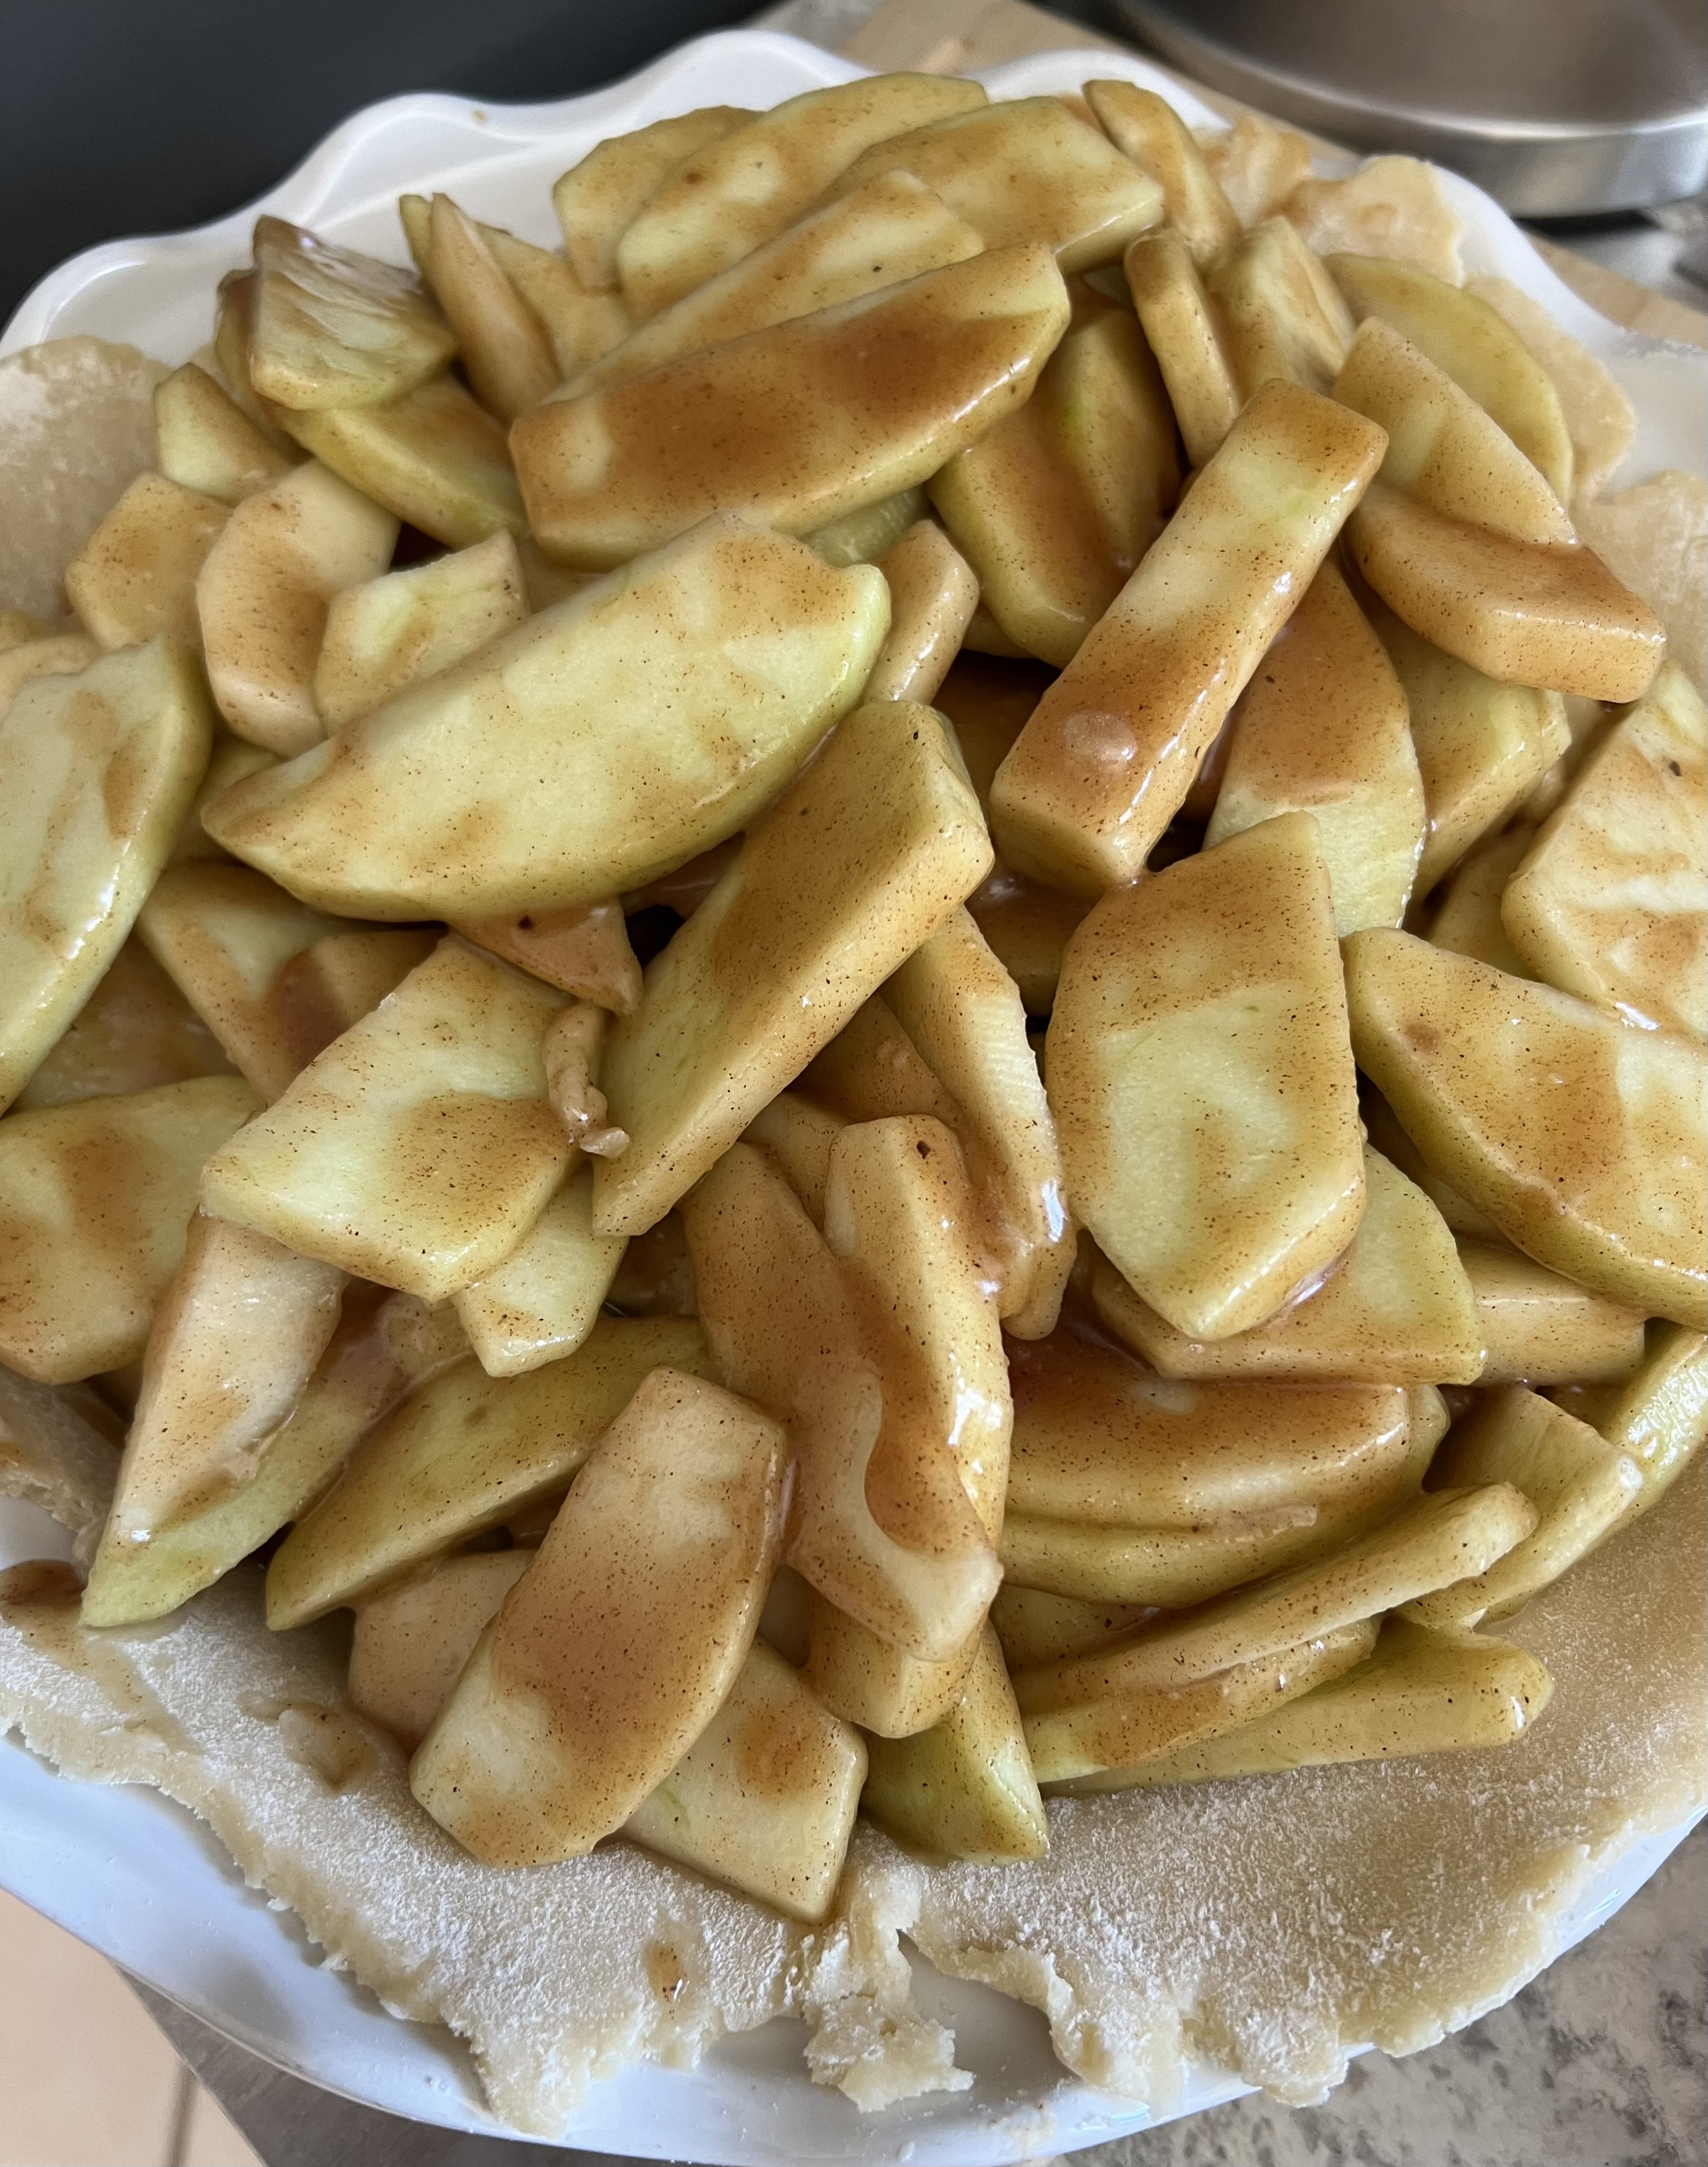
Peel and slice the apples into 1/4″ wide pieces. (I like to cut some a little thinner and some a little thicker, so I get different textures of apple when the pie has baked.) Place them in a large bowl.

Melt the butter in a saucepan, and add the flour. Whisk well to make a roux. Add the juice, both sugars, vanilla, cinnamon and nutmeg. Bring it to a low boil, stirring constantly, then remove from the heat.

Pour the contents of the saucepan into the large bowl with the apples, saving about 1/4 cup butter-sugar sauce for later. Mix the sauce with the apples really well, making sure they’re completely coated.

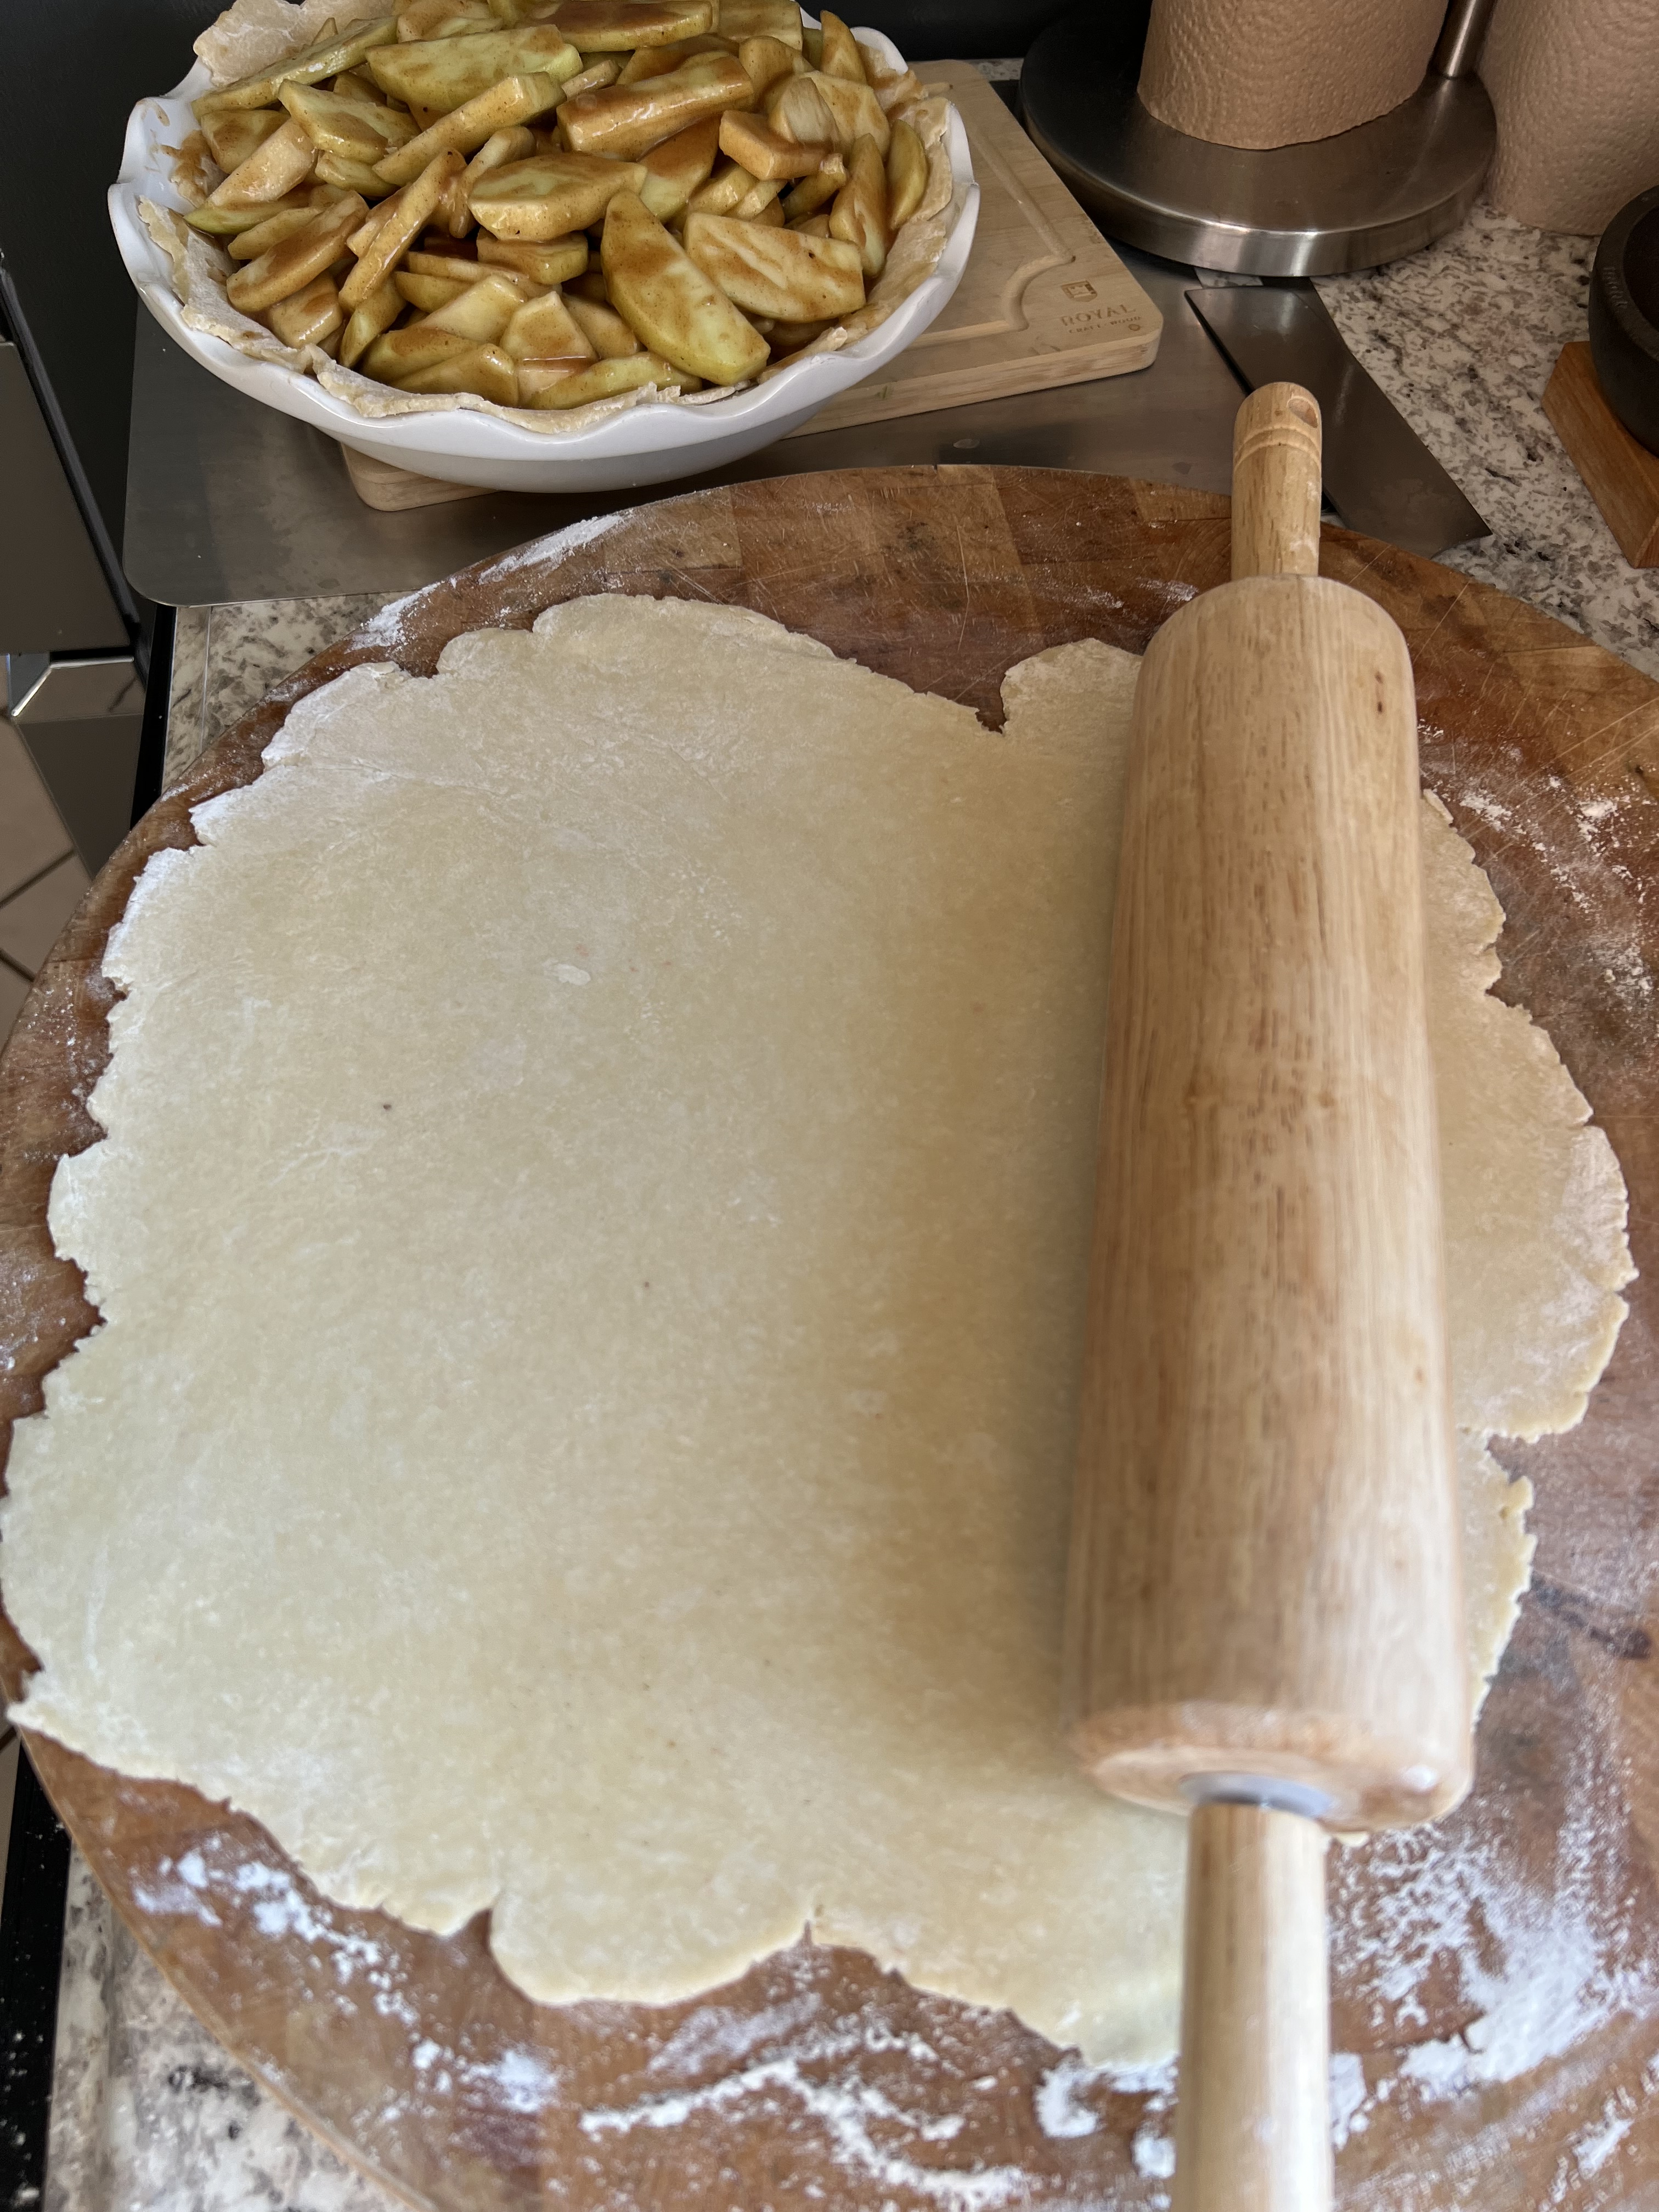
Unwrap one of the dough pieces. On a lightly floured surface, roll it out large enough to fit the bottom and sides of a 9″ pie pan. Let it hang about a 1/2″ over the top edge of the pan, for crimping later.

Carefully transfer the apple mixture into the pie pan, making sure you get every little bit of that butter-sugar sauce in there. The apples will form a large mound. don’t worry…they’ll cook down.

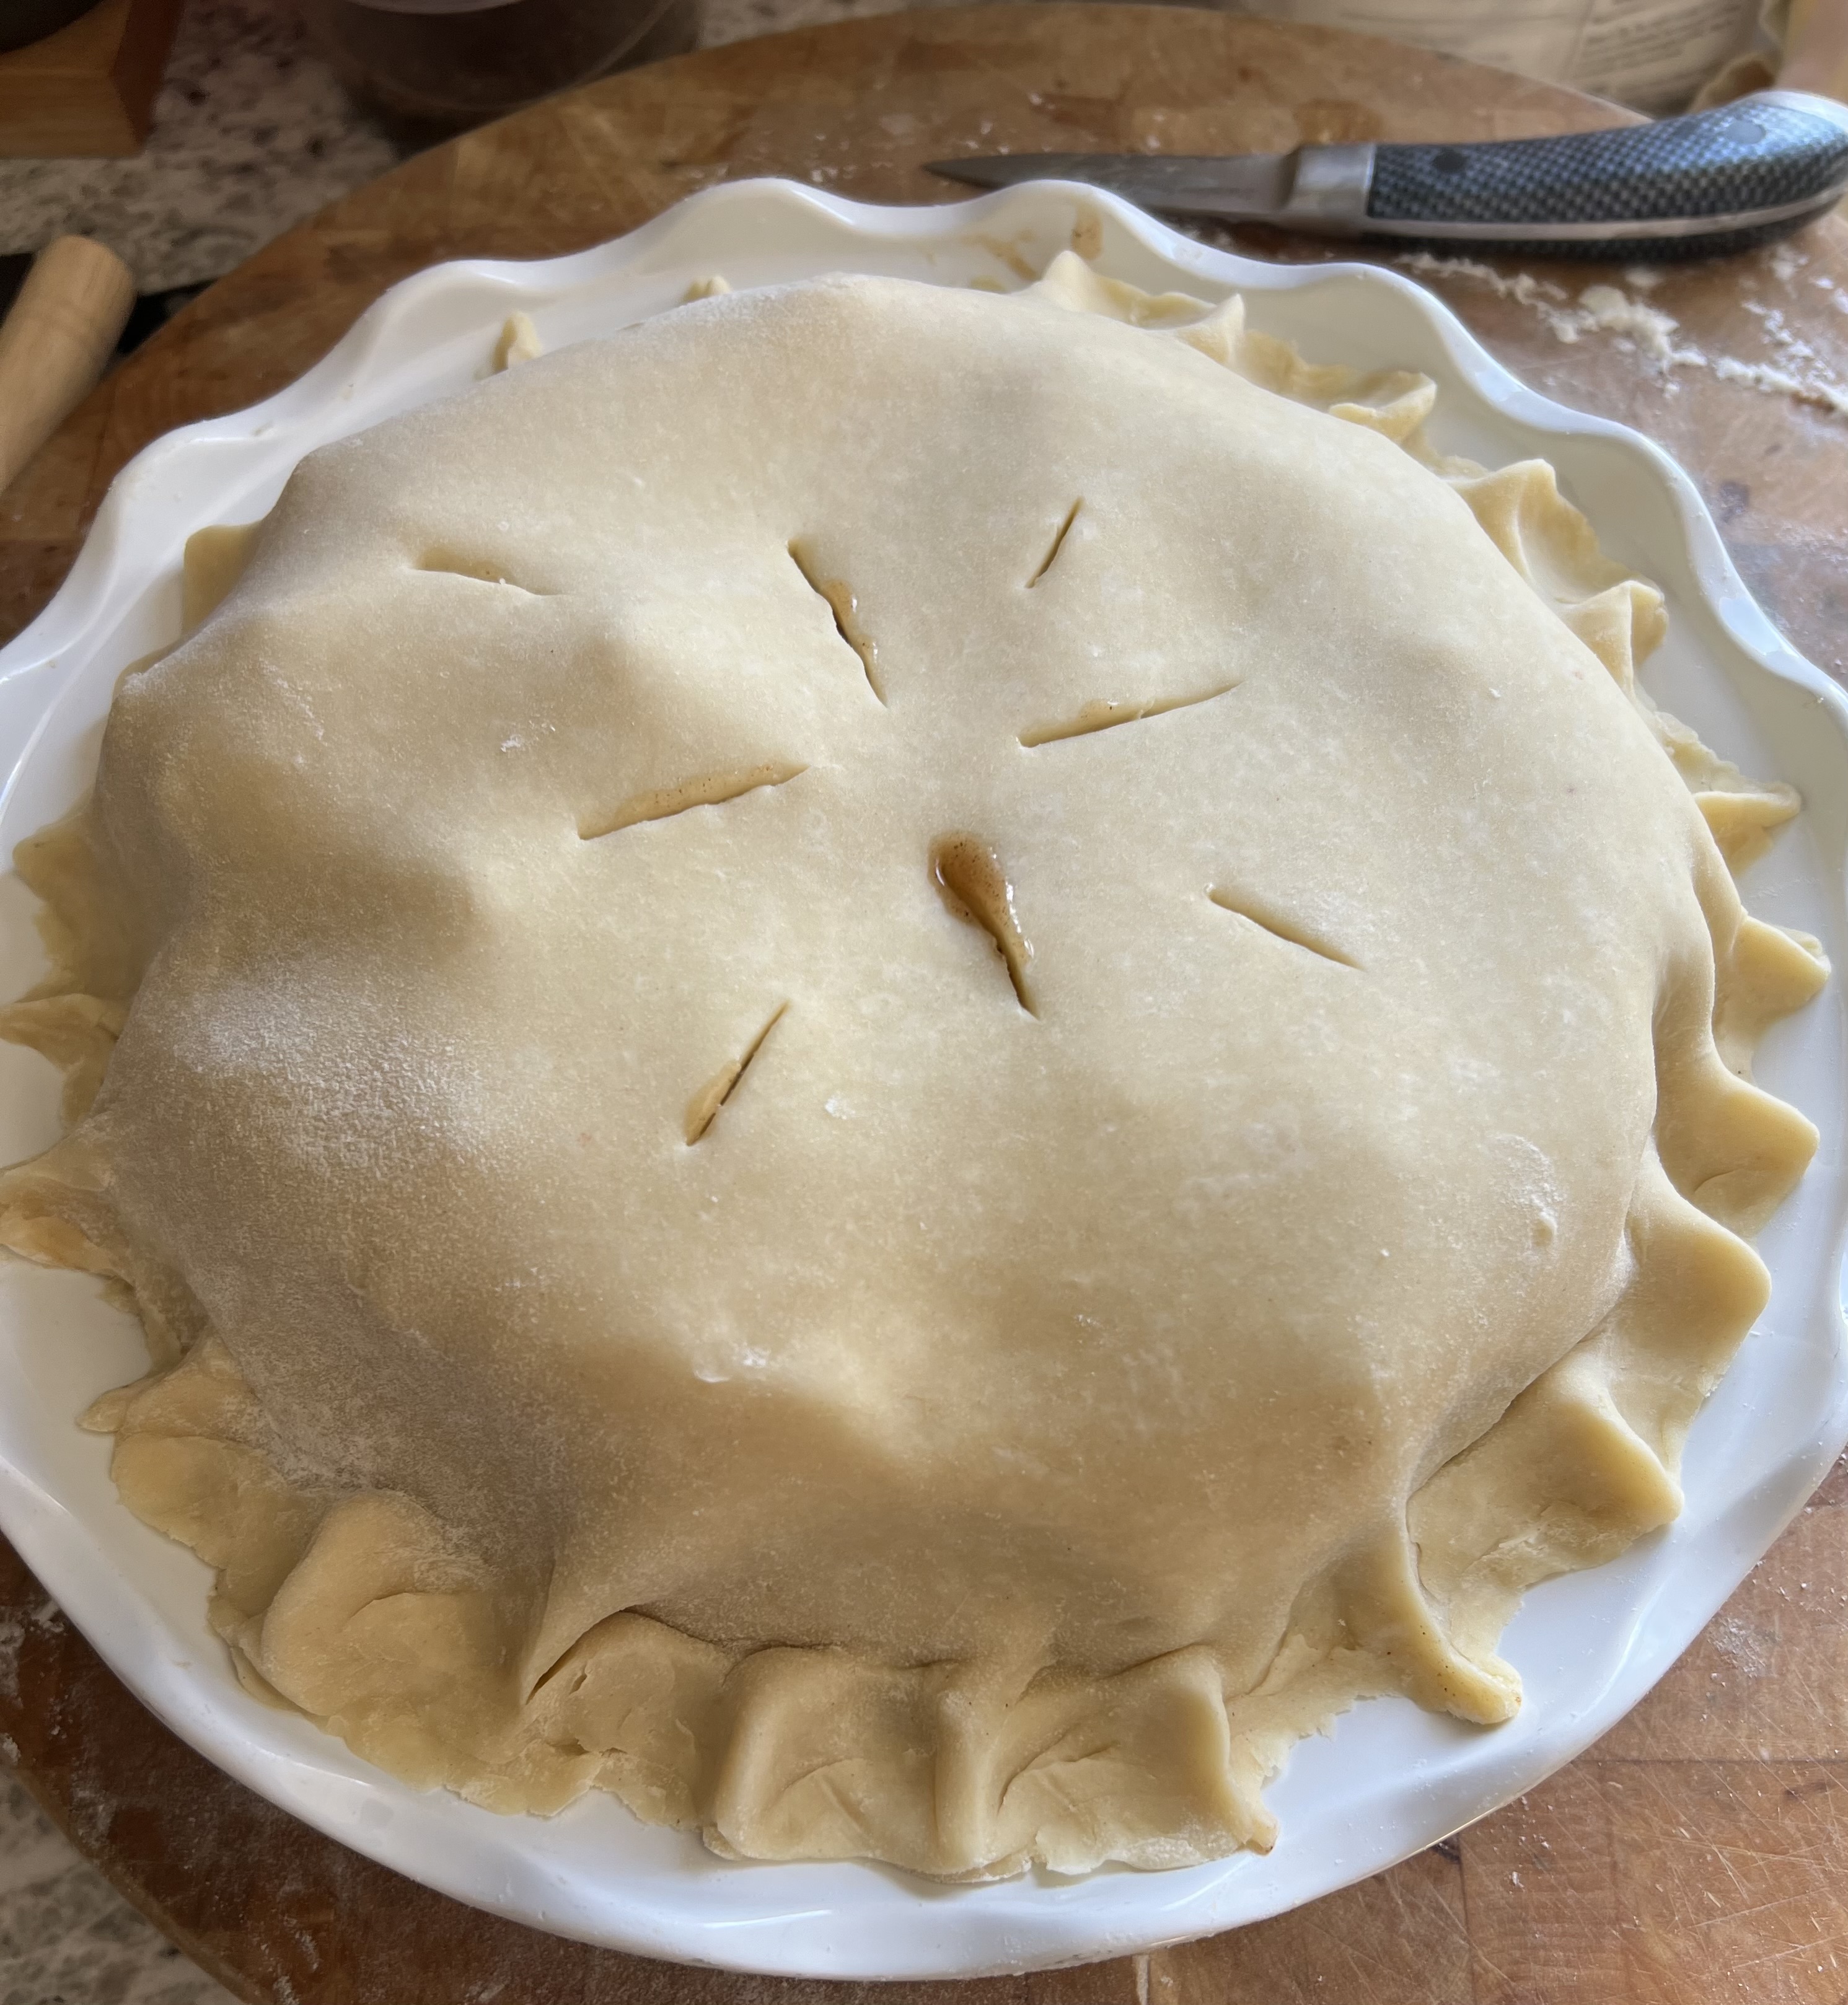
Unwrap the other piece of dough and roll it out so that it fits over the top of the mound of apples. Tuck the excess edges of the upper crust under the overlapping bottom crust, pinching the two halves together, making as tight a seal around the pie as you can. (Don’t cut any of that crust away…use it! It’s delicious!) Cut several slots in the top of the crust to let steam out while the pie cooks.

Take that 1/4 cup of reserved butter-sugar sauce, add a little water to it, and brush it all over the top of the crust, brushing evenly over the entire crust.

Place the pie on a baking sheet and bake it at 425 for about 15 minutes. Then drop the oven temperature to 350 and bake for another 50 minutes, or until the top is golden brown and crisp. If it looks like the edges of your pie are browning too quickly, tent around the edges loosely with foil. Remember, ovens vary!

Let the pie cool completely. I prefer to let it cool overnight, to be served the next day. We like to serve it with good-quality vanilla ice cream.

Of course, apple pie and coffee is an excellent breakfast the next morning!


Recently, my daughter and I visited Pittsburgh, and we really enjoyed a meal at an Argentinian restaurant, Balvanera. Interestingly, there was one dish on the menu that seemed more Mediterranean than Argentinian: roasted carrots on a bed of labneh. We enjoyed it so much, I made it my mission to find a recipe similar to it and prepare it as part of our Thanksgiving dinner. It was a success!


If you’re not familiar with labneh, it’s a soft cheese made by straining yogurt to remove the whey. It’s not always easy to find, but supermarkets like Whole Foods do carry it. You can also make your own by straining Greek yogurt through cheese cloth in a fridge overnight.

We used the already-peeled bagged organic carrots for this dish, but if you can’t find them, simply peel and slice your carrots to about a 2-inch diagonal length.

1 lb. organic carrots, peeled and sliced into 2-inch diagonal pieces
2 tablespoons garlic, minced
2 teaspoons fresh lemon juice
2 teaspoons Za’atar spice blend
1 teaspoon dried parsley
1 teaspoon Kosher salt
1/2 teaspoon cracked black pepper
1/2 teaspoon ground cumin
2 tablespoons roughly chopped pistachios
2–3 tablespoons maple syrup
Fleur de Sel or other finishing salt

Preheat the oven to 425.

Line a baking sheet with parchment or non-stick foil and place the carrots on the sheet.

In a bowl, combine the olive oil, garlic, lemon juice, Za’atar, parsley, salt, pepper, and cumin. Mix well, and then pour it all over the carrots.

Toss the carrots and the other ingredients using your hands to get the seasoning all over every part of the carrots, until they’re evenly coated. (The carrots, not your hands!)


Roast the carrots for about 30 minutes. Look for them to start caramelizing around the edges. You don’t want them mushy…you still want some bite to them.

Spread the labneh onto a plate or platter, and then top with the roasted carrots. Sprinkle the pistachios on top, and drizzle with the maple syrup. A finishing touch of Fleur de Sel makes it perfect!


I think I spent half of my childhood in the kitchen, watching my Mom and grandmother make koldūnai (kohl-doo-nayh), the Lithuanian version of a pierogi, by hand, at lightning speed. They would roll a simple dough into a log about 1″ in diameter, then cut it into 1″ pieces, twirling each piece between their fingers to make a flat pancake, filling each with a small spoonful of meat or mushrooms, then folding it over, crimping the edges to make a crescent-shaped dumpling. It blew my mind that they could crank out over a hundred of these little masterpieces in no time, placing them on a cookie sheet and freezing them until it was time to cook.
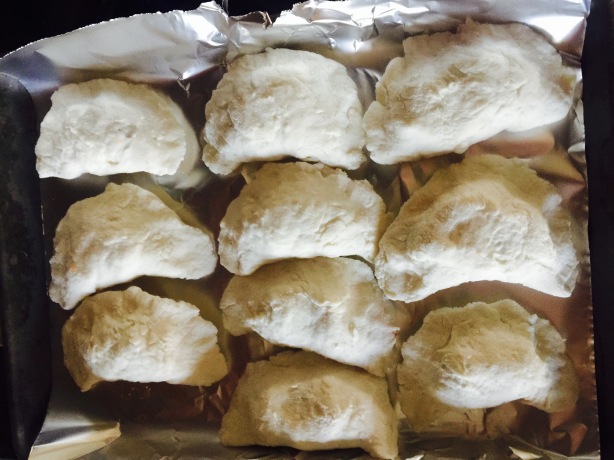


One of the main reasons why I prefer Lithuanian koldūnai over the basic Polish pierogi is the filling. For me, standard pierogi fillings like potatoes, cheese, and sauerkraut just don’t cut it. My Mom would mix ground beef with chopped onions sautéed in butter, a couple of eggs, and milk crackers soaked in milk. She’d add salt and pepper, then spoon that beautiful beef blend into her koldūnai.

The other delicious stuffing, usually reserved for special holidays like Christmas Eve and Easter, was made from mushrooms. Italy may lay claim to the porcini, but the fact of the matter is, Lithuania is bolete heaven. (We call them baravykai.)

When they’re dried and rehydrated, their incredible flavor is so intense, you don’t need many of them to flavor a large amount of regular button mushrooms. We’d get our dried boletes from relatives in Lithuania every year. Mom would place a handful in some boiling water and let them steep until they swelled up and could easily be chopped and added to the other mushrooms. She’d then pour the mushroom liquid into the pan as well, not wasting a bit of that magical porcini flavor. The mushrooms were simply sautéed in butter, cooled, and then used to fill the koldūnai.
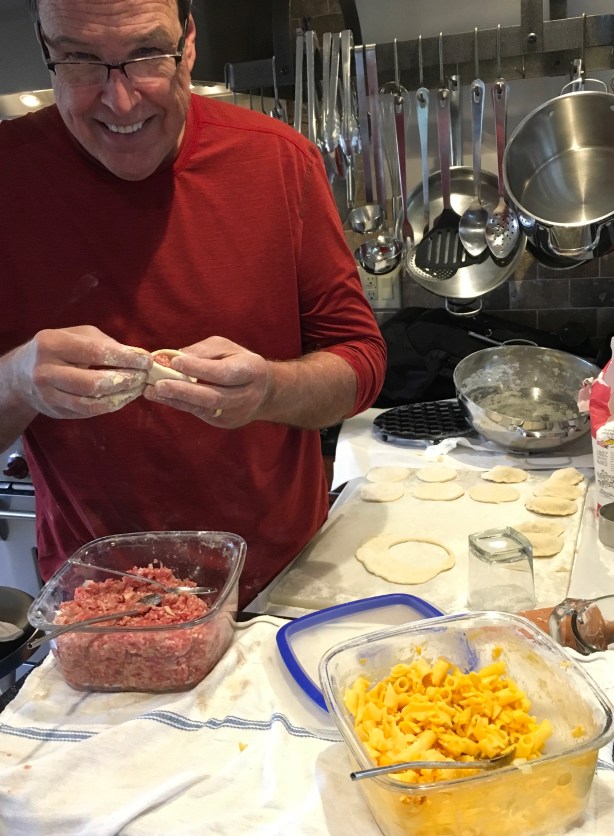
 

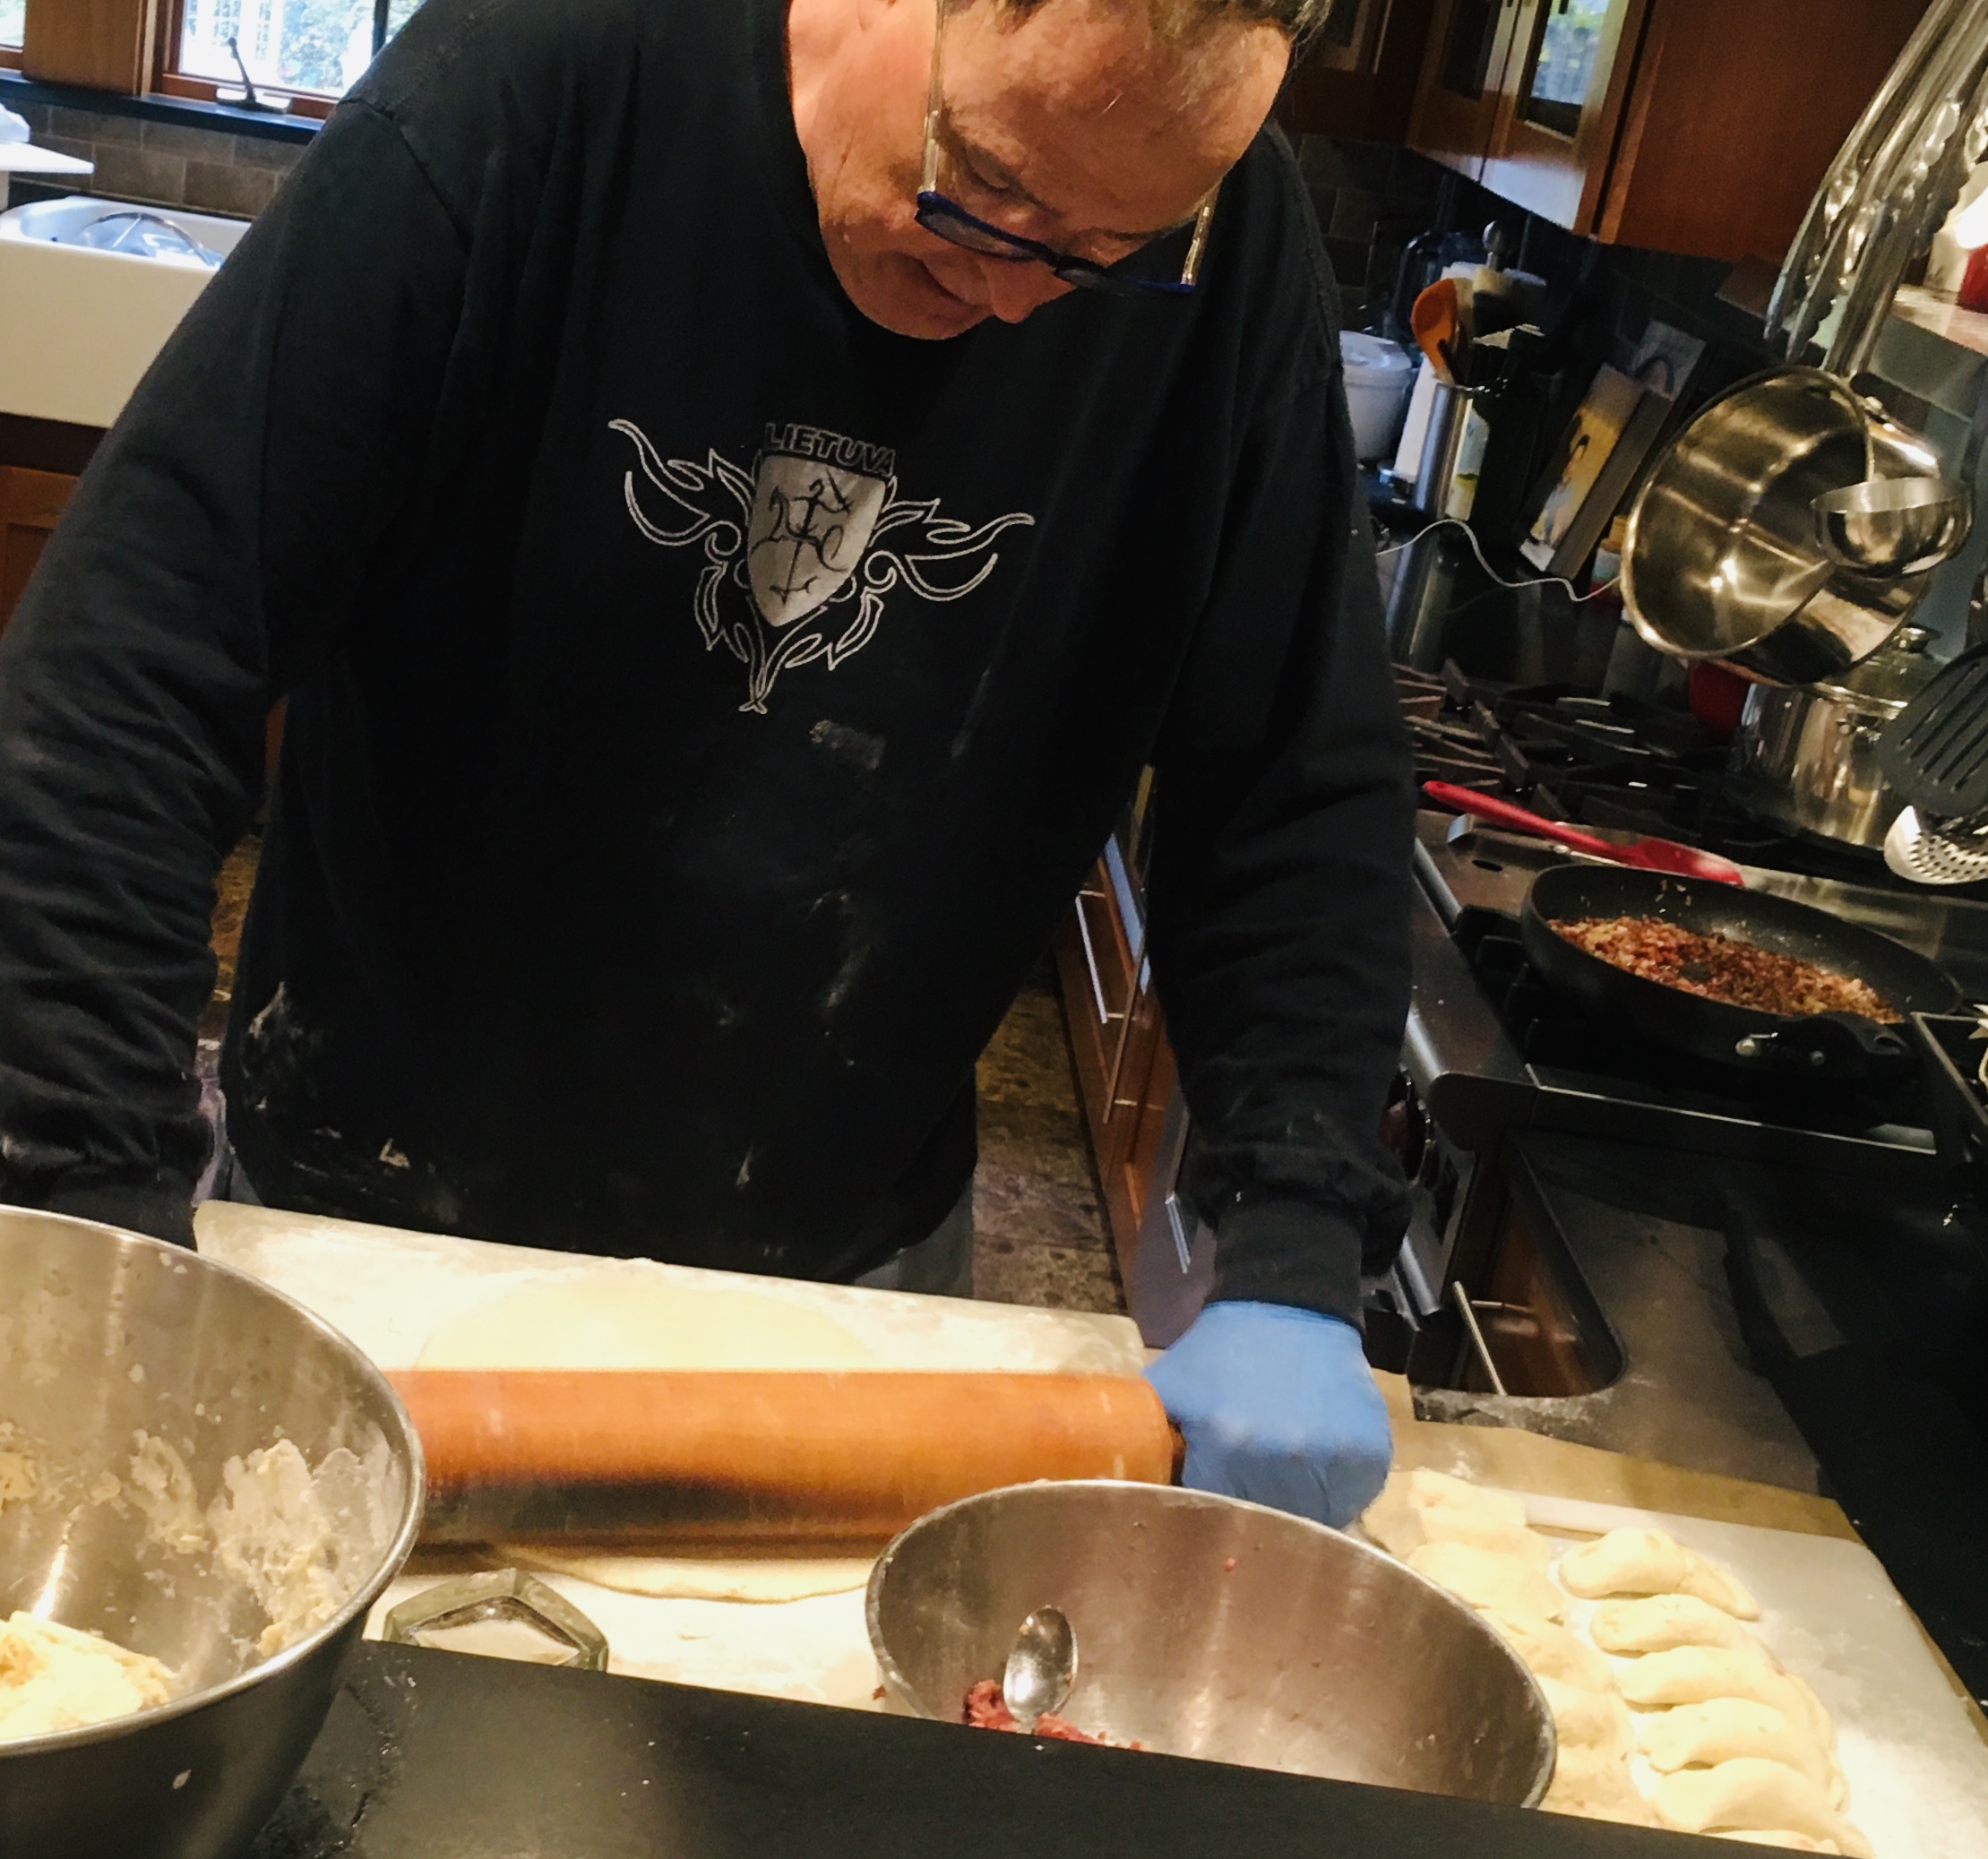
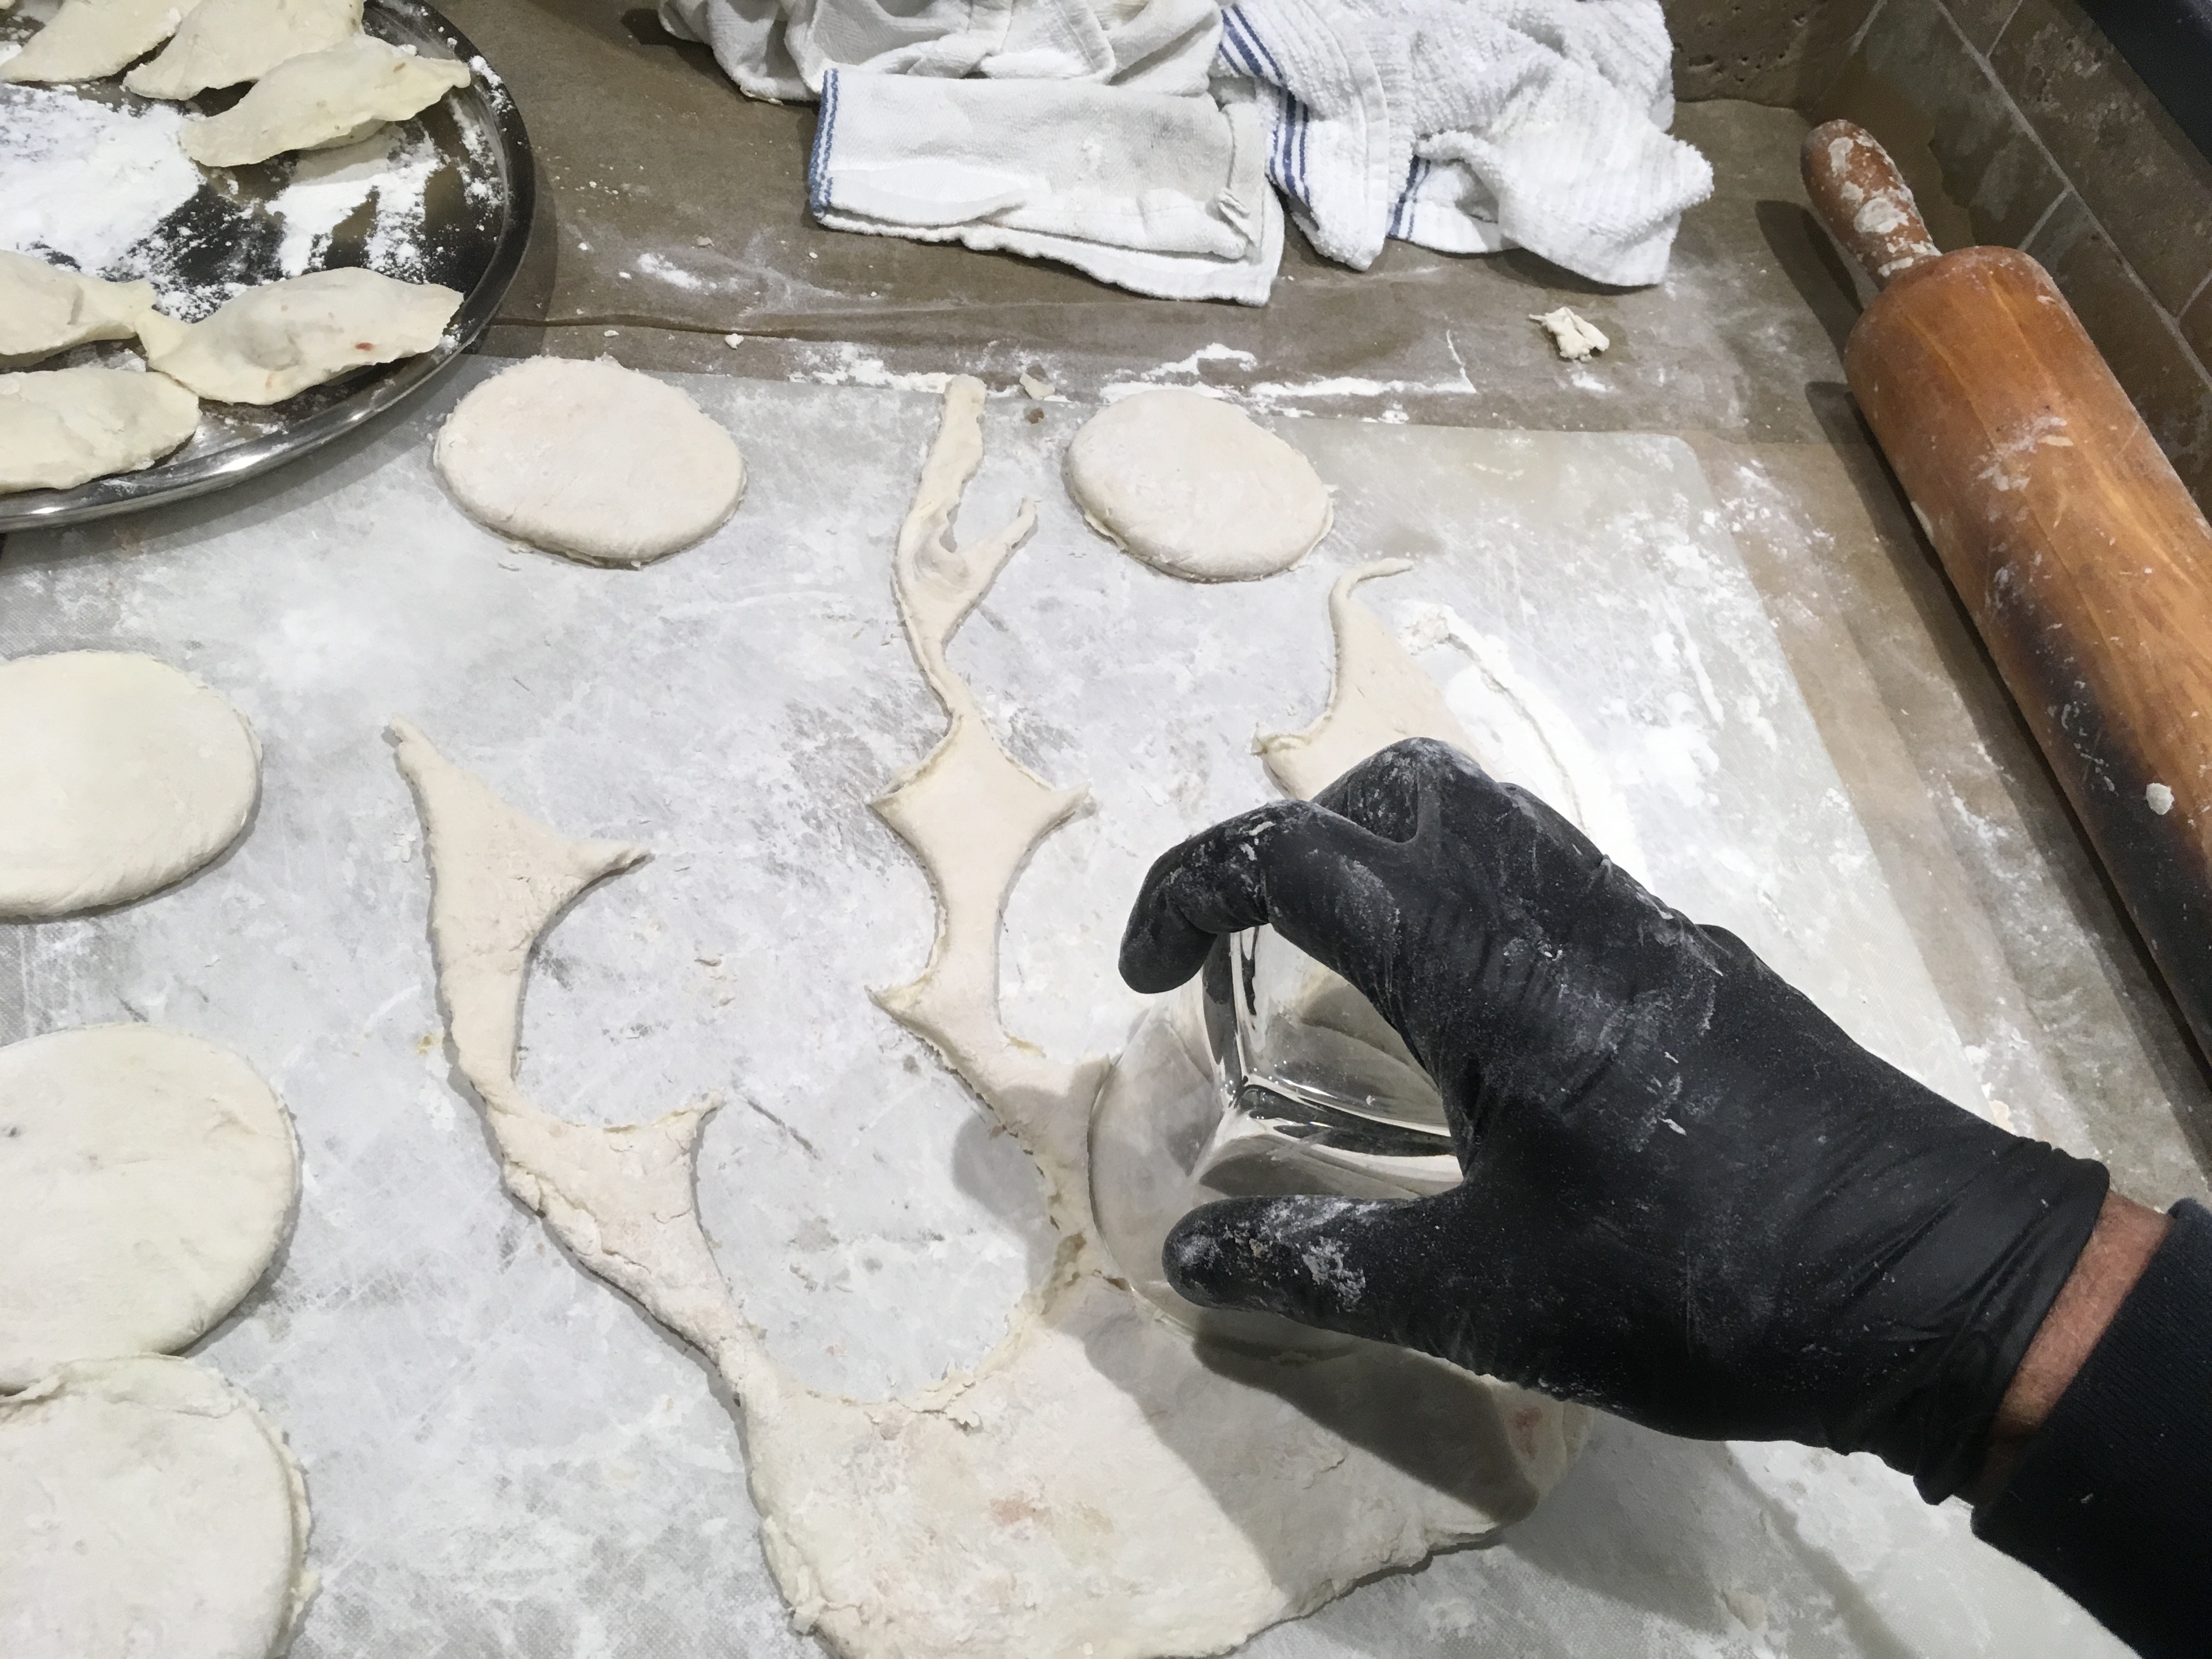
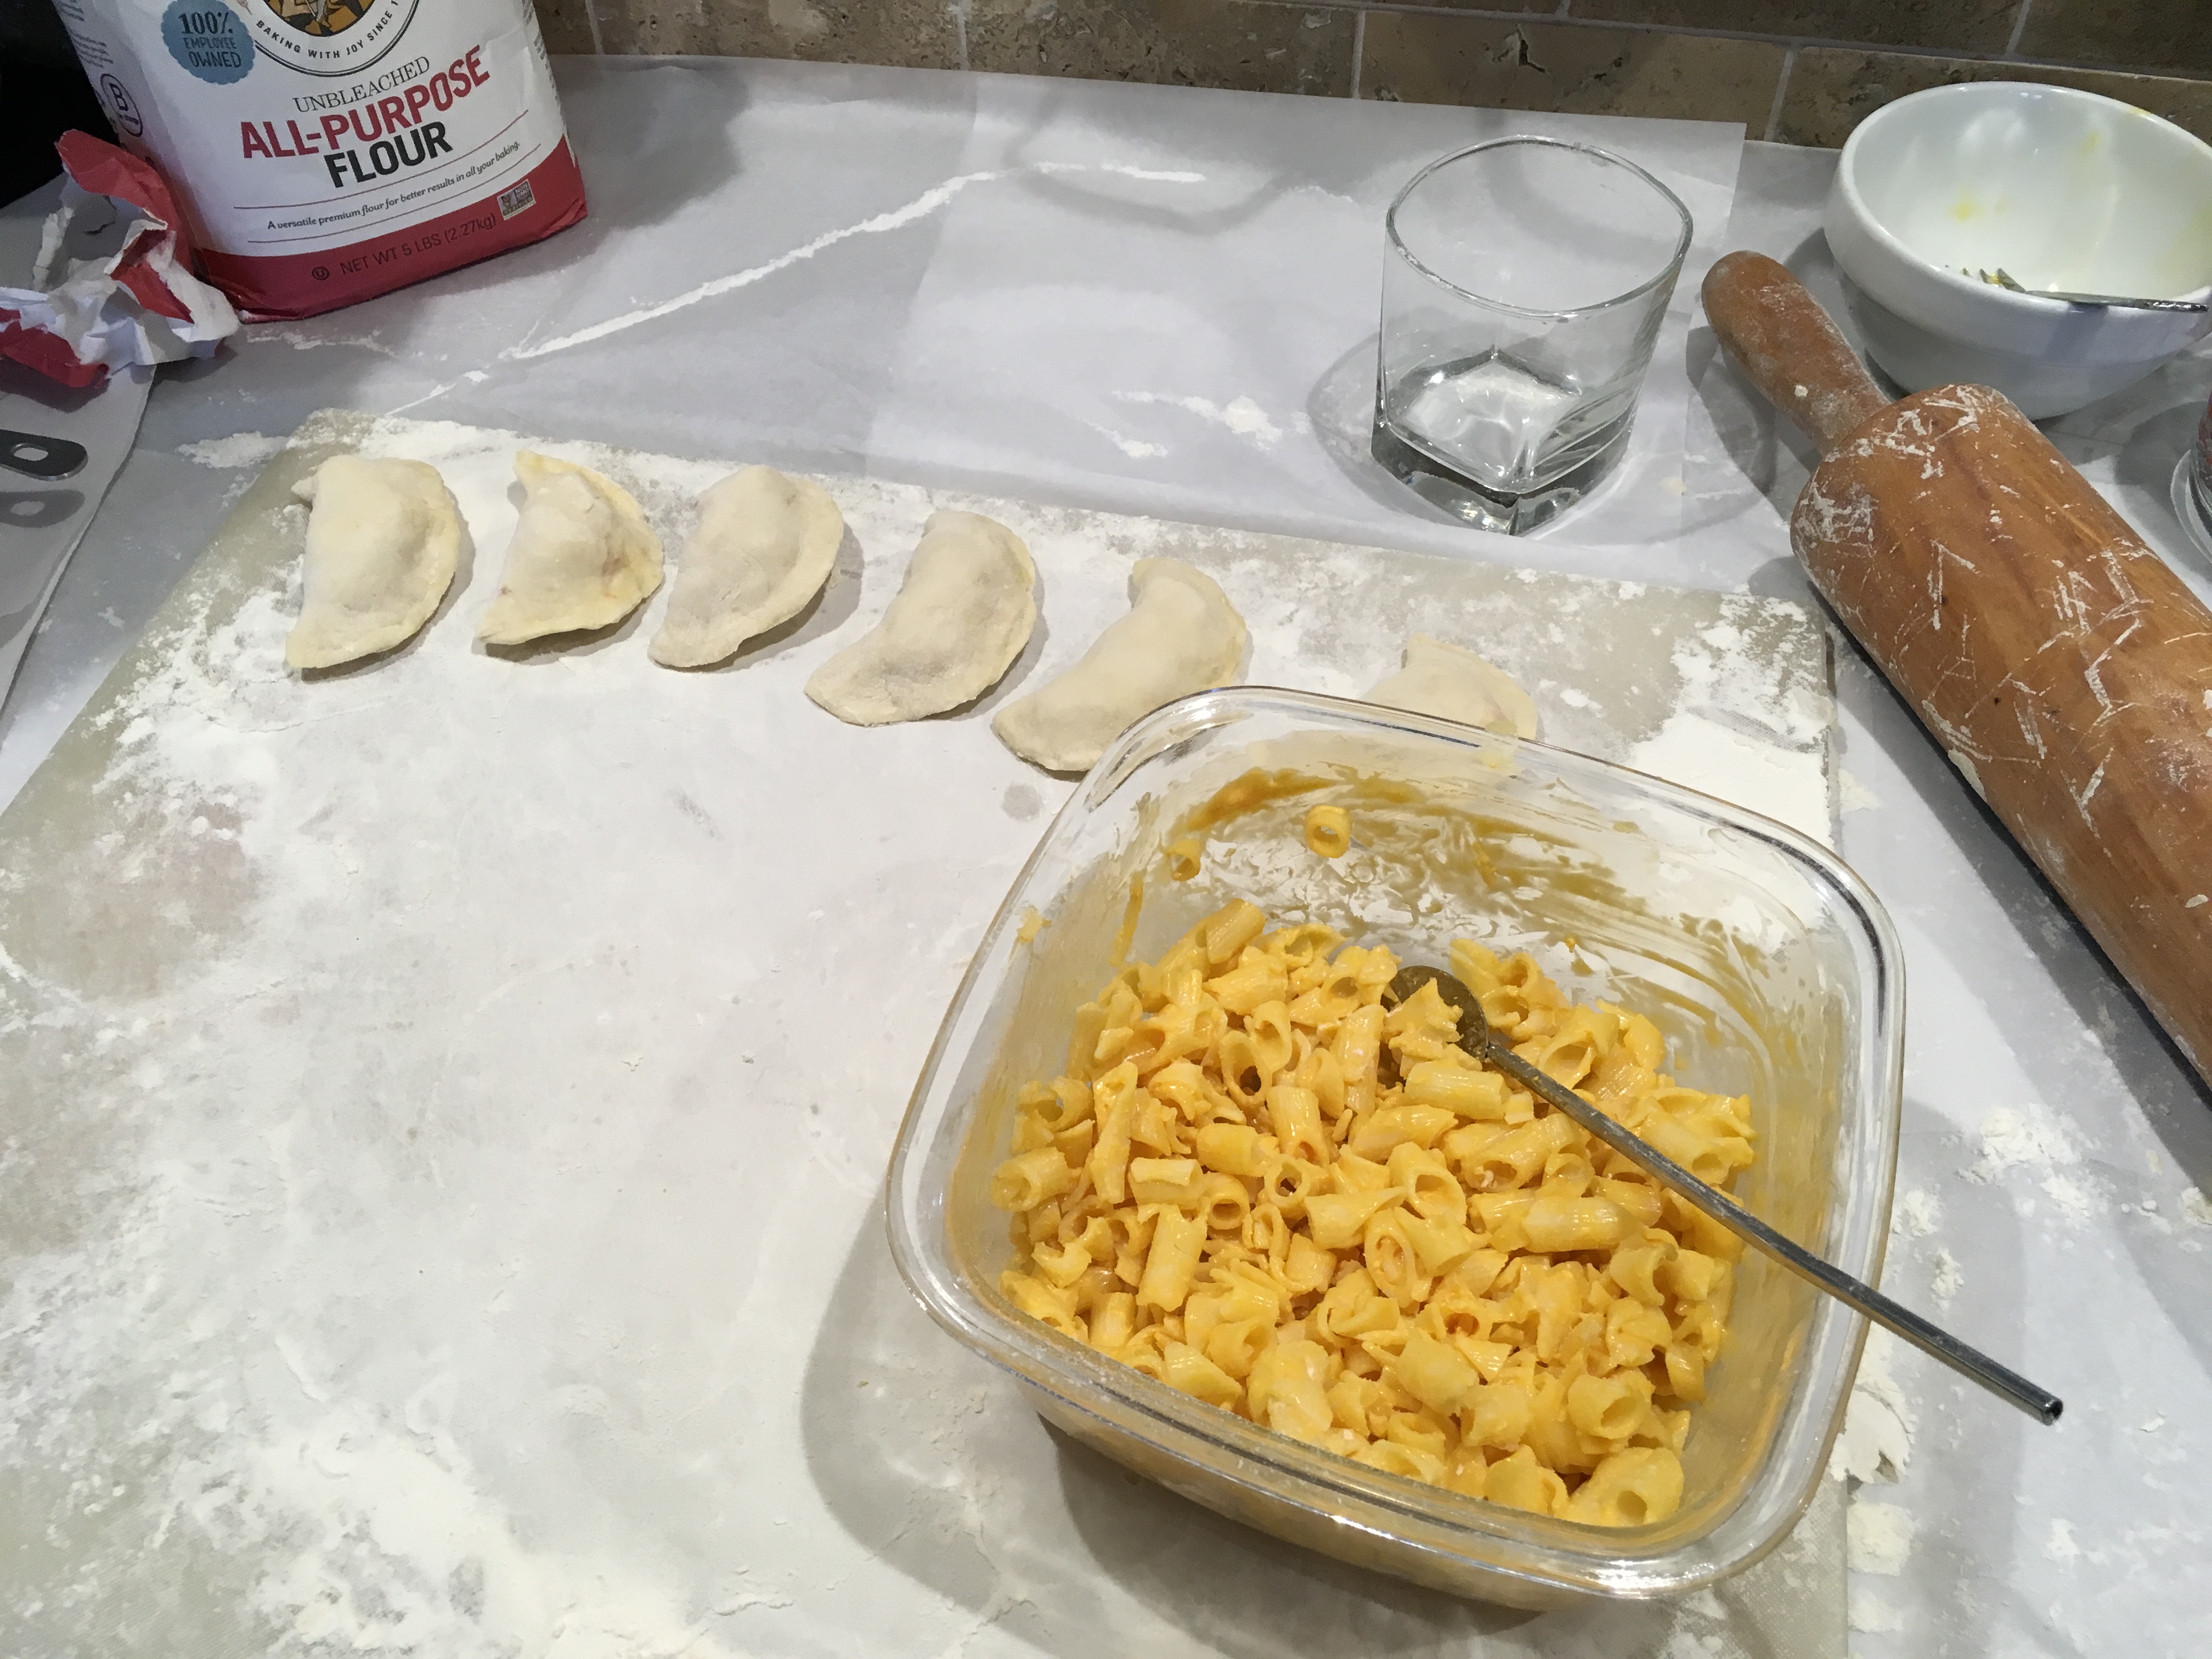
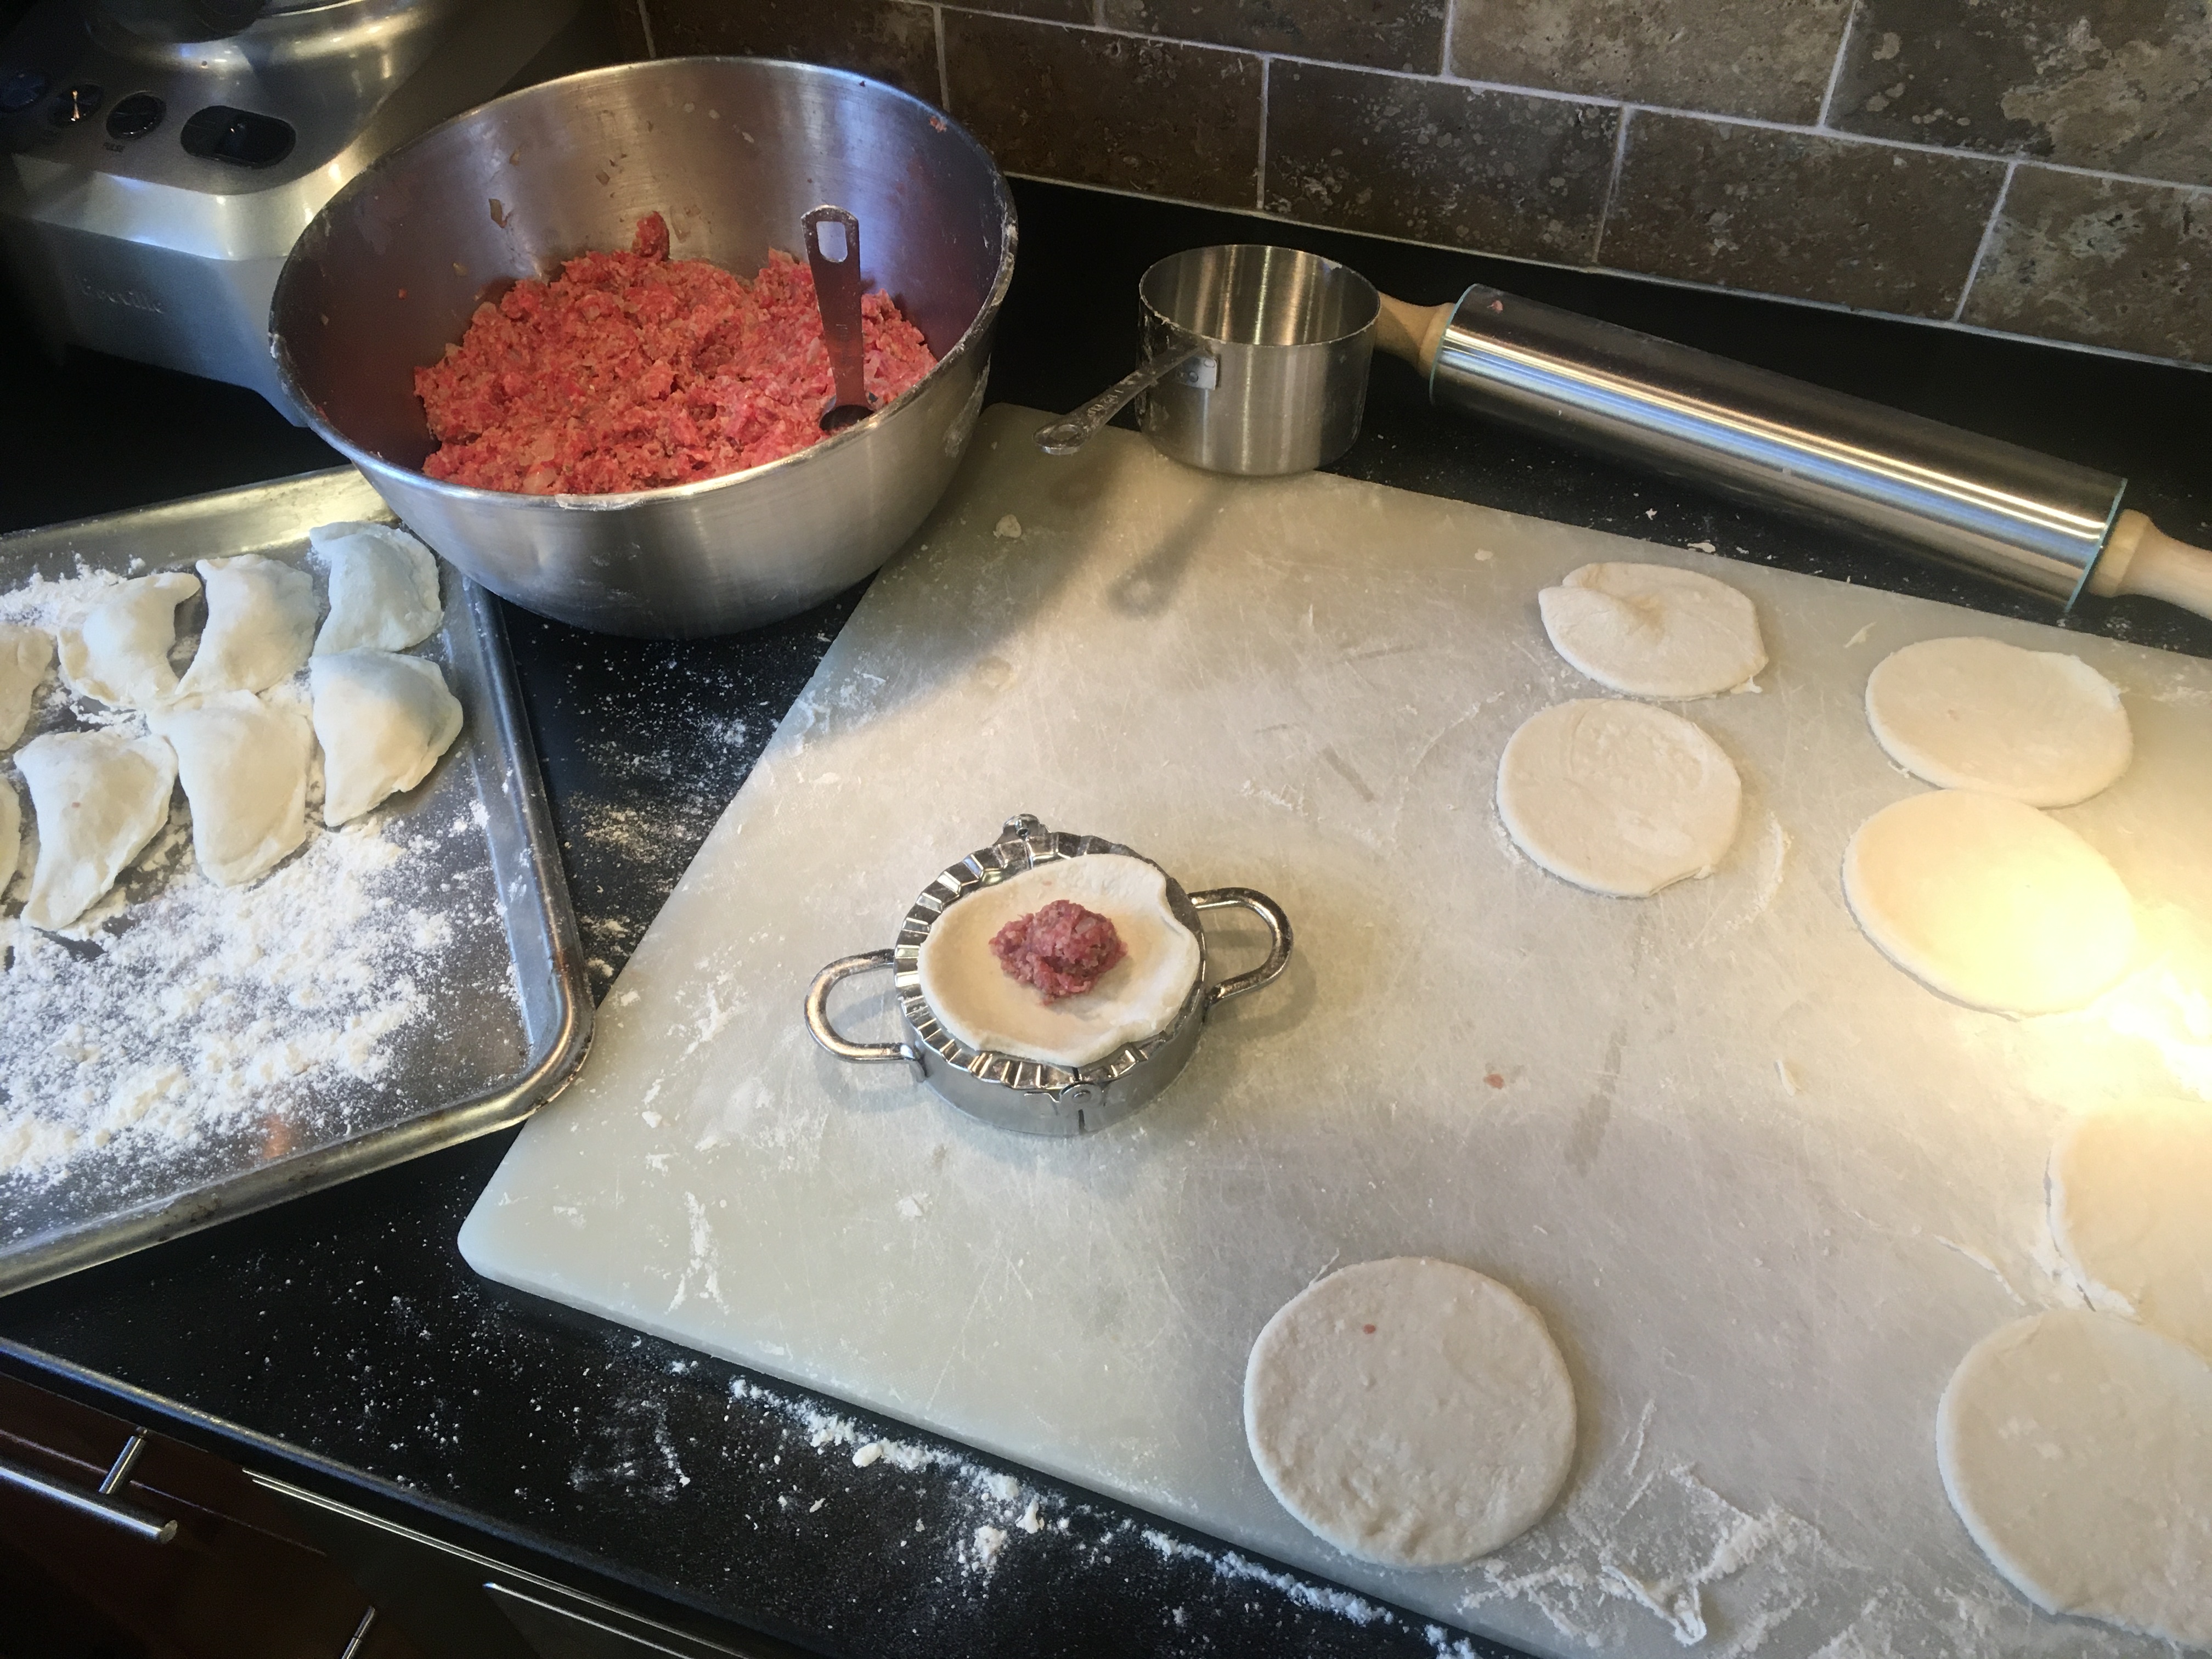
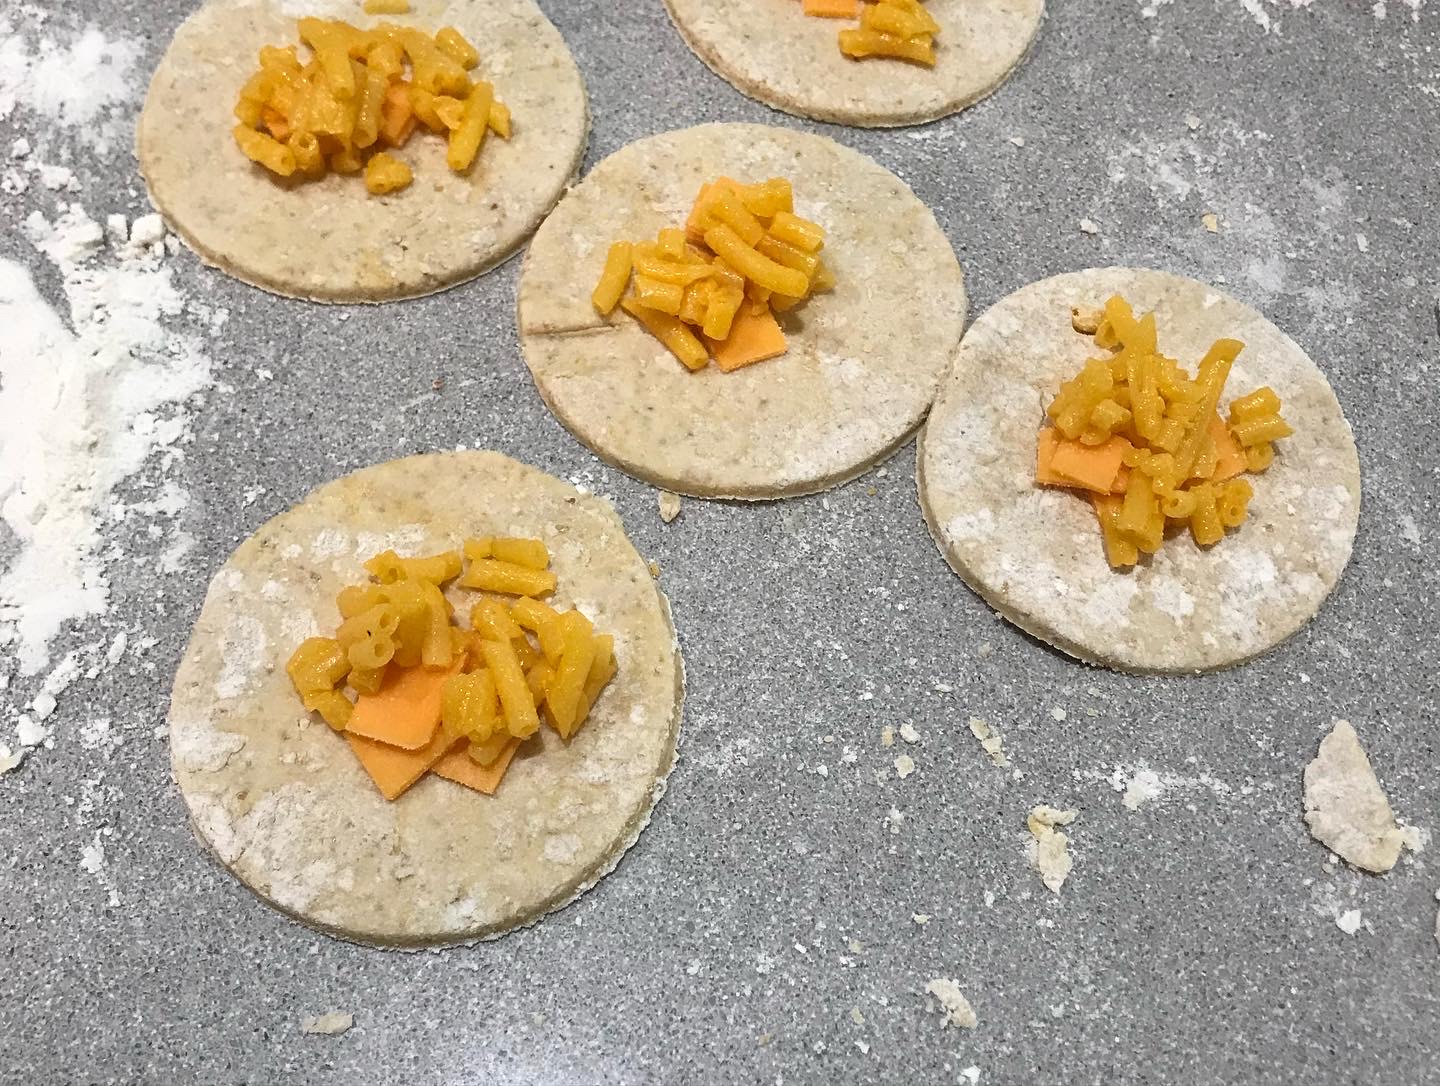
I found that my Mom’s log method was too much work. I roll the dough out into a sheet with a rolling pin, then cut circles with a glass. Yes, that’s mac-and-cheese up front!


A few years ago, I decided it was time to try my hand at making koldūnai. As I recall, my Mom simply mixed water with flour to make the dough, kneaded it into a log, and off she went. I decided to go with the rolling pin and glass cutting method, because I found it to be a bit easier creating more uniform koldūnai.

The biggest challenges I had making koldūnai was my own clumsiness and lack of experience. Once I got the hang of it, things moved along steadily, and it didn’t take long for me to make a decent batch–not all perfect, but not bad for a first try.

My recipe follows. If you’re on a gluten-free diet, have no fear! That recipe is at the bottom of the blog.
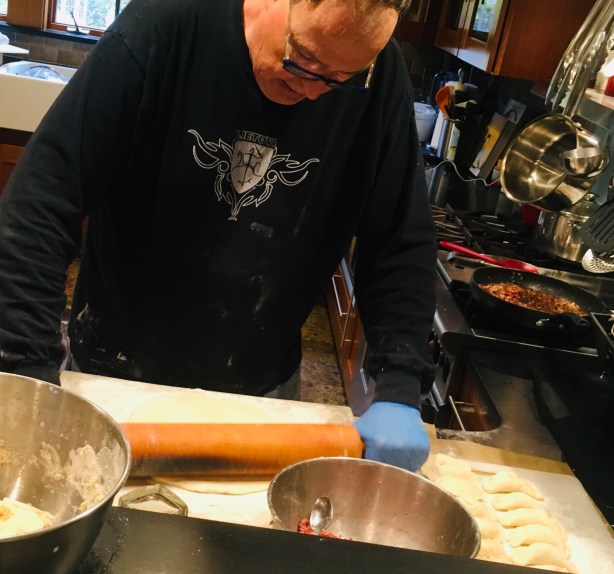
 

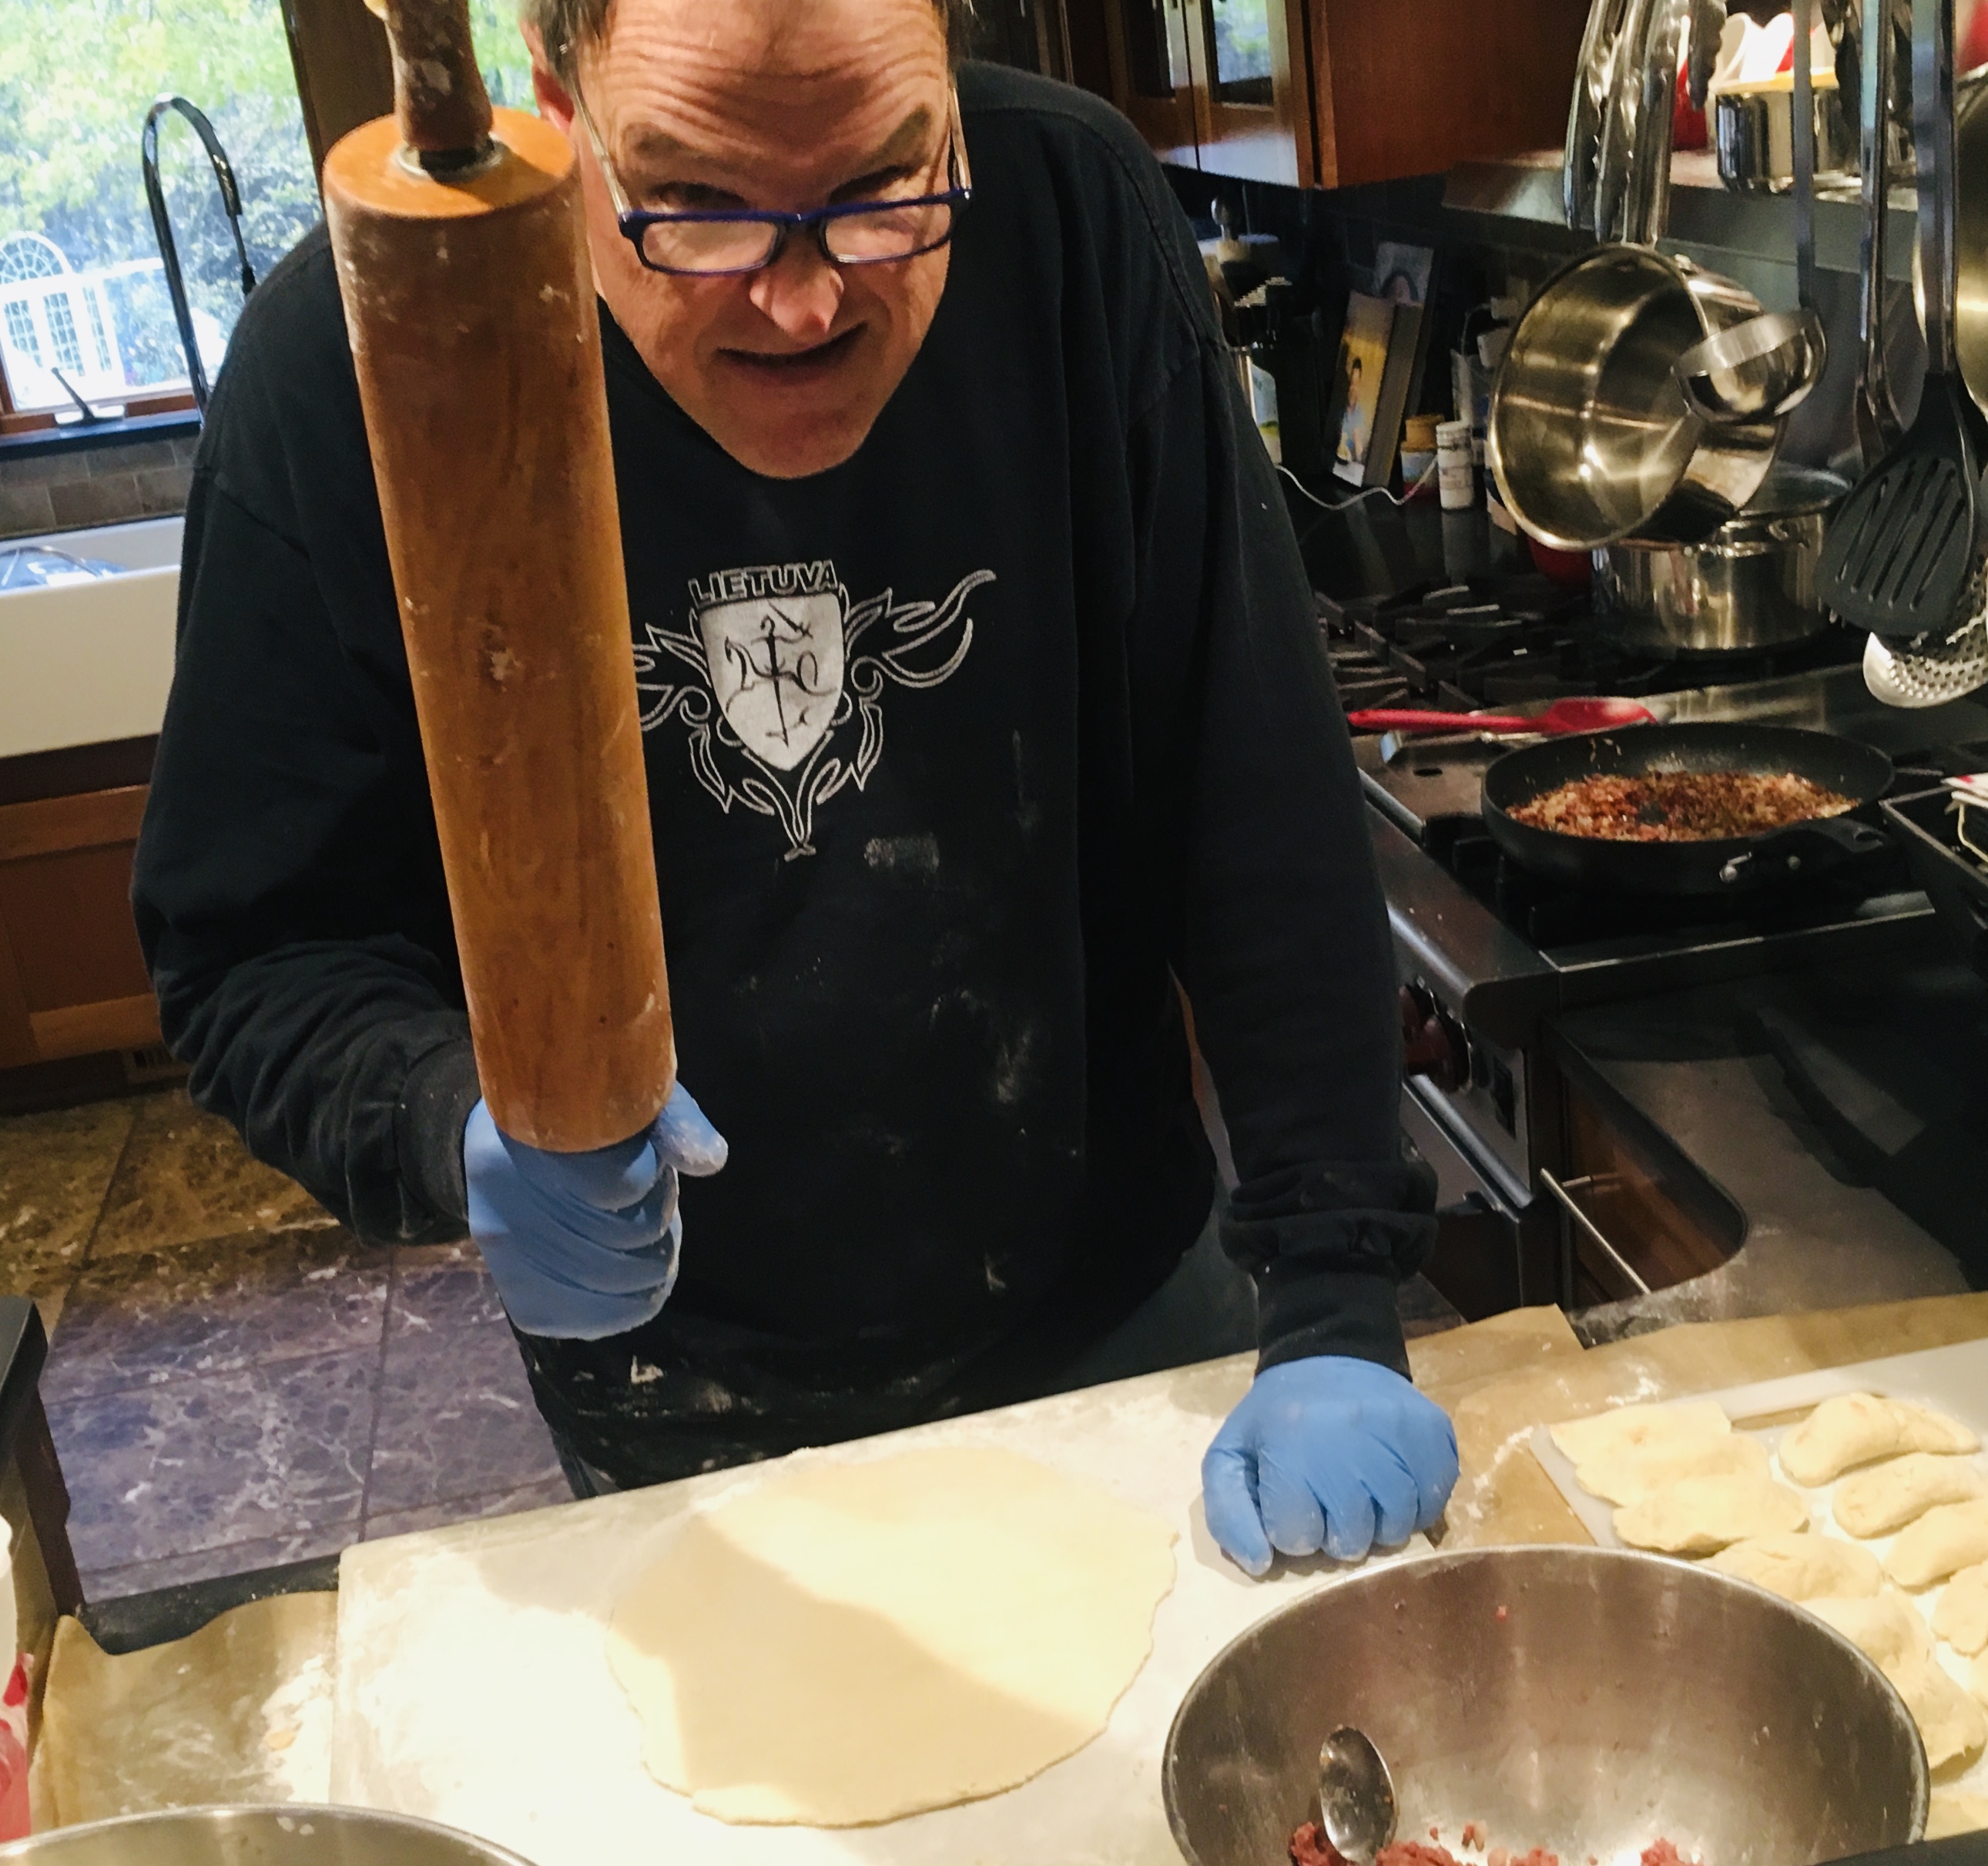
The rolling pin method.


This time around, I made four kinds of koldūnai: traditional (ground beef as well as mushroom) and non-traditional (mac & cheese and pulled pork.)  Patty’s Pierogis, a restaurant in nearby Fall River, Massachusetts, and featured on Food Network’s “Diners, Drive-Ins and Dives,” is where my daughter first had mac & cheese pierogis. She was instantly hooked and begs for them every year.

Here’s my beef recipe…

1/2 onion, finely chopped
1 pat of butter
1 lb. ground beef
1 egg
1/2 cup breadcrumbs

Finely chop the onion and sauté it in the butter until translucent. Let it cool, then add it to 1 lb. of thawed ground beef. Add the egg and the breadcrumbs. Season with salt and pepper. Mix the ingredients thoroughly and keep the meat in the fridge until you’re ready to use it.


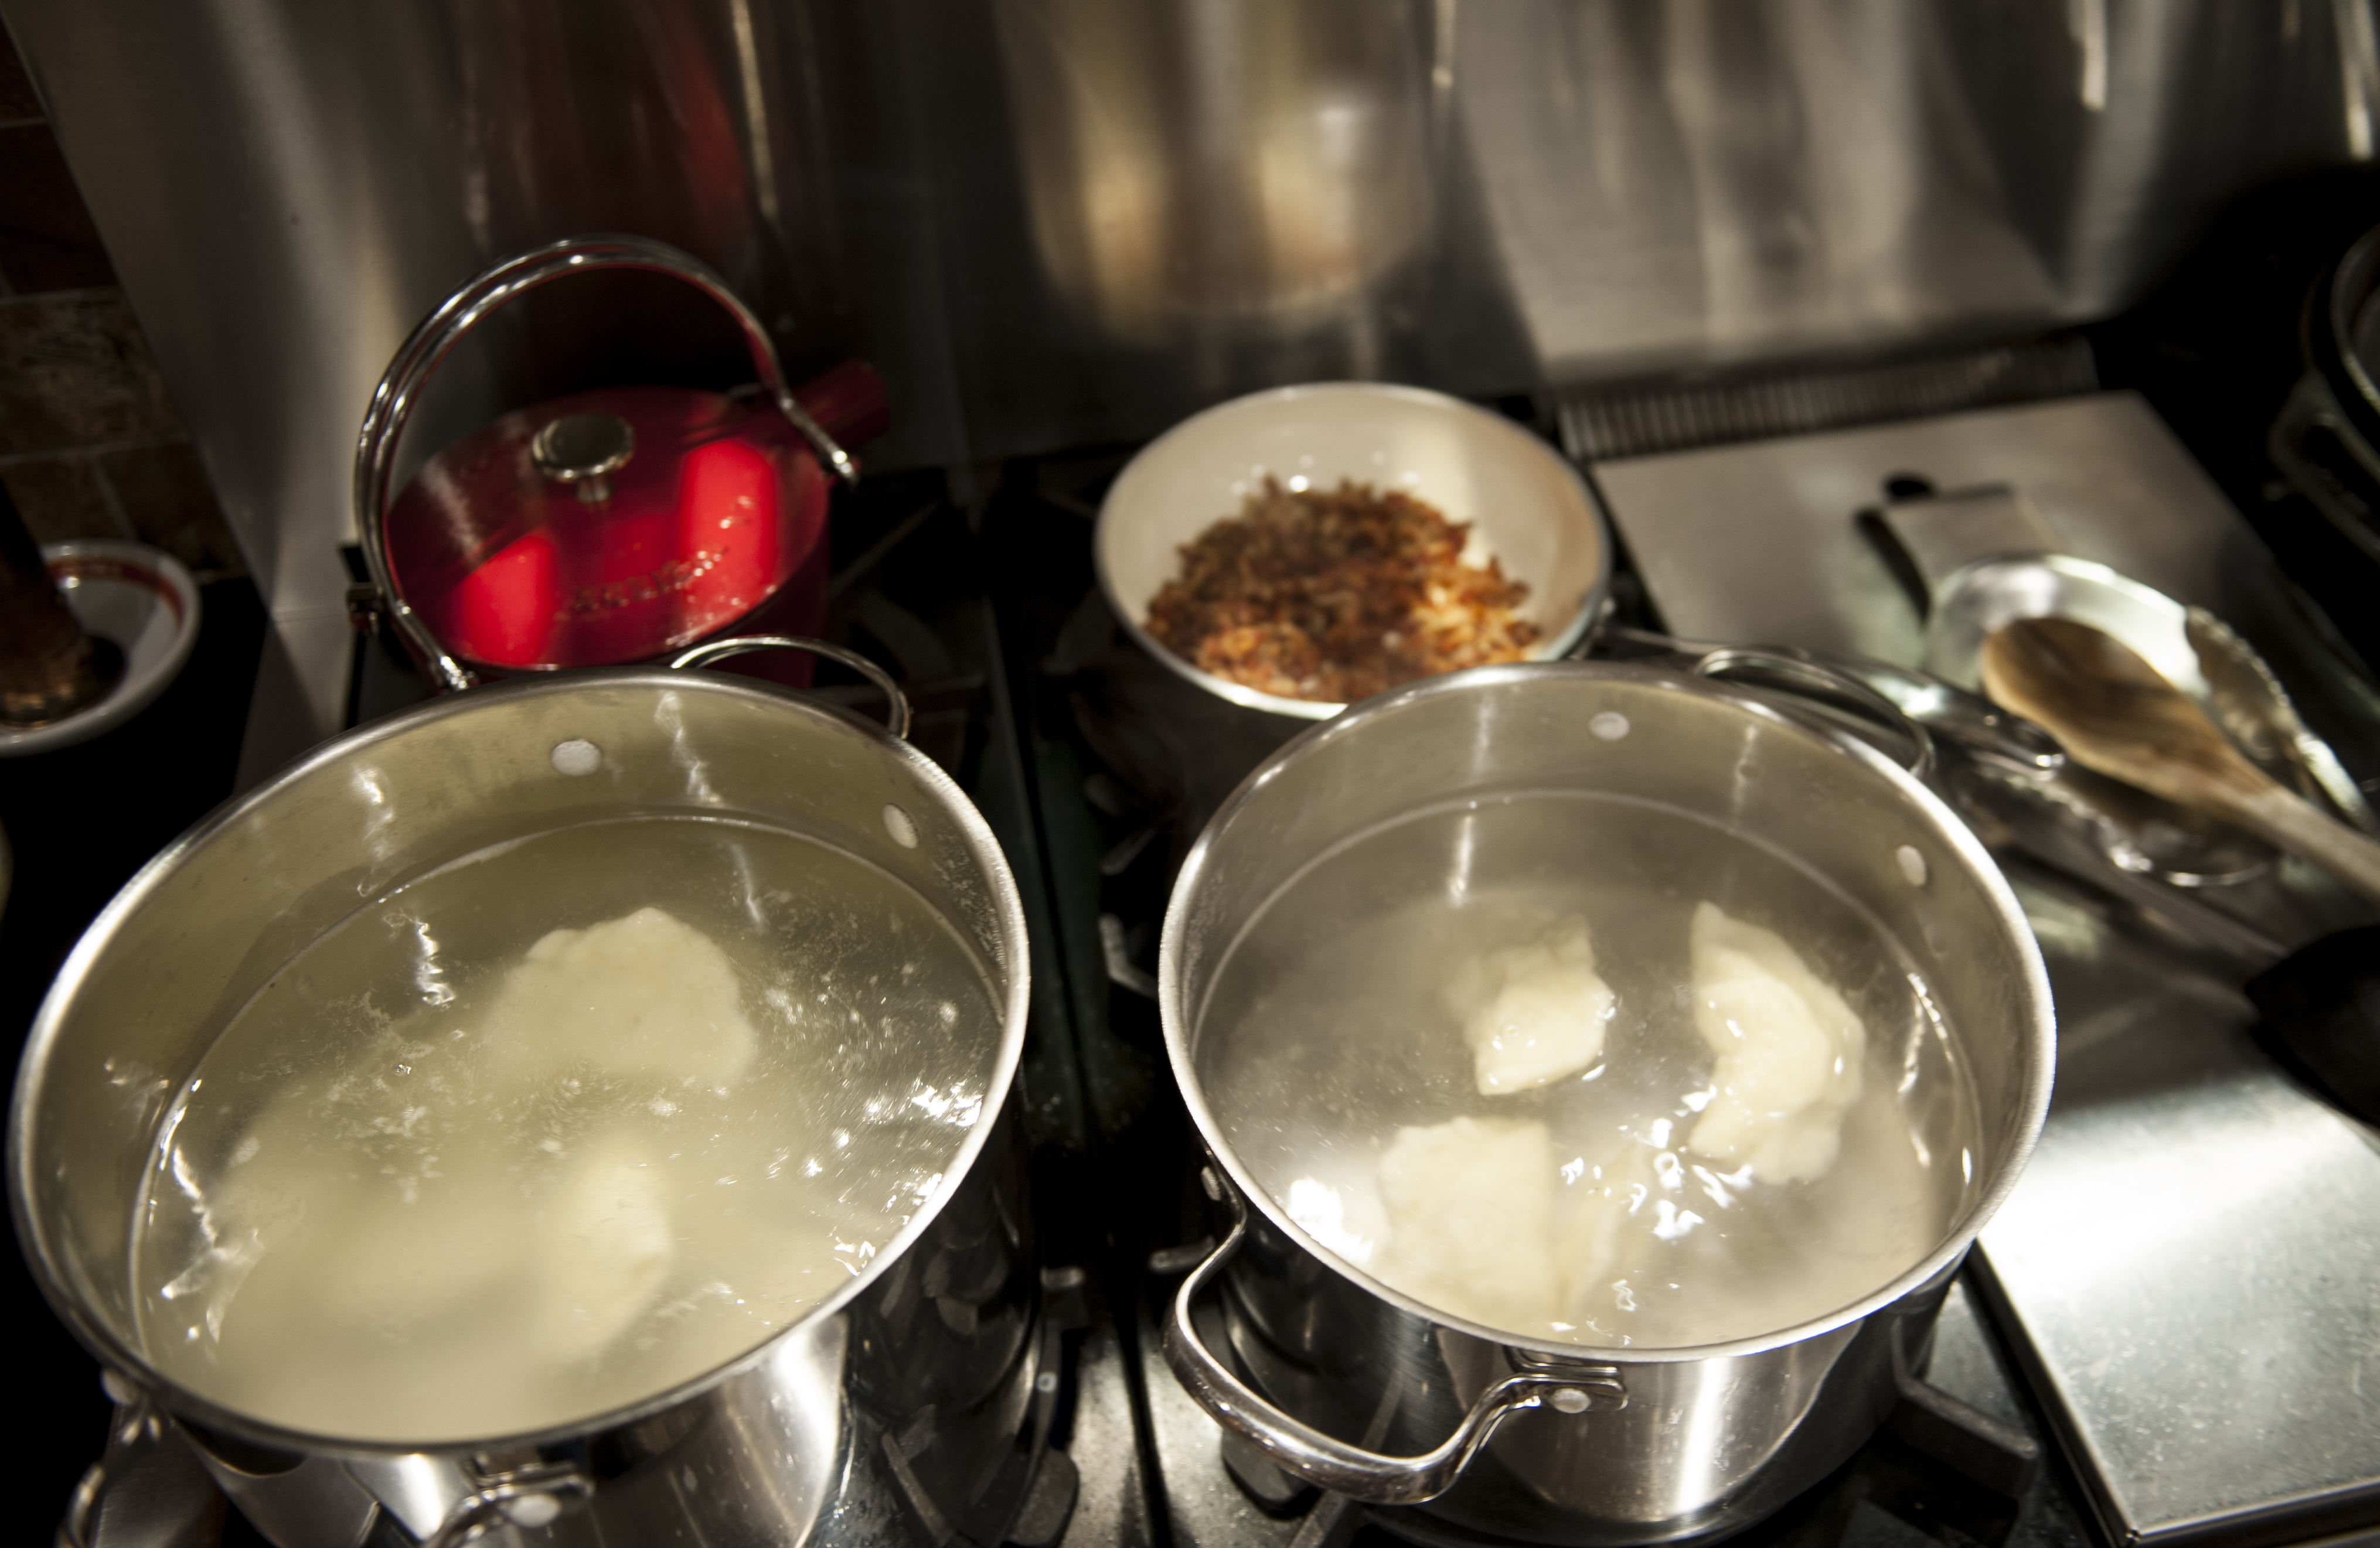
Two pots of boiling salted water: one for the meat-filled koldūnai, and one for the mac-and-cheese filled koldūnai.

Two pots of boiling salted water: one for the meat-filled koldūnai, and one for the mac-and-cheese filled koldūnai…so I don’t get ’em mixed up!


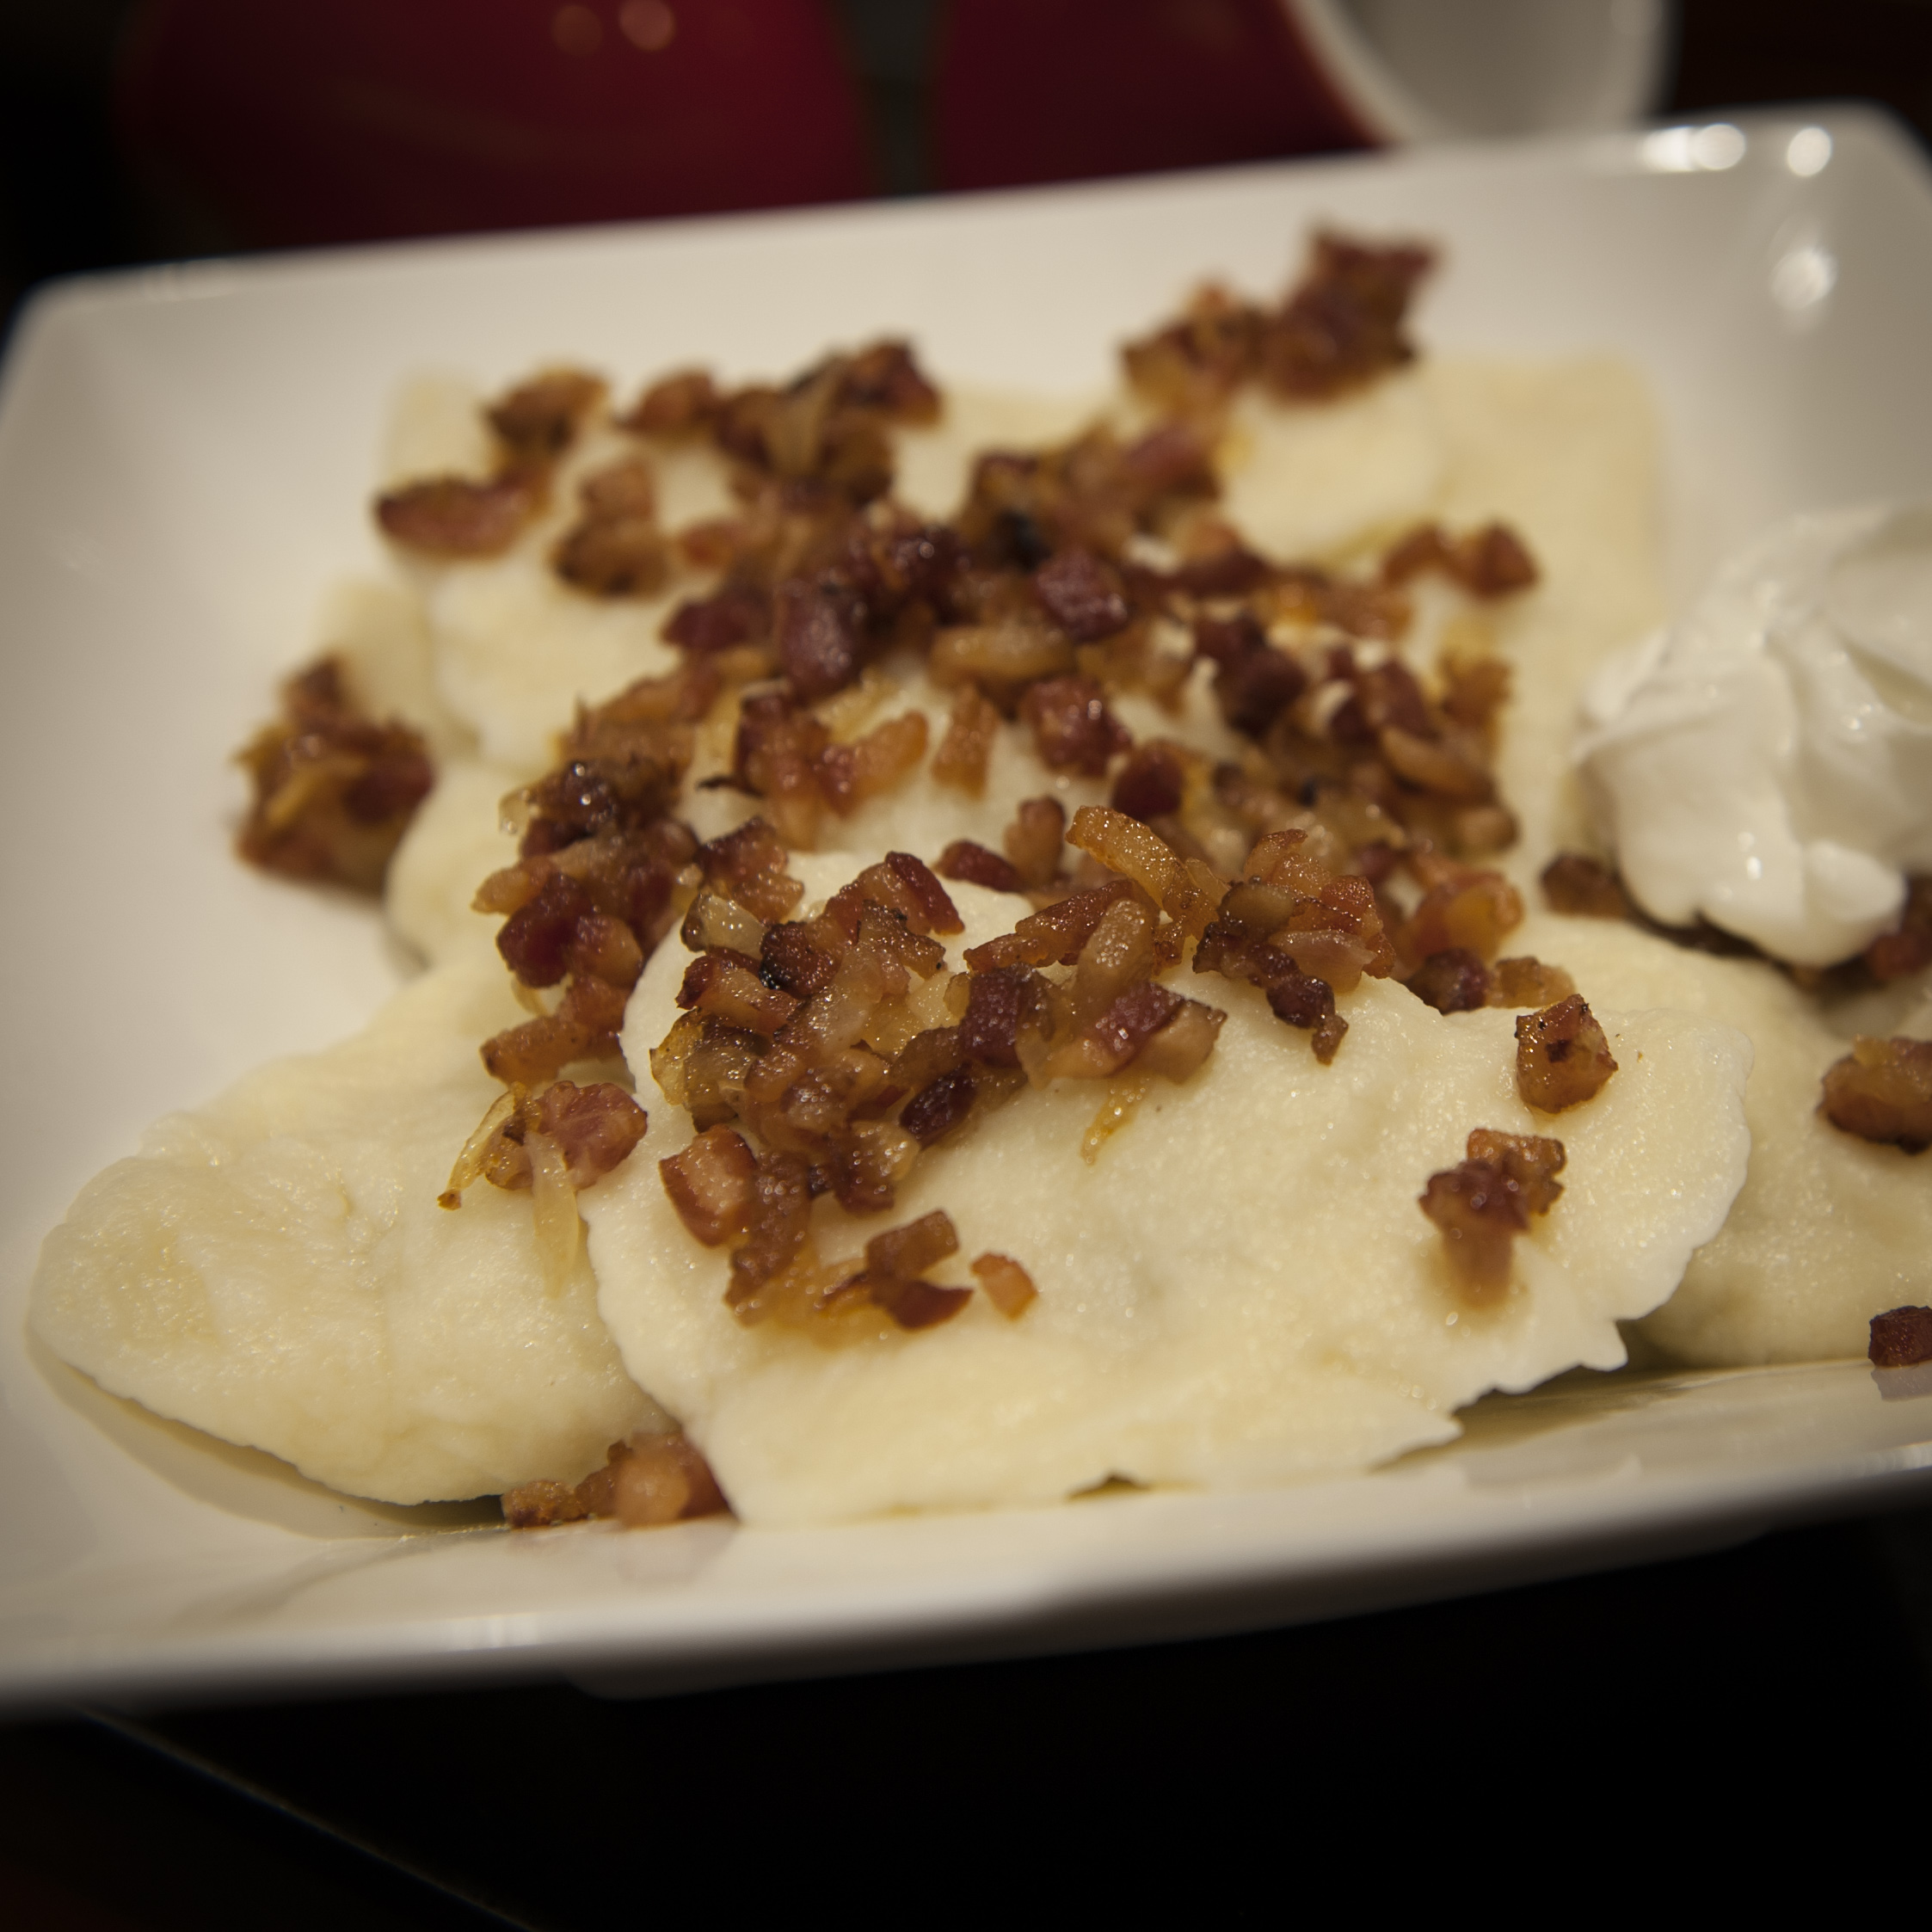
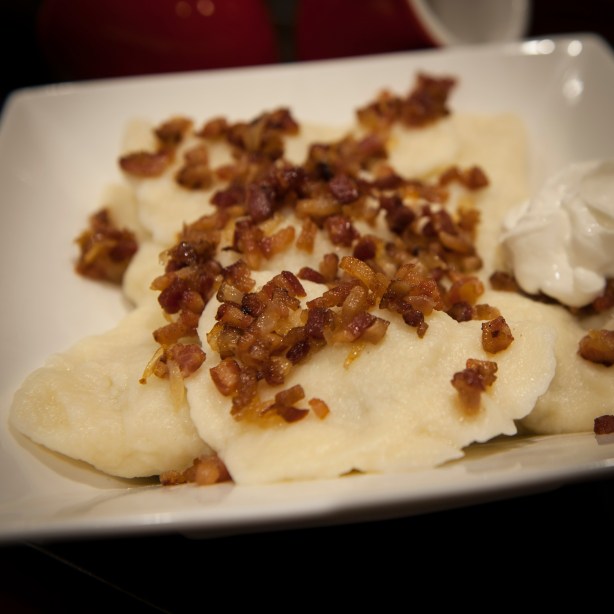
In my childhood home, you cannot possibly serve koldūnai without sour cream on the side and without spirgučiai (spir-guh-chay), chopped and fried bacon and onions, that are sprinkled on top.

1 lb. bacon, finely chopped
1 large onion, finely chopped

In a large pan, fry the chopped bacon until it’s almost crisp. Never drain the fat! Add the chopped onions and cook until they are soft. Set aside.  (My Mom always kept a stash of spirgučiai in a container in the fridge, and sprinkled them on anything and everything.)
 

duni 4


Making the dough is simple.

2 cups all-purpose flour
1 cup water

I don’t use salt in the dough because I boil the koldūnai in salted water later.

Combine the ingredients in a bowl, mixing with your hands. Keep adding flour in small amounts until the dough isn’t wet and sticky. When it forms a nice ball, remove it from the bowl and place it on a floured surface and knead it a bit more. Cut the ball into quarters, and work with these smaller pieces of dough.

For the rolling-pin method, roll each quarter out until the dough is about 1/8″ thick. Cut circles out of the dough using a cookie cutter, rocks glass, or whatever else you have handy. Add about a teaspoonful of filling in the center of the dough (a melon baller works great), then fold the edges over and pinch them with your fingers. Flip it over and pinch again, making sure none of the filling seeps out. A tight edge means the koldūnai won’t break open when you put them in boiling water.


Who knew a rocks glass had more uses than just to hold a great Manhattan?
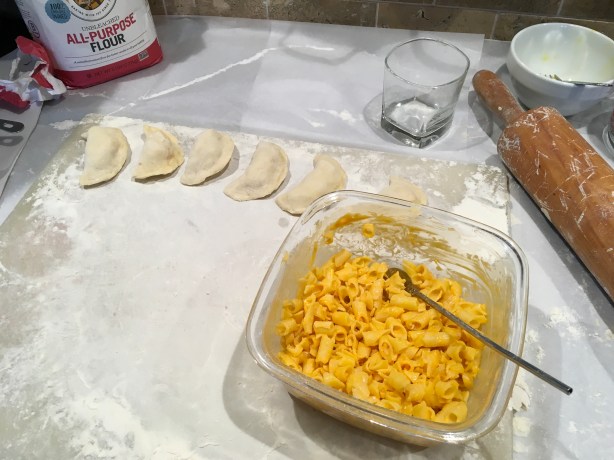
 

Some stuffed with mac and cheese!


I recently discovered these “pierogi makers.” You lay the dough in them, add your filling, and then close them. They automatically crimp the edges for you. They work pretty well…sometimes. It’s faster with the traditional method.
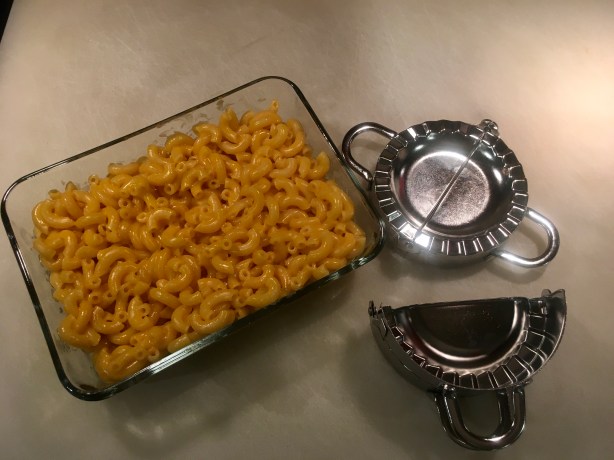
 

I always double-check the crimped edges, because your koldūnai will fall apart in the boiling water if you don’t seal them well!


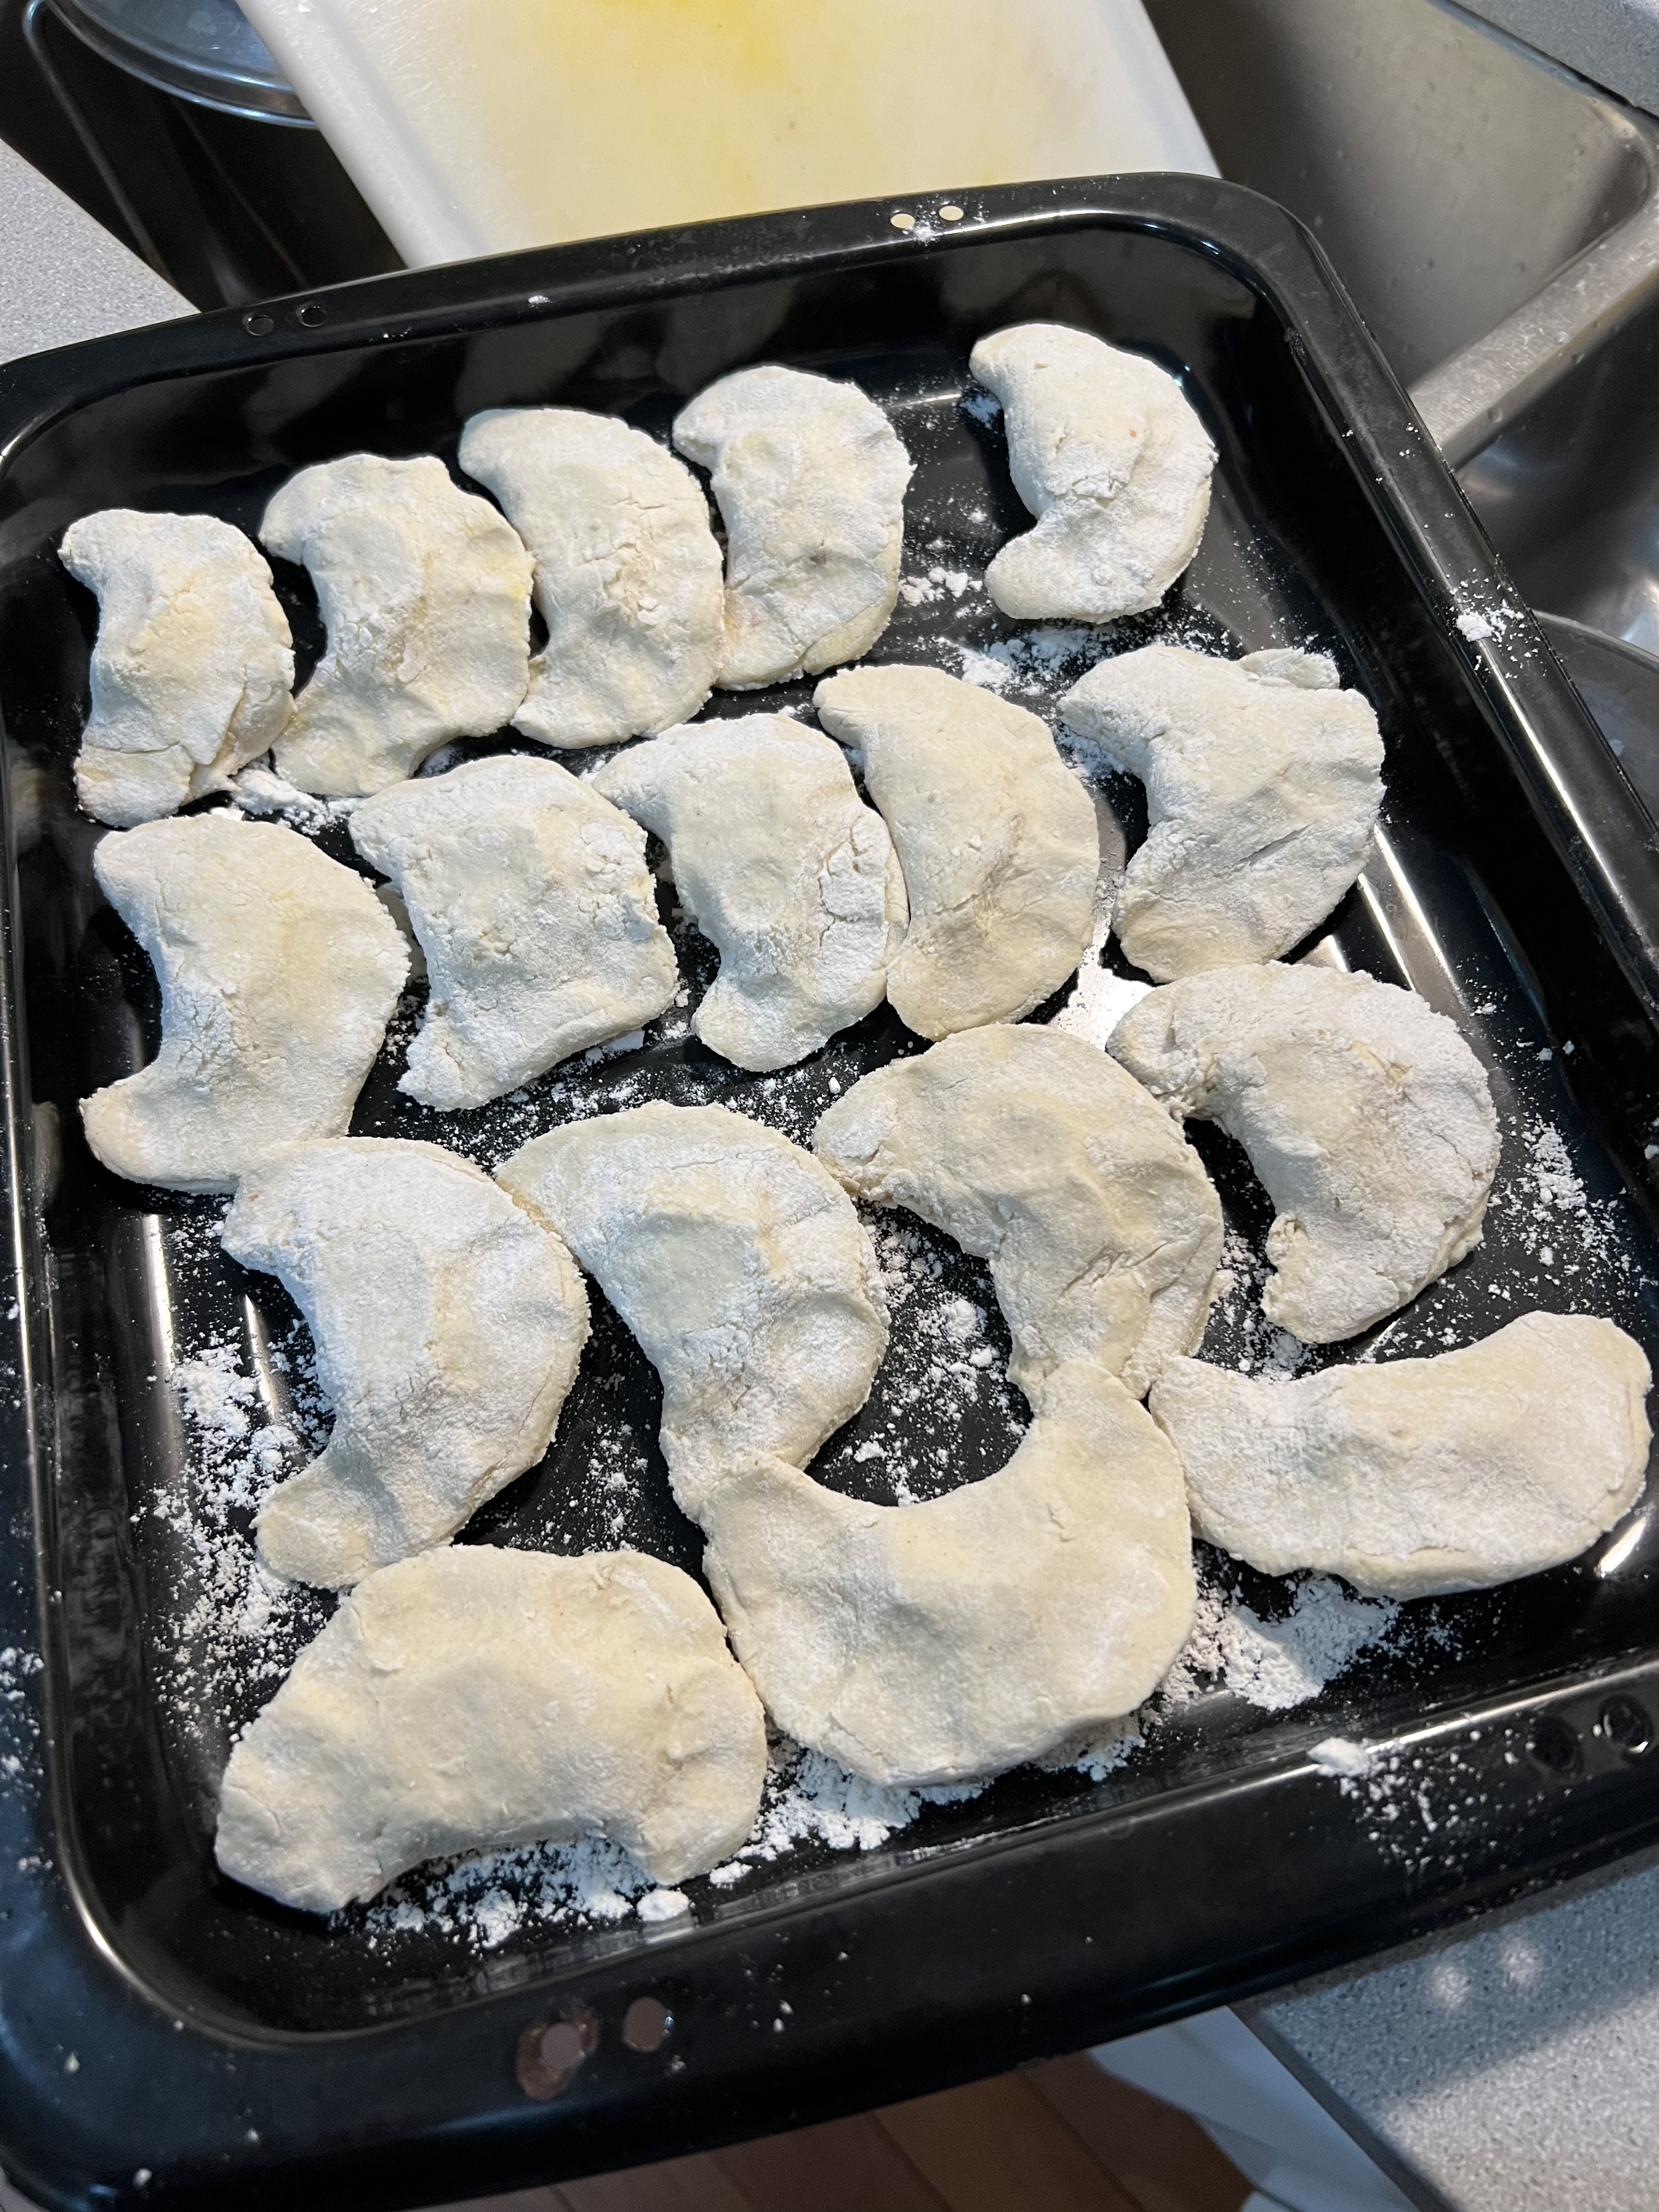
Place the koldūnai on a sheet pan dusted with flour, and when you’re done, place the sheet pan in the freezer.


Ready for the freezer!


Sometimes the chef gets punchy after making koldūnai all day long!


Get a large pot of salted water boiling. Drop the koldūnai in gently, being careful not to overcrowd them. If the dough is thin, the koldūnai will be ready when they float up to the surface. A thicker dough will need longer cooking. The best way to know if they’re done is by taking one out, cutting it open and having a look (and taste!)

When plating, sprinkle generously with spirgučiai, and serve with sour cream on the side.


duni 4


If you need to go gluten-free…good news! You can still have your koldūnai! The mushroom filling is already gluten-free. For the breadcrumbs in the beef filling, I take slices of Udi GF bread, toast them, and zap them in a food processor. Excellent breadcrumbs! And I use store-bought GF mac-and-cheese.


GF Mac and cheese, with a little extra cheddar.


For a rustic dough, this recipe works great. (Thanks to my sister, who shared it with me.)


Excellent GF flours.

1 1/2 cups all-purpose gluten-free flour (I use Cup4Cup)
1 1/2 cups rice flour (I use Cup4Cup Wholesome Flour)
2 eggs
pinch of salt
water

Combine the flour and salt in a bowl. Add the eggs and mix. (I use my hands for this.) Slowly add water to the dough until it pulls from the sides of the bowl and makes a nice ball of dough. I cut the dough in half and use a well-floured rolling pin to roll it flat.


The finished product! The rice flour gives it a darker, grainier texture. A more rustic taste, but still delicious!


A newer, less rustic gluten-free version here…
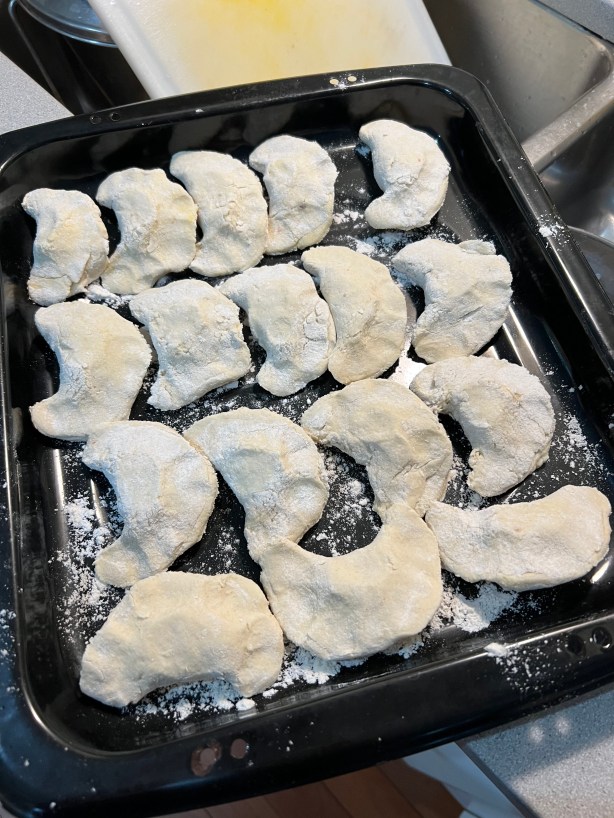
These are also gluten-free, but I used a different recipe and a different brand of flour. I mixed 2 cups of King Arthur GF flour with one cup of water and 1 teaspoon of xanthan gum. Then I added more flour or water, depending what was needed, to get the right consistency. A very easy to work with dough!


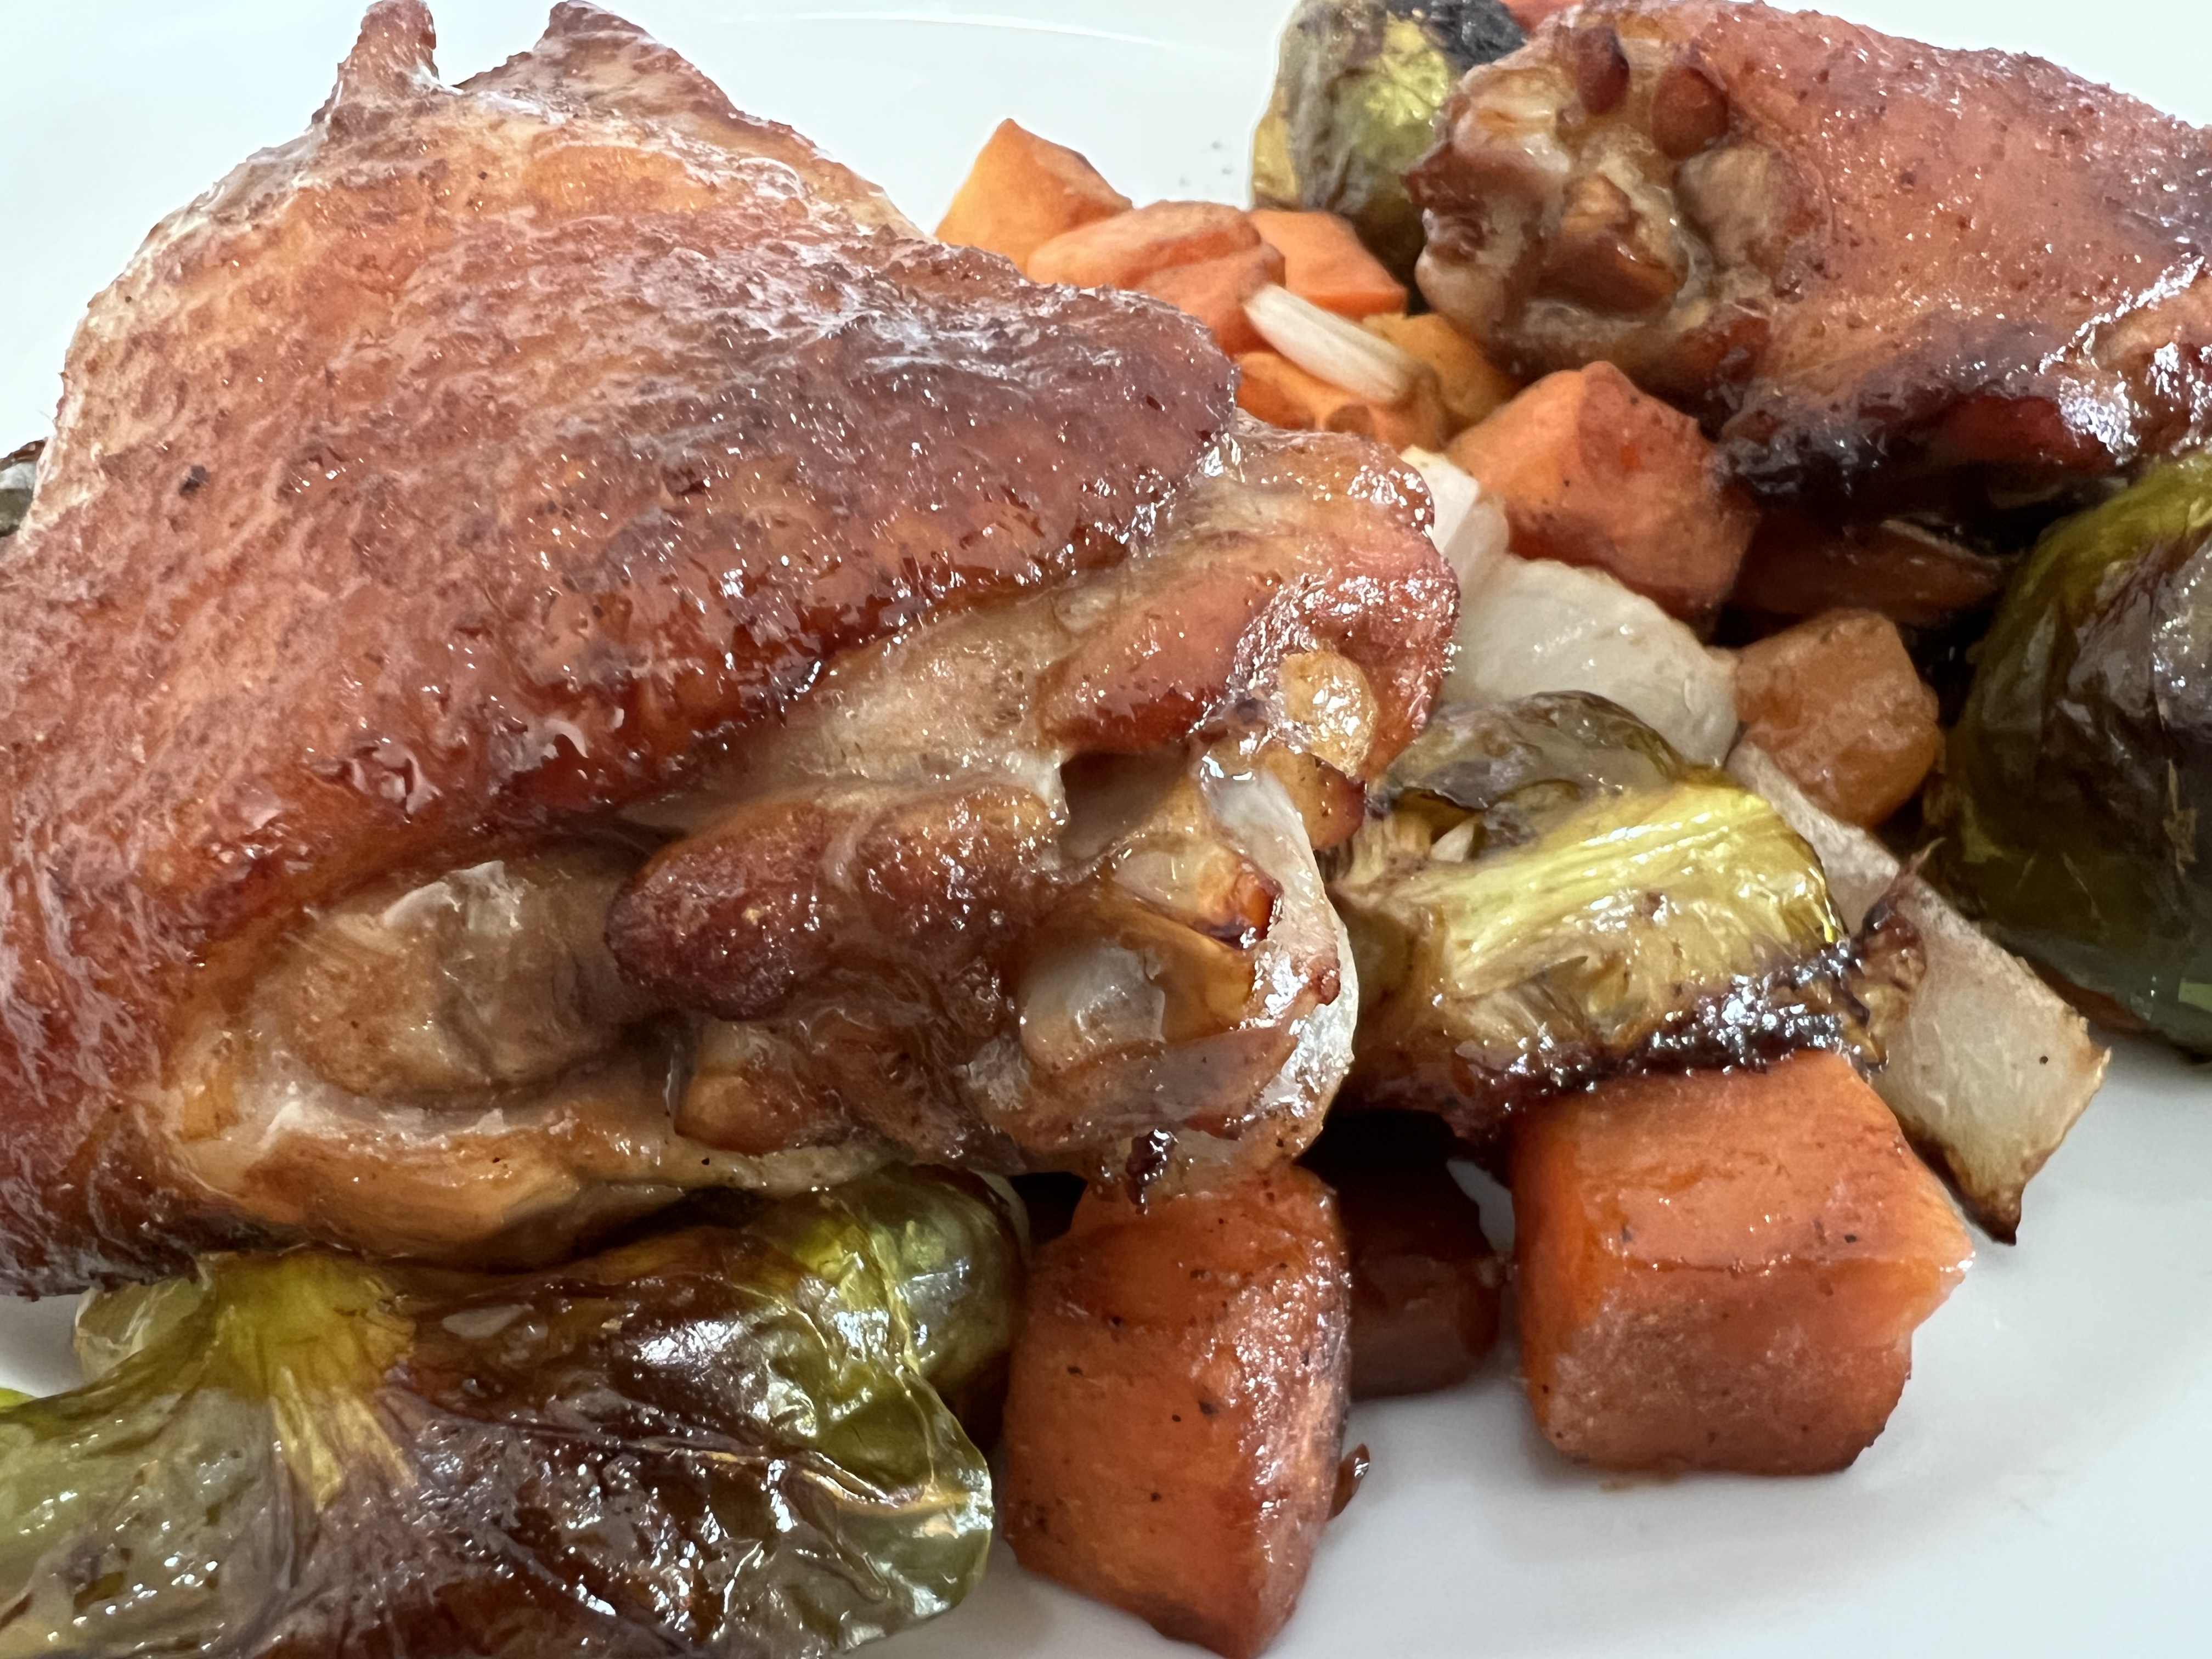
I recently saw what I thought was a pretty clever idea of taking a cabbage and slicing it into thick, steak-like pieces, laying them flat in a pan, and then placing marinated chicken on top of them to roast in the oven. The juices from the chicken would flavor the cabbage as it all cooked. I decided I’d try my own version of that recipe.


You can use any part of a chicken you like, even a whole spatchcocked chicken which would lay flat in a larger pan if you’re serving a group of people. But cooking for myself, I choose leg quarters (which are the thigh and drumstick together) or simply chicken thighs. They’re full of flavor, and have the fat content you need to drip down into the veggies below to flavor them as well. Something like chicken breast would simply be too dry.

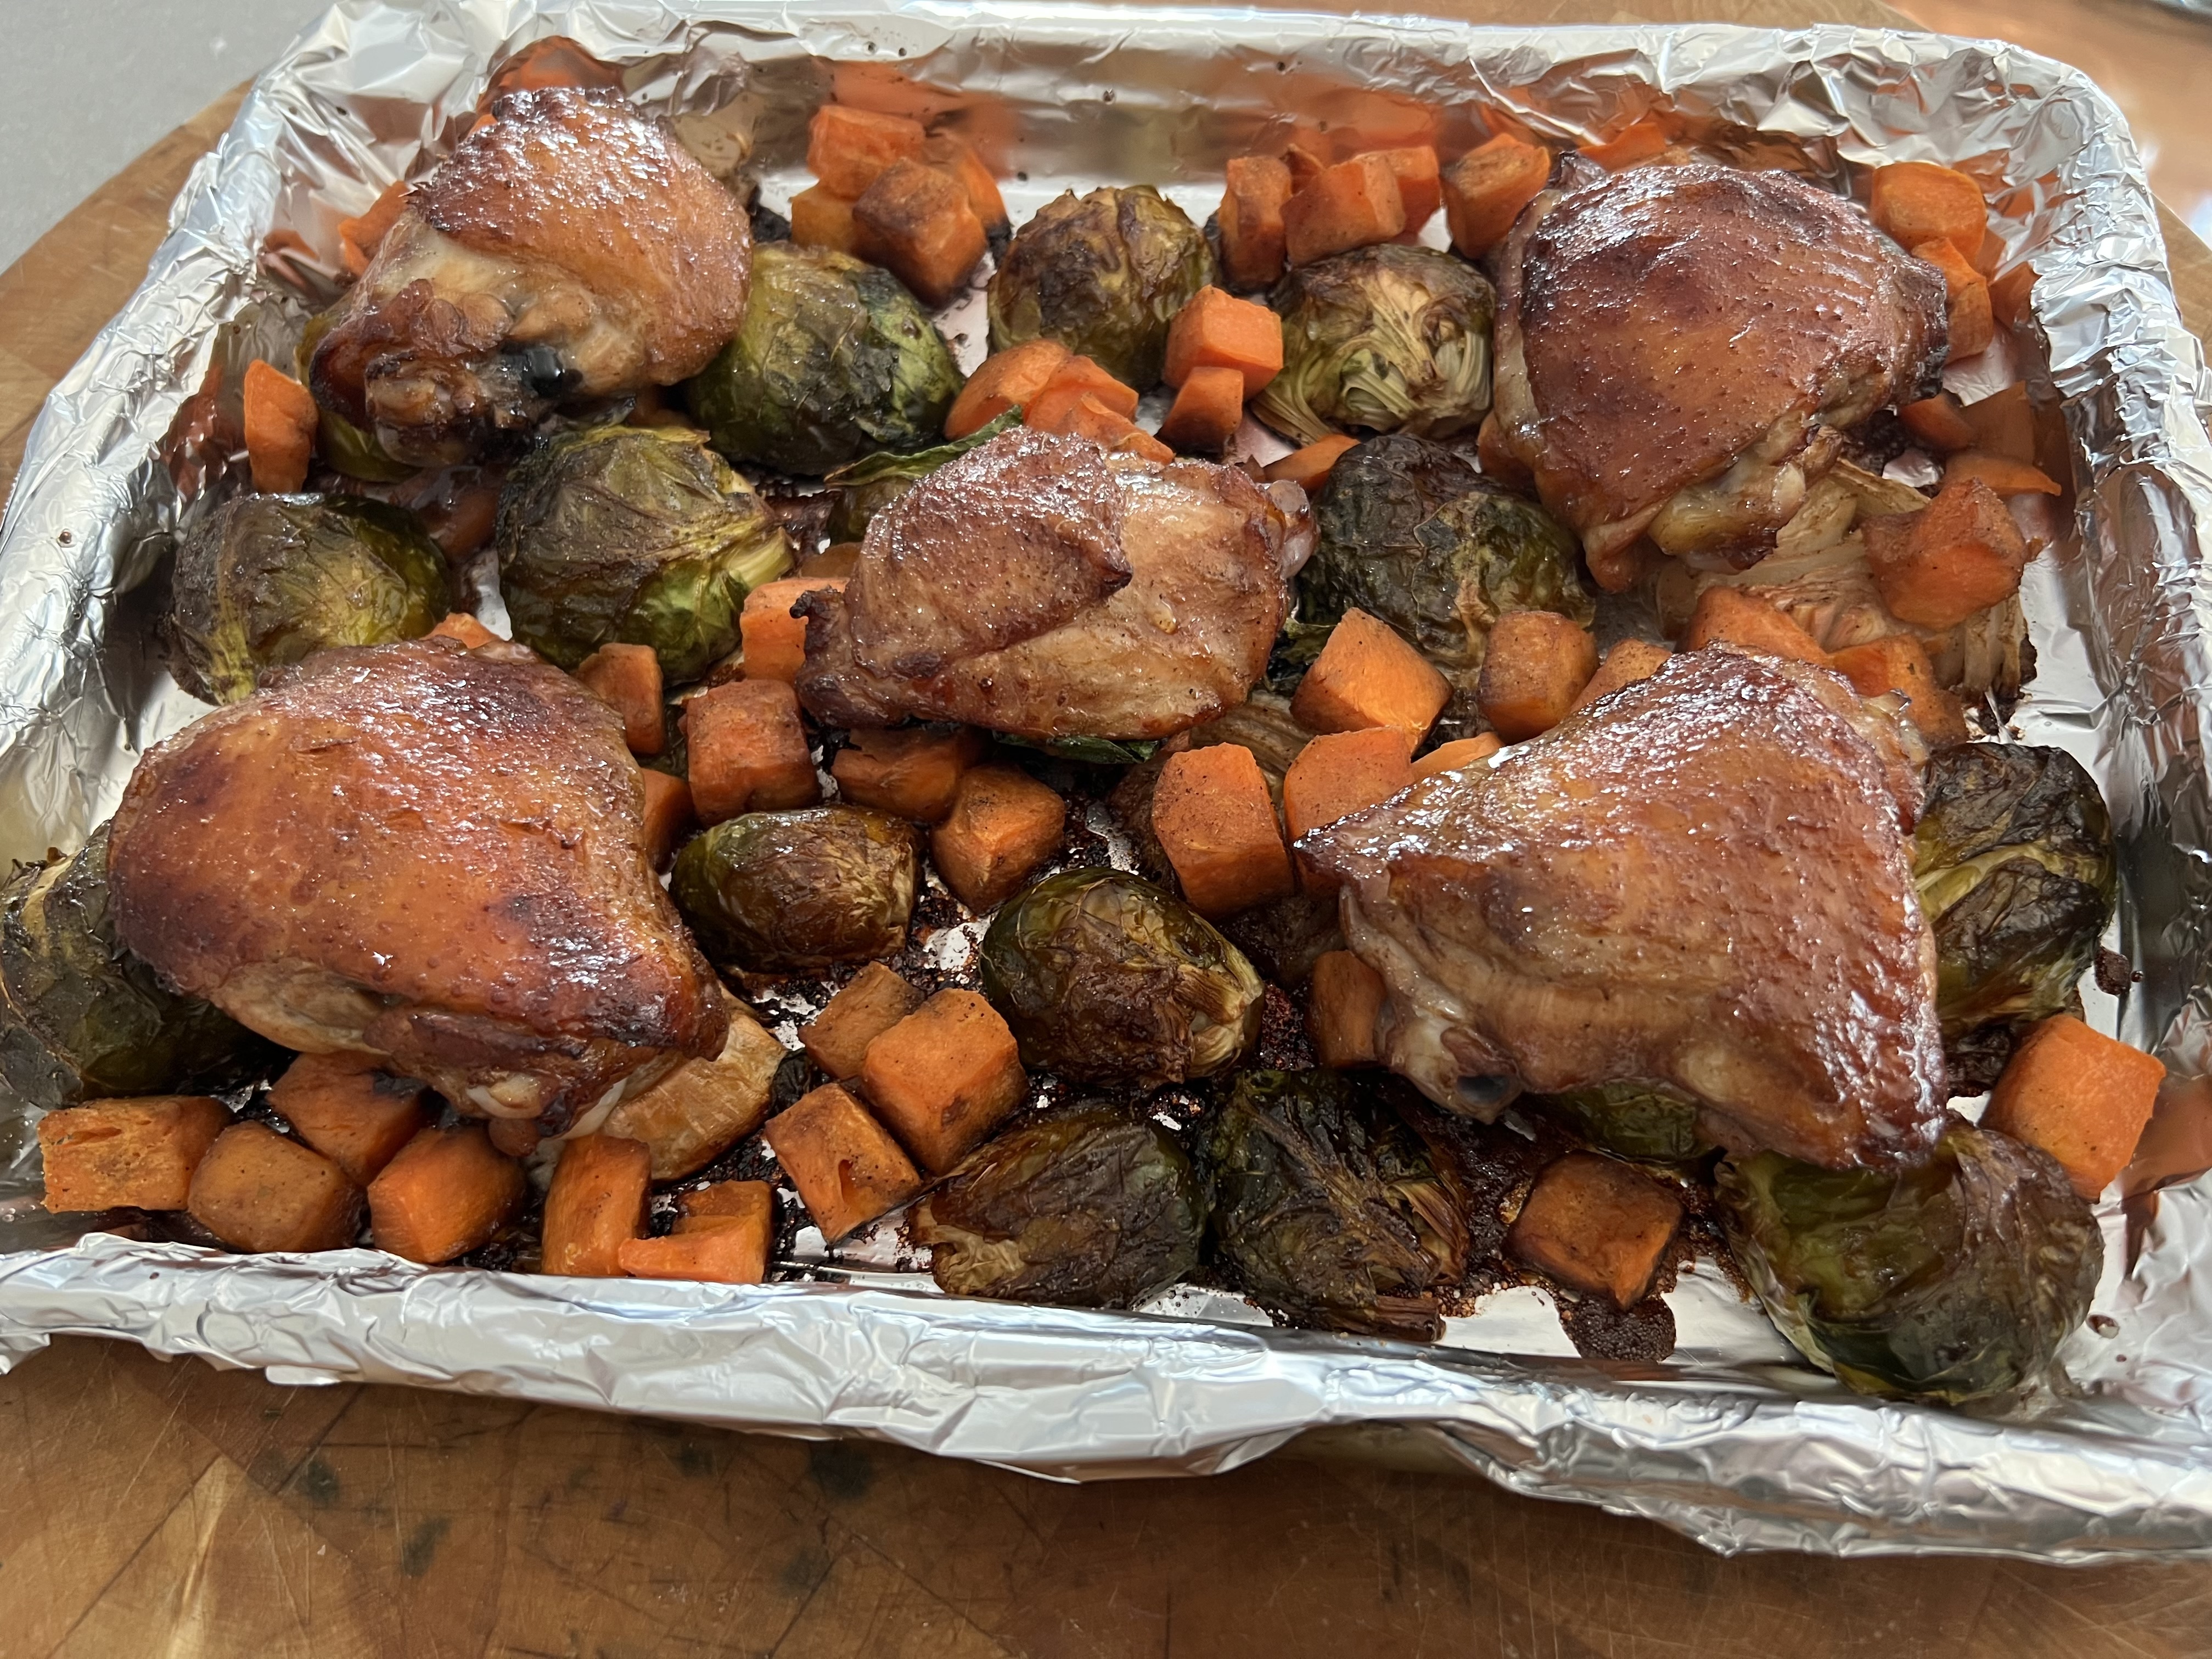
I wanted to use what I had in my fridge, so instead of cabbage, I had Brussels sprouts–baby cabbages, in essence. I cut them in half and layer them flame-side down in a roasting pan covered with non-stick aluminum foil. I wanted more veggies, though, so I sliced up a half-onion I had in the fridge, and I also added a package of frozen organic sweet potatoes I had in my freezer. Now the bottom of my pan was full.


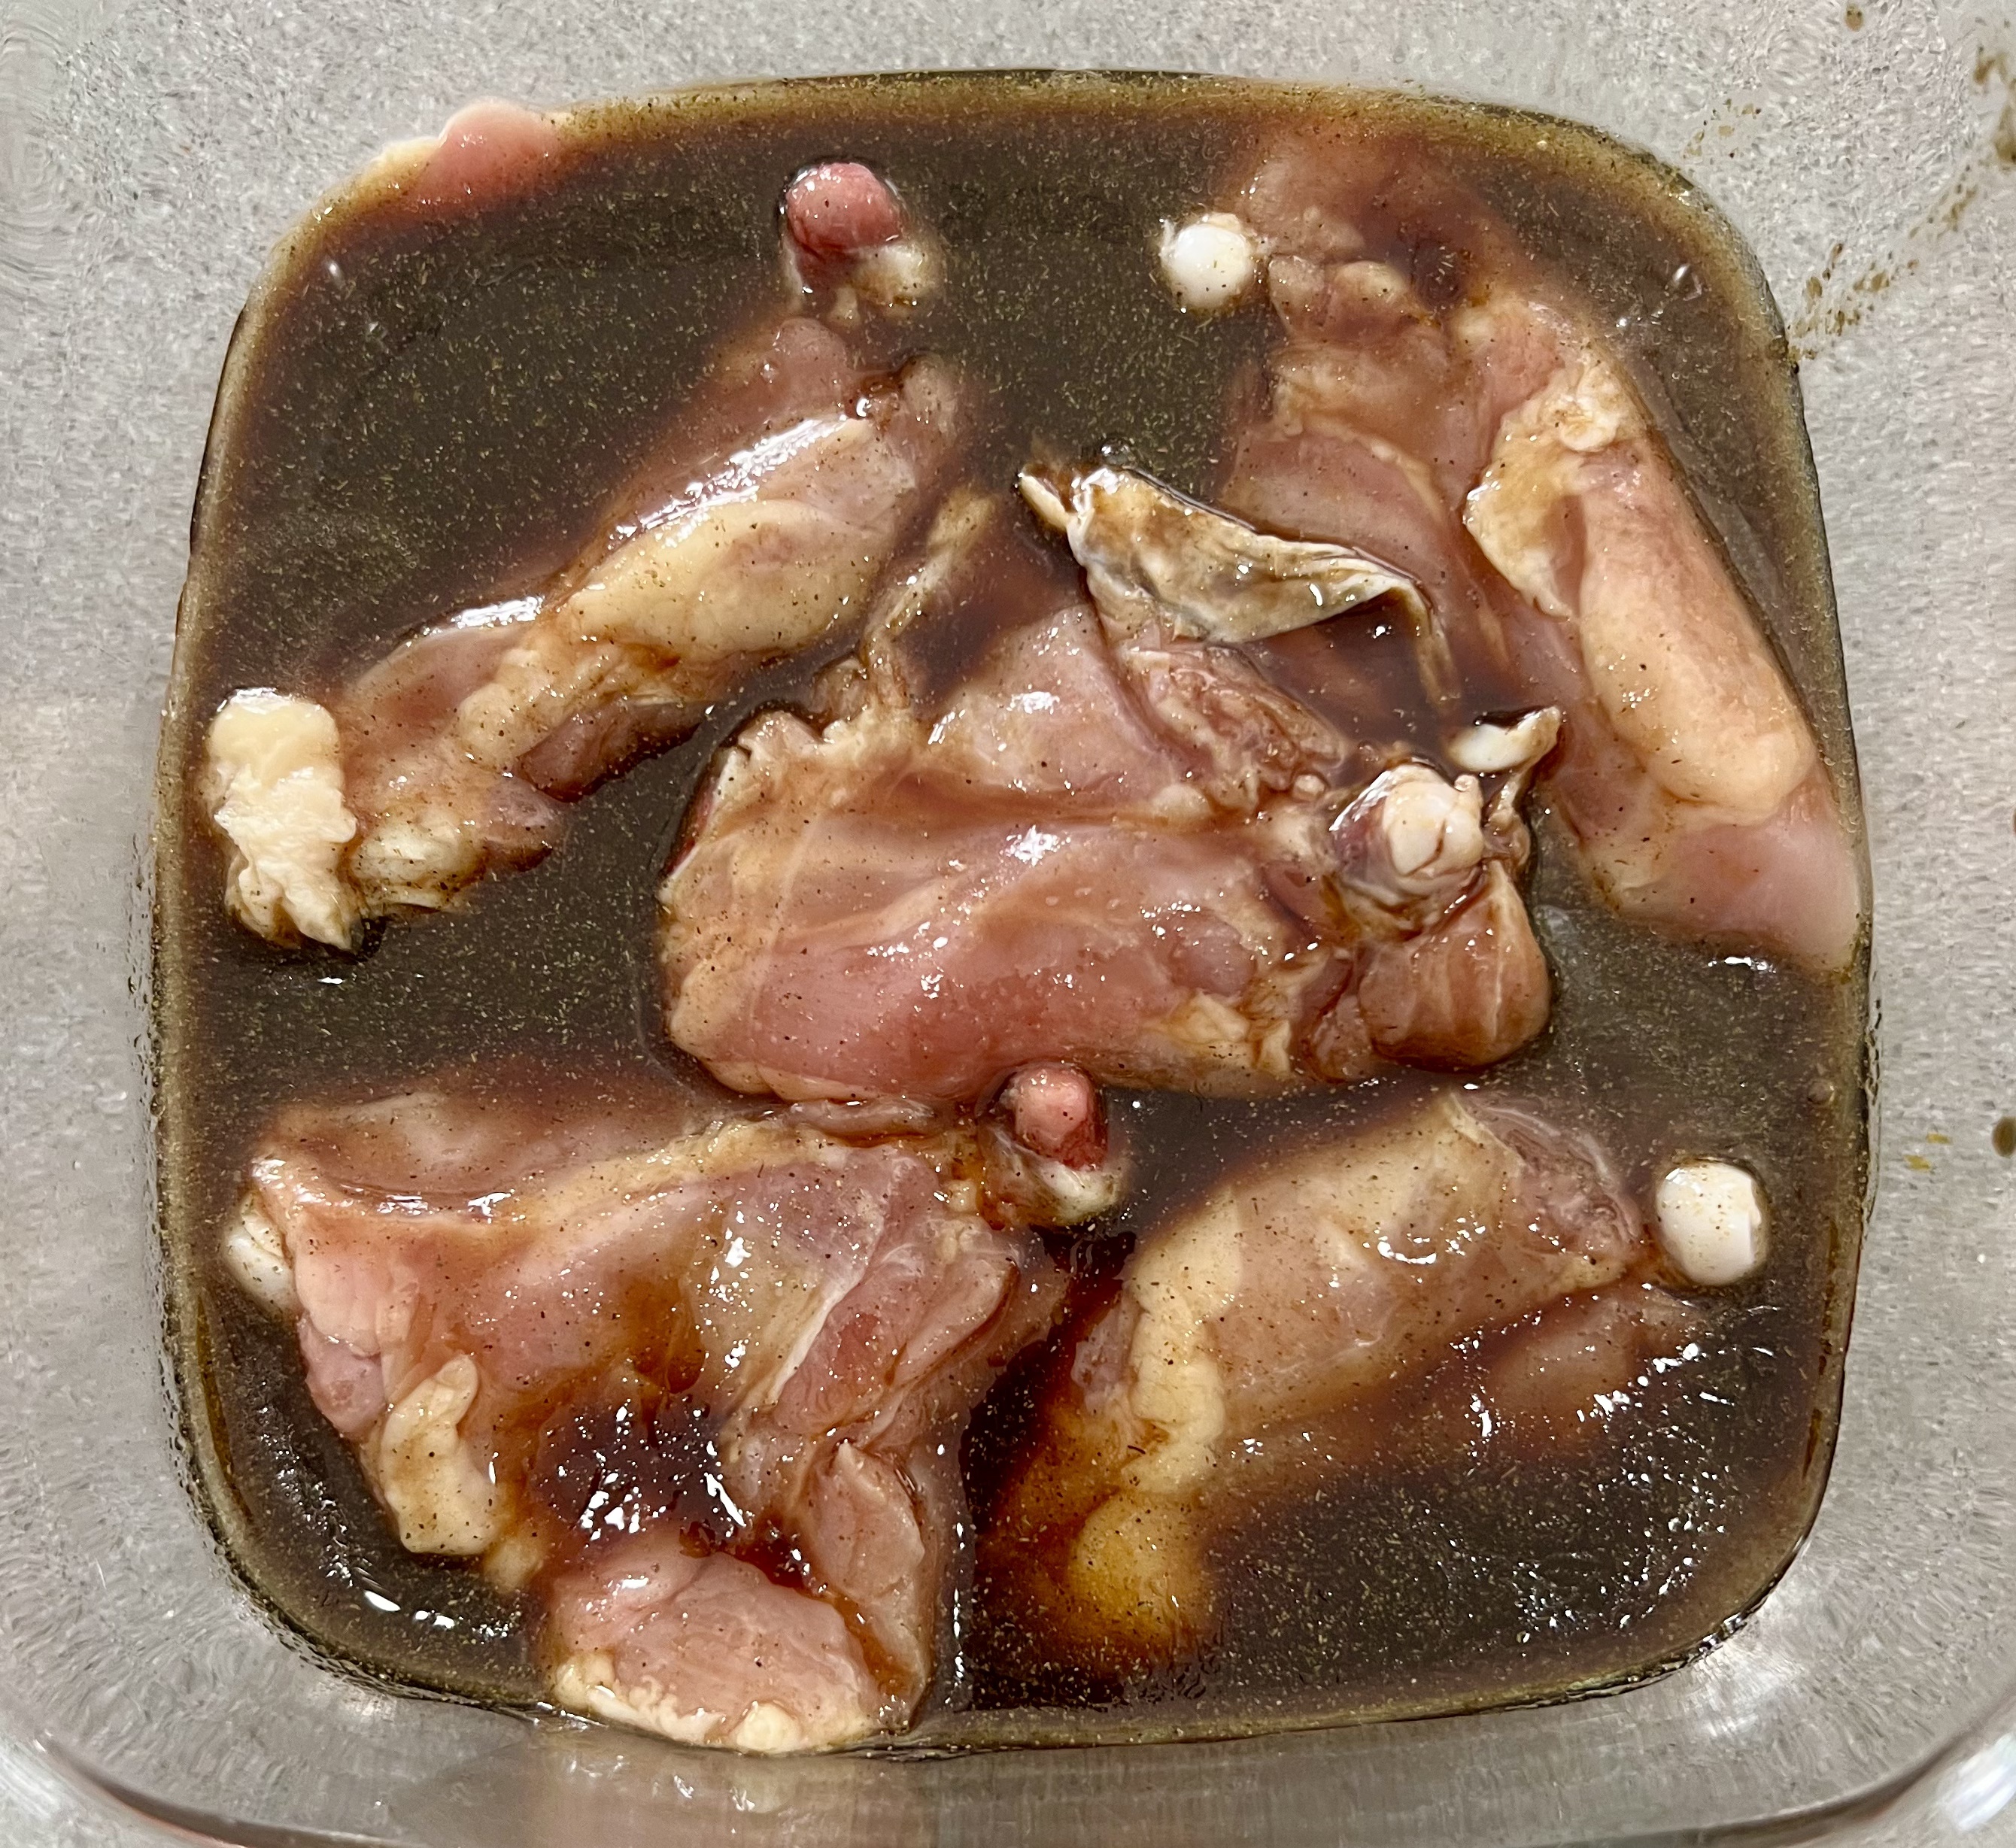
I buy humanely-raised pastured chicken, which means the birds are usually smaller than what you’d find in a supermarket (no steroid monsters here!), so one package contained 5 small chicken thighs. Once thawed, I placed them skin-side down in a glass container. Then it was time to make the marinade.

I chose a marinade that would give a beautiful caramelized color to the dish, using some of my favorite marinade ingredients.


3 oz (6 tablespoons) maple syrup
2 oz (1/4 cup) extra virgin olive oil
2 oz (1/4 cup) balsamic vinegar
1 oz (2 tablespoons) soy sauce
1 oz (2 tablespoons) Worcestershire sauce
1 tablespoon lemon juice
1 tablespoon Dijon mustard
3/4 teaspoon Kosher salt
1 teaspoon powdered rosemary
1 teaspoon granulated garlic
1/2 teaspoon black pepper


I combine all the marinade ingredients in a bowl and whisk well to mix.


I brush the tray of veggies with some of the marinade just to give them a head start on flavor.


I use about a 1/2 cup of the marinade on the chicken thighs, tossing them around in the marinade to make sure they’re well coated. Then I pour the rest of the marinade in a saucepan that I will cook on the stove top.


I like to place the thighs skin-side down and then poke some holes into the meat with a fork to really let the marinade soak in. I let them marinate at room temperature for about an hour. Any longer than that, and they need to go into the fridge.

Once I’m ready to cook, I pre-heat the oven to 325. I place the marinated thighs skin-side up over the veggies in the tray. I discard any leftover marinade in the bowl with the chicken.

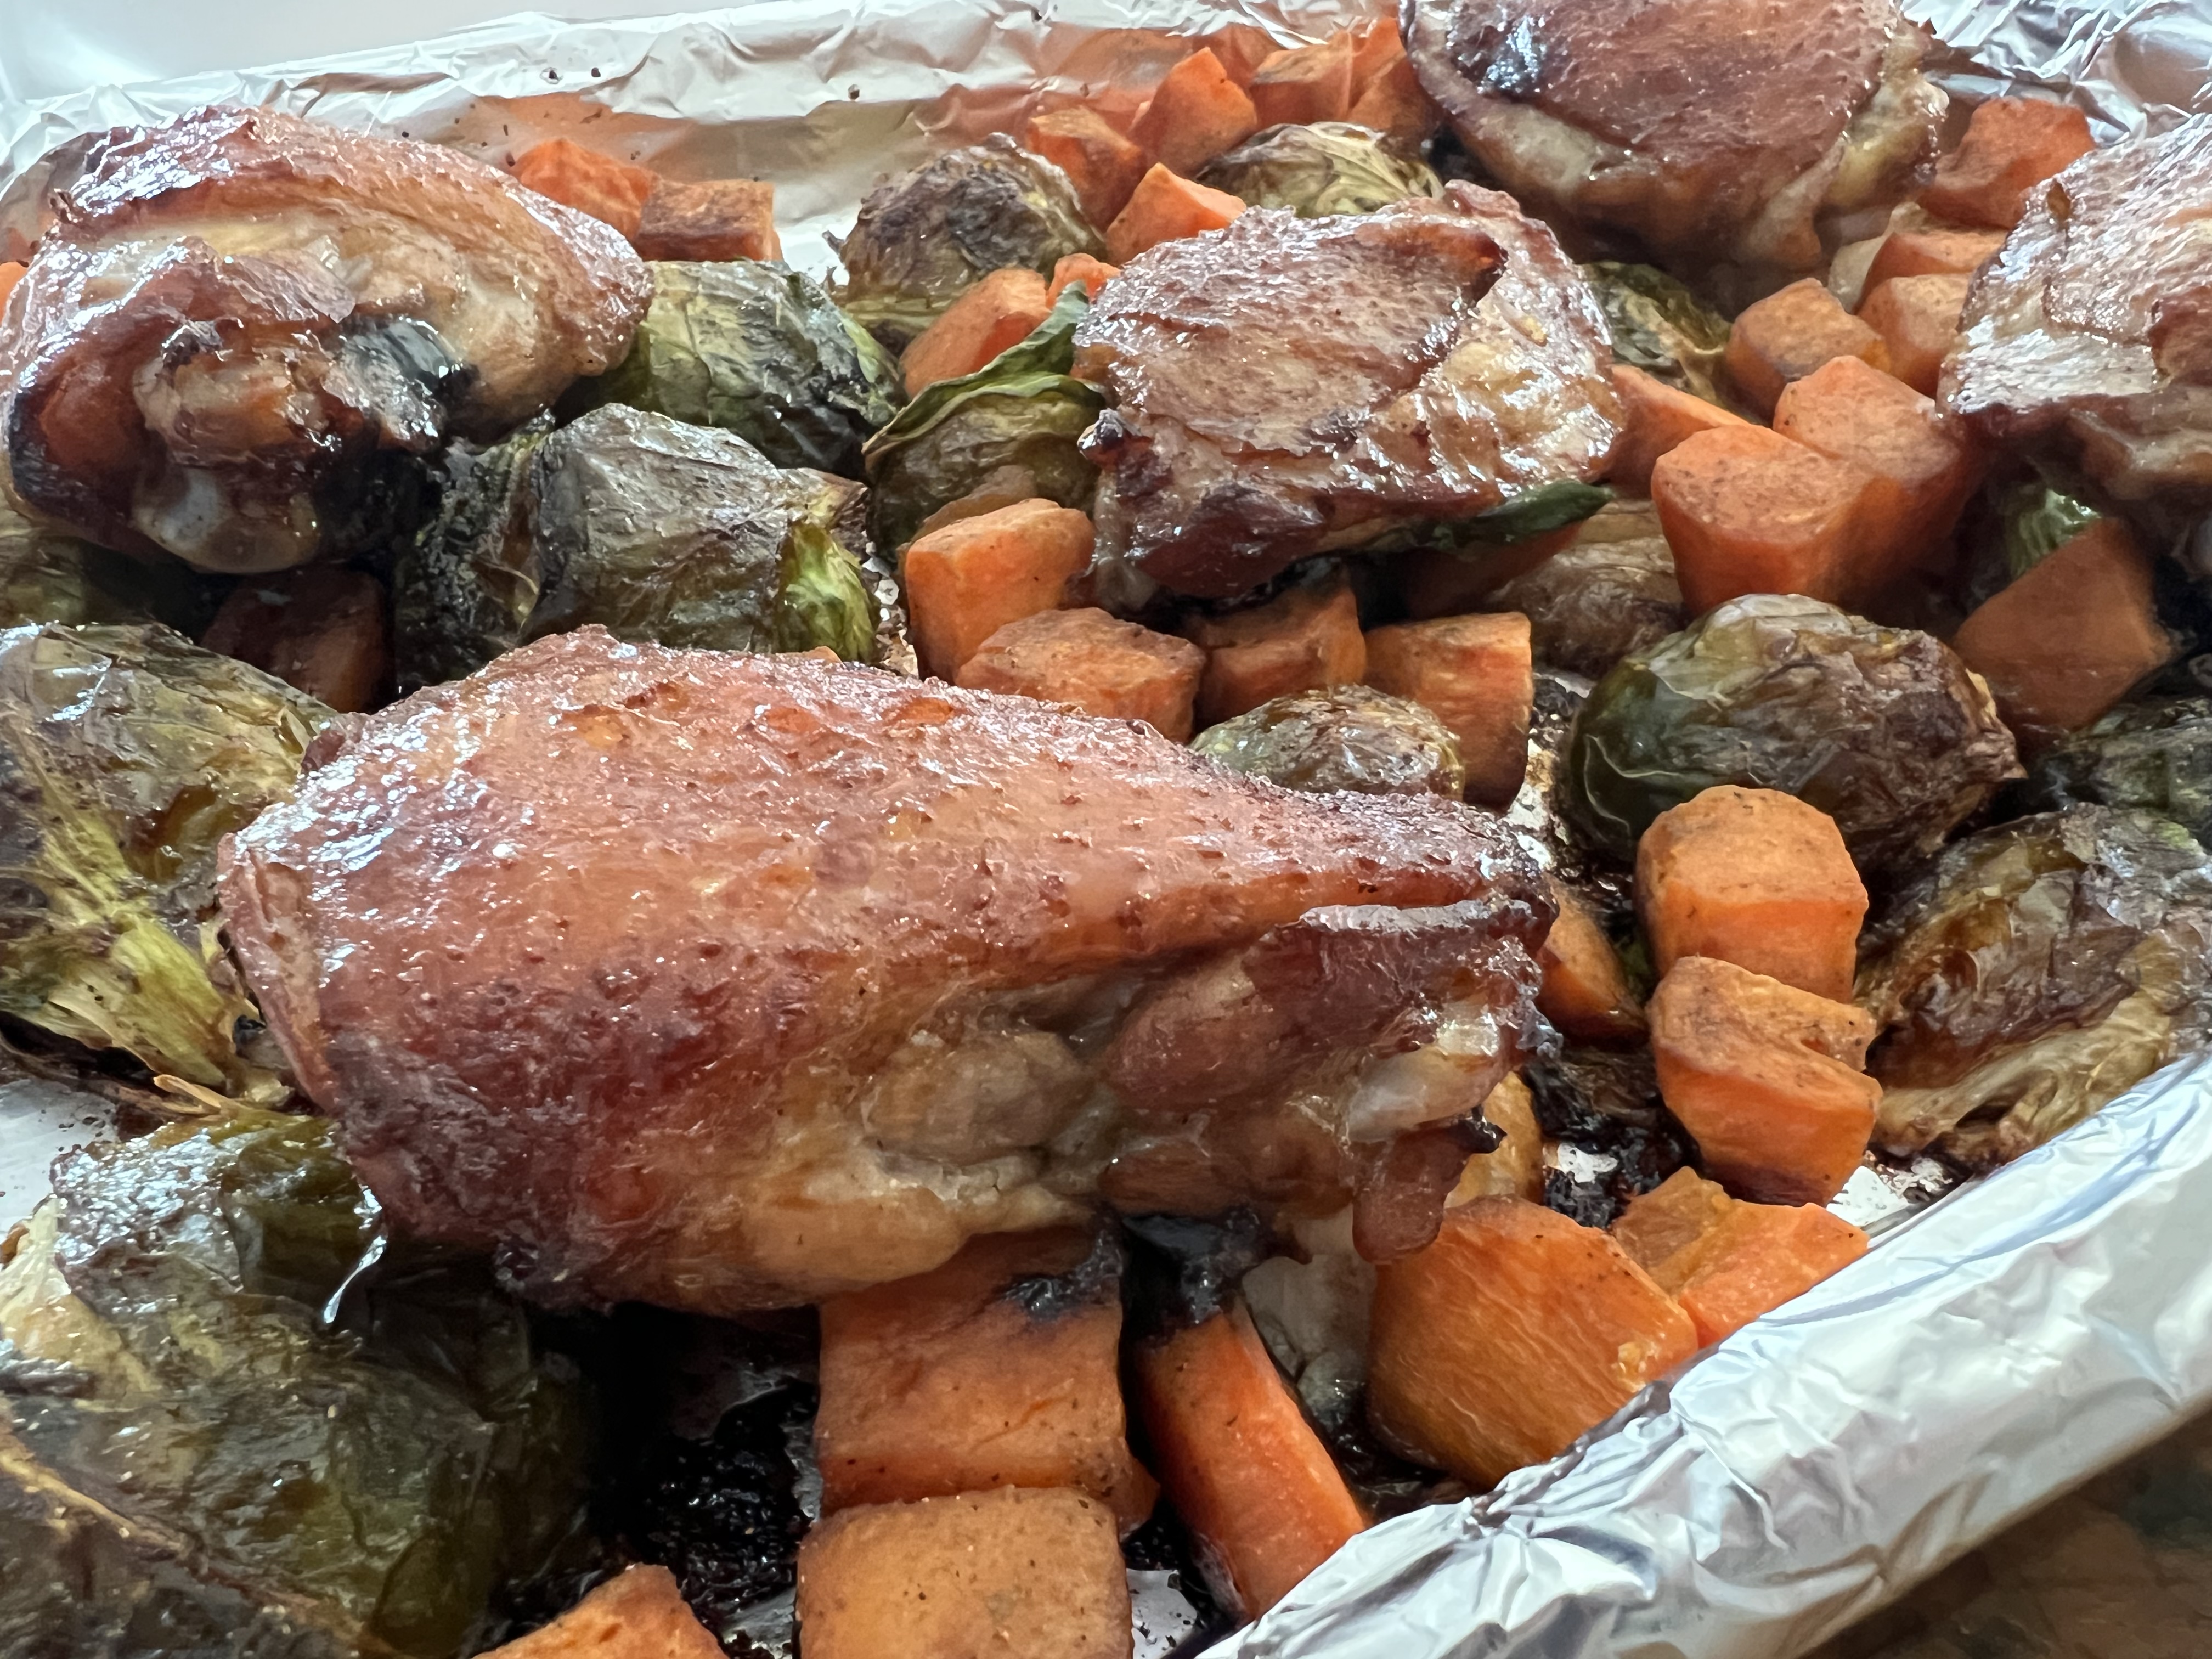
While the thighs and veggies are cooking, I take the reserved marinade and heat it over medium heat in a saucepan until it reduces by half to make a nice glaze that I will brush onto the chicken when it’s done cooking.


It’s important to remember that once any of the marinade touches raw chicken, to avoid salmonella, you have to cook it before you can taste it!


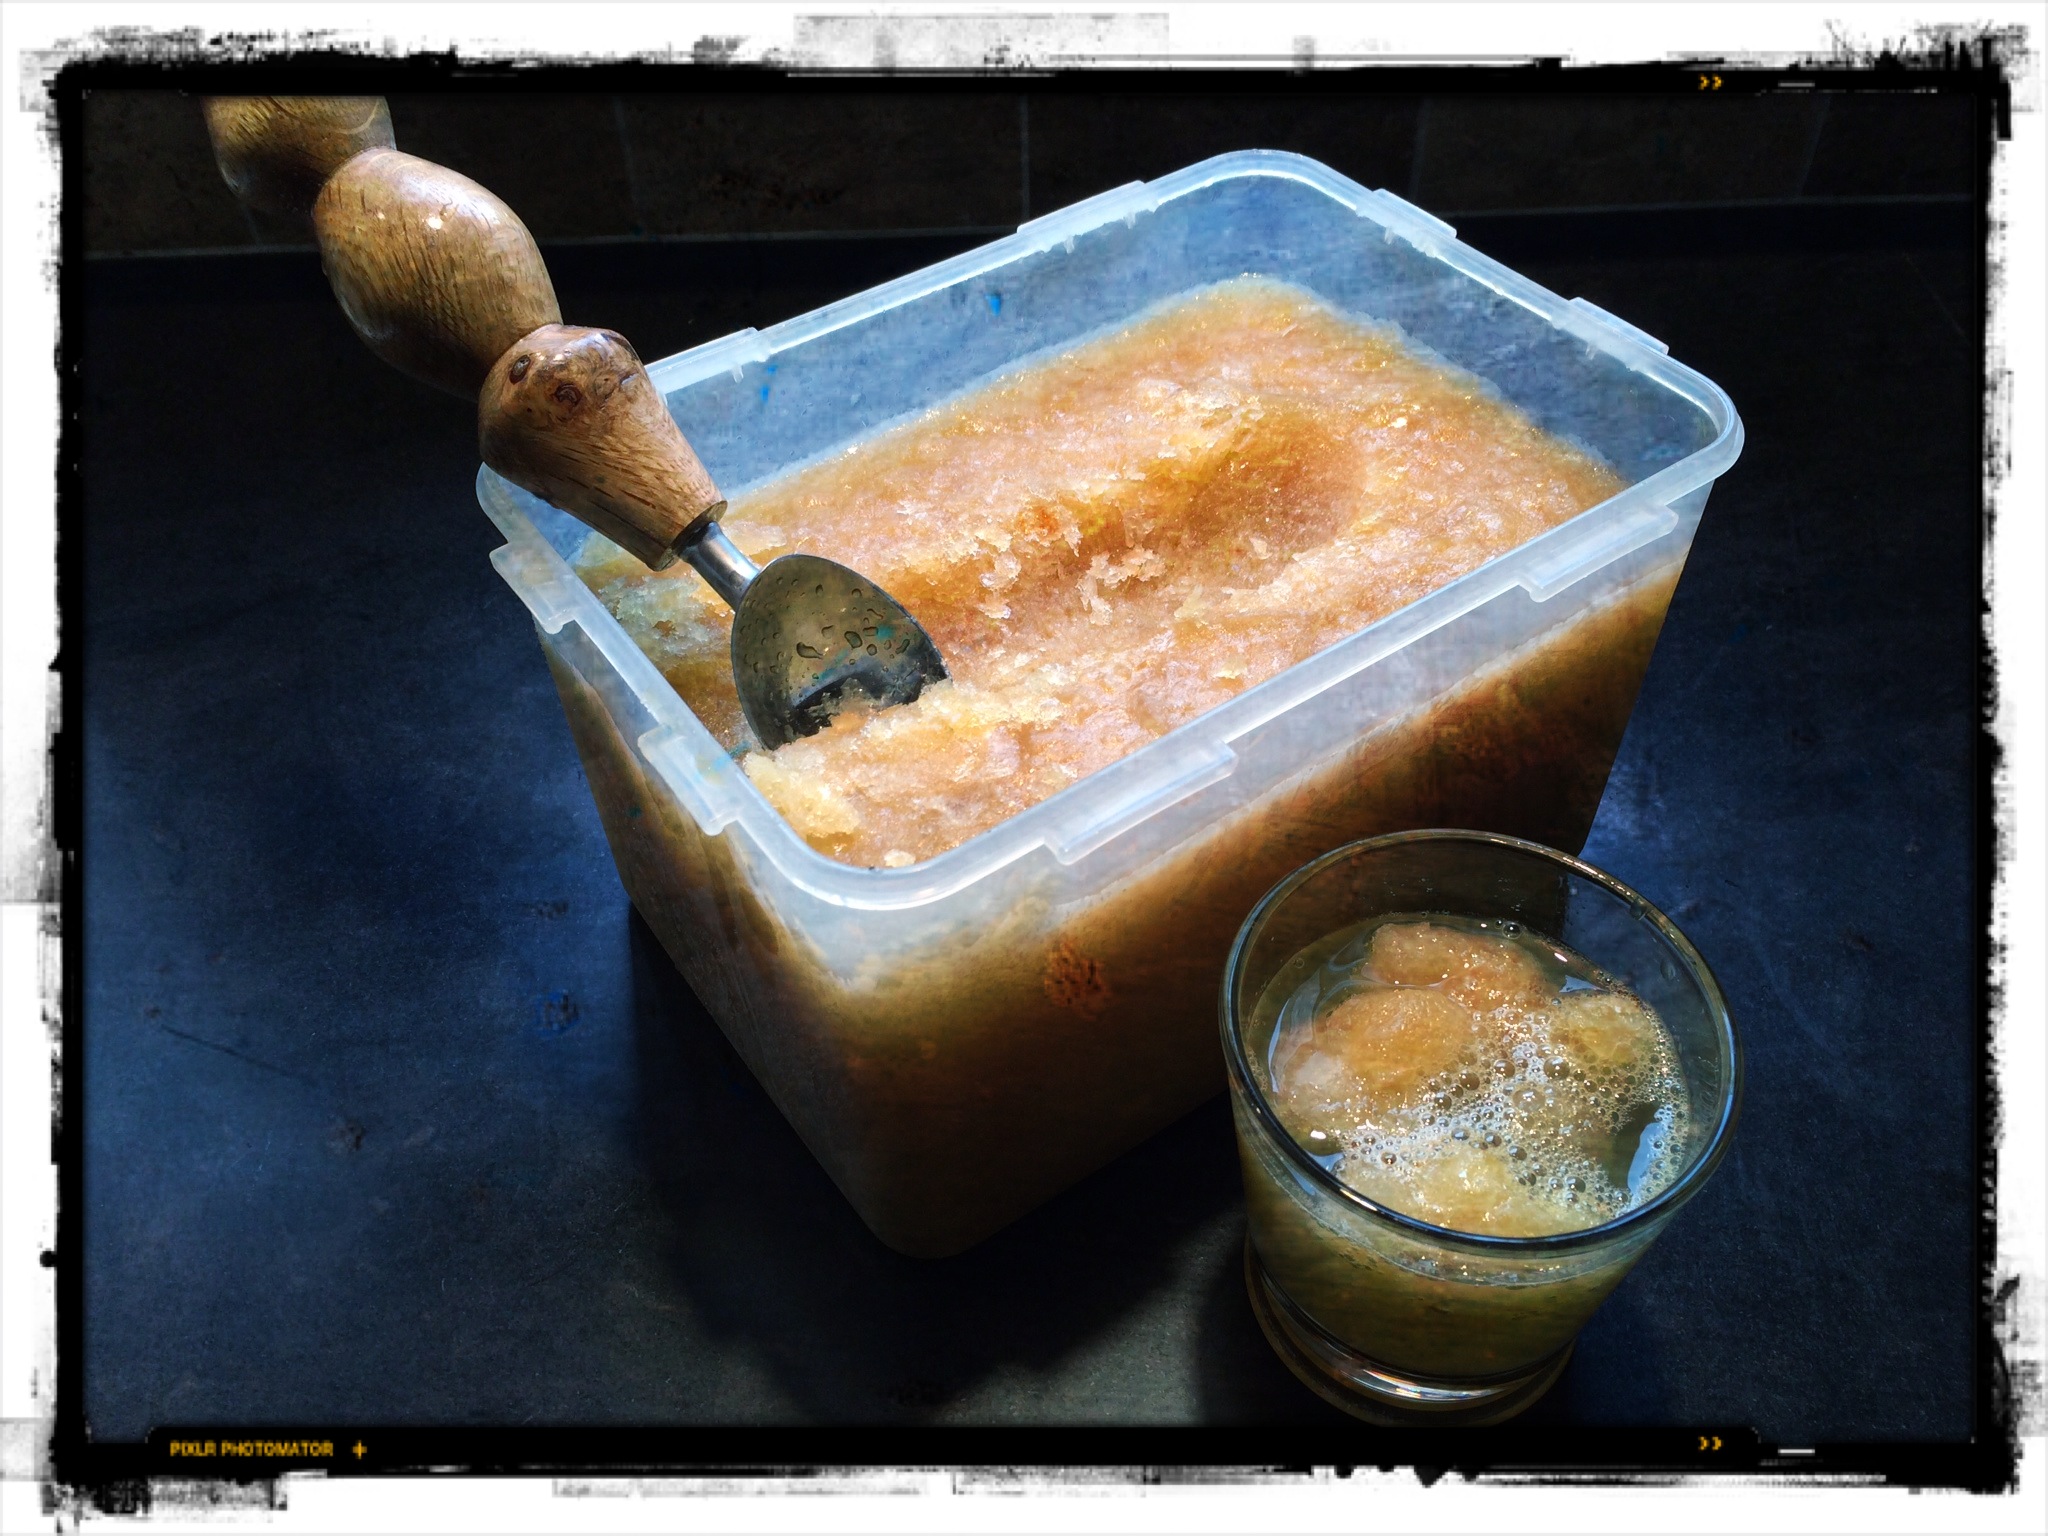
This is my version of a holiday drink I was introduced to me by my mother-in-law from the Upper Peninsula of Michigan.

This classic is loaded with sugar. But then…so is everything else around the holidays!

Whiskey slush

9 cups water
2 cups sugar
4 “Constant Comment” tea bags
12 oz. frozen OJ concentrate
12 oz. frozen lemonade concentrate
2 cups whiskey (I use Crown Royal)
7-Up or Sprite

Boil the water and sugar, making sure the sugar dissolves. Turn off the heat and steep the tea bags in the liquid for 10 minutes. Discard the tea bags.

Add the OJ, lemonade and whiskey. Mix well, then pour it all into a freezable container with a lid. Freeze.

To serve: Scoop the slush out of the container (it doesn’t freeze solid) and mix it in a tall glass with 7-Up.

If you’re concerned about all that sugar, you can use a sugar substitute in the mix, and diet soda at the end. Some stores also carry low-sugar juice concentrates. I haven’t tried any of these substitutions, because when it comes to the holidays, I go big or go home!

CLASSIC PARKER HOUSE ROLLS

Posted: November 16, 2024 in Uncategorized

The holidays on on our minds already. Time to start bringing out the recipes…

What’s a Thanksgiving dinner without Parker House rolls?

Parker House rolls are one of my all-time favorite treats. They’re so light and delicious because milk and melted butter are used to make the dough. I’d make and eat them every weekend if it wasn’t for the fact that I’d gain a ton of weight in the process! So…I save them for special occasions.


There really is a Parker House. It’s a hotel in Boston where the rolls originated in the 1870’s. Legend has it that a disgruntled hotel baker threw a batch of unfinished rolls in the oven, and when they came out, they had a folded pocketbook shape that made them light on the inside, and crisp and buttery on the outside. A legend was born.

There are hundreds of Parker House Roll recipes out there, but this is the one I swear by. It’s a great excuse to get out my old Kitchenaid standing mixer.


1 stick unsalted butter, melted and cooled, plus softened butter for brushing
1 tablespoon active dry yeast
1/4 cup lukewarm water (100 to 110 degrees)
1/4 cup sugar 1 cup whole milk, warmed
2 large eggs, at room temperature
4 cups all-purpose flour, plus more for dusting
2 1/2 teaspoons Kosher salt (I use Diamond Crystal)


Brush a large bowl with butter.

In the bowl of a stand mixer fitted with a paddle, combine the yeast with the water and a pinch of sugar. Let it stand until it gets foamy, about 10 minutes. This gets the yeast happy.


Add the milk, melted butter, eggs and remaining sugar and mix until it’s all combined.

Now switch to the dough hook and add the flour and salt. Knead at low speed until a smooth ball forms, about 2 minutes.

Scrape the dough onto a lightly floured board and knead it gently into a ball. Then place the ball in the buttered bowl, covering it with plastic wrap, and placing the bowl in a warm place. Let the dough double in volume. It’ll take about 1 1/2 hours.


Pre-heat the oven to 350.

Grease a 9-by-13 baking dish with more butter.

Turn the dough out onto a lightly floured board again, punching out the air bubbles, and forming it into a ball again. Cut the ball in half, then each half into 8 pieces.


You can either leave the pieces in their wedge shape, placing them in the baking dish top side up. Or you can roll the wedges into balls, placing them into the baking dish, spacing them out evenly.


Cover the baking dish with plastic wrap and let the dough rise again for about 30 minutes. By then, your oven will be nice and warm.


Bake the rolls for 20 to 25minutes, until they’re a beautiful golden color.


Serve them warm or at room temperature. If you bake the rolls earlier in the day, you can cover them in plastic wrap, and the re-heat gently before serving.

Cauliflower seems to be the “it” veggie these days. You’ll find it riced to take the place of rice or mashed potatoes, in a crust for pizza, and now, the dish du jour is a cauliflower steak. All you need to do is to slice the cauliflower into thick, steak-like pieces, and then bake them. The thicker cut gives the cauliflower a more meaty texture. Of course, with a meat sauce, I’m using cauliflower as a pasta substitute in this dish.


The marinade I use for the cauliflower is pretty simple, with my favorite Italian flavors. I use fresh herbs when I can, but you can use dry as well.


1/4 cup extra virgin olive oil
1/2 cups chopped scallions
2 garlic cloves, finely chopped
chopped fresh parsley and oregano to taste
salt and pepper

Combine these ingredients in a bowl.

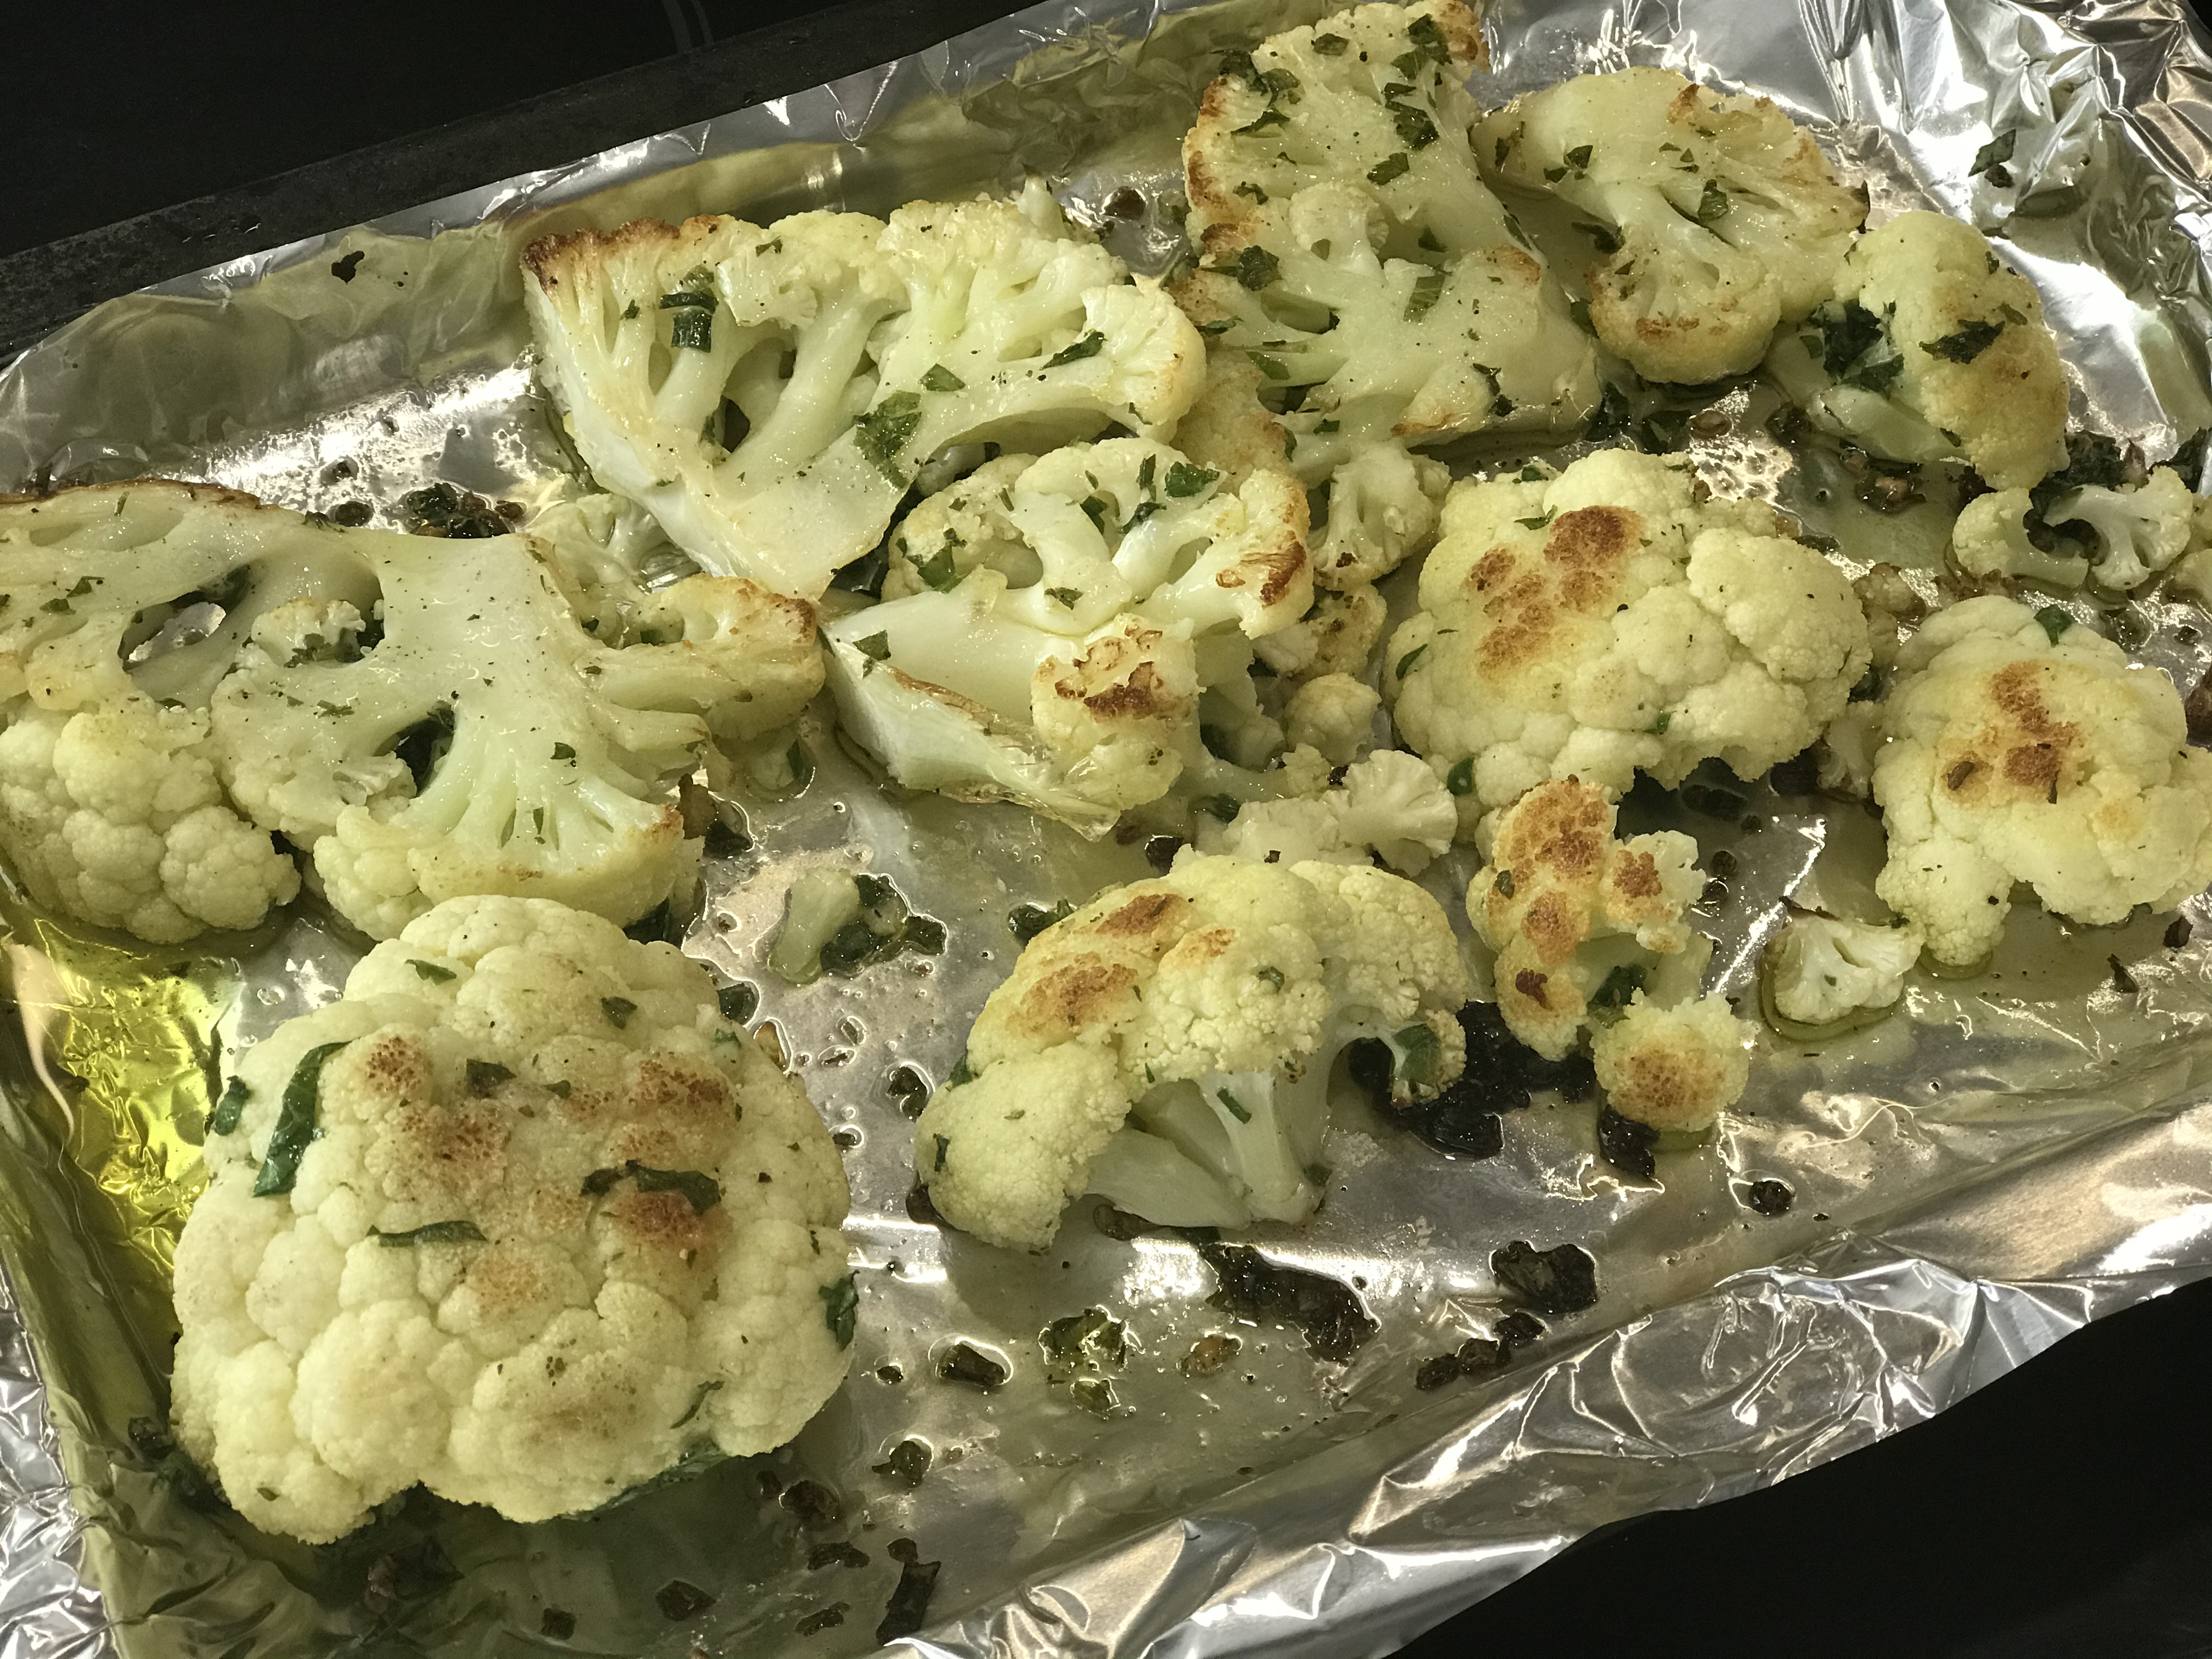
Slice the head of cauliflower across the whole head into 1 1/2-inch steak-like pieces. Place them on a baking pan covered with non-stick aluminum foil. Brush the cauliflower on both sides with the marinade. Use it all up!

Place the baking pan in a pre-heated 400-degree oven and bake it for about an hour, until the cauliflower is golden brown on the edges. Flip the cauliflower steaks over after the first 30 minutes.


It’s OK if your cauliflower steaks break apart a bit. They’ll still taste great!


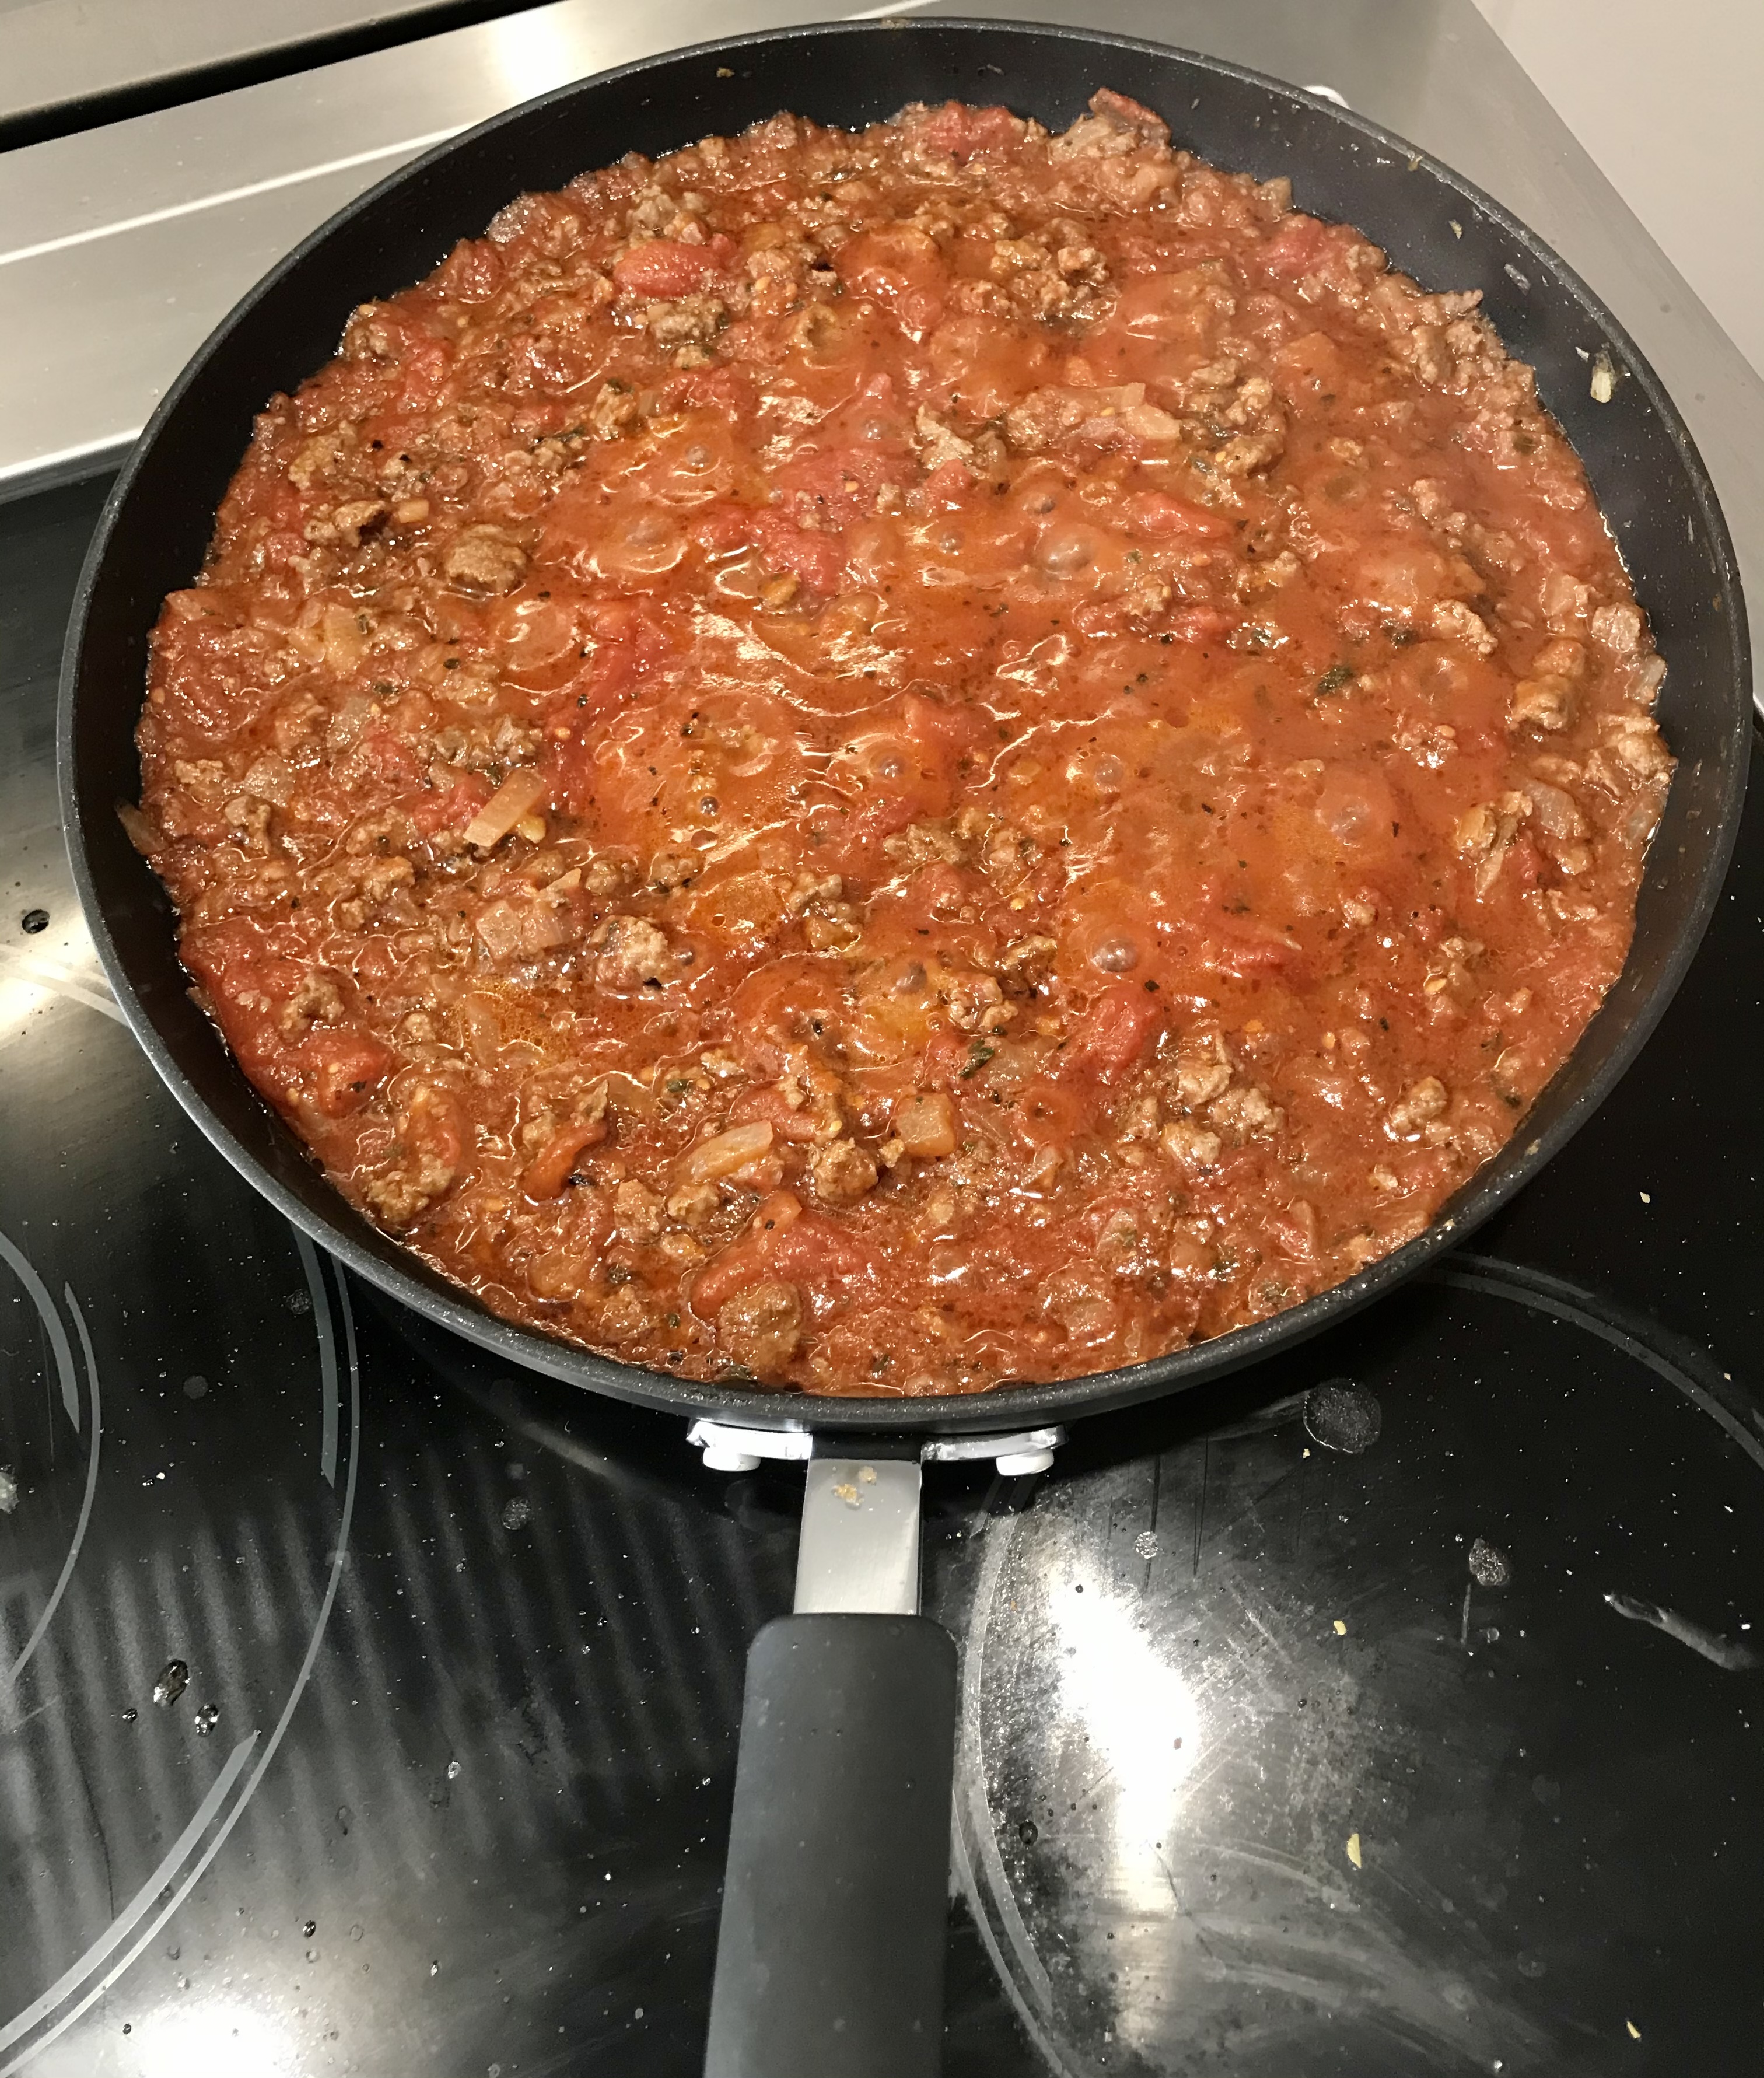
This meat sauce I use is one that I make all the time with simple ingredients…


1 lb. grass-fed ground beef
1 medium onion, finely chopped
1 28-oz. can of whole San Marzano tomatoes
dried oregano, basil and parsley
granulated garlic
extra virgin olive oil
salt and pepper


Heat the olive oil in a pan and add the onions. Sauté them until they’re translucent, then add the ground beef. Cook the beef until it has browned completely. Add the can of tomatoes, chopping the whole tomatoes up with a spatula (or squeezing them with your hands), breaking up the big pieces into smaller chunks. (I like my sauce a little chunky.) Add the oregano, basil, parsley, garlic, salt and pepper to taste.


Let the sauce cook down until it has thickened.


When the cauliflower steaks are ready, place them on a plate and pour the awesome meat sauce on them. Garnish with some freshly grated Parmigiano Reggiano.

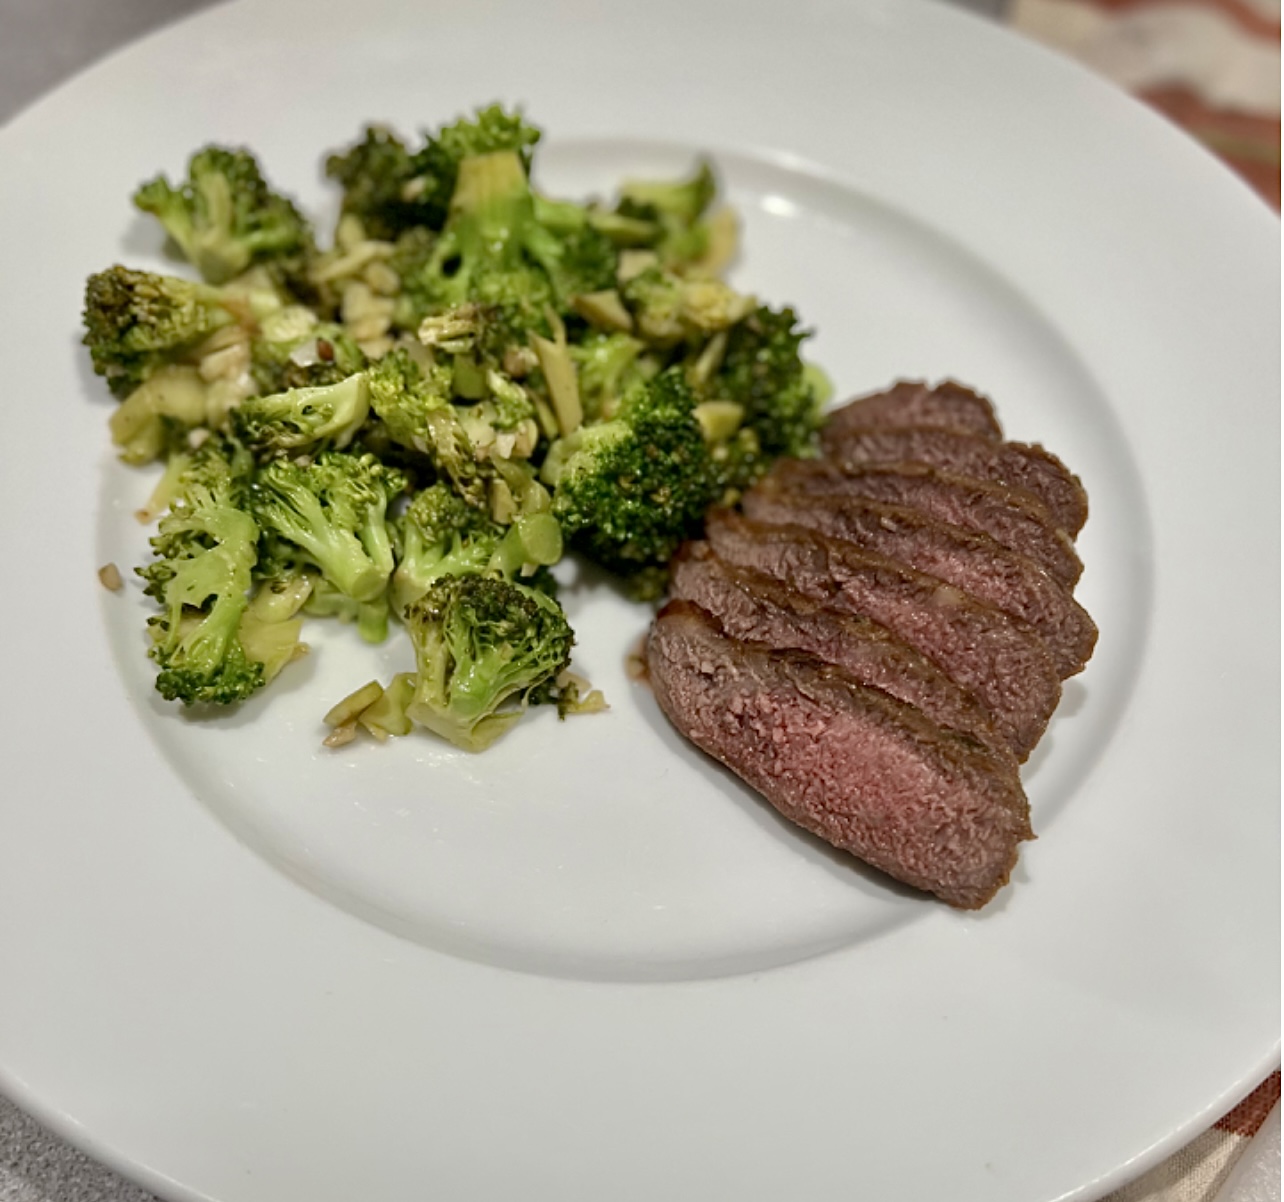
Lamb is such an underrated meat. It was one of the things my Mom cooked really well, so I grew up loving it, and was never bothered by the gaminess of it.

If the gaminess does bother you, look for American lamb. If gamier meat doesn’t bother you, go for the gusto and get grass-fed New Zealand or Australian lamb.

The balsamic vinegar in this recipe is not the crazy expensive stuff. It’s the bottle you can get for about 9 bucks in the supermarket.

Screenshot

Here’s the marinade I used…

1/2 cup olive oil
1/4 cup balsamic vinegar
1 tablespoon fresh rosemary, chopped (or 1 teaspoon dry)
1 tablespoon fresh thyme leaves, chopped (or 1 teaspoon dry)
1 tablespoon Kosher salt
1 tablespoon maple syrup
1 tablespoon Dijon mustard
1 teaspoon black pepper
1 teaspoon dried oregano
1 teaspoon granulated onion
1 teaspoon granulated garlic

Mix the marinade ingredients together in a bowl. 

Place the lamb in a plastic bag and pour the marinade in, squishing it around to make sure it makes contact with the meat. Place it in a pan or a bowl to prevent accidental leaking.

Screenshot

Let the lamb marinate for several hours at room temperature, or in the fridge overnight.

Before cooking, bring the lamb back to room temperature.

Screenshot

Use some oil in a hot pan, and then sear the lamb on both sides. Place a lid on the pan, and reduce the heat to medium-low.

I cook lamb until I get the lamb to a perfect medium. That means cooking to 130-135 degrees. But cook it the way you like it!

Update:

Last night, I used this recipe to marinate some baby lamb chops. I love these, because they look like mini porterhouse steaks, and meat off the bone is always juicier and tastier.

I placed the lamb in a freezer bag with the marinade, and let it marinate a solid three hours at room temperature. Any longer than that, and it would go to the fridge.

I always remove meat from the fridge and let it come back to room temperature before I cook it…and this time, I decided to try my air fryer, set at 400. Not only did it cook the lamb perfectly, it gave it that nice slight char on the outside, as if I grilled it. Delicious!