Archive for the ‘Uncategorized’ Category

Good news if you’re on a gluten-free diet. These fritters can be made GF! And they’re delicious.

I have both recipes–gluten-free and the original–below!

They key ingredient in making a good fritter batter is beer. But until recently, there weren’t many gluten-free beers to choose from…and the ones that were out there tasted like crap. All that has changed.

Now you can pretty much find a gluten-free craft beer in every state, and there are several regional gluten-free beers as well. Easy enough to find: just go to a good beer store and ask. They almost always carry a couple of brands.

Gluten-free beers can be divided into 2 types: truly gluten-free: brewed with gluten-free ingredients and safe for all to drink…and gluten-reduced: beers that are brewed with ingredients containing gluten, then had an enzyme added to reduce the gluten. These are fine for those that have an intolerance to gluten, but are not Celiac. Read the labels!

The beer that I used for my recipe is a beer that they say  is “crafted to remove gluten,” meaning there’s still a small amount left in there.

Ultimately, if gluten is not an issue for you, follow the recipe at the bottom of this page. It’s my original, and not only uses a tasty lager full of gluten, but also a special fritter flour, which can be found in many stores.

However, if you have to live the gluten-free lifestyle, and you’ve told yourself you can never have another fritter, I have good news for you: you can…and they’re delicious! This is a large batch, so feel free to reduce it if needed.
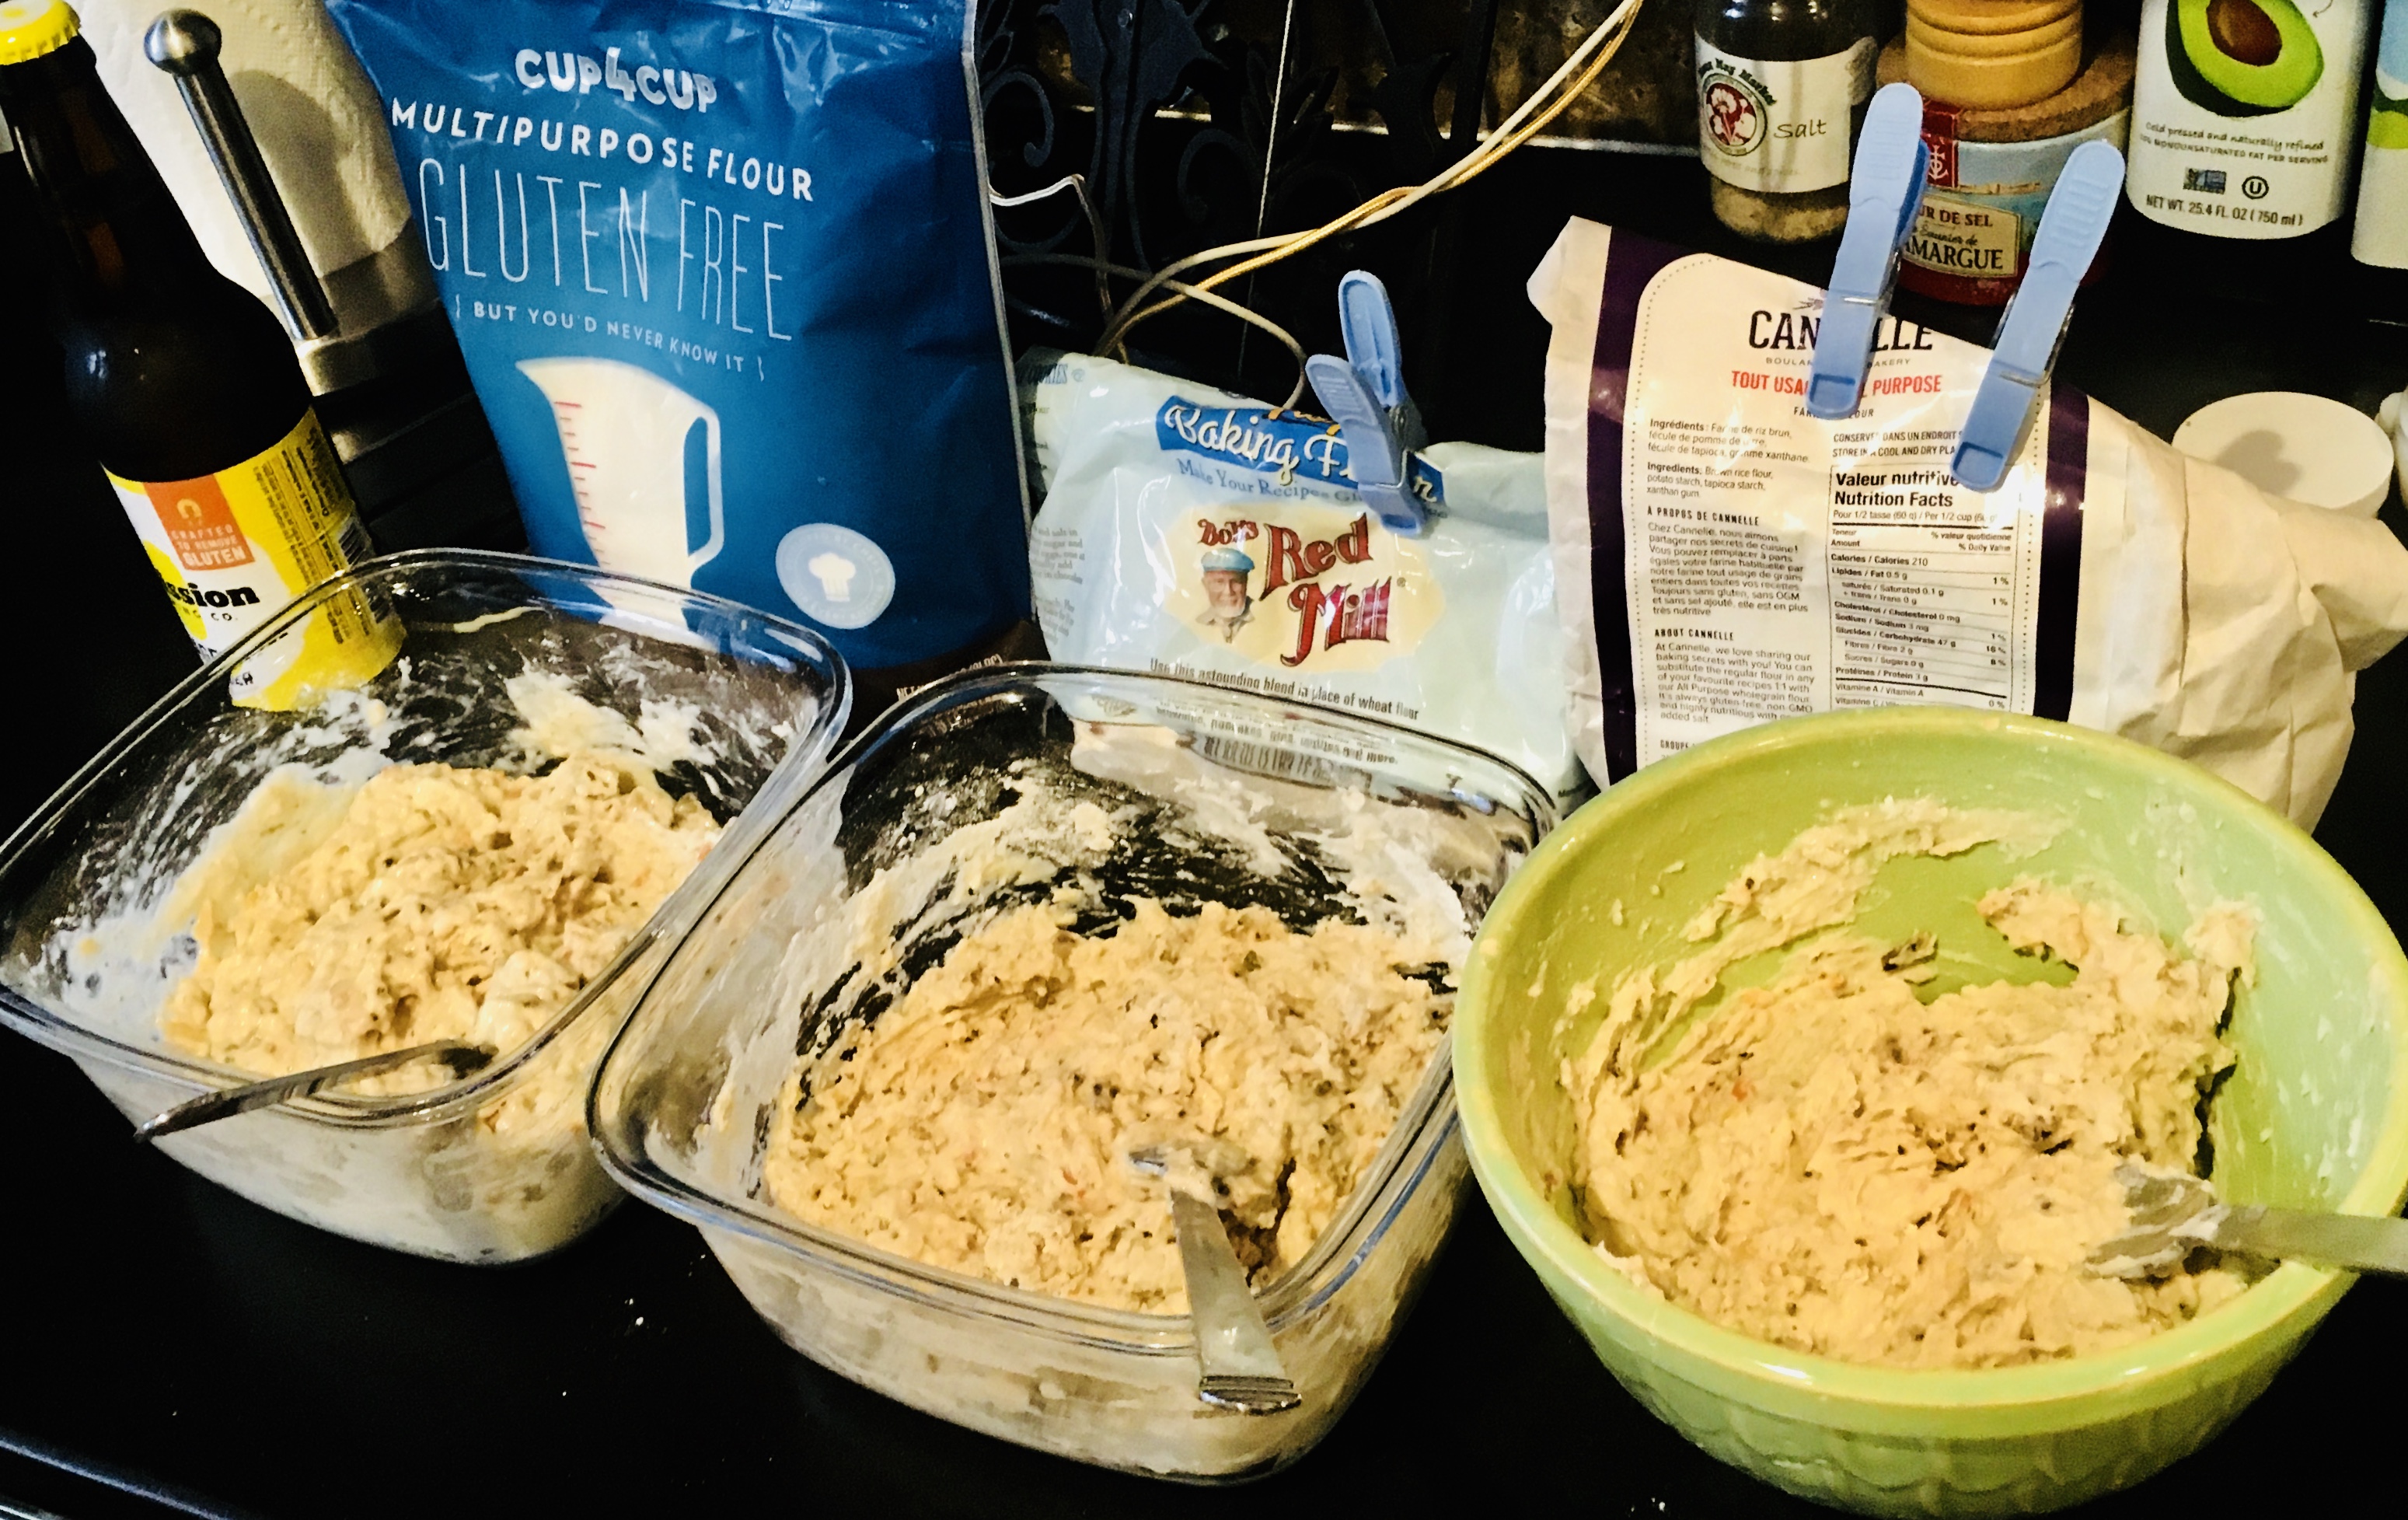
In making this recipe, I tested 3 types of gluten-free flour: Cup4Cup all-purpose flour, Bob’s Red Mill GF Baking Flour, and a Canadian brand (not available here yet.) Cup4Cup (far left) was the clear winner for taste and texture of the fritter.

1 lb. all-purpose gluten-free flour (I like Cup4Cup)
2 lbs. frozen or fresh mussels
1/2 cup (or more) gluten-reduced lager beer (I used Omission)
oil for frying (I stay away from seed oils, but use what you like)

Pour an inch of water in the bottom of a pot, and place a strainer on top. Pour the mussels, fresh or frozen, onto the strainer and cover the pot. Set the heat on high and steam the mussels until they’re cooked, about 5 minutes. If you’re using fresh mussels, throw out any of the ones that didn’t open. Frozen mussel meats (without the shell) are also available in many areas. They work with this method, too. Just warm them through.

Steamed New Zealand green-lipped mussels. Available frozen in many stores. Get the plain ones, not the ones that already come with sauce.

Remove the mussel meats from their shells. Pulse the mussel meats in a food processor, but leave ’em chunky…or chop by hand…not too fine, because you want to see and taste them in the fritter.

Save the “mussel juice,” the water in the bottom of the pot. It’s got lots of mussel flavor.

Place the flour in a large bowl. Add the chopped mussels. Add a 1/2 cup of the mussel juice and a 1/2 cup of the beer. Mix thoroughly, using a fork or your hands, until you get a batter that’s a bit gooey, but not really wet. You might need to keep adding small amount of broth, beer or flour to get just the right consistency. Once you’ve done that, let the batter rest for 10 or 15 minutes. Keep it at room temperature, and do not stir again! If you need to wait a while before frying, cover the bowl with a wet towel.

In a heavy cast iron pan or a fryer, heat the oil to 350°.

Once the oil is hot, take small meatball-sized globs in your hands and gently drop them into the oil. Don’t fry too many at once or the oil temperature will drop quickly. Fry them until they’re golden brown and cooked all the way through. Drain the fritters on paper towels, and season them immediately with salt and a little pepper.

The dipping sauce recipe I have listed at the bottom is not gluten-free. But most tartare-type sauces usually are, and are equally delicious.

Of course, you can make fritters with anything, from mussels to shrimp to lobster!

You’d never know they were gluten-free!

Here’s the original recipe, full of glorious gluten!

It was a fall afternoon in Newport, Rhode Island, at the now-defunct Newport Yachting Center’s annual Oyster Festival. We were gorging on freshly shucked oysters and clams, boiled shrimp, and…what have we here? I had never heard of a mussel fritter before, but once I took a bite, there was no turning back.

They couldn’t be easier to make, but it is crucial to have the right fritter batter. And that starts with a Rhode Island product called Drum Rock fritter mix. If you live in New England, you can find it in just about any seafood department at Whole Foods. If you live further away, you can check out their website (www.drumrockproducts.com) or try your luck with a local brand of fritter mix.

fritter ingredients

If you’re using fresh mussels, be sure to clean them well and remove the beards. Steam them in a pot over a small amount of water. As they open, they will release their flavorful juices and you want to save every drop of that broth for the fritters. Here in New England, frozen mussel meats are available in some seafood stores. All you need to do is thaw them, steam them (saving the broth), and you’re ready to go.

For the fritters:
1 lb. fritter mix
2 cups cooked mussel meats
1/2 cup mussel broth (saved from steaming mussels)
1/4 to 1/2 cup good quality beer (I use Sam Adams Boston Lager)
Oil for frying (I stay away from seed oils, but use what you like)

Steam the mussel meats until they’re just cooked. Remove the mussel meats, and reserve 1/2 cup of the broth. Pulse the mussel meats in a food processor, but leave ’em chunky…or chop by hand.

Put the fritter mix in a large bowl. Add the mussel meats, mussel broth, and beer. Stir gently until just mixed. Let it sit for 10 to 15 minutes and do not stir again. (If you’ve got guests coming, you can prepare up to this part ahead of time, covering the bowl with a wet towel, and leaving it at room temperature.)

Using a thermometer, heat the oil in a deep pan to 350°, and using a small spoon or scoop, drop the fritters in the hot oil, turning gently, cooking 3 to 4 minutes until golden.

Drain them on paper towels, and season with salt and pepper immediately. Serve right away!

IMG_3043

An easy, delicious dipping sauce:
1 cup mayonnaise
1/4 cup Ponzu sauce

The perfect dipping sauce for these mussel fritters is made from two ingredients: mayo and Ponzu sauce, a citrus-based soy sauce found in most supermarkets. Combine both ingredients in a bowl. Keep it in the fridge until you’re ready to use it.

I haven’t found a gluten-free Ponzu sauce yet, but if you take GF soy sauce, touch of citrus juice, a drop of fish sauce, and a little rice vinegar, and mix them up, you’ll get close.
SWEDISH MEATBALLS

Posted: January 19, 2025 in Uncategorized

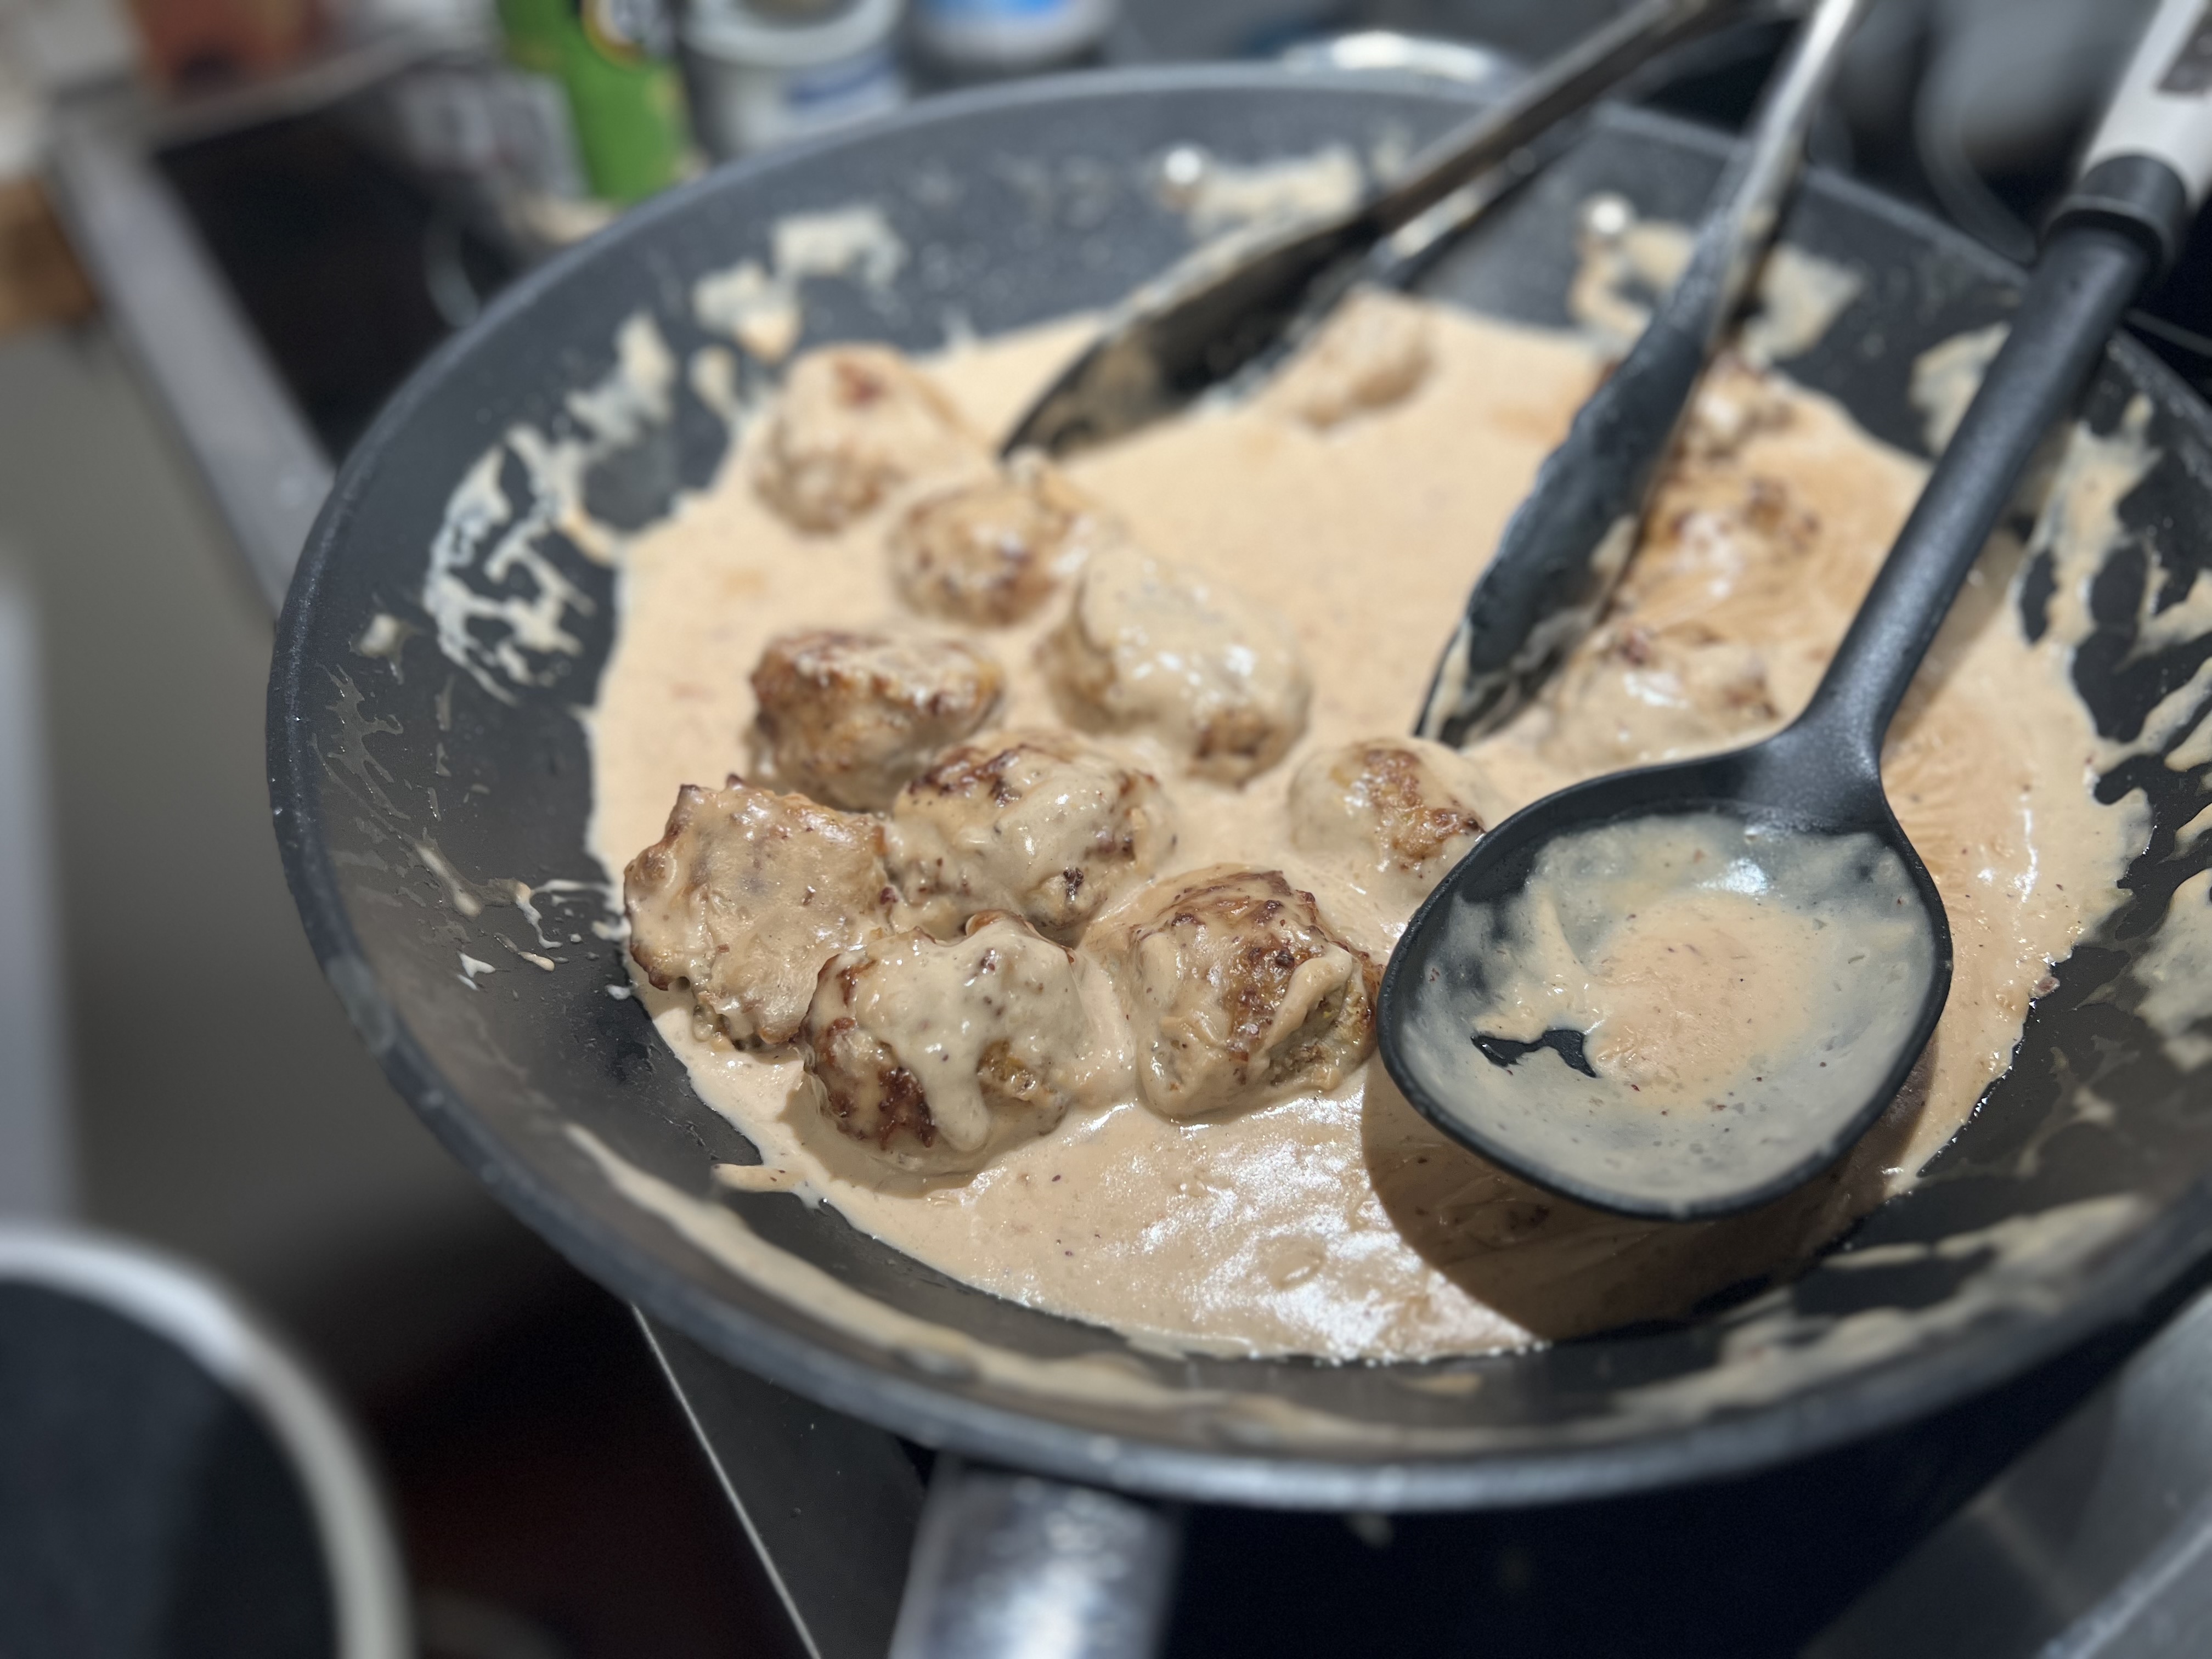
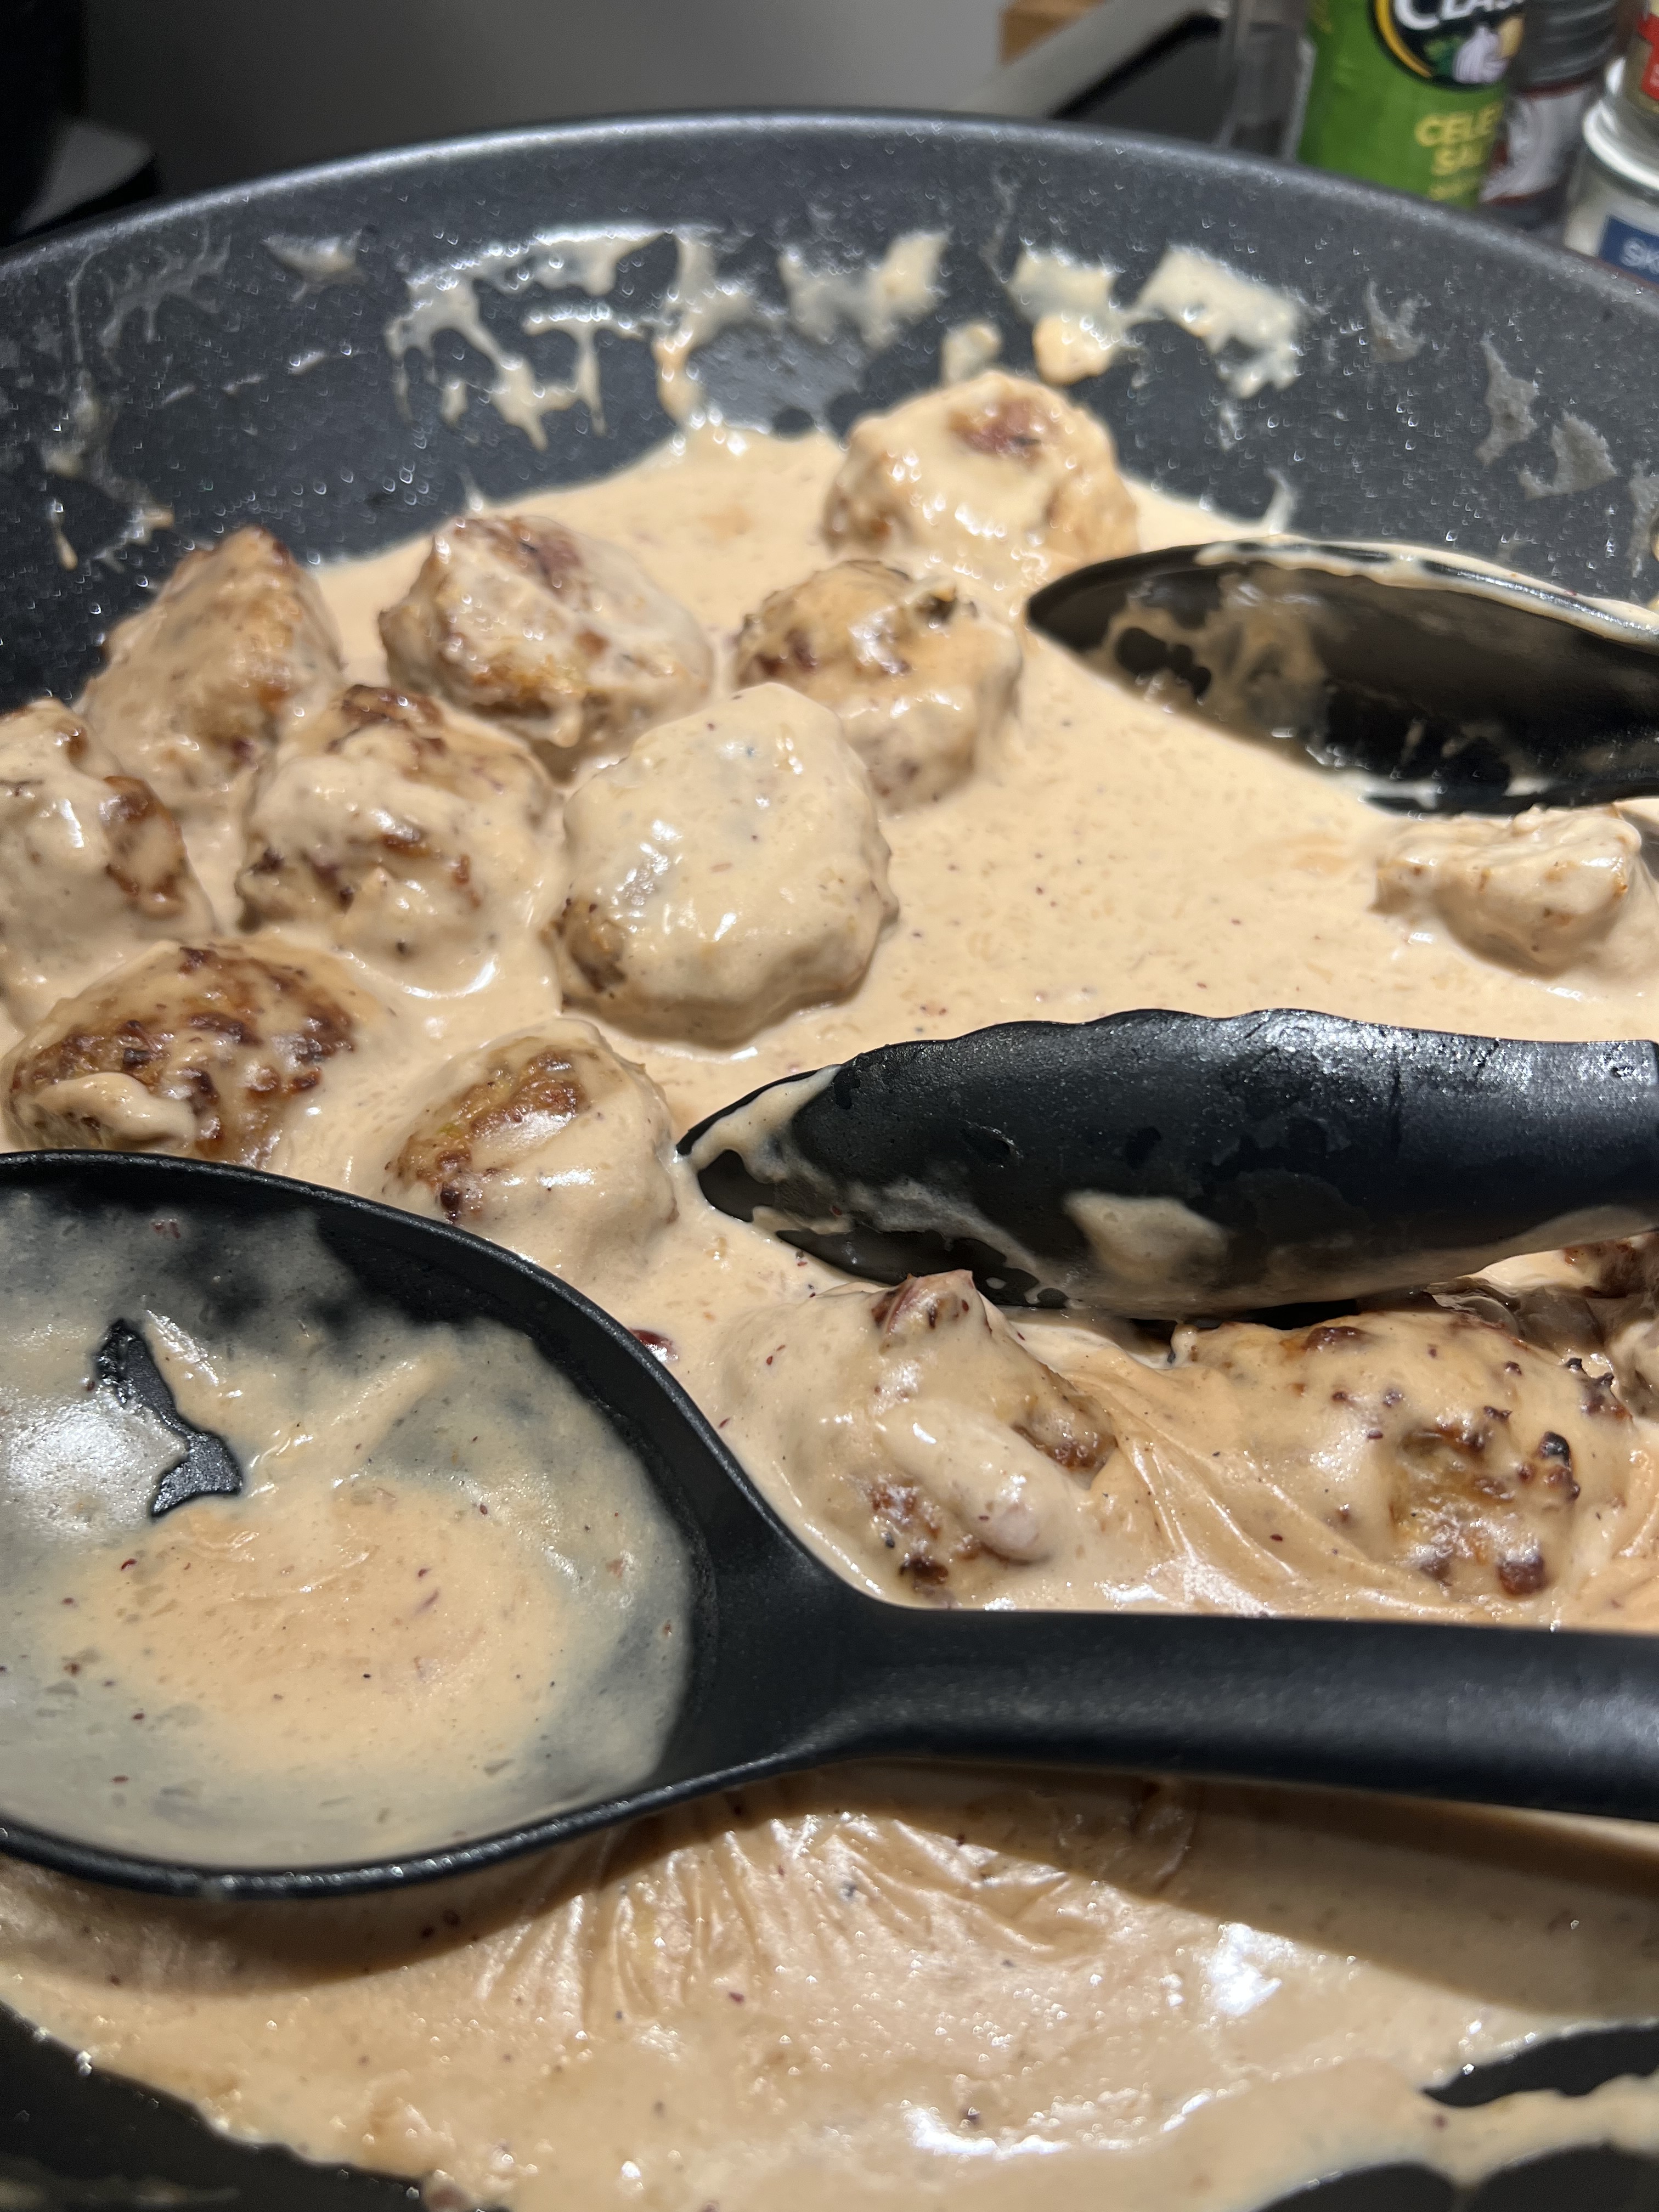
This was an interesting choice by my daughter for Christmas dinner, but it came out great! It’s definitely not diet food, however, as you’ll see. We cooked up some twice-baked potatoes and stir-fried broccoli to serve on the side.

Lingonberry jam can be found at better supermarkets or you can easily buy it online.

Using gluten-free breadcrumbs and GF soy sauce are the only changes you need to make this dish GF-friendly. (See bottom of blog.)

For the meatballs…
4 tablespoons breadcrumbs
1/2 cup half-and-half
2 eggs (whisked, in a bowl)
2 tablespoons beef stock
1 medium onion, finely chopped
2 tablespoons unsalted butter
1 lb ground beef (preferably grass-fed)
1 lb ground pork (preferably pastured)
2 teaspoons freshly ground black pepper
2 teaspoons salt
more unsalted butter and oil for frying


In a bowl, mix together the breadcrumbs, half-and-half, eggs, and beef stock. Set it aside.

Fry the onion in some butter and then add it to the breadcrumb mixture.

Place the ground beef and pork in a large bowl, and add the salt and pepper to it. Add the contents of the breadcrumb and onion mixture, and mix everything together gently with your hands.

In the pan you fried the onions, add more butter and a little oil, and heat it to medium.

Roll the ground meat into meatballs, adding them to the pan. (If the meat mixture is mushy, just add more breadcrumbs until you get a consistency you can work with.) The meatballs might be sticky, so wet your hands every once in a while to make your job easier.

Fry the meatballs until they’re golden brown and cooked through completely, then remove them from the pan and set them aside.

For the sauce…
2 cups heavy cream
2 tablespoons corn starch
2 cups beef stock
3 teaspoons soy sauce
2 oz unsalted butter
4 tablespoons lingonberry jam

In a bowl, whisk together the cream and the corn starch. Then add the beef stock and soy sauce, mixing well. Pour this into the pan you cooked the meatballs, and bring up to medium heat. Let it boil for a couple of minutes, to activate the corn starch, which will thicken the sauce.

Reduce the heat, add salt and pepper to taste, and the lingonberry jam. Stir it all together, then add the meatballs back to the pan. Let them cook for a few minutes, basting them in the sauce.

Serve with potatoes and more lingonberry jam, if you like.

Gluten-free note: As I’ve mentioned in previous blogs, I have family members that are gluten-sensitive, so I only use gluten-free soy sauce. It’s easy to find in any supermarket and there’s no difference in taste. The brand I buy is La Choy.
And the best gluten-free breadcrumbs are ones that I make myself. I buy a loaf of Udi’s frozen GF bread and toast it. Then I place the toasted slices in my food processor. No one can tell the difference from breadcrumbs with gluten!

If I asked you to name a cocktail that defines New Orleans, you might say The Hurricane. After all, it’s a tourist favorite at the famous Pat O’Brien’s on Bourbon Street.

But the official cocktail of New Orleans is the Sazerac, a potent concoction that was created early in the 19th century by Antoine Amédée Peychaud, a Creole apothecary who emigrated to New Orleans from the West Indies and set up shop in the French Quarter. He was known to dispense a proprietary mix of aromatic bitters from an old family recipe, now famously known as Peychaud’s bitters.


Sazerac ingredients.


Around 1850, Sewell T. Taylor sold his New Orleans bar, the Merchants Exchange Coffee House, to become an importer of spirits, and he began to import a brand of cognac named Sazerac-de-Forge et Fils. Meanwhile, Aaron Bird assumed proprietorship of the Merchants Exchange and changed its name to Sazerac Coffee House

Legend has it that Bird began serving the “Sazerac Cocktail,” made with Sazerac cognac imported by Taylor, and allegedly with bitters being made by the local apothecary, Antoine Amedie Peychaud. The Sazerac Coffee House subsequently changed hands several times, until around 1870, when Thomas Handy became its proprietor. It is around this time that the primary ingredient in a Sazerac changed from cognac to rye whiskey, due to the phylloxera epidemic in Europe that devastated the vineyards of France.

At some point before his death in 1889, Handy recorded the recipe for the cocktail, which made its first printed appearance in William T. Boothby’s “The World’s Drinks and How to Mix Them” in 1908, although his recipe calls for Selner bitters, not Peychaud’s. After absinthe was banned in the United States in 1912, it was replaced by various anise-flavored liqueurs, most notably the locally produced Herbsaint, which first appeared in 1934.

In March 2008, Louisiana state senator Edwin R. Murray filed Senate Bill 6 designating the Sazerac as Louisiana’s official state cocktail. The bill was defeated on April 8, 2008. But, after further debate, on June 23, 2008, the Louisiana Legislature agreed to proclaim the Sazerac as New Orleans’ official cocktail.

The Sazerac, served at the Sazerac Bar in New Orleans.


It’s always more fun when someone makes your drink for you!


Peychaud’s bitters are now owned by the Buffalo Trace distillery, home of many a fine bourbon, and also the makers of Sazerac rye, a registered trademark. So the Sazerac Bar has to pay a fee to use the name. That also explains why they use Sazerac rye in their version of this classic cocktail.


But like many popular drinks, everybody has their own version of a Sazerac. In fact, if you Google the drink, you’ll find dozens of versions: with cognac, rye, or bourbon (or even a combination)…with a sugar cube or simple syrup…and with a variety of absinthes.

Note: you can buy simple syrup–I prefer it in this recipe over sugar cubes–but it’s easy to make at home. Simply combine a cup of sugar with a cup of water in a saucepan and heat it until all the sugar dissolves. I keep my simple syrup in the fridge in a sealed container.


2 oz. rye whiskey (I use Old Overholt )
1/2 oz. simple syrup
3 dashes Peychaud’s bitters
Absinthe, to rinse, about 1/4 oz. (I use Herbsaint)
garnish lemon peel

Add ice to a rocks glass to chill it. (I also put it in the freezer.)

While it’s chilling, get a cocktail mixing glass, add some ice, and combine the rye, simple syrup, and the bitters, and stir. (Thirty times, according to tradition.)

Take the rocks glass out of the freezer, pour the ice out, and pour the Herbsaint into the glass, swirling it around to coat the glass, then pouring out the excess.

Strain the mix of rye, simple syrup, and bitters into the rocks glass with the Herbsaint.

Run a lemon peel around the rim of the glass and garnish with it.


For me, rye, specifically Old Overholt, is the down-and-dirty way to go. After all, this is not a kiddy drink. A few sips, and you’re feeling no pain.


A Sazerac at the Napoleon House in New Orleans.


Though sipping a Sazerac in New Orleans is an amazing experience in itself, and I’ve had it at the Sazerac Bar as well as the Napoleon House and other bars in NOLA…perhaps my craziest Sazerac experience happened at the famous White Horse Tavern in New York City, the Big Apple’s second oldest continuously running bar. (It opened in 1880.) I think this is where I was told to use Old Overholt in my Sazerac, and have ever since.

Dylan Thomas was a regular there, and other celebrities, like Norman Mailer, Jim Morrison, Bob Dylan, and Hunter S. Thompson also had drinks there. So it’s probably not surprising that my buddy, Lee, and I overindulged on Sazeracs at this historic tavern.

It was a very cold winter’s night in the late 1980’s–a blizzard, in fact–and we decided to go out drinking in the city, because I was back home in New York on holiday vacation from Alabama, where I was working at the time. We had more than our share of Sazeracs, when we decided we would walk to a new eatery called the Gulf Coast, located on the west side. (All we knew was that the restaurant was about 10 blocks from where we were, but after 4 Sazeracs, “where we were” was questionable, to say the least.)

Now, this was before the internet–before cell phones–before Uber–and no cabs were running (because it was a blizzard, after all)–so we decided we would walk! Not the smartest thing we’ve ever done. It only took a few blocks for us to realize, even in our drunken stupor, that we made a very bad choice! We were certain that we would be found, huddled and frozen in an alley somewhere, only after the spring thaw.

The storm was so bad, we couldn’t even find our way back to the bar. Miraculously, somehow, we did make it to the Gulf Coast, and we lived to tell the tale.

As Homer Simpson once said: “To alcohol…the cause of, and cure for, all of life’s problems!”


Sazeracs. Try your first one at home. Or take an Uber!

CLASSIC CACIO E PEPE

Posted: January 15, 2025 in Uncategorized

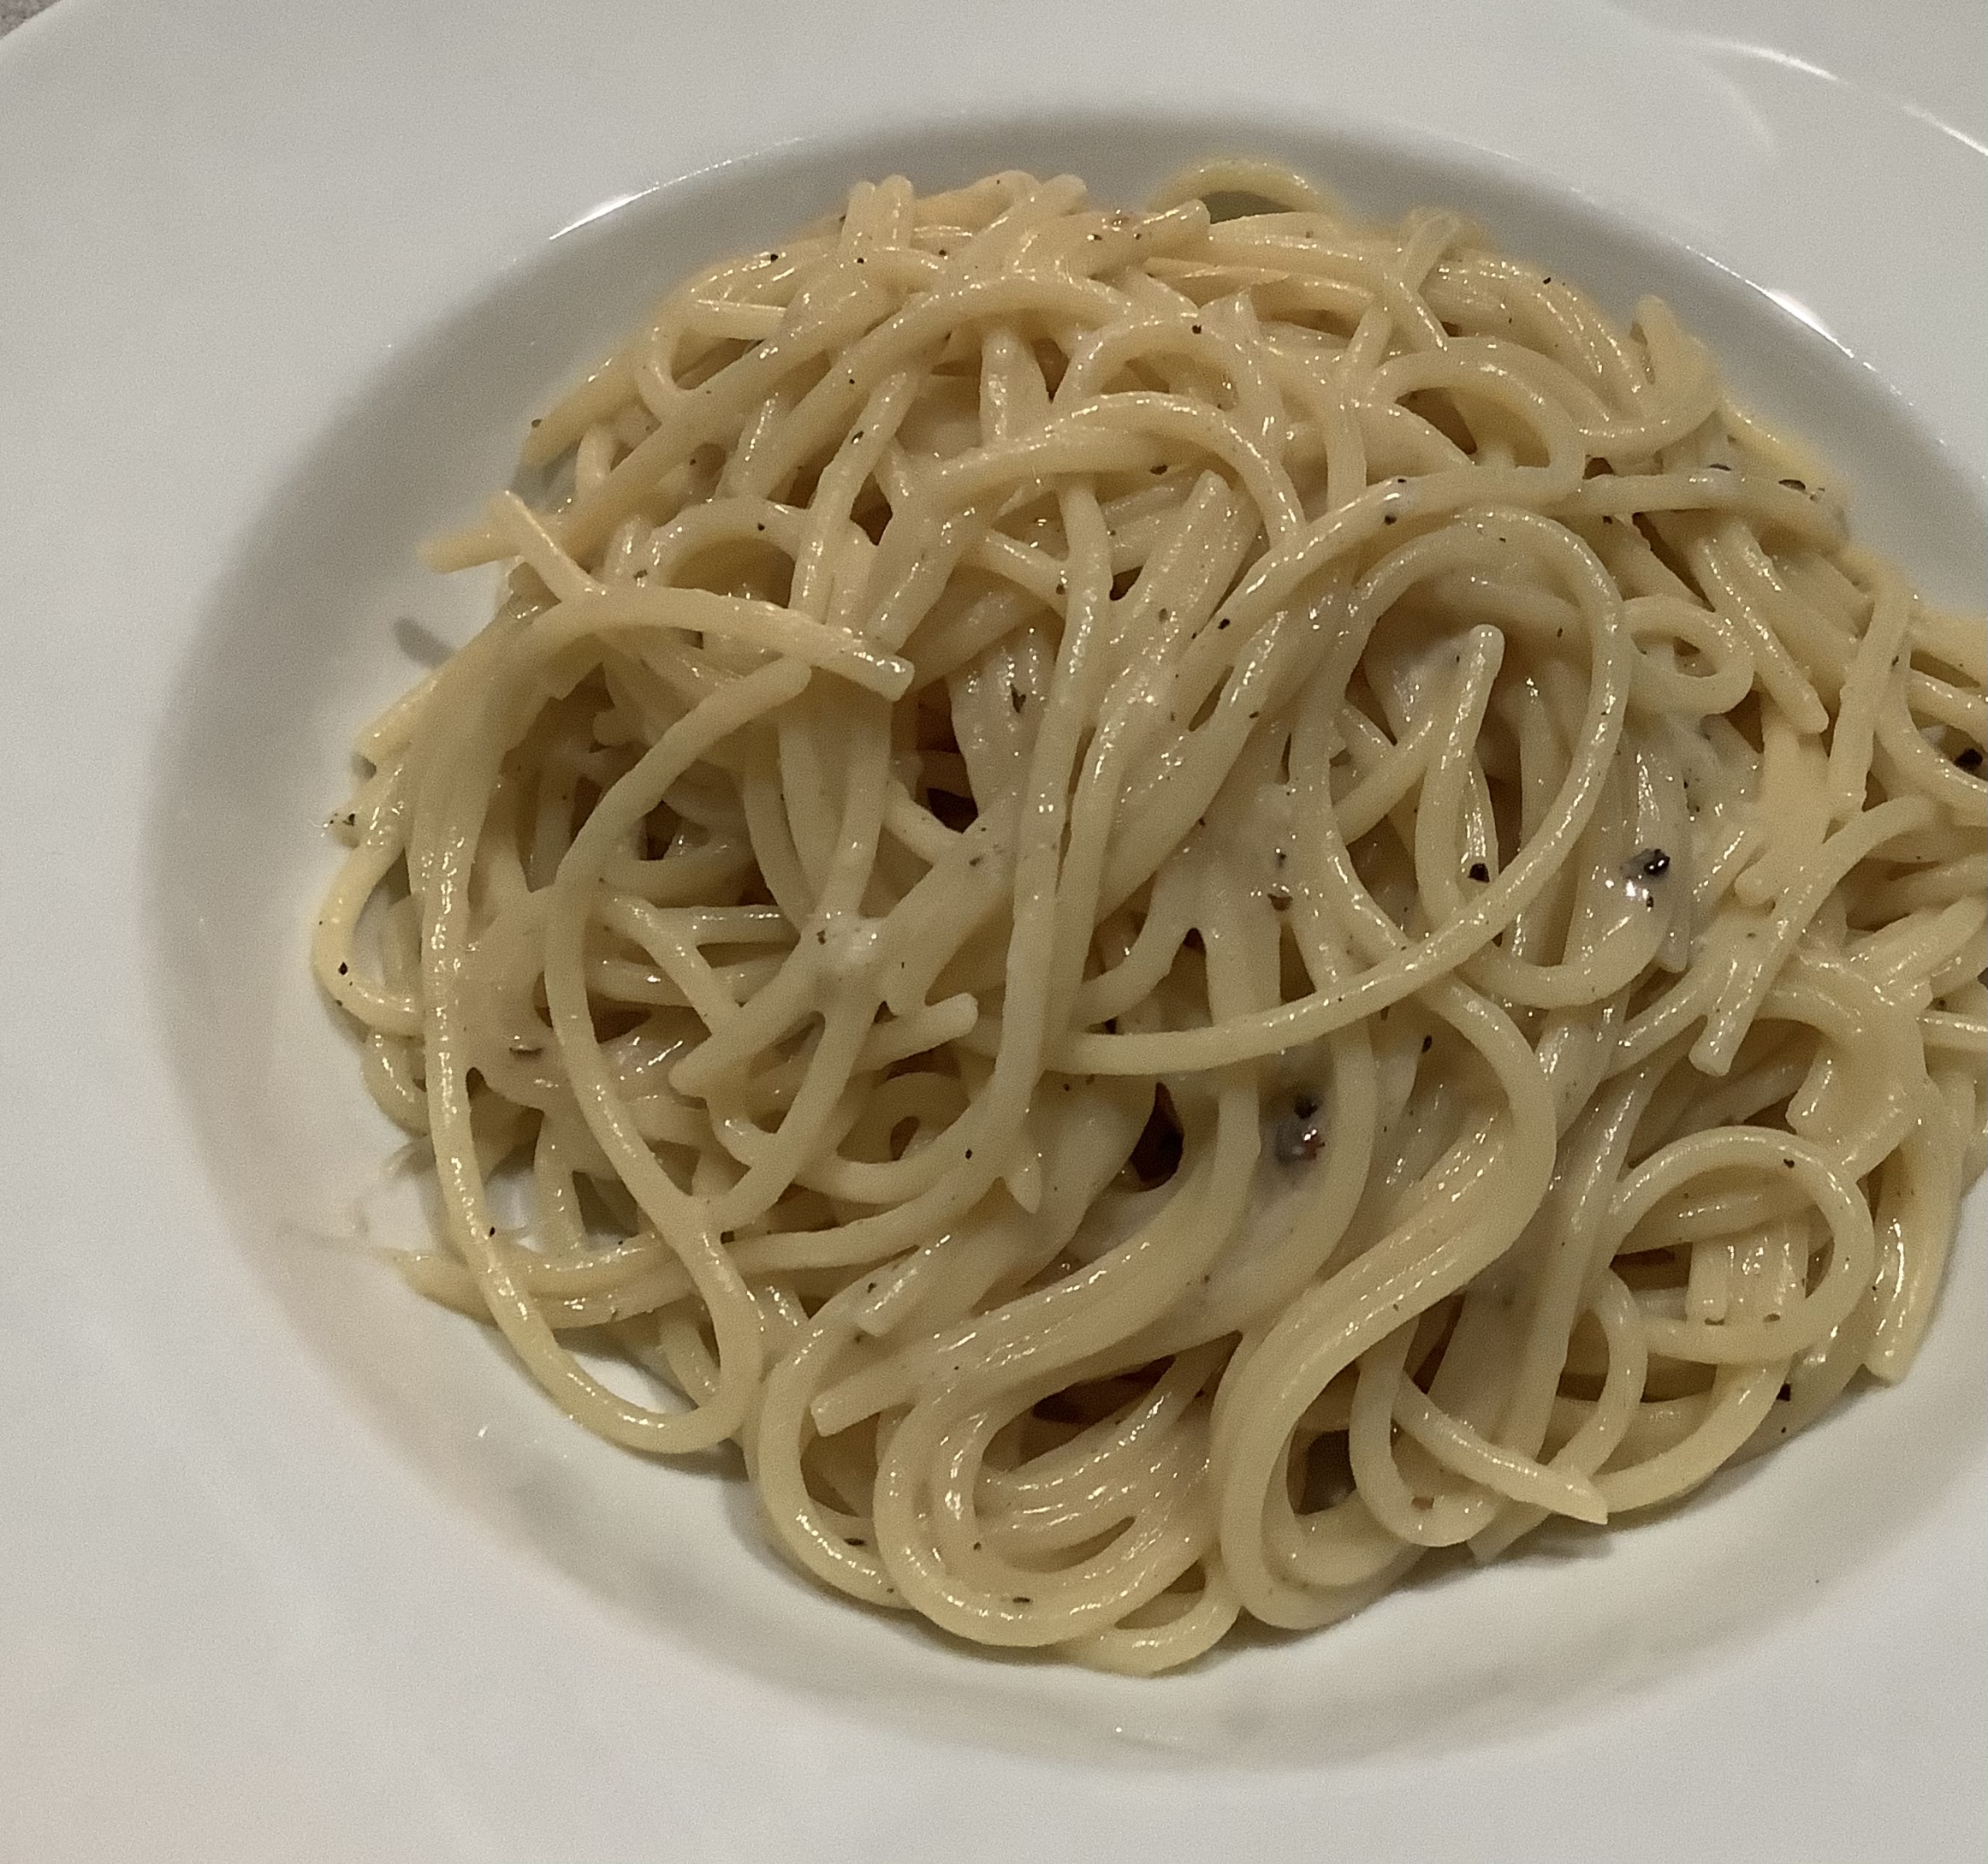
There are a handful of Italian dishes that can be considered classics. They don’t require dozens of ingredients…just a few quality ingredients prepared in a particular way. We all know their names: Pasta alla Carbonara…Fettuccini Alfredo…and Cacio e Pepe.


Carbonara requires pasta, guanciale, egg yolks, black pepper and a hard cheese (Pecorino Romano or Parmigiano Reggiano). Alfredo: just  pasta, butter, cream and cheese (Parmigiano Reggiano). And Cacio e Pepe: pasta, black pepper, cheese (Pecorino Romano), and a little pasta water. Simple, but simple requires the best quality ingredients and the right method of preparation.


1 lb. spaghetti
4 teaspoons roughly ground black peppercorns
7 oz. Pecorino Romano cheese, freshly grated


Bring a pot of salted water to a boil and cook the spaghetti until it just about reaches the al dente stage.

While the pasta is cooking, heat a dry pan and dry fry the roughly ground peppercorns until they start to release their aroma.


Add a ladle of the pasta water to the pan with the peppercorns.


When the pasta is ready, move it to the pan with the peppercorns, saving the pasta water.


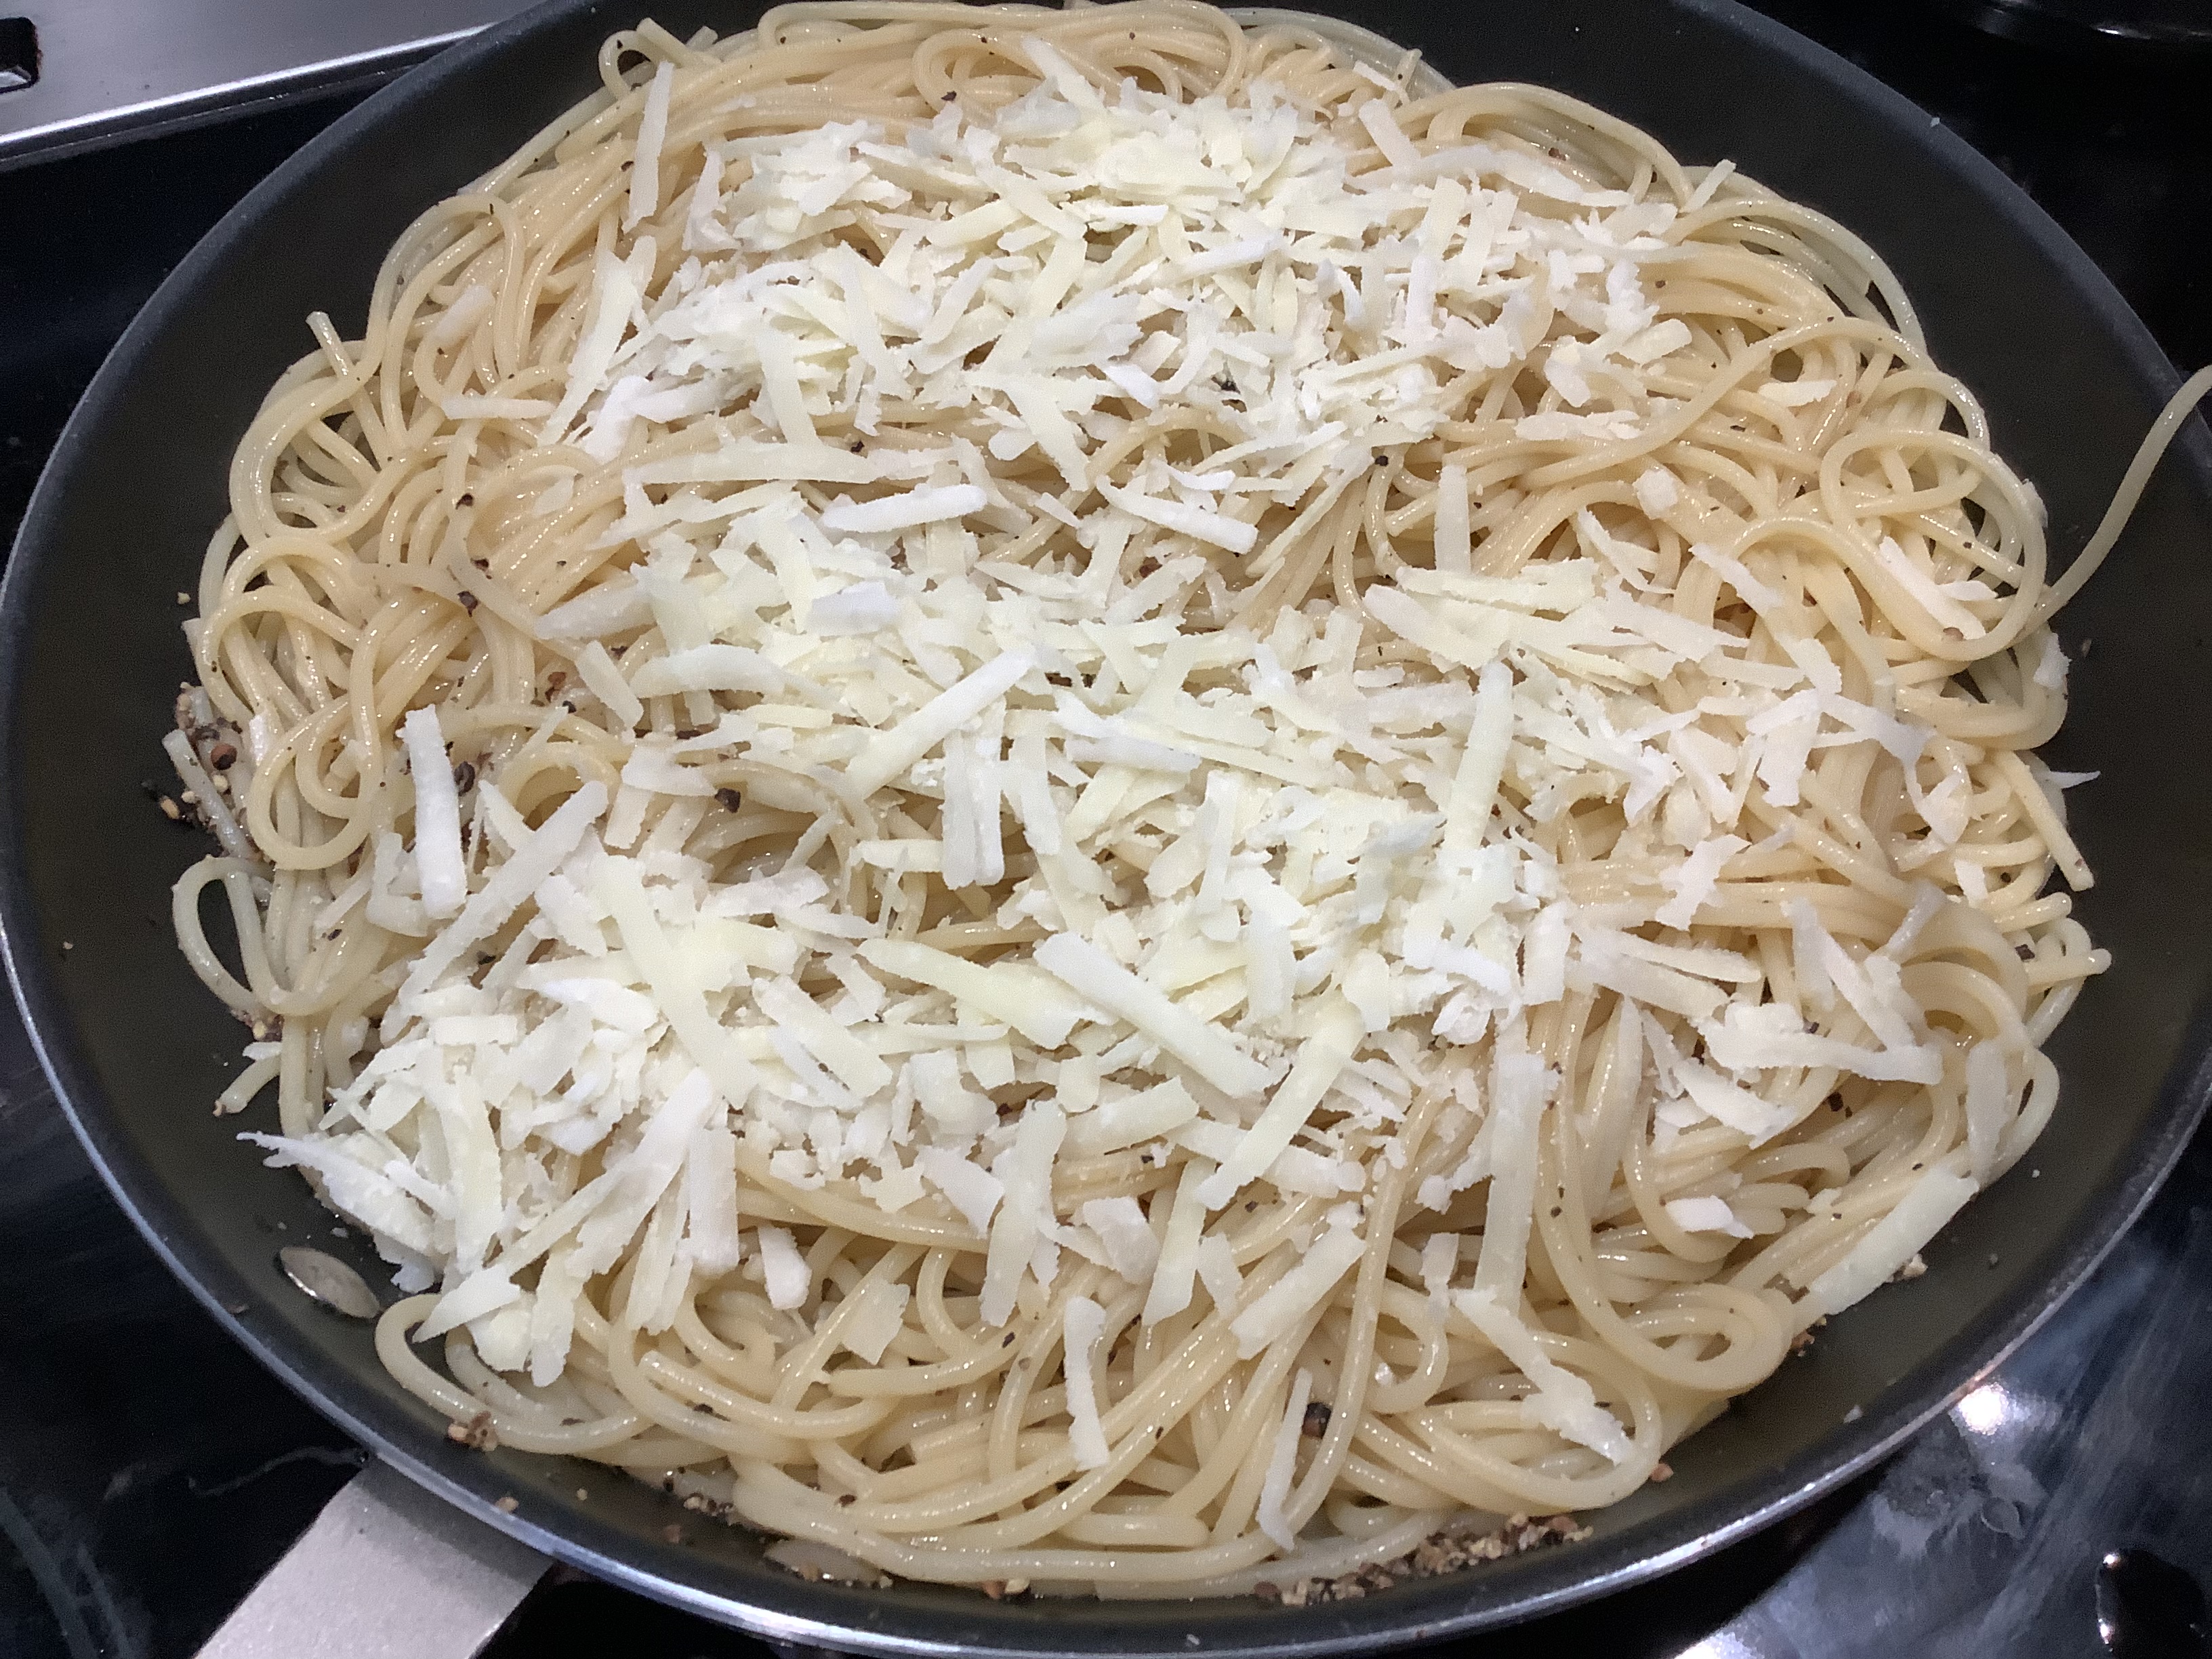
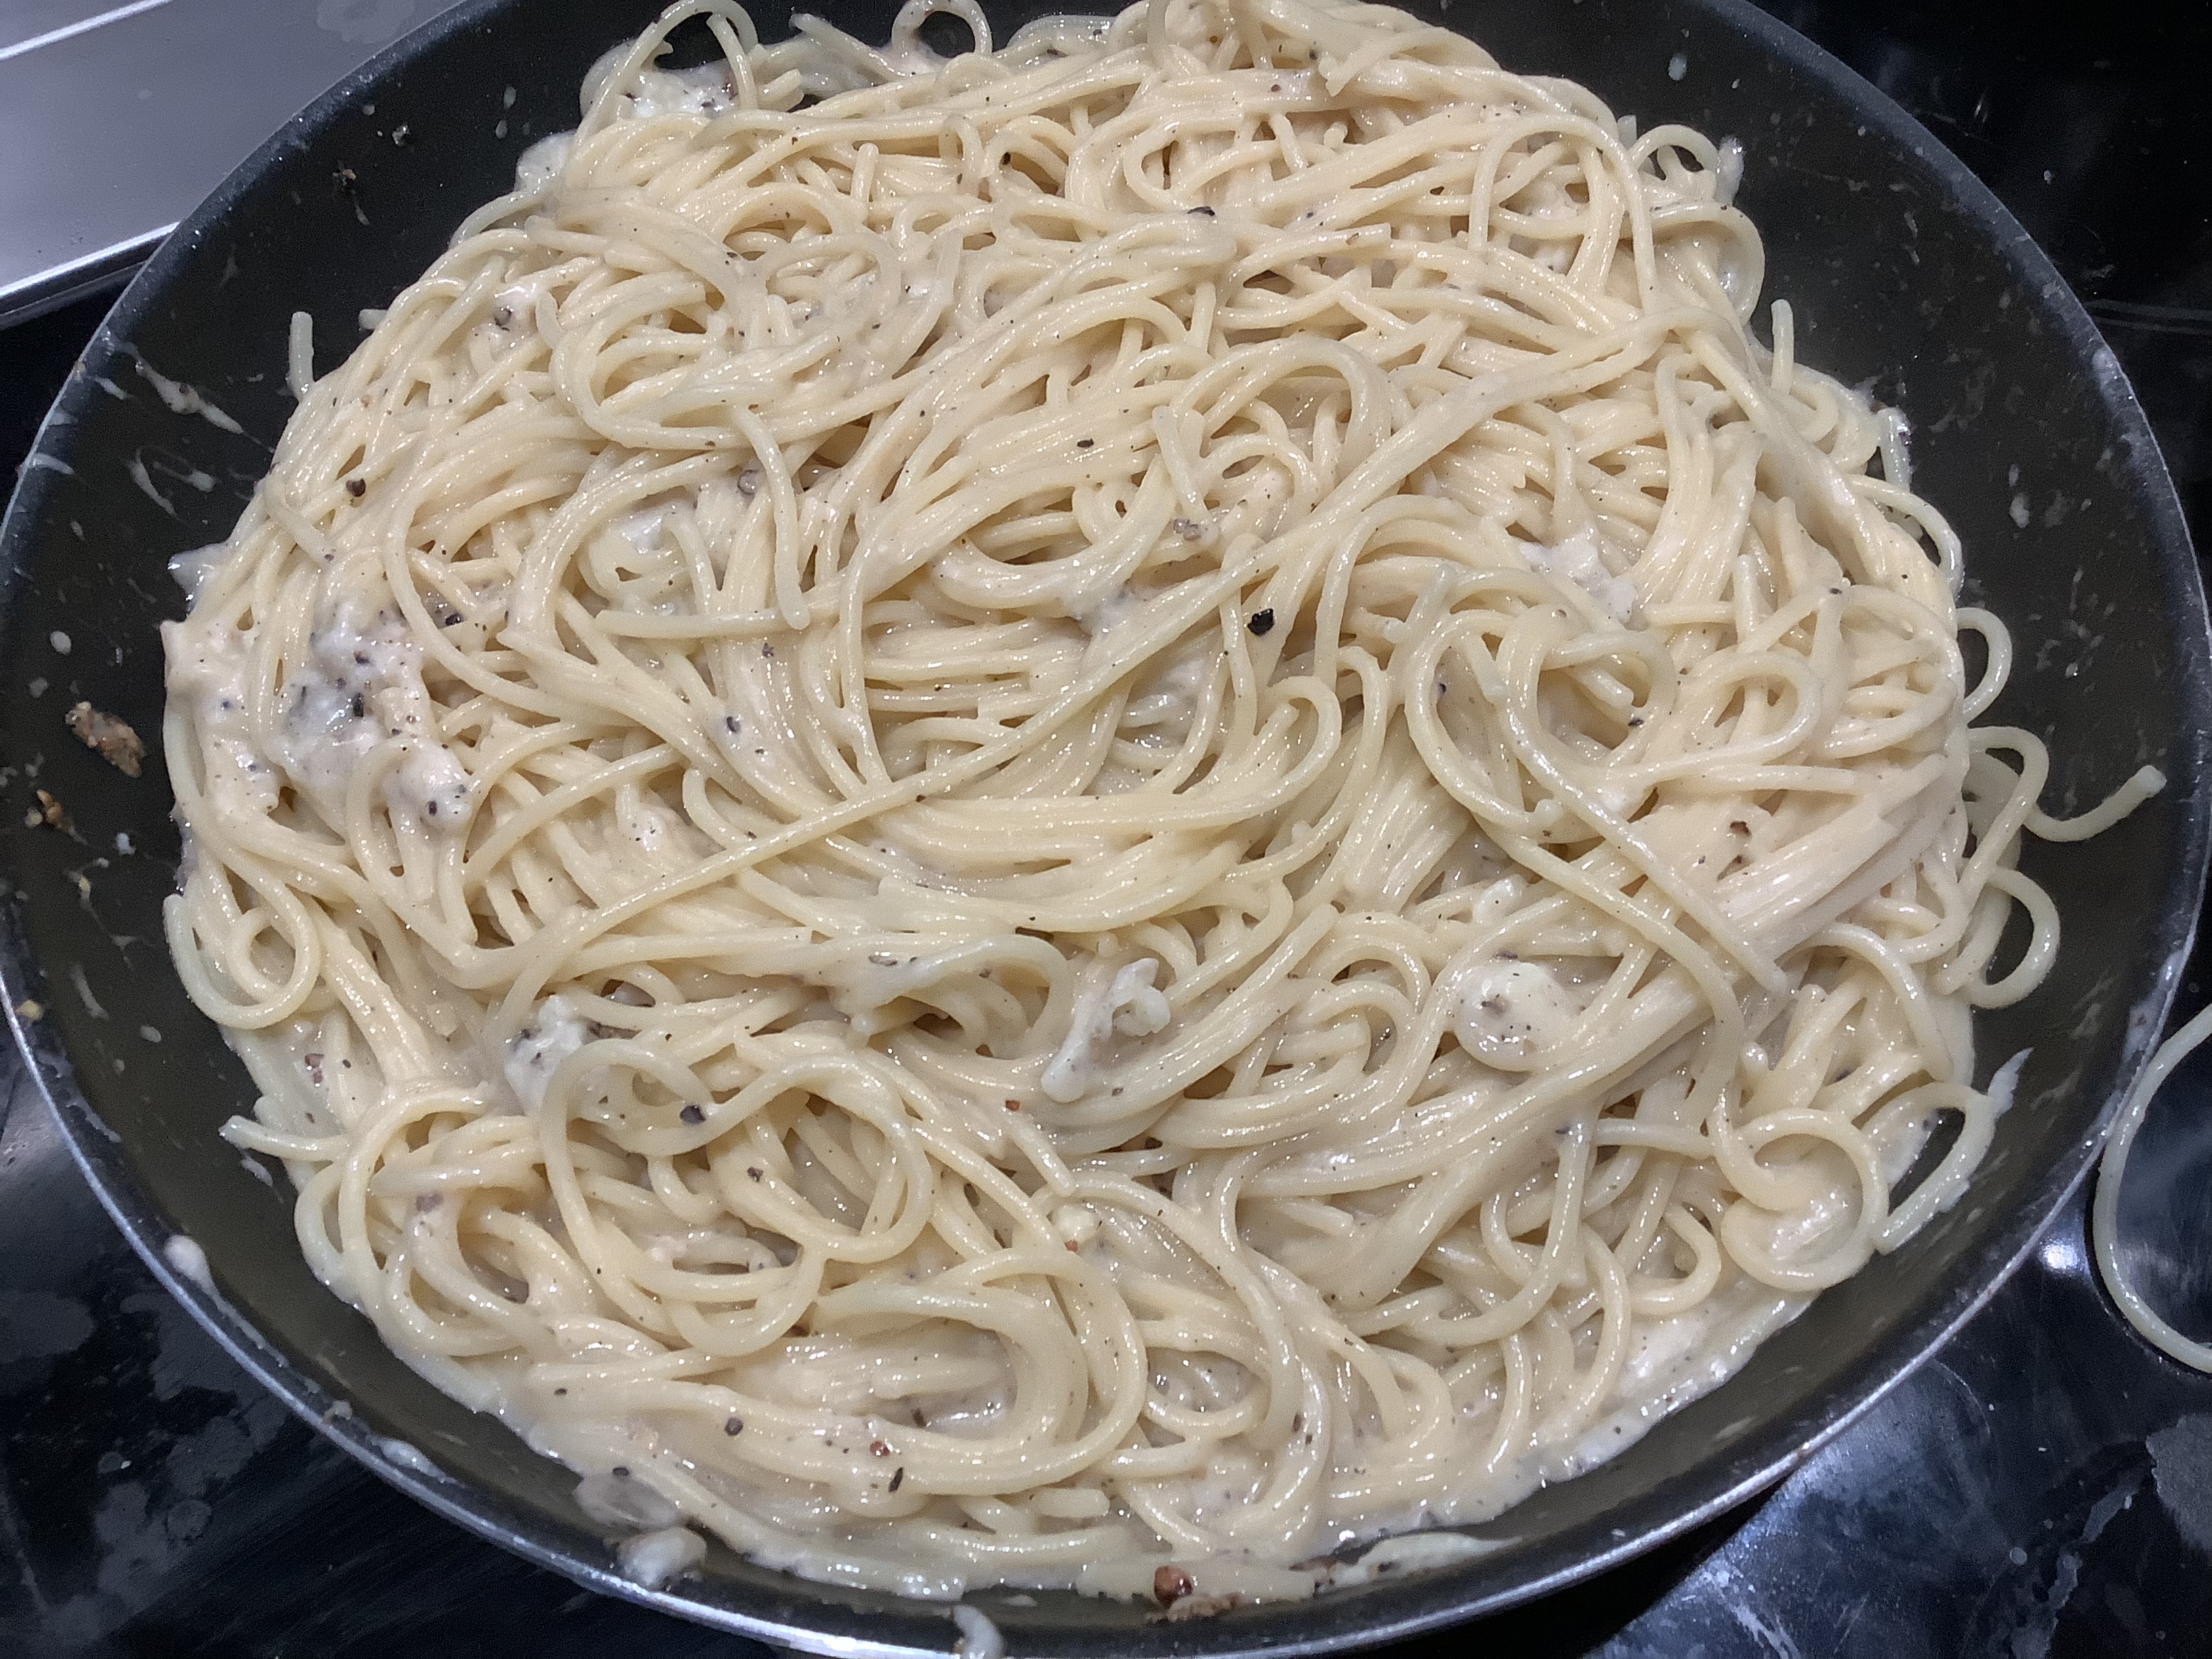
Mix the pasta and peppercorns together, and then slowly start adding the grated cheese, stirring constantly. Keep adding the cheese until you use it all. If the pasta is too dry, add more pasta water. You want the cheese and pasta water to blend to make a beautiful, creamy sauce.


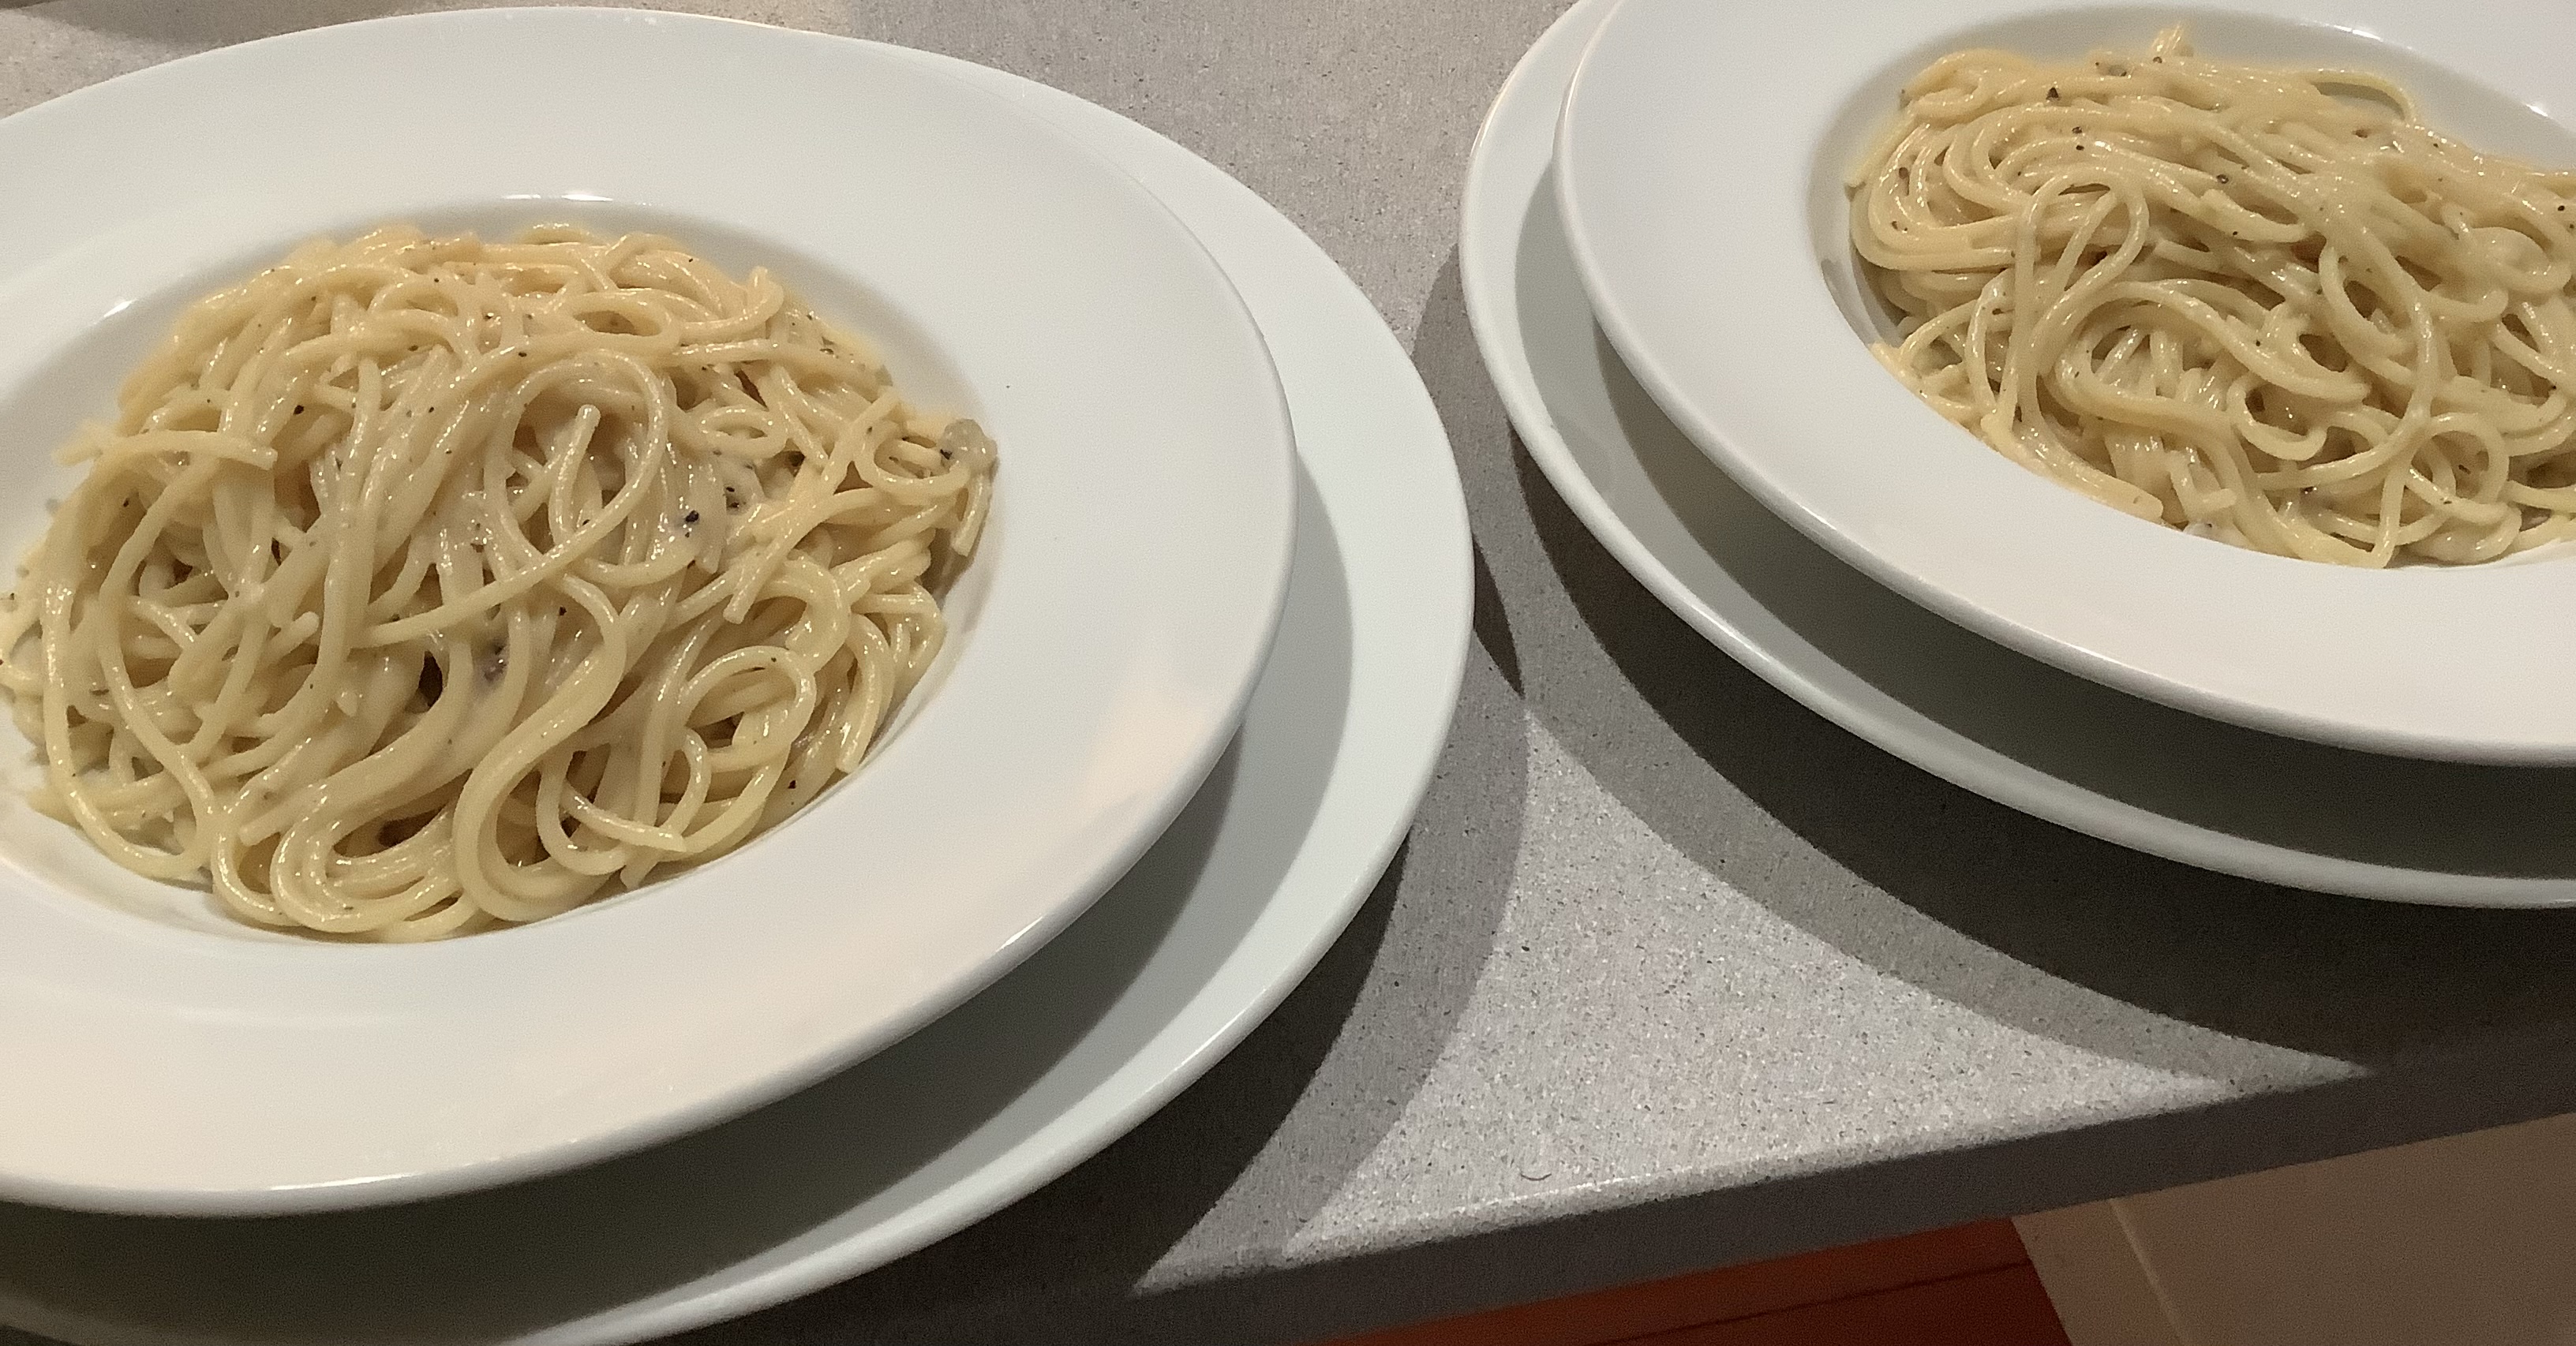
When you’ve achieved ultimate creaminess, it’s ready to serve!


BAKED RAVIOLI

Posted: January 10, 2025 in Uncategorized

Baked ziti, lasagna, and baked ravioli are all “cousins” …slightly different versions of basically the same dish. Yet each one is unique, and it’s fun to change them up when you’re in the mood for something gooey and cheesy.


I made this recipe recently, when my daughter invited some friends over, and they wanted to avoid meat. The extra layer of spinach makes it at least a tiny bit healthy! (I prefer fresh spinach over frozen.)


Great having a fresh pasta shop in my own town!


I used fresh pasta for this dish (it came frozen and I thawed it), so no need to cook it ahead of baking. But you will have to cook dried pasta to a very chewy al dente stage if you choose to use it. (Not recommended for this recipe.)


1 lb. fresh or frozen raviolis (I used ravioli stuffed with burrata and spinach this time)
1 can (28 oz.) tomatoes
2 tablespoons olive oil
1 tablespoon balsamic vinegar
2 teaspoons granulated garlic
1 teaspoon dried oregano
1 teaspoon Kosher salt
Fresh ground black pepper
2 cups fresh spinach, washed
1 1/2 cups shredded whole milk mozzarella
1/2 cup freshly grated Parmigiano Reggiano


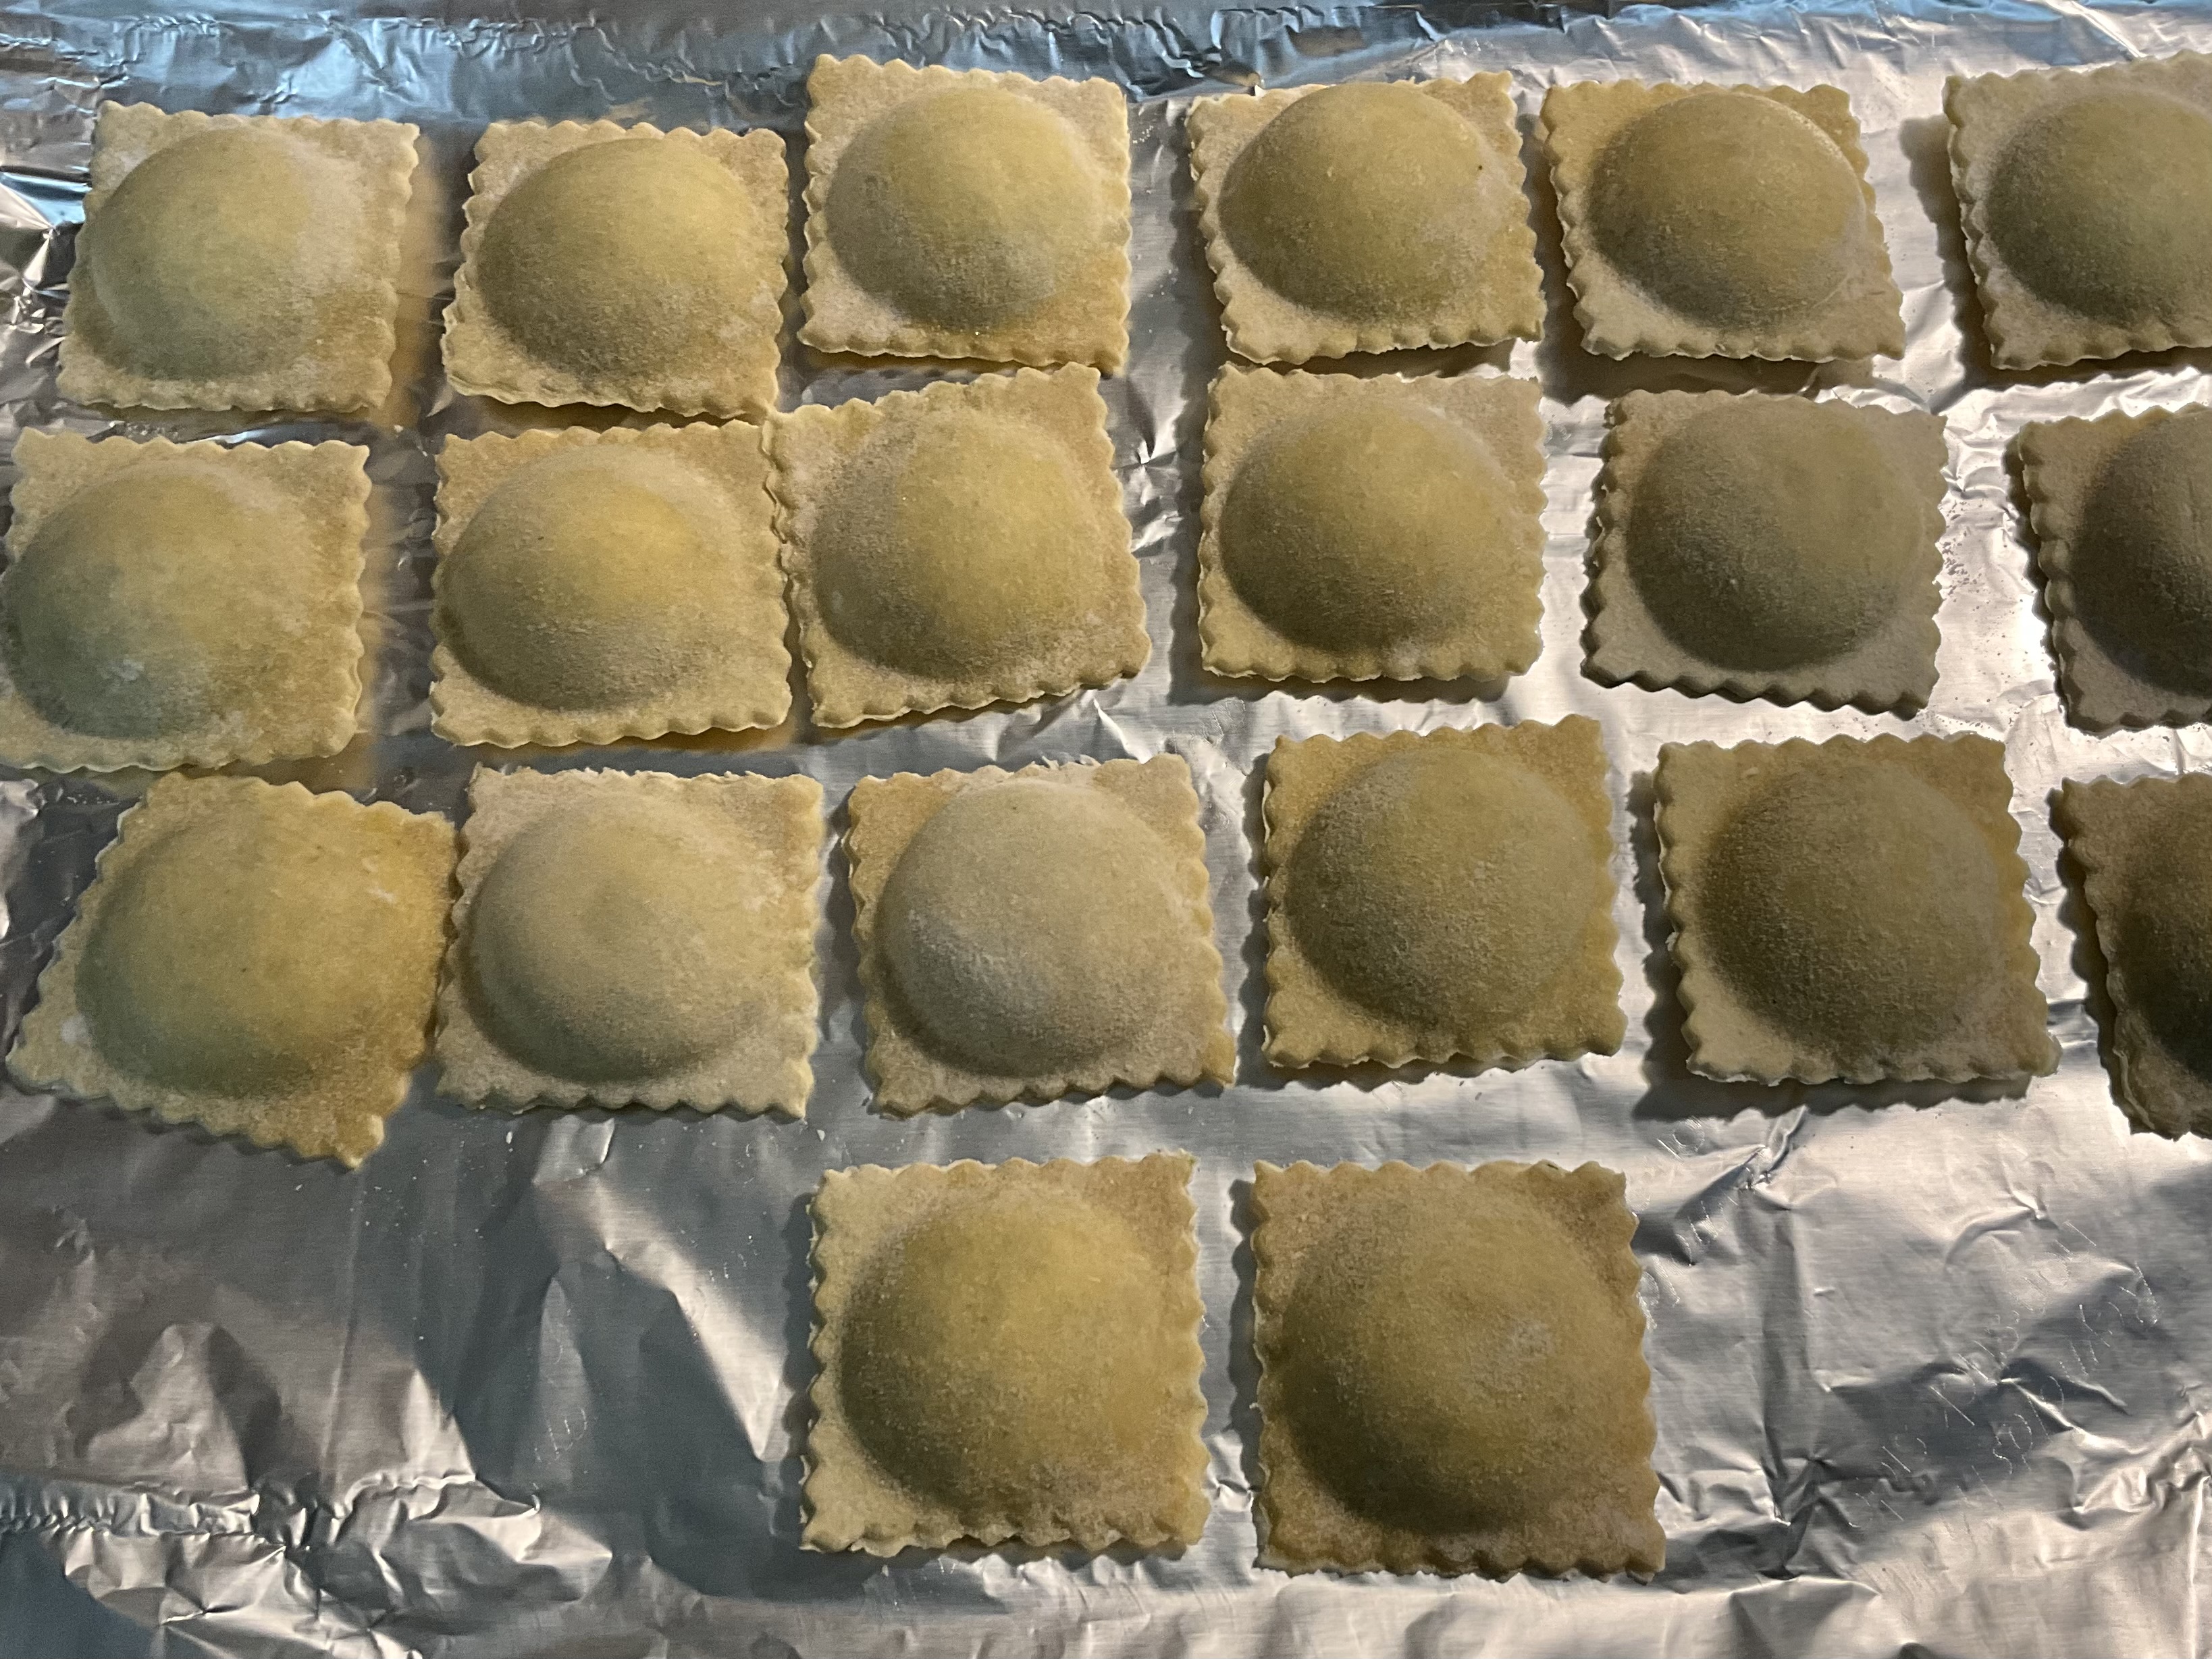
Thaw the raviolis, if frozen, by placing them on a baking sheet with non-stick foil. Cover them with plastic wrap to keep the moisture in to avoid cracking. (It’s not a big deal if they do.)


Preheat the oven to 400° .

Blend the tomatoes in a food processor or blender, then pour them into a large bowl. Add the olive oil, balsamic vinegar, garlic, oregano, salt and pepper (to taste.)

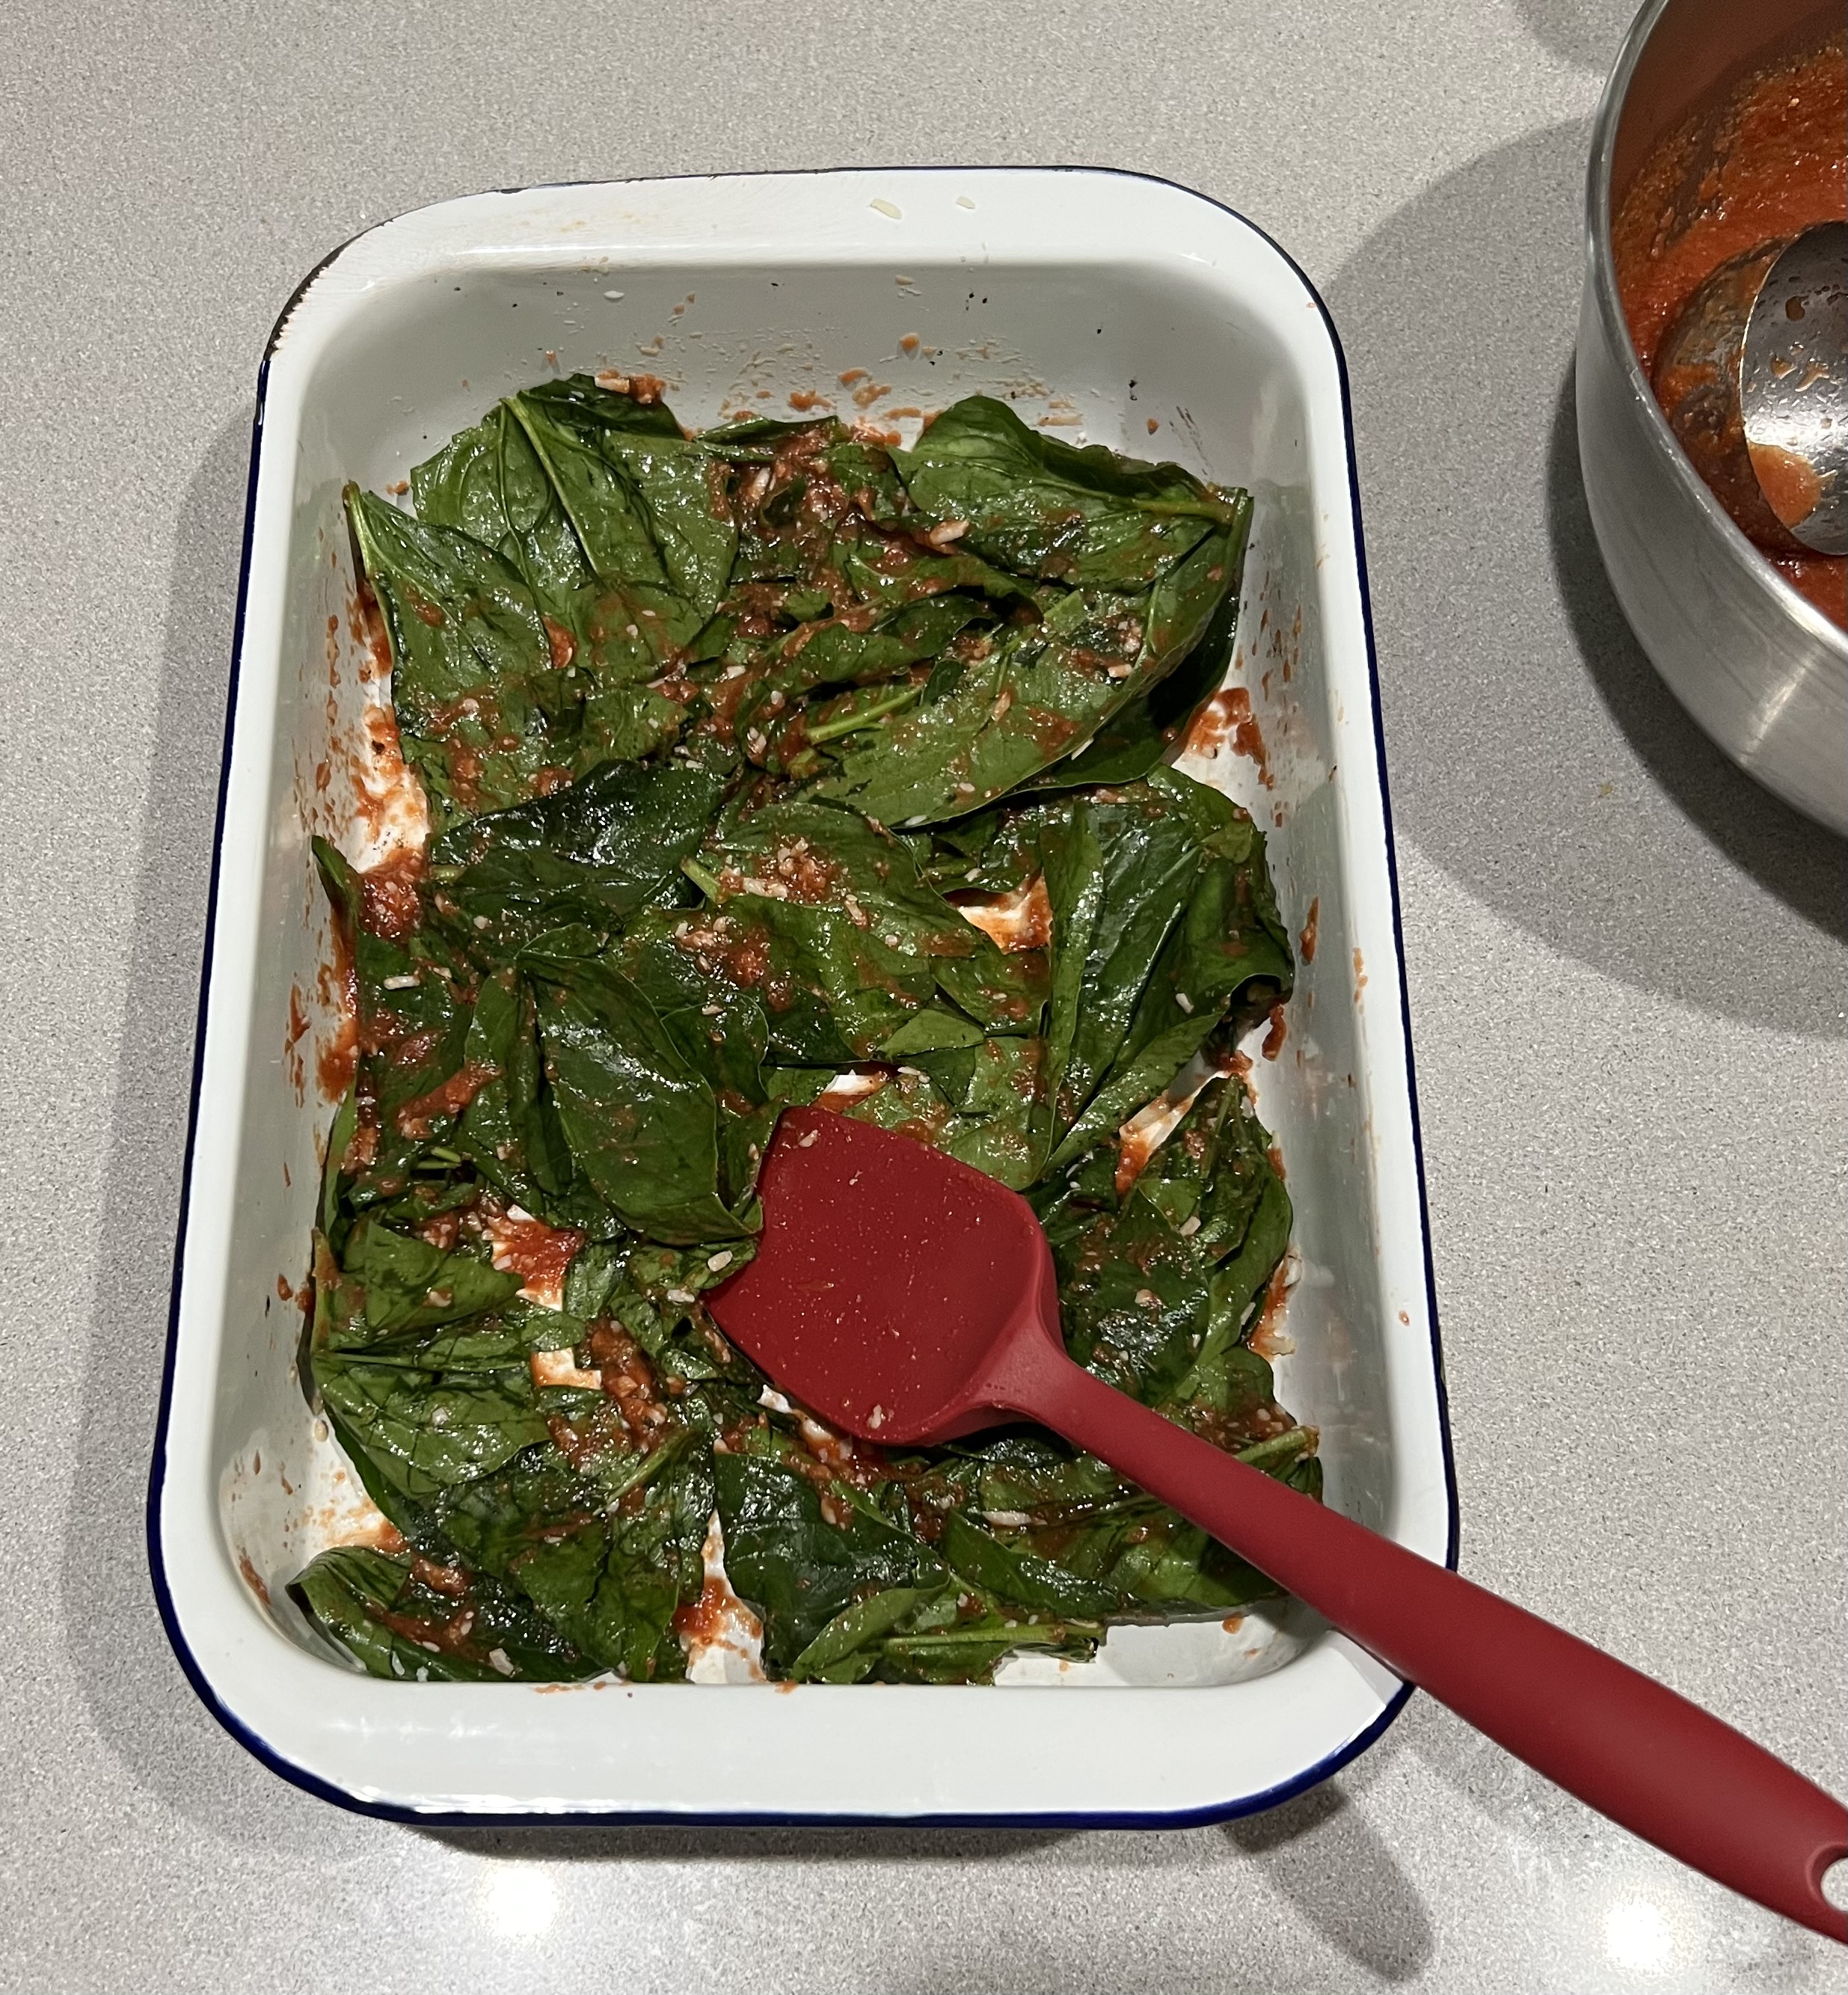
Spread the spinach out in the bottom of a large baking pan. Take a ladle full of the sauce and mix it with the spinach to soften it and give it moisture.


Dunk the raviolis in the sauce, then lay them on top of the spinach, one by one. Then pour the sauce on top of the raviolis. (If you use tortellini, you can mix them right into the sauce, because they’re sturdy.)


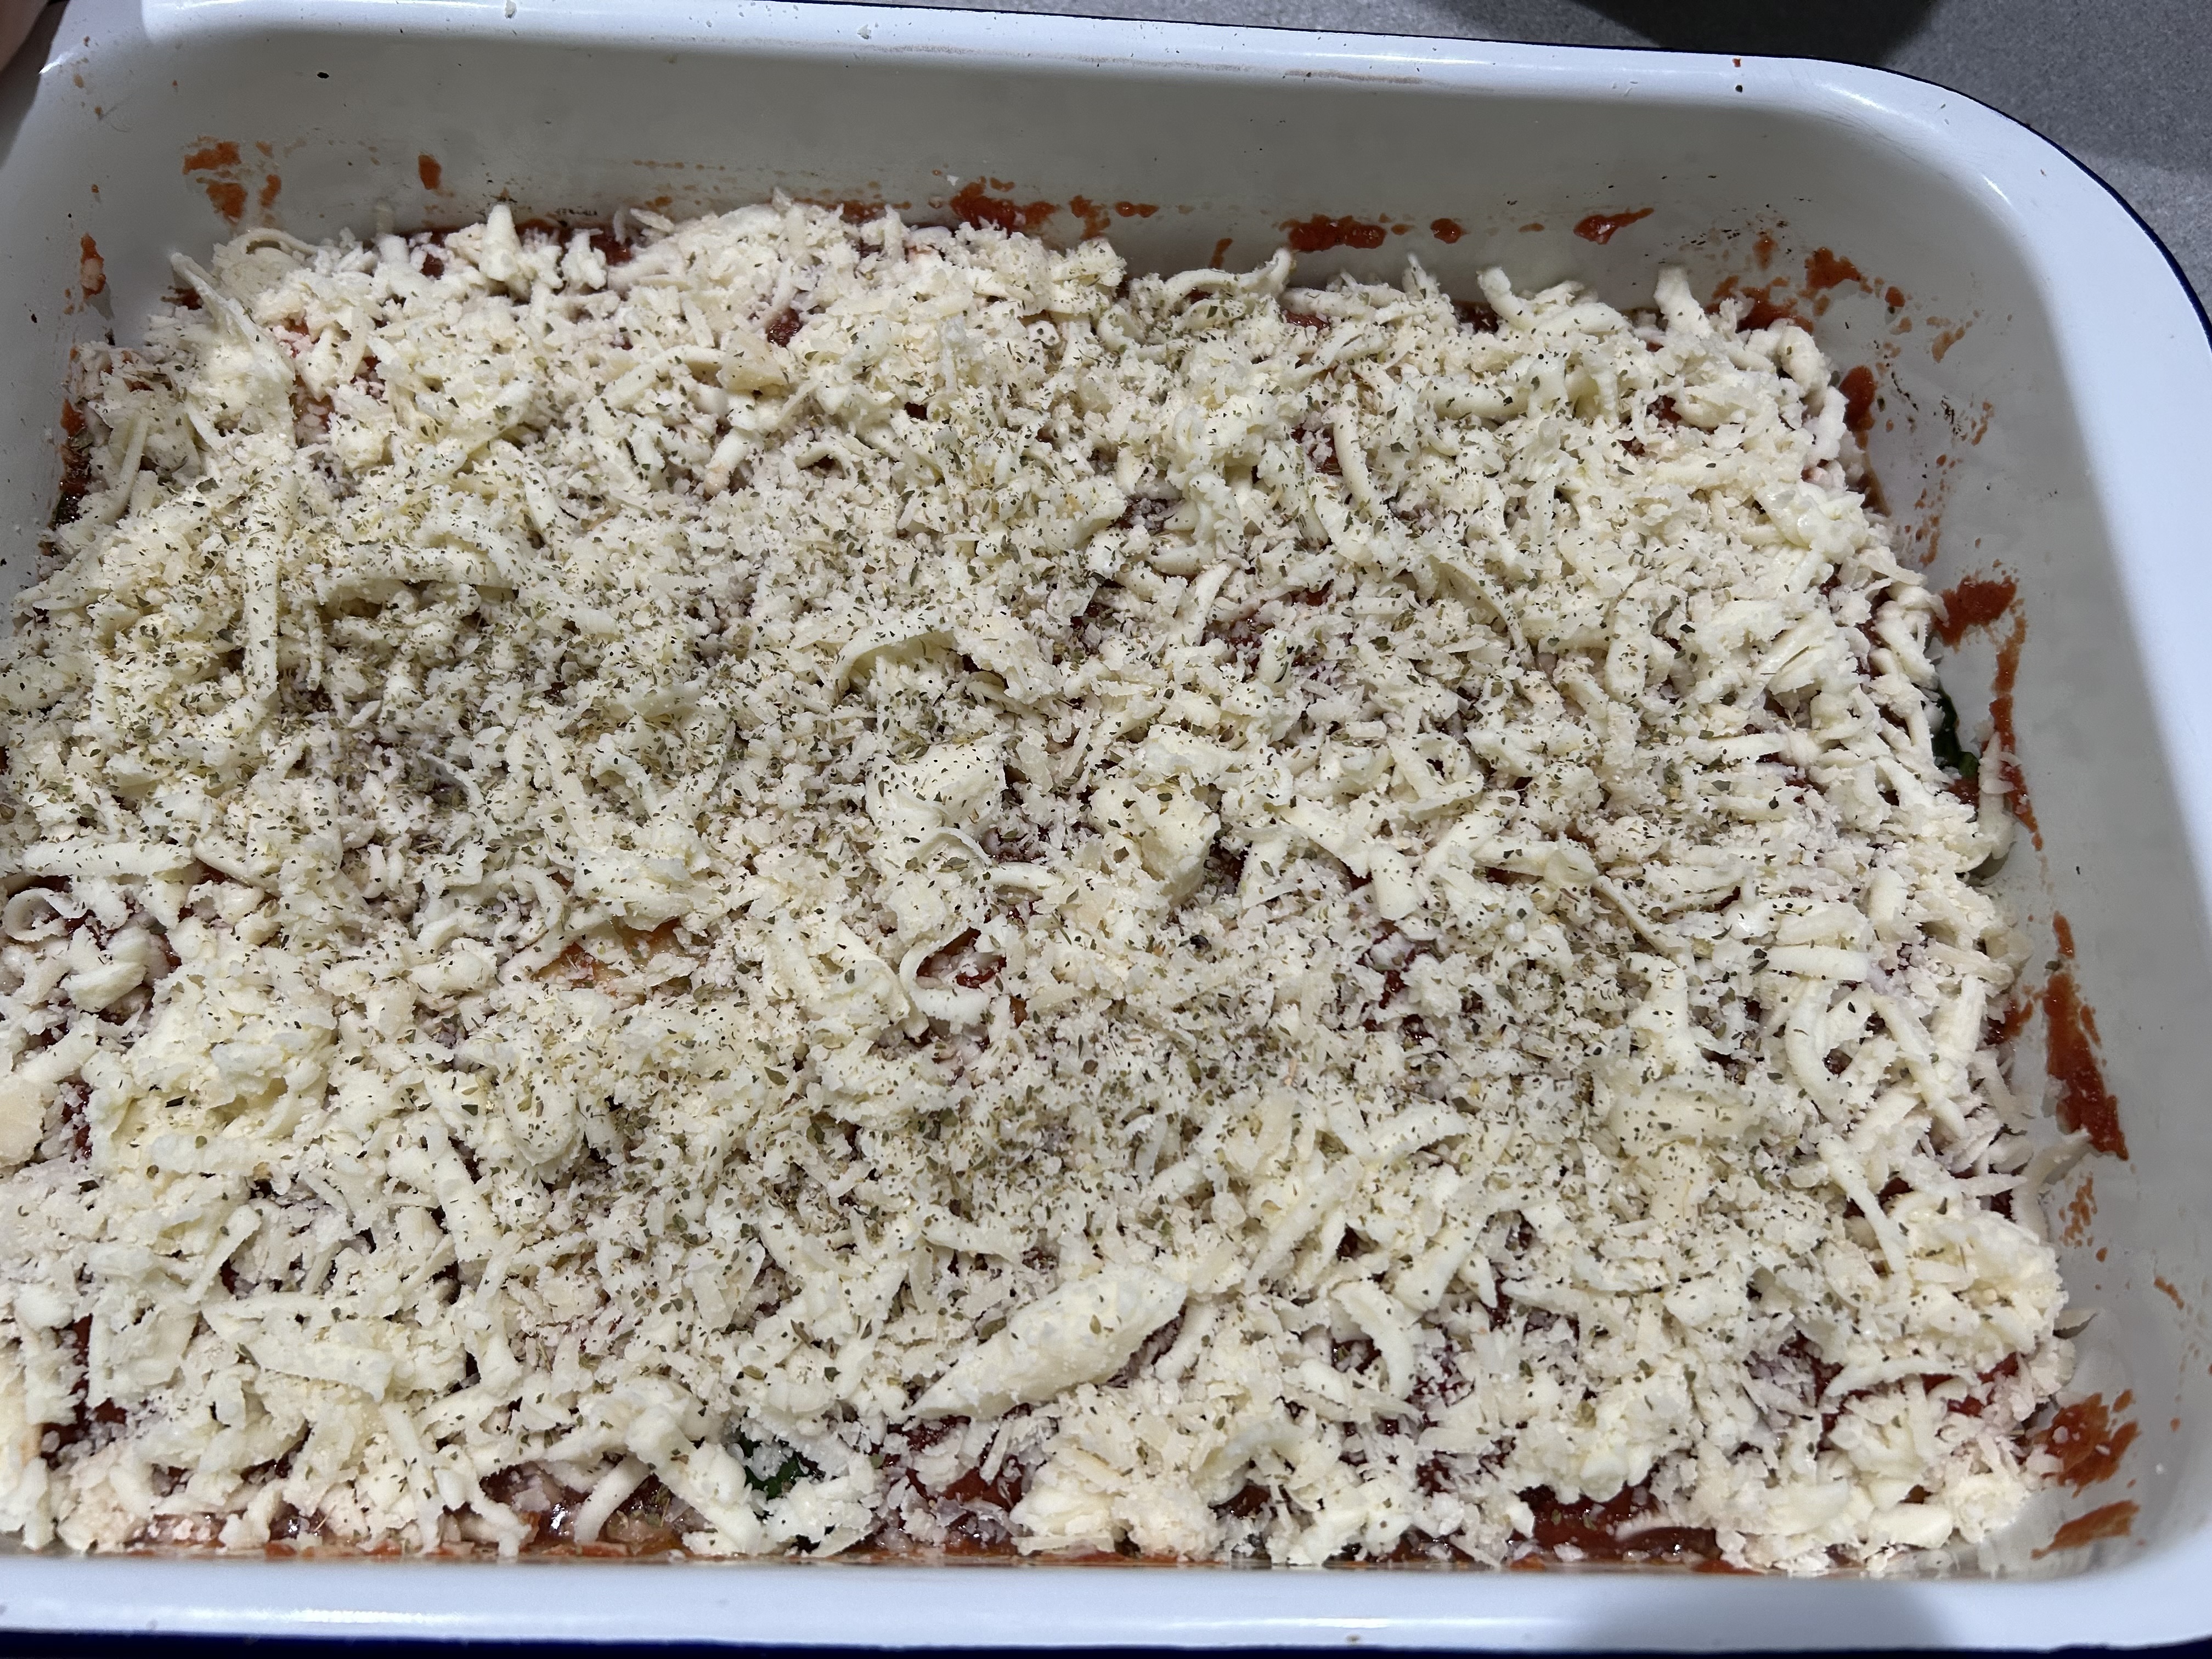
Cover the raviolis evenly with the mozzarella, then with the Parmigiano Reggiano. Dust some dried oregano on top.


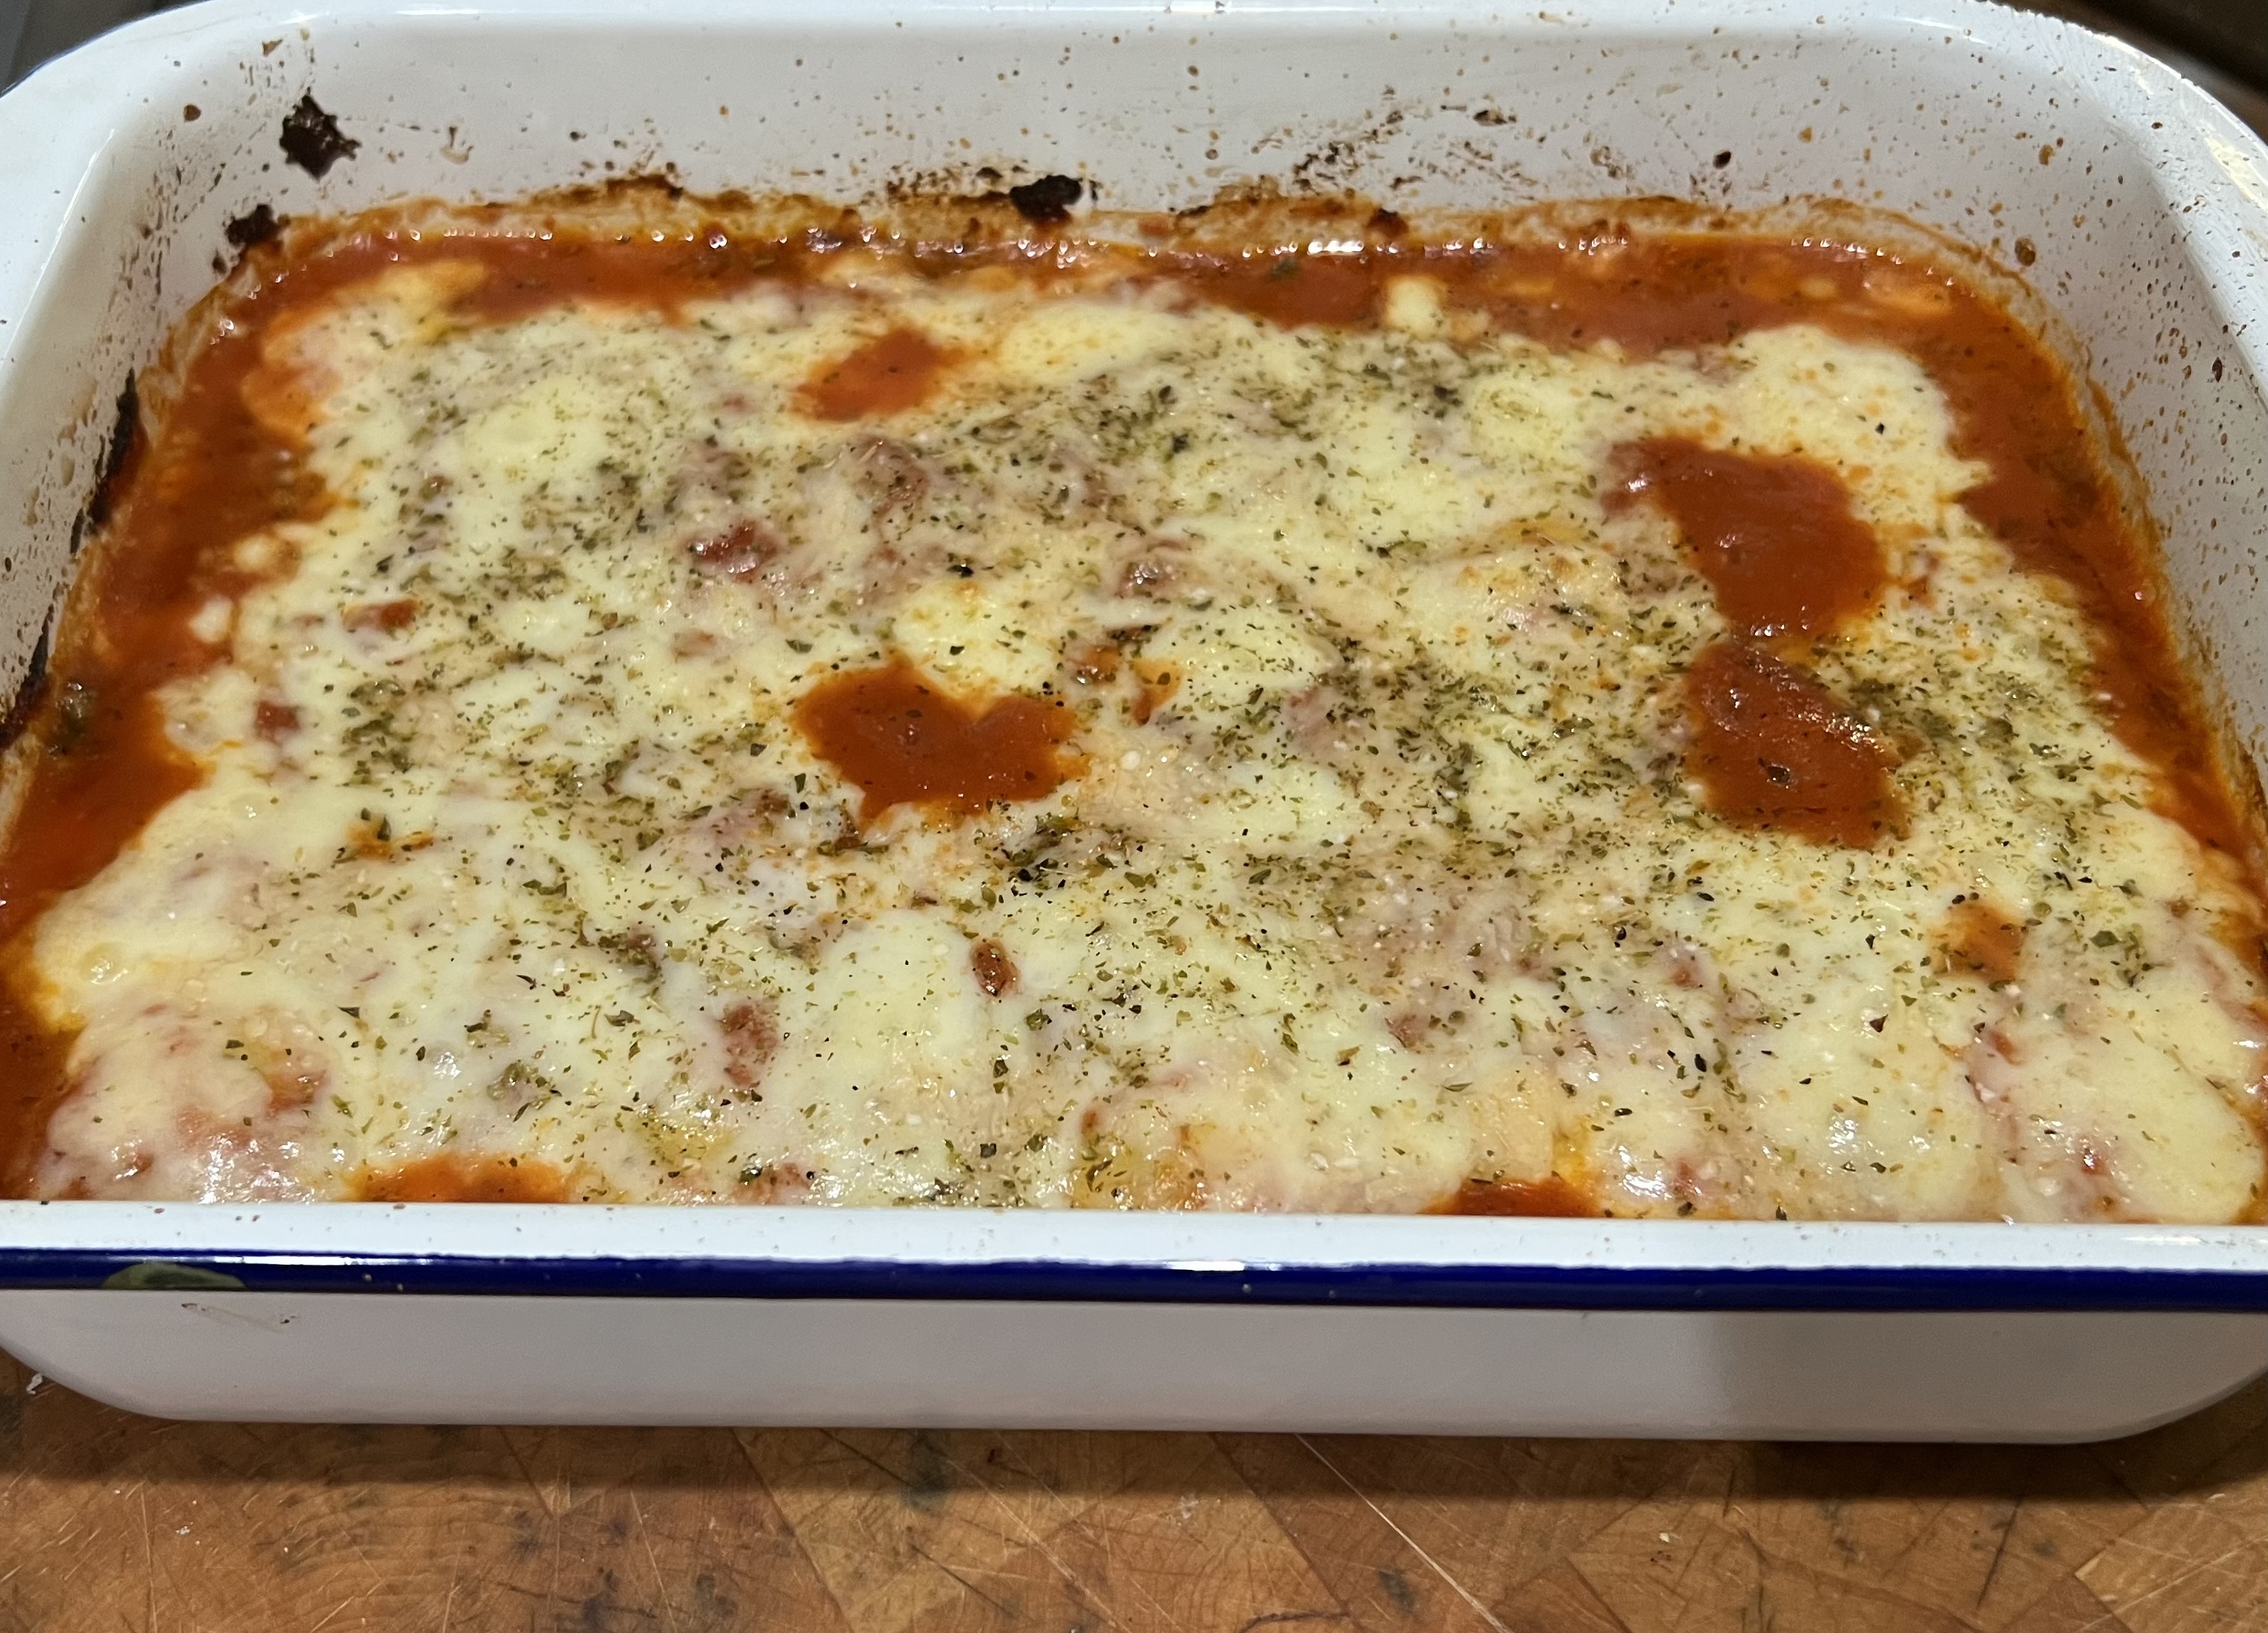
Bake until the cheese melts and turns golden, and the sauce is all bubbly. Let it cool a bit before serving.


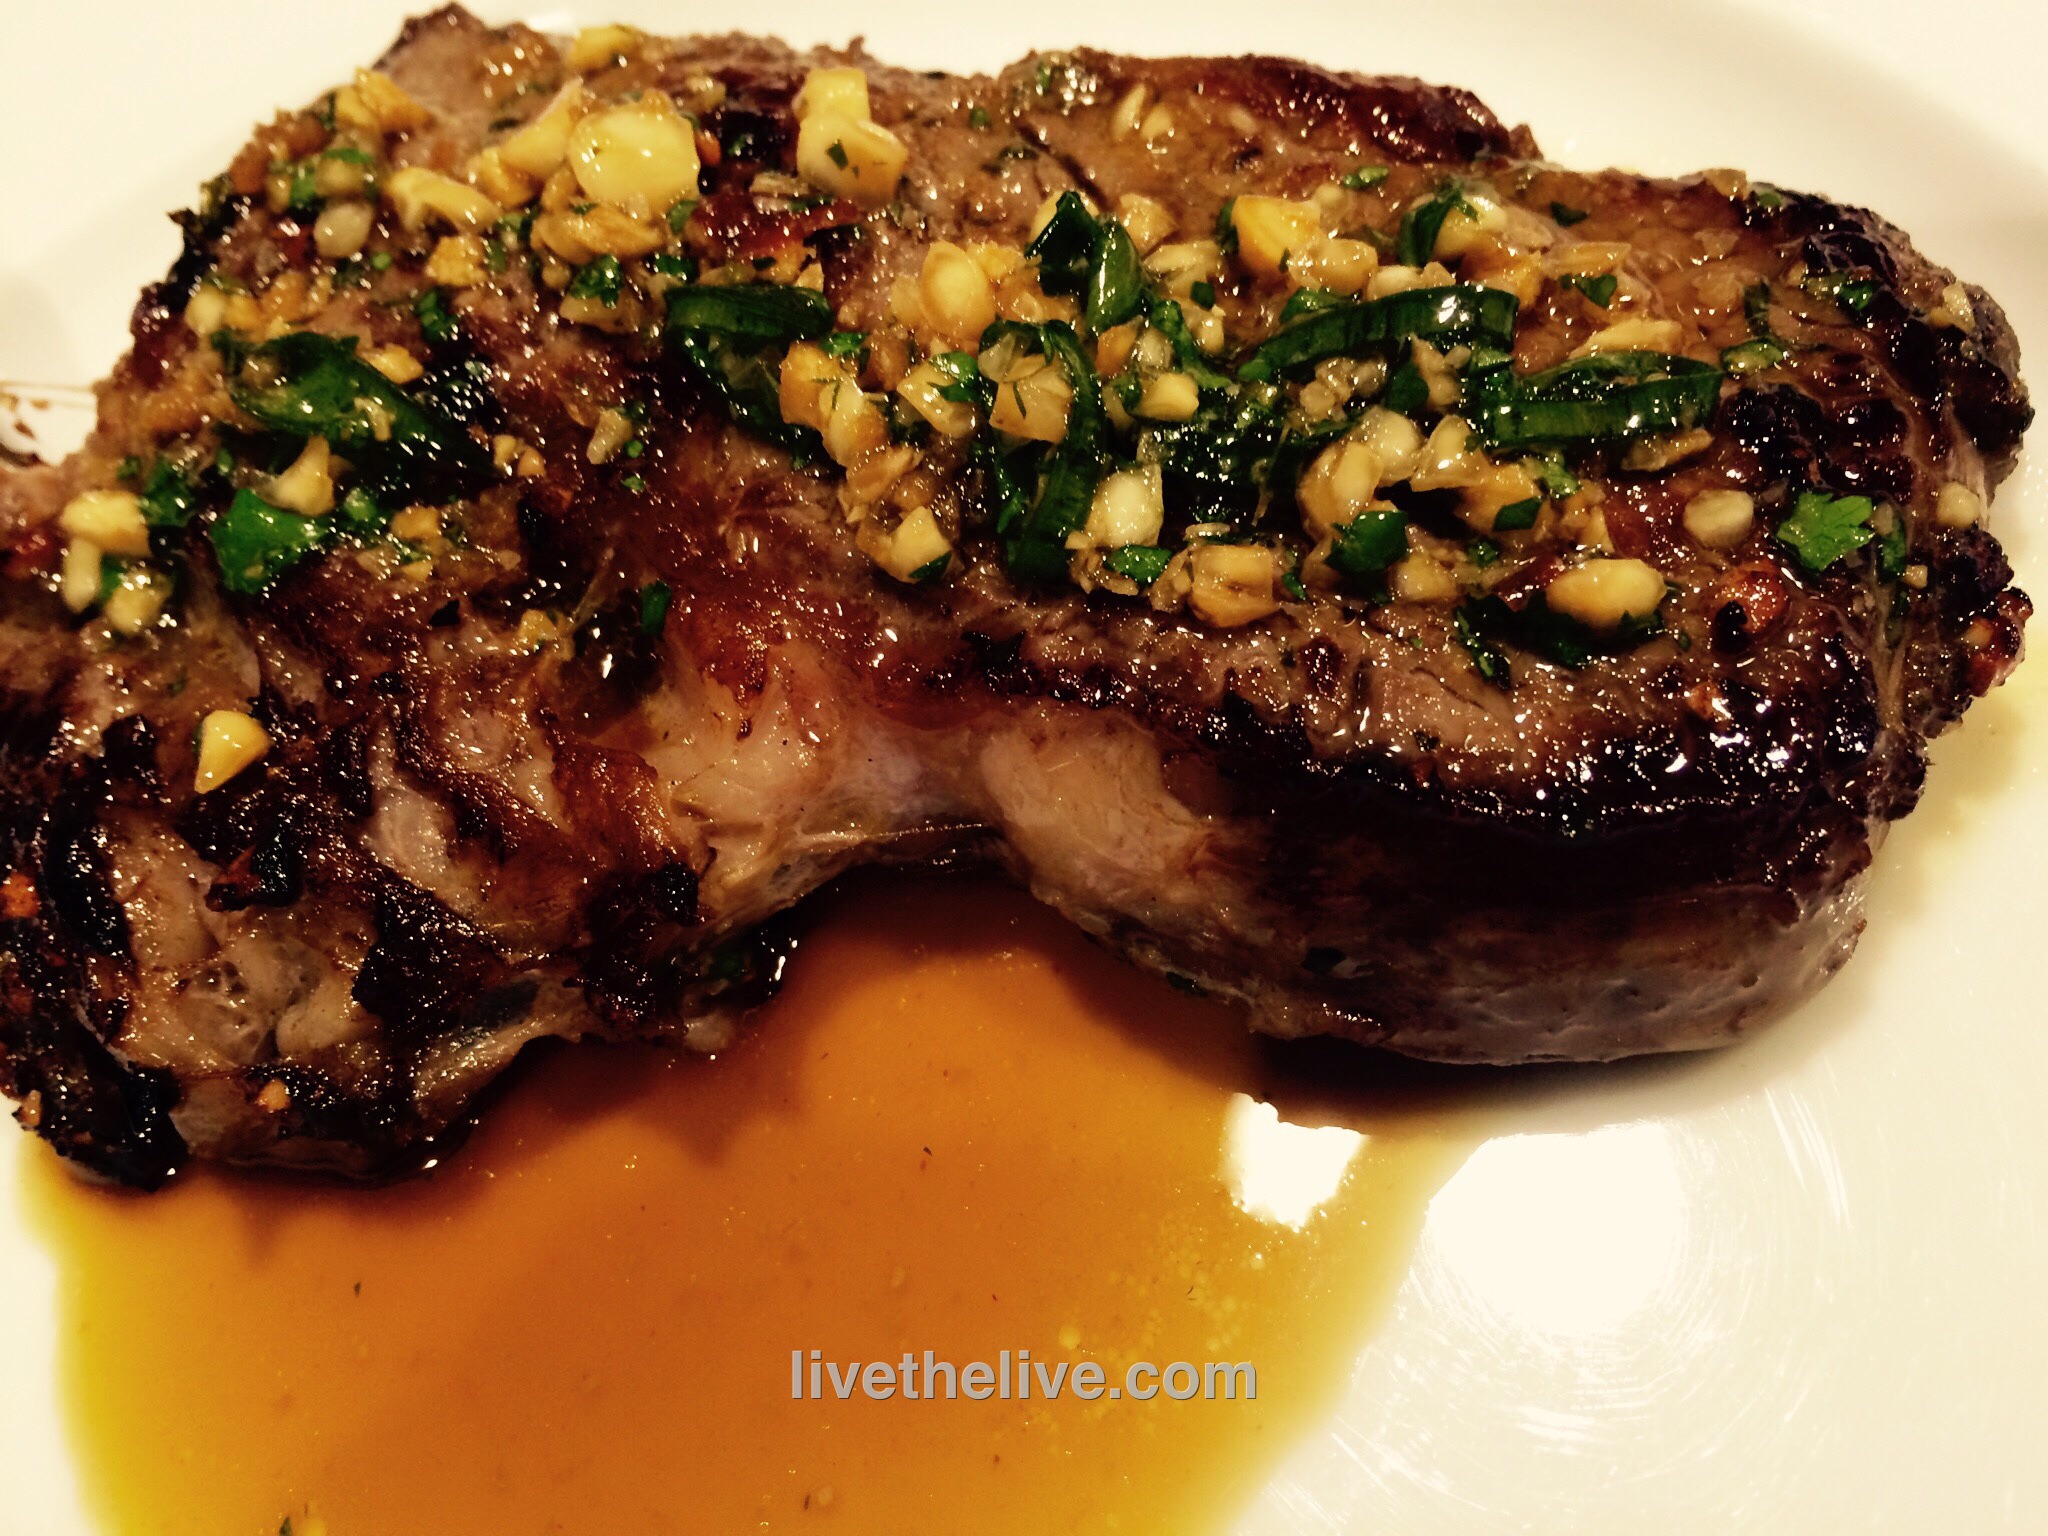
This is a really delicious grilled steak full of wonderful Thai flavors. You do need to marinate it overnight, so keep that in mind. The overnight marinating is key to the intense and unbelievable flavor of the beef.

The original recipe called for skirt steak, but I didn’t have any in my freezer. I did have a fat ribeye, though, so once I thawed it, I sliced it lengthwise to get two large, thin steaks which would easily suck up the marinade I was going to make. And the ribeye was nicely marbled, so it stayed juicy and tender. Beef flap or flank steak are cuts is that would work well with this recipe.


image

1/4 cup toasted sesame oil
1/4 cup soy sauce
2 tablespoons grated ginger
2 tablespoons finely chopped garlic
2 tablespoons finely chopped cilantro
2 tablespoons chopped dry roasted unsalted peanuts
2 scallions, minced
1 tablespoon light brown sugar
1 tablespoon fresh squeezed lime juice
1 tablespoon chile oil
2 lbs. beef ribeye (or skirt steak or beef flap)
1/4 cup chicken stock (homemade is best)

In a bowl, whisk together the sesame oil, soy sauce, ginger, garlic, cilantro, peanuts, scallions, sugar, lime juice and chile oil. Transfer half of it to a shallow dish.

Add the steak to the dish and turn the meat to coat it well. Cover and refrigerate the beef overnight. Refrigerate the other half of the marinade in a separate container.

The next day, light a grill. While it’s warming up, get out a sauce pan and pour the chicken stock in along with the reserved marinade. Heat it to combine it well, but not letting it reach a boil. Remove it from the heat and let it come to room temperature. This will be the dipping sauce for the beef.

About 30 minutes before cooking, take the marinated steak out of the fridge and let it come to room temperature. Season it with salt and pepper, and grill it over high heat until it’s medium-rare, about 5 minutes.

If it’s too cold to light a grill, or if you just want to use the oven, heat a cast iron pan on the stovetop, add a few drops of avocado oil or pork fat, and sear the beef on both sides before placing it in a pre-heated 375° oven to finish cooking.

Devour the beef with the dipping sauce!

The original recipe for this white bean soup used bits of bacon. But it just so happened that I was planning on slow-cooking a pork shoulder in my smoker today. When the smoked pork met the white bean soup, it was a match made in pig heaven! (Of course, it would work with brisket or chicken as well…)


2 medium onions, finely chopped
1 medium fennel bulb, finely chopped
1 smashed garlic clove
3 cans (15 1/2 oz.) cannellini beans, drained and rinsed, 1 1/2 cups reserved
40 oz. veal bone broth (or chicken broth, if you prefer)
1/4 teaspoon bouquet garni
1 teaspoon salt
1/4 teaspoon black pepper
Bacon fat and/or olive oil
A slab of slow-cooked smoked pork shoulder, pulled and shredded


In a large heavy saucepan, sauté the onion, fennel, and garlic in bacon fat or olive oil until they are tender, about 8 minutes.

Drain and rinse the cannellini beans, reserving 1 1/2 cups for later. Pour the beans in the saucepan.

Add the veal (or chicken) broth, the bouquet garni, and the salt and pepper.

Simmer for 15 minutes, then turn the heat off and let it cool for 15 minutes.

Puree the soup in batches in a blender, until smooth.

Return the soup to the pot and add the reserved beans. Heat for 10 minutes, and then taste it, adding more salt and pepper, if needed.


To serve, place a mound of the pork, cubed or pulled, in the center of a bowl. Pour the soup on top, and drizzle with a touch of extra virgin olive oil. Chopped scallions, or fresh chives, or parsley on top never hurt!


I’ve seen a lot of recipes lately that feature barbecue sauces made with berries. I’m a fan of a sweeter barbecue sauce, so this was right up my alley! The first time I made it, I didn’t have any chicken or beef stock on hand, so I used veal bone broth, which was pretty intense. The flavor of the sauce was delicious, but a lighter stock allows the flavor of the berry flavor to come through better.


Edible art!

12 oz. jar of blackberry preserves
1 cup chicken or beef stock
1/2 cup ketchup
1/4 cup turbinado sugar
juice of 1/2 large lemon (or 1 small lemon)
2 tablespoons apple cider vinegar


Cooking ribs is a low and slow process, so start by cooking the ribs in a smoker at 250 degrees for about 4 hours. I like to use hickory wood when smoking pork. If you don’t have a smoker handy, you can simply place the ribs on a sheet pan in a 250-degree oven and bake for 4 hours.

While the ribs are cooking, combine all the ingredients in a sauce pan. Heat to a boil, then reduce it to a simmer and cook it for about 20 minutes, until slightly thickened.


After the ribs cook for 4 hours, baste them on both sides with the sauce, and wrap them in aluminum foil. Bake them in the foil–still at 250–for another hour.


I get requests for this recipe every year. It’s absolutely delicious!

Let’s face it: there’s no such thing as healthy eggnog. This recipe is absolutely delicious but is also a heart attack in a glass. I updated this recipe a couple of years ago so that you don’t need to worry about salmonella (because you’re not using raw eggs)…though the alcohol will certainly still get you! (So I guess calling it “safe” is a matter of opinion!)

My buddy, Rick Sammarco, a wicked talented bartender, credits his father, Al, for the eggnog recipe I started from.

Some say that “aging” eggnog that uses raw eggs–literally letting it sit in the fridge for up to 6 weeks–will give the alcohol time to kill the salmonella. But there’s no real scientific evidence to support this. Sure, if you pour a ton of alcohol in the batch, 15% or even more, it might be safe. And I might risk it on myself, but I would never take a chance and serve it to friends or family. The only thing that really kills salmonella is heat, and that’s not something the average homeowner can easily do without actually cooking the eggs.
The solution is to buy pasteurized eggs.

Some supermarkets now carry whole eggs in the shell that have been pasteurized, though they are hard to find. But the Whole Foods near me does carry pasteurized real whole liquid eggs under the Vital Farms name, and they work perfectly with this recipe. The original recipe called for 15 (!) raw eggs. A 16-oz. container of Vital Farms liquid eggs is the same as about 9 eggs. So I need one full 16 oz. container, and then another 10 oz. or so for this recipe.

Now the only thing I need to worry about are too many calories and too much alcohol!

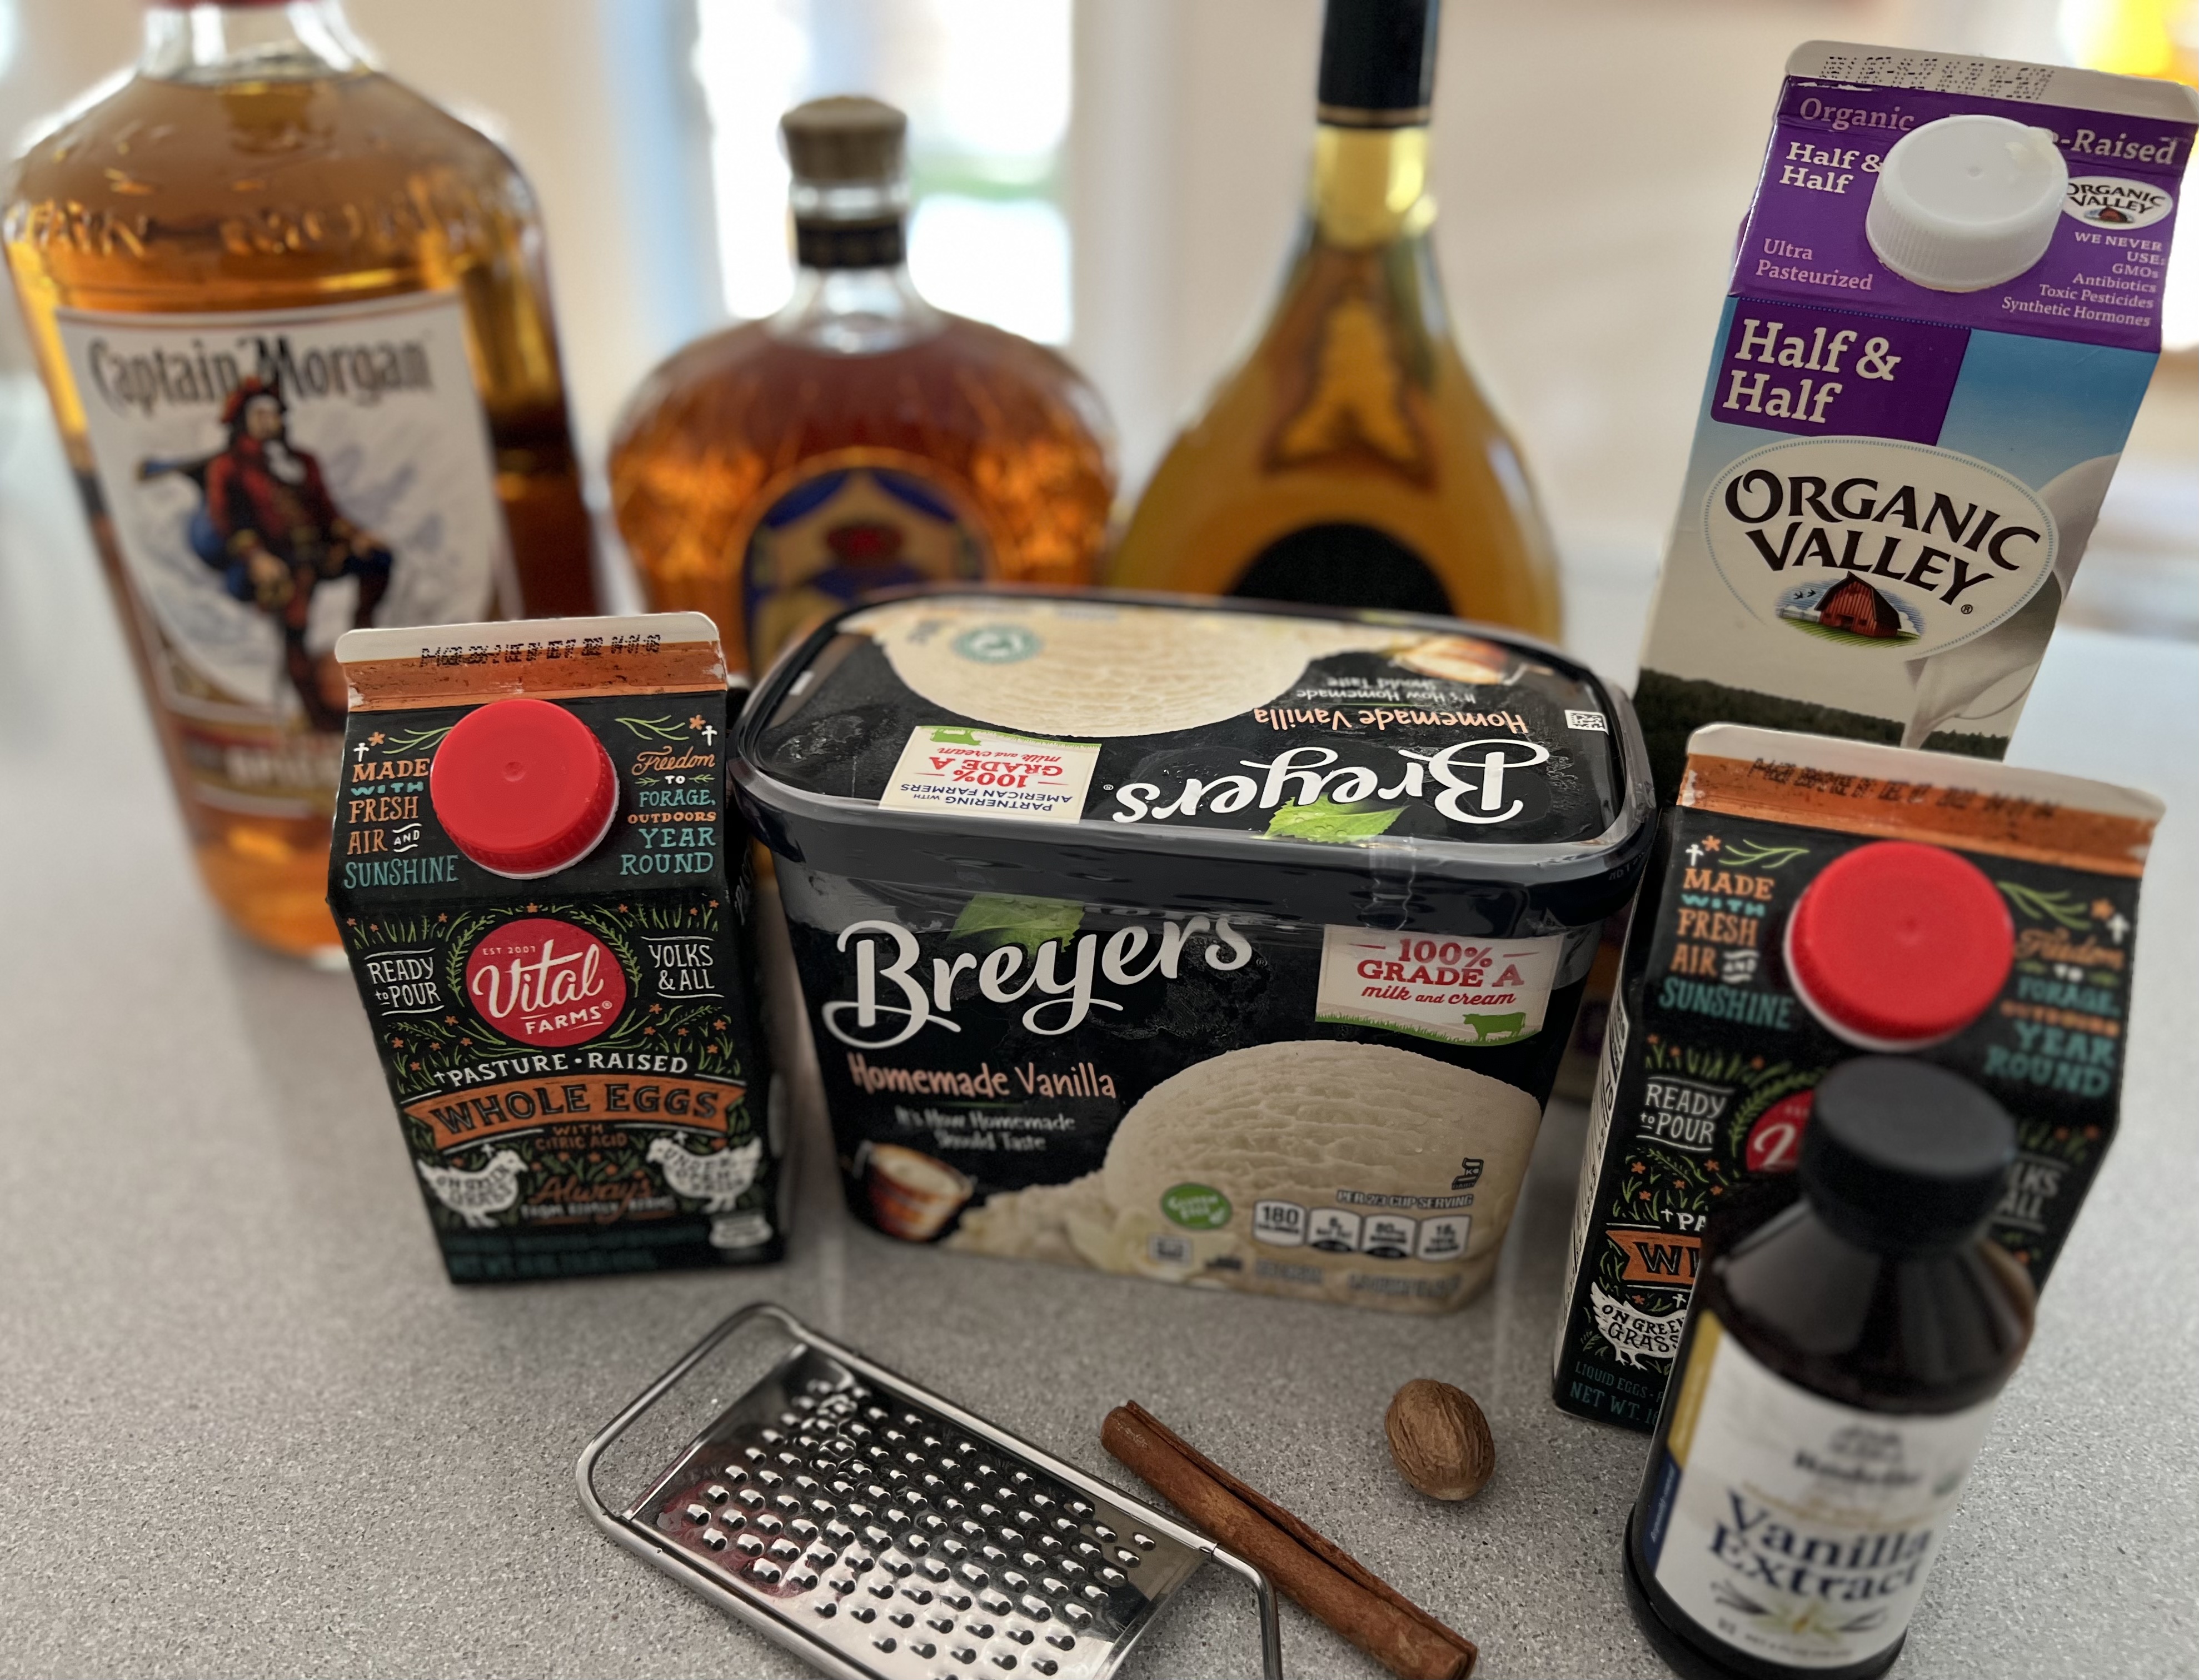
eggnog

1.5 quarts vanilla ice cream (I use Breyer’s)
1 pint half & half
Just over 26 oz. Vital Farms liquid whole eggs (the equivalent of 15 whole raw eggs)
1 teaspoon vanilla extract
1/2 teaspoon cinnamon
1/2 teaspoon nutmeg
1/4 cup pure maple syrup
6 oz.  of each:
spiced rum (I use Captain Morgan)
whiskey (I use Crown Royal)
brandy (I use E&J)

I let the ice cream soften one day in the fridge. I carefully mix the ice cream, half-and-half, eggs, vanilla, cinnamon and nutmeg in a blender.

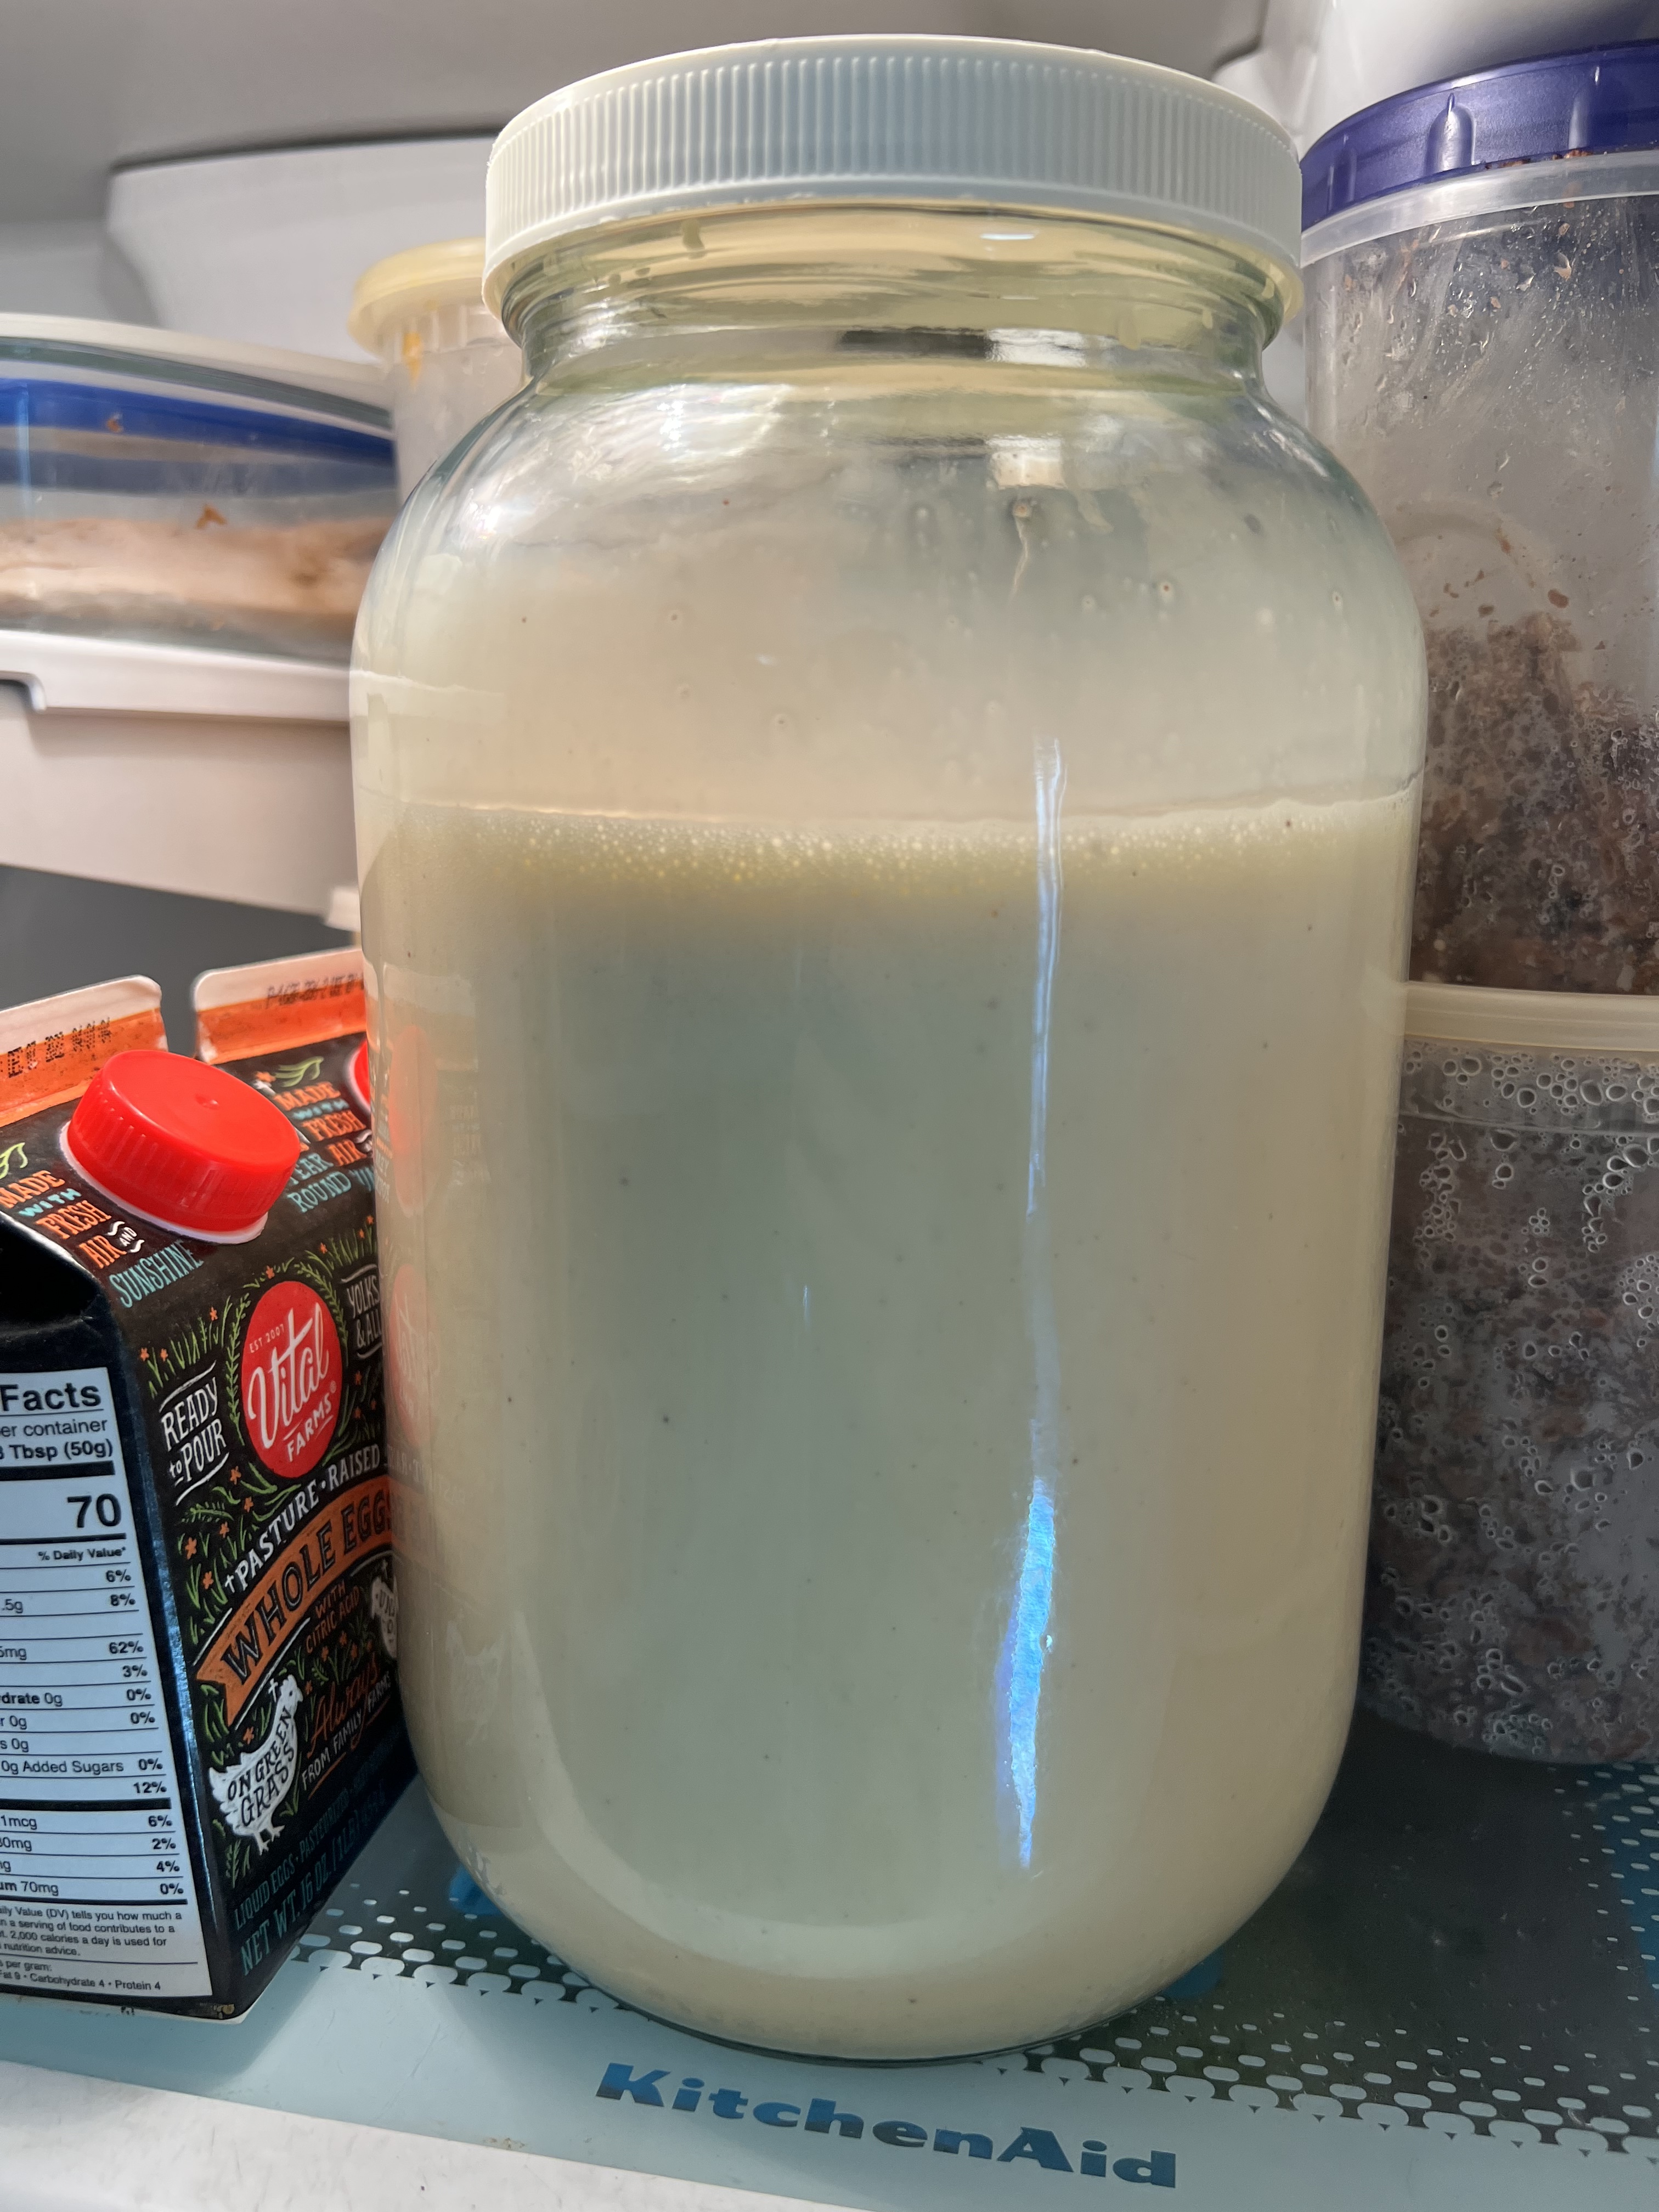
My blender is pretty big, but I find that it’s full at this point. So I pour everything into a gallon-size glass jar.

To the jar, I add the maple syrup and all the liquor. Then I whisk everything together, making sure I get down to the bottom of the jar.

After it’s fully mixed, I place the lid on the jar, and move the eggnog to the fridge, where I let it sit for at least 12-24 hours for the flavors to blend. Even longer is better.

One final mix and taste to determine whether I want more cinnamon, nutmeg or maple syrup, and it’s good to go!

It goes well with coffee…just maybe not for breakfast!

And by the way, it’s pretty darn tasty with coffee! Just imagine a variation on a White Russian, with eggnog and freshly brewed coffee, and a bit of a drizzle of maple syrup on top!

Cheers!


CAULIFLOWER WITH A BROCCOLI SAUCE

Posted: December 15, 2024 in Uncategorized

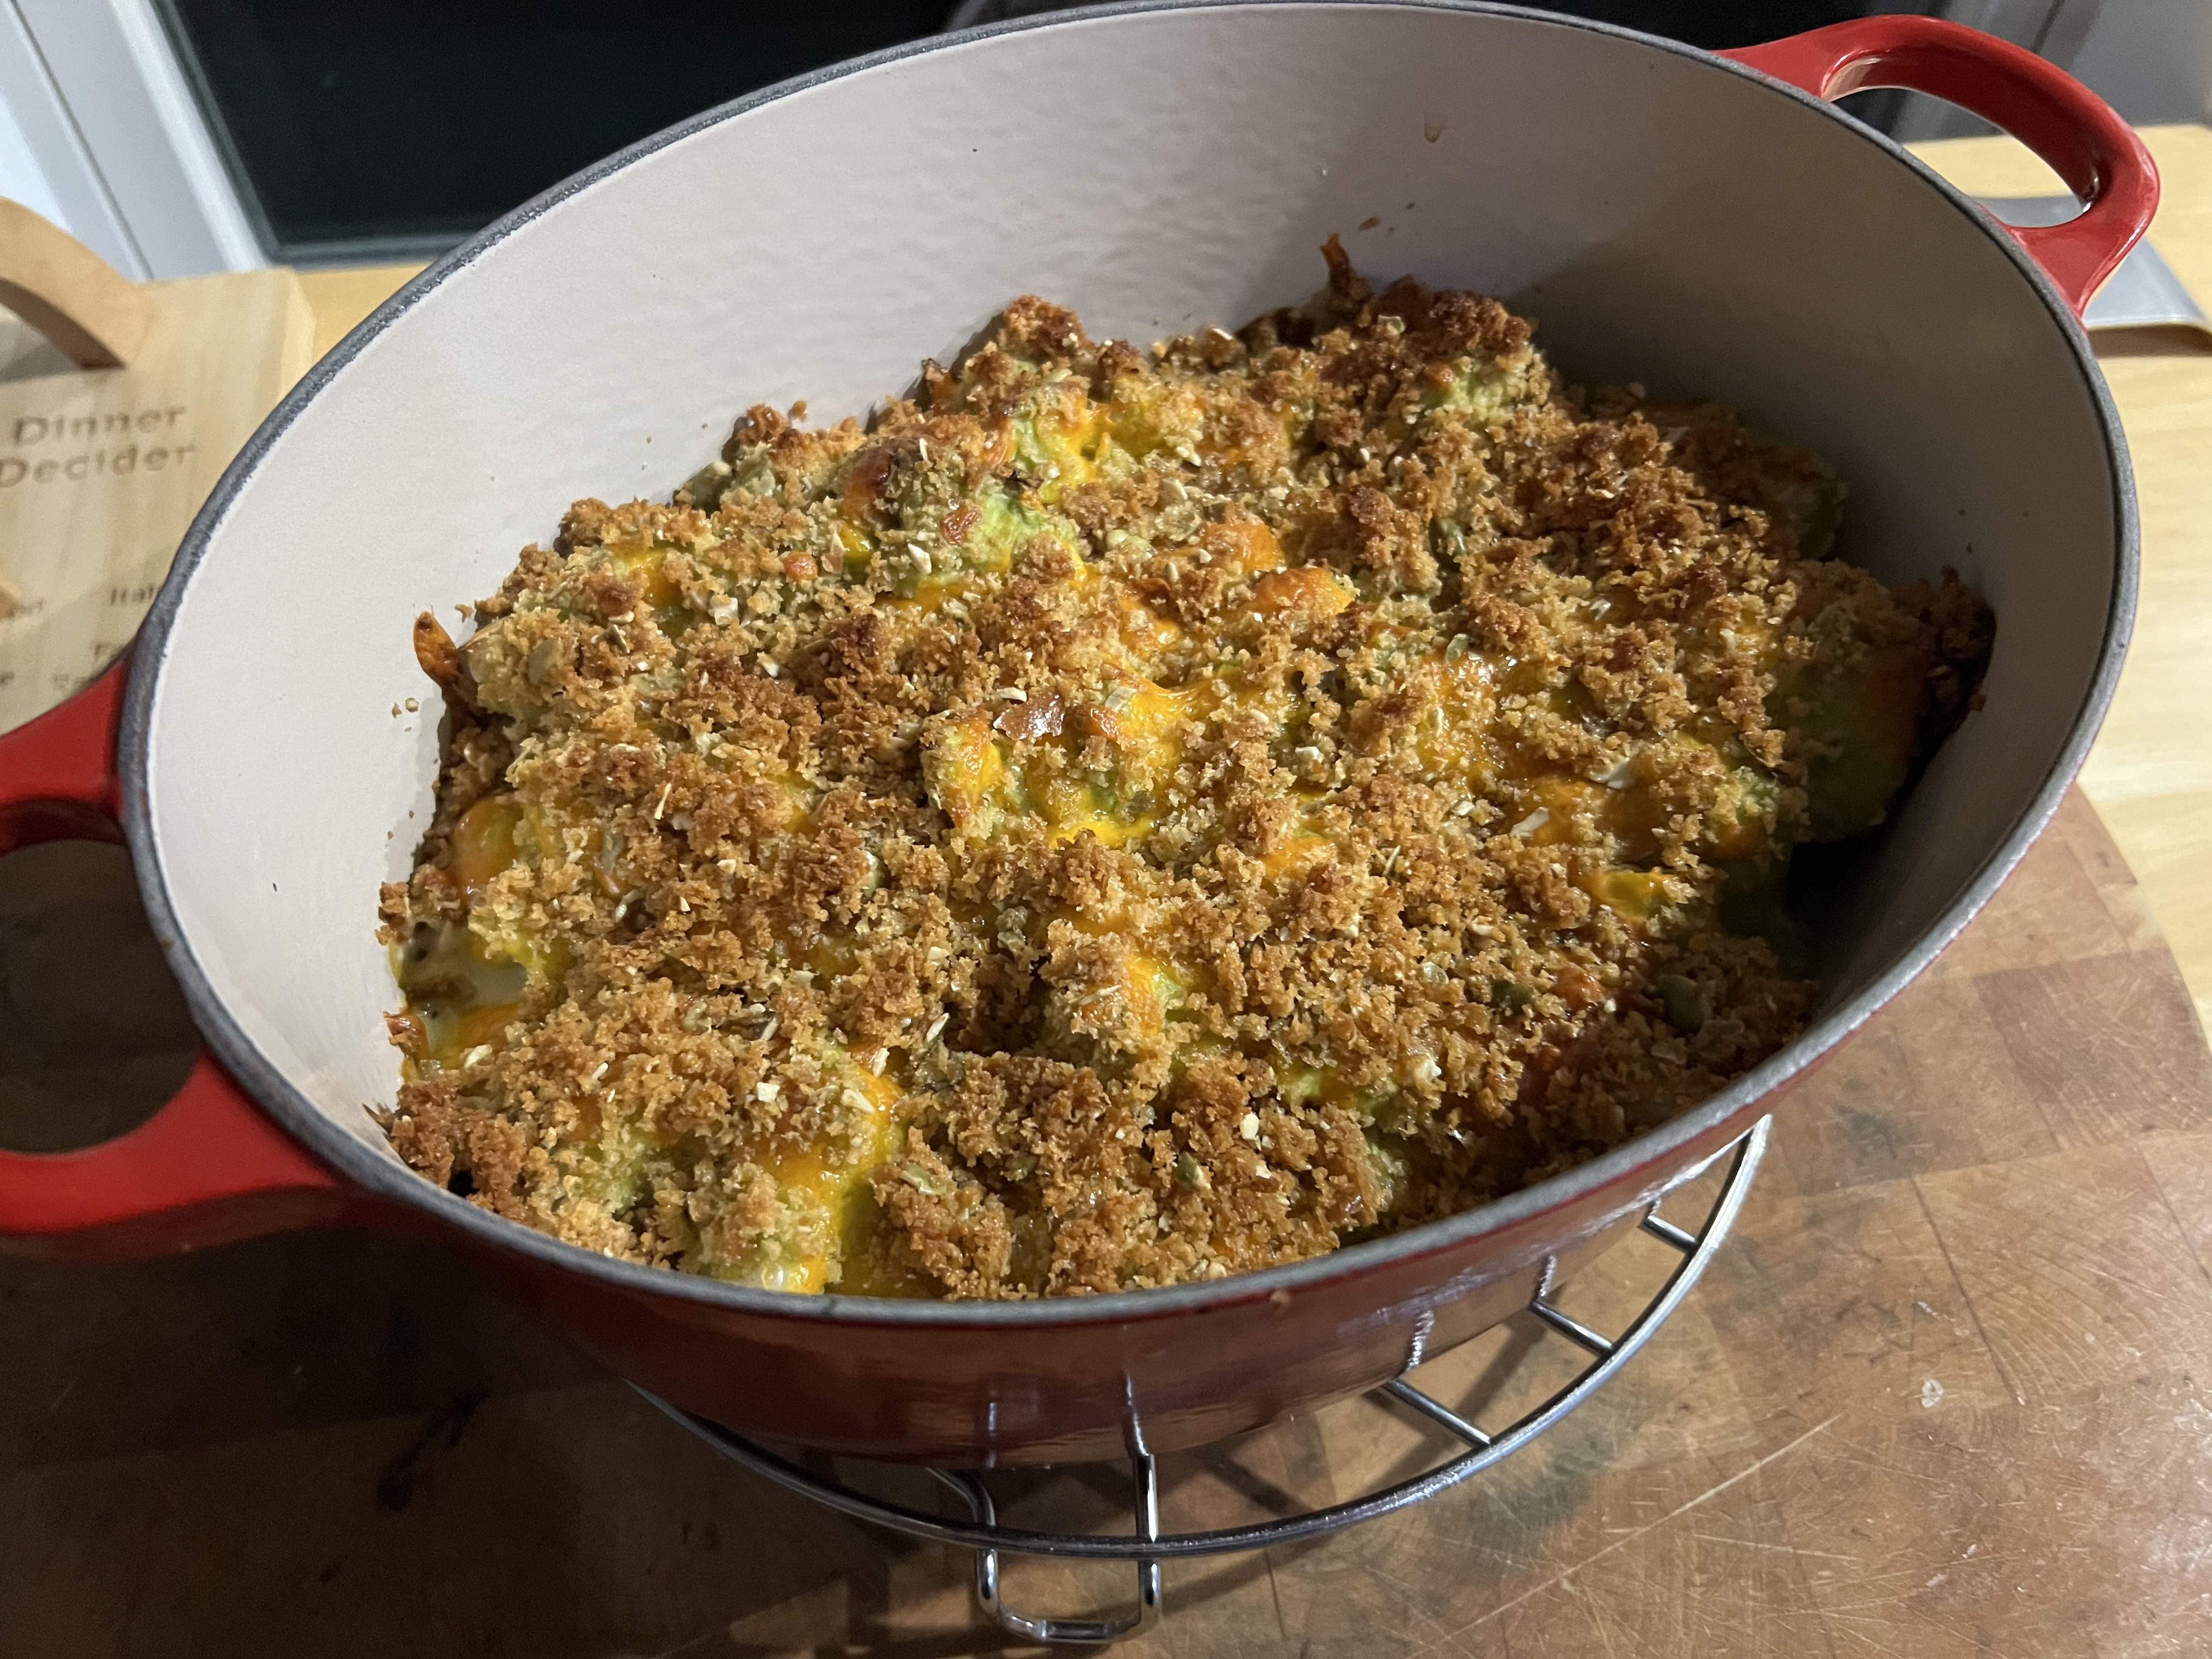
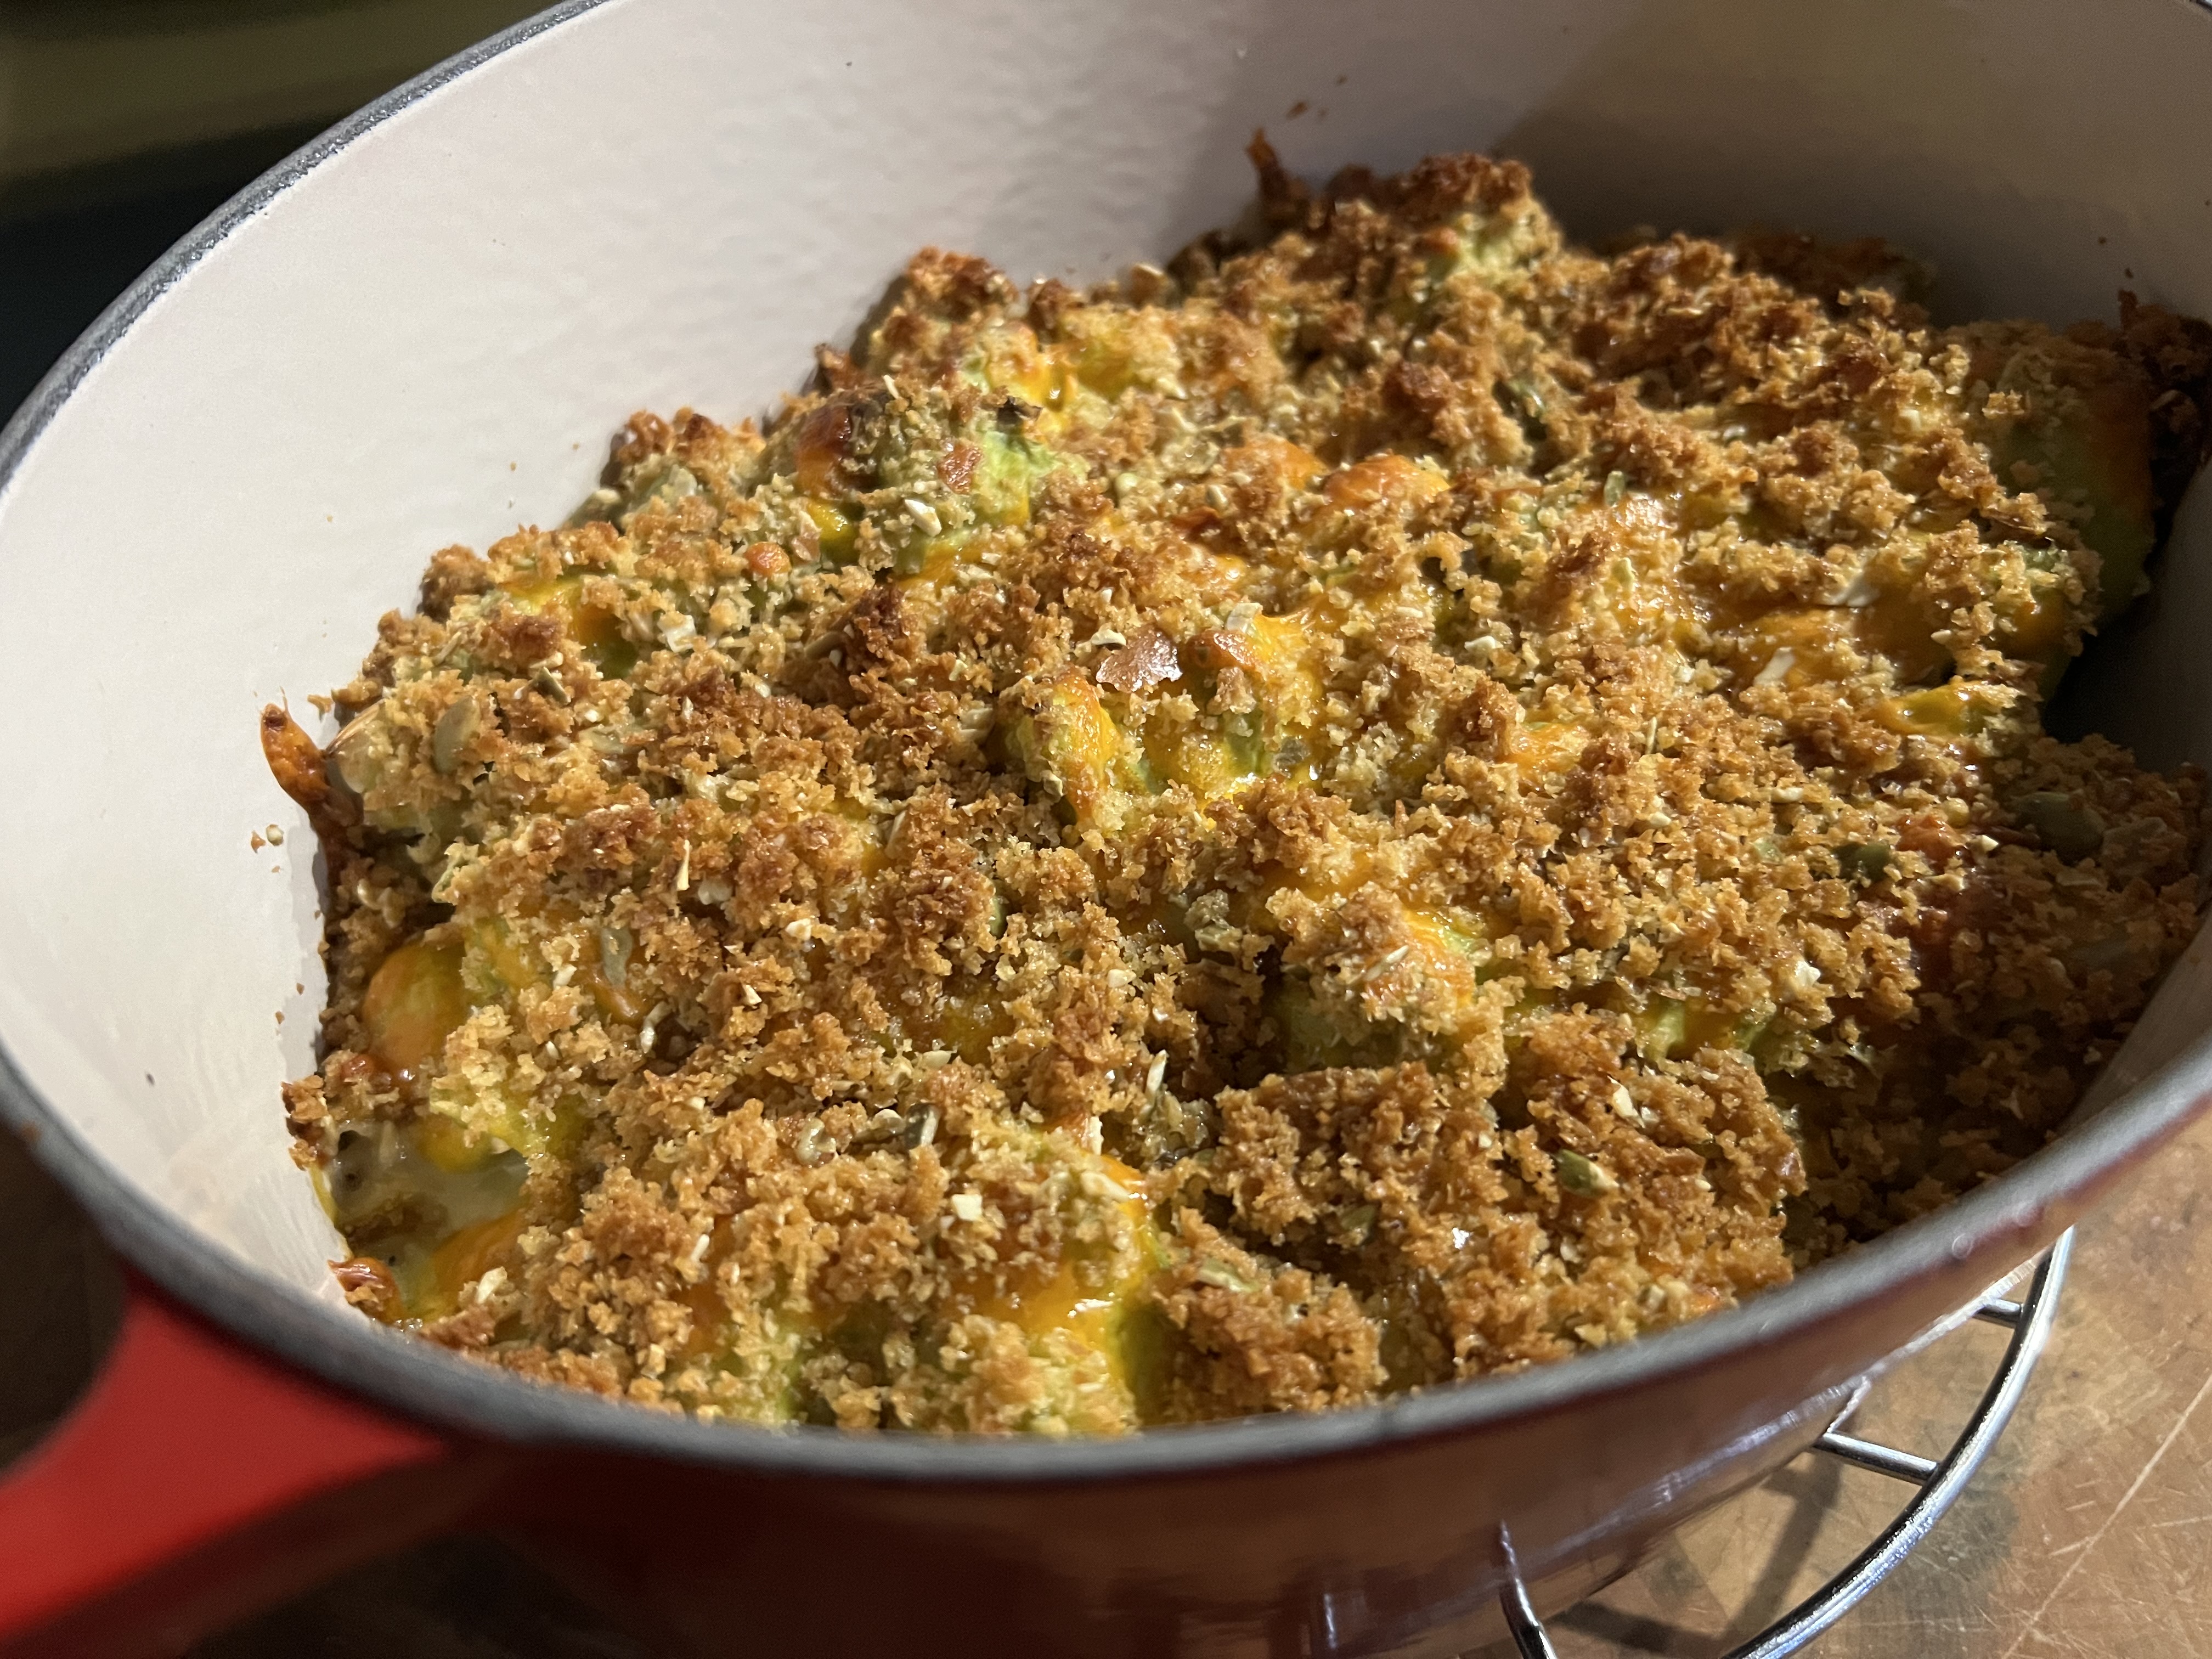
If you want a double bang for your veggie buck, this is it. I based this recipe on a similar one from Jamie Oliver. It’s a great side dish with any main course, especially a steak or roasted chicken.

And it’s up to you…if you don’t want to do any chopping, you can easily use frozen veggies.

Bouquet garni is an herb blend easily found in any supermarket spice section.

To make this dish gluten-free, simply use GF flour for the sauce, and a piece of GF bread for the bread crumb topping.


2 tablespoons unsalted butter
2 tablespoons all purpose flour
1 garlic clove, thinly sliced
1/2 teaspoon bouquet garni
2 cups milk
16 oz. broccoli
32 oz. cauliflower
1/2 cup grated cheddar cheese
1 or 2 pieces leftover bread
olive oil
1 tablespoon sliced almonds
salt and pepper

Pre-heat the oven to 350 degrees.

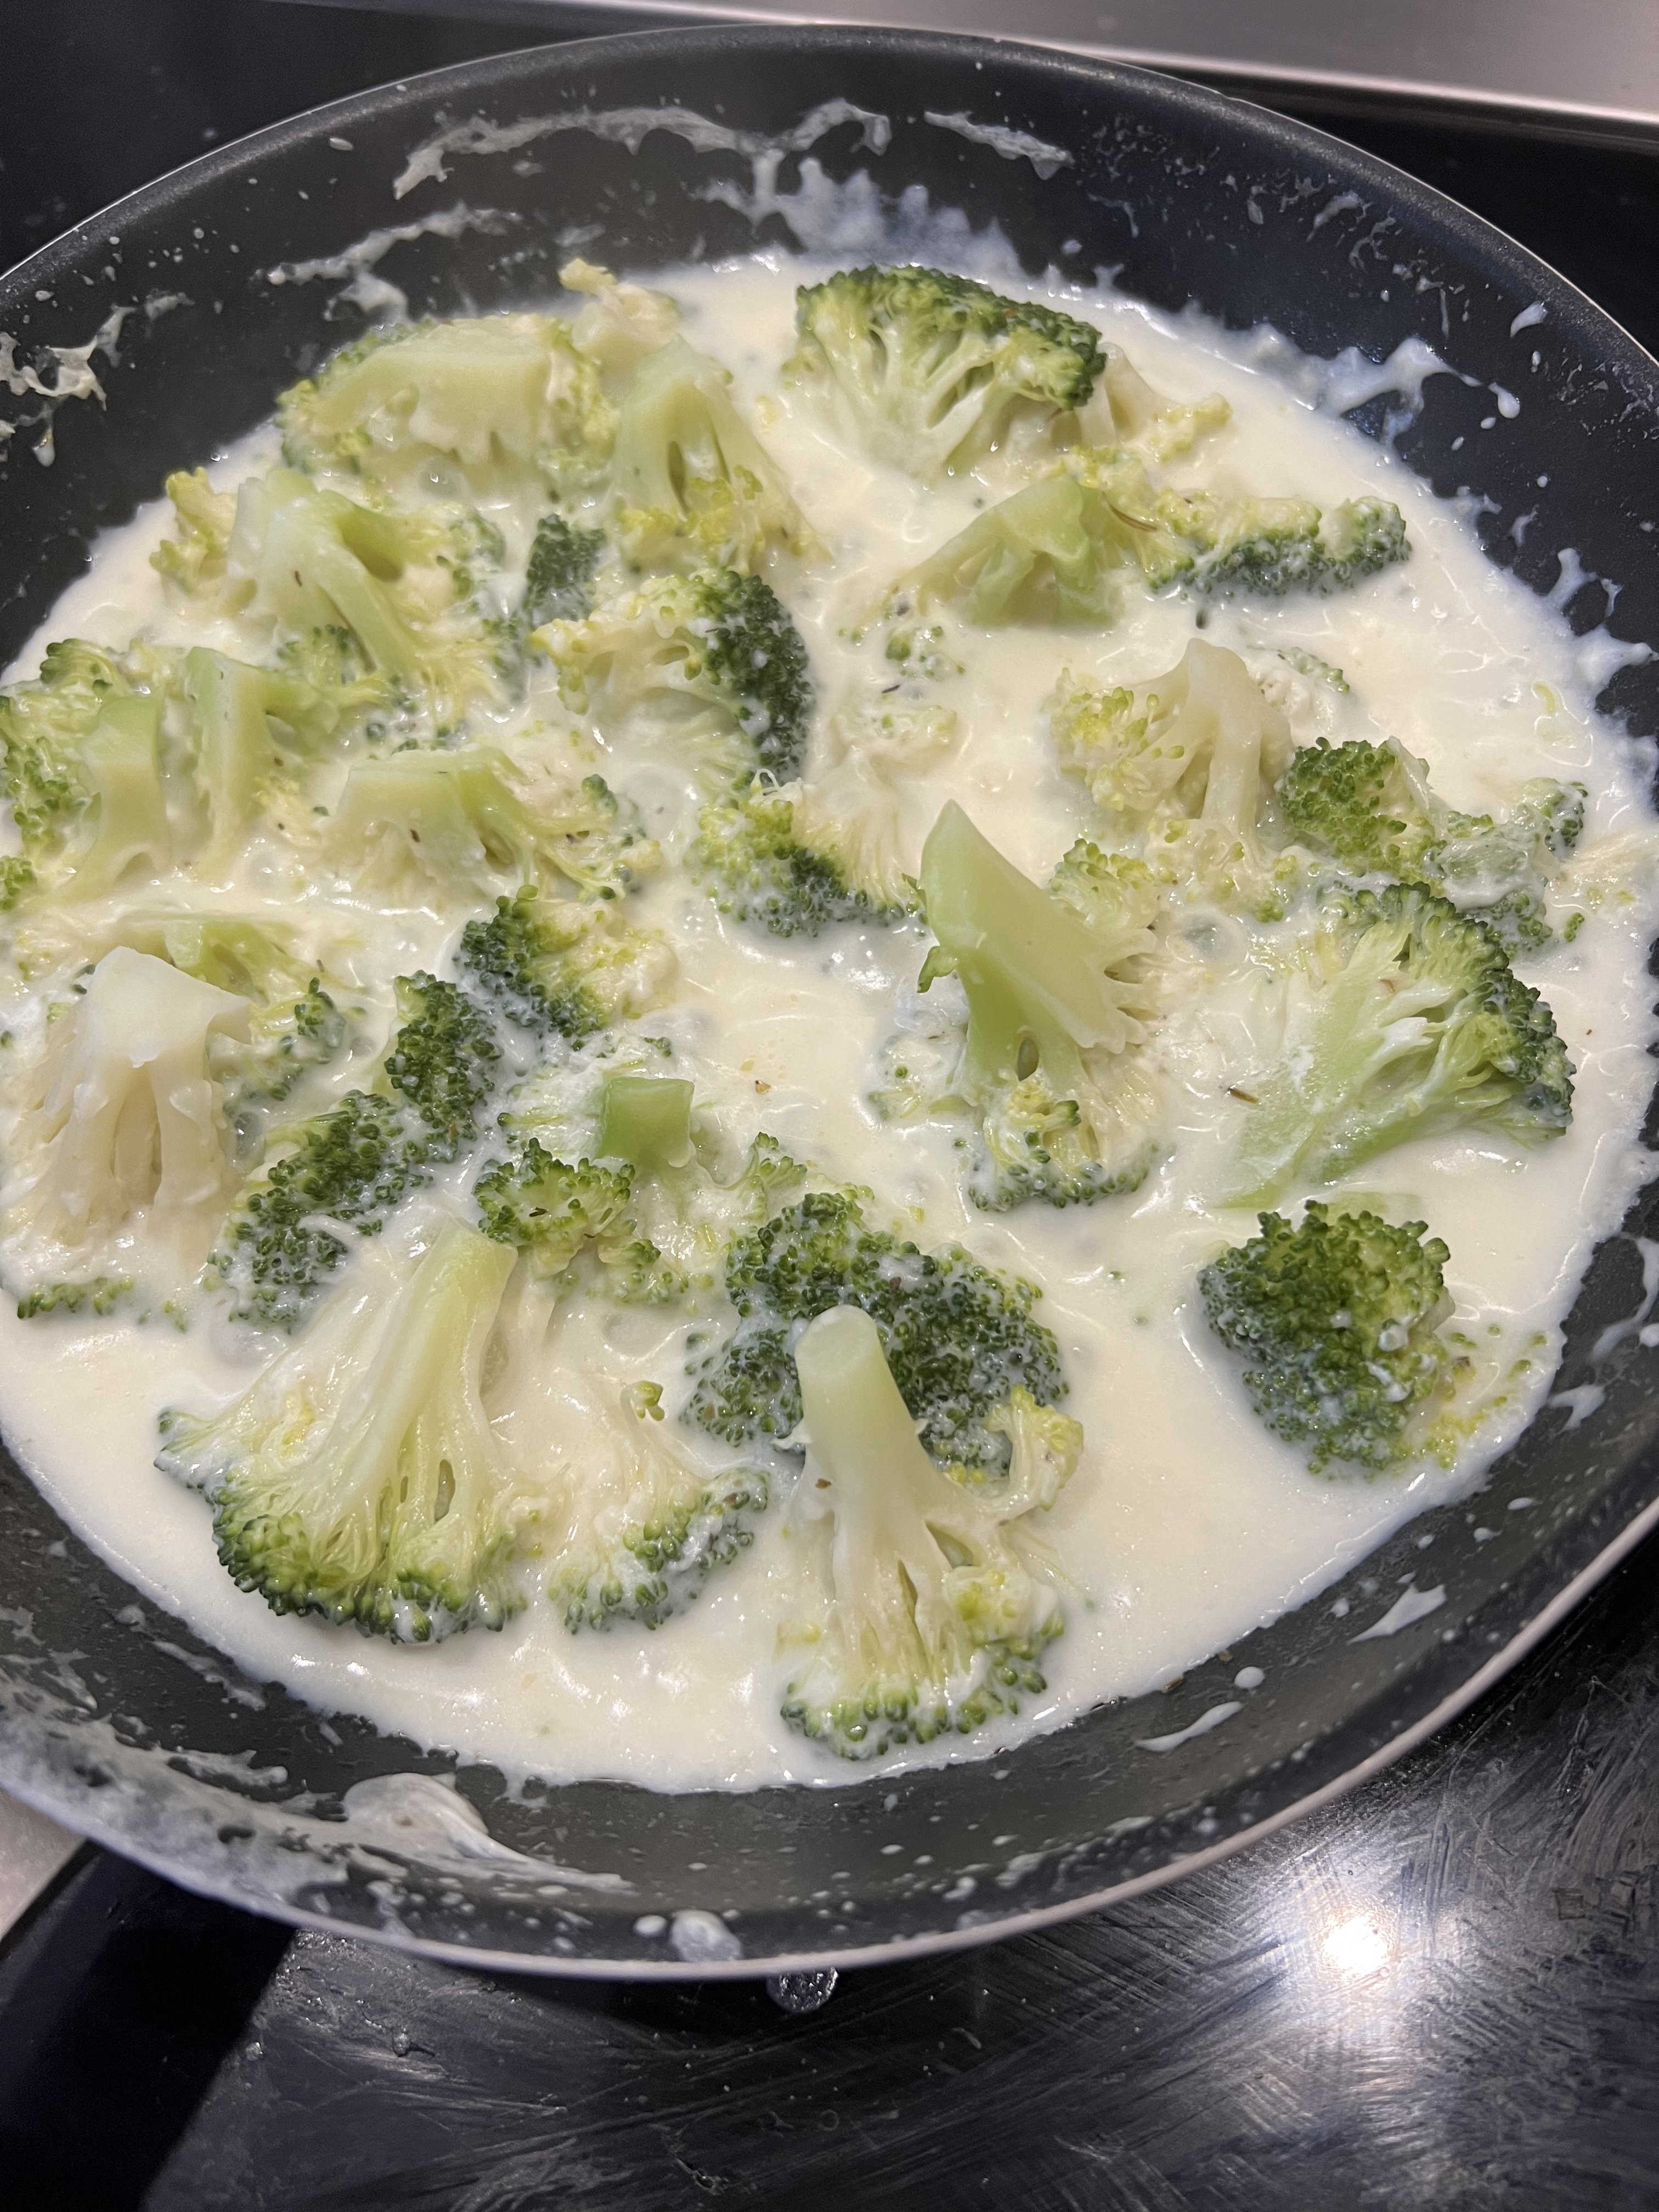
In a saucepan, melt the butter and add the flour, stirring constantly to make a roux. Stir in the garlic and bouquet garni. Slowly add the milk, stirring all the time, until you have a nice béchamel sauce. Set it aside for a moment.

In a large pan, pour in the broccoli. (If you’re using frozen, you don’t have to thaw it.) Pour the béchamel sauce over the broccoli, and simmer it over medium-low heat, covered, for about 20 minutes, until the broccoli is soft and cooked through.


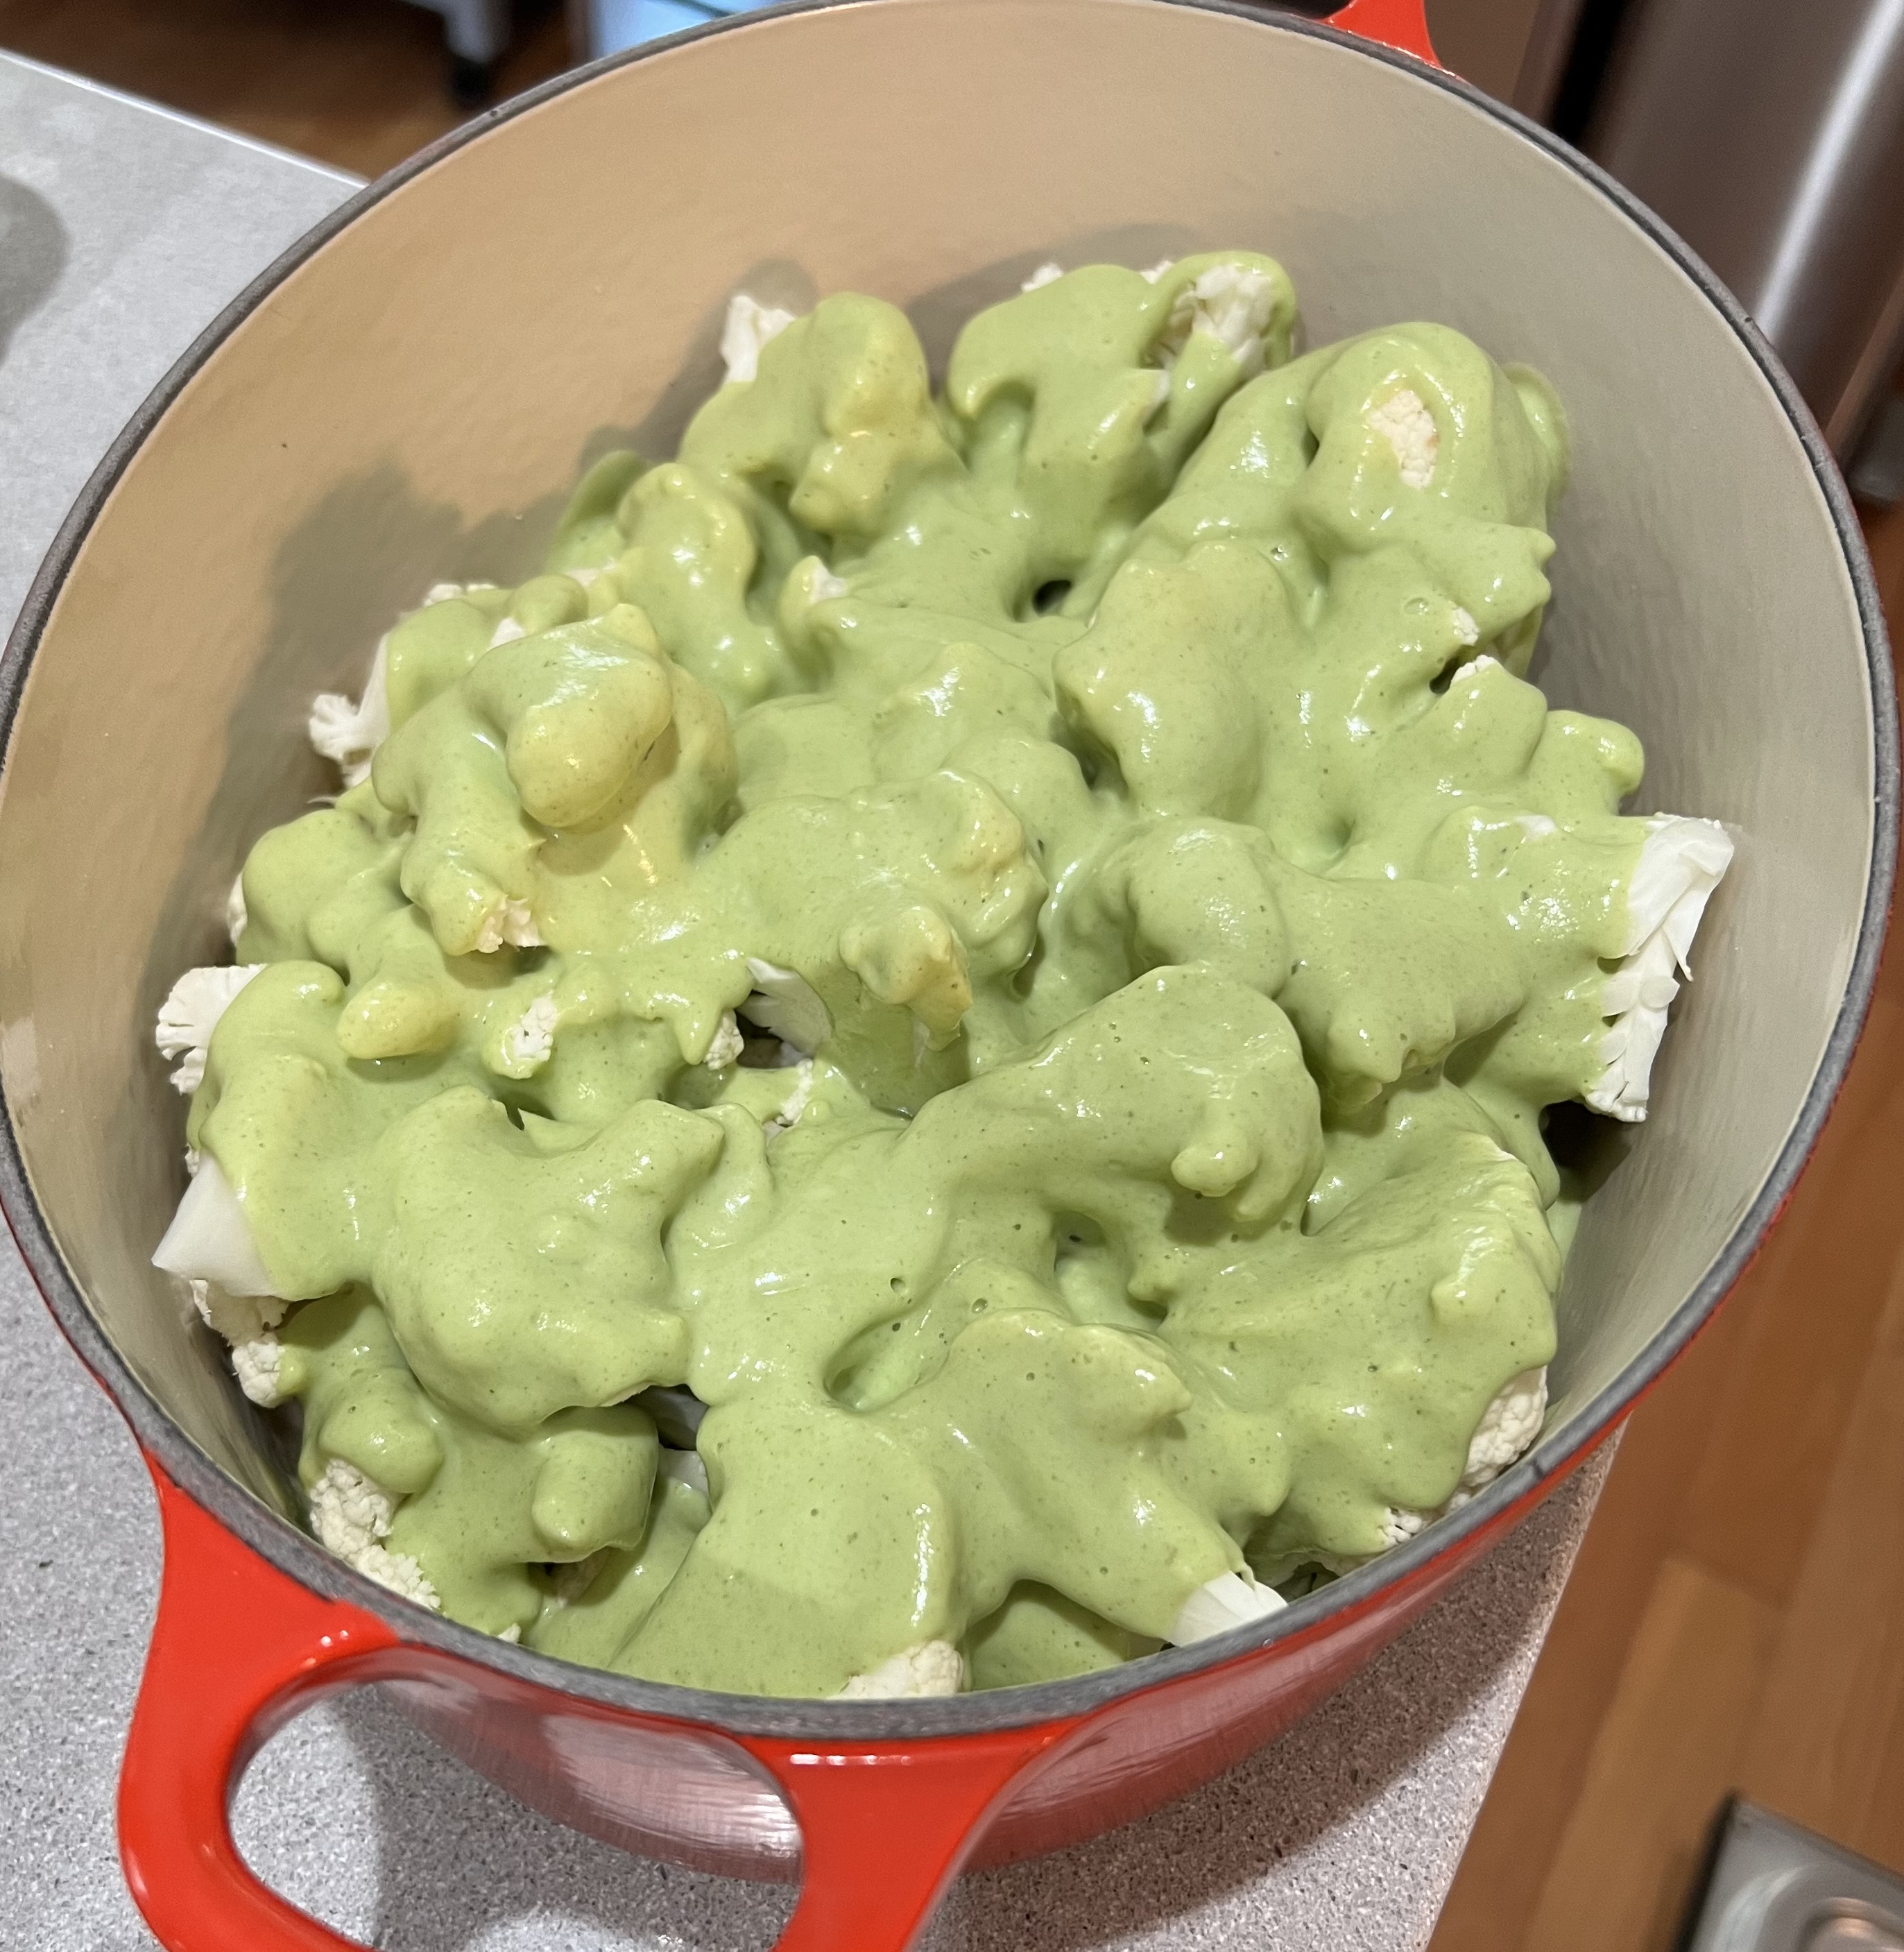
Everything in the pan goes into a blender. Season well with salt and pepper. Whiz it up until you have a broccoli sauce.


Placed all the cauliflower in a large ovenproof casserole dish. (Again, the veggies can be frozen.) Pour the broccoli sauce on top.


Sprinkle the cheddar cheese on top of that.

In a food processor, tear up and toss in the pieces of bread. (Some day-old Italian bread works great. I had a day-old brioche bun.) Sprinkle in some olive oil. Process until crumbly. Throw in the almonds and process for a few seconds again.


Sprinkle the bread crumb/almond mixture over the cheddar and bake for about 45 minutes until golden and cooked through.