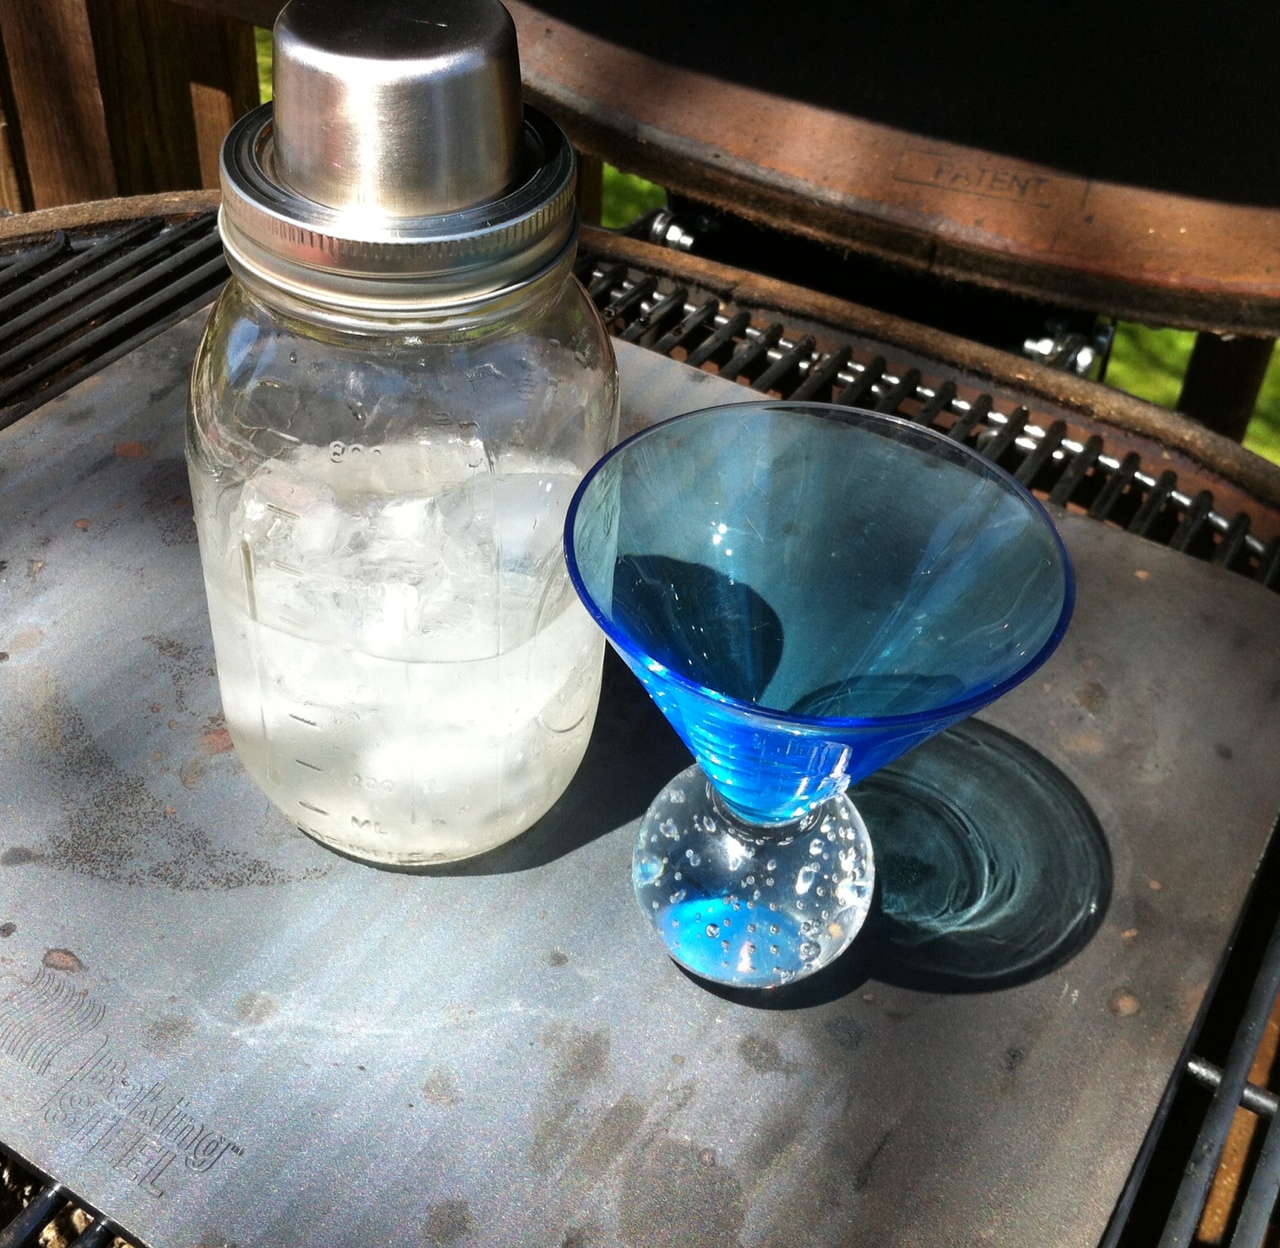
During quarantine, I like to think back to the days when I could go to a restaurant or invite a few friends over for dinner. The following recipe is one that I prepared a while ago, and although I could make it for myself now, it takes a bit of preparation, as you’ll see…something you’d rather do for a group of friends. Maybe someday soon…
Sometimes a small bite can take a lot of preparation, and you just don’t appreciate it until you decide to make it yourself. That’s especially true with the classic Danish open sandwich called Smørrebrød. The ingredients can vary, but one of my favorite versions is with smoked salmon, on the brunch menu at the best restaurant in Rhode Island: Persimmon, in Providence. (They’re just starting their al fresco dining, by the way.)

The Salmon Smørrebrød at Persimmon.
With some very special friends coming over for dinner, I decided this would be the event where I debut my own version of Salmon Smørrebrød. I had my work cut out for me…
It starts with the salmon. One of the finest sources of wild-caught Alaskan sockeye salmon is Vital Choice, a purveyor of extremely high-quality wild-caught seafood. I ordered several large fillets and had them shipped frozen to my home. I thawed a couple of the fillets in the fridge, and then cured them for several days.

Make sure you get your salmon from a reliable source, and always get wild-caught, never farmed.
The recipe for the cure mix is simple:
1 cup Kosher salt
1/2 cup cane sugar
1/2 cup brown sugar
1 tablespoon crushed black peppercorns
Combine these ingredients in a bowl. Mix well.
Use a container that will hold the fillets without bending them. It also needs to be watertight, because the salt extracts moisture from the fish, and you don’t want spills from the liquids released during the curing process.

First, the plastic. Then, a layer of the cure mix. Then the salmon fillet, skin-side-down. More cure mix on top. Then the second fillet, with more cure mix on top of that.
Lay a few sheets of plastic wrap on the bottom, allowing them to fall over the sides of the container. Sprinkle a good, even layer of the cure mix on the bottom. Lay down the first salmon fillet, skin side down, on top of the cure mix. add more cure mix on top of the fillet to cover it completely. Lay the second fillet on top of that, then cover it completely with more of the cure mix. Fold the plastic wrap tightly over the top, pressing out as much air as you can.

Finally, wrapping the whole thing up tightly in plastic.
Pressure on the salmon helps the curing process, so the cure mix makes good contact with the flesh. I weigh it down with a few cans of tomato sauce.

Even pressure on the salmon fillets helps the curing process.
Put the salmon in the fridge for at least 48 hours, until the fillets are firm to the touch.

The fillets have changed color and are firmer to the touch once cured.
Once the salmon has cured, remove it from the plastic wrap and wash it thoroughly with clean, cold water to remove as much of the salt as possible. Some of the peppercorns will imbed themselves in the fish…remove those, too. Pat the fillets dry with paper towels.

The salmon is ready to eat just like this, but…
At this point, you’ve got Gravlax, and it’s delicious just the way it is. But I chose to go one step further and smoke the salmon, so I put the fillets on a metal rack in my fridge, skin side down, and let them dry out a bit for an hour or so. When the salmon dries, the flesh gets a bit tacky. That’s called the pellicle, and the sticky surface of the fish helps the smoke molecules adhere better. It’s a good thing.

The salmon fillets, drying in the fridge.
While the salmon is drying in the fridge, I get my smoking gear ready.
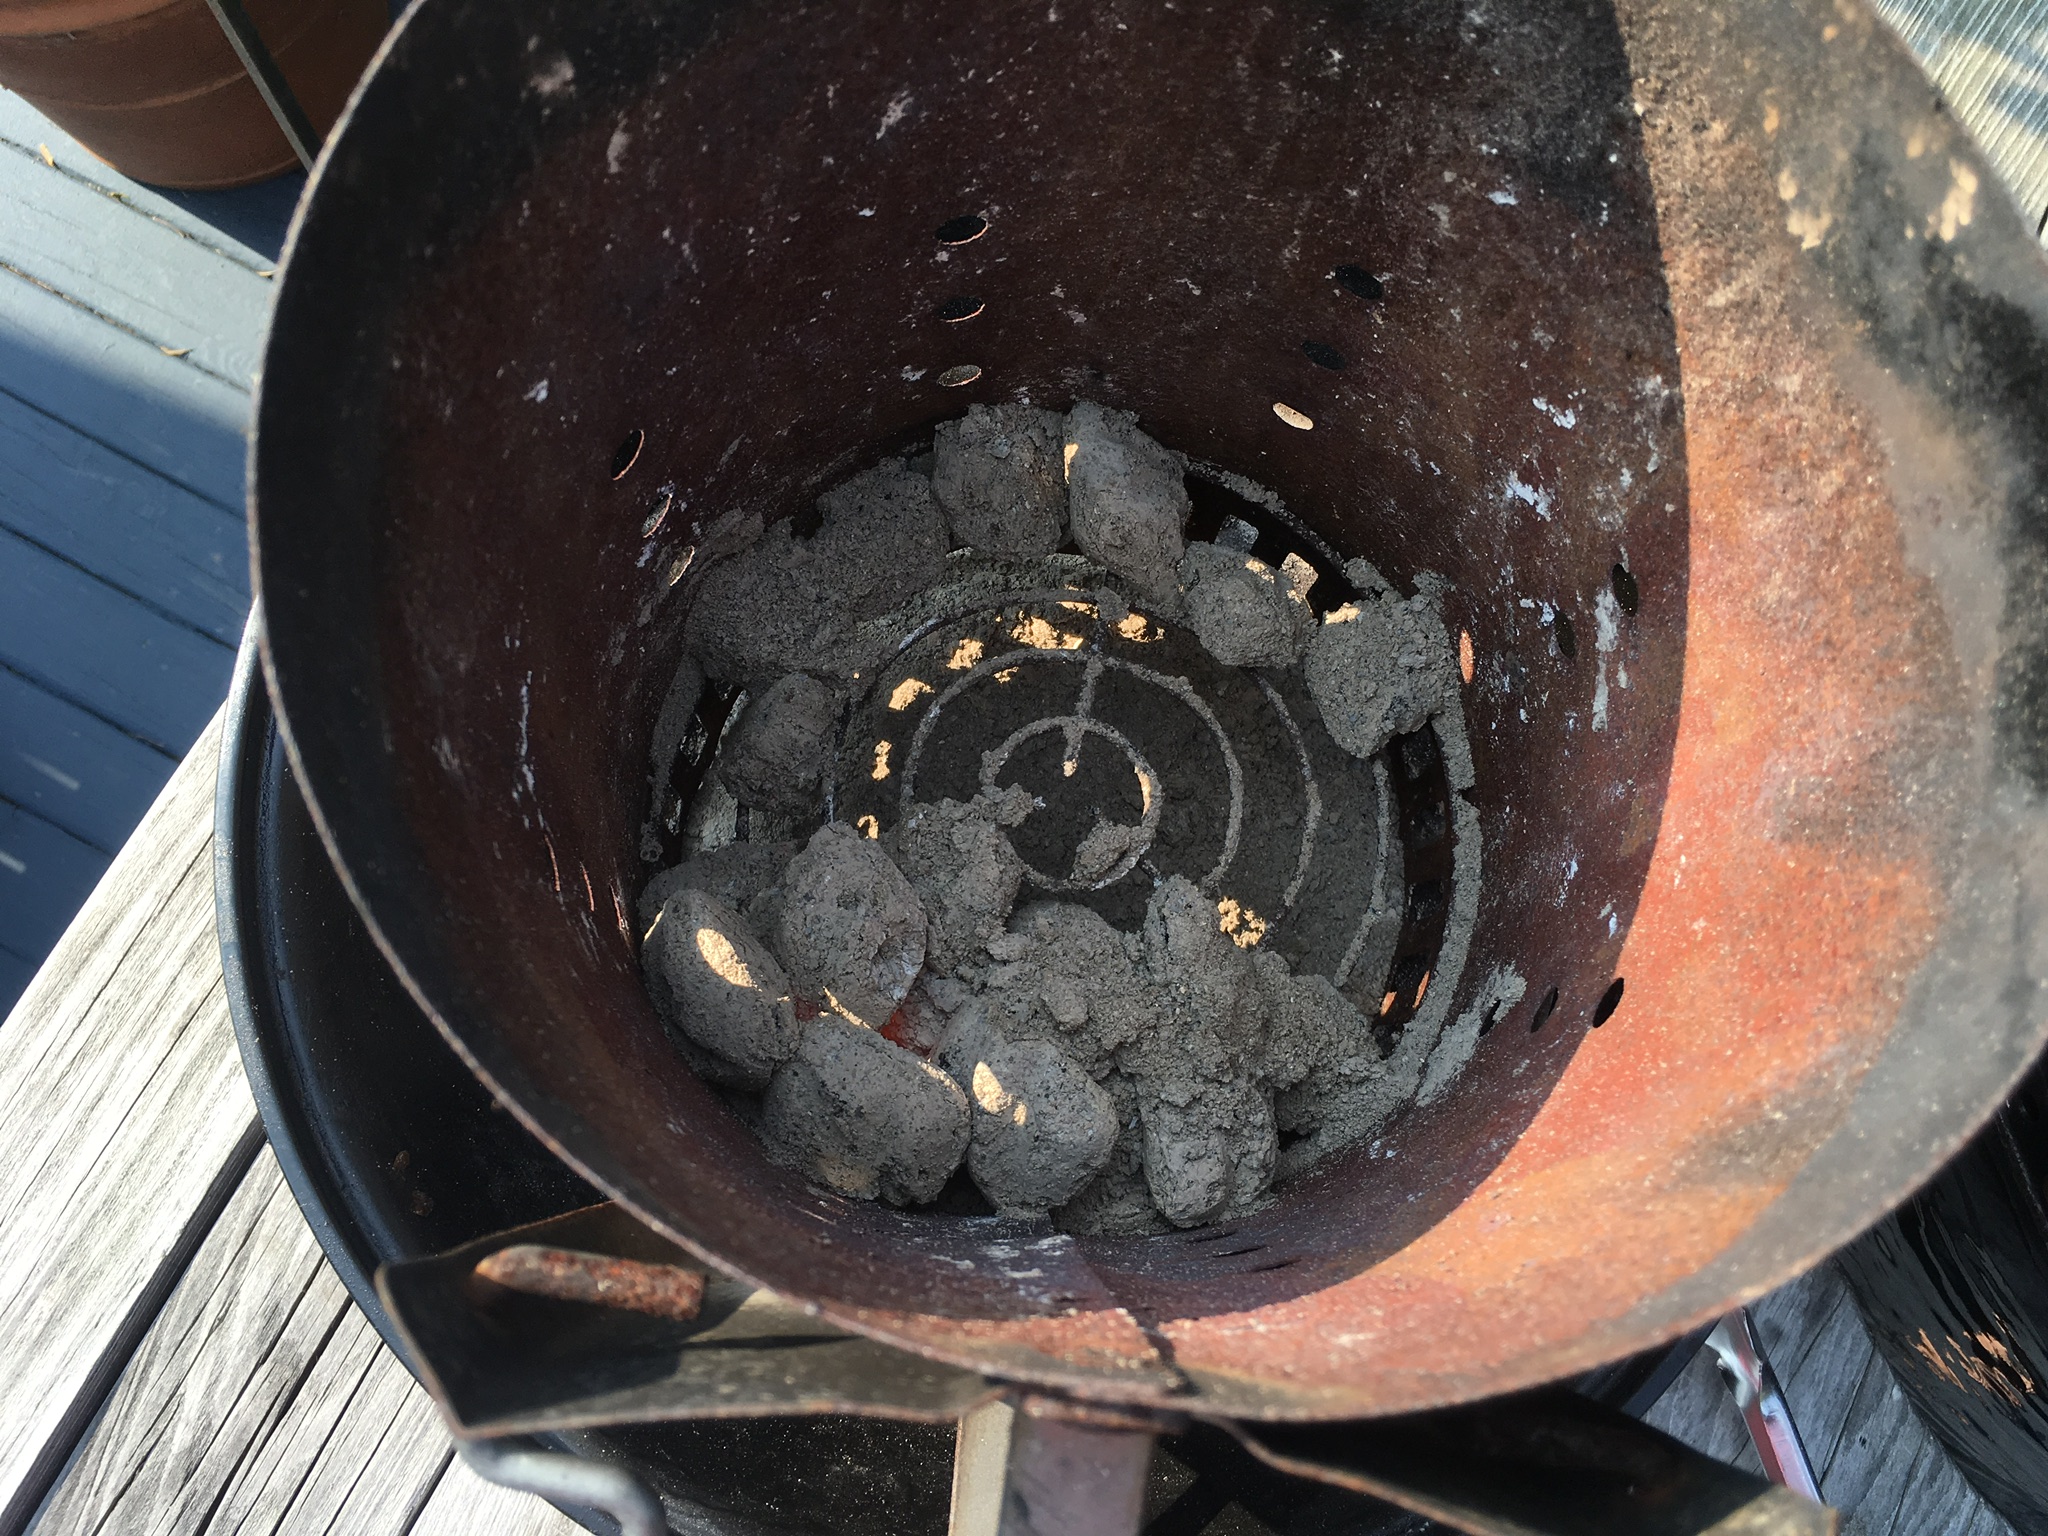
I like to use charcoal briquets and hickory chips for the smoking process. I bring my small camping grill next to my larger home grill. Using my charcoal chimney, I light the briquets and let them burn until they’re ashed over. Using a small smoking box, I place some hickory chips inside, then add a couple of hot briquets to it, making sure they burn the chips and the smoking starts. I place the smoking box inside my large grill with the vents open, laying my salmon fillets (skin-side-down) next to the smoking box. I close the lid of the grill, and let the smoking begin.

Lighting briquets in the camping grill before moving them to the larger grill.

Ashed-over coals in the chimney.
This is as close to a cold-smoking process as you can get at home. There is no heat actually cooking the salmon, just a smoke-filled grill that needs to be replenished every once in a while with hot coals and more hickory chips. I smoke the salmon for a couple of hours.

Let the smoking begin!
Once the salmon has smoked, you’ve got yourself a really special treat. You must eat some at this point, just to reward yourself for a job well done! Then, wrap the rest of the salmon tightly in plastic wrap, and keep it refrigerated until you’re ready to serve it. It will stay fresh in the fridge for several days.
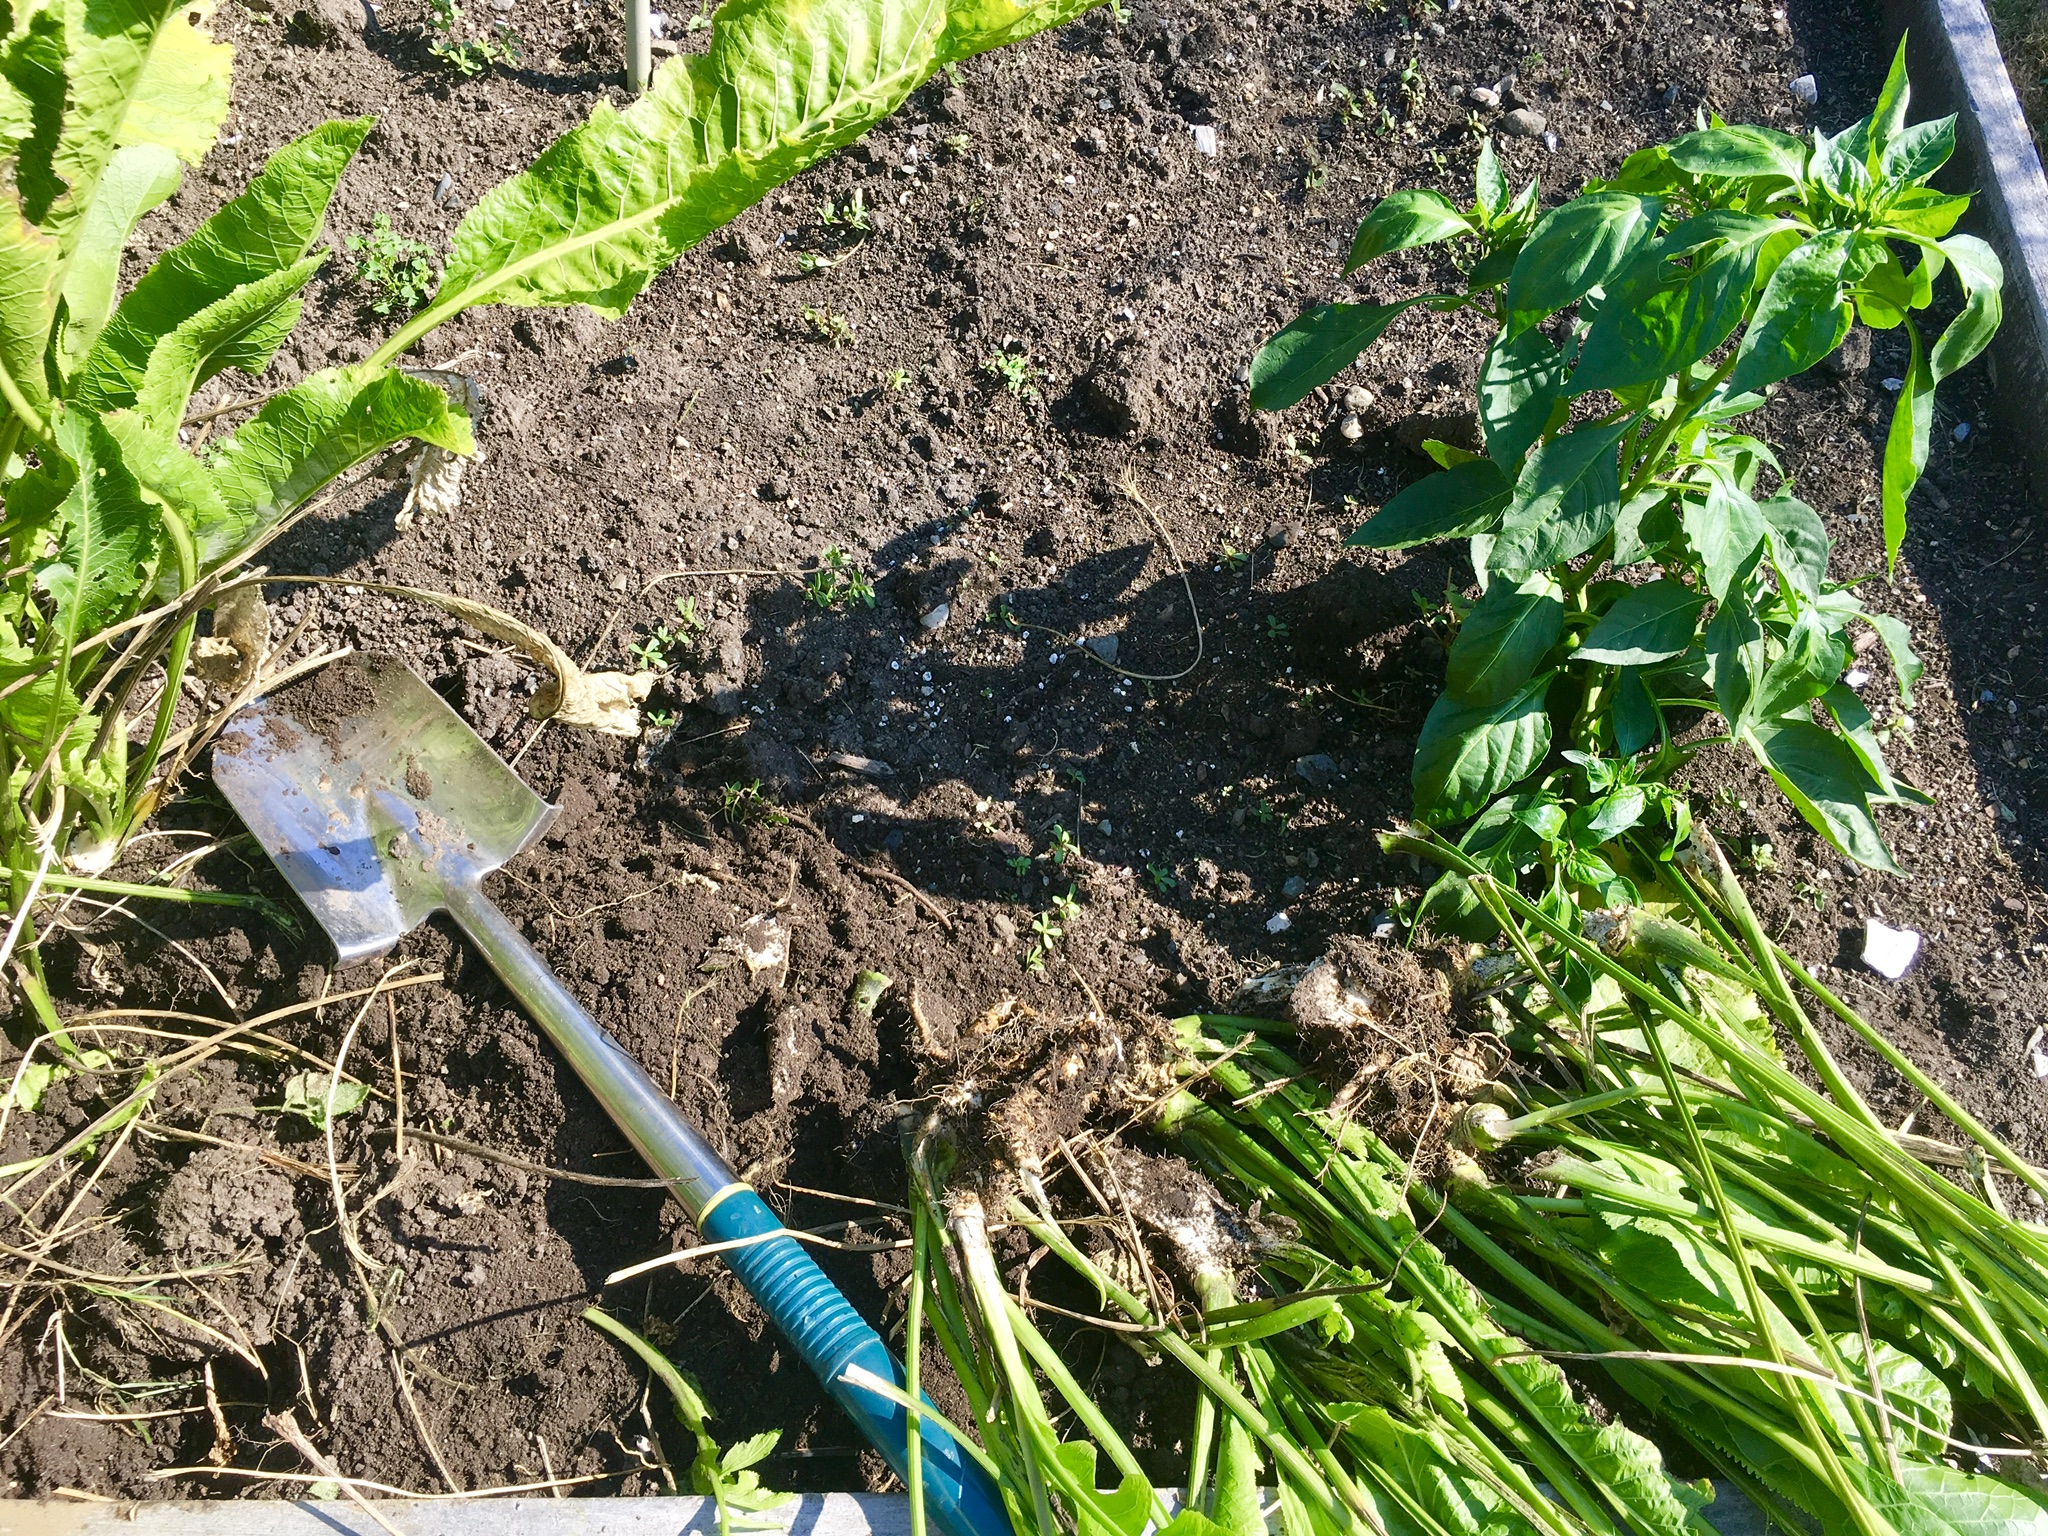
My research for Salmon Smørrebrød resulted in many variations, but I ultimately chose one that used a horseradish cream on the fish. Just so happened that I have a giant horseradish plant growing in my garden, so it was time to dig some of the roots up!

Digging up horseradish.
Once I dug the roots out and washed them clean, they needed to be peeled down to their white center. Then they were ready to be grated. I used the same system my grandfather did, many years ago: a simple hand grater for the job. If you thought you cry when you slice onions, you ain’t seen nuthin’ until you’ve grated horseradish! But it’s worth the effort.

Cleaned horseradish roots, before peeling and grating.
You need freshly grated horseradish, not the prepared stuff you find in the supermarket for the cream…
12 tablespoons sour cream
6 tablespoons plain Greek yogurt
4 tablespoons freshly grated horseradish
8 teaspoons freshly squeezed lemon juice
4 pinches of sugar
Kosher salt to taste
Combine these ingredients in a bowl and mix well. It keeps for at least a day, so you can make it the night before serving. This is a lot of horseradish cream, but I was making enough to serve 12 people.

The horseradish cream…delicious on a lot of things!
1 fennel bulb
2 Granny Smith apples
1 tablespoon freshly squeezed lemon juice
A few hours before serving, thinly slice a fennel bulb–paper-thin if you can–and place the slices in a bowl of ice water. Peel and core 2 Granny Smith apples and slice them as thinly as you can, placing them in the ice bath as well. After an hour, remove the fennel and apple slices from the ice water, pat them dry with paper towels, and place them in a bowl, sprinkling them with the lemon juice. Toss, mixing well, and then place the bowl in the fridge until you’re ready to use it.

Slicing the fennel as thinly as possible.
A few last ingredients…
Sliced bread
Softened unsalted butter
Fresh dill sprigs
Smørrebrød is a sandwich, so of course, I needed some bread. I chose something from my heritage: Lithuanian bread, a combination of rye and pumpernickel that I find when I go back home to New York. I keep it in the freezer until I need it, and for this recipe, I sliced it thin.

Getting the ingredients together. The Lithuanian bread is the brown bread. We also had a couple of slices of gluten-free bread.
Now we’re finally ready to build this thing!

Slicing the salmon as thinly as possible.
Rather than making all the sandwiches myself, I decided I’d teach a Master Class of Smørrebrød-making with my fabulous guests. So I brought all the ingredients out, and we started building our sandwiches as I sliced the salmon as thinly as possible.
First, you take your slice of Lithuanian bread and spread some of the butter on it.
Then, layer the fabulous salmon on top.
Next, a healthy spread of the horseradish cream.
Top with some of the sliced fennel and apple.
Garnish with just a few fresh sprigs of dill.
And then top it all off with a friendly sprinkling of Fleur de Sel, or your favorite sea salt.

Fleur de Sel at the end makes all the difference!
And that’s my Salmon Smørrebrød…a labor of love. But that’s what you do for friends, right?

Time to eat!

Leftover ingredients make a great sandwich on an everything bagel the next day!