Archive for the ‘Uncategorized’ Category

It may be October, but it’s also #NationalPorkMonth! Time to get piggish!

Few slabs of meat are as amazing as a pork butt or shoulder, rubbed with a special dry rub, then slow-smoked for 8 hours (or more), pulled and slathered with amazing barbecue sauce. It takes time, but it’s not really that hard to do.
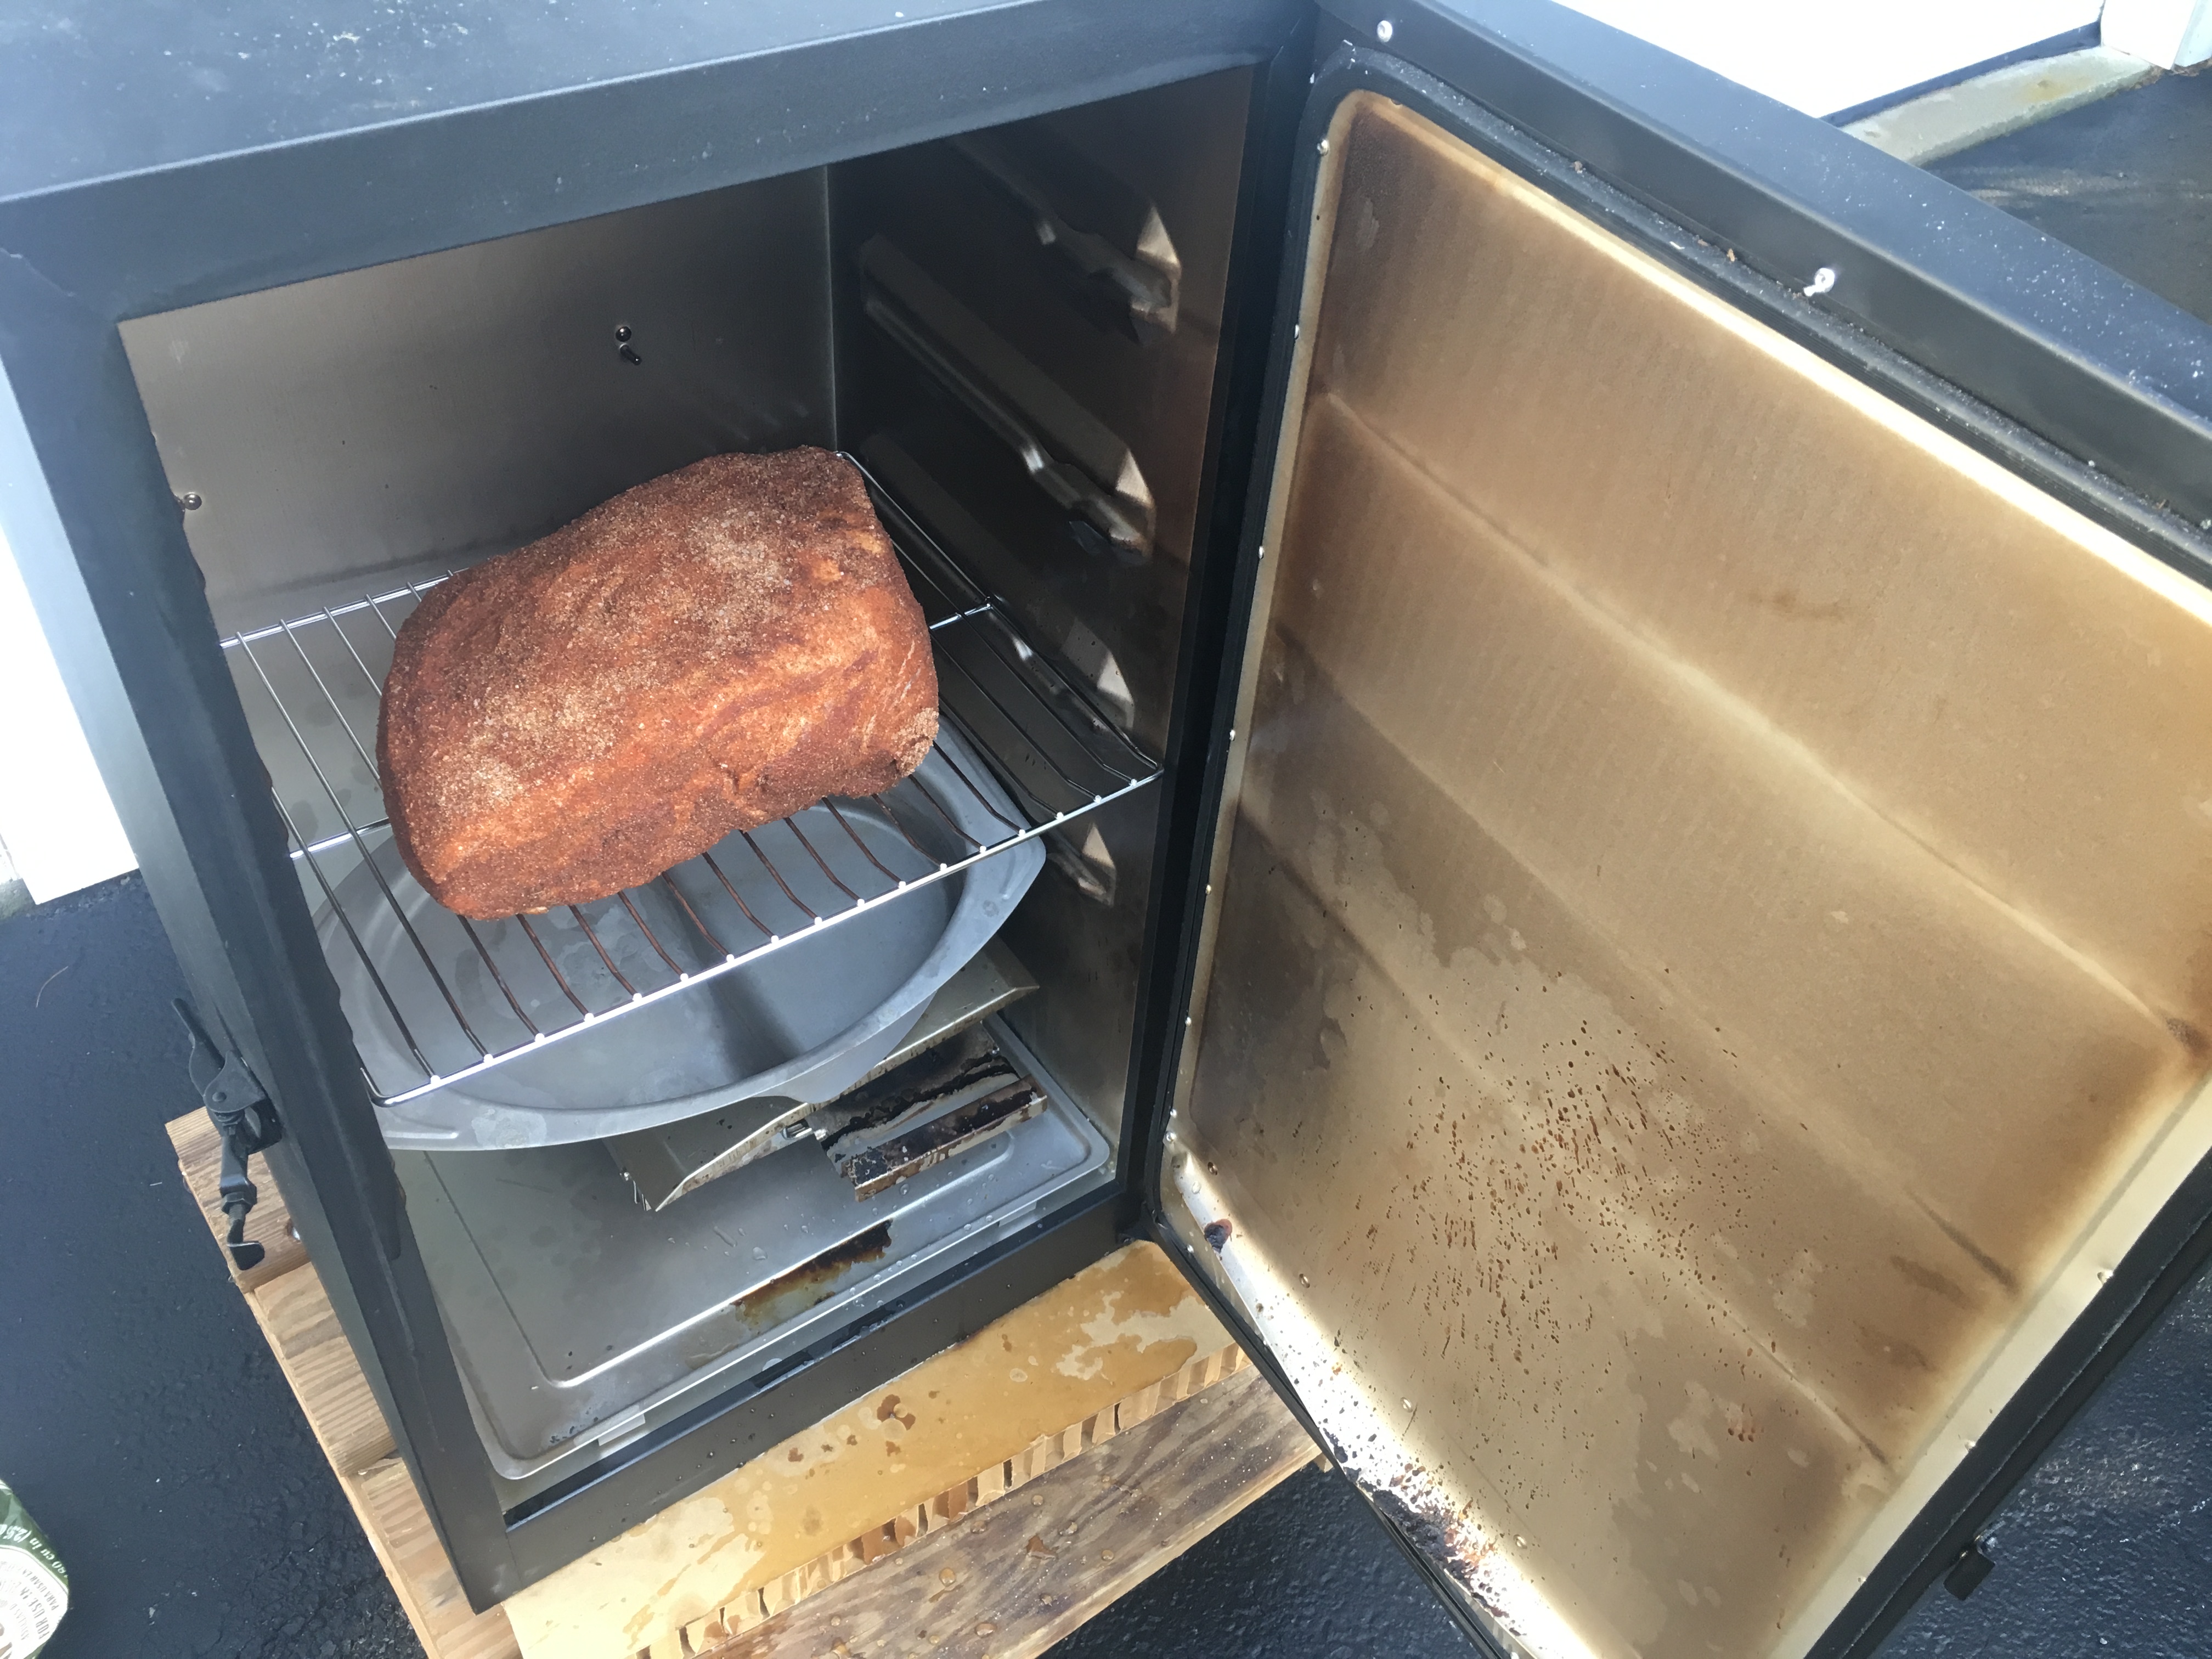
My electric smoker allows me to set the time and temp and walk away.

Here’s how I do it…

First, I get a hunka pork. The kind of pig I get matters to me, so I buy a heritage breed, like Berkshire (also known as Kurobuta), from a farm that raises them humanely. I’m willing to pay the extra bucks.

But going to a supermarket or butcher shop for pork is what most people do. The names of the cuts of meat can be a bit confusing. Despite its name, pork butt is not from the back-end of the pig.  (The term “butt” referred to the barrel the meat was stored in when the only method of preservation was salting the meat and storing it in barrels.)

The pork butt is actually the shoulder of the pig. The pork shoulder picnic is a lower cut of the same area. These cuts can also go by the names: Boston shoulder roast, Boston butt, Boston roast, shoulder butt, pork shoulder picnic, and shoulder-blade roast. Whatever the name, these are all nicely marbled hunks of meat that usually weigh in anywhere from 6 to 8 lbs, and are easy to find. Barbecue fanatics claim the bone-in pork butt is more flavorful, but boneless is all you can find, that’ll work, too.

Once I’ve got my slab of pork, I remove the skin if it has any. I want my pork rub to make contact directly with the meat, so I always remove the tough skin. No skin? No problem.

Now I need to season it. I’ve found that a simple rub is the best way to go for the sauce I’m going to use later.
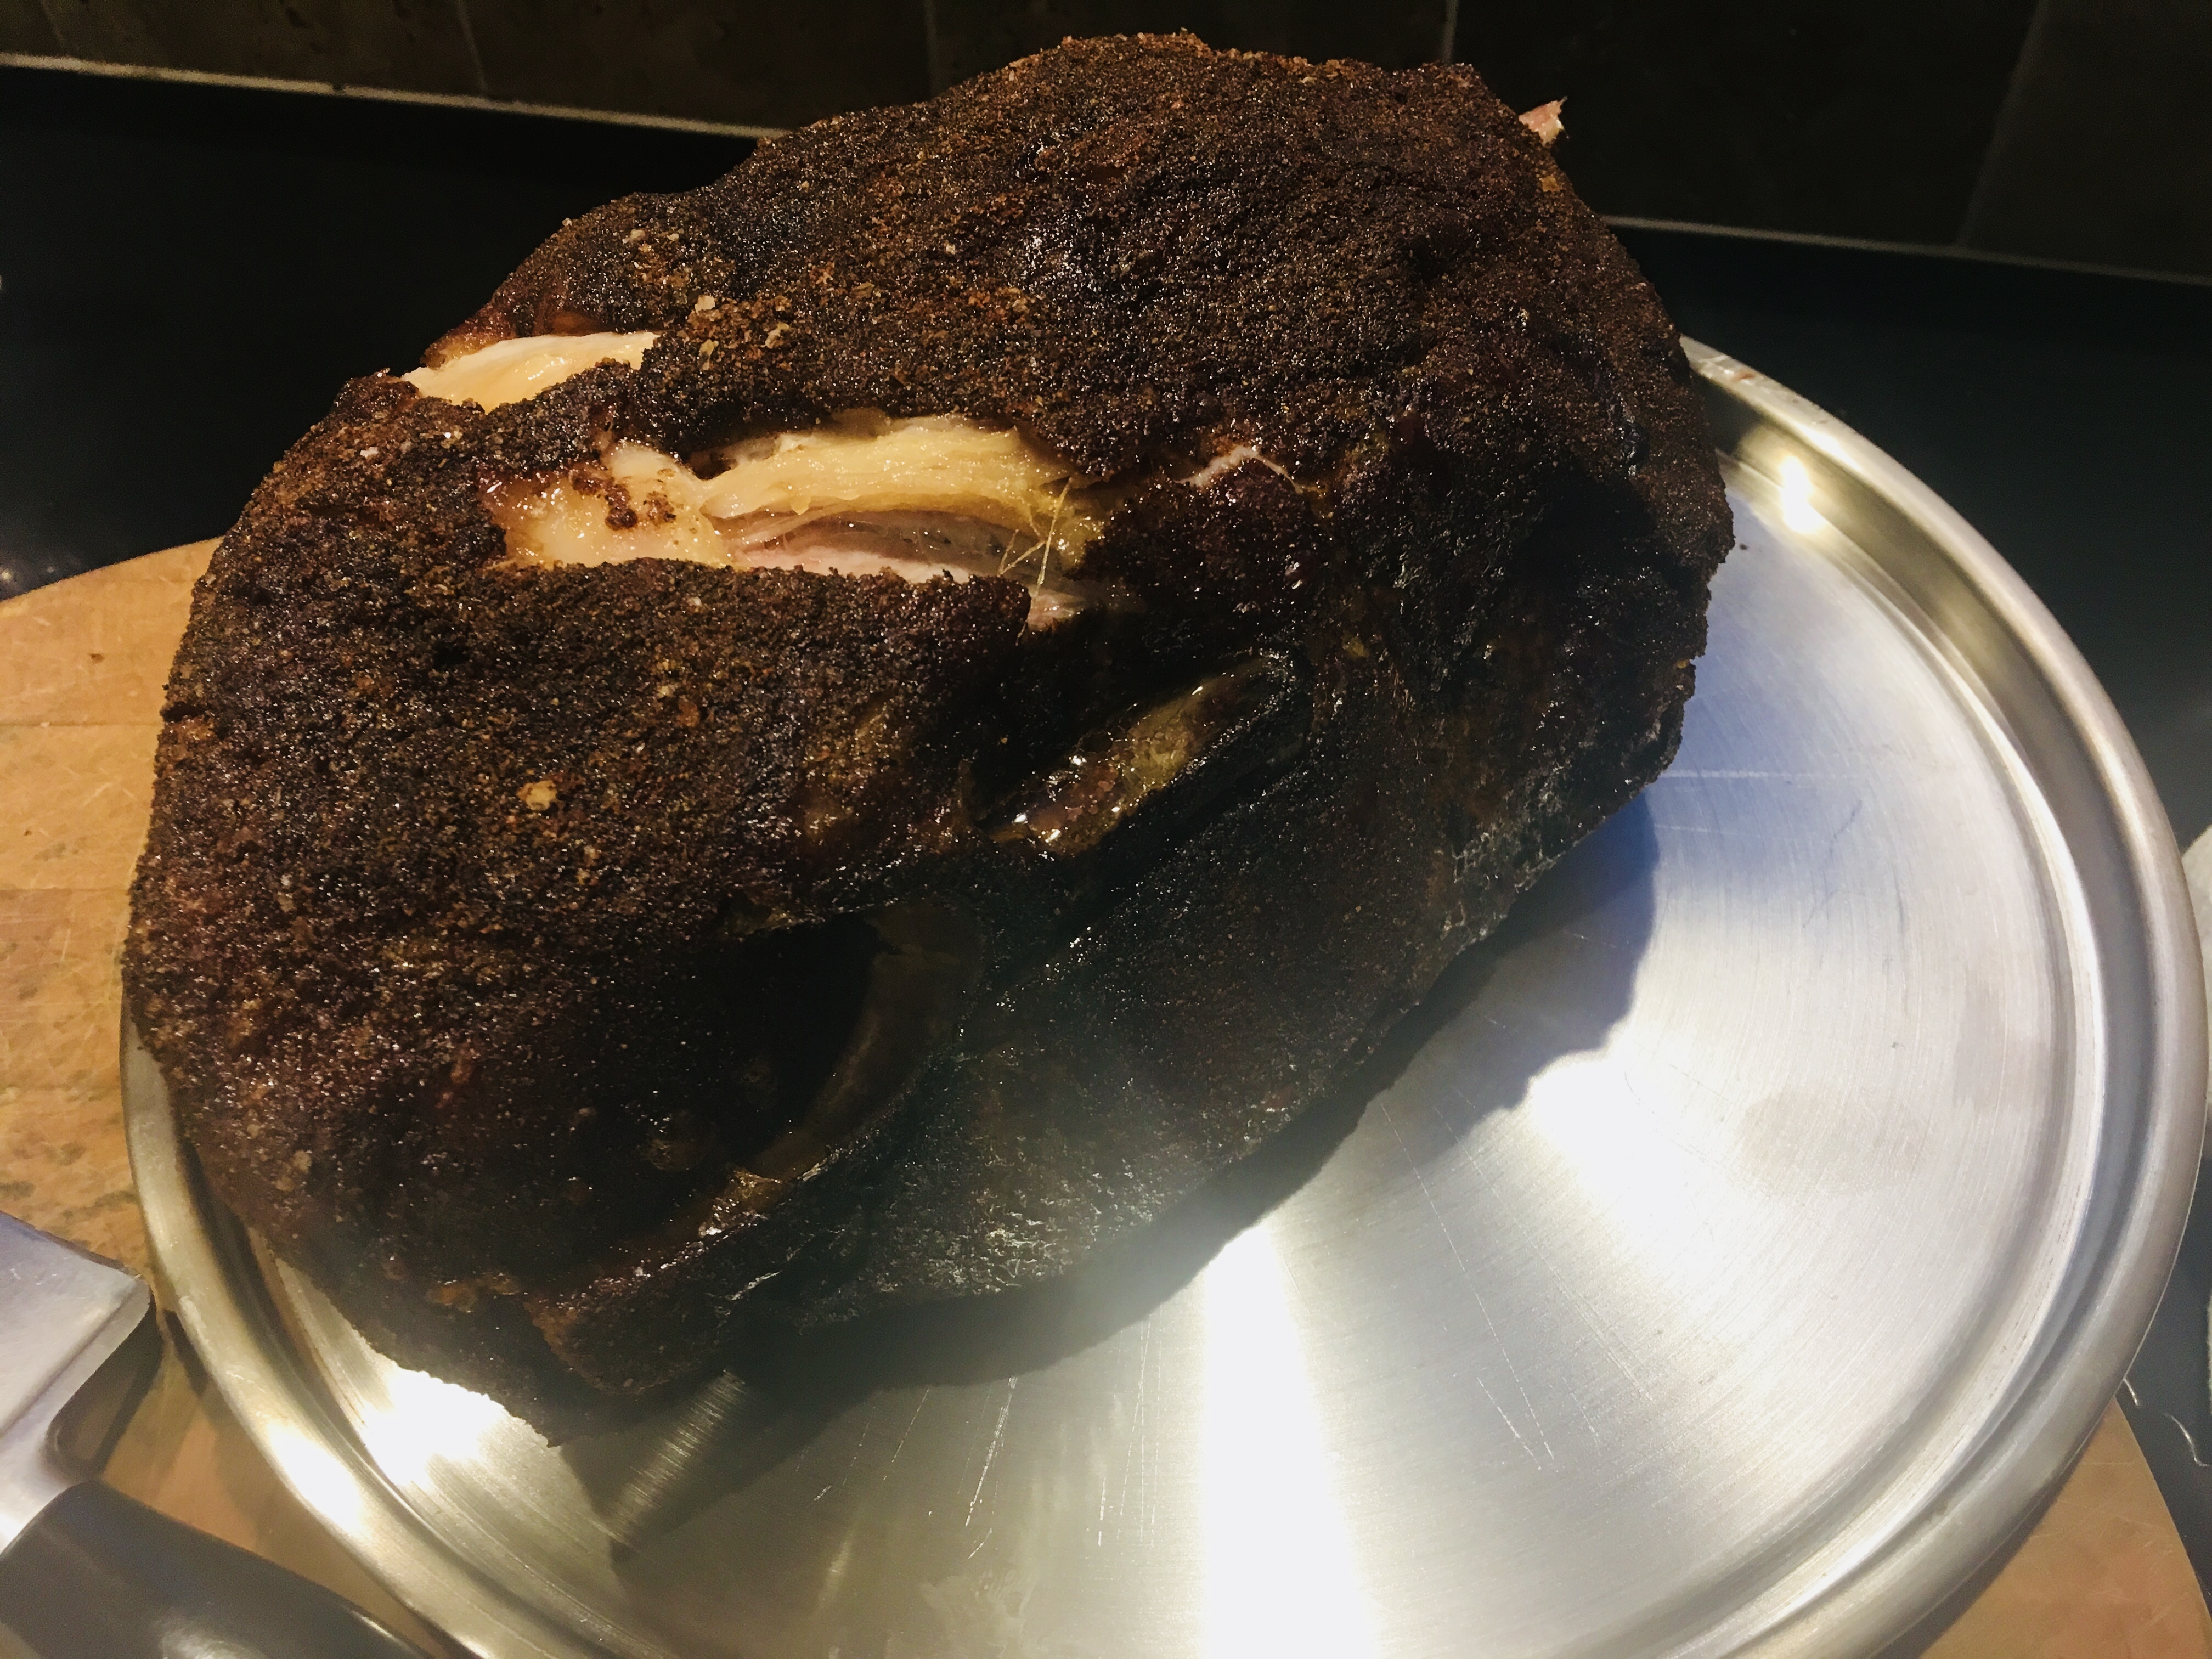
After 8 hours in the smoker, the rub makes a crust on the meat that is just fantastic!

BASIC DRY RUB

1/4 cup kosher salt
1/4 cup black pepper
1/4 cup paprika
¼ cup brown sugar
1 tablespoon granulated garlic
1 tablespoon onion powder

Place all the ingredients in a jar with a lid and shake it up to blend.

Once I’ve made the rub, I generously sprinkle it all over the pork, and rub it in really well. I have a digital smoker at home, which allows me to set the temperature to cook and smoke my pork butt. I place the pork butt on a rack, put a drip pan with water underneath it to catch the grease, and set the smoker for 250 degrees. I cook the pork at 250 for 8 tp 10 hours, depending on the size of the meat, adding hickory chips to the smoker every few hours. The marbled fat in the pork butt slowly melts over time and the pork becomes incredibly tender and flavorful.

I remove the pork butt from the smoker and let it rest, covered with aluminum foil, for at least 20 minutes before pulling it apart with a couple of forks, or chopping it up with a cleaver.

While the pork is cooking and smoking, there’s plenty of time to make two other very important parts of this recipe: a vinegar-based barbecue sauce, and the cole slaw.

Slaw on the side or on the sandwich…up to you!

BARBECUE SAUCE

2 cups ketchup
3/4 cup water
6 tablespoons cider vinegar
6 tablespoons white vinegar
6 tablespoons brown sugar
3 tablespoons Worcestershire sauce
1 tablespoon chili powder
2 teaspoons salt
2 teaspoons black pepper
1 1/2 teaspoons cumin

Mix all the ingredients in a saucepan and simmer until the flavors have blended, about 20 minutes. Remove from the heat and cool it to room temp. If you store it in an airtight container in the fridge, it’ll stay good for several weeks.
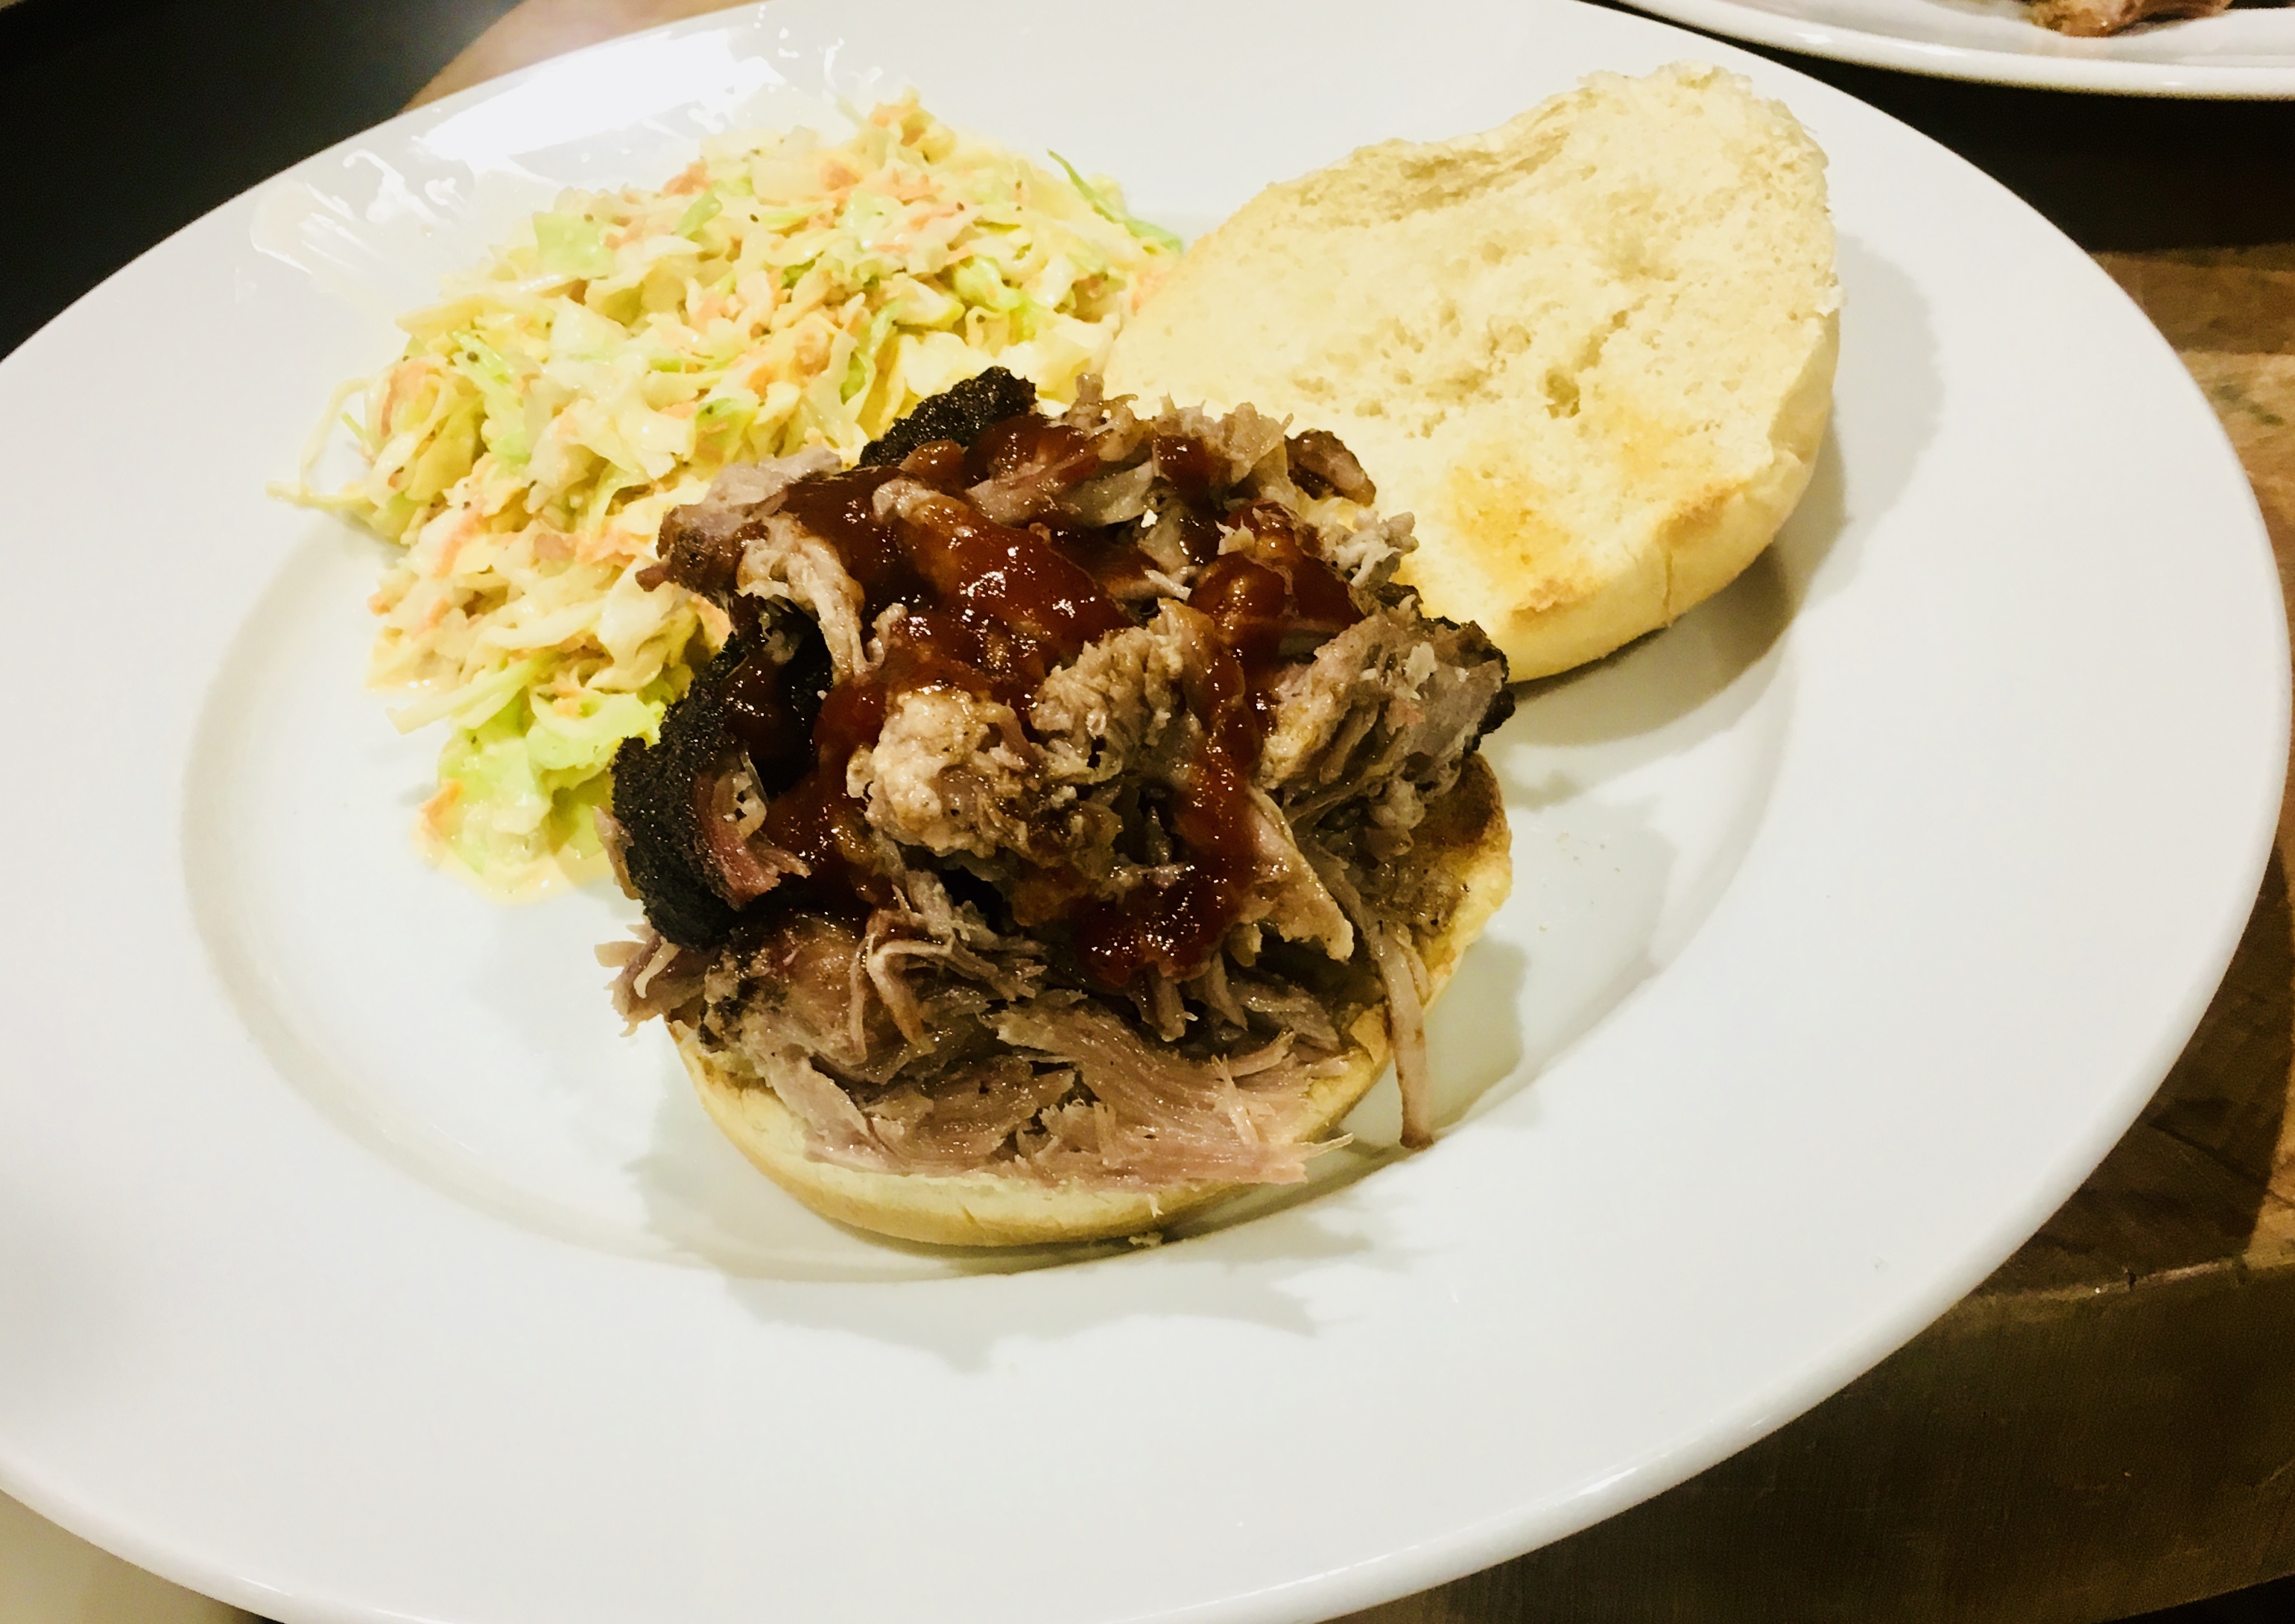
COLE SLAW

My unusual cole slaw recipe uses an interesting ingredient: pickle juice! Just a splash of juice from your favorite jar of pickles is all you need.

1 package of cole slaw veggies
splash of pickle juice
1/4 cup mayonnaise (more to taste)
teaspoon celery seed (not salt)
salt and pepper

There are no real specific measurements for cole slaw, because I’ve found that some people like it dry, others wet…some peppery, some not. Play around with it and make it your own. I prefer a more mayonnaise-y cole slaw, and usually err on the wet side.

In a bowl, combine all the ingredients. Cover it with plastic wrap and chill. When ready to use, re-mix it, and taste for seasoning before using.

OK…time to make that sandwich!

You can either go Carolina style and place the cole slaw right on top of the pulled pork in the bun, or simply serve the slaw on the side. No rules!

Whether you go through all these steps yourself or not, it’s nice to appreciate a labor of love that is worth every bit of time and trouble invested in it.

It takes a few weeks for this limoncello recipe to be ready, but, hey…we’ve got nothing but time!


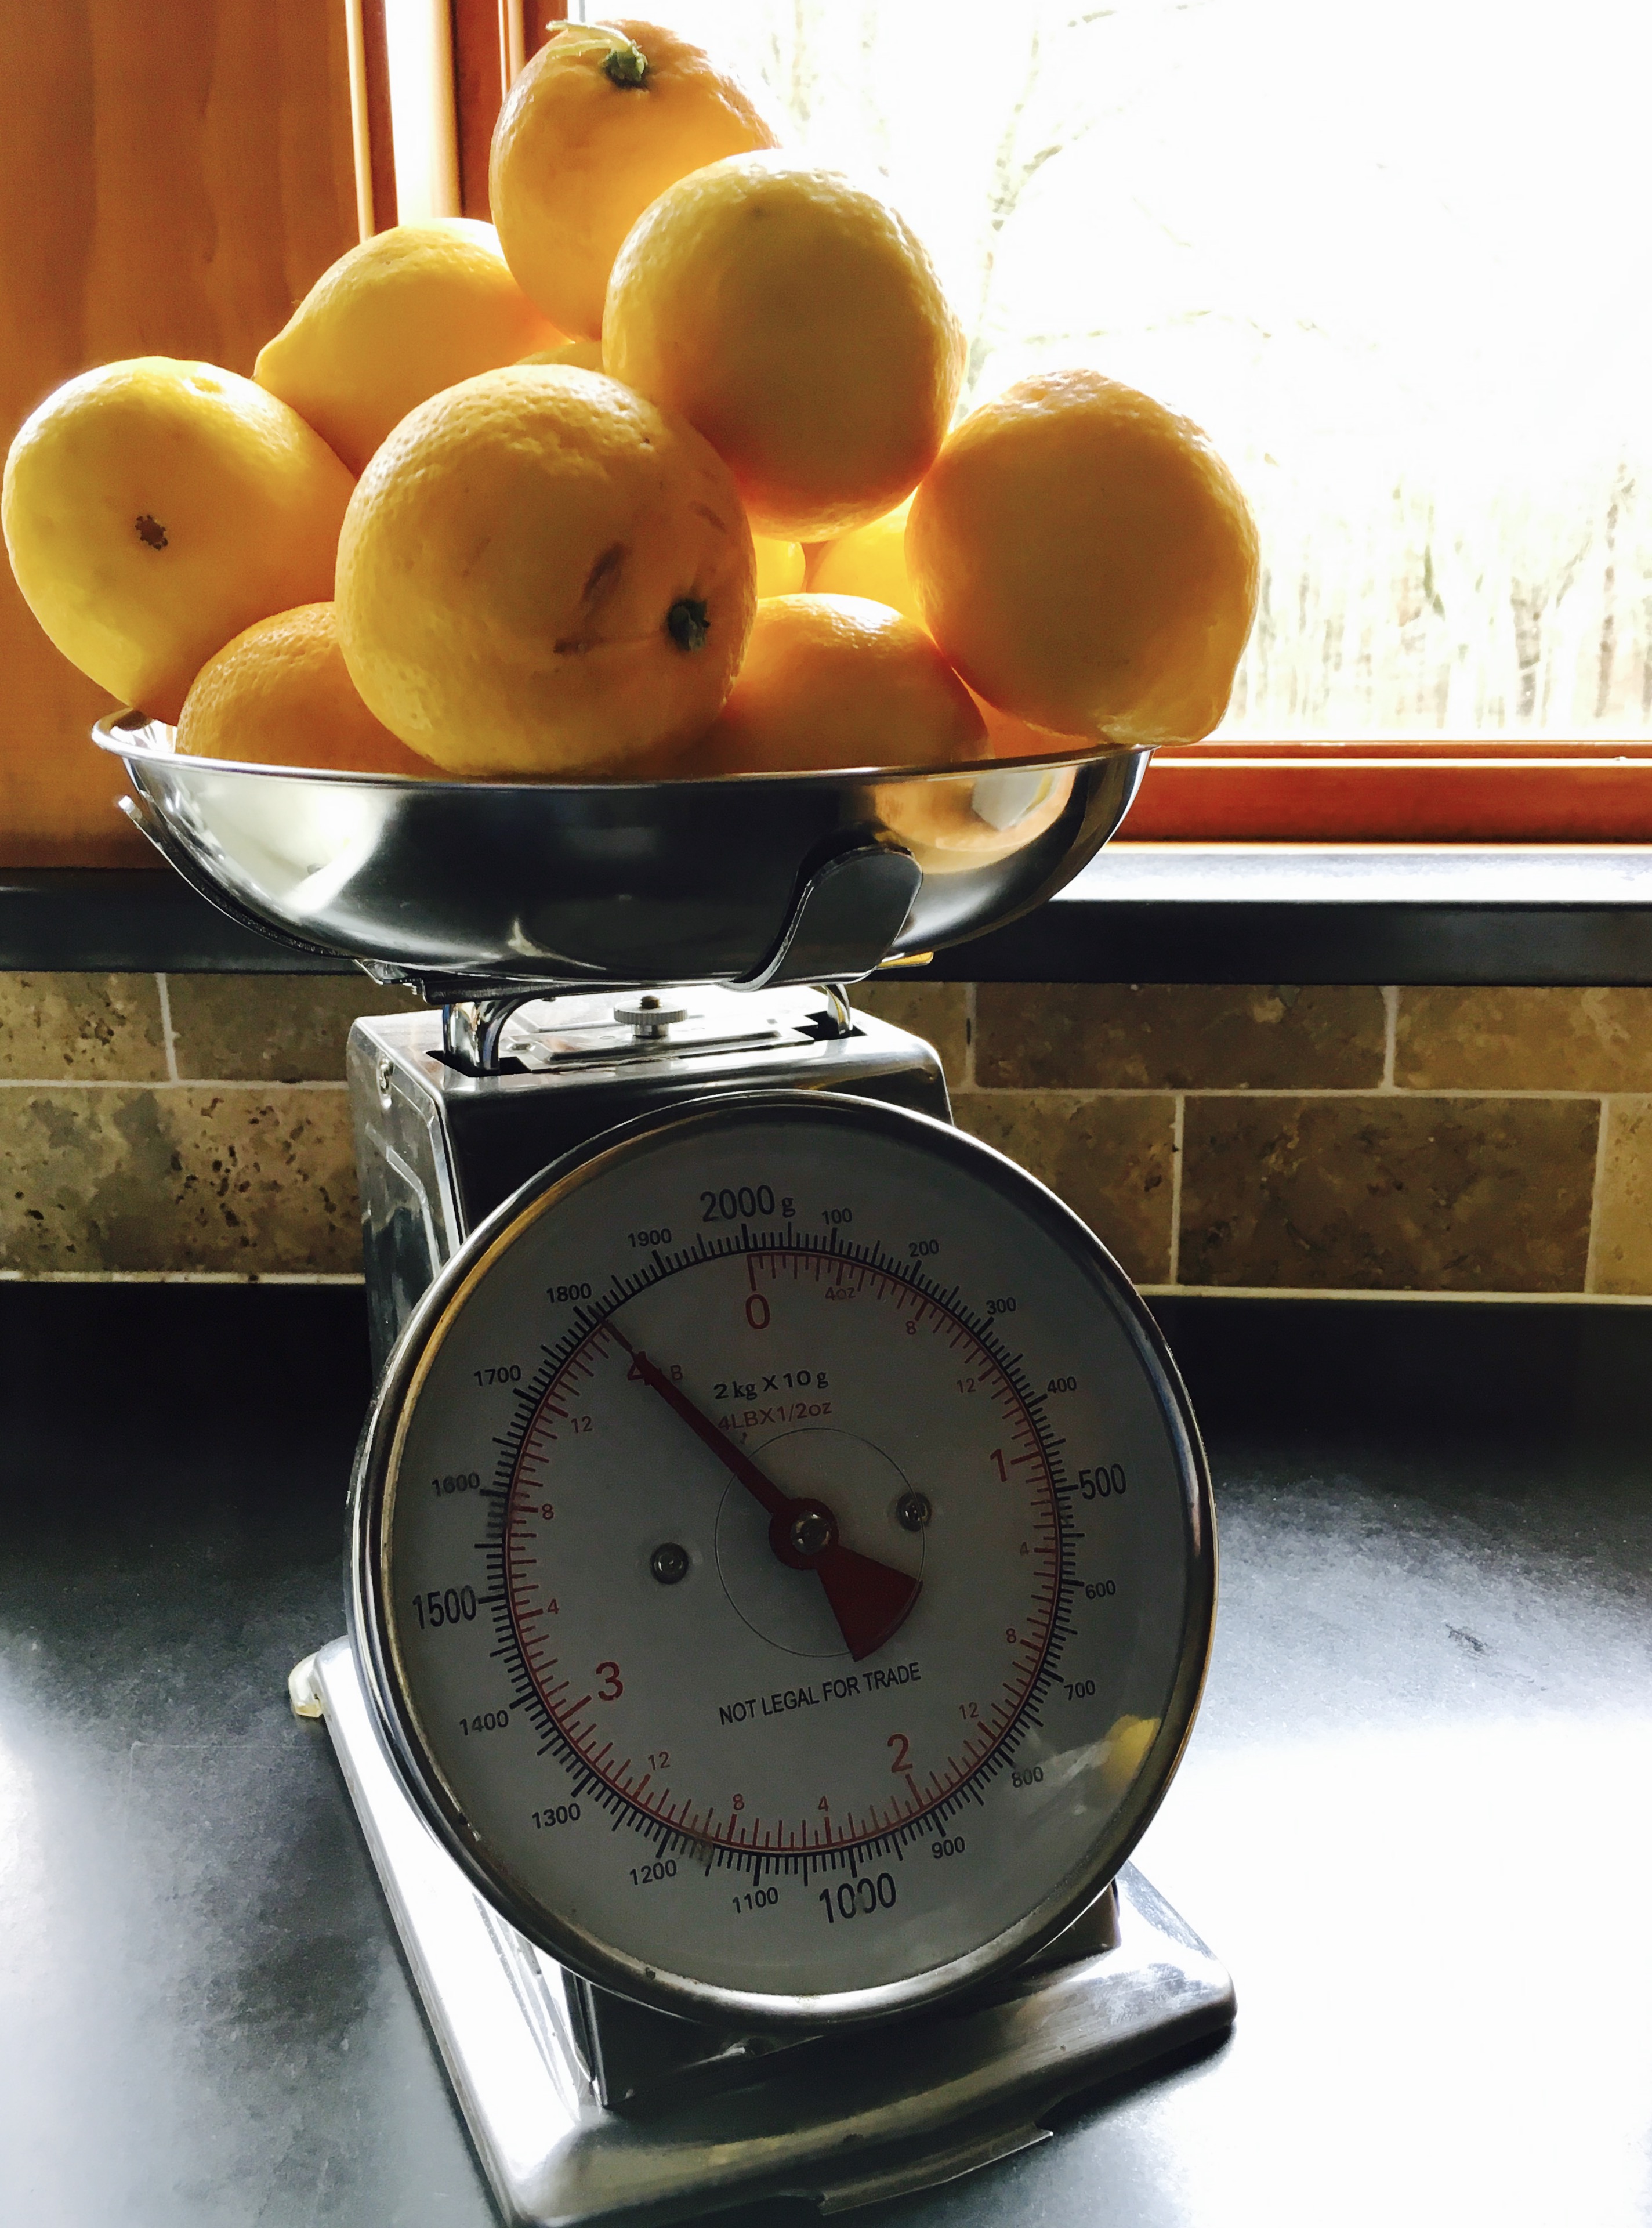
It starts with beautiful lemons…


Many years ago, my wife and I visited the Amalfi coast, and we spent several nights on the beautiful island of Capri. On our last night, we dined at the historic Grand Hotel Quisisana, and our meal ended with a glass of the most delicious limoncello I ever had.

I asked the waiter if it was possible to get the recipe of the limoncello, and he made a big deal about the recipe being a “secret.” Though disappointed, I understood, and I left Capri thinking that I would never taste it again.


Sure, you can buy limoncello from Capri in a bottle, but what fun is that?


Two weeks later, back at home, I was reading the latest issue of Conde Nast Traveler, and there in black and white, was the Quisisana limoncello recipe! WTF?

After making many batches of this limoncello, I started experimenting with other citrus, and the most successful by far was with grapefruit. Now I make a batch of each: lemon and grapefruit. It’s important to use 100-proof vodka in this recipe. Most vodka is 80-proof, so you’ll need to go to a liquor store with a better selection to find it. Absolut makes a good one, as does Stoli.

Four ingredients, easy to make. The toughest part is waiting for it to mellow a bit.


4 lbs. of lemons, but you only use the zest!


4 lbs. lemons, zest only
2 750-ml bottles 100 proof vodka
5 1/2 cups sugar
6 cups filtered water

Just the zest!


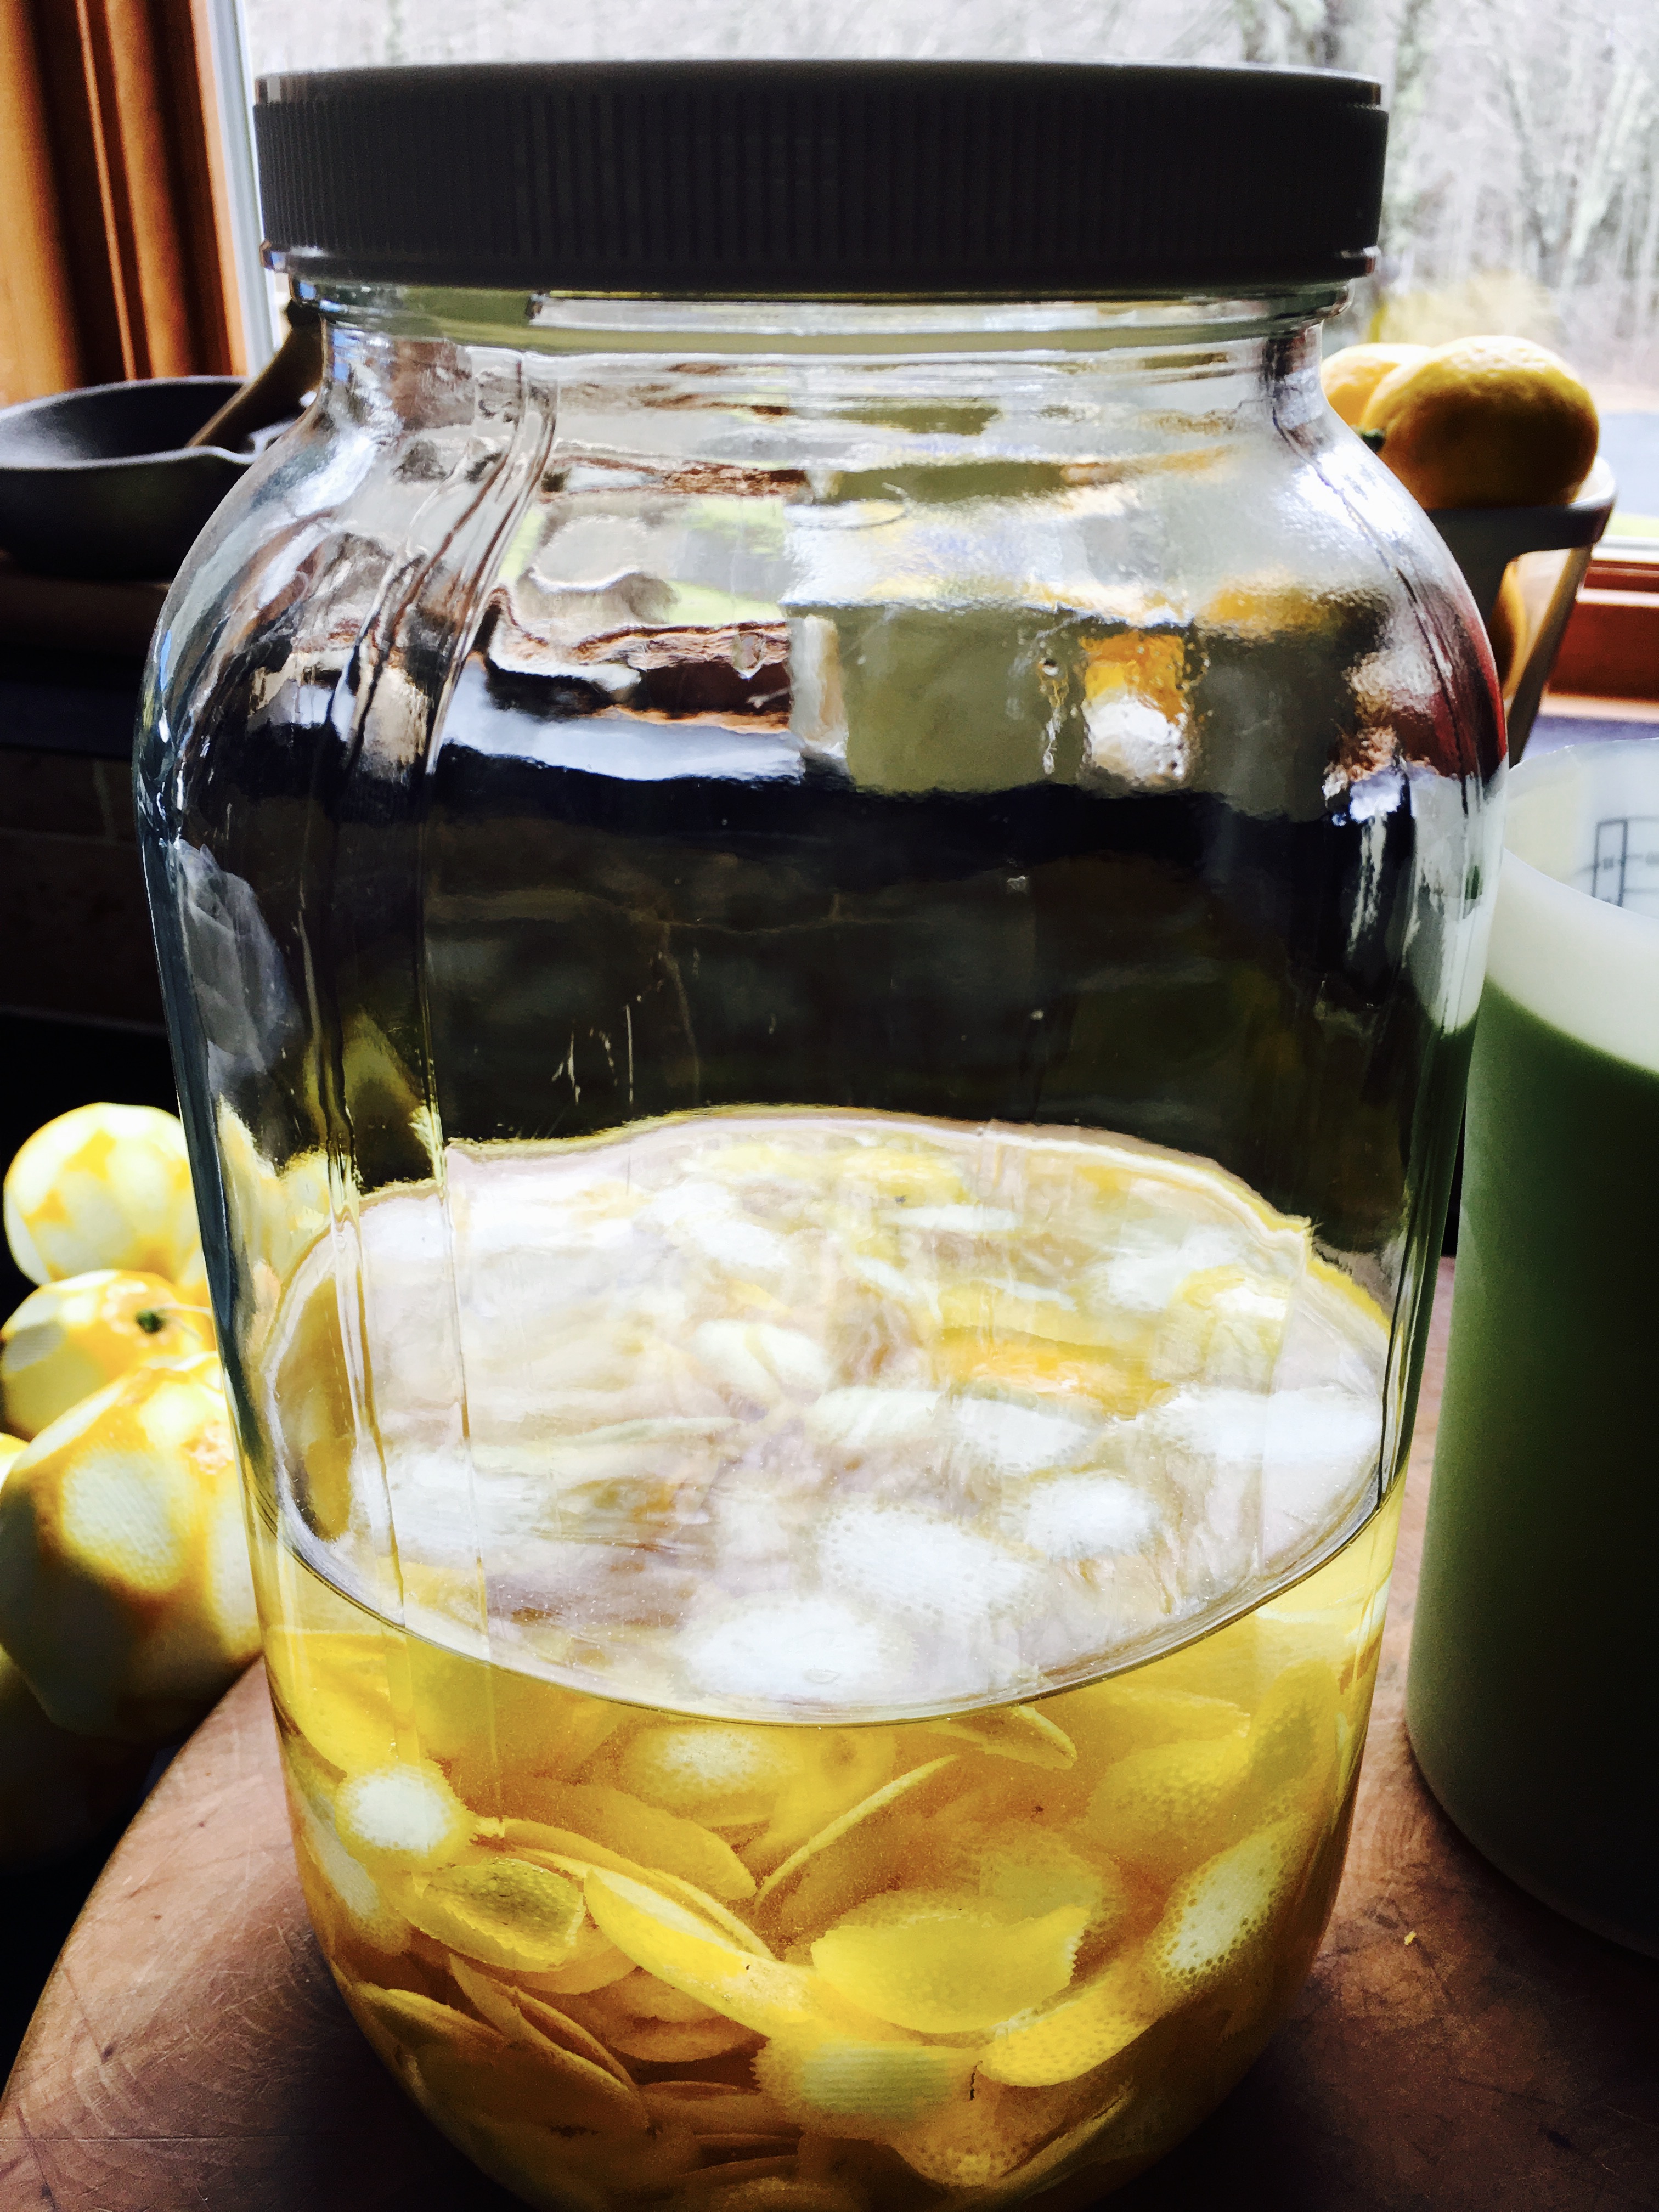
Peel the zest off all the lemons, trying not to get any of the white pith that could make the limoncello bitter. (There will always be some…that’s OK.) Place all the zest in the bottom of a one-gallon glass jar with a lid.

Pour the vodka on top of the lemon zest pieces, seal the jar, and keep it at room temperature for a week, swirling the jar around gently once a day.


Vodka and zest.


On the sixth day, combine the sugar and water in a pot over medium-high heat, and stir until all the sugar completely dissolves. Remove it from the heat, cover it, and let it thoroughly cool to room temperature (overnight is best.)

On day seven, strain the lemon zest, pouring the infused vodka into a clean glass jar. Discard the lemon zest.

Pour the sugar/water mixture into the vodka and mix it well.

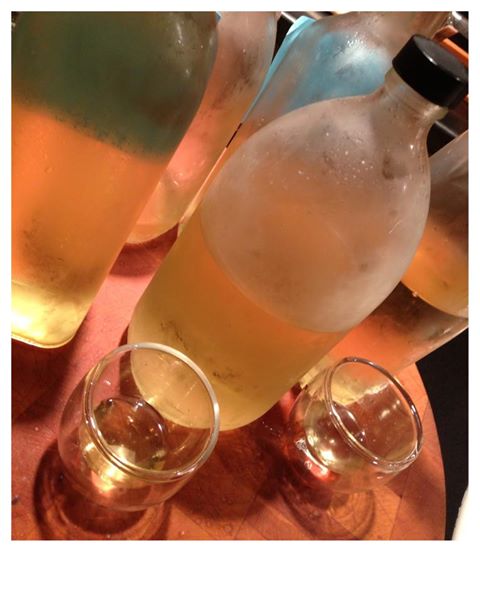
At this point, you can pour the finished product into bottles. I like to let it mellow for about a month before drinking. (It’s worth the wait…although nobody says you can’t take a few “cheating sips” every now and then!)

I keep my limoncello refrigerated.

Generally speaking, I’m not a fan of many gluten-free desserts or snacks, because they claim to be healthy by avoiding wheat, then compensate for the lack of flavor and texture by overloading with bad fats, salt and sugar. These brownies, which have more of a cake texture than a brownie, are the exception.


image

9 oz. ground hazelnuts
5 1/2 oz. (2/3 cup) sugar
8 oz. (1 stick) unsalted butter
4 eggs
1 oz. cocoa powder
1 tablespoon baking powder


If you’re using whole hazelnuts, pour them into the food processor and grind them into a powder. Pour the ground hazelnuts into a separate bowl.

Back in the food processor bowl, add the sugar and butter and pulse until combined.  Crack the eggs in a separate bowl, and add them slowly to the sugar and butter, pulsing to mix in between each addition.

Pour the ground hazelnuts into the mixture a little at a time, pulsing after each addition. Add the cocoa powder, straining  through a sieve to keep out lumps, and pulse again. Add the baking powder and pulse again. Scrape down the sides of the bowl and give it all one last mix.

Pour the batter into a buttered pan and cook at 350 for 30 minutes. Use a deeper pan so that the brownies don’t overflow as they rise while baking.


Though it may sound Japanese, the word “saganaki” refers to a small frying pan used in Greek cooking. The most famous of these dishes, simply called saganaki, is a fried cheese, often flamed at the end with a little ouzo.

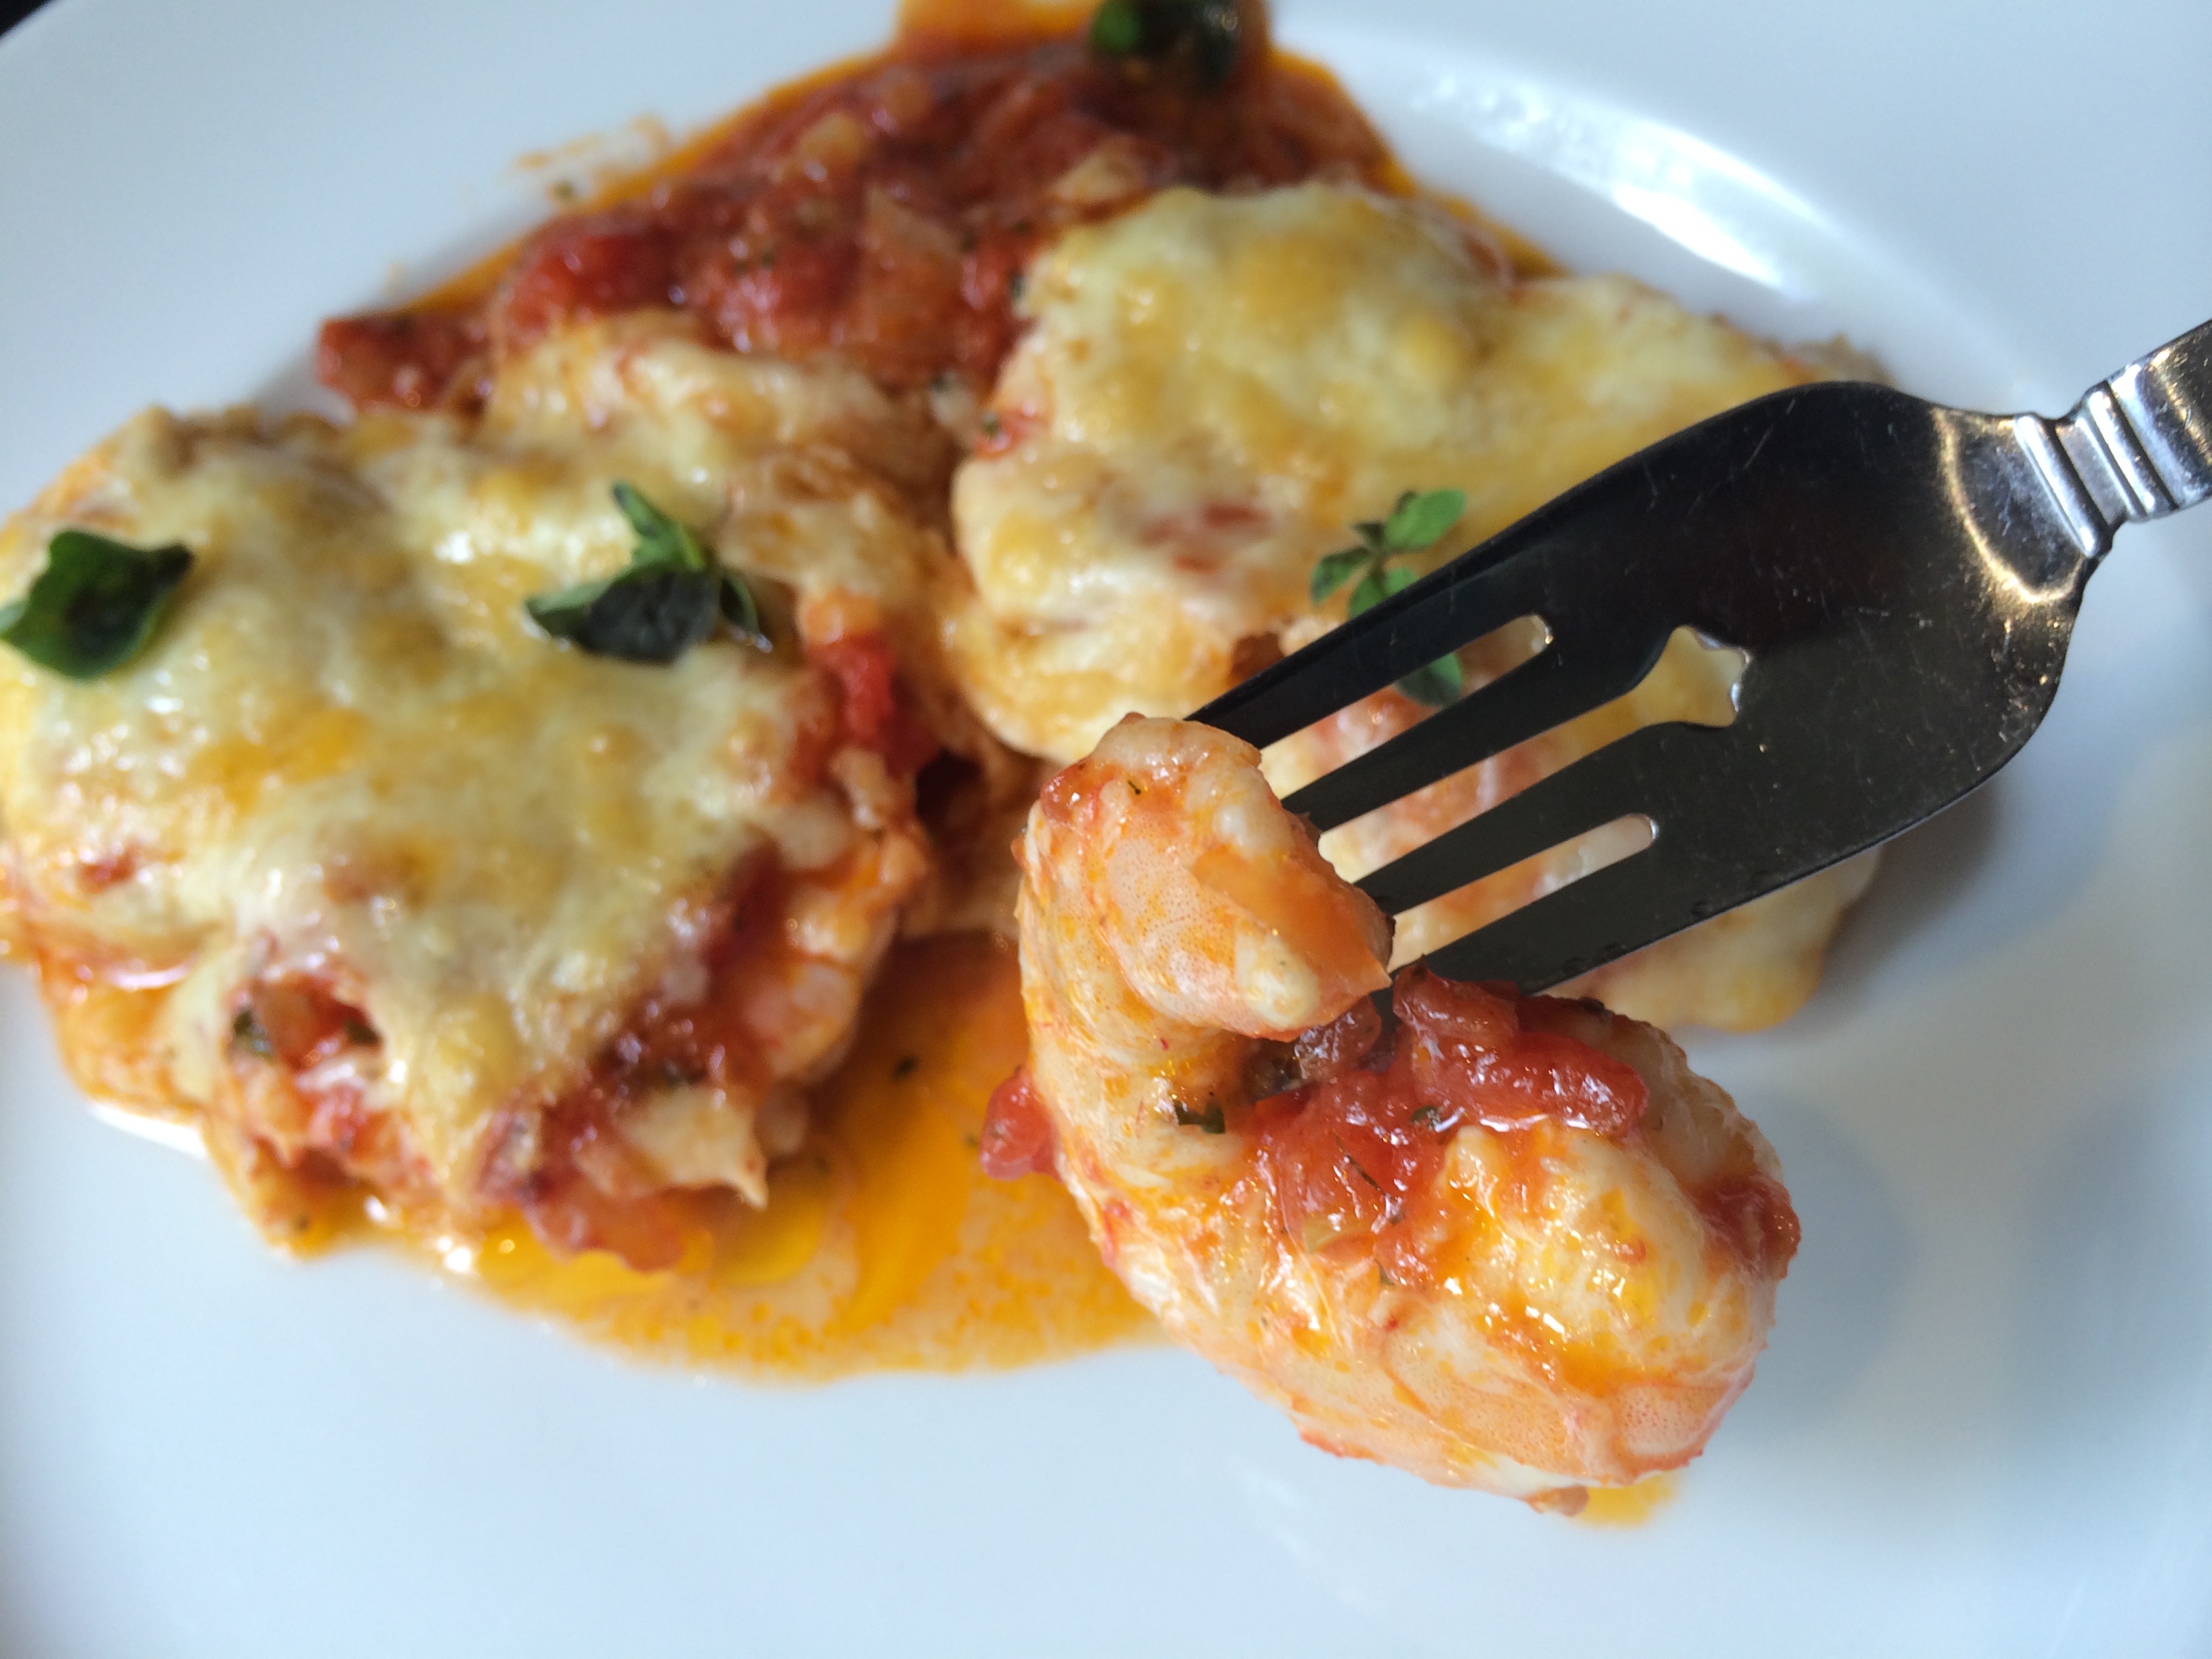
Shrimp saganaki is one of my favorite Greek dishes, and it usually involves cooking shrimp in a tomato-based sauce with plenty of feta cheese sprinkled in. It’s simple yet fantastic if the ingredients are fresh. Doesn’t hurt to be sitting in a taverna on the beautiful island of Santorini while eating it, either!


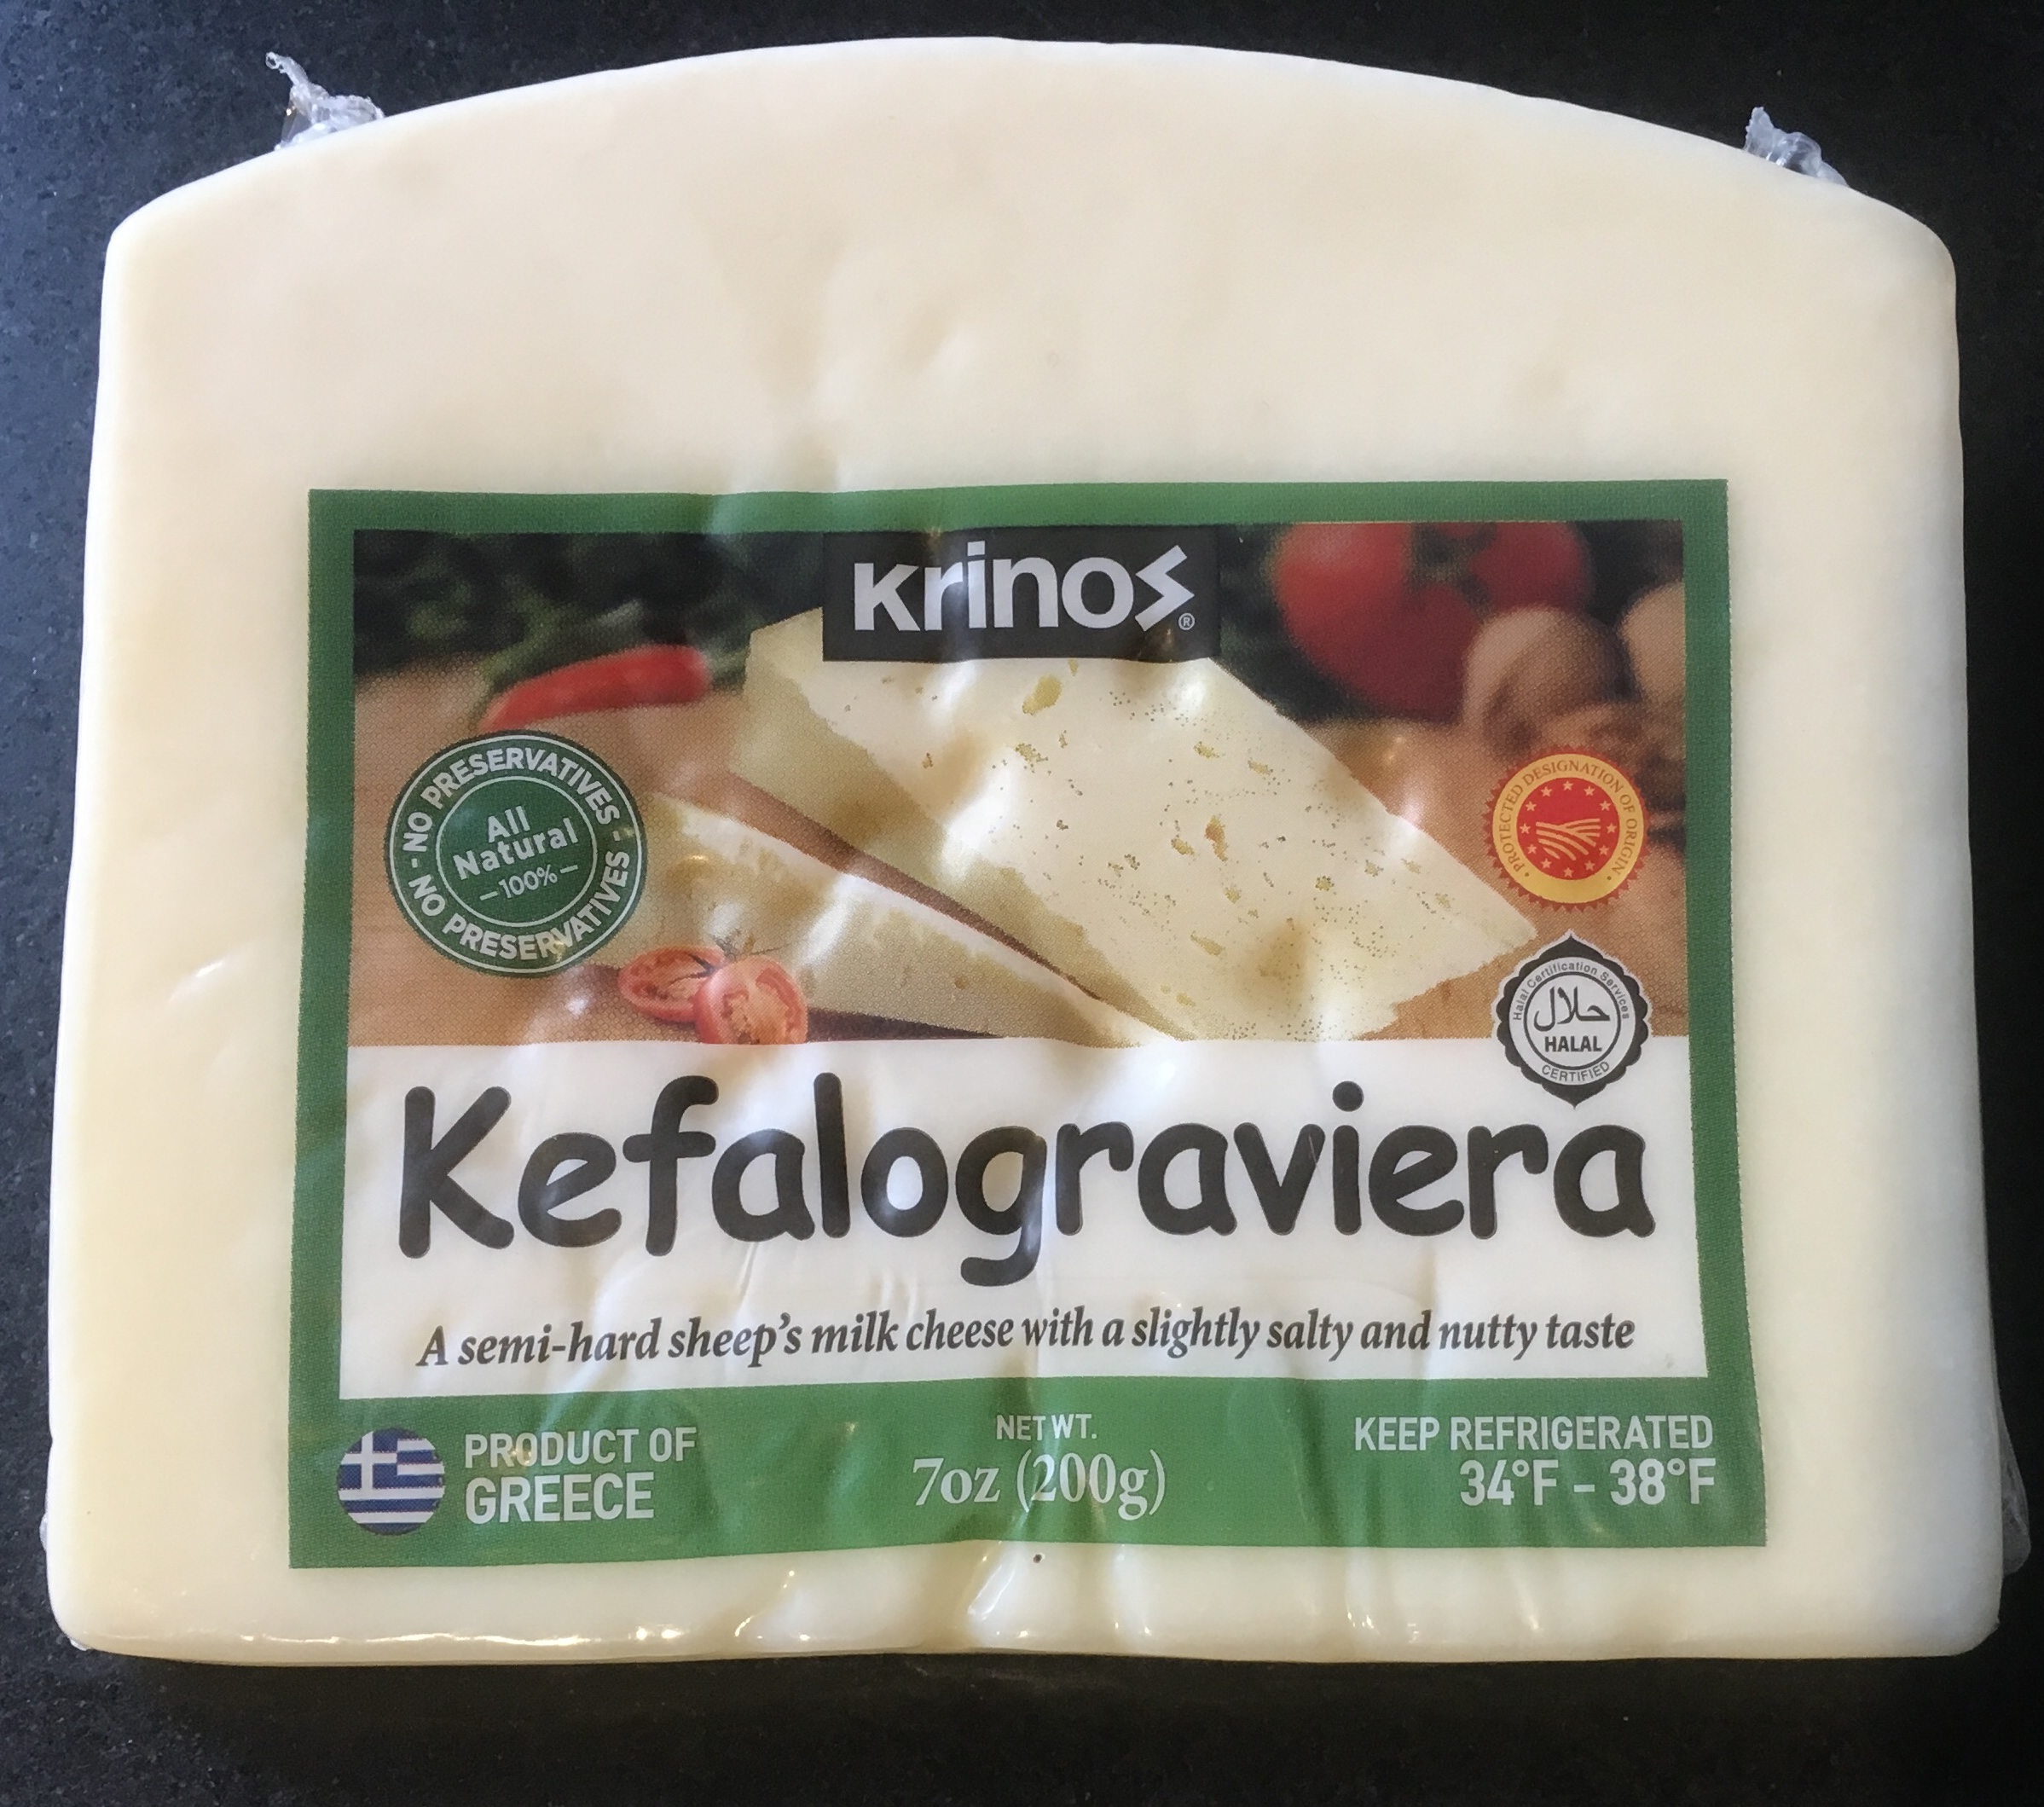
You can find Graviera cheese in most supermarkets.


I found a slab of Graviera cheese at a local supermarket, and decided to recreate shrimp saganaki using that instead of feta. It was pretty darn amazing.

I like using peeled and deveined 24–30 shrimp, because larger shrimp don’t always cook through. These smaller shrimp will be bite-sized and delicious.


Melty, gooey, delicious!

Melty, gooey, delicious!


200g package (7 oz.) grated Graviera cheese
1 can (28 oz.) whole tomatoes
1 lb. (about 24) shrimp, peeled and deveined
1 medium onion, chopped
juice of 1/2 lemon
1/4 cup olive oil
2 cloves garlic, through a press
pinch red pepper flakes
1 1/2 tablespoons fresh dill, finely chopped
1 tablespoon fresh oregano, finely chopped
1 1/2 tablespoons Ouzo
salt and pepper


Peel and devein the shrimp (or you can buy them that way already.) Place them in a bowl. Squeeze the juice of  1/2 of a lemon on to the shrimp and toss. Set them aside.

In a large pan, saute the onions in the olive oil until translucent. Add the garlic and cook for a few seconds more.

Crush or puree the tomatoes and add them to the pan. Add the red pepper flakes, dill and oregano, and salt and pepper. Add the Ouzo.

Let this sauce cook down for a bit until all the flavors have blended together.

Pour a layer of the sauce on the bottom of a metal broiler-proof pan. Lay the raw shrimp in a single layer into the sauce. Cover the shrimp with the rest of the sauce and sprinkle the grated Graviera on top.

Place the pan in a pre-heated 350-degree oven and bake until the cheese is golden brown and bubbly and the shrimp have cooked through. I like to finish it under the broiler for a few minutes to get the cheese brown and melty.


shrimp saganaki


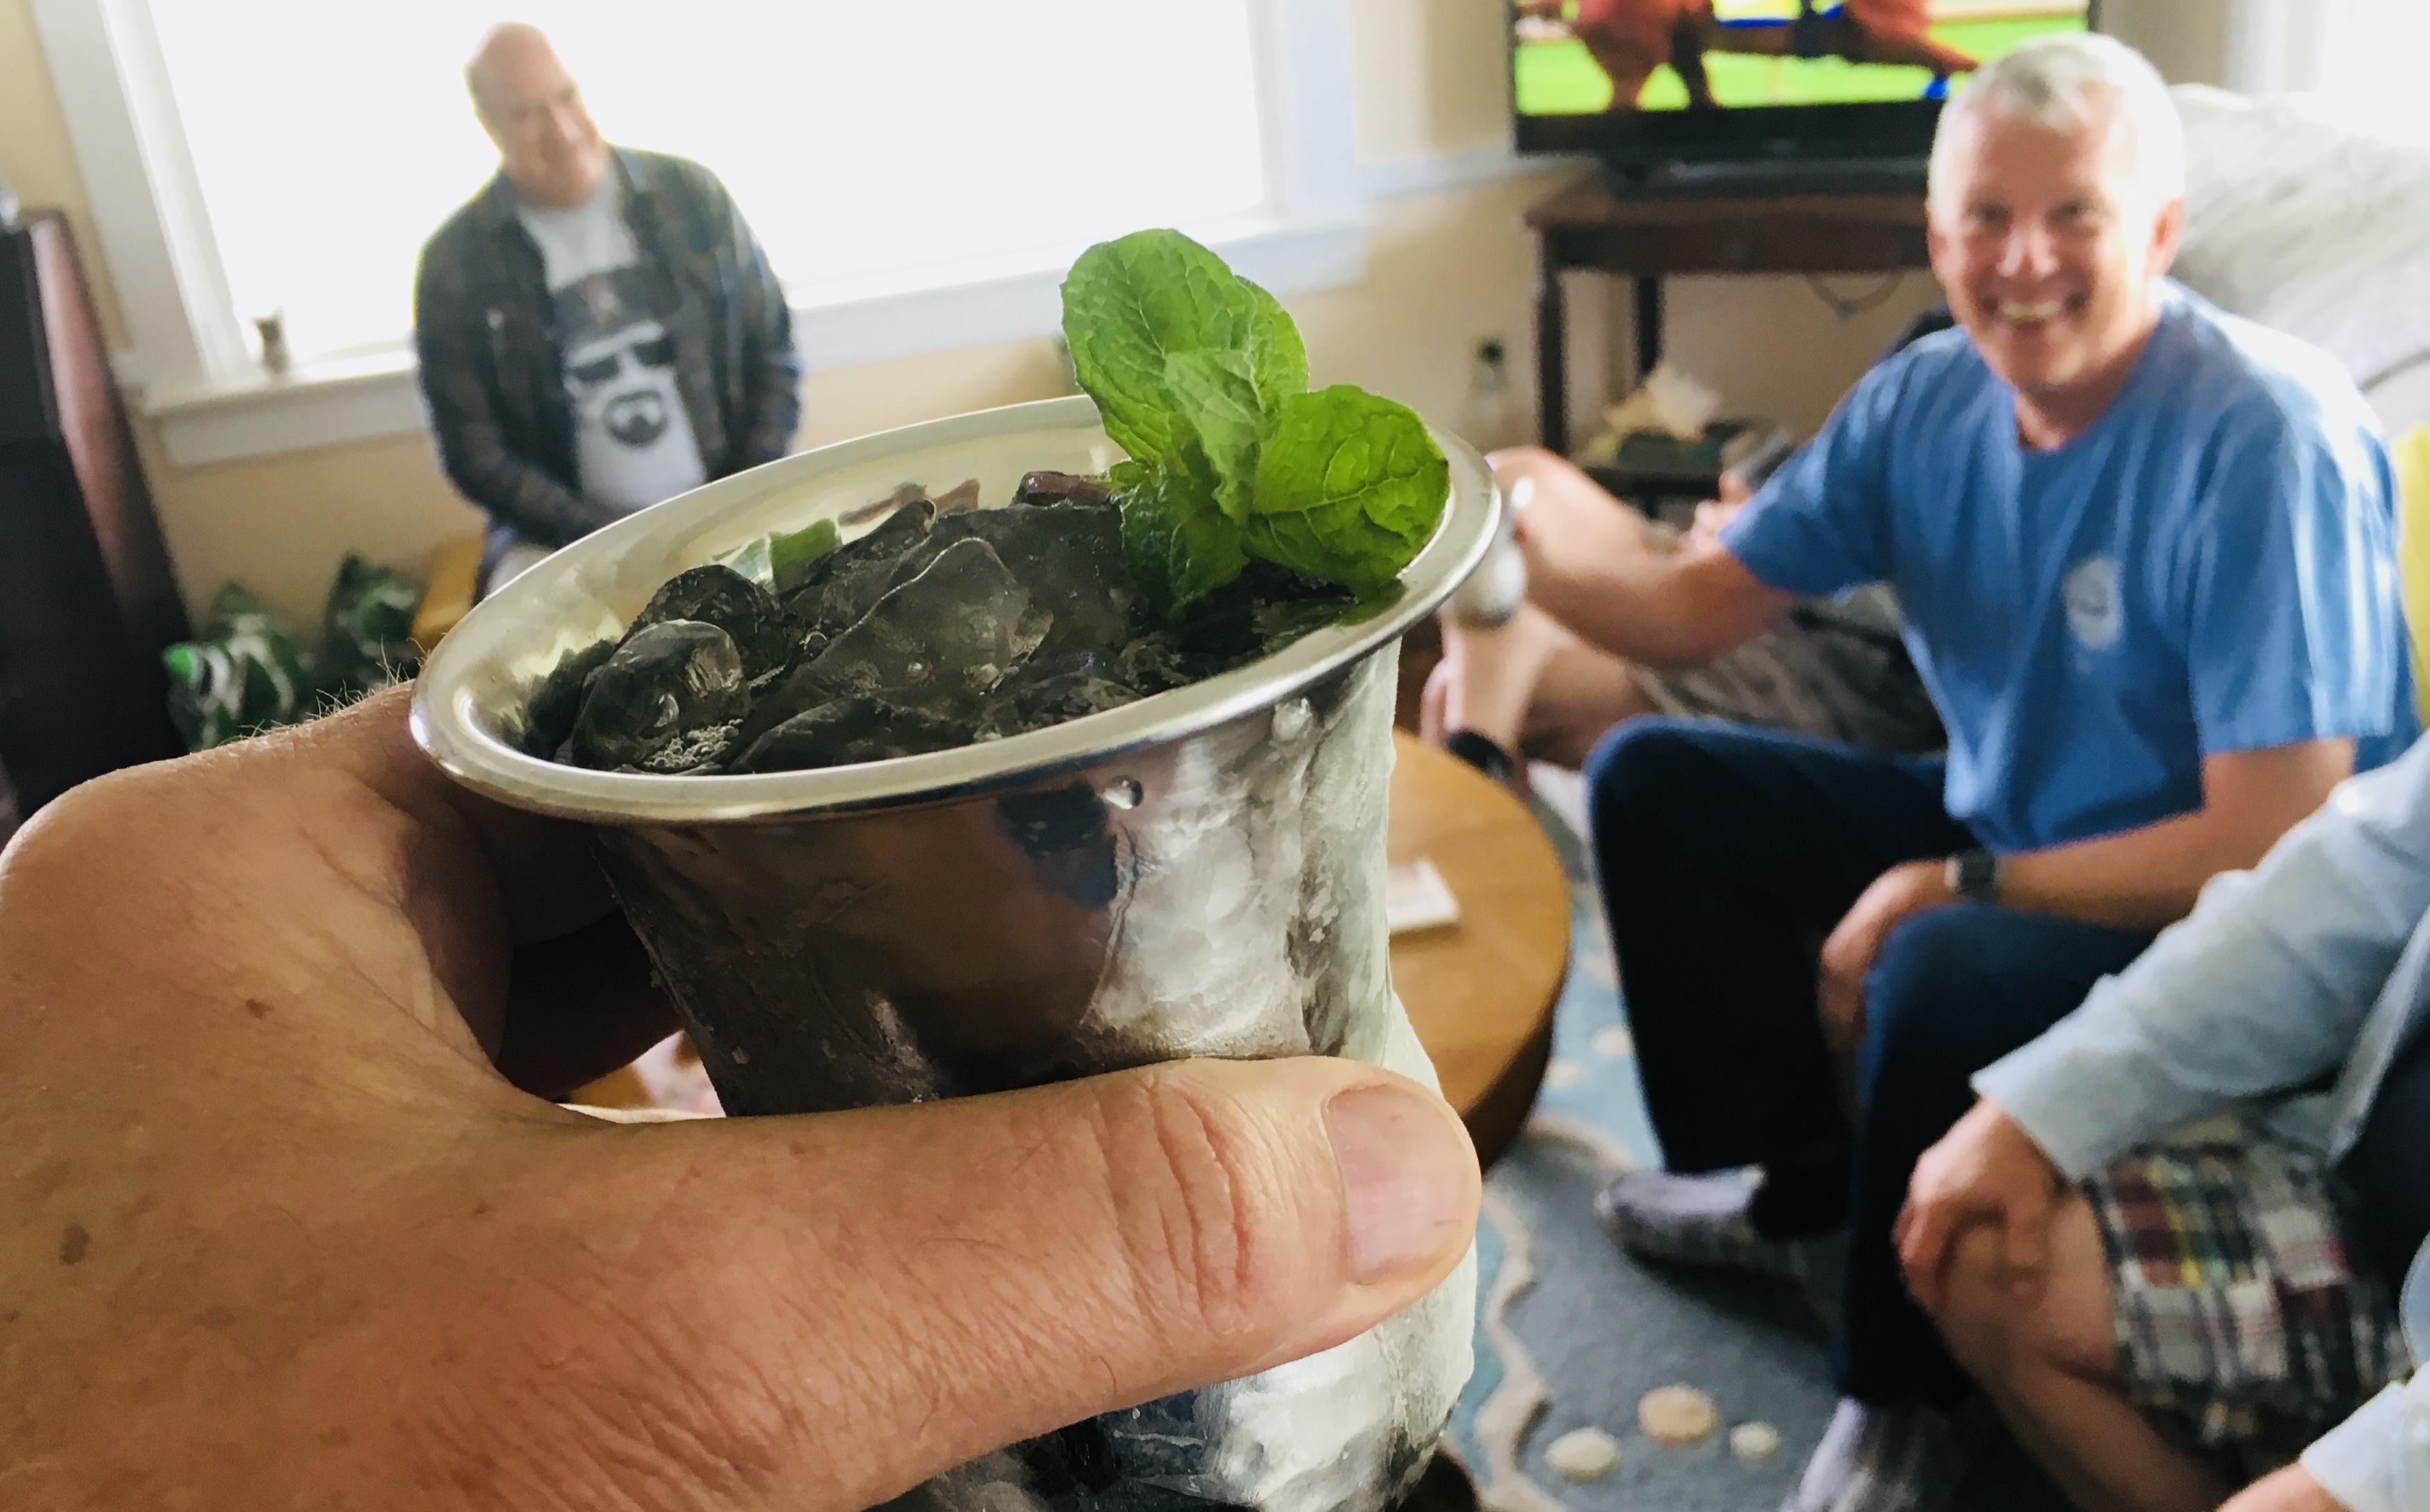
It’s Derby Day! Did you forget? I did! Thanks to my buddy, Roy, for the reminder!

The Mint Julep is such a perfect, classic and historic bourbon drink, it seems silly to wait until Derby day to have one. Of course, as any aficionado of spirits will tell you, there are as many right ways as wrong ways of making one.

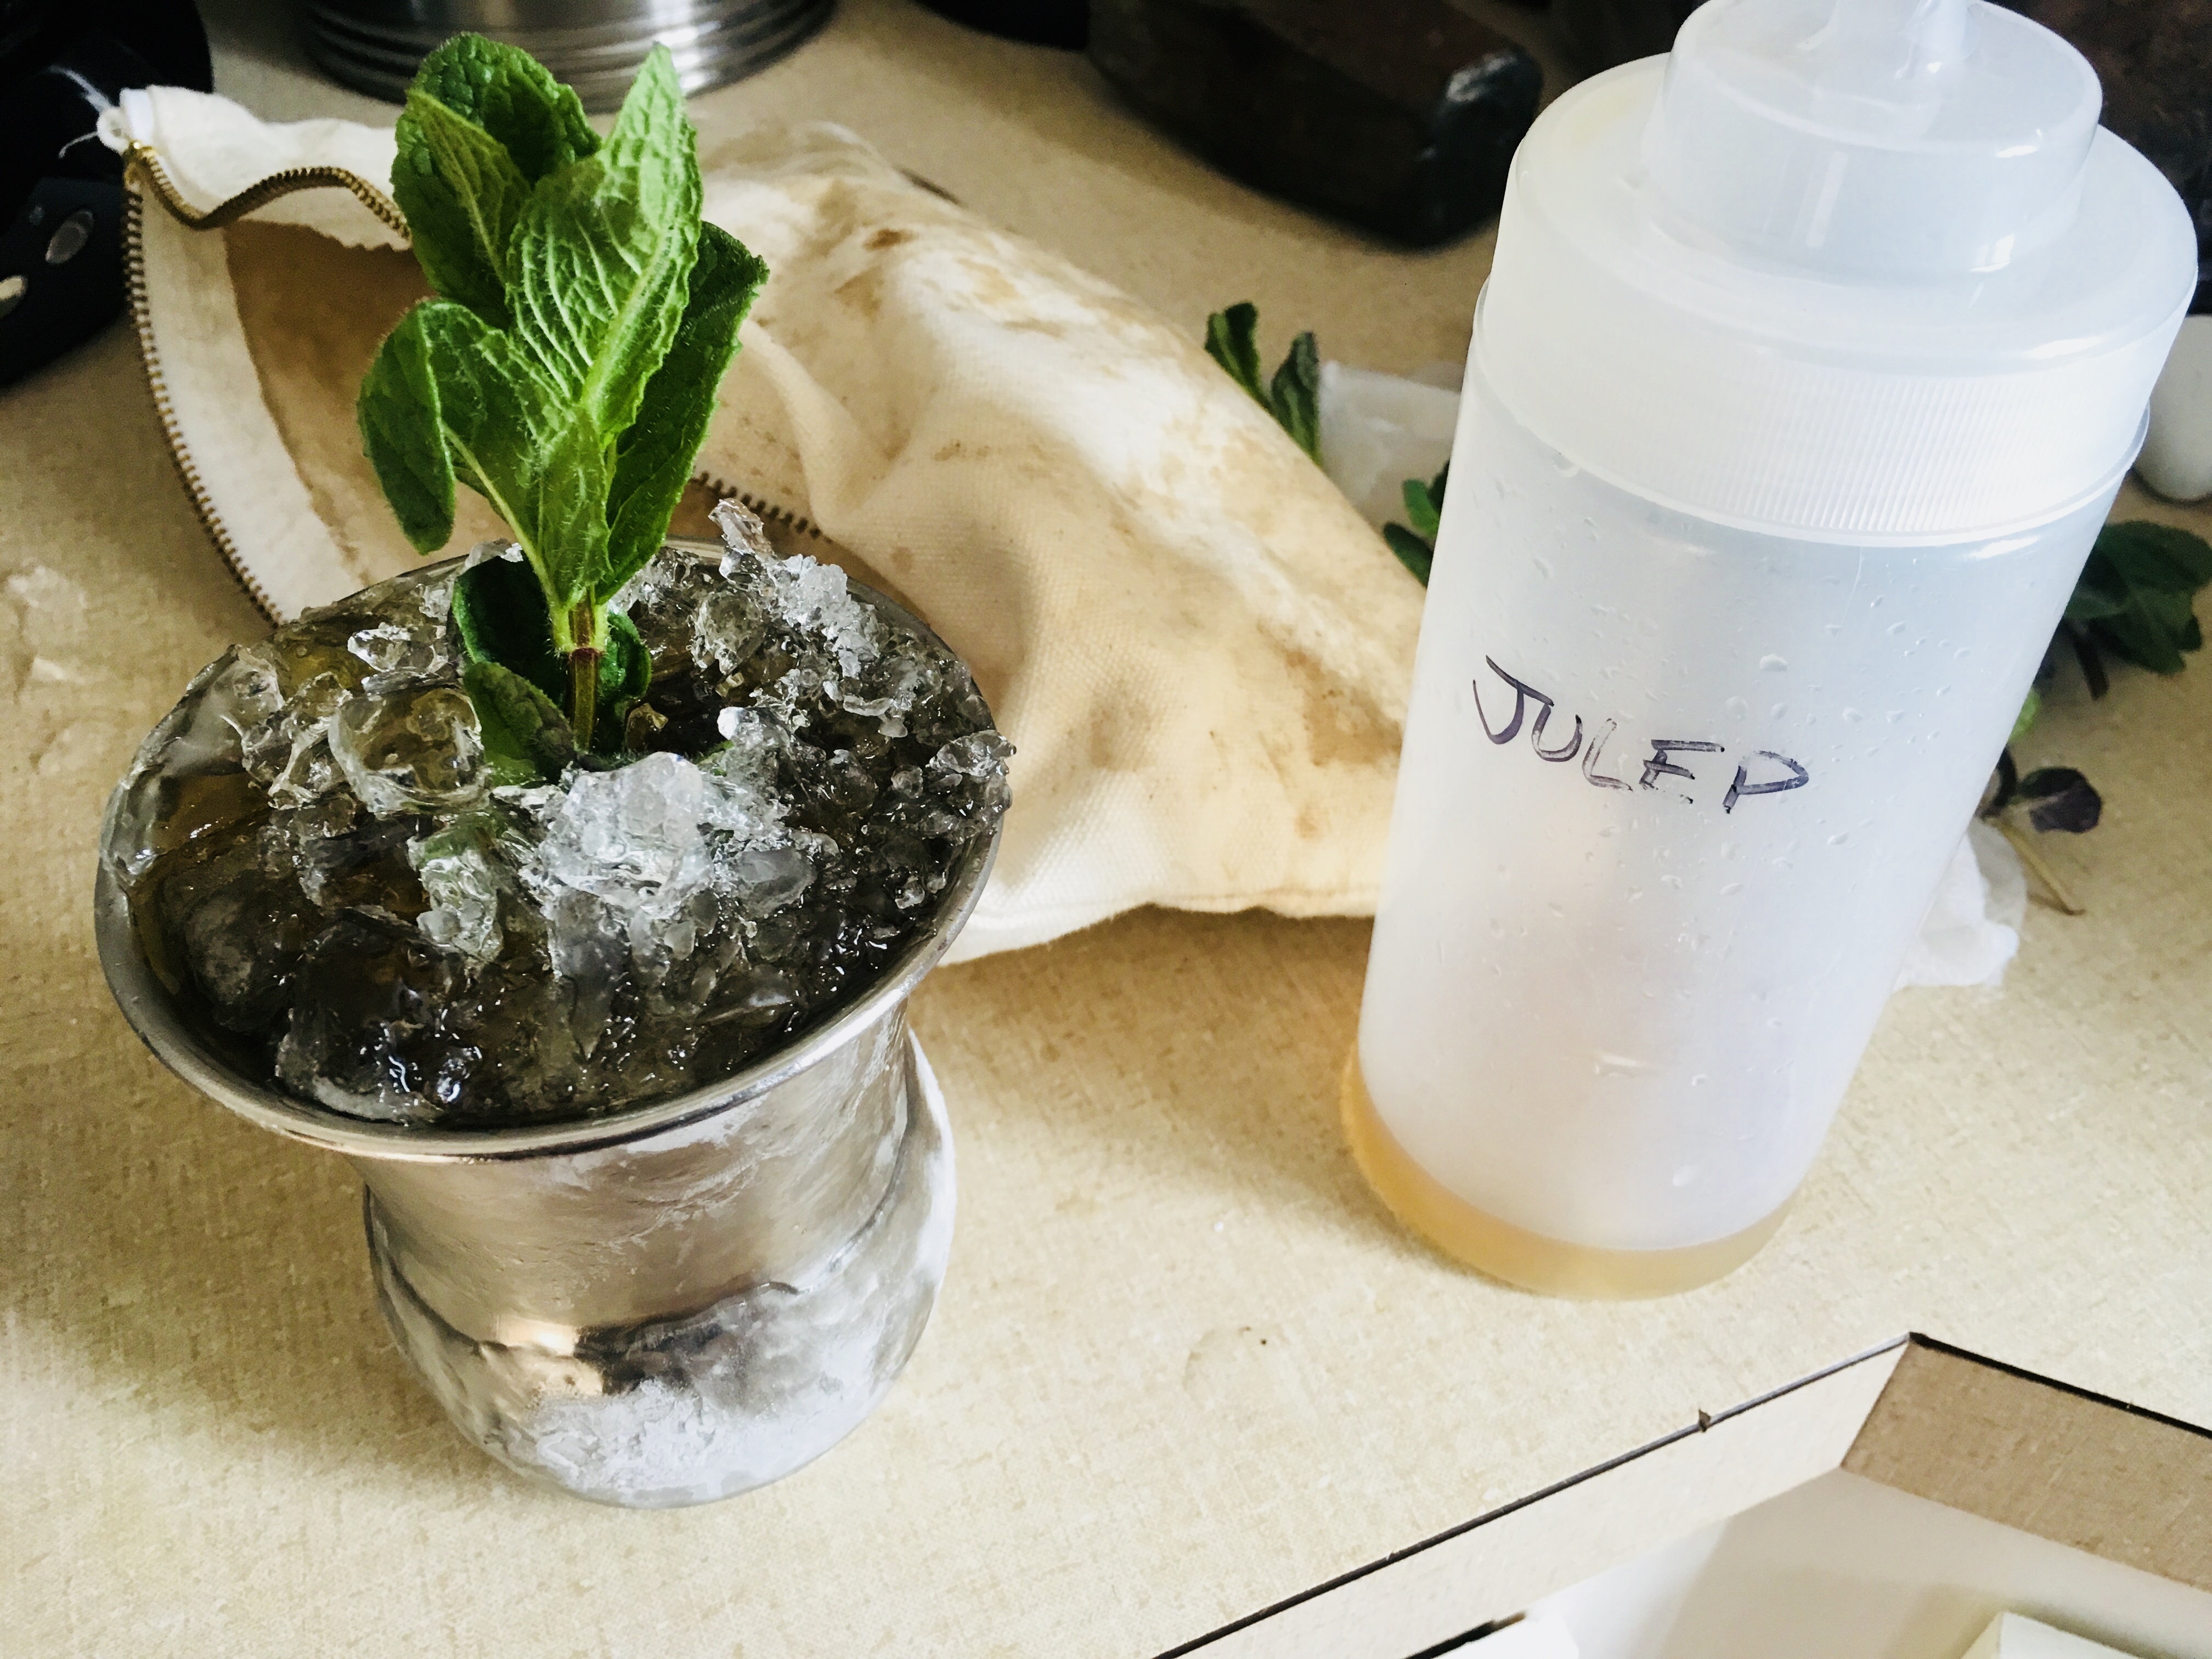
The first step in my Mint Julep is making the simple syrup. Learning from one of my old radio buddies, my pal Rick O’B, I infuse mint into my simple syrup to take my cocktail to the next level. I use the standard ratio of 1 cup of clean, filtered water to 1 cup of sugar, using an organic product like Woodstock Farms Organic Pure Cane Sugar. I place the sugar and water in a saucepan and heat until just boiling. I’ve found that it needs to reach this stage for the sugar to really dissolve. As soon as it starts to boil, I remove the saucepan from the heat, and throw in a handful of freshly picked mint leaves, stirring to make sure the mint gets in there, and then I leave the saucepan to cool to room temperature. Once it’s at room temp, I strain the simple syrup into a bottle with a tight sealing lid, and place it in the refrigerator to cool. It will keep for about a week.

An equally important ingredient for a perfect Mint Julep is the ice, specifically crushed ice from clean, filtered water. Don’t even think of using tap water for any cocktail much less this one. Why ruin an expensive bottle of bourbon by going cheap on the ice? I make my own ice cubes, then put them in an untreated canvas ice bag and bash them with a mallet to the perfect crushed size. Untreated canvas bags for crushing ice can be purchased online from bar supply companies for about $30. I got an untreated canvas tool bag (the exact same shape and size) at Home Depot for 3 bucks.

Da bag.

The next step is a little tougher: which bourbon to choose. The explosion of choices on the bourbon market has made it all but impossible for the average imbiber to know which bourbon is best for their tastes. If you’re a beginner, I suggest you go to a trusted bartender and explain that you’re new to the bourbon world, and could you have the tiniest of tastes and sniffs of what he’s got at his bar. Chances are, you’ll get a sampling of some of the better known brands: Maker’s Mark, Woodford Reserve, perhaps Buffalo Trace or Bulleit, and the standard Jim Beam. This is a very good start. If you have deeper pockets, go to the manager of a trusted higher-end liquor store and explain that you’ve had all the rest, now what does he think is the best? (Also, hinting to wife and friends that “I’m trying new bourbons” around your birthday or Father’s Day inevitably gets you a few bottles as well!)

My go-to bourbon for Mint Juleps is the very affordable Eagle Rare 10-year-old at $32.99 a bottle…and you can never go wrong with the classic Maker’s Mark. It’s always on sale around Derby Day.

Finally, a Mint Julep needs a metal–not glass– Julep cup. Made of pewter or aluminum, it frosts on the outside as you stir your drink, keeping your beverage ice-cold on even the hottest of days.


3 oz. bourbon
1 oz. mint-infused simple syrup
crushed ice
Julep cup
Fresh mint for garnish

Crush the ice and pack it into the Julep cup, even letting it dome slightly over the top. Don’t worry…the alcohol will melt it.

I like to add 1.5 ounces of bourbon, then the ounce of simple syrup, then another 1.5 ounces of bourbon on top. Break off a few mint leaves from the stem and push into the ice. Using a long spoon, stir the drink well. A beautiful layer of frost will form on the outside of the cup. Add more ice, if necessary, and garnish with a sprig of mint.

A nice selection of bourbons. This is an old photo: that Pappy Van Winkle is long gone…but I saved the bottle!


I love pastrami. I love ribs. So why can’t the two get along? (Using my best announcer voice): Well now they can!!

I’ve seen a few recipes that use pastrami ingredients on foods other than pastrami and I thought it could work with pork ribs as well. I was right. And for these ribs, you don’t need a smoker. They bake in the oven, then get finished under a broiler for that tasty char that you always look for in a grilled rib.

There’s a 2-step process to making these ribs. First, you combine the rub ingredients and let the ribs hang out in the fridge overnight. Then you bake them and broil them the next day, brushing a special sauce on them.

I prefer St. Louis-style ribs because they cook more evenly and have lots of meat. I prefer a heritage breed like Berkshire pork (also known as kurobuta) because of it has fantastic flavor, “good” fat, and is humanely raised.

Time to get ribbin’…


1/4 cup freshly ground black pepper
1 tablespoon ground coriander
1 tablespoon light brown sugar
1 tablespoon mustard powder
1 tablespoon paprika
1/4 teaspoon cayenne pepper
1/4 cup distilled white vinegar
2 tablespoons salt
2 racks St. Louis-style pork spare ribs (about 5 lbs.), preferably Berkshire pork

To make the rub, combine the black pepper, coriander, brown sugar, mustard powder, paprika and cayenne in a bowl. Mix well. To grind larger amounts of pepper and other spices, I use a small coffee grinder that I keep just for spices. It does the job quickly and easily.

My spice grinder.


Cut the racks of ribs into halves, removing the skin on the back of the ribs that can make it tough. Brush both sides of the ribs with the white vinegar, and then season with the salt. Pat the ribs with the spice rub, and place them on a rimmed baking sheet. Place the baking sheet in the fridge for at least an hour. Overnight is better.

Vinegar, salt and then the spice rub.


Pre-heat the oven to 325. Transfer the ribs to a large roasting pan, or you can use the rimmed baking sheet. Place the ribs fatty side up, and add 1/2 cup of water to the pan. Cover the ribs with aluminum foil and bake them for about 2 hours.

After 2 hours, remove the ribs from the oven and let them sit at room temperature, still covered by the foil, for about 30 minutes.

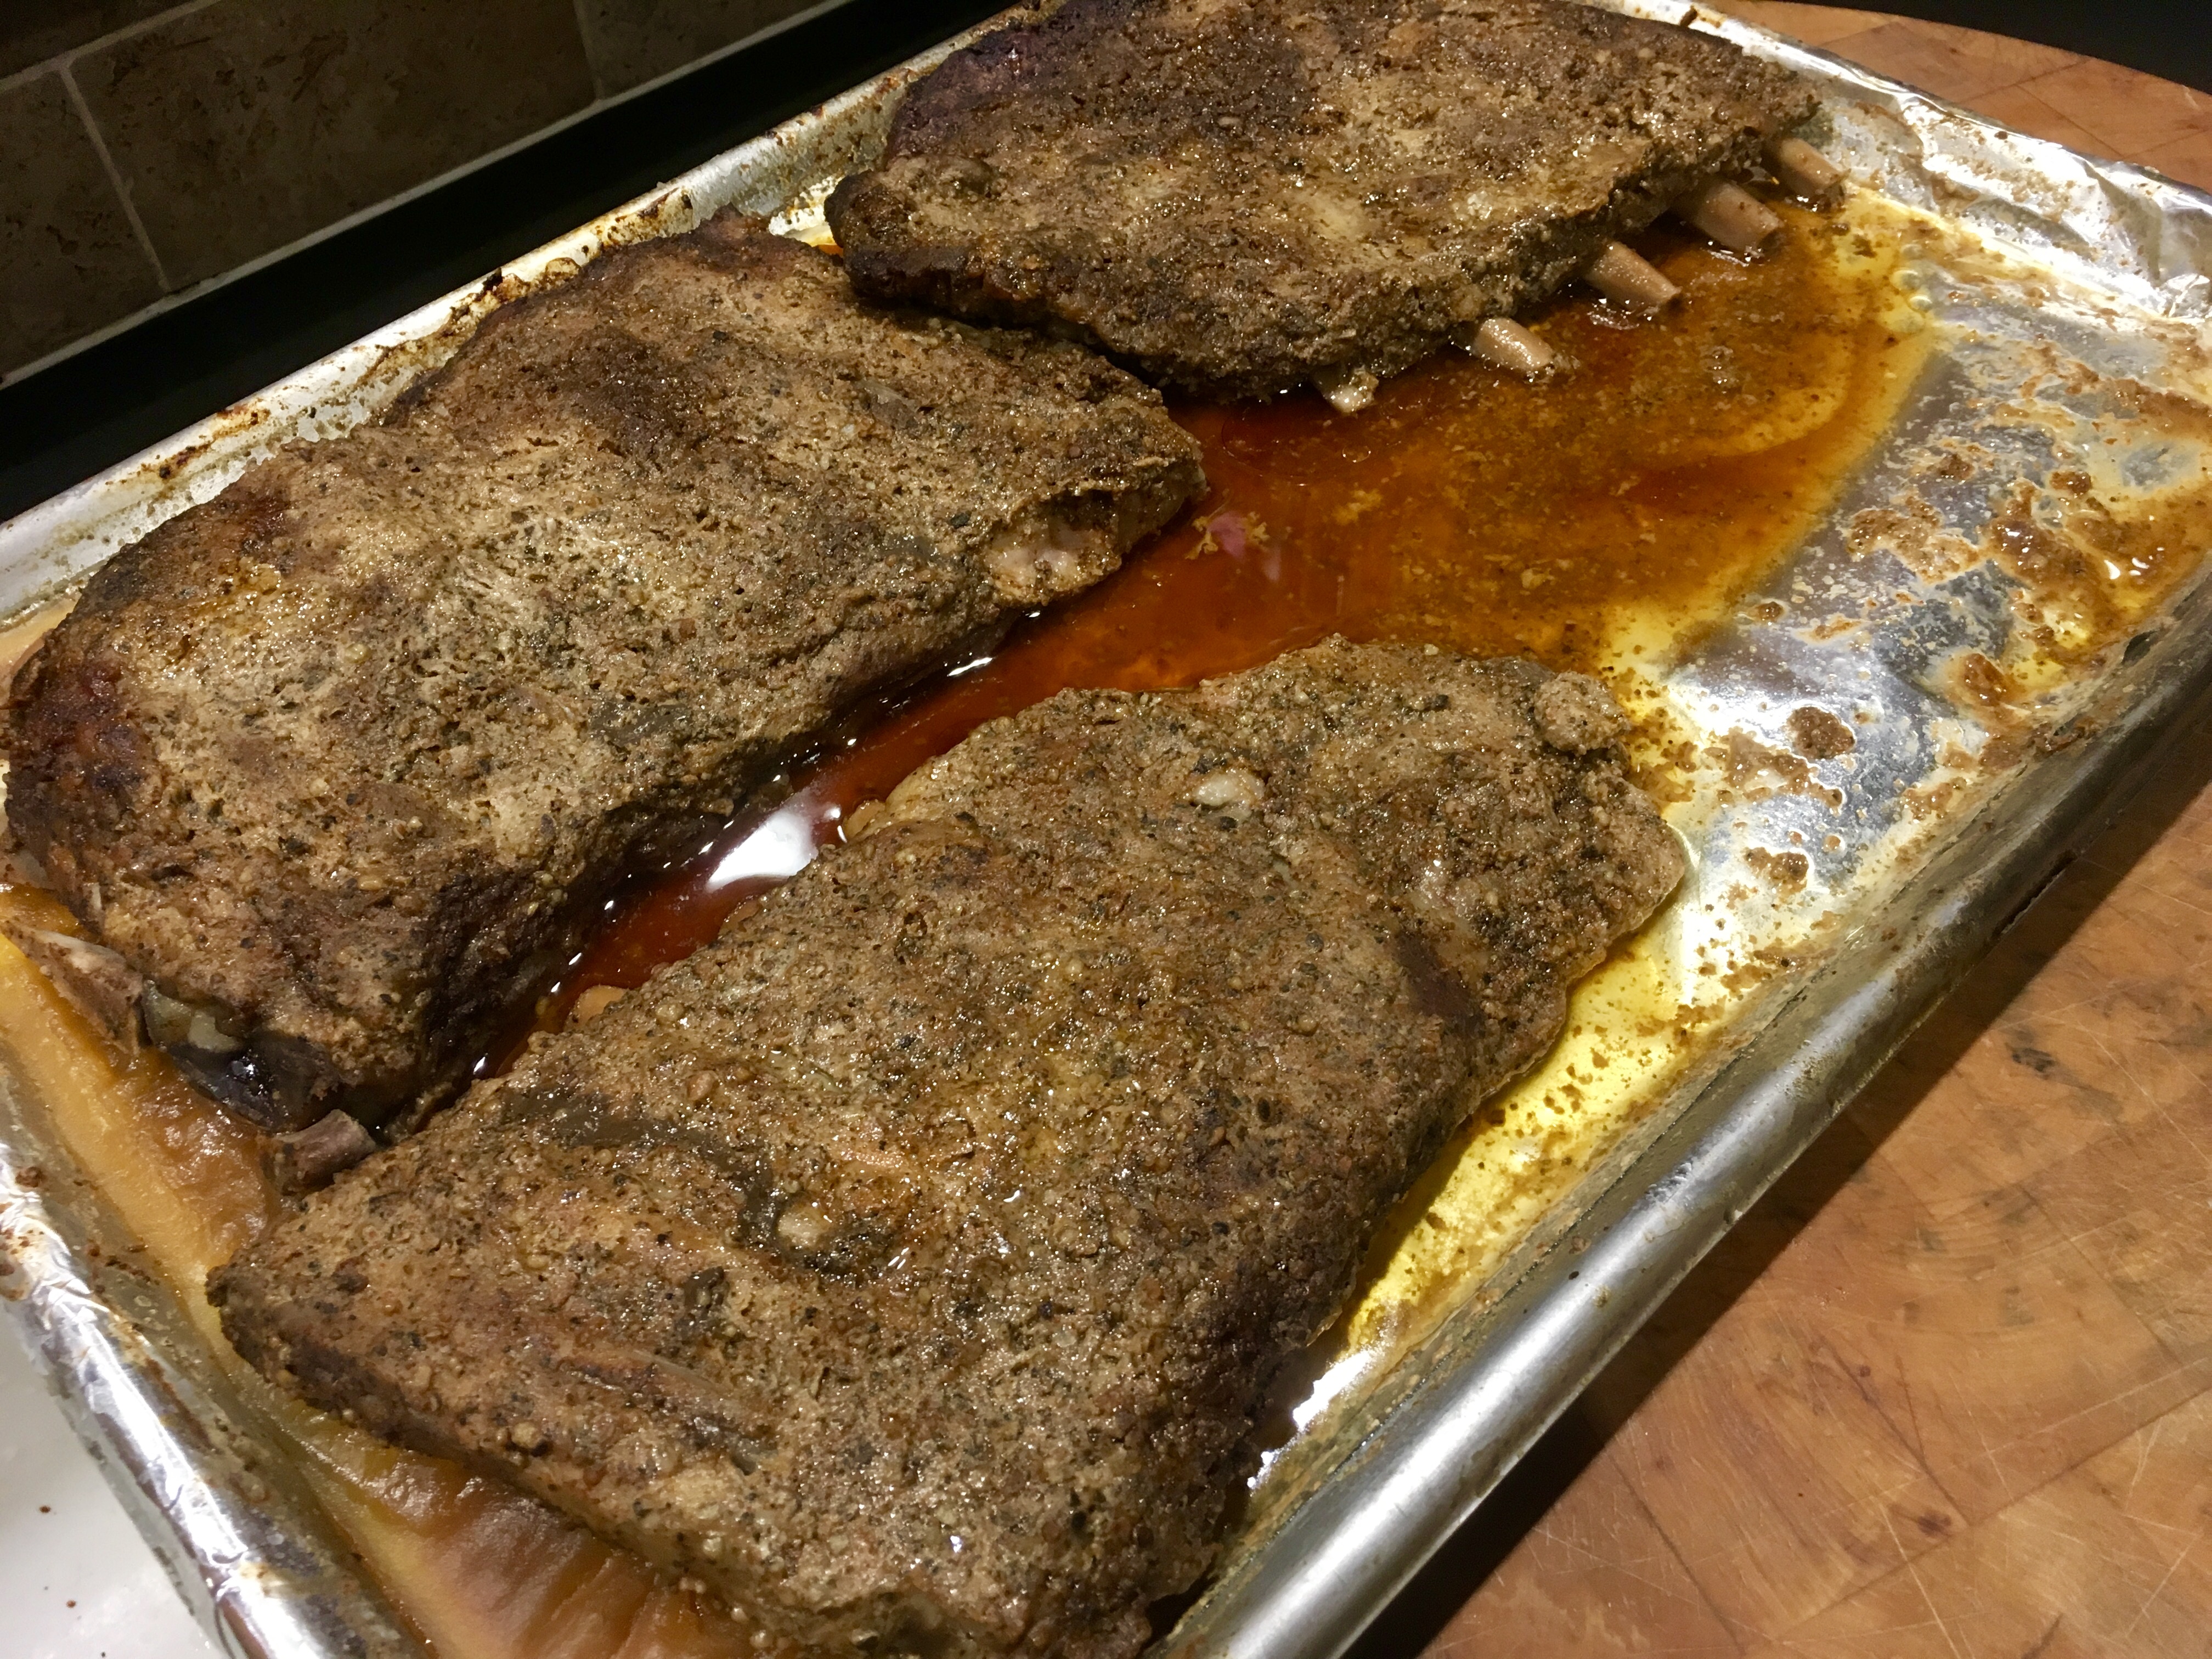
Out of the oven and ready to be brushed with sauce.


1/4 cup Dijon mustard
3 tablespoons apple cider vinegar
3 tablespoons honey
2 tablespoon soy sauce

In a small bowl, combine the Dijon mustard, apple cider vinegar, honey and soy sauce. If the honey’s very thick, I place the glass jar (no lid) in the microwave for a few seconds to make it flow better. (Don’t do this if it’s in a plastic container, and don’t microwave for too long–honey will foam up and make a big mess!)

Pre-heat a broiler.


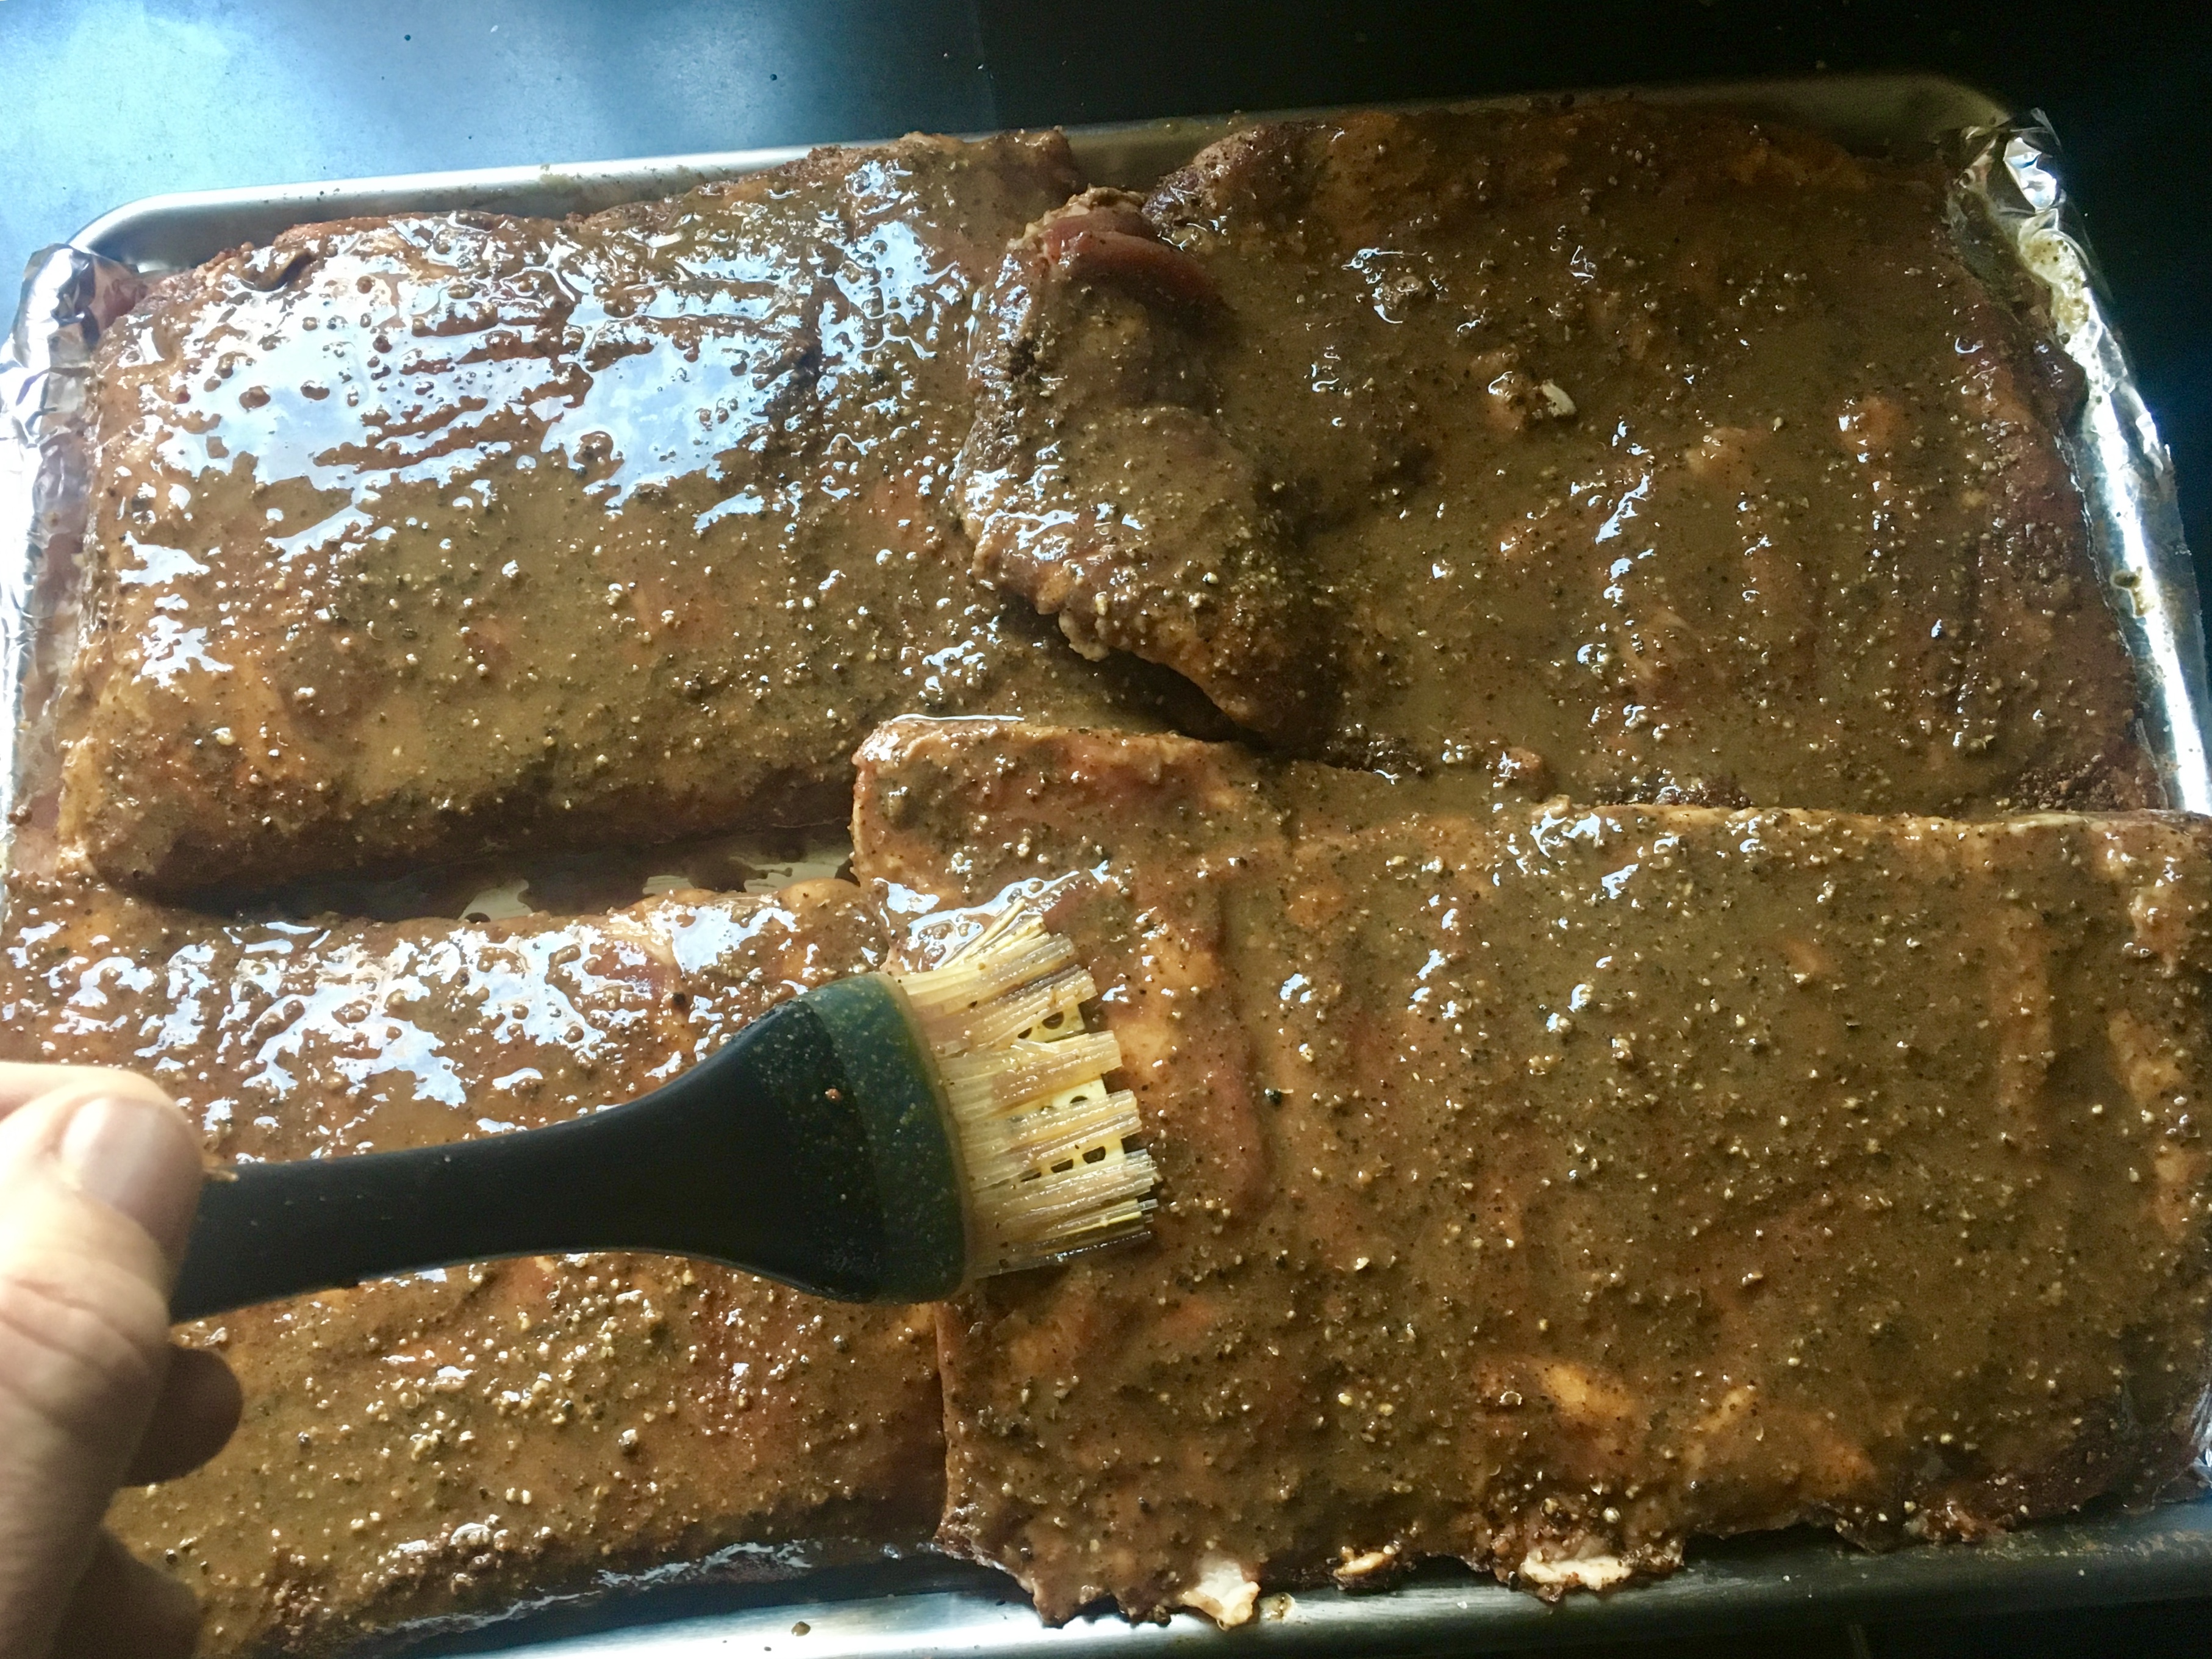
Brushing the ribs with the sauce.


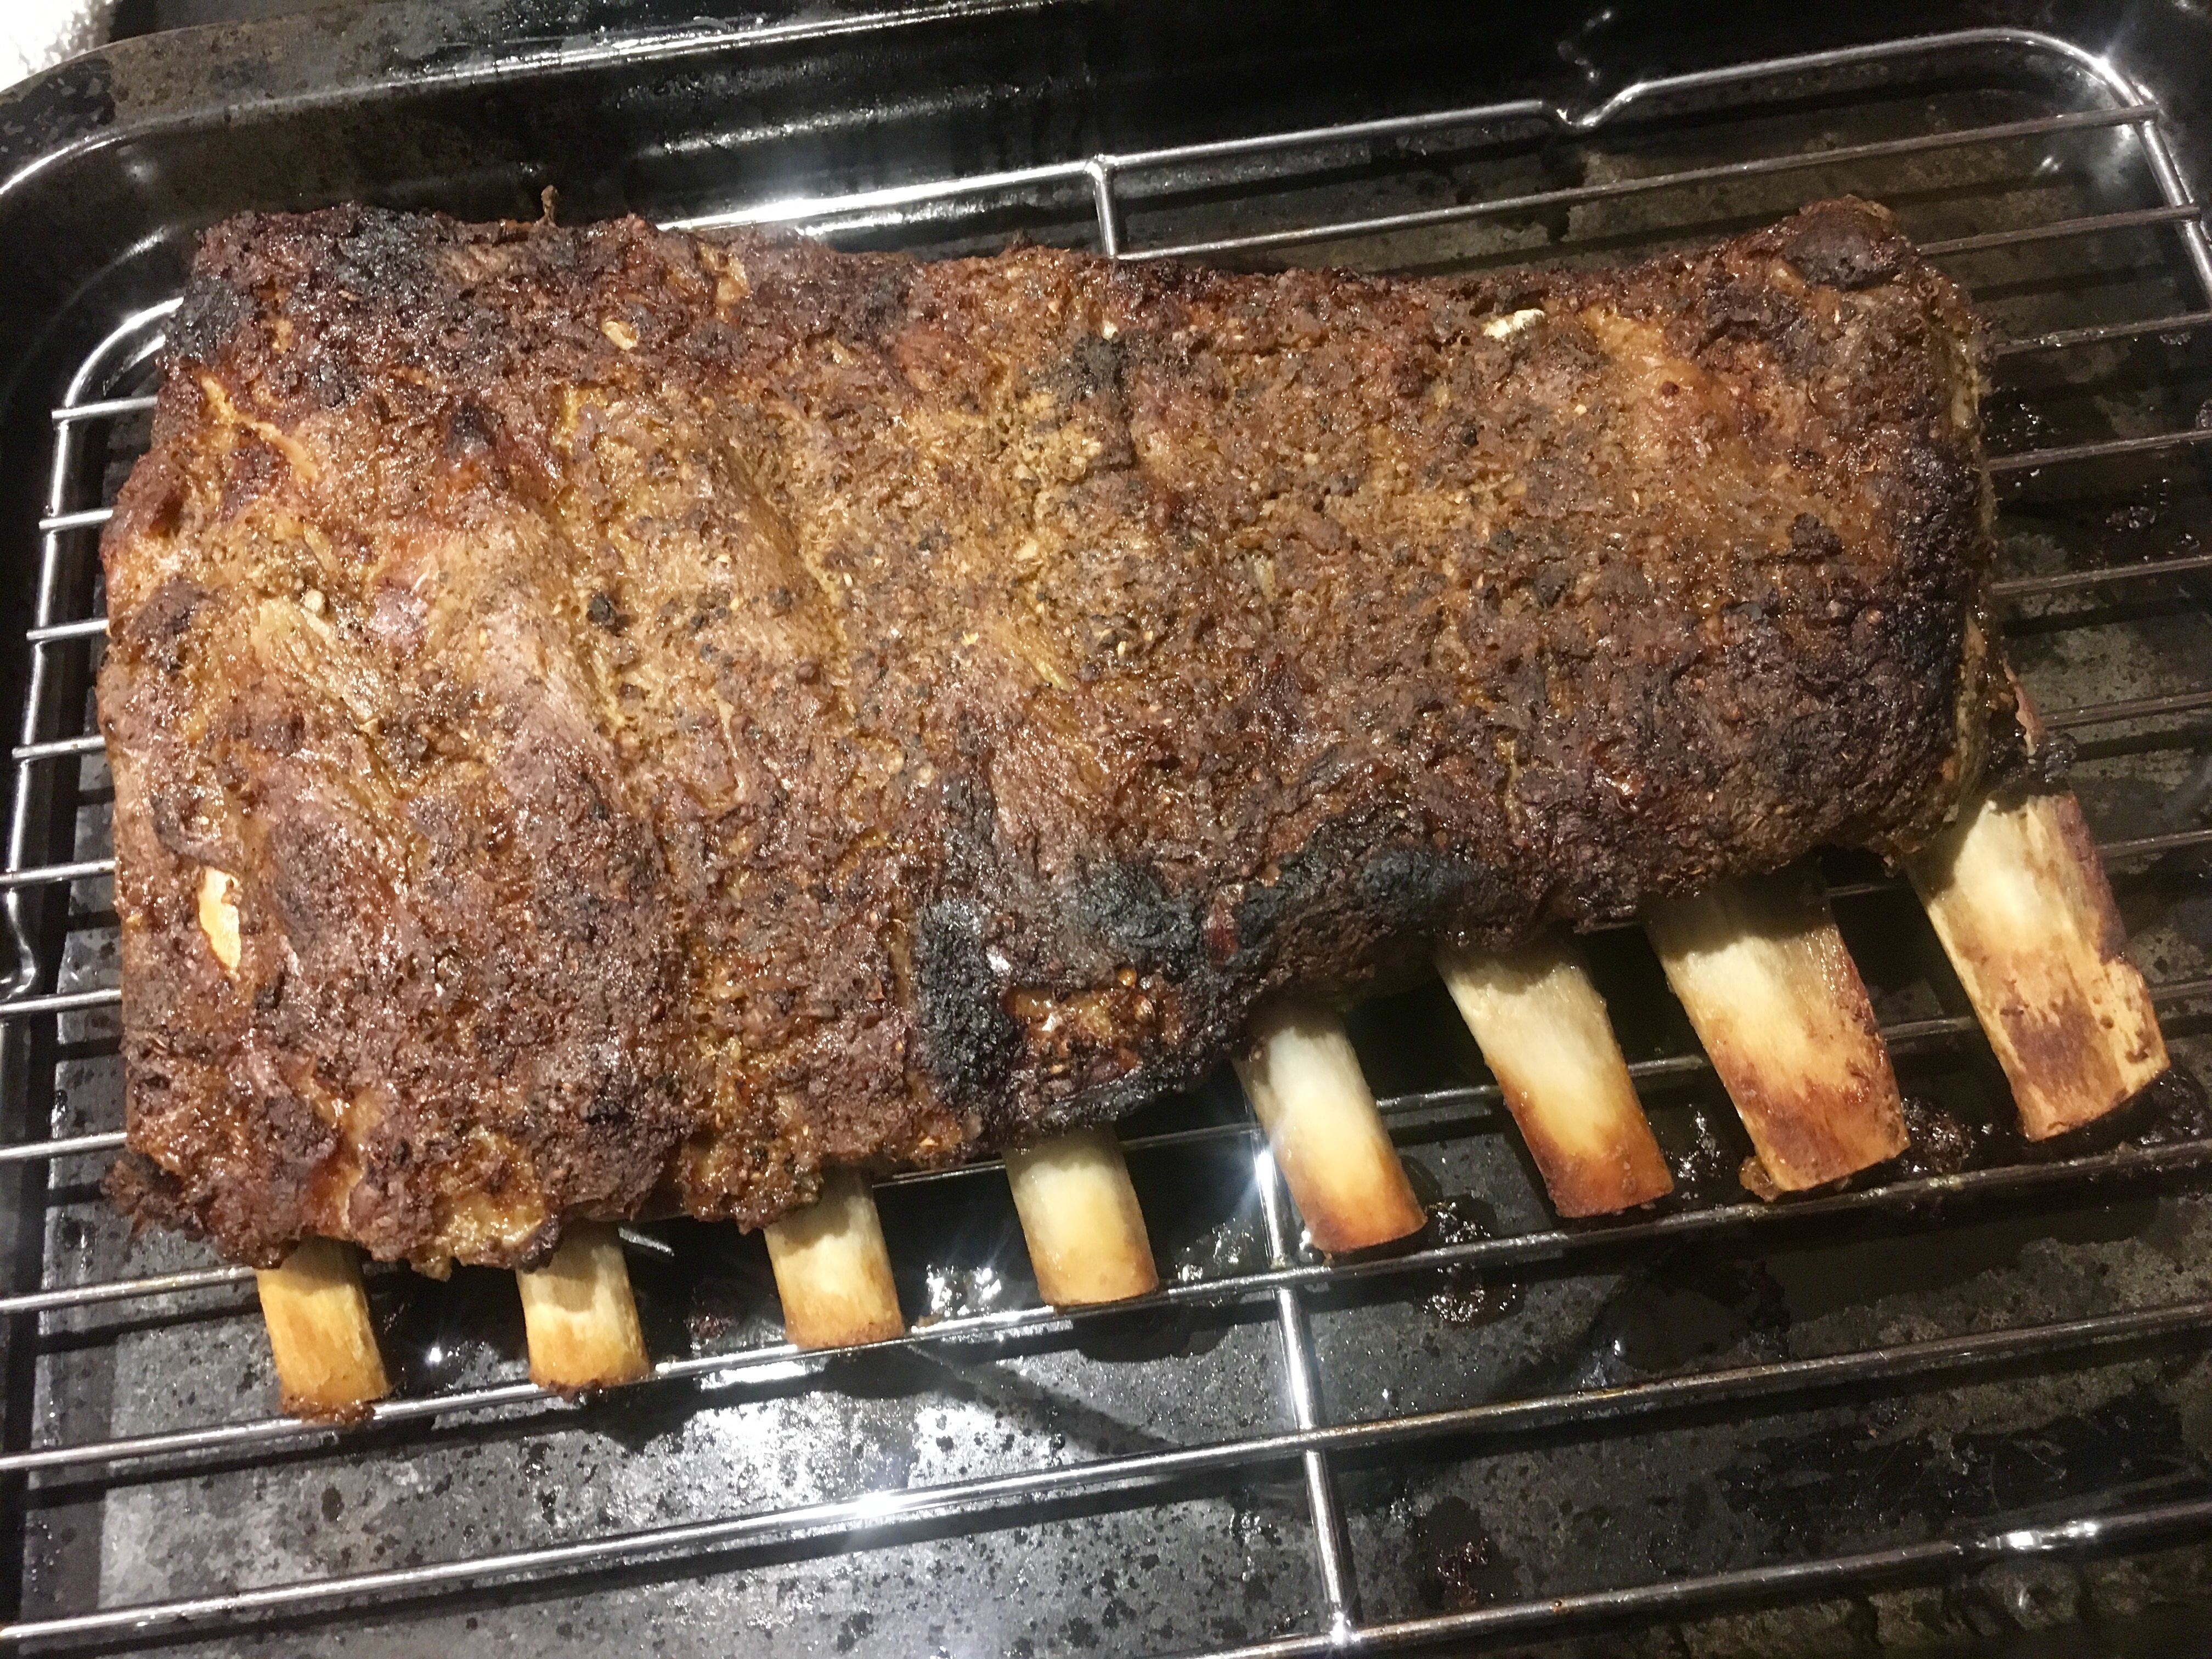
Take the foil off the ribs and brush them with the sauce. Then place the ribs under the broiler until lightly charred, about 3 minutes. Slice into individual ribs or devour a slab at a time!

Charred and delicious!


Before you can have great shrimp cocktail, you have to do 2 things: buy the right shrimp and cook the shrimp the right way. The right shrimp is nothing less than wild-caught American shrimp. If you’re buying shrimp from Asia, your supporting a system that uses slave labor, where shrimp are fed chemical pellets and swim in feces. If it doesn’t say wild-caught American shrimp on the package or at your local seafood store, it’s crap. Give your store owner hell for selling it.

Cooking shrimp the right way is something I learned living in the South. My wonderful friends and neighbors taught me many things about food, and the right way to cook shrimp is near the top of the list.

Shrimp was never meant to be cooked to death. It doesn’t matter if you start with fresh shrimp, store-bought shrimp, or even frozen shrimp…the same rules apply: 1) Season your water. 2) Bring it to a boil, then reduce to a simmer and let it get happy for 10 minutes. 3) Drop in the shrimp and raise the heat. 4) Remove the shrimp AS SOON AS the water returns to a boil.

The seasoning for the water, commonly called shrimp boil, makes or breaks the flavor of your shrimp. For years, I used Zatarain’s Crawfish, Shrimp and Crab Boil in a bag. And it was good. But at some point, I realized I had to get serious and make my own boil.

2 quarts water
2 cloves garlic, smashed
1/2 lemon, squeezed, then drop the lemon in
1 small onion, peeled and quartered
4 bay leaves
1 tablespoon black peppercorns
1 tablespoon salt
1 tablespoon whole allspice
1 teaspoon cayenne pepper
1 teaspoon celery seed
1 teaspoon whole cloves
1 teaspoon brown mustard seed
1 teaspoon dry thyme

Combine all the ingredients in a 4–6 quart pot. Bring it to a boil, then reduce to a simmer, put a lid on the pot, and let it simmer for 20 minutes.

After 20 minutes, remove the lid and pour in your shrimp. (I prefer unpeeled.) Stir well, bring the heat back up to high, and remove the shrimp AS SOON AS it returns to a boil! The shrimp are cooked! Done!

Strain the shrimp and place them in a bowl with crushed ice on the bottom. Add more crushed ice on top of the shrimp, and place the bowl in the fridge until you’re ready to serve.


Freshly shucked oysters and clams, or in this case, beautiful boiled wild-caught American shrimp, all call for an equally amazing cocktail sauce…and this sauce kicks butt! And it features a key ingredient that you might not expect: vodka. The small amount of vodka in the mix makes the cocktail sauce easy to scoop even when stored in the freezer. Just scoop out what you need, let it thaw, and put the rest back in the freezer until next time.

image


2 cups ketchup
4 tablespoons prepared horseradish
1 tablespoon fresh lemon juice
1 teaspoon Worcestershire sauce
1/2 teaspoon Frank’s Red Hot, or other hot pepper sauce
5 grinds of fresh black pepper
1/4 teaspoon salt
1 teaspoon good quality vodka, like Tito’s

Combine all the ingredients. Store in a tight plastic container in the freezer.

It’s National Bacon Lover’s Day!


And who doesn’t love bacon? …Especially when you can slather it on anything with this fabulous aioli!

Don’t let the innocent photo fool you. This stuff is addictive, thanks to the addition of bacon and bacon fat! And the food processor makes this aioli light as a cloud. Spread it on burgers. Use it on a BLT. Goes great with tuna. Or just get some chips and use it as a dip. Inhale!


avocado


3 avocados, seed removed and scooped out of their skins
6 strips of bacon, fried crisp, chopped and cooled…bacon fat reserved
juice and zest of 1 lemon
2 eggs, room temperature
1 clove garlic
1 cup extra virgin olive oil
salt, preferably Fleur de Sel
Freshly grated black pepper

In a food processor, blend the avocados, bacon pieces, lemon juice and zest, eggs, and garlic. With the processor still running, add the bacon fat slowly, then add the olive oil. Add a good pinch of salt and a few grinds of pepper.

You can substitute vegetable oil for the olive oil if you feel it’s too strong. But this is not for the weak!

Note: Yes, this baby uses raw eggs. If you’re queasy about that, there are raw egg substitutes in many supermarkets. I don’t use raw eggs often, but I do here…and in a really good Caesar salad.

PRETZEL BREAD

Posted: August 2, 2020 in Food, Recipes, Uncategorized
Tags: , , , ,

As much as I’m a fan of sourdough–or any great bread for that matter–pretzel bread has a special place in my heart.

Making pretzel bread at home had one major stumbling block for me: the need for lye,  which has nasty corrosive qualities that I don’t want to deal with in my kitchen. Even special baker’s lye was not an option. So when I found a pretzel bread recipe that used baking soda, a much milder and safer alkaline ingredient that I could simply pour down my drain after using, I knew it was time to bake.


image


½ cup water
½ cup milk
2 tablespoons butter, softened
3 cups all-purpose flour
2 tablespoons brown sugar
1 tablespoon yeast
2 teaspoons salt
1 egg, separated
Cooking spray
¾ cup baking soda
Kosher salt or pretzel salt for sprinkling

Combine the water, milk and butter in a glass container and microwave about 45 seconds to melt the butter and warm the milk. Set aside.

In a mixing bowl, combine the flour, brown sugar, yeast, salt and egg yolk. Slowly add the milk mixture and mix until the dough comes together. If it seems too dry, add small amounts of water. Knead the dough until it is smooth and springy, about 5 minutes.

Place the dough in a bowl sprayed with cooking spray. Flip it over so all sides get oiled, and then wrap the bowl with plastic wrap. Place in a warm place until the dough has doubled in size, about an hour.

Pre-heat the oven to 375 degrees.

Turn out the risen dough on a floured surface and divide it into equal pieces. You can make 15 small slider-sized buns, 8 burger buns, 8 hot dog buns or any other shape you like. Once all the pieces have been rolled, cover them with a clean dish towel and set them aside to rest.

While the dough is resting, heat about 12 cups of water in a large pot. When it comes to a gentle boil, carefully pour the baking soda into it. It will foam and bubble vigorously.

Add the rested pieces of dough to the simmering water and poach them for about 30 seconds and then flip them over for another 30 seconds. Don’t overcrowd the pot; you may need to do this in batches.

With a slotted spoon or spatula, lift the poached buns onto a Silpat baking sheet (or a baking sheet sprayed with oil, then sprinkled with cornmeal.)

Froth the egg white with a fork, then brush each bun with the egg white.

Using a sharp knife, make a few slits on the top of the buns, about ¼-inch deep. Sprinkle them with Kosher salt, then bake for 20 minutes until golden brown.

Bulgogi is the name given to the most common form of Korean barbecue. Unlike the daeji bulgogi that I cooked in a previous blog, this one is not based on a chili sauce that can take the roof of your mouth right off.

I used chicken, though this would work with pork as well, and for the best flavor, it’s best to marinate the meat in the fridge overnight.

FullSizeRender (12)

2/3 cup soy sauce
1/2 cup chopped scallions
6 tablespoons sugar (I use organic cane sugar)
5 tablespoons fresh garlic, grated or through a garlic press
5 tablespoons sesame oil
1 tablespoon sesame seeds
1 teaspoon black pepper
5 lbs. chicken pieces (skin-on thighs work best)


Combine all the ingredients except for the chicken in a bowl and mix well.

Place the chicken pieces in a large Ziploc bag and pour the marinade in. Seal the bag well and squish it around to make sure the marinade makes contact with the chicken. Place the bag in a bowl (to prevent accidental leakage) and keep it in the fridge overnight. Squish the bag around every few hours to make sure the marinade does its job.

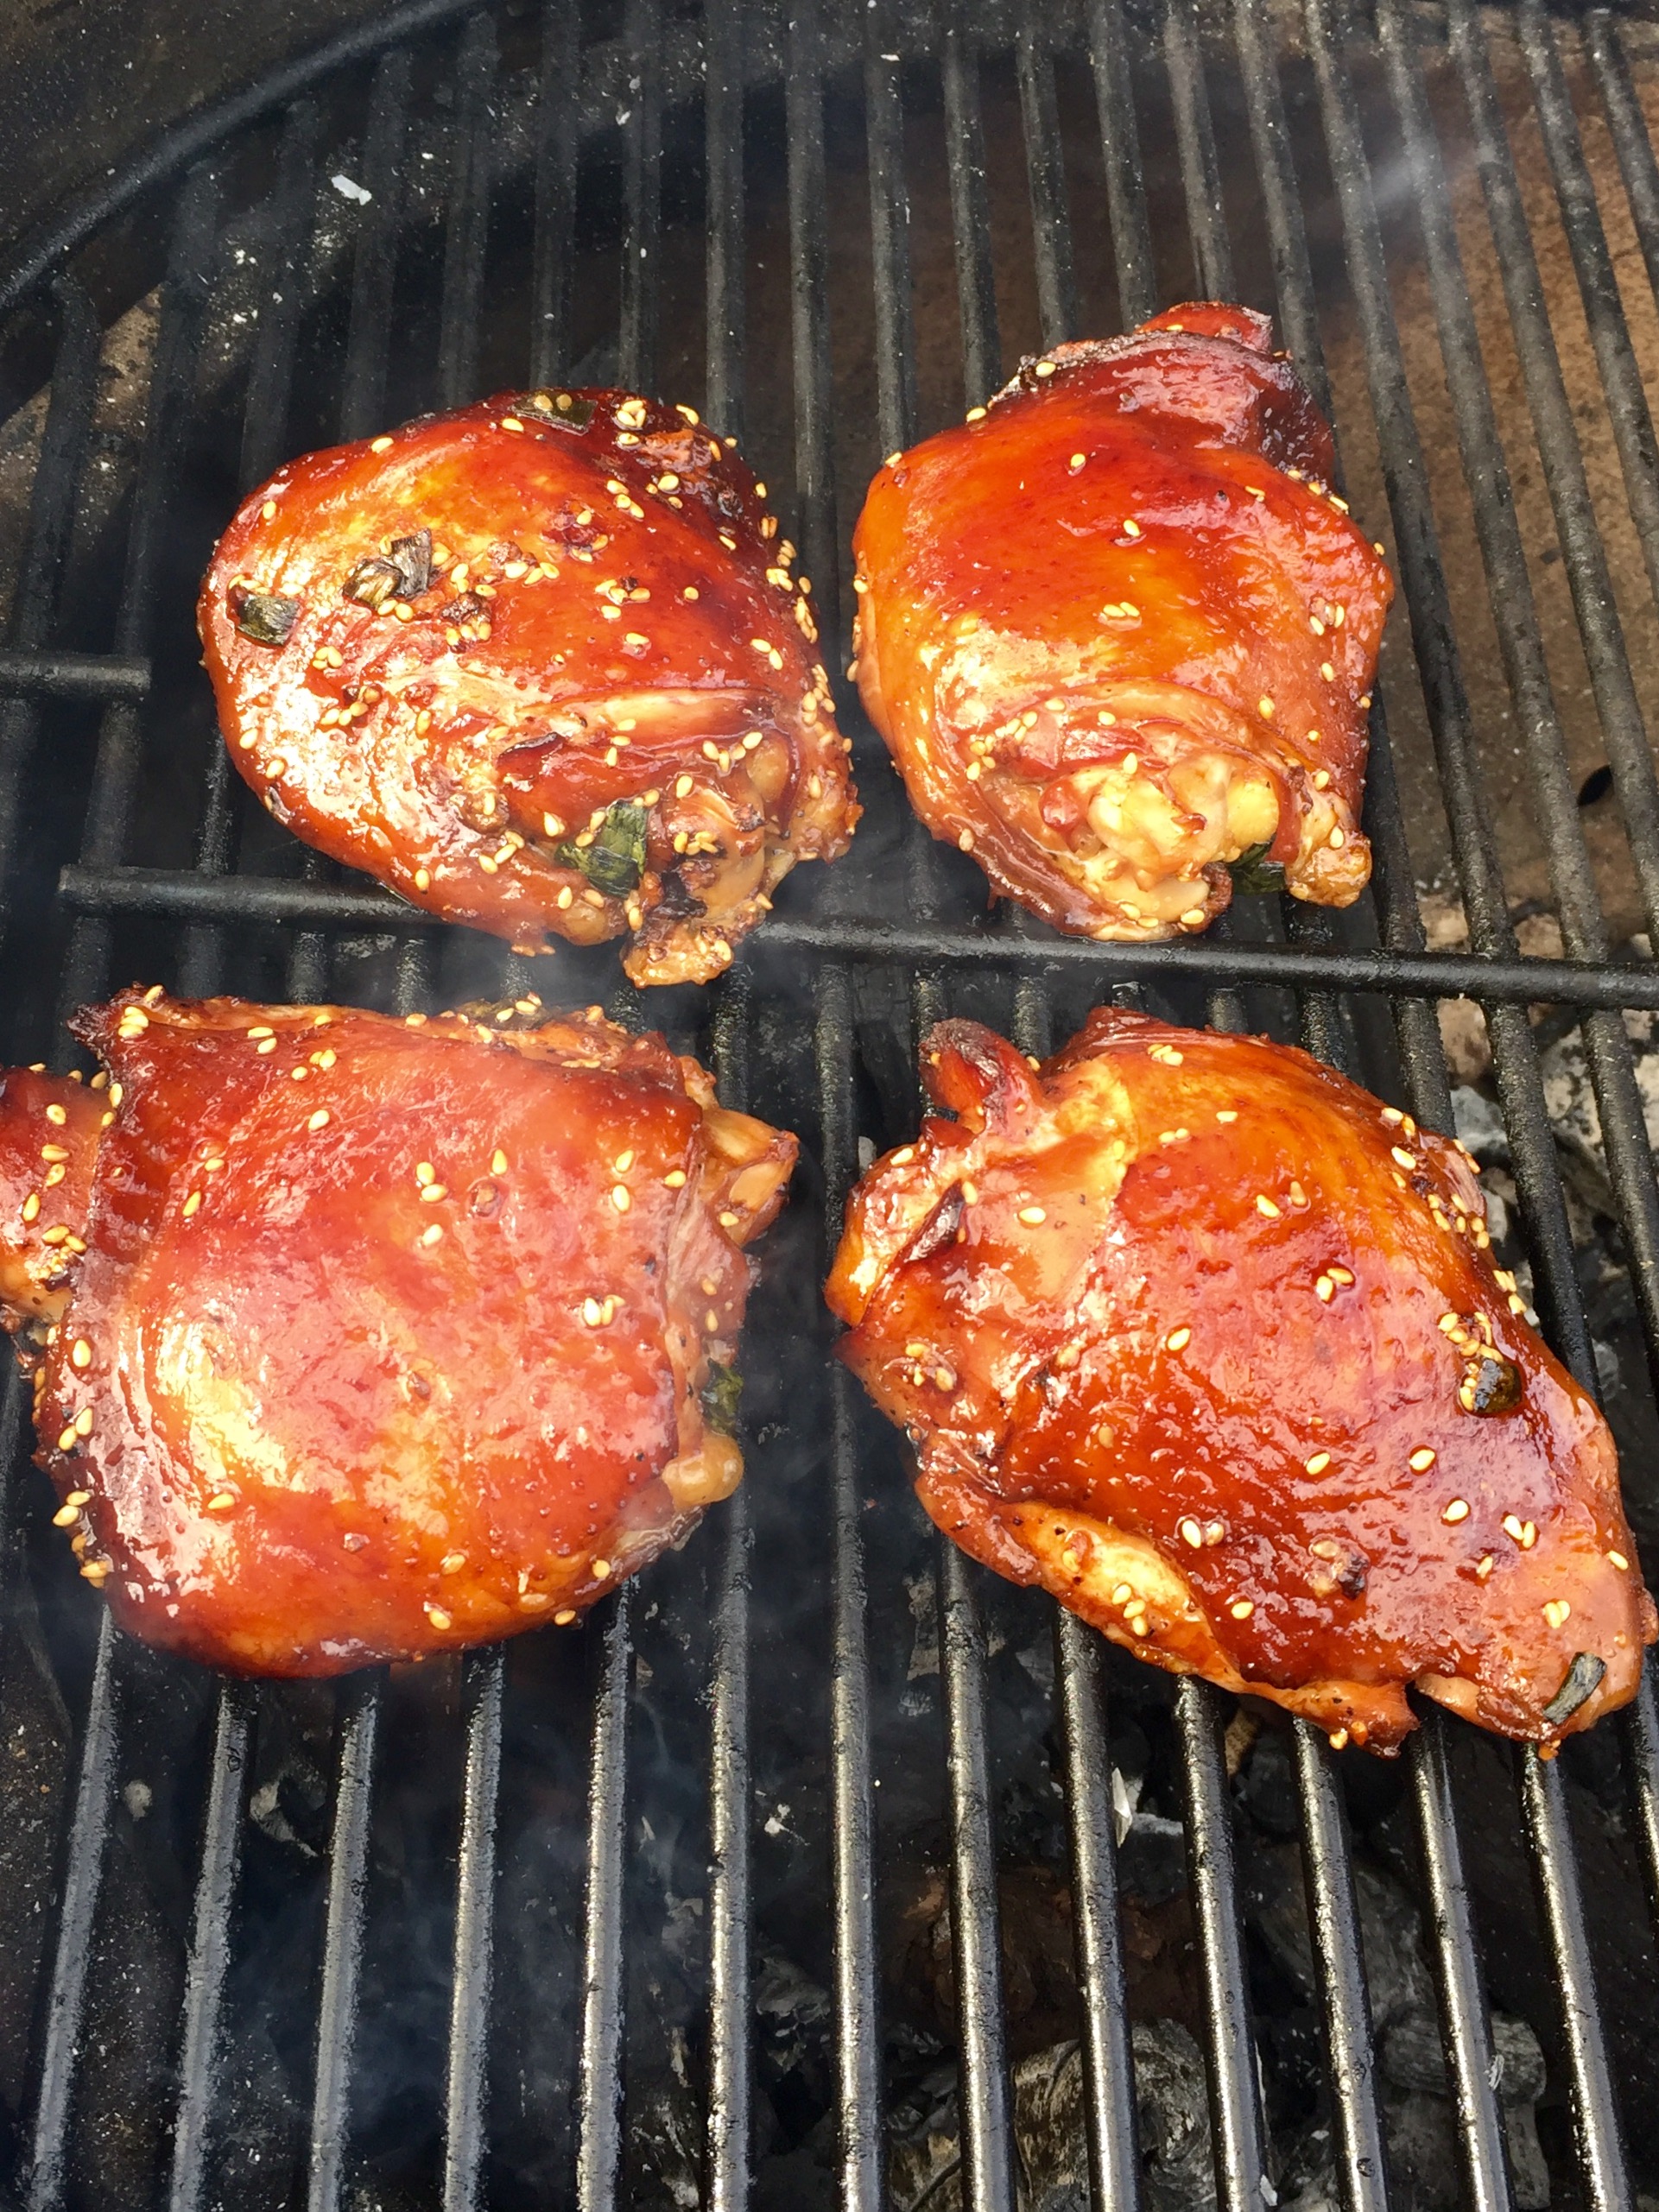
When you’re ready to cook the next day, pre-heat the oven to 350 and remove the bag from the fridge and let it come to room temperature. Place the chicken on a sheet pan (discard the remaining marinade) and bake it for an hour.

Light a hot grill and push the coals to one side of the grill. Place the chicken pieces on the cool side of the grill and close the lid, opening the vents. Every few minutes, turn the chicken pieces over so they get nice grill marks but
don’t burn.


FullSizeRender (11)