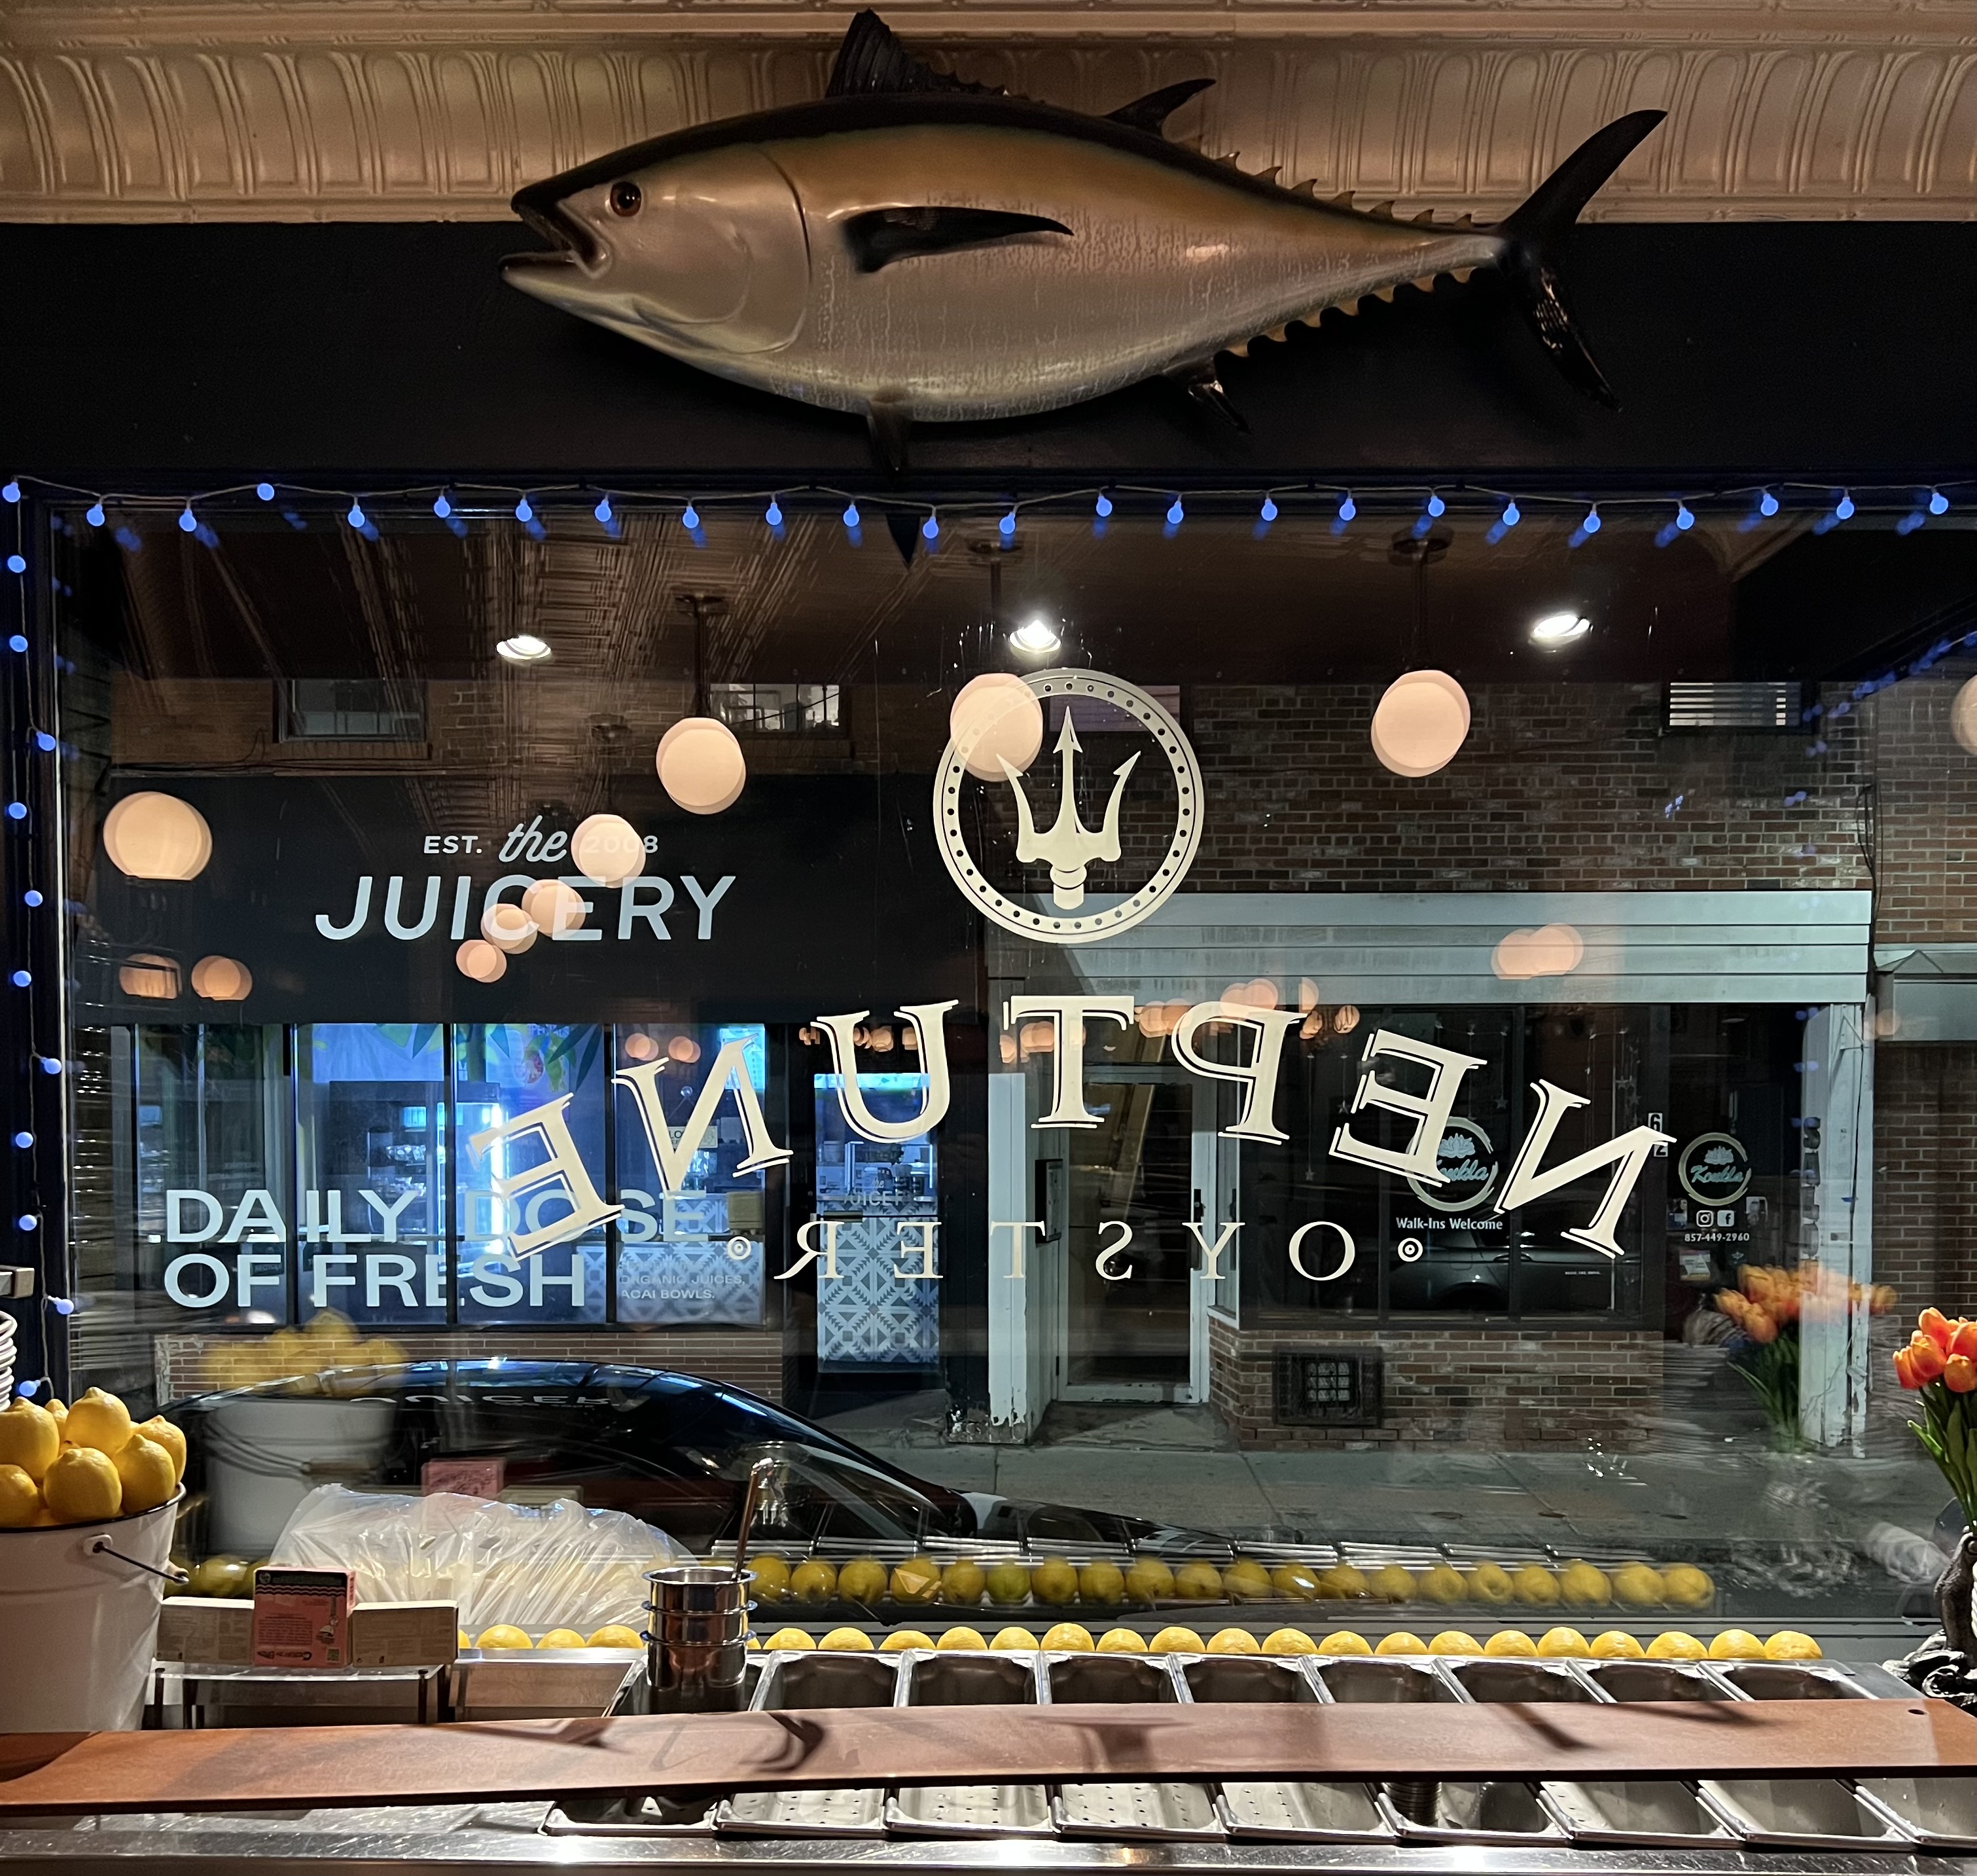
If you’re a fan of movies based in Boston, you’ve probably seen Neptune Oyster and didn’t even know it. This landmark in Boston’s North End has been featured in films like “The Town,” “The Equalizer,” “Good Will Hunting,” “The Departed,” and many more.
My friend, John, who lives in the Boston area and knows the town, suggested we go there recently to enjoy some incredible seafood. And incredible, it was. Sure, we stood on line for over an hour outside, since they don’t take reservations, but once we were inside, it was worth it.
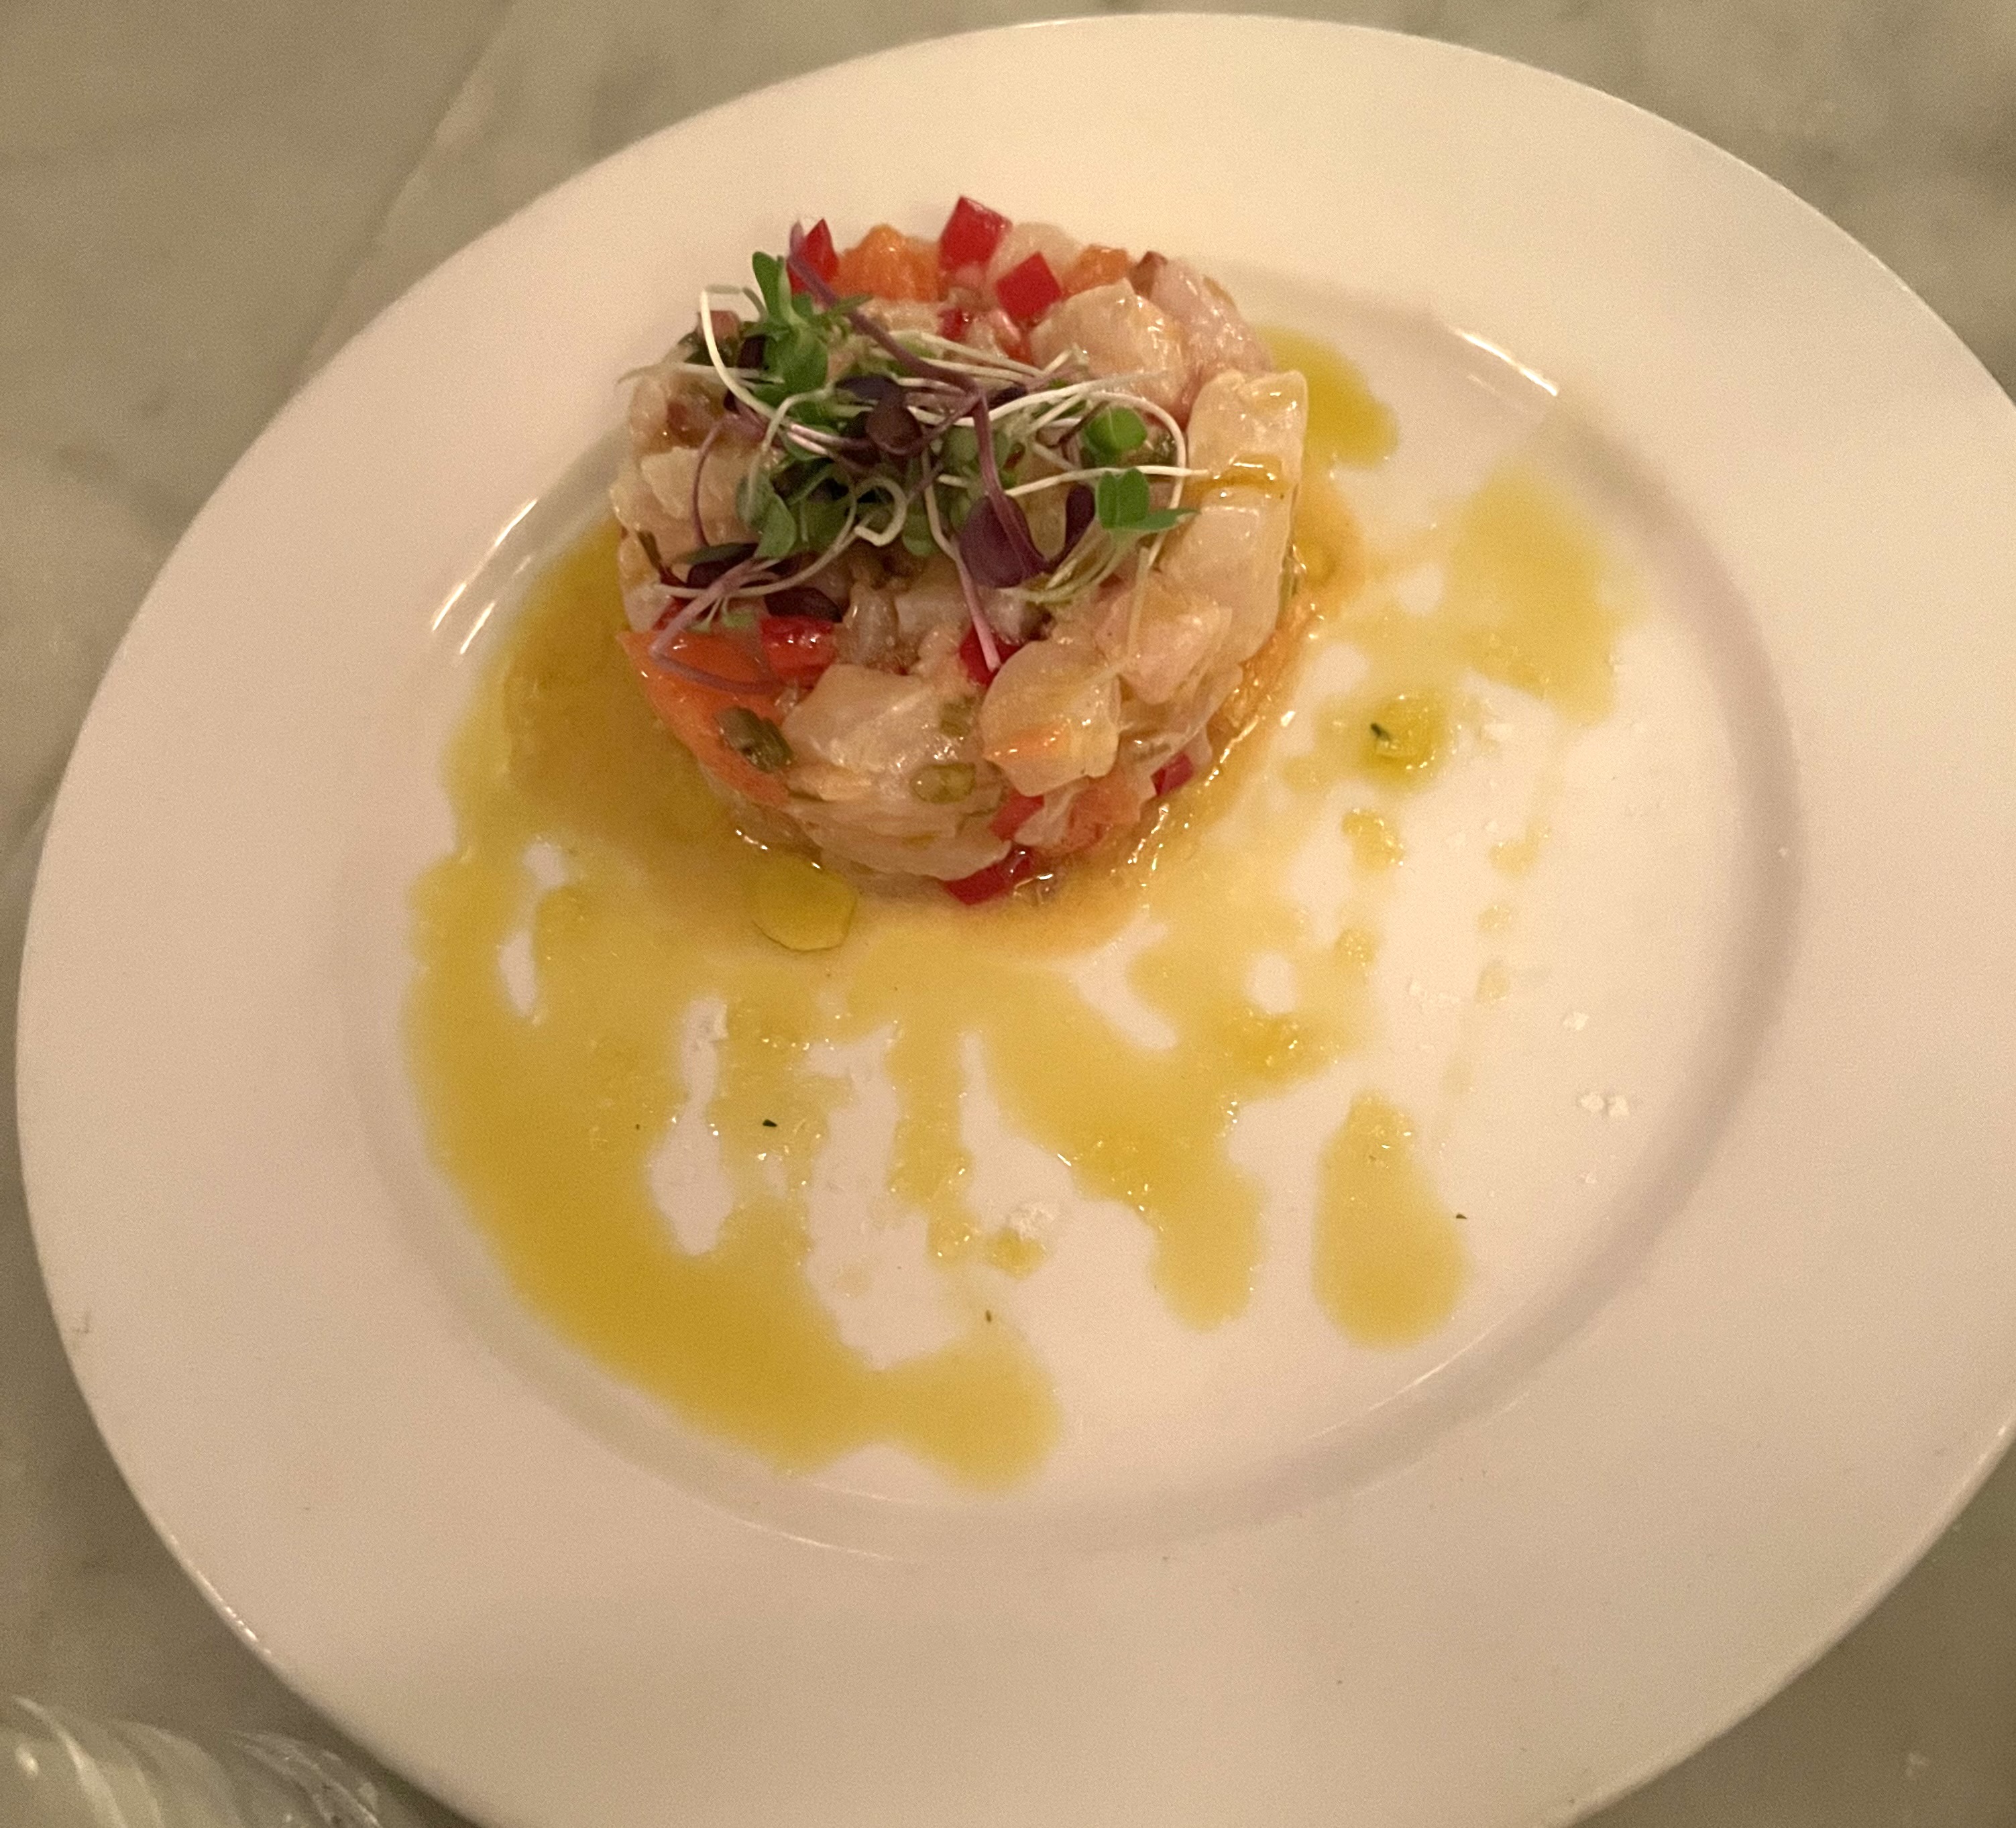
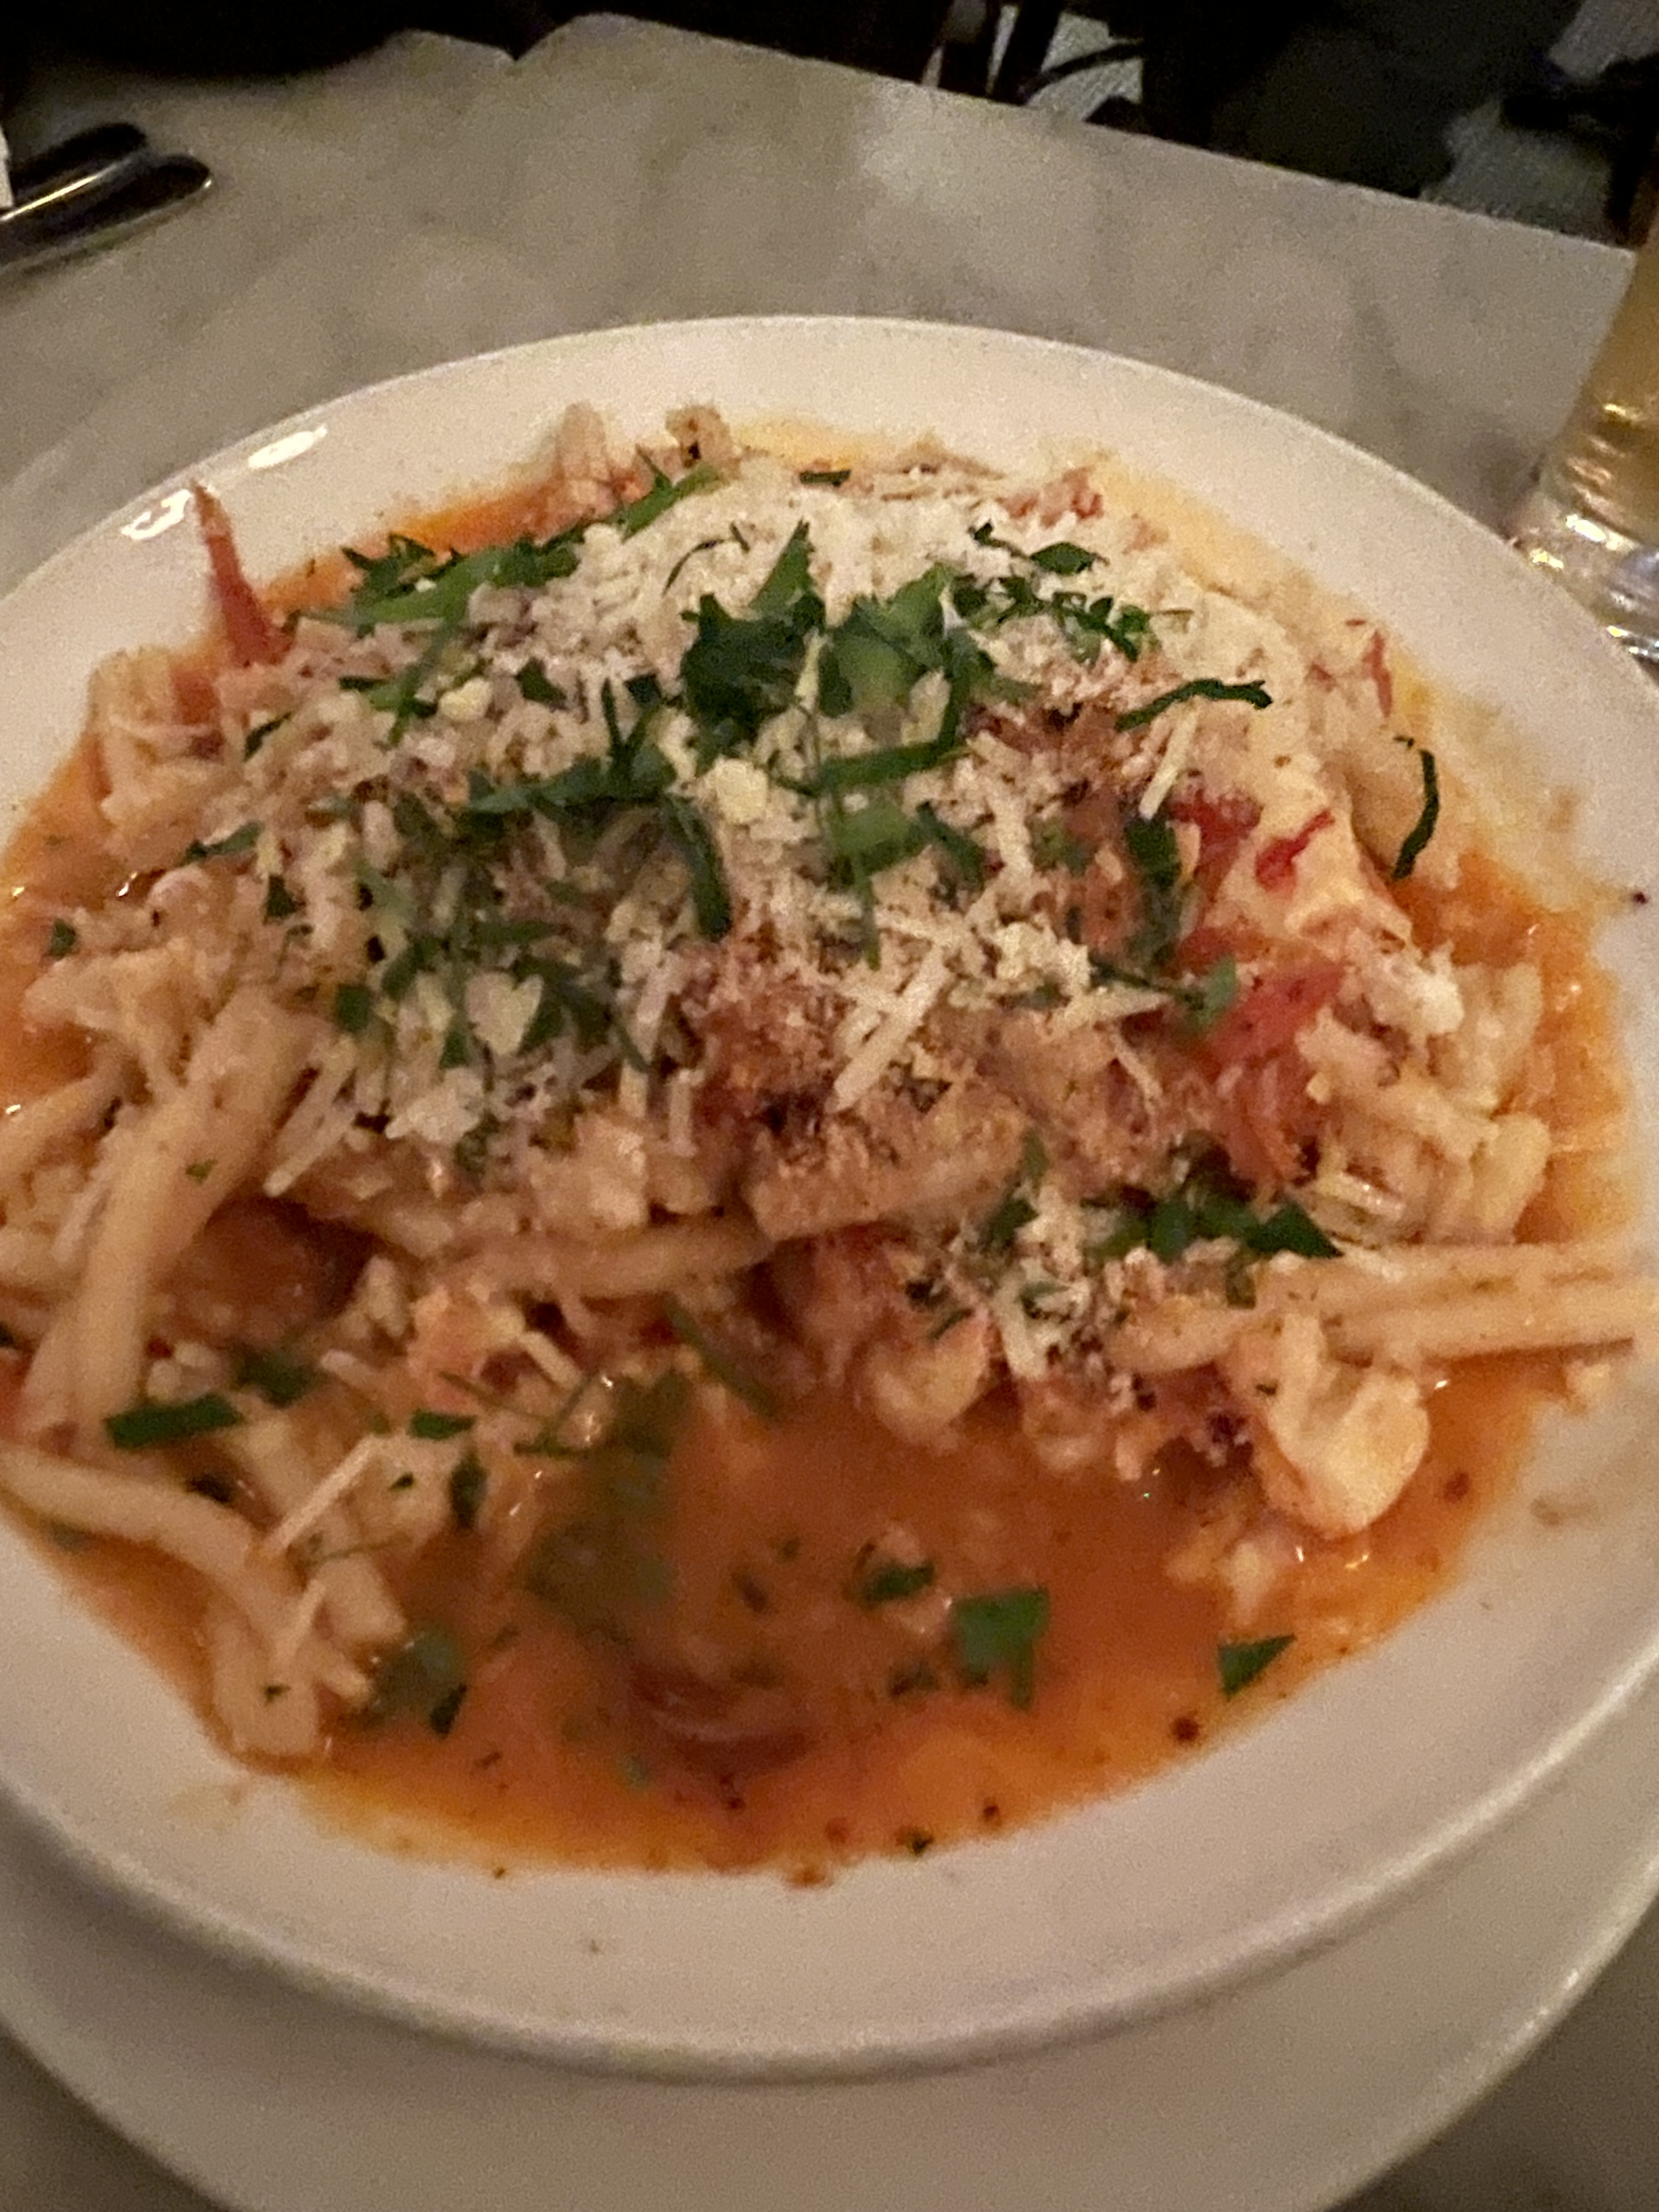
We had oysters, crudo, lobster cocktail, and lobster pasta, along with some craft beers for John and Txakoli, a wonderful refreshing white wine from the Basque region of Spain, for me.
Great food and drink, lively conversation, and atmosphere that was buzzing right up until closing time, made for a great night! This is one place to return to!
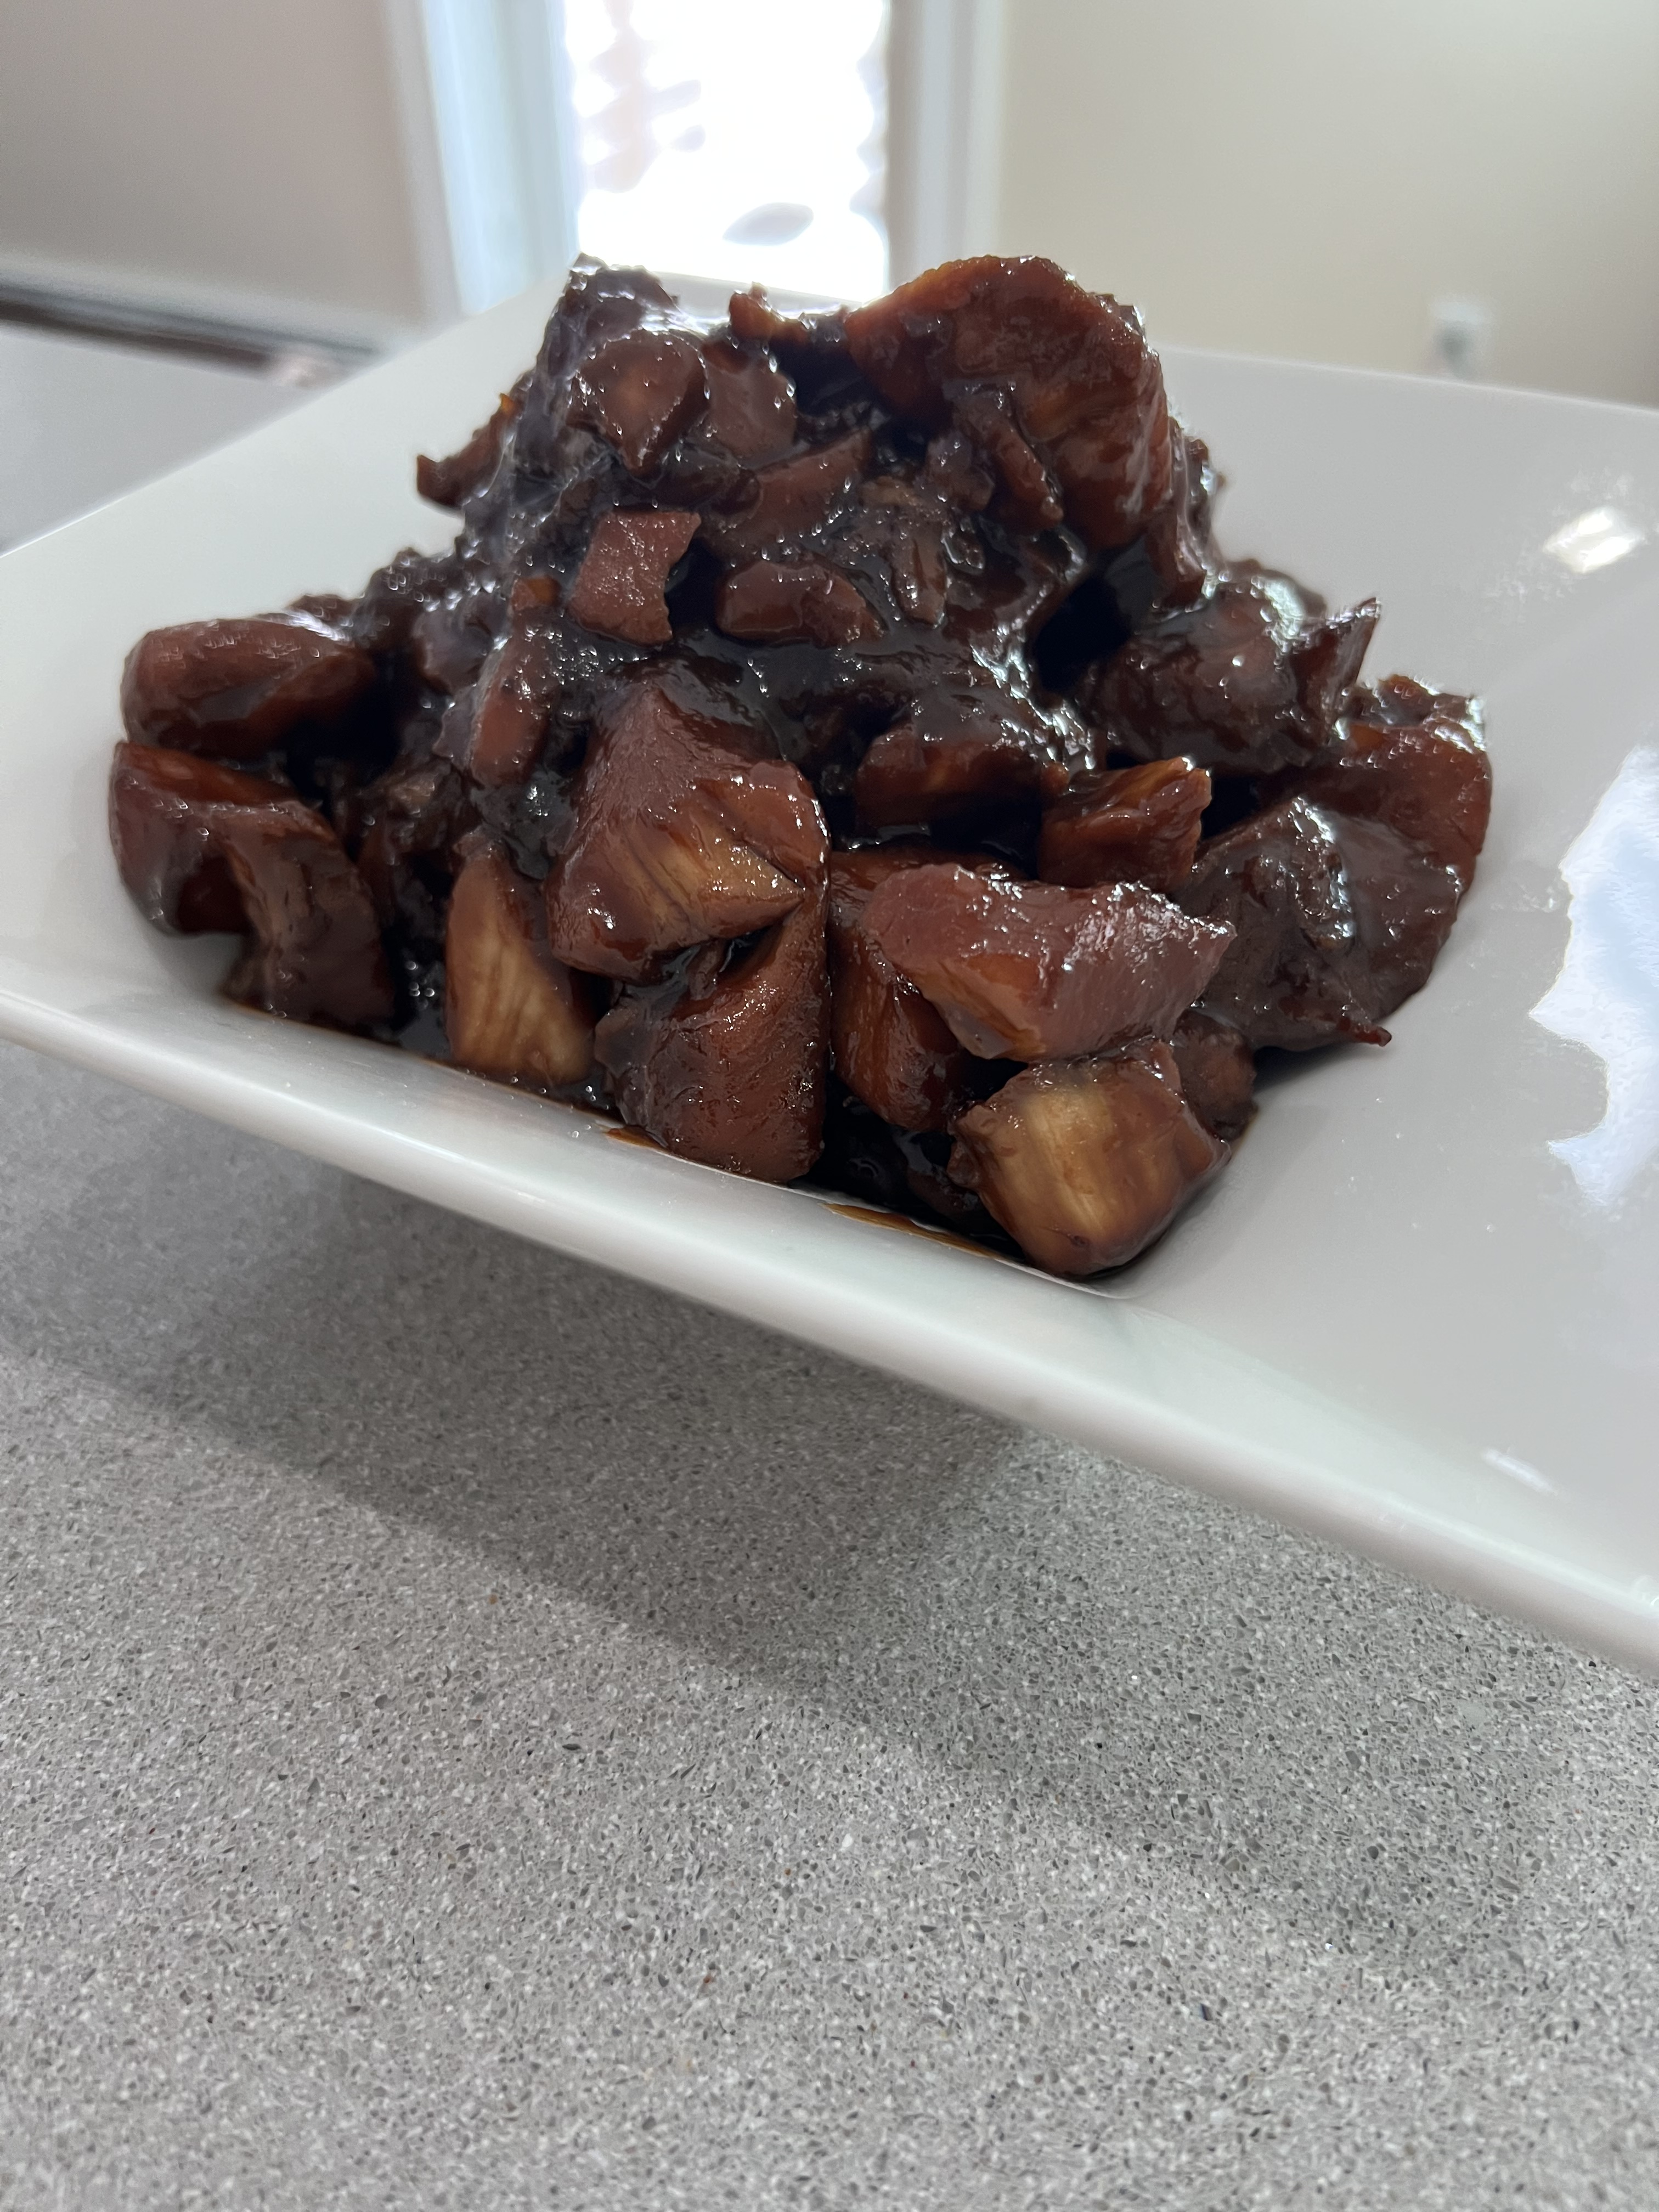
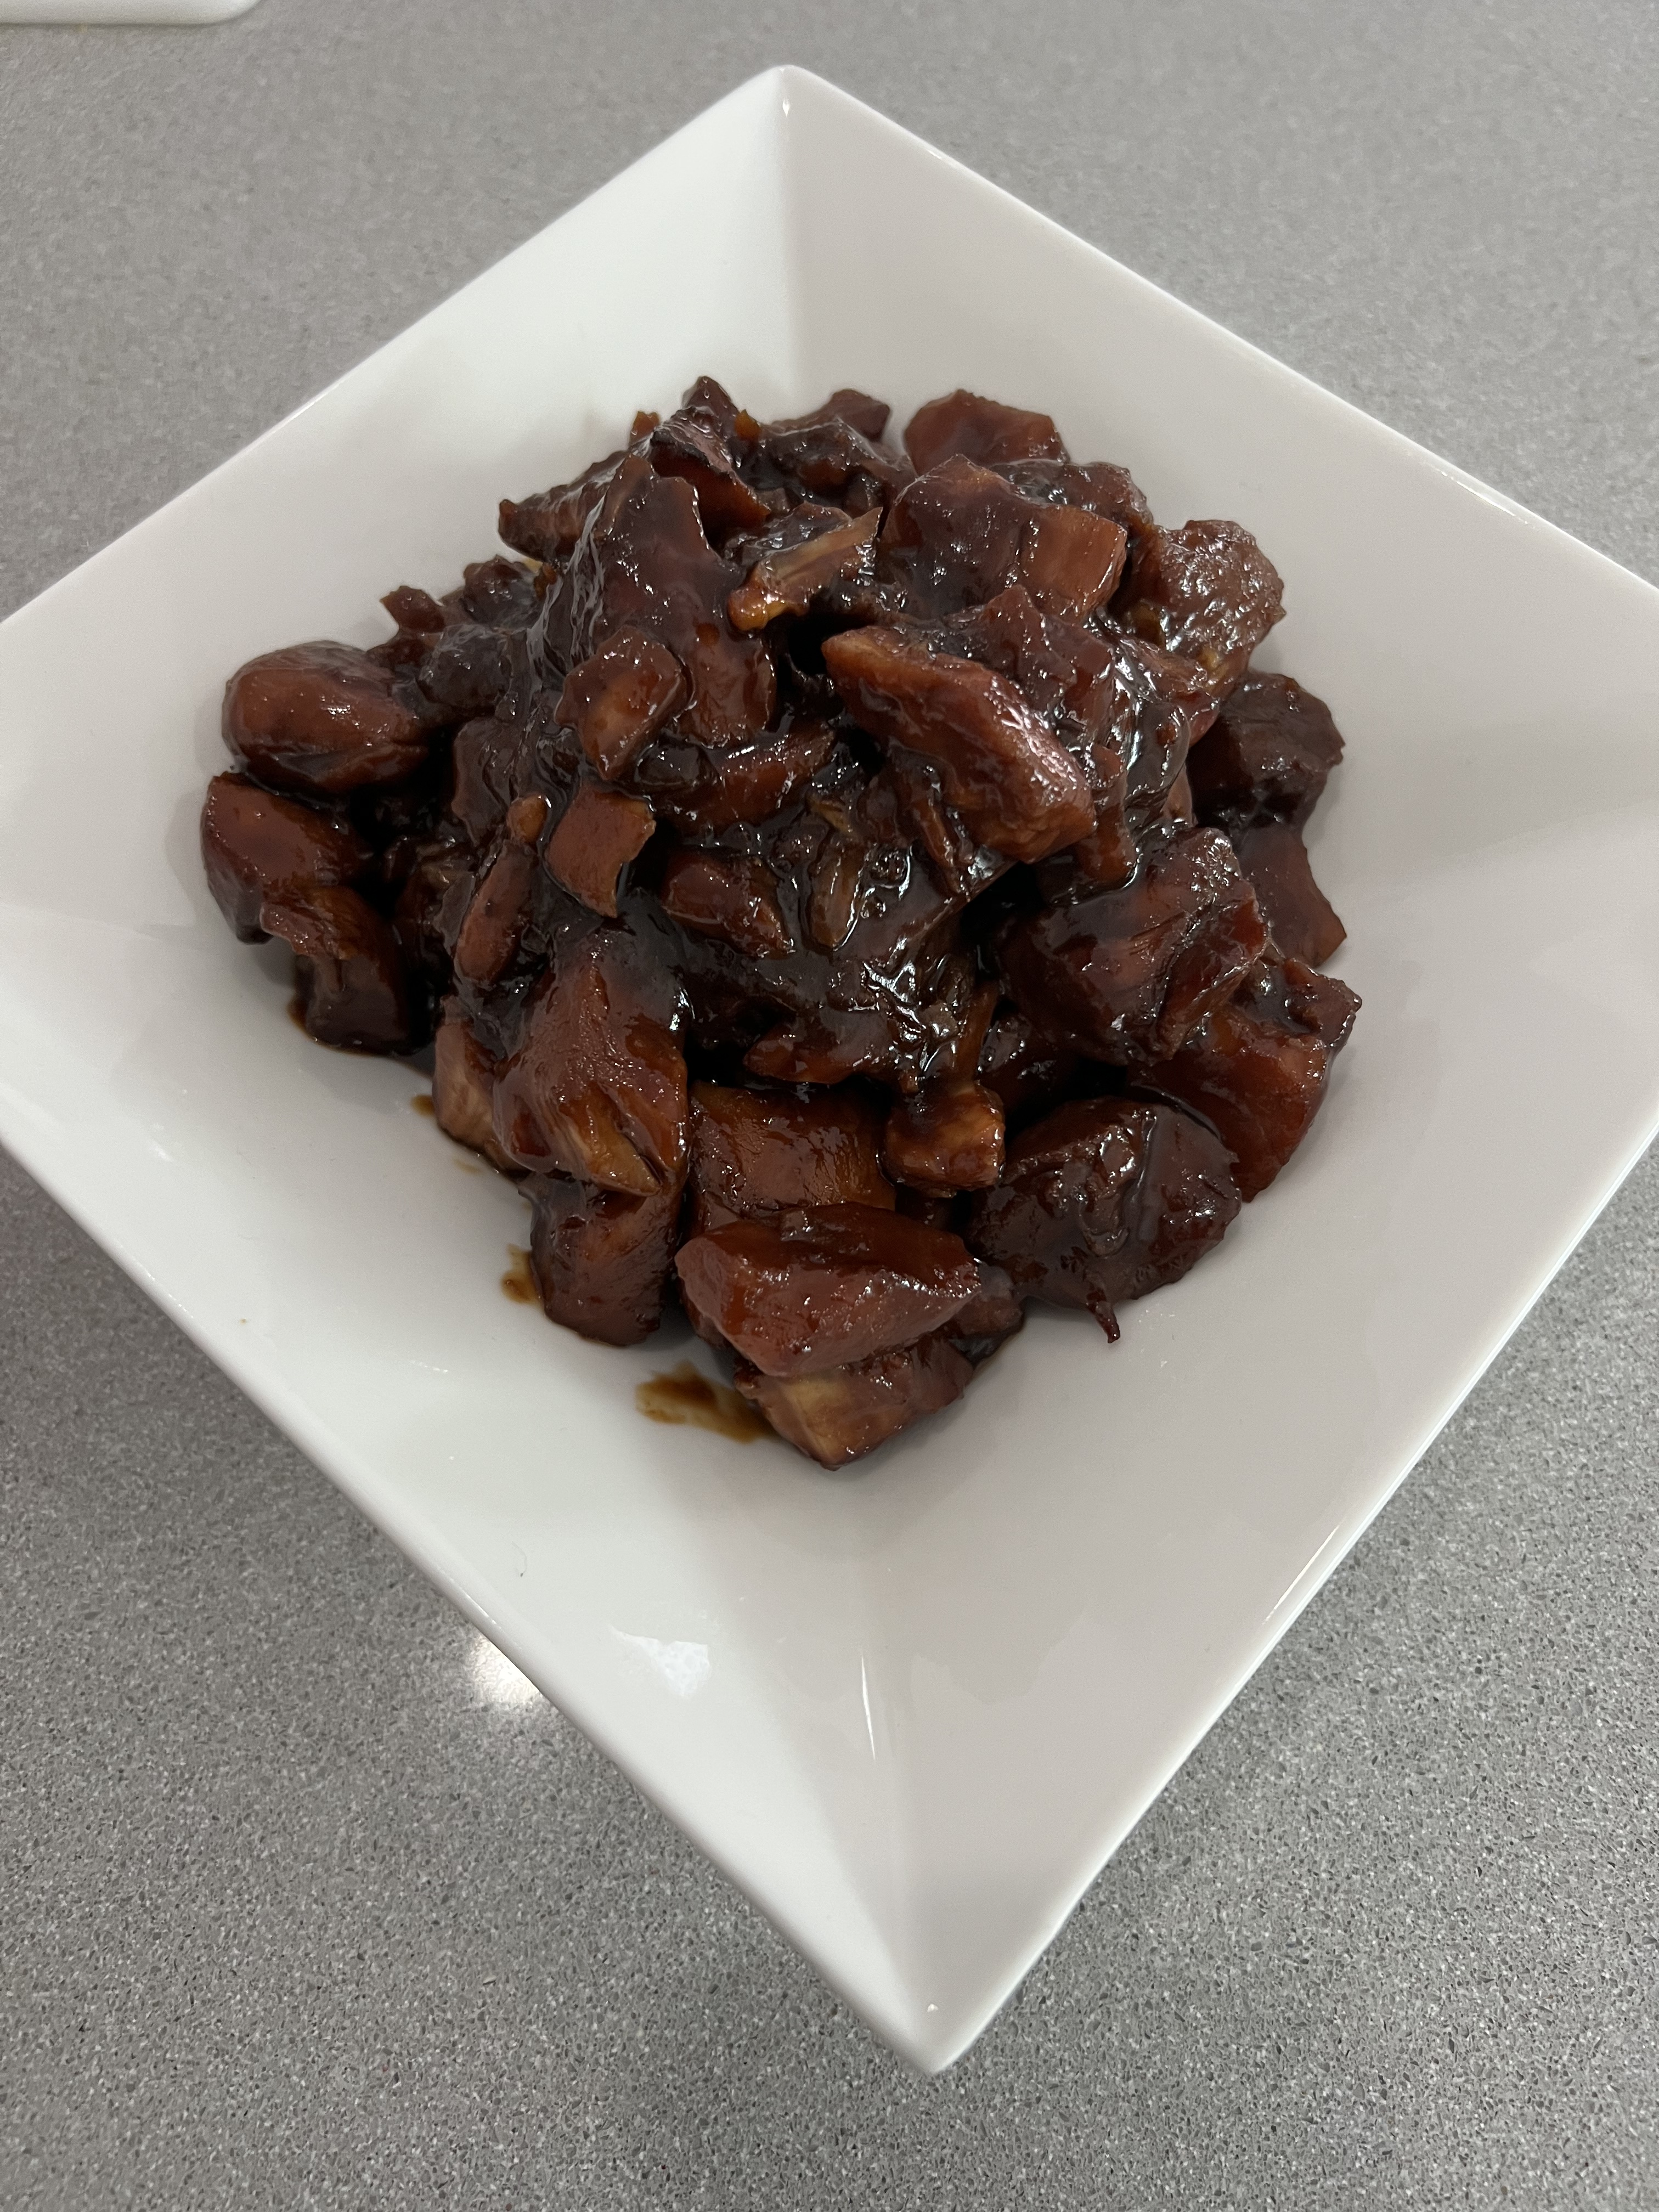
These delicious “chunx” of pork are full of fantastic Asian flavors and go great with broccoli and rice…or just by themselves. Plus, I used inexpensive boneless pork sparerib meat, which saves a few bucks.
3 pounds boneless pork ribs 1/2 a large onion, diced 1/2 cup soy sauce 4 tablespoons hoisin sauce 1 teaspoon Chinese chili garlic sauce Zest and juice of 1 lemon 2 star anise 2 cinnamon sticks 1/2 cup maple syrup 4 cups chicken broth, preferably homemade
This recipe is similar to my Asian bacon recipe, only it uses a cheaper, easier to find, cut of pork: boneless sparerib meat. You can usually find packages of this meat in a 3-pound size at most supermarkets.
The rib meat is fatty, however, and often has some gristle. So I trim as much of that away as I can to keep the tasty bites tender.
I cut the pork into 1-inch cubes, and toss them in a bowl with the diced onion. I add the soy sauce, hoisin sauce, and Chinese chili garlic sauce to the bowl and mix everything really well.
I will let the pork marinate for 2 hours at room temperature, remixing every half-hour or so. (If the pork needs to stay out longer, I put it in the refrigerator, bringing it back to room temperature when I’m ready to cook.)
I preheat the oven to 350°.
I line a baking pan with nonstick aluminum foil and place the pork and onion pieces on it in a single layer, reserving any leftover marinade for later.
I bake the pork and onions for 30 minutes.
While the pork is in the oven, I get a large pot and place the lemon zest, lemon juice, star anise, cinnamon sticks, maple syrup, and chicken broth in the pot. I bring it to a boil, then reduce it to a simmer.
After the pork and onions have cooked for 30 minutes, I remove them from the baking pan and place them in the pot, pouring in all the juices that might be in the baking pan. At this point, I can add any leftover marinade into the pot as well.
Bringing the heat under the pot back on high, I continue cooking until the liquid in the pot starts reducing. As it reduces, I turn the heat down as well, so I don’t burn any sugars in the pot. I stir the pork pieces once in a while.
Soon, the liquid will be reduced to a glaze. I keep tossing the pork in that glaze until it looks nice and shiny and gooey and sticky. And that’s when they’re ready!
Somebody in marketing made a fortune when they took a product that had been around since 1945 (the convection oven), renamed it an “air fryer,” and sold millions of them. I still call my old oven a convection oven, but whatever you call yours, this recipe will work in it.
I love cauliflower roasted, boiled, baked–whatever–but my daughter does not. But when she had it air-fried at a restaurant, she suddenly fell in love with the stuff, and I knew it was time to make some at home.
Cutting a head of cauliflower into florets is an easy thing to do. But it’s even easier to buy a bag of cauliflower florets already cut up at a supermarket or membership warehouse.
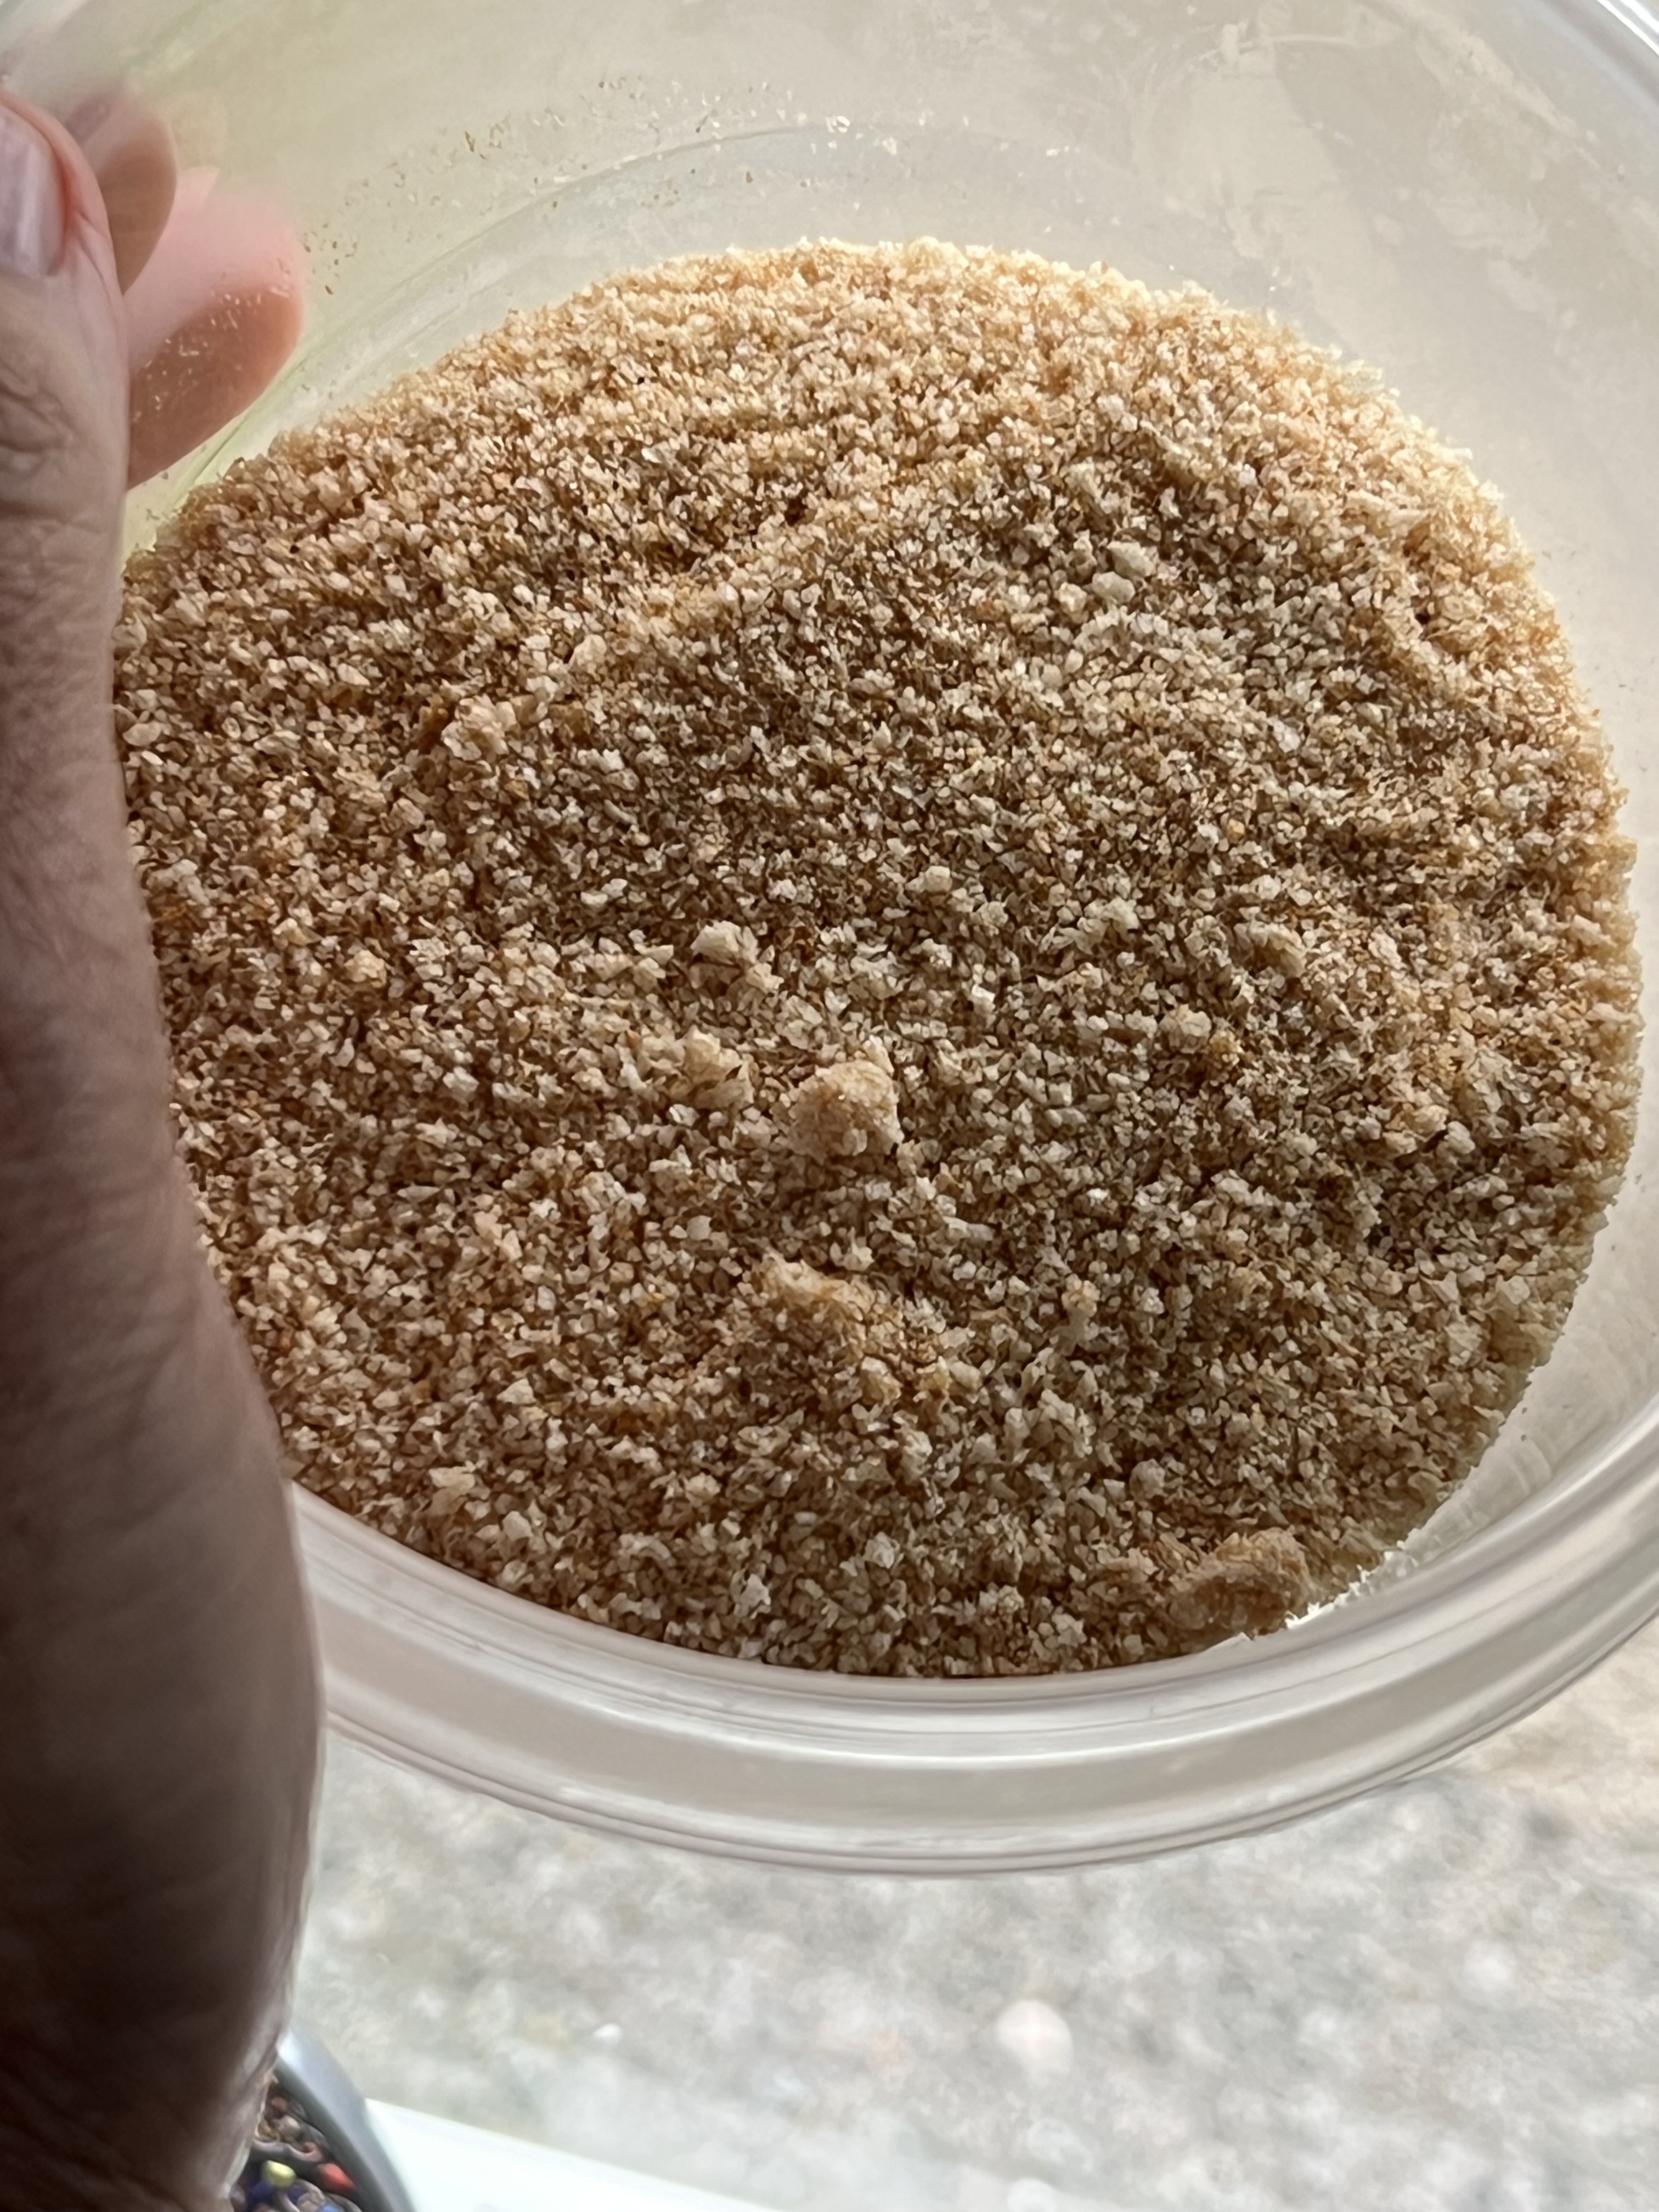
If you want this recipe to be gluten-free, do what I do: buy a loaf of Udi’s frozen white bread, toast it in the oven, and then let it dry out a bit at room temperature. Place it in a food processor and whiz it up for larger crumbs. I like my breadcrumbs fine for this recipe, so I then move them to a blender and grind them fine.
Fine grind.
1 head of cauliflower, cut into florets 2 large eggs 1 cup of breadcrumbs (I like them unseasoned and finely milled) spray can of olive or avocado oil
There are many versions of sweet and spicy Asian-inspired sauces and glazes out there. Simply choose the one that has your favorite ingredients. This one works really well with the cauliflower.
Combine these ingredients in a saucepan and bring it up to a medium heat. When it comes to a boil, take it off the heat and let it cool. (I double this recipe simply because the sauce is so good, and I’ll want to put it on other things, like chicken.)
Pre-heat the oven to 400 degrees.
Scramble the 2 eggs in a bowl.
Add the breadcrumbs to another bowl.
For the oven, set up a slotted metal tray to sit on a baking tray, so that there’s airflow underneath it. The cauliflower goes on the slotted tray, and the baking tray catches any breadcrumbs that may drop. Spray some oil on the slotted tray to keep things from sticking.
Take your cauliflower pieces and place them in batches in the egg, coating them completely. Then move them to the breadcrumb bowl, tossing them to get covered. Once they’re nicely coated, place them on the slotted tray. Do the same with the rest of the cauliflower.
Spray the cauliflower with the oil, and place them in the oven, baking for 30–45 minutes, depending on how cooked you like them.
I’ve seen restaurants that completely coat the cauliflower with the sauce, but I prefer to drizzle it on, with some extra on the side for dipping.
I love salmon in all forms. If it’s high quality wild-caught Alaskan salmon, I love it pan-sautéed, raw (as in sashimi), smoked, or cured.
The best smoked salmon uses the gentle process of cold smoking. It’s something that the average homeowner can’t really do successfully, so I simply buy cold-smoked salmon when I crave it. I’ve made hot-smoked salmon at home with some success, but the fish is so delicate, you really have to keep an eye on it. It takes no time for a juicy, perfectly smoked piece of salmon to turn into a dry, overcooked hockey puck.
Curing, which is how you get Gravlax, is really quite simple. You just need to have enough patience to wait a few days before you can eat it.
There are many gravlax recipes out there. Some use peppercorns, fennel, caraway, even Aquavit in the curing process. My opinion is: if you’ve got a beautiful piece of fish, why mask the flavor of it? I go with the simplest recipe possible, featuring just 3 ingredients that cure the salmon: salt, sugar and fresh dill.
The first step, of course, is to get the right piece of salmon. What you want is that beautiful, vibrant, orange wild-caught Alaskan or Pacific salmon that costs more than you thought you were going to spend. Wild-caught means the salmon has eaten the foods it loves, a balanced diet consisting of bugs, fish, shrimp, and small invertebrates. A natural diet gives the meat of the fish that beautiful color and incredible flavor. What the salmon eats is very important because you are eating the salmon! Wild-caught salmon is high in Omega-3’s…the good fats.
A beautiful piece of wild-caught salmon laying on a bed of the cure.
I avoid Atlantic salmon at all costs. Unfortunately, most restaurants on the east coast serve Atlantic salmon because it’s less expensive. There’s a reason for that. Atlantic salmon is farmed in the USA, Canada and Europe, which means the fish are kept in crowded underwater pens and are fed food pellets that contain a number of nutrients and additives. Often, farmed fish are treated to prevent sea lice, and are given antibiotics to prevent diseases caused by their tight living quarters. They’re also given pellets to color the meat orange, because the natural color of farmed salmon is actually an unappetizing gray. When you buy Atlantic salmon in the fish store, you can spot it a mile away, because it’s got that weird zebra-striped orange and white, with a tinge of gray, and its flavor is bland and lifeless. Farmed salmon is much lower in Omega-3’s.
If it doesn’t say wild-caught Alaskan or Pacific salmon, it isn’t!
Previously frozen vs. fresh fish matters less than where it came from and how it was raised.
2 lbs. wild-caught salmon, skin on, pin bones removed
1/3 cup (50g) Kosher salt (I use Diamond Crystal)
2/3 cup (160g) sugar
1 large bunch fresh dill, washed
If your fish monger hasn’t removed the pin bones from your salmon filet, you’ll need to get a pair of long-nose pliers and remove them. It’s not the worst thing in the world to leave them in there, but you really don’t want to be spitting bones out later.
The reason I mention that I use Diamond Crystal Kosher salt is because all Kosher salt does not weigh the same. MortonKosher salt, for example, is much heavier by volume, so it weighs more even though you’re using the same cup measurement. In the case of DiamondCrystal, 1/3 cup weighs 50g. Same rules apply to the sugar. Go by the weight, not the cup measurement. This is really important point to keep in mind when you’re curing anything, fish or meat.
Get a non-reactive tray long enough to hold the salmon filet. I prefer glass.
Mix the salt and the sugar together, and sprinkle half of it evenly on the bottom of the tray. Lay the piece of salmon down on the cure, skin side down, and cover the top of the salmon with the rest of the cure evenly.
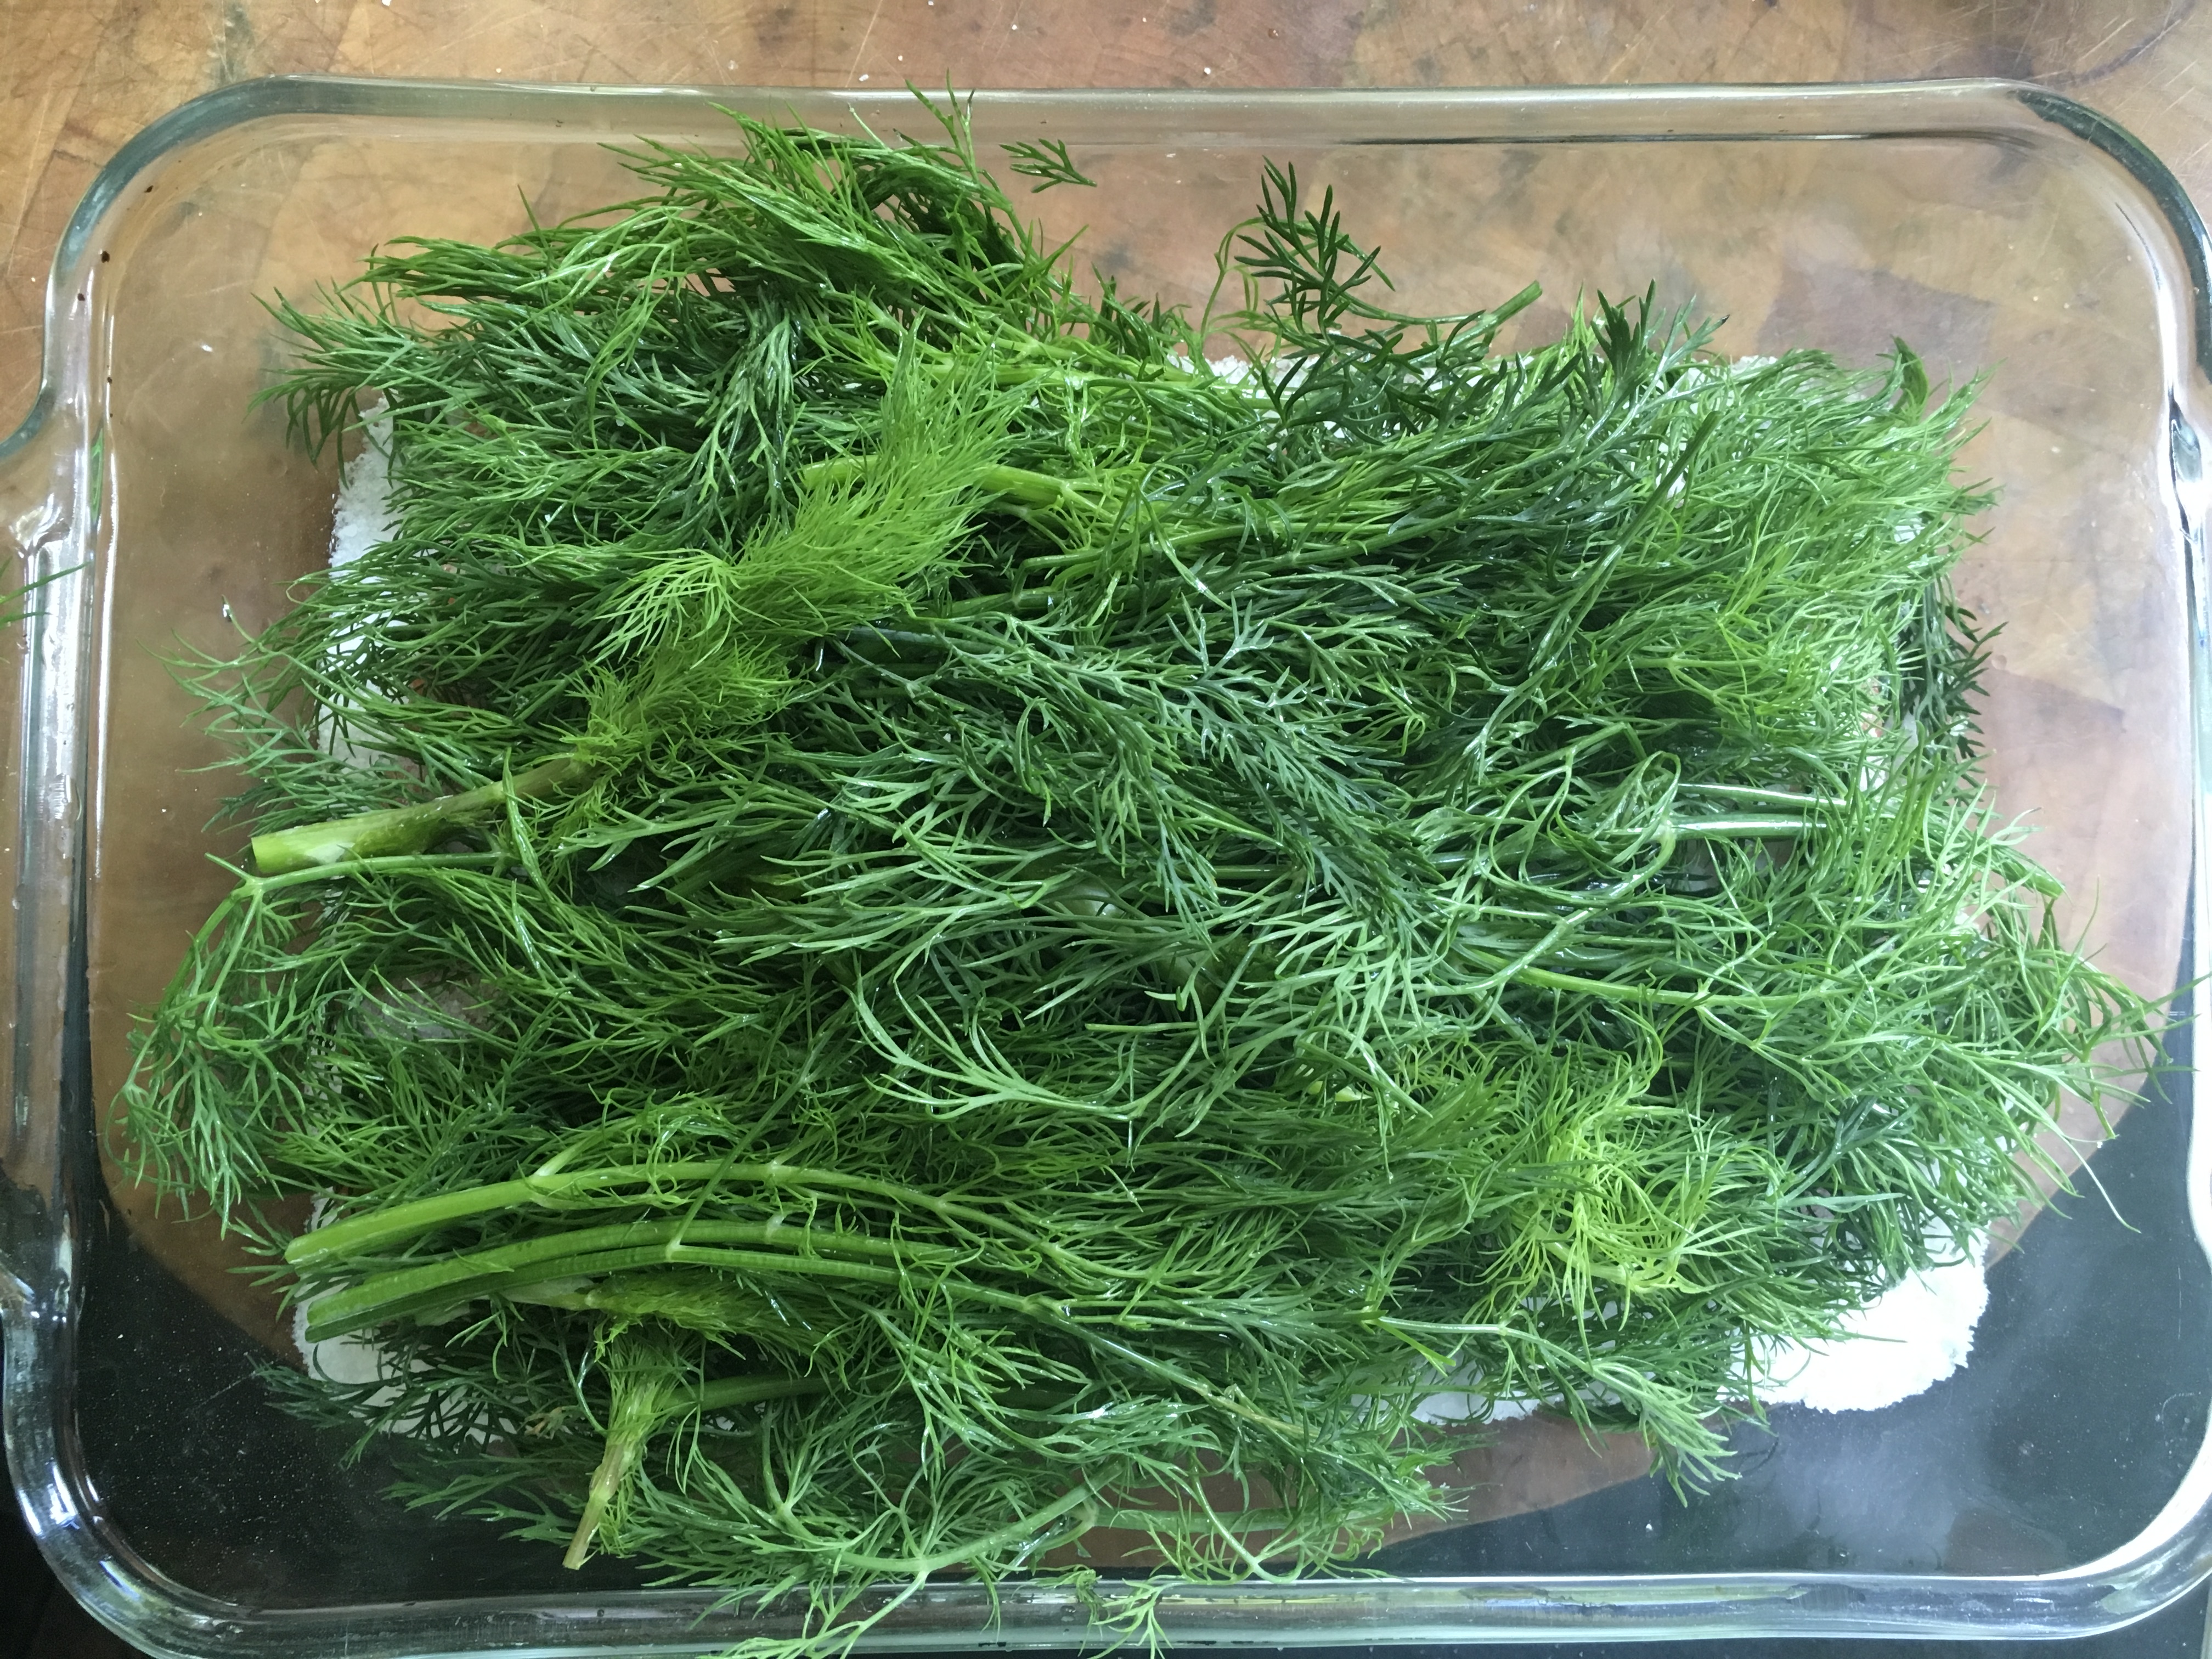
Lay the sprigs of dill on top of the cure, covering the entire piece of fish. It might look like overkill. It’s not.
Cover everything with several layers of plastic wrap, pushing it down and tucking it into the corners for a tight fit.
Find a flat board or something similar (I used a clear plastic tray) and lay it on top of the plastic wrap.
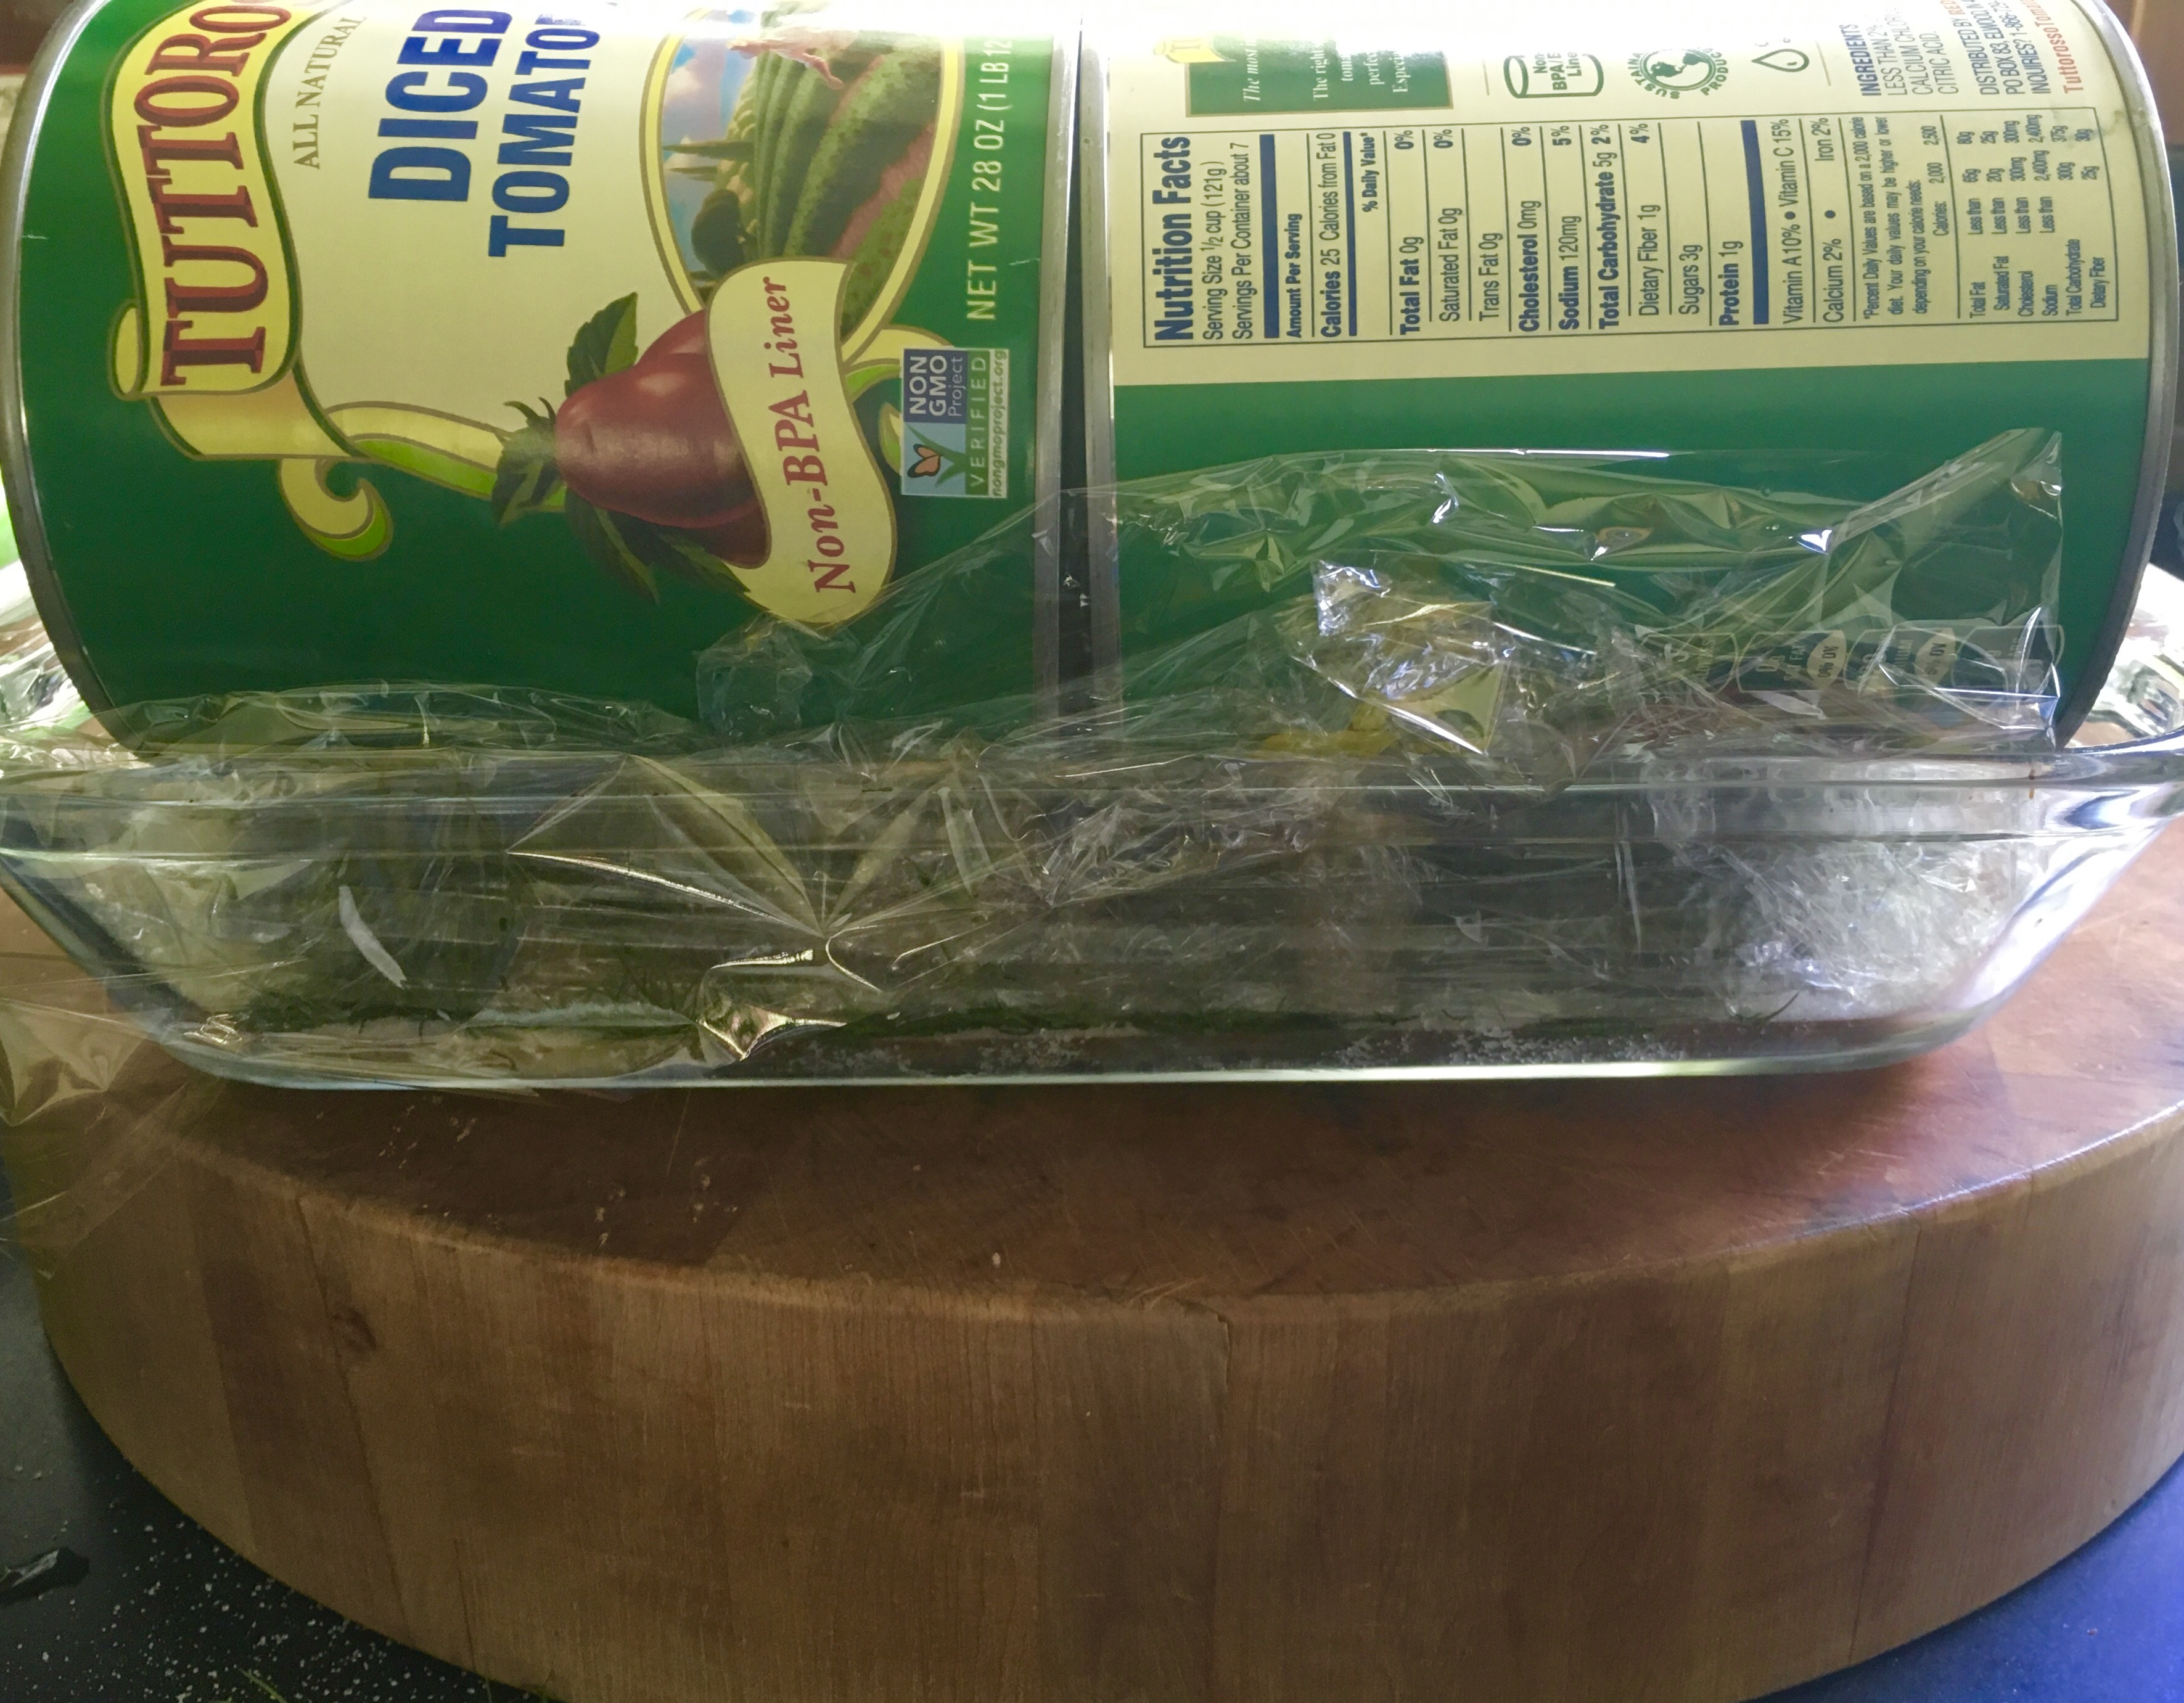
Add heavy weights on top to press down evenly on all surfaces. I used cans of tomatoes.
Side view.
Place the tray in the fridge for 48-72 hours.
After 24 hours, remove the plastic wrap and, tilting the tray, baste the dill-covered salmon with the brine juices that have formed. Put clean plastic wrap on top, add the weights, and put it all back in the fridge for another 24 hours. Repeat that process at the 48-hour mark, if needed. If it’s cured, it’s time to eat!
You’ll know the fish is fully cured when the thickest part of the filet is firm to the touch.
Unwrap the salmon, discarding the salt and sugar brine and the dill. Rinse the filet under cold running water and pat it dry with paper towels.
I don’t like a ton of chopped dill imbedded into my gravlax as some do, but if you do, finely chop a bunch of new fresh dill, spread it out onto a board, and press the salmon into it flesh-side down.
To serve, place the gravlax skin-side down on a board. With a long, sharp narrow-bladed knife, slice the fish against the grain, on the diagonal, into thin slices. Serve with mustard-dill sauce, chopped onion, capers, hard-boiled egg, bread…whatever you like.
Refrigerate any remaining gravlax immediately, wrapped in plastic wrap, for up to 2 weeks.
It’s hard to improve on buttery, creamy mashed potatoes, but I think this recipe does just that. Like with pasta carbonara, you add pork, egg yolks, and Parmesan cheese to take this to another level.
The classic pasta carbonara uses guanciale, which is cured pork cheeks. Many recipes call for pancetta instead (which is the cured but unsmoked belly of the pig.) But since I cure my own guanciale, this was a no-brainer.
Egg yolks are stirred into the warm pasta in carbonara, and are cooked simply from the heat from the pasta. Here, I stir the egg yolks into the mashed potatoes, but then they go back in the oven to cook more.
And all too often, the phrase “Parmesan cheese” is used in recipes. That opens the floodgates to some truly horrendous cheeses, including the non-refrigerated stuff on the supermarket shelf that is 50% sawdust! There is only one King of Cheeses: Parmigiano Reggianio. Look for it, ask for it, pay the price. It’s worth every penny.
Parmigiano Reggiano
3 lbs. Yukon gold potatoes, peeled and chopped into large chunks 6 oz. guanciale, finely chopped 3/4 cup grated Parmigiano Reggiano 1/2 cup heavy cream 1/8 teaspoon freshly grated nutmeg 1 stick (8 tablespoons) unsalted butter, brought to room temperature, separated Kosher salt and freshly ground black pepper 1 large egg 2 large egg yolks
Preheat the oven to 400 degrees.
Place the potatoes in a large pot and cover them with cold water. Bring them to a boil, and then cook them until they’re fork-tender. Drain the potatoes in a colander and let them dry out a little, about 10 minutes. Then place the potatoes back in the pot.
Cook the guanciale in a non-stick pan over medium heat, stirring often, until the bits are golden brown and crispy. Transfer the cooked guanicale bits to paper towels to absorb the excess fat.
To the pot with the potatoes, add the cheese, the cream, the nutmeg (I always have whole nutmeg around to grate into my rum drinks!), 6 tablespoons of the butter, and some salt and pepper. Get out the old potato masher and mash away until the potatoes are smooth.
In a separate small bowl, whisk together the whole egg and the 2 egg yolks, then add them to the pot with the potatoes, and stir until they are well combined.
Add in all but about 1 tablespoon of the guanciale, mixing well.
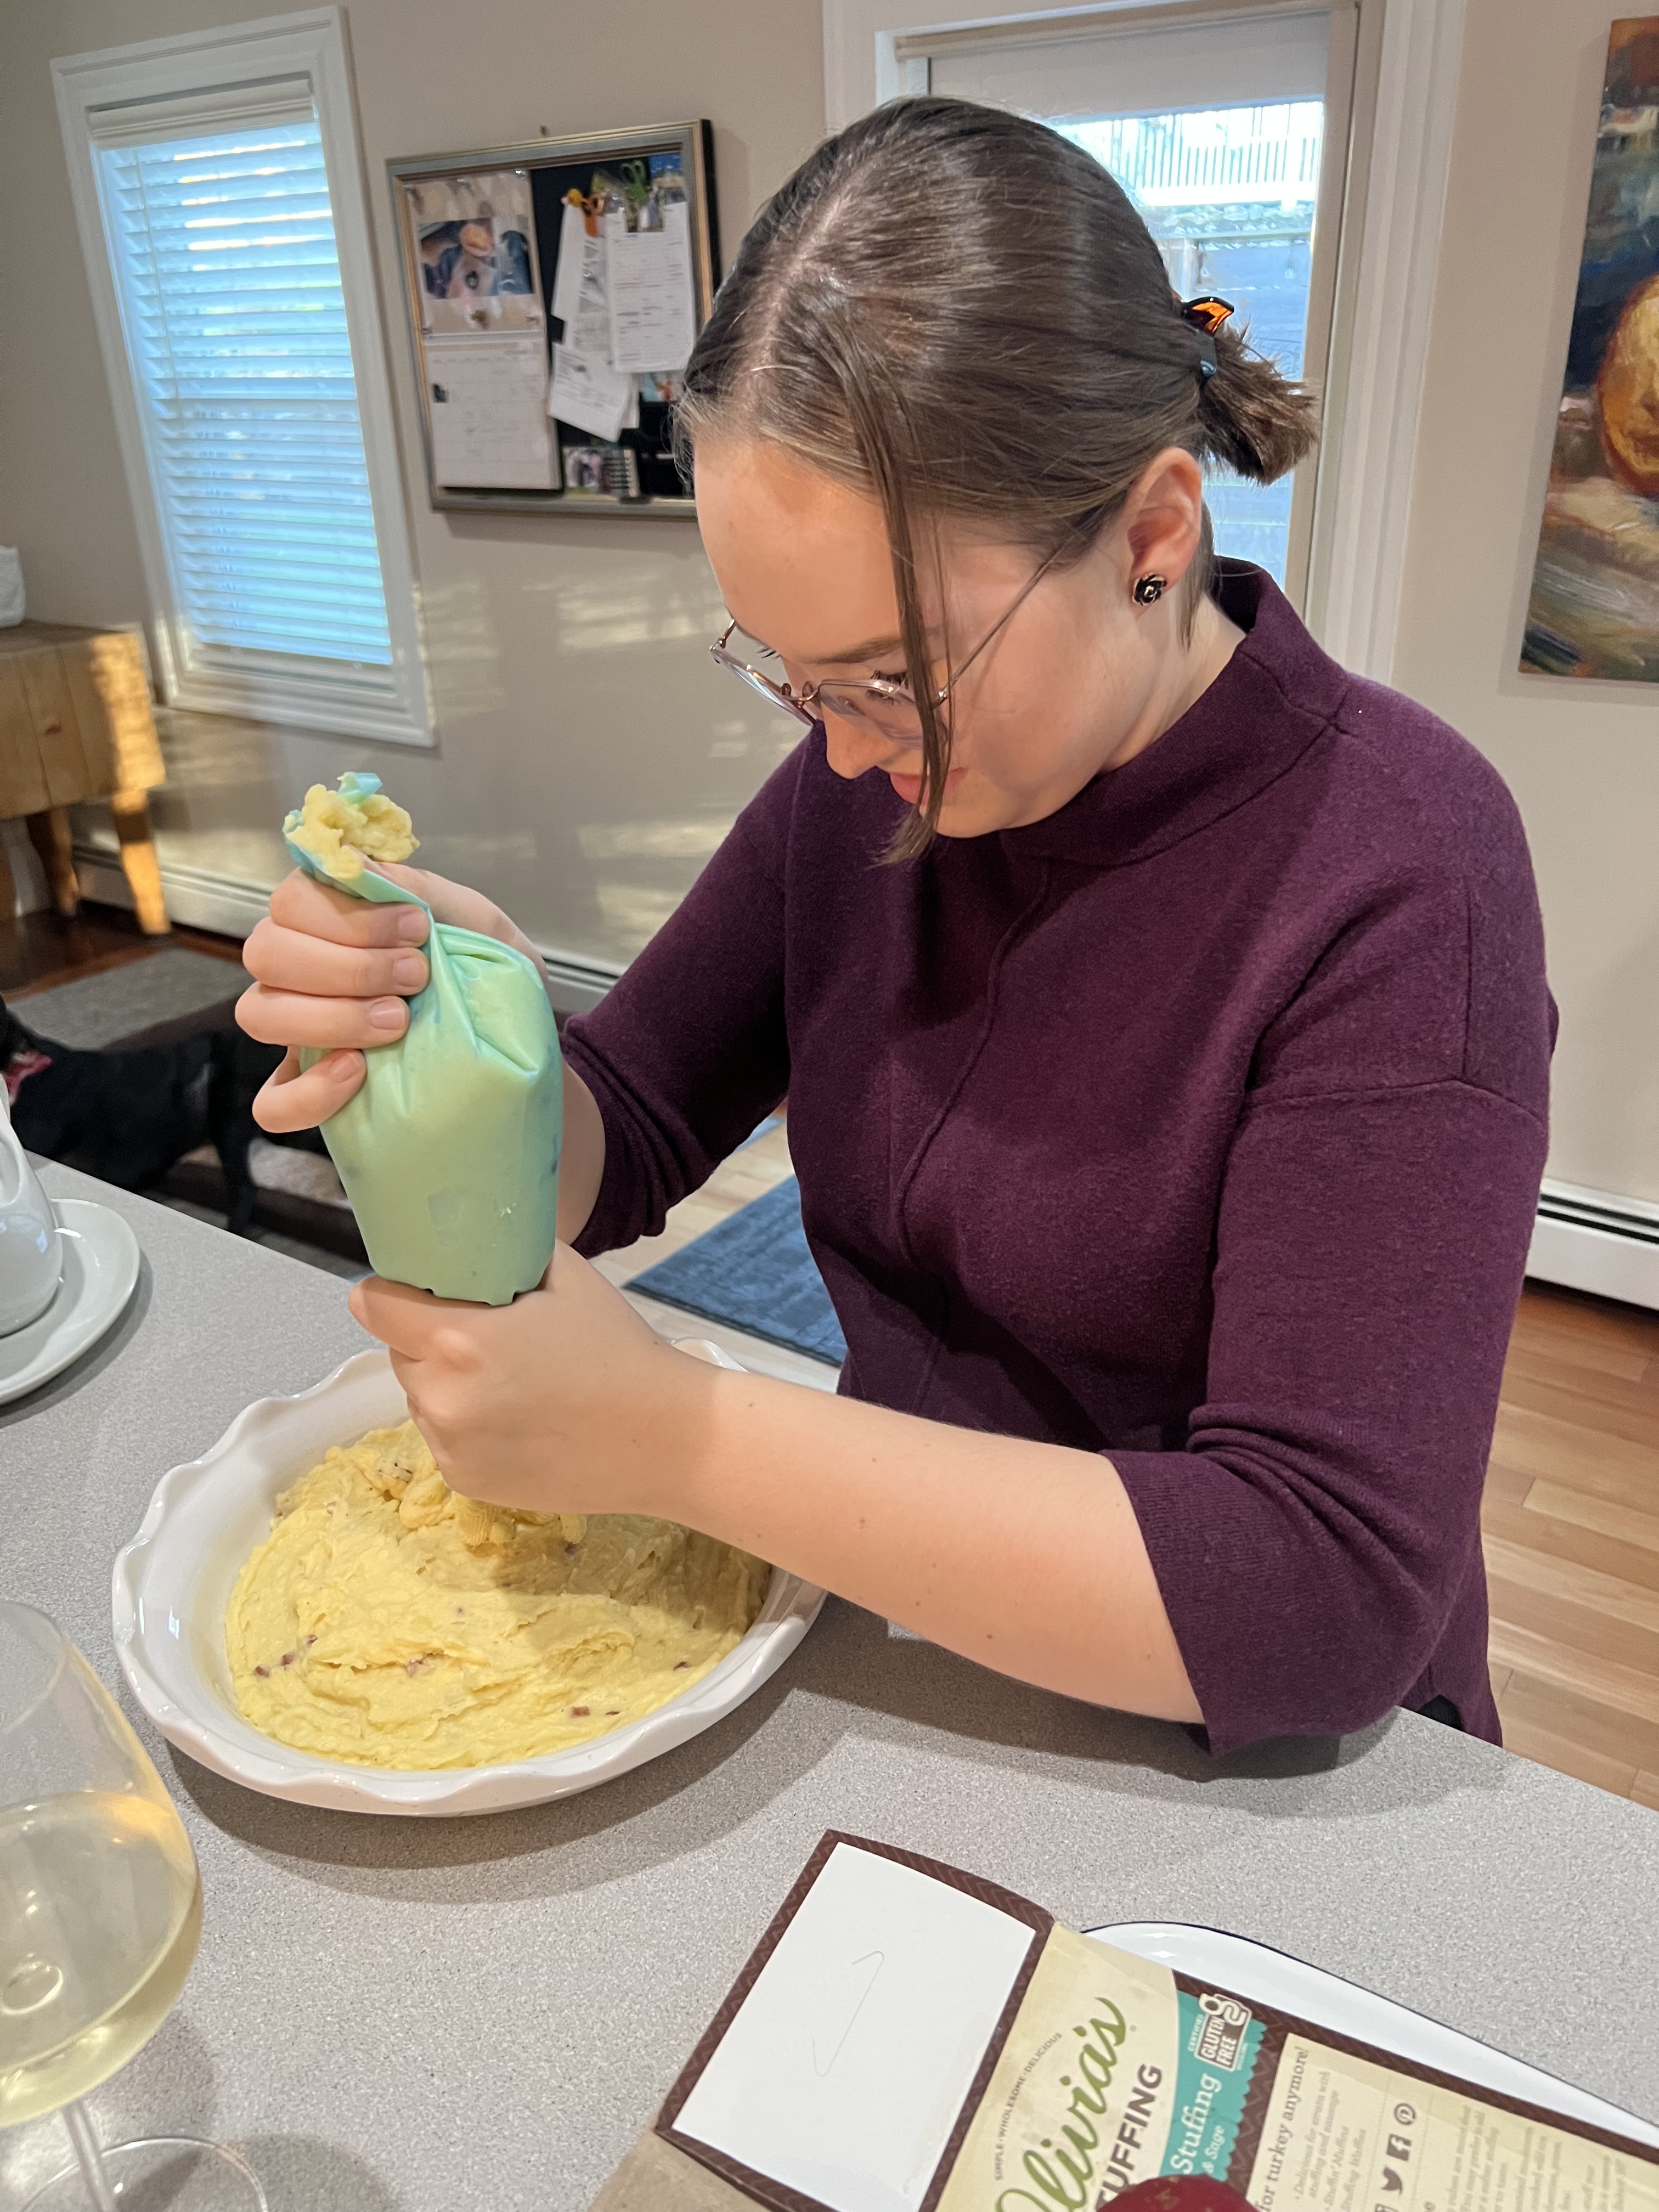
Grab your favorite baking dish, and pour in the mashed potatoes, smoothing them out to make them look nice. (We originally tried piping some of the potatoes with a pastry bag, but it kept getting clogged with the guanciale and we gave up!)
Didn’t work so well….…but delicious anyway!
Sprinkle the remaining guanciale on top of the potatoes and place the baking dish in the oven.
Bake until the potatoes are golden around the edges, about 30 minutes.
Chop up the remaining 2 oz. of butter and scatter it over the top of the potatoes, letting the butter melt in while the potatoes cool.
One of our favorite restaurants, The Back Eddy in Westport, Massachusetts, is open for the 2025 season!
On the waterfront on the Westport River, they’ve been serving fantastic fresh seafood for years.
Smoked salmon appetizer.
When the weather gets warmer, they open top their outdoor seating area, which includes a long dock with extra seating, a grill, and an outdoor bar. It’s the place to be in the summertime.
Fried smelts. Fish candy!
We’ve been friends with the staff of the Back Eddy for many years. We even brought our daughter, Ava, to the Back Eddy and sat her baby basket at the bar when she was only 11 days old! She’s been a regular ever since.
Caesar salad.
You know a place is great when the staff returns year after year, and though this place gets incredibly busy in the summer months, it’s clear that the staff are friends, and they treat their customers as friends as well. We were there recently for opening weekend, and it was as if long lost friends saw each other for the first time…hugs all around.
Don’t like seafood? The ribeye with The Back Eddy’s signature honky fries will make you very happy!
The menu offers variety with weekly specials, and I’ve probably had everything on the menu at least three times over the years. Nothing disappoints.
A most excellent burger.
If you’re in the neighborhood of Horseneck Beach in Westport, Massachusetts this summer, you owe it to yourself to stop at The Back Eddy for for, cocktails, and fun in the sun!
Starting in the mid 1700’s, sailors in the British Navy were given a daily ration of rum. They called it a “tot,” and the practice of daily “tot” distribution lasted for almost 200 years, until July 31, 1970. When it ended, not only were there many sad British sailors, but there was also a vast amount of leftover rum. Much of it was sold off at high prices because the taste was excellent and the methods of its distillation were no longer used.
It made sense. In the old days, when liquids were stored in wooden barrels aboard ship, water, beer, and wine would go bad very quickly. Only something with a much higher alcohol content wouldn’t spoil. Rum was the answer. And getting the sailors drunk every day kept them from deserting…it was good for morale!
But while the sailors drank rum, Royal Navy officers drank gin. The use of exotic spices in gin was made possible by imports from Africa and Asia. Gin’s prevalence around the world is largely due to the fact that sailors set foot in many new cities on new continents.
And though the British Navy stopped the practice of issuing alcohol to its sailors in 1970, the Royal New Zealand Navy abolished the practice as late as 1990!
Until a recent trip to New Zealand, I was not a huge fan of gin. Don’t get me wrong: I liked it. A gin and tonic was a nice refreshing drink on a hot summer’s day. And my fascination with the Vesper martini, a combination of gin and vodka, made me appreciate gin even more.
But it wasn’t until I went to New Zealand, and tasted their magnificent gins, in combination with delicious tonics only available in that country, did I really start to appreciate the subtle differences between them.
The first thing that caught my eye when I was served a sample of Roots gin, distilled in Marlborough, was the label: “Navy strength dry gin.” I asked what that meant. Well, for one thing, it had more alcohol. And the reason for that was surprising. Since gin, like rum, was stored in wooden barrels on ships, very often next to barrels of gunpowder, the gin had to contain enough alcohol so that if it spilled onto the gunpowder, the gunpowder would still ignite! Not enough alcohol in the gin would waterlog the gunpowder and make it useless. So tests were actually done by pouring gin on gunpowder to see what the minimum percentage of alcohol was required to keep the gunpowder burning. The answer was about 57%. Anything below that and the gunpowder would not burn. They coined the term “Navy strength.”
(Although the bottle of Roots gin above weighs in at 54.5%, it’s properly called “Navy strength.” In 1866, to keep sailors from getting completely hammered, the British Royal Navy reduced the alcohol content of the rum they were distributing to 54.5%. Hence, a new “Navy strength.”)
I was allowed to take only 1 bottle home from New Zealand, but, as you can see, it was not Navy strength. Still delicious!
The other advantage to a Navy strength gin is taste. If you’re not diluting it with water, not only are you getting more alcohol, but you’re also getting more of the herbaceous flavor you want in a gin.
Up until my trip to New Zealand, my experience with gin was limited to the usual list of suspects: Tanqueray,Bombay Sapphire, and Hendrick’s. I also more recently discovered Ford’s, a very nice London dry gin I sometimes use in my Vesper martinis.
But in New Zealand, many of the gins were floral and herb-forward, and I found that I like that. I like that a lot. For example, Victor, another Marlborough gin, was like “Hendrick’s on steroids.” I said that to my bartender at the Urban Eatery and Oyster Bar in Nelson, NZ, and she agreed. Delicious.
Although gins may vary in alcohol content, rules about serving liquor in New Zealand are very strict, certainly by US standards. For example, a “double” in New Zealand is 30ml. That’s 1 ounce! And that’s a standard pour for a cocktail. You can, I found out, ask for a “double-double.” And in that case, they would serve you a 1-ounce shot on the side with your drink, and you would have to pour it in yourself.
When I told the bartenders in New Zealand that we have 4-ounce martinis at any decent steakhouse in the US, and they realized that was 120 mls, their jaws pretty much dropped and hit the bar. One bartender gasped: “That’s irresponsible!” I told her that two of those drinks is widely considered the “businessman’s lunch” here in the states. She just shook her head.
Much to choose from at Kismet, my favorite bar in Nelson, NZ.
The phrase “proof” also has a very different meaning.
In the states, it’s pretty simple: it’s double the percentage of alcohol. So a bottle that’s 40% alcohol is 80 proof.
But the phrase “proof” comes from there British Royal Navy’s “proof” test. They would take the gin, pour it onto gunpowder, and if it ignited, that would prove there is sufficient alcohol in the gin. They would say that the gin was “gunpowder proof,” and it would be allowed onboard the ship.
So in the UK, a spirit with 57.15% is 100 degrees proof. A spirit with 40% alcohol is 70 degrees proof.
For me, it’s easier to simply remember to check the percentage of alcohol, and go from there.
One of the reasons I fell in love with New Zealand gin was because it was often served with East Imperial tonic, a New Zealand product that was not available in the United States for some time. But when I returned from my trip, I googled it and found that it was now being distributed in the US! When the amount of alcohol you’re allowed in your glass is limited (by our standards, anyway), what fills the rest of it up becomes incredibly important. East Imperial was the best line of tonics I’ve ever tried. (I’m saying was now, because, sadly, the company went under last year, and I managed to purchase a couple of 12-packs of the last of the available inventory. Once it’s gone, it’s back to Fever Tree.)
It stands to reason that a great cocktail is the sum total of its parts: great gin, great tonic, great ice.
I was enjoying a few Roots and tonics at the Bamboo Tiger, a bar inside the D’Urville Hotel in Blenheim, NZ, when we felt earthquake tremors. (My first!) It only lasted a few seconds, and when the chandeliers stopped moving, everyone pretty much went right back to business!
I spent about 10 days last summer in Scotland and Ireland, and though they’re known for their whiskey, it was their gins that really impressed me. But I’ll save that for another blog.
I really love the flavors of this recipe, and the great thing is that you can use it as a marinade and a dipping sauce–not just for beef–but a dipping sauce for grilled chicken, dumplings, anything. It’s that good.
Make more than you think you’ll need because you can keep it in the fridge for future dipping.
If you use gluten-free soy sauce, this recipe is GF. Chili garlic sauce can be found in the Asian foods section of most supermarkets.
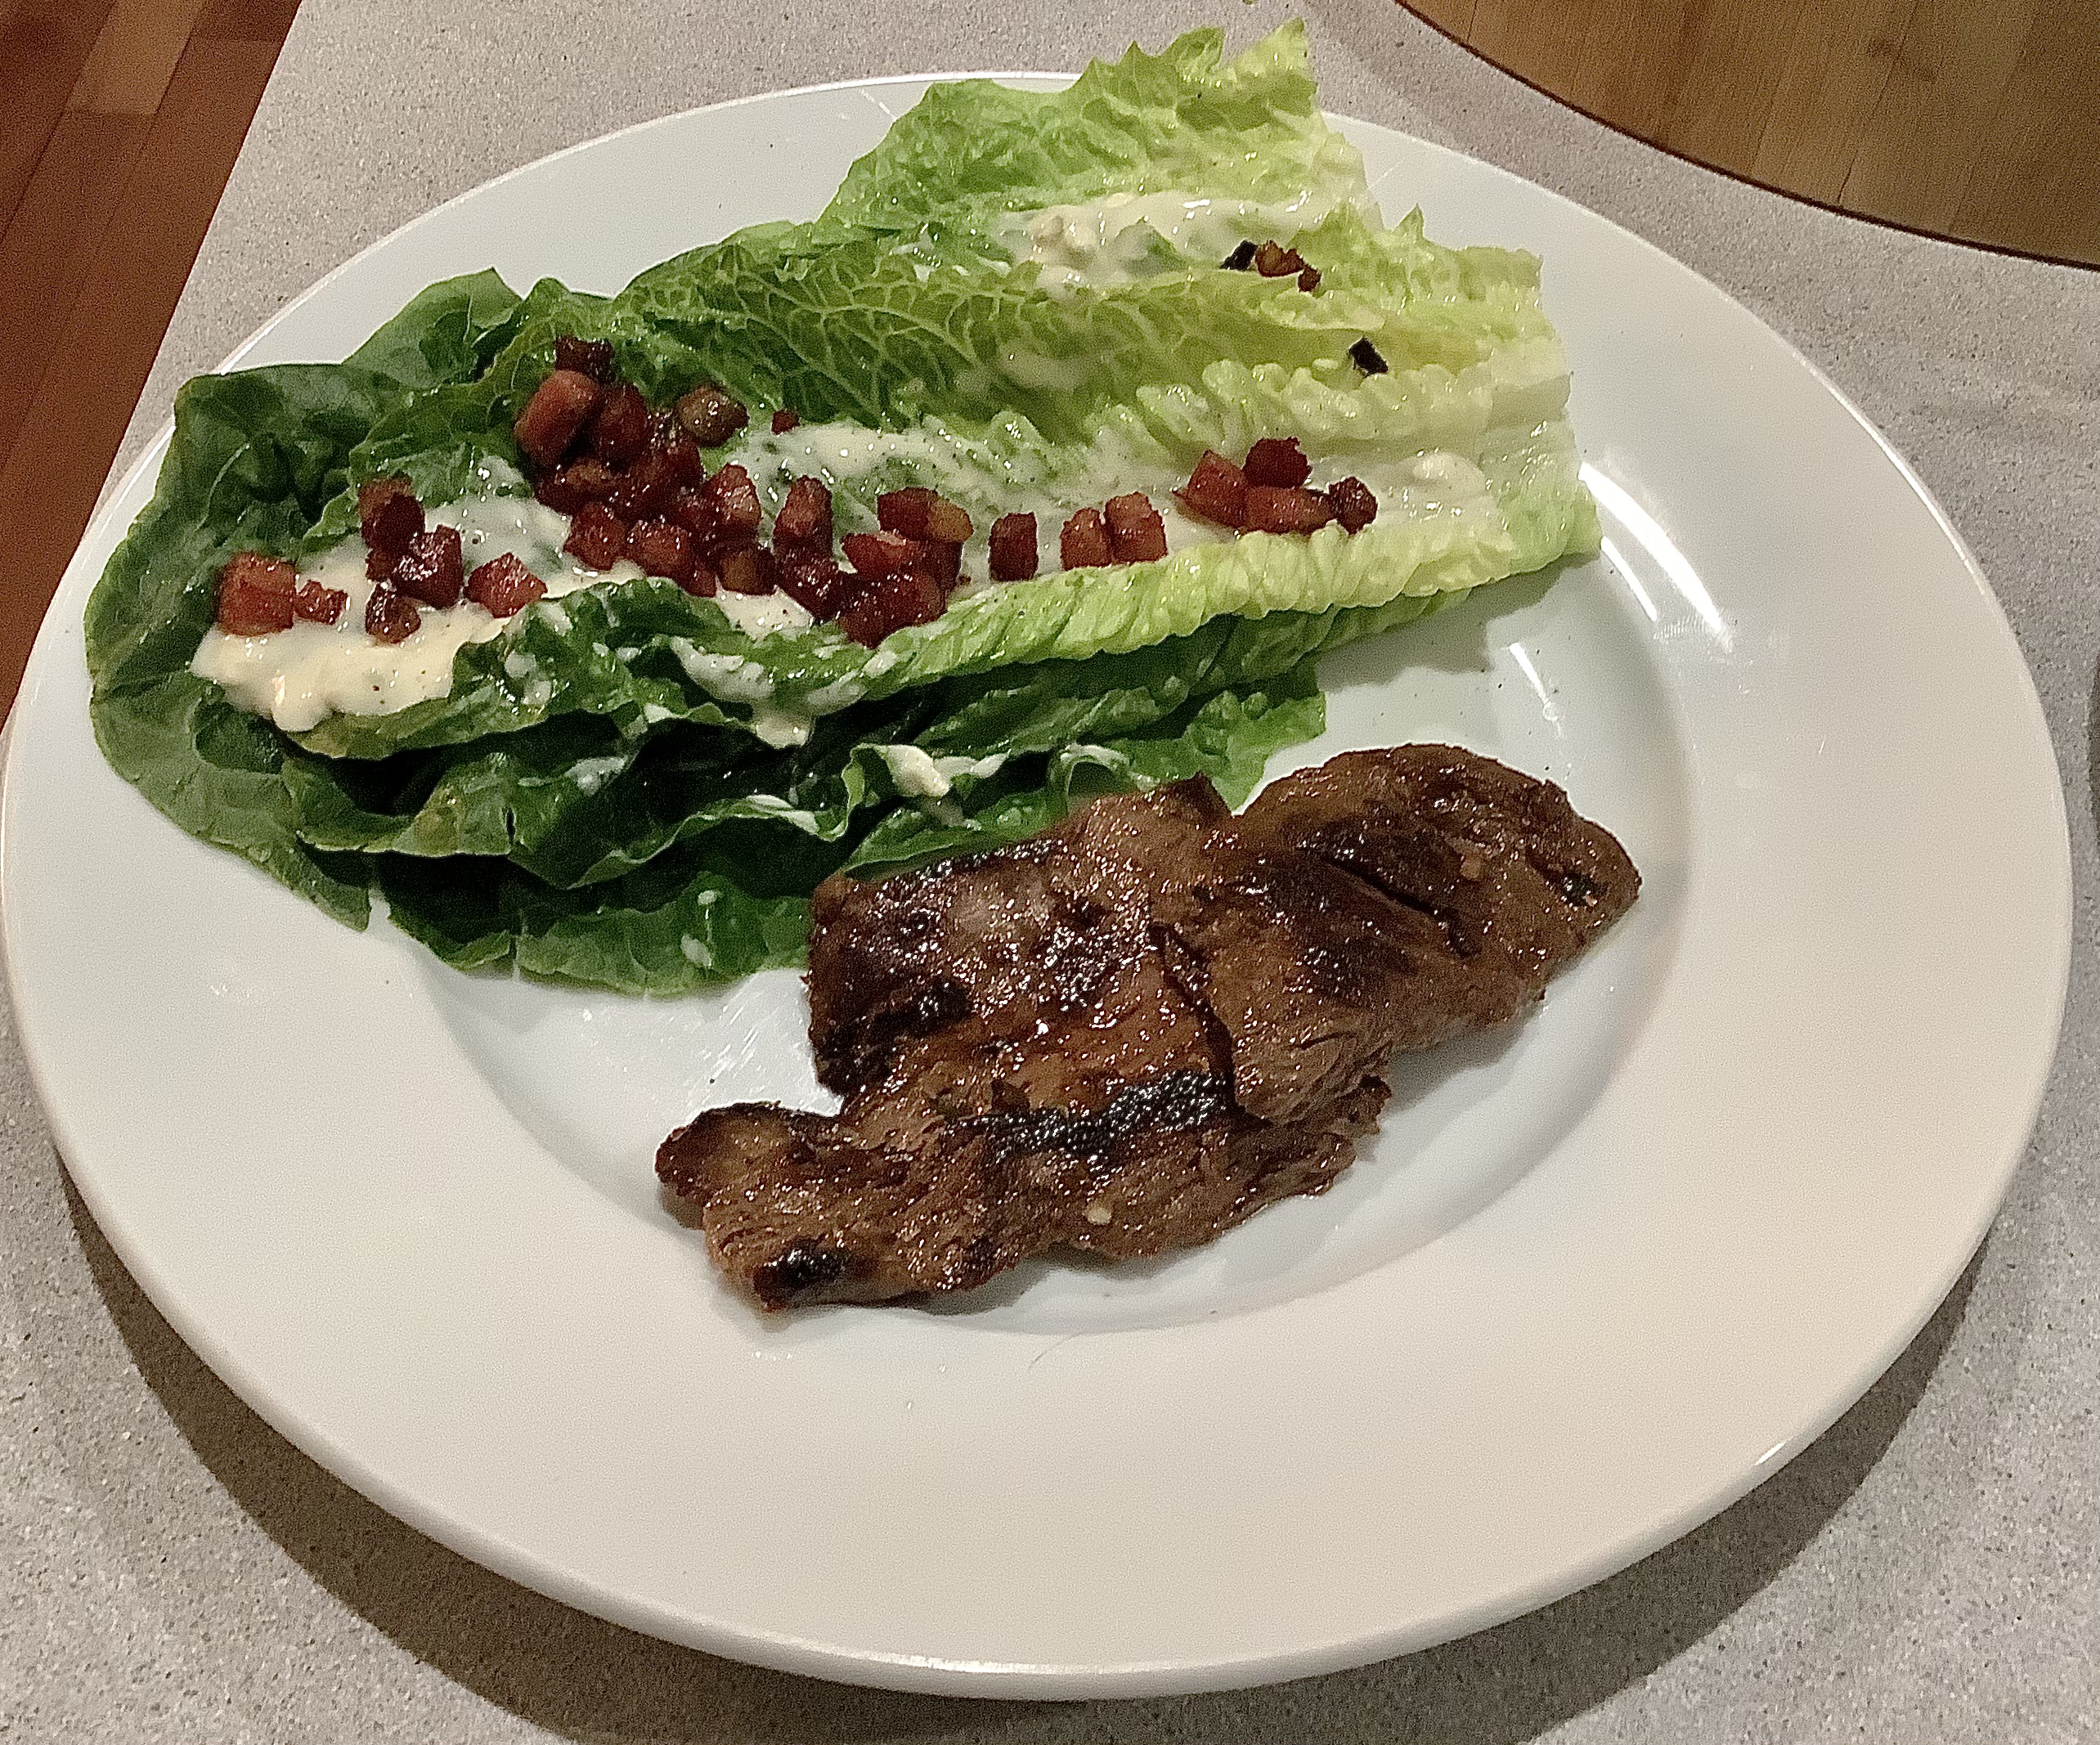
A little side salad with blue cheese and home-cured and smoked bacon doesn’t hurt, either!
1/4 cup soy sauce 1/8 cup sesame oil 2 tablespoons freshly grated ginger 2 tablespoons finely chopped garlic 2 tablespoons finely chopped cilantro 2 tablespoons chopped salted pistachio nuts 2 scallions, minced 1 tablespoon light brown sugar 1 tablespoon freshly squeezed lime juice 1 teaspoon chili garlic sauce
Combine all the ingredients in a bowl and mix them together well.
Whatever cut of beef you’re using, make sure it isn’t too thick, or the marinade won’t penetrate the meat.
I like to use beef flap or flank steak, because it’s full of flavor, and I slice it crosswise to make cuts of meat that are about 1/2″ thick.
I place the beef in a bowl, and pour just a little marinade in at a time. I don’t want the meat swimming in the marinade…just enough so that it makes contact with all the surfaces of the meat.
Place the unused marinade in a sealed container in the fridge.
If you’re cooking soon, let the beef marinate at room temperature. But ideally, you want the beef to marinate in the fridge overnight–the longer the better–to really soak up the flavors of the marinade.
Before cooking, take the beef out of the fridge and let it come back to room temperature. Discard the marinade that was in the bowl with the beef.
If your beef flap is thin enough, tossing it onto a very hot cast iron skillet to sear it on both sides will bring the beef to a perfect medium-rare. Otherwise, you can sear it in a regular pan and then finish it in the oven–or–fire up the grill!
Use the remaining marinade for dipping.
Thighs finishing on the grill.
Whether you use chicken breast or chicken thighs — I used both here— the flavor is outstanding, especially if you can finish it on the grill!
Here’s great hack for fresh ginger that I learned from Liz, the owner of Wishing Stone Farm, an organic farm in Little Compton, RI, where they grow their own ginger roots. Place your ginger root in a Ziploc bag and keep it in the freezer. Whenever a recipe calls for freshly grated ginger, simply pull the frozen root out of the freezer and grate it, skin and all, while it’s frozen. Then simply place the root back in the Ziploc and back in the freezer until next time. No waste!
Yesterday, my daughter and I had the chance to check out a brand new food court before it opens this Tuesday in Providence, RI. It’s called Track 15, and it’s located in the 1898 Central terminal Building where the old Historic Providence Union train station was located many years ago.
More recently, this space in downtown Providence was occupied by other restaurants, including Bar Louie, Raphael Bar Risto, and it was the original location of the very first Capital Grille. (The Capital Grille is now located across the street, with prime real estate on the Providence River and Waterplace Park, a destination every year for WaterFire.)
Track 15 features extensions of 7 restaurants in the area, offering a variety of cuisines: Mexican, Indian, Italian, American, Seafood, and Middle Eastern. The only thing that was obviously missing, unfortunately, was any sort of Asian food.
Of course, there’s also a huge bar (what good food court wouldn’t have one?) and, at least for our evening, they offered discounted parking with validation, a bonus in downtown Providence where parking can get expensive.
When you’re in Providence to see a show or just to hang out, and you’ve got a group of friends that just can’t decide on what to eat, Track 15 gives everybody a choice. Check it out the next time you’re in town.
On the lower east side of Manhattan, you walk into what looks like a pawn shop. And it is, in fact, a real shop where you can buy what’s on display. But go through the back door, and it opens up into an exciting dining experience created by Food Network chef Chris Santos, who grew up in our little state of Rhode Island.
Enter through the door in the back!
Beauty and Essex is hip and dark, with music loud enough for a fun vibe, but not so loud that you can’t have a conversation while dining.
A sip at the bar while our table was prepared. It was not a long wait.
Our server’s name was Crewe, and the dude had the skills. We were there to celebrate my birthday, and we wanted to take it slow and have a good time. Not once did we feel rushed, nor did the plates come out of the kitchen too quickly. Nor did it take too long for the next drink to arrive. Crewe knew.
The food was fun. Mostly small plates meant to be shared. And the main courses were beautifully executed as well.
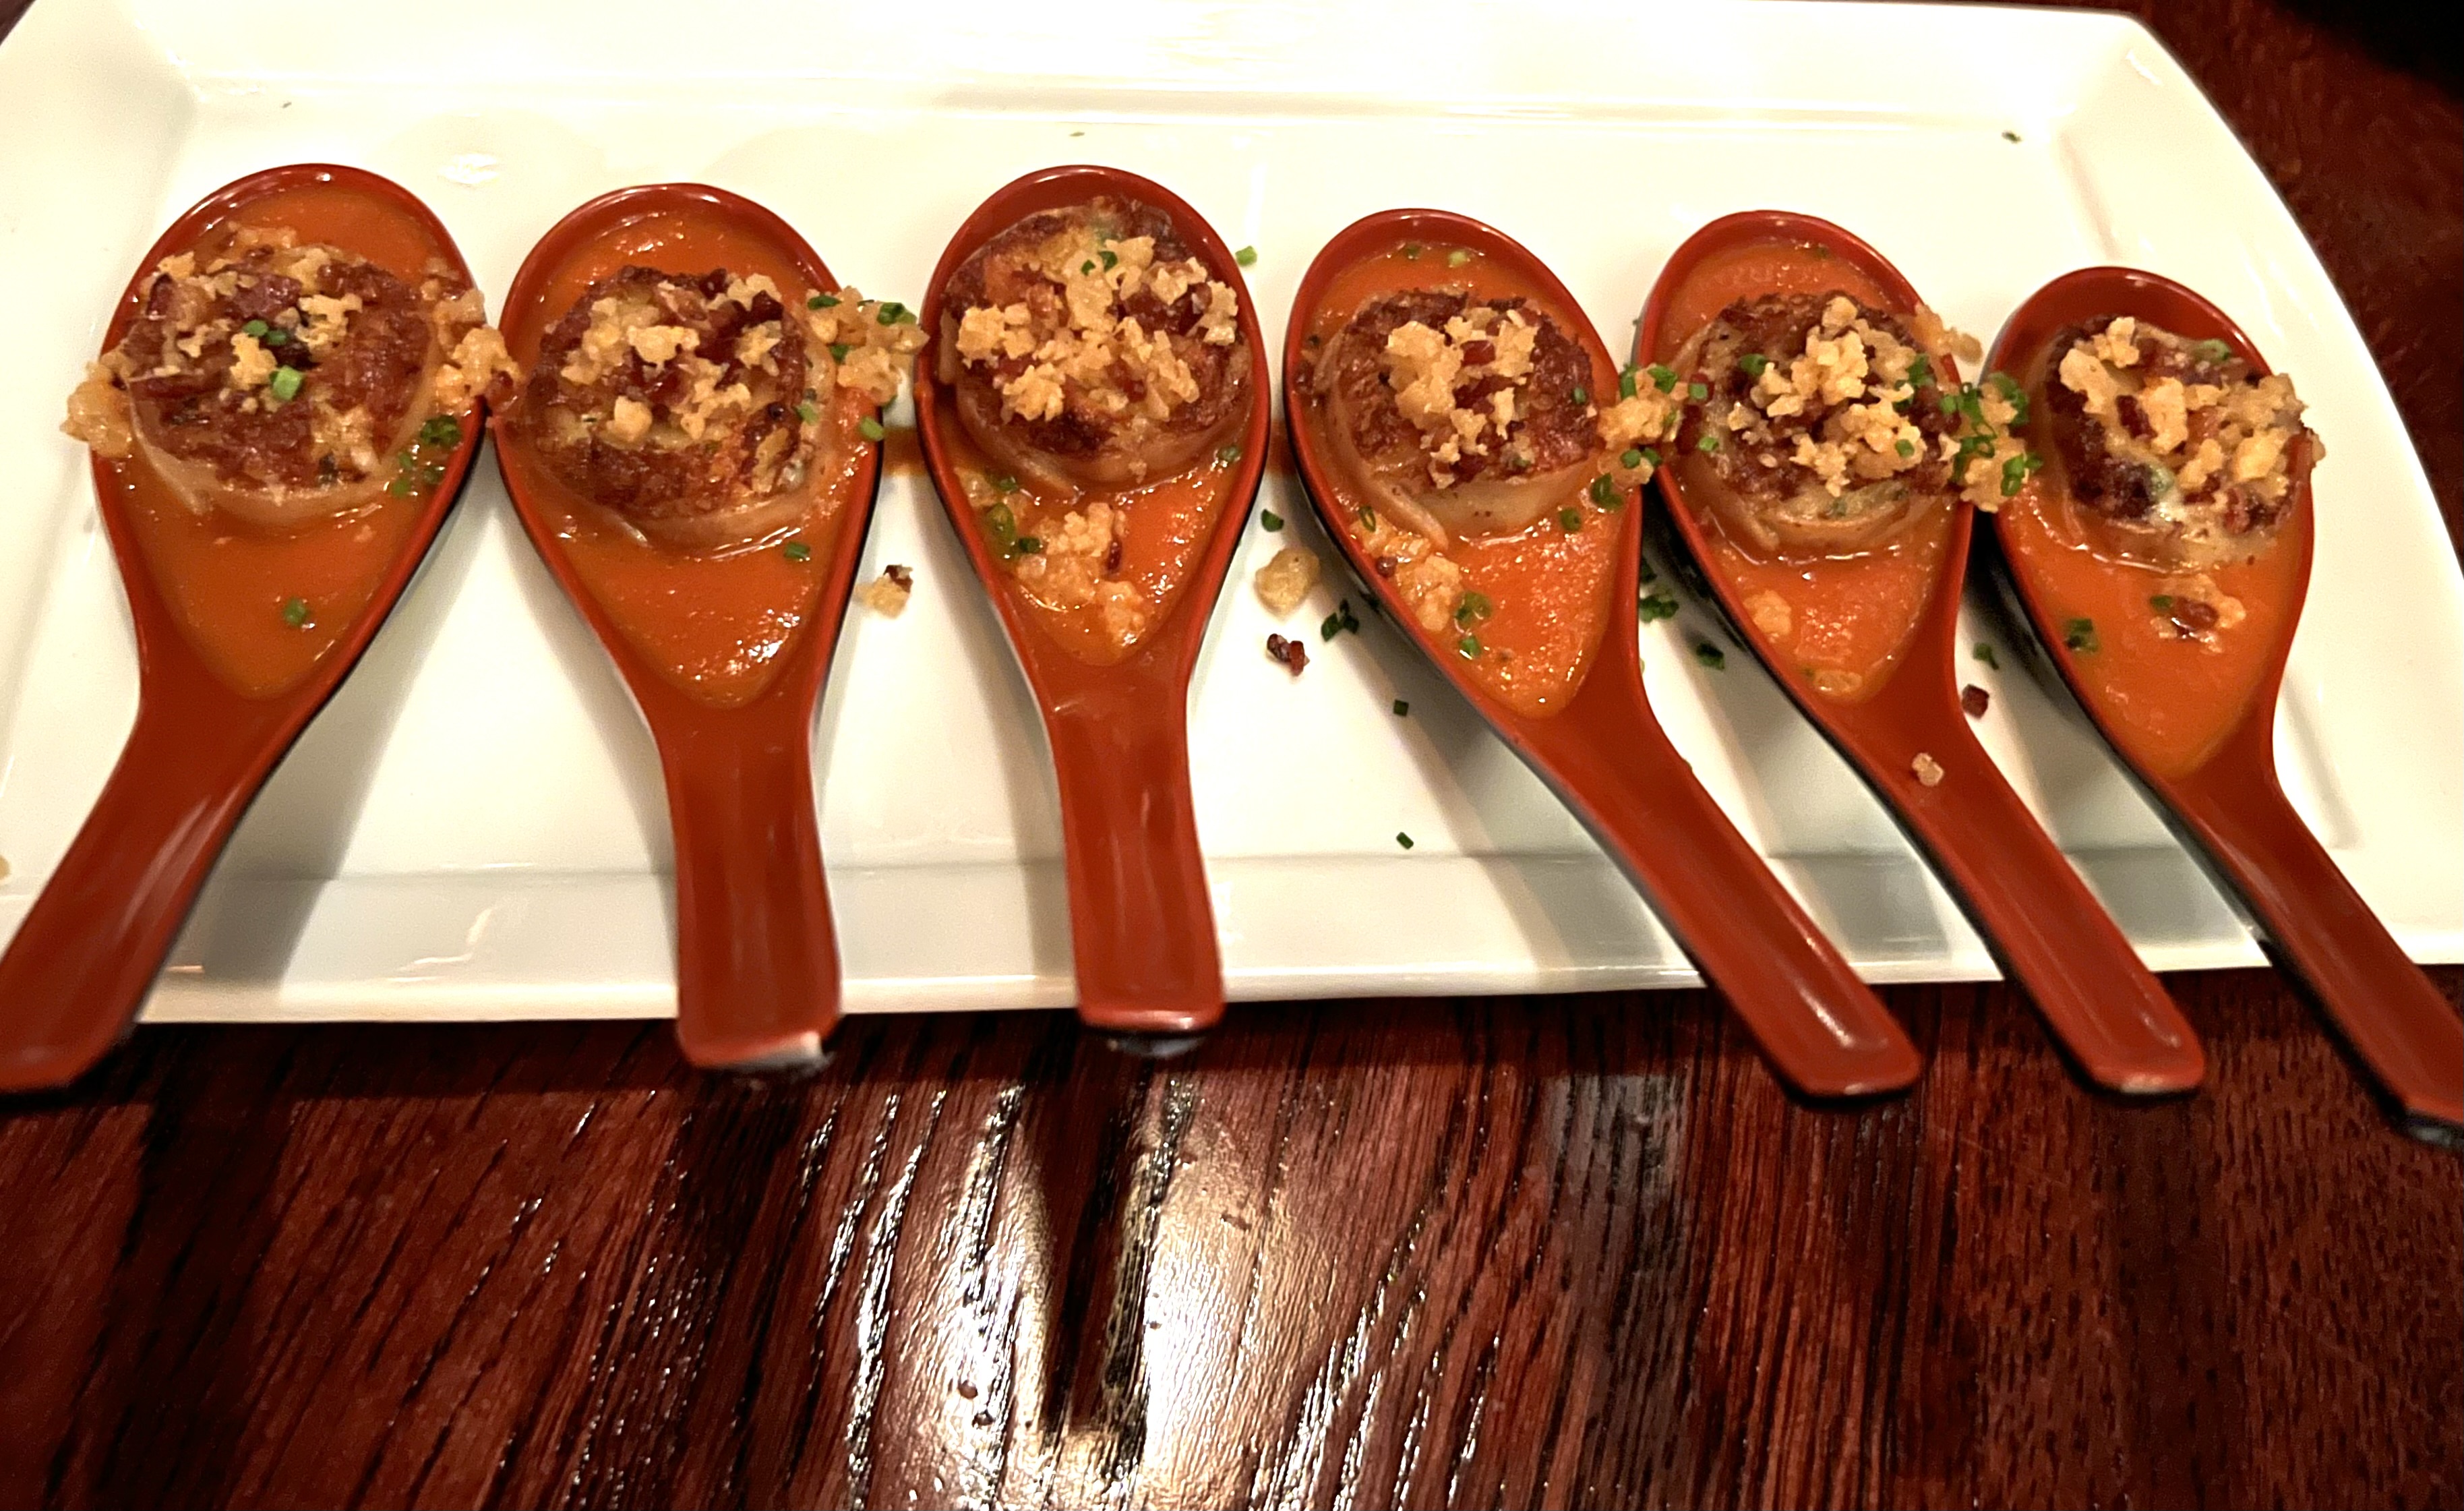
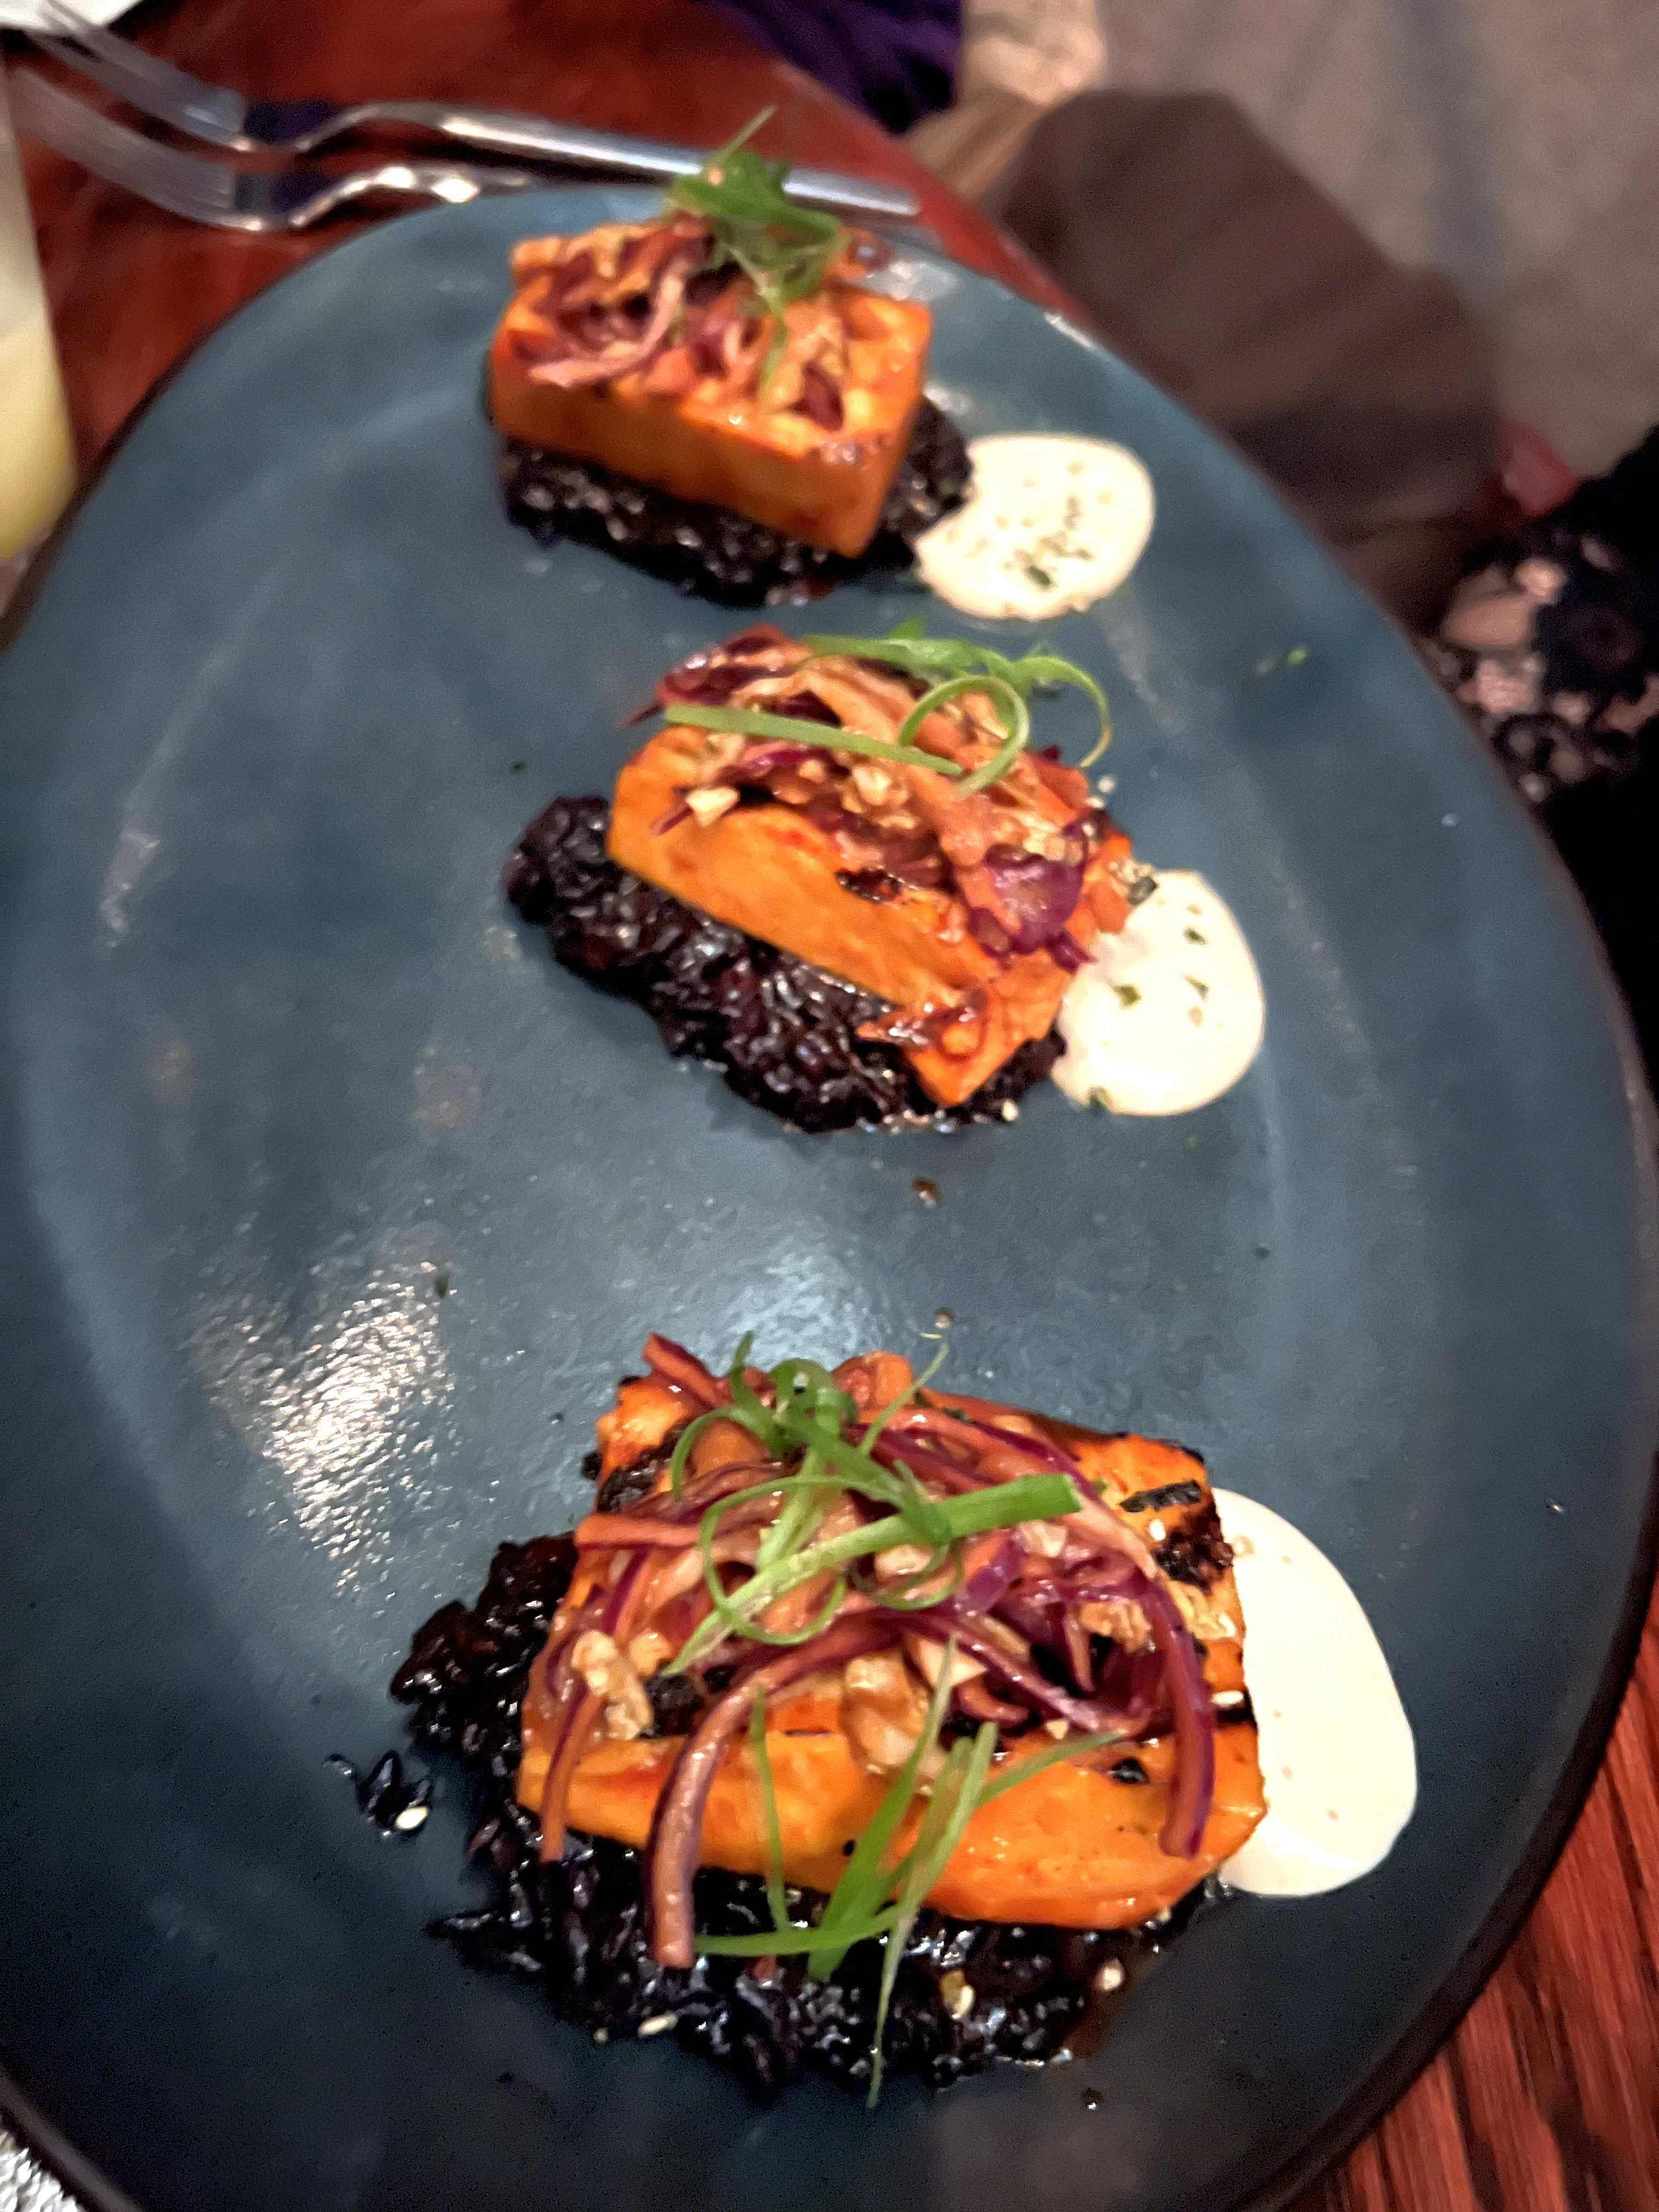
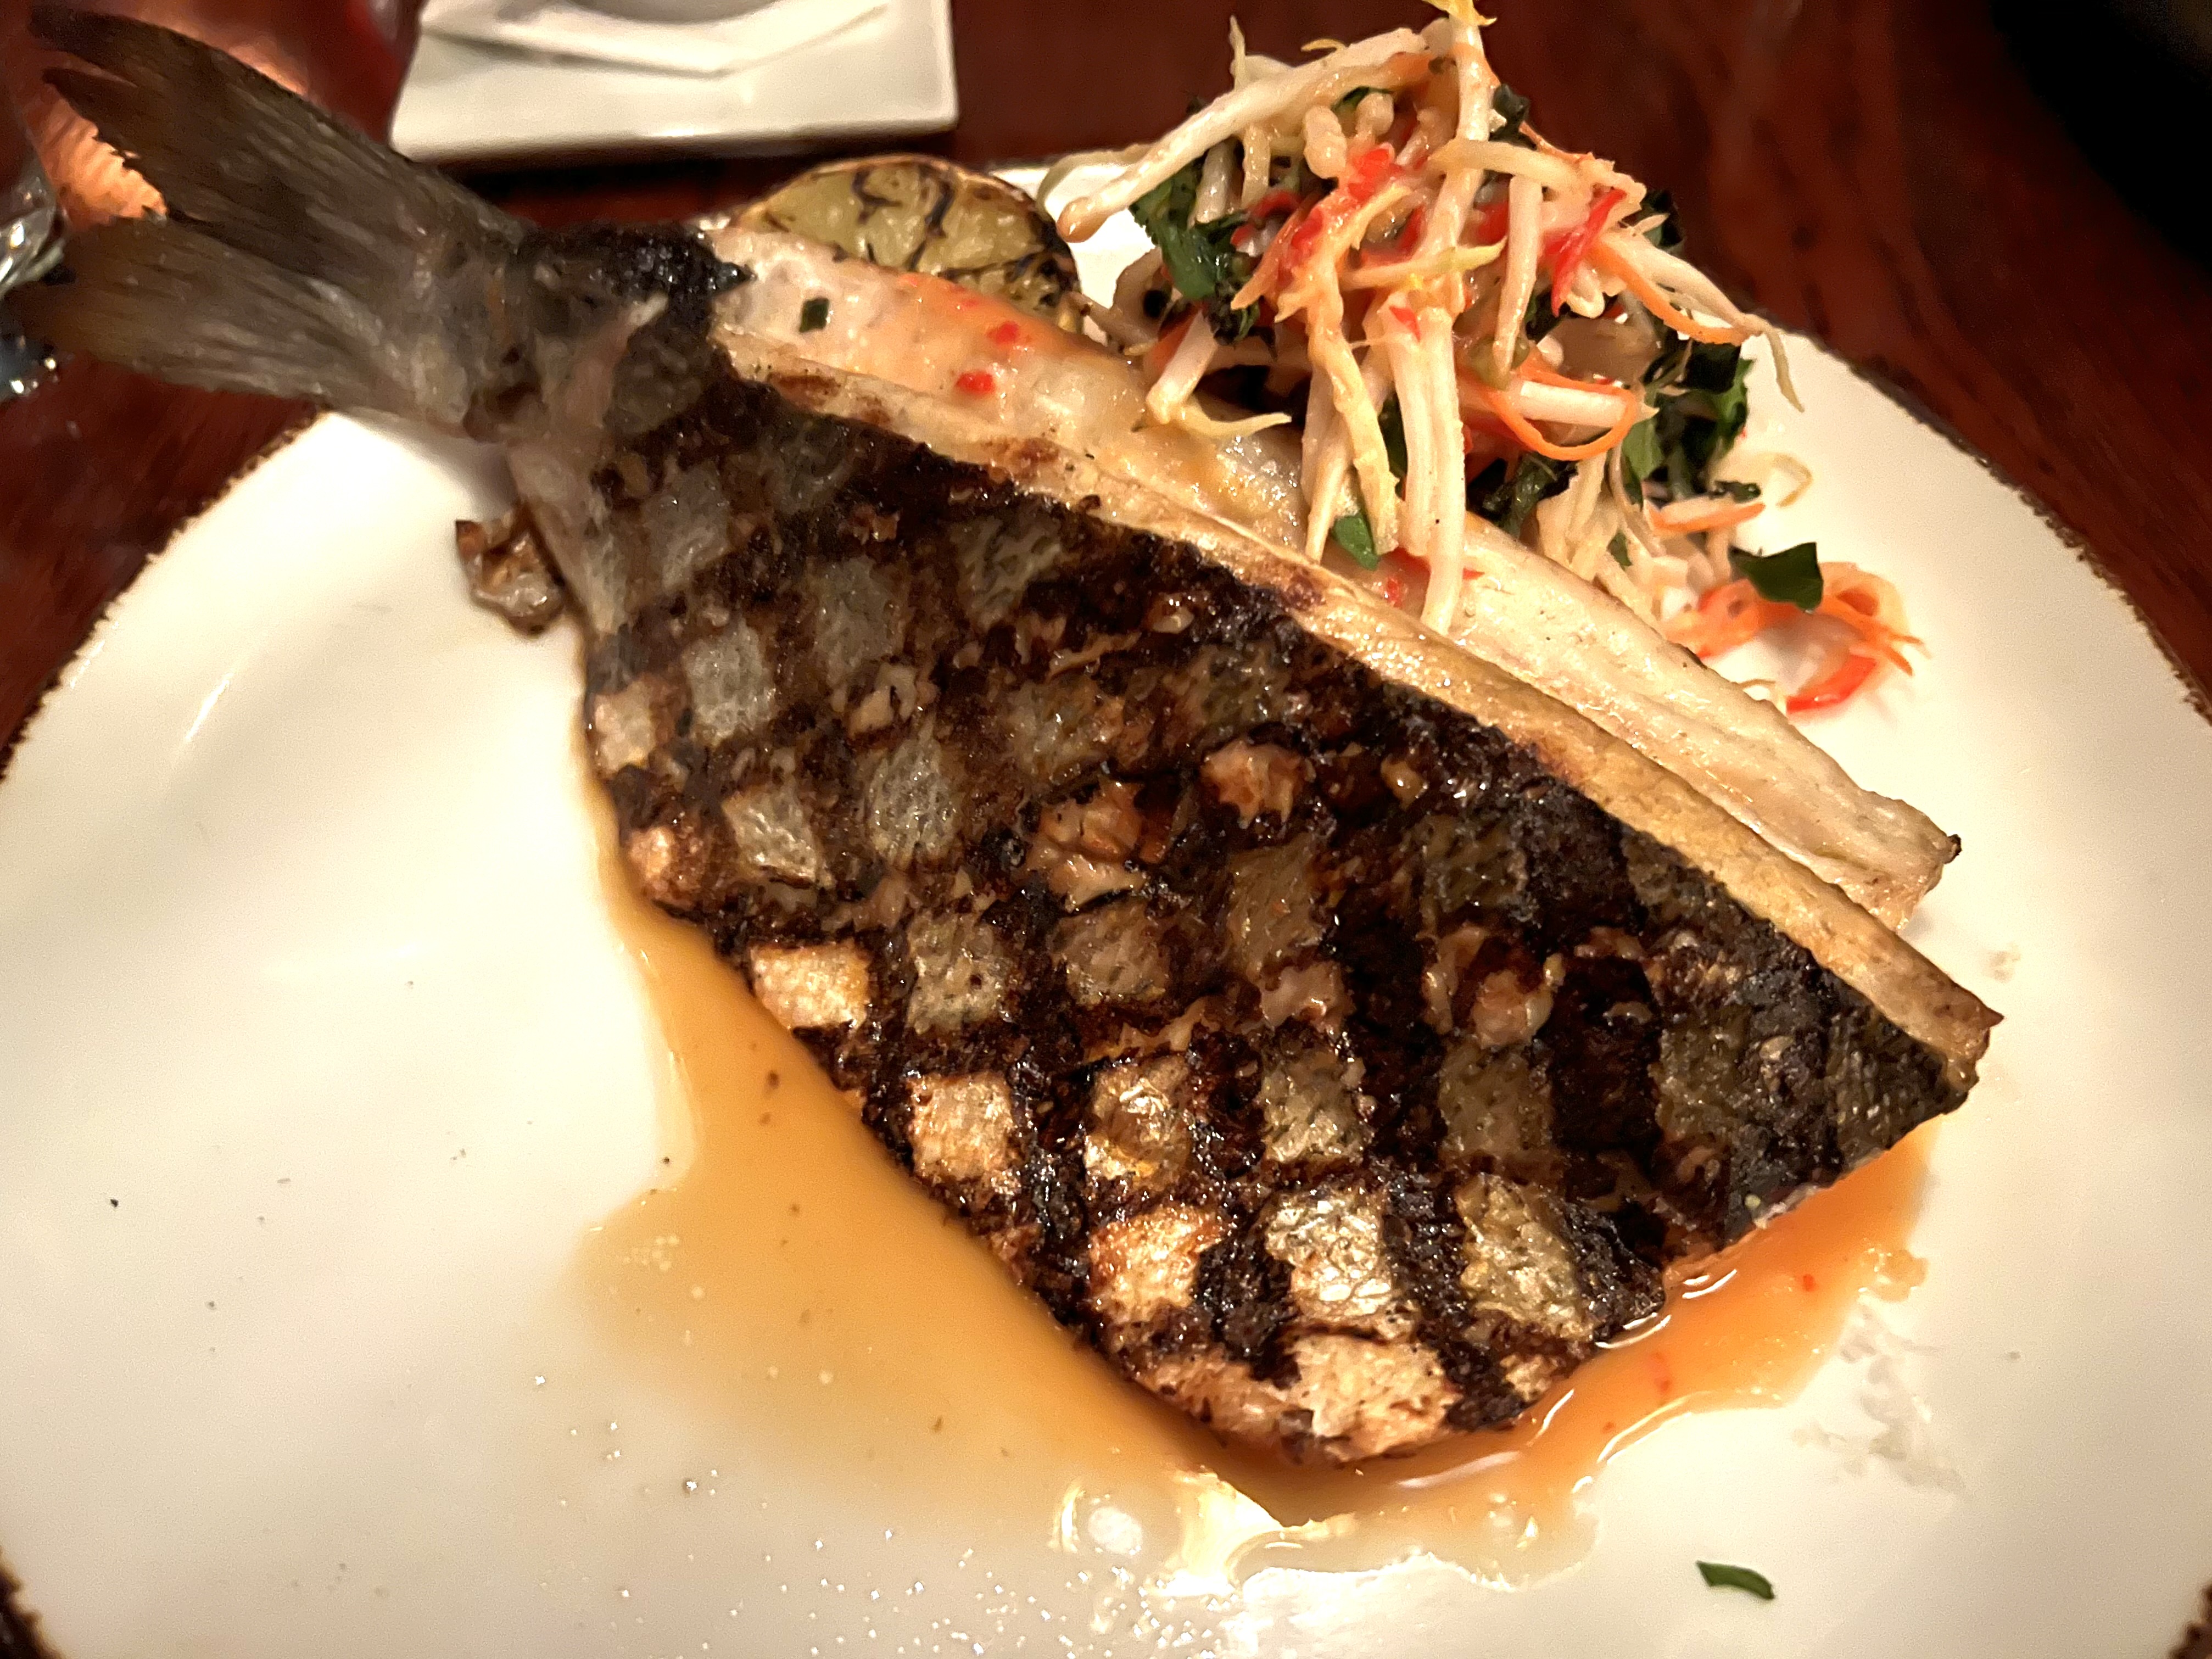
Grilled cheese, smoked bacon and tomato soup dumplings. Close your eyes, and it takes you back.Little French dips: super tender prime sirloin with Gruyere, horseradish-garlic aioli, and house-made au jus.Cauliflower tacos with apple miso marinade, gochujang, and charred scallion salsa.The house salad.Grilled tofu with black garlic risotto, gochujang slaw and ginger aioli.A most excellent burger.Perfectly prepared whole branzino.House-made doughnuts with 3 sauces.A wildly creative and delicious black forest dessert.
There are two other “Beauty and Essex” locations: one at the Cosmopolitan in Las Vegas and the newest one at Mohegan Sun in Uncasville, Connecticut. Both apparently have the same pawn shop entrance. But there’s something very special about it being literally on a street in New York City, with traffic buzzing by and graffiti on the walls, that makes this place the destination.