Archive for the ‘Uncategorized’ Category

MY BEEF STROGANOFF

Posted: January 14, 2026 in Uncategorized
Tags: , , , ,

Beef Stroganoff is a classic dish that I remember from my childhood. It’s easy to make and really satisfying, and you can add or remove ingredients as you wish to make it your own.


This is a recipe that is easily changed to accommodate your personal tastes, so feel free to do so. For example, the classic recipe uses sliced white mushrooms. I had some dried porcini in my stash–much more intense in favor–but I like that, so I used them. Classic stroganoff uses egg noodles. I went with bucatini pasta. And the beef is usually a cut like flank steak, but I like using beef flap. Just be sure to slice the meat thinly and against the grain to keep it really tender.

This recipe makes a lot, so feel free to cut the ingredients in half for a smaller batch.

And if your family doesn’t like mushrooms, substitute some good beef broth to get extra flavor.


2 lbs. beef flap, trimmed and cut into thin strips
1 stick (4 oz.) unsalted butter
1 oz. dried porcini mushrooms
1 onion, finely chopped
2 tablespoons chopped fresh tarragon
2 cups sour cream, at room temperature
salt and pepper


Place the dried porcini in a sauce pan with about 1 1/2 cups of water. Set it on high heat and let it boil until the liquid has reduced to about 1/2 a cup. Set it aside. When it has cooled a bit, strain off the liquid into a glass and chop up the mushrooms on a cutting board.


Melt a couple of tablespoons of the butter in a large pan, and start browning the beef in small batches, placing the cooked beef in a bowl on the side while you add more beef to the pan. Don’t overcrowd the pan or the beef will steam and not brown. It may take a few batches to get all the beef cooked.


Once the beef is done, in the same pan, toss in the chopped onions with a little more of the butter and sauté until they’re translucent. You can add some of the mushroom liquid to the pan now, to deglaze it and remove some of the yummy bits stuck to the bottom.


Add what’s left of the butter to the pan, then add the mushrooms and the tarragon. Season well with salt and pepper and add the rest of the mushroom liquid, being careful not to pour out any grit that may have settled to the bottom of the glass. Cook until it has thickened a bit.


You can stop preparations at this point until you’re ready to serve your guests.

Place the pasta in a pot of salted boiling water and cook until al dente.

When the pasta is almost done, return the pan with the mushroom mixture to medium heat, and add the sour cream to it, mixing well. Add the beef and any juices that are in the bowl with it, mixing well.


Drain the pasta and serve the beef stroganoff immediately, seasoning with a finishing salt, like Maldon.


A LITTLE SPICE IS NICE CHICKEN

Posted: January 11, 2026 in Uncategorized

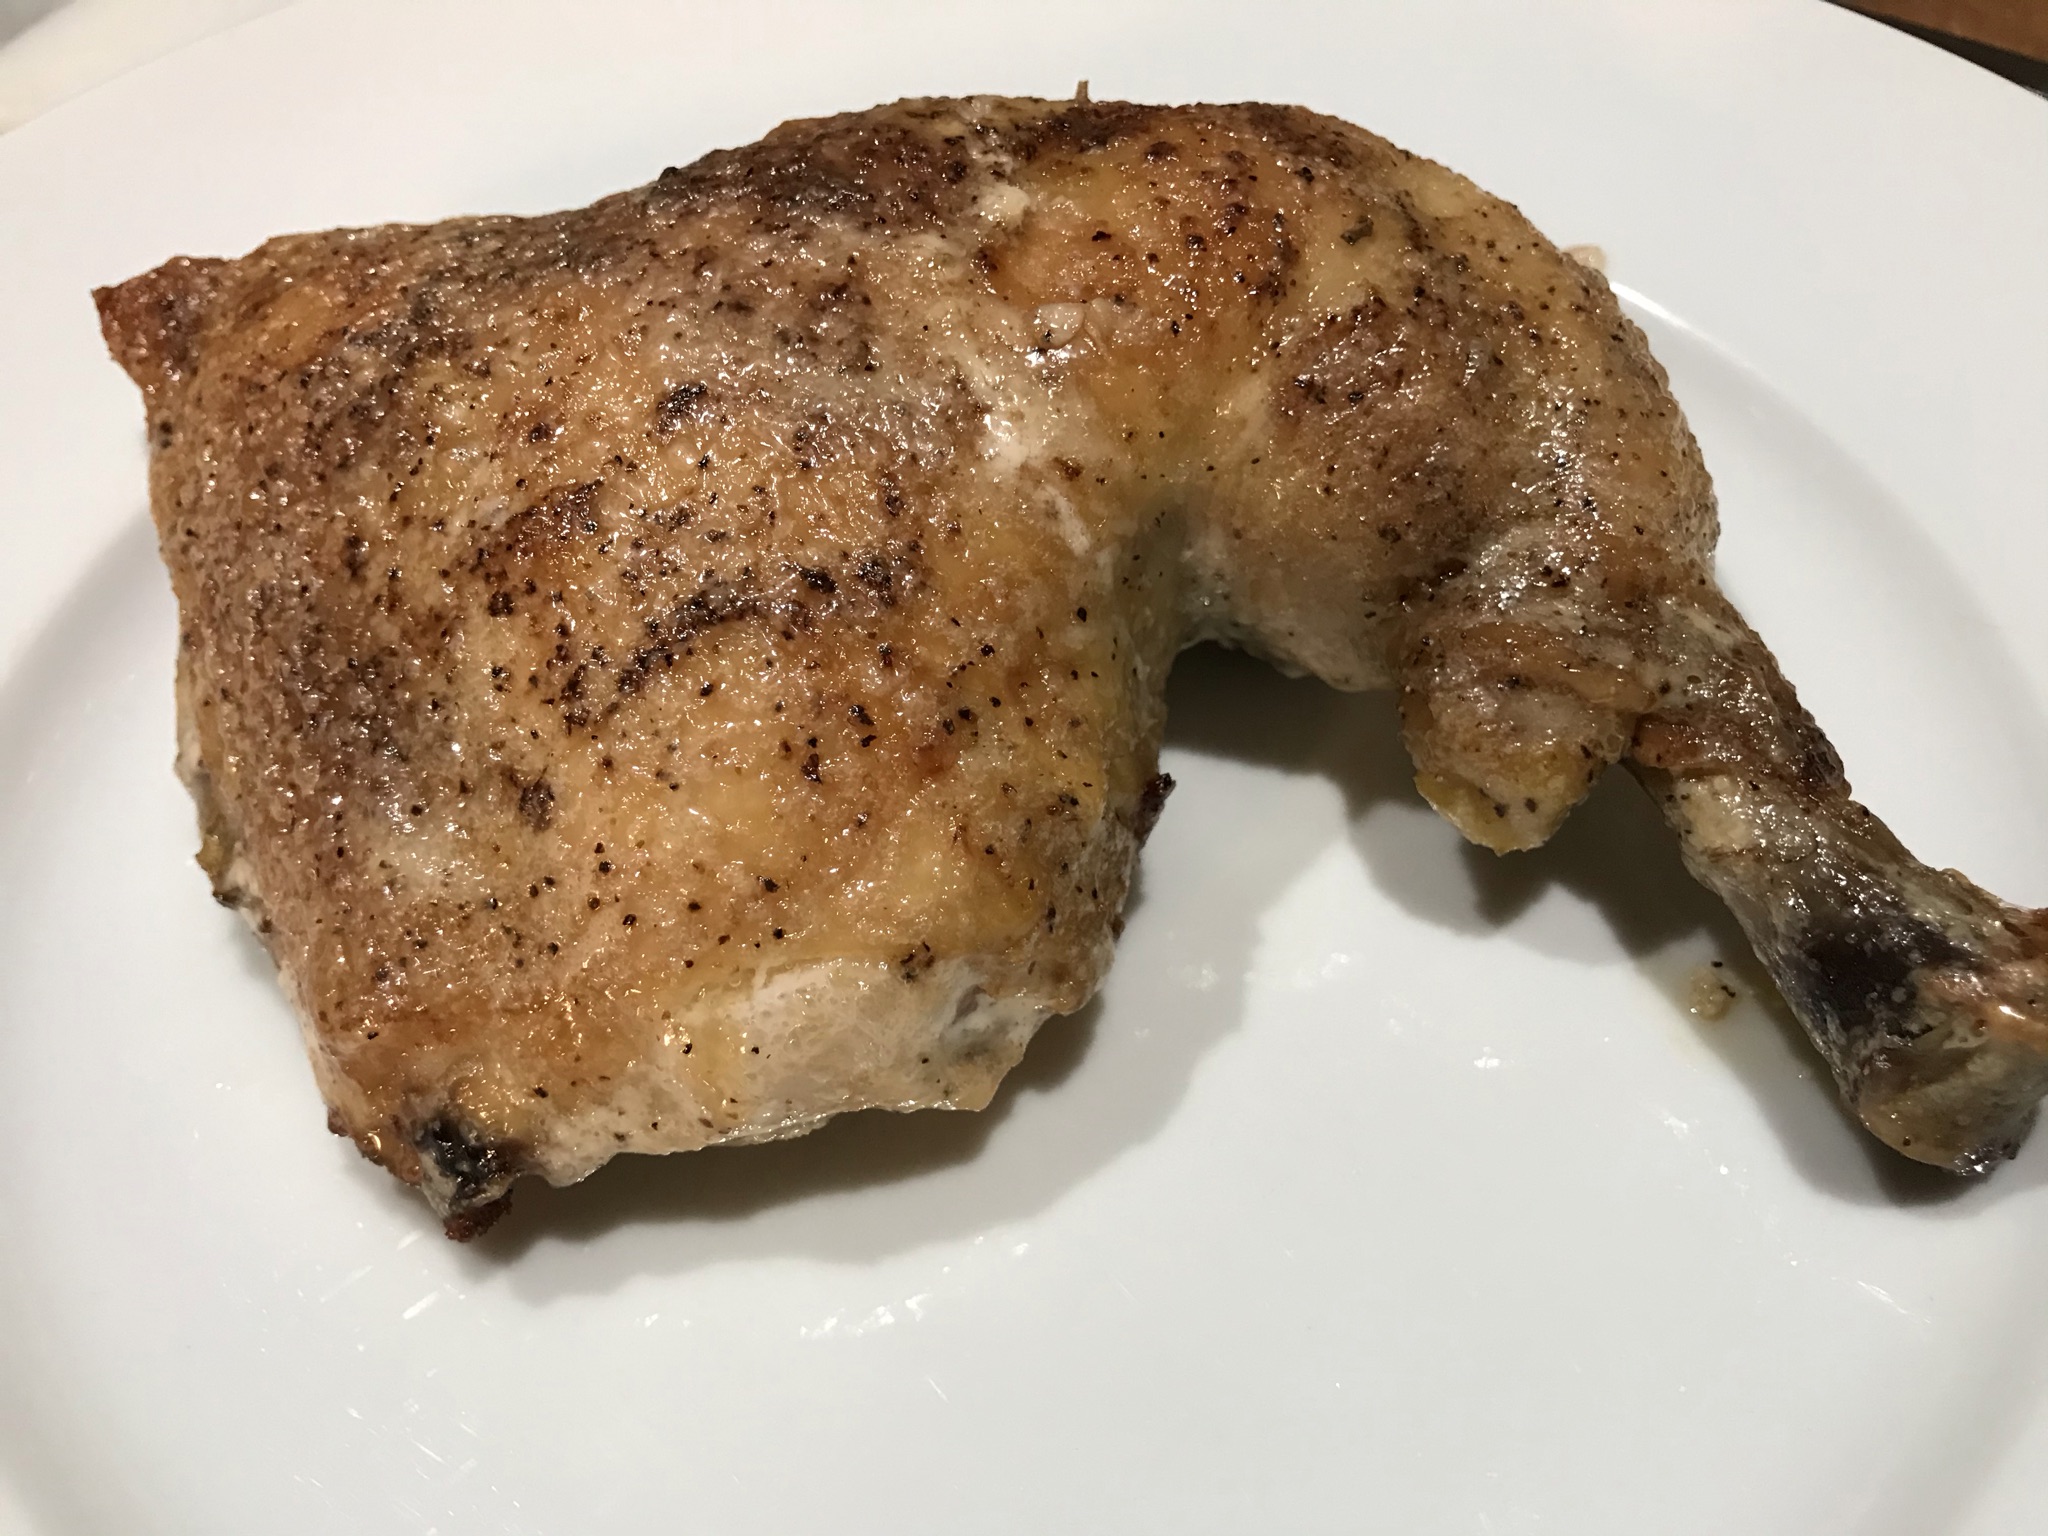
I’m always goofing around with different spice blends, especially with chicken, because I probably cook it more than any other meat. Very often, I’ll just change up the blend depending on my mood, or what I first see when I open up the spice cabinet.

This was one of those days. But it came out great!

This time, I used a whole bird, and I spatchcocked it before seasoning and cooking. Spatchcocking is the process of cutting down both sides of the backbone of the chicken, so you can lay it flat in the pan. This way, the bird cooks more evenly. (Always save the backbone for future chicken stock.)

In many cases, before I season a piece of meat, I rub it with oil to help the seasonings stick. This time, I tried something a little unusual: I rubbed it all over with maple syrup! Then I seasoned both sides of the bird well.

Season both sides of the bird, after rubbing it with maple syrup.

1/4 cup brown sugar.
1/4 cup sweet paprika
1 tablespoon Kosher salt
1 tablespoon granulated onion
1 tablespoon granulated garlic
2 teaspoons black pepper
1 teaspoon thyme
1 teaspoon ground ginger
1 teaspoon cayenne pepper
1 teaspoon mustard powder
Maple syrup

Combine all the ingredients, except the maple syrup, in a bowl.

Spatchcock the chicken. Spread it out flat in a pan.

Rub the chicken all over with the maple syrup.

Rub all sides of the chicken with the spices and put it back in the fridge until one hour before cooking.

One hour before cooking, remove the chicken from the fridge and season again, if you think it needs it. Preheat the oven to 325° and bake until it reaches an internal temperature of 165°.

A little char is good! Cooking at a higher temperature may cause the sugars to burn.

PASTA WITH FIVE CHEESES

Posted: January 4, 2026 in Uncategorized
Tags: , , , ,

Al Forno in Providence, RI, is a legendary Italian restaurant that was established in 1980 and has graced the pages of many a food magazine ever since. Chefs Johanne Killeen and George Germon made it a culinary destination, creating dishes that many have copied, but never equaled. 

One of those creations was the grilled pizza. These days, you can find grilled pizzas just about anywhere in the country, but it was Al Forno that started it all.

Sadly, George Germon passed away in 2015, but the restaurant continues. And although the menu offers a wide variety of dishes, the one my daughter and I crave–that isn’t on the menu–is their 5-cheese pasta dish. It’s not baked ziti. It’s not lasagna. It’s something way beyond.


Taking the recipe from one of Johanne and George’s cookbooks, my daughter and I decided that we would re-create this magical dish at home as best we could.

One element obviously missing in our home is a wood-fired oven, something Al Forno uses.

And looking at their list of 5 cheeses (mozzarella, Pecorino Romano, fontina, ricotta and gorgonzola), I found that gorgonzola was a bit of a surprise. Having had the 5-cheese pasta dish at least 4 times at Al Forno, I never detected even a hint of blue cheese. In fact, if I would have, I don’t think I would’ve ordered it again. So we chose to remove the gorgonzola and add another favorite, sharp provolone, instead. It turned out to be an excellent choice.


Other than that, we stayed true to the recipe, using shell pasta because that’s what we always got at the restaurant.

2 cups heavy cream
1 cup chopped canned tomatoes in heavy puree (San Marzano’s, if you can get ’em)
4 oz. thinly sliced mozzarella cheese
1.5 oz. grated Pecorino Romano cheese
1.5 oz. coarsely shredded Fontina cheese
1.5 oz. grated Provolone cheese
2 tablespoons ricotta cheese
3/4 teaspoon Kosher salt, plus more for the pasta water
6 fresh basil leaves, coarsely chopped
1 lb. conchiglie (medium shell) pasta
4 tablespoons unsalted butter, sliced thinly
Shavings of raw scallion for garnish (optional)

Preheat the oven to 500°, or as close to it as your oven will get.

Bring a large pot of salted water to a boil.

In a mixing bowl, combine all the ingredients except the pasta and the butter. Stir well to combine.

Drop the pasta in the boiling water and parboil it for about 4 minutes. Drain it in a colander and add it to the ingredients in the mixing bowl. Combine it well.

Divide the pasta mixture into small ceramic dishes, or just use one large baking dish. You want it to sit in a relatively shallow 1-inch layer.


Dot the top of the dish with the butter, and bake it until it’s bubbly and brown, about 7 to 10 minutes at 500…a little longer at lower temperatures.

Funny how help arrives when it’s all about pasta and cheese!

It’s the creamiest, cheesiest pasta dish you’ll ever have…and everyone will fight over those little charred pasta shells!

Optional: When I ordered this dish at Al Forno, they would top it with thin shavings of raw scallion on top. I loved that touch and do that at home as well.


JUSTANOTHERRIB RECIPE

Posted: January 2, 2026 in Uncategorized
Tags: , , , ,

Yeah, it’s cold outside. But sometimes, only ribs will do.

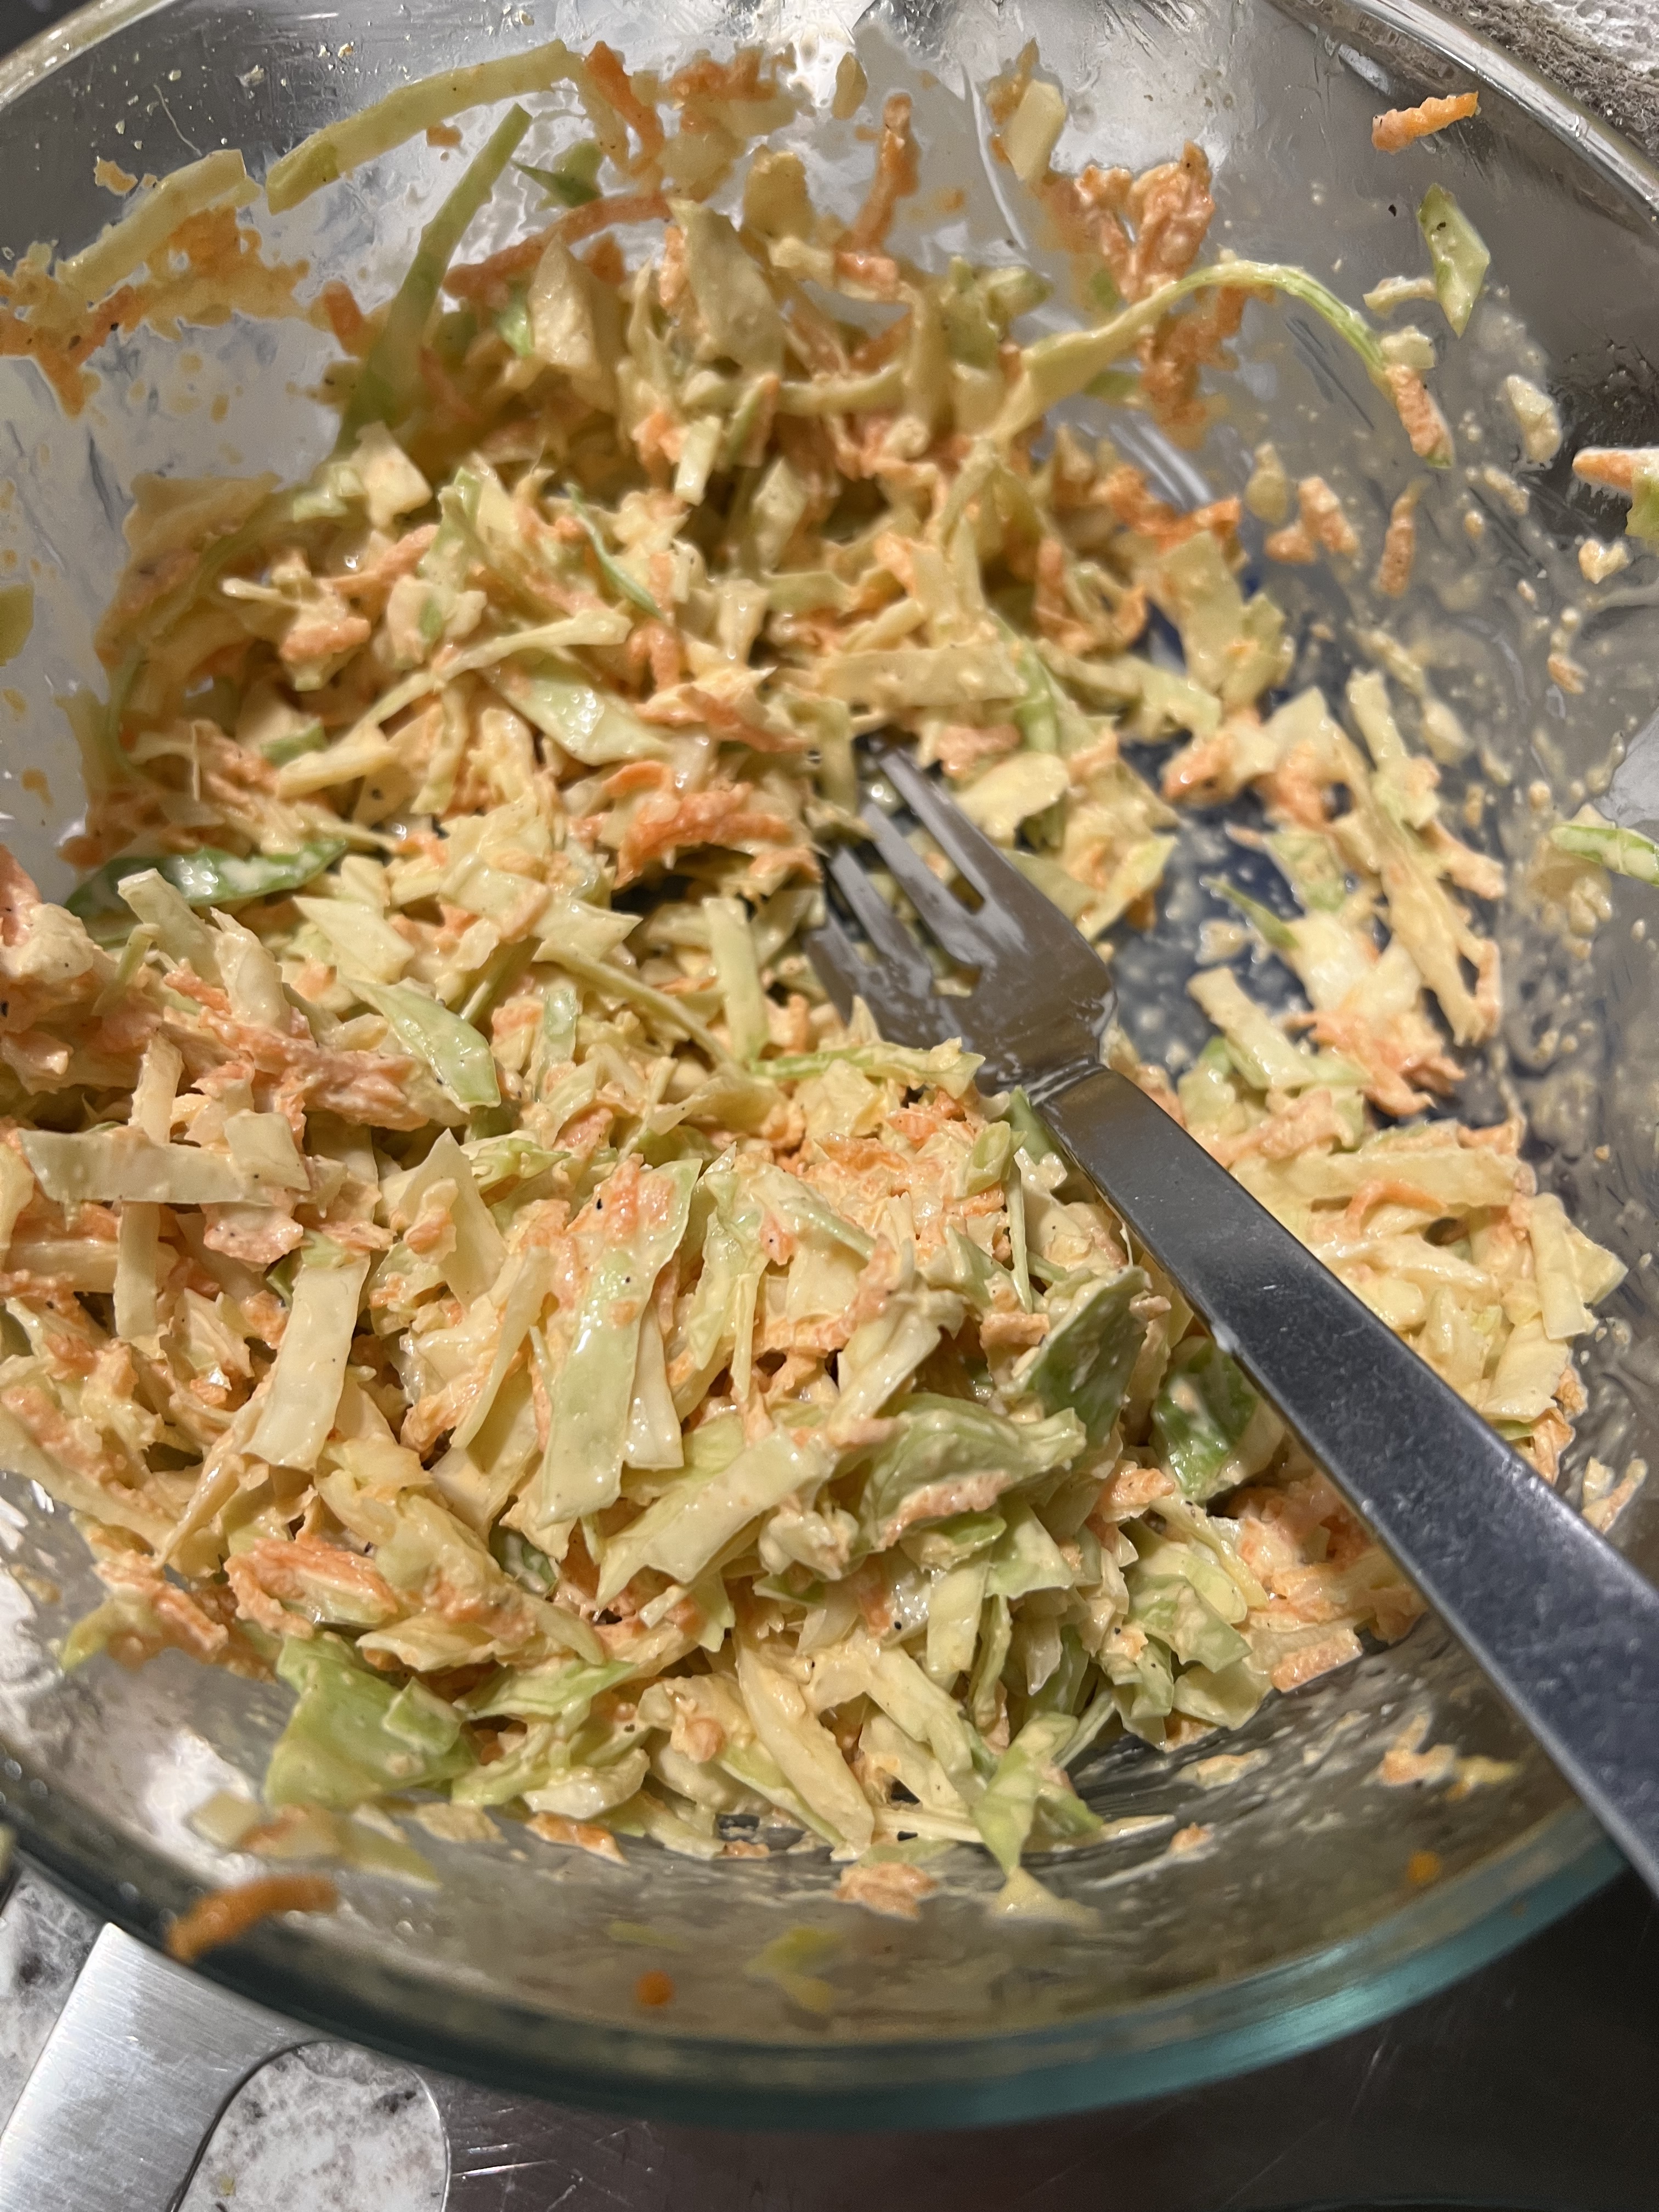
The classic “Adams Ribs” episode of M*A*S*H is one of my favorites. Hawkeye’s speech about the city of Chicago said it all: “Chicago. Hog butcher for the world. Toolmaker. Stacker of wheat. Player with railroads and the nation’s freight handler. Stormy, husky, brawling, City of the Big Shoulders. Sandberg knew, Radar. Spareribber for the universe! Maker of meat on a bone! The home of the pigsicle! Give me your tired, your poor… your cole slaw.”

There’s a million ways to make great pork ribs….and only a few ways to really ruin them. So, yeah, here’s another rib recipe. But it’s good.

I like using Berkshire pork St. Louis style ribs. They’re fattier than beef ribs, so I don’t have to worry as much about them drying out. I always remove the skin on the back of the ribs before rubbing them down with my spice rub.


Rubbed-down ribs. I let them sit for an hour at room temp before smoking.

8 to 10 lbs. pork ribs
spice rub (see below)
barbecue sauce (see below)


Spice rub

2 tablespoons brown sugar
1 tablespoon granulated garlic
1 tablespoon salt (I like using fine sea salt)
1 tablespoon black pepper
1 tablespoon celery seed (not celery salt)
1 tablespoon granulated onion


Combine all the spice rub ingredients. I like to grind the celery seed in a spice grinder before mixing with the others, so that I don’t get crunchy bits.

If the pork rib slabs are long, cut them in half so they’re easier to work with (and so they fit in the smoker!)

Rub the ribs with the spice rub, and place them in a 250° oven or smoker. Place a pan of water underneath to keep them moist and to catch any grease that drips down. I use an electric smoker, so during those 3 hours of cooking, I add hickory chips once an hour.


After 3 hours of smoking with hickory chips. I place one rack on top of another, brushing them with sauce, then wrapping them in foil.


While the ribs are cooking, it’s time to make the barbecue sauce. I like a citrus-based, sweeter sauce, and this time, I had some mandarin oranges in the kitchen. But you can easily substitute regular oranges, lemons, limes or even grapefruit for this recipe.

1 cup ketchup
1/2 cup mandarin orange juice (or other citrus juice)
zest of 2 mandarin oranges (or other citrus)
1/4 cup brown sugar
3 tablespoons butter
1 teaspoon hot sauce (I like Frank’s Red Hot)
1 teaspoon Worcestershire sauce
1 teaspoon granulated garlic
1/4 teaspoon black pepper


Brushed with sauce before wrapping in foil for the last 2 hours of cooking.


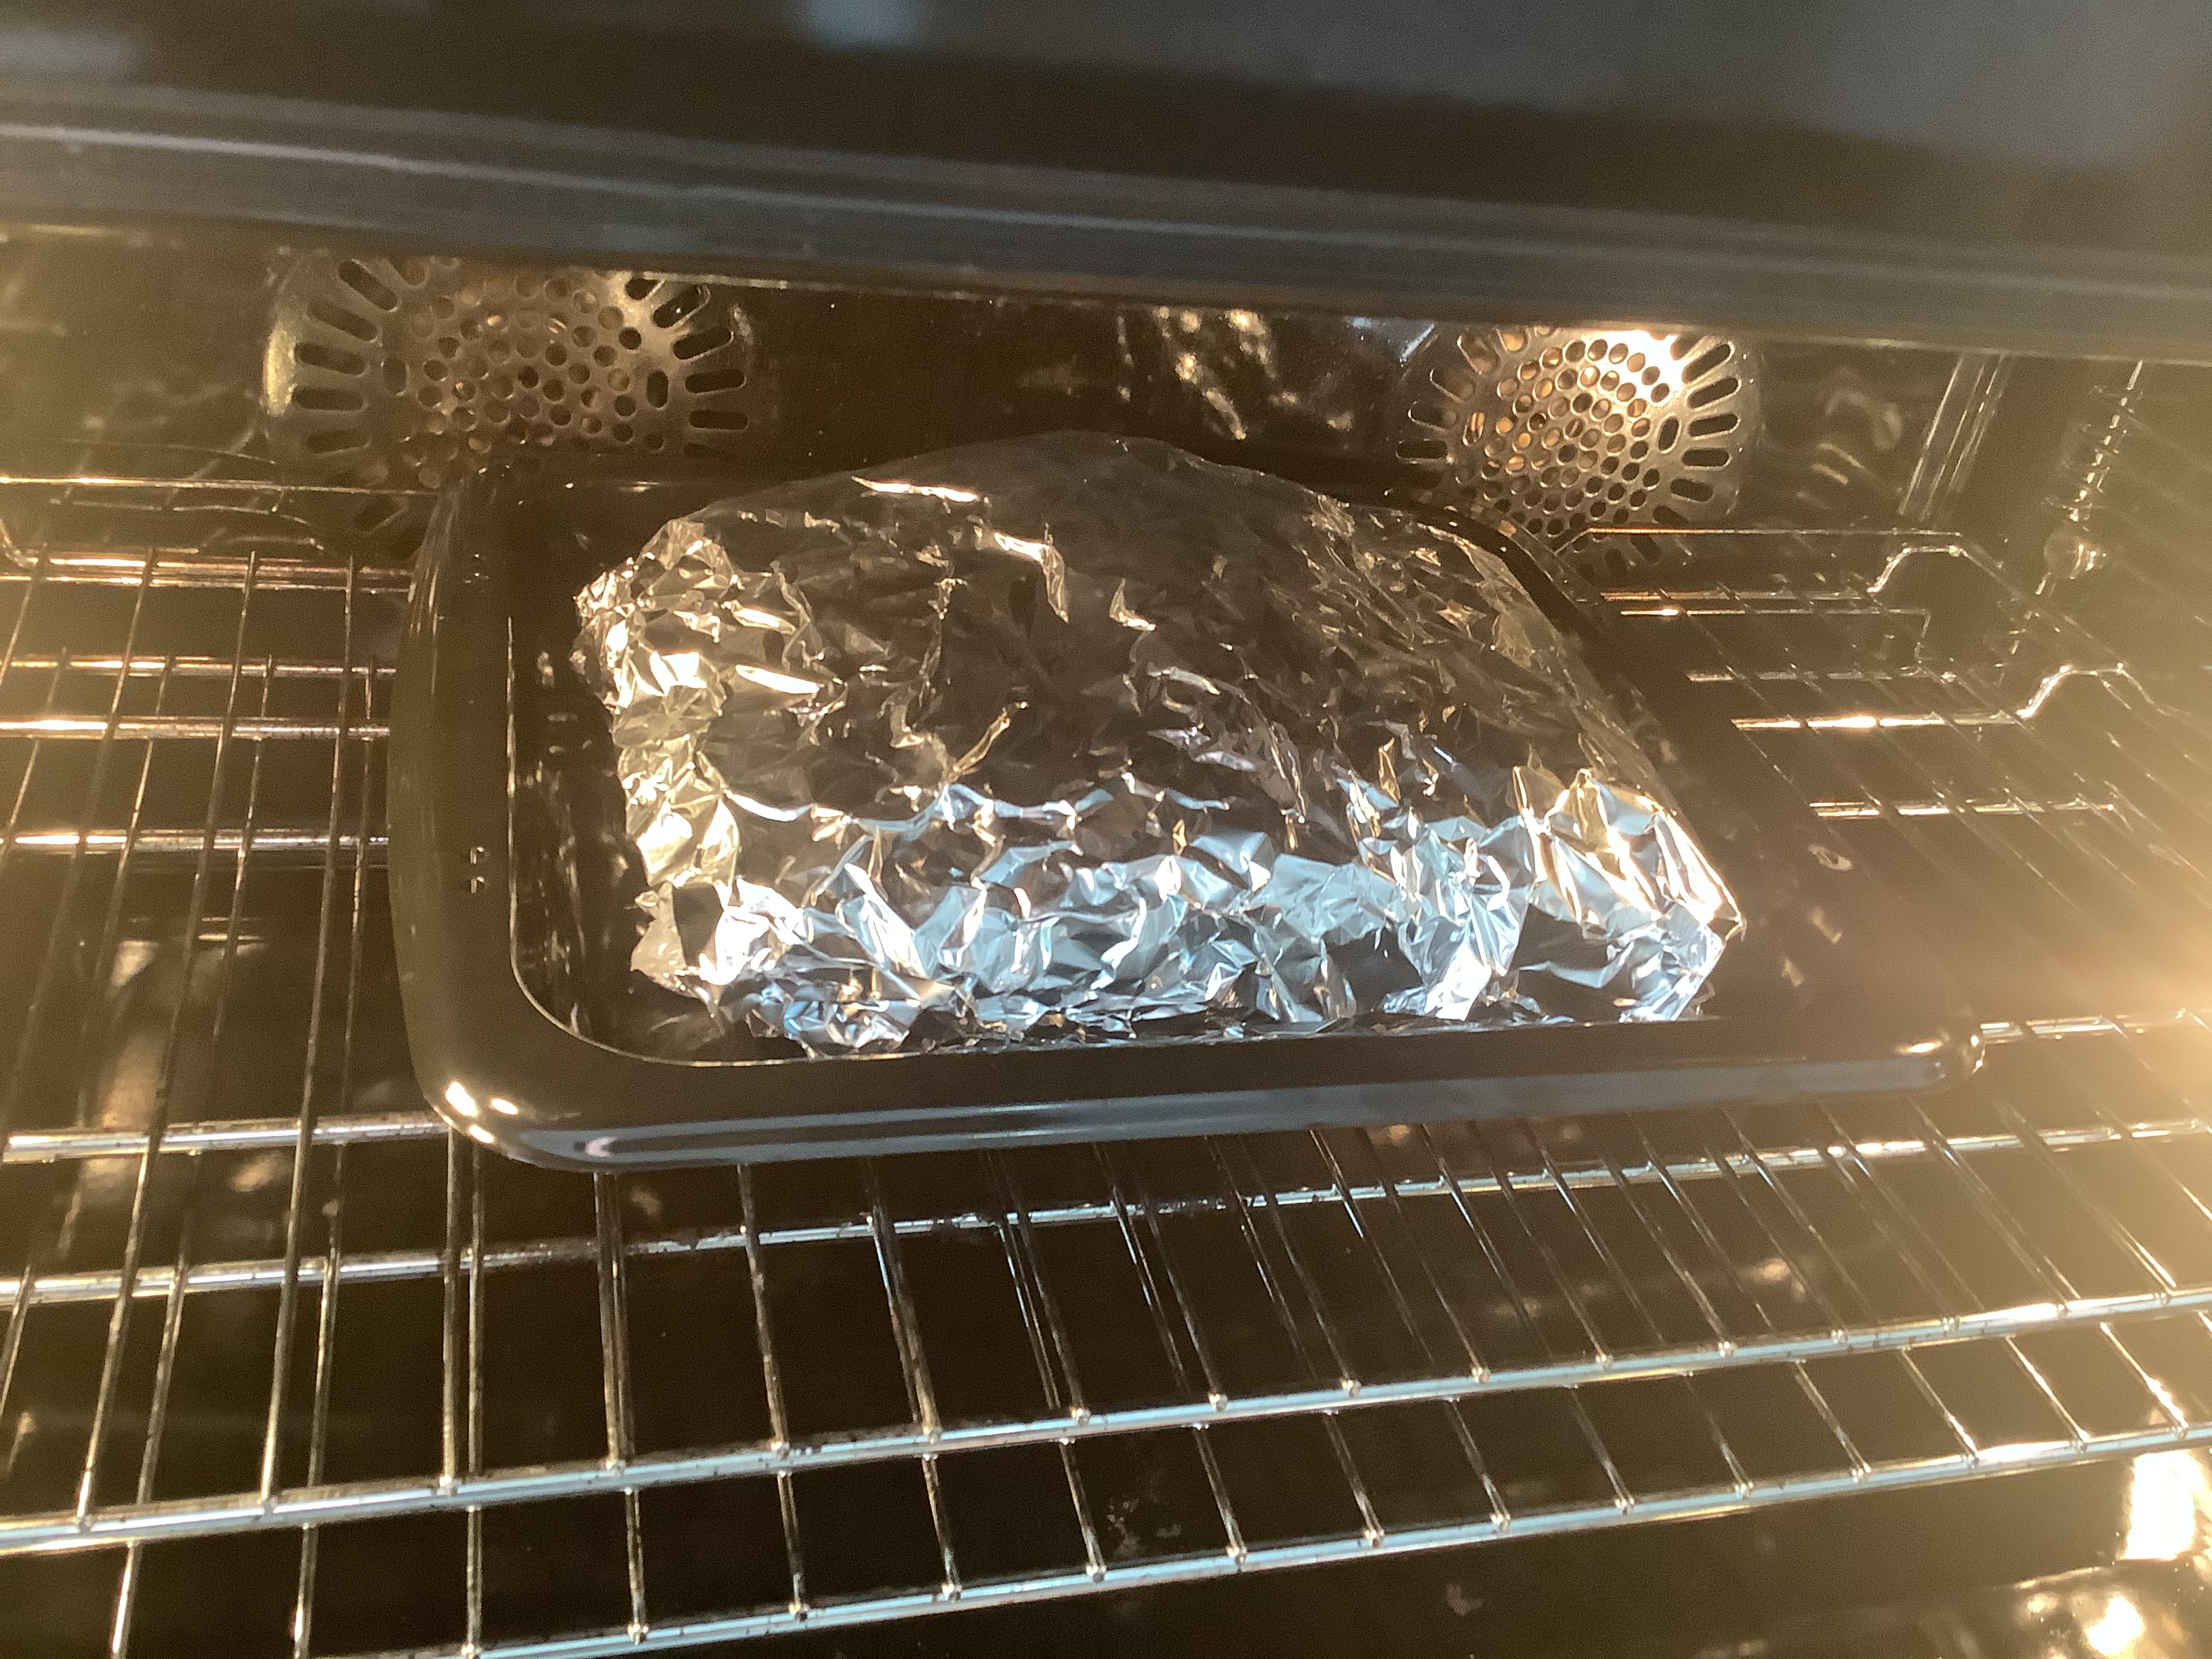
Remove the ribs from the smoker, place them individually on a piece of aluminum foil, and brush them with the barbecue sauce on all sides. Wrap them completely with the foil and place them on a baking sheet in a pre-heated 250° oven. Cook for 2 hours more.

Why cut them into individual ribs when you know you’re going to eat the rack anyway?


Happy new year! If you’re not dieting, this is a great way to start the new year! 😆

This recipe is not only delicious, but it results in a perfectly cooked cheesecake with no cracking.

One of the keys to a great cheesecake right is placing it in a water bath while baking. But if the springform pan allows water in (and they all do), it creates problems. The solution is to foil-wrap the springform pan really well.

But first, the crust…

1-1/2 cups graham cracker crumbs, from 12 whole crackers
5 tablespoons unsalted butter, melted
2 tablespoons sugar
1/8 teaspoon salt

Preheat the oven to 375° and set an oven rack in the lower middle position.

Here’s the crucial part: Wrap a 9- or 10-inch springform pan with one large piece of heavy-duty aluminum foil, covering the underside and extending all the way to the top so there are no seams on the bottom or sides of the pan. Just to make sure, repeat this process with another sheet of foil for insurance. This keeps the water bath out of your cheesecake, so do a thorough job of it!

Then spray the inside of the pan with nonstick cooking spray.

In a medium bowl, combine the graham cracker crumbs, melted butter, sugar, and salt. Stir until it’s well combined. Press the crumbs into an even layer on the the bottom of the prepared pan. Bake the crust for 10 minutes, until set. Remove the pan from the oven and set it aside.


32 oz. (four 8-oz. blocks) cream cheese, at room temperature
2 cups sugar 
3 tablespoons all-purpose flour
4 teaspoons vanilla extract
1 teaspoon packed lemon zest, from 1 lemon
2 teaspoons fresh lemon juice, from 1 lemon 
1/4 teaspoon salt
6 large eggs 
1/2 cup sour cream


Reduce the oven temperature to 325°F. Boil some water.

In the bowl of an electric mixer fitted with the paddle attachment, beat the cream cheese, sugar, and flour together on medium speed until just smooth, about 1 minute. Scrape the bottom and sides of the bowl to be sure the mixture is evenly combined.

Add the vanilla, lemon zest, lemon juice, and salt. Beat on low speed until it’s all just combined. Add the eggs, one at a time, mixing on low speed until incorporated, scraping the bowl as necessary. Mix in the sour cream. Make sure the batter is uniform but don’t over-mix it.

By now, the oven should be cooled to 325°.

Set the cheesecake pan in a large roasting pan. Pour the batter on top of the crust. Pour the boiling water into the large roasting pan to come about 1 inch up the side of the cake pan.

Bake until the cake is just set, 1 hour and 30 minutes to 1 hour and 45 minutes (the cake should wobble just a bit when the pan is nudged). Remember: the cake will continue to cook outside of the oven before it cools!

Carefully remove the roasting pan from the oven and set it on a wire rack. Cool the cheesecake in the water bath until the water is just warm, about 45 minutes.

Remove the springform pan from the water bath and discard the foil. If necessary, run a thin-bladed knife around the edge of the cake to make sure it’s not sticking to the sides (which can cause cracks as it cools), then cover it with plastic wrap and put it in the fridge to cool for at least 8 hours or overnight.

After 8 hours, remove the sides of the springform pan. I like to serve the cheesecake right from the base of the pan. I’ve found that trying to remove the pan base only messes up the crust.

The secret to slicing beautiful pieces of cheesecake is to slice with a sharp knife, rinsing it in warm water and wiping it dry between every slice. 

AN UPDATE: I recently tried this recipe again, only to realize at the last minute that I lost my springform pan when I moved a year ago! All I had was a (relatively new, non-stick) baking pan, so I figured I’d give it a try. I knew my ingredients would taste good. I just didn’t know if I’d be able to get the cheesecake out of the pan!

The good news is: it cooked properly and tasted great!

The bad news is: it was a bit messy slicing it and removing it cleanly from the baking pan.

But baking a cheesecake without a springform pan can be done!

This is my version of a holiday drink I was introduced to me by my mother-in-law from the Upper Peninsula of Michigan.

This classic is loaded with sugar. But then…so is everything else around the holidays!

Whiskey slush

9 cups water
2 cups sugar
4 “Constant Comment” tea bags
12 oz. frozen OJ concentrate
12 oz. frozen lemonade concentrate
2 cups whiskey (I use Crown Royal)
7-Up or Sprite

Boil the water and sugar, making sure the sugar dissolves. Turn off the heat and steep the tea bags in the liquid for 10 minutes. Discard the tea bags.

Add the OJ, lemonade and whiskey. Mix well, then pour it all into a freezable container with a lid. Freeze.

To serve: Scoop the slush out of the container (it doesn’t freeze solid) and mix it in a tall glass with 7-Up.

If you’re concerned about all that sugar, you can use a sugar substitute in the mix, and diet soda at the end. Some stores also carry low-sugar juice concentrates.

BALSAMIC BRAISED PORK CHOPS

Posted: December 7, 2025 in Uncategorized
Tags: , , , ,

I was in the supermarket the other day, and a pack of pork chops called to me as I walked by the meat department. I hadn’t had pork chops in ages, and it was time to try something new with them.

The balsamic vinegar used in this recipe is not the crazy expensive stuff. It’s the bottle you probably already have in your kitchen cabinet that costs about nine bucks.

This recipe works with thick or thin pork chops, your choice.

The cool thing about this recipe is that you make it all in one pan, and on the stovetop.

4 or 5 bone-in pork chops
olive oil
Kosher salt and freshly cracked black pepper
2 teaspoons dried thyme
1 large Spanish onion, diced
2 large cloves of garlic, minced
2 cups chicken broth (homemade is always best)
3 tablespoons Dijon mustard
5 tablespoons balsamic vinegar
6 tablespoons brown sugar
2 tablespoons Worcestershire sauce

Season the pork chops with the salt, pepper and thyme.

Add some olive oil to a large pan, and when it’s hot, sear the pork chops on both sides until they’re nice and brown.

Remove the pork chops from the pan and set them aside. Pour out the fat in the pan, add a touch of olive oil, and put it back on the heat. Add the onions, sautéing them for about 10 minutes until they’ve softened, and then add the garlic. Sauté a minute more.

Add the chicken broth, Dijon, balsamic vinegar, brown sugar and Worcestershire sauce. Stir to combine.

Return the pork chops back to the pan, nestling them down into the sauce. Add any of the juices that may have collected when you set the chops aside.

Bring the pan to a boil, then reduce to a simmer and cover the pan. Let it cook for 45 to 60 minutes. I like to flip the chops about halfway through the cooking process.

To serve, remove the chops from the pan, and smother them with the sauce! You may want to reduce or thicken the sauce a bit, but I like it just the way it is!

There seems to be some confusion about the spelling of whiskey and/or whisky, but the use of the letter “e” (or the lack thereof) is not random. Here’s the best explanation I’ve found…
whiskeywhisky
The spelling whisky (plural whiskies) is generally used for those distilled in Scotland, Wales, Canada, and Japan. Whiskey (with an e; plural whiskeys) is used for the spirits distilled in Ireland and in the United States. The BATF (Bureau of Alcohol, Tobacco and Firearms) in 1968 specified “whisky” as the official U.S. spelling, but allowed labeling as “whiskey” in deference to tradition.  Most U.S. producers still use the “whiskey” spelling, though as you can see, Maker’s Mark chooses not to.
International law reserves the term “Scotch whisky” to those whiskies produced in Scotland. Scottish law specifies that the whisky must be aged for a minimum of three years and one day, in oak casks. Whiskies produced in other countries in the Scotch style must use another name. Similar conventions exist for “Irish whiskey,” “Canadian whisky,” and “Bourbon whiskey.” In North America, as well as in Continental Europe, the abbreviated term “Scotch” is usually used for “Scotch Whisky.” In England, Scotland, and Wales, the term “whisky” almost always refers to “Scotch Whisky”, and, as I learned when I traveled to Scotland, nobody calls it “Scotch.” 
And while we’re on the topic, what is bourbon?
Bourbon is a type of whiskey.
Today, “bourbon” has a specific legal meaning that has little to do with its geographic origins. That definition, now federal law, has existed in its present form only since about the end of the 19th century. According to federal law, bourbon must be at least 51% corn, distilled at less than 160 proof, and aged for at least two years in new, charred oak barrels. (There are some other requirements, but those are the main ones.) Bourbon also must be made within the borders of the United States. In other words, a foreign product that meets all the other requirements still cannot be sold in the U.S. as bourbon.
As I learned on my tour of the legendary Oban distillery in Scotland, the reason why bourbon must be aged in new, charred oak barrels goes back to the days of Prohibition. Once alcohol was legalized again, the coopers union wanted to make sure they had job security. So they convinced the government to require new barrels for every new batch of bourbon made. Once that barrel is used, it can’t be used for bourbon again. The Scottish, always frugal, would then buy all those barrels from American distilleries, and use them to age their own whiskey. So those barrels don’t ever go to waste. (Companies like Diageo, that own Bulleit bourbon in the US and Oban whisky in scotland avoid the middleman buy shipping their own used barrels from America to scotland for reuse.)
Contrary to popular belief, there has never been a legal requirement that bourbon be made in Kentucky, which is why most Kentucky producers call their product “Kentucky Bourbon.” Today there are some, but not many, examples of non-Kentucky bourbon left: Virginia Gentleman, Bowman’s, and Woodstone Creek Straight Bourbon are a few.
Still confused? My advice is to sit back with your favorite glass of whisky, whiskey or bourbon…and just enjoy. Cheers!

TANDOORI ROAST CHICKEN

Posted: November 30, 2025 in Uncategorized
Tags: , , , ,

My family has made it pretty clear over the last half-dozen years or so that they’re tired of turkey on Thanksgiving. So when I saw a recipe in “Food and Wine” Magazine for a roasted turkey with Indian spices, I thought: “Why not try this with chicken?”

The recipe is from Food Network’s Maneet Chauhan, who is a regular on “Guy’s Grocery Games,” “Tournament of Champions,” etc. She’s got herself a restaurant empire in Nashville, of all places, and her knowledge of Indian food is pretty incredible. I knew I couldn’t go wrong using her recipe.

Indian cuisine is still pretty new to me, though I’ve made classic dishes like butter chicken. There are many ingredients in this dish that the average person won’t have in their cupboard, (ginger-garlic paste, tandoori masala, garam masala, kasoori methi, ghee) and maybe not even in the local supermarket. So you might have to do what I did, and look these things up on line and buy them ahead of time. But I found it all to be a great learning process.

You can marinate the bird overnight, or prepare it right before cooking. I choose to marinate overnight, because you have more time to really flavor the meat.

1 6-to-7-lb. chicken (I used a Perdue Oven Stuffer Roaster)
1/2 cup whole milk yogurt
1/4 cup chopped fresh cilantro
1/4 cup cream cheese, softened
1/4 cup ginger-garlic paste
1/4 cup fresh lemon juice, plus 1 lemon sliced in quarters
2 1/2 tablespoons tandoori masala
2 teaspoons Kosher salt
1 1/2 teaspoons garam masala
1 1/2 teaspoons kasoori methi
1/2 teaspoon black pepper
2 cups water
1 large yellow onion, roughly chopped
1 large carrot, roughly chopped

Thaw the bird and remove the giblets. Save them for another time.

In a bowl, combine the yogurt, cilantro, cream cheese, ginger-garlic paste, lemon juice, tandoori masala, salt, garam masala, kasoori methi and black pepper.

Gently slide your fingers under the skin of the breast and thigh of the chicken to loosen it. Generously rub the yogurt marinade under the skin as far as you can reach without tearing it. Also spread some of the marinade inside the cavity of the bird. Take the lemon quarters and stuff them into the cavity of the bird as well. Tie the legs of the bird together to close the cavity.

Note: You don’t want the marinade on the outside of the skin until right before cooking! So save some of the marinade in the fridge for the next day.

Place the bird on a pan and in the fridge, uncovered, overnight.

The next day, pre-heat the oven to 425°. Remove the chicken from the fridge one hour before cooking, to bring it to room temperature. Rub the remaining marinade all over the bird in a thin layer.

To cook the bird, you want to place it in a roasting pan that elevates it off the bottom of the pan. In the bottom of the pan, pour in the water, and add the onion and carrot pieces. Place a rack on top of that, and put the chicken on top.

Bake the chicken at 425° for 35 minutes. Then drop the oven temperature to 350° and bake for 20 to 30 minutes more. Check the temperature of the bird by placing an instant-read thermometer in the inner thigh, being careful not to hit the bone. It should read 165°. Remove the bird from the roasting pan and place it on a plate. Cover it with foil to let it rest for 20 to 30 minutes.

While the chicken is resting, it’s time to make the gravy.

2 tablespoons ghee
1 teaspoon cumin seeds
1 teaspoon tandoori masala
2 tablespoons cornstarch
2 cups chicken stock
pan drippings from roasting the chicken

Melt the ghee in a saucepan over medium heat. Add the cumin seeds and tandoori masala. Cook, stirring often, being careful not to burn them. Whisk in the cornstarch, mixing well to avoid lumps. Then slowly add the chicken stock. Pour in the drippings from roasting the chicken. (You don’t need the onion and carrot–they’ve done their job.) Bring it to a simmer, then reduce the heat, and cook, stirring constantly, until the gravy is thick enough to coat the back of a spoon. To serve, pour the gravy through a wire-mesh strainer into a gravy boat.

MY KILLER APPLE PIE RECIPE

Posted: November 28, 2025 in Uncategorized
Tags: , , , ,

There are a million apple pie recipes online, and people argue whether they should go with an all-shortening or all-butter crust, or even a crust with a combination of the two. I used to be a half-butter, half-shortening guy, myself. But over they years, I’ve become an all-butter guy, because quite frankly, shortening is nasty. And butter…is butter!

I choose to bake the pie the day before serving it. And I prepare the dough the day before that. That way, it has time to rest in the fridge overnight. When you’re ready to bake, remove the dough from the fridge and work with it as cold as you can. If you thaw it too much, you’ll lose the magic of the little butter chunks scattered through the dough.

For the dough…

2 1/2 cups all-purpose organic flour (I like King Arthur)
1/2 teaspoon salt
1 tablespoon sugar
1 cup butter, chilled and diced into cubes
1/2 cup very cold ice water

You can mix the dough ingredients by hand in a bowl, but I prefer a food processor.

Combine the flour, salt and sugar in the food processor and give it a quick pulse to mix. Drop the cubes of butter into the flour mixture, and then pulse the processor until the dough mixture resembles coarse crumbs, and the butter is reduced to pea-sized bits.

Add 1/4 cup of the water, and run the processor. Keep adding a little water at a time, and as soon as the dough forms a ball and pulls away from the sides of the processor bowl, stop! You don’t want to overwork the dough.

Remove the dough to a floured surface and knead it into a ball. Cut the ball in half, and roll each half into a thick, round pancake about an inch thick. wrap these tightly with plastic wrap and place them in the fridge until you’re ready to bake.

For the pie filling…

3 lbs. Granny Smith apples, peeled and sliced into 1/4″ thick slices
1/2 cup butter
3 tablespoons all-purpose organic flour
1/3 cup apple cider
1/2 cup granulated sugar
1/2 cup light brown sugar
2 teaspoons real vanilla extract
2 teaspoons cinnamon
1/8 teaspoon nutmeg

Preheat the oven to 425.

Remove the dough from the fridge. While it’s warming up, prepare the apples.

Peel and slice the apples into 1/4″ wide pieces. (I like to cut some a little thinner and some a little thicker, so I get different textures of apple when the pie has baked.) Place them in a large bowl.

Melt the butter in a saucepan, and add the flour. Whisk well to make a roux. Add the juice, both sugars, vanilla, cinnamon and nutmeg. Bring it to a low boil, stirring constantly, then remove from the heat.

Pour the contents of the saucepan into the large bowl with the apples, saving about 1/4 cup butter-sugar sauce for later. Mix the sauce with the apples really well, making sure they’re completely coated.

Unwrap one of the dough pieces. On a lightly floured surface, roll it out large enough to fit the bottom and sides of a 9″ pie pan. Let it hang about a 1/2″ over the top edge of the pan, for crimping later.

Carefully transfer the apple mixture into the pie pan, making sure you get every little bit of that butter-sugar sauce in there. The apples will form a large mound. don’t worry…they’ll cook down.

Unwrap the other piece of dough and roll it out so that it fits over the top of the mound of apples. Tuck the excess edges of the upper crust under the overlapping bottom crust, pinching the two halves together, making as tight a seal around the pie as you can. (Don’t cut any of that crust away…use it! It’s delicious!) Cut several slots in the top of the crust to let steam out while the pie cooks.

Take that 1/4 cup of reserved butter-sugar sauce, add a little water to it, and brush it all over the top of the crust, brushing evenly over the entire crust.

Place the pie on a baking sheet and bake it at 425 for about 15 minutes. Then drop the oven temperature to 350 and bake for another 50 minutes, or until the top is golden brown and crisp. If it looks like the edges of your pie are browning too quickly, tent around the edges loosely with foil. Remember, ovens vary!
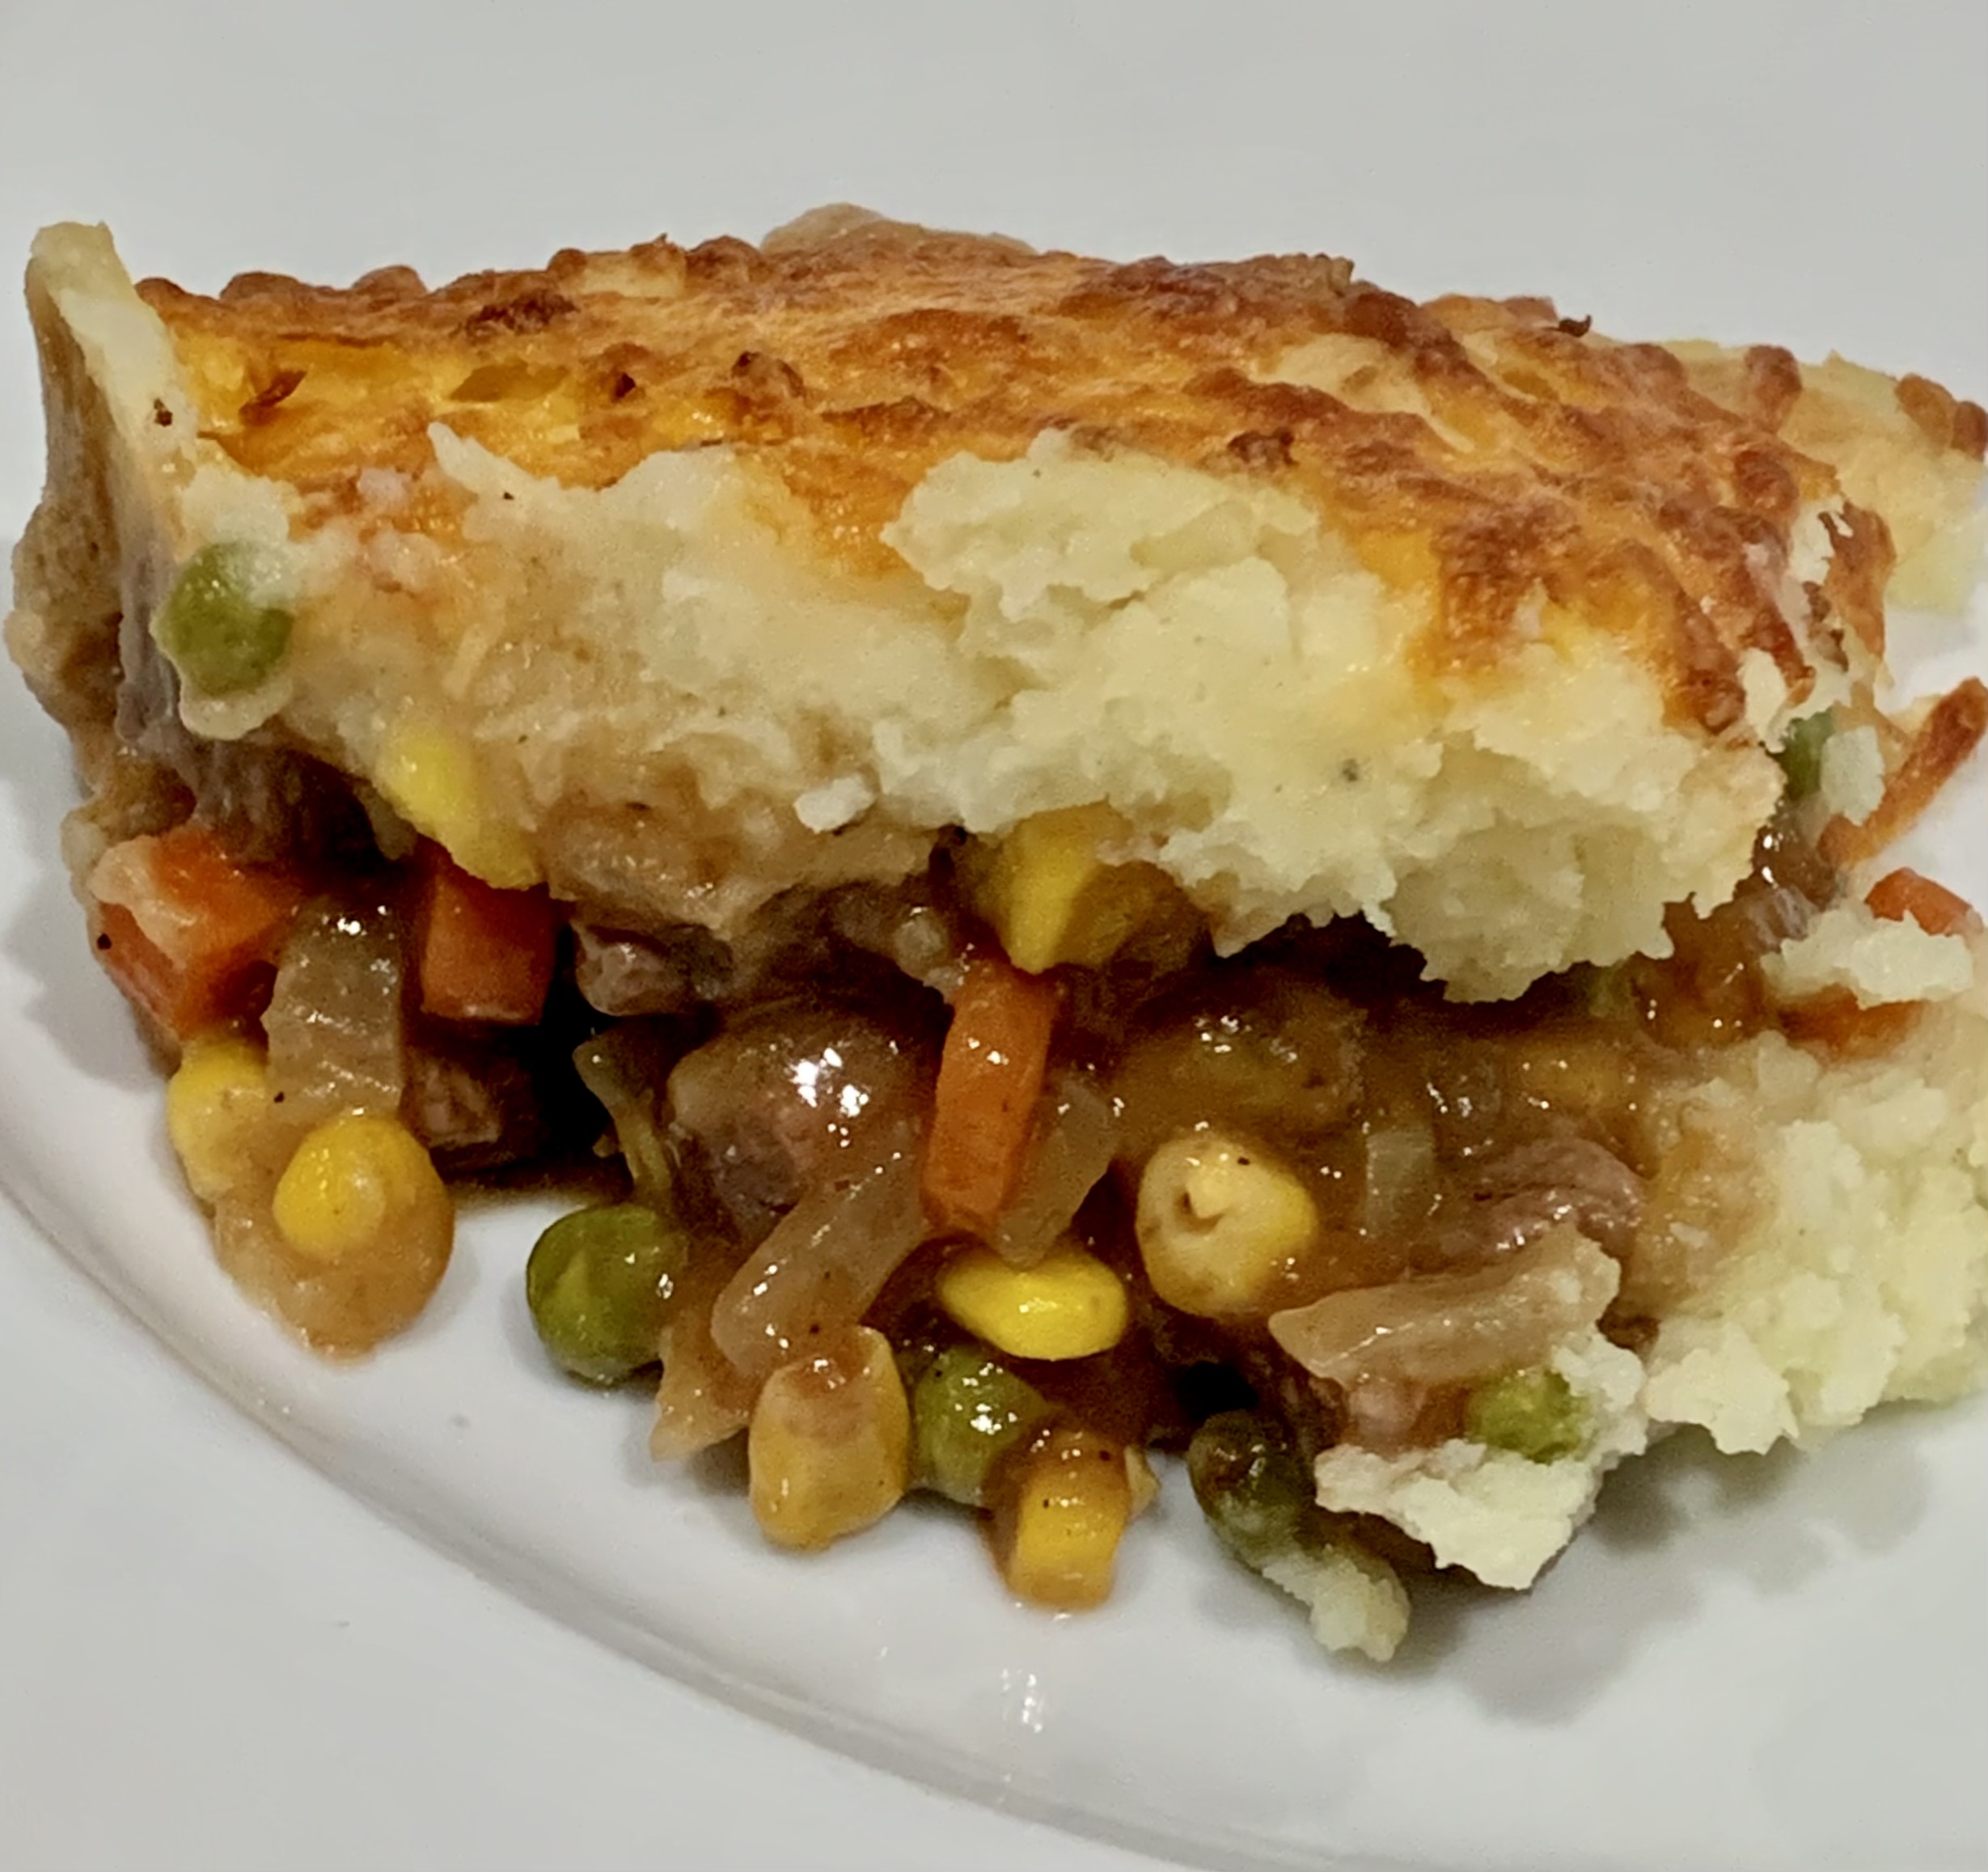
Let the pie cool completely. I prefer to let it cool overnight, to be served the next day. We like to serve it with good-quality vanilla ice cream.

Of course, apple pie and coffee is an excellent breakfast the next morning!