One of my favorite ways to enjoy clams…and without the clam knife! When you’ve got to feed a crowd, this is a delicious way to do it. Cooking clams on the grill is one of the tastiest ways to enjoy these awesome mollusks. I used sugar maple hardwood charcoal to get that true smokey flavor.

Although I live on the other side of the state, I love visiting my friends at American Mussel Harvesters in North Kingstown, RI. The quality of their seafood is second to none, which is why they supply so many area restaurants with their products. They feature “restaurant ready” mussels, meaning they’ve been cleaned and de-bearded. And their “restaurant-ready” clams mean they’ve been purged to perfection! (www.americanmussel.com) I use ’em whenever I can.
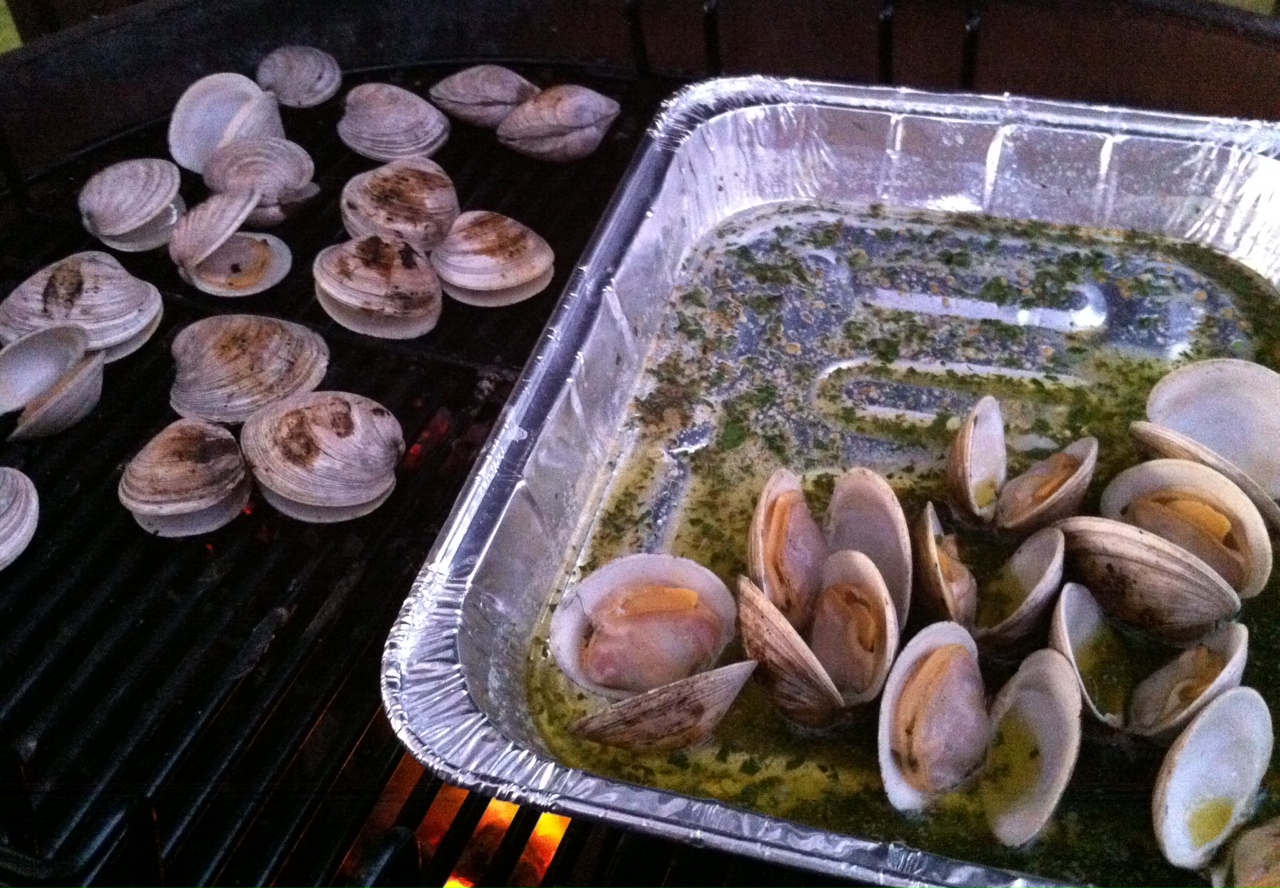
clams on the grill

Ingredients:

A couple of dozen (or more) little neck clams, washed and purged

1 stick (8 oz) of unsalted butter

1/4 cup extra virgin olive oil

1/4 cup chopped parsley

1 teaspoon dried oregano

1/2 teaspoon dried basil

1 teaspoon minced garlic

1/2 teaspoon sea salt


Clams should be stored cold and dry in a fridge until ready to use…not in water, not on ice.

Because my clams have already been purged, I don’t have to do it at home. But here’s what to do if they haven’t been purged: Fill a large bowl with cold water, add sea salt and some corn meal to it, and mix it around. Add the clams to this bowl and let them purge in this liquid for at least an hour. They will suck up the corn meal and spit out sand and grit. After an hour, pour off the water/salt/meal/grit mix, and thoroughly wash the clams.

Start your hardwood charcoal grill and divide it in half: coals on one side, no coals on the other.

While the coals are heating up, grab a disposable aluminum foil tray and place it on a burner on your stove over medium heat. Add the butter, olive oil, parsley, oregano, basil, garlic and salt, and stir to combine. Once the butter has melted and everything has blended, bring the tray over to the charcoal grill and place on the side of the grill without coals. It will stay warm.

Once the coals are hot, just place the clams directly on the grill. (Use tongs, unless you want to remove all of your knuckle hair.) When they start to open, carefully flip them over, trying not to lose any of the precious juices inside the clam. Cook them for as long as you like, from raw, to more thoroughly cooked. As each one reaches its desired doneness, place it in the aluminum tray, making sure it gets swished around in the butter and herb mix.

When all the clams have been cooked and are in the tray, serve with a fresh baguette or even over pasta. A glass of great white wine is a must.

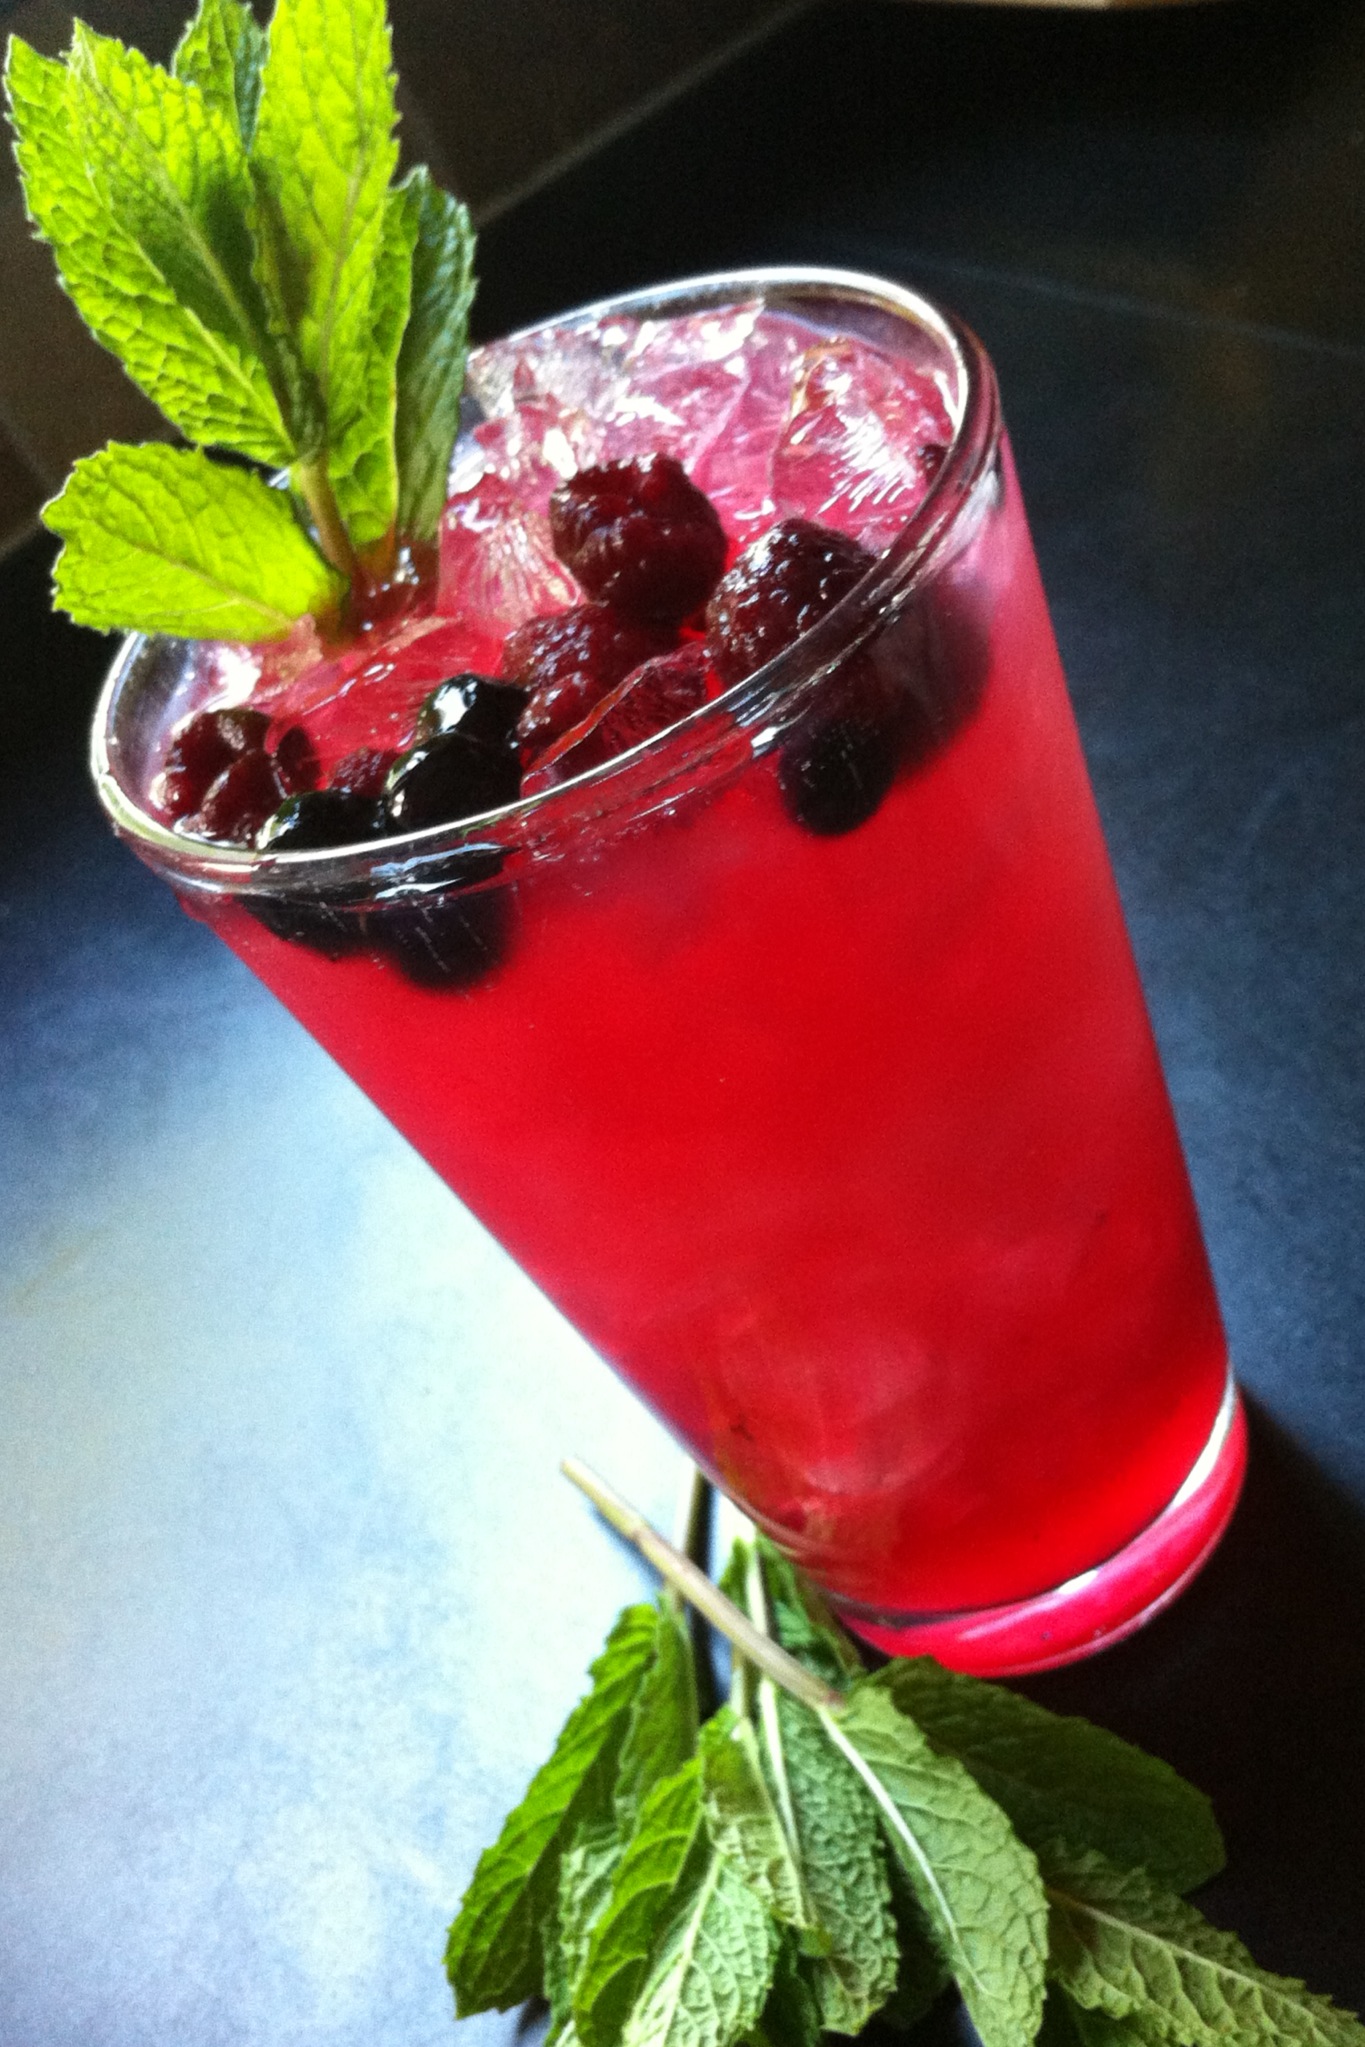
I love me my Mojitos, and they’re even better when I have fresh organic blueberries and raspberries to add to the mix. Frozen fruit works well, too. Make it by the pitcher and you’ll never make it any other way again!

The ingredients

The ingredients

Ingredients:

Make ahead of time…
1 1/2 cups fresh squeezed lime juice
1 1/3 cups turbinado sugar (Sugar in the Raw)

Mix both ingredients together and let stand at room temp. Shake until dissolved. The mixture can be covered and refrigerated for several weeks and ready to use any time. Shake well before using.

mojito pitcher

For the Mojitos…

1 cup sugar/lime mixture
1 cup mint leaves, packed
1/2 pint blueberries (fresh or frozen)
1/2 pint raspberries (fresh or frozen)
3 or 4 cups white rum, preferably Don Q Cristal rum
3 or 4 cups club soda

Combine mint leaves and 1/2 cup of sugar/lime mixture in bottom of a pitcher. Muddle mint up very well to release mint oils. Add blueberries and continue to muddle.

Add remaining sugar/lime mixture, rum and raspberries. Mix well. Just before serving, add club soda and ice. Stir. Pour into glasses.

Or…for drinks one at a time, fill a tall glass with ice. Fill one-third to halfway with club soda. Top with Mojito mix. Garnish with mint leaf.


Cheers!

Cheers!

The original maraschino cherries were a variety called marasca from Croatia, and that’s where the name comes from. But today’s maraschino cherry is a completely different animal. The modern American supermarket maraschino cherry (usually a variety called Queen Anne) is soaked in a salt brine to remove its natural color and flavoring…then pitted and soaked in a sweetener for around a month. The final step of dipping in artificial coloring gives the modern maraschino its neon red color (or any other color desired).

So why would any self-respecting bar that takes pride in its cocktails serve you these vile, rancid cherries? Especially when there are some incredibly amazing alternatives?

If you pride yourself in the quality spirits you drink…if you understand that every ingredient counts–from the mixers down to the quality of the ice cubes–then you need to get the right cherries for the job!

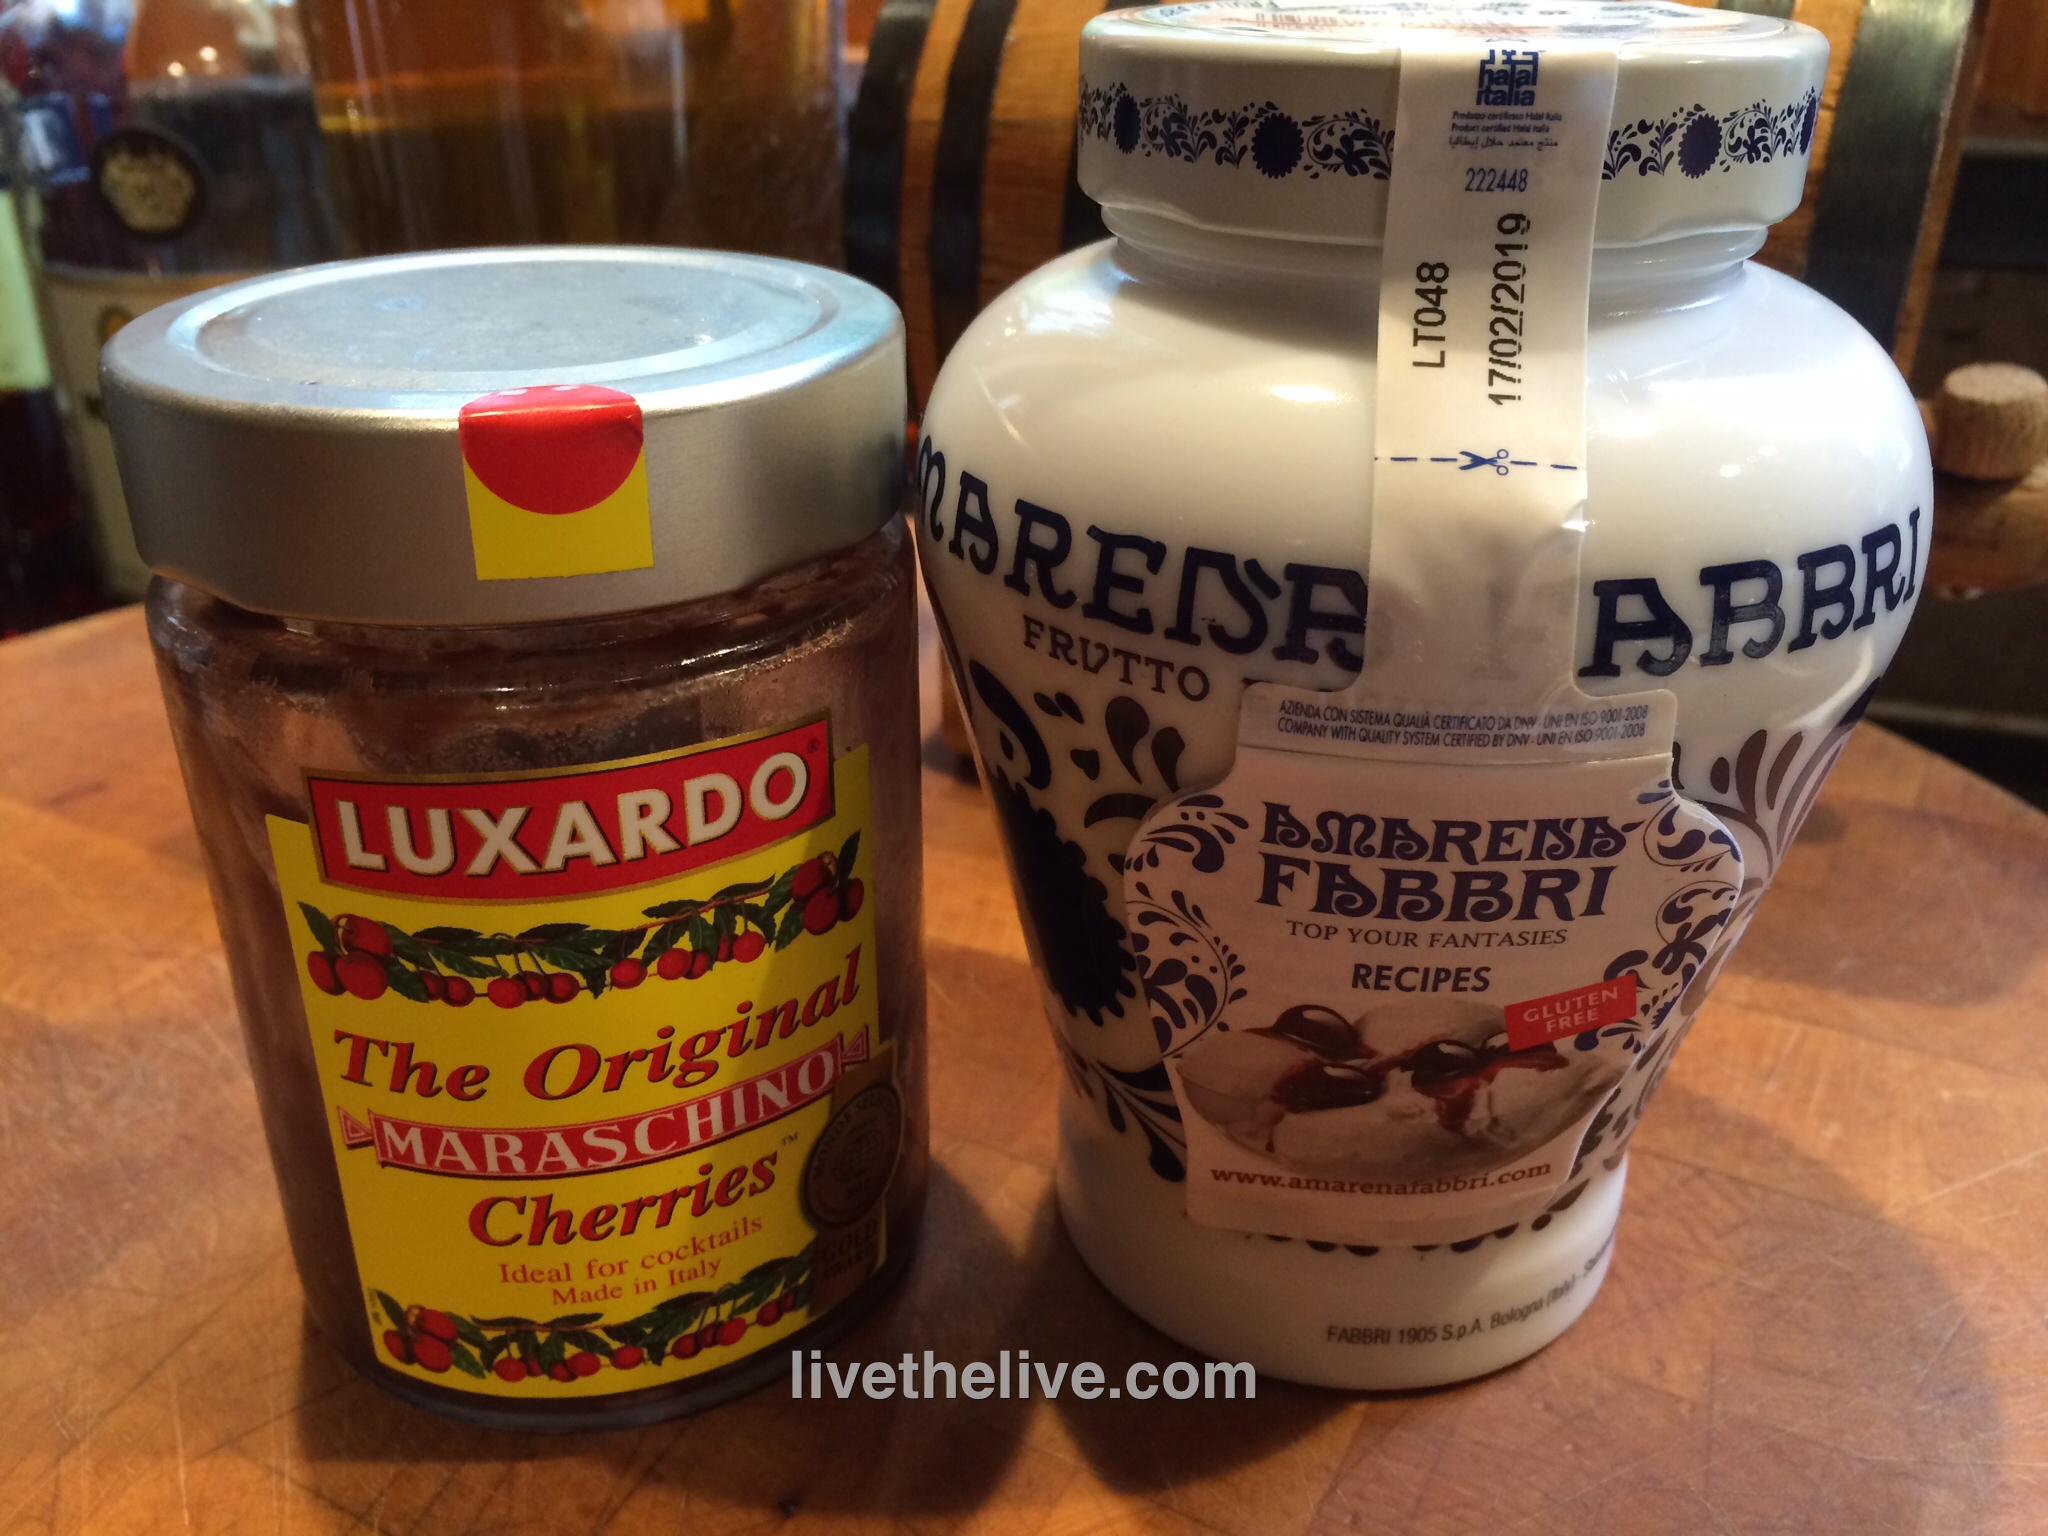
Luxardo cherries have always been the standard by which other cherries are ranked, and for good reason. Sip a Manhattan made with Luxardo cherries, and you will never go back to what you had before. It’s why they go for about $25 a jar and they are worth every penny. These are made with a recipe that dates back to 1821 in Italy, using genuine marasca cherries and their syrup.

cherry2


A recent trip to what has become my new favorite restaurant in Providence, RI, a tiny 20-seat restaurant called birch, opened my eyes to yet another fantastic cherry:

My Amarena Fabbri cherry awaiting my Manhattan at birch in Providence, RI

My Amarena Fabbri cherry awaiting my Manhattan at birch in Providence, RI

Amarena Fabbri wild cherries: made in Bologna, Italy since 1905, these are wild cherries that are carefully harvested and stoned, then preserved in amarena syrup. (The amarena cherry is a small, dark, bitter cherry grown in the Bologna and Modena regions of Italy.) Packaged in beautiful blue and white Opaline jars, I can’t think of a better gift for the avid mixologist. Also about $25 a jar.

Both the Luxardo and the Amarena Fabbri cherries are avilable at Amazon.


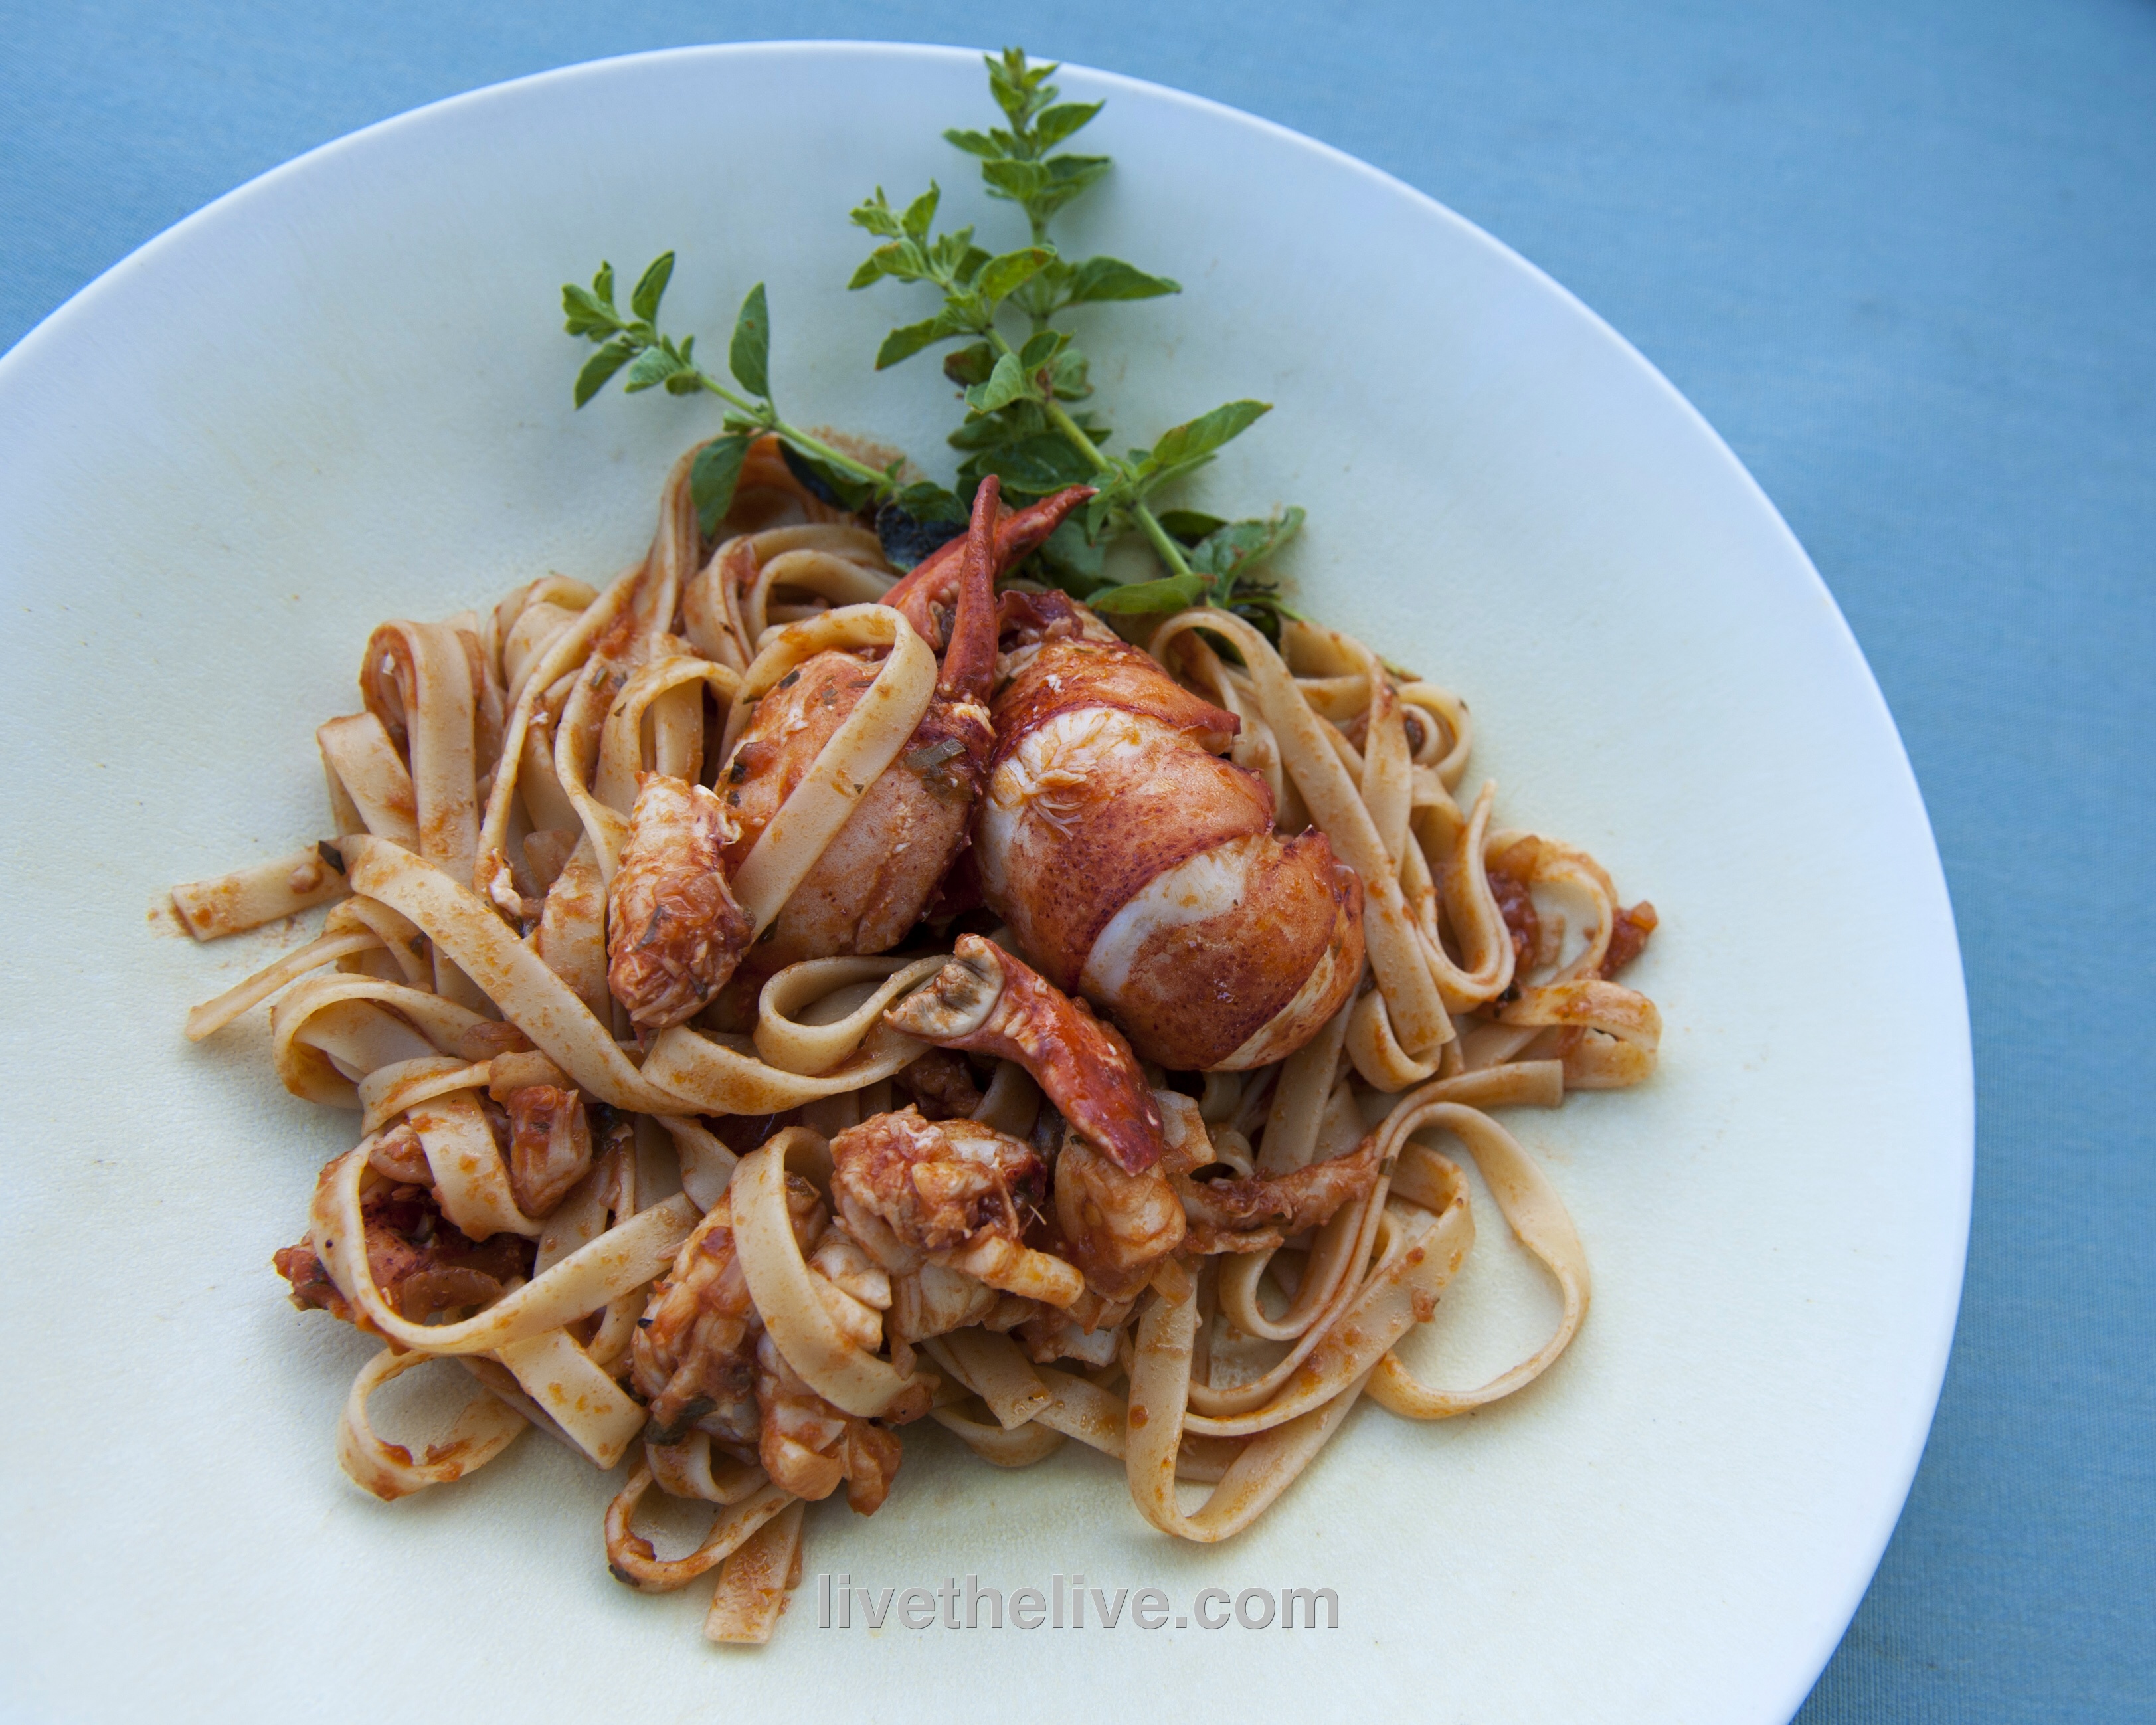
One of the most incredible dishes I’ve had on the beautiful island of Santorini, Greece, is lobster with pasta. It’s one of those dishes that takes time to prepare, because the pasta lobster sauce they make is a labor of love…time consuming but so spectacular.

Cooked lobster LTL

I often have friends over for dinner, but when I prepared this dish for them recently, it was the first time they all licked their plates clean!

To try to replicate that lobster sauce we had in Santorini, I started with a kick-ass lobster stock. It’s simple but flavorful:

Stock ingredients:

clean, empty claws, tails and bodies from two 1-1/2 lb. lobsters (use the legs, too)

12 cups water

1/2 onion

3 celery stalks

1 carrot

Place all ingredients in a large pot and set on high heat. Crush lobster shells with potato masher. Cook until it is reduced by half.

Strain the stock, discarding the lobster shells and veggies. Bring the stock back to the heat and reduce until all you have left is 1 cup of intense stock.

Now that you have the stock, you can make the sauce!

Pasta with lobster sauce

Sauce ingredients:

1/2 onion, finely chopped

1 garlic clove, finely chopped

pinch of Italian red pepper flakes

teaspoon parsley

extra virgin olive oil

1/2 cup lobster stock

1/4 cup San Marzano tomato sauce (see below)

splash of white wine (I use Alice white Chardonnay)

salt and pepper

1/2 lb. cooked pasta

Add some olive oil to a pan and saute the onions until translucent. Season with salt and pepper. Add the garlic and cook for 10 seconds. Add the red pepper flakes and parsley.

Add 1/4 cup of the lobster stock and let it cook, reducing by half. Add the other 1/4 cup of lobster stock and the tomato sauce. Let it cook for a couple of minutes and add the white wine. Cook for a few minutes more.

Cook pasta and drain even before it reaches the al dente stage. Place the pasta in the pan with the sauce, heating and coating thoroughly. Serve immediately.

For the San Marzano tomato sauce: I take a can of San Marzano tomatoes and place it in a food processor or Vita-Mix and blend until I get sauce. Pour into a pan and reduce over medium heat by half, until sauce has thickened.

Many people are choosing a gluten-free diet even though they don’t suffer from Celiac disease. Though many people stay undiagnosed, gluten sensitivity is pretty common. And even if you’re not sensitive to gluten, it can cause bloating, pain and fatigue. Many doctors are advising people to remove all or most of the gluten in their diets to see if they feel better as a result.

Gluten is a protein found in wheat and wheat products. So that means no bread, pasta, pizza, even soy sauce. Gluten is a hidden ingredient in many food products, so you need to do some research to figure out what alternatives are available. We’re pretty lucky…there are now entire sections of everyday food stores that carry gluten-free products.

I don’t have any sensitivity to gluten, and quite frankly, I find it hard to live without pizza or a nice slab of freshly baked bread now and then. And all the subsititute flours: rice, corn, quinoa, chickpea, or any combination of them–they all taste bad to me. But…I have a wife that has chosen a gluten-free diet. And since I’m the one that cooks all the meals at home, I’m making a valiant effort to find tasty alternatives.

I don’t spend my time baking gluten-free bread, cookies, cakes or other desserts. We have a great bakery nearby (www.evaruths.com) that does all that. Instead, I focus on the meals I’ve always made in the past and try to “de-glutenize” them.

Two of our favorite meals are chicken parmigiana and pizza.

The chicken parmigiana was relatively easy. The only gluten in my original recipe (http://wp.me/p1c1Nl-jq) was found in the breadcrumbs that I topped the chicken pieces with. I bought a package of Glutino gluten-free bread crumbs (made from corn) and the chicken came out pretty good. I still made a regular batch for myself…but my wife gave it a thumbs up.

Gluten-free chicken before I added sauce and cheese.

Gluten-free chicken before I added sauce and cheese.

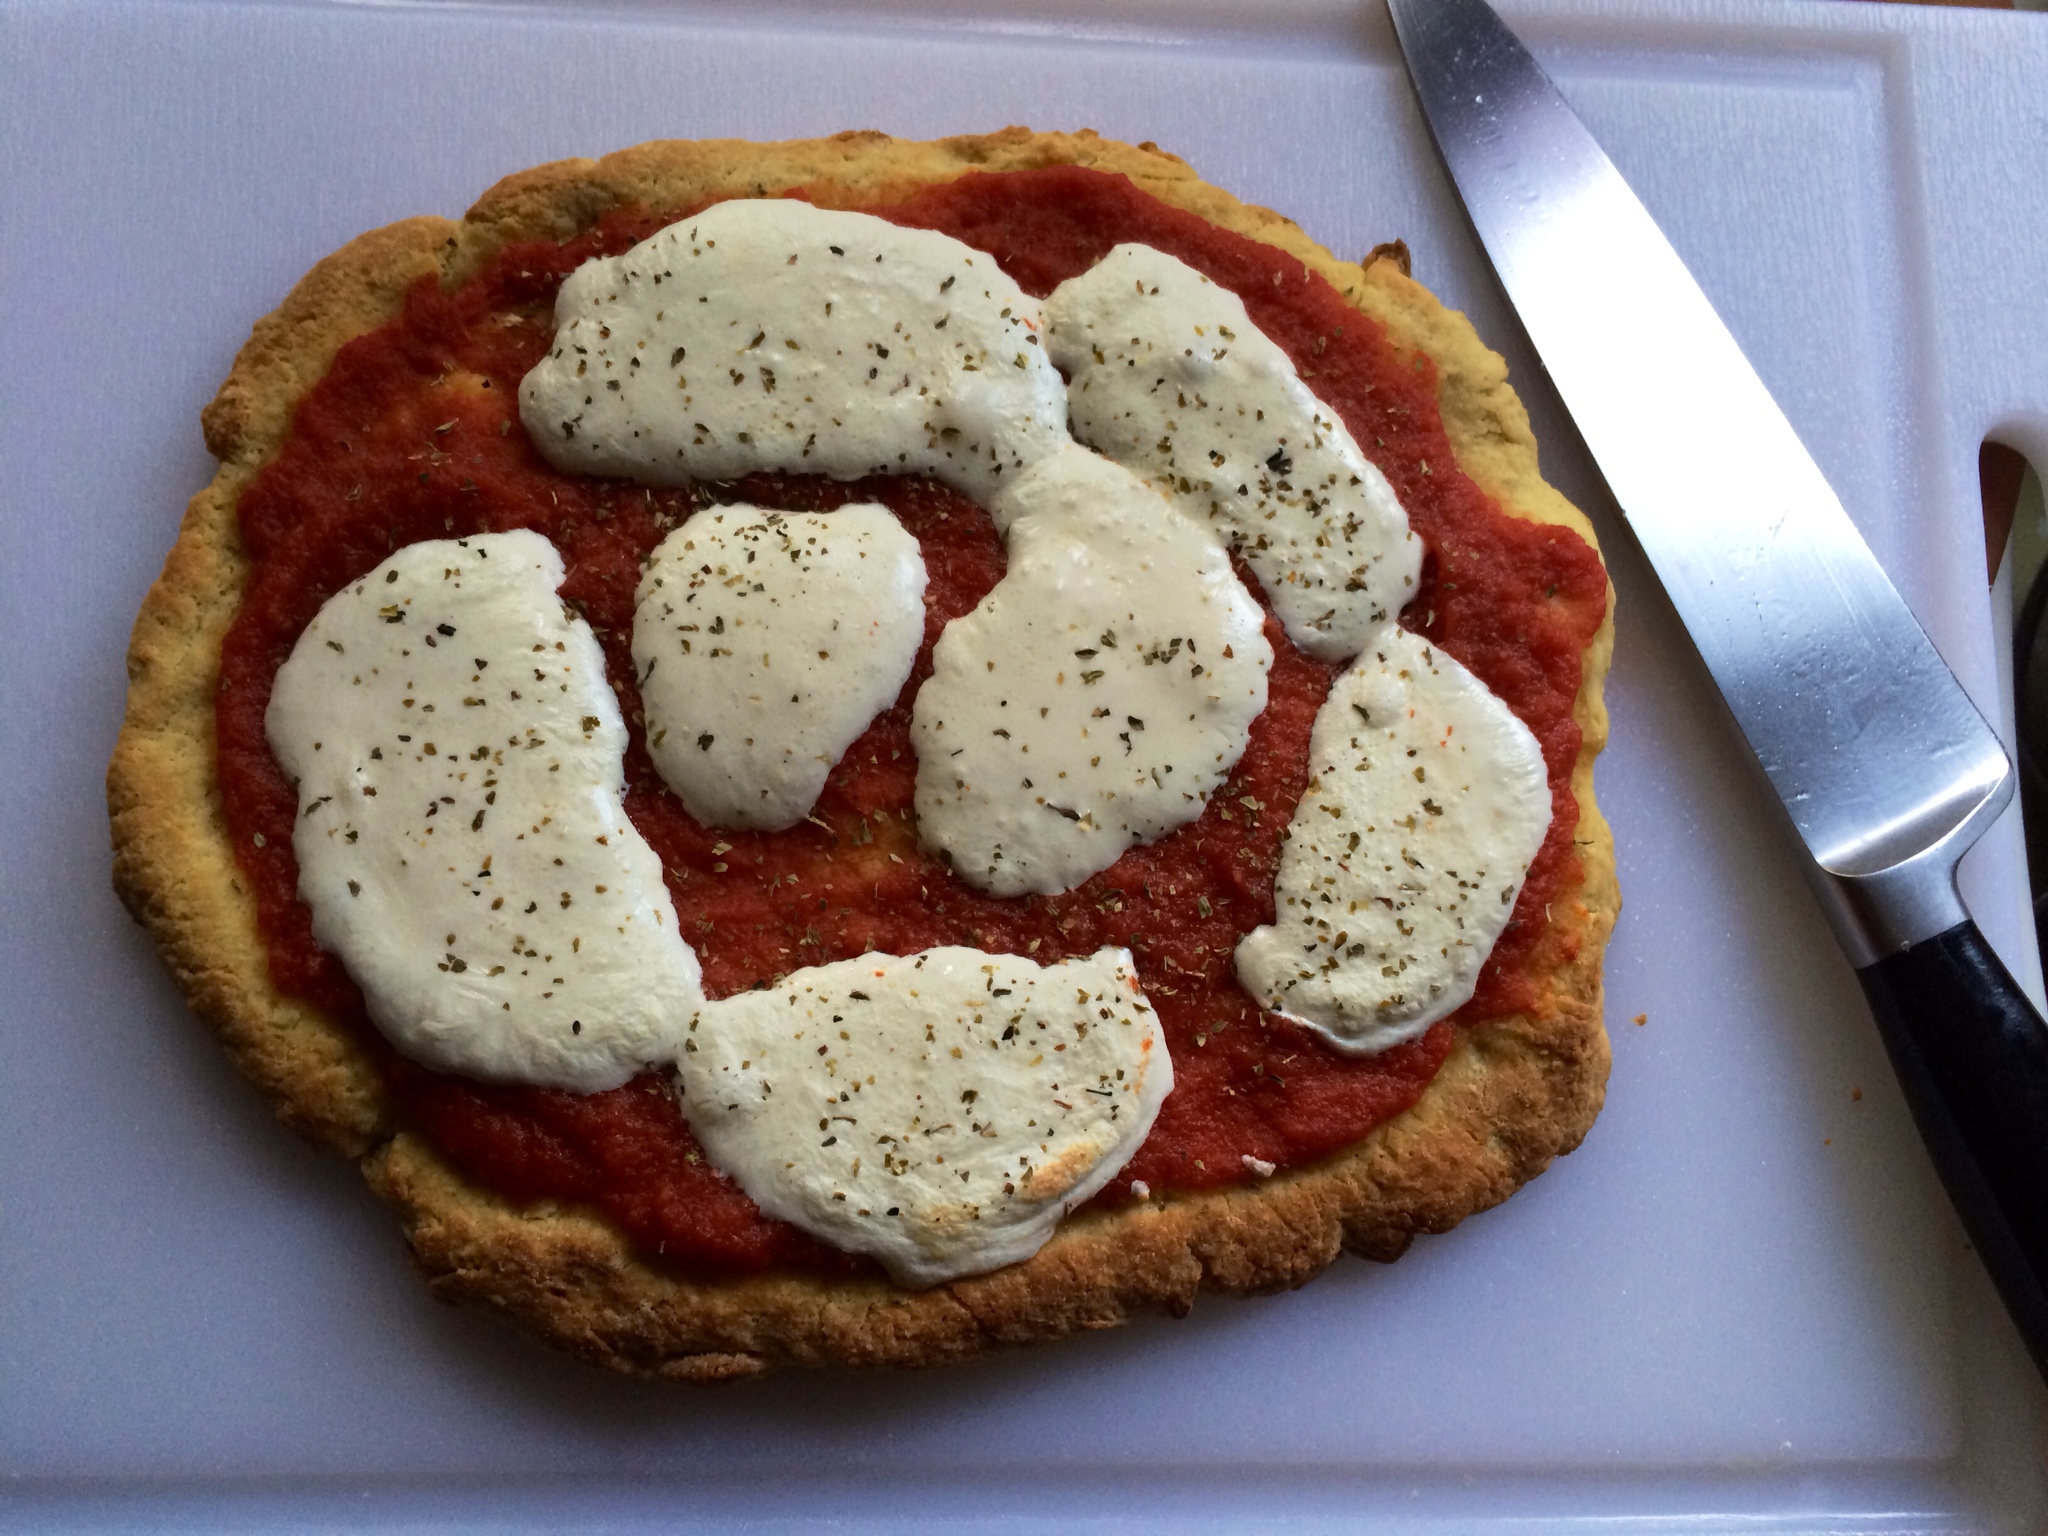
The tougher challenge was pizza. With dozens of flours to choose from, I wasn’t sure where to start. But I’m a fan of Bob’s Red Mill. I’ve been using their products for years. So when I saw they offered a Bob’s Red Mill All-Purpose gluten-free baking flour (a combination of garbanzo bean flour, potato starch, whole grain white and sorghum flour, tapioca flour and fava bean flour), I figured I’d make my first gluten-free pizza dough with that. I also learned that I had to buy some Xanthan Gum, a plant-based product that adds the elasticity that gluten usually provides.

gluten pizza1


The recipe:

1 cup gluten-free all-purpose flour

1 teaspoon xanthan gum

1 teaspoon salt

1 teaspoon sugar

1 1/4 teaspoons yeast

1 cup very warm (130 degree) water

1egg

olive oil


Use two bowls: one for the dry ingredients, one for the wet.

In the first bowl, mix flour, xanthan gum, salt, sugar and yeast with a whisk to combine.

In the second bowl, whisk egg with warm water.

Pour the wet ingredients into the dry, and using a wooden spoon, combine to form a dough. It will be somewhat dry. If it’s very dry, add a small amount of water at a time until the dough holds together.

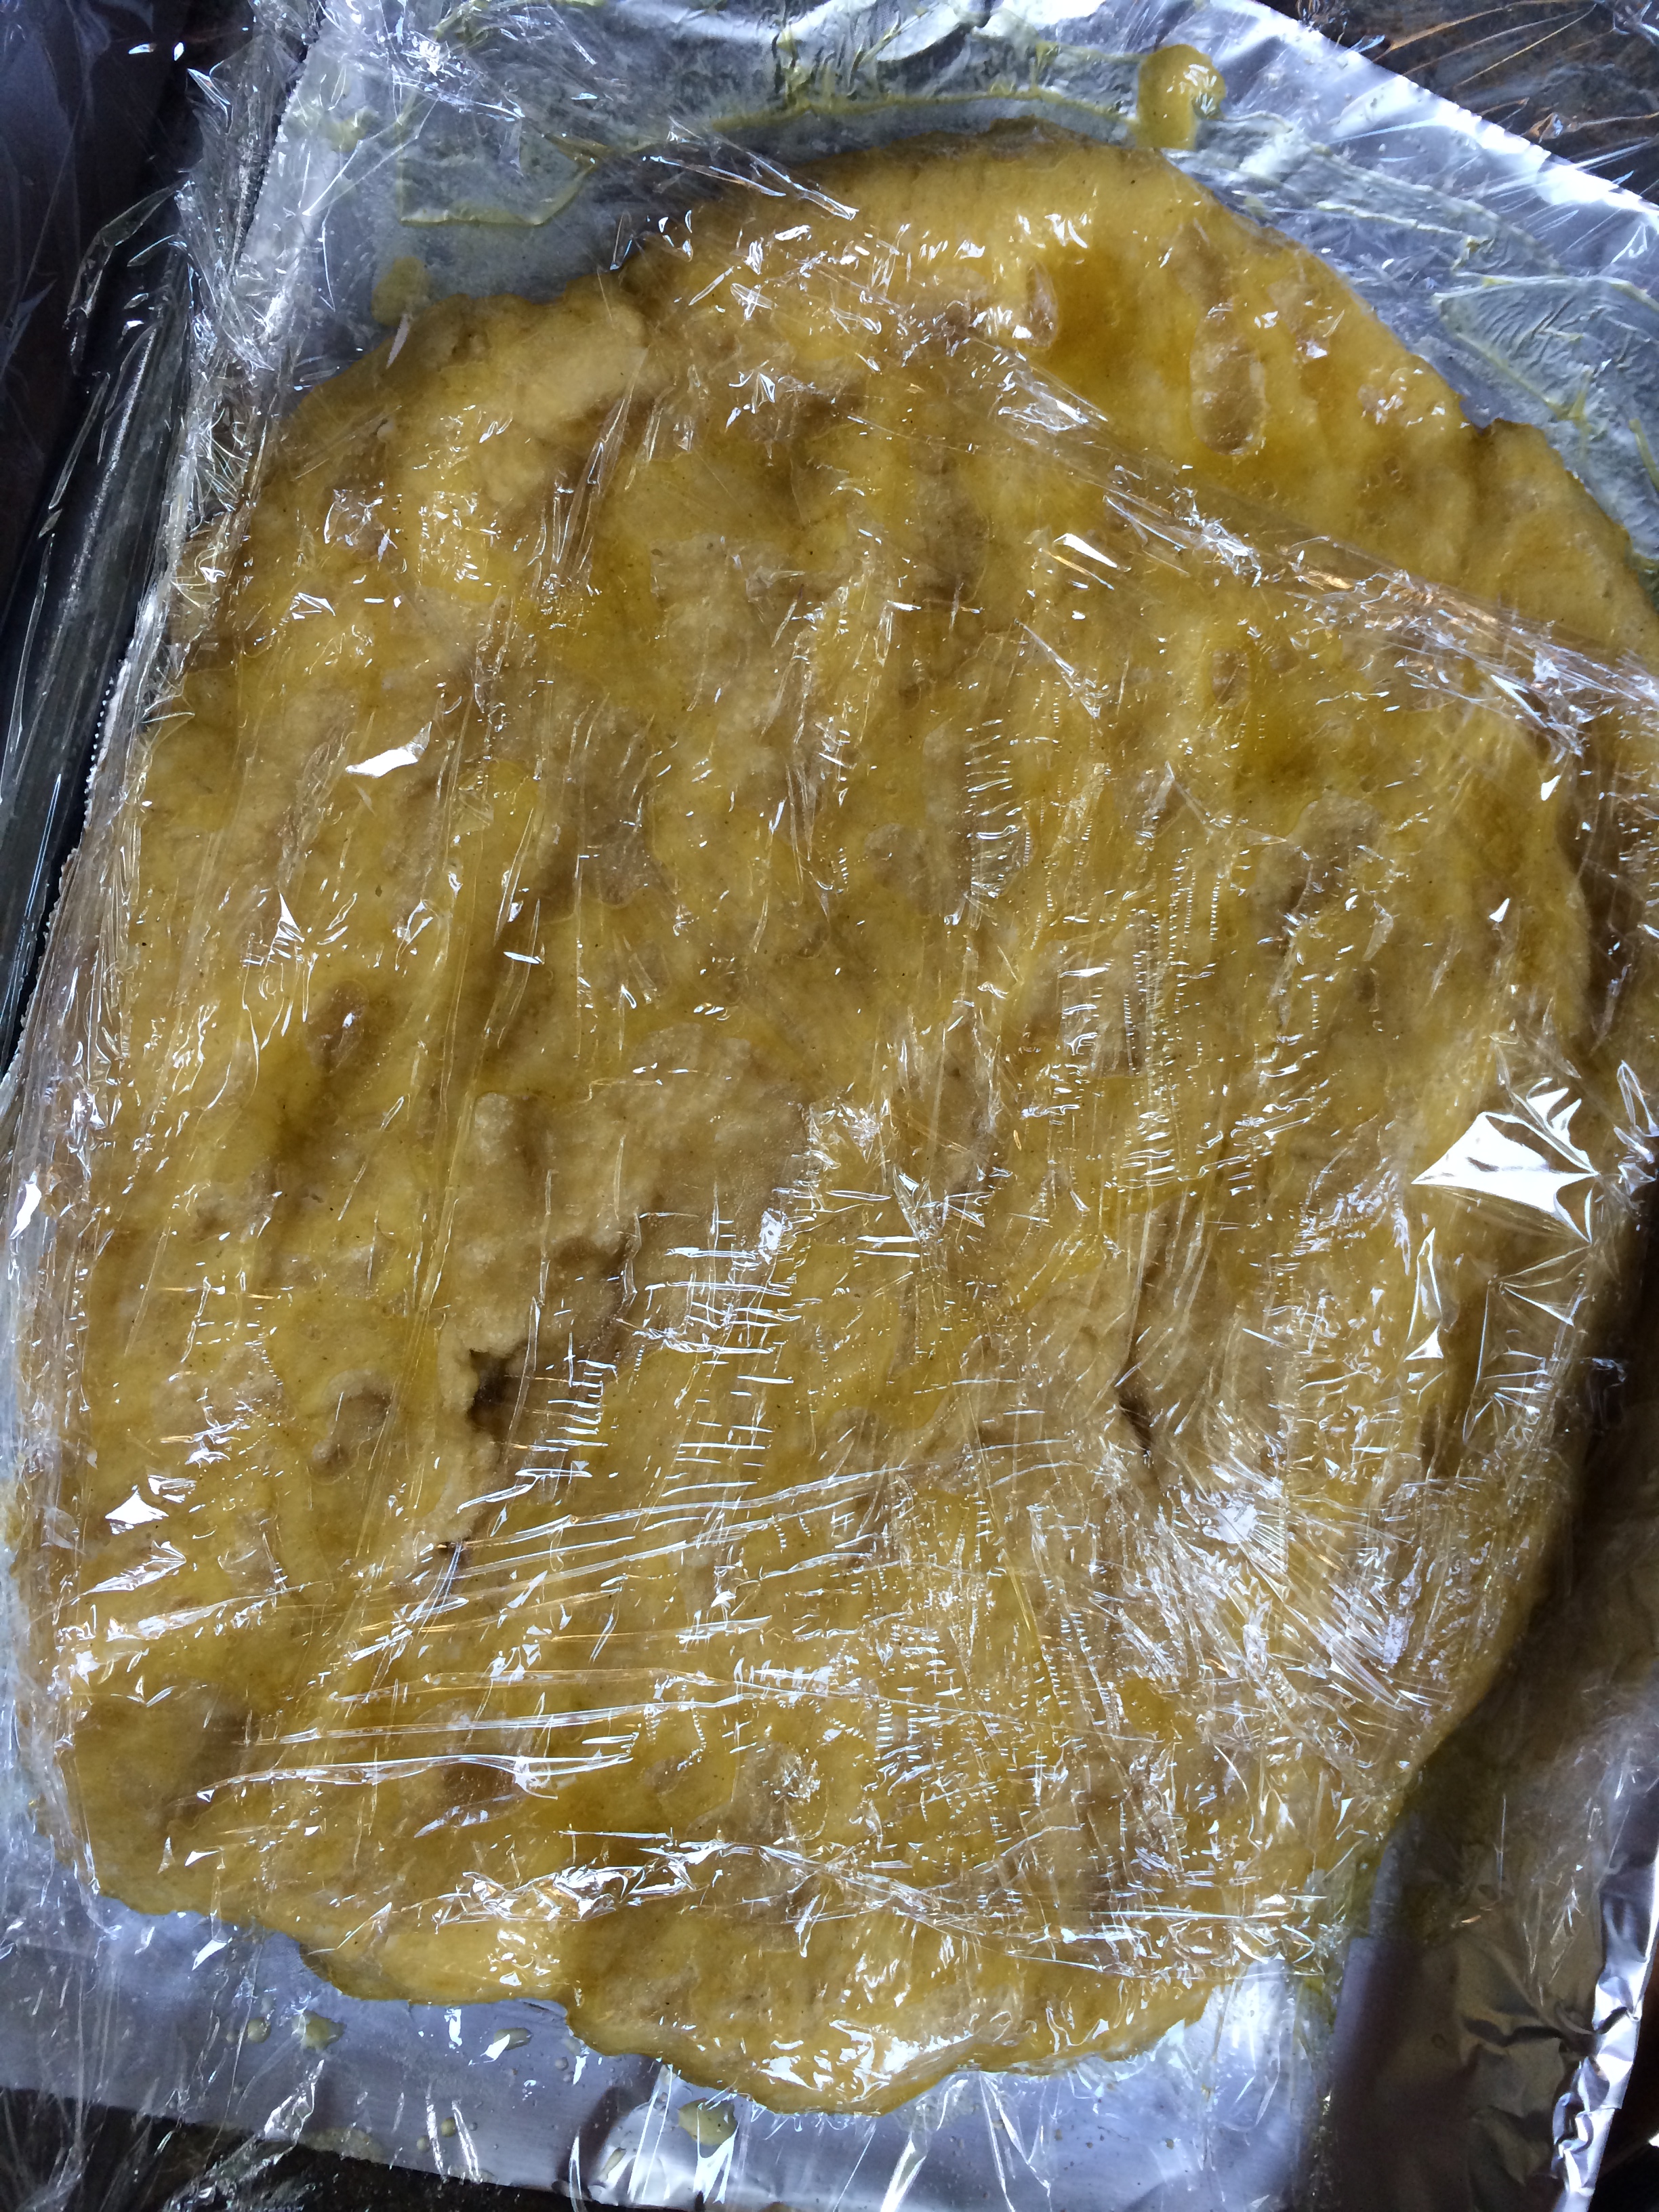
Line a small sheet pan with Reynolds non-stick aluminum foil. Spread the dough out to the desired thickness, and then brush lightly with olive oil. Cover with plastic wrap and let it rise for about 45 minutes.

Bake the dough in a pre-heated 450-degree oven for about 5 minutes. Remove and add tomato sauce and cheese and other toppings, then place back in the oven and cook another 5 minutes, until golden.

gluten pizza2


My wife liked the pizza. I could definitely pass on it. But I will keep tweaking recipes. I’ve heard that Bob’s Red Mill now has a brand new all-purpose baking flour, Bob’s Red Mill Gluten Free 1-to-1 Baking Flour, where they’ve removed the bean flours and added xantham gum to the mix. They also have a special Pizza Crust Mix.

It’s interesting that an Eastern European country that is as far north as Newfoundland has one of the most refreshing cold summer soups of any country in Europe. It’s a cold beet soup called Šaltibarščiai (pronounced shul-tih barsh-chay) and it’s classic Lithuanian cooking at its best.

No summer was complete without my Mom’s Šaltibarščiai on the table, and my Dad always insisted on eating it with boiled potatoes on the side. Now residing in an assisted living facility, my Mom has not had this soup in many years, so I made her a batch when she came to visit recently.

There are many different variations of this soup. For example, many Lithuanians today use keffir instead of buttermilk. My Mom insists this is a Russian influence and therefore not a good thing. I just think buttermilk tastes better.

securedownload


Ingredients:

1 quart buttermilk

4 hard-boiled eggs, peeled and chopped

3 cucumbers, peeled, seeded and chopped

8 beets, cooked, peeled and chopped

1 tablespoon finely chopped fresh dill

1 scallion, finely chopped, greens only

salt

a pile of boiled potatoes (optional)


Pour the buttermilk into a large bowl. If it’s very thick, you can dilute it a bit with fresh water.

Peel and chop the eggs and toss them in the bowl. Peel, seed and chop the cukes…then into the bowl.

I love Love Beets, hermetically sealed cooked and peeled beets, ready to use, available in most supermarkets. (In the old days, my Mom would simply use canned beets.) I open a couple of packs of Love Beets, pouring the beet juice into the bowl. I chop the beets and add them as well.

Grab some dill and chop it finely. Add it to the bowl. Finely chop the greens of one or two scallions and sprinkle some salt on them. Rub the salt into the scallions, mashing them a bit, softening them. Then add the to the bowl.

Stir everything together, put a lid on the bowl, and let it chill in the fridge for a few hours.

Remove from fridge, stir, and season with more salt if needed. Serve with boiled potatoes, if you like.


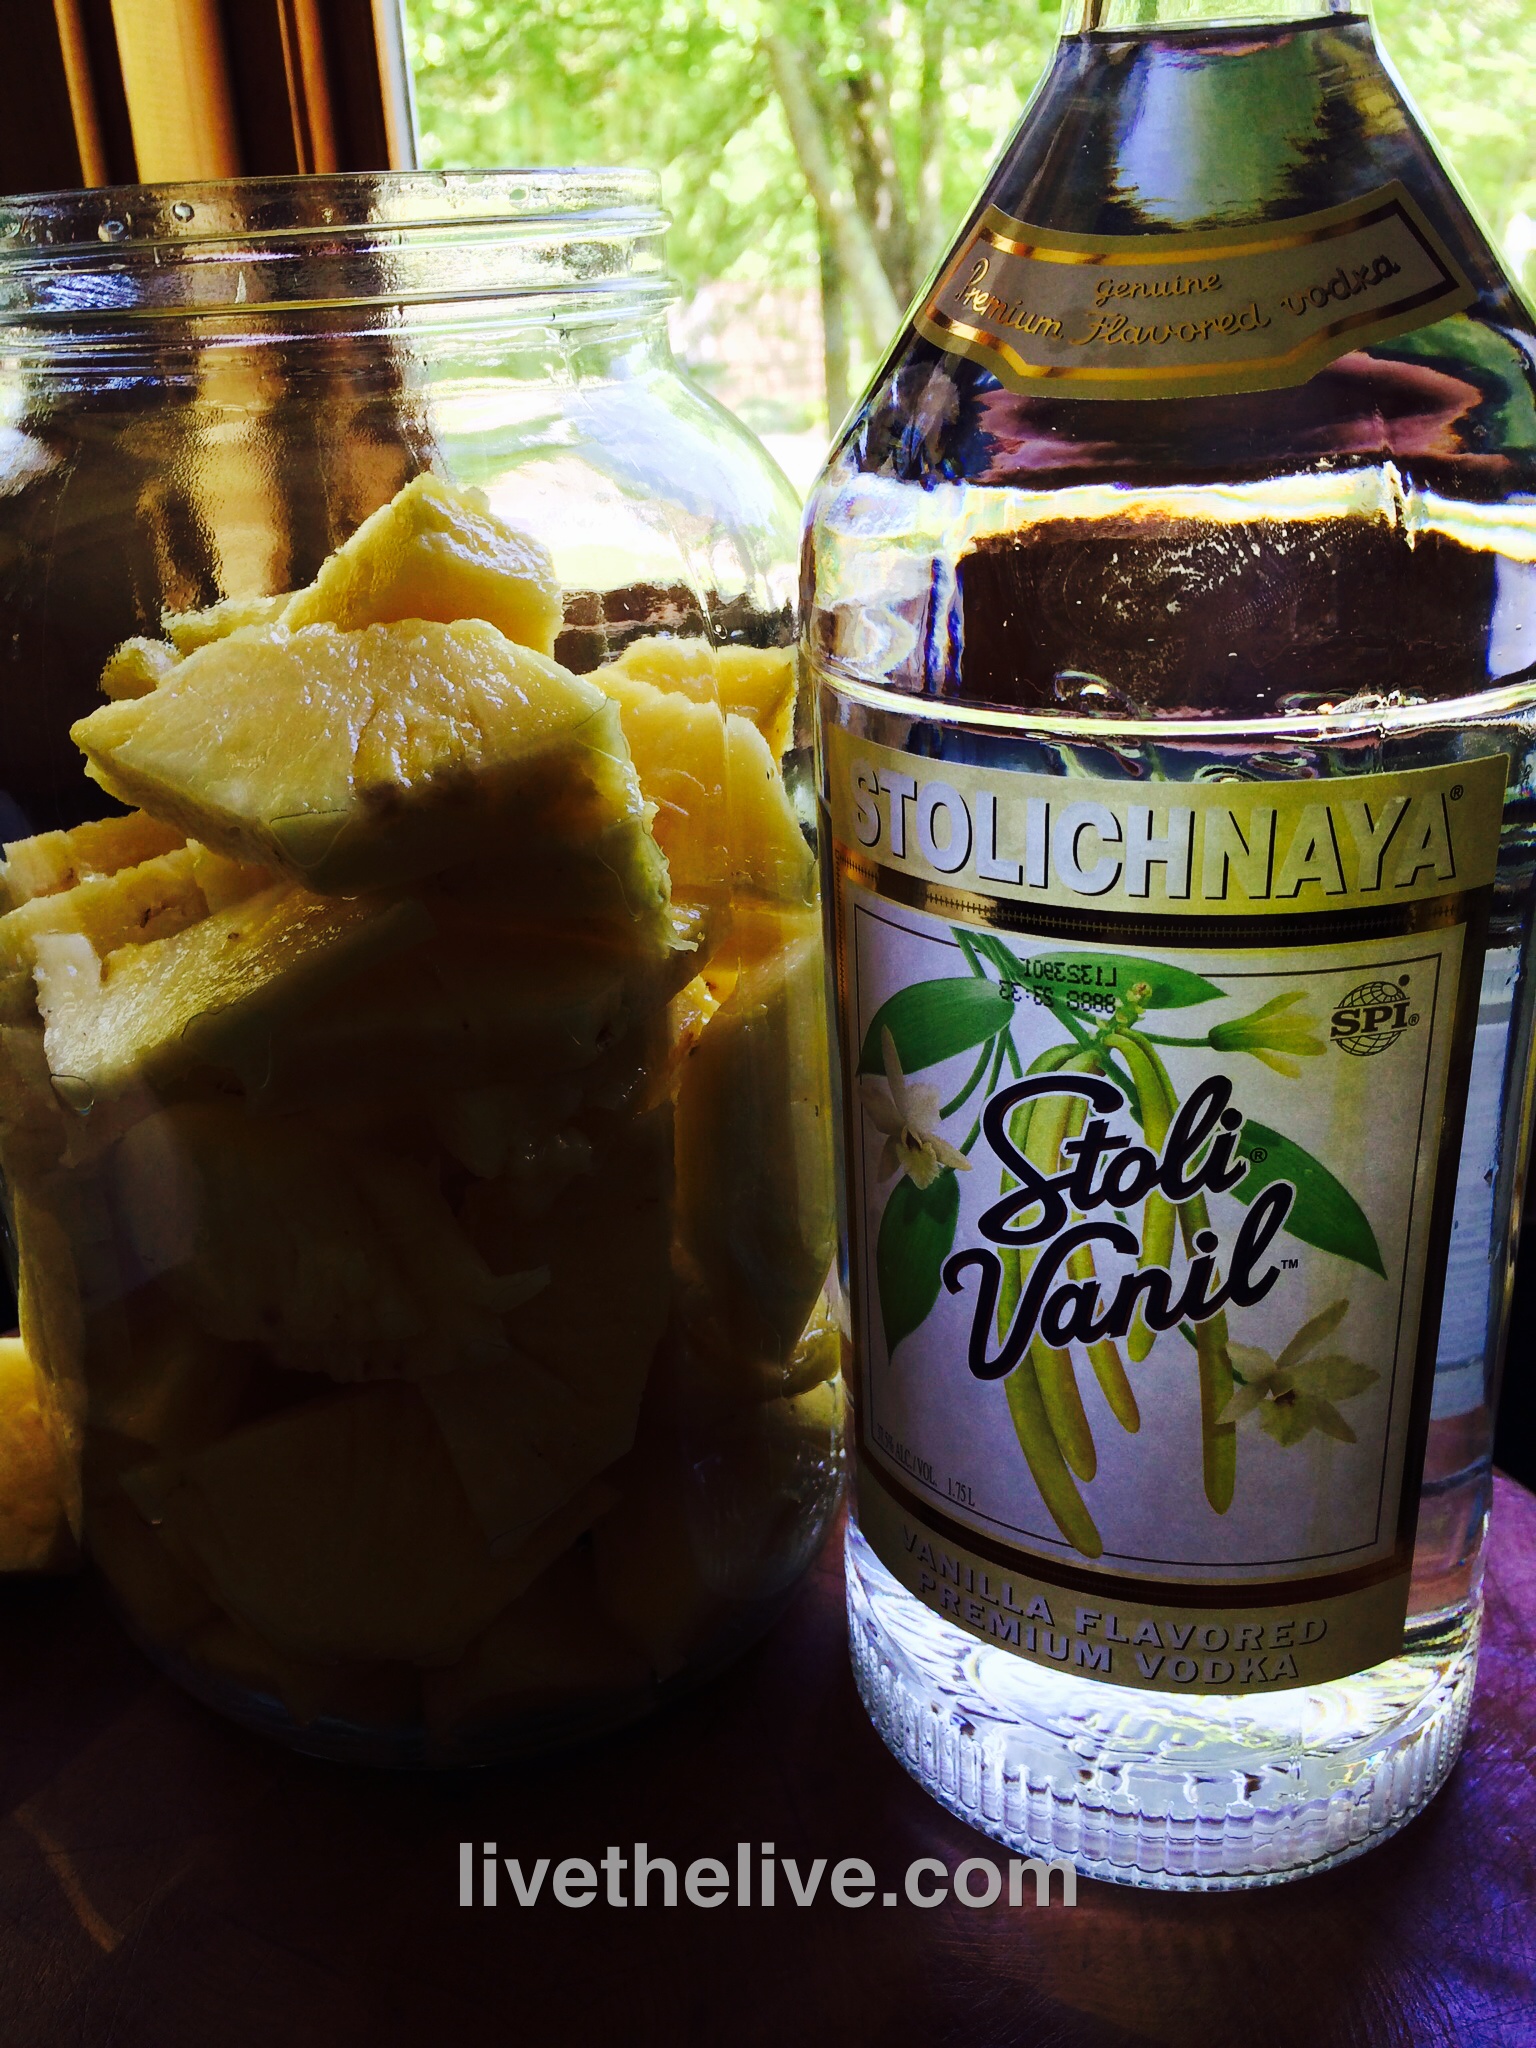
Inspired by the Stoli Doli cocktails at the Capital Grille, I tried to recreate that fabulous drink. But when I substituted Stoli Vanil for regular Stoli, I created something amazing. I call it Velvet Elvis.

Making my Velvet Elvis is incredibly easy and rewarding…

Velvet Elvis

Ingredients:

1.75 liter bottle Stoli Vanil

2 fresh pineapples, peeled, cored and sliced


Place pineapple slices in a glass 1-gallon container. Pour in the vanilla vodka, making sure it covers the pineapple. Seal the lid tightly, and swirl around for a few seconds.

Place the container away from light on a shelf at room temperature for 3 weeks.

At the end of the weeks, strain the liquid, and squeeze out as much as you can from the pineapple slices as well. Discard the used pineapple slices.

Enjoy Velvet Elvis on the rocks.

I don’t have the patience to boil Mason jars and lids and all that crap. But I love me my pickles, especially when I’ve got a cucumber surplus in the garden.

This is such an easy way to make great pickles, it’s almost unbelievable…and no water is needed! The salt extracts just enough moisture, like when curing meat, to make it work.

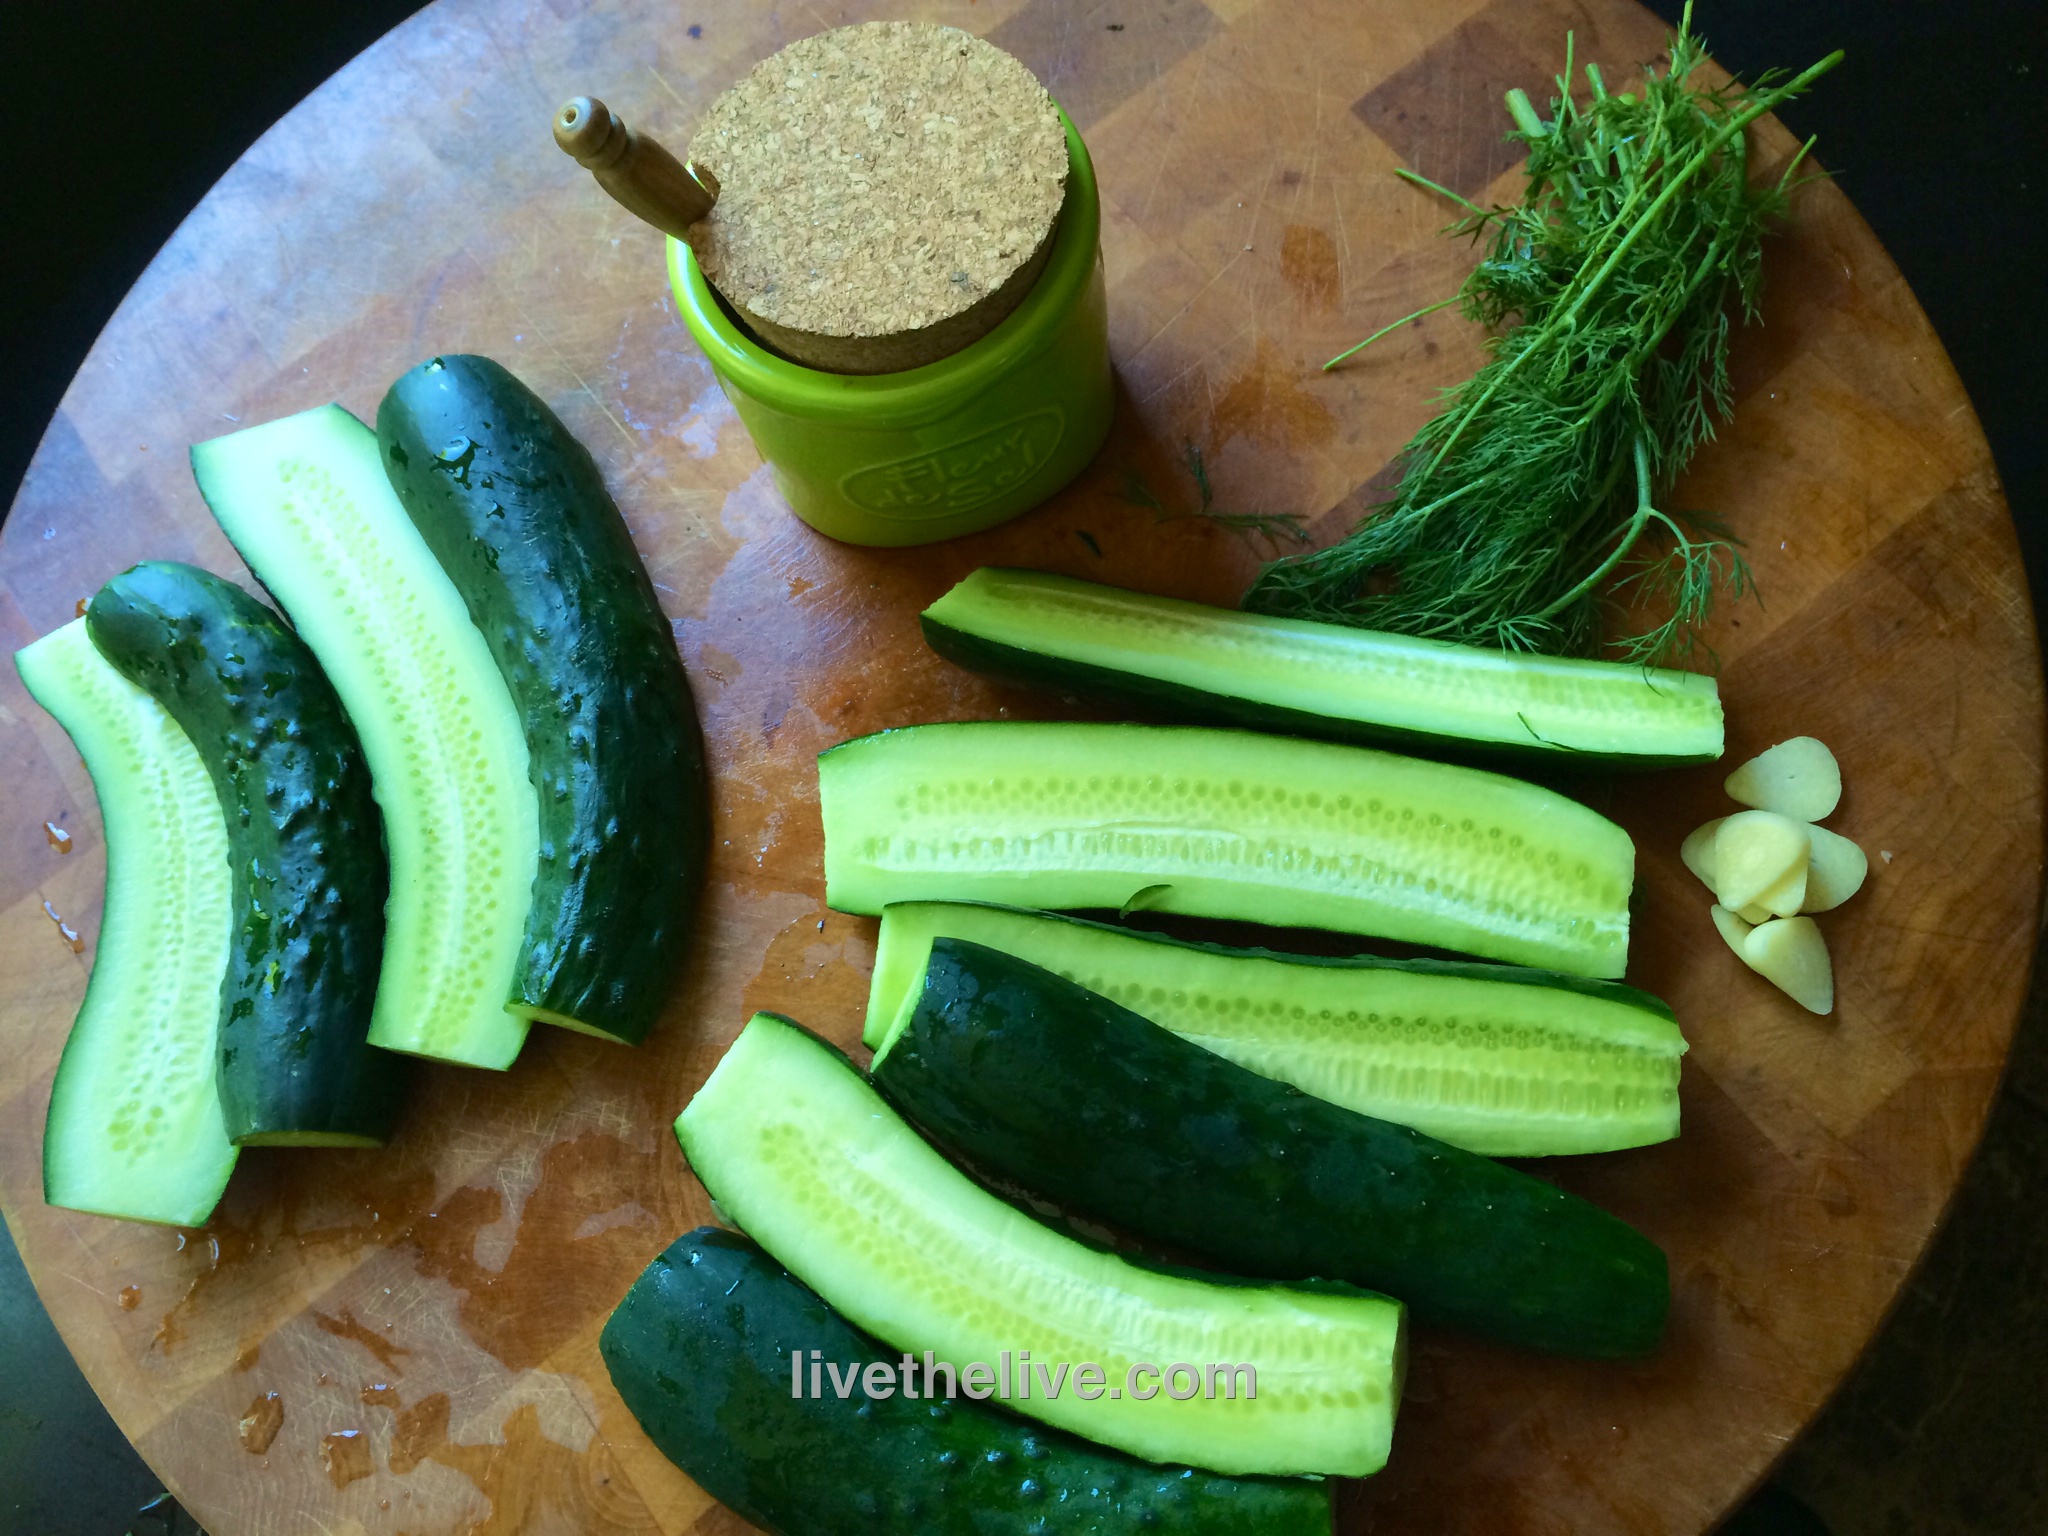
pickles


Ingredients:

6 fresh cucumbers

1 1/2 teaspoons sea salt (I like Fleur de Sel)

handful of fresh dill

1 clove garlic, thinly sliced


Get a large plastic bag.  Add the salt, dill and garlic and gently mix everything in the bag.

Cut the ends off the cucumbers and then slice them lengthwise, in half or in quarters. Add them to the bag and gently mix again.

Squeeze to remove air from the bag, close it tightly and place it in the fridge overnight. The pickles will be ready to eat the next day, but they’re even better after 48 hours.


It seemed almost silly to try to make one…but the classic James Bond martini has always fascinated me. I’m not talking about the clichéd Sean Connery “vodka martini, shaken, not stirred.”  I’m talking about the real James Bond martini, which appeared in Ian Fleming’s first 007 novel “Casino Royale” and only appeared in the most recent “Casino Royale” movie starring Daniel Craig.
Bondtini
To quote the novel:
‘A dry martini,’ he said. ‘One. In a deep champagne goblet.’ ‘Oui, monsieur.’ ‘Just a moment. Three measures of Gordon’s (gin), one of vodka, half a measure of Kina Lillet.  Shake it very well until it’s ice-cold, then add a large thin slice of lemon peel. Got it?’ ‘Certainly, monsieur.’ The barman seemed pleasant with the idea. ‘Gosh that’s certainly a drink,’ said Leiter. 

Bond laughed. ‘When I’m … er … concentrating.’ he explained, ‘I never have more than one drink before dinner. But I do like that one to be large and very strong and very cold and very well-made. I hate small portions of anything, particularly when they taste bad. This drink’s my own invention. I’m going to patent it when I can think of a good name.’ 

He watched carefully as the deep glass became frosted with the pale golden drink, slightly aerated by the bruising of the shaker. He reached for it and took a long sip. 

‘Excellent,’ he said to the barman, ‘but if you can get a vodka made with grain instead of potatoes, you will find it still better.’ 

To quote the movie: http://youtu.be/Vc7n7yyXWsU

Bond named this drink the Vesper martini, after a female agent in the story.
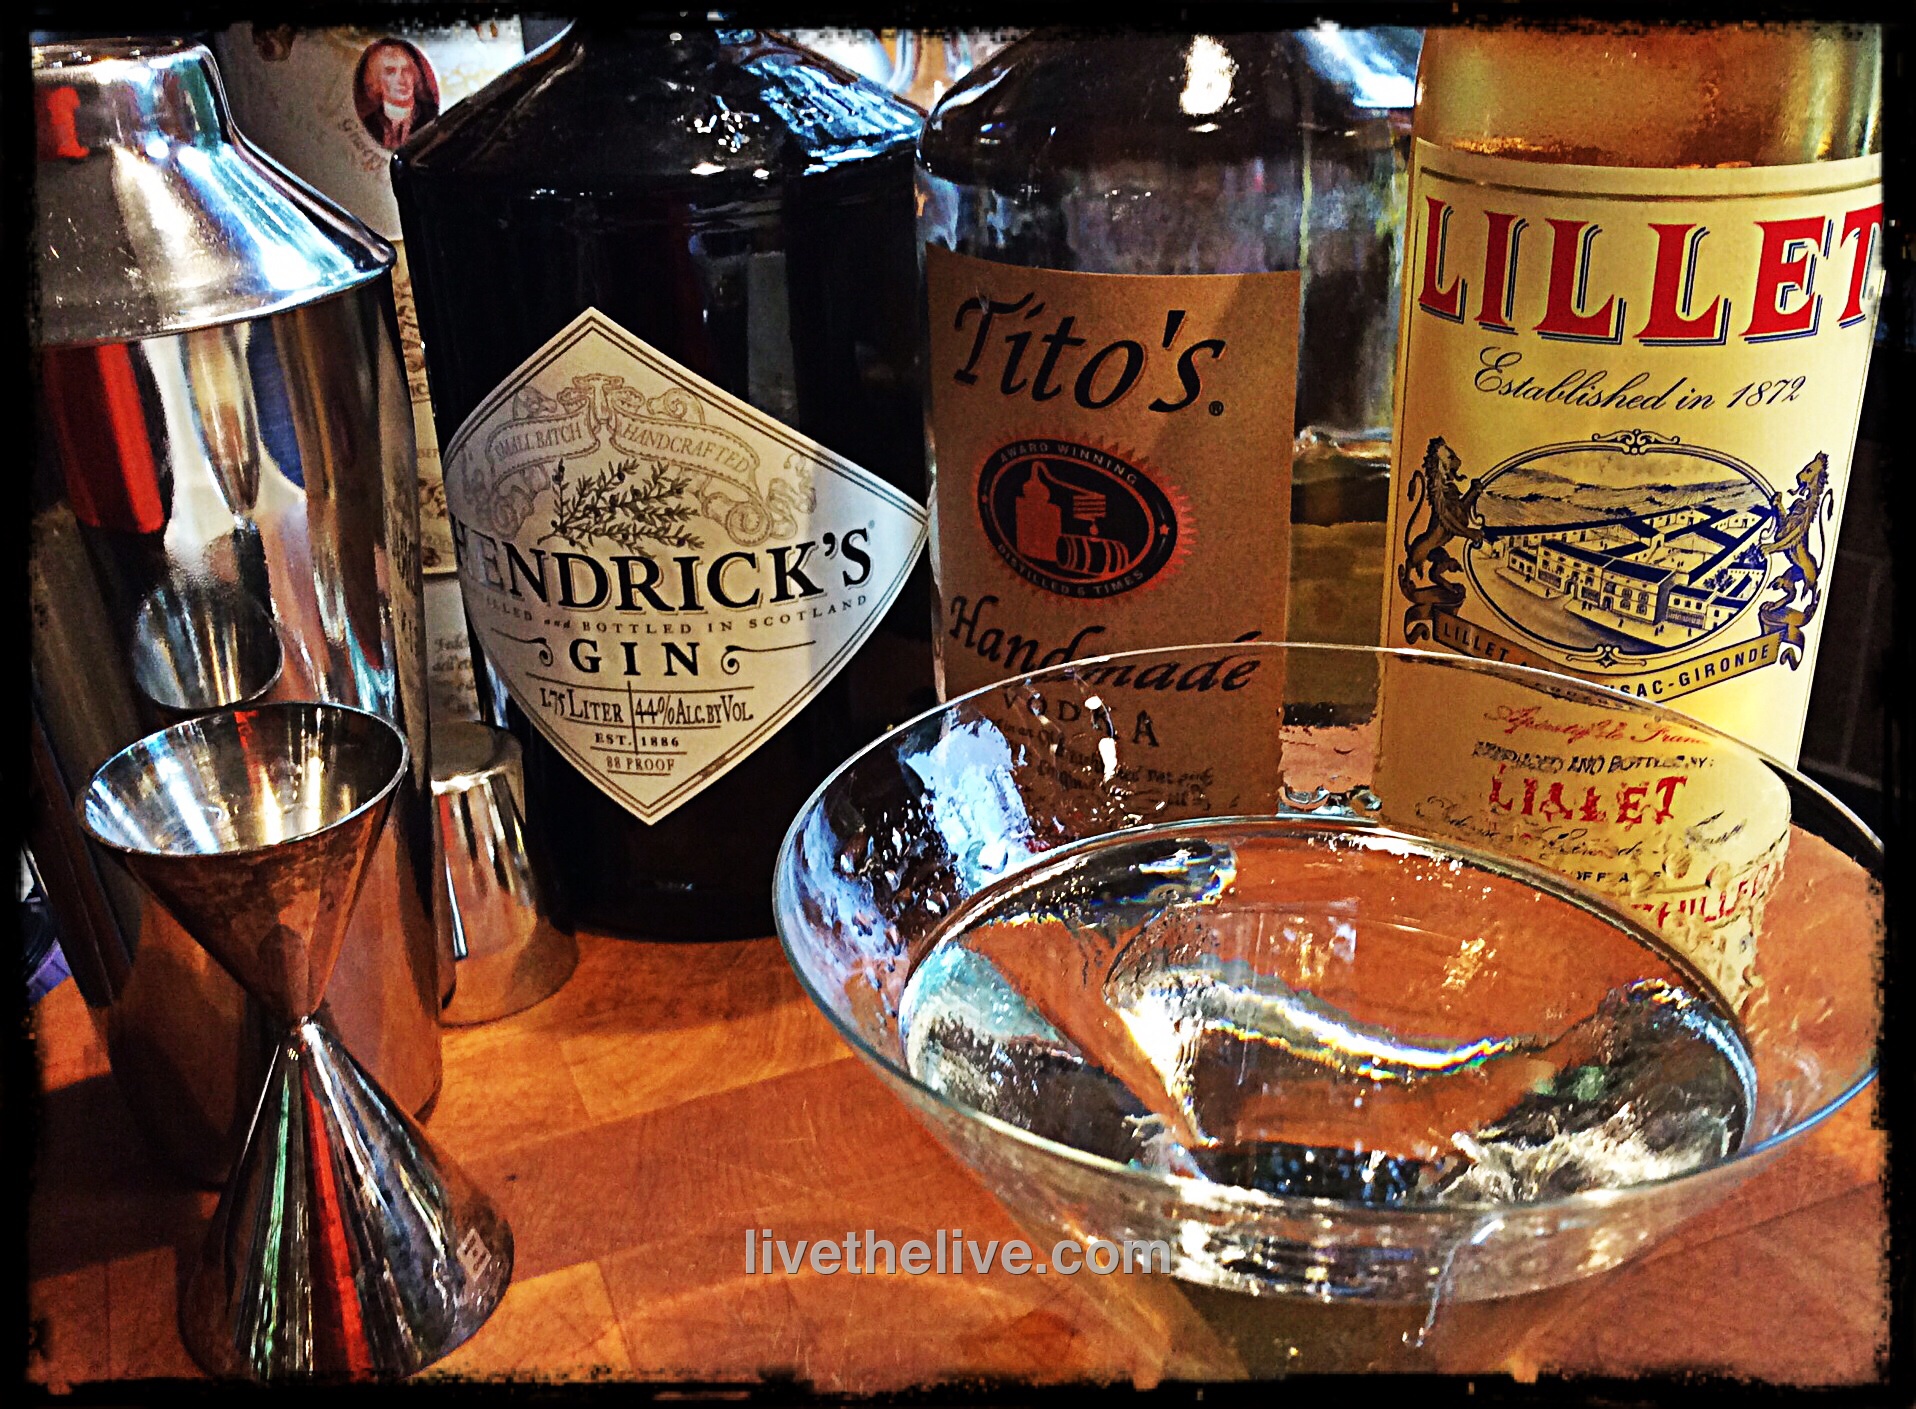
My version of this classic drink remains true to the original, though I’ve changed brands due to personal preference. In the novel, Bond just asks for “vodka.” (Of course, this was back in the 1950’s when we didn’t have 100 brands to choose from!) My choice for best-bang-for-the-buck grain vodka is Tito’s: it has just enough of an edge, which is what this drink needs, and it’s half the price of other grain vodkas, like Grey Goose.
Bond asks for Gordon’s gin. I’m partial to Hendrick’s, which adds wonderful floral notes to the drink.
And the original Kina Lillet has had its formula changed in the 1980’s to keep up with the times by reducing the quinine, which made it bitter. The French aperitif wine, Lillet, is today’s version: a blend of wine grapes, oranges, orange peels and quinine. Lillet is not a vermouth, though you’ll find it in the vermouth section of your favorite liquor store. Some aficionados claim the martini is just not the same without the original Kina Lillet formulation, but I find that the drink works just fine for me.
ingredients again
So…measurements true to Bond:
3 oz Hendrick’s
1 oz Tito’s
1/2 oz Lillet
I prefer combining these over ice in a cocktail shaker, and I stir, not shake.
I strain it into a chilled martini glass and I skip the lemon peel. I prefer three olives instead…stuffed with garlic, if my wife is away on a business trip!
Bondtini2
A side note: the correct pronunciation of Lillet is Lih-LAY. Grammatically in French, the double-l would make it sound like Lih-YAY. So to keep that from happening, they spelled it Lilet for a while until the French were used to the correct pronunciation, then they went back to Lillet on the bottle.

Since I’m busy tasting many bourbons these days, I’ve got some leftovers that may not make a great cocktail but would work great for a sauce. I had Maker’s Mark sitting around, so I came up with this sauce to use it up!

image

 Ingredients:

5 lbs St Louis style pork ribs

salt and pepper


For the sauce: 

1/4 cup honey

1/4 cup bourbon

zest and juice of 1 lime

zest and juice of 1 lemon

zest and juice of 1 orange

2 tablespoons Hoisin sauce

1 tablespoon Dijon mustard (I use Maille)

1 tablespoon soy sauce

2 teaspoons Worcestershire sauce

1 teaspoon chili oil

image

Season the ribs well with salt and pepper and cook in a smoker for 3 hours at 25o degrees, using hickory chips.

While ribs are smoking, combine sauce ingredients in a sauce pan, bring to a boil, then lower to medium heat and reduce the sauce by half until it thickens. Stir often, and don’t let the honey foam up and spill over the top.

Pre-heat oven at 250 degrees.

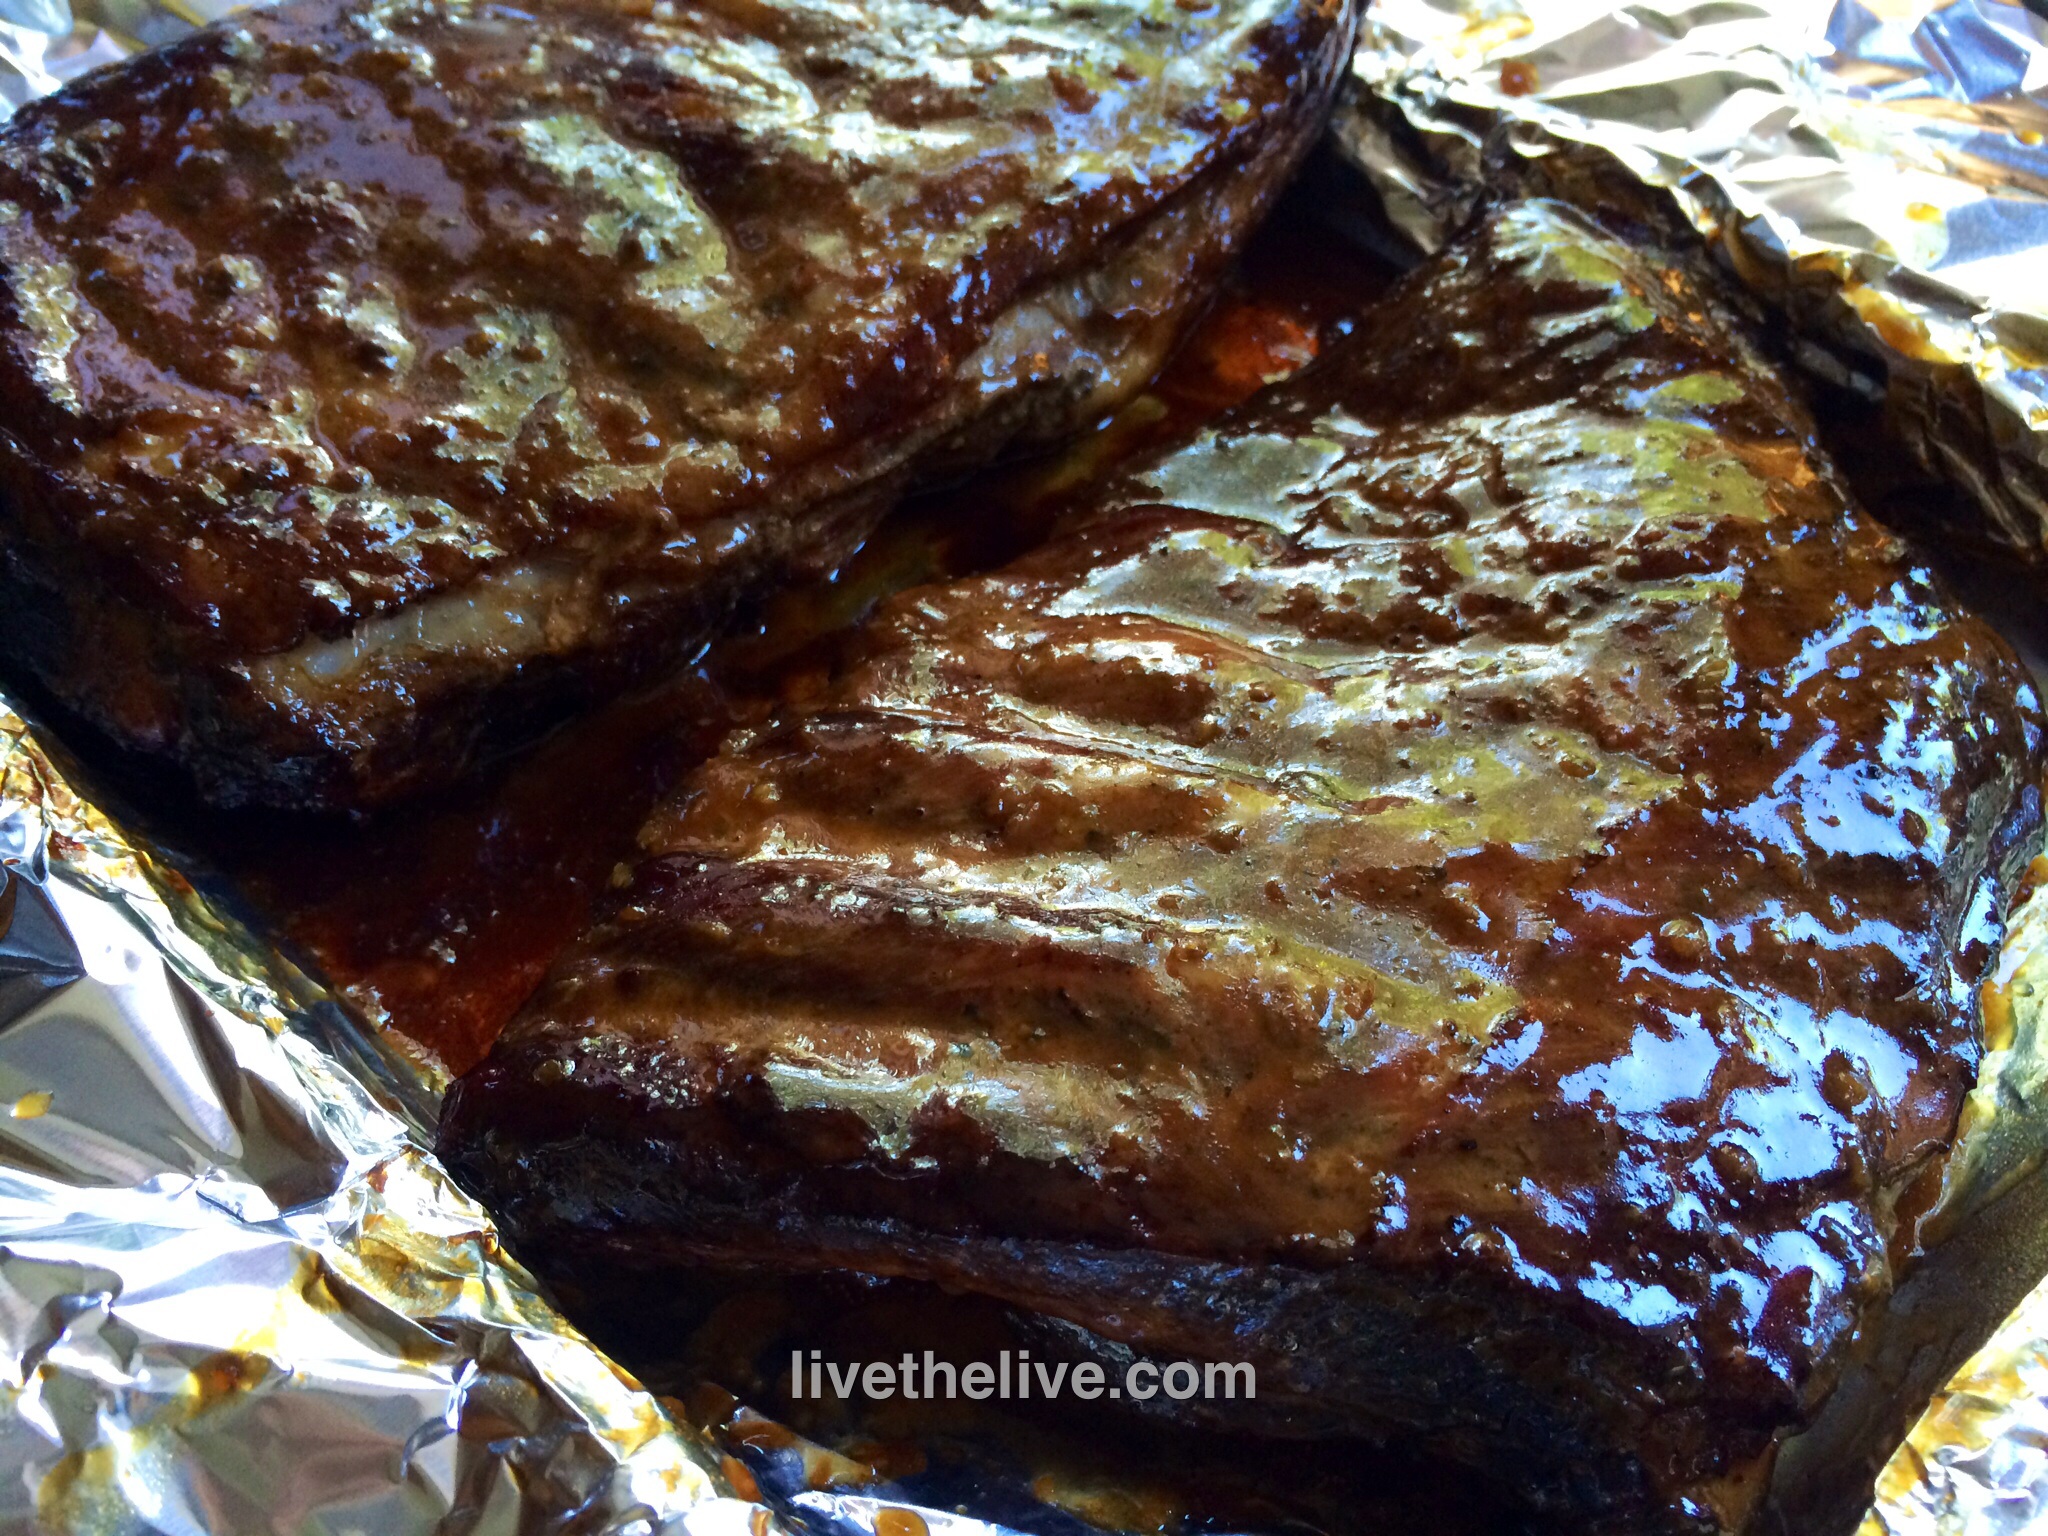
Remove ribs from the smoker and place in a sheet pan that is lined with aluminum foil, with enough foil to wrap around the ribs. Brush the ribs on all sides with the sauce, stacking no more than 2 sets of ribs on top of each other, and then wrap with foil.

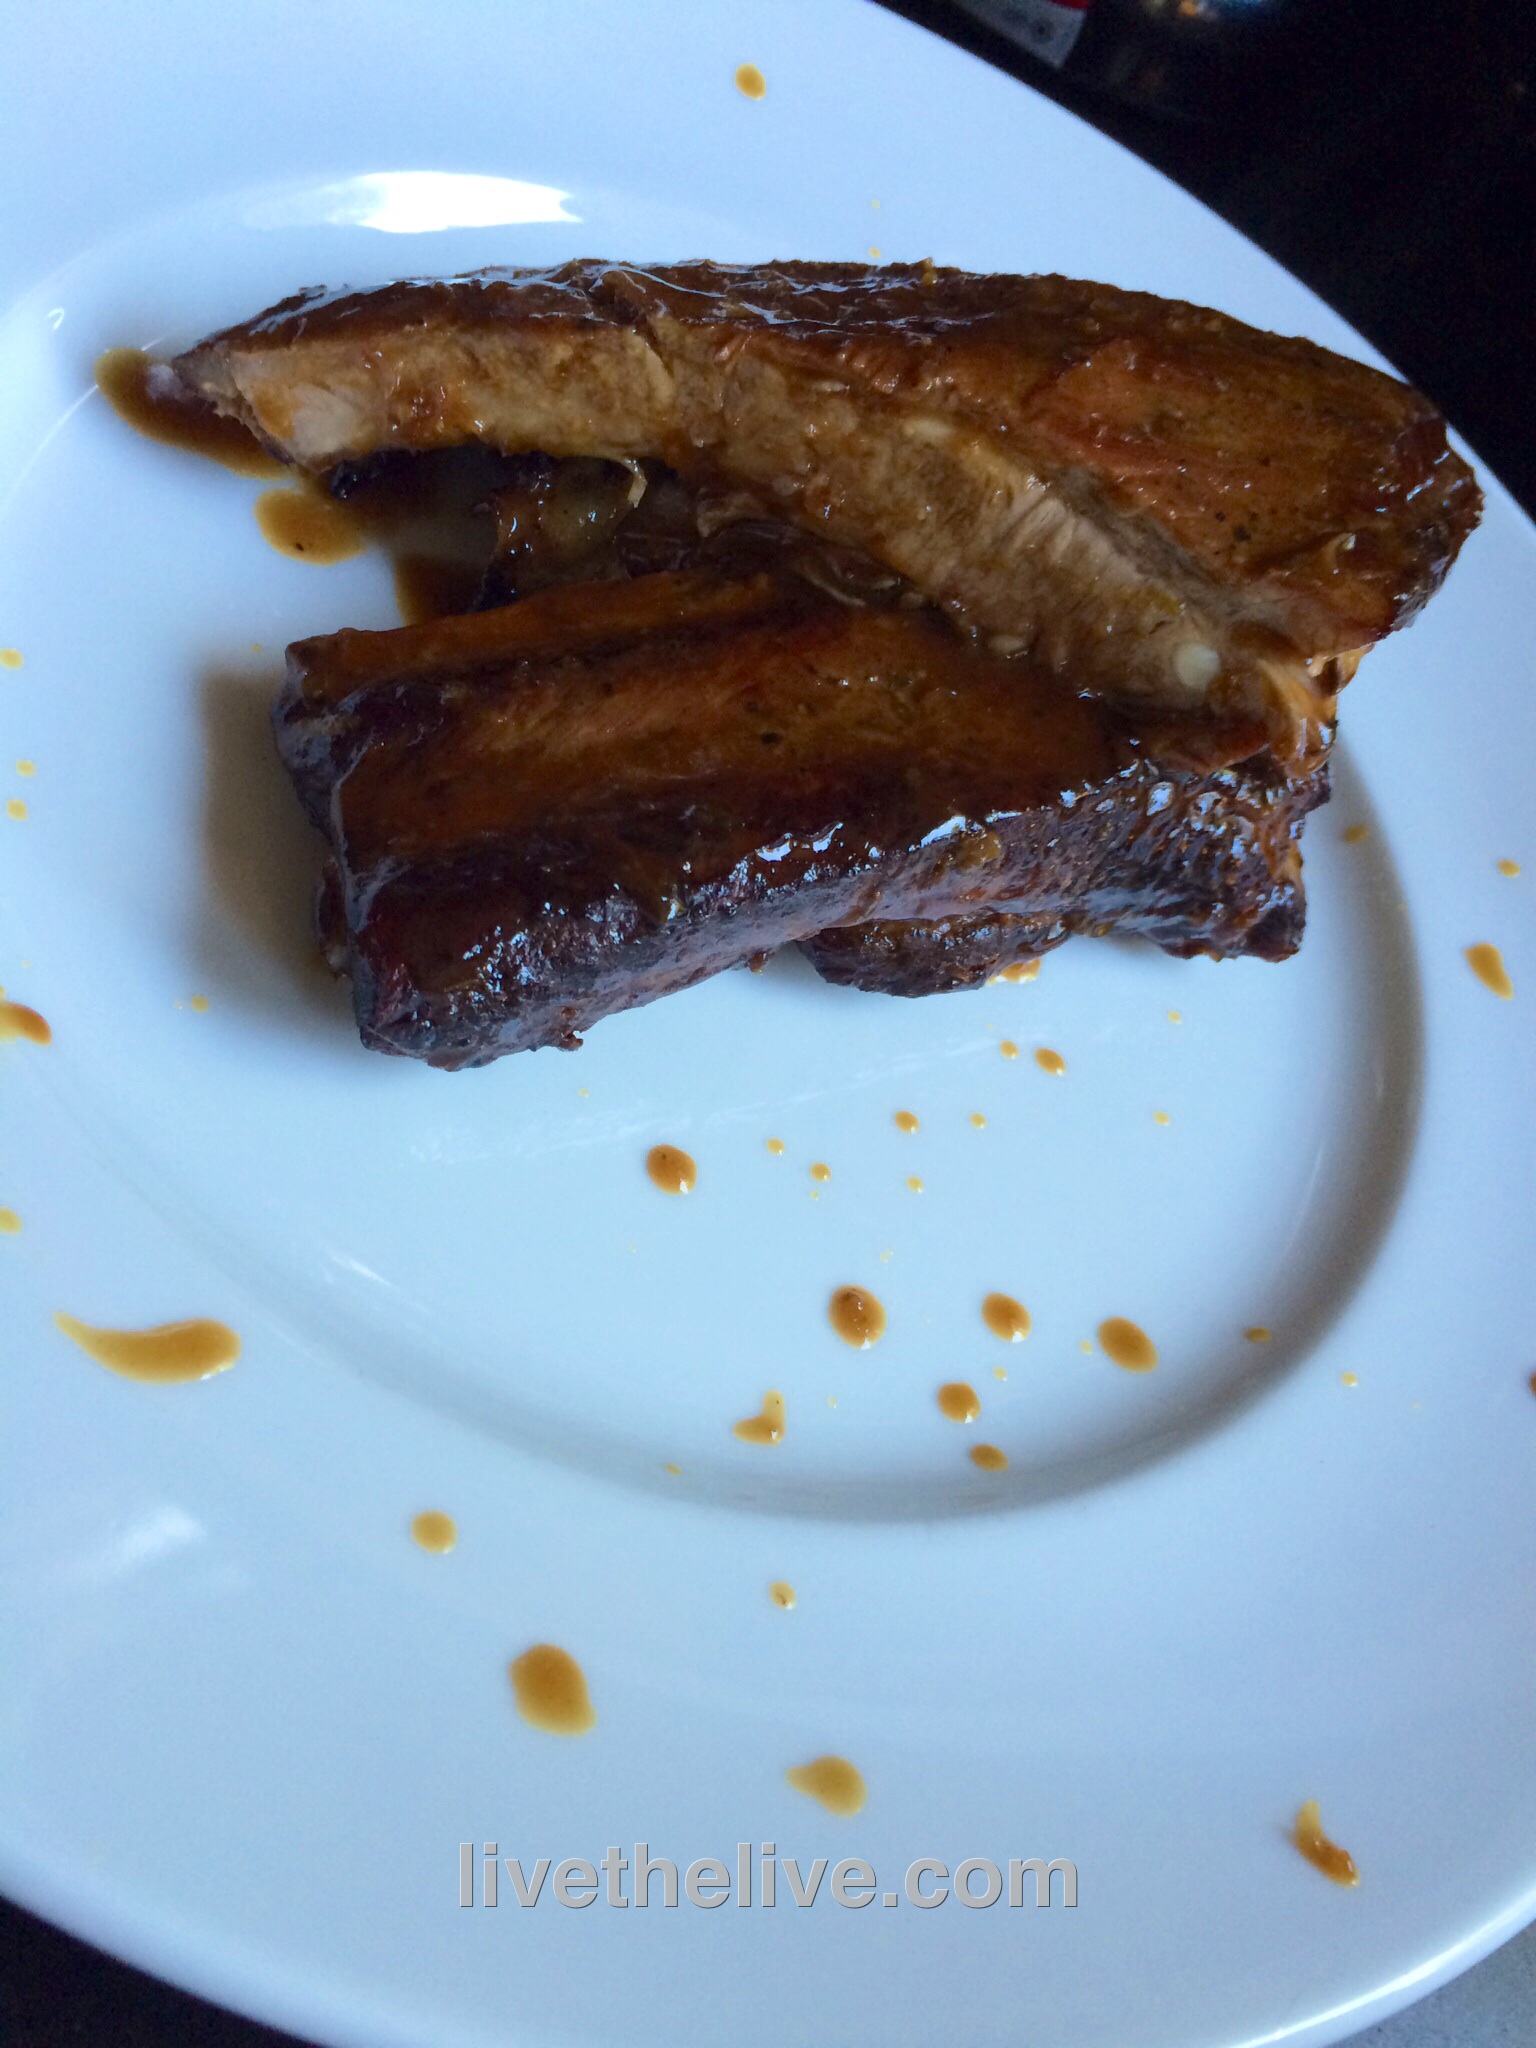
Cook in the foil for 2 more hours, until tender.