I recently bought a one-pound bag of wild-caught American shrimp and had this craving for a poboy. Just so happened that the night before, I made myself a pizza, and I took part of the pizza dough, rolled it into the shape of a torpedo roll, and then baked it, saving it for a sandwich the next day.
I thought a slaw would go really well with the fried shrimp on the sandwich, so I graded some carrot and thinly sliced some cabbage, and I combined it with some leftover Alabama white barbecue sauce that I had in the fridge. It sounds crazy, but the ingredients in the sauce work perfectly for a coleslaw: mayo, vinegar, etc. Not only would the slaw add crunch to the sandwich, the Alabama sauce, with its acidity, would take the place of a remoulade for the shrimp.

All I needed now was to dredge the shrimp and fry it, to put the sandwich together.
Once the shrimp was thawed, I took eight of them (it was a package of medium-sized shrimp that came 32 or so to a pound) then I patted them dry with a paper towel, setting them aside.
I was ready to start putting this bad boy together.… Or I should say, Po boy.
First, the slaw…
1 medium carrot, grated
1/2 small cabbage, thinly sliced1 cup mayo
4 tablespoons sour cream
4 tablespoons white vinegar
2 teaspoons Dijon mustard
1 teaspoon black pepper
1 teaspoon granulated garlic
1 teaspoon granulated onion
1/2 teaspoon salt
1/2 teaspoon sugar
Place the carrot and cabbage in a large bowl. In a separate bowl, mix the other ingredients well. (Technically, Alabama white sauce uses buttermilk instead of the sour cream, but that’s what I had in my fridge, and it’s delicious with it!) Pour as much of the Alabama white sauce into the veggies as you like, depending on whether you like a wetter or drier coleslaw.
Set the coleslaw aside in the fridge, covered, until you’re ready to use it.
Save that extra Alabama white sauce for your next batch of grilled chicken!
Slice the torpedo roll in half lengthwise, and lightly toasted. Set it aside.
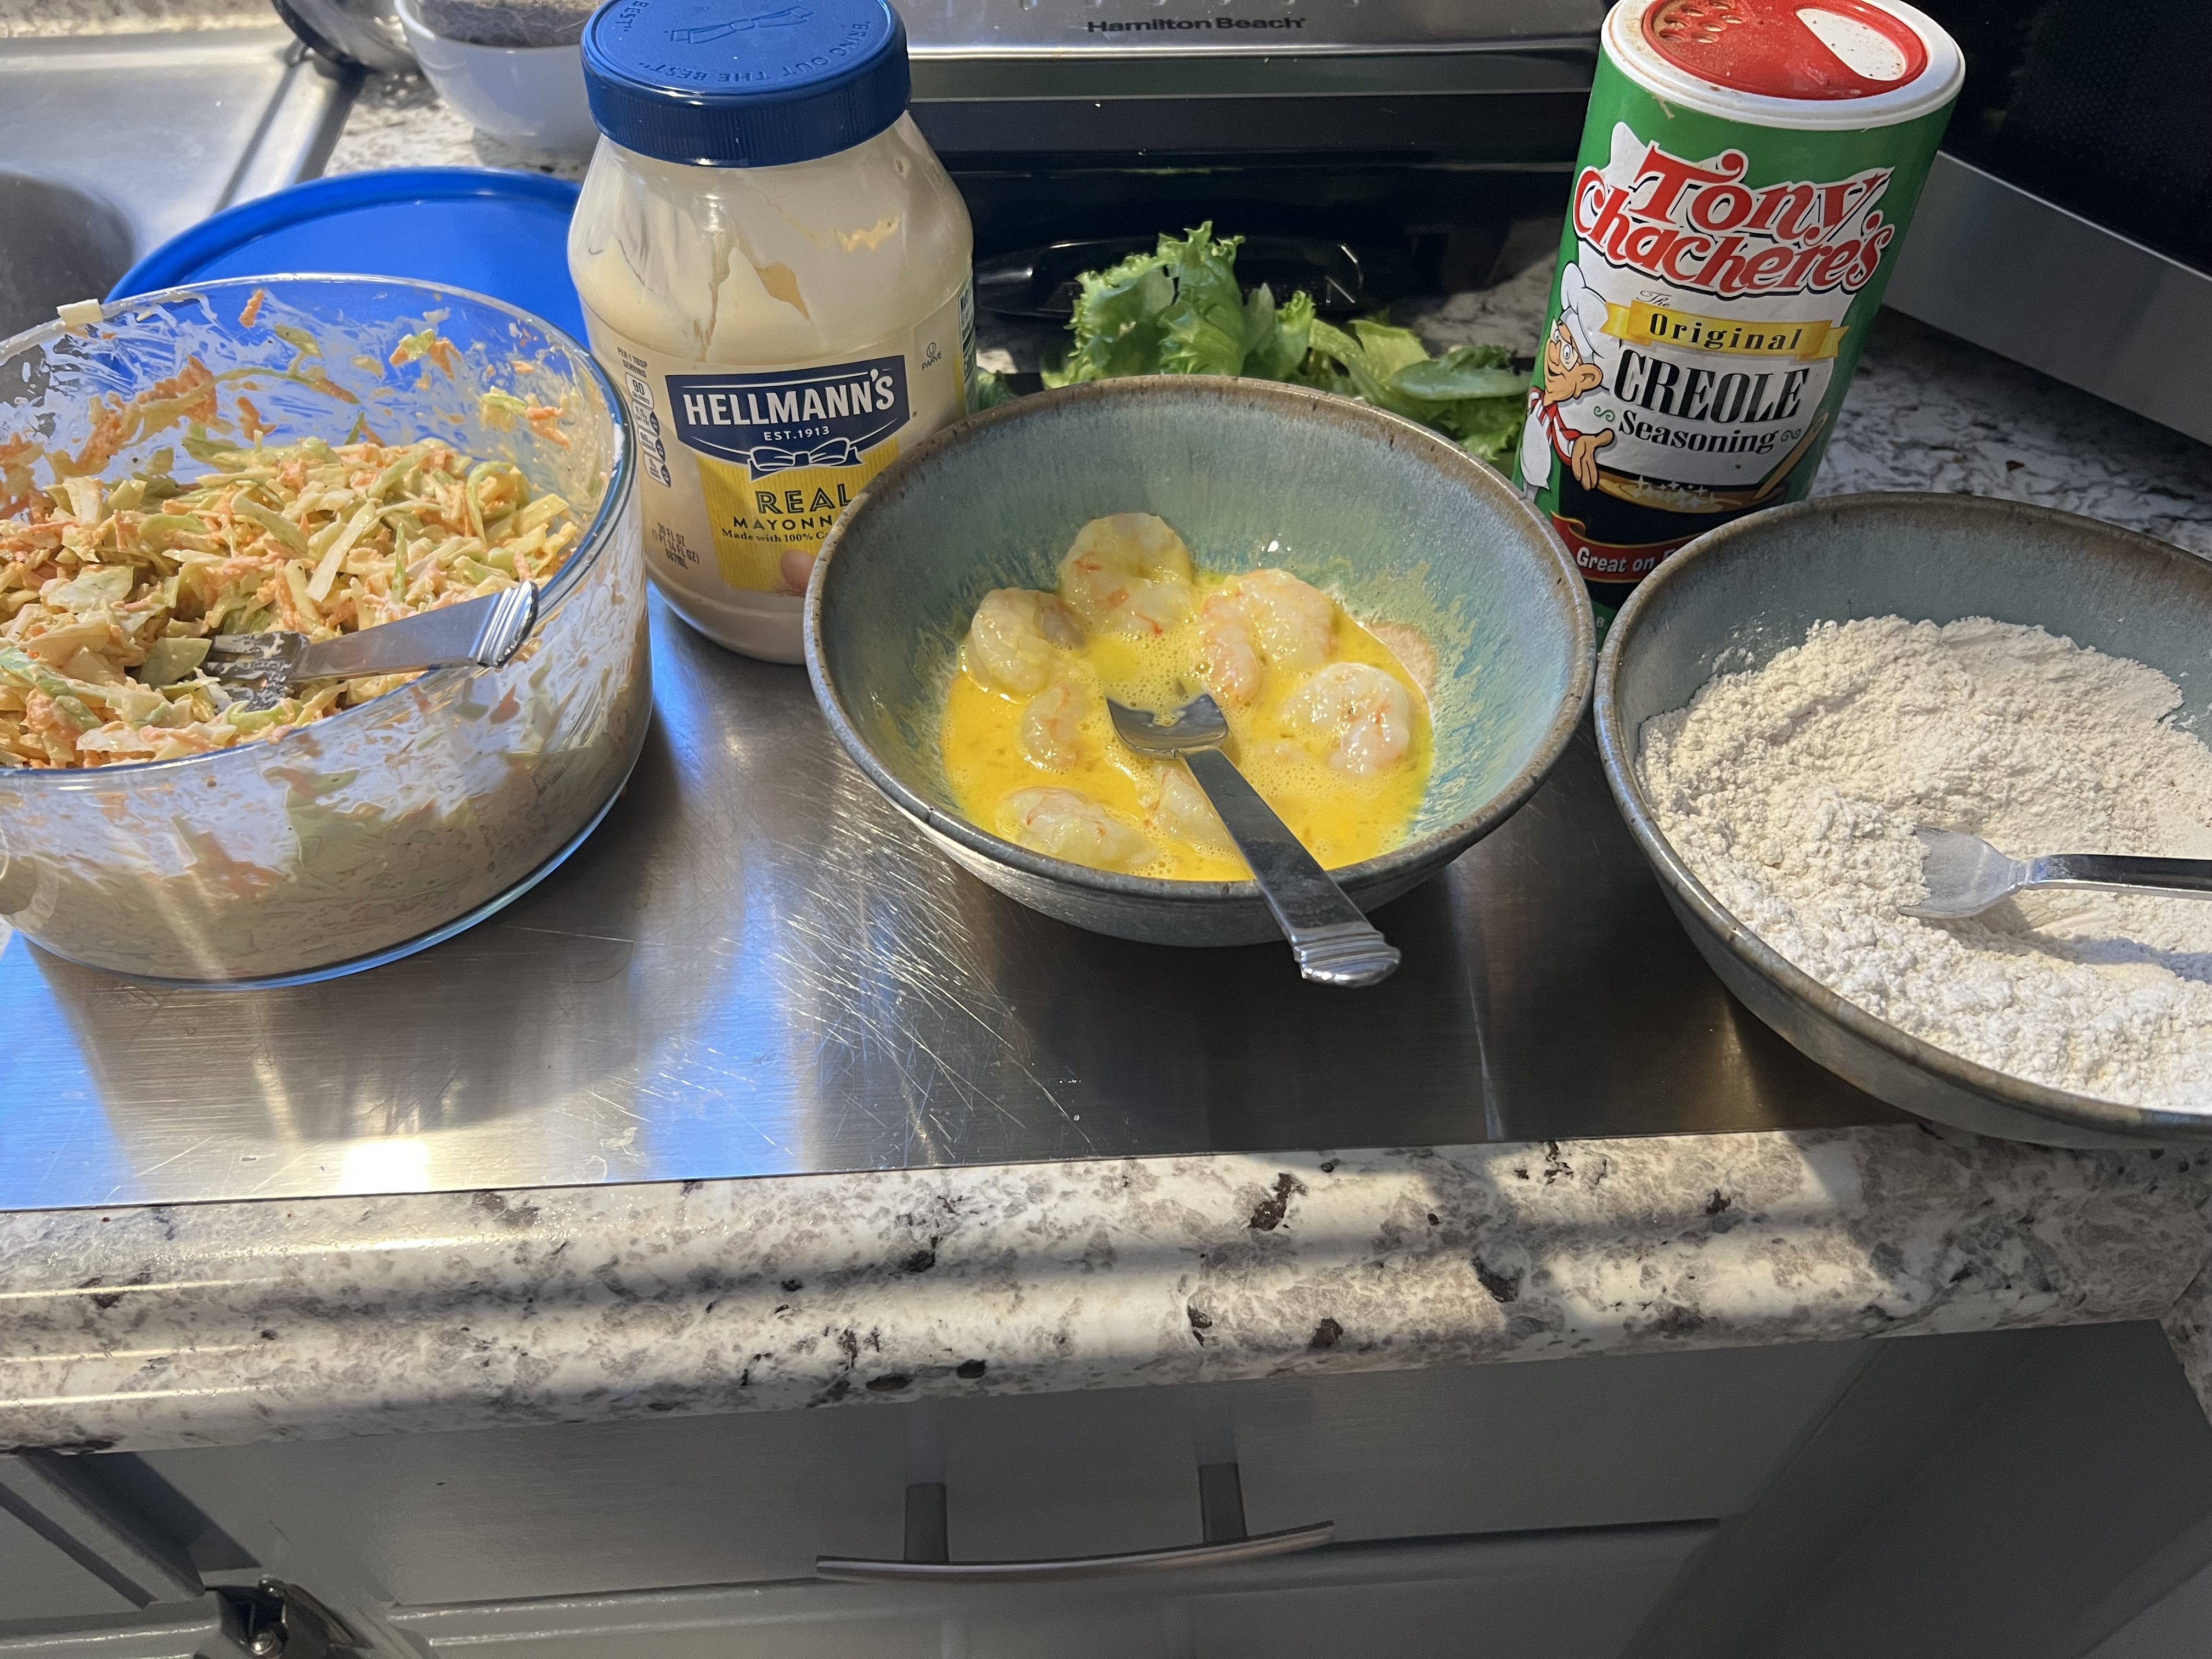
1 egg, scrambled
1 cup rice flour
1 tablespoon Tony Chachere’s Cajun seasoning
In one bowl, scrambled the egg. Drop the shrimp in there, and toss them around.
In a second bowl, combine the rice, flour, and the seasoning.
Take the egg-covered shrimp, and drop them into the seasoning bowl and toss around until they’re well coated. Fry them in a pan of avocado oil until they’re golden and cooked through. Drain them on paper towels.
To assemble my Poboy sandwich, I put some mayo on both sides of the bread. Then I placed a nice thick layer of the coleslaw. Then the shrimp on top of that. And then, for even more crunch, I covered it with some baby lettuce.
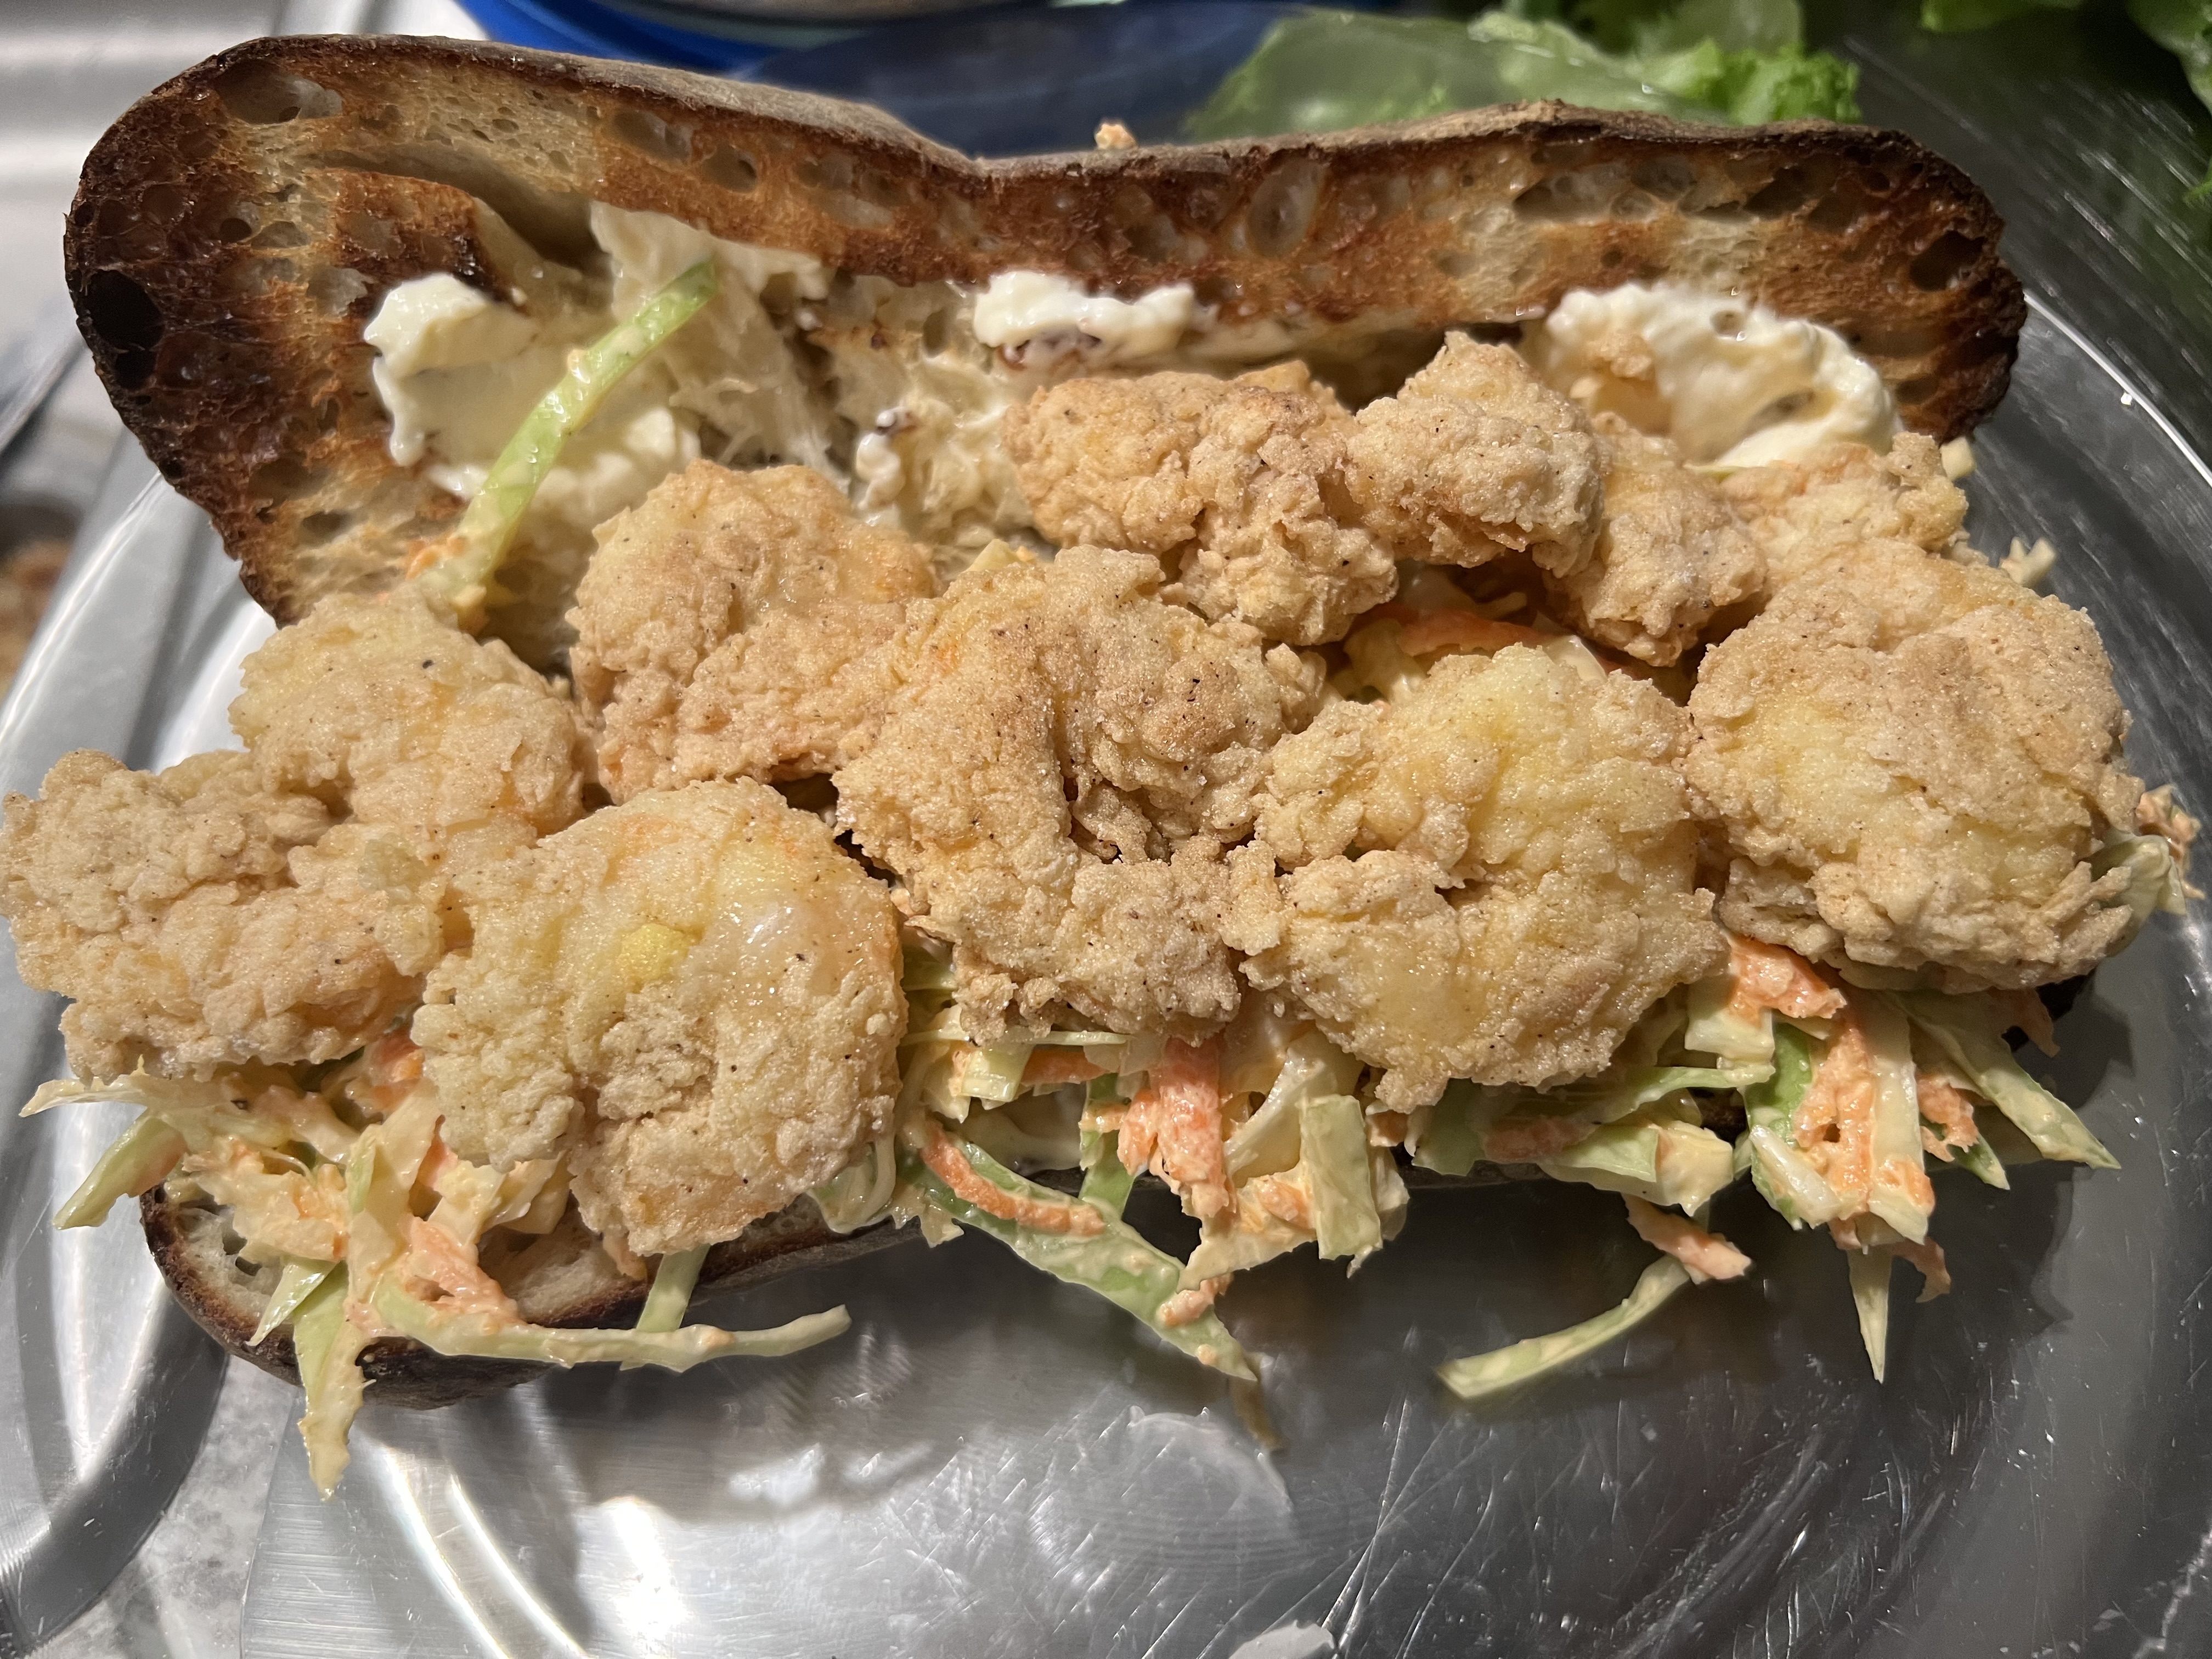
That Poboy is now good to go!