Happy Father’s Day! I think it’s time to grill some oysters!
It’s been a few years since I visited New Orleans, and it was great to see that many of the old food destinations were still there: the Napoleon House, Café Dumonde, Acme Oyster House, and across the street from it: Felix‘s Oyster House.
My friend, Rick, told me I had to try the char-grilled oysters at Felix‘s. He hadn’t been there, but he read a lot about them and they were supposed to be amazing. Well, that’s all the encouragement I needed, and I made a beeline to Felix’s that very day.
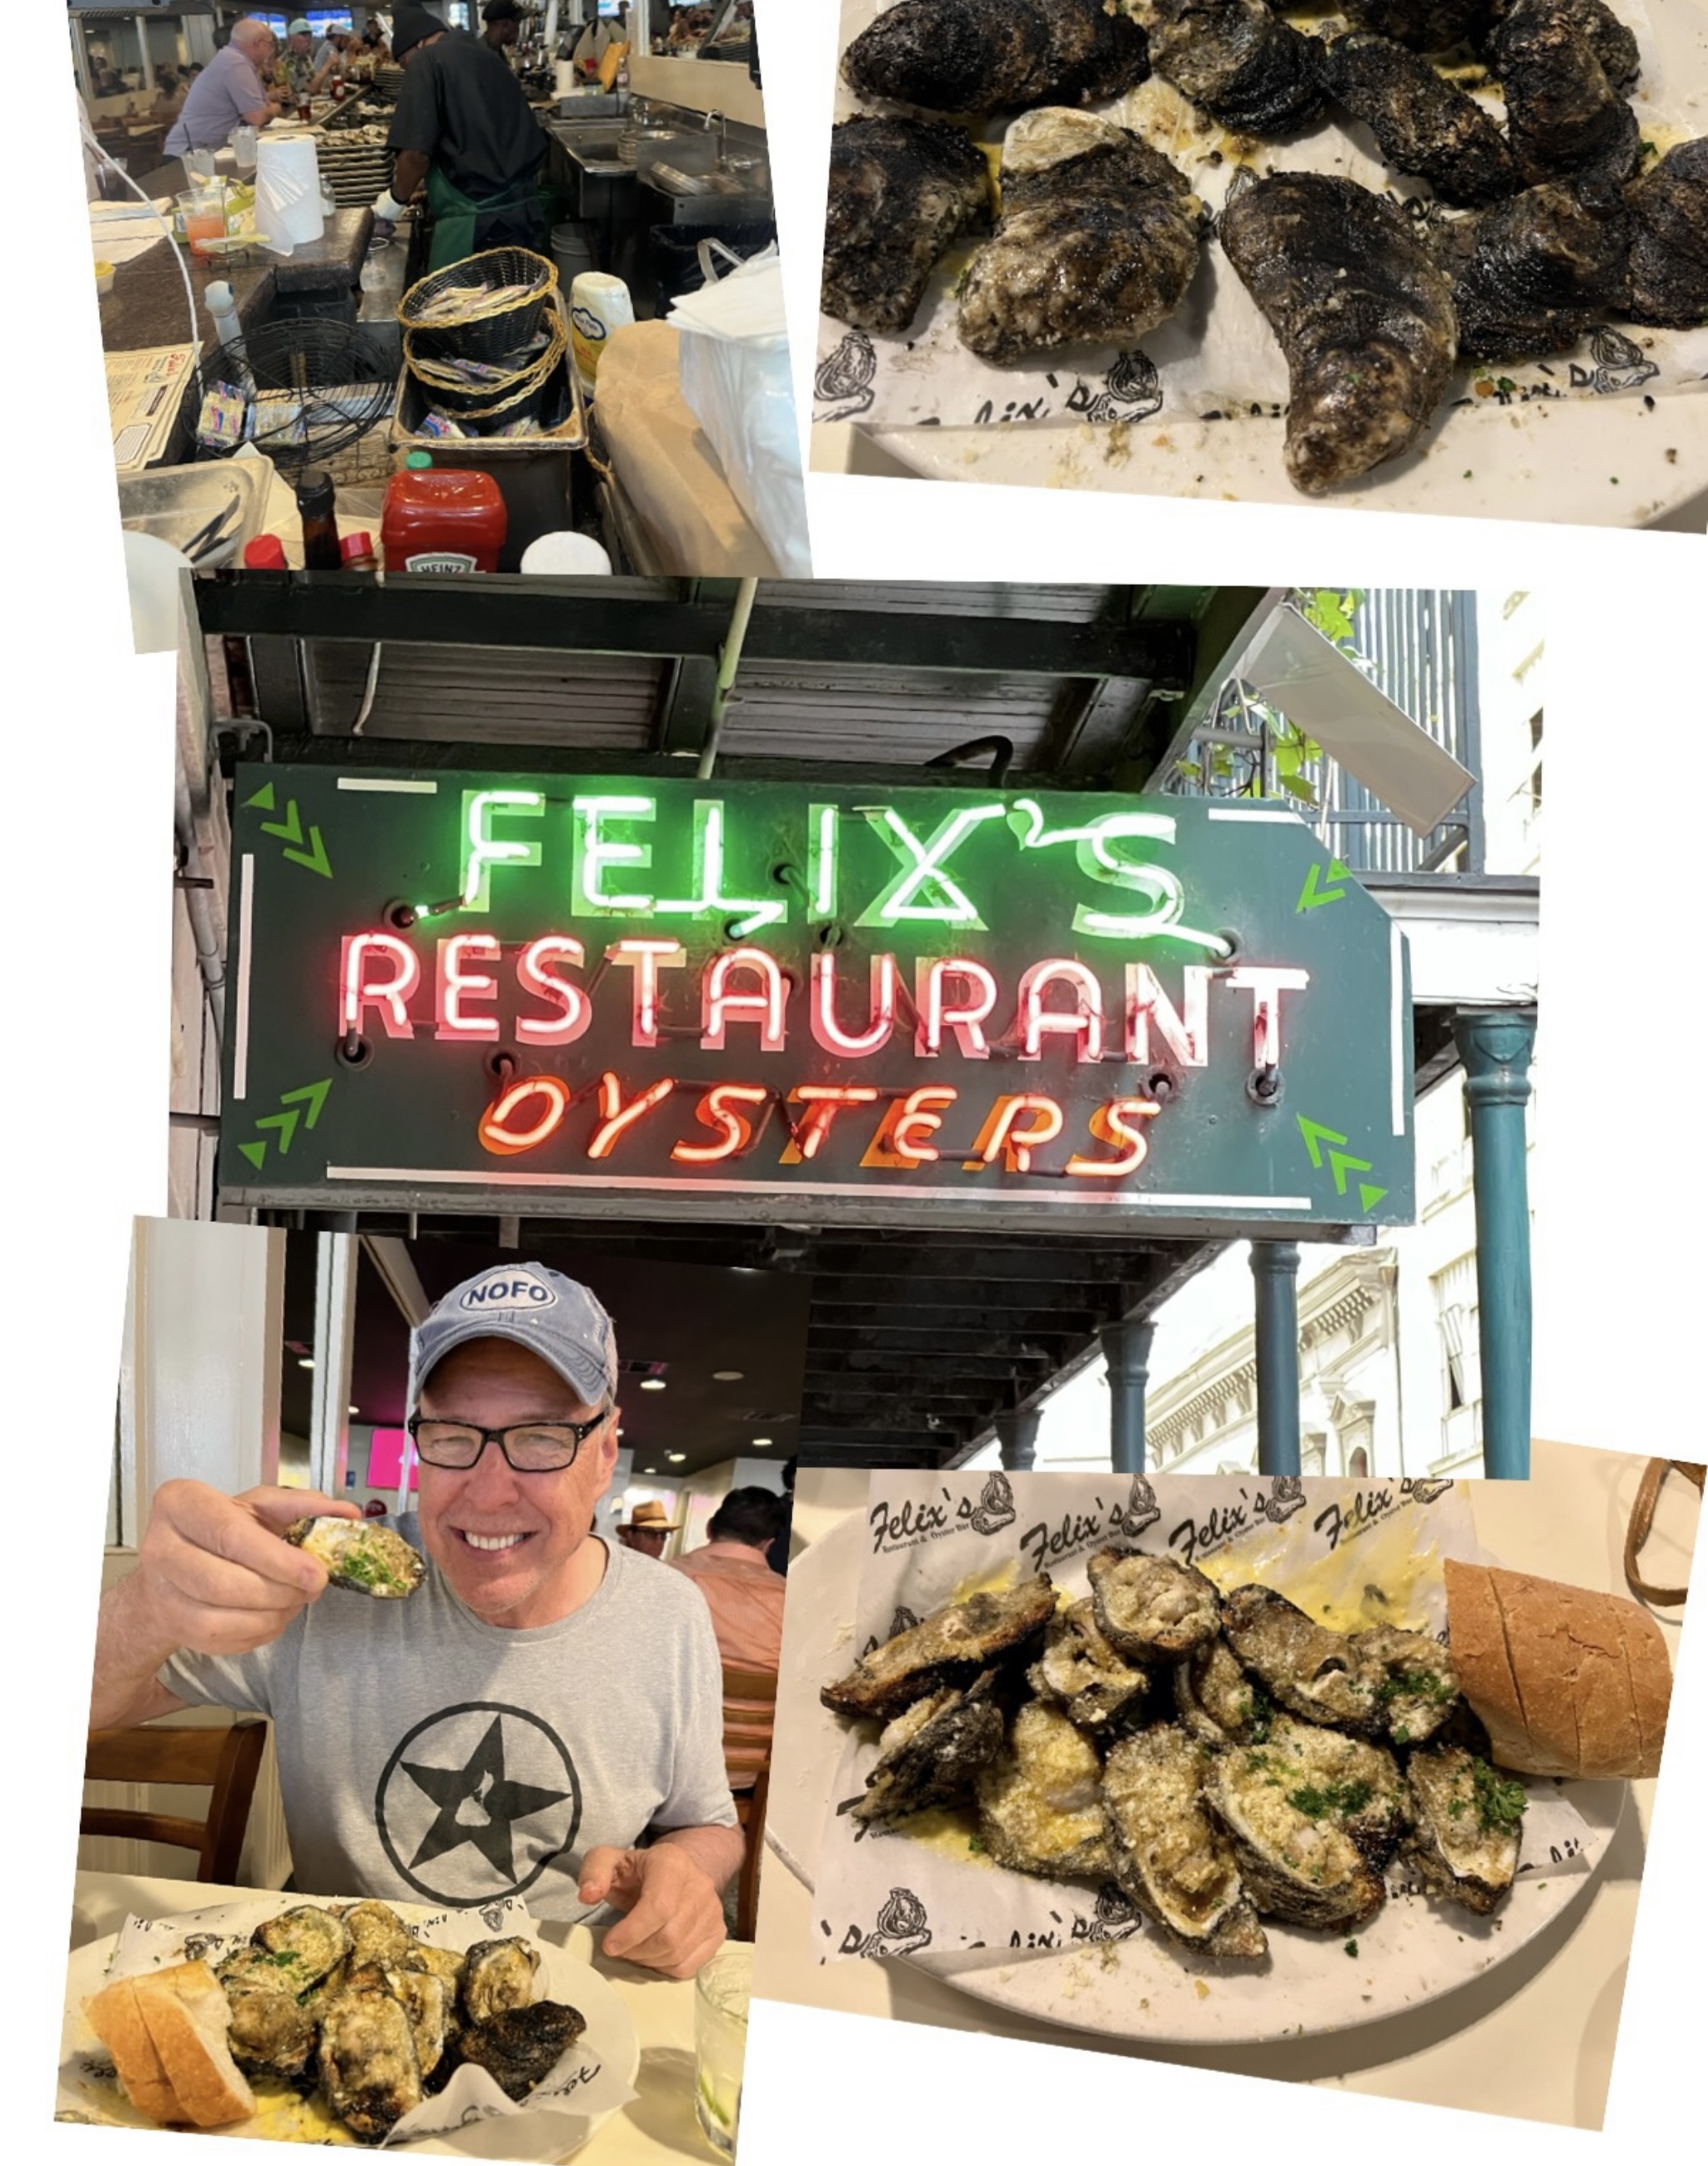
When you think about it, it’s no great culinary feat to grill an oyster. But yet, I never thought of doing it on my own. The dozen oysters I devoured that day were buttery, garlicky, with a hint of char and smoke that made them absolutely delicious, quite easily the best oysters I’ve ever had in my life.
I knew that as soon as I came home from this trip, I would have to try to make these myself. I have to say I came pretty darn close!
If you don’t use a charcoal or wood fire to make these, you’re simply leaving out one of the most important ingredients to the entire recipe. A gas grill or a kitchen stove can cook an oyster, but the only way you can take it to the next level is by putting it on open flame, a wood-burning flame.
This recipe is good for about a dozen oysters. Using gluten-free breadcrumbs makes this recipe gluten-free.
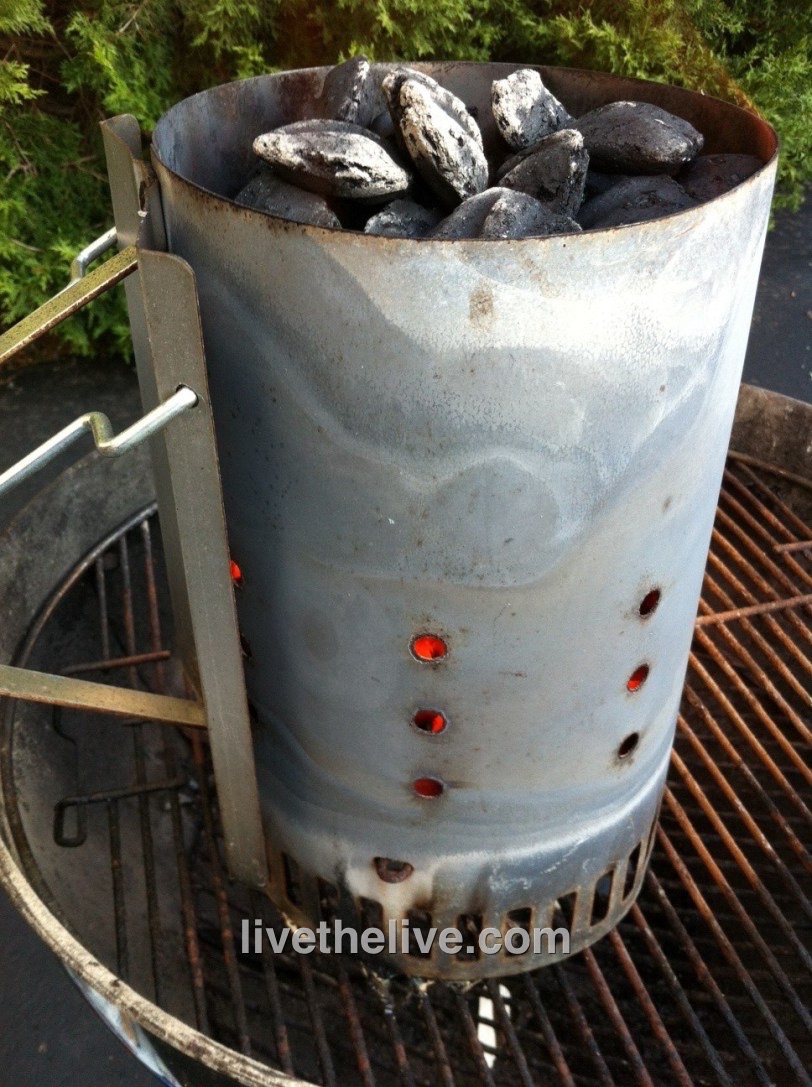
The first step is to get your hardwood charcoal fire started. I use a charcoal chimney and newspaper–never any lighter fluid.
Once the coals are lit, head to the kitchen…
4 tablespoons salted butter
2 tablespoons minced garlic
2 tablespoons fresh Italian parsley, finely chopped
2 tablespoons Parmesan cheese, grated (I use Parmigiano Reggiano)
4 tablespoons breadcrumbs
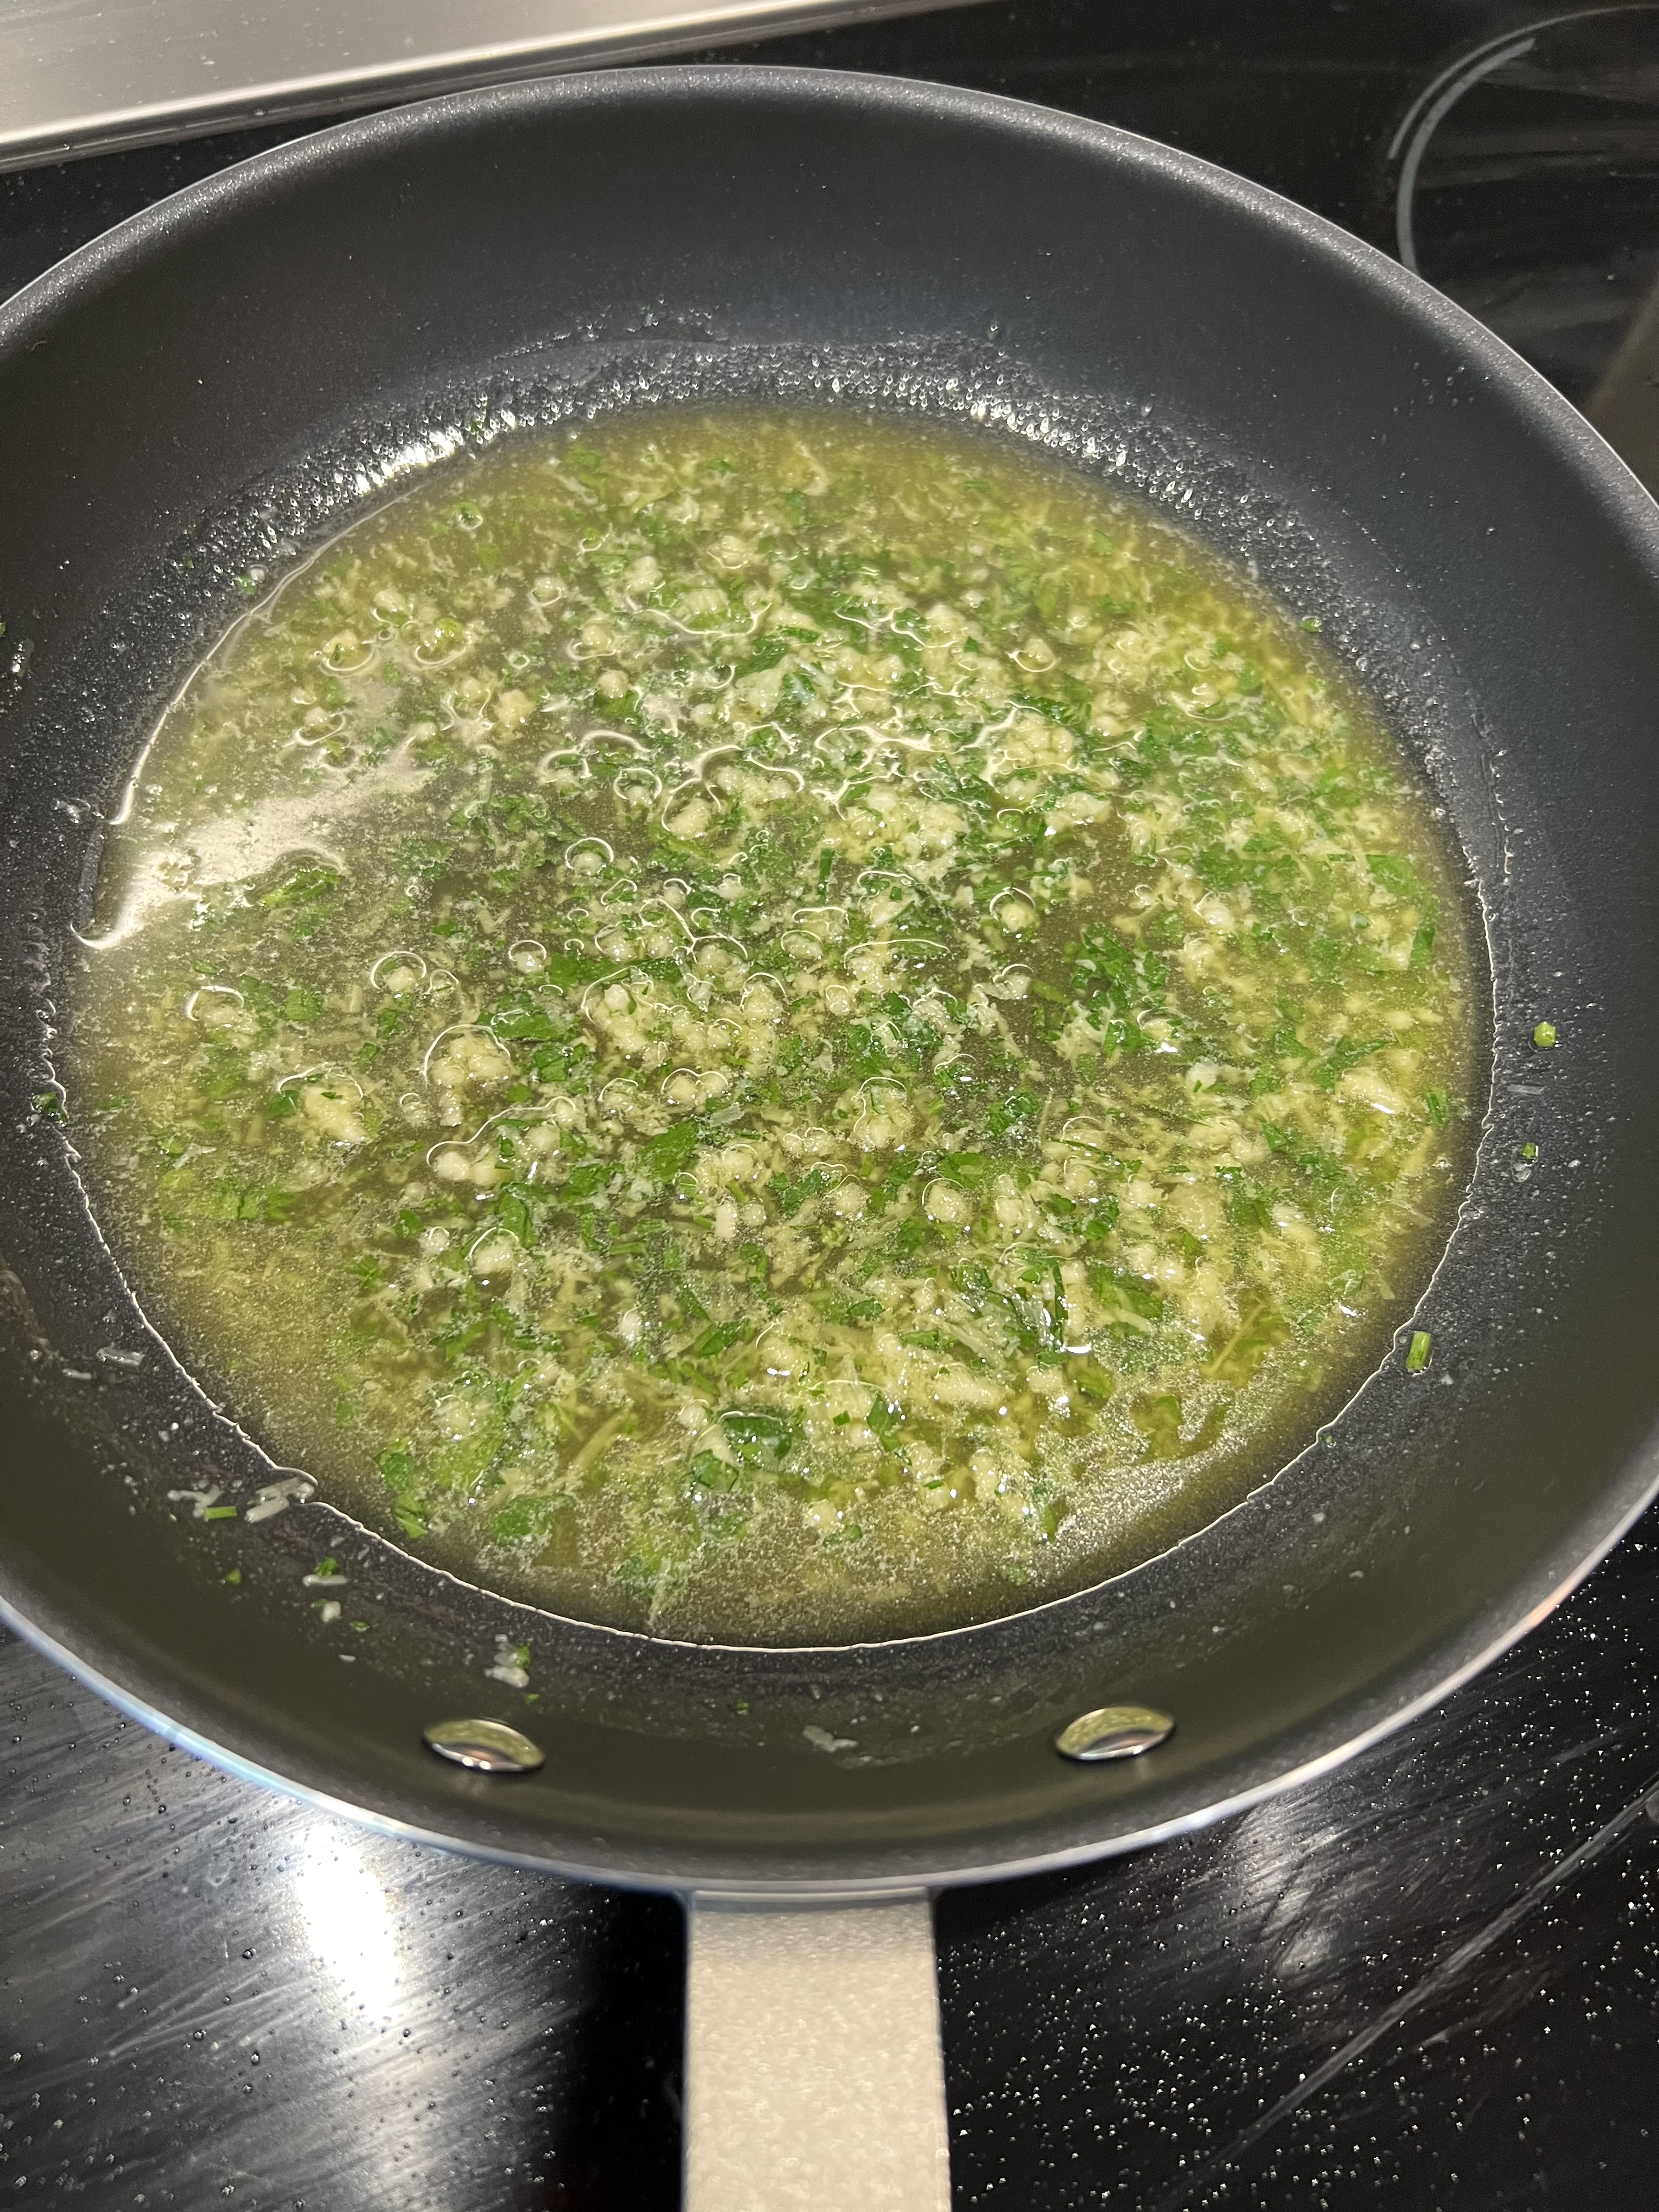
Combine the butter, garlic, parsley, and cheese in a sauté pan over medium heat. All you’re looking to do is to melt the butter, so once it’s melted, take the pan off the heat and this mix is ready to use.
Shuck your dozen oysters. Remember: they will shrink a little bit while cooking, so don’t be afraid to go for bigger ones.
Lay the opened oysters in a pan, carefully trying to preserve as much of the oyster liquor (liquid) in each shell as possible.
When the hardwood charcoal has heated up, and you’ve spread the coals evenly on your grill, you are ready to cook the oysters. You want the grill to be hot.
You don’t need to put the oysters directly on the hardwood charcoal. Putting a grill over the coals is fine, and it keeps the oyster shells from tipping over.

Before placing the oysters on the grill, sprinkle each one with some of the breadcrumbs. Then place the oysters on the grill, being careful not to burn your hands!
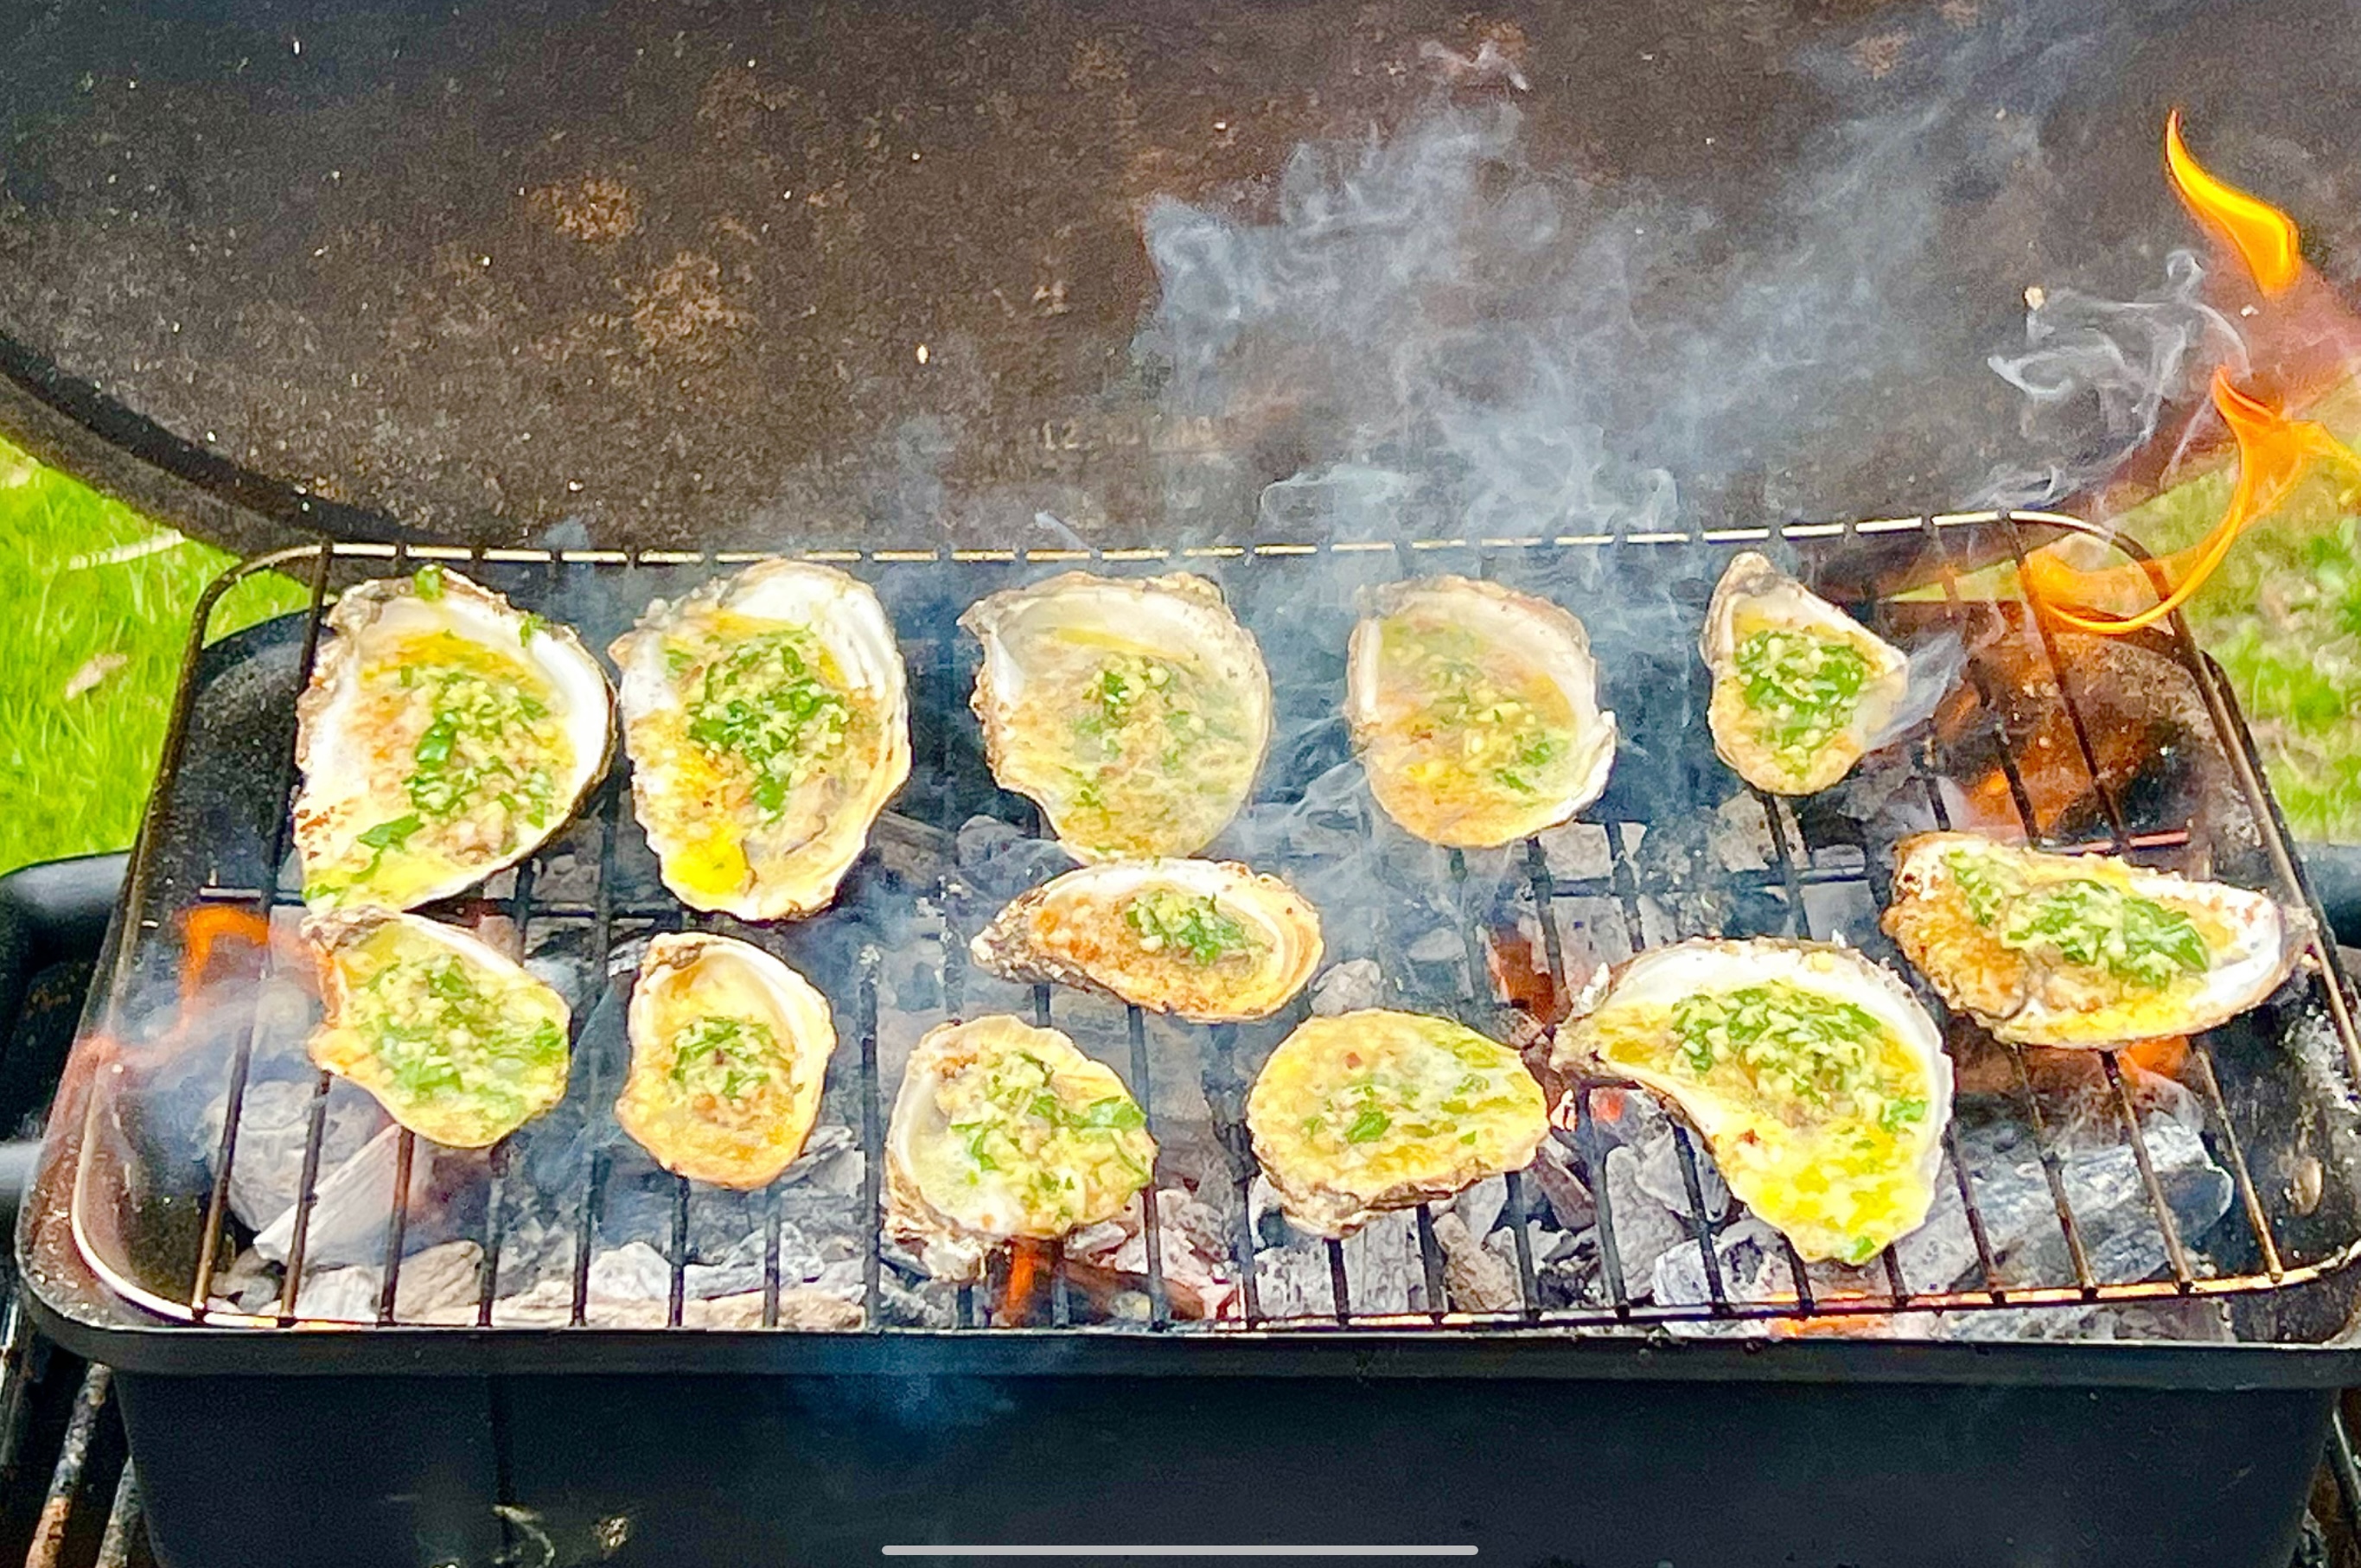
Using a spoon, pour some of the butter mixture into each oyster shell. It will flame up! That’s OK. Use up the entire butter mixture for all 12 oysters.

The oysters are ready when you see that golden brown color all around the edges of the oyster shell, when most of the liquid in the shell has evaporated. Don’t let them dry out completely.
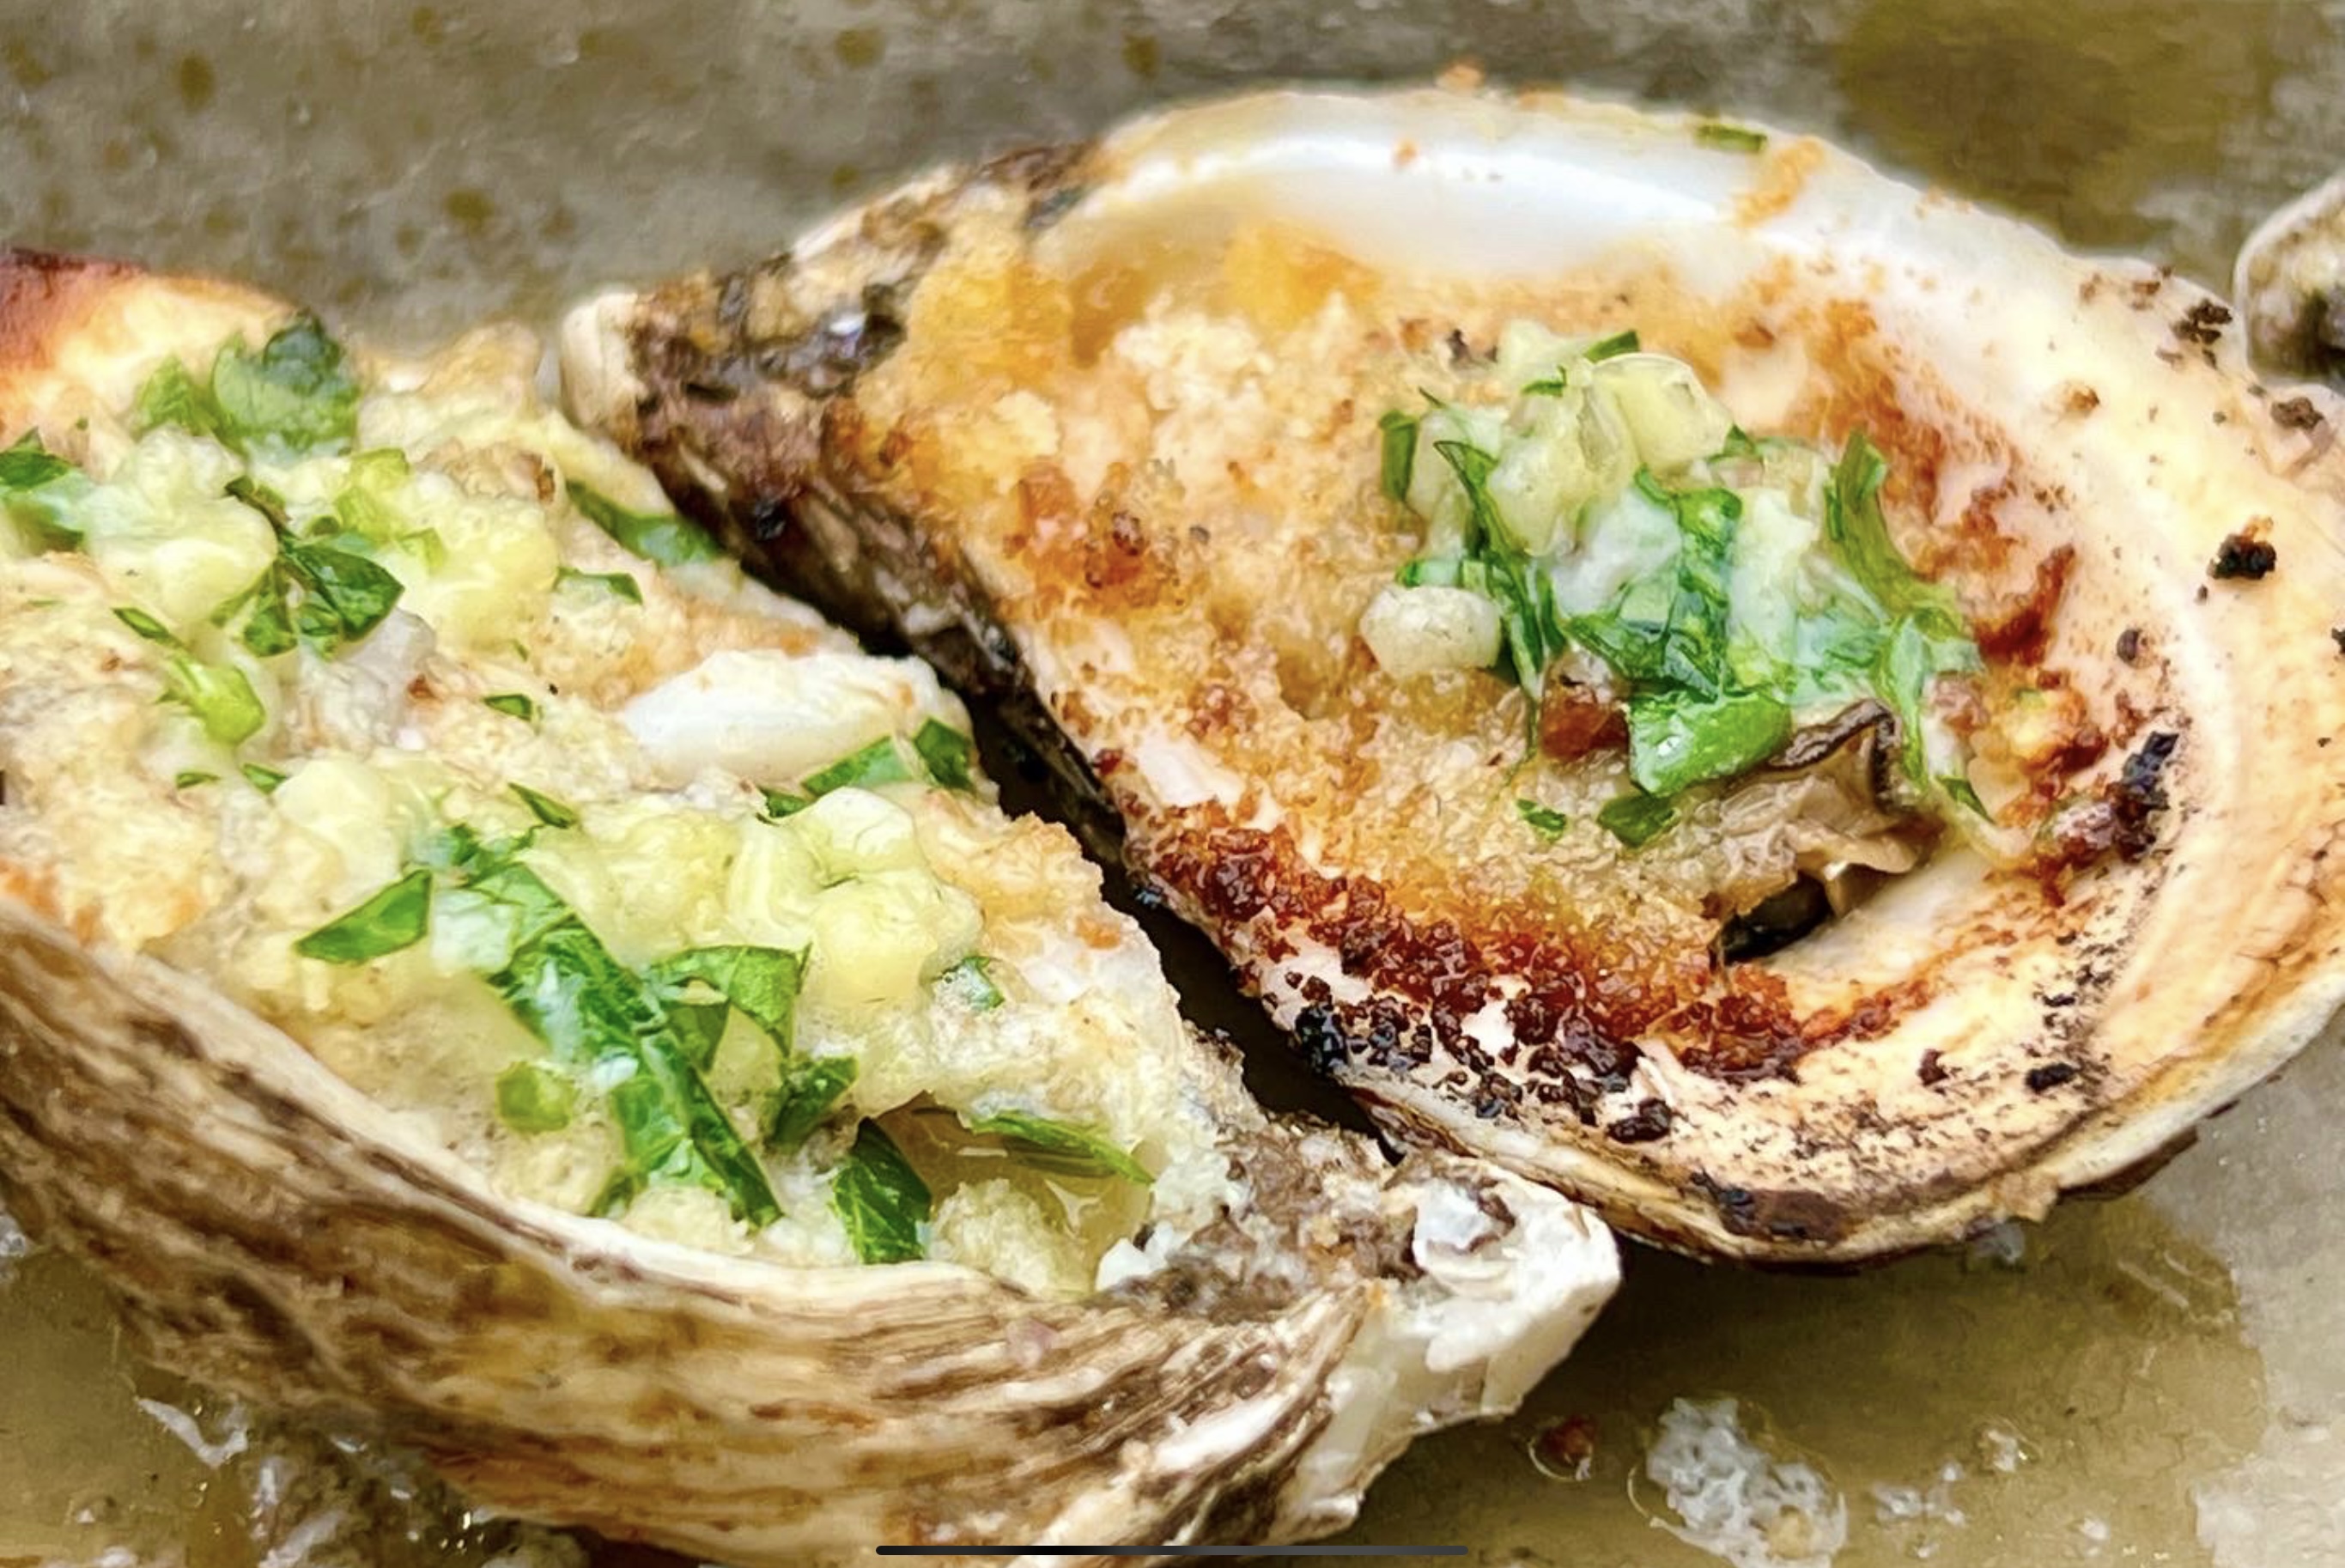
Using tongs, remove the oysters from the flame and enjoy! Just be careful…they can be lava hot!