


Discovered this place in 2004. Surprised that I found it again! Wonderful Ouzo still served out of the barrel! Plaka, Athens, Greece.
Discovered this place in 2004. Surprised that I found it again! Wonderful Ouzo still served out of the barrel! Plaka, Athens, Greece.


The Daughters of Athens were removed from the original location and replaced with copies. The originals are on display at the Museum of the Acropolis. One daughter is missing, because she is still in England, and the Greeks are fighting to get her back.
I recently saw what I thought was a pretty clever idea of taking a cabbage and slicing it into thick, steak-like pieces, laying them flat in a pan, and then placing marinated chicken on top of them to roast in the oven. The juices from the chicken would flavor the cabbage as it all cooked. I decided I’d try my own version of that recipe.
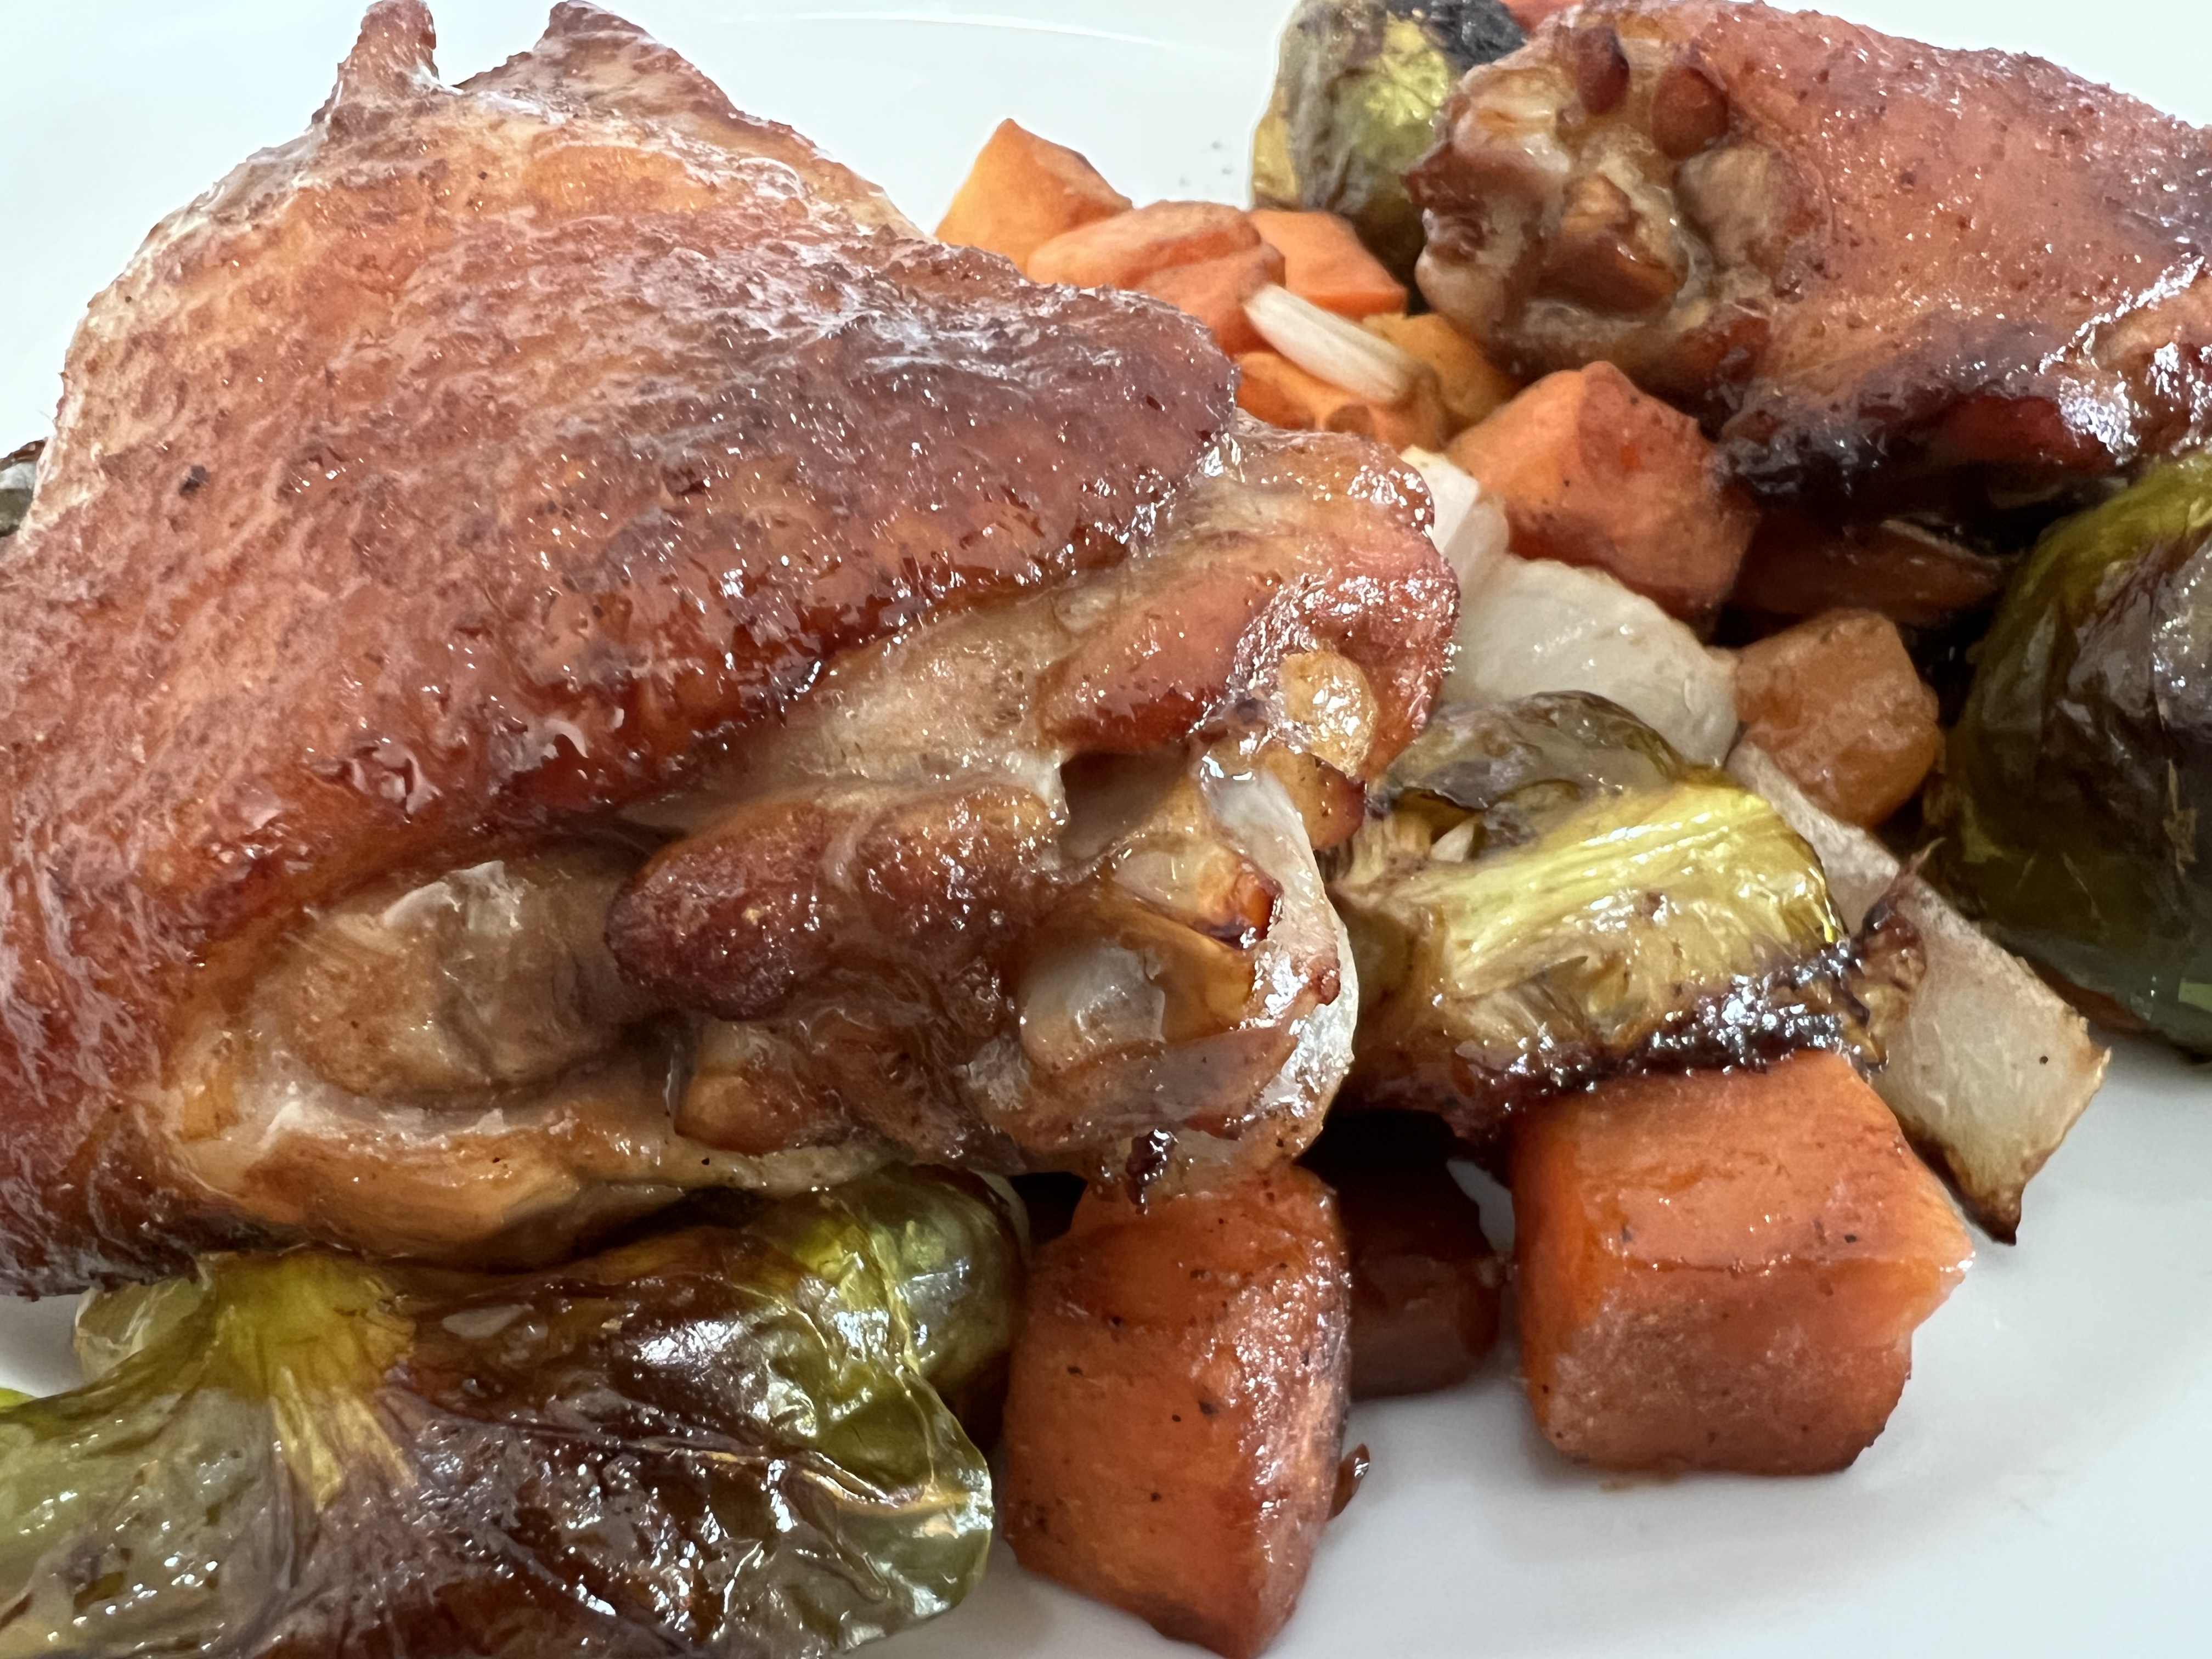
You can use any part of a chicken you like, even a whole spatchcocked chicken which would lay flat in a larger pan if you’re serving a group of people. But cooking for myself, I choose leg quarters (which are the thigh and drumstick together) or simply chicken thighs. They’re full of flavor, and have the fat content you need to drip down into the veggies below to flavor them as well. Something like chicken breast would simply be too dry.
I wanted to use what I had in my fridge, so instead of cabbage, I had Brussels sprouts–baby cabbages, in essence. I cut them in half and layer them flame-side down in a roasting pan covered with non-stick aluminum foil. I wanted more veggies, though, so I sliced up a half-onion I had in the fridge, and I also added a package of frozen organic sweet potatoes I had in my freezer. Now the bottom of my pan was full.

I buy humanely-raised pastured chicken, which means the birds are usually smaller than what you’d find in a supermarket (no steroid monsters here!), so one package contained 5 small chicken thighs. Once thawed, I placed them skin-side down in a glass container. Then it was time to make the marinade.
I chose a marinade that would give a beautiful caramelized color to the dish, using some of my favorite marinade ingredients.
I combine all the marinade ingredients in a bowl and whisk well to mix.
I brush the tray of veggies with some of the marinade just to give them a head start on flavor.

I use about a 1/2 cup of the marinade on the chicken thighs, tossing them around in the marinade to make sure they’re well coated. Then I pour the rest of the marinade in a saucepan that I will cook on the stove top.
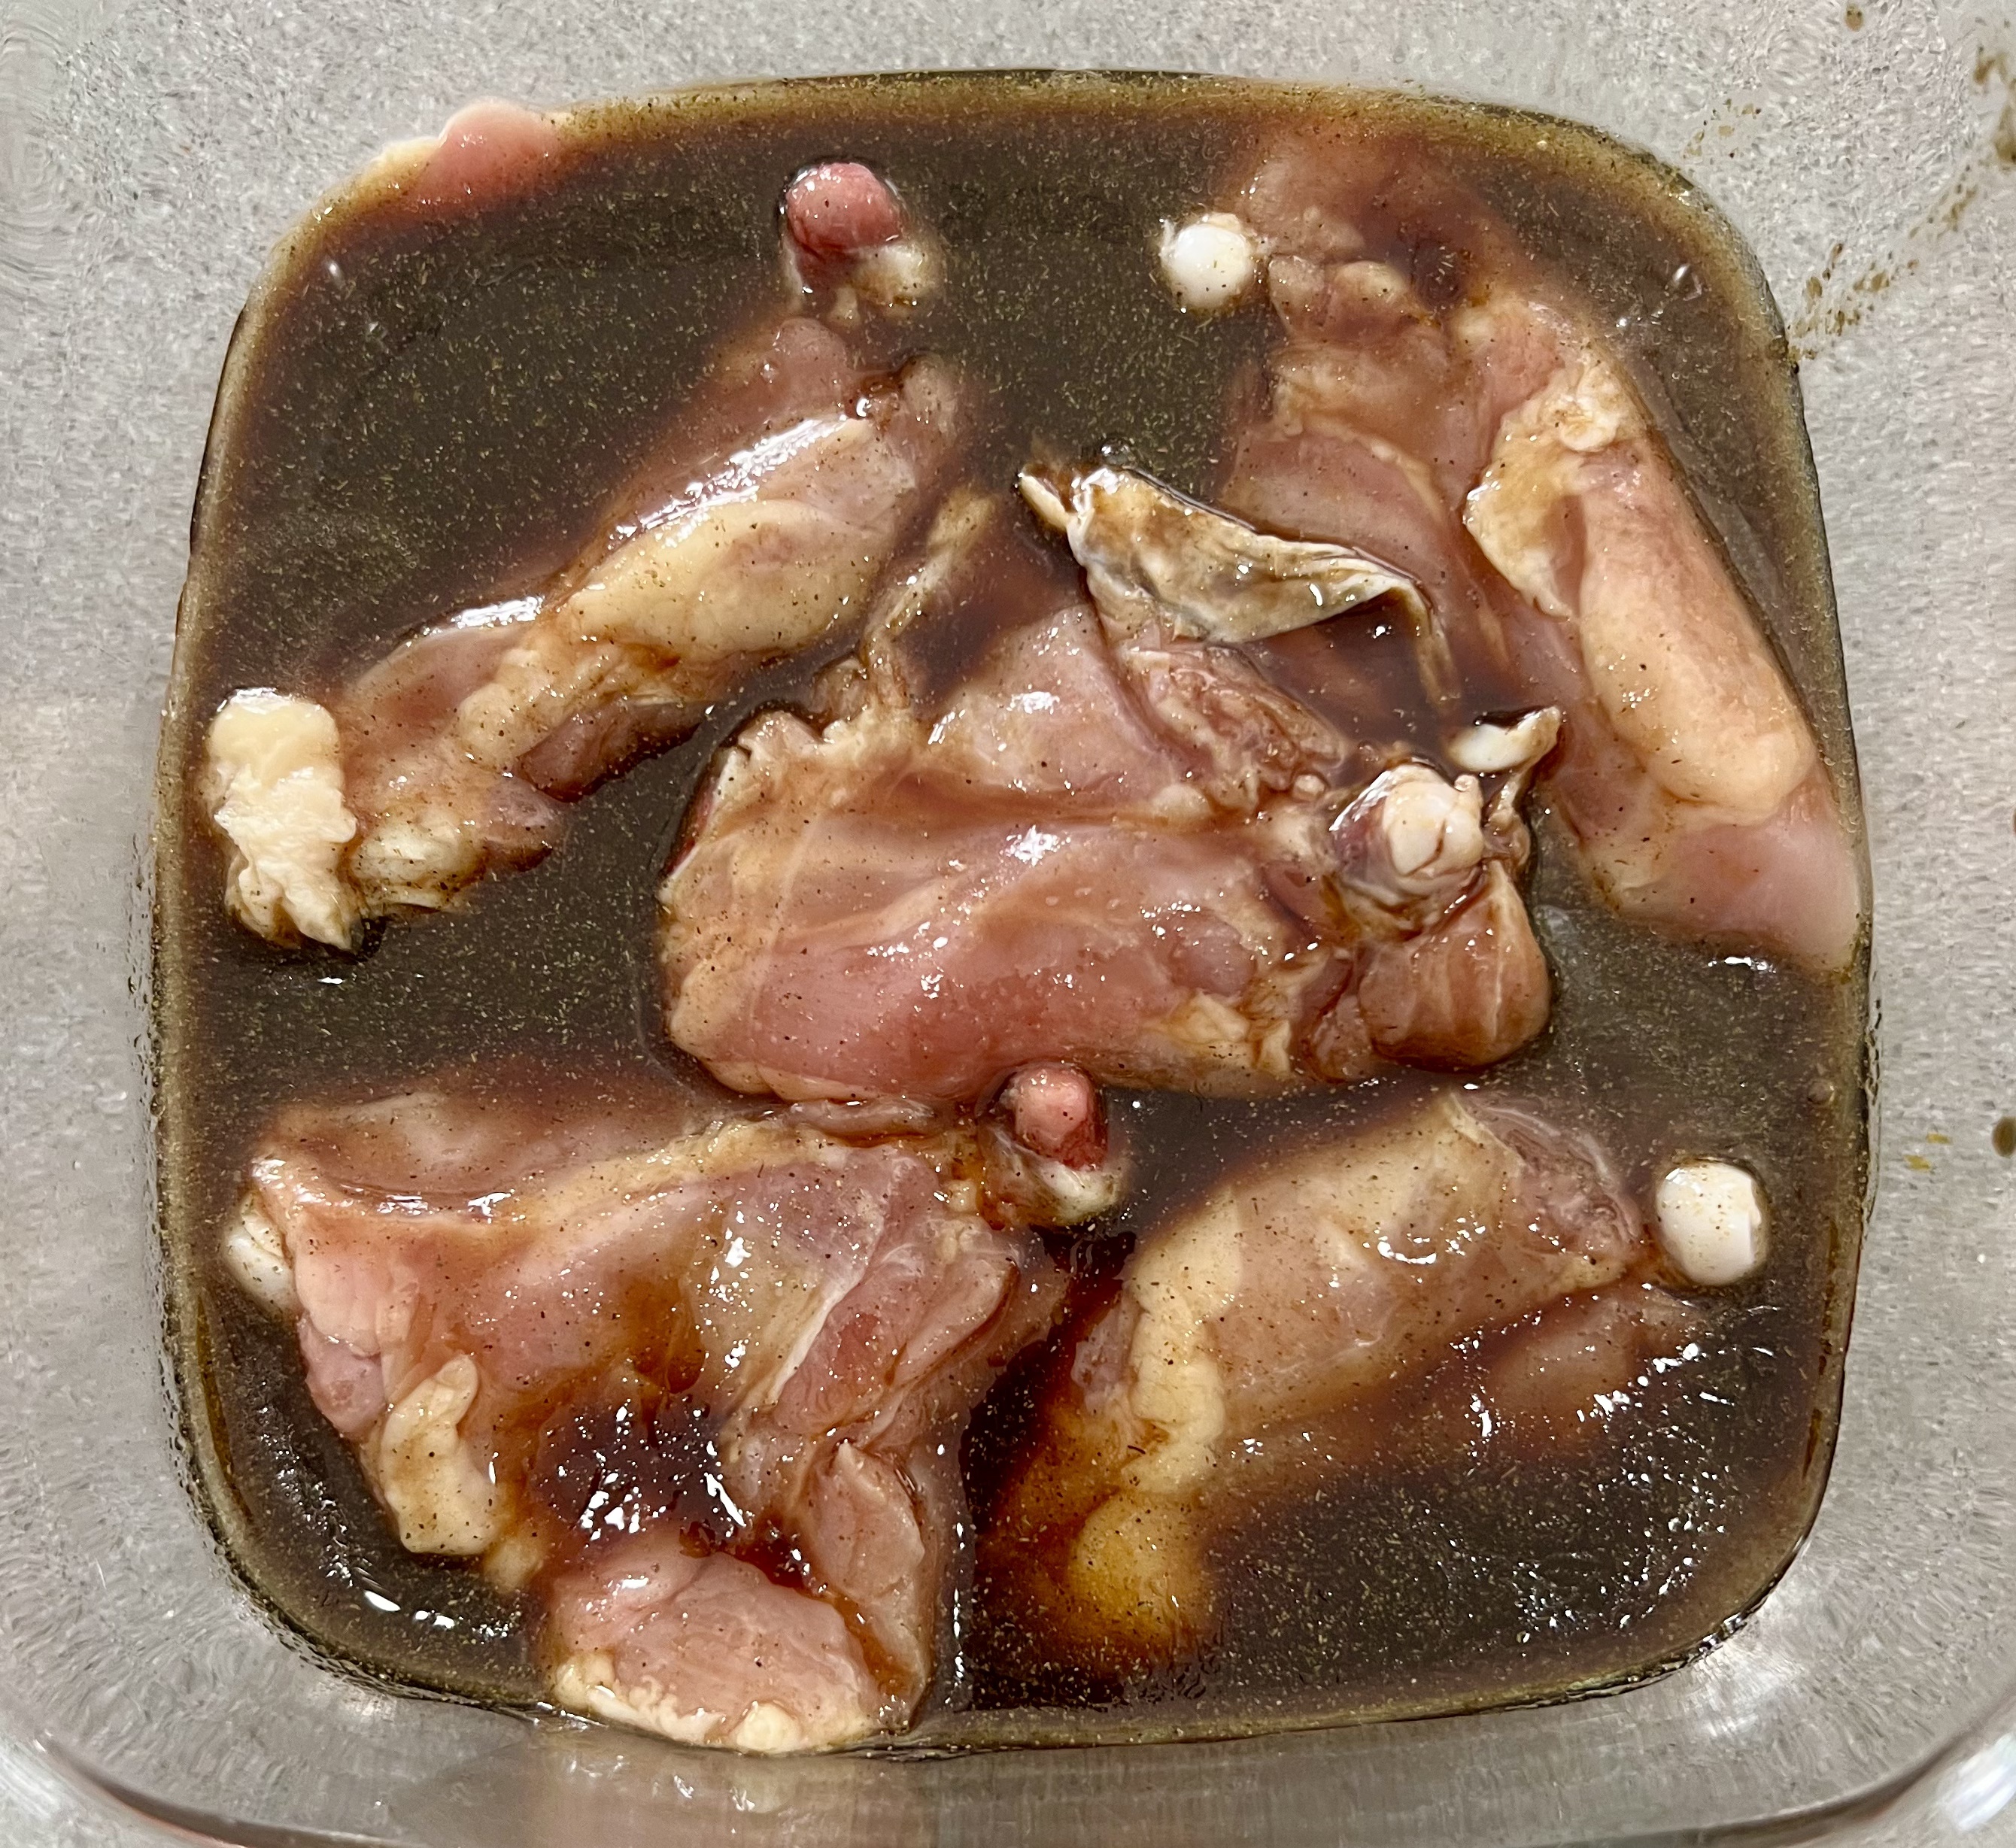
I like to place the thighs skin-side down and then poke some holes into the meat with a fork to really let the marinade soak in. I let them marinate at room temperature for about an hour. Any longer than that, and they need to go into the fridge.
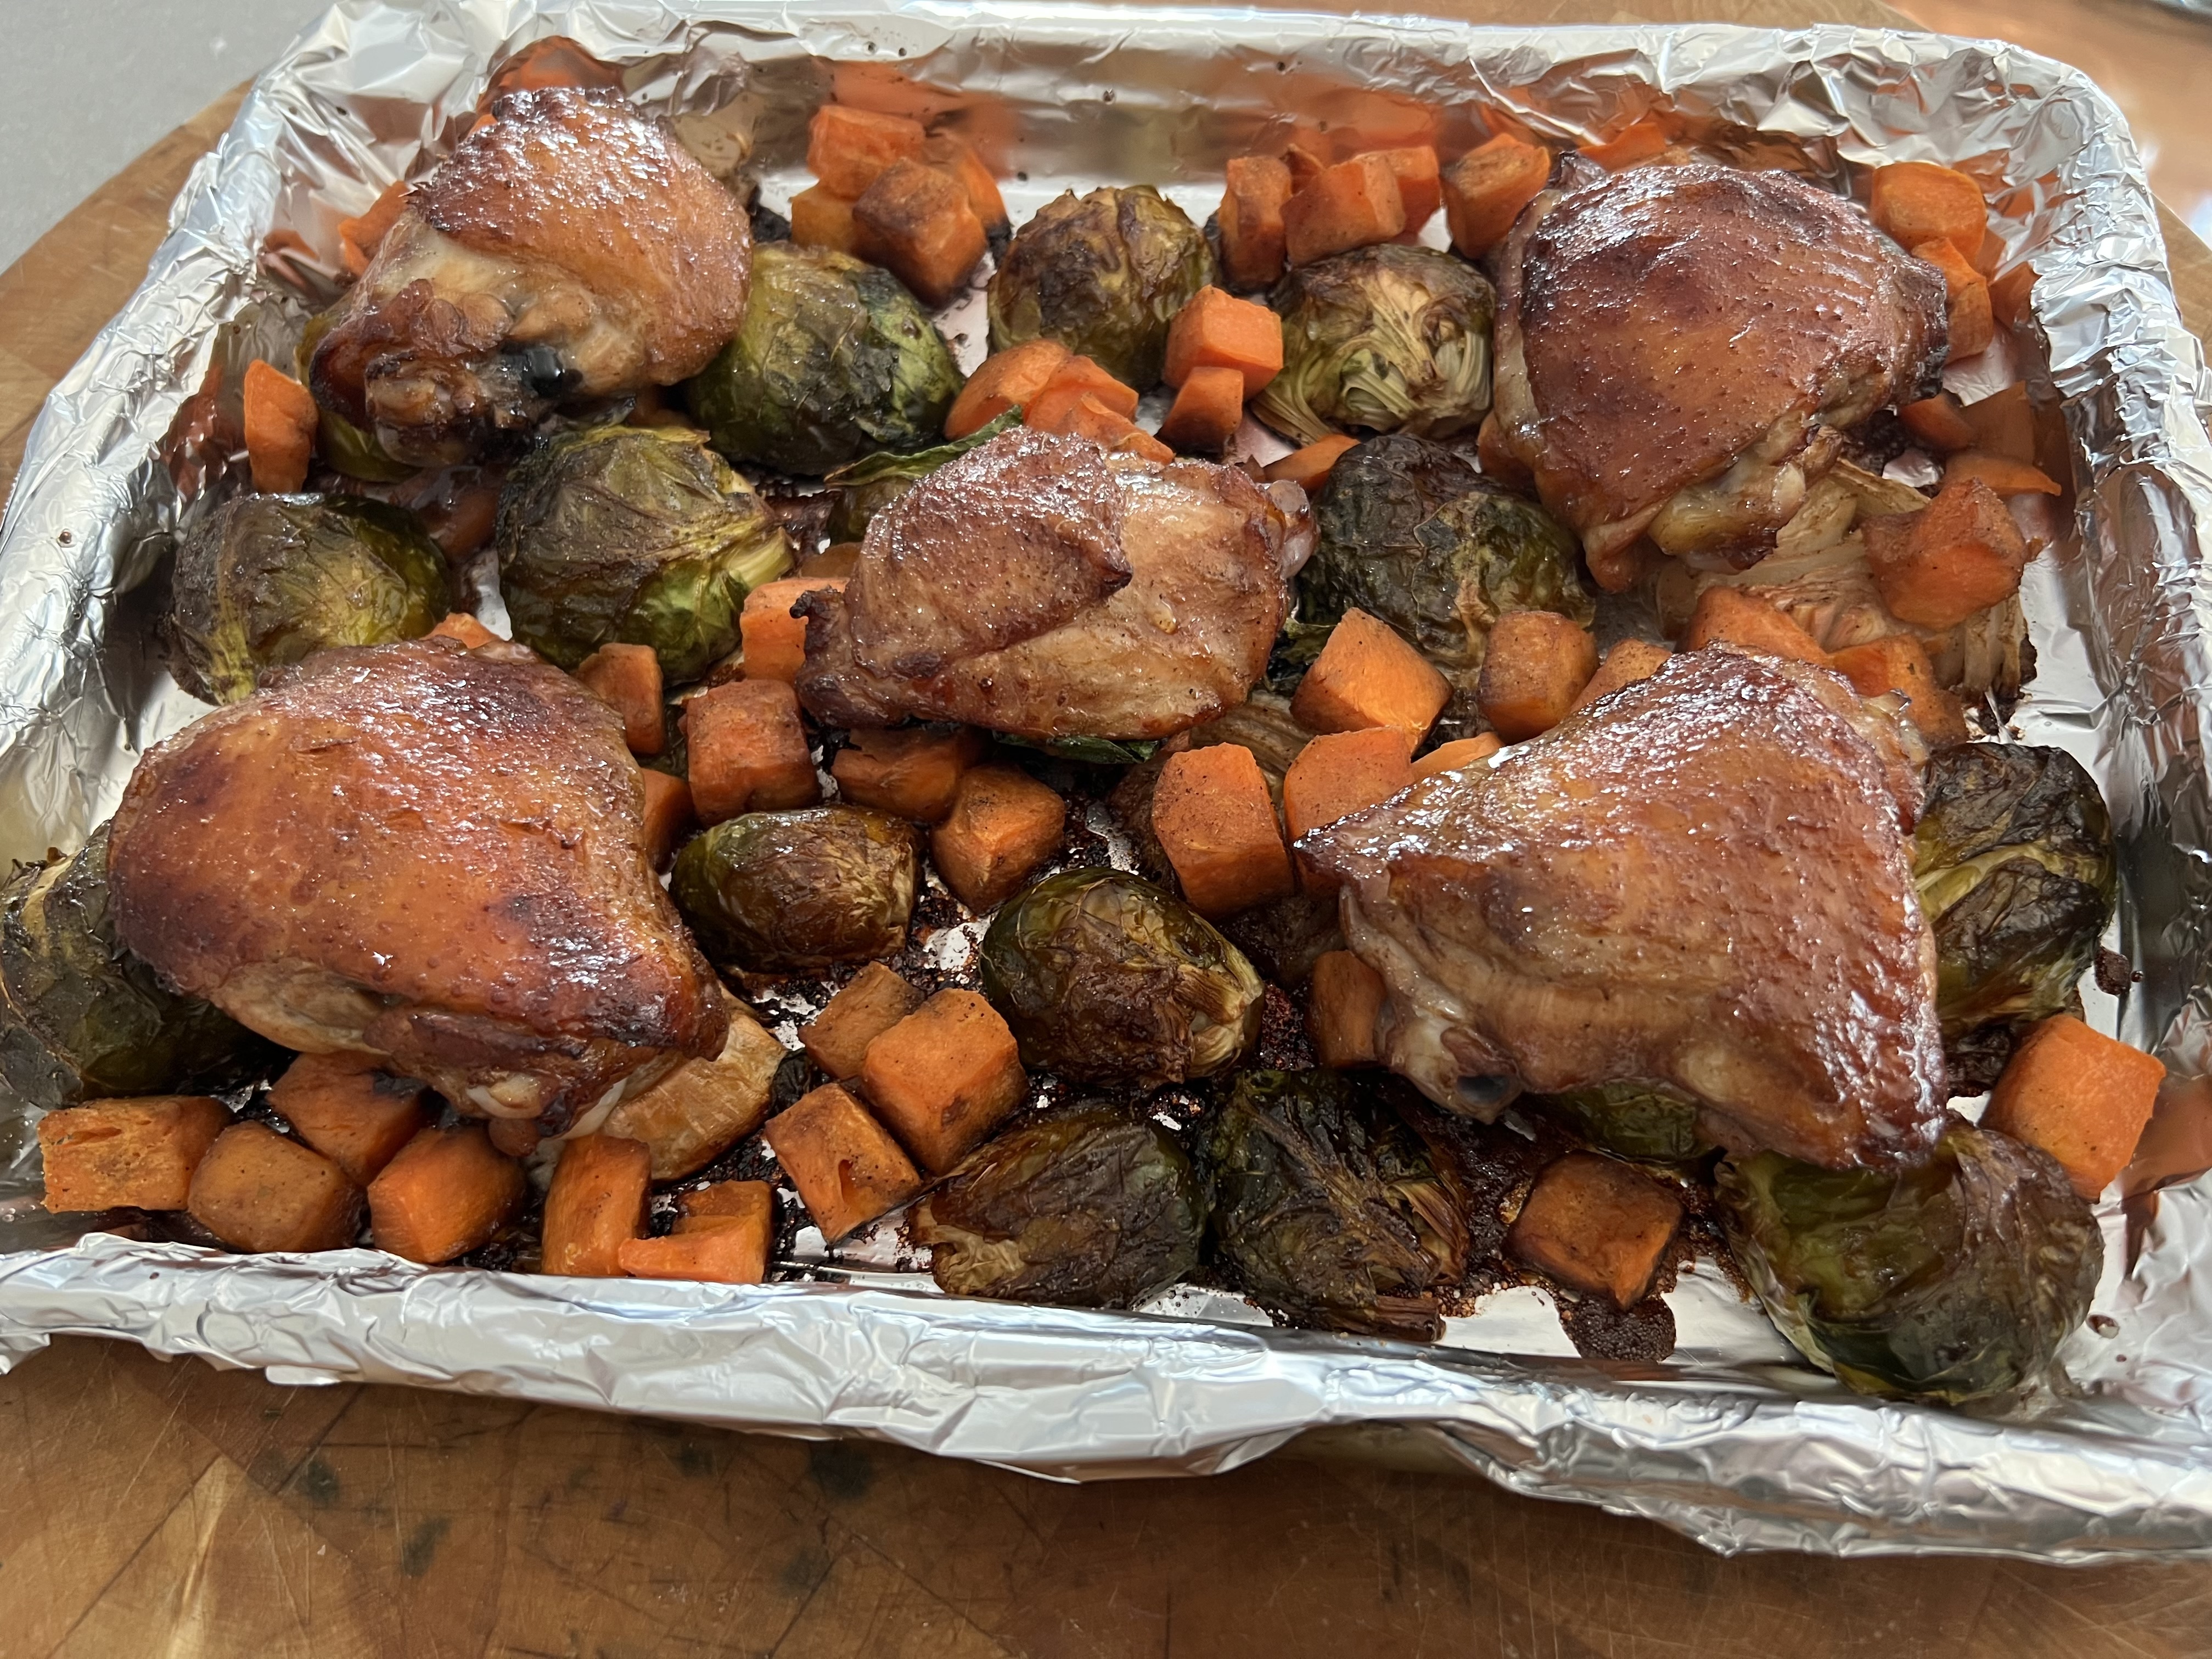
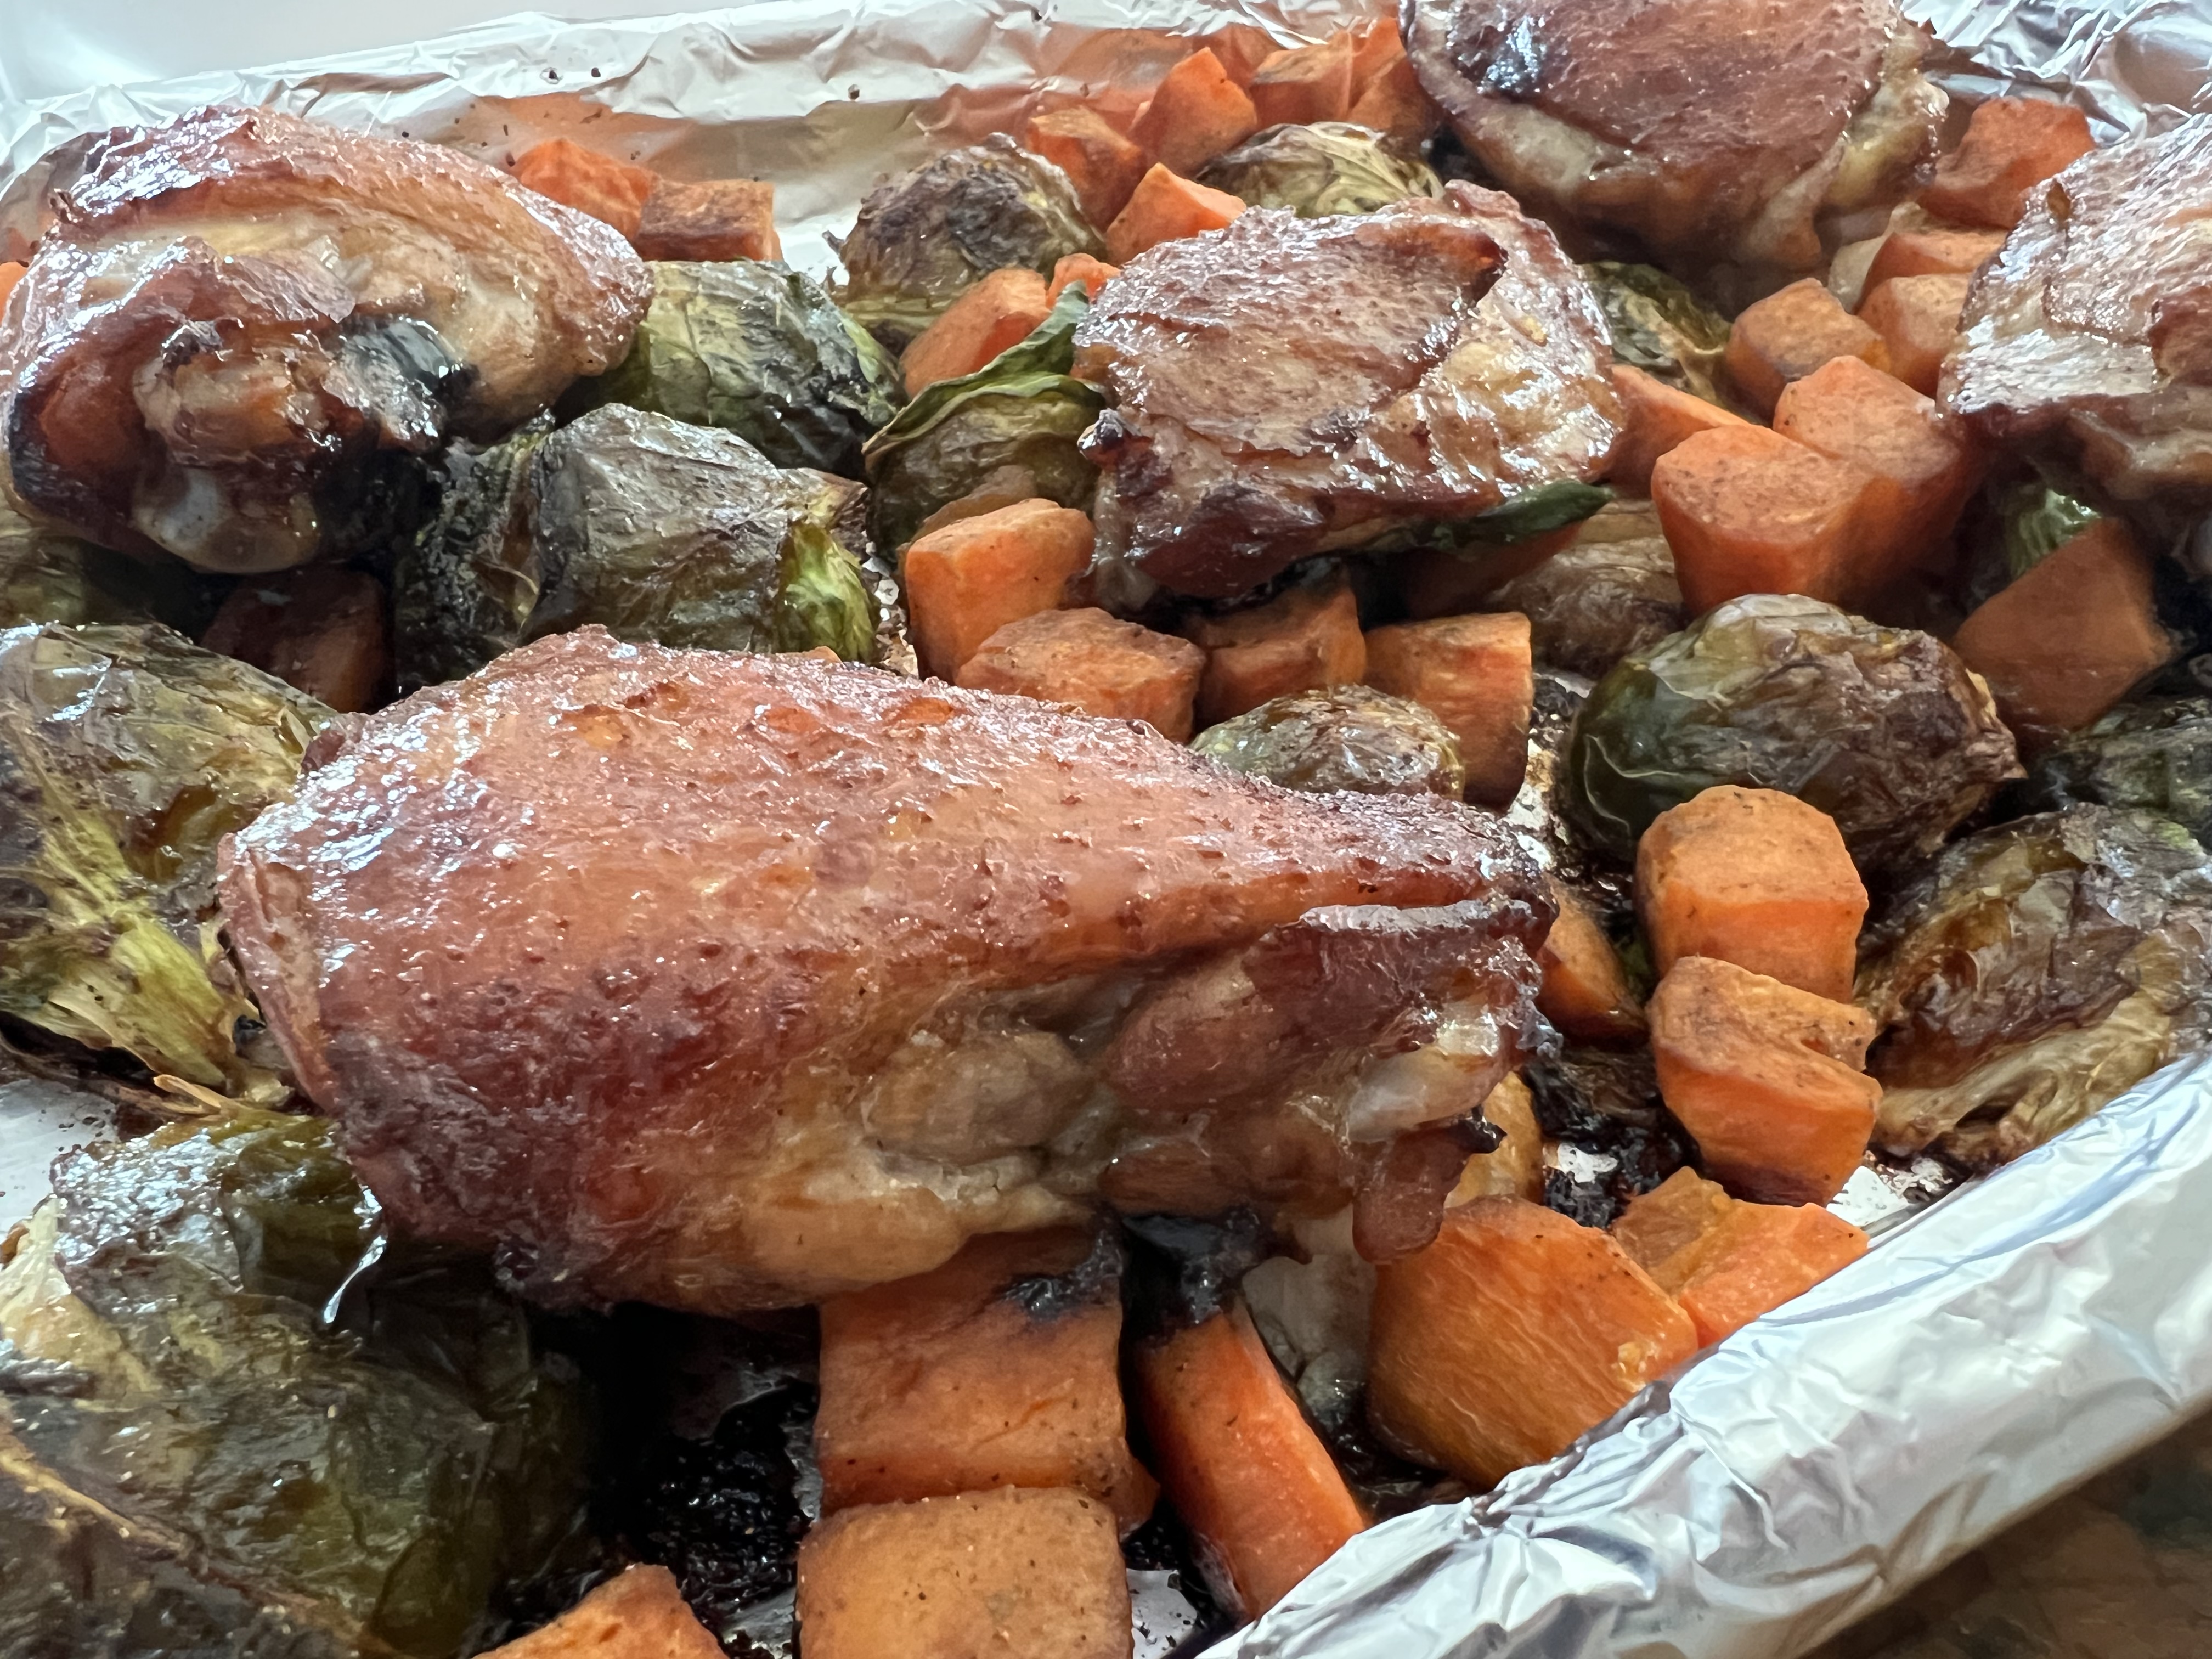
Once I’m ready to cook, I pre-heat the oven to 325. I place the marinated thighs skin-side up over the veggies in the tray. I discard any leftover marinade in the bowl with the chicken.
While the thighs and veggies are cooking, I take the reserved marinade and heat it over medium heat in a saucepan until it reduces by half to make a nice glaze that I will brush onto the chicken when it’s done cooking.
It’s important to remember that once any of the marinade touches raw chicken, to avoid salmonella, you have to cook it before you can taste it!
Despite the large Italian community we have here in southern New England, there’s no exceptional pizza to speak of. I suppose you could say “them’s fightin’ words!” but if it’s here, I haven’t found it yet. (Fellini Pizza is about the best in Providence.)
So where is the excellent pizza? New York City, of course. OK…maybe I’m prejudiced because I’m a Brooklyn boy, and worked in a variety of pizzerias in my younger days, but there’s no doubt in my mind that if you want the best pizza–or bagel, for that matter–you’ve got to go to the Big Apple. (Even “Frank Pepe’s” in New Haven, CT is a mere stop on the way to the real deal.)
Pizza in the Big Apple can be confusing, as there are many different varieties to choose from. Brick oven pizzas abound, but there are pizza lovers who won’t settle for anything less than an old-fashioned pizza baked in a coal-fired oven. The extremely high heat of a coal-fired oven cooks the pizza in just a minute, and imparts a crusty, charred flavor you can’t get any other way. There are only about a dozen coal-fired pizzerias left in New York City, and many of them have been around for a hundred years or more, so it’s definitely a matter of making a special trip to enjoy this style of pizza. (Providence now has its own coal-fired pizza, but it just can’t compare.)
There’s plenty of good, basic pizza in New York City, too: the traditional thin, round Neopolitan pie, and the thicker, square Sicilian pie, baked in that Blodgett pizza oven we all knew in our early pizza-making days.
Many years ago, when I heard through the pizza lovers’ grapevine that a “new” pizza was out there, one that was gaining a cult following, I needed to know about it. And more importantly, I needed to taste it!
It’s called Pizza Montanara, and there’s still only a few pizzerias in New York City that serve it. The one I go to without fail is PizzArte, on West 55th, and I have to say it’s the ultimate pizza.

Pizza Montanara, sitting next to me in the car, just waiting to be devoured.
What makes Pizza Montanara so spectacular, quite simply, is that the dough is fried in oil for 30 seconds, flipped and fried another 30 seconds, before they put the sauce and cheese on it, and then they cook it in a wood burning oven. It is not greasy. The frying process puffs the dough up and creates a beautiful pillow-like softness that I’ve never experienced in a pizza before. Imagine a pizza cloud and you’ve got Pizza Montanara.

Where to get Pizza Montanara.
I’ve made Pizza Montanara at home, with limited success. I poured a few inches of olive oil in a large cast iron skillet, stretched my dough into a small pie, and gently floated it into the pan. Using a spatula and tongs, I was able to flip the fried dough over after about 30 seconds, then removed it from the pan after another 30 seconds. It was golden and puffy. I quickly sauced and cheesed it and in the oven it went. But it’s a messy process that doesn’t always come out just right. I need more practice!

Frying the pizza dough. I use olive oil for better flavor, but I have to watch the temperature, because the smoking point is low (about 375 for extra virgin olive oil) and burnt oil is not what anybody wants!

A homemade Pizza Montanara, with buffalo mozzarella and pepperoni.
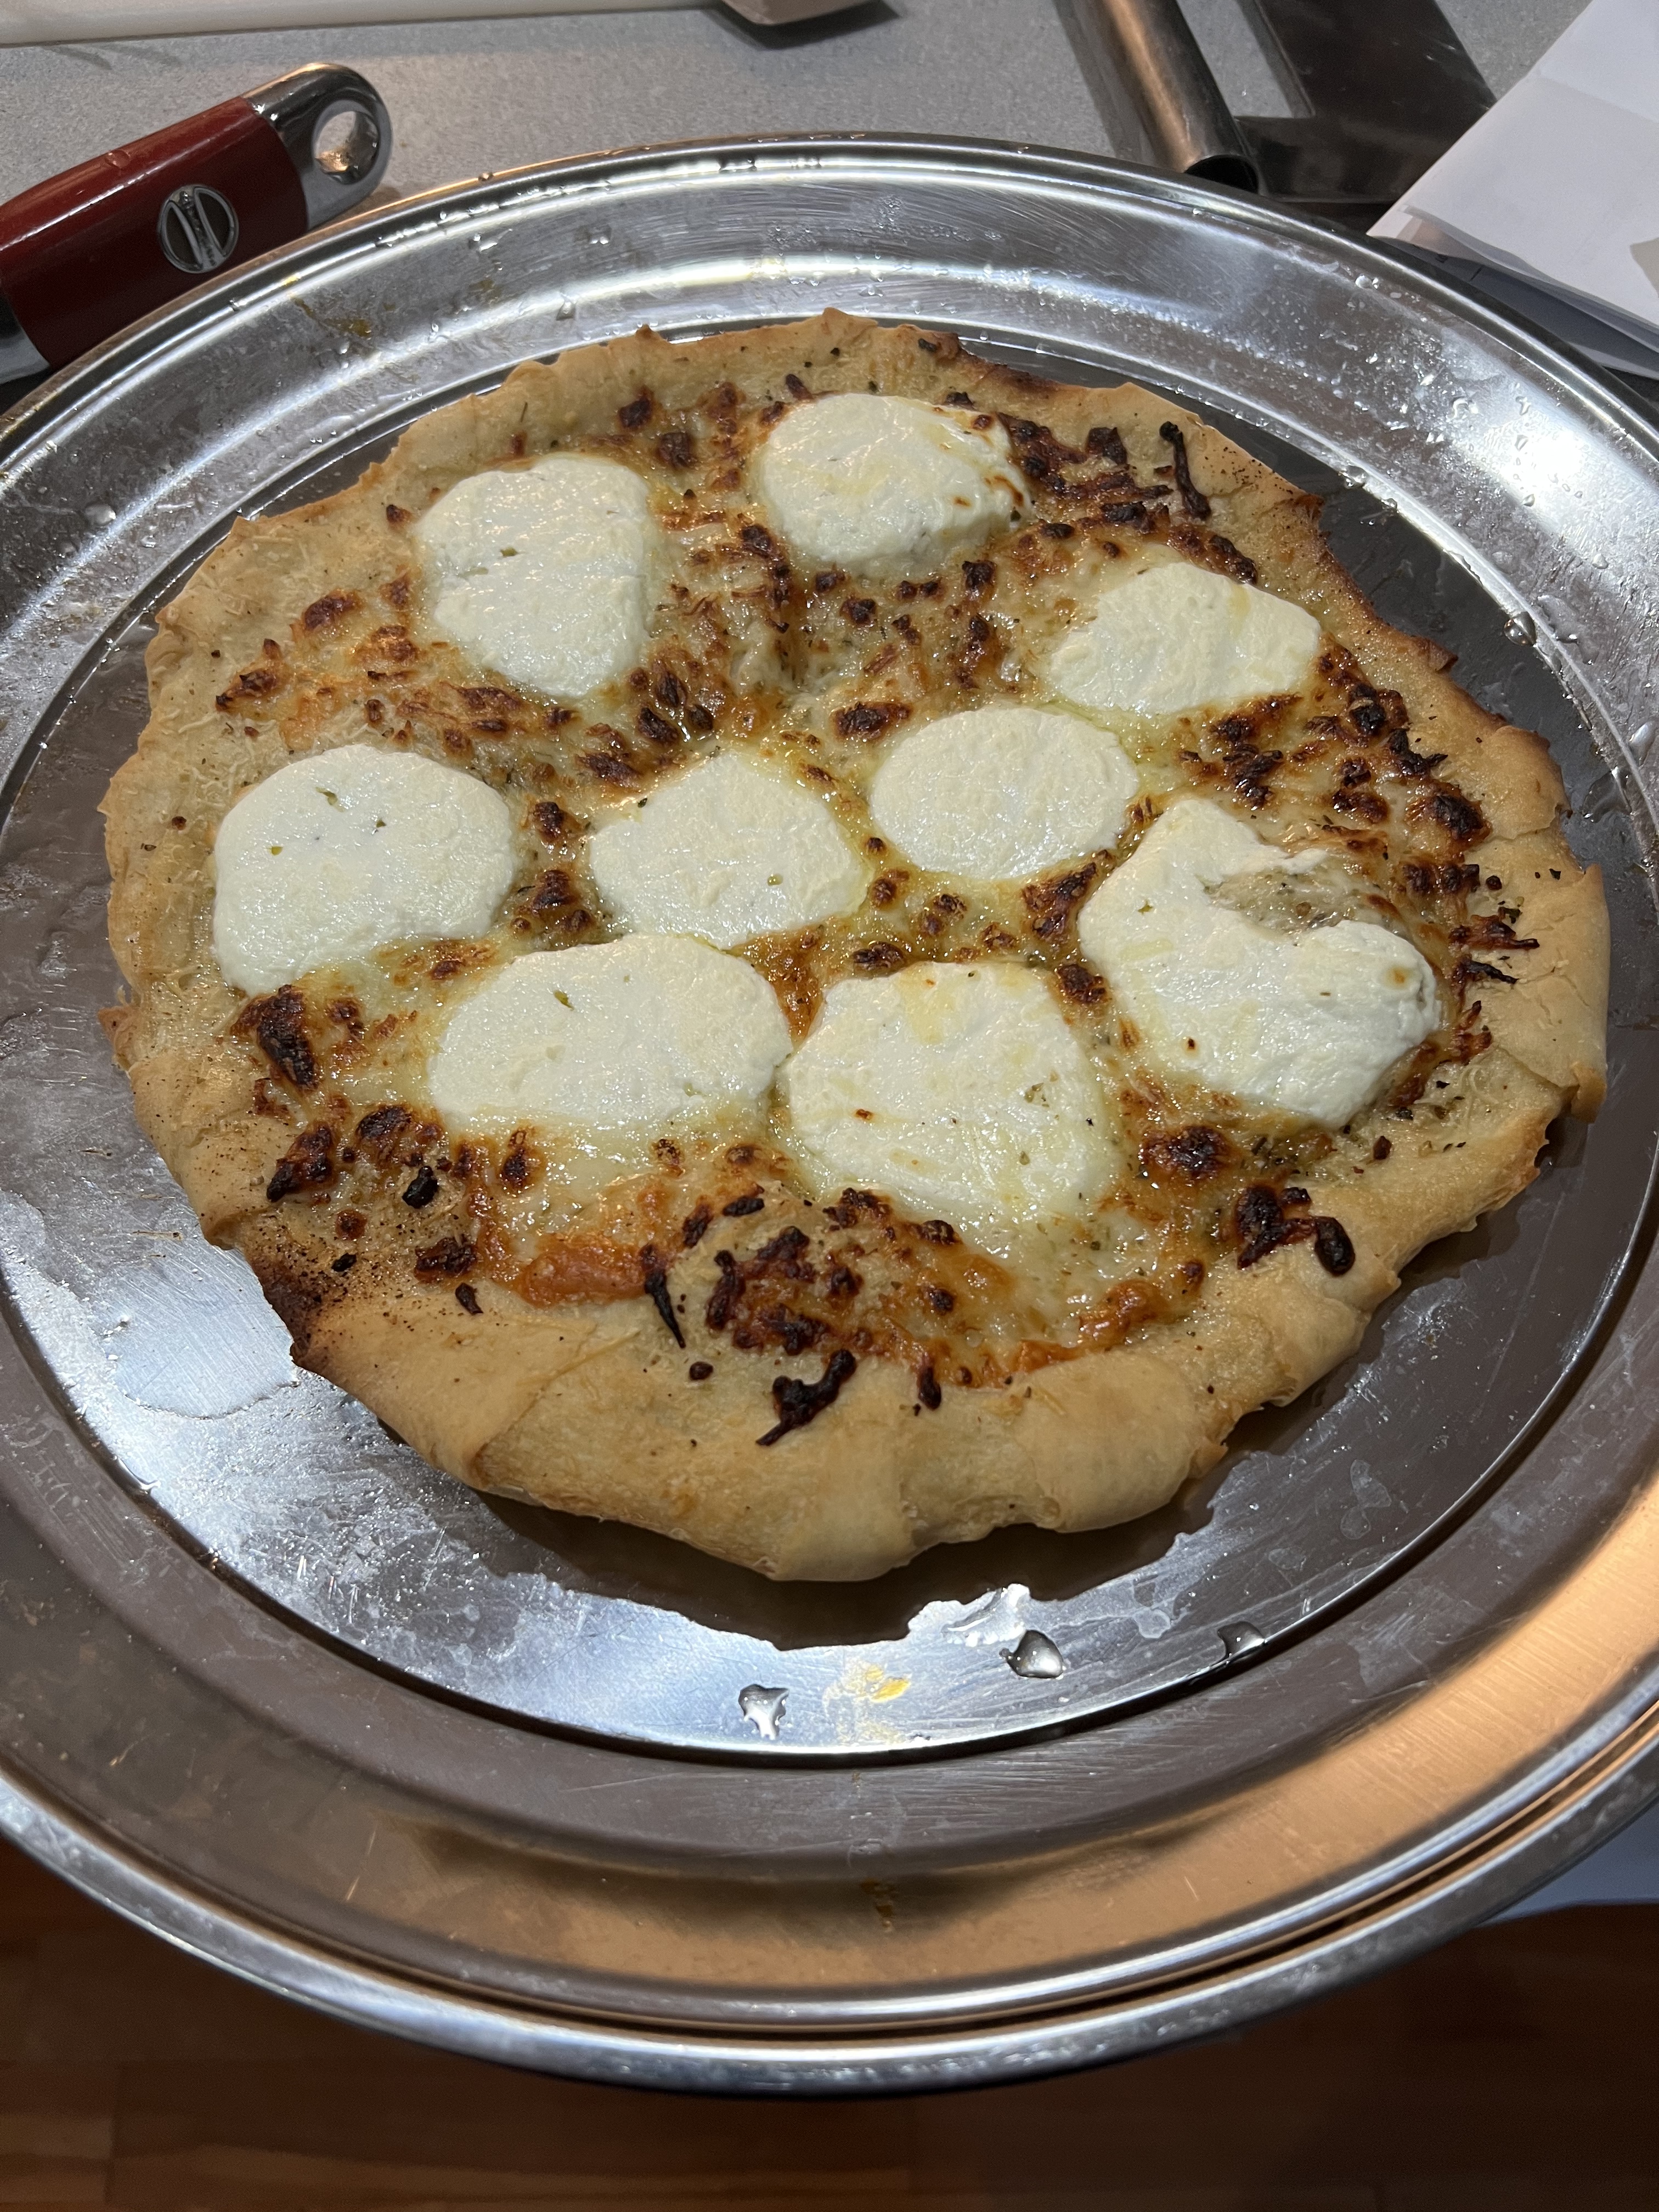
A four-cheese Montanara, with mozzarella, sharp Provolone, Parmiggiano Reggiano, and ricotta…and lots of garlic!
Every time I post a photo of Pizza Montanara on Facebook or Instagram, my friends don’t believe that this could possibly be a life-changing pizza experience. It is. After a trip to Manhattan, we’ll devour 3 pizzas on the ride home. Nothing makes New York traffic easier to bear than a Pizza Montanara in the seat next to you!
Pizza Arte also makes one helluva gluten-free pizza.
There seems to be no end to the bourbon craze, and until it does end, I’m constantly looking for new bargains. For example, for a long time, my go-to bourbon was Eagle Rare 10 Year Old, which I could get for about $32 a bottle. It’s now up to $70 a bottle in some places. Don’t get me wrong…I’m not complaining. It probably deserves that price, being a 10 year old. But I’m not going to buy it for mixed drinks anymore. A good choice to replace Eagle Rare is Buffalo Trace. Interestingly, both are made by the Buffalo Trace distillery. But I can’t always find Buffalo Trace when I want it, so I needed to find something else. What I found was 1792 Small Batch.
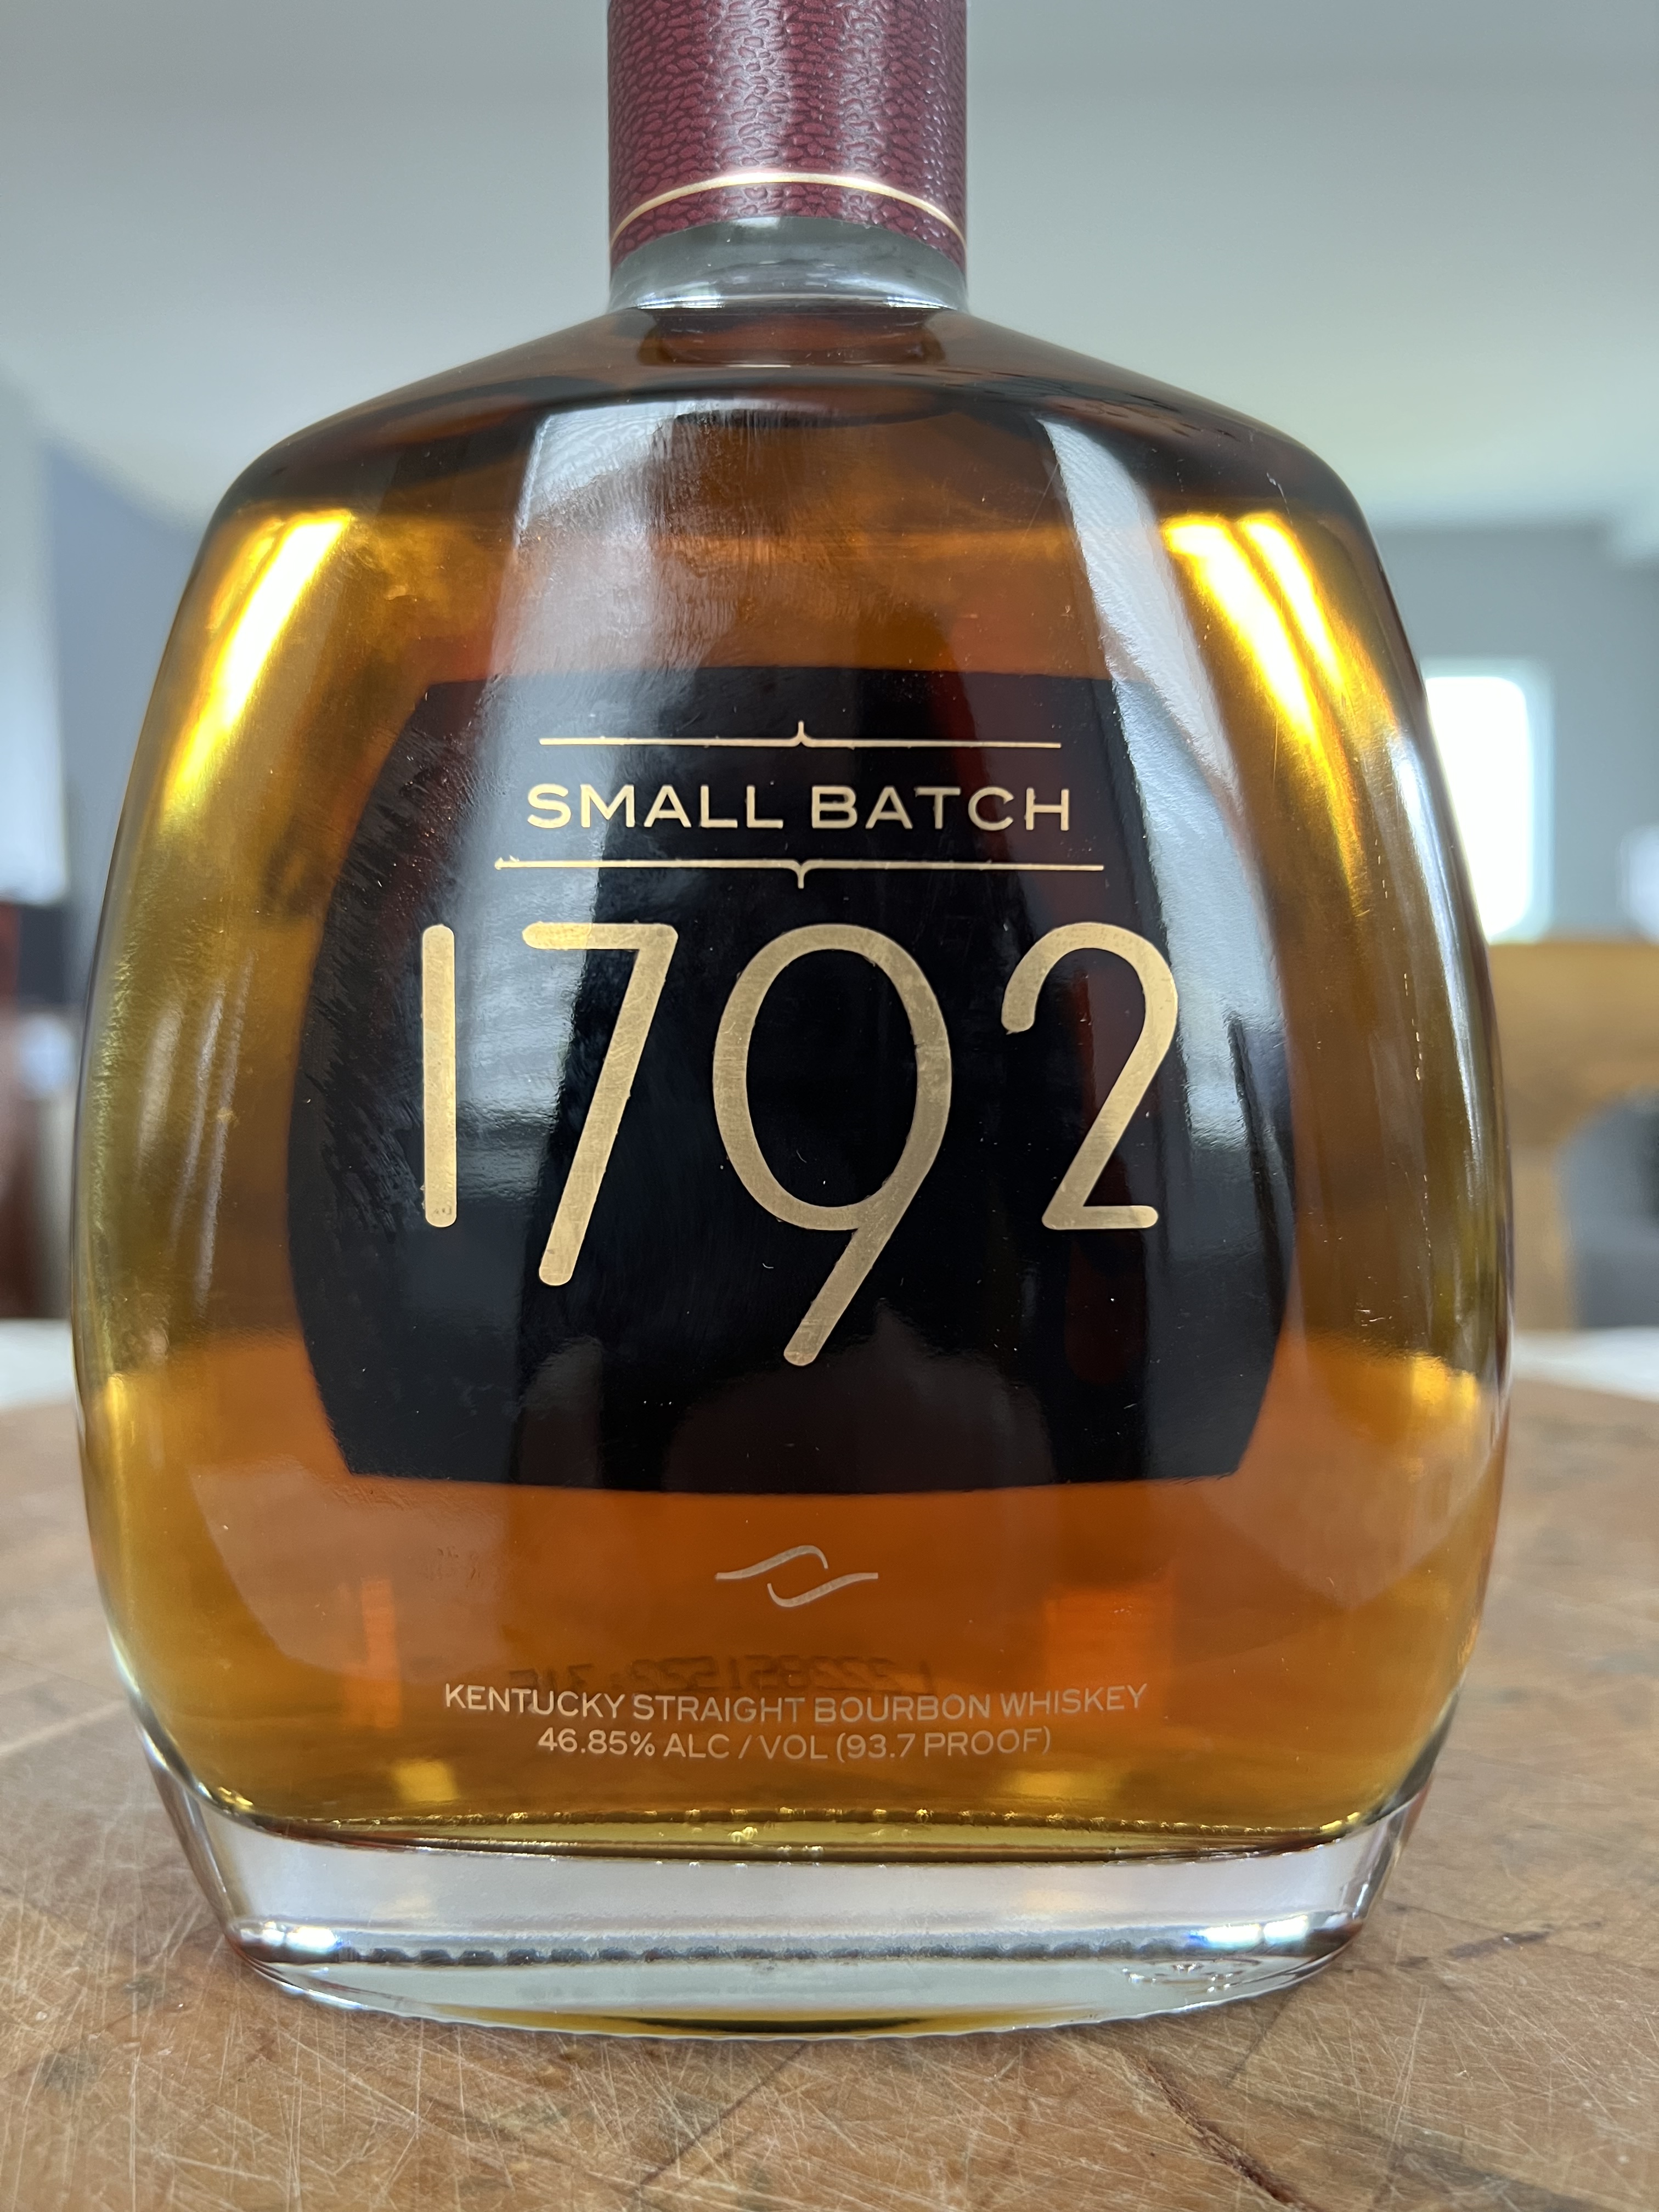
1792 Small Batch bourbon is my latest bang-for-the-buck bargain bourbon find. At $28.99 for a 750 ml bottle, you just can’t beat it for mixing or dropping a big cube in it for sipping.
Barton 1792 Distillery makes the 1792 line of bourbons. They were established in 1879, and continue today as the oldest fully operational distillery in Bardstown, Kentucky.
I originally thought the name 1792 came from the year the distillery first created it, but in actuality, 1792 was the year Kentucky, widely recognized as the birthplace of bourbon, became a state.
I wasn’t much of a gin drinker until my recent trip to New Zealand, where I discovered a whole new world of gin.
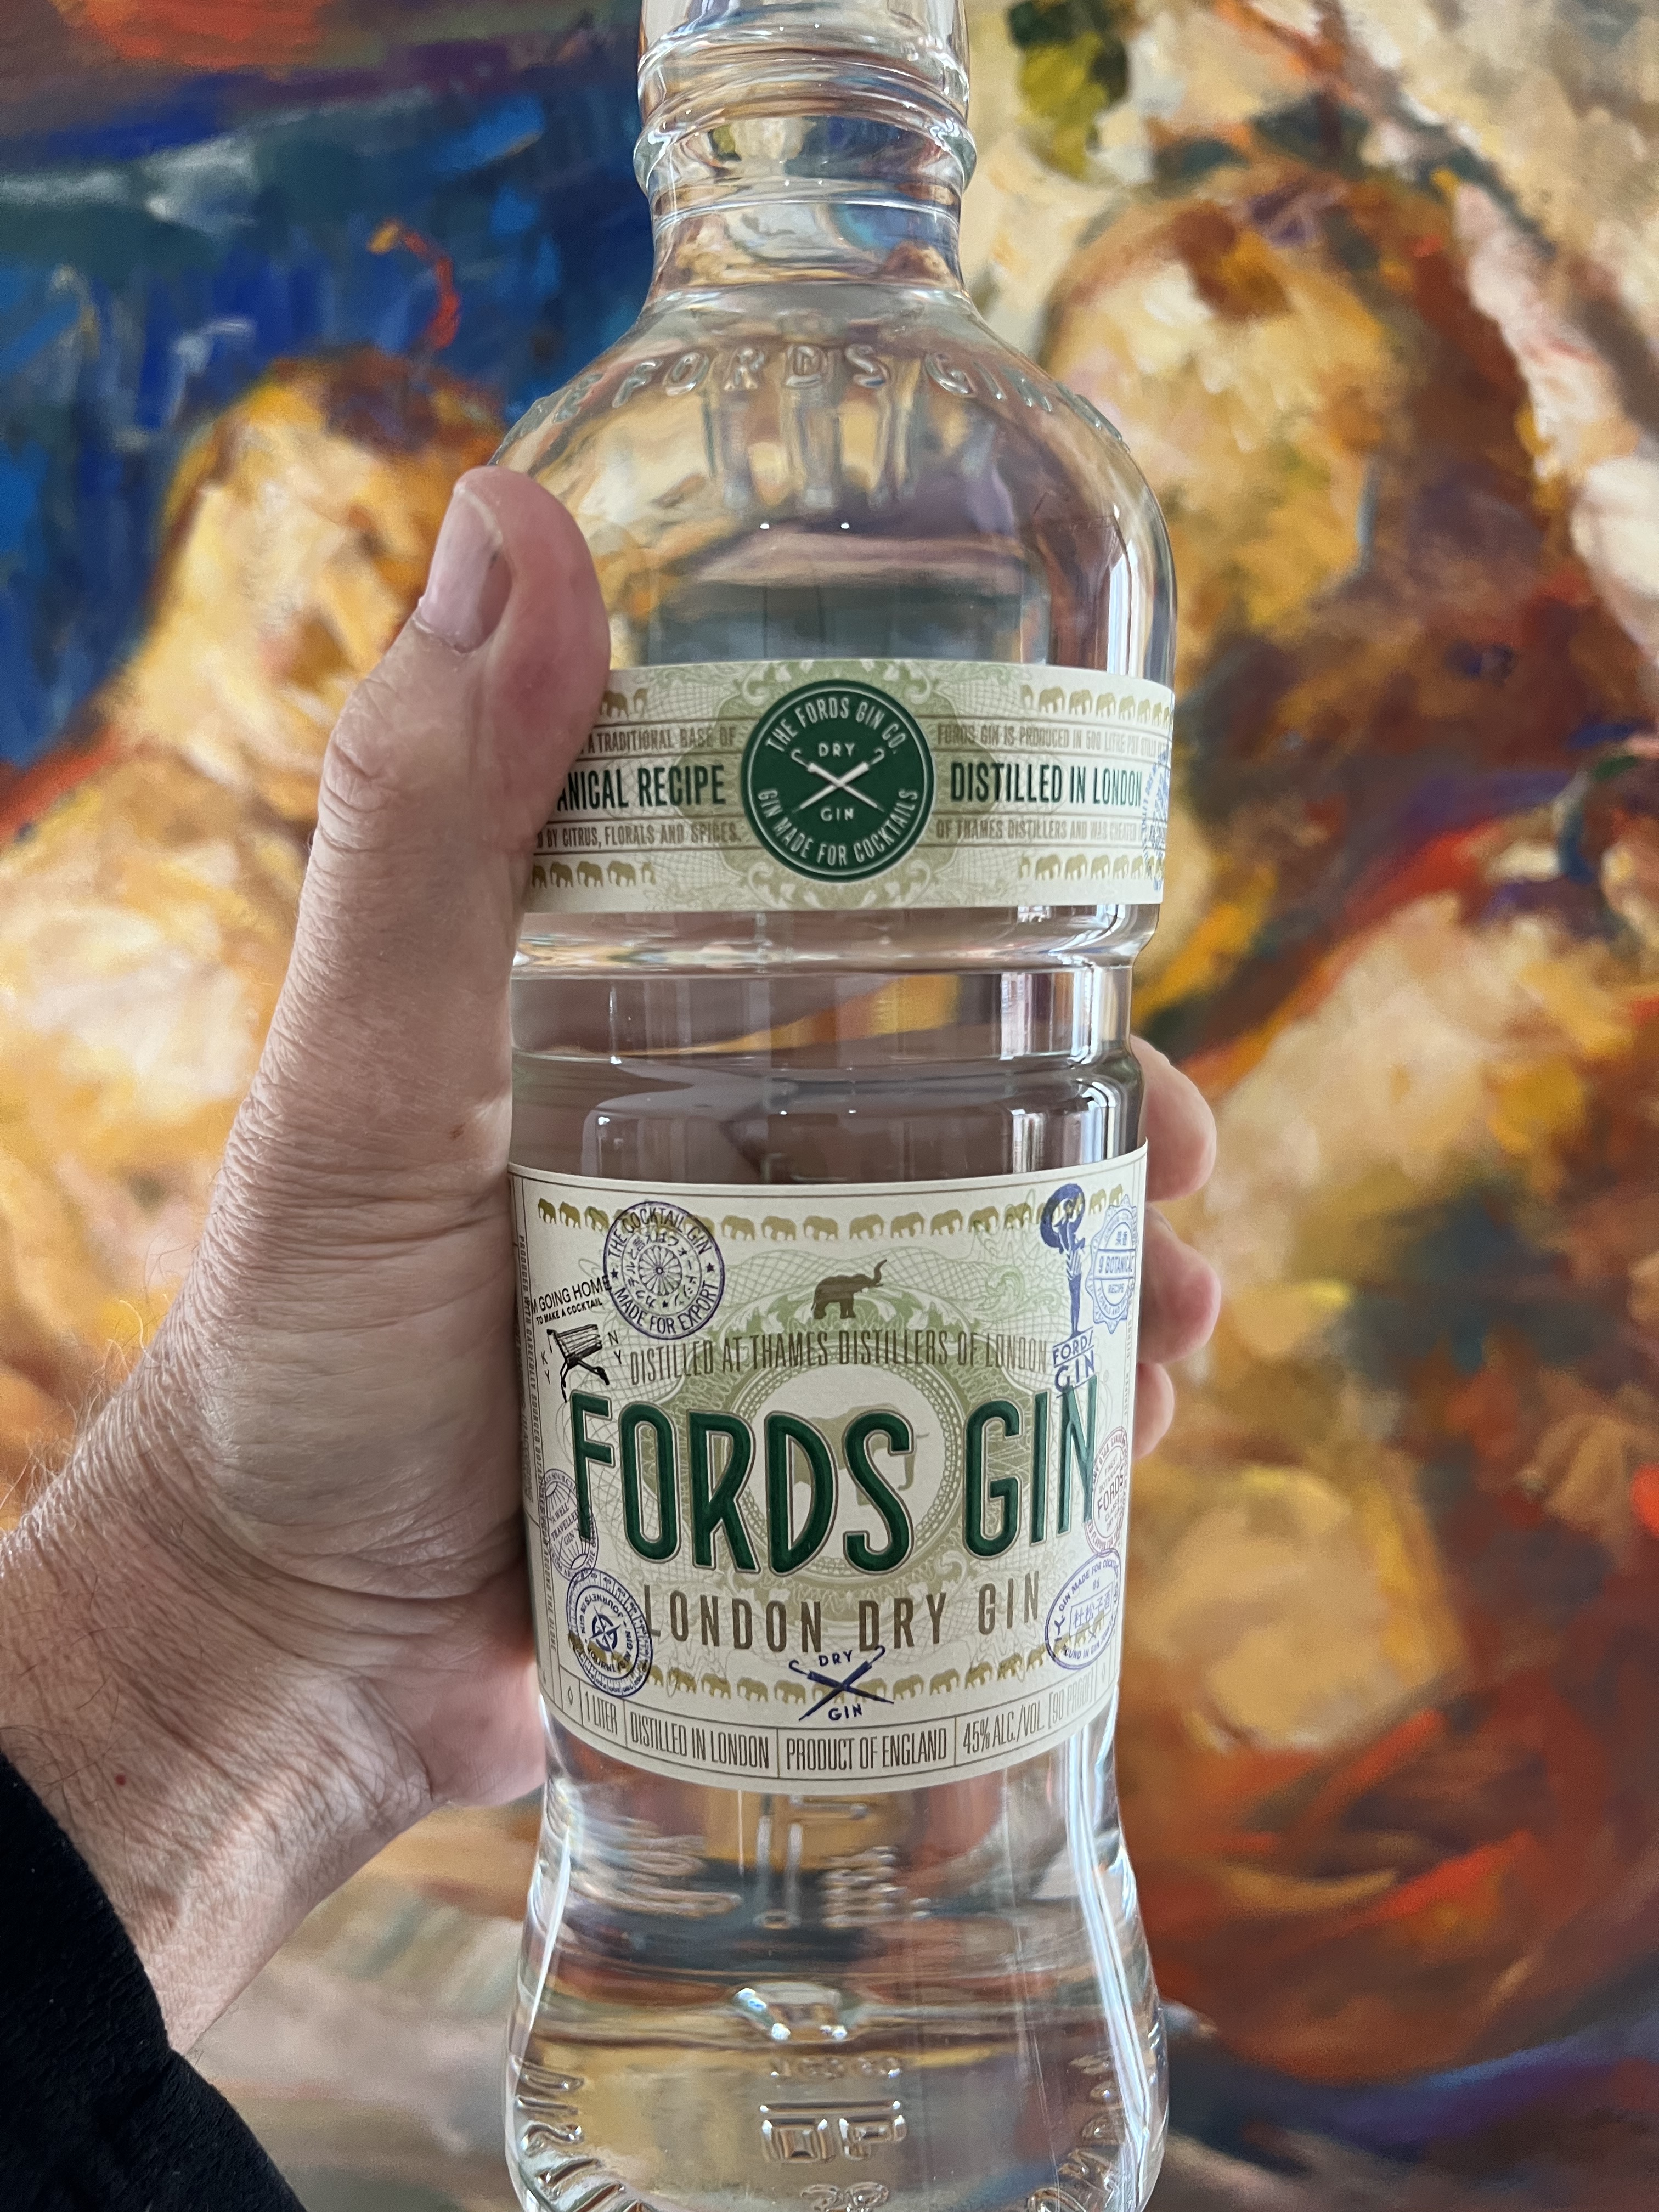
But before my trip, I was looking for a London dry gin to use in my Vesper martini recipe, and had heard about Ford’s gin. It didn’t take much convincing for me to try it when I saw that the price was $28.99 for a full liter!
Ford’s London Dry Gin was created by Simon Ford, a man who was looking for one gin that would work in all of the gin cocktails out there, making it the bartenders’ choice for any gin cocktail. With the help of bartenders, distillers, and avid drinkers, he came up with this London dry gin, featuring nine botanicals. It’s delicious, not overpowering like many gins can be, so it really does work well with any recipe you might use gin for.
In addition to taste, he thought about the bartenders themselves. The bottle is tall and ergonomically shaped, making it very easy to handle. Back when I was considering going to market with my homemade honey liqueur, the shape and size of the bottle was an incredibly important decision. Shorter, wider bottles might be put in the front row of a bar, but they’re more difficult to pour, and small hands can’t hold them properly. A taller bottle is easy to spot, and easier to handle. Ask any bartender, and they will tell you that they will go for the bottle that’s easiest to use if they have to make drinks all night long.
The bottle also has measurement markings on the side, which allows you to measure out enough for large batches of martinis, say, if you’re having a party.
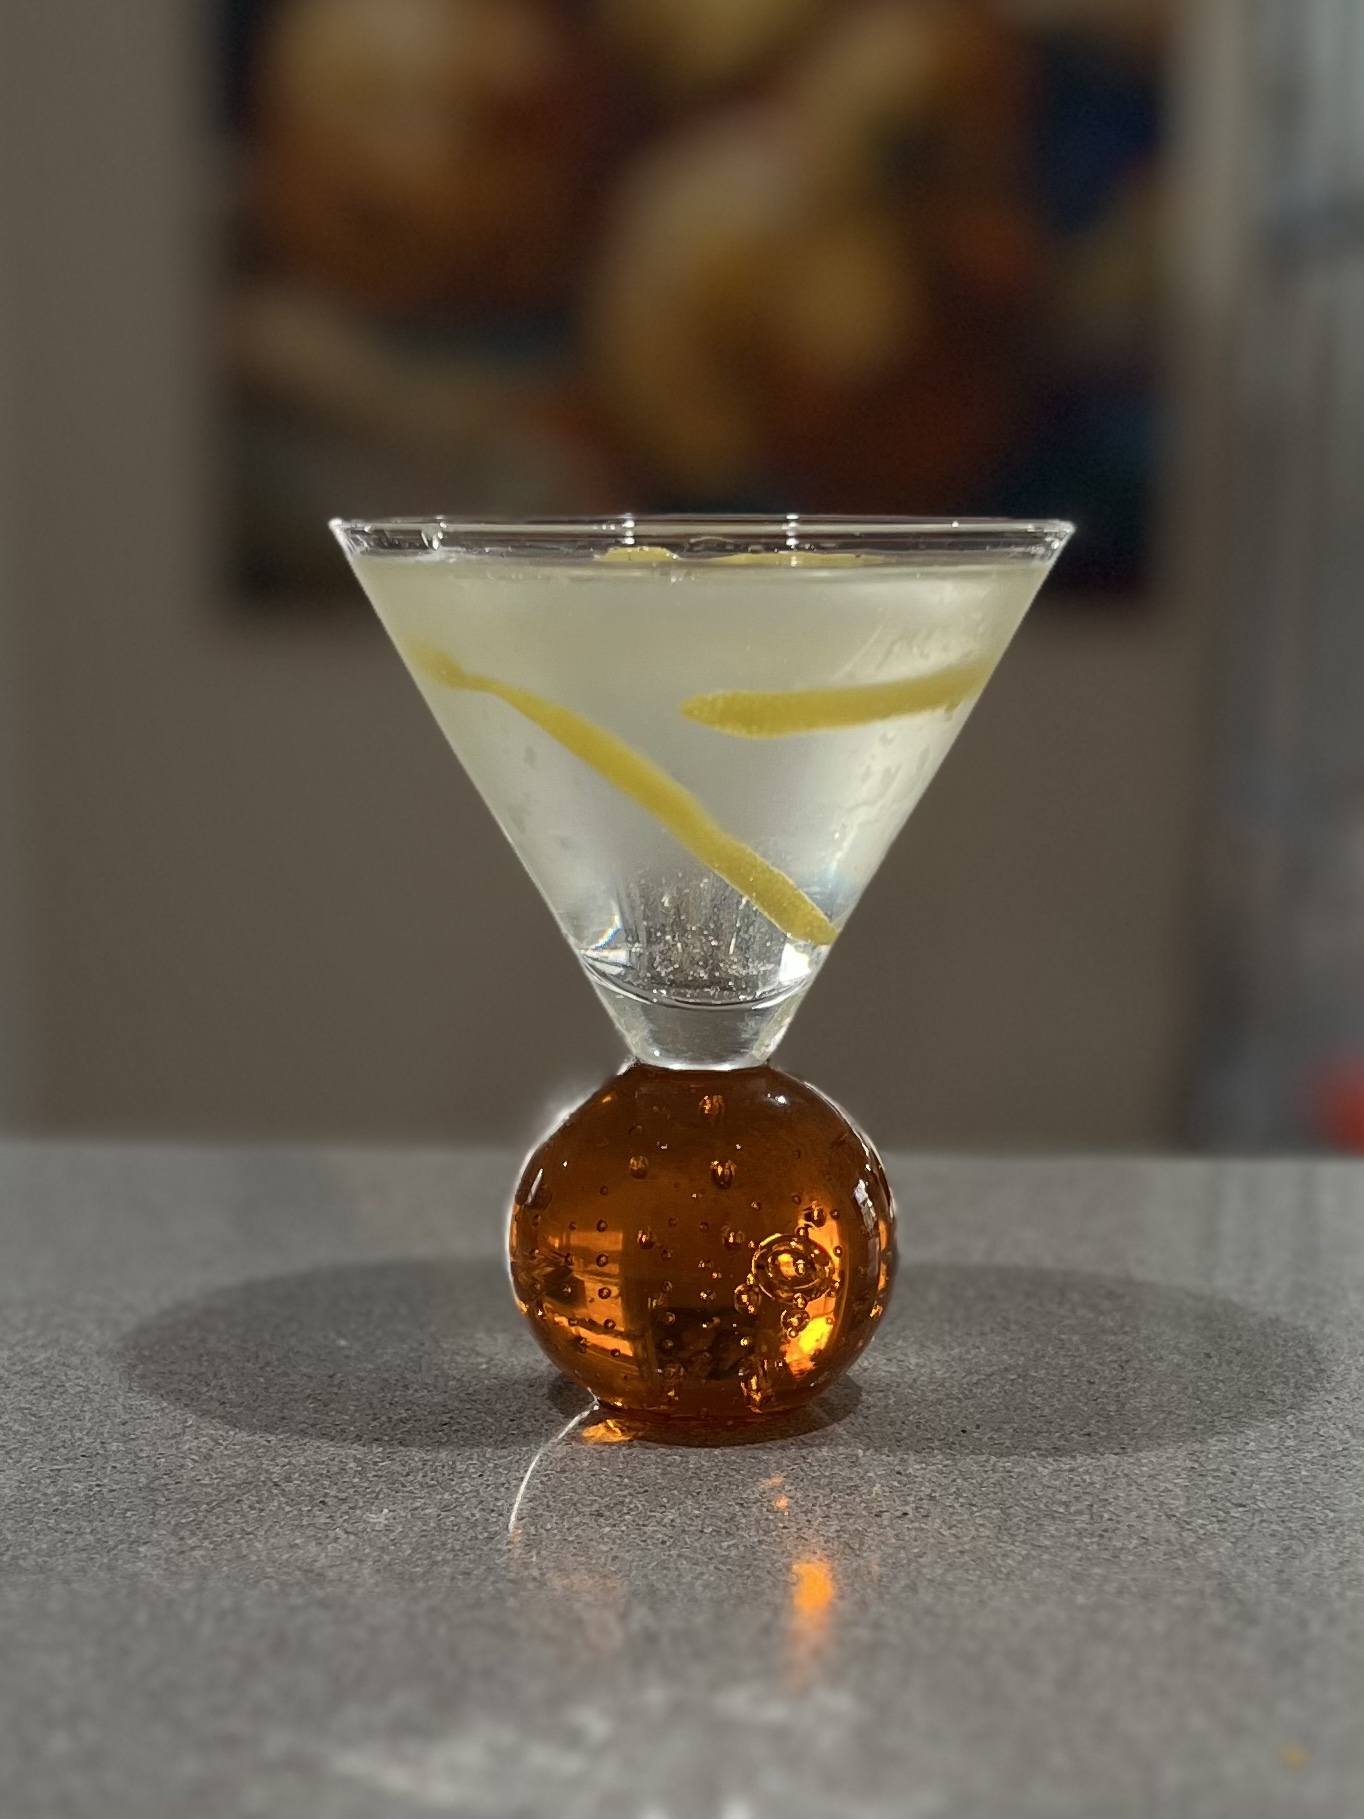
But the best part of all is the value. And it’s great in a Vesper or a simple gin and tonic.
Much of my new gin knowledge came from my recent trip to New Zealand. I had some interesting conversations with Nick, the owner of Kismet Cocktail & Whisky Bar in Nelson, NZ, a very well stocked bar with a very enthusiastic and knowledgable staff. Finding a place like that in your own town is not as easy as it sounds, as many bars stock the same booze from the same suppliers and don ‘t really make an effort to stand out in the crowd. If you find a place like that, consider yourself lucky!

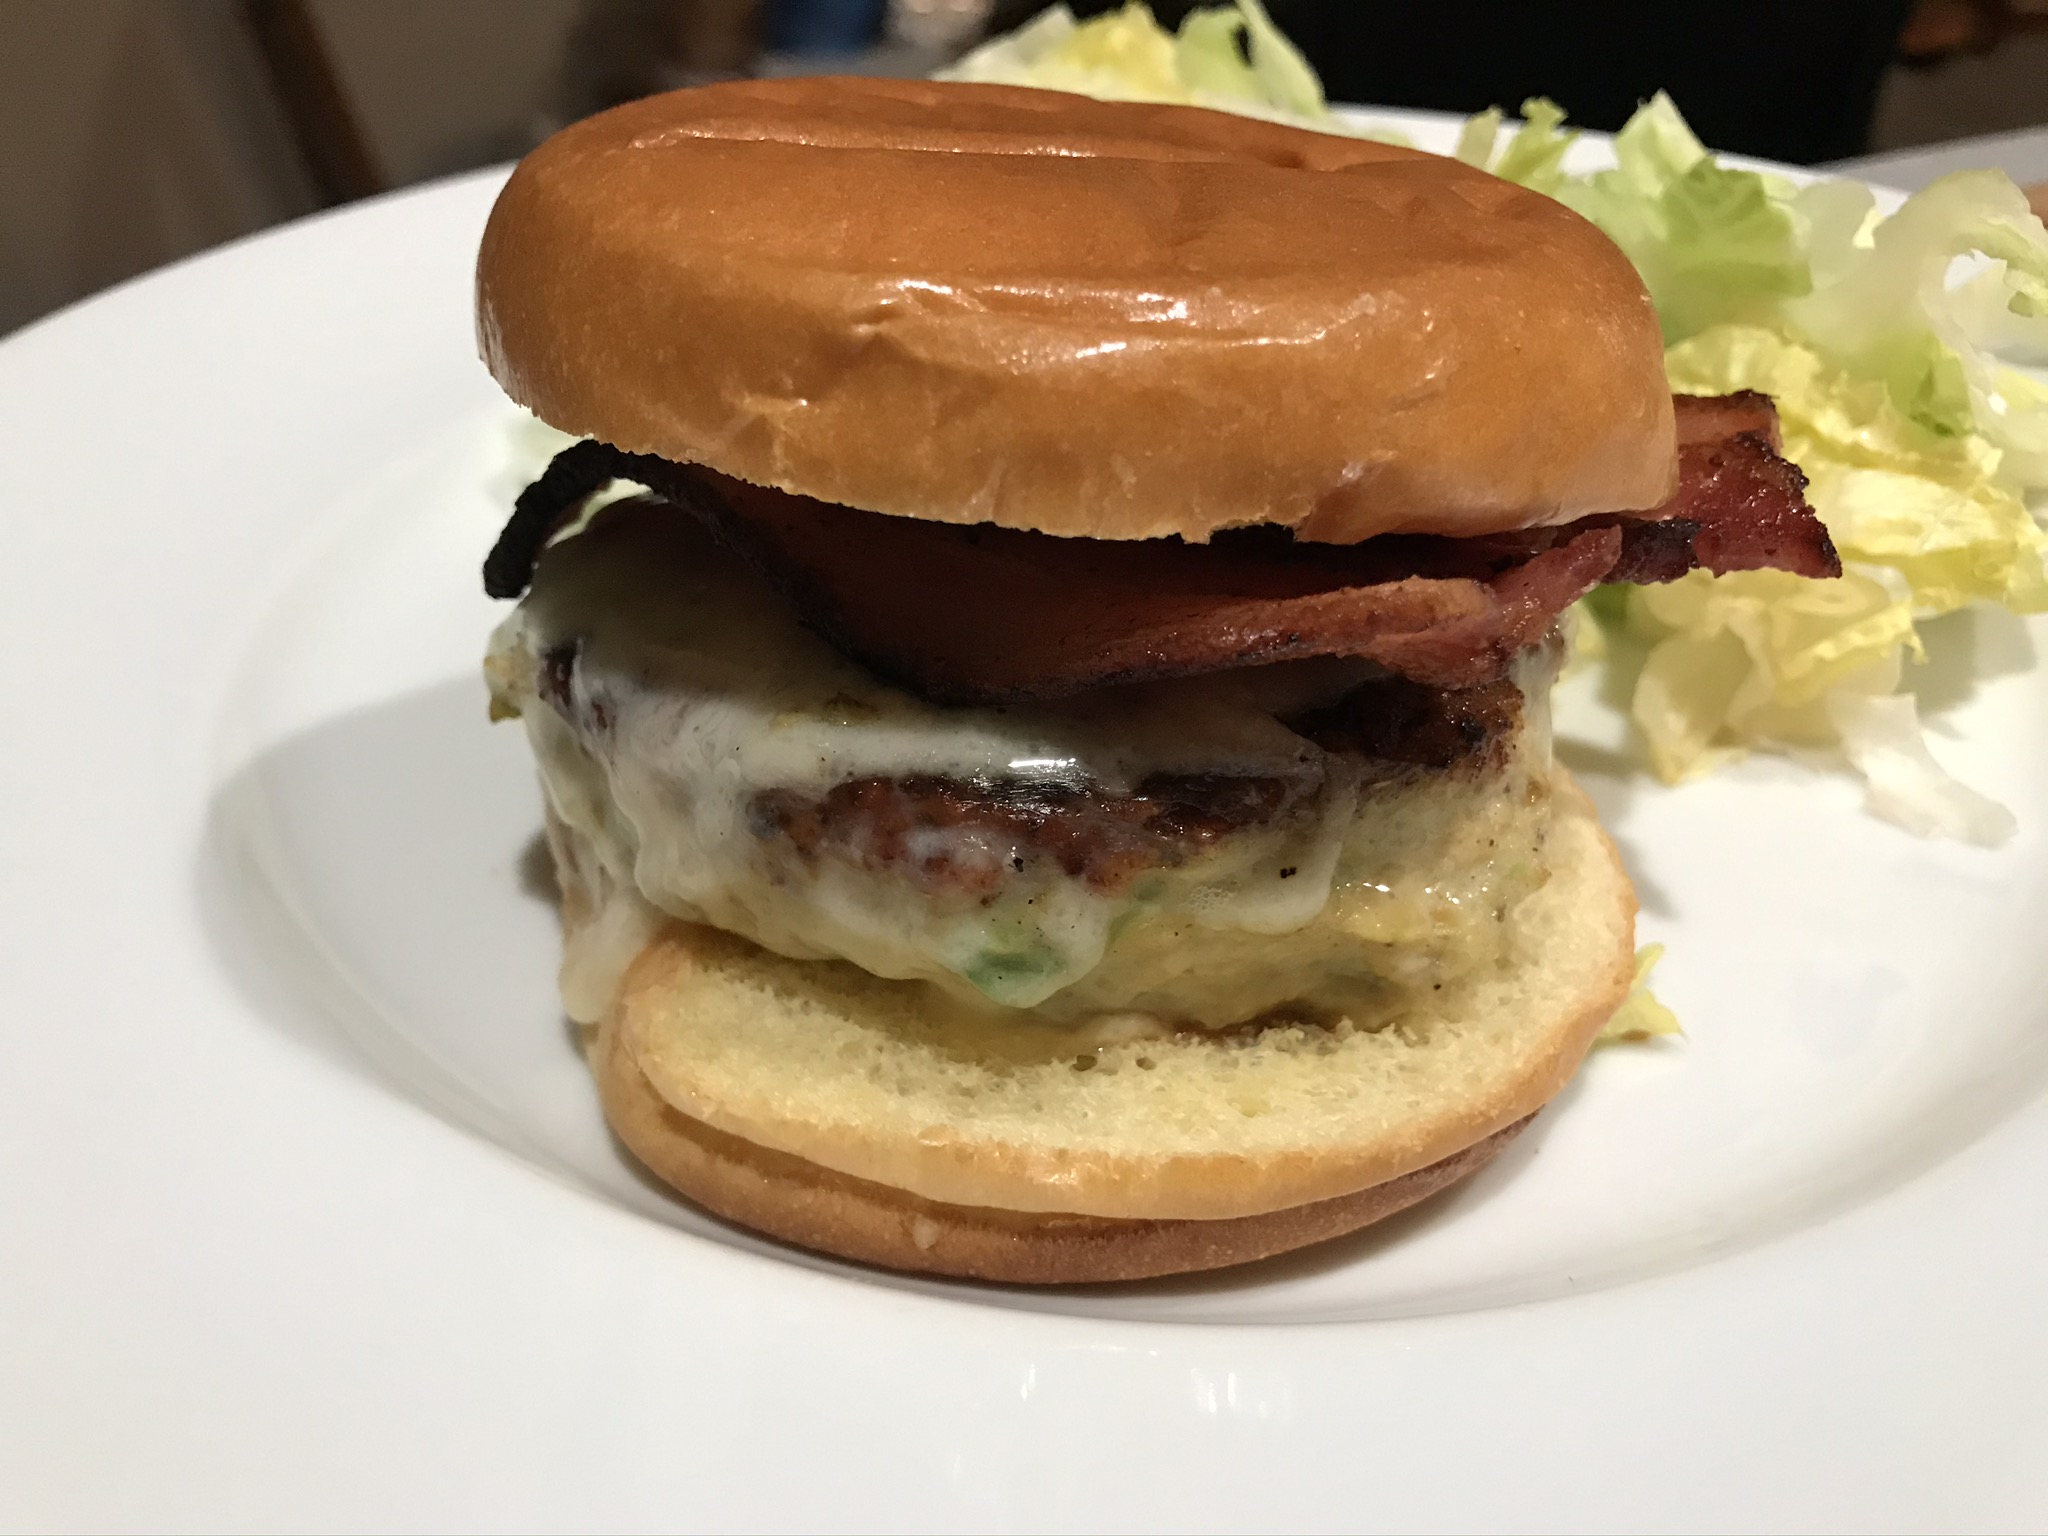
I never use ground turkey, because I think it’s nasty and flavorless. But ground chicken has a richer flavor, and doesn’t seem to dry out as quickly. adding avocado to the mix gives each bite of this burger a creamy, fatty richness the ground chicken needs. Chicken and ABC (Avocado, Bacon and Cheese) is a winning combination. My sauce puts it over the top.
I cut the avocado in small cubes. I don’t make guacamole out of it. When the burger cooks, it melts into the meat, giving it that luscious fattiness I’m looking for. The egg and the breadcrumbs bind it all together.


Combine the chicken, breadcrumbs, chopped avocado, salt and pepper, garlic, and egg in a bowl and mix them thoroughly but carefully so that you don’t squash the cubes of avocado.
Get a sheet pan covered in non-stick foil. Using a 1/2 cup measuring scoop, spoon out the burger meat onto the sheet pan, then gently press down on it with your hand to form patties. Place the sheet pan in the freezer for the burgers to firm up a bit. (The chicken is a little gooey, and likes to stick to your fingers, but a little oil on your fingertips prevents that.)

Firming up the burgers in the freezer. The little meatball in the middle is a leftover…and a nice extra bite for the chef to enjoy!
Pre-heat the oven to 350 degrees.
Heat a little avocado oil (or bacon fat!) in an oven-proof pan, and place the burger patties in it when it’s hot. Let the burgers sear on one side, then flip them. (Make sure they sear well, or they’ll fall apart when you try to flip them.) Add the cheese and place the pan in the oven to finish cooking and melt the cheese. Remember: it’s chicken…so you don’t want to undercook your burgers!
When they’re ready to serve, place the patties on a bun, add a couple of slices of bacon and slather with this sauce.
Combine all the ingredients in a bowl. Mix well. Refrigerate covered for a few hours to blend the flavors.
As the warmer weather slowly makes its way to New England, I start dreaming about the opening day of one of my favorite seasonal seafood restaurants: The Back Eddy in Westport, Massachusetts.
One of their best-selling appetizers is deviled eggs, topped with raw tuna or without. My version has none of the finesse of their original dish, but it has a lot more tuna and all the flavor…which works for me!

My favorite method of hard-boiling eggs is to put them in a pot of cold water. Turn the heat on high and bring it to a boil. As soon as the water boils, take the pot off the heat, and cover it with a lid. Let it sit for 15 minutes. Then run them under cold water to cool.
In general, killing parasites in raw fish requires freezing and storing fish at a surrounding temperature of -4 degrees Fahrenheit or colder for seven days; or freezing at a surrounding temperature of -31 degrees or colder until the fish is solid and storing at the same temperature for 15 hours; or freezing at a surrounding temperature of -31 degrees until the fish is solid and storing at -4 degrees or below for 24 hours.
Since I don’t have the refrigeration equipment to do that, I buy high quality tuna already frozen into convenient bricks at Whole Foods or on-line at websites like Vital Choice, one of my favorites for high quality, responsibly sourced seafood.
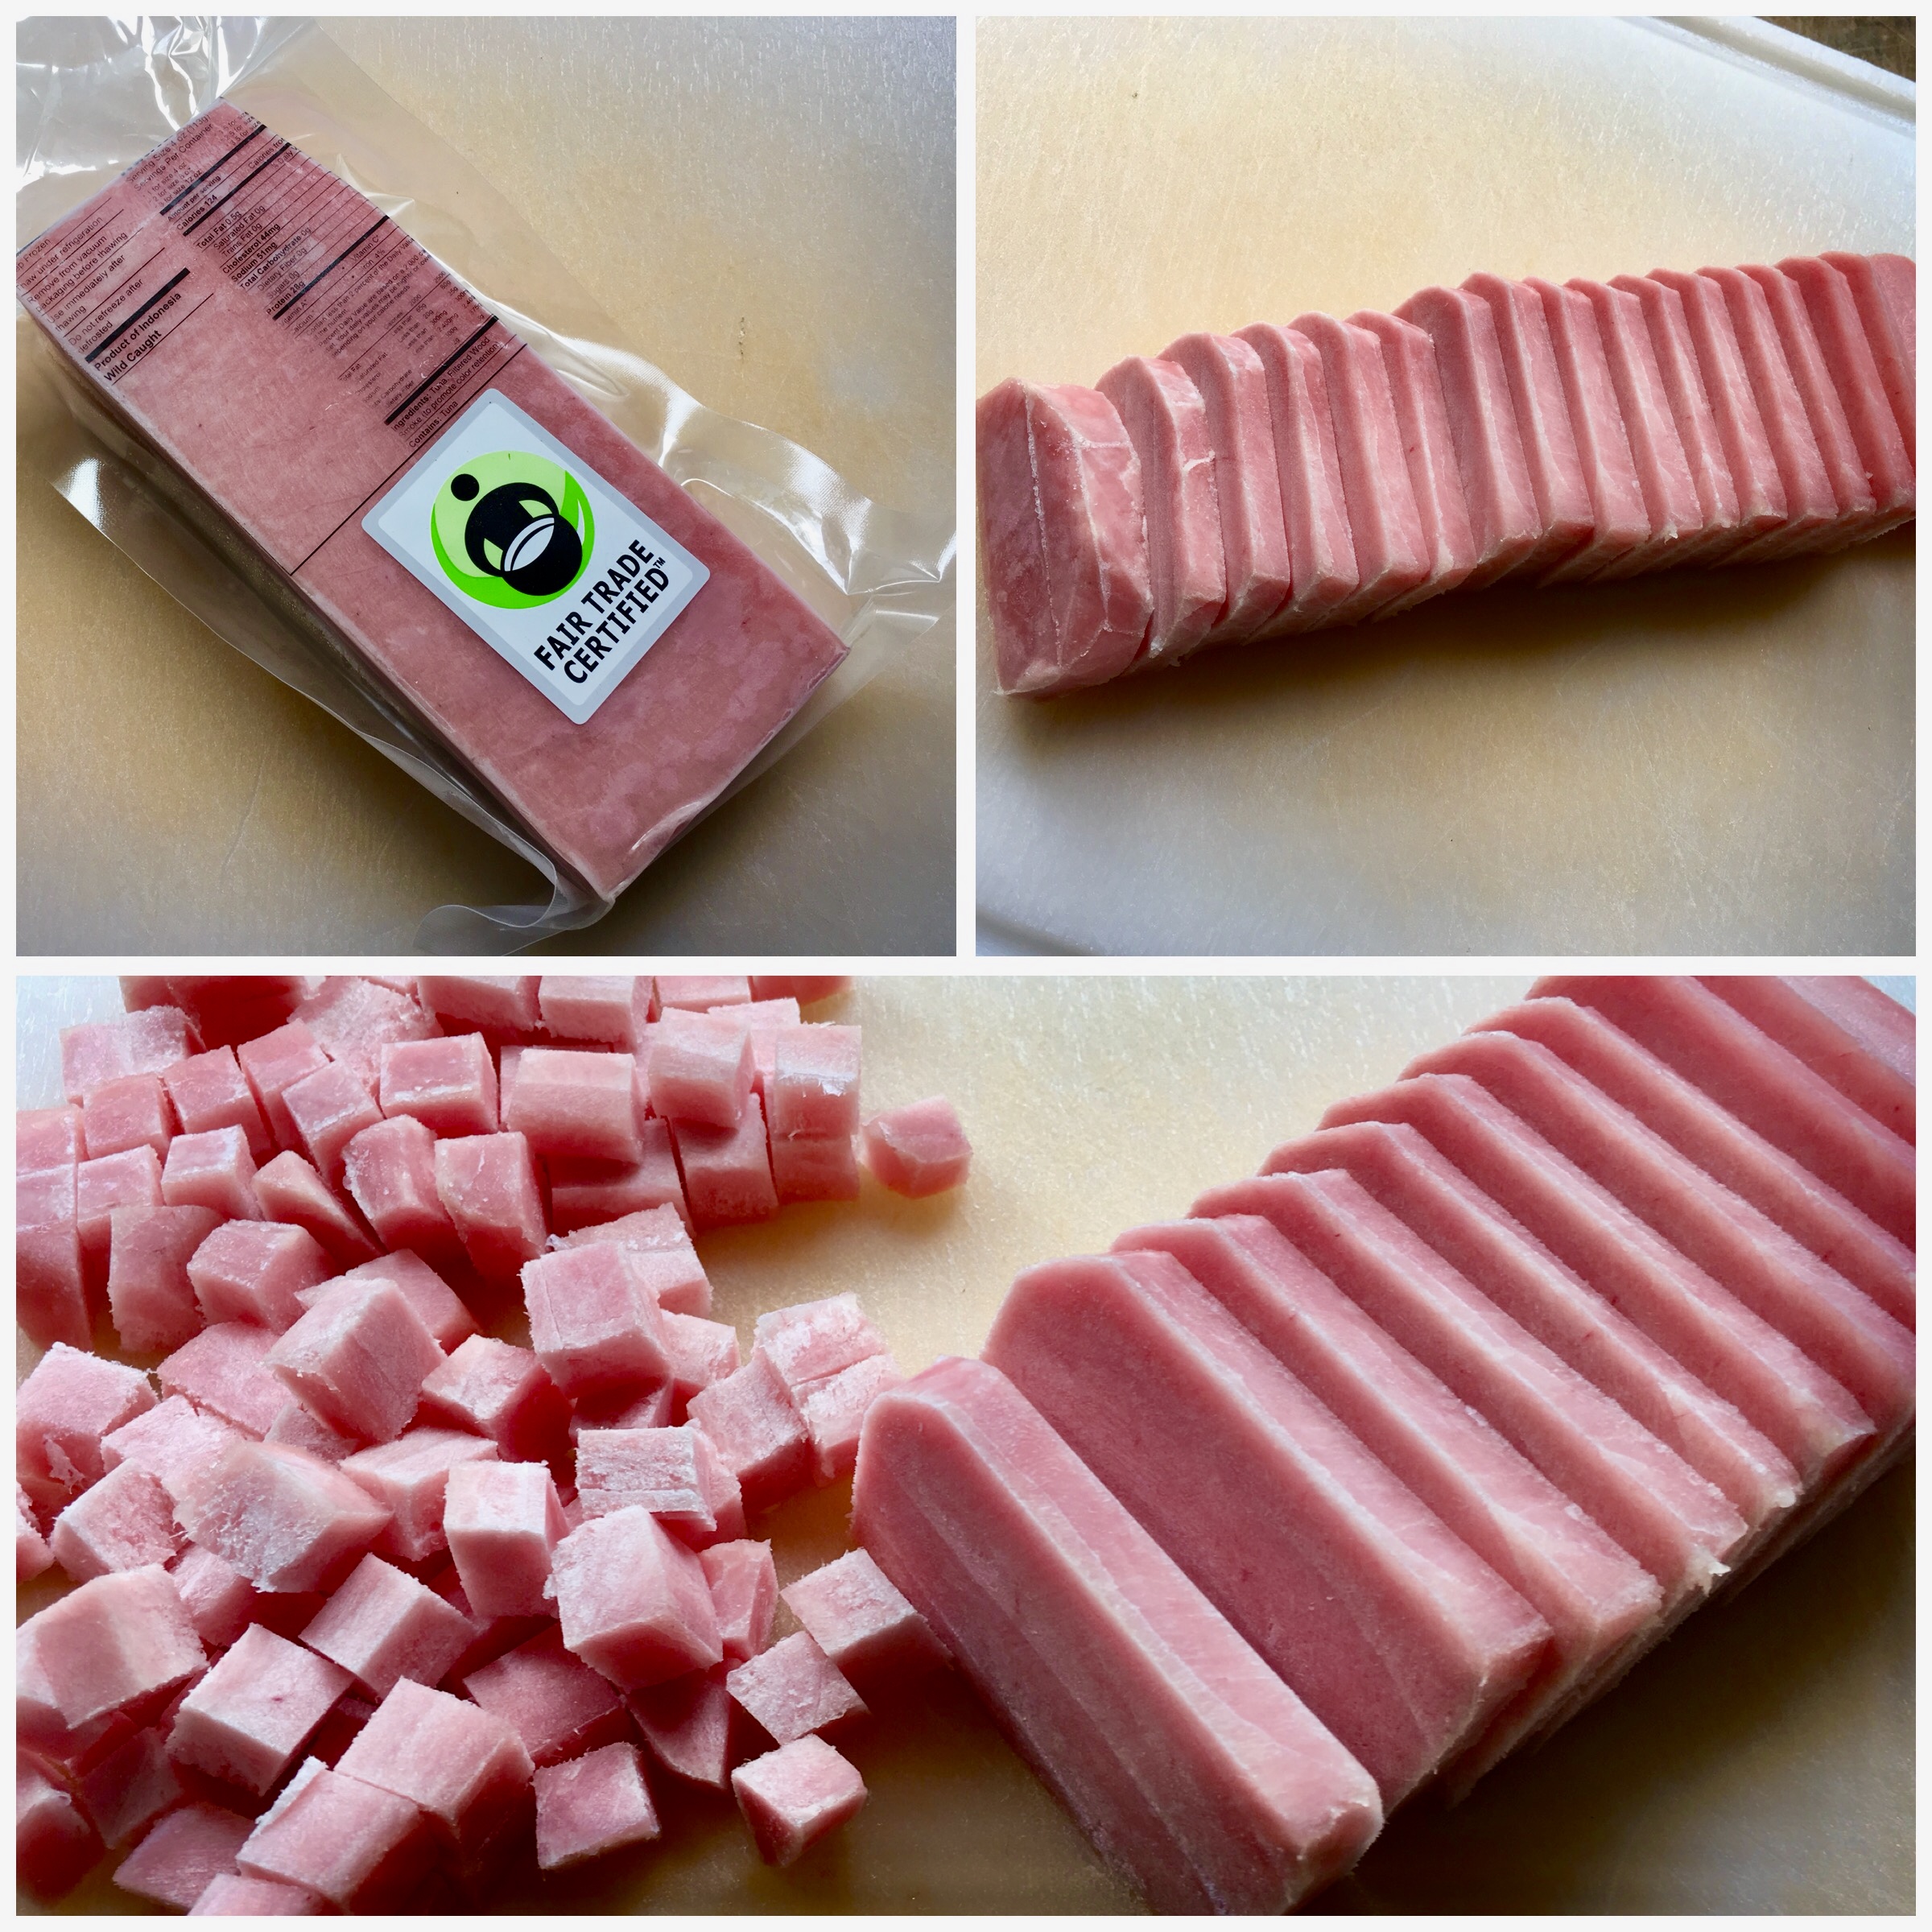
I always try to buy responsibly sourced, fair trade seafood, like this beautiful ahi tuna.
If the tuna is frozen, I let it thaw a little. If it has thawed, I return it into the freezer for about 10 minutes to firm up. That makes it easier to cube up. I slice the tuna carefully into the smallest cubes I can make. Once done, I place the tuna in a bowl and put it back in the fridge until I’m ready to use it.
In a separate small bowl, I combine the soy sauce and the chili oil, and set it aside.
I finely chop the scallions, and set them aside.
Once the eggs have cooled, I peel them and cut them in half. I scoop out the yolks and place them in a bowl, starting with 1/4 cup of the mayonnaise, adding more if needed. I use a fork or whisk to get as many of the lumps out as possible. If I wanted to get serious, I could put them in a blender or food processor to make a creamy puree. An option is to place the puree in a piping bag and carefully squeeze it out into each egg half. I simply use a spoon.
Once all the egg halves are filled, I place them on a spinach leaf-covered dish and put them back in the fridge until ready to serve. Or, instead of the bed of spinach, I peel a cucumber and cut the ends off, then slice the cuke into 1/2″ thick slices. Using a melon baller, I carefully scoop out the seeds from the center to make a “cuke donut.” I use these as little stands to hold the eggs on the plate.
When it’s time to serve, I take the tuna out of the fridge, pouring the soy sauce/chili oil mix into the bowl with the tuna and I mix well. I let the tuna marinate for just 2 minutes, pouring off the excess marinade. I don’t want it to marinate too long, or it’ll get very salty.
I remove the plate of eggs from the fridge and carefully put a small spoonful of tuna on top of each one. I garnish with the sesame seeds and the chopped scallions and serve immediately.

It’s nice to have some crackers or toasted bread on the side.
Starting in the mid 1700’s, sailors in the British Navy were given a daily ration of rum. They called it a “tot,” and the practice of daily “tot” distribution lasted for almost 200 years, until July 31, 1970. When it ended, not only were there many sad British sailors, but there was also a vast amount of leftover rum. Much of it was sold off at high prices because the taste was excellent and the methods of its distillation were no longer used.
It made sense. In the old days, when liquids were stored in wooden barrels aboard ship, water, beer, and wine would go bad very quickly. Only something with a much higher alcohol content wouldn’t spoil. Rum was the answer. And getting the sailors drunk every day kept them from deserting…it was good for morale!
But while the sailors drank rum, Royal Navy officers drank gin. The use of exotic spices in gin was made possible by imports from Africa and Asia. Gin’s prevalence around the world is largely due to the fact that sailors set foot in many new cities on new continents.
And though the British Navy stopped the practice of issuing alcohol to its sailors in 1970, the Royal New Zealand Navy abolished the practice as late as 1990!

Until my recent trip to New Zealand, I was not a huge fan of gin. I liked it. A gin and tonic was a nice refreshing drink on a hot summer’s day. And my fascination with the Vesper martini, a combination of gin and vodka, made me appreciate gin even more.
But it wasn’t until I went to New Zealand, and tasted their magnificent gins, in combination with delicious tonics only available in that country, did I really start to appreciate the subtle differences between them.
The first thing that caught my eye when I was served a sample of Roots gin, distilled in Marlborough, was the label: “Navy strength dry gin.” I asked what that meant. Well, for one thing, it had more alcohol. And the reason for that was surprising. Since gin, like rum, was stored in wooden barrels on ships, very often next to barrels of gunpowder, the gin had to contain enough alcohol so that if it spilled onto the gunpowder, the gunpowder would still ignite! Not enough alcohol in the gin would waterlog the gunpowder and make it useless. So tests were actually done by pouring gin on gunpowder to see what the minimum percentage of alcohol was required to keep the gunpowder burning. The answer was about 57%. Anything below that and the gunpowder would not burn. They coined the term “Navy strength.”
(Although the bottle of Roots gin above weighs in at 54.5%, it’s properly called “Navy strength.” In 1866, to keep sailors from getting completely hammered, the British Royal Navy reduced the alcohol content of the rum they were distributing to 54.5%. Hence, a new “Navy strength.”)

The other advantage to a Navy strength gin is taste. If you’re not diluting it with water, not only are you getting more alcohol, but you’re also getting more of the herbaceous flavor you want in a gin.
Up until my trip to New Zealand, my experience with gin was limited to the usual list of suspects: Tanqueray, Bombay Sapphire, and Hendrick’s. I also more recently discovered Ford’s, a very nice London dry gin I use in my Vesper martinis.
But in New Zealand, many of the gins were floral and herb-forward, and I found that I like that. I like that a lot. For example, Victor, another Marlborough gin, was like “Hendrick’s on steroids.” I said that to my bartender at the Urban Eatery and Oyster Bar in Nelson, NZ, and she agreed. Delicious.

Although gins may vary in alcohol content, rules about serving liquor in New Zealand are very strict, certainly by US standards. For example, a “double” in New Zealand is 30ml. That’s 1 ounce! And that’s a standard pour for a cocktail. You can, I found out, ask for a “double-double.” And in that case, they would serve you a 1-ounce shot on the side with your drink, and you would have to pour it in yourself.
When I told the bartenders in New Zealand that we have 4-ounce martinis at any decent steakhouse in the US, and they realized that was 120 mls, their jaws pretty much dropped and hit the bar. One bartender gasped: “That’s irresponsible!” I told her that two of those drinks is widely considered the “businessman’s lunch” here in the states. She just shook her head.

The phrase “proof” also has a very different meaning.
In the states, it’s pretty simple: it’s double the percentage of alcohol. So a bottle that’s 40% alcohol is 80 proof.
But the phrase “proof” comes from there British Royal Navy’s “proof” test. They would take the gin, pour it onto gunpowder, and if it ignited, that would prove there is sufficient alcohol in the gin. They would say that the gin was “gunpowder proof,” and it would be allowed onboard the ship.
So in the UK, a spirit with 57.15% is 100 degrees proof. A spirit with 40% alcohol is 70 degrees proof.
For me, it’s easier to simply remember to check the percentage of alcohol, and go from there.

One of the reasons I fell in love with New Zealand gin was because it was often served with East Imperial tonic, a New Zealand product not available in the United States. When the amount of alcohol you’re allowed in your glass is limited (by our standards, anyway), what fills the rest of it up becomes incredibly important. East Imperial is the best line of tonics I’ve ever tried.
Made in small batches like craft beers, East Imperial tonics make all the difference. The closest thing we have here in the states is the line of Fever Tree products. Before they came along, tonic was tonic, and we were perfectly happy with whatever we found in the supermarket or what came out of a squirt gun at our local bar.
It stands to reason that a great cocktail is the total sum of its parts: great gin, great tonic, great ice.

I was in the supermarket the other day, and a pack of pork chops called to me as I walked by the meat department. I hadn’t had pork chops in ages, and it was time to try something new with them.
The balsamic vinegar used in this recipe is not the crazy expensive stuff. It’s the bottle you probably already have in your kitchen cabinet that costs about nine bucks.
The cool thing about this recipe is that you make it all in one pan, and on the stovetop.
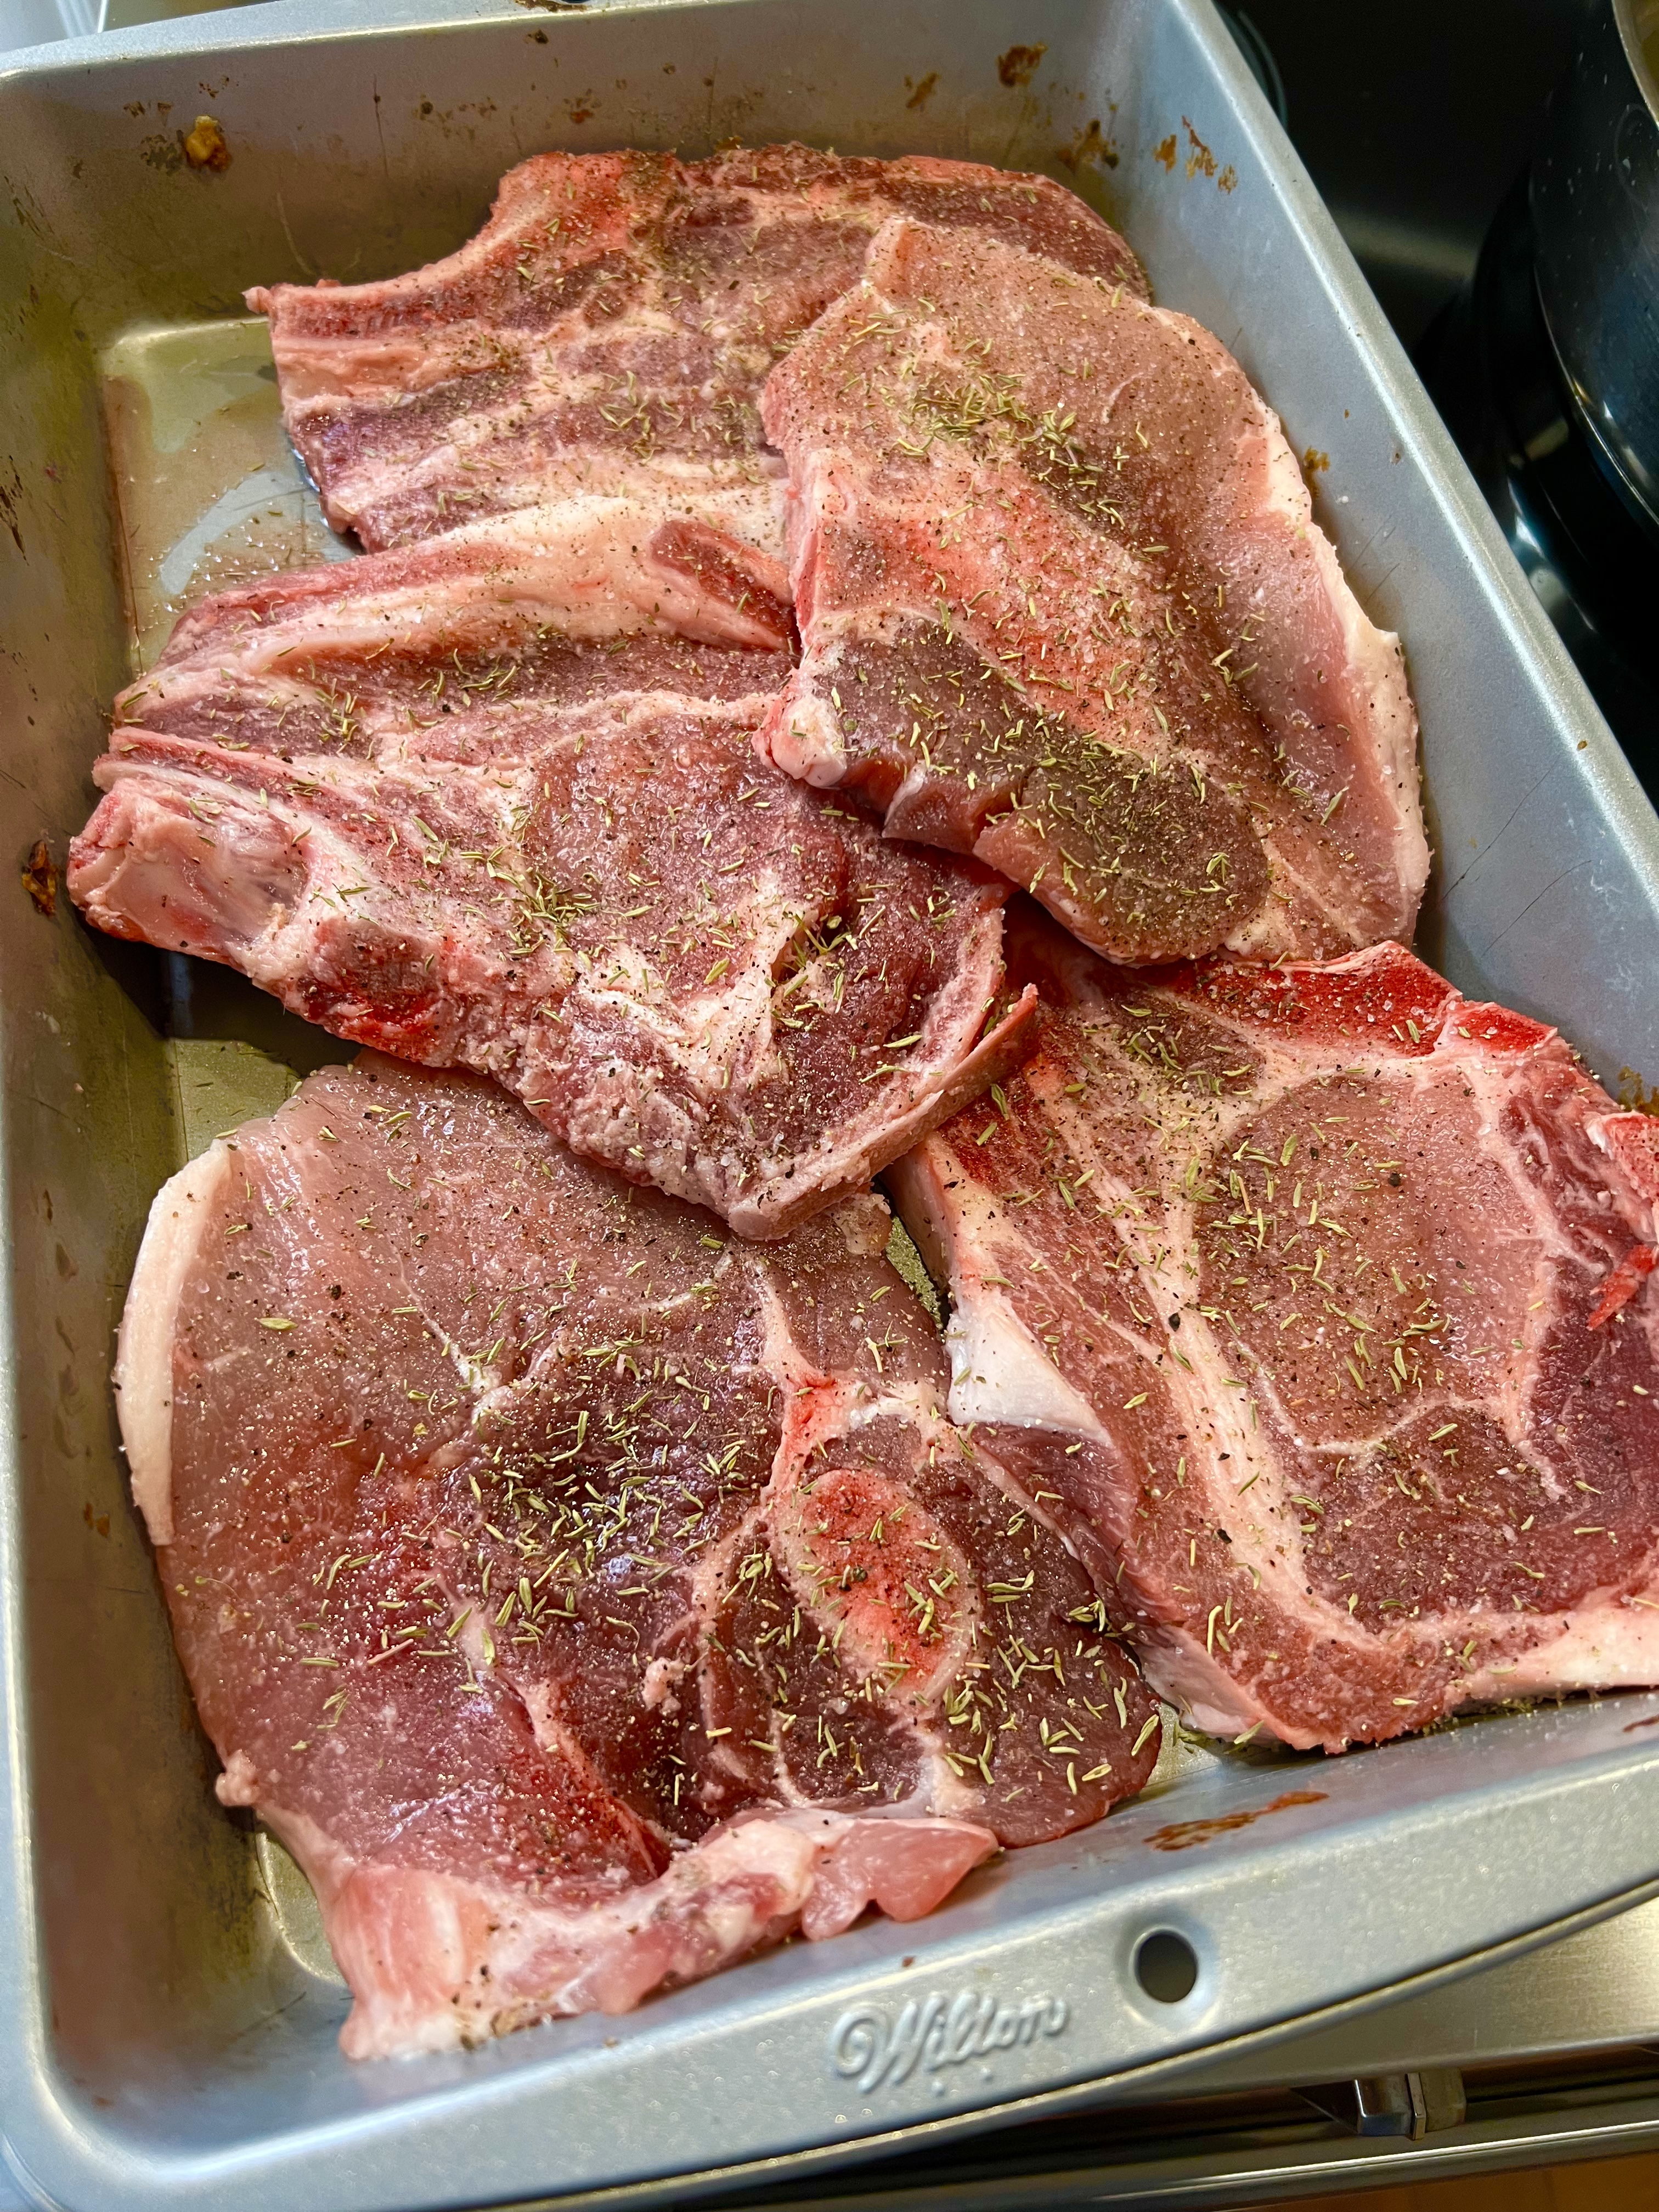
Season the pork chops with the salt, pepper and thyme.
Add some olive oil to a large pan, and when it’s hot, sear the pork chops on both sides until they’re nice and brown.

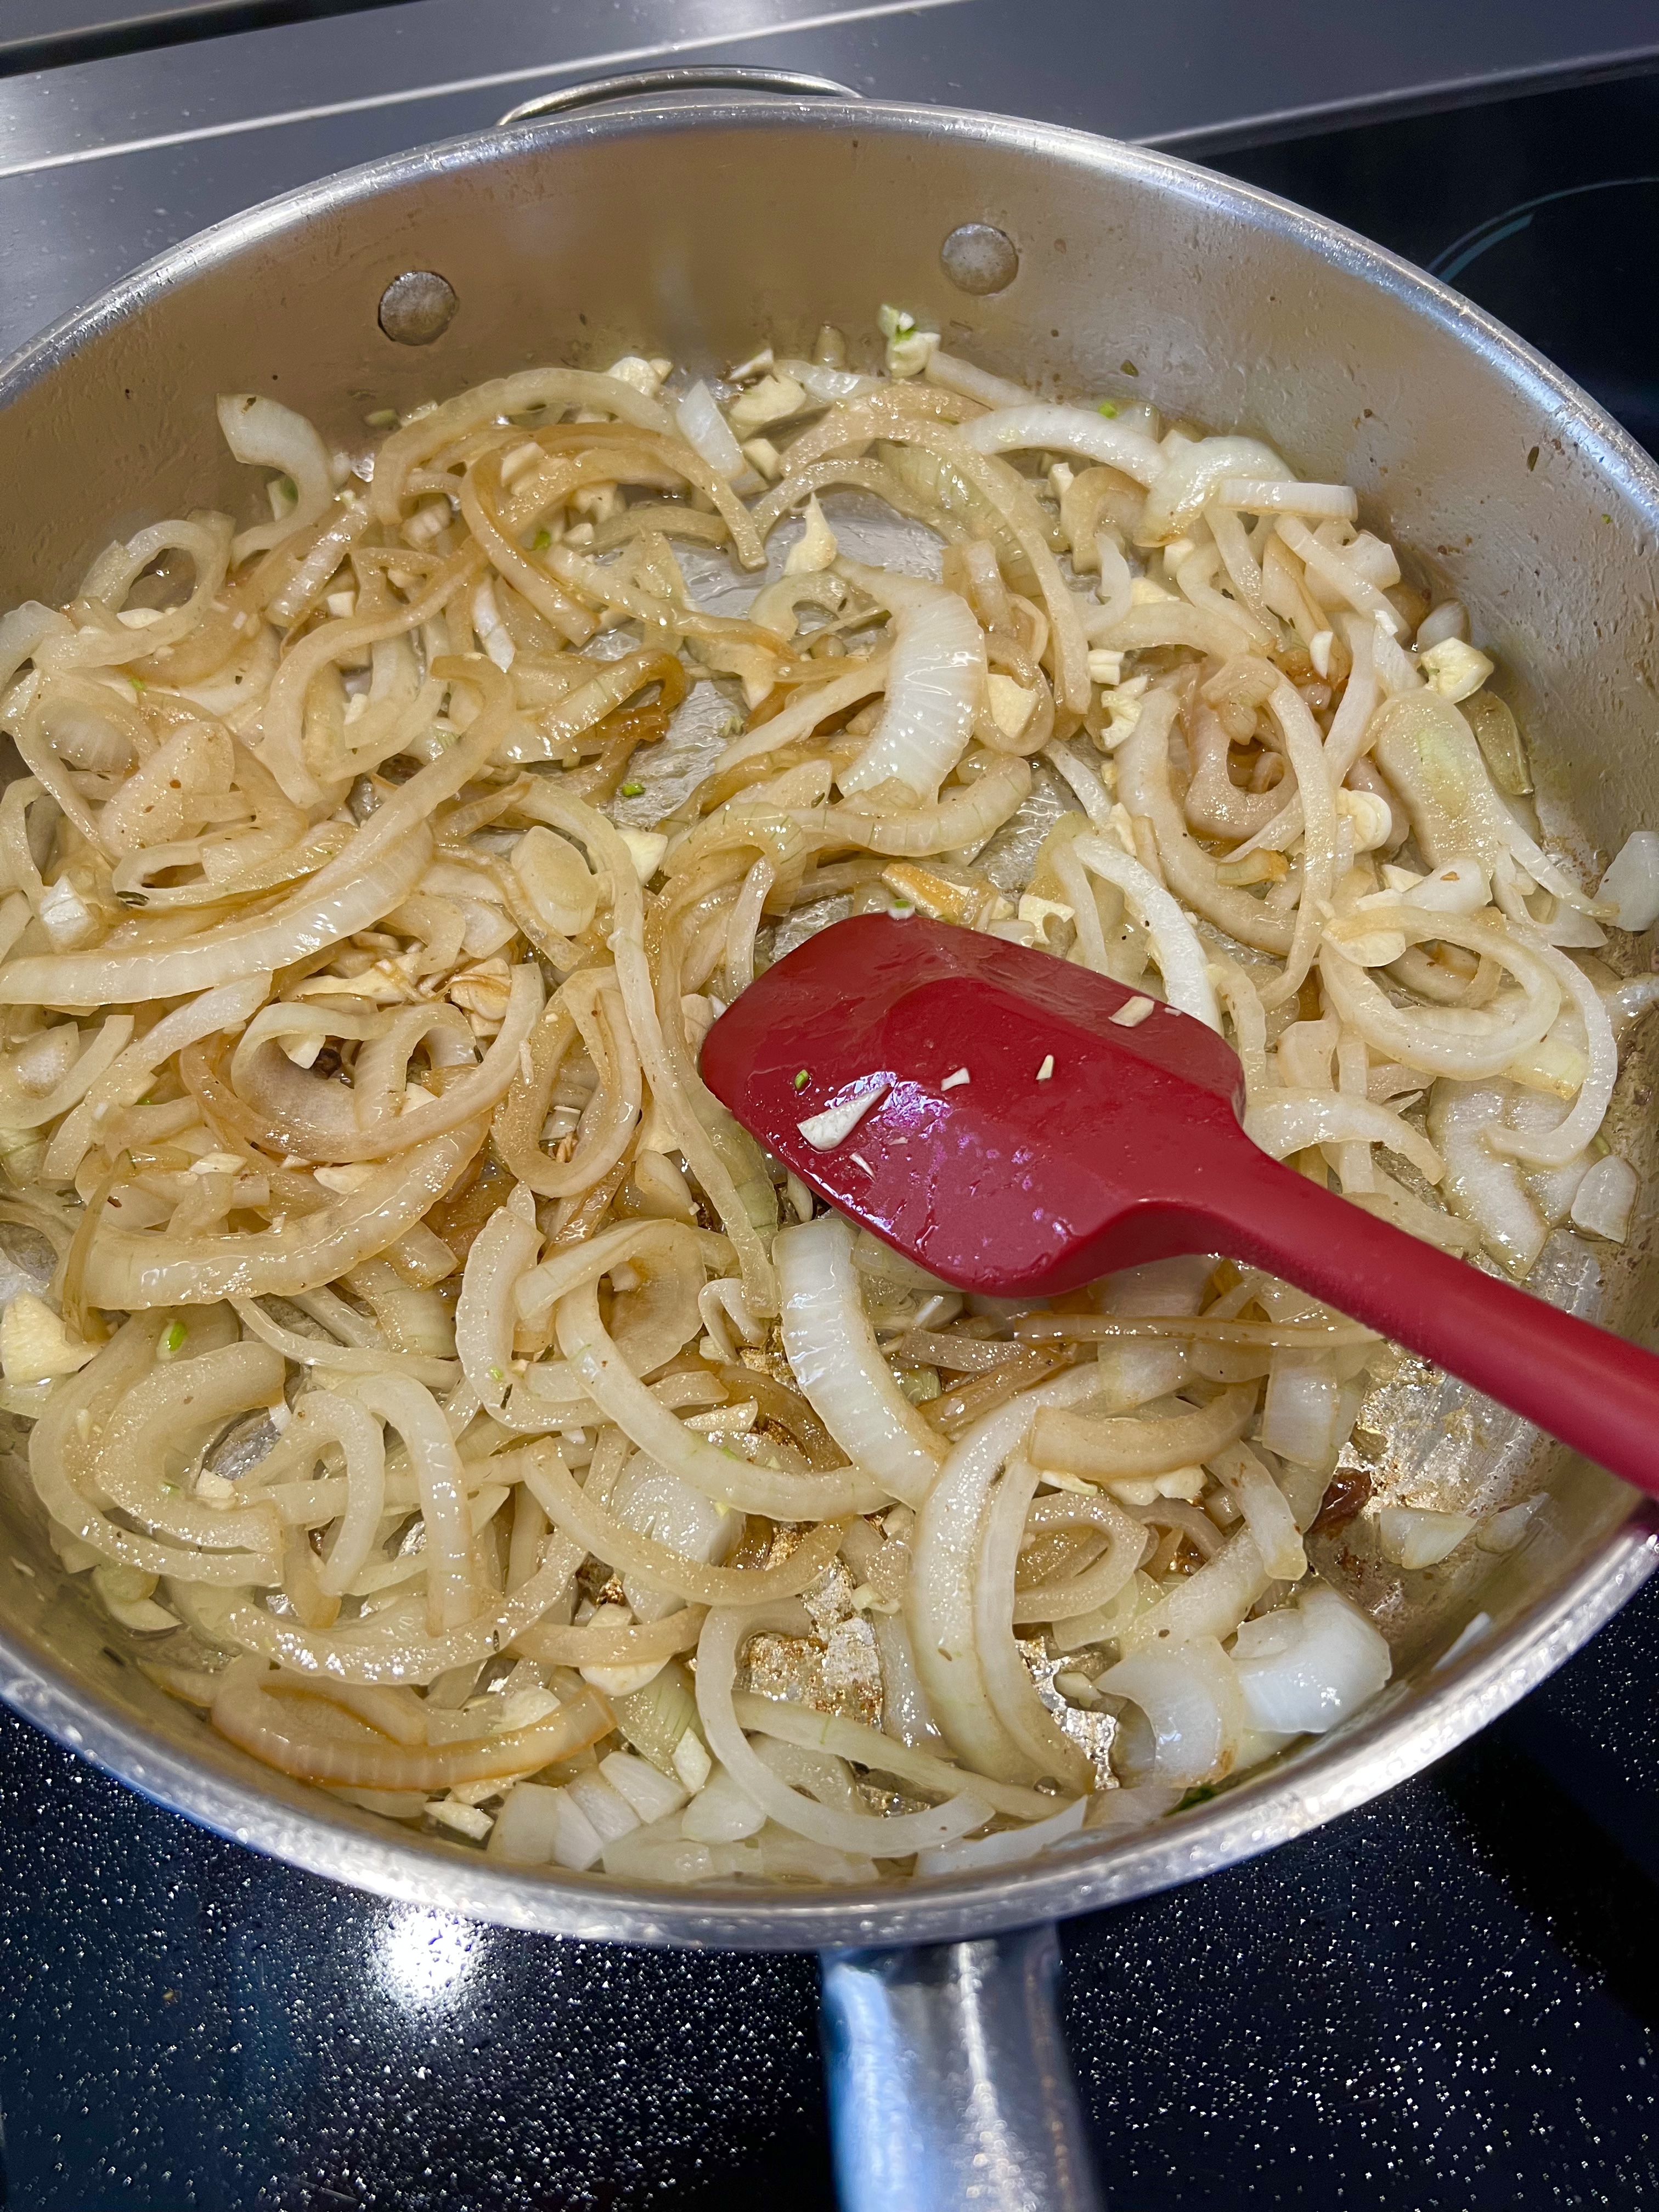
Remove the pork chops from the pan and set them aside. Pour out the fat in the pan, add a touch of olive oil, and put it back on the heat. Add the onions, sautéing them for about 10 minutes until they’ve softened, and then add the garlic. Sauté a minute more.
Add the chicken broth, Dijon, balsamic vinegar, brown sugar and Worcestershire sauce. Stir to combine.

Return the pork chops back to the pan, nestling them down into the sauce. Add any of the juices that may have collected when you set the chops aside.
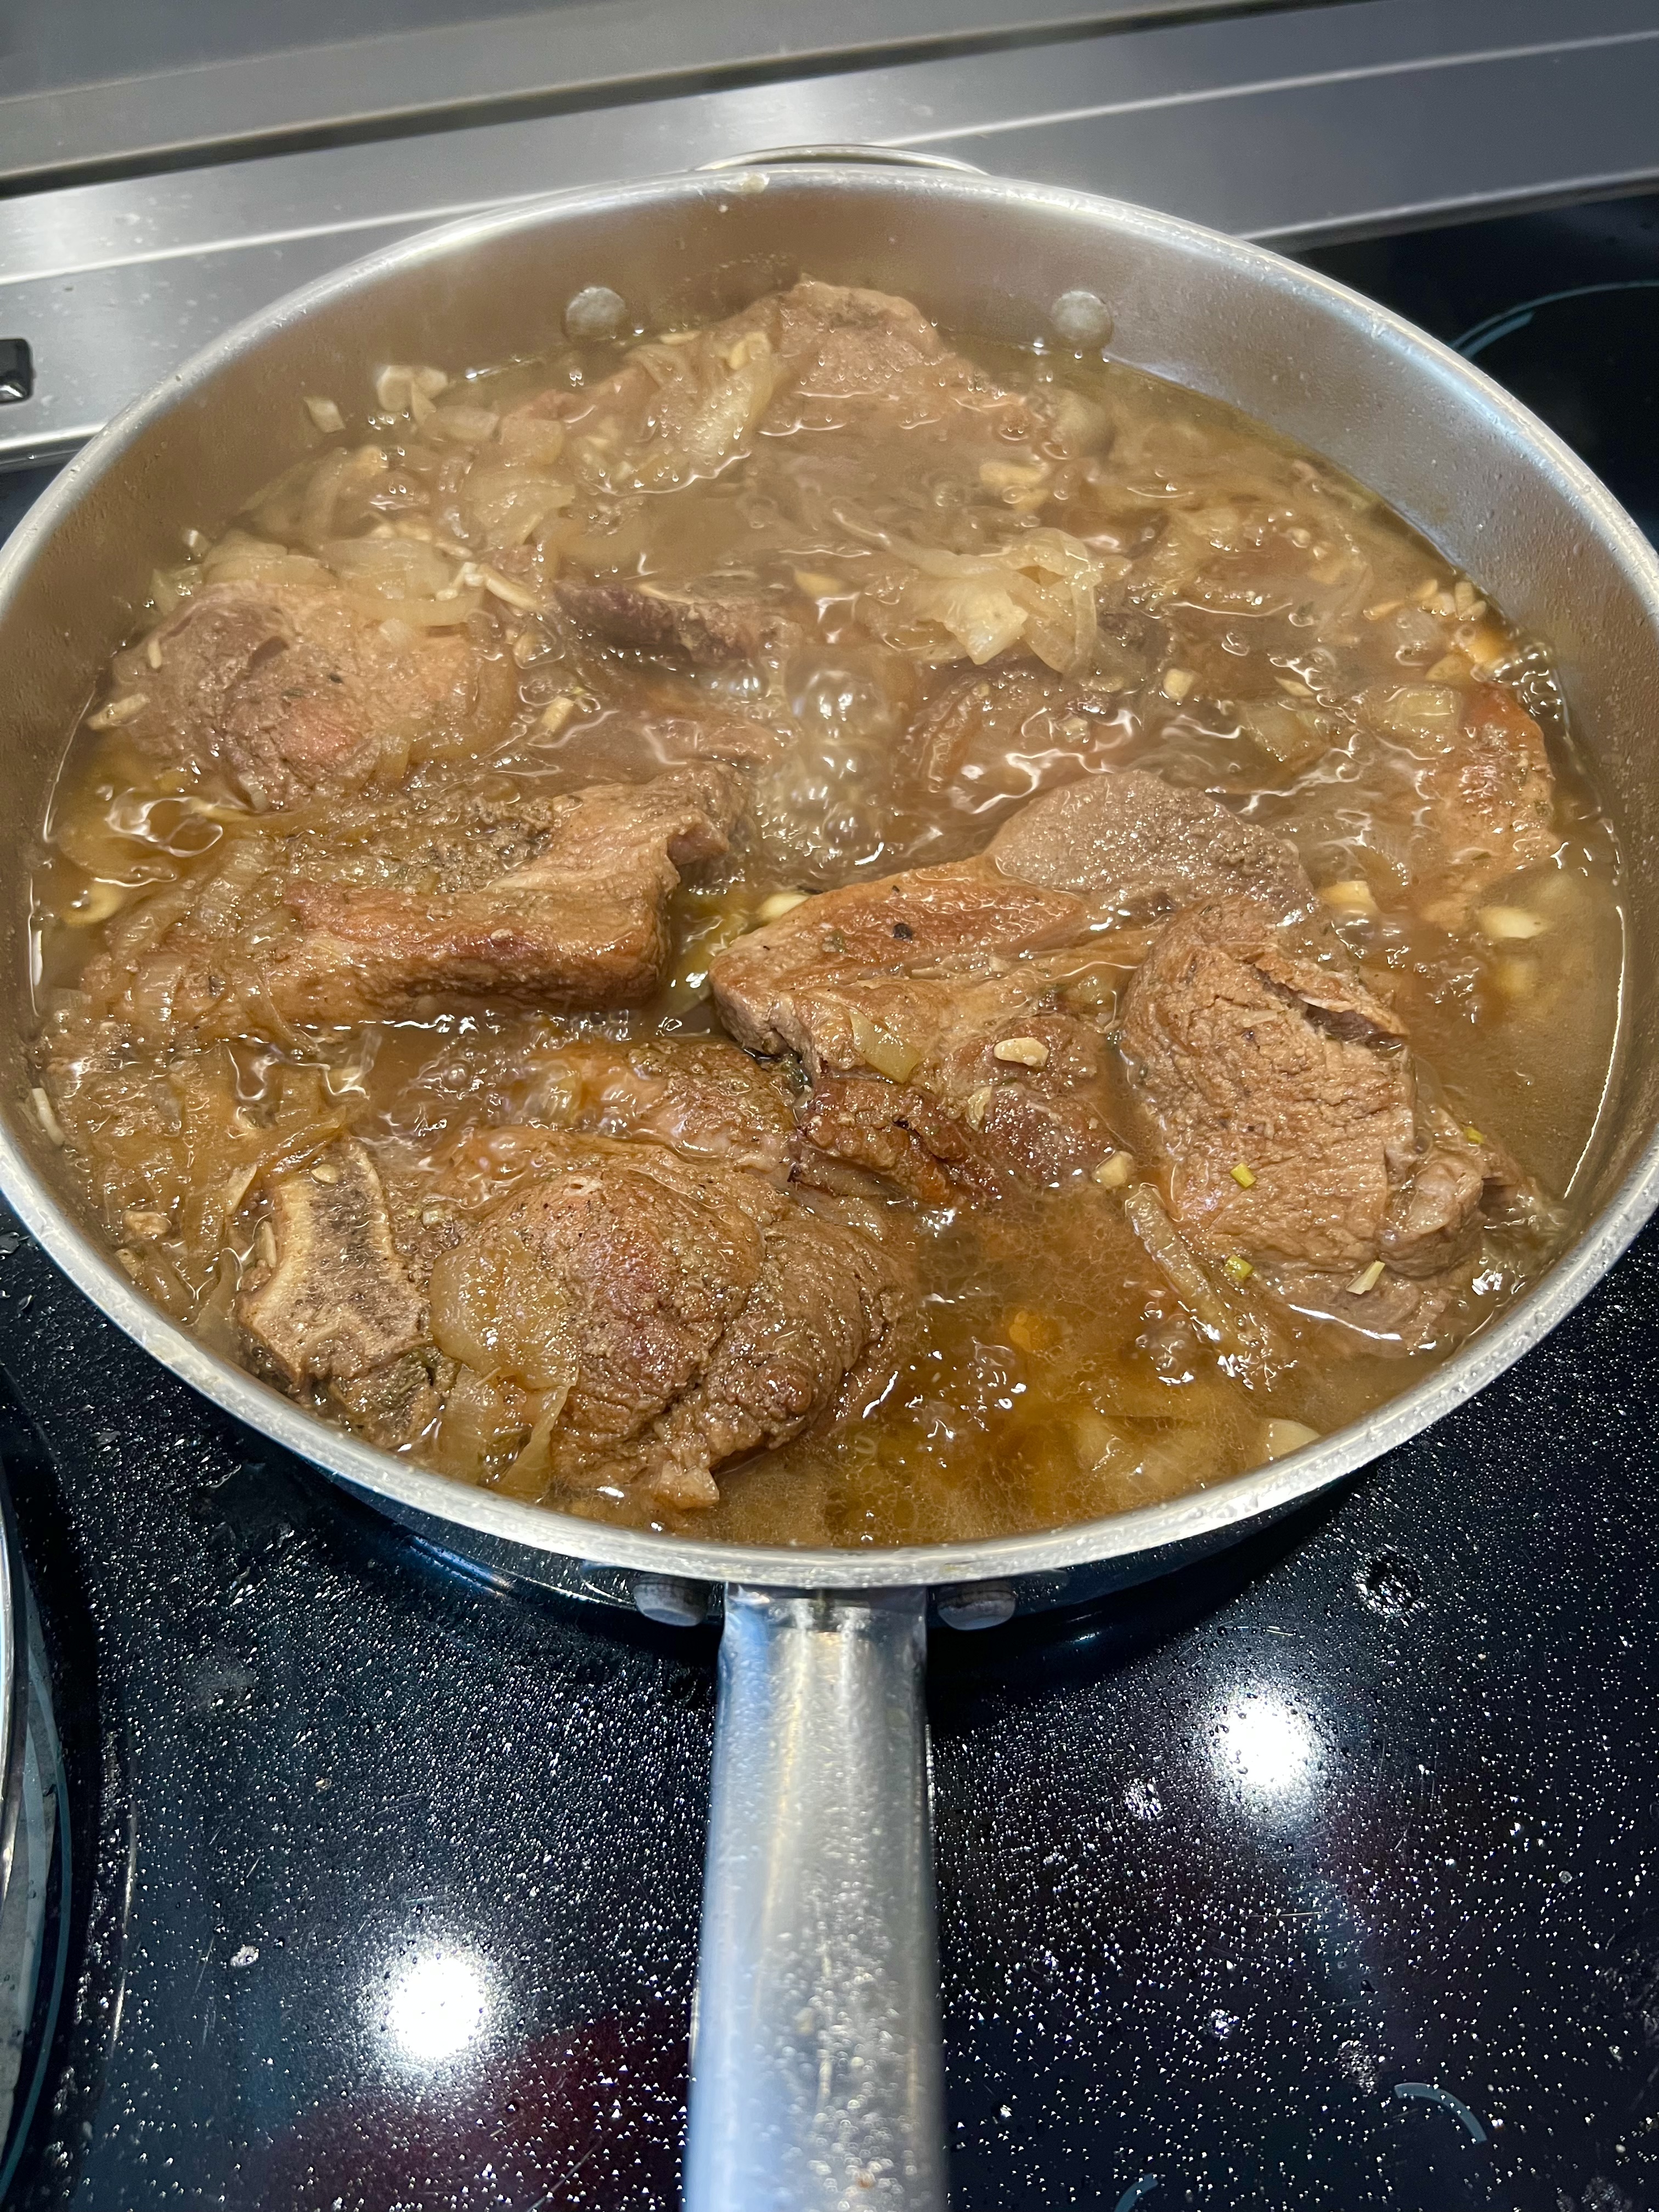
Bring the pan to a boil, then reduce to a simmer and cover the pan. Let it cook for 45 to 60 minutes. I like to flip the chops about halfway through the cooking process.

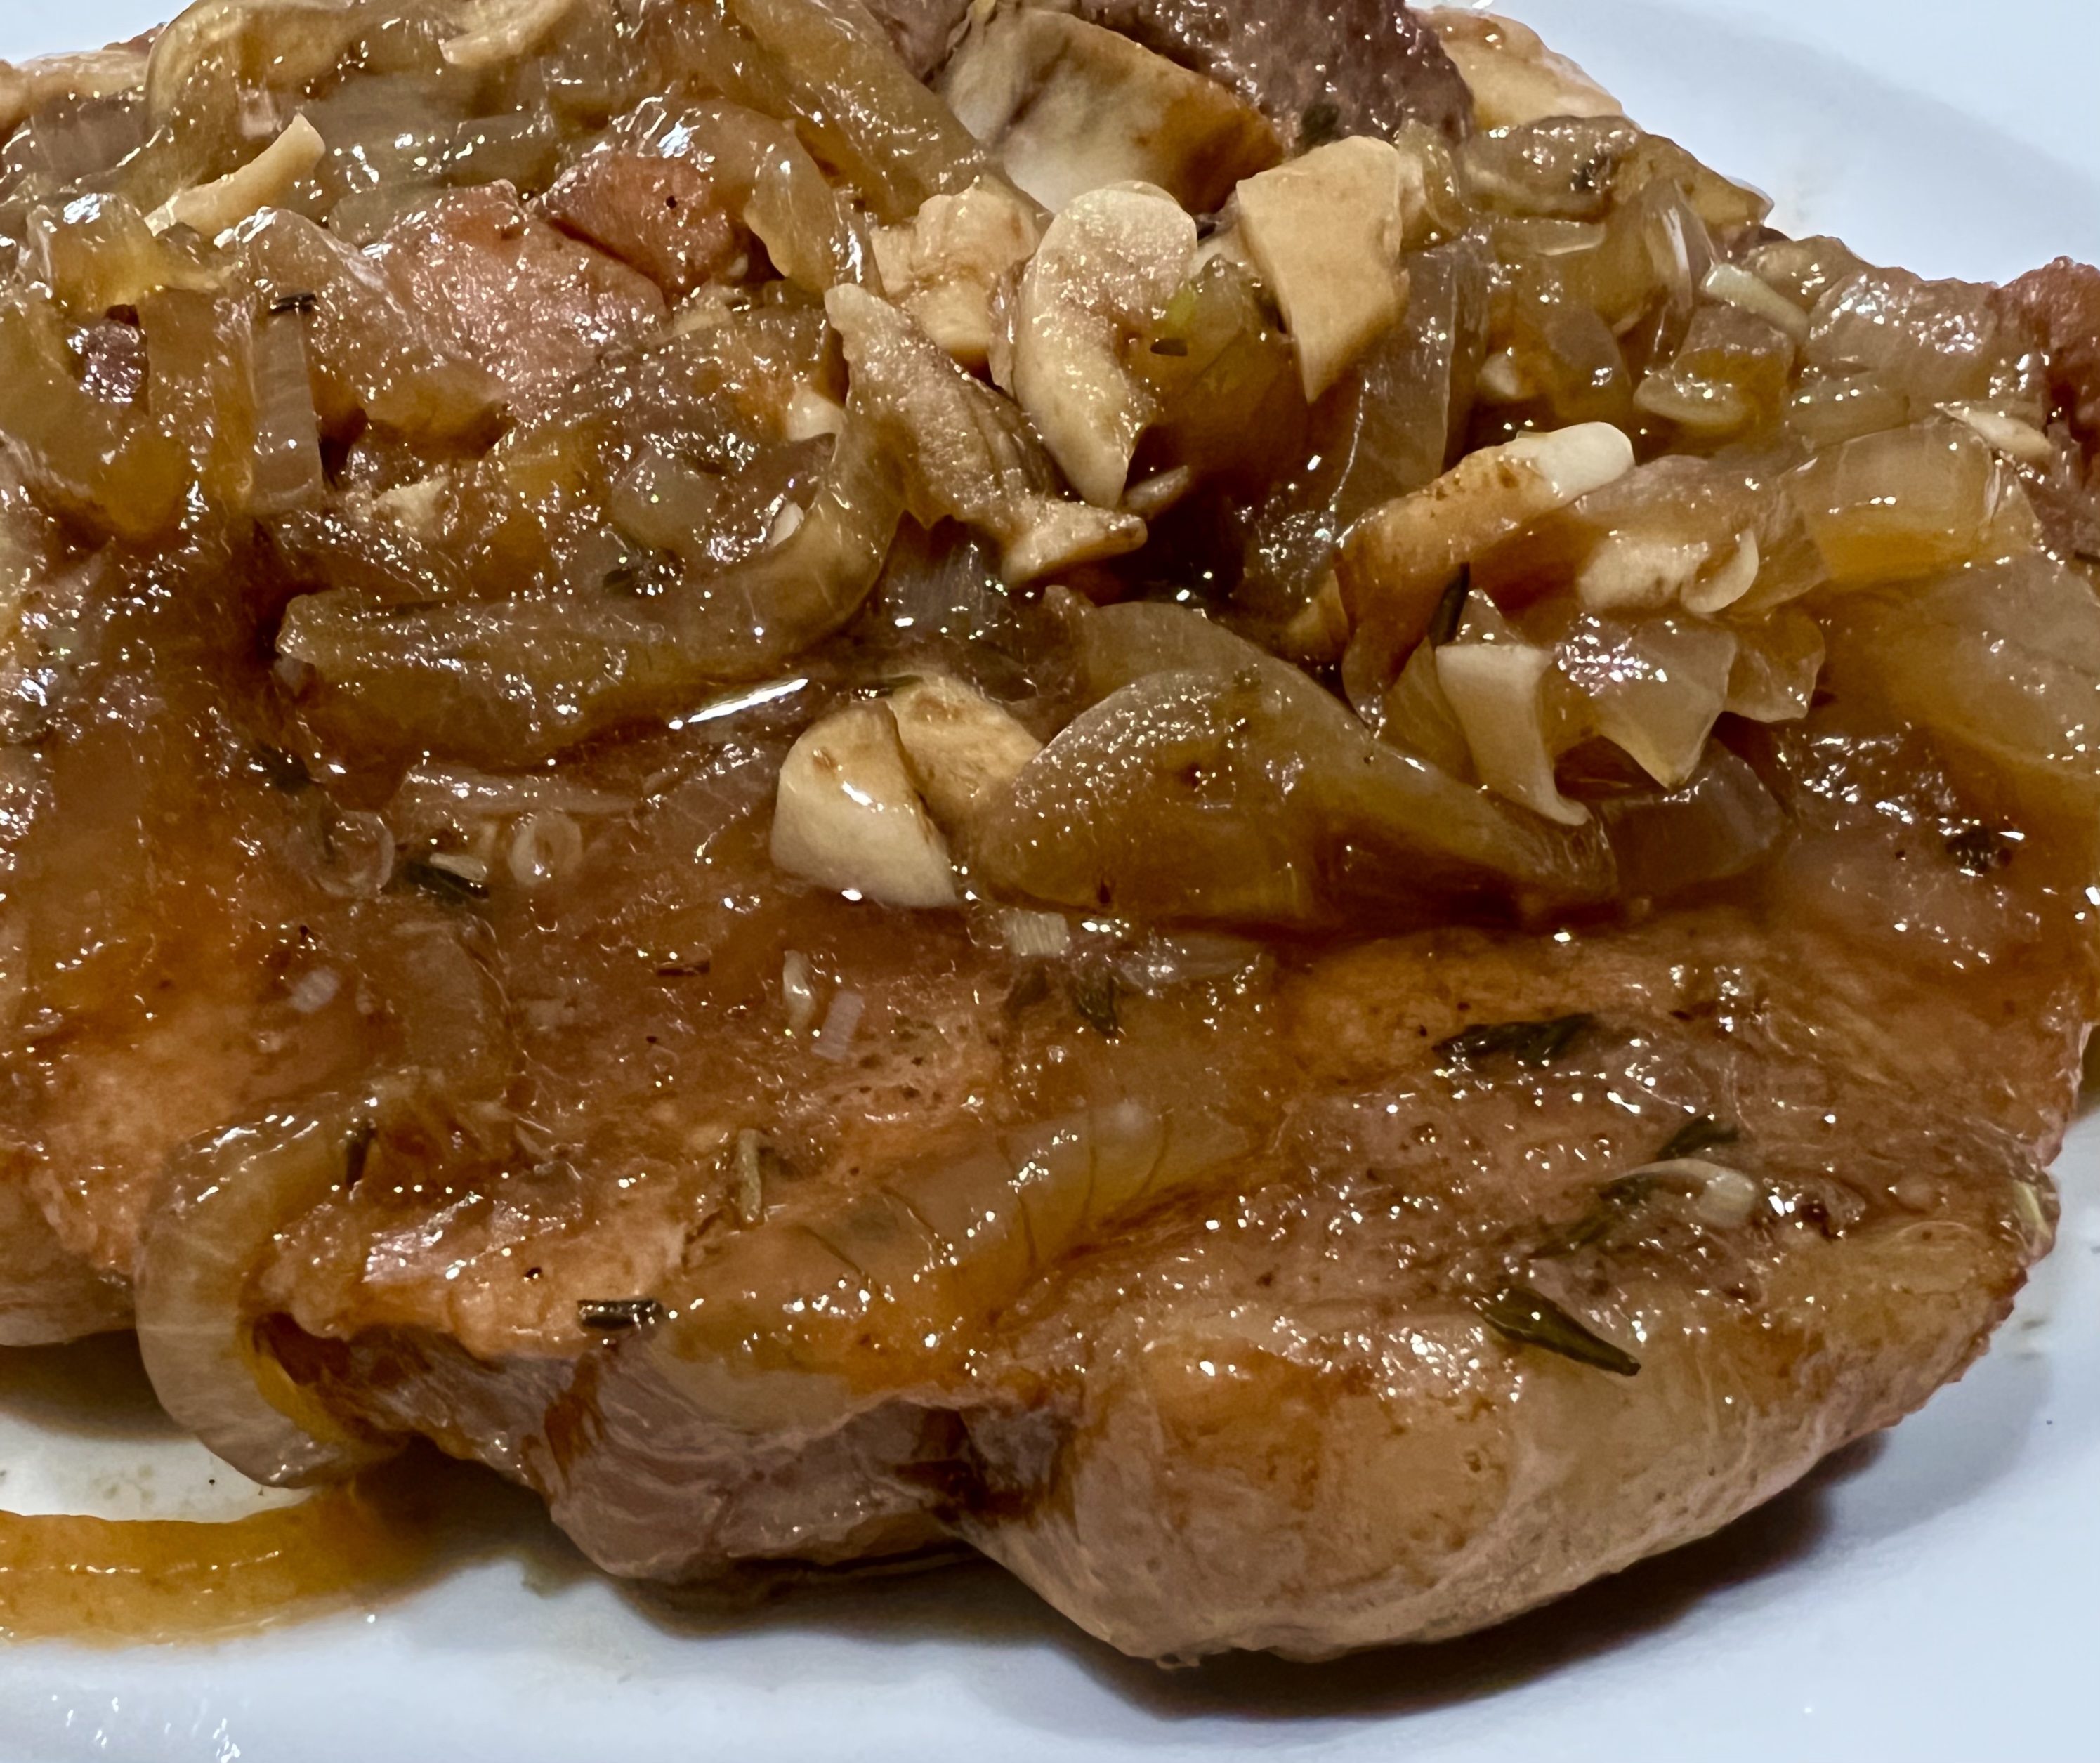
To serve, remove the chops from the pan, and smother them with the sauce! You may want to reduce or thicken the sauce a bit, but I like it just the way it is!

It’s been over a year since I posted this. Inspired by a recent conversation I had with a friend, I decided to share it again…
It’s never a healthy option to eat fast food. Michael Pollan said it best: “It’s not food if it arrived through the window of your car.”
A few years ago, a guy who claimed to be the nephew of Colonel Sanders revealed the 11 secret herbs and spices that made KFC‘s original recipe chicken a worldwide success. He said he worked for his uncle for many years and had to make huge batches of the seasoning mix.
For me, KFC is like crack. Although I’m a big proponent of grass-fed this and pastured that, my kryptonite is KFC‘s original recipe chicken. There’s a KFC right next door to a local Home Depot in my area and my car literally drives itself to the pick-up window…I can’t help it. I justify the consumption of this heavenly grease by asking for no sides–no biscuit, no nothing. I get one breast and one thigh, and I drive off, steering my car with my knees as I indulge in my dirty secret, the hot grease dripping down my chin, a roll of paper towels at my side.
Making the KFC chicken recipe at home means I do have some control over product quality. I can use pastured or organic chicken. I can use clean oil. I don’t have the fancy pressure fryer they use at KFC, but I can use the healthier option of oven-frying. That means I fry my chicken in oil until golden brown, then finish the cooking process in the oven.
I have to say, the recipe really works! Maybe if I placed the real KFC side-by-side with my home-made chicken, I’d notice a big difference. But my brain said it was pretty damn close and absolutely delicious! If I could change one thing, I would use smaller chicken pieces next time. I used large pieces and the meat-to-breading ratio was off. Though it was mighty tasty, I was craving more breading per bite.
The recipe calls for all-purpose flour, but if you follow a gluten-free lifestyle, using Cup4Cup GF flour works just as well.

Combine the flour and the “11 herbs and spices” in a bowl. Mix well.
In another bowl, whisk together the milk and the egg. Add the chicken pieces to this bowl and let the chicken soak in it for 10 minutes.
Pre-heat the oven to 350 degrees.
Pour a couple of inches of the oil into a pan with high sides and heat it to 340 degrees, using a thermometer. Don’t fill it with too much oil, because oil expands when hot and it could spill over.
Take the chicken pieces out of the milk and egg mixture and coat them with the seasoning mix one at a time, making sure you coat them well. Carefully place the chicken in the hot oil. Don’t overcrowd the pan…work in small batches. Too much chicken could cause the oil to spill over the top.
Fry the chicken pieces just until golden…no need to cook them all the way through. Place the pieces on a baking sheet lined with non-stick aluminum foil. When all the chicken has been fried, place the baking sheet in the oven and cook until the chicken pieces reach an internal temperature of at least 160 degrees.

Make a lot! Leftovers are great, and they re-heat really well in the oven! (Don’t use a microwave…the oven is best.)
