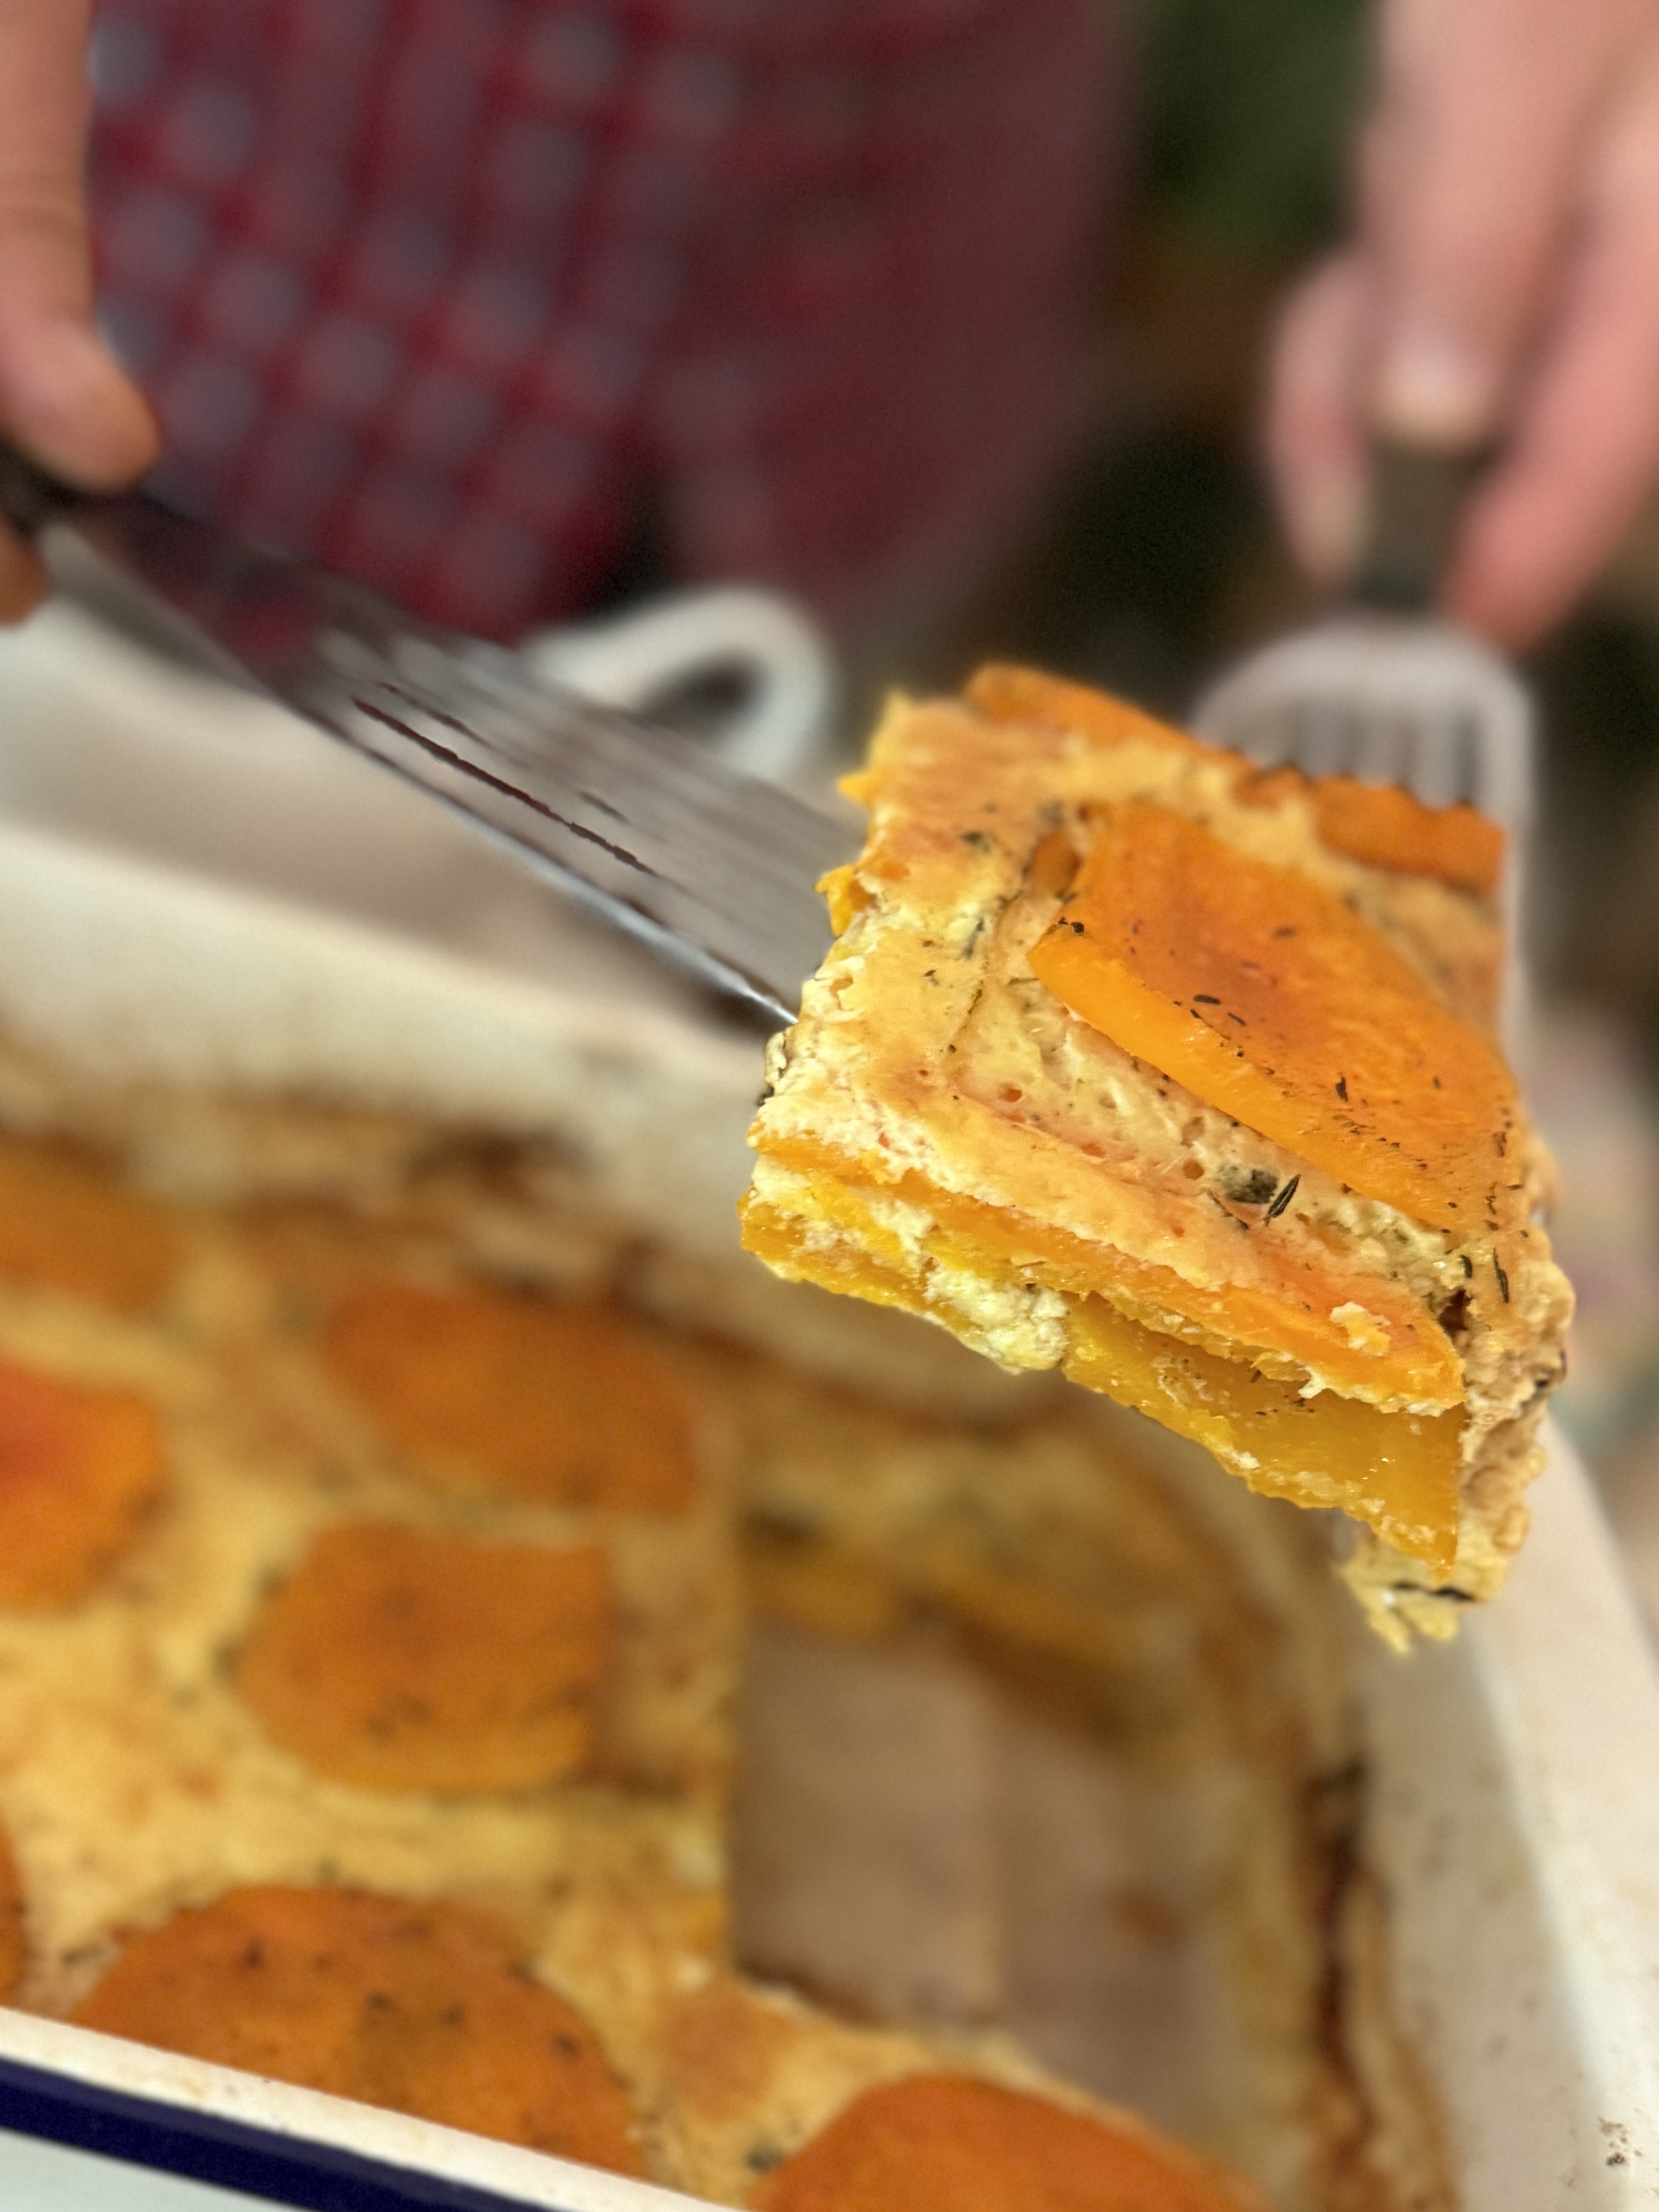
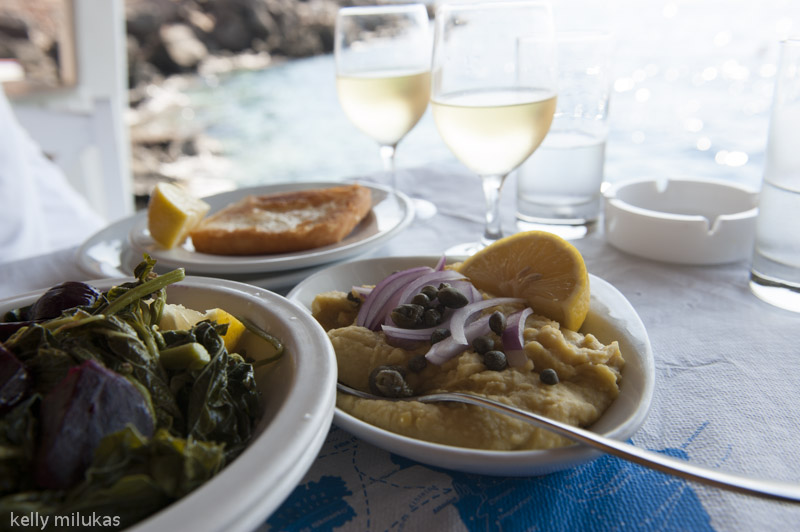
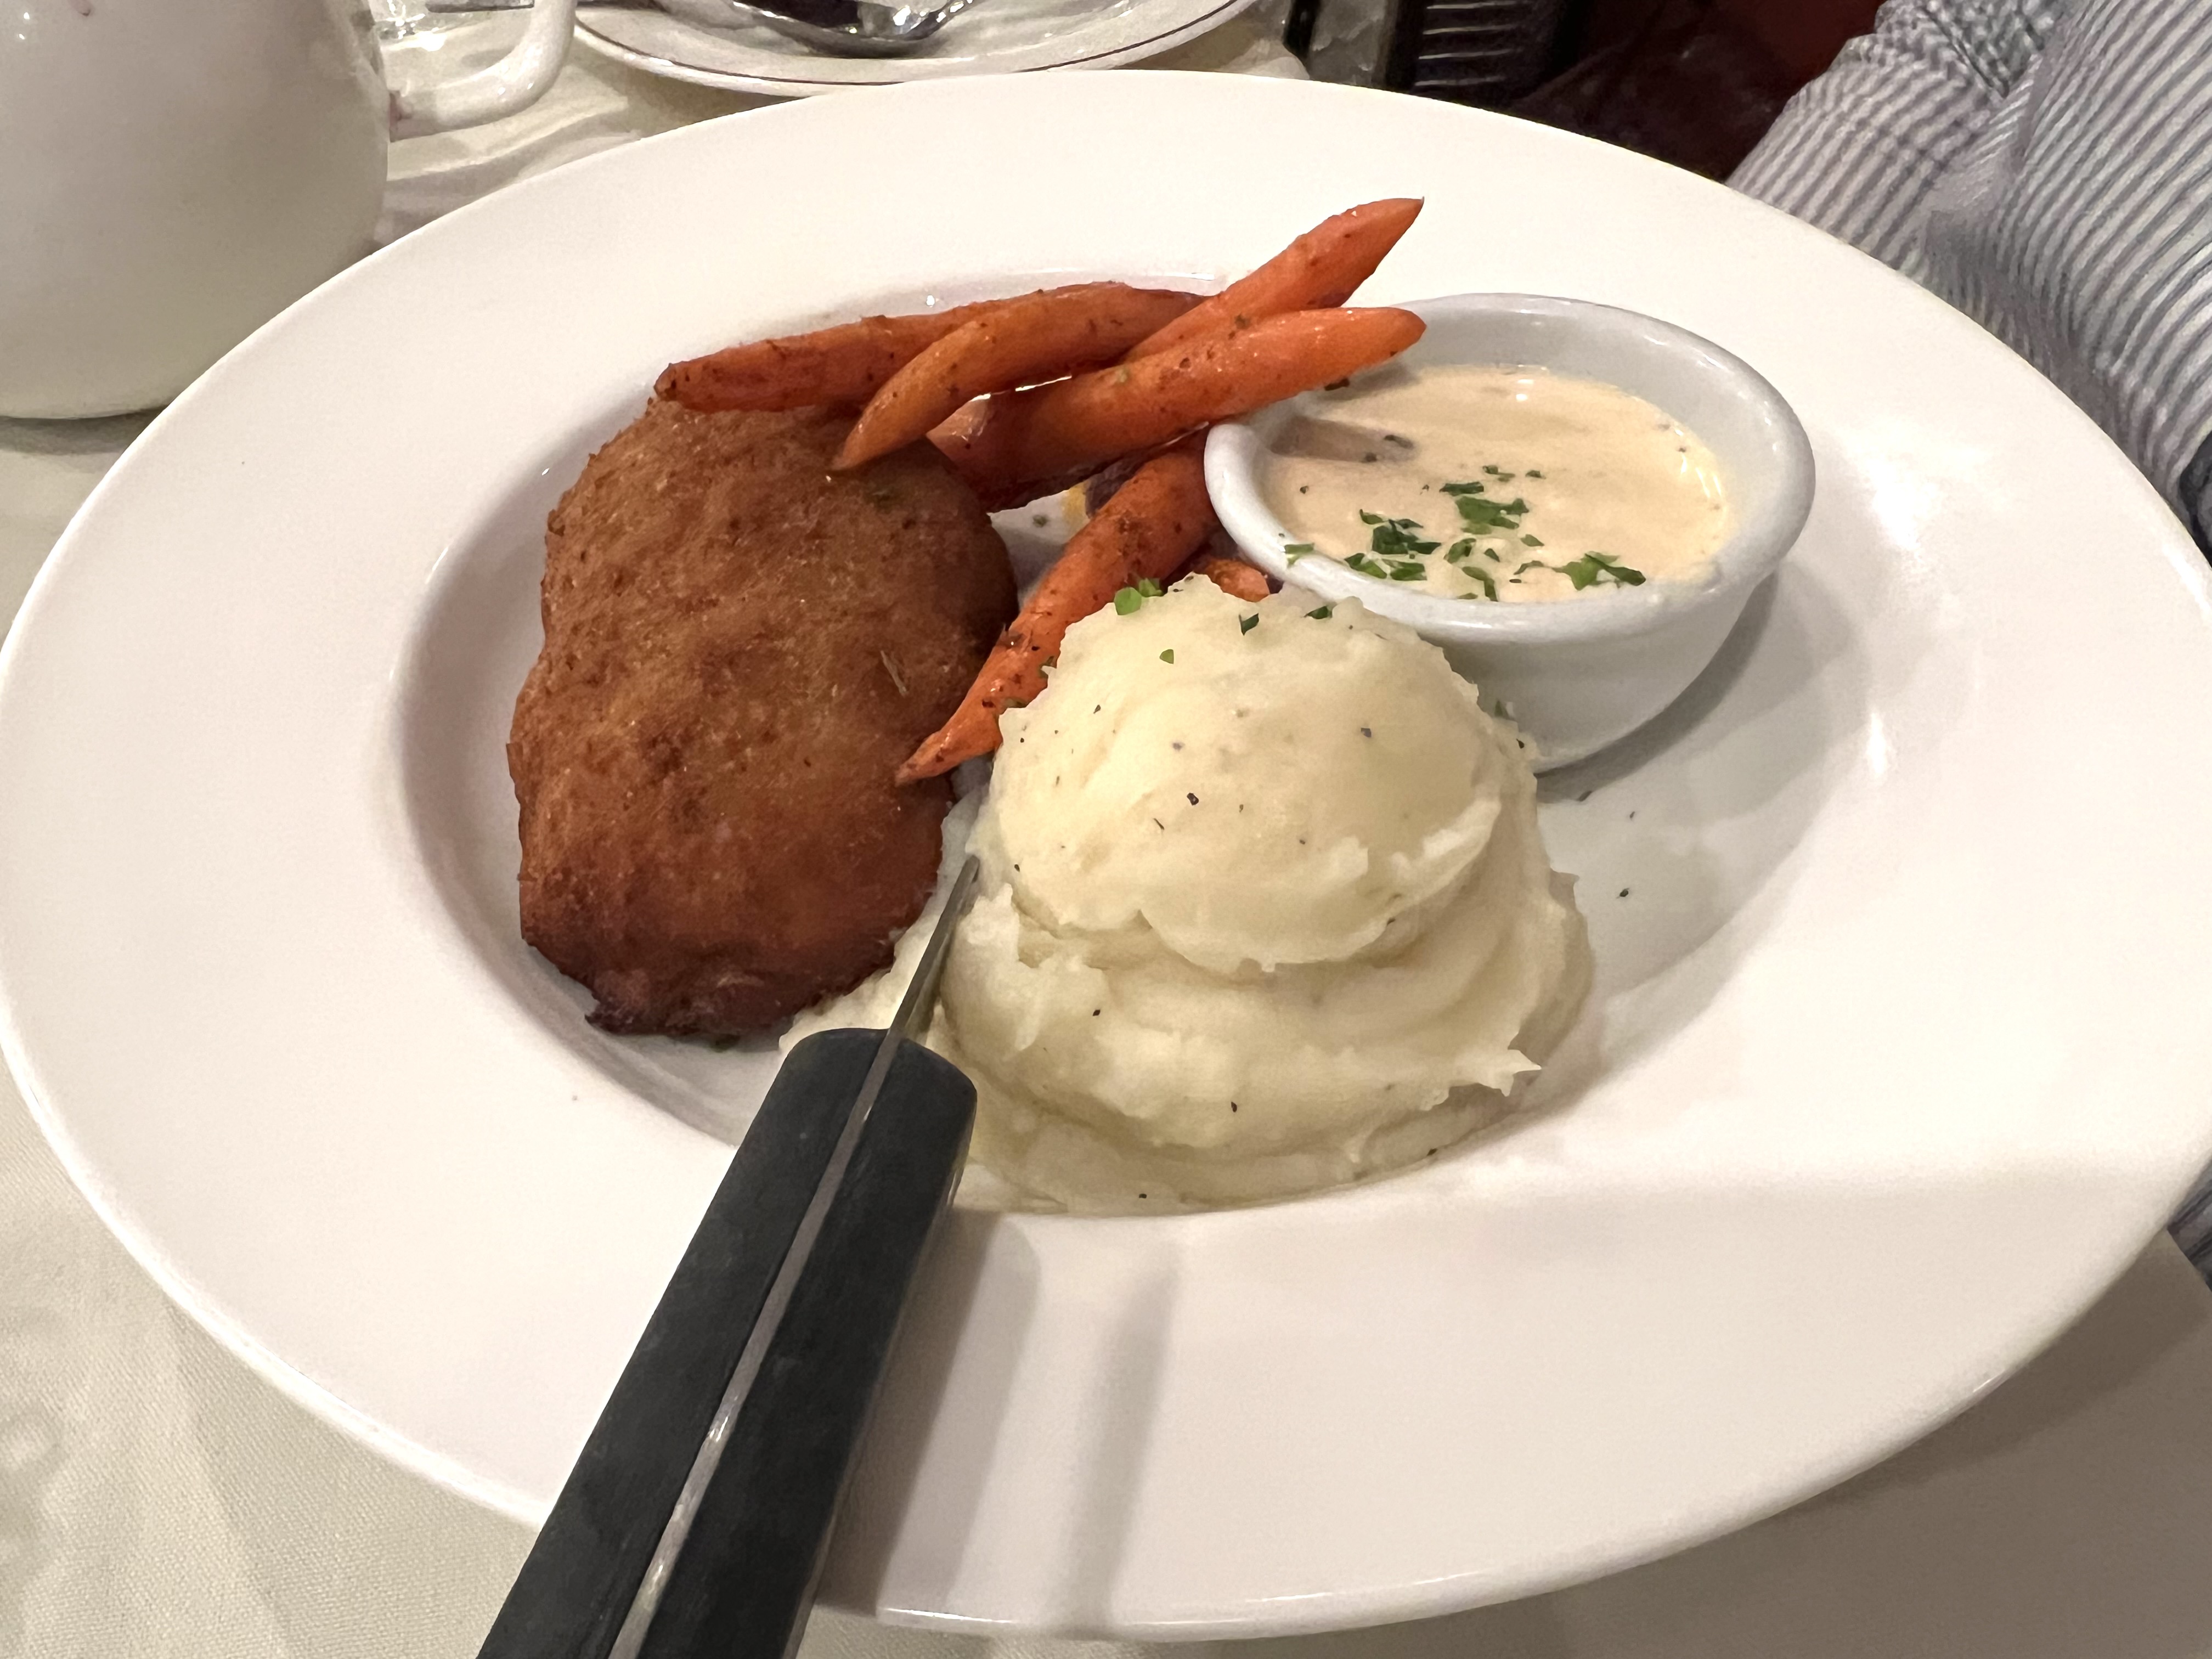
Chicken Rollatini was one of the first dishes I learned how to make back in my teenage days on Long Island, working at a local Italian restaurant called Pizza City East. (The original Pizza City was in Ozone Park, Queens.) It was a simple dish: a chicken breast rolled up with prosciutto and mozzarella, and baked in a mushroom cream sauce. My version these days substitutes ham for the prosciutto, provolone for the mozzarella, and an Alfredo-like sauce instead of the mushroom cream sauce.
4 chicken breasts cut lengthwise to make 8 thin breasts, about 2 pounds
8 slices sliced ham
8 slices of provolone cheese
Remove the chicken tender portion of the chicken breasts and set those aside for another day.

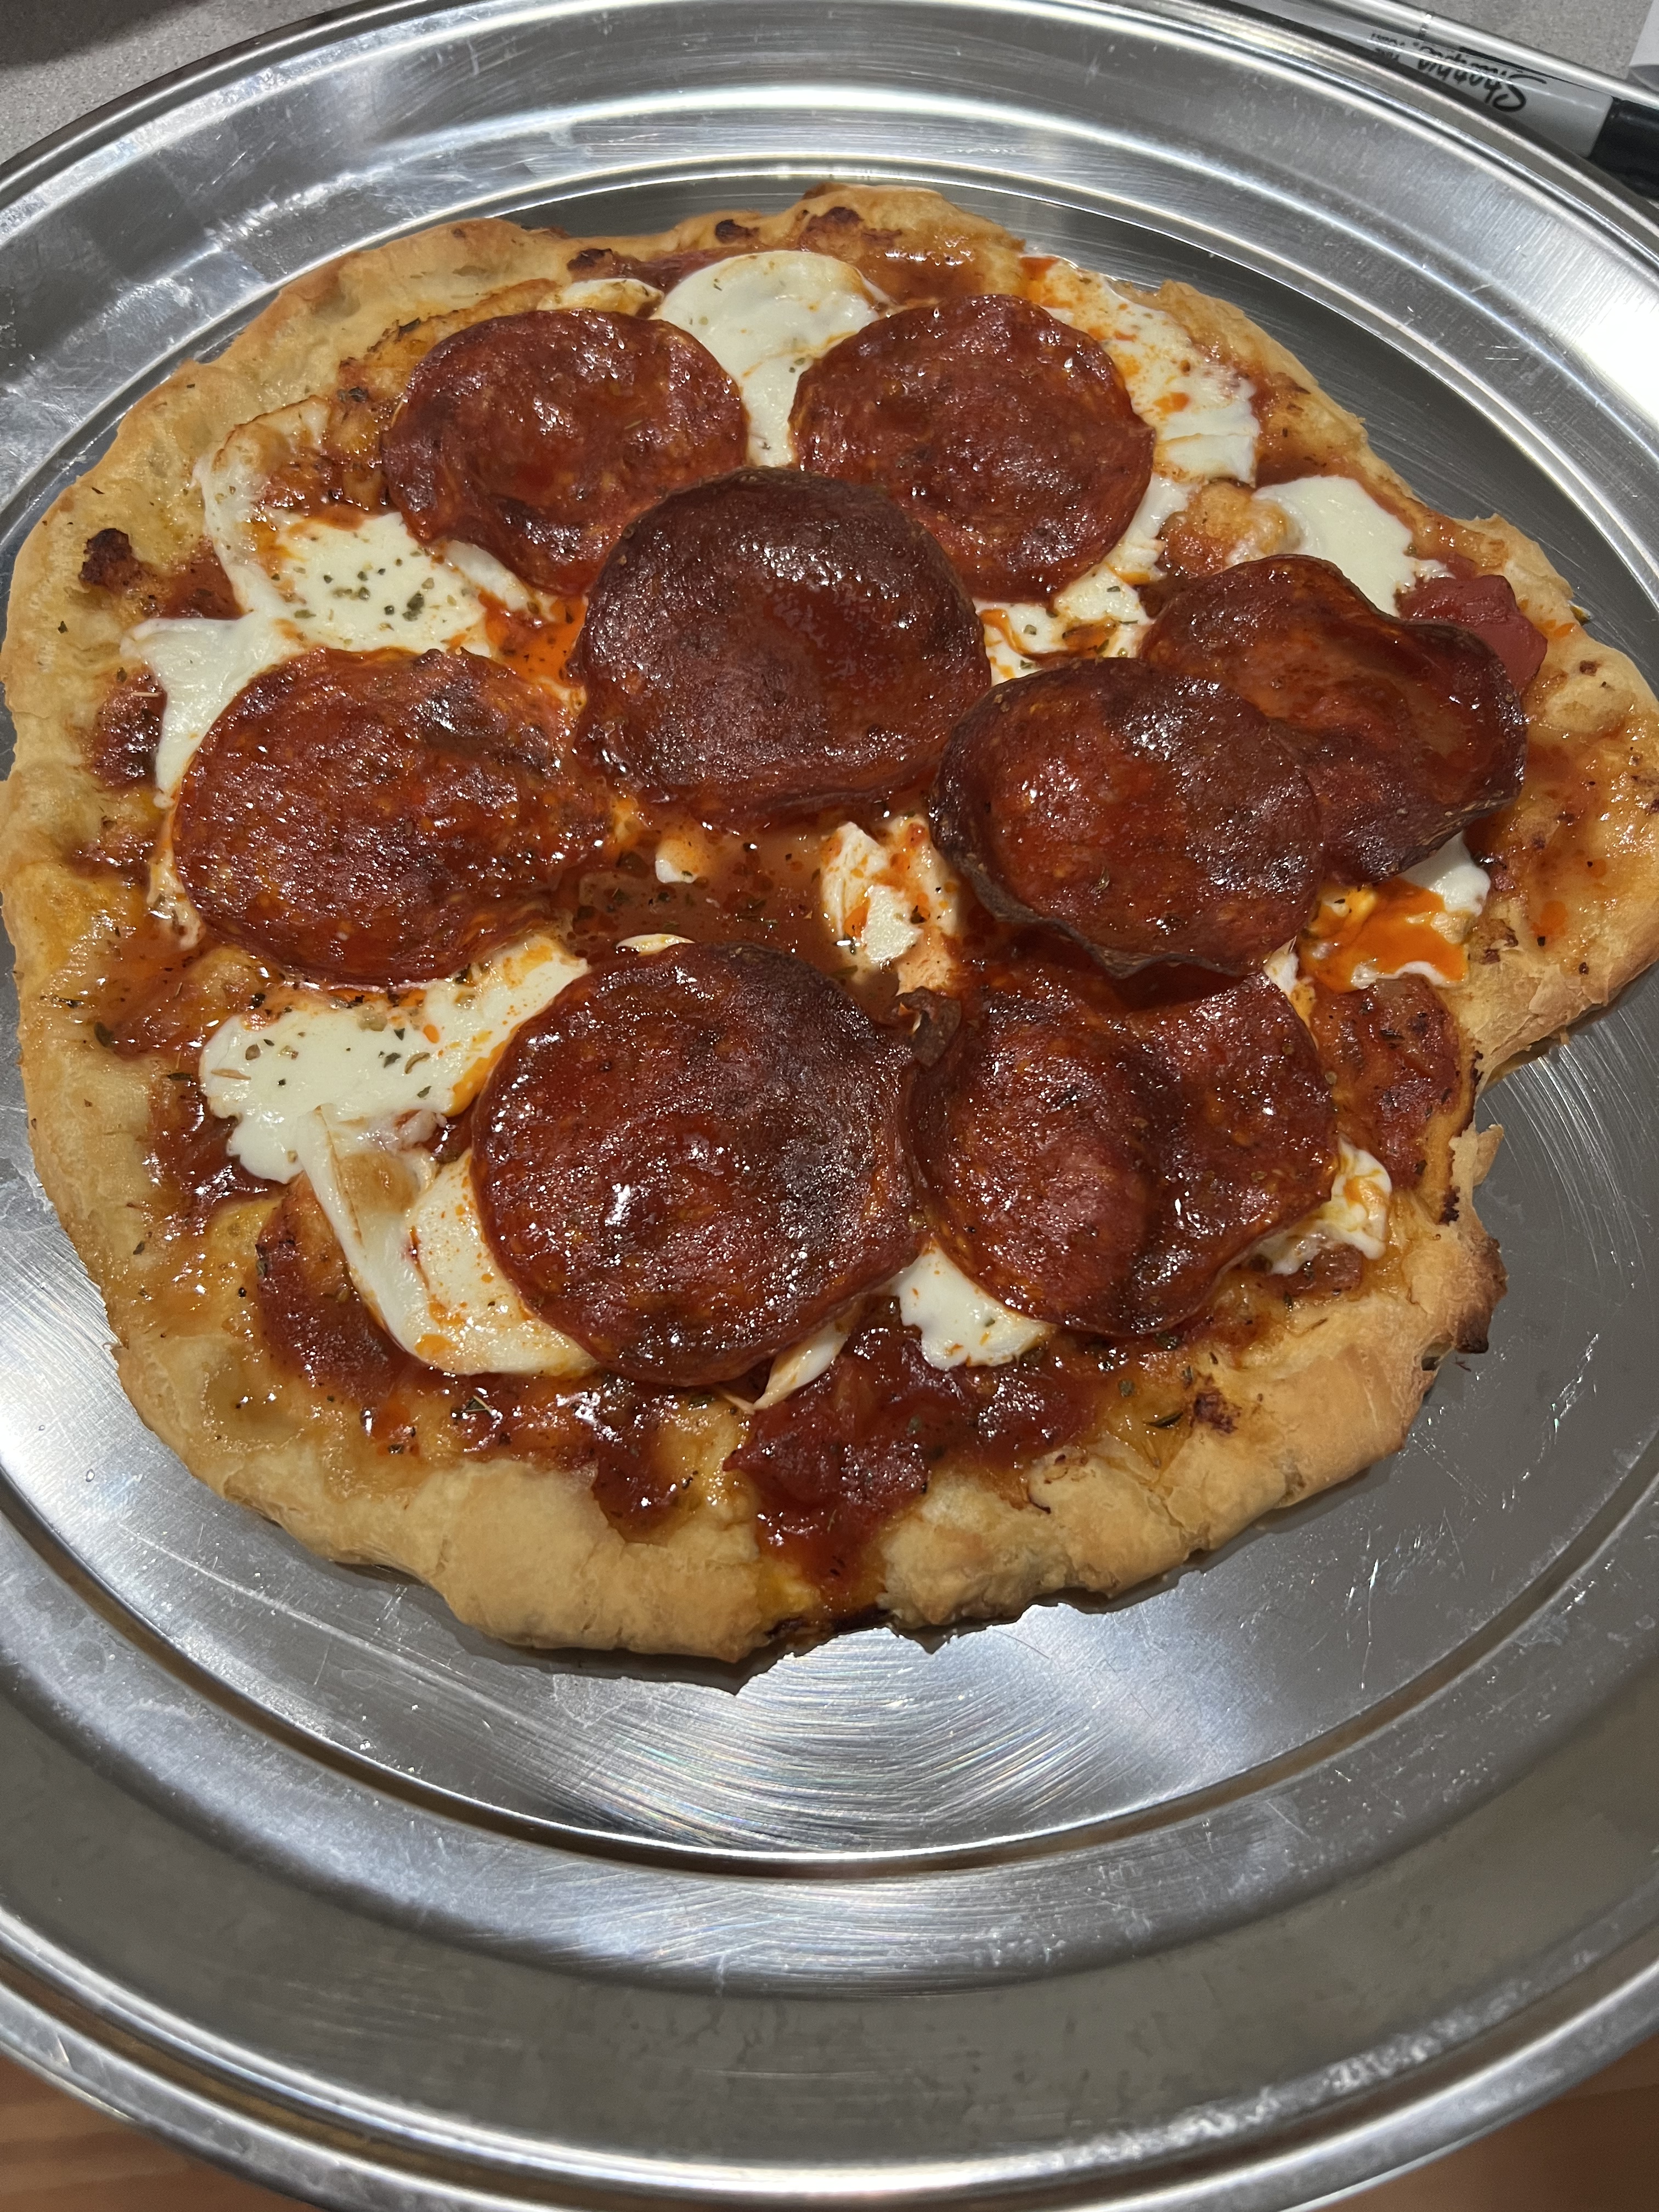
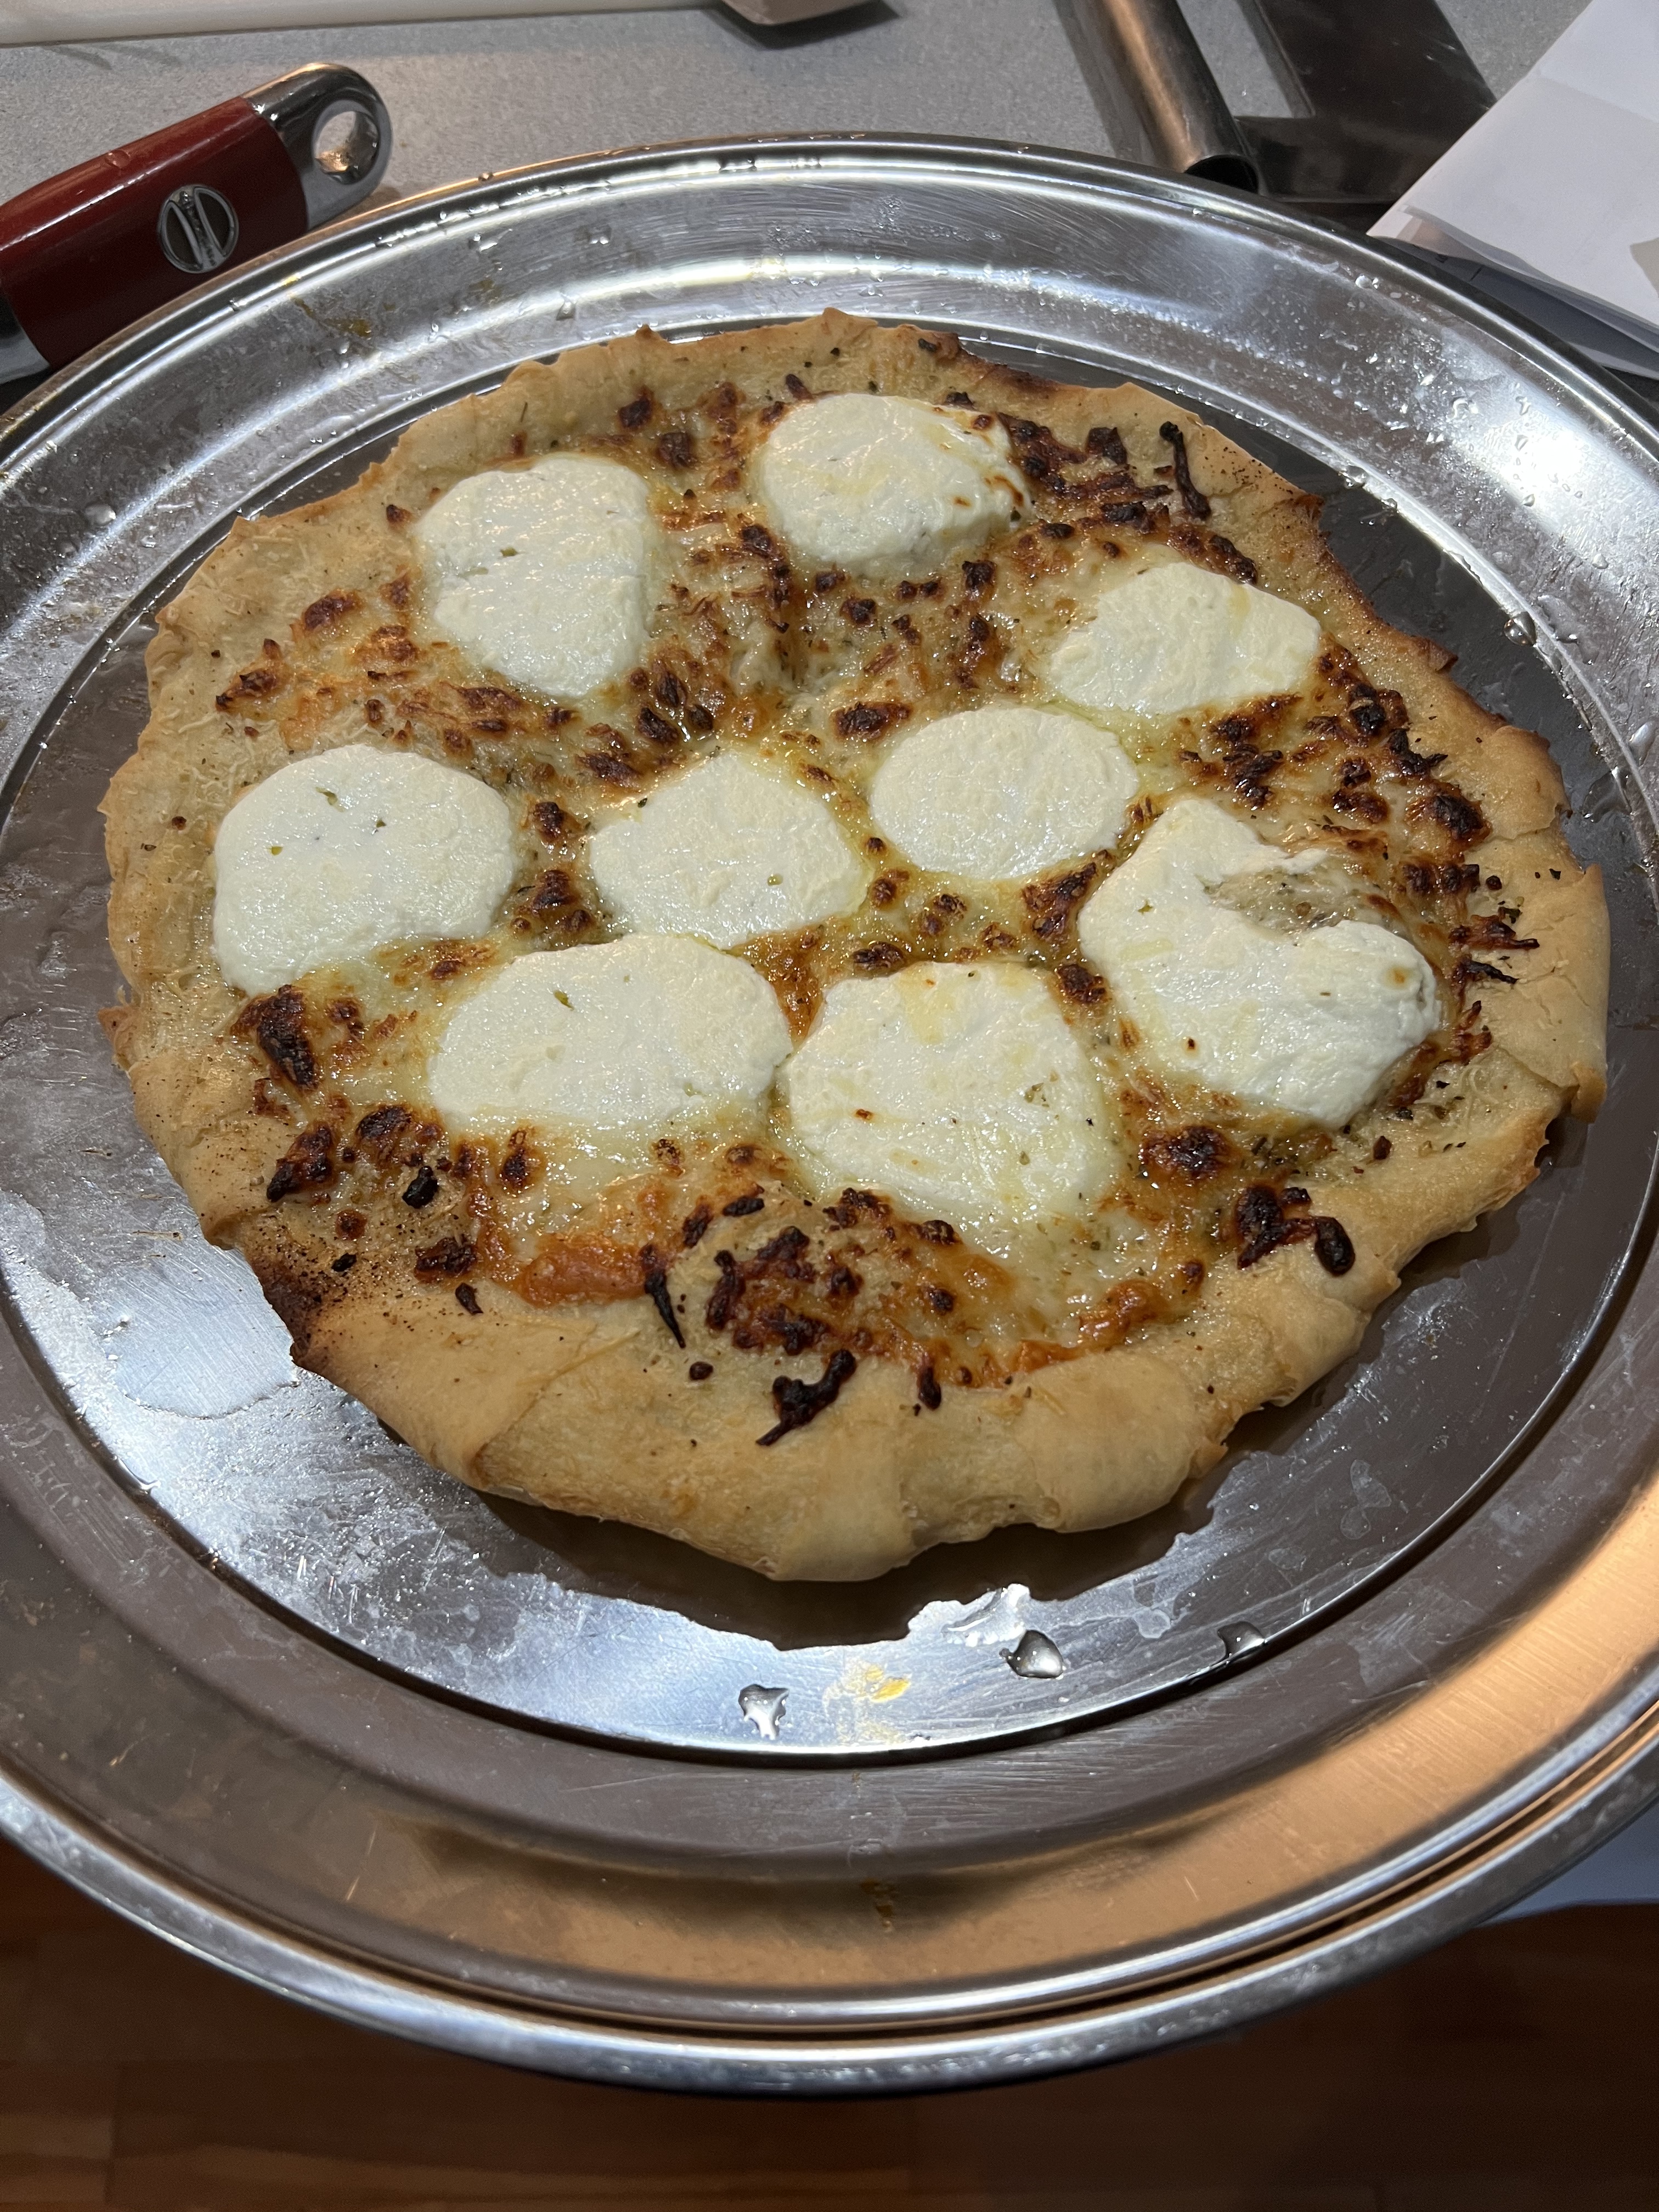
I don’t like to pound out my chicken breasts. I like the texture of “real meat.” So I take a large breast, and slice it lengthwise to make 2 thinner breasts. I lay the breast down on the cutting board, add a slice of “real” ham (not the deli-sliced stuff, but a ham that I sliced myself), then a slice of provolone, and carefully roll it up, securing it with toothpicks. Sometimes it’s easier to roll the ham and cheese first, then wrap the chicken around it. Place the rollatinis on a baking sheet. Set aside, preferably in the fridge, until ready to cook.


Rolled and ready!
1/2 cup breadcrumbs
1 teaspoon parsley
1/2 teaspoon oregano
1/2 teaspoon salt
1/4 teaspoon pepper
1/4 teaspoon granulated onion
1/4 teaspoon granulated garlic
Combine these ingredients in a bowl. Set it aside.
2 carrots
2 parsnips
2 celery stalks
1/2 medium onion
Olive oil
Peel and chop the parsnips and carrots into quarters. Peel and chop the onion in half. Chop the celery into quarters as well. Place all the vegetables on a sheet pan and drizzle olive oil over the top, tossing them in the oil. Roast the vegetables in a 400° oven until caramelized, and the carrots and parsnips are fork-tender, about 20 minutes. Remove the sheet pan from the oven and let the vegetables cool. Once the veggies have cooled, chop them finely with a knife or food processor. Set them aside.
3 cups your favorite rice, cooked
Cook the rice according to package directions. Once the rice is cooked, mix it with the chopped carrots, parsnips, celery and onion. Set it aside.
1 cup cream or half-and-half
3 tablespoons butter
1/2 cup freshly grated Parmigiano Reggiano
salt and pepper
For the Alfredo-like sauce, heat a saucepan over medium heat, melting the butter and then adding the cream or half-and-half. Once it’s warmed through, add the cheese and whisk until it has melted and the sauce is smooth. Season with salt and pepper. Set it aside, to re-warm later.

Take the pan of rollatinis out of the fridge to warm to room temperature, and reduce the heat of the oven to 350°.
Drizzle a little olive oil over the top of the rollatinis and rub it in. Sprinkle the breadcrumb mixture over the top and bake them for 30-45 minutes, until the chicken has cooked through.
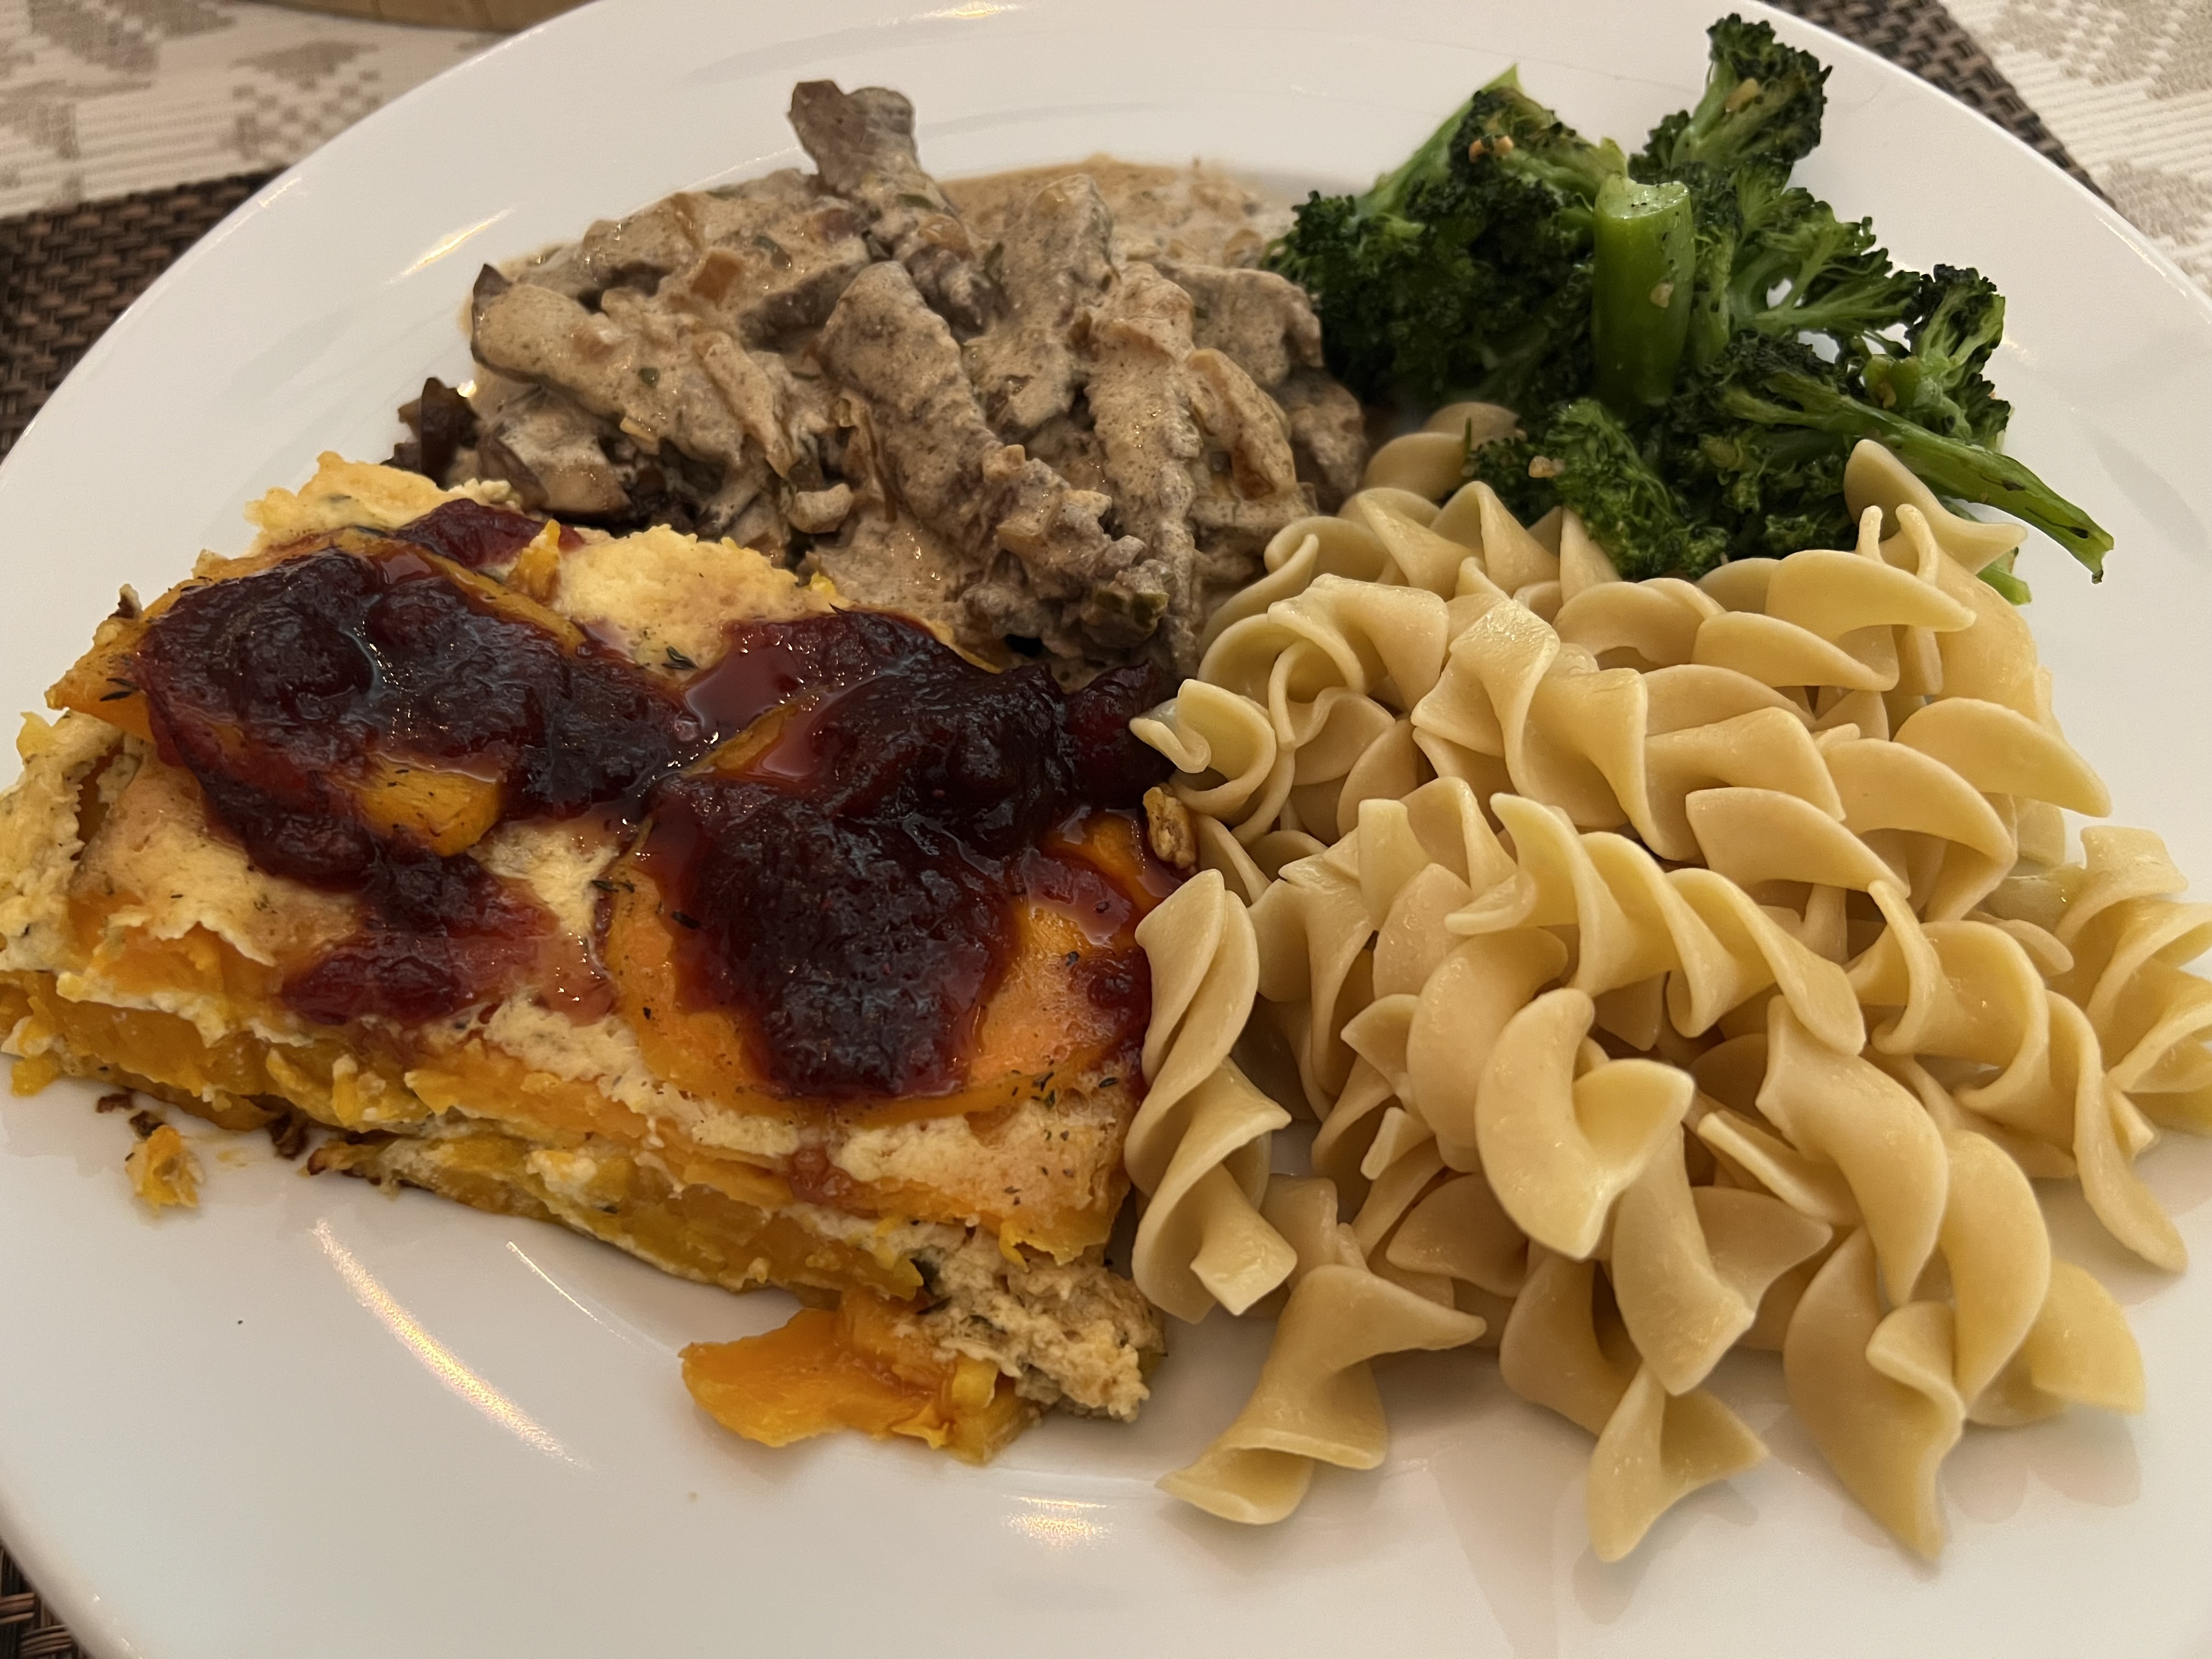
To serve, remove the chicken rollatinis from the pan and plate on a bed of arugula (optional) with the rice on the side. Serve with the sauce.