Archive for the ‘Recipes’ Category

The inspiration for this sauce was my attempt to replicate the “Shack Sauce” they use at Shake Shack , a high-end burger joint owned by restaurateur Danny Meyer. Since it opened in New York City’s Madison Square Park in 2004, Shake Shack has expanded to many other locations around the world.

I don’t know if I captured the Shack Sauce secret. But I do know that my Awesomesauce makes every cheeseburger I grill taste amazing. It’s also fantastic for shrimp, crab or lobster salad…a dip for veggies or boiled shrimp…a dressing for tacos…and great on salads.

Awesomesauce

Ingredients:

1/2 cup mayonnaise

1 Tablespoon ketchup

1 Tablespoon yellow mustard

1 tablespoon dill pickle relish

1/4 teaspoon garlic powder

1/4 teaspoon paprika

Pinch cayenne pepper

Combine all ingredients in a bowl. Refrigerate covered for a few hours to blend flavors.

You make soup! And really tasty soup at that! The great thing about this soup is that you can pretty much add anything you like to it–ham, bacon, chicken, or keep it meat-free–and you just can’t go wrong.

Me? I had a couple of pigs’ feet in the freezer (seriously) and I plunked those suckers down into the soup as it cooked, removing and discarding the feet at the end. I chose not to pick the meat out of them…they had imparted a delicious porky flavor into the soup by then anyway.

I always use homemade chicken stock instead of water for extra flavor.

Lentil soup, with a pig's foot waving hello.

Lentil soup, with a pig’s foot waving hello.

Ingredients:

1/4 cup olive oil

2 carrots, diced

2 stalks celery, chopped

1 onion, chopped

2 cloves garlic, minced

1 bay leaf

1 tsp dried oregano

1 tsp dried basil

8 cups chicken stock

2 cups dry lentils

1 can crushed tomatoes (28 oz)

2 tbsp vinegar

1 cup spinach, rinsed

salt and pepper

Put olive oil, carrots, onions and celery in a large soup pot and place over medium heat. Add a little salt and pepper. Once the onion has softened, add the garlic, bay leaf, oregano and basil. Cook for a couple of minutes and add the chicken stock, lentils and tomatoes. Bring this to a boil, then reduce the heat. Let it simmer for an hour.

Before serving, add in the spinach and cook it until it wilts. Then stir in the vinegar and season with salt and pepper to taste.

I don’t exactly know when my love affair with bone marrow began, but suffice it to say that if I see it on a restaurant menu, I have to order it.
A 2 ounce serving of beef bone marrow has over 500 calories, so diet food it is not. But it has some calcium and “good” fats, especially if the cow was grass-fed.  Each 2 ounce serving has over 54 grams of fat, although most of it is unsaturated. How much protein it has depends on the marrow, but there are those carnivores out there that swear by bone marrow’s almost magical health food properties.
But whether it’s good for you or not, the main reason to eat bone marrow is taste. And I’ve found that when it comes to eating it, there are no gray areas…people either love it or are grossed out by it.
marrow
 
Bone marrow played a very important role in the development of mankind as a species. Long before we had the skills to hunt for our own food, about 2 million years ago, we feasted on the bones of fallen prey…or more accurately, what was inside the bones of fallen prey. A diet of fatty, high-calorie bone marrow meant that early man didn’t have to rely on the digestion of roughage alone to survive, and it allowed for the “luxury” of the development of larger brains.
Fast-forward to today, where the only critters that appreciate bone marrow are our dogs—if they’re lucky enough to get a bone—or foodies like us!
Aside from higher-end restaurants, bone marrow might be difficult to find at first. But you can certainly ask your local butcher for some—he’ll even cut them lengthwise or into short cylinders for you for easy access. I get mine online, with bones from grass-fed cows.

Cooking bone marrow couldn’t be simpler: a little salt and pepper, a drizzle of olive oil, then bake in a hot oven until bubbly and caramelized. Spread it on toast in the morning with your eggs, smear it on top of your steak instead of butter, or just scoop it right out of the bone.

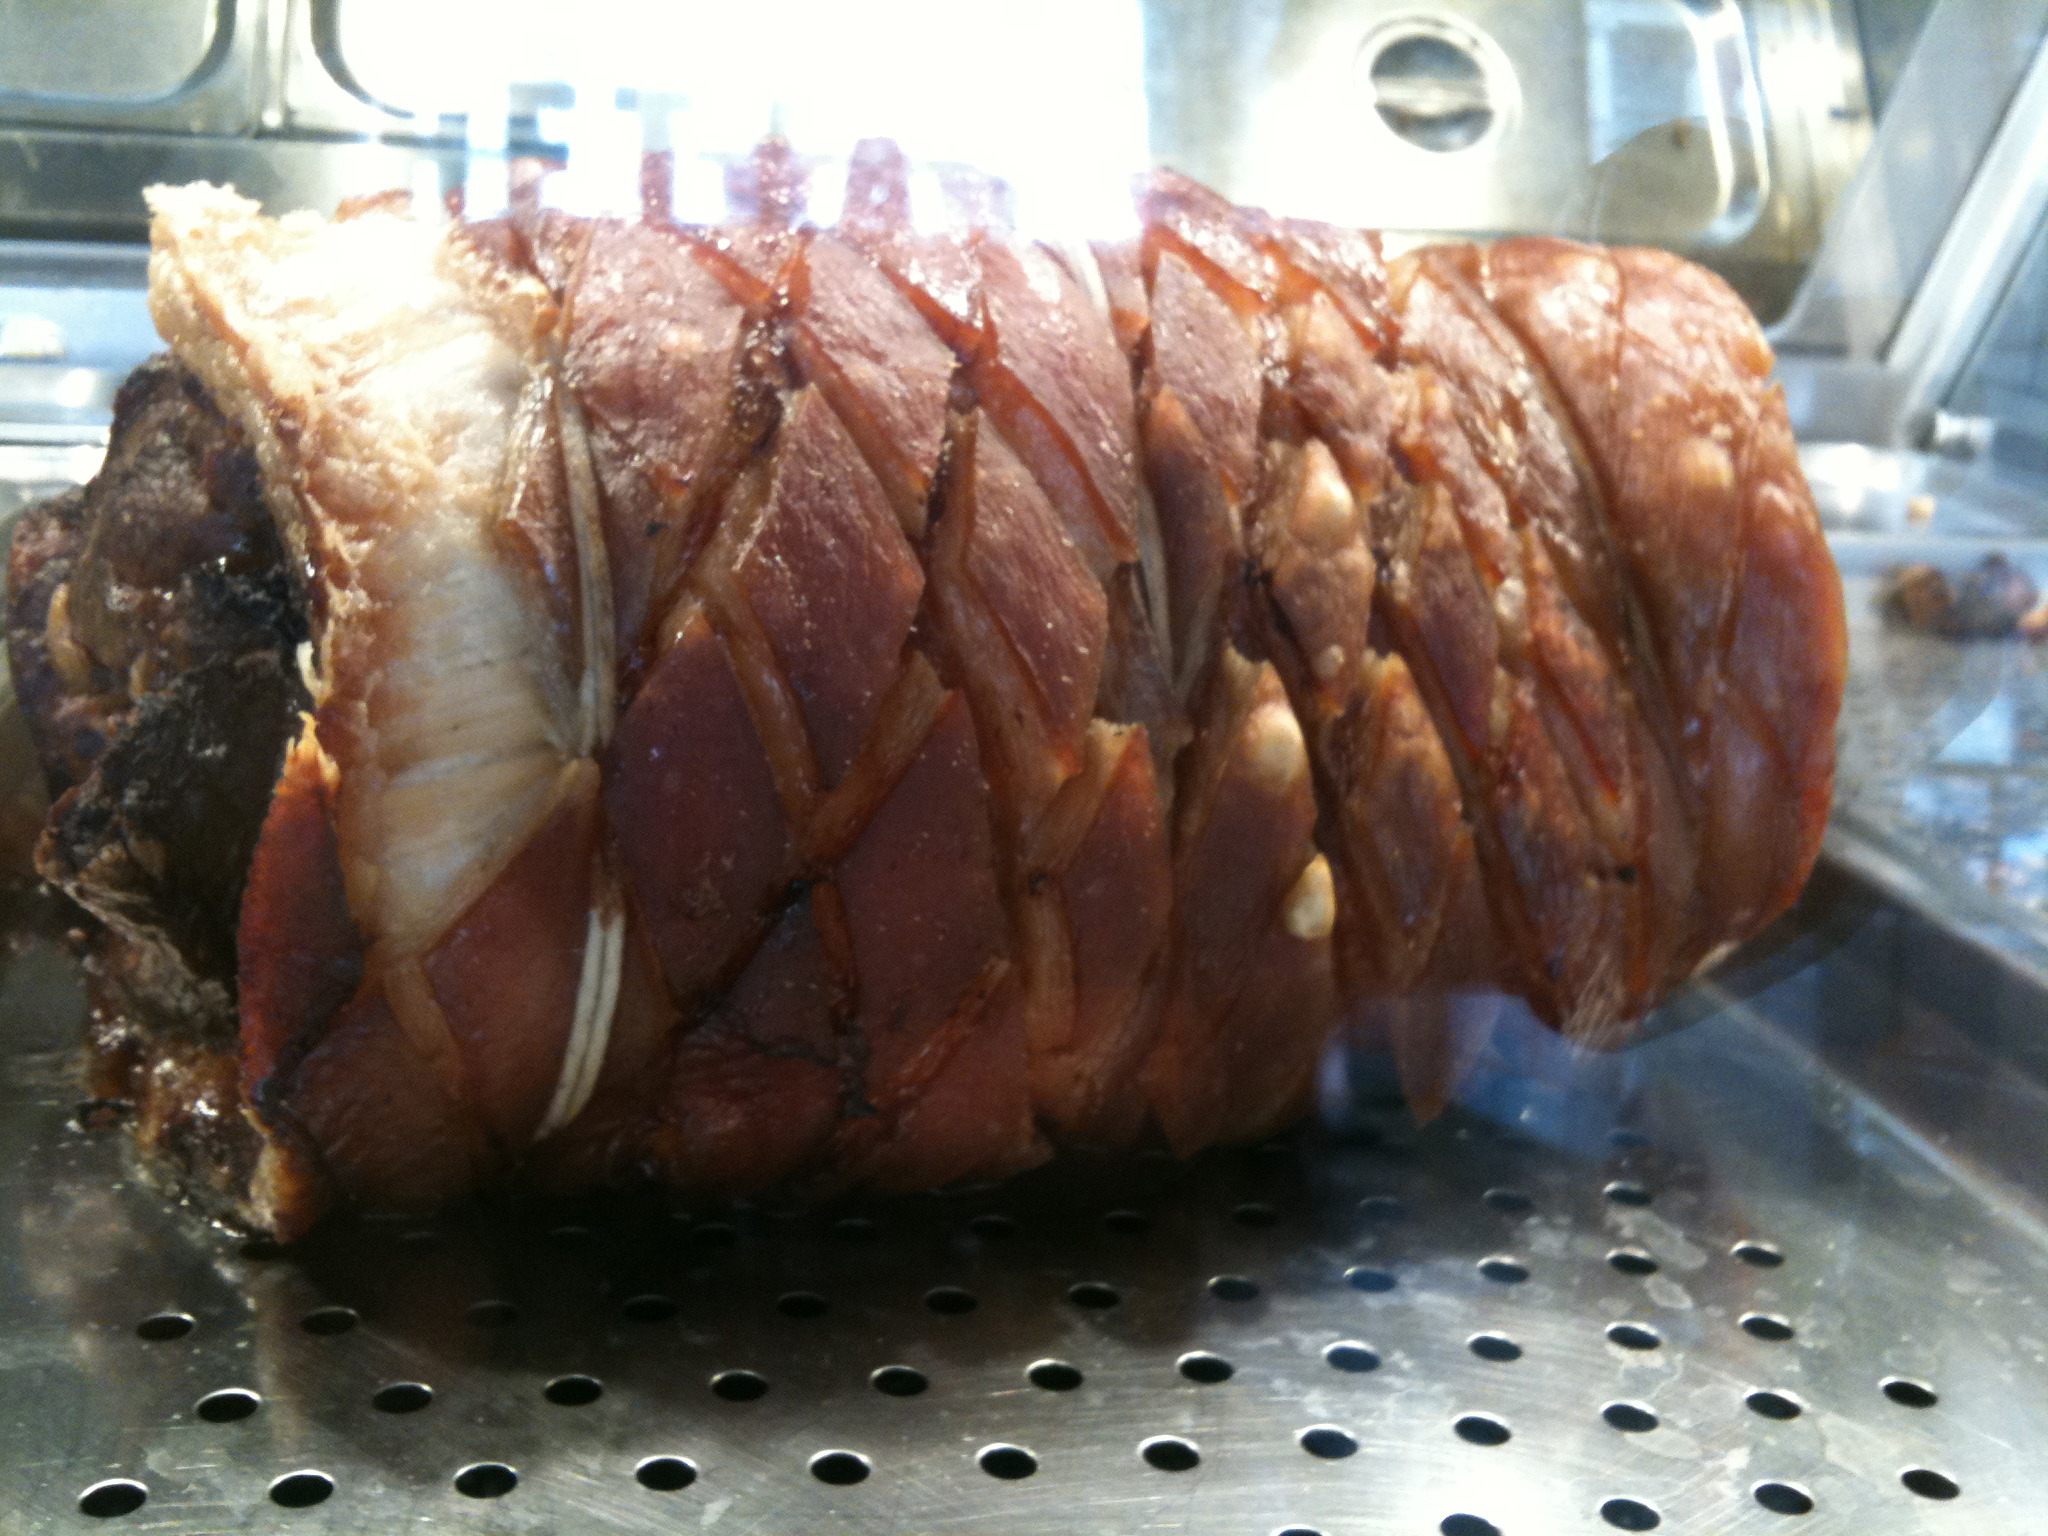
Porchetta is a savory, fatty, herby, delicious slab of pig that is slow roasted…a favorite in Italy. Porchetta is also the name of a small eatery on the Lower east side of New York City, the baby of chef Sara Jenkins, where they serve this Italian classic almost exclusively, with lines of people winding down the block, waiting for their taste of pig heaven.

porchetta1

Traditional porchetta is made from a hog that is butchered, boned and roasted. Porchetta in New York City takes the pork loin, wraps it with the belly and skin, and slow roasts it in their special Combi oven. The result is nothing short of fantastic.

porchetta2

Both methods are way too big for my kitchen, so I took a page out of one of my favorite cooking magazines, La Cucina Italiana , where chef Jenkins described how a homemade version of porchetta was possible using boneless pork shoulder.
Well, I didn’t have a boneless pork shoulder, dammit! I had two beautiful pork tenderloins…not nearly as fatty, and no pork skin to wrap them with. I knew that I would have to be extremely careful not to totally dry my pork out.

Before...

Before…

Ingredients:

10 small fresh sage leaves
3 fresh small rosemary sprigs, leaves only
1 garlic clove, chopped
2 tablespoons wild fennel pollen (see below)
1 1/2 teaspoons sea salt
1 1/2 teaspoons coarsely ground black pepper
2 pork tenderloins (2 1/2 to 3 lb total)
2 tablespoons extra virgin olive oil
1/2 cup dry white wine

Heat oven to 250 degrees.

Finely chop the sage, rosemary and garlic. (I place them in a food processor.) Place mixture in a small bowl and add fennel pollen, salt and pepper. Stir together well.

Rub the herb mixture all over the 2 tenderloin pieces. Tie the tenderloins together with butcher twine. (Usually one end of the tenderloin is fatter and the other thinner. Line them up so that one fat end is tied with one thin end, making the pork package of equal thickness.)

Set pork fat side up in a roasting pan. Drizzle with olive oil.

Roast the tenderloins, basting with the wine and pan juices every 15 minutes. Cook until pork has an internal temperature of 140 degrees.

After!

After!

Despite that it came out somewhat awesome, I plan on using a pork shoulder next time. Leftovers make great sandwiches!

These pancakes, based on a recipe from chef April Bloomfield (The Spotted Pig and The Breslin in NYC), are made from fresh homemade ricotta cheese. Light as air…and really delicious! I made my first-ever batch of homemade ricotta cheese the other day, following a recipe from Iron Chef Michael Symon. He used lemon juice and zest in the recipe, which gave the cheese a stronger lemon profile than I had hoped for. But once I realized I could use that ricotta in a pancake, the lemon flavor really took the pancakes to a whole new level.

I use raw milk for my ricotta cheese. It’s not available here in Rhode Island, but it is in neighboring Massachusetts. If you can’t find raw milk, use organic milk. Just avoid anything that is ultra-pasteurized.

milk

Ingredients:

1.2 gallon of raw milk

juice and zest of 8 small organic lemons

salt

sugar

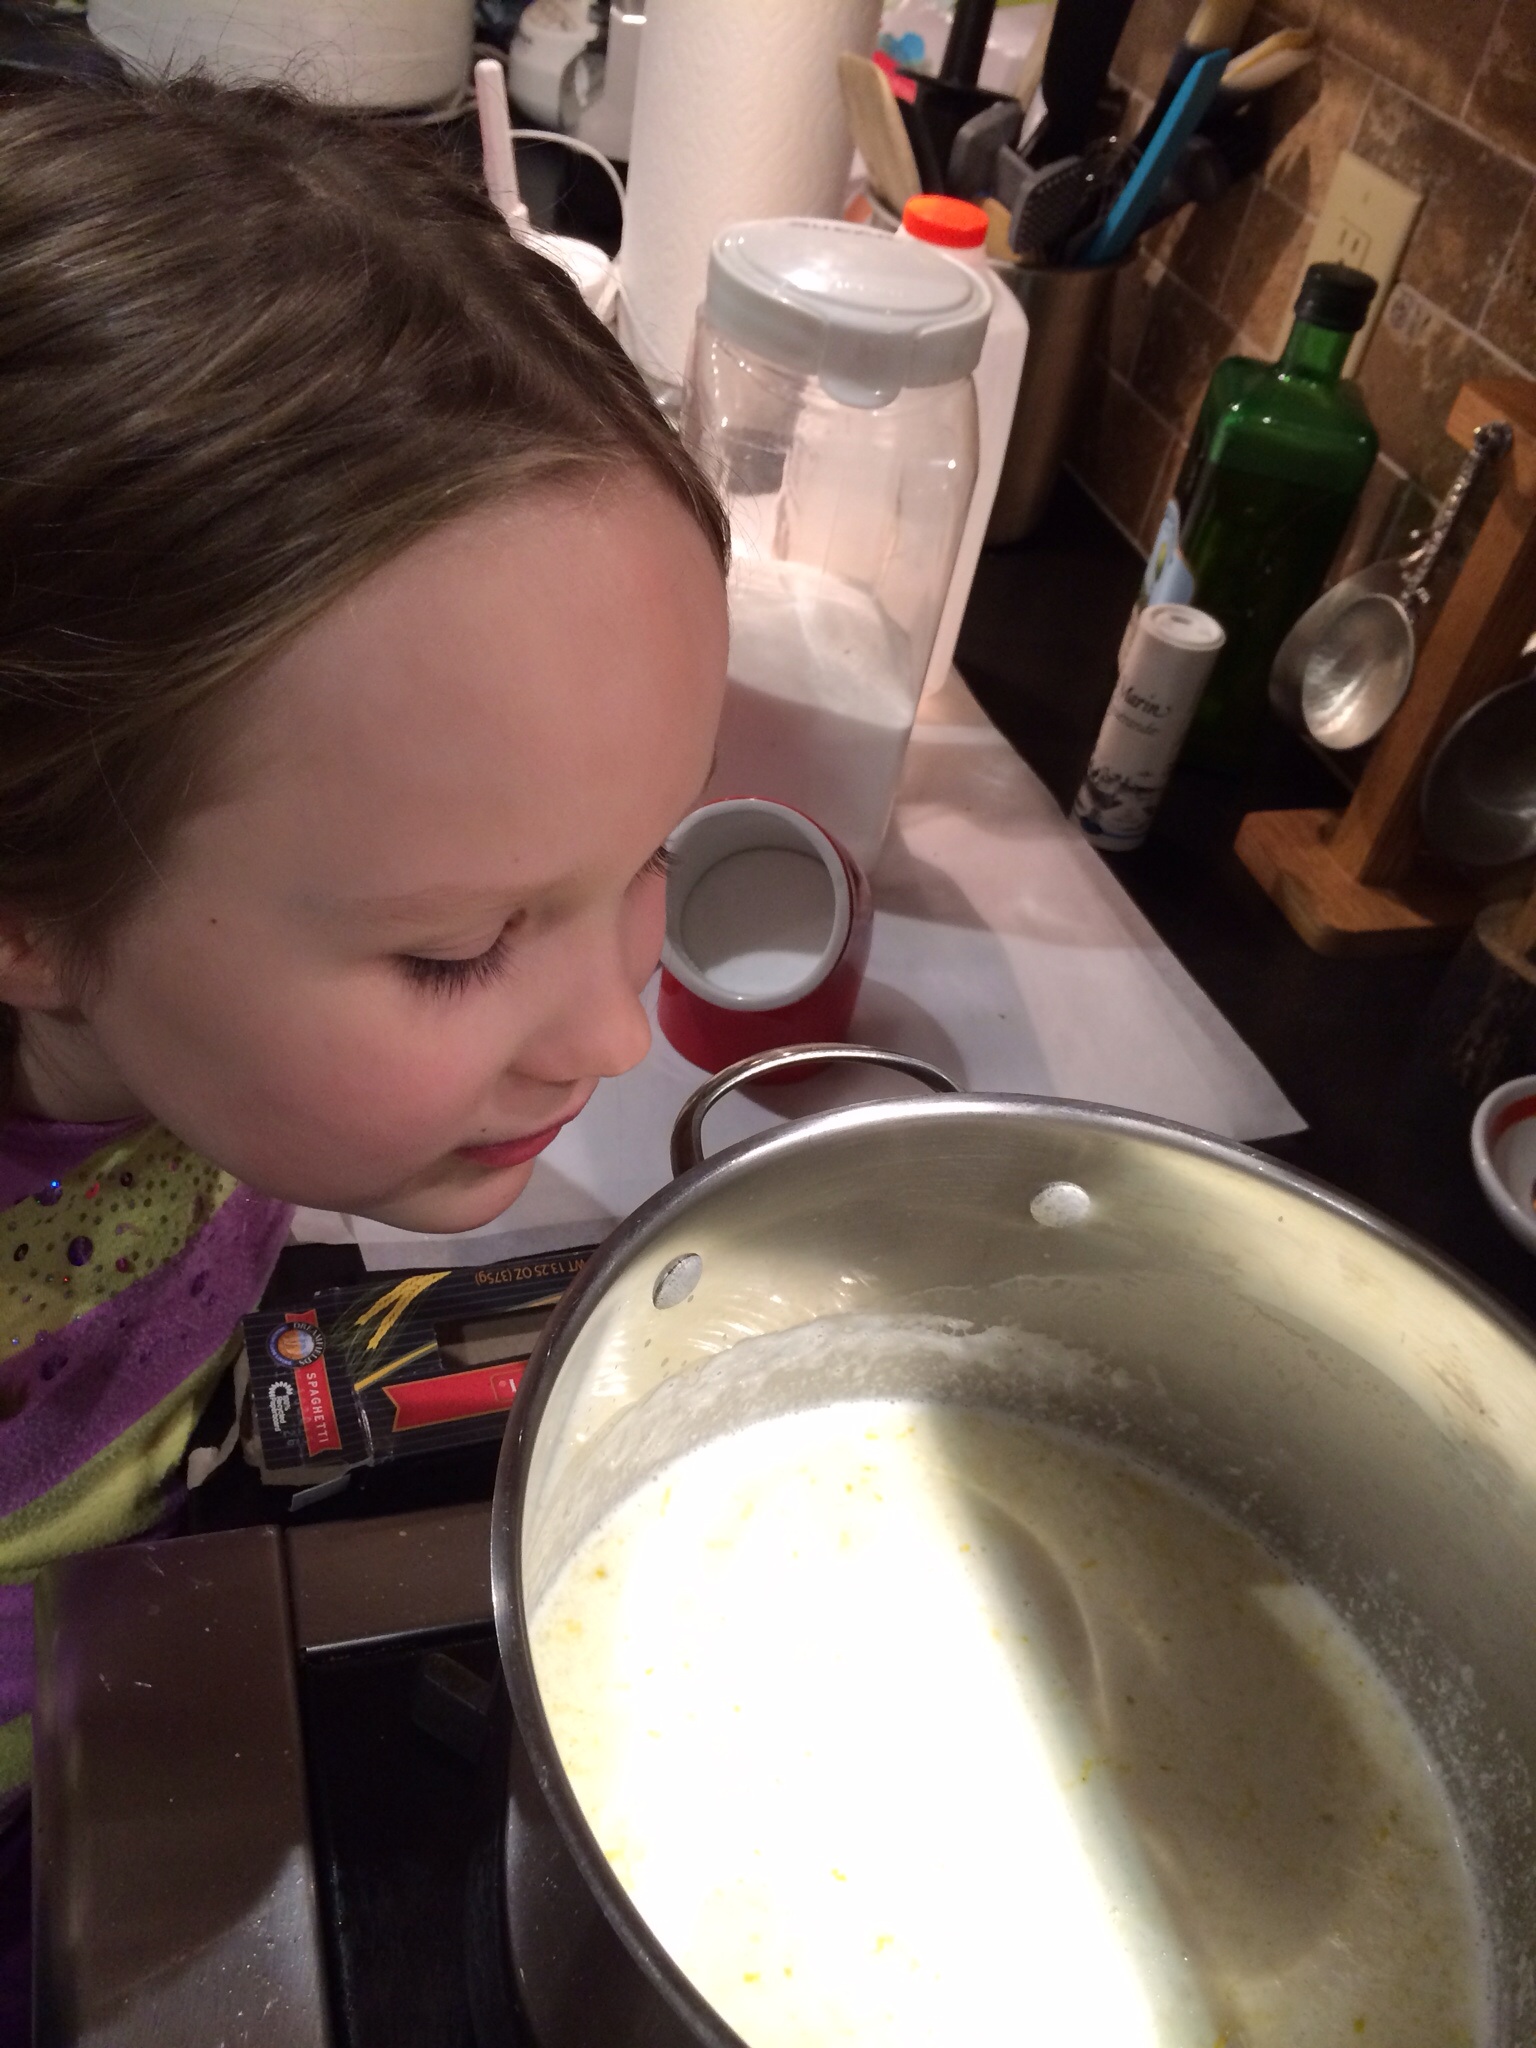
Always have top-notch assistants at your side to make sure you're doing it right!

Always have top-notch assistants at your side to make sure you’re doing it right!

In a saucepan, heat the milk to 180 degrees. Remove from the heat. Add lemon juice and zest, salt and sugar. Stir once and then let it sit for 5 minutes.

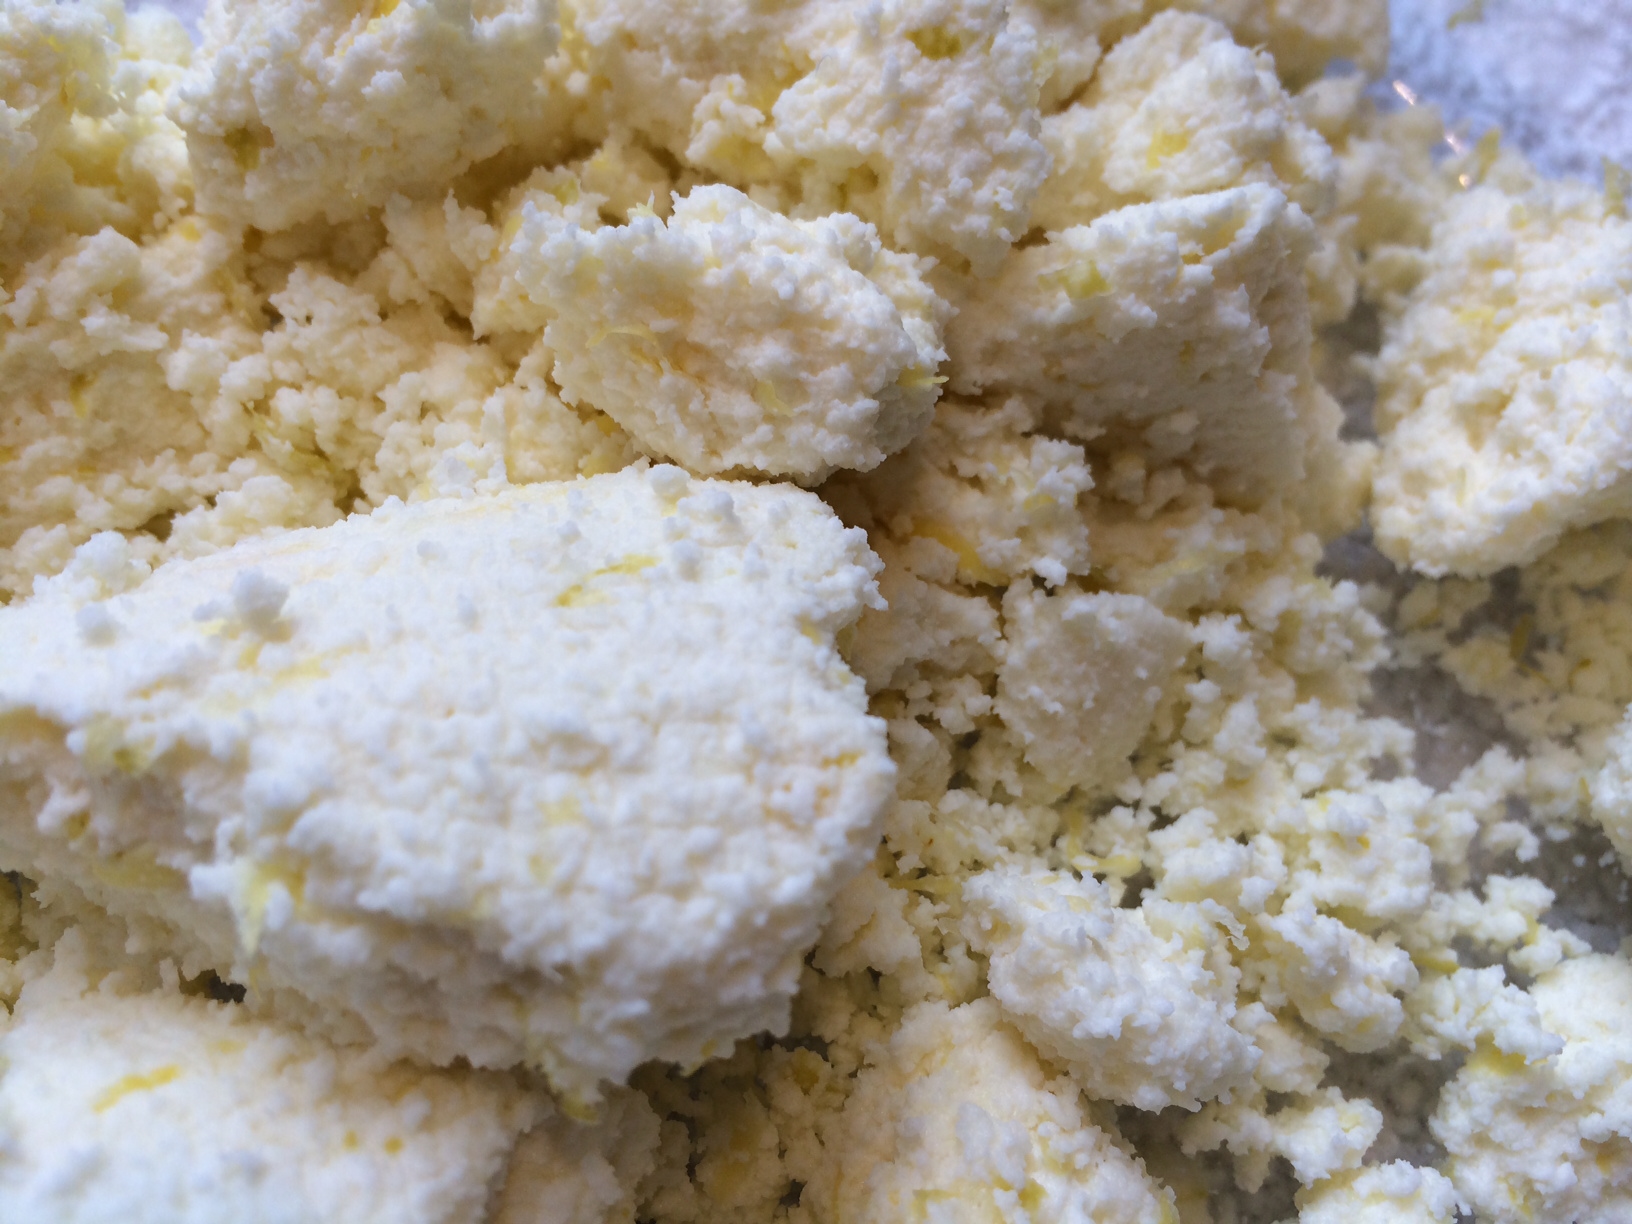
Pour the curds (solids) and whey (liquid) into a strainer lined with cheesecloth over a bowl. Discard the whey, if you choose, then place the remaining cheese in the fridge overnight to further continue drippage.

The next morning, the ricotta is ready to use!

Homemade ricotta cheese

Homemade ricotta cheese

Once you have the fresh ricotta, it’s time to put these beautiful rustic pancakes together…


Ingredients:

1 1/2 cups all-purpose flour

1/4 cup yellow cornmeal

2 tablespoons sugar

1/2 teaspoon salt

1/2 teaspoon baking powder

1/2 teaspoon baking soda

2 cups milk

2 large eggs, separated

1/2 cup fresh ricotta


In a large bowl, combine the flour, cornmeal, sugar, salt, baking powder and baking soda. In another large bowl, whisk together the milk, ricotta,  and egg yolks. Fold the wet ingredients into the dry ingredients.

In a large stainless steel bowl, whisk the egg whites until they are stiff, but not dry. Fold gently into the batter.

Spray a non-stick griddle with a little cooking spray and drop about 1/4 cup of batter per pancake. Cook over medium heat for about 2 minutes per side, until golden and fluffy.

pancake

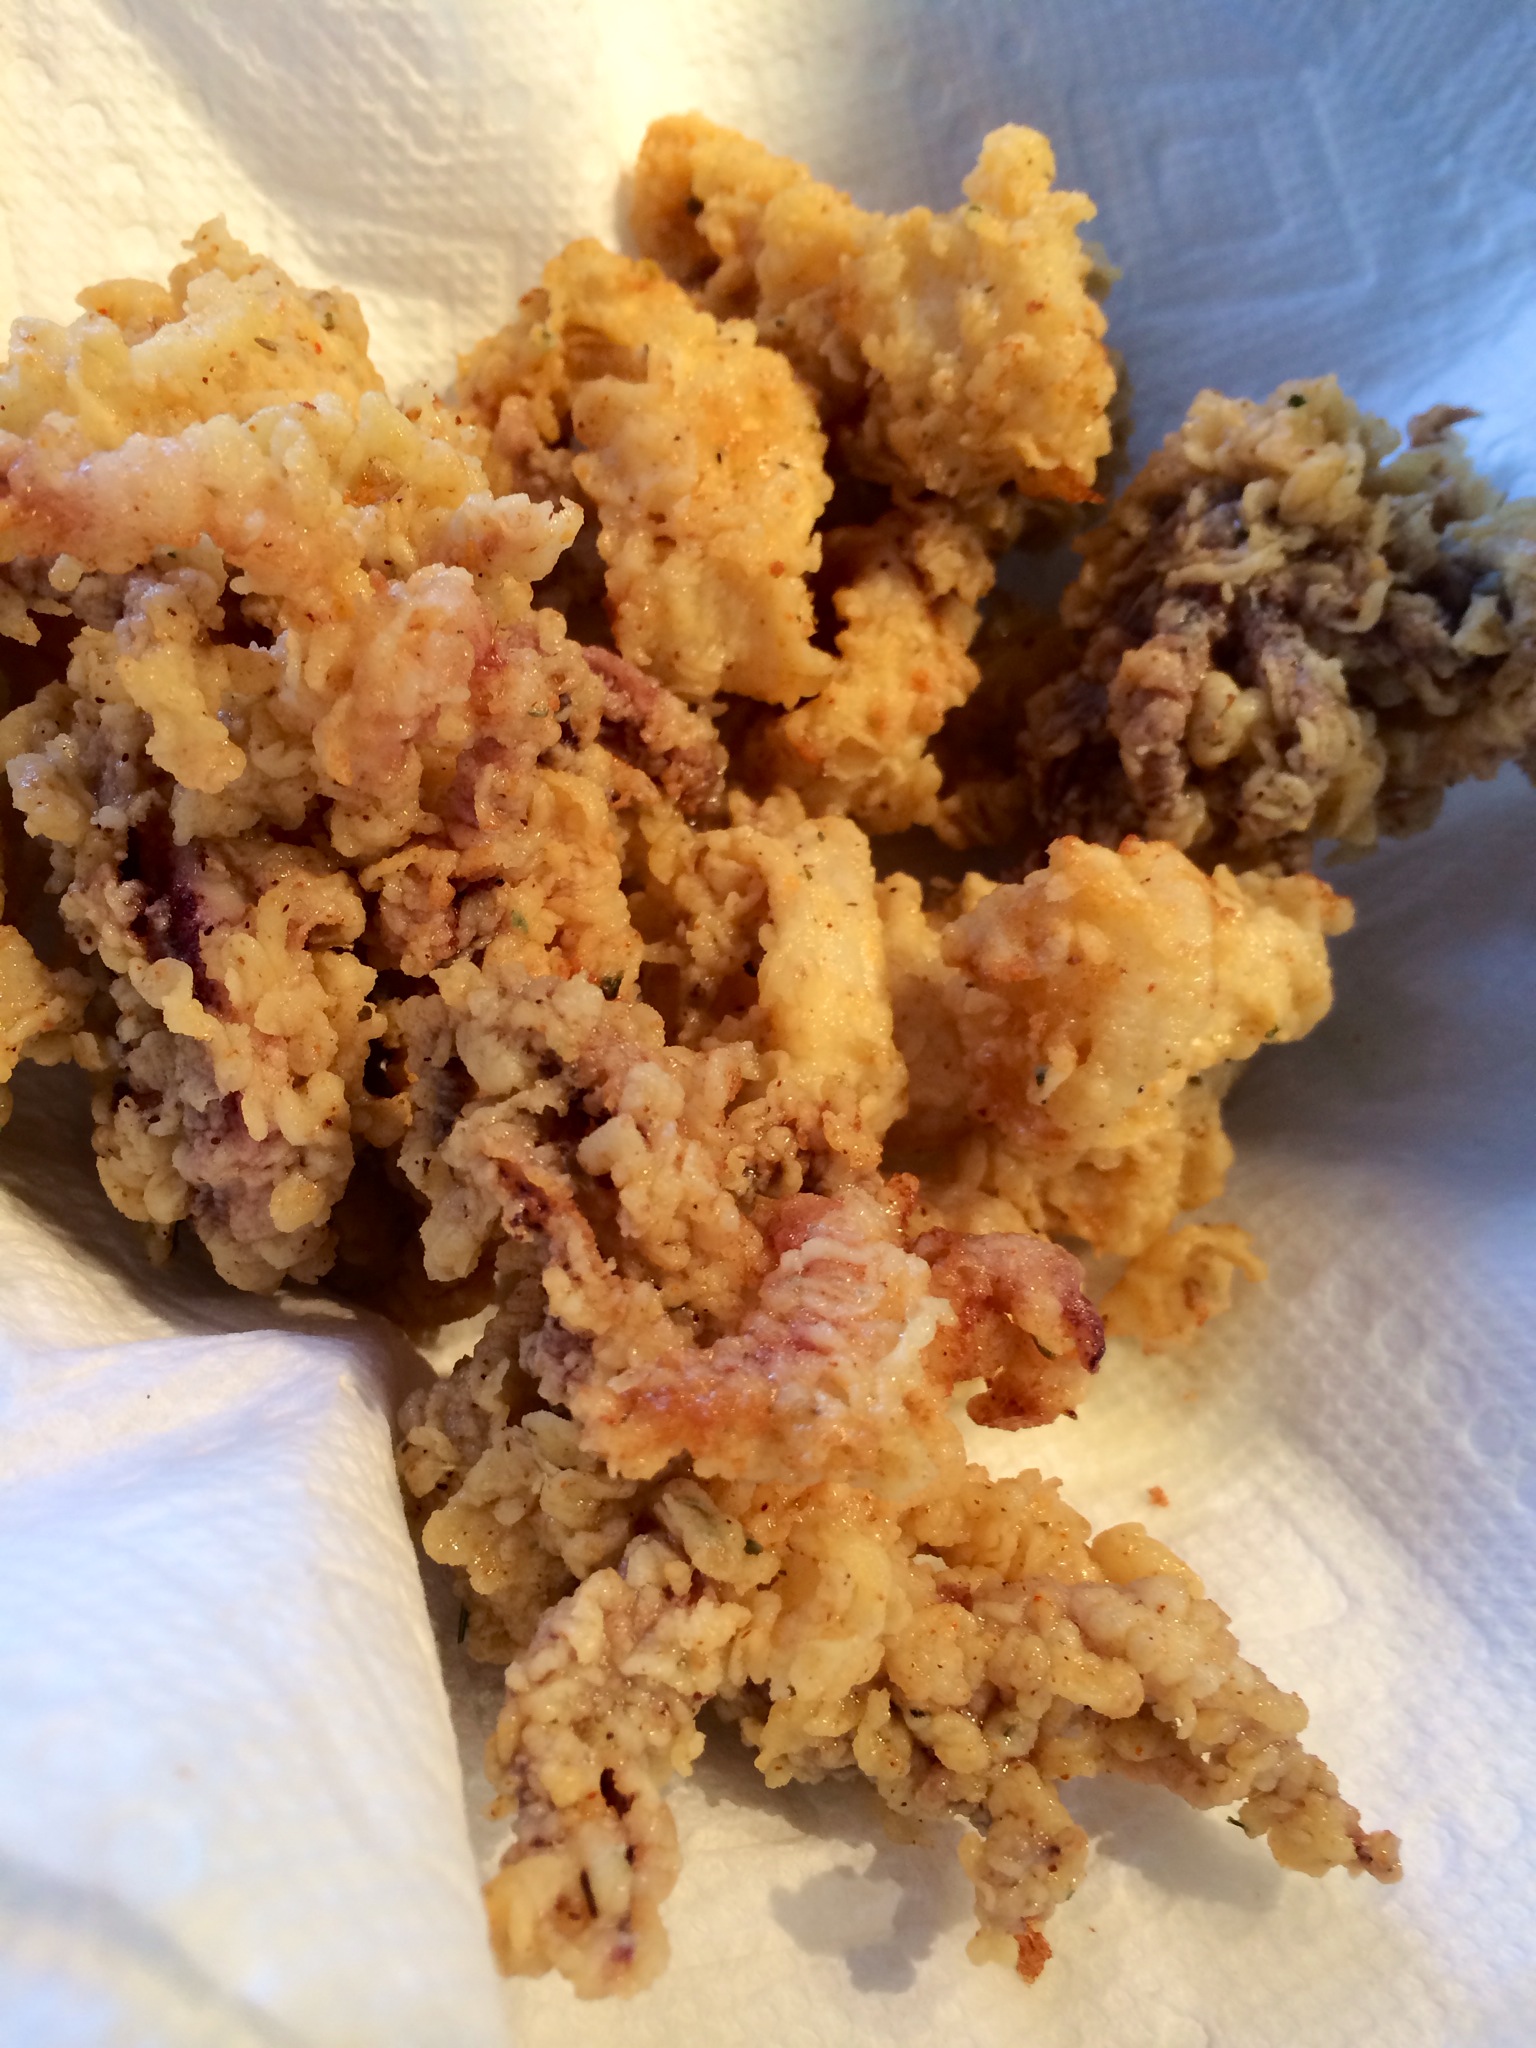
On an episode of “Top Chef,” Wolfgang Puck had the competing chefs make an omelet, something you would think they could do blindfolded. They all failed. An omelet may be a simple dish, but creating a really great omelet is an art form. It’s the same with fried calamari. When I see it on a menu, I almost always order it, because it’s my litmus test for the meal ahead. If the chef screws it up, I know he or she either doesn’t have the chops, or doesn’t care, and that will reflect on the other food served as well.

To me, what makes great friend calamari are three basic elements: it needs to be wild caught in the US and properly cleaned…it needs to be fried at the right temperature for the right amount of time so that it’s perfectly cooked and not greasy…and the coating needs to be light and crispy. This recipe does it for me…

calamari

Ingredients:

1 lb. wild caught cleaned squid (thaw if frozen)

2 cups flour (I use 00 flour, but all purpose is OK, too)

2 teaspoons dried oregano

1 1/2 teaspoons paprika

1 teaspoon dried parsley

1/2 teaspoon granulated garlic

1 1/2 teaspoons salt

1/2 teaspoon black pepper

1 cup milk

1 large egg

oil, for frying ( I use non-GMO canola oil or peanut oil)

Thaw the squid and slice into bite-sized rings. In a bowl, whisk the milk and the egg together. Toss in all the squid pieces into the bowl to coat. Place the bowl in the fridge for at least 15 minutes.

In another bowl, combine flour, oregano, paprika, parsley, garlic, salt and pepper. Set aside.

Fill a large pan halfway with oil…or use a deep fryer if you have one. Preheat the oil to 350 degrees.

Working in small batches, remove the squid from the milk and egg mixture, let some of it drip off, then place the squid in the flour mixture and toss to coat. Shake off any excess flour and place immediately into the hot oil. Fry until golden brown, about 4 or 5 minutes. Serve immediately with tartare sauce, tomato sauce, hot peppers, whatever you like.

Commentary on oil: I cook almost exclusively with olive oil. But for hot frying like this recipe requires, I go with non-GMO canola oil…or peanut oil if that’s not available. Despite what you read, most oils that are hailed as “healthy:” regular canola, corn, soybean, sunflower, safflower…are bad for you. But if you fry your food at the proper temperature using good clean oil, very little oil will stay on your food.

One of the most incredible dishes I’ve had on the beautiful island of Santorini, Greece, is lobster with pasta. It’s one of those dishes that takes time to prepare, because the pasta lobster sauce they make is a labor of love…time consuming and so spectacular.

To try to replicate that lobster sauce we had in Santorini, I started with a kick-ass lobster stock. It’s simple but flavorful:

Stock ingredients:

clean, empty claws, tails and bodies from two 1-1/2 lb. lobsters

12 cups water

1/2 onion

3 celery stalks

1 carrot

Place all ingredients in a large pot and set on high heat. Crush lobster shells with potato masher. Cook until it is reduced by half.

Strain the stock, discarding the lobster shells and veggies. Bring the stock back to the heat and reduce until all you have left is 1 cup of intense stock.

Cooking the stock

Cooking the stock

Now that I have the stock, I can make the sauce!

Sauce ingredients:

1/2 onion, finely chopped

1 garlic clove, finely chopped

pinch of Italian red pepper flakes

teaspoon parsley

extra virgin olive oil

1/2 cup lobster stock

1/4 cup San Marzano tomato sauce (see below)

splash of white wine (I use Alice white Chardonnay)

salt and pepper

1/2 lb. cooked pasta

Add some olive oil to a pan and saute the onions until translucent. Season with salt and pepper. Add the garlic and cook for 10 seconds. Add the red pepper flakes and parsley.

Add 1/4 cup of the lobster stock and let it cook, reducing by half. Add the other 1/4 cup of lobster stock and the tomato sauce. Let it cook for a couple of minutes and add the white wine. Cook for a few minutes more.

Cook pasta and drain even before it reaches the al dente stage. Place the pasta in the pan with the sauce, heating and coating thoroughly. Serve immediately.

For the San Marzano tomato sauce: I take a can of San Marzano tomatoes and place it in a food processor or Vita-Mix and blend until I get sauce. Pour into a pan and reduce over medium heat by half, until sauce has thickened.

It’s so easy to make your own mustard. And really good mustard. Mustard that hasn’t been sitting on the store shelf for a year. Mustard with real flavor.

Once the mustard is made, you’re supposed to wait a few weeks before using, letting its heat mellow a bit. But I enjoy it right from the start. Feel the burn!


mustard

The great thing about this recipe is that you make it with your favorite beer, so use what you drink and you’ll have a mustard like no one else. I used Samuel Adams Boston Ale for this recipe.


Ingredients:

1/4 cup yellow mustard seeds

1/4 cup brown mustard seeds

3/4 cup Sam Adams Boston Ale

1/4 cup apple cider vinegar

2 Tbsp. honey

2 Tbsp. brown sugar, firmly packed

2 garlic cloves, smashed

1 bay leaf

2 tsp. fleur de sel

1/8 tsp. freshly ground pepper


Put the yellow and brown mustard seeds in a bowl and pour in 1/2 cup of the beer. Push the mustard seeds down to submerge them in the beer. (I lay a sheet of plastic wrap down on top to keep them submerged.) Cover and refrigerate for 24 hours.

Combine the remaining 1/4 cup of beer, the vinegar, honey, brown sugar, garlic, bay leaf salt and pepper in a small saucepan. Bring the mixture to a boil over medium-high heat, stirring to dissolve the honey and the sugar. Boil for 1 minute, the immediately remove the pan from the heat and let it cool to room temperature.

Toss the garlic and the bay leaf in the trash and pour the liquid into a blender. Add 3/4’s of the plumped mustard seeds and blend to break the seeds. Add the remaining 1/4 of the mustard seeds and pulse just once to mix. You want the mustard thick, with some whole seeds remaining.

Put the mustard in an airtight container in the fridge for at least 3 days, and up to a week, depending on how mellow you want it and how much waiting you can tolerate! After about 3 weeks, the mustard will be at its peak…but it will keep in the fridge for several months. (I can’t imagine it will last that long.)

I can’t believe it took this long to write about something that is near and dear to my heart…and liver.

I’ve been making a Lithuanian honey liqueur called Krupnikas for over 30 years. (And no, I won’t be posting my secret recipe here.) It’s a honey-based liqueur that is popular in eastern Europe, especially in countries like Lithuania (where my parents were born) and Poland. Though most of the Krupnikas that I’ve tasted is similar, no two recipes are exactly alike.

krupnikas

If you Google “Krupnikas,” you’ll find many different recipes for the stuff…some pretty good, some incredibly awful…and none as good as mine! But still…you can make it at home. I make it with grain alcohol, but if that’s not available in your state, you’ll have to settle for vodka.

My Krupnikas making story started with my uncle, who would make batches of the stuff in his kitchen. Because I am the godfather of my cousin, Victor (his son), starting at the then-drinking age of 18, I got a bottle from my uncle every Christmas…and by New Year’s that bottle would be gone. It wasn’t long before I got very tired of waiting 51 weeks for another bottle and I asked my uncle if he would share his recipe with me. He never did that, exactly, but he did let me sit in on a brewing session and take notes.

I took my notes home and tried to decipher what I wrote. Since there was no such thing as the internet back then, I drove all over New York in search of some of the more exotic spices used in making Krupnikas. I became a regular in several Asian and Indian stores, where they looked at me somewhat suspiciously as I brought my spices to the counter for purchase.

Over the decades, through trial and error, I tweaked and even drastically changed my uncle’s original recipe to the one that I proudly call my own today. You can’t buy it in a store (obviously), but if you have tons of money and want to go into business with me, I’m sure we can work something out! Or become my best friend and you’ll get a bottle every Christmas…and then you’ll be the one waiting 51 weeks for another!

krup glasses

Versions of Krupnikas are available in liquor stores: Old Krupnik is a Polish liqueur, and the German brand Barenjager is another. And brands like Dewar’s and Jack Daniels are adding honey to their spirits as well.

Though quite different from my own recipe, there is one authentic Lithuanian style Krupnikas made in the United States. Based out of Durham, North Carolina, the Brothers Vilgalys Spirits Company (www.brothersvilgalys.com) has a pepperier version that uses local North Carolina wildflower honey. President of the company, Rim Vilgalys, the son of my good childhood friend from New York, has done what I never got around to do: make this fabulous elixir available to the public. You’ll find it at ABC stores throughout the state of North Carolina. On line, you’ll find it at Federal Spirits, based in Washington, DC…a very interesting website full of regional spirits from around the USA and Canada. www.federalspirits.com

Sveiks! (Cheers!)

Chicken parmigiana, much like pizza, is a bit more difficult to make than you might think. Sure, there’s plenty of crappy chicken parm out there, made with processed frozen chicken cutlets, bad sauce and cheap cheese. But to make a really fantastic, mind-blowing chicken parm, that’s a real skill…one that I’ve honed over my many bachelor years. So when it was time to cook something that would impress the hell out of the woman who is now my wife, I have no doubt that is was my chicken parm that won her over.

The key to this recipe is simple: don’t skimp on the quality ingredients. And my recipe makes a lot. Trust me: you will want leftovers.

Gooey, cheesy, orgasmic.

Gooey, cheesy, orgasmic.

Ingredients:

6 Chicken breasts, the best quality you can get your hands on

Alz Italian bread crumb seasoning (see recipe below)

3 eggs

olive oil for frying

Alz “Don’t Call It Gravy” tomato sauce (see recipe below)

Fresh mozzarella cheese

oregano

Thaw the chicken breasts. Lay them flat on a cutting board, and you’ll see where the chicken tender is on the side of the breast. Cut the tender off and set aside, leaving the breast which is thinner at one end and thicker at the other. Slice the breast in half lengthwise at the thicker end, keeping the knife level, so that you wind up with 2 pieces of breast meat that are the same thickness, but one will be a longer piece (the bottom) and one about half its size (the top part you sliced off.) Do this with all the breasts.

By slicing the breasts lengthwise into evenly thick pieces, there is no need to pound the hell out of the chicken breasts.

Pour the olive oil into a large frying pan. Next to the pan, set up two bowls: one with Alz Italian bread crumb mix and in the other: crack the eggs and whisk them.

Now it’s your standard breading procedure: chicken meat in the egg, then in the breadcrumbs, coating well. Shake off the excess and place carefully in the pan of olive oil when the oil comes to temperature for frying.

Fry the chicken in the oil until golden brown. You want it cooked all the way through, but not overcooked. Place fried chicken pieces on paper towels to absorb excess oil. Do this with all the chicken. The fried chicken at this point is delicious all by itself: chop and place in a salad, or make a chicken sandwich. My daughter gets these instead of store-bought chicken tenders, and she loves them.

Cover a baking sheet with aluminum foil. Ladle out enough  sauce to create a thin layer of sauce on the bottom of the sheet. Place fried chicken breasts on top of the sauce. Cover the breasts with more sauce, then place pieces of sliced fresh mozzarella on top. Sprinkle top with a little oregano.

Place the baking sheet in a pre-heated 350 degree oven and bake until the cheese has melted and just starts to brown. Serve with pasta.


ALZ “DON’T CALL IT GRAVY” TOMATO SAUCE

It’s not hard to make a good tomato sauce. But it takes a little work to make an amazing tomato sauce. Honed from a recipe handed down by a friend-of-a-friend’s Italian grandma, it is one very important part in two of my favorite Italian comfort food recipes: my (meat)balls…and my kick-ass chicken parmigiana recipe.

Ingredients:

1 medium onion, finely chopped

2 cloves garlic, finely chopped

1/2 cup extra virgin olive oil

10 cups ground and peeled tomatoes…or 3 cans (28 oz) tomatoes (real San Marzanos preferred)

2 teaspoons each: dried oregano, basil and parsley

3/4 teaspoon each anise seed and fennel seed

1 1/2 teaspoons salt

1/2 teaspoon black pepper

2 bay leaves

1 small can (6 oz) tomato paste

1 teaspoon sugar, optional

Heat olive oil in a large pot and add onions. Cook until onions are translucent, then add garlic. Stir for 10 seconds.

Add tomatoes and cook until orange foam disappears, stirring frequently.

Add oregano, basil, parsley, anise seed, fennel seed, salt, pepper, and bay leaves. Stir to combine. Add tomato paste, stirring well. Let sauce just come to a boil (which helps the paste thicken the sauce), then reduce to a simmer, and cook uncovered for at least an hour, stirring constantly, until sauce reaches desired consistency.


ALZ ITALIAN BREAD CRUMB SEASONING

If I can’t make my own breadcrumbs from old bread, I’m OK with buying store-bought breadcrumbs. But I always buy them plain, and then season them myself. And for this recipe, I don’t use Panko.

Ingredients:

1 cup plain breadcrumbs

2 teaspoons dried parsley

1 teaspoon dried oregano

1 teaspoon dried basil

1 teaspoon salt

1/4 teaspoon black pepper

1/2 teaspoon granulated garlic

1/2 teaspoon onion powder

Combine all ingredients well.