
AWESOME MUSSEL FRITTERS
Posted: September 3, 2021 in Food, frying, restaurants, seafood, Southern New England, UncategorizedTags: food, fritters, frying, GF, gluten-free, mussels, recipes, seafood
Good news if you’re on a gluten-free diet. These fritters can be made GF! And they’re delicious.
I have both recipes–gluten-free and the original–below!
They key ingredient in making a good fritter batter is beer. But until recently, there weren’t many gluten-free beers to choose from…and the ones that were out there tasted like crap. All that has changed.
Now you can pretty much find a gluten-free craft beer in every state, and there are several regional gluten-free beers as well. Easy enough to find: just go to a good beer store and ask. They almost always carry a couple of brands.
Gluten-free beers can be divided into 2 types: truly gluten-free: brewed with gluten-free ingredients and safe for Celiacs to drink…and gluten-reduced: beers that are brewed with ingredients containing gluten, then had an enzyme added to reduce the gluten. These are fine for those that have an intolerance to gluten, but are not Celiac. Read the labels!

The beer that I used for my recipe is a beer that they say is “crafted to remove gluten,” meaning there’s still a small amount left in there.
Ultimately, if gluten is not an issue for you, follow the recipe at the bottom of this page. It’s my original, and not only uses a tasty lager full of gluten, but also a special fritter flour, which can be found in many stores.
However, if you have to “live the gluten-free live,” and you’ve told yourself you can never have another fritter, I have good news for you: you can…and they’re delicious! This is a large batch, so feel free to reduce it if needed.
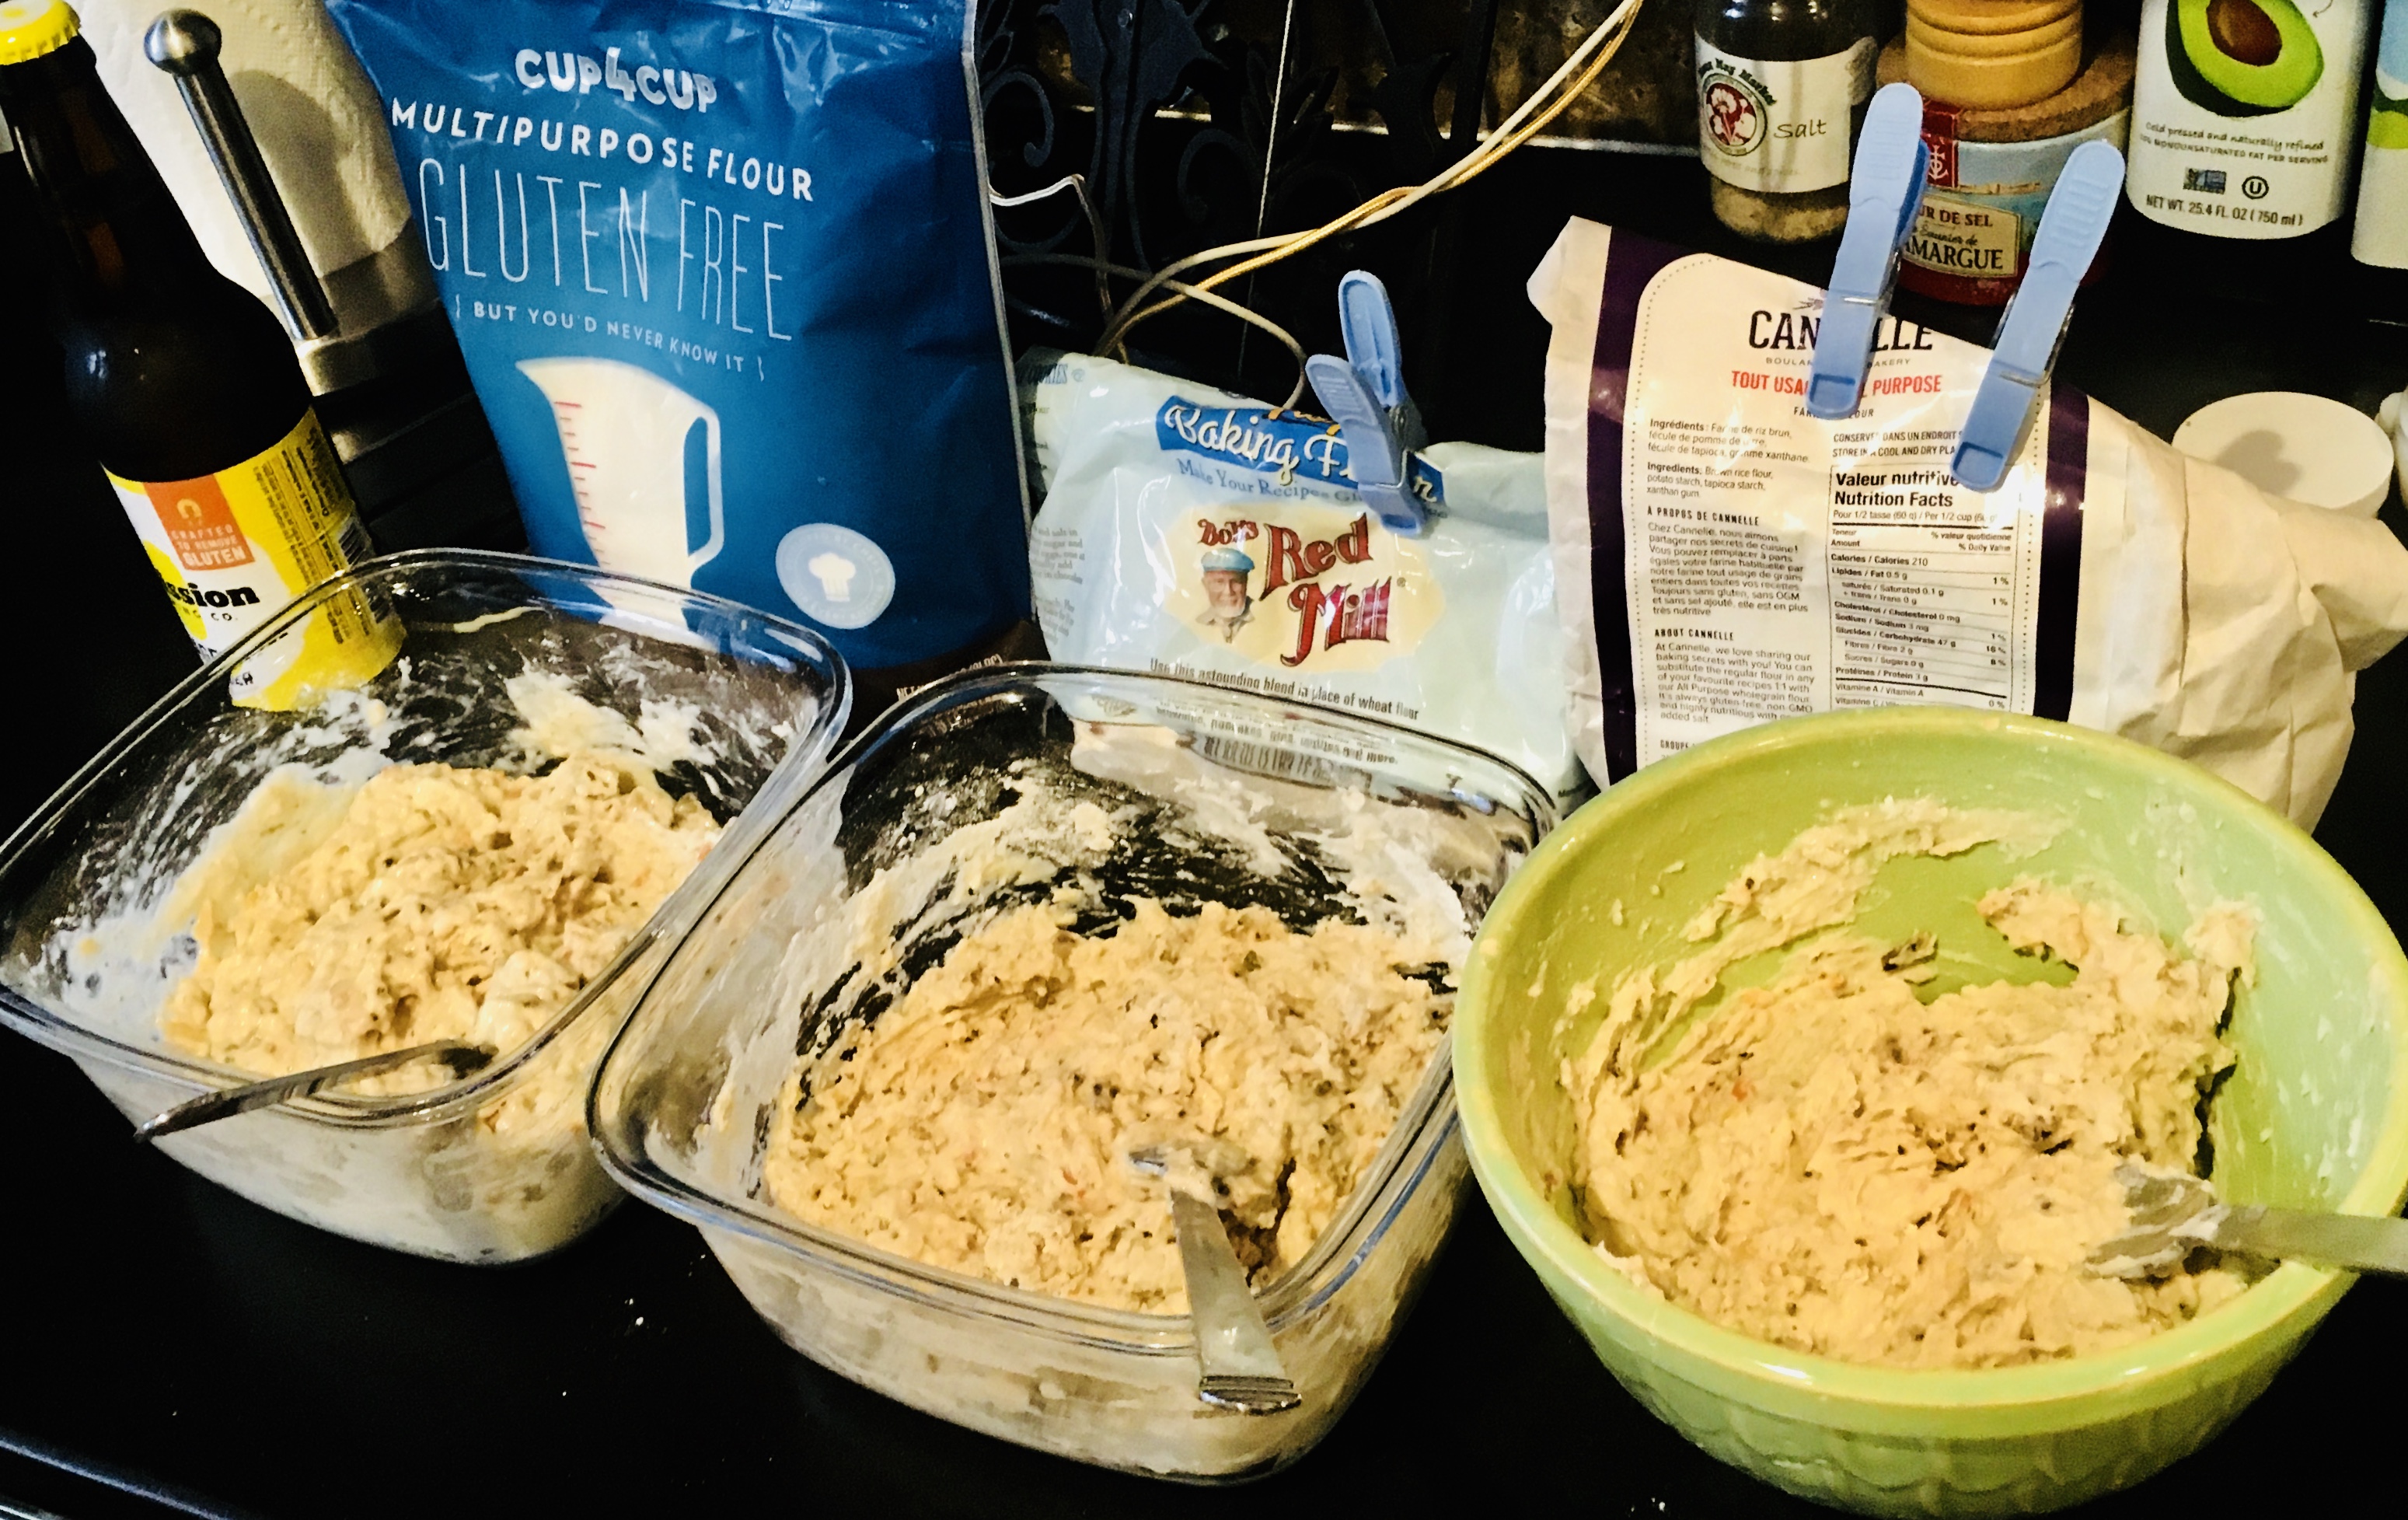
In making this recipe, I tested 3 types of gluten-free flour: Cup4Cup all-purpose flour, Bob’s Red Mill GF Baking Flour, and a Canadian brand (not available here yet.) Cup4Cup (far left) was the clear winner for taste and texture of the fritter.
1 lb. all-purpose gluten-free flour (I like Cup4Cup)
2 lbs. frozen or fresh mussels
1/2 cup (or more) gluten-reduced lager beer (I used Omission)
oil for frying (I stay away from canola, but use what you like)
Pour an inch of water in the bottom of a pot, and place a strainer on top. Pour the mussels, fresh or frozen, onto the strainer and cover the pot. Set the heat on high and steam the mussels until they’re cooked, about 5 minutes. If you’re using fresh mussels, throw out any of the ones that didn’t open. Frozen mussel meats (without the shell) are also available in many areas. They work with this method, too.

Steamed New Zealand green-lipped mussels. Available frozen in many stores. Get the plain ones, not the ones that already come with sauce.
Remove the meats from the shells, and toss them in a food processor. Give them a quick chop…not too fine, because you want to see and taste them in the fritter.
Save the “mussel juice,” the water in the bottom of the pot. It’s got lots of mussel flavor.
Place the flour in a large bowl. Add the chopped mussels. Add a 1/2 cup of the mussel juice and a 1/2 cup of the beer. Mix thoroughly, using a fork or your hands, until you get a batter that’s a bit gooey, but not really wet. You might need to keep adding small amount of broth, beer or flour to get just the right consistency. Once you’ve done that, let the batter rest for 10 or 15 minutes. Keep it at room temperature, and do not stir again! If you need to wait a while before frying, cover the bowl with a wet towel.
In a heavy pan or a fryer, heat the oil to 350 degrees.

Once the oil is hot, take small meatball-sized globs in your hands and gently drop them into the oil. Don’t fry too many at once or the oil temperature will drop quickly. Fry them until they’re golden brown and cooked all the way through. Drain the fritters on paper towels, and season them immediately with salt and a little pepper.
The dipping sauce recipe I have listed at the bottom is not gluten-free. But most tartare-type sauces usually are, and are equally delicious.
Of course, you can make fritters with anything, from mussels to shrimp to lobster!

You’d never know they were gluten-free!
Here’s the original recipe, full of glorious gluten!
It was a fall afternoon in Newport, Rhode Island, at the now-defunct Newport Yachting Center’s annual Oyster Festival. We’re gorging on freshly shucked oysters and clams, boiled shrimp, and…what have we here? I never heard of a mussel fritter before, but once I took a bite, there was no turning back.
They couldn’t be easier to make, but it is crucial to have the right fritter batter. And that starts with a Rhode Island product called Drum Rock fritter mix. If you live in New England, you can find it in just about any seafood department at Whole Foods. If you live further away, you can check out their website (www.drumrockproducts.com) or try your luck with a local brand of fritter mix.

If you’re using fresh mussels, be sure to clean them well and remove the beards. Steam them in a pot over a small amount of water. As they open, they will release their flavorful juices and you want to save every drop of that broth for the fritters. Here in New England, frozen mussel meats are available in some seafood stores. All you need to do is thaw them, steam them saving the broth, and you’re ready to go.
For the fritters:
1 lb. fritter mix
2 cups cooked mussel meats
1/2 cup mussel broth (saved from steaming mussels)
1/4 to 1/2 cup good quality beer (I use Sam Adams Boston Lager)
Oil for frying
Steam the mussel meats until they’re just cooked. Remove the mussel meats, and reserve 1/2 cup of the broth. Pulse the mussel meats in a food processor, but leave ’em chunky…or chop by hand.
Put the fritter mix in a large bowl. Add the mussel meats, mussel broth, and beer. Stir gently until just mixed. Let it sit for 10 to 15 minutes and do not stir again. (If you’ve got guests coming, you can prepare up to this part ahead of time, covering the bowl with a wet towel, and leaving it at room temperature.)
Using a thermometer, heat the oil in a deep pan to 350 degrees, and using a small spoon or scoop, drop the fritters in the hot oil, turning gently, cooking 3 to 4 minutes until golden.
Drain them on paper towels, and season with salt and pepper immediately. Serve right away!

An easy, delicious dipping sauce:
1 cup mayonnaise
1/4 cup Ponzu sauce
The perfect dipping sauce for these mussel fritters is made from two ingredients: mayo and Ponzu sauce, a citrus-based soy sauce. Combine both ingredients in a bowl. Keep it in the fridge until you’re ready to use it.
I suppose the first question someone would ask is: why?
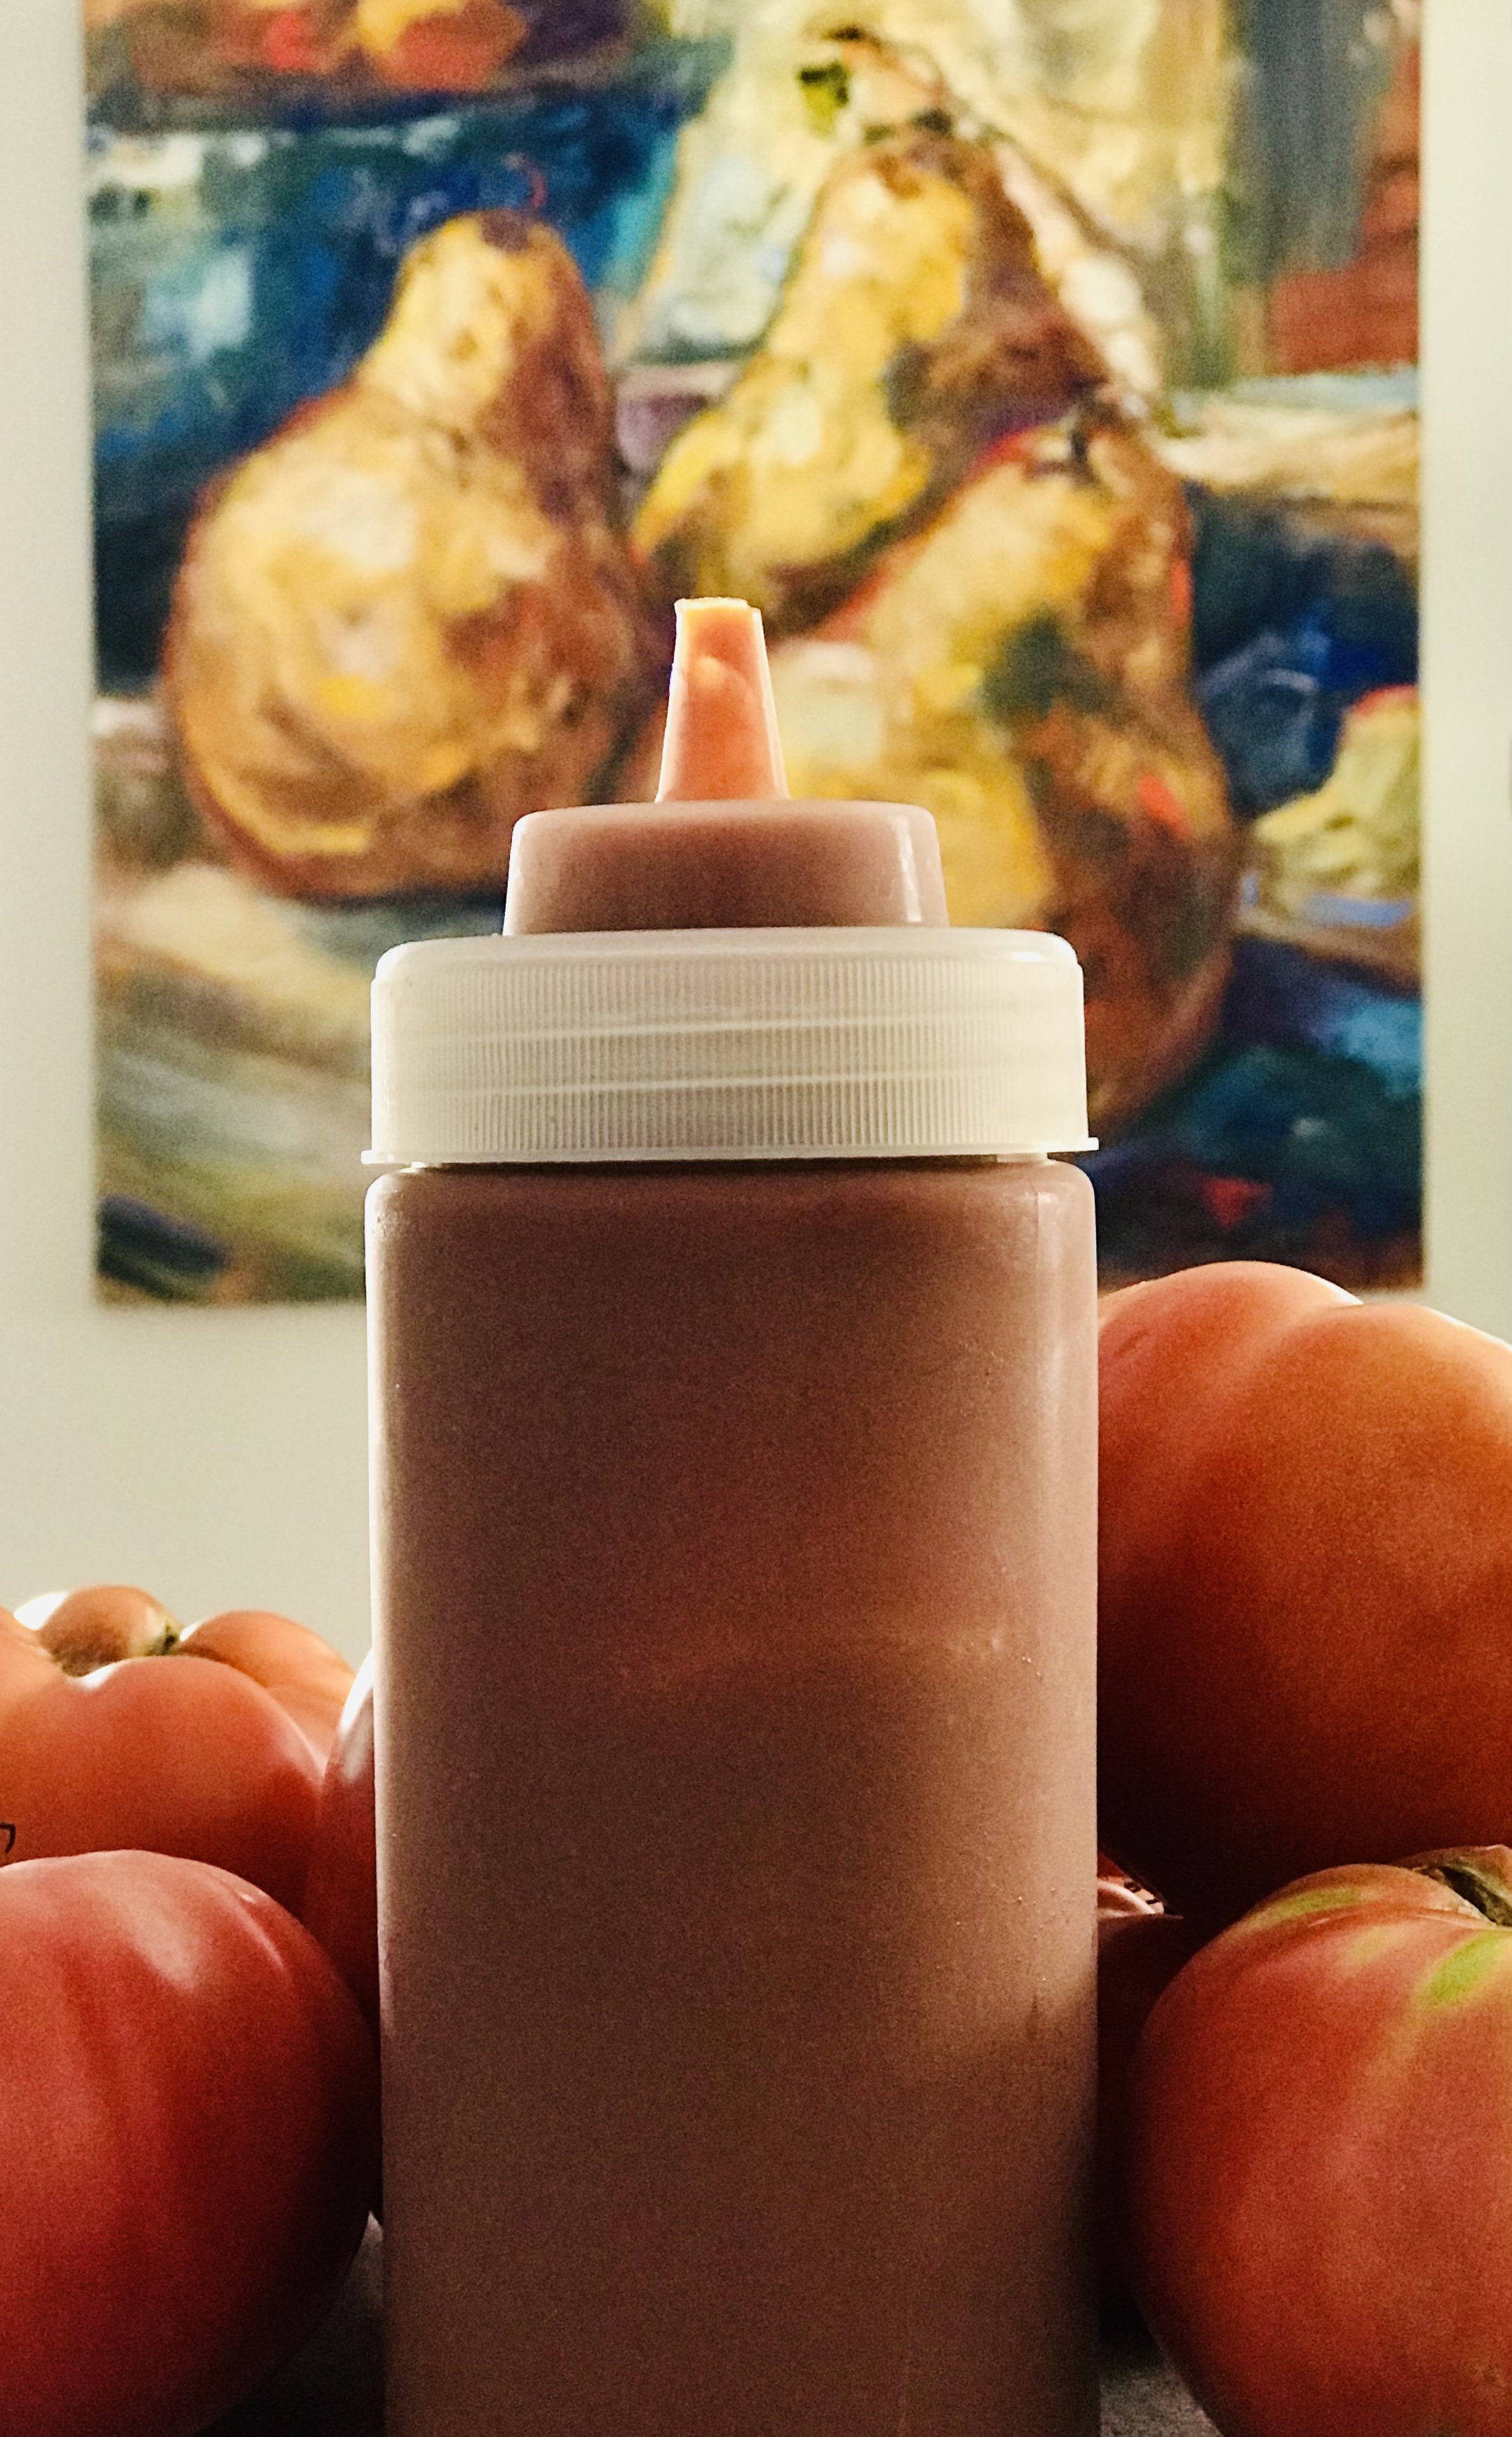
I like to know the ingredients that are in my food, and looking at the label of a bottle of ketchup, there are quite a few ingredients I’m not thrilled with. Things like corn syrup and thickeners. So when I had an overabundance of tomatoes in my garden this year, and I made tons of tomato sauce, I thought it might be cool to make my own ketchup out of some of it. The results were pretty darn good.
If you don’t have your own garden-fresh tomatoes to work with, using canned tomatoes is just fine.
2 (28 oz.) cans peeled ground tomatoes (or 56 oz. fresh ground garden tomatoes)
3/4 cup distilled white vinegar
2/3 cup cane sugar
2 teaspoons salt
1 teaspoon granulated onion
1/2 teaspoon granulated garlic
1/4 teaspoon finely ground black pepper
1/8 teaspoon celery salt
1/8 teaspoon mustard powder
1 whole clove
Combine all the ingredients in a large pot under high heat. Bring it to a boil, and as the ketchup starts to thicken, turn the heat down accordingly so you don’t burn the sugar.
It could take an hour–or more–for the ketchup to reach the thickness you like, but once you’ve achieved it, remove the pot from the heat and pour the ketchup into a blender and puree it until it’s smooth.
Let the ketchup cool completely, then taste it and add more salt and pepper, if needed.

The ketchup can be frozen in containers, or kept in the fridge. Try it in recipes for meatloaf, cocktail sauce, barbecue sauce–anywhere you’d use regular ketchup.
WHITE BEAN SOUP WITH FENNEL AND PORK
Posted: August 26, 2021 in UncategorizedTags: bacon, beans, cannellini, food, pork, recipes, soup
The original recipe for this white bean soup used bits of bacon. But it just so happened that I was planning on slow-cooking a pork shoulder in my smoker today. When the smoked pork met the white bean soup, it was a match made in pig heaven!

2 medium onions, finely chopped
1 medium fennel bulb, finely chopped
1 smashed garlic clove
3 cans (15 1/2 oz.) cannellini beans, drained and rinsed, 1 1/2 cups reserved
40 oz. veal bone broth (or chicken broth, if you prefer)
1/4 teaspoon bouquet garni
1 teaspoon salt
1/4 teaspoon black pepper
Bacon fat and/or olive oil
A slab of slow-cooked smoked pork shoulder, pulled and shredded
In a large heavy saucepan, sauté the onion, fennel, and garlic in bacon fat or olive oil until they are tender, about 8 minutes.
Drain and rinse the cannellini beans, reserving 1 1/2 cups for later. Pour the beans in the saucepan.
Add the veal (or chicken) broth, the bouquet garni, and the salt and pepper.
Simmer for 15 minutes, then turn the heat off and let it cool for 15 minutes.
Puree the soup in batches in a blender, until smooth.
Return the soup to the pot and add the reserved beans. Heat for 10 minutes, and then taste it, adding more salt and pepper, if needed.

To serve, place a mound of the pork, cubed or pulled, in the center of a bowl. Pour the soup on top, and drizzle with a touch of extra virgin olive oil. Chopped scallions, or fresh chives, or parsley on top never hurt!

INSPIRED SALMON POKE
Posted: August 23, 2021 in Food, Recipes, seafoodTags: Alaska, food, Hawaiian, poke, recipes, salmon, seafood, wild caught
Inspired by an episode of “Good Eats, the Return” with Alton Brown, I was craving poke big time. I had almost all the ingredients…..sort of.
Alton prepared tuna. I had salmon.
Alton used white soy sauce. I had dark.
Alton used chopped macadamia nuts. I had cashews.
Alton used yuzu juice. I had a lemon.
None of my ingredients were that drastically different, really, and when I combined them, I found that I had prepared one helluva poke indeed! (Poke, pronounced PO-keh, means “chopped into pieces” in Hawaiian.)
I used 6.5 ounces of salmon because I had a nice, big 26-oz. filet that I cut into 4 pieces. Up to 8 ounces of fish will do fine with this recipe. And tuna would be just as tasty as salmon here.
If you’re going to go through the trouble of making poke—and for that matter, eating it—the freshness and quality of the fish is extremely important. I never eat farmed salmon (anything labeled Atlantic salmon is farmed.) It’s amazing how many so-called fine sushi restaurants serve Atlantic salmon. You can tell it’s farmed by the weird white and orange zebra stripes on the flesh of the fish. Farmed salmon would look gray if it wasn’t for the fact that farmers feed them pellets to change the color of their flesh to a more appealing orange.
Wild-caught salmon is just that: caught off the coast of the Pacific Northwest or Alaska, they feed on their all natural diet of shrimp, krill, and small fish…not food pellets and antibiotics. The salmon flesh is a beautiful natural bright orange, thanks to a shrimp-heavy diet. And the flavor is beyond compare.
I get my wild-caught salmon on line, shipped frozen from reputable distributors like Wild Alaska Salmon and Seafood. I cut the salmon into usable pieces while it’s still frozen, then re-wrap the pieces carefully and put them back in the freezer. When it’s time to eat, I move the salmon from the freezer to the fridge, letting it thaw overnight.
6.5 ounces wild-caught Alaskan salmon, in the refrigerator (thawed, if previously frozen)
1 tablespoon soy sauce
2 teaspoons untoasted sesame oil
1 teaspoon rice vinegar
1/2 teaspoon fresh lemon juice
1/3 cup chopped raw cashews
One scallion, green and white parts finely chopped
Keep the salmon in the refrigerator until the very last moment.
In a bowl, combine the soy sauce, sesame oil, rice vinegar, and lemon juice. Whisk them together.
Chop the cashews and add them to the bowl, mixing them in.
Cut the root ends off the scallions, chop the green and white parts finely, and add them to the bowl, mixing them in.
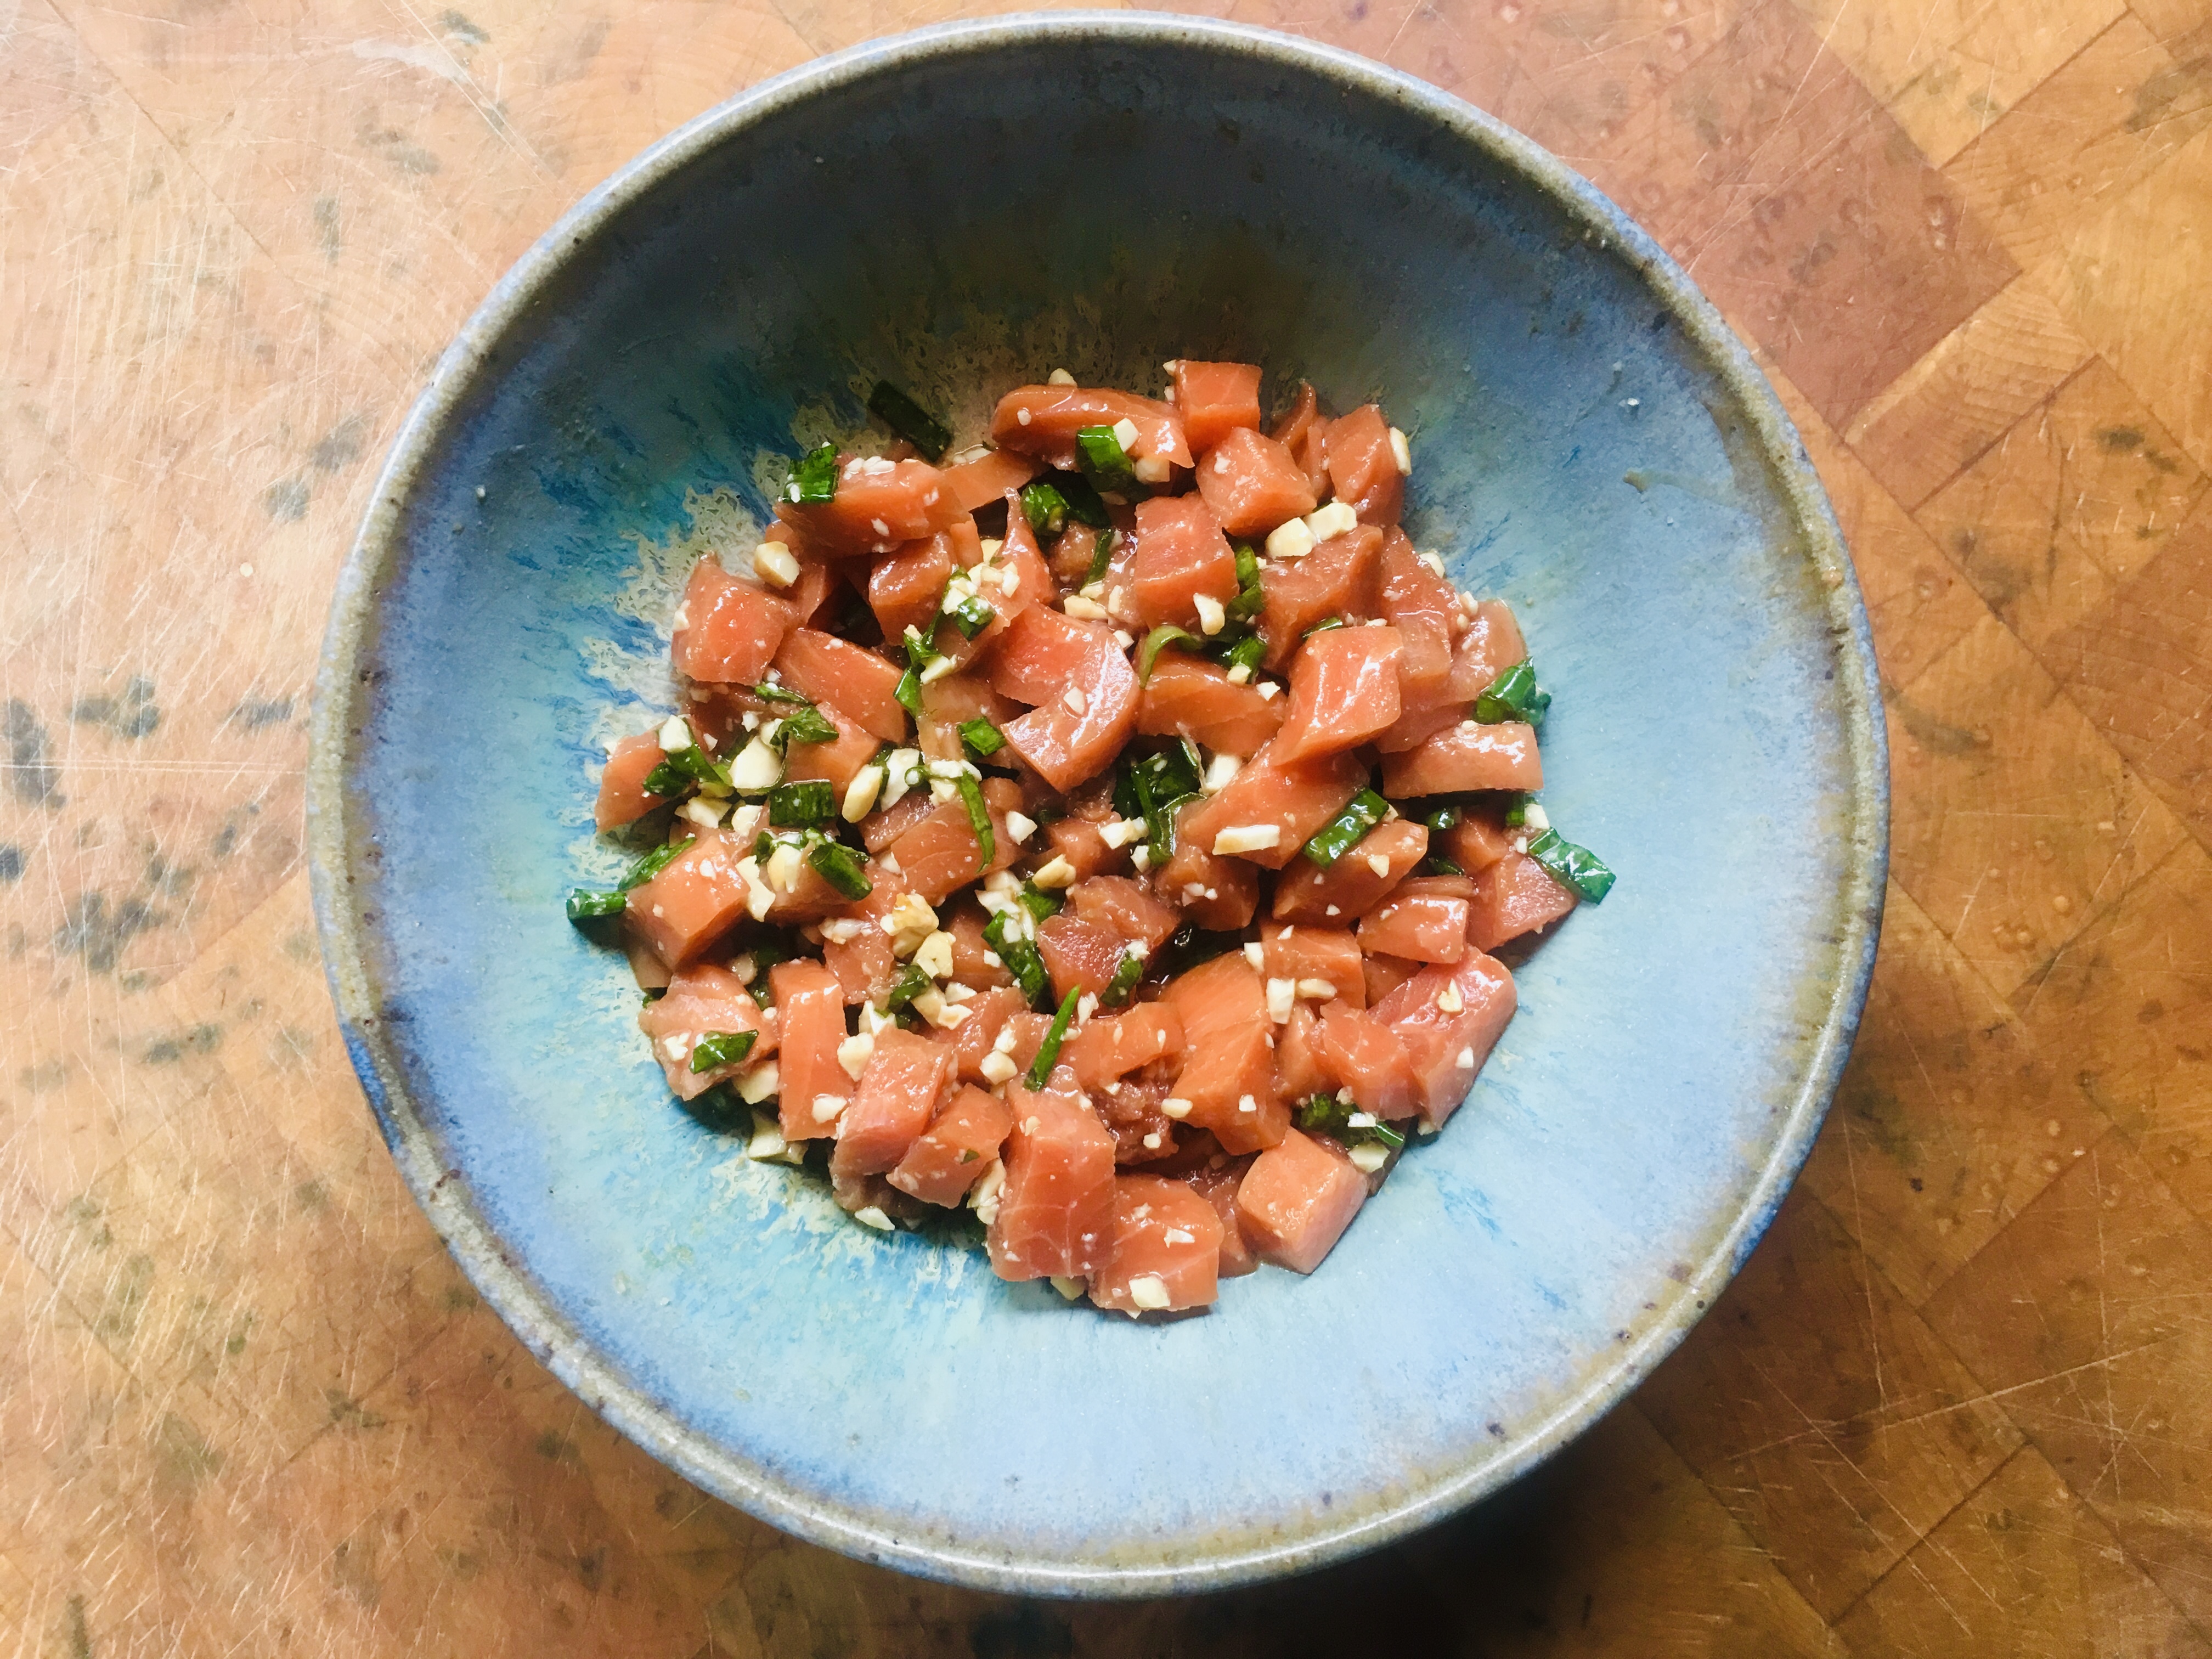
Remove the salmon from the fridge, and remove the skin if it is still on the fish. Cut the fish into half-inch cubes. Add the salmon to the bowl and gently mix all the ingredients together. (You don’t want to break up the fish.)
Let it sit for 10 to 15 minutes, if you can wait that long!
Time to eat!
GREAT ONION RINGS AT HOME
Posted: August 20, 2021 in Food, frying, RecipesTags: food, fried, onion rings, recipes
If you look online, there are a million ways to make onion rings. So, in doing my research, my first step was to decide how I wanted them. Did I want a big, thick batter? Or something extremely light? Or something somewhere in the middle?
I’m not a fan of onion rings that have more batter than onion. After looking through dozens of recipes, I finally came up with one on my own that really satisfied my craving for onion and also a craving for a great crunch.
The set-up requires four trays, and lots of messy dunking before it goes into the oil. But it’s all worth it in the end!

I have a deep fryer, but the basket in it is small, so I can’t fry as many onion rings at one time as I’d like. So using a larger pan with a shallow pool of oil was the answer: it allowed for more onion rings to be fried in a single batch.

Onions, sliced about 1/4″ wide (I like using Vidalias)
In the first pan..
2 raw eggs, scrambled
In the second pan…
1 cup self-rising flour
In the third pan…
2 more raw eggs, scrambled
In the fourth pan…
2 cups fine breadcrumbs
1 teaspoon salt
1 teaspoon granulated onion
1 teaspoon granulated garlic
pinch of dried oregano (optional)
I like to fry with peanut oil, so I pour an inch or two into a large pan and heat it to 340°, using a thermometer.
I peel the onions and cut them into quarter-inch wide slices, breaking them up into rings. (If a couple of rings of onion stick together to form a thicker ring, I don’t have a problem with that!)
Once that’s done, the procedure is really simple: dunk the onion rings in the first pan with the egg, coating them well. Then dunk them into the second tray with the self-rising flour, shaking off any excess. Then dunk them into the third tray with the egg, making sure it’s completely coated. And finally, dunk them into the fourth tray with the seasoned breadcrumbs, again, shaking off any excess.
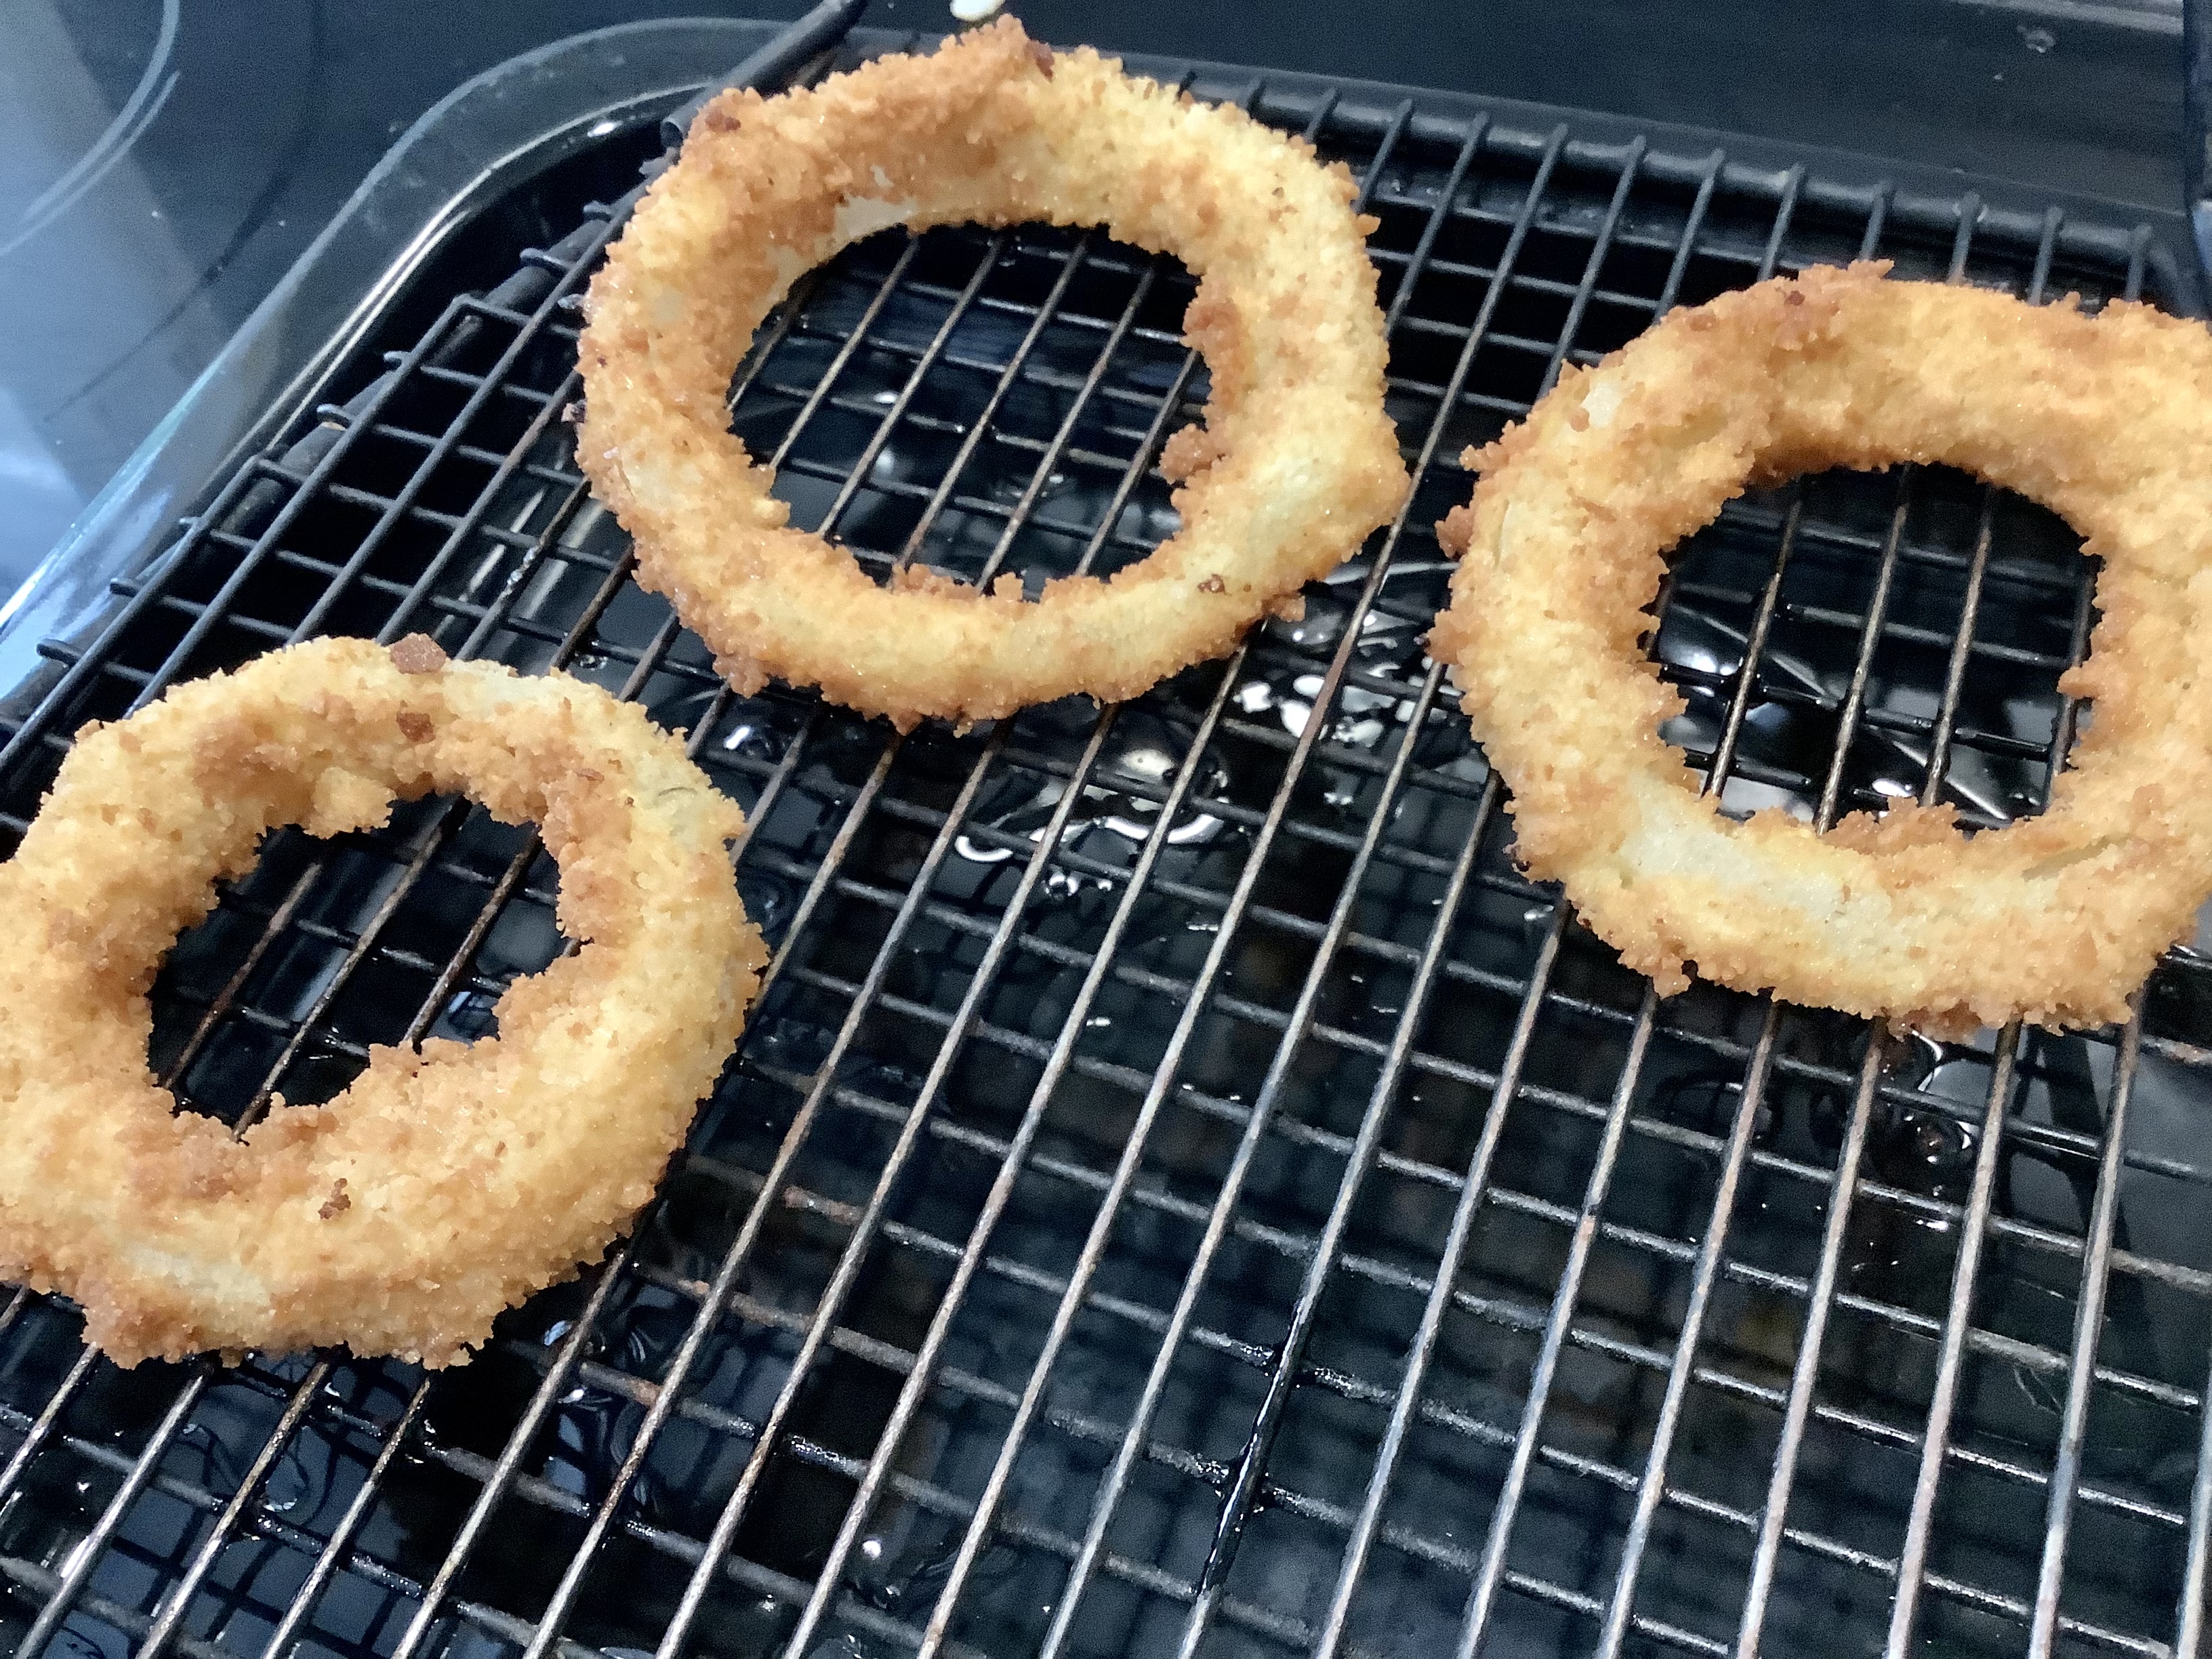
Drop the onion rings into the hot oil and be sure to flip them so they cook on both sides. Cook until they’re golden brown. Place them on a sheet pan with a metal rack to cool.
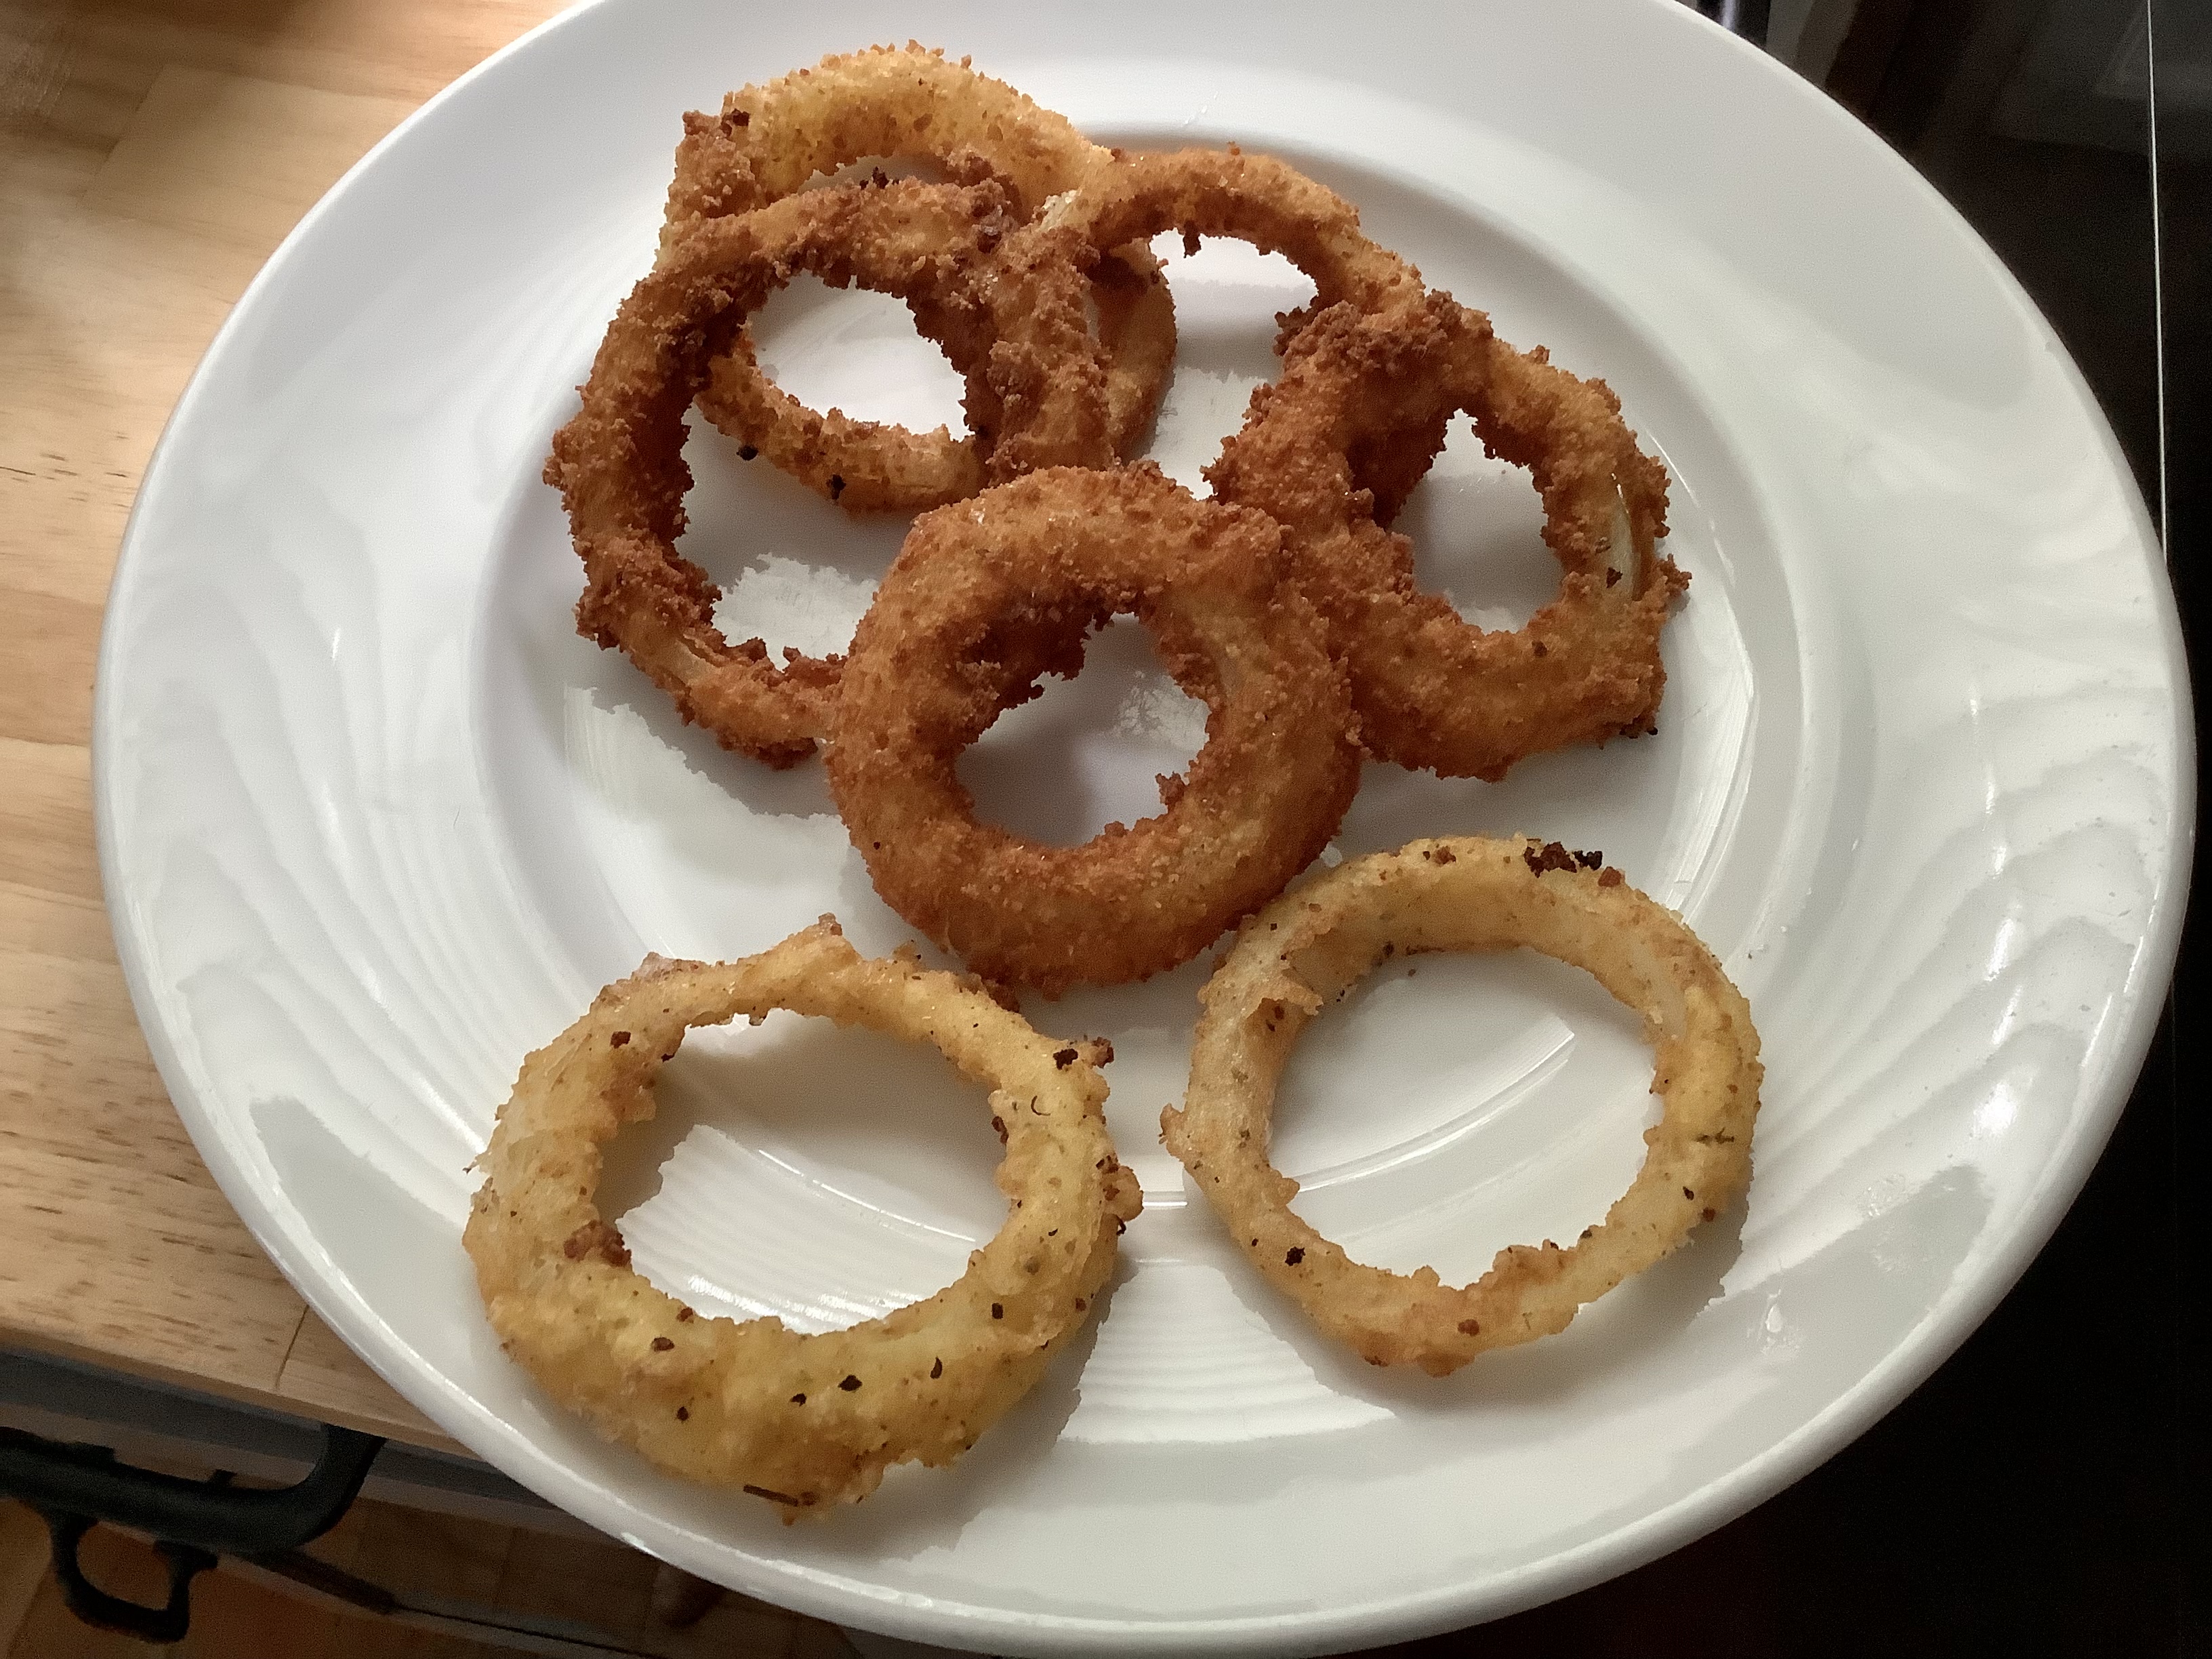
I experimented with three variations. The top brown ones follow my recipe. The ring on the bottom right is dipped in egg and the flour mix only. The ring on the bottom left is dipped in egg, then the flour mix, back to the egg, and the flour mix again. The breadcrumb procedure is still my favorite way to go. Great crunch!
HONEY GLAZED CHICKEN WINGS
Posted: August 17, 2021 in chicken, Recipes, wingsTags: chicken, food, honey, recipes, wings
I can’t get enough of chicken, and I cook it at least a couple of times a week. So I have to keep coming up with new flavors to challenge my taste buds as well as myself.
This recipe works with wings, but if you’re experiencing a wing shortage in your area, any other chicken parts you like will work.
Here’s a hint with fresh ginger: buy a nice looking root and keep it wrapped well and in the freezer. When you need some, simply grate the frozen root, skin and all, and then place it back in the freezer until next time. It will last a lot longer than in the fridge.

4 lbs. chicken wings
1/2 cup honey
1/2 cup water
1/4 cup soy sauce
1/4 cup apple cider vinegar
2 tablespoons sesame oil
1 teaspoon cayenne pepper sauce (I like Frank’s Red Hot)
1/2 teaspoon fresh ginger, minced
1/4 cup onion, minced
1 tablespoon garlic, minced
1 cup chicken stock, preferably homemade
Thaw chicken wings and place in a Ziploc bag.
In a separate bowl, whisk together all the other ingredients, except chicken stock, to make a marinade. Pour this marinade into the Ziploc with the chicken and seal, squeezing the air out of the bag. Squish the bag around so that the marinade thoroughly covers all the chicken wings. Place the bag in the fridge to marinate for at least 4 hours, but overnight is even better. Place the bag in a bowl to prevent accidental leakage in your fridge.
Pre-heat the oven to 325.
Carefully pour the marinade out of the Ziploc bag into a saucepan, adding the chicken stock, and reduce until it becomes a thick, gooey glaze. Be careful not to burn the sugars in the honey. Honey can also foam up and overflow if you’re not watching it.
Remove the chicken pieces from the bag and place them on a baking sheet covered with non-stick aluminum foil. Bake for about 30 minutes.
The reduced marinade glaze should be ready right around the time the chicken has cooked for 30 minutes or so. Brush the glaze on to the chicken, and place back in the oven to cook 15 more minutes.
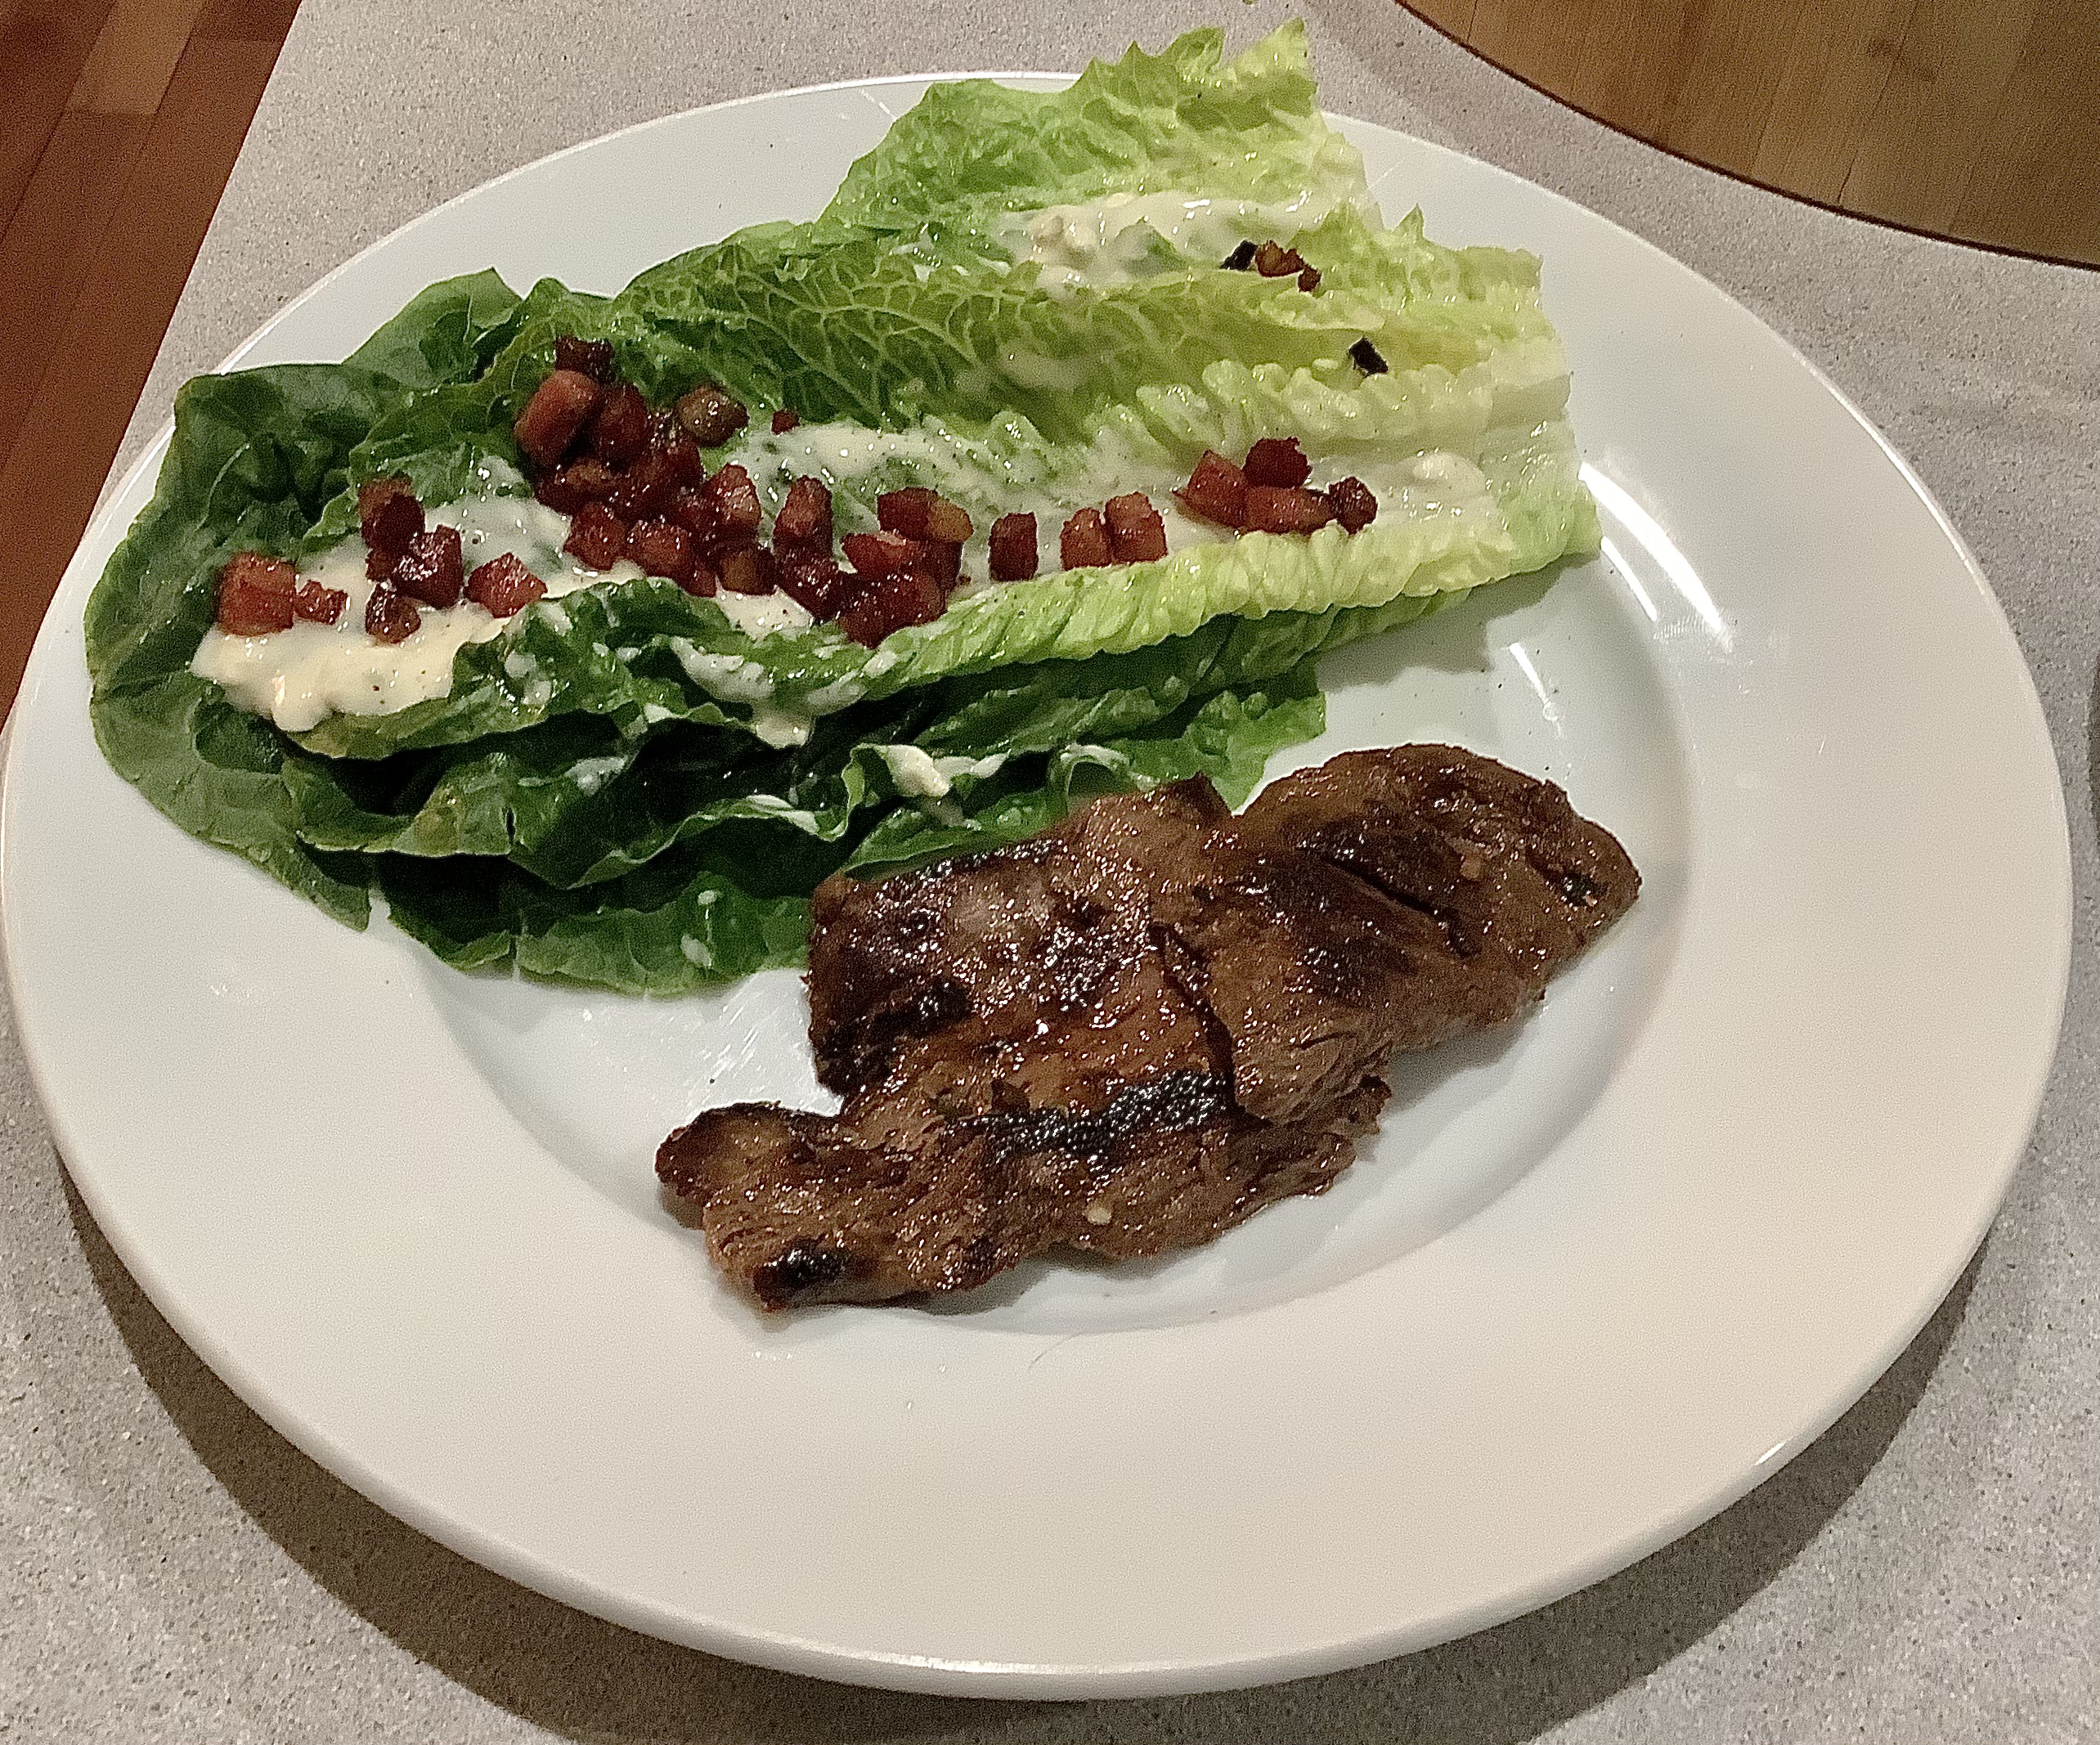
In a previous blog, I featured my recipe for a “Thai Grilled Steak.” This recipe is very similar to it. In fact, I was trying to recreate that recipe the other night so that I could marinate a beautiful cut of grass-fed beef flap I had, but I didn’t have all the ingredients in my pantry. So I improvised, and I think I made it just a little bit better!
I really love the flavors of this recipe, and the great thing is that you can use it as a marinade and a dipping sauce–not just for the beef flap–but a dipping sauce for grilled chicken, dumplings, anything. It’s that good.
Make more than you think you’ll need because you can keep it in the fridge for future dipping.
If you use gluten-free soy sauce, this recipe is GF. Chili garlic sauce can be found in the Asian foods section of most supermarkets.
1/4 cup soy sauce
1/8 cup sesame oil
2 tablespoons freshly grated ginger
2 tablespoons finely chopped garlic
2 tablespoons finely chopped cilantro
2 tablespoons chopped salted pistachio nuts
2 scallions, minced
1 tablespoon light brown sugar
1 tablespoon freshly squeezed lime juice
1 teaspoon chili garlic sauce
Combine all the ingredients in a bowl and mix them together well.

Whatever cut of beef you’re using, make sure it isn’t too thick, or the marinade won’t penetrate the meat.
I like to use beef flap because it’s full of flavor, and I slice it crosswise to make cuts of meat that are about 1/2″ thick.
I place the beef in a bowl, and pour just a little marinade in at a time. I don’t want the meat swimming in the marinade…just enough so that it makes contact with all the surfaces of the meat.
Place the unused marinade in a sealed container in the fridge.
If I’m cooking soon, I let the beef marinate at room temperature. But ideally, I want the beef to marinate in the fridge overnight–the longer the better–to really soak up the flavors of the marinade.
Before cooking, take the beef out of the fridge and let it come back to room temperature. Discard the marinade that was in the bowl with the beef.
If your beef flap is thin enough, tossing it onto a very hot cast iron skillet to sear it on both sides will bring the beef to a perfect medium-rare. Otherwise, you can sear it in a regular pan and then finish it in the oven–or–fire up the grill!
Use the remaining marinade for dipping.

If you’re marinating chicken, basically the same steps apply. Marinate the meat as long as possible before cooking, and use the remaining sauce for dipping. But with chicken, you have to be careful not to cross-contaminate. Any sauce that touches raw chicken should not be used for dipping later on!
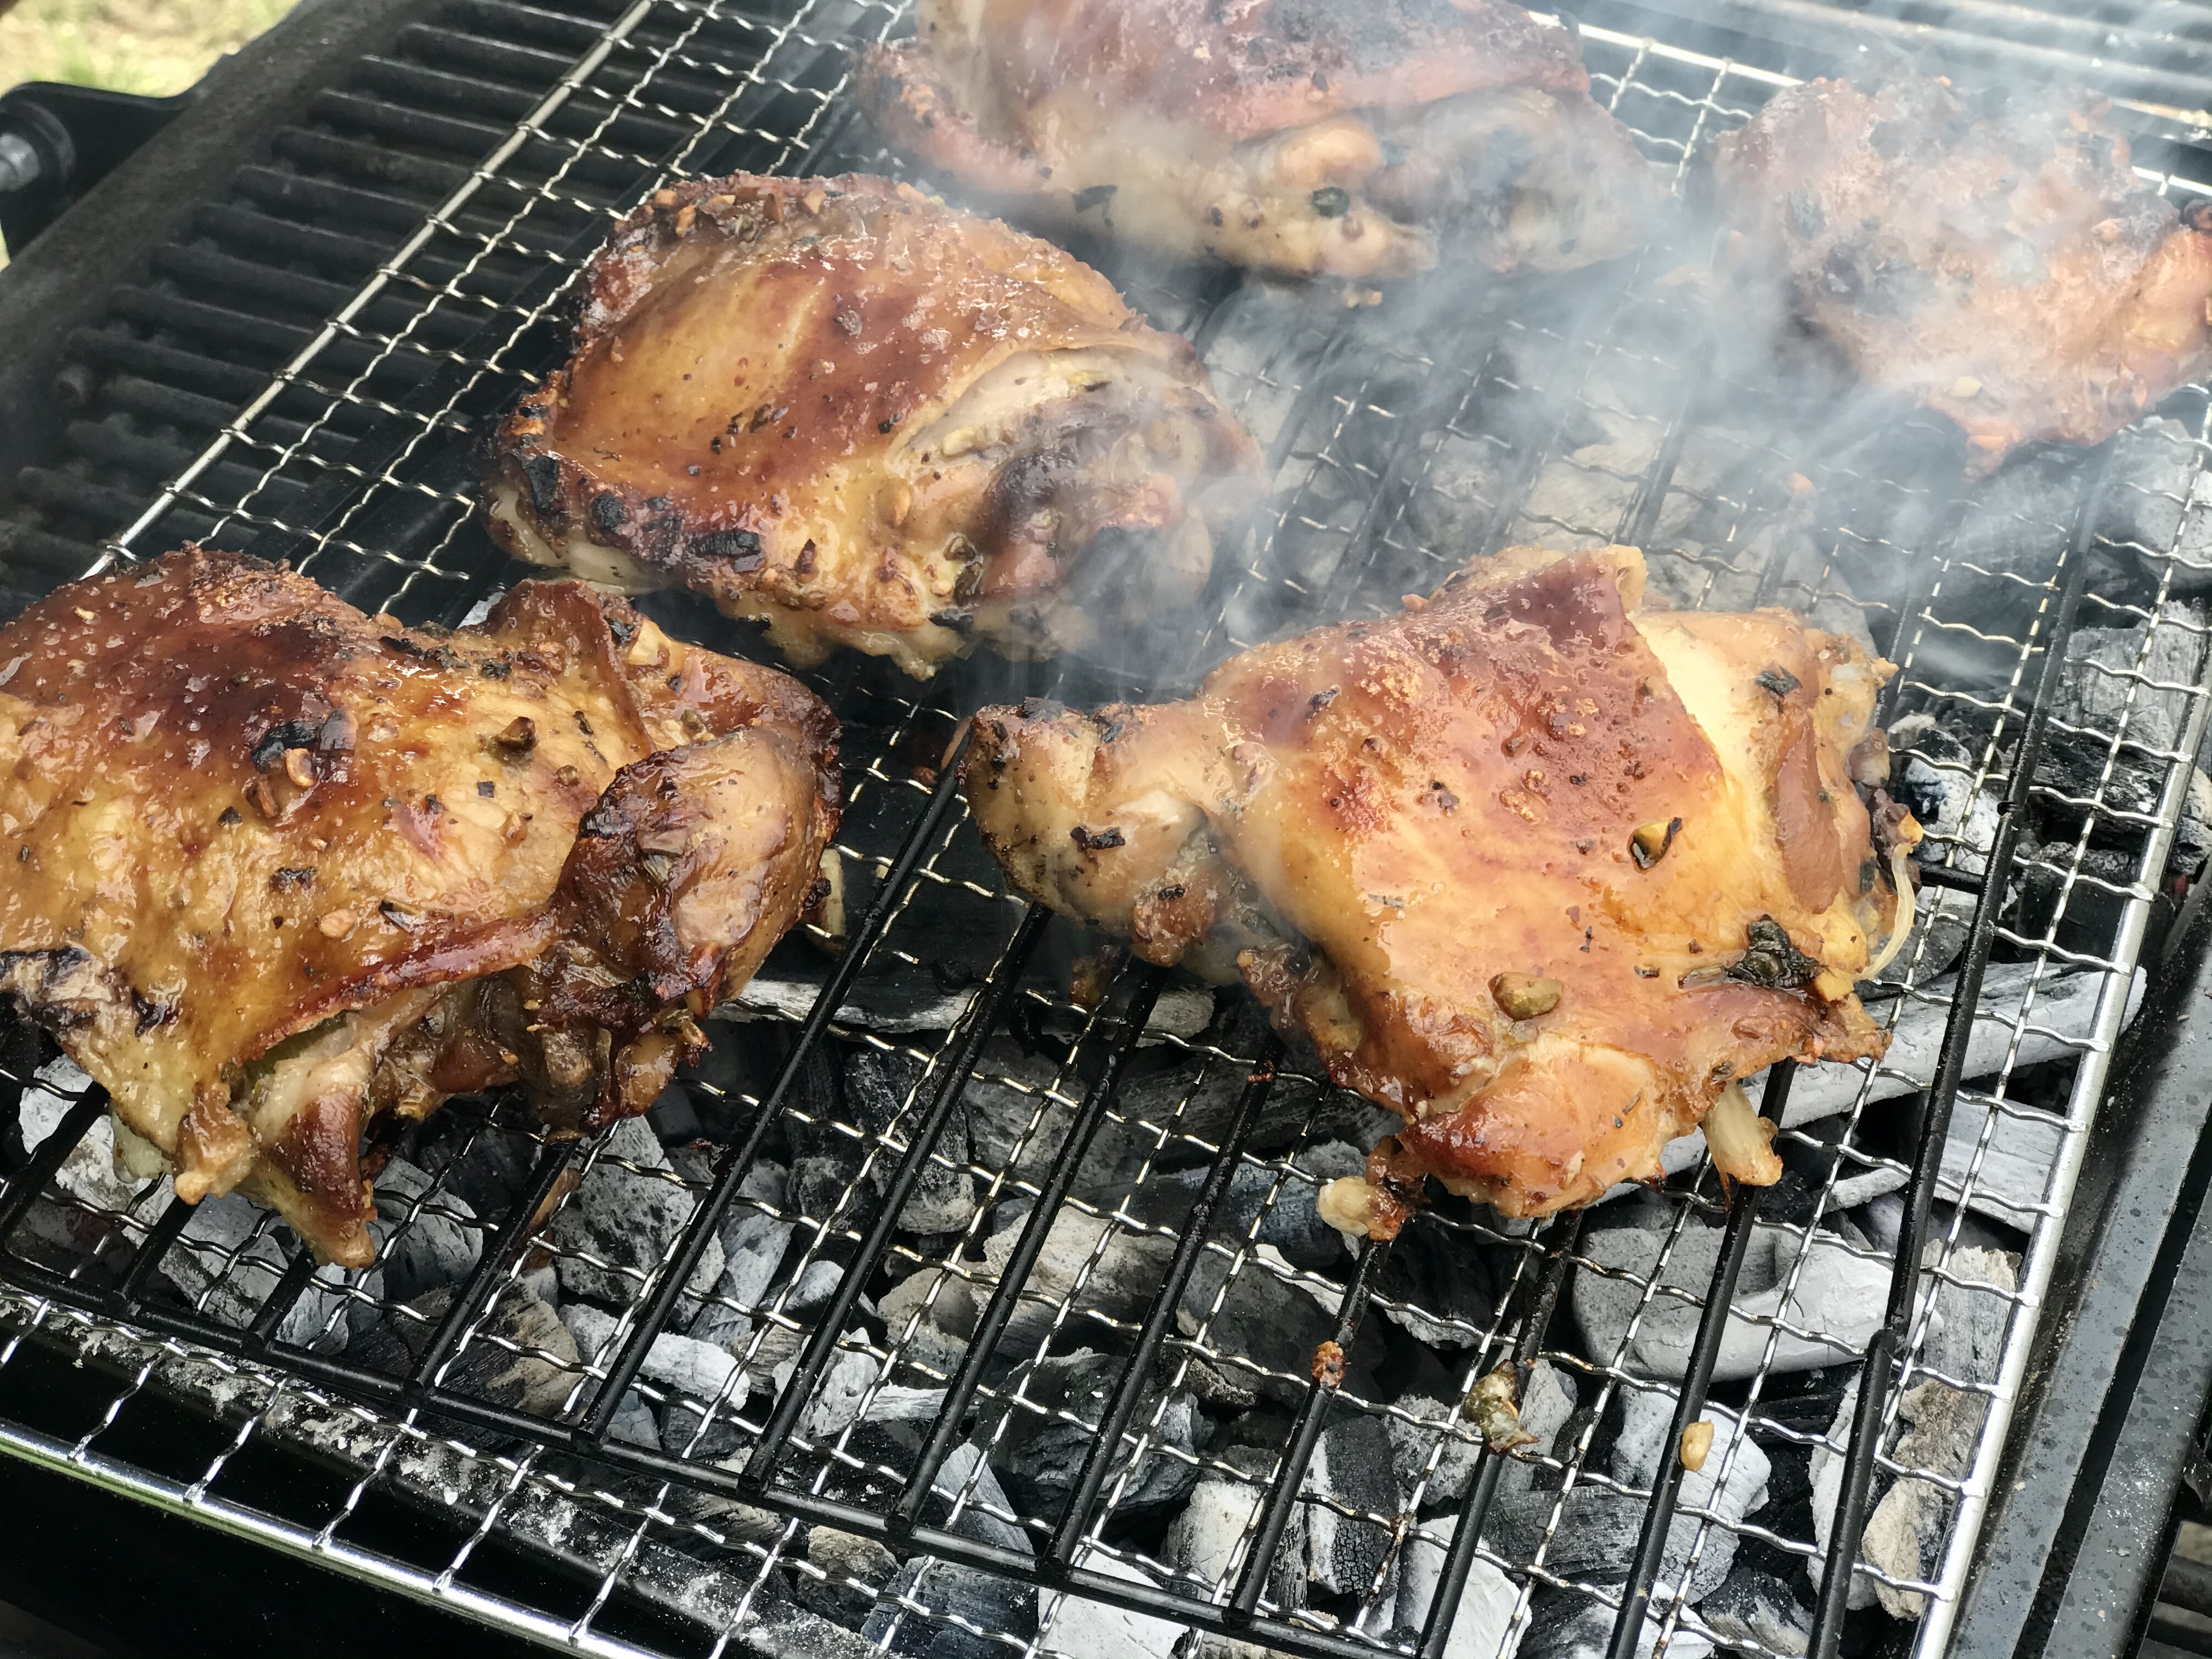
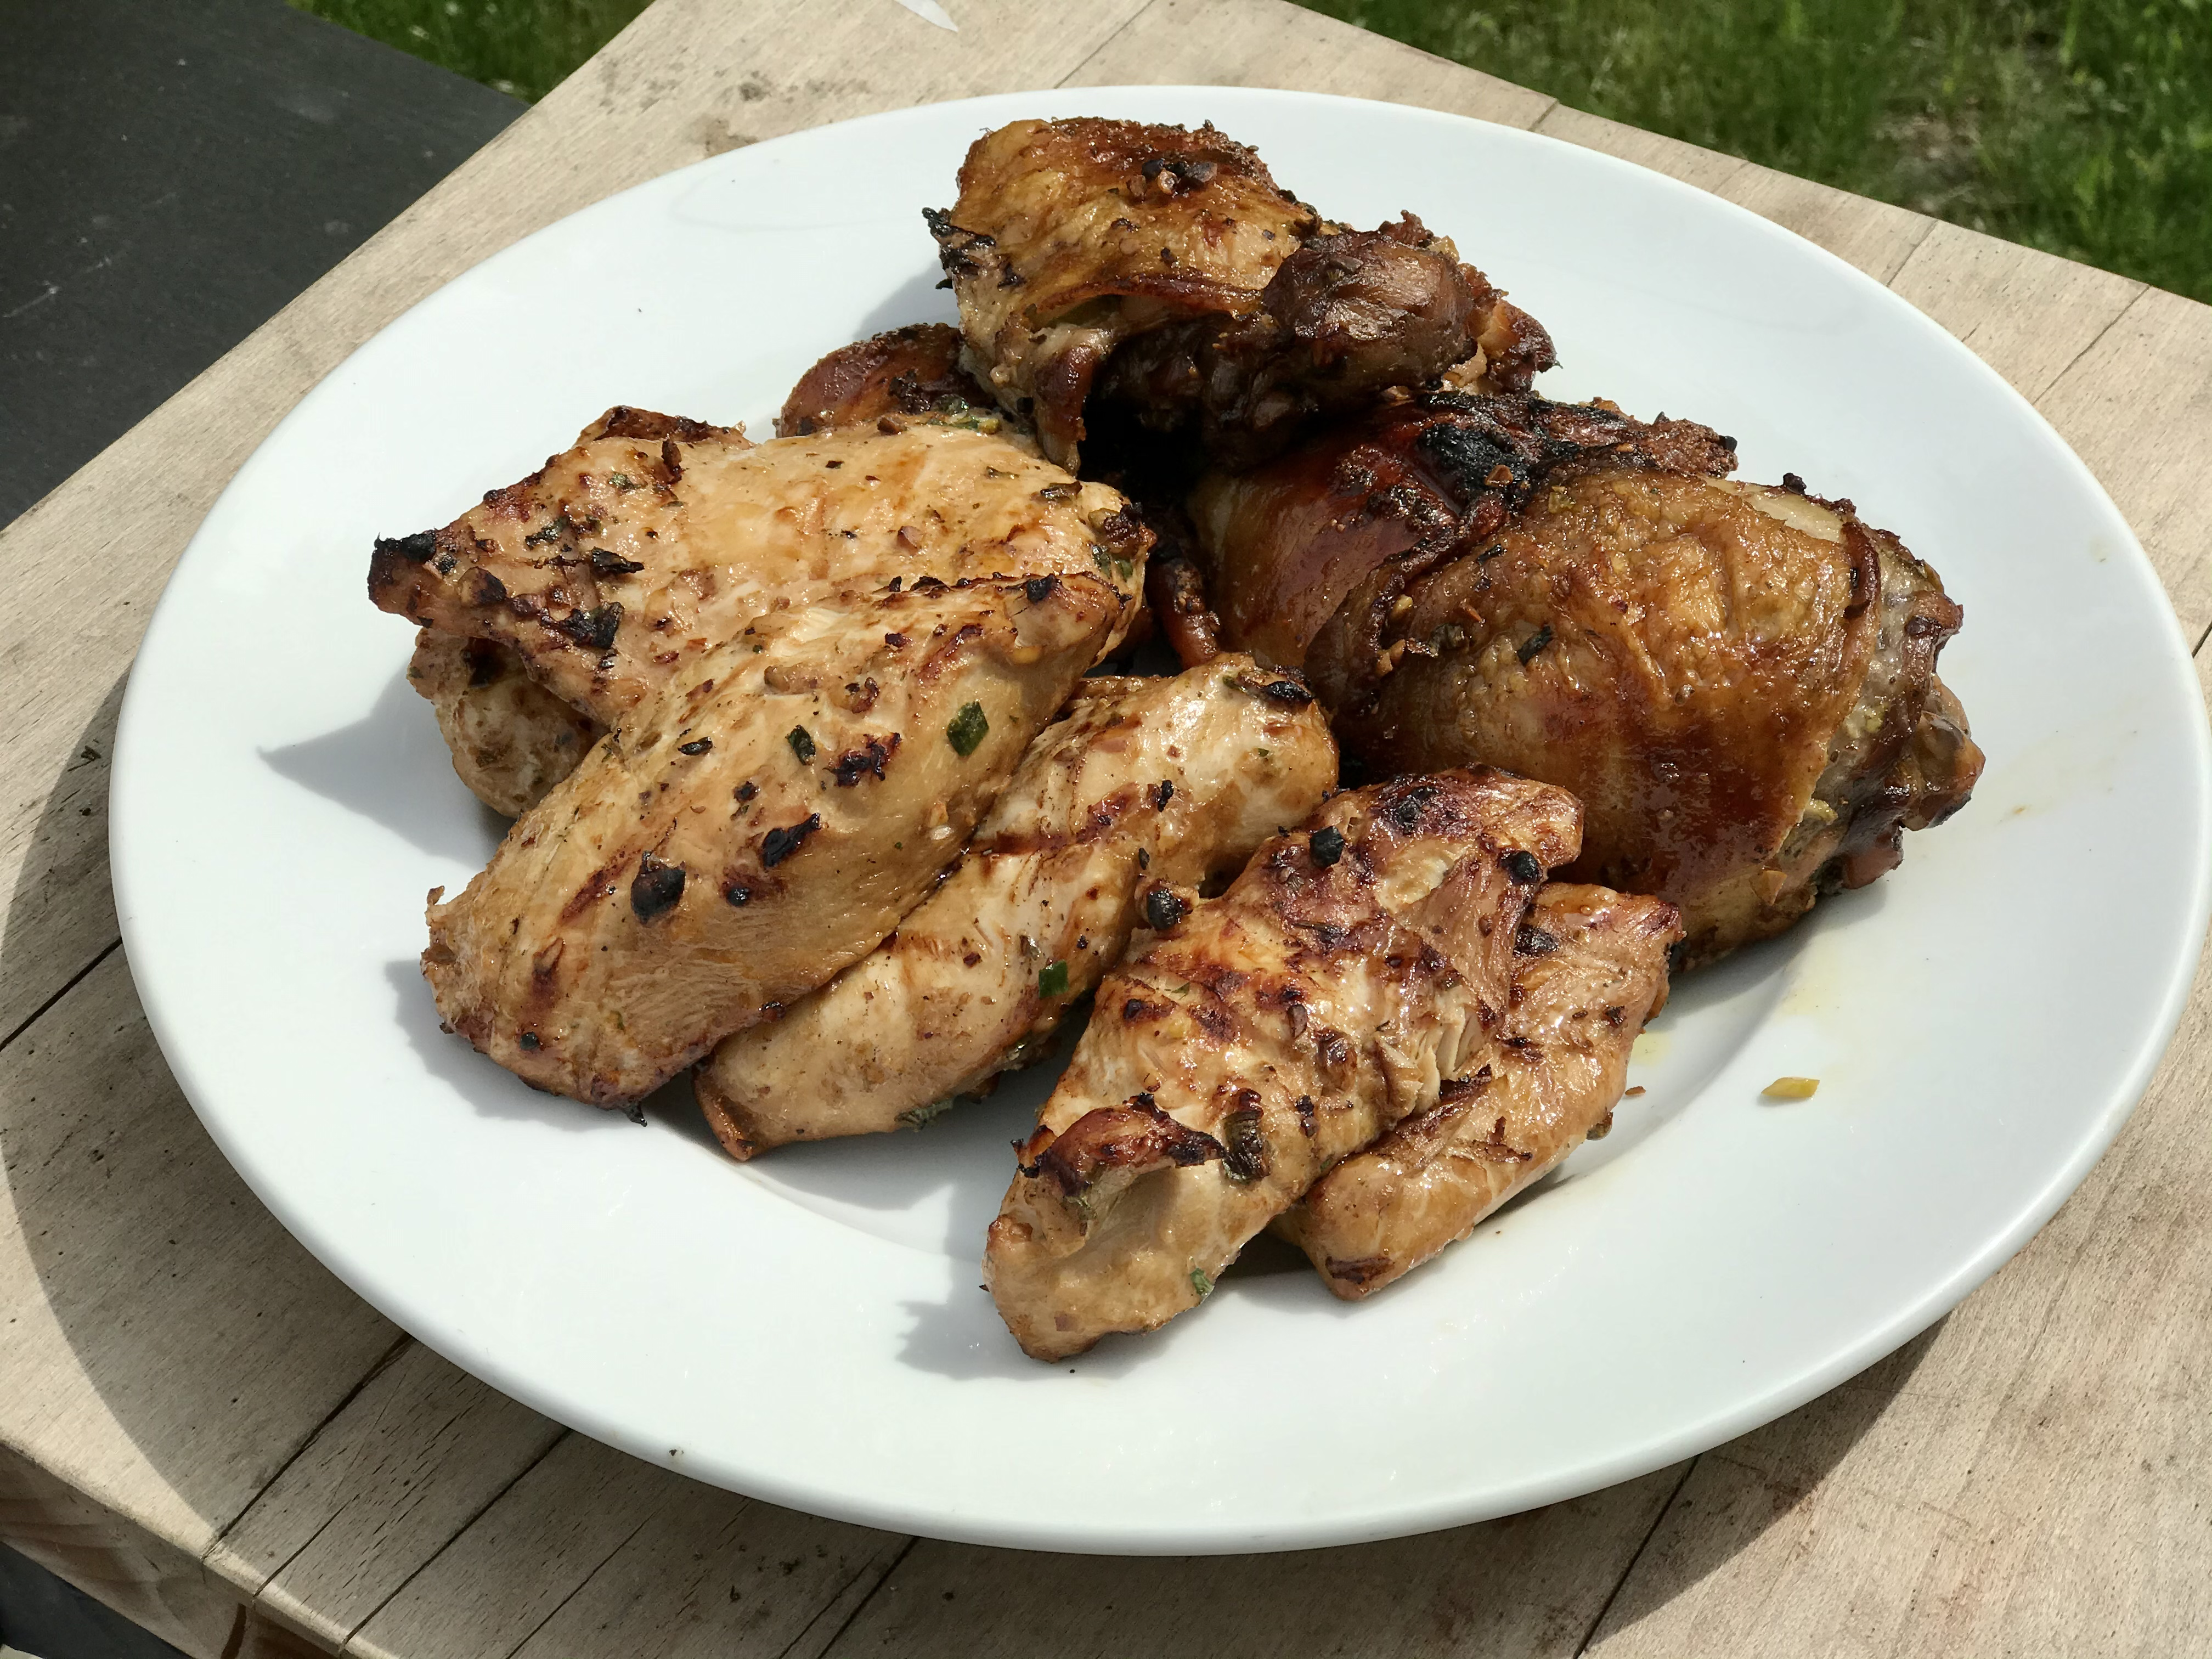
Whether you use chicken breast or chicken thighs — I used both here— the flavor is outstanding, especially if you can finish it on the grill!
Here’s great hack for fresh ginger that I learned from Liz, the owner of Wishing Stone Farm, an organic farm in Little Compton, RI, where they grow their own ginger roots. Place your ginger root in a Ziploc bag and keep it in the freezer. Whenever a recipe calls for grated ginger, simply pull the frozen root out of the freezer and grate it, skin and all, while it’s frozen. Then simply place the root back in the Ziploc and back in the freezer until next time. No waste!
Beef Stroganoff is a classic dish that I remember from my childhood. It’s easy to make and really satisfying, and you can add or remove ingredients as you wish to make it your own.
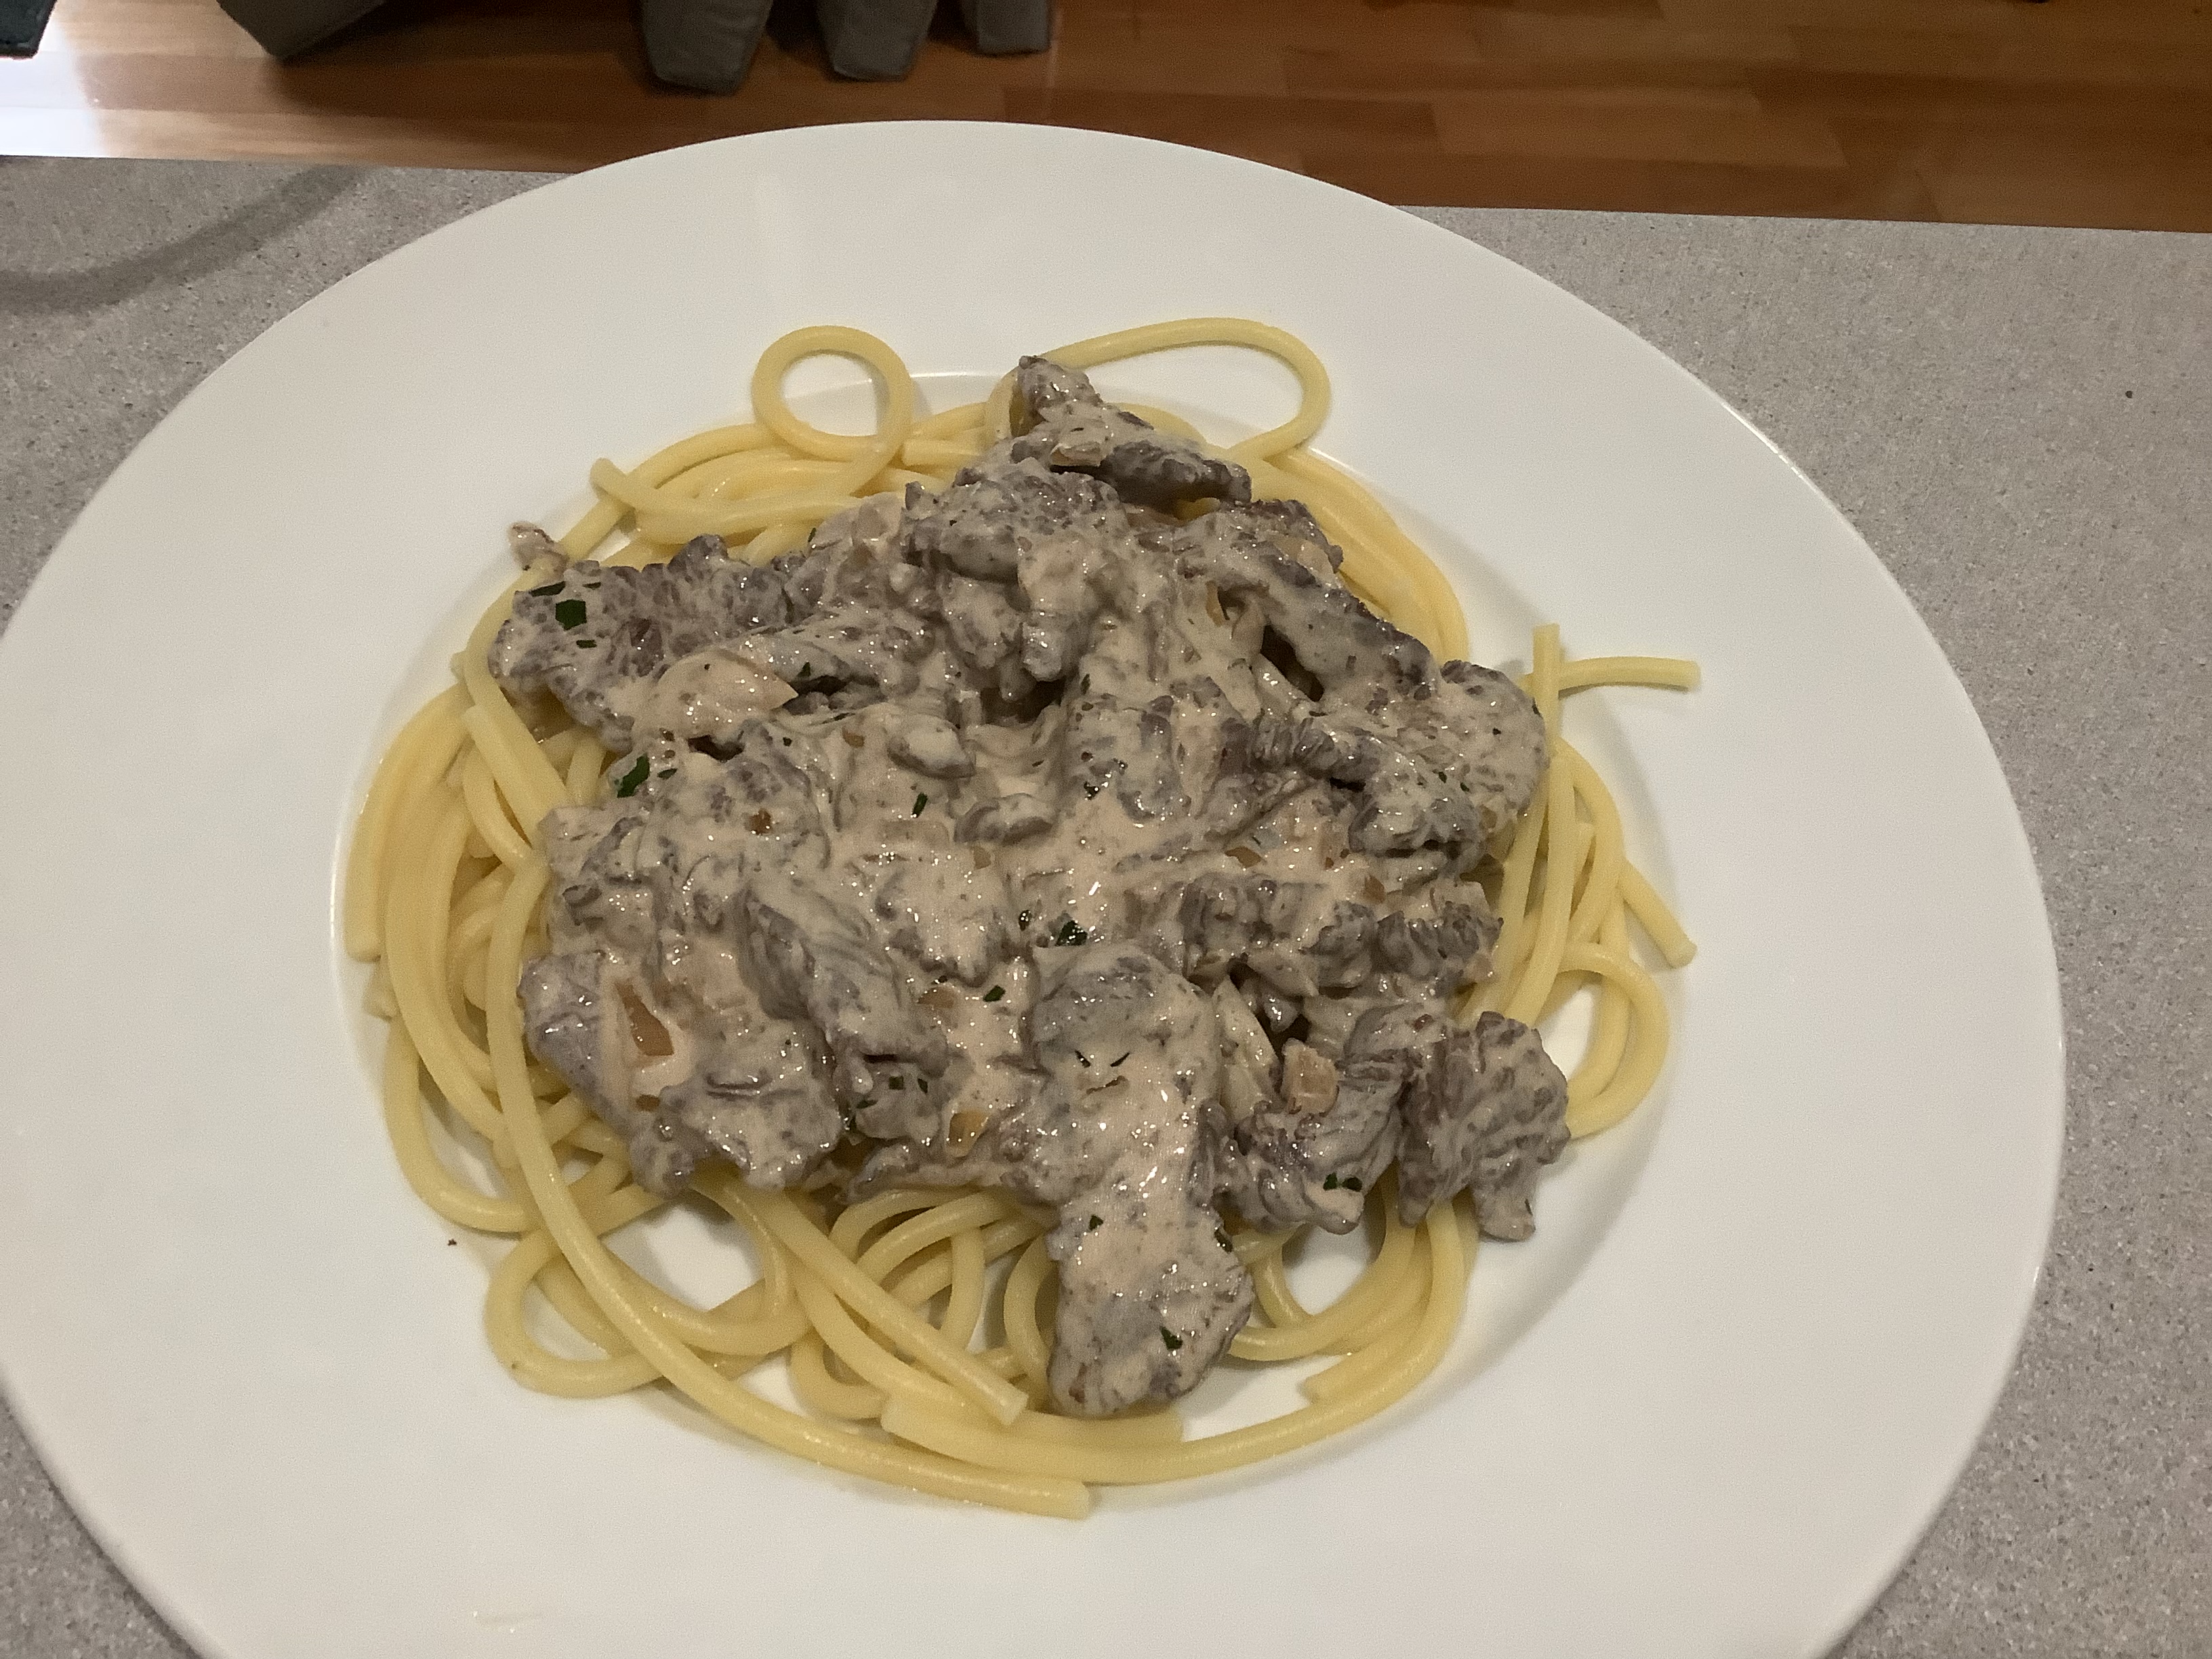
This is a recipe that is easily changed to accommodate your personal tastes, so feel free to do so. For example, the classic recipe uses sliced white mushrooms. I had some dried porcini in my stash–much more intense in favor–but I like that, so I used them. Classic stroganoff uses egg noodles. I went with bucatini pasta. And the beef is usually a cut like flank steak, but I like using beef flap. Just be sure to slice the meat thinly and against the grain to keep it really tender.
This recipe makes a lot, so feel free to cut the ingredients in half for a smaller batch…
2 lbs. beef flap, trimmed and cut into thin strips
1 stick (4 oz.) unsalted butter
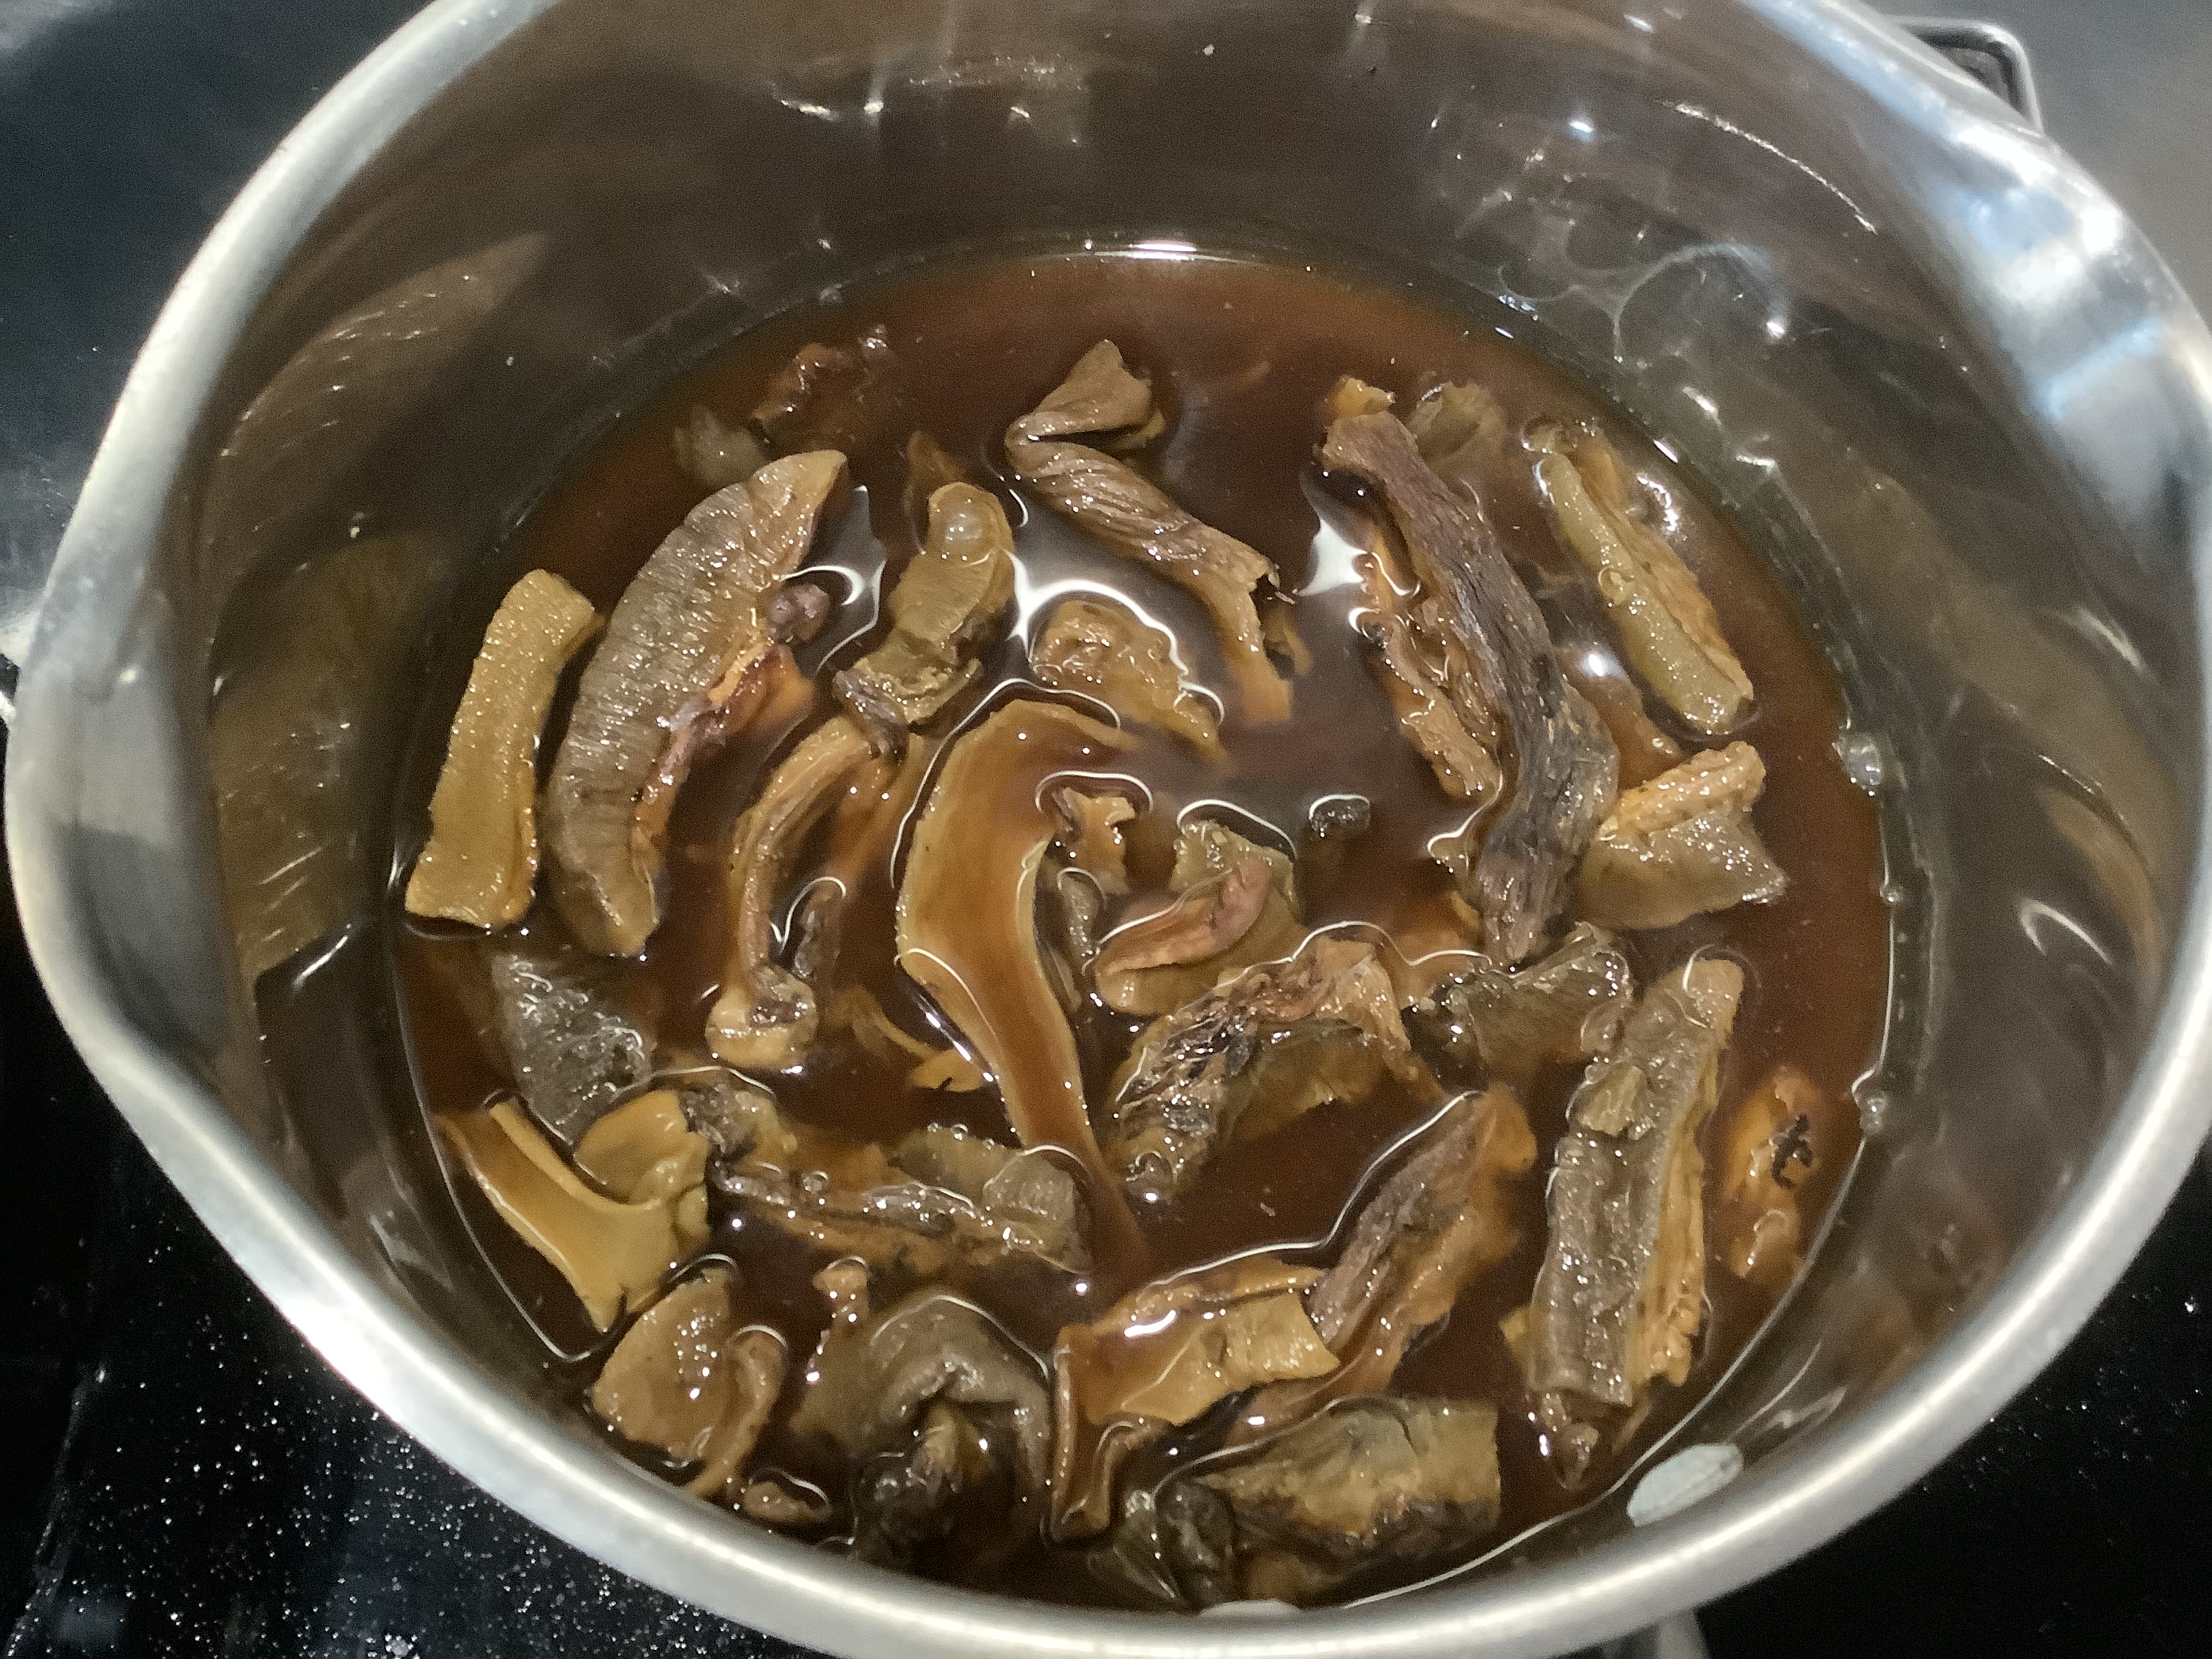
1 oz. dried porcini mushrooms
1 onion, finely chopped
2 tablespoons chopped fresh tarragon
2 cups sour cream, at room temperature
salt and pepper
1 lb. egg noodles or pasta
Place the dried porcini in a sauce pan with about 1 1/2 cups of water. Set it on high heat and let it boil until the liquid has reduced to about 1/2 a cup. Set it aside. When it has cooled a bit, strain off the liquid into a glass and chop up the mushrooms on a cutting board.
Melt a couple of tablespoons of the butter in a large pan, and start browning the beef in small batches, placing the cooked beef in a bowl on the side while you add more beef to the pan. Don’t overcrowd the pan or the beef will steam and not brown. It may take a few batches to get all the beef cooked.

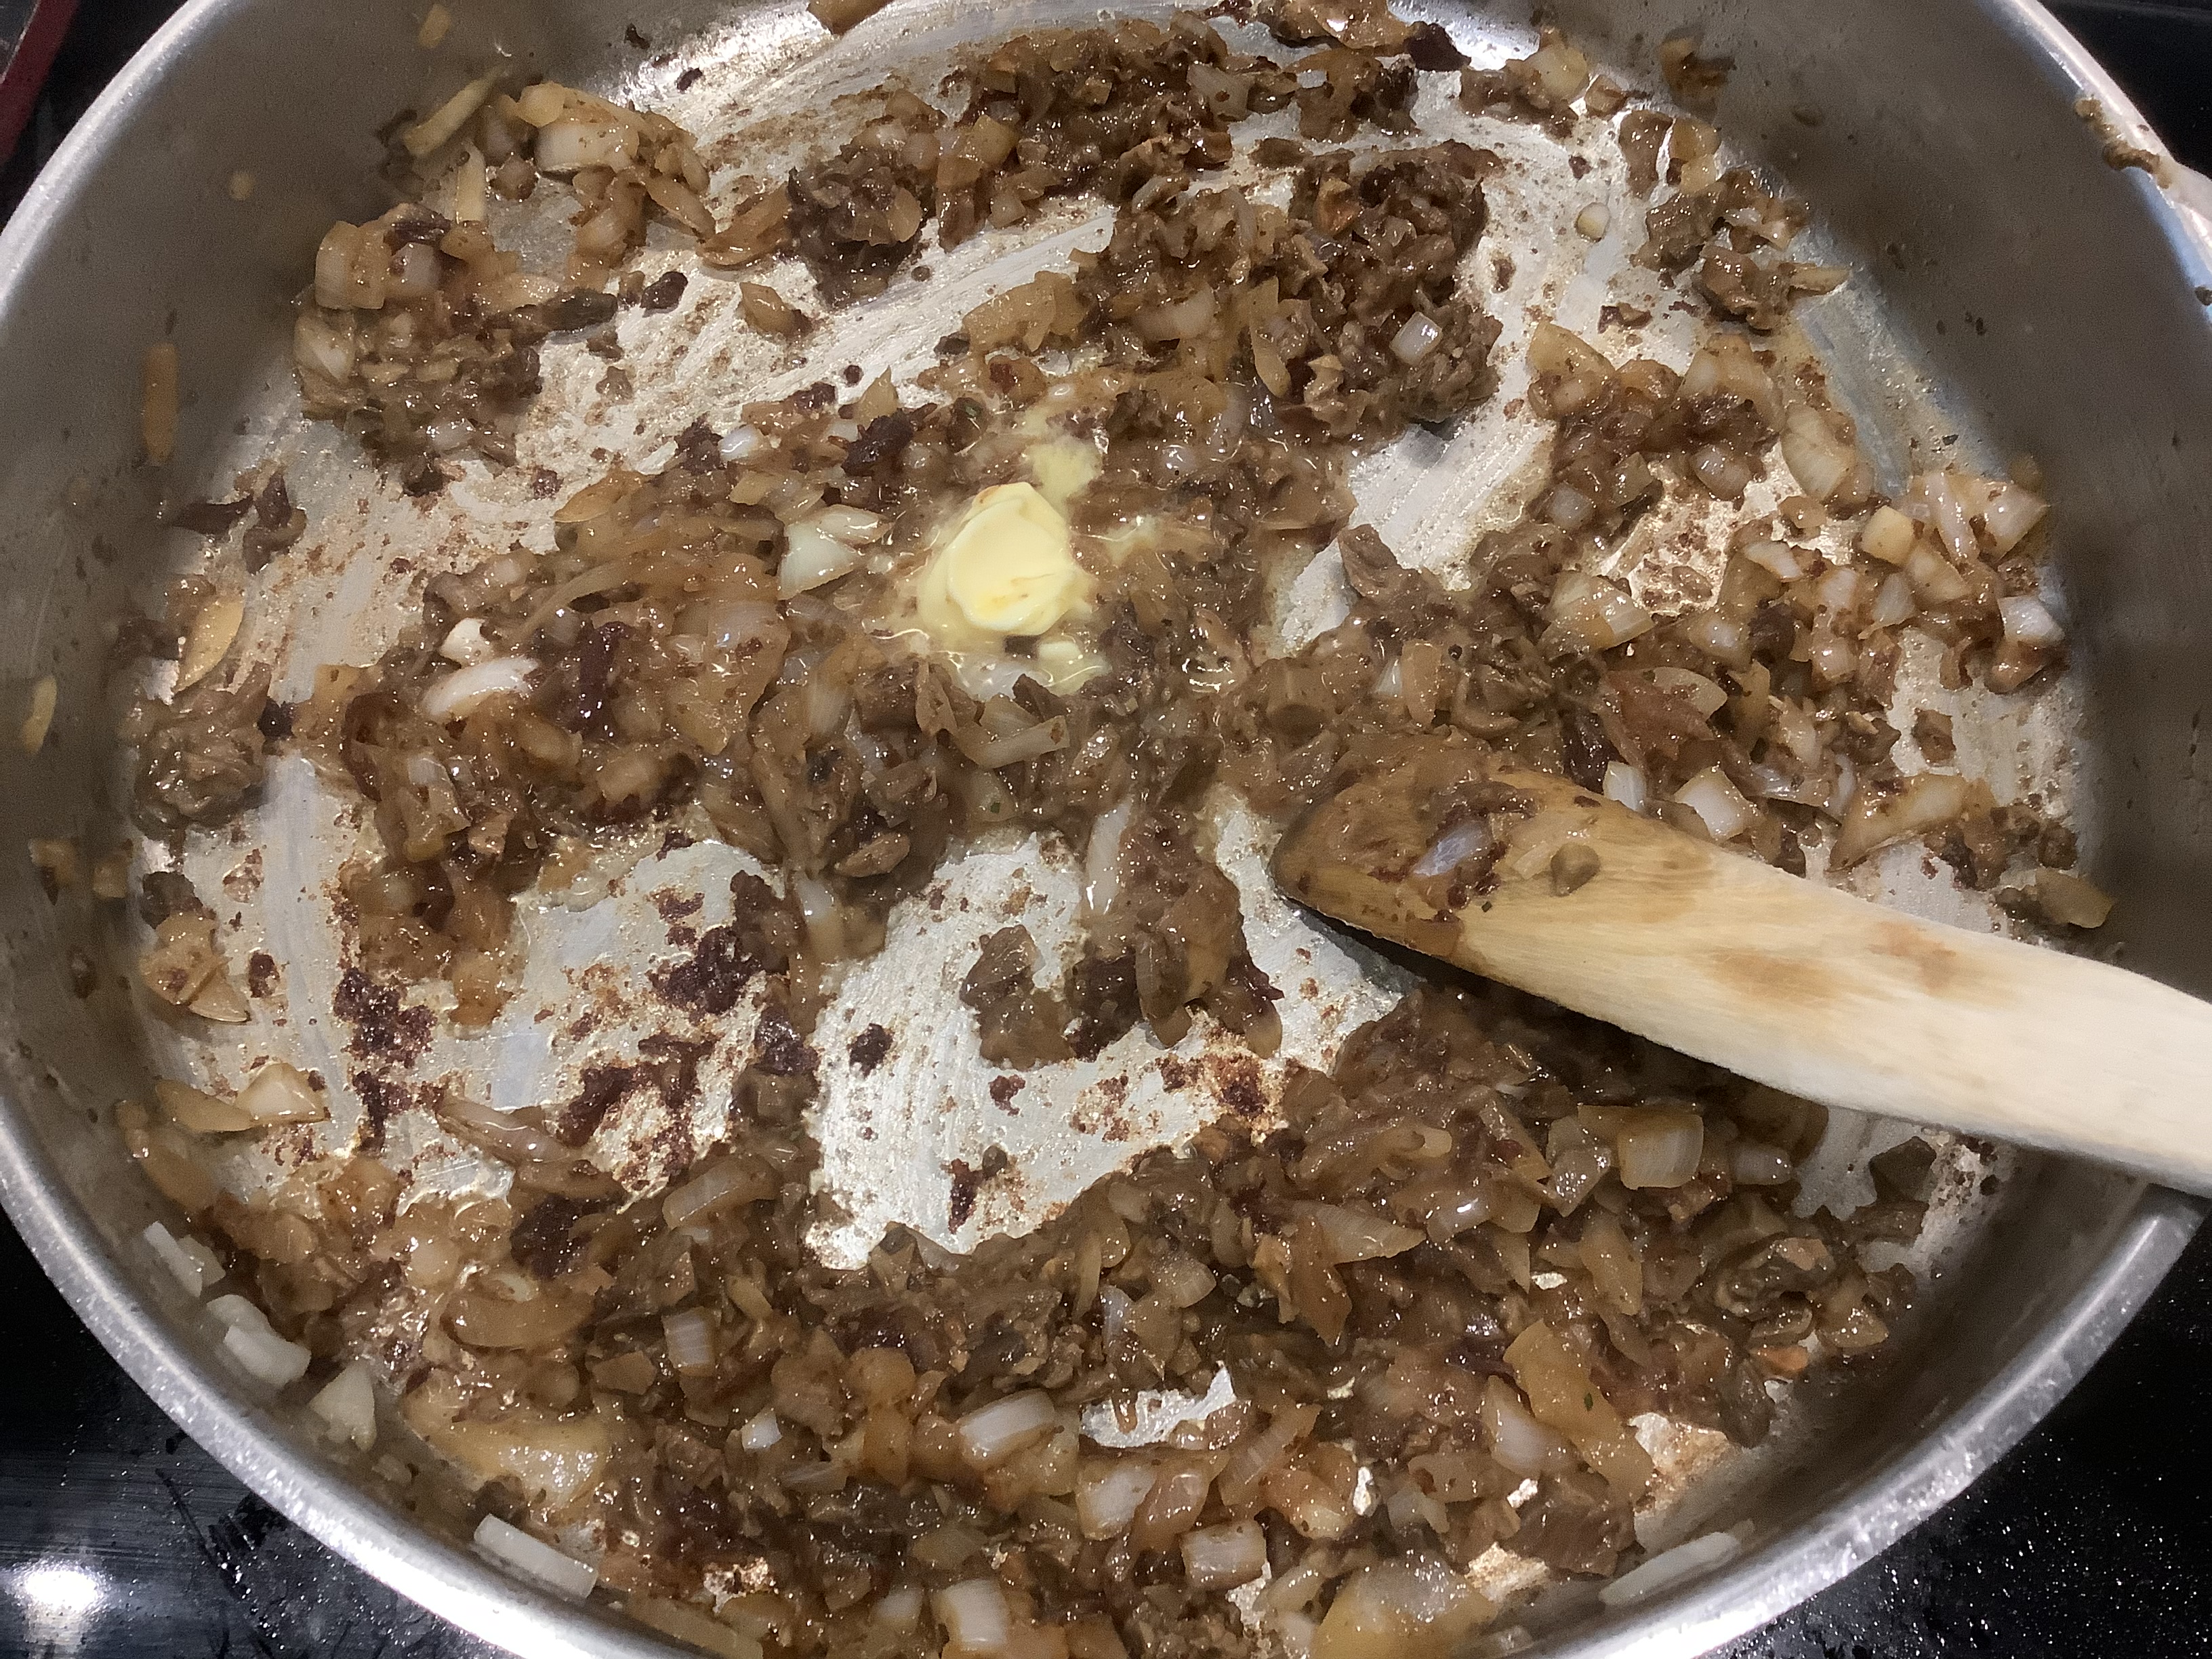
Once the beef is done, in the same pan, toss in the chopped onions with a little more of the butter and sauté until they’re translucent. You can add some of the mushroom liquid to the pan now, to deglaze it and remove some of the yummy bits stuck to the bottom.
Add what’s left of the butter to the pan, then add the mushrooms and the tarragon. Season well with salt and pepper and add the rest of the mushroom liquid, being careful not to pour out any grit that may have settled to the bottom of the glass. Cook until it has thickened a bit.
You can stop preparations at this point until you’re ready to serve your guests.
Place the pasta in a pot of salted boiling water and cook until al dente.
When the pasta is almost done, return the pan with the mushroom mixture to medium heat, and add the sour cream to it, mixing well. Add the beef and any juices that are in the bowl with it, mixing well.

Drain the pasta and serve the beef stroganoff immediately, seasoning with a finishing salt, like Maldon.

GOAT CHEESE STUFFED MUSHROOMS
Posted: August 7, 2021 in Food, Recipes, UncategorizedTags: appetizers, cheese, food, goat cheese, mushrooms, recipes, side dishes, stuffed mushrooms
This is a great side dish for any special occasion. And you can substitute to suit your needs. Goat cheese not your speed? Try Gruyère, smoked gouda, or even mozzarella. Need it to be gluten-free? Use GF breadcrumbs. Don’t like mushrooms? Okay…I can’t help you there…
1 package large white mushrooms
olive oil
1/2 shallot, finely chopped
1 clove garlic, through a press
1 tablespoon fresh thyme, finely chopped
pinch of red pepper flakes
salt and pepper
fresh goat cheese
bread crumbs
1 tablespoon fresh parsley, finely chopped
Pre-heat the oven to 400 degrees.
Rinse the mushrooms in cold water to clean them. Remove the stems of the mushrooms and set them aside. Rub the mushroom caps with olive oil and place them on a baking sheet, open side-down, in a 400-degree oven for a few minutes.
In a pan, sauté the shallot and garlic in a little olive oil. Chop the mushroom stems finely and add them to the pan. Add the thyme and pepper flakes.
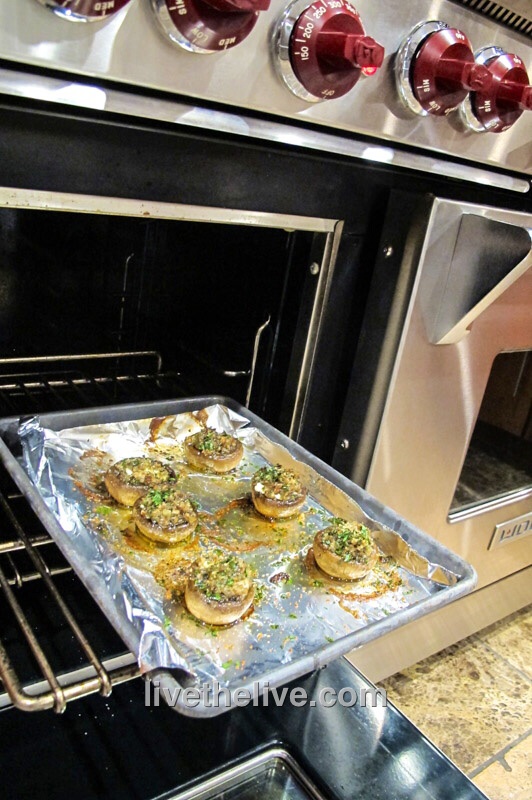
Reduce the oven temp to 350 degrees after removing the mushroom caps. Flip the mushroom caps over so that they look like little bowls. Break off a small piece of goat cheese and place it in each mushroom. Top each with the sautéed shallot mixture. Sprinkle breadcrumbs on top and sprinkle parsley over that.
Return the baking sheet to the oven, cooking the mushrooms until they are lightly golden in color, and the cheese has melted.

Mushroom myth: Soaking mushrooms in cold water makes them mushy. Not true! Mushrooms do not soak up any water when left to soak for even 30 minutes. So use your mushroom brush…use your kitchen towel…whatever you like. But I prefer to get them clean simply with cold water.
