There’s a reason why the Greek island of Santorini constantly wins the “most beautiful island” awards in travel magazines. It is stunning. But the awards have also lured cruise ships and all that is wrong with them. To fully appreciate Santorini, and the many wonderful restaurants and tavernas that dot this island, you need to get away from the crowds, and away from Fira in particular, where cruise ships drop off clueless tourists by the thousands.
The best way to get to most of these places is with a rental car, so make it part of your plan to see a few nearby sights and to stop at these eateries along the way…
METAXY MAS
Trip: Explore the central region of Santorini. Go to the ancient city of Thira, high atop a mountain. A fascinating trip through time. Go to the island’s best winery, Hatzitakis in Pyrgos, and taste some of their wines. The place is not fancy, but the wine is amazing. Santos is certainly a more popular and prettier winery, with breathtaking views of the island, but their wines are just OK. We go to the beaches of Kamari in the late afternoon, when the throngs of tourists have left for the day. The water’s warm, and the beaches are quiet.
What a fun food adventure! Metaxy Mas is a taverna located in Exo Gonia, behind a church, down a steep cobblestone driveway. From the road, you can barely see the small “Metaxy Mas” sign. But you do see a hand-painted sign with an arrow saying “taverna.” You follow it past the church courtyard, past a kids’ playground, and suddenly, it opens up to a view that overlooks Santorini. The restaurant is small, but they’ve got some kind of deal going on with an office building next door that allows them to places a bunch of tables outdoors on the patio.
Wherever you sit, the food, the hassle and the crowds are worth it.
It was our first try at Cretan food and it was wonderful. Do not miss the pan-fried crusted feta cheese….or the asparagus swimming in a cheese sauce that begs to have the plate licked clean…or a fried cheese that rivals the best Saganaki. The pork chops with orange sauce were tender and not overpowered by the tanginess of the citrus.
The dining begins with a shot of a local spirit called Raki, a kind of grappa, that will get your digestive juices going. And it ends with a warm, citrusy liqueur and a bite of homemade cheesecake that simply rounds out an amazing meal.
Get a reservation. don’t expect to walk in and find a table. It’s that good.

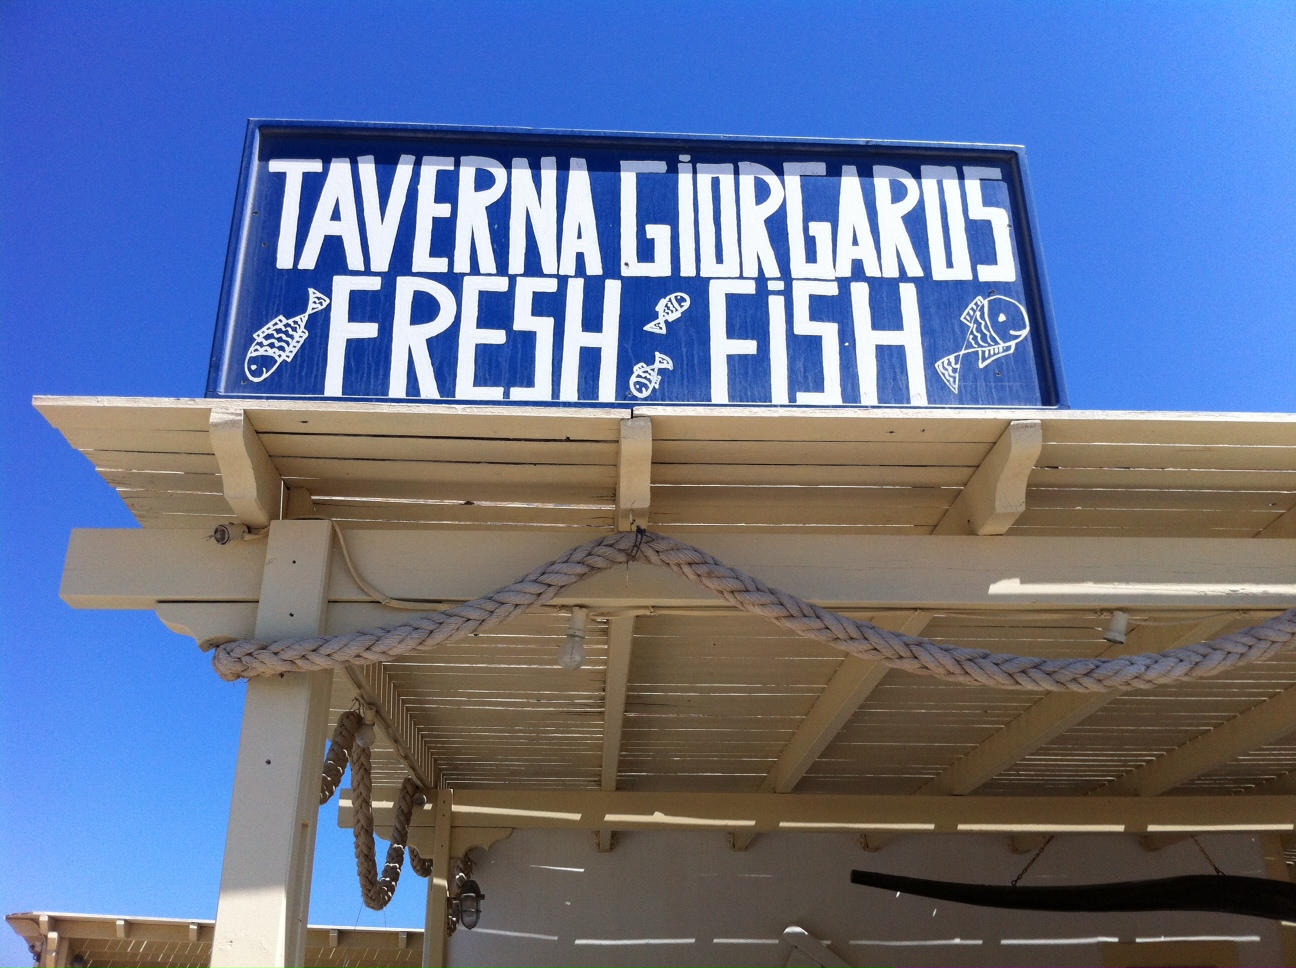
GIORGAROS TAVERNA
Trip: Visit the incredible ruins at Akrotiri, worth a visit even on the hottest of days, since it’s all indoors. Explore the red beach nearby. Drive to the lighthouse, just to say you’ve been to the very tip of Santorini. And then stop in Faros for a great meal at Giorgaros.
We first stumbled upon Giorgaros Taverna five years ago, while exploring the very end of Santorini, near the lighthouse. The fish was incredibly fresh and the view breathtaking, all run by a hard-working friendly family that took pride in their establishment.
We returned this year, and fortunately, little has changed. Our server, who was a young girl five years ago, has grown up, and once again, she led us to the kitchen, where all the fresh seafood was stored in refrigerated drawers: sea bream, red mullet, lobsters, and several critters we didn’t recognize.
The pan-fried fish was like candy. And our special order of lobster with pasta came with a sauce that was so magnificent, it’s hard to even describe the fantastic flavors that only an intense homemade fish stock can bring. It took extra time to cook, and it was worth every bit of the wait.
Rent a car, get away from the annoying touristy crowds, visit the amazing ruins at Akrotiri, then head toward the lighthouse and eat at Giorgaros. You will not regret it.
ROKA
Trip: A visit to Santorini is not complete without a visit to Oia, and not just for the sunset when everybody else goes. Oia is the most strikingly beautiful corner of the island, and it’s worth at least a couple of days to explore the shops, the art galleries, to walk down the steps to Amoudi Bay, and to ride a donkey back up, Get your best walking shoes on and be prepared to climb a lot of steps! Whenever we visit Santorini, we always stay at a hotel in Oia…our favorite: Esperas. No reason to stay anywhere else.
To use the cliche, Roka is “where the locals go.” This is not a sunset destination. If you’re lucky enough to get a reservation, and then be told how to get there (it’s a little tricky, but not impossible), you get to eat at one of Oia’s best food restaurants. In our one-week stay, we ate there twice. Sure, the outdoor terrace overlooks the local neighborhood, barking dogs included. But the food more than makes up for the real estate.
You must have the fava: light as a cloud and topped with caper berry leaves and olive oil. Great salads. The Manouri cheese, fried then drizzled with honey and sesame seeds: fantastic. Tomato fritters: a Santorini classic. Marinated anchovies in vinegar and rosemary: the best I’ve had anywhere.
Our server, Dimitri, realized he had a couple of foodies on his hands, so we left our main course one night up to him: the ravioli stuffed with anthotiro cheese and a dried cherry basil sauce was terrific. On our second night, we enjoyed a very rich and comforting lamb hock in a lemon sauce. And don’t miss the panacotta for dessert!
The wine list was not mind-blowing, but there are enough good choices to make your meal enjoyable.
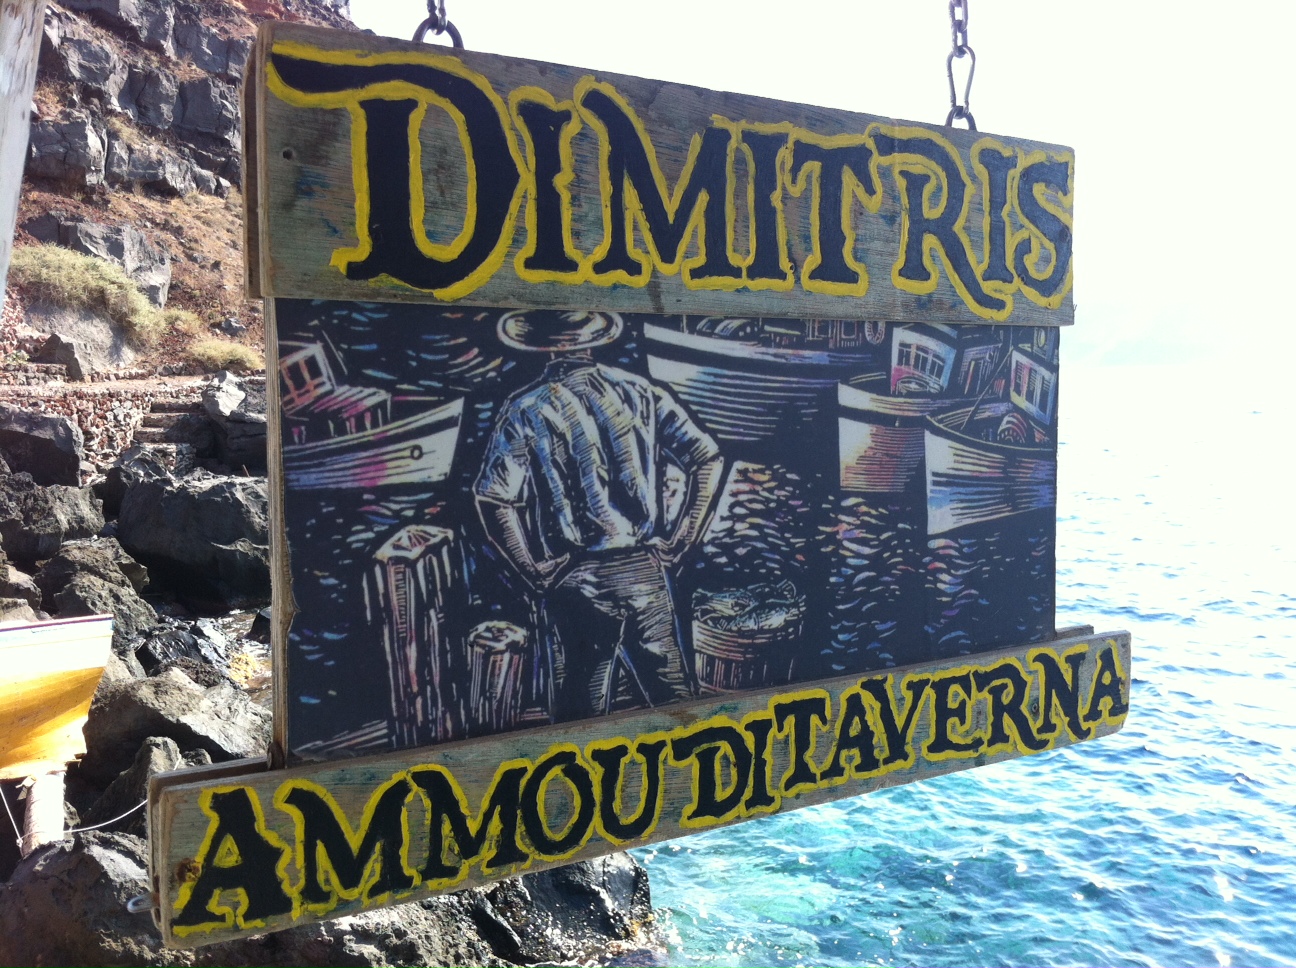
DIMITRIS AMOUDI TAVERNA
Trip: While you’re day-tripping in Oia, have lunch in Amoudi. Or better yet…make reservations for the sunset here.
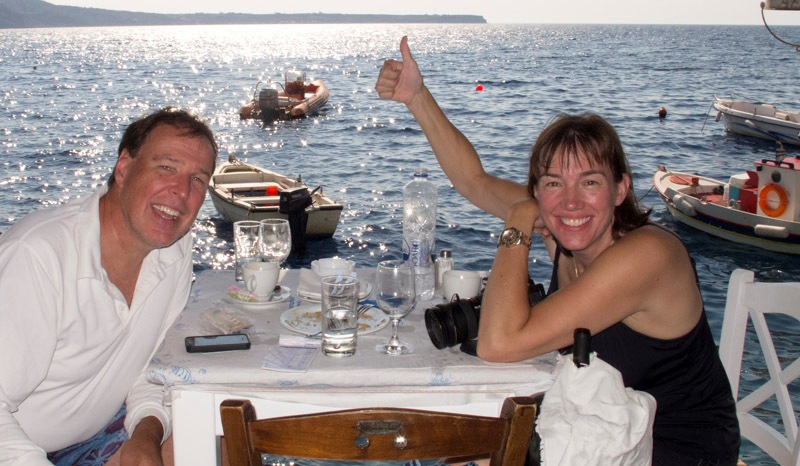
We discovered Dimitri’s ten years ago, on our first trip, re-visited five years ago, then again this year. It has never disappointed us.
Dimitri is the fisherman. His wife, Joy, a Vancouver native, runs the restaurant 7 days a week for the entire 6 month season. No language issues here. And though we never order our food “American style,” if you have food hang-ups (like you can’t stand the sight of a fish head, ya big wuss), Joy can calm your fears.
The local fava dish is rustic and a classic. Saganaki: the best on the island. A delightful beet salad. Great wilted wild greens called Vlita, a kind of amaranth. The seafood menu totally depends on what they’ve caught, and Joy will escort you into the kitchen where you can see all of the day’s catch on ice to make your selections. Never pass up on the (hardwood charcoal) grilled octopus or the fried black cod if they have it. Red mullet is equally fantastic. Deep-fried shrimp are like candy, but beware: you eat them heads, shells, whiskers and all!
Dimitris also has Hatzitakis wine on their menu, our clear choice for best wine in Santorini. And the all-new local Donkey beers are great, too.
Your table is literally on the water: two more inches and you’d fall into Amoudi Bay. The walk down from Oia along the very long stairway that winds down the side of the cliff: absolutely worth it, despite dodging some donkeys and donkey poop. (But take a taxi back up. Joy will call one for you.)
Make a reservation for sunset! Check out the beautiful, brightly colored fishing boats moored in the bay. Share a bottle of wine…or two.
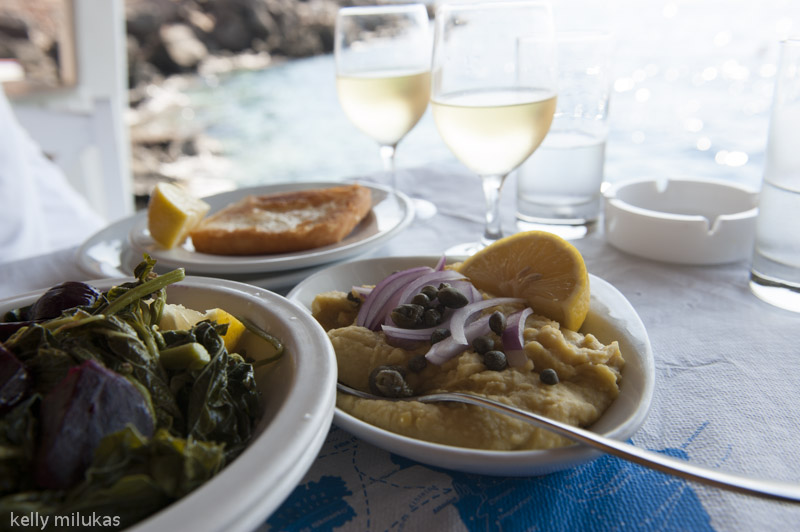
The fava at Dimitris Amoudi Taverna
KASTRO
Trip: Another place to drink or dine while in Oia…
Located Cliffside in Oia, overlooking Amoudi Bay, this is another excellent location for drinks at sunset (reservations a must!) or a really enjoyable meal. Two dishes really knocked our socks off at Kastro. The first: rolled eggplant, with feta cheese and tomato sauce, using the local eggplant that is so much milder than what we’re used to at home–doesn’t even need to be peeled–with local feta cheese and an intense tomato sauce from Santorini tomatoes grown in volcanic soil.

The second amazing dish was what we labeled “an olive donut:” olives stuffed with cream cheese, then dunked in a batter that was then fried and drizzled with honey. Unbelievably good! We came back to Kastro a second time just for those two dishes.

The salads at Kastro are fresh, inventive and very large…good to share. And the lamb was the best I had on our visit. (How can you not have lamb when in Greece?)

Cliffside view of Kastro