When it comes to grilling, lamb is often overlooked. Some folks think it tastes too gamey, which can be true with grass-fed lamb that comes from New Zealand or Australia. Although you can’t beat their strict quality standards, the flavor can be intense.

1 lb. ground lamb
1 lb. ground beef
2 tablespoons
1/2 onion, minced
1 tablespoon Dijon mustard
1 teaspoon each fresh parsley, mint, and dill, finely chopped
1 teaspoon dried Greek oregano
1/2 teaspoon cumin
1 large clove garlic, squeezed through a garlic press
1 scallion, finely chopped, green part only
1/2 cup breadcrumbs
1 egg
1 teaspoon salt
1/2 teaspoon black pepper

Fresh herbs make the difference!
Heat the olive oil in a skillet over medium heat. Add the onion. Cook it until it’s translucent, about 6 minutes. Transfer the onion to a plate to cool.
In a bowl, mix the cooled onion, mustard, parsley, mint, dill, oregano, cumin, garlic, scallion, and salt and pepper.
In another bowl, combine the lamb with the beef, so they are mixed well. Then add the onion mix bowl to the meat and make sure all the ingredients are combined. Add the breadcrumbs and mix again. Then add the egg and mix one more time.
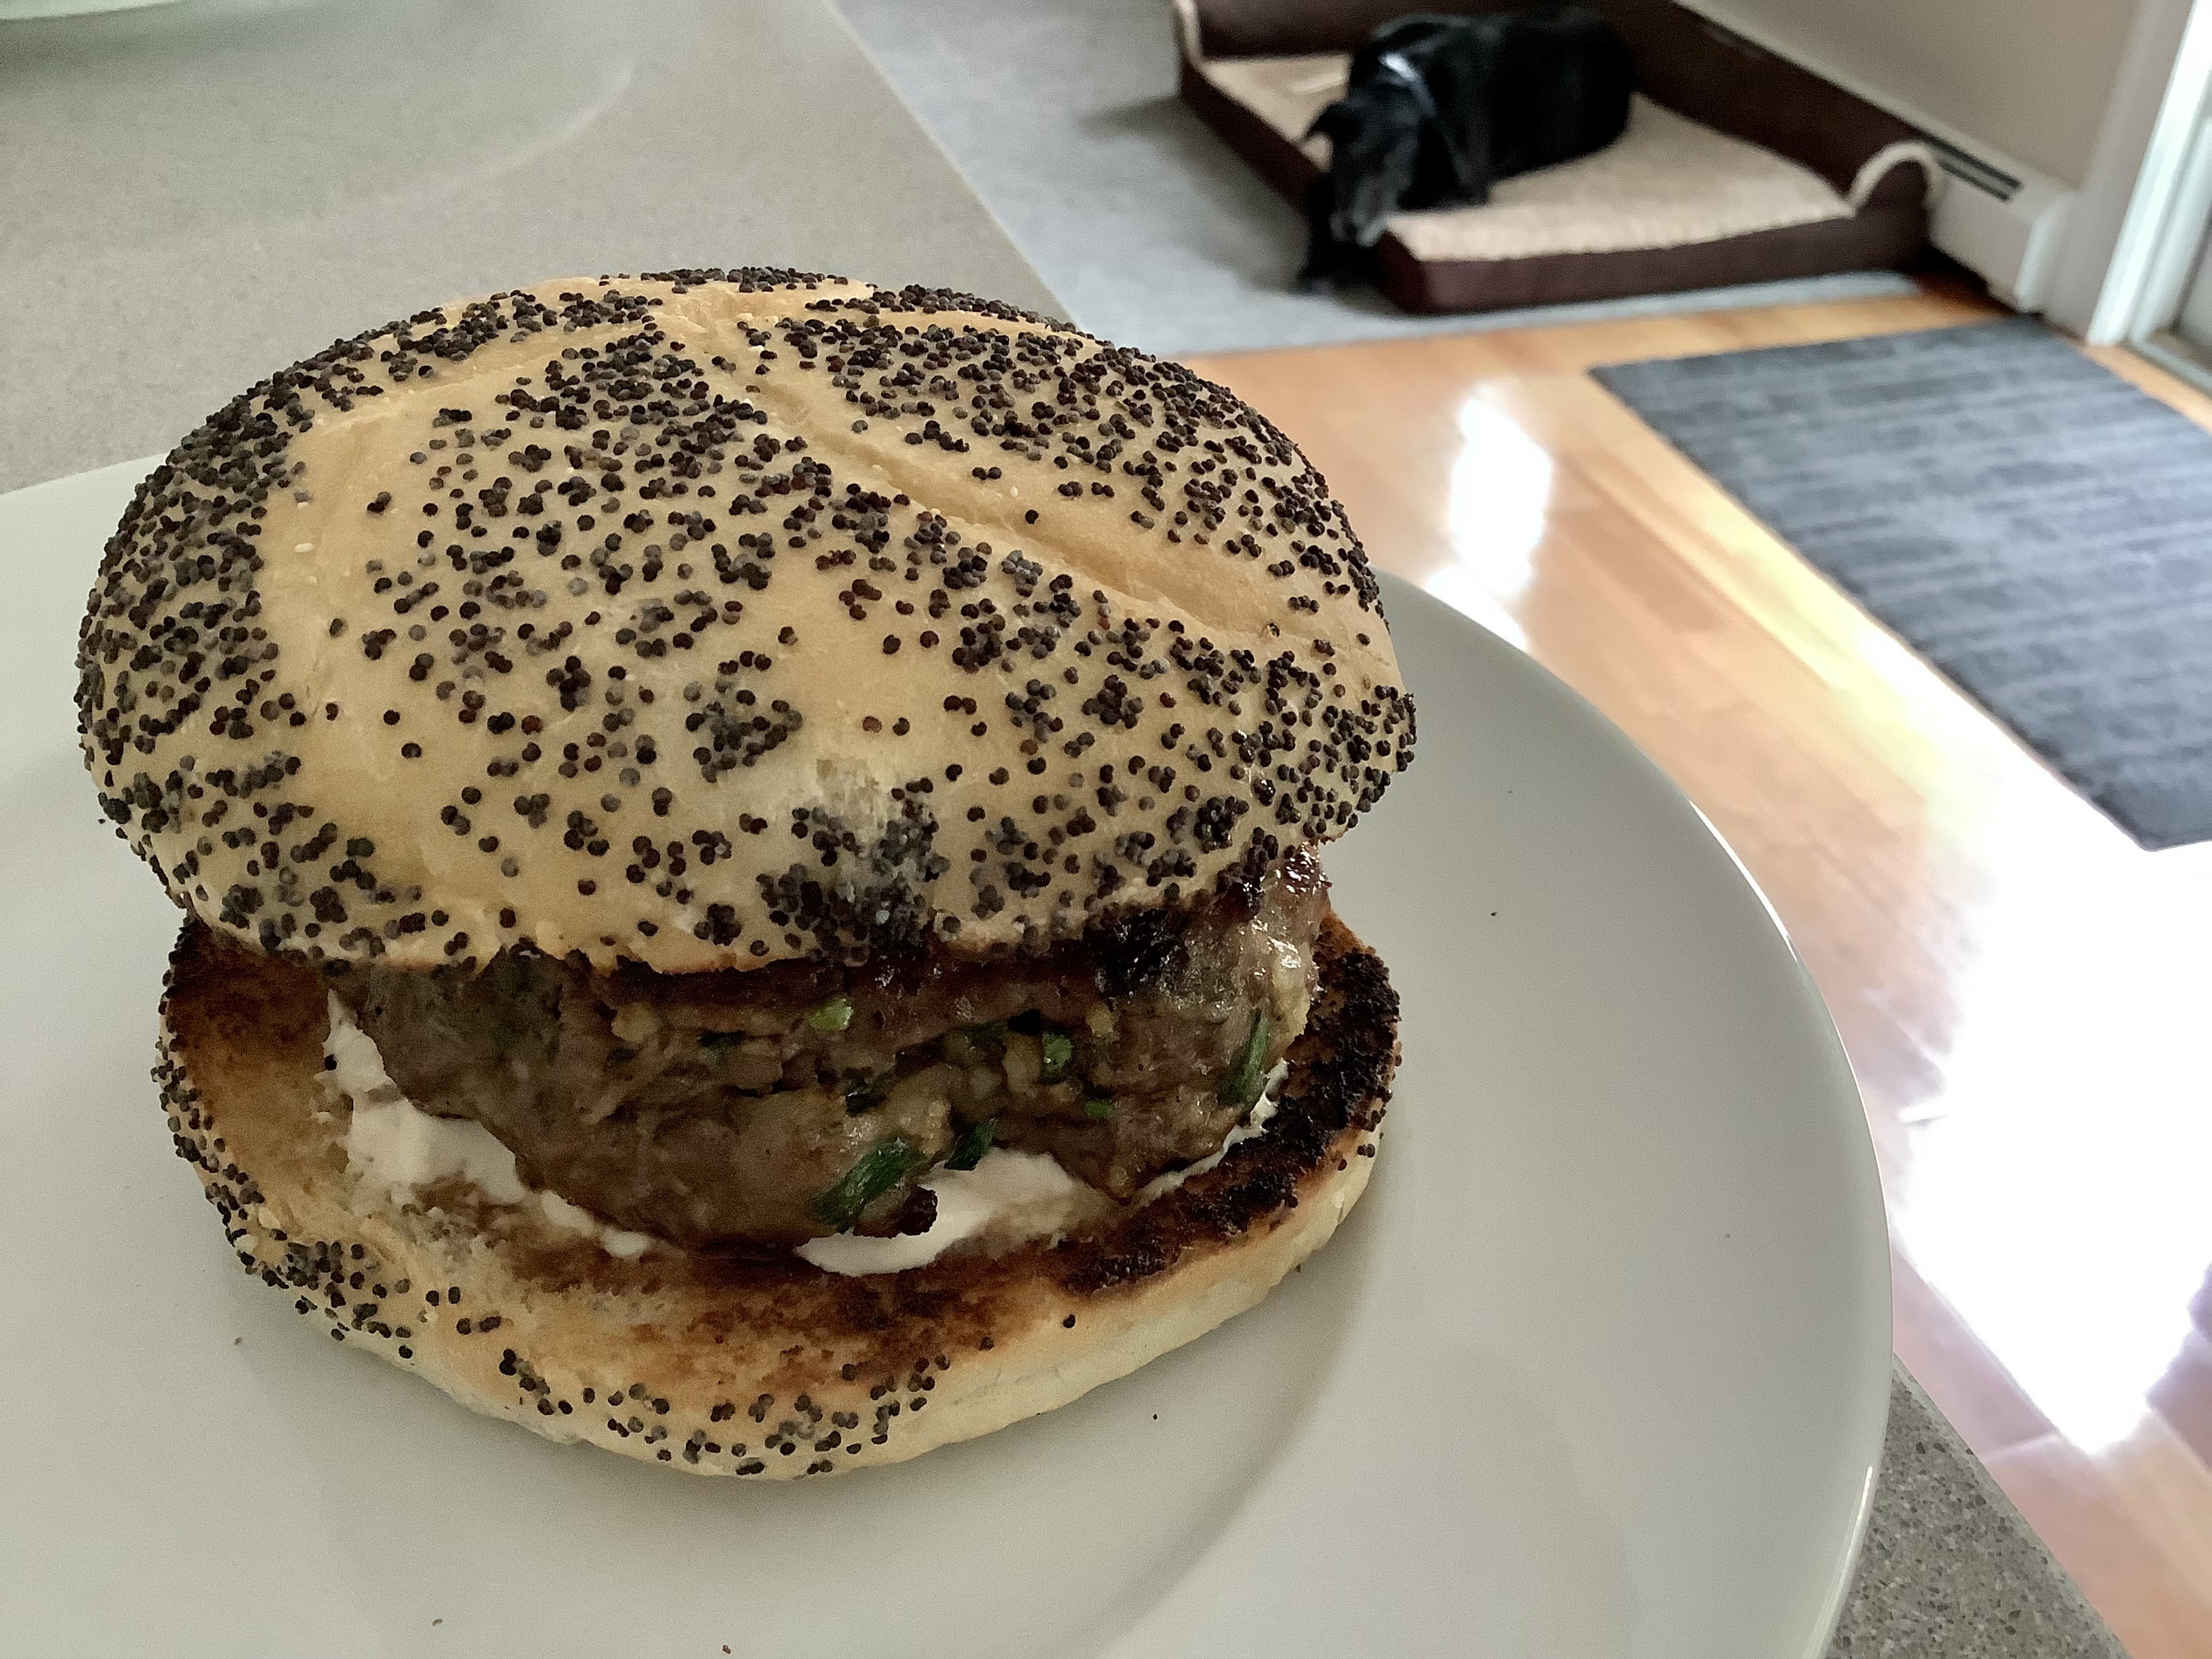
Form the meat into patties. Place them on a baking sheet covered with non-stick foil, and place the baking sheet in the fridge.

The indentation in the center of the patty keeps it from swelling up while cooking.
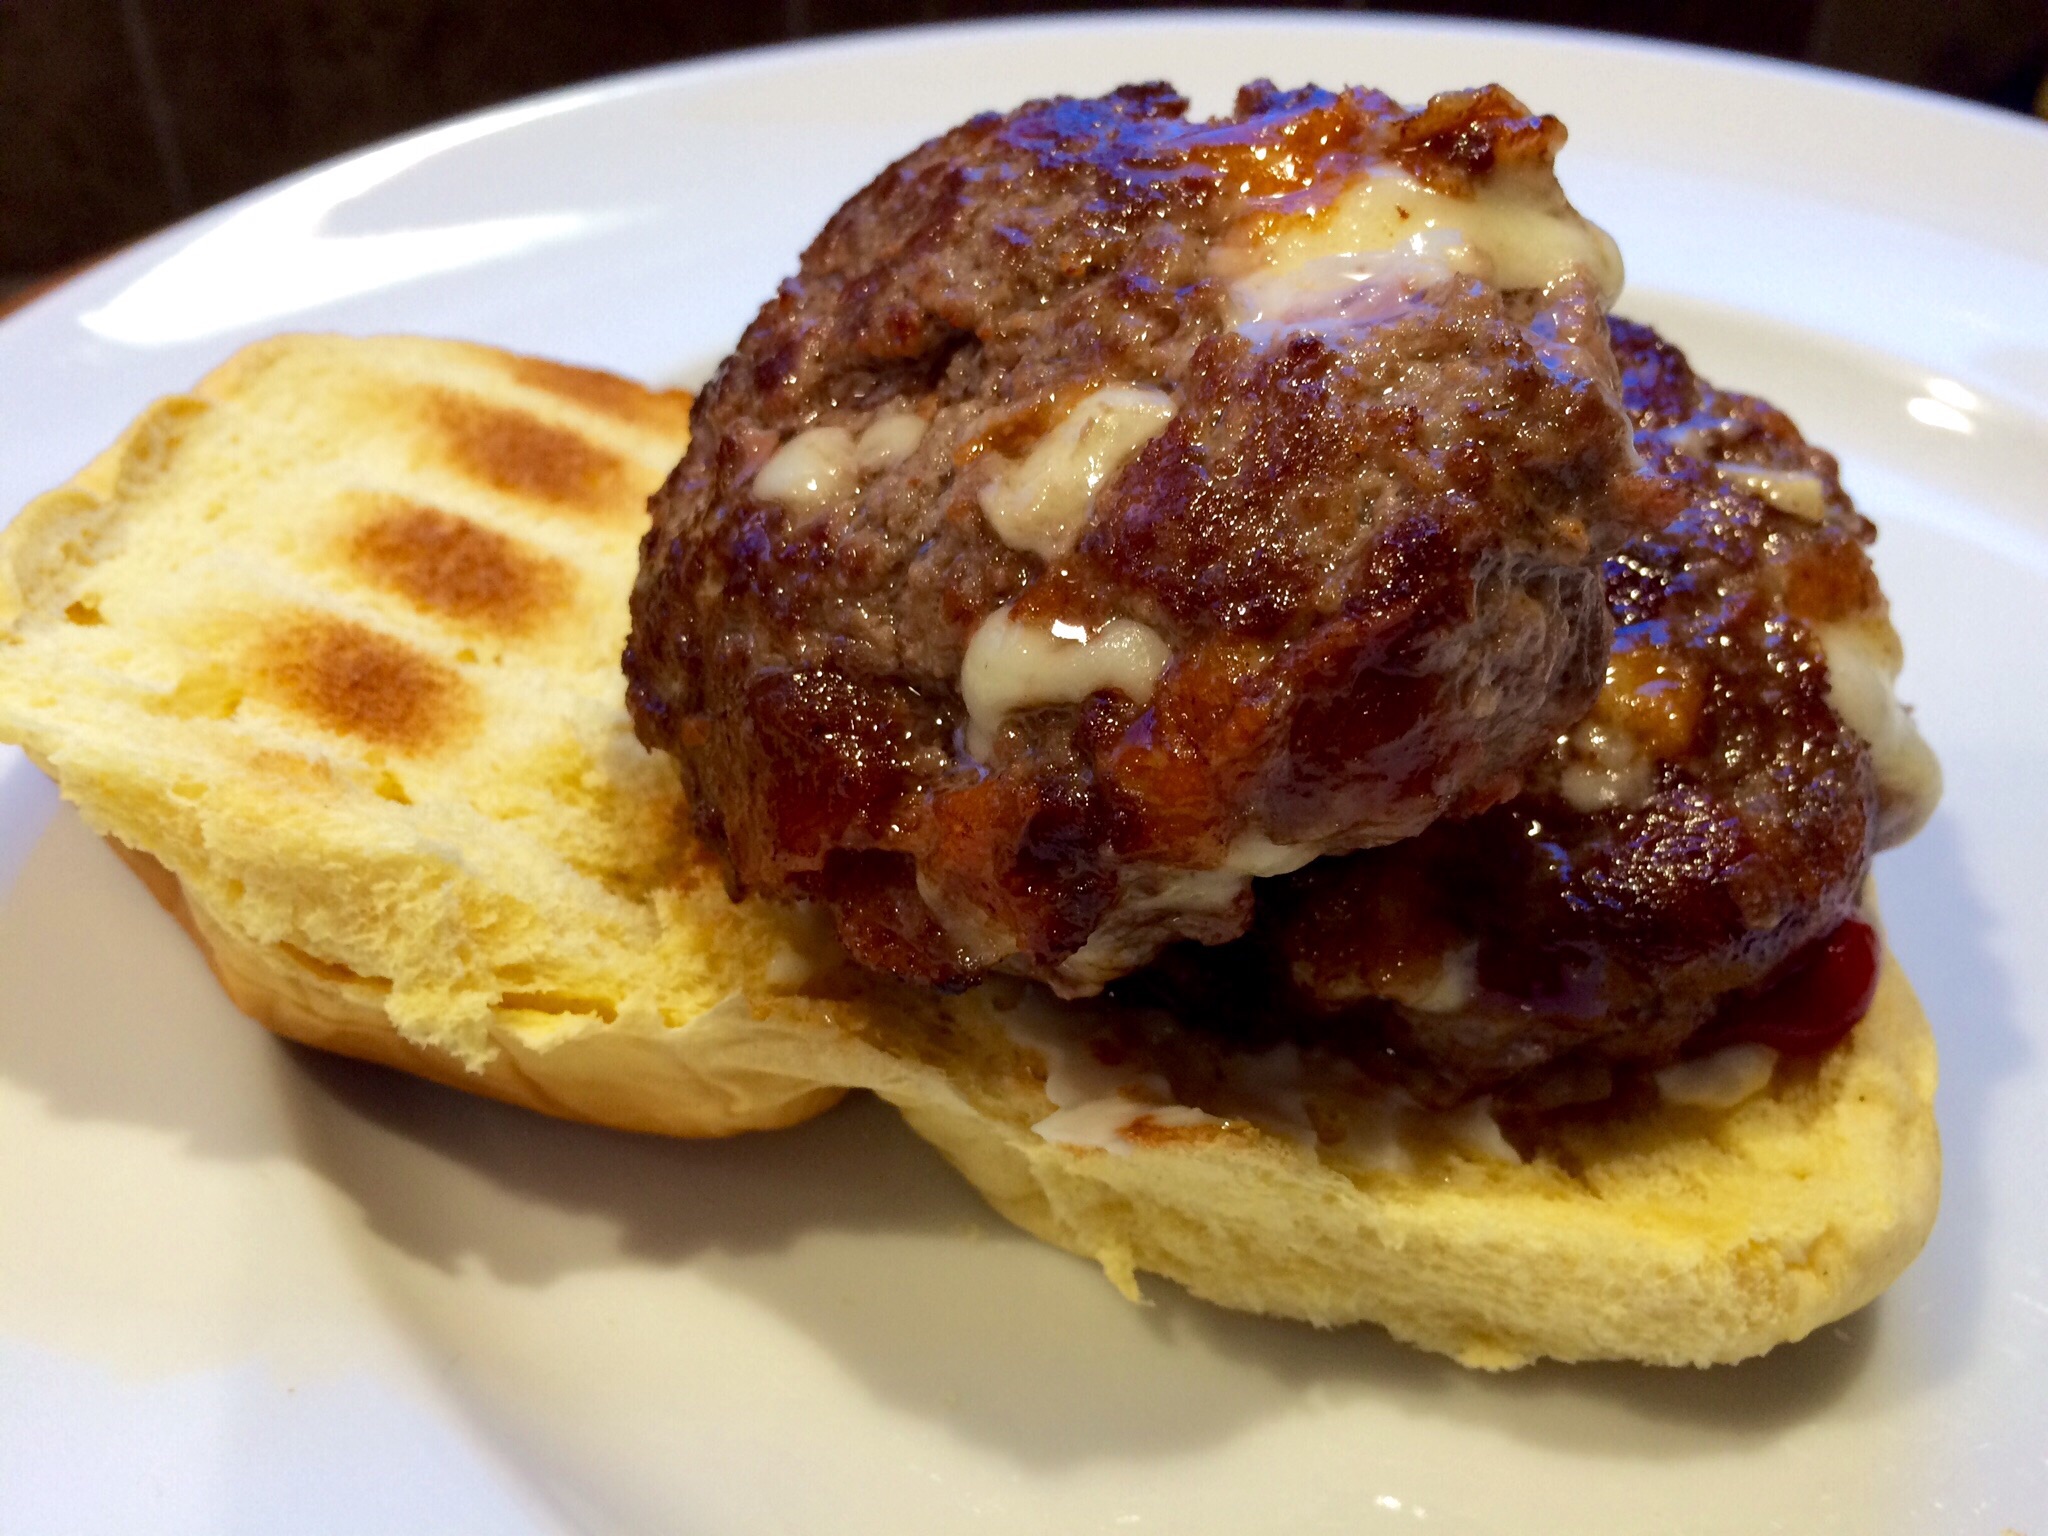
Don’t let the lamburgers get too cold in the fridge…just enough to firm the meat up a bit. If it gets too cold, give it a few minutes at room temp to warm up again. Grill the burgers over hardwood charcoal until they are cooked to medium.
If you’re cooking indoors, heat some avocado oil in an oven-proof pan, preferably cast iron. Sear the burgers well on both sides, then place the pan in a 350-degree oven to finish cooking.

Extra meat is great for meatballs! Just freeze them for another time.
If the food is good, someone’s always watching!
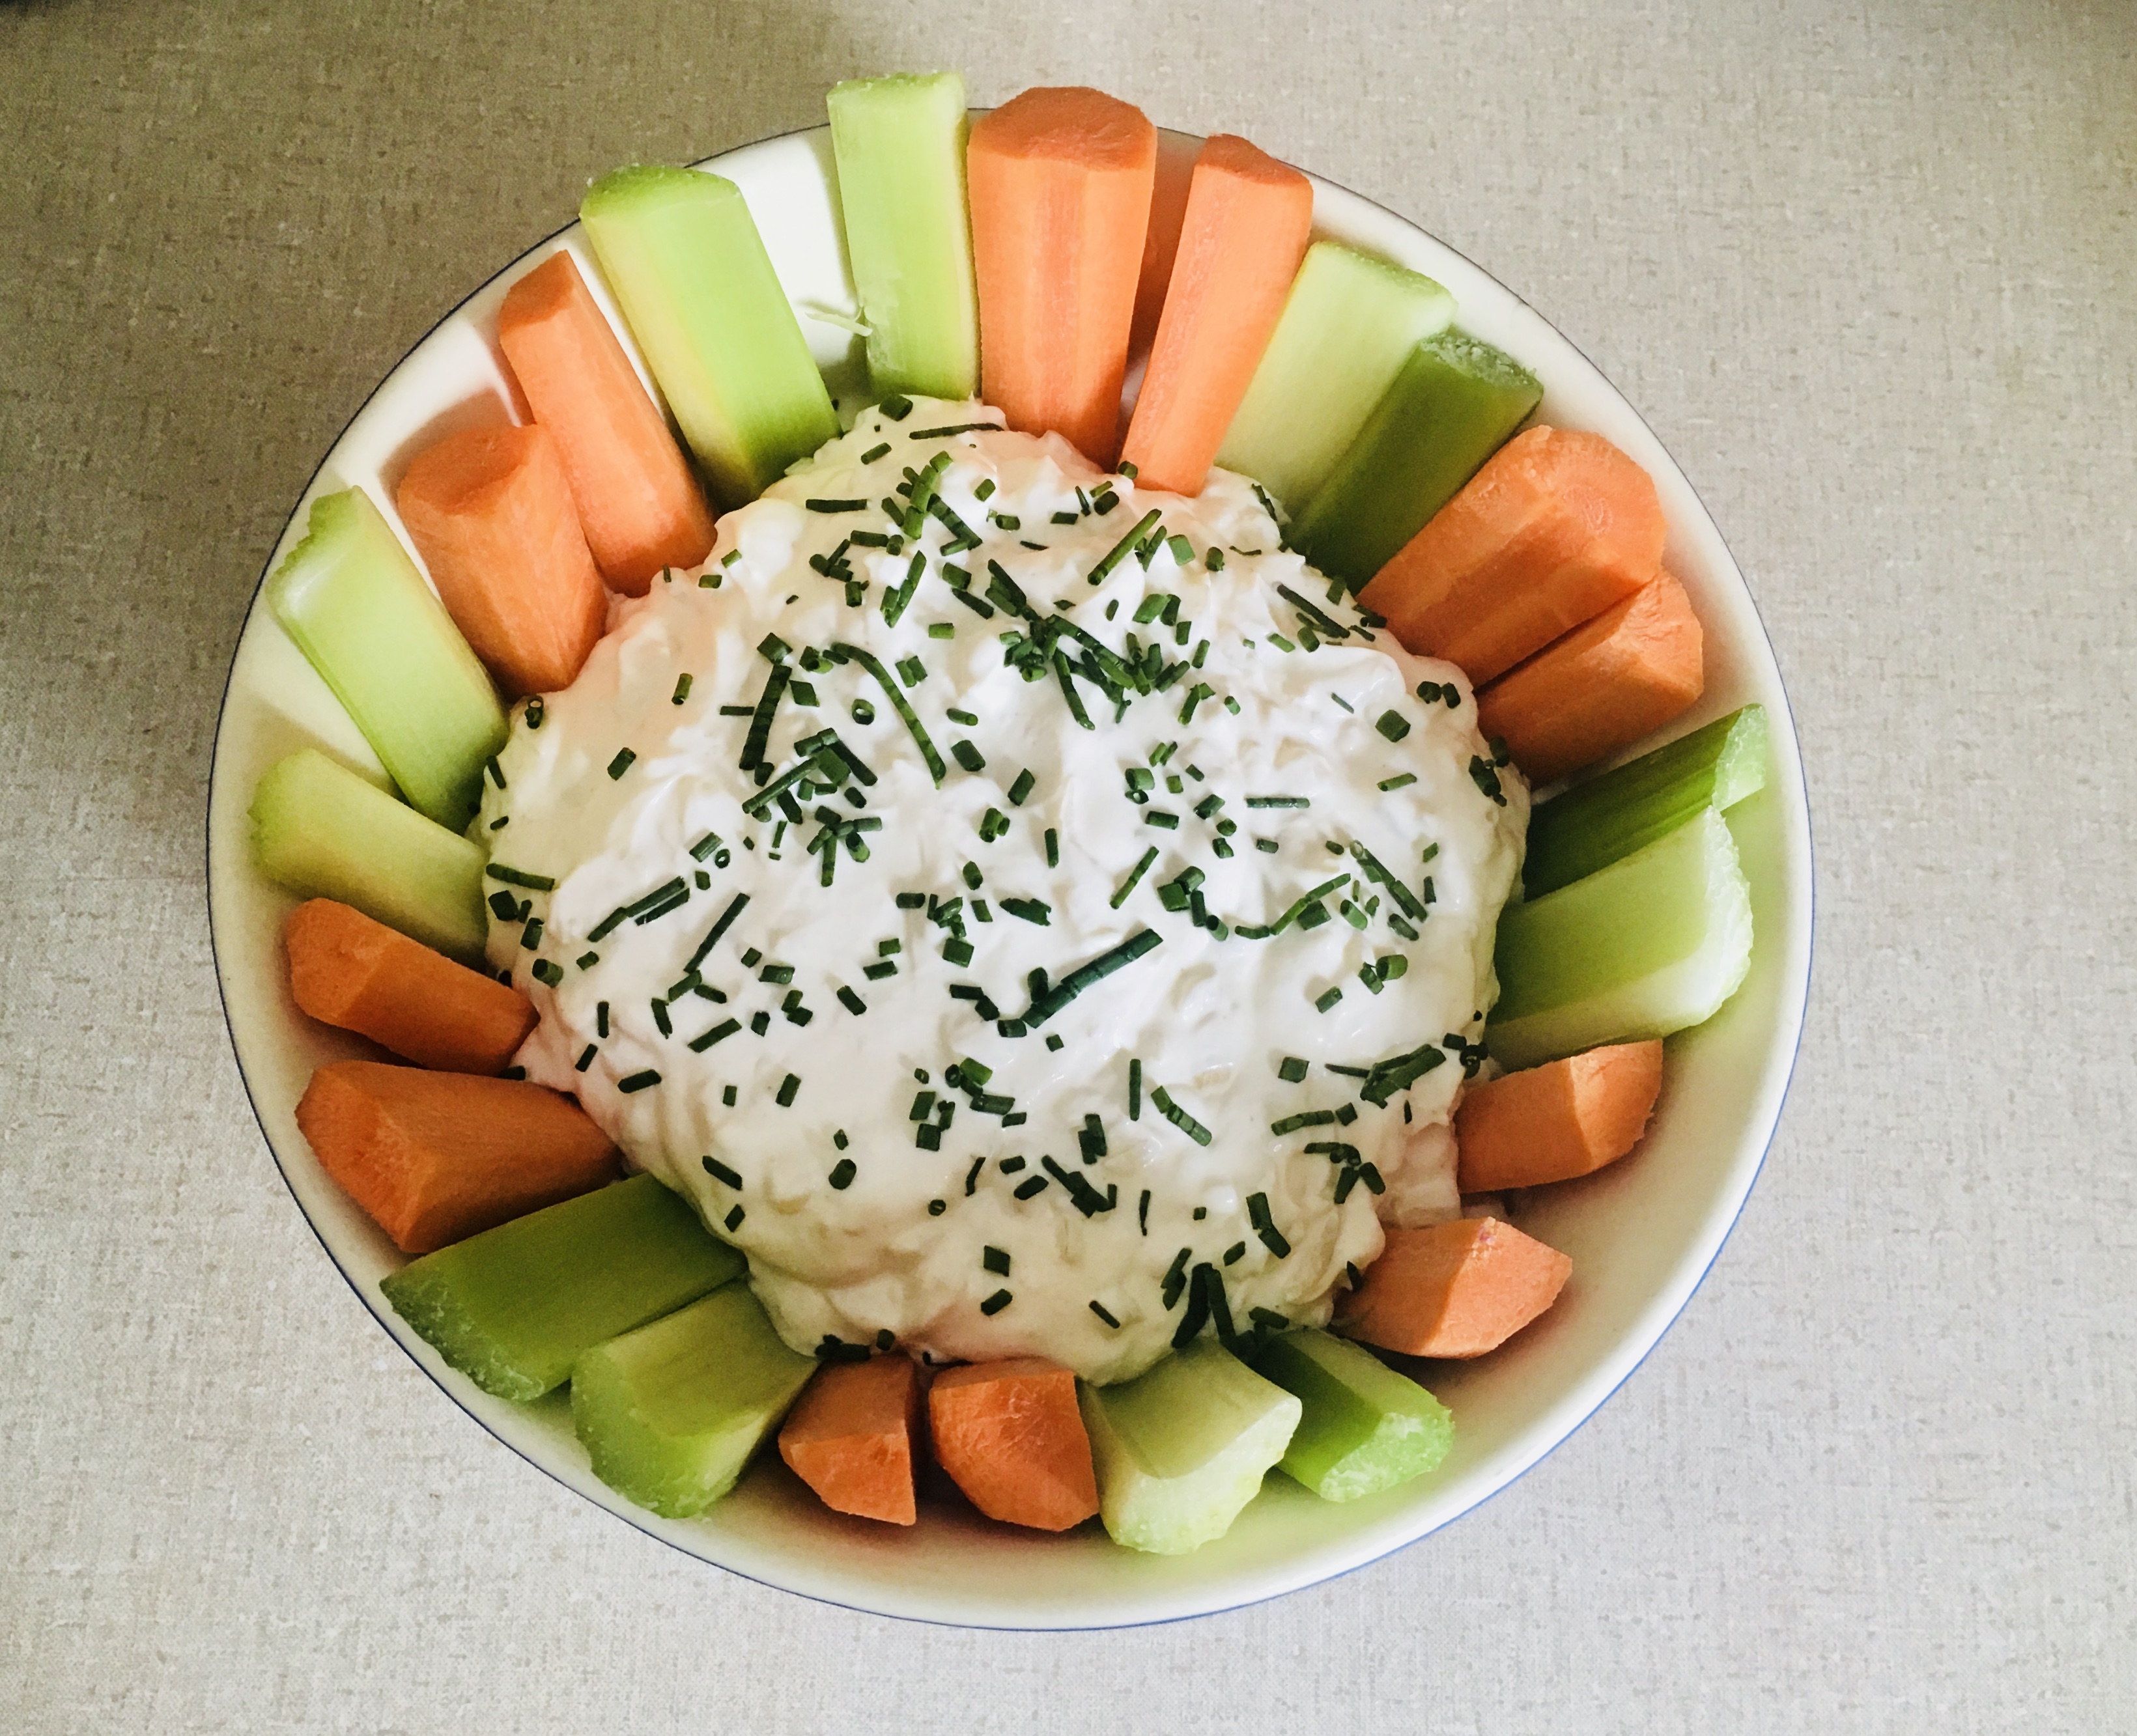
My recipe for feta cheese dressing works really well with lamburgers. But it’s also great on a salad.
3/4 cup plain Greek yogurt
1 cup mayo
1 teaspoon Worcestershire sauce
1/2 teaspoon cayenne pepper sauce, like Franks Red Hot
1 teaspoon Dijon mustard
1/2 teaspoon granulated garlic
1/2 teaspoon salt
1/2 teaspoon ground black pepper
4–5 oz. crumbled feta cheese
Combine all the ingredients in a bowl. Mix well. Cover and refrigerate. If you can wait a day, it’s even better.