Archive for the ‘Recipes’ Category

I don’t have the patience to boil Mason jars and lids and all that crap. But I love me my pickles, especially when this year’s garden is cranking out cucumbers in record numbers!

This is such an easy way to make great pickles, it’s almost unbelievable…and no water is needed! The salt extracts just enough moisture, like when curing meat, to make it work. This method works great if you want fresh pickles to eat immediately, but if you want to keep them for longer periods of time, you’ll have to go back to the old tried-and-true methods.

Fortunately for me, I devour these pickles as soon as they’re ready!

I originally used a plastic bag for this, but I found that using a plastic container keeps the pickles aligned better and it’s less messy.

pickles

fresh cucumbers
sea salt
a handful of fresh dill
a couple of cloves of garlic, thinly sliced

Get a resealable plastic container.

Cut the ends off the cucumbers and then slice them lengthwise, in half or in quarters. Lay them neatly next to each other in one layer in the container, skin-side down. Sprinkle the sea salt over the cucumbers. Sprinkle some of the chopped garlic on top. Then, tear off some fresh dill and lay it to cover the pickles.

You should be able to get a second row of pickles on top of the first, again sprinkling with the salt, garlic, and topping with dill.

Placing the lid on the container, squeeze out as much air out of the container as you can.

Put the container in the fridge overnight. Making sure the lid is tightly sealed on the container, flip it over every few hours. (I always put a plate underneath it when it’s upside down in case it leaks a little.)

The pickles will be ready to eat the next day, but they’re even better after 48 hours.

The old method of using a Ziploc bag works as well, especially if you don’t have enough cucumbers to fill a container. I also put a few small onions in there, which will no doubt wind up in a future martini!
Does anyone remember Art Ginsburg, also known as Mr. Food? His syndicated segments appeared on the news for almost 10 years. I met him back in 1993, and he was quite the self-promoter…but a really nice guy. Art passed away years ago, but I still have his old cookbooks, and his simple but perfect pesto recipe has been my guide for decades.
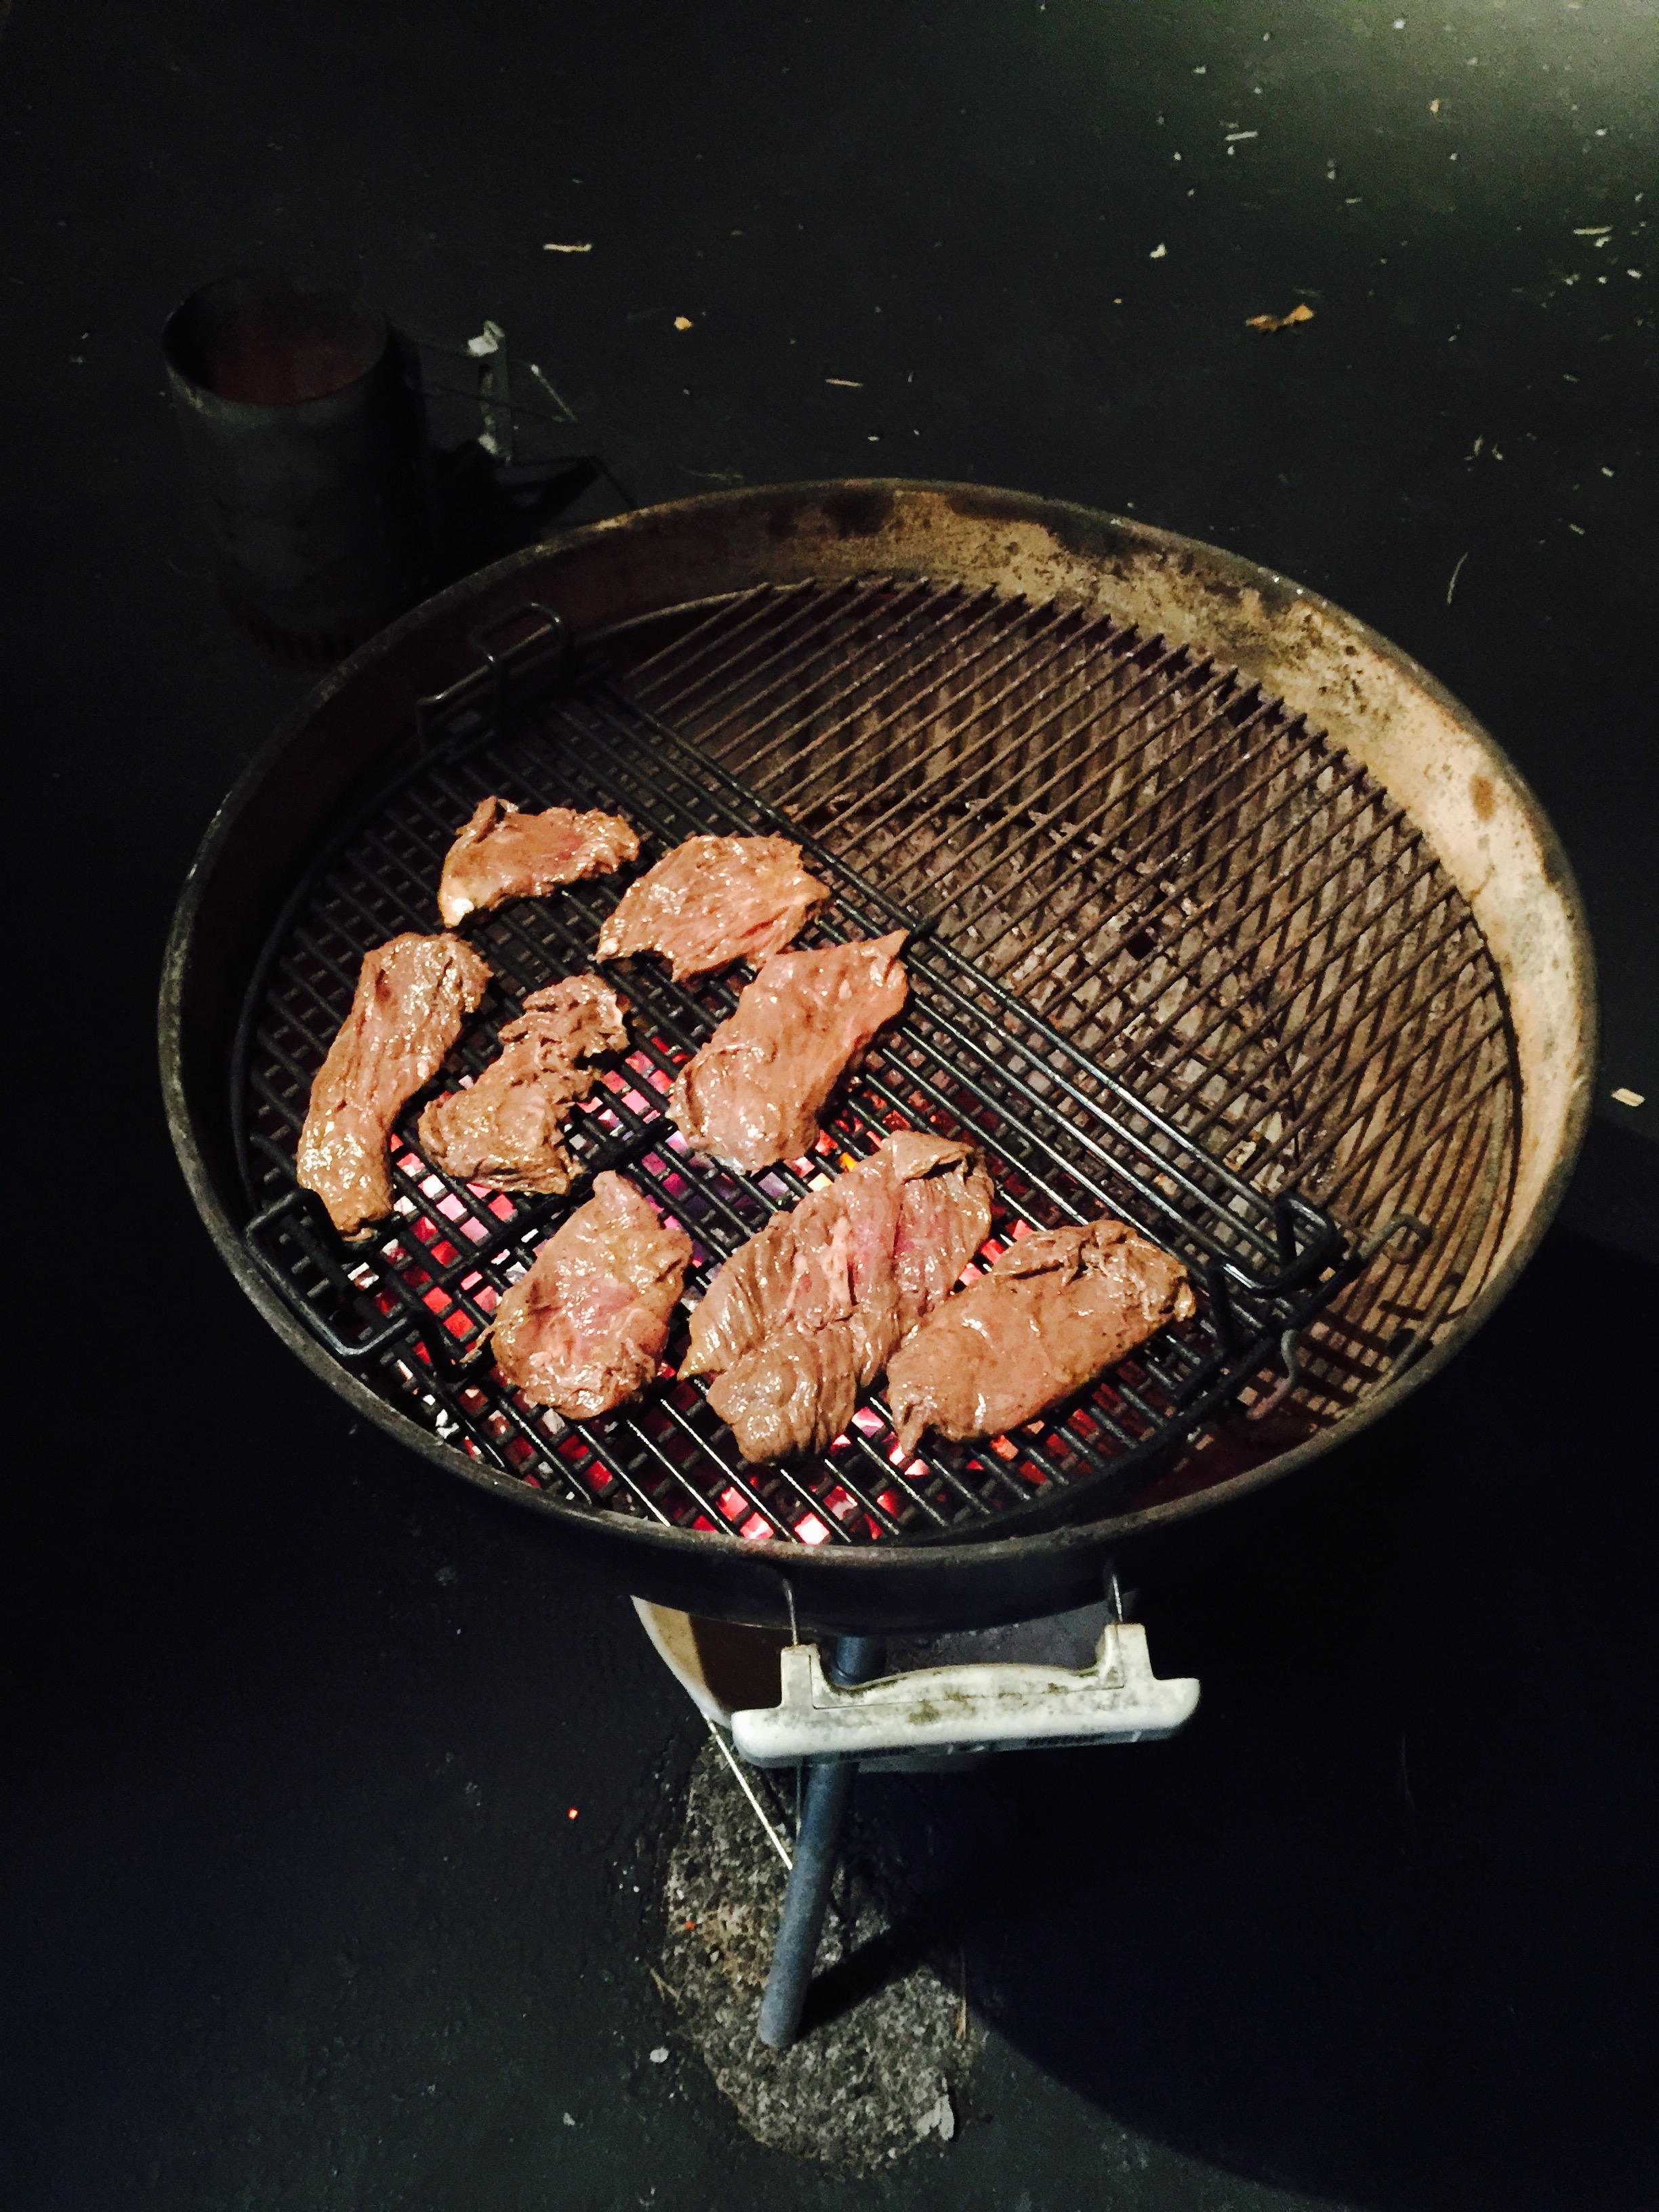
We eat a ton of pesto at home, and I’m amazed at how much my daughter loves the stuff. Most of the time, it’s simply mixed with pasta. But we stir it into tomato sauce and smear it on grilled chicken or beef as well.
Basil is the main ingredient in classic Italian pesto, and it’s growing rapidly under the summer sun in my garden right now. And that’s key to great pesto: when Mother Nature says the basil’s ready, be sure you have all the other ingredients and get to work!

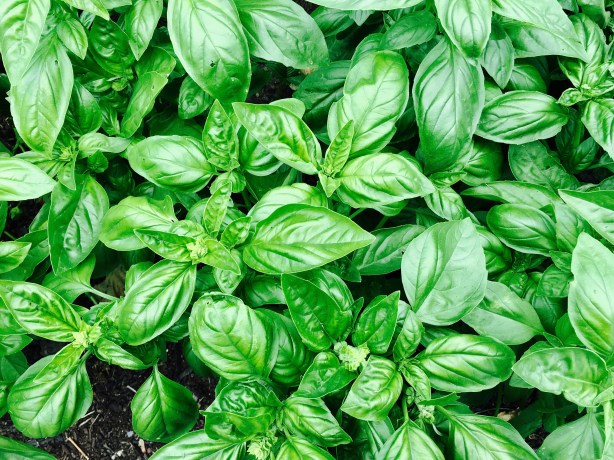
Basil, ready to be picked.

Besides the fact that it simply tastes bad, the problem with store-bought pesto is that it’s expensive. Although homemade pesto isn’t cheap, you can still save a lot of money by making it yourself.
Some of my tips for saving money: buy good quality ingredients in bulk. My go-to olive oil is California Olive Ranch Extra Virgin Olive Oil. It gets high ratings, tastes amazing, and can be found in large bottles at most supermarkets and in quantity on Amazon. But spend the extra money on the pure California olive oil. Don’t go for the blends.
There’s been a rash of articles about already-grated parmesan cheese that is 50% cellulose (wood) fiber. Stay away from that junk and buy yourself a nice chunk of the real deal: Parmigiano-Reggiano. Grate it yourself and taste the difference!
The most expensive (and questionable) ingredient in basic pesto is pine nuts. If you look on the back of the package (and you always should!) you’ll see that most pine nuts come from China. I don’t buy any food products from China…period. So sourcing “safe” pine nuts can be difficult. The Italian pine nuts can be extremely expensive, but recently I’ve found pine nuts from the USA that are more reasonable in price.

They say they’re grown in New Mexico…

One of the reasons you want real pine nuts and not some look-alike from China is something called “pine mouth” or “pine nut mouth.” A small percentage of people experience a reaction after eating pine nuts that makes their mouth taste like metal–imagine putting a handful of pennies in your mouth–and the taste stays in their mouths for a couple of weeks, ruining their taste buds for the foods they love. (Eventually, it wears off.) Some scientists say you get “pine mouth” by eating counterfeit pine nuts–varieties like those from China that are not the same species. Others say that you can get the reaction even from real pine nuts. Research on this continues, but all the more reason not to buy any foods from China and other questionable countries.
There are alternatives to pine nuts, and you’ll find many pesto recipes that substitute with almonds, pistachios or walnuts. I think those nuts change the taste of the pesto, plus they have a skin that leaves a gritty residue, which I don’t like. So I don’t use them. The one nut that I’ve found that does a pretty good job filling in for pine nuts is macadamia nuts, although they, too, are a bit gritty. They are less expensive and usually come from Hawaii. Just remember to buy raw, unsalted macadamias.
So here’s my sure-fire pesto recipe. I make massive amounts of it, store it in plastic storage containers with a tightly sealing screw-top lid, and put them in the deep freeze. They last all year, and thaw out easily.
2 cups fresh basil, packed down a little
1 cup grated Parmesan cheese (preferably Parmigiano-Reggiano)
1/2 cup pine nuts
1 cup extra virgin olive oil
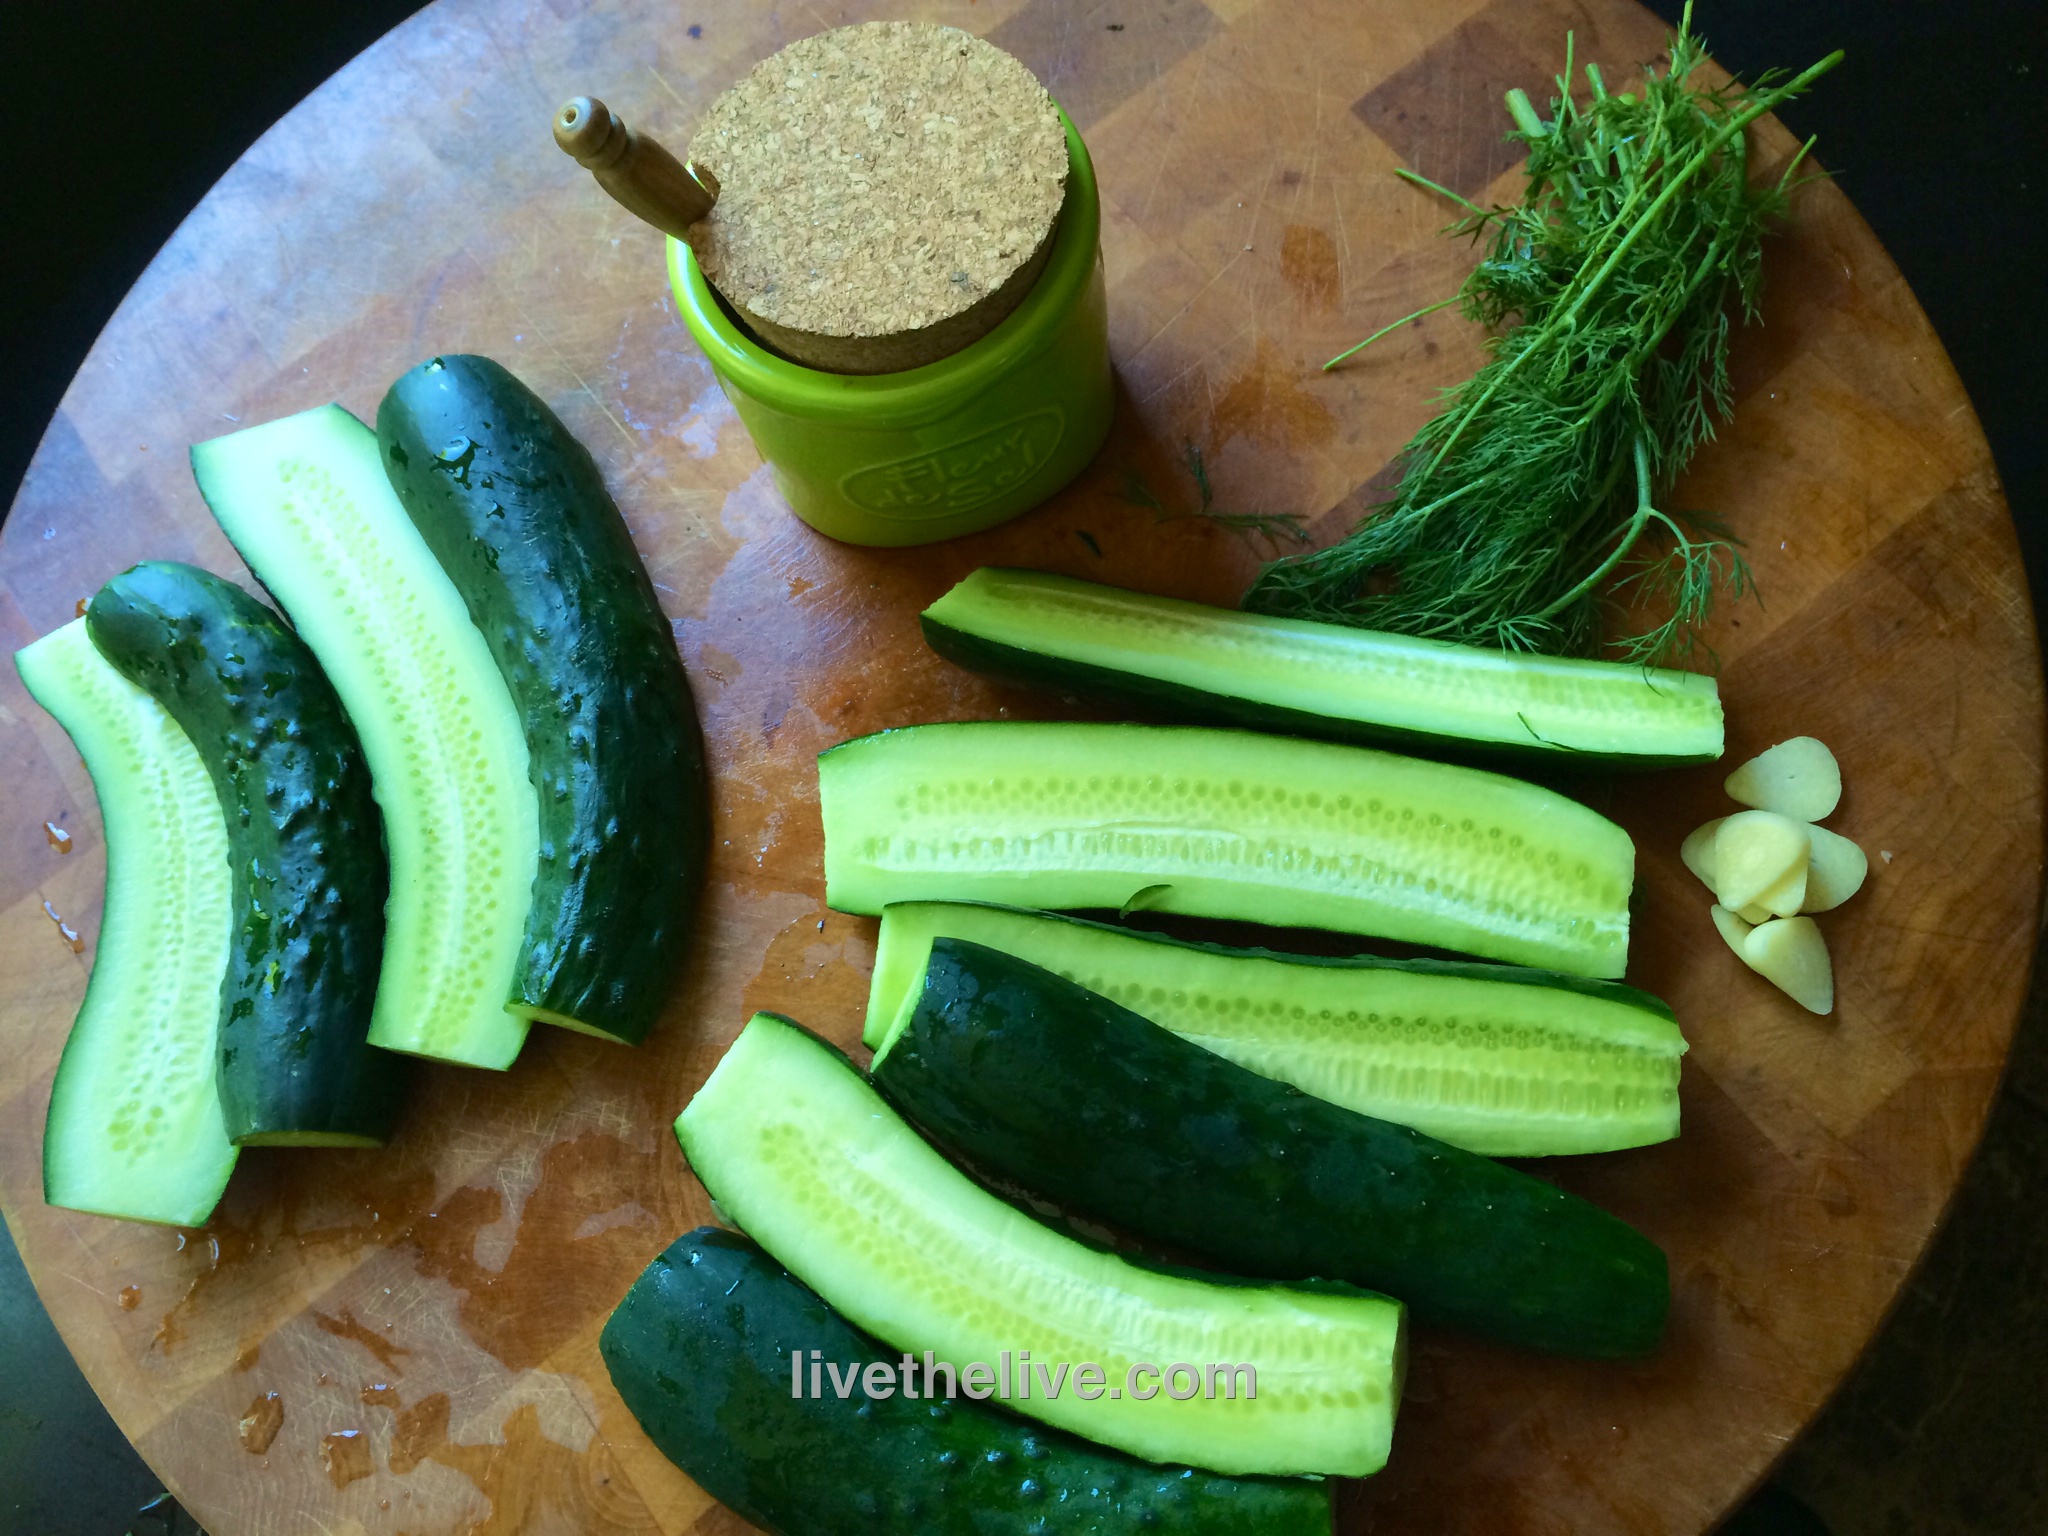
2 garlic cloves, crushed
1 teaspoon salt
When measuring the basil, I pick dry leaves from the garden and place them in a measuring cup, lightly packing them until I get 2 cups. (More is better than less!) Then I remove them from the measuring cup and wash them, tossing them in a salad spinner to dry. Then they go into the food processor. (If you wash them before measuring, they will pack much more tightly, and you won’t get the correct amount.)
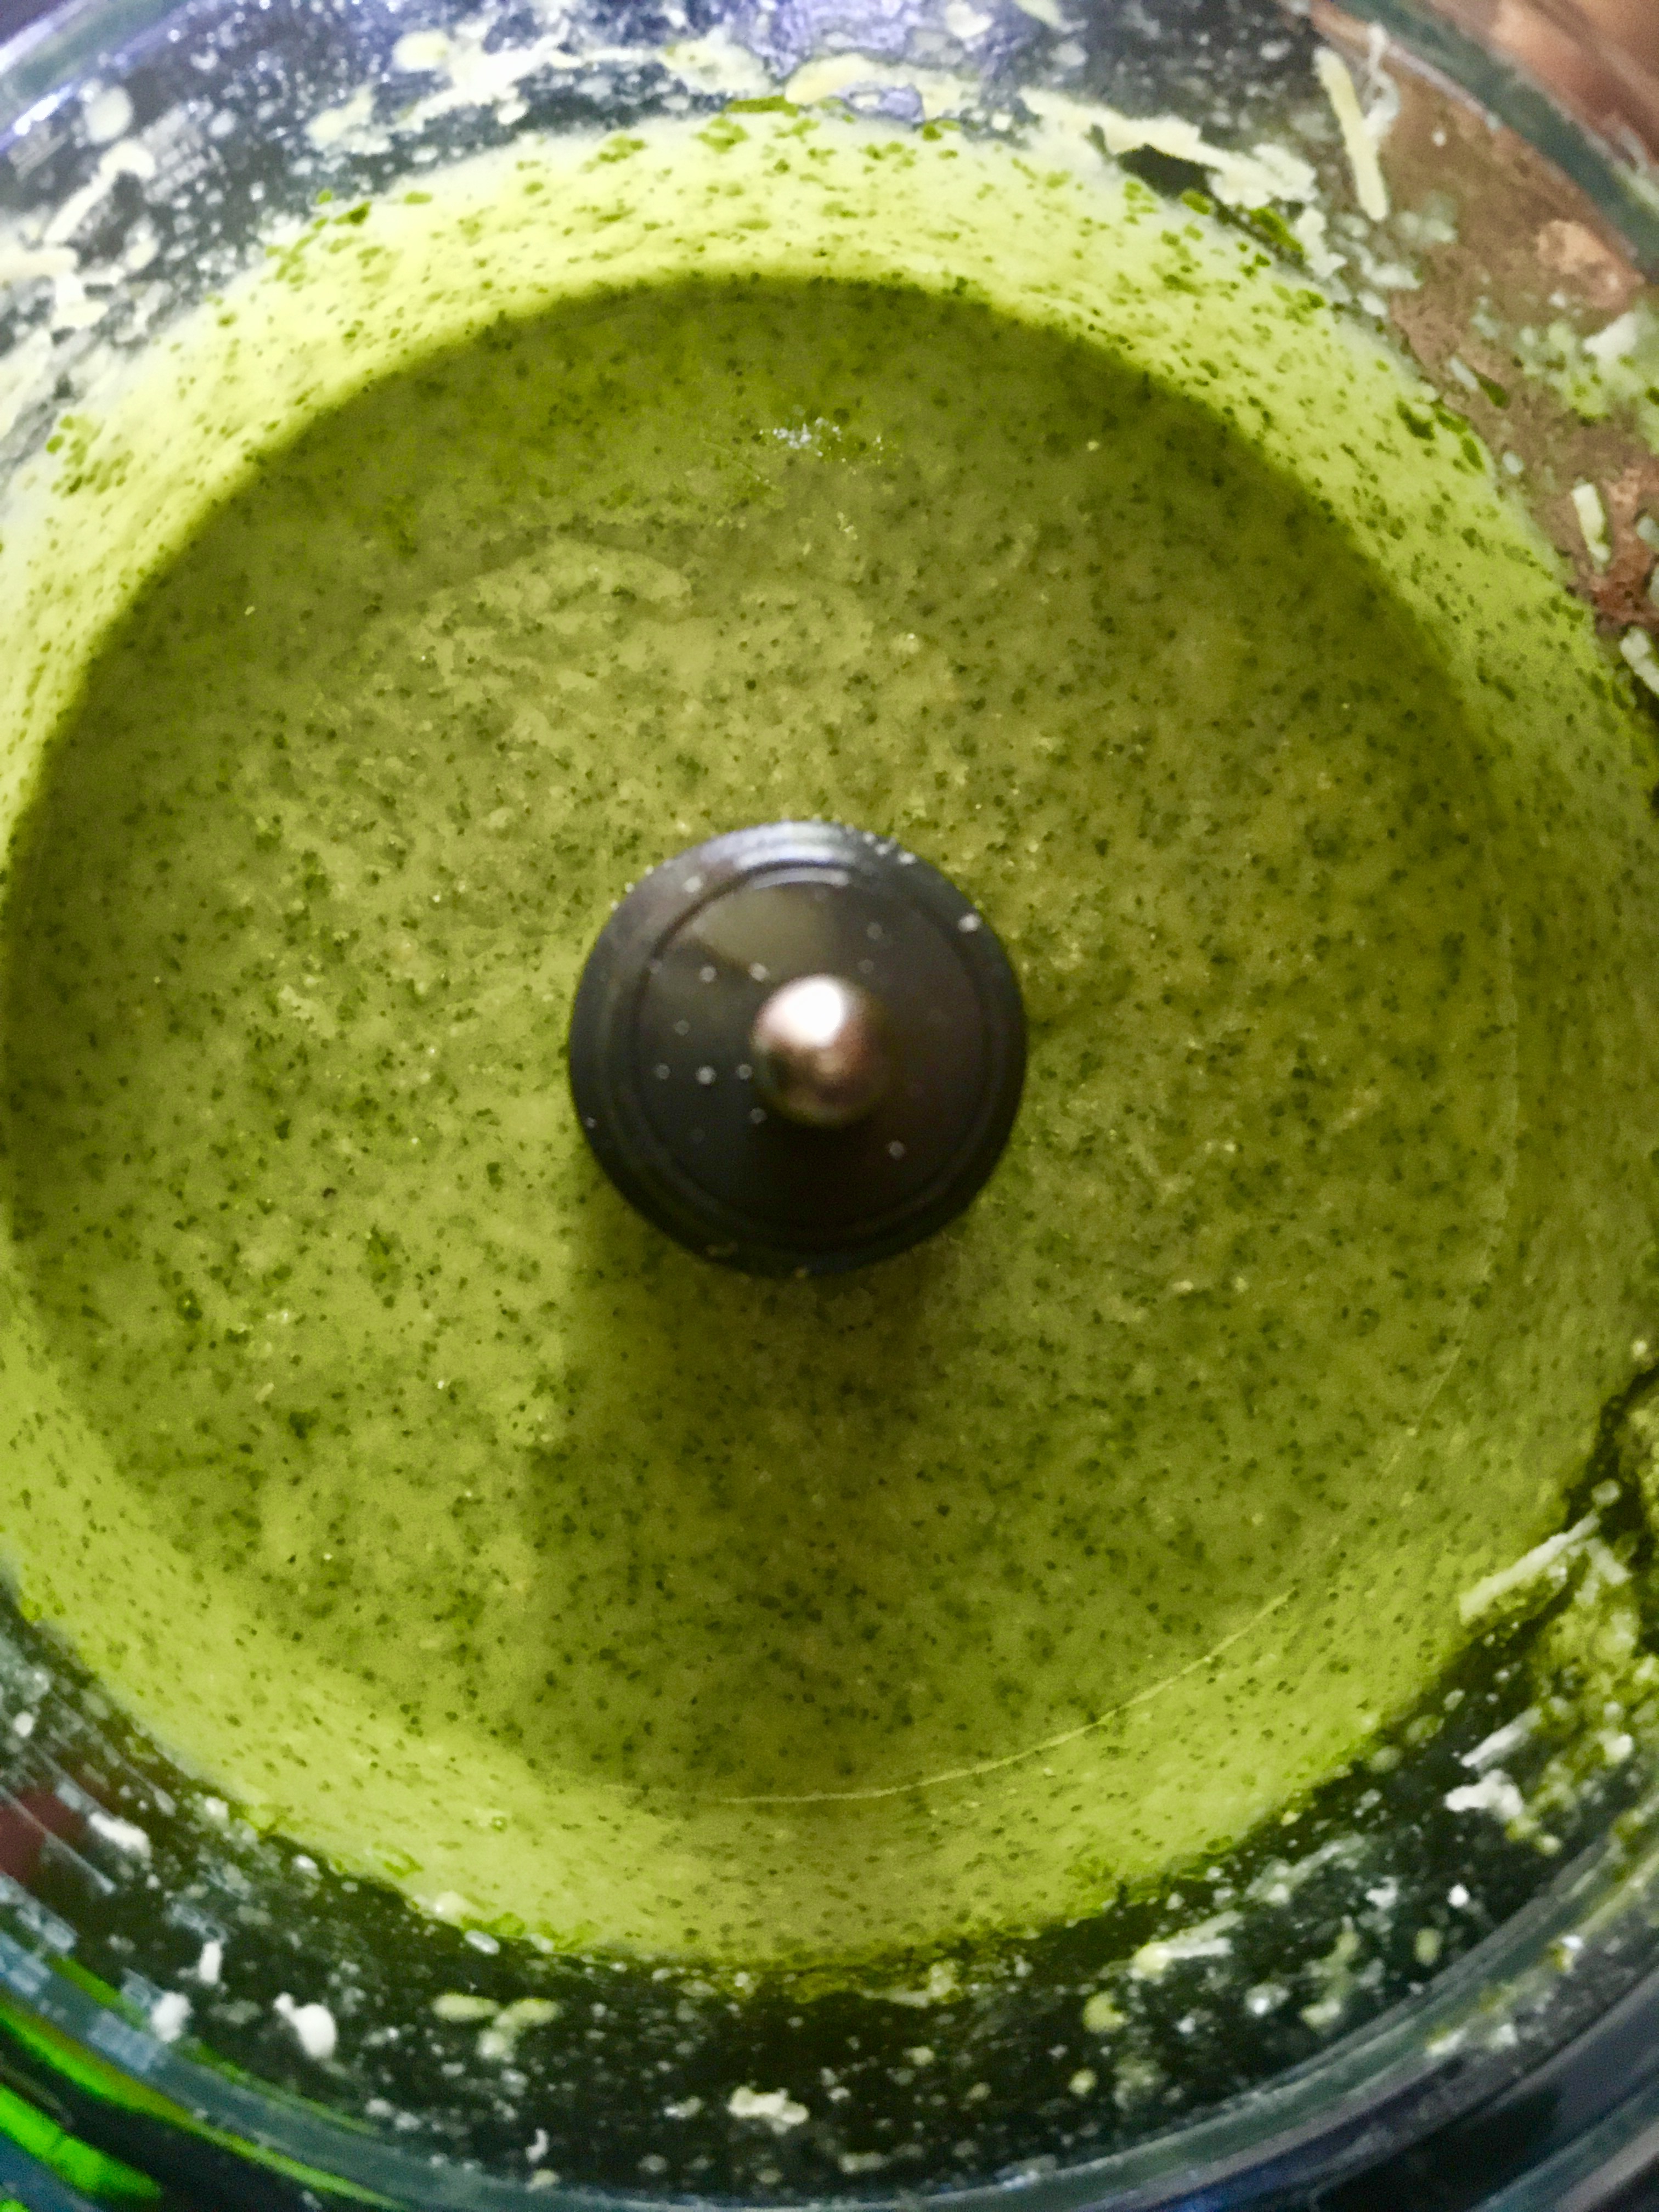
Add the other ingredients in the food processor with the basil and let it rip!
 
The color and fragrance of freshly-made pesto is hard to beat! For me, a bowl of pasta with pesto is real comfort food.

I find little or no difference between the stove in my kitchen and an outdoor gas grill…so I don’t own one. I can make a perfectly delicious steak by searing it in a cast iron pan on the stovetop, then finishing it in a hot oven. So, for me, if the real reason for outdoor grilling is flavor, nothing can replace a hardwood charcoal grill.

Besides the quality and source of my beef, wood and smoke are what make the difference between a good steak and a great steak.

beef brisket

I know the #1 argument for going with gas over hardwood charcoal is time. “It takes too long to start a charcoal grill.” That’s a load of crap. Over the years, I’ve showed many friends that it takes no more time to light a charcoal fire than it does to start up a gas grill.

Of course, it starts with the grill itself. The classic Weber is still an awesome choice. For larger cooking needs, I also have a Primo ceramic grill.

Then I get a bag of hardwood charcoal. I’m not talking charcoal briquets, like Kingsford, that have a ton of additives in them. And I’m definitely not talking about Match Light. I’m talking pure hardwood charcoal, easily found in supermarkets and home stores.

Next: a charcoal chimney. It’s a metal tube with a handle and a grate at the bottom. I crumble a couple of sheets of newspaper into the bottom, pour charcoal into the top, light it, and I have hot coals in 10 minutes without lighter fluid.

And I NEVER use lighter fluid! Why spend good money on a great steak only to make it taste like gasoline?

The variety of wood chips available for smoking is another flavor factor when it comes to grilling with charcoal. My personal favorite is hickory, especially when I’m cooking pork or chicken. But apple, cherry, oak, mesquite: they all impart their own unique flavors. And they’re all available in most home stores where you find all the other barbecue gear.

Although I have an electric smoker for those low-and-slow jobs, like a big ol’ brisket or pork shoulder, I don’t need it when grilling a steak. I simply soak some wood chips in water for about a 1/2 hour before grilling (I’ve found that hot water speeds the process up), drain the water, and then sprinkle the moist chips on the hot coals in my grill. I throw the meat on the grill, close the lid (opening the vents, of course) and off we go.

So now, in 10 minutes, I’ve got a grill that’s ready to cook a steak with…about the same time as gas.

If you say: “I don’t cook with charcoal because it’s so messy!” …I honestly don’t know if you and I can be friends.

Because I’m using a small amount of hardwood charcoal for the average dinner, I don’t have to clean out my grill every time I use it. After a while, yes, some ashes pile up in the bottom of my grill and I have to dump them. But because they’re pure wood ashes, I can dump mine into my strawberry or raspberry patch. They love the stuff.

You still have to clean a gas grill after a while, and it always runs out of propane halfway through cooking when you have guests over for dinner. So where’s the convenience in that?

Charcoal grills give you everything you could ask for: low maintenance, ease of use–no propane tanks, valves and igniters–real wood flavor, not lava rocks, and the thrill of cooking meat over a real fire, bonding with the caveman in you. Grab a beer–or even better: a bourbon on the rocks–and start grilling!

Sometimes, a cool adult beverage is just what you need after a long day of yard work. The cucumber plants in my garden have started producing, so it’s time to make this refreshing cocktail!


4 fresh cucumbers, peeled and seeded
Small ice cubes
1 cup loosely packed fresh mint leaves
2 teaspoons granulated organic cane sugar
3 tablespoons fresh lime juice
4 oz. vodka (I like Tito’s)
1 oz. orange liqueur (I like Cointreau)

Peel and seed the cucumbers. Coarsely chop them and then purée them in a food processor until smooth. Strain them through a fine sieve, pressing the solids to extract as much liquid as possible. Or, if you have one, use a juicer. Set the extracted cucumber juice aside.

To a large glass pitcher, add the mint leaves, sugar and lime juice. Muddle the ingredients so that the mint leaves release their oils. Add 3/4 cup (at least) of the cucumber juice. Add the vodka and Cointreau. Muddle again briefly.

Fill tall drinking glasses with ice cubes. Strain the cocktail into the glasses. Garnish with a cucumber spear or peel…or mint.

If you grow your own cucumbers and mint in your garden, this cocktail tastes even better…a fine reward for a job well done!

These 2 recipes are great side dishes for any occasion, and they’re tasty by themselves, or as an appetizer. Feel free to substitute to suit your needs. If you don’t like feta cheese, try Gruyère, smoked gouda, or even mozzarella. Need it to be gluten-free? Use GF breadcrumbs. Don’t have shallots? Use onions or scallions. Don’t like mushrooms? Okay…I can’t help you there…


1 package large white or brown mushrooms
olive oil
1/2 shallot, finely chopped
1 clove garlic, through a press
1 tablespoon fresh thyme, finely chopped
pinch of red pepper flakes
salt and pepper
fresh feta cheese, cut into small cubes
bread crumbs
1 tablespoon fresh parsley, finely chopped

Pre-heat the oven to 400 degrees.

Rinse the mushrooms in cold water to clean them. Remove the stems of the mushrooms and set them aside. Rub the mushroom caps with olive oil and place them on a baking sheet, open side-down, in a 400-degree oven, for a few minutes.

In a pan, sauté the shallot and garlic in a little olive oil. Chop the mushroom stems finely and add them to the pan. Season well with the salt and pepper. Add the thyme and pepper flakes. Set the pan aside, off the heat.

Reduce the oven temp to 350 degrees after removing the mushroom caps. Flip the mushroom caps over so that they look like little bowls. Take a cube of cheese and place one in each mushroom. Top each with the sautéed shallot mixture. Sprinkle breadcrumbs on top and sprinkle parsley over that.

Return the baking sheet to the oven, cooking the mushrooms until they are lightly golden in color, and the cheese has melted.

image


Mushroom myth: Soaking mushrooms in cold water makes them mushy. Not true! Mushrooms do not soak up any water when left to soak for even 30 minutes. So use your mushroom brush…use your kitchen towel…whatever you like. But I prefer to get them clean simply with cold water.


Here’s another recipe…


Chopped mushroom stems and cubed cheddar, ready to go.

1 package white or brown mushrooms
olive oil
1/4 of an onion, minced
1 clove of garlic, through a press
1 piece of cooked bacon, finely chopped
1 cup of baby arugula
salt and pepper
mild cheddar cheese, cubed
bread crumbs


The cooking directions are similar to the recipe above…

Pre-heat the oven to 400 degrees.

Rinse the mushrooms in cold water to clean them. Remove the stems of the mushrooms and set them aside. Rub the mushroom caps with olive oil and place them on a baking sheet, open side-down, in a 400-degree oven for a few minutes.

In a pan, sauté the onion and garlic in a little olive oil. Add the bacon. Chop the mushroom stems finely and add them to the pan. Season well with the salt and pepper. Add the arugula and let it wilt until it’s soft. Set the pan aside, off the heat.


Sautéed mushroom mix, ready to go.

Reduce the oven temp to 350 degrees after removing the mushroom caps. Flip the mushroom caps over so that they look like little bowls. Cut the cheddar cheese into small cubes and place one in each mushroom. Top each with the sautéed onion/garlic/bacon/arugula mixture. Sprinkle the breadcrumbs on top.


The cubes of cheddar fit inside the caps.


Return the baking sheet to the oven, cooking the mushrooms until they are lightly golden in color, and the cheese has melted.


This is not your average shrimp! Found in the Pacific, from Southern California all the way up to Alaska, as well as Japan and Korea, these beauties, identified by the white spots on the sides of their first and fifth abdominal segments, live up to eleven years.

And here’s an interesting note: each spot prawn (or spot shrimp) spawns once as a male and one or more time as a female!


prawns 1


Having read so much about them, I ordered a pound and decided that I would get full use of the shrimp by peeling them and making an intensely flavored sauce out of the shells.

Peeling and de-veining was easy: the shells slipped right off the shrimp, and they were so beautifully clean, their were no veins to remove!

If you can’t get  hold of Wild Pacific spot prawns, shrimp or lobster will certainly do. Just remember to ask your fishmonger for wild-caught American shrimp, and not that horrible farmed stuff from Asia. If he doesn’t have it, shop elsewhere.


prawns 2


For the stock:

1 lb. wild Pacific spot prawns, thawed, peeled, and de-veined. Save the shells and container water, if any.
1 tablespoon extra virgin olive oil
1/2 carrot
1/2 celery stalk
1/4 onion
1 smashed clove garlic
4 whole peppercorns
2 teaspoons ketchup
1/2 sprig rosemary
1/2 sprig thyme
6 cups water


For the shrimp:

1/4 teaspoon salt
1/4 teaspoon freshly ground black pepper
1/4 teaspoon sugar
4 Tablespoons butter, room temperature
1 Tablespoon extra virgin olive oil


The final touch:

1 Tablespoon extra virgin olive oil
1 shallot, finely chopped
2 garlic cloves, pushed through a garlic press
2 Tablespoons butter, room temperature
1/8 cup fresh chives or scallions, finely chopped


1 lb. pasta


For the stock:

Peel and de-vein the shrimp. Keep the peeled shrimp in the fridge, covered.

In a pot, heat the olive oil and add the carrot, celery, onion, garlic, peppercorns, ketchup, rosemary, thyme and shrimp shells. Sauté them for a few minutes to get the flavors going. Add the container water, if any, and 6 cups of water. Bring it to a boil and let it simmer for 2 hours.

Strain the solids out and discard them. Place the stock in a smaller pot, and continue reducing it until about 1 cup of the stock remains.

Boil the pasta in well-salted water and remove it from the water before the al dente stage. (It will cook more later.) Strain it and set it aside.


For the shrimp:

Combine the salt, pepper and sugar with the prawns in a bowl and toss to coat them evenly.

In a large sauté pan, heat the butter and olive oil on medium-high heat. Add the shrimp and cook them until lightly caramelized and almost cooked all the way through. Do not overcook them! Set them aside.


The final touch:

In the same large sauté pan that you cooked the shrimp, heat 1 tablespoon of olive oil and add the shallot. Sauté for 1 minute, then add the garlic. Sauté for 2 more minutes, then add some of the stock, the shrimp, the pasta, and the butter, and mix well. If it’s dry, add more of the stock until the pasta is coated, but not dripping. Add salt and pepper to taste. Garnish with the chives.


prawns 3

Serve immediately!


My daughter and I recently had our quarterly “fodder/dodder dinner” at our Providence Capital Grille. Their signature cocktail, the Stoli Doli, reminded me it was time to make a new batch of what I like to think is an upgraded version: my Velvet Elvis.

A Stoli Doli is simply Stoli vodka that has been infused with fresh pineapple. If you sit at the bar at the Capital Grille, you won’t be able to miss the very large jar of freshly-cut pineapple pieces swimming in vodka. They literally pour it “from the tap,” and serve it straight up, like a martini, or on the rocks. It’s delicious, and I’ve certainly had my share of them.

I decided to make my own at home one day, to serve to my friends at an upcoming party. But to my disappointment, I didn’t have any Stoli vodka in the house. (An embarrassment to most Lithuanians.) But…I found a bottle of Stoli Vanil, the vanilla-flavored vodka, and it was a real game-changer! I used that instead of regular Stoli and I came up with a sweeter, smoother drink that is now legendary among my friends.

VELVET ELVIS

2 ripe, sweet pineapples, peeled, cored, and sliced
1.75ml Stoli Vanil

Find a gallon-sized glass jar with a lid. Peel, core and slice the pineapples and drop the pieces in the jar. Pour the vodka in, mix well, and seal the jar. Keep it at room temperature for 7–10 days, giving it a gentle shake every day.

After 7–10 days (don’t worry…a little longer won’t hurt anything), strain it, squeezing the pineapple pieces to get every bit of liquid out. Discard the pineapple pieces. (As much as you might think they would be fun to munch, they’ve given up all their flavor to the cocktail, and taste terrible!)

Keep the Velvet Elvis refrigerated. Serve with rocks (or 1 big rock!), or shaken and poured into a martini glass.

As a martini, or on the rocks!

Since it’s Memorial Day weekend, a grilling blog is in order. And in case of rain, this works indoors as well.

I rarely order beef at a restaurant, because I can usually make a better steak at home. For one thing, I use humanely raised grass-fed beef, something few restaurants offer. And I can cook it for less than a third of the price of a steakhouse. Granted, most steakhouses dry-age their beef, a time-consuming process of taking slabs of beef and keeping them in a fridge for weeks until a certain amount of moisture is sucked out of the meat, intensifying the flavor. I’ve done that at home in my fridge, but it takes a lot of time and effort.

There is one steak that I couldn’t match for the longest time, and that was the Capital Grille’s bone-in Kona crusted dry-aged NY strip. I would have dreams about that steak! It was time to find a way to make something that would satisfy my craving for that amazing steak at home.

Looking at a variety of coffee rub recipes on-line, I started the slow and steady process of combining ingredients in just the right proportions, tasting as I went. What I came up with really accentuated the flavor of the beef I was cooking, better than I had imagined!


img_0100

3 tablespoons brown sugar
1 tablespoon Kosher salt
1 tablespoon ground coffee (use your favorite)
1 teaspoon granulated garlic
1 teaspoon granulated onion
1 teaspoon unsweetened cocoa powder


Combine the ingredients, mixing well, and keep them in a tightly sealed container at room temperature.

The secret ingredients are the brown sugar and the cocoa. The brown sugar gives the steak a caramelized crust when cooking, and the cocoa rounds out the flavors and gives the beef an extra “umph!”

When using, sprinkle the seasoning liberally on both sides of the steak before cooking. When cooking indoors, I like to add bacon fat to a hot cast iron skillet, searing the steak on all sides, and then finishing it in the oven. But let’s face it: nothing beats the grill!


img_0104

These pancakes, based on a recipe from chef April Bloomfield (The Spotted Pig and The Breslin in NYC), are made from fresh homemade ricotta cheese. Light as air…and really delicious! I’ve made a few batches of fresh ricotta cheese in my day, but when the family has a craving for these pancakes at the last minute, a good-quality store-bought ricotta cheese will do.


1 1/2 cups all-purpose flour (I use Cup4Cup GF flour if I want to make these gluten-free)
1/4 cup yellow cornmeal
2 tablespoons sugar
1/2 teaspoon salt
1/2 teaspoon baking powder
1/2 teaspoon baking soda
2 cups milk
2 large eggs, separated
1/2 cup fresh ricotta


In a large bowl, combine the flour, cornmeal, sugar, salt, baking powder and baking soda. In another large bowl, whisk together the milk, ricotta,  and egg yolks. Fold the wet ingredients into the dry ingredients.

In a large stainless steel bowl, whisk the egg whites until they are stiff, but not dry. Fold gently into the batter.

Spray a non-stick griddle with a little cooking spray and drop about 1/4 cup of batter per pancake. Cook over medium heat for about 2 minutes per side, until golden and fluffy.

pancake

These days, there’s a day for everything, but who knew that May 10th is National Shrimp Day?

Any excuse to make shrimp scampi is a good one, as far as I’m concerned!

I love shrimp scampi, and had the need to satisfy my cravings the other day. But what started as a simple scampi recipe, turned into something a bit more. I may never make scampi the same way again!

image

1 lb. wild-caught American shrimp, peeled and de-veined
4 tablespoons butter
4 tablespoons olive oil
2 teaspoons parsley
1 teaspoon garlic salt
1 teaspoon oregano
1/2 teaspoon granulated onion
1/4 teaspoon black pepper
3 tablespoons Spirgučiai (see below)
1/2 lb. fresh mozzarella, sliced
oregano, for sprinkling

Thaw the shrimp under cold water. Place them in a colander to drain.

Spirgučiai is a Lithuanian favorite: chopped bacon and onions, fried until crisp and usually sprinkled over anything and everything in Lithuanian cooking. I always have some in my fridge, already prepared and just waiting to be used.

In a saucepan on medium heat, combine the butter, olive oil, parsley, garlic salt, oregano, onion, pepper and Spirgučiai.  Heat only until everything melts and combines. Don’t let it burn. (If you don’t have Spirgučiai, all you need to do is take a couple of slices of bacon, chop them up, and fry them in a pan until crisp. Keep the bacon and the fat in the pan and then add the butter, olive oil, parsley, garlic salt, oregano, onion and pepper.)

In a small sheet pan lined with foil, lay the shrimp in a single layer and cook them halfway in a pre-heated 400-degree oven to remove the moisture from the shrimp.

Take the pan out of the oven, and drain off the moisture, if any. Pour the butter mix from the saucepan all over the shrimp and toss to coat. Return the shrimp to the oven for a few minutes, until they’ve heated through and are almost completely cooked. (Careful: never over-cook shrimp!)

Take the pan out of the oven, and place pieces of mozzarella on top, garnishing with a little oregano. Set the oven on broil and cook until the cheese has melted.

Slice with a spatula and serve on top of pasta, making sure you get some of that buttery scampi sauce.

image

As a low-carb option, you can serve this on broccoli or roasted spaghetti squash.