Archive for the ‘Rhode Island’ Category

I remember when Earth Day was first organized…the enthusiasm we all had to do our part to get our neighborhoods clean. For years, our radio station sponsored Earth Day clean-ups all over southern New England, and we got a firsthand look at just how badly we treat the environment around us, and how we could make a difference.

Today, it seems that Earth Day is simply something on a calendar.

image

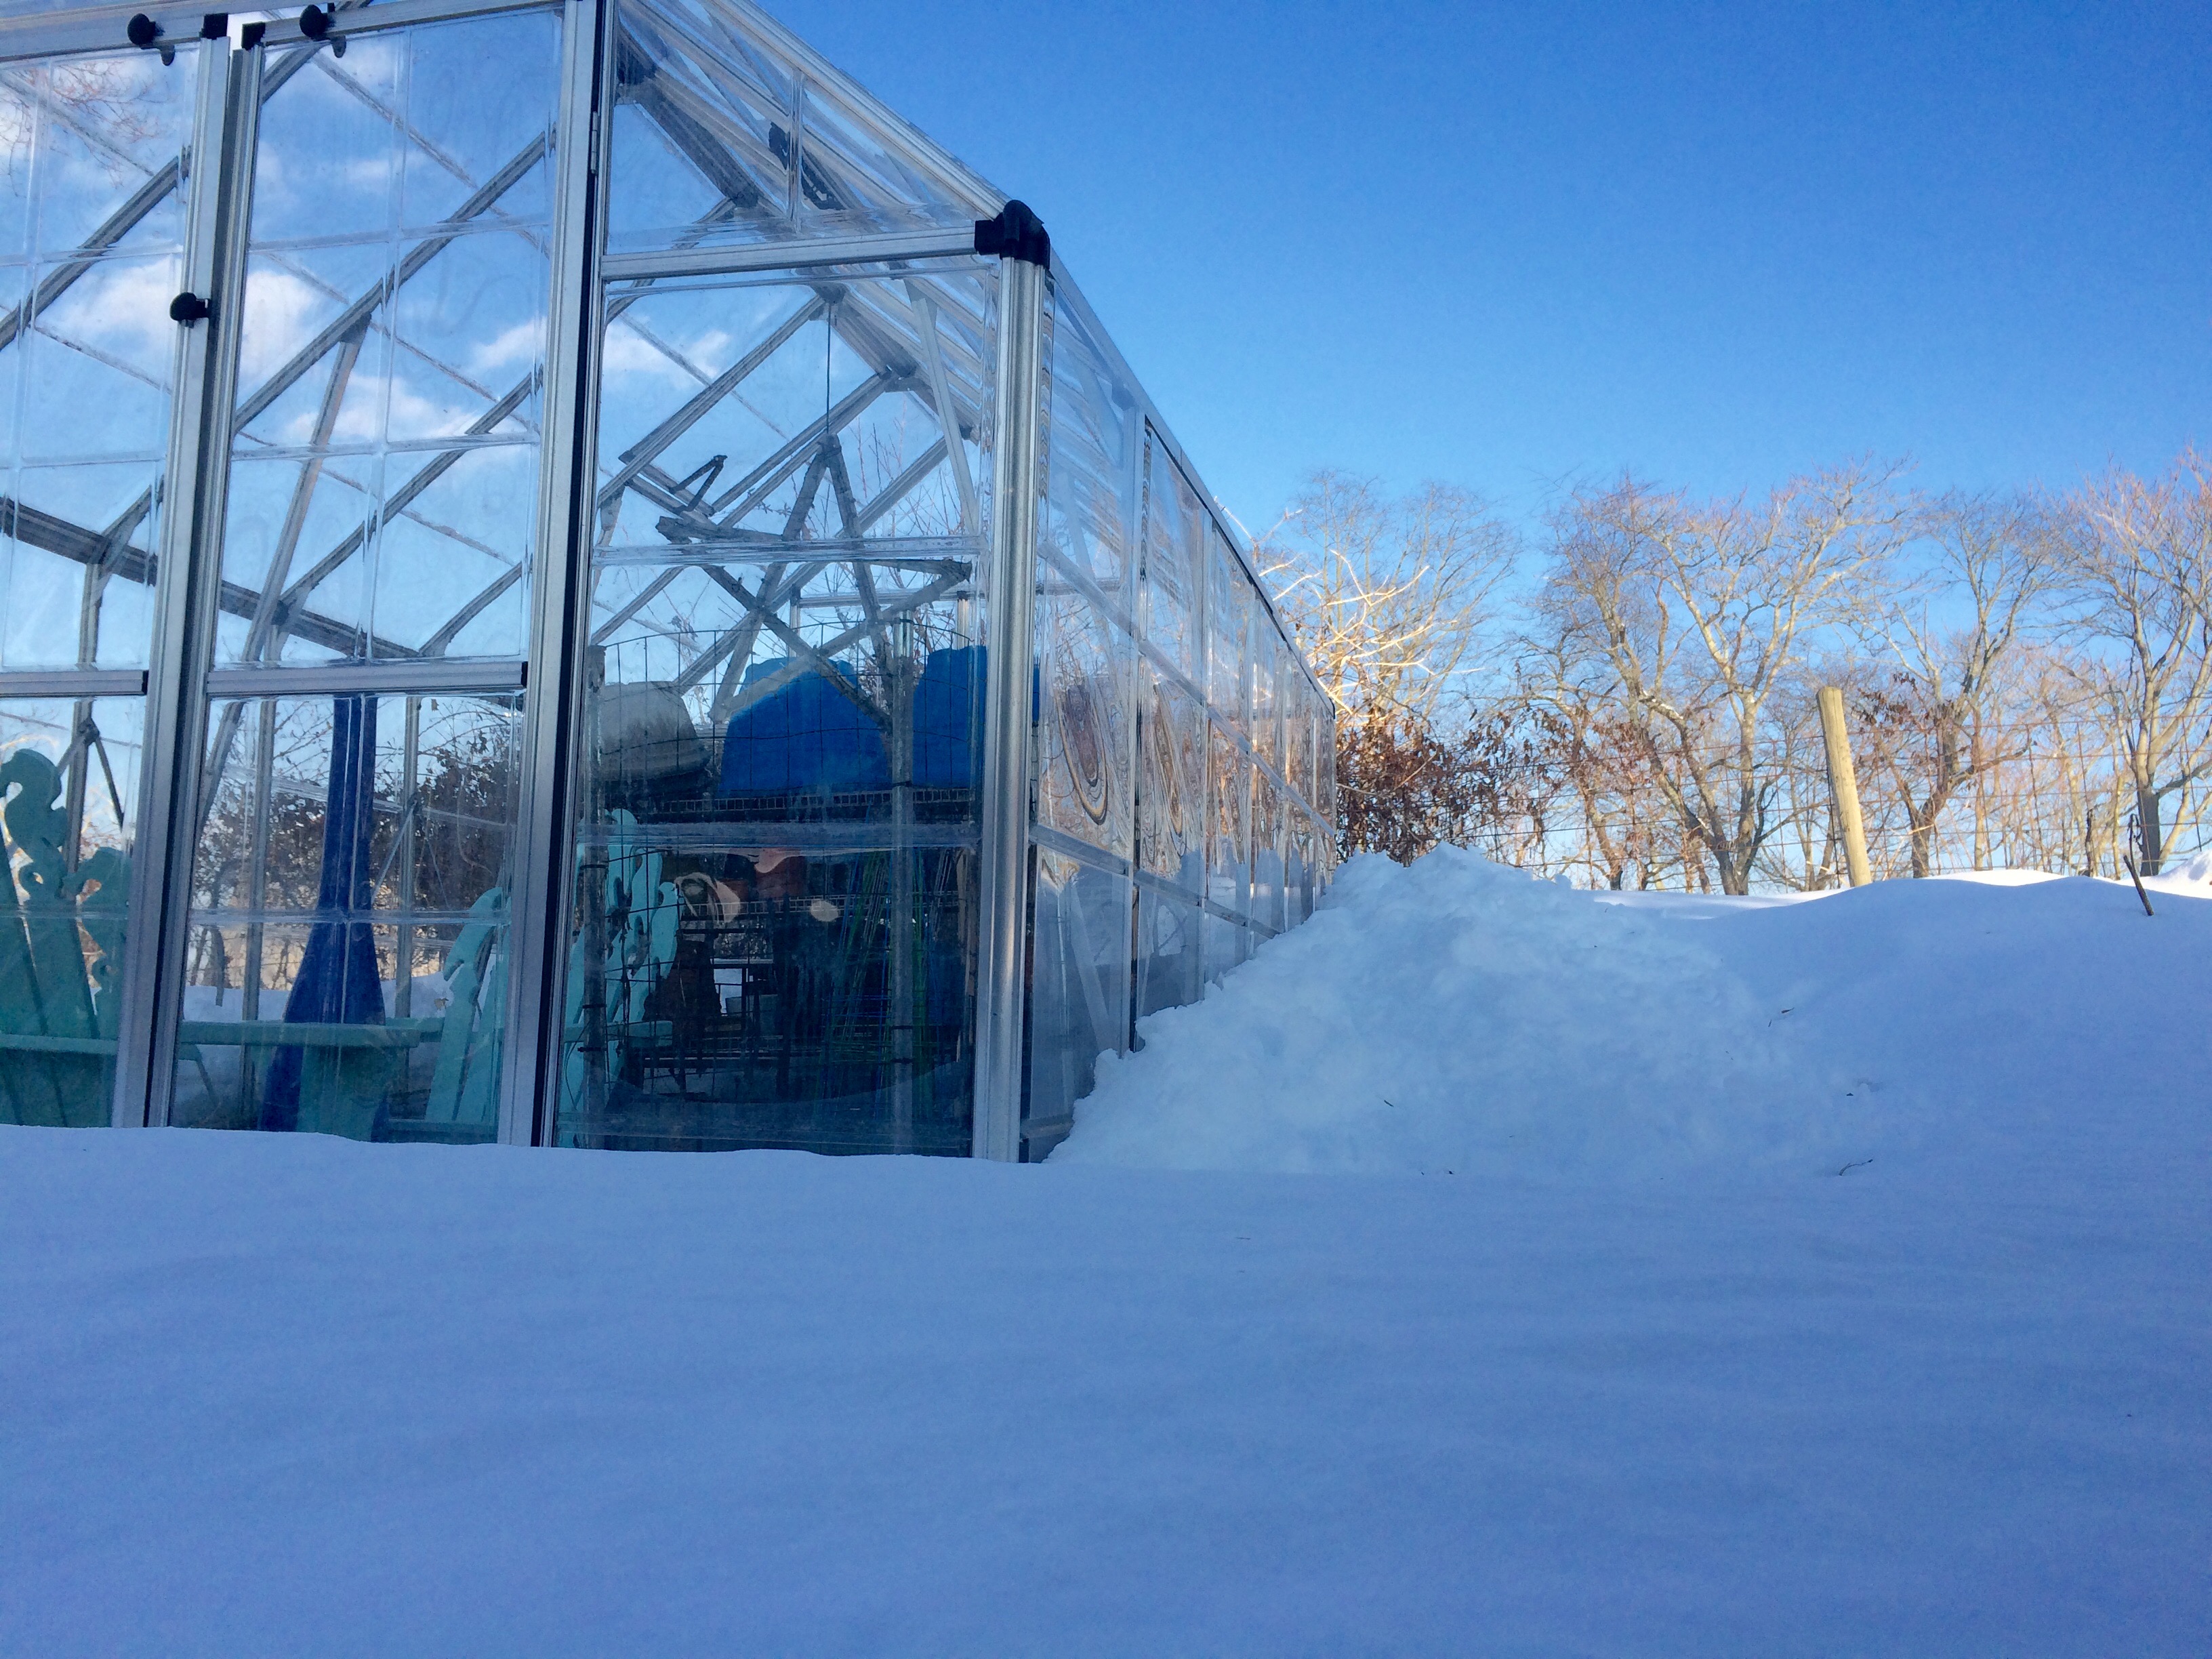
For me, Earth Day is the real start of spring. I think about the new growing season and the things I can do in my own backyard to help the planet, even on a very small scale.


COMPOST!

If you’ve got a corner in your yard big enough to hold a trash can, you can compost. Now, you’ll never get that “ultimate” compost pile you read about, steam rising out of a pile that’s cooking away, producing usable compost in just a few months. Even the pros really need to work hard to make that happen. But…you can get the pile to warm up and become a happy haven for a colony of worms that will gladly eat your kitchen scraps and make wonderful soil for you in return. And it’ll take about a year to get usable compost.

I have a small metal can with a lid under my kitchen sink and I toss all fruit and vegetable scraps, eggshells and used coffee grounds into it–no meat products. When the can is full, I bring it out to my compost bins. Successful backyard composting requires a certain amount of “green” products (the kitchen scraps) and some “brown” products (leaves, newspaper, cardboard, saw dust.) Combined, they heat up and eventually break down into nice brown and crumbly organic matter  to be used in the garden. Leaves are the ultimate compost material, but to get them to break down properly, they need to be shredded first. (I use a leaf blower.)

image


MULCH!

Spreading mulch on your garden means less weeding (as long as you use weed-free mulch!) Less weeding means no need for nasty weed killers. Mulching also helps the soil retain water, which means you don’t have to be out there with a garden hose every day.


KEEP IT ORGANIC!

No how matter how small a garden you have, you can make a real difference by laying off the pesticides and herbicides. Not only will the beneficial insects around “bee” happy, but you’ll be feeding your family healthy fruits and vegetables without harmful chemicals. And there’s no runoff of toxins that wind up in the water, either.

image


LESS GRASS, MORE MEADOW

Golf courses are already poisoning the environment with an overload of chemicals. Why should you? I stopped fertilizing and spraying my lawn a long time ago. You know what happened? It’s still green. And in some areas, I replaced the grass with perennial flowers and grasses. You know what happened? I had less lawn to cut. And the toughest thing for me was to let dandelions grow in my yard. There’s something about those yellow flowers that I can’t stand. But they help the bees. Priorities.


PICK UP AFTER YOUR DOG!

Dog feces on our streets is the #1 polluter of our waters. Most of the storm water that washes our streets clean ends up in the ocean completely untreated. If you’re a dog owner, one of the most significant things you can do is pick up after your dog and dispose of the poop in your trash. I had a teacher that used the phrase: “Every curb is a coastline.” She’s absolutely right.

image


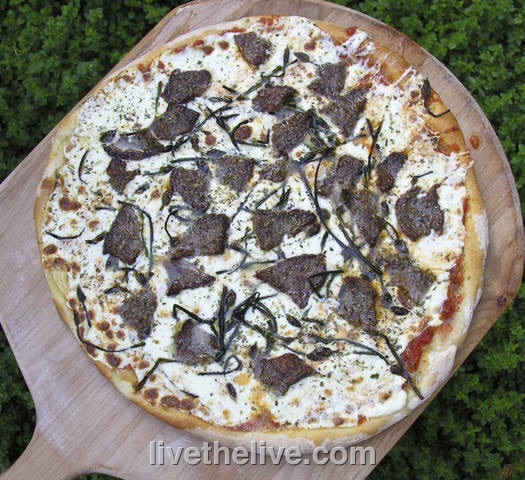
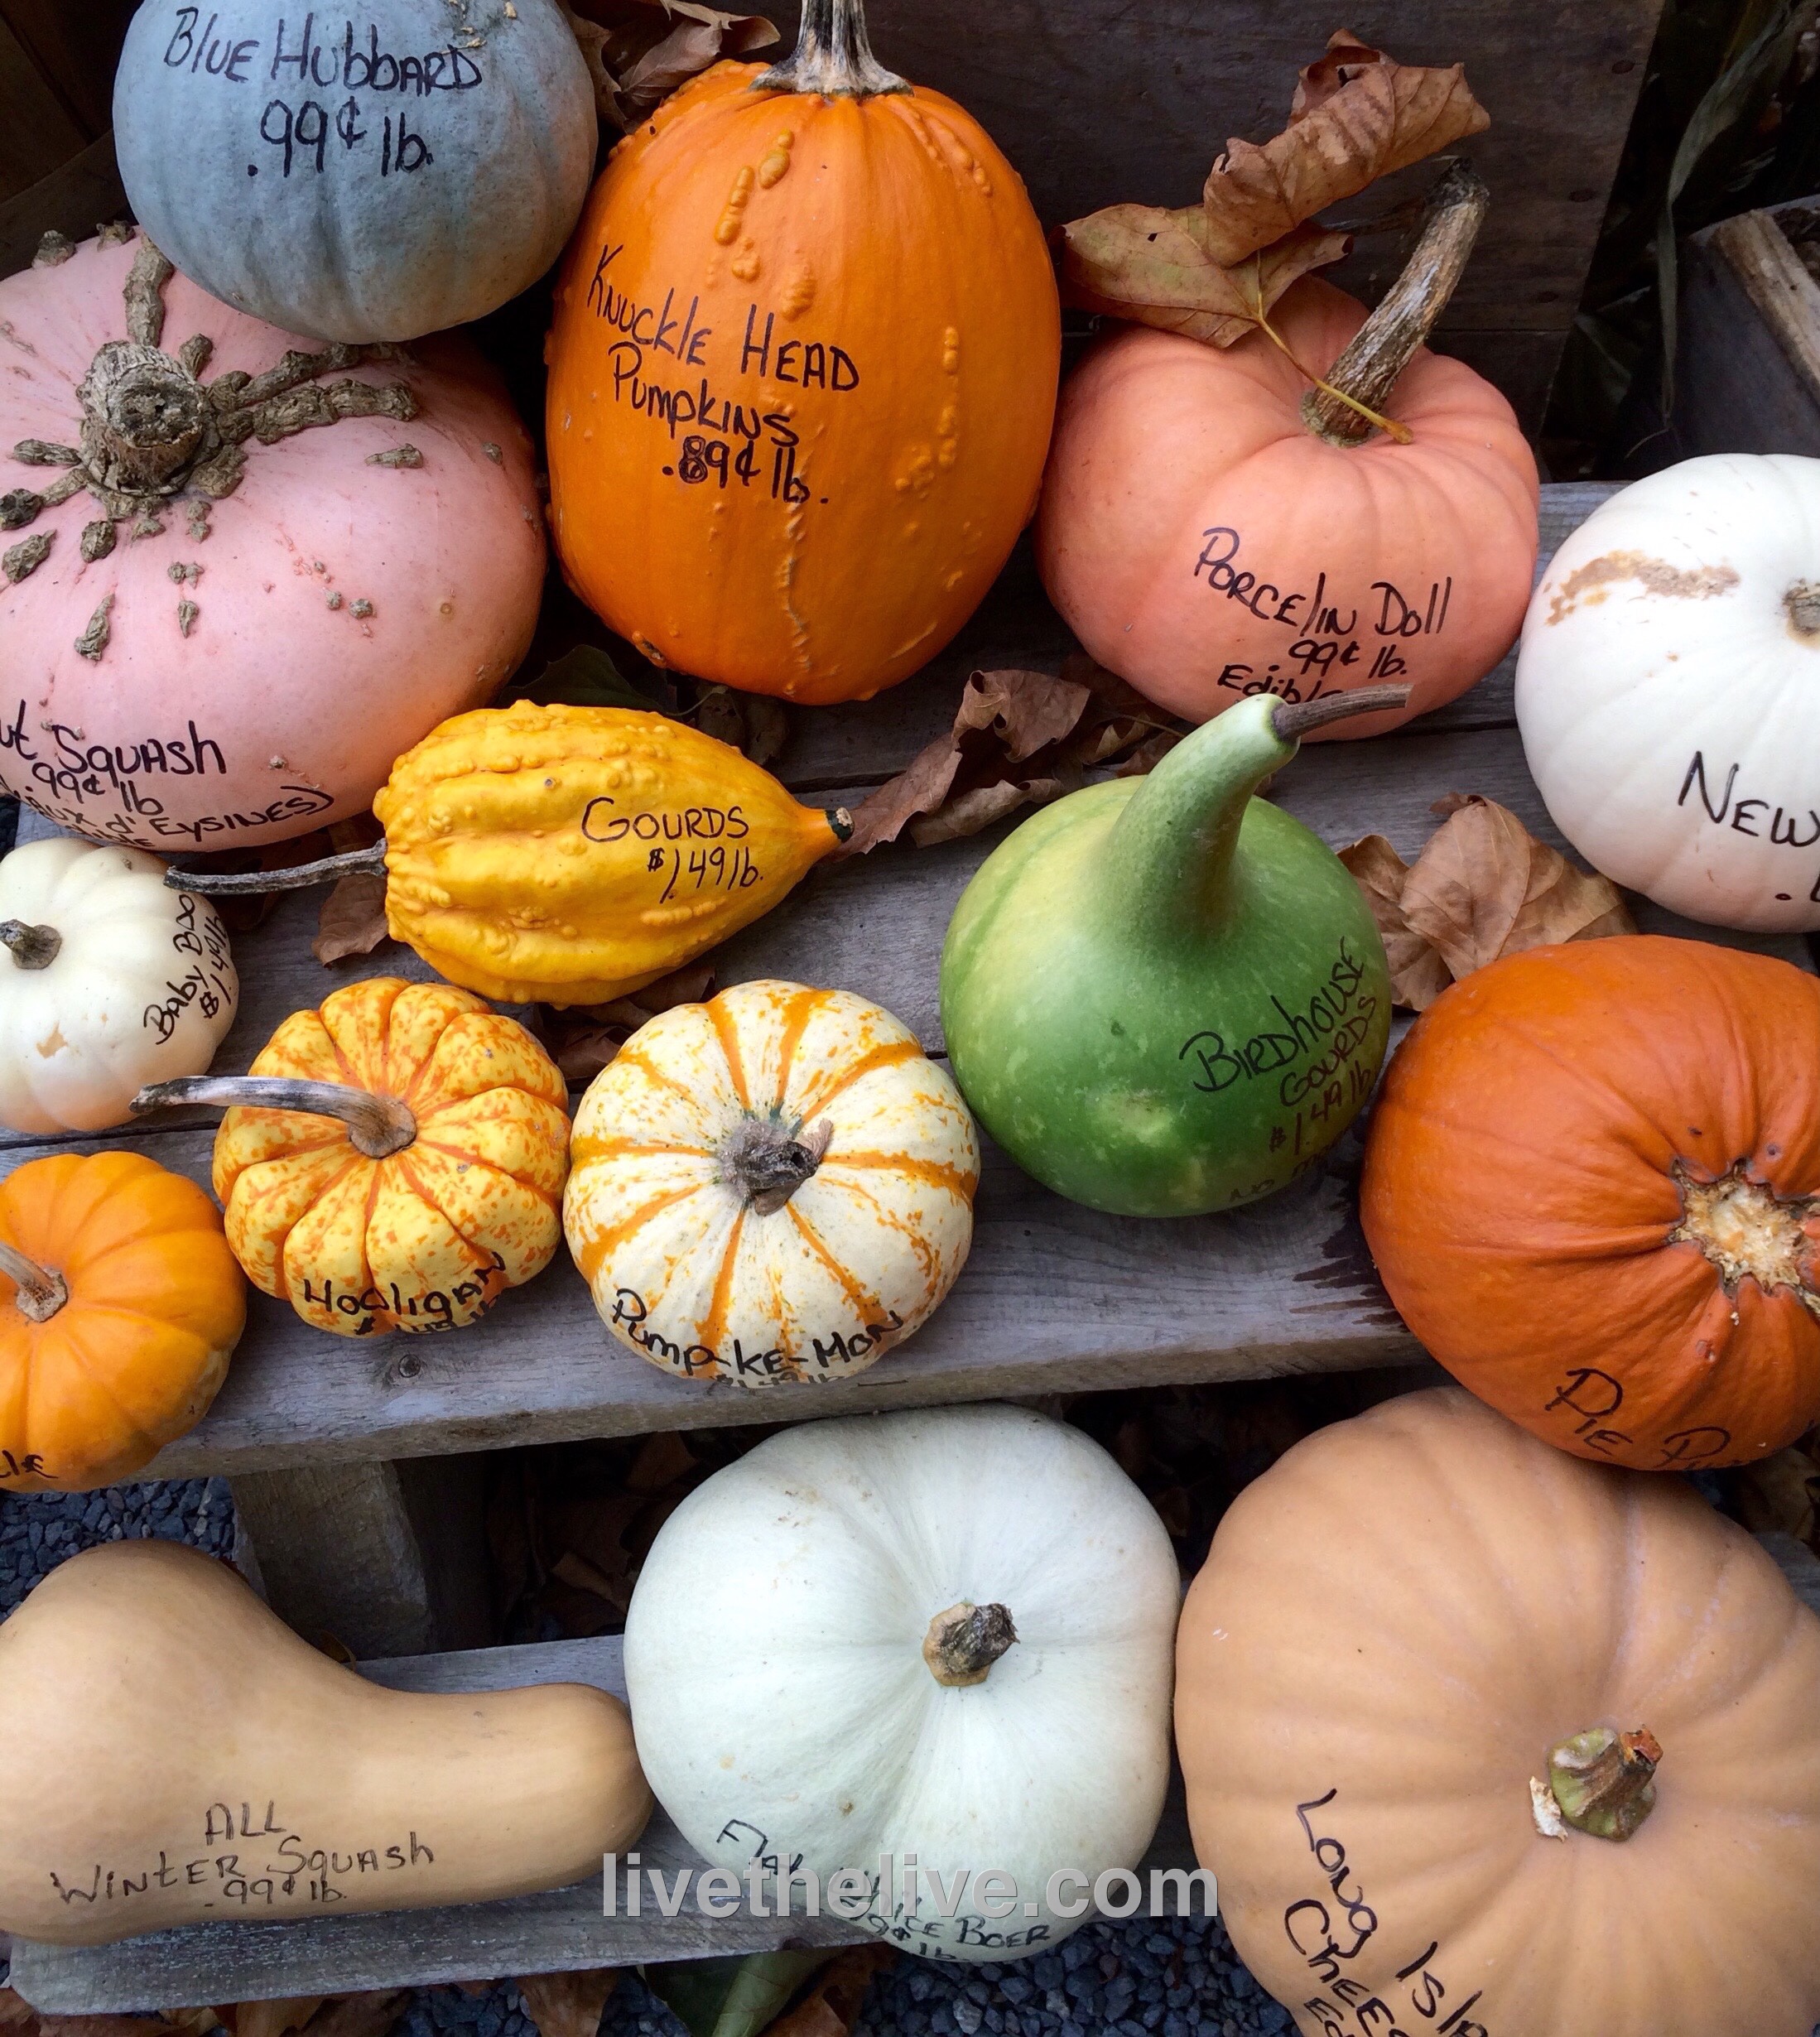
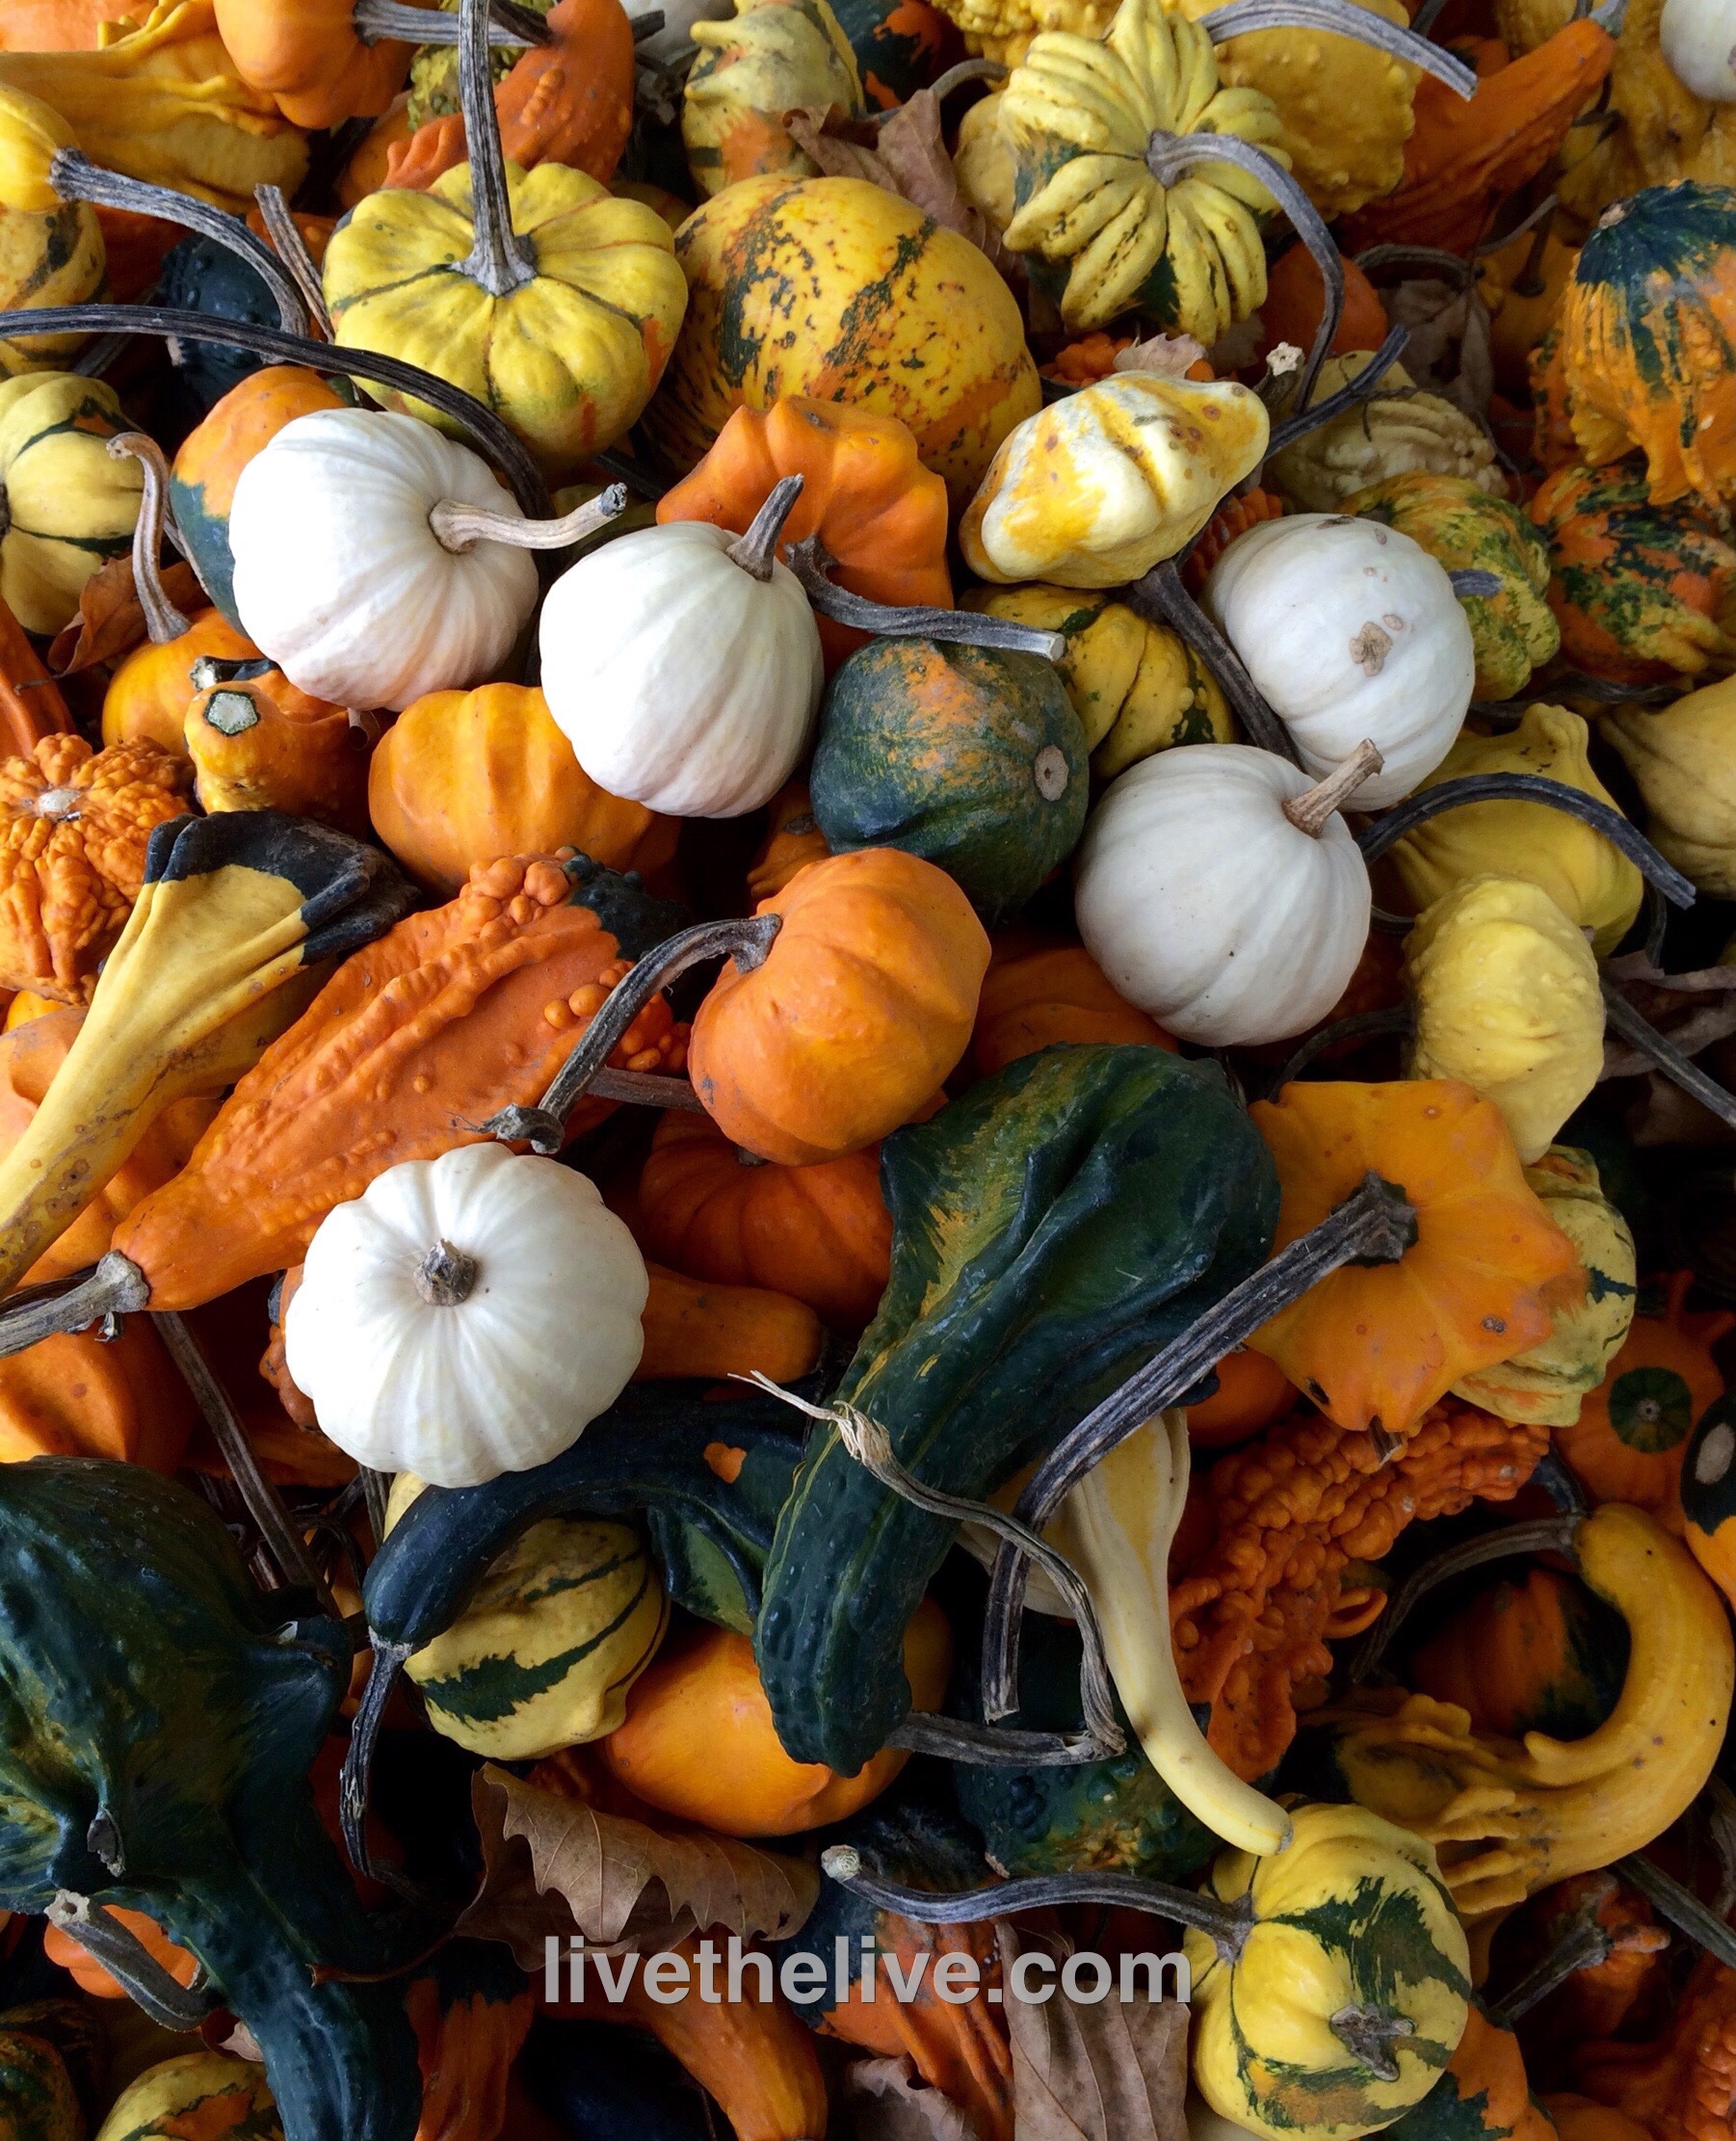
SUPPORT YOUR LOCAL ORGANIC FARMER!

Organic farmers are a special breed. They work twice as hard to sometimes get half as much. But it’s worth it to them because they believe in maintaining a natural balance in their world. Organic fruits and veggies are not always as “pretty” as those grown conventionally, but they’re not genetically modified, showered with Round-Up or sprayed with dyes, either.

image

All photos by me. Location: Earth.

I don’t let the crazy New England winter weather get me down! Spring is just a couple of weeks away! And that’s why I’d like to take you on a tour of my gardens. I hope you enjoy them!

My sitting area, where I can view several of my gardens, all from one comfortable seat!

My sitting area, where I can view several of my gardens, all from one comfortable seat!


The peonies and coneflowers will be up in no time!

The peonies and cone flowers will be up in no time!

I hear snow makes a great insulator. If that's the case, I've got an insulation bonanza!

I hear snow makes a great insulator. If that’s the case, I’ve got an insulation bonanza!


No garden is complete without compost bins busily cranking out that brown gold!

No garden is complete without compost bins busily cranking out that brown gold!


Asparagus, anyone?

Asparagus, anyone?

My guardian owl watches over the veggies and keeps the annoying critters out!

My guardian owl watches over the veggies and keeps the annoying critters out!


Thanks so much for touring my garden! It’s a lot of work, but it’s so gratifying!

Despite the large Italian community we have here in southern New England, there’s no exceptional pizza to speak of. I suppose you could say “them’s fightin’ words!” but if it’s here, I haven’t found it yet. (Fellini Pizza is about the best in Providence…and New Bedford’s Brick makes a good pie.)


So where is the excellent pizza? New York City, of course. OK…maybe I’m prejudiced because I’m a Brooklyn boy, and worked in a variety of pizzerias in my younger days, but there’s no doubt in my mind that if you want the best pizza–or bagel, for that matter–you’ve got to go to the Big Apple. (Even “Frank Pepe’s” in New Haven, CT is a mere stop on the way to the real deal.)


Pizza in NYC can be confusing as there are many different varieties to choose from. Brick oven pizzas abound, but there are pizza lovers who won’t settle for anything less than a pizza baked in a coal-fired oven. The extremely high heat of a coal-fired oven cooks the pizza in just a minute, and imparts a crusty, charred flavor you can’t get any other way. There are only about a dozen coal-fired pizzerias in New York City, and many of them have been around for 100 years or more, so it’s definitely a matter of making a special trip to enjoy this style of pizza.


Plenty of good, basic pizza, too: the traditional thin, round Neopolitan pie, and the thicker, square Sicilian pie, baked in that Blodgett pizza oven we all knew in our early pizza-making days.


So several years ago, when I heard through the pizza lovers’ grapevine that a “new” pizza was out there, one that was gaining a cult following, I needed to know about it. And more importantly, I needed to taste it!


It’s called Pizza Montanara, and there’s only a few pizzerias in New York City that serve it. The one I go to without fail is PizzArte, on West 55th, and I have to say it’s the ultimate pizza.


What makes Pizza Montanara so spectacular, quite simply, is that the dough is fried in oil before they put the sauce and cheese on it, and then they cook it in a wood burning oven. It is not greasy. The frying process, which lasts only a minute, puffs the dough up and creates a beautiful pillow-like softness that I’ve never experienced in a pizza before. Imagine a pizza cloud and you’ve got Pizza Montanara.

My signature pizza: marinated beef tenderloin with chive blossoms. Not Pizza Montanara, but not bad!

My signature pizza: marinated beef tenderloin with chive blossoms. Not Pizza Montanara, but not bad!


I’ve made Pizza Montanara at home, with some success. I poured a few inches of olive oil in a large skillet, stretched my dough into a small pie, and gently floated it into the pan. Using a spatula and tongs, I was able to flip the fried dough over after about 30 seconds, then removed it from the pan after another 30 seconds. It was golden and puffy. I quickly sauced and cheesed it and in the oven it went. But it’s a messy process I’d rather leave to the pros.


I’ll be “living the live” in New York City this weekend. PizzArte already on the list for Friday night. Looks for the photos. I can’t think of anything better than an amazing Pizza Montanara before I go on my no-carb diet next week!

Here in Rhode Island, we have access to amazing seafood year-round. My friend Gary, is a lobster man. My neighbor farms oysters. And for anything else, the winter farmers’ market at the Hope Artiste Village in Pawtucket, RI, is a great place to pick up veggies, bread, pasture-raised meats from local farmers, and freshly caught seafood.
I was on a mission to find fresh mussels, and in the process, stumbled upon fresh local bay scallops piled high on ice at the Matunuck Oyster Bar booth. (www.rhodyoysters.com) Unlike like the larger sea scallops or bomster scallops, bay scallops are small and sweet, about the size of a mini-marshmallow.
image
As far as I’m concerned, there is no better way to eat a fresh scallop than right out of the shell with just a little marinade on top, popping these beauties into my mouth literally as they’re still pulsing on the shell.
Scallops are a bit trickier to open and clean than clams or oysters (at least for me) but all it took was a little practice while sipping a Chopin martini and I got the hang of it in no time.
There are two marinades that I use when serving up raw scallops. The acidity in these marinades will cook the scallop a little, like in ceviche.
“MILLS TAVERN” MARINADE
The first place my wife and I ever had a raw scallop was at Mills Tavern, one of our favorite restaurants in Providence, RI. Freshly shucked scallops (in large flat shells) were served on ice with a tangy red marinade. We never got the recipe from the restaurant, but this is our version of that marinade.
Ingredients:
3 tablespoons rice wine vinegar
2 tablespoons Grenadine
1/2 teaspoon fresh finely grated ginger
2 teaspoons finely chopped scallions or chives
Combine all the ingredients and chill before using. Open the scallops, clean them, then place a small spoonful of the marinade on top.
image
I’ve developed 2 marinades that work well on raw scallops or other raw seafood…
ALZ “CEVICHE” MARINADE
Ingredients:
1/4 cup freshly squeezed orange juice
1 1/2 tablespoons freshly squeezed lemon juice
1 1/2 tablespoons freshly squeezed lime juice
2 tablespoons soy sauce
1 tablespoon + 1 teaspoon peanut oil
1/2 teaspoon honey
1 1/2 teaspoons fresh finely grated ginger
2 tablespoons finely chopped scallion
2 small dried chili peppers, finely chopped

Combine all the ingredients and chill before using. You can simply spoon a little bit on your seafood and eat, or submerge the seafood in the marinade, which will “cook” it after a couple of hours in the fridge.

image


ALZ GRAPEFRUIT SEAFOOD MARINADE


Ingredients:

2 tablespoons fresh grapefruit juice
2 tablespoons soy sauce
1 1/2 teaspoons grated ginger
1/2 teaspoon chili oil
1/2 teaspoon honey
1 tablespoon finely chopped scallion or chives

Combine all ingredients in a bowl. Mix well. Keep refrigerated.


Walker’s farm stand, in Little Compton, Rhode Island, is open for just one more week! The fall colors are just spectacular!

image


image


image


image


image


image


My pal, Paula, has a great Portuguese soup recipe that has been passed down from her Mom. Her Mom even adds chicken feet to the stock, which Paula chooses to leave out. Like most Portuguese soup recipes I’ve seen, there’s a ton of carbs: often potatoes with pasta with a lot of beans. As someone that tries to cut their carb intake, I make my soup with a lot less of that stuff.

Here’s Paula’s recipe…

Paula’s Portuguese Soup

Ingredients:

3 cans garbanzo beans

2 cans white cannellini beans

1 can pink beans

1 fennel bulb

Large bunch of kale

5-6 potatoes

1 cabbage

2 sticks hot chourico

Beef ribs

1 cup dry macaroni (elbows)

Red crushed pepper wet-optional

Drain and puree  3 cans of garbanzo beans in food processor .  Put puree in large pot with about  a gallon of water.  Chop chourico , and add it to the puree along with the ribs. Boil for 20 minutes.  Chop fennel bulb in food processor , chop cabbage ( 2 inch squares).  Add fennel and cabbage to soup and boil  for 30 minutes.  Add  chopped kale , boil for 30 minutes. Add cubed potatoes and before the potatoes are done, add the remaining drained cans of beans. Add macaroni and cook for a short time at the end.

My version of the classic Portuguese kale soup.

My version of the classic Portuguese kale soup.

Here’s my version: carb-friendly, but still packs a lot of flavor.

Ingredients:

4 cups home-made chicken or beef stock

4 cups water

1 cup lentils, rinsed in cold water

1 onion, finely chopped

1 carrot, finely chopped

2 stalks celery, finely chopped

1 clove garlic, through a press

1 lb chourico, peeled and chopped into small cubes (I use the mild stuff: Mello’s, out of Fall River, Mass.)

1 large bunch organic kale

salt and pepper

Add the stock and water to a large pot. Heat until boiling. Add the lentils.

In a saucepan with a little olive oil, saute the onions, carrots, celery, and garlic for a few minutes. Add the chopped chourico and saute a few minutes more. Add the contents of the saute pan in the pot.

Wash and de-stem the kale, tearing the leaves into smaller pieces. Add the leaves to the pot and stir. Discard the stems.

Cook the soup until the lentils are al dente. Taste and season for salt and pepper before serving.

The key to great tuna tartare is super fresh tuna. I was lucky: I got a phone call from friends who had an overload of just-caught tuna delivered to their door! I gladly accepted whatever they wanted to give me, and made this dish…

image


Ingredients:


1 lb. super-fresh tuna

1/4 cup olive oil

zest of 1 lime

1/4 cup fresh lime juice

1/2 teaspoon wasabi powder

1 1/2 teaspoons soy sauce

1/2 teaspoon hot pepper sauce (I use Frank’s)

1/2 teaspoon sea salt

1/2 teaspoon black pepper

1/4 cup scallions, minced (white and green parts)

1 avocado, chopped into 1/4″ cubes

1 1/2 teaspoons toasted sesame seeds (optional)


Chop the tuna into 1/4″ cubes or smaller. Place in a large bowl and keep in the fridge.

In another bowl, combine olive oil, lime zest and juice, wasabi powder, soy sauce, hot pepper sauce, salt and pepper, scallions, and chopped avocado. Mix gently so you don’t mash the avocado.

Add this mixture to the bowl of tuna and combine gently. Let it sit in the fridge for at least an hour for the flavors to combine. Before serving, take the bowl out of the fridge and let it warm just slightly. Taste for seasoning. Top with optional sesame seeds.

By now, I’m sure you’ve seen those videos where the person takes corn still in the husk, pops it in the microwave, and then slips out a perfect ear of corn without any silk minutes later. If you haven’t, here’s one of them…

There are 2 problems with this method: 1) It takes forever to do a dozen ears…and 2) It ruins the damn corn!

corn1

Here in New England, people lose their minds over fresh corn. They rush to farm stands first thing in the morning, and knock each other over to grab the largest, freshest ears they can find. Much to the chagrin of farmers, they peel the stalk off the top of a dozen ears before they find the one they want to keep. It’s an embarrassing scene usually reserved for morons fighting over sale items at Wal*Mart.

So why, then, if you’re that passionate about fresh corn, do you stick it in a microwave and nuke the living hell out of it? Fresh corn needs a minimalist approach. It should be eaten practically raw…not bombarded with gamma rays and dehydrated in to shriveled kernels.

I love my corn right off the cob…and I still stick to the tried-and-true method of putting it in a pot of water and boiling it for a very short time. Do I get a few strands of silk? Sure. That’s part of the deal. Real corn has silk…just like real fish has bones. Get over it.

My wife and daughter like their corn off the cob. In that case, I shuck the corn, stand the ear up in a bowl while it’s still raw, and slice down with a knife to remove the kernels. I then lightly saute the corn in a pan with unsalted organic butter and a pinch of Fleur de Sel. Those pieces that have several rows of kernels, across and down, are the favorites.

corn2


One other way I’ve cooked corn is the “cooler corn” method, which is great when you have a large crowd to feed. Get your favorite cooler and make sure it’s clean inside. Shuck your corn and place the ears in the cooler. Boil a large pot of water on the stove and then pour the hot water over the corn. Close the cooler lid tightly and let it sit for about 30 minutes. You will have perfect corn every time.

Lastly, although it’s probably tough to find these days, go for organic non-GMO corn when possible. If your local farmer doesn’t grow it, give him a rash of crap!


The original maraschino cherries were a variety called marasca from Croatia, and that’s where the name comes from. But today’s maraschino cherry is a completely different animal. The modern American supermarket maraschino cherry (usually a variety called Queen Anne) is soaked in a salt brine to remove its natural color and flavoring…then pitted and soaked in a sweetener for around a month. The final step of dipping in artificial coloring gives the modern maraschino its neon red color (or any other color desired).

So why would any self-respecting bar that takes pride in its cocktails serve you these vile, rancid cherries? Especially when there are some incredibly amazing alternatives?

If you pride yourself in the quality spirits you drink…if you understand that every ingredient counts–from the mixers down to the quality of the ice cubes–then you need to get the right cherries for the job!

Luxardo cherries have always been the standard by which other cherries are ranked, and for good reason. Sip a Manhattan made with Luxardo cherries, and you will never go back to what you had before. It’s why they go for about $25 a jar and they are worth every penny. These are made with a recipe that dates back to 1821 in Italy, using genuine marasca cherries and their syrup.

cherry2


A recent trip to what has become my new favorite restaurant in Providence, RI, a tiny 20-seat restaurant called birch, opened my eyes to yet another fantastic cherry:

My Amarena Fabbri cherry awaiting my Manhattan at birch in Providence, RI

My Amarena Fabbri cherry awaiting my Manhattan at birch in Providence, RI

Amarena Fabbri wild cherries: made in Bologna, Italy since 1905, these are wild cherries that are carefully harvested and stoned, then preserved in amarena syrup. (The amarena cherry is a small, dark, bitter cherry grown in the Bologna and Modena regions of Italy.) Packaged in beautiful blue and white Opaline jars, I can’t think of a better gift for the avid mixologist. Also about $25 a jar.

Both the Luxardo and the Amarena Fabbri cherries are avilable at Amazon.


Many people, even avid gardeners, seem to think that composting is extremely complicated and that it will take up too much of their time. And so they miss out on one of the most important free sources of organic matter for their gardens.
Composting is a win–win in every way imaginable.
Composting allows you to recycle kitchen food scraps. When you consider the fact that about 30% of all landfill waste is food scraps that could have been recycled into compost, you quickly see the value of this process.
Composting saves you trips to the dump and dirty looks from your garbage man when you leave too many bags at the end of your driveway. Why put all those grass and leaf clippings into a landfill when you can transform them into organic material that will nourish your garden plants?
Good composting basically means supplying microbes with the right balance of food so that they can thrive and break down your yard and kitchen waste. Despite what you may read elsewhere, the reality of backyard composting is that you will never get that super-hot pile they talk about in all the composting manuals. But, if you have a pile that cooks reasonably well, and becomes a haven for many happy redworms, you can consider your efforts a success.
My compost bins, with dahlias, cosmos and scarlet runner beans in front.

My compost bins, with dahlias, cosmos and scarlet runner beans in front.

Compost piles are aerobic, meaning they need fresh air to be successful, so it is important to aerate your compost pile once in a while. Simply take a shovel or pitchfork and “fluff” the pile up, mixing the contents. You’ll find that this small amount of maintenance will keep the aerobic microbes happy, and will keep the anaerobic microbes (the ones that don’t require air and cause the compost pile to smell bad) away.
Keep your compost pile out of the full sun. Successful composting requires the pile to be moist, and the summer sun will dry things out very quickly. Semi-shade is a better way to go.
The main types of food for your compost pile, easily split into 2 categories, are green and brown. Green waste is made of fresh plant material from the garden, kitchen fruit and vegetable scraps, and coffee grounds. They don’t necessarily need to be the color green. The term “green,” in this case, means they contain nitrogen. Avoid weeds because weed seeds can survive the average home composter and will sprout when you return the compost back to your soil the next season. And avoid all animal products (meat, dairy) unless you like rotten smells and animals tearing up your yard.
Brown waste is made of straw, leaves, wood chips, sawdust, newspaper, and even some cardboard. Brown waste tends to be drier than green waste, so it’s a good idea to soak things like newspaper and cardboard before putting it into your compost pile.
Too much green material will cause your compost to take on a not-so-delightful bouquet reminiscent of ammonia because of the excess of nitrogen. Adding a little brown stuff to it and mixing it through will help it stay odor-free.
The end of the season, when the leaves have fallen in my yard, is the only time I use the bagger on my riding lawn mower. (I let the mulched grass clippings go back into the soil the rest of the season.) But in the fall, I bag the grass clippings and leaves together, effectively combining green and brown in a perfect mix that starts to cook in my compost piles almost immediately. The result is some pretty well broken down material by the springtime.
If you’ve got a lot of leaves, most leaf blowers can suck up leaves, too, and they grind them up into fine particles that are worth their weight in gold. Throw them in your compost pile, or even till into your garden soil in the fall.
I keep a metal compost bucket with a lid under the kitchen sink. No need to buy an expensive bucket with a carbon-filter built into the lid from those garden catalogs. Just a good metal or plastic bucket with a lid, and before I dump my vegetable scraps and coffee grinds into it, I line the bottom with a single sheet of newspaper. That’s all I  need to keep the bucket from stinking up the room until I dump it into the compost pile.
There are many composters to choose from, from rotating drums that claim you’ll get compost in 14 days, to simple wooden or wire frames that hold the pile in check. Use what works best for you. I have a system of 3 bins made from wooden slats. When I fill one, I start on the next. Other than aerating them once in a while, I don’t mess with them. It takes about a year, but at the end of a long winter, I usually have some pretty nice compost to use in the springtime garden.
A word about manure in your garden: You should never use raw manure directly in your garden. You don’t want raw parasite-laden manure touching or splashing up onto your vegetables. If you get a supply of fresh horse or cow manure, mix it into your garden in the fall after you’ve harvested all of your veggies. It will winter over and be ready to make your garden happy the next season. Or let it sit in your compost bin for a year before using it. Though some will rave about the benefits of chicken manure, the fact is it harbors salmonella, which takes a year or two to go away. I won’t use it.