Archive for the ‘seafood’ Category

In the past, whenever I reached for the smoker, it was always for a slab of meat: brisket, pork shoulder, ribs. I’m surprised it took me this long to finally smoke some fish. What have I been waiting for?

Brining and smoking fish, in this case a hunk of wild-caught Alaskan salmon, is really not difficult to do at all: you brine the fish in a simple salt, pepper and sugar solution for a few hours, let the hunk of fish dry, then throw it in a smoker for a couple of hours. It’s really that easy. This method is called hot smoking, not the cold smoking you often see described on packages of store-bought salmon. Cold smoking is a process that takes days and requires equipment that most homeowners don’t have, and don’t need.

About the fish: I’m not a fan of traditionally cooked or poached salmon. I like it raw or I like it smoked. I never buy Atlantic salmon or any other farm-raised salmon because of the way they raise them: in large pens out in the ocean, fed food pellets and antibiotics, over-crowded and diseased, polluting the waters around them with waste.

Wild-caught fish are just that: they eat their natural food sources. They are not crowded so they don’t need antibiotics. And you can tell the difference when you look at the beautiful bright orange flesh. Does the good stuff cost more? Of course. Worth every bit.

Though I try to make sure all the small bones have been removed from my fish, I like to keep the skin on the filet, because it helps hold it together in the smoker. I always keep the fish cold in the fridge until it is ready to be brined.

salmon

For the brine:

1 gallon water
1cup Kosher salt
1cup organic raw sugar
1/2 teaspoon freshly ground black pepper

Combine the ingredients in a large pitcher made of glass or plastic and refrigerate until very cold.

When the brine is cold, remove the fish from the fridge and place it skin down in a glass or plastic container that will hold the filet without folding it over. Carefully pour the brine over the fish and make sure the fish is covered completely with the brine. If the fish filet starts to float, place a dish on it to push it down and then put the lid over the container. Place the container back in the fridge and brine for anywhere from 6 to 12 hours. (I always go for less than more. I’d rather have less salty than too salty.)

Once the fish has been brined, remove it from the container and rinse it well under fresh water. Pat it dry with paper towels and place it where it will get air circulating all around it. I use a small rack that stands an inch over a sheet pan. If you leave the fish out at room temp, do it for no more than an hour. Otherwise, it can stay in the fridge for up to 3 hours.

As the fish dries, it will form a shiny coat on the surface called a pellicle. This will actually help the smoke molecules adhere to the fish.

Start up your smoker. I use a digital smoker that runs on electricity, so I pre-heat to 220 degrees. When the fish has dried, I place it in the middle of the smoker and then add hickory chips to the smoker. I smoke the fish for about 2 hours, until the internal temperature of the fish is about 140.

Once it is smoked, I let the fish cool to room temp before I wrap it tightly and place it in the fridge for storage. Eat it within a few days…that should not be a problem!
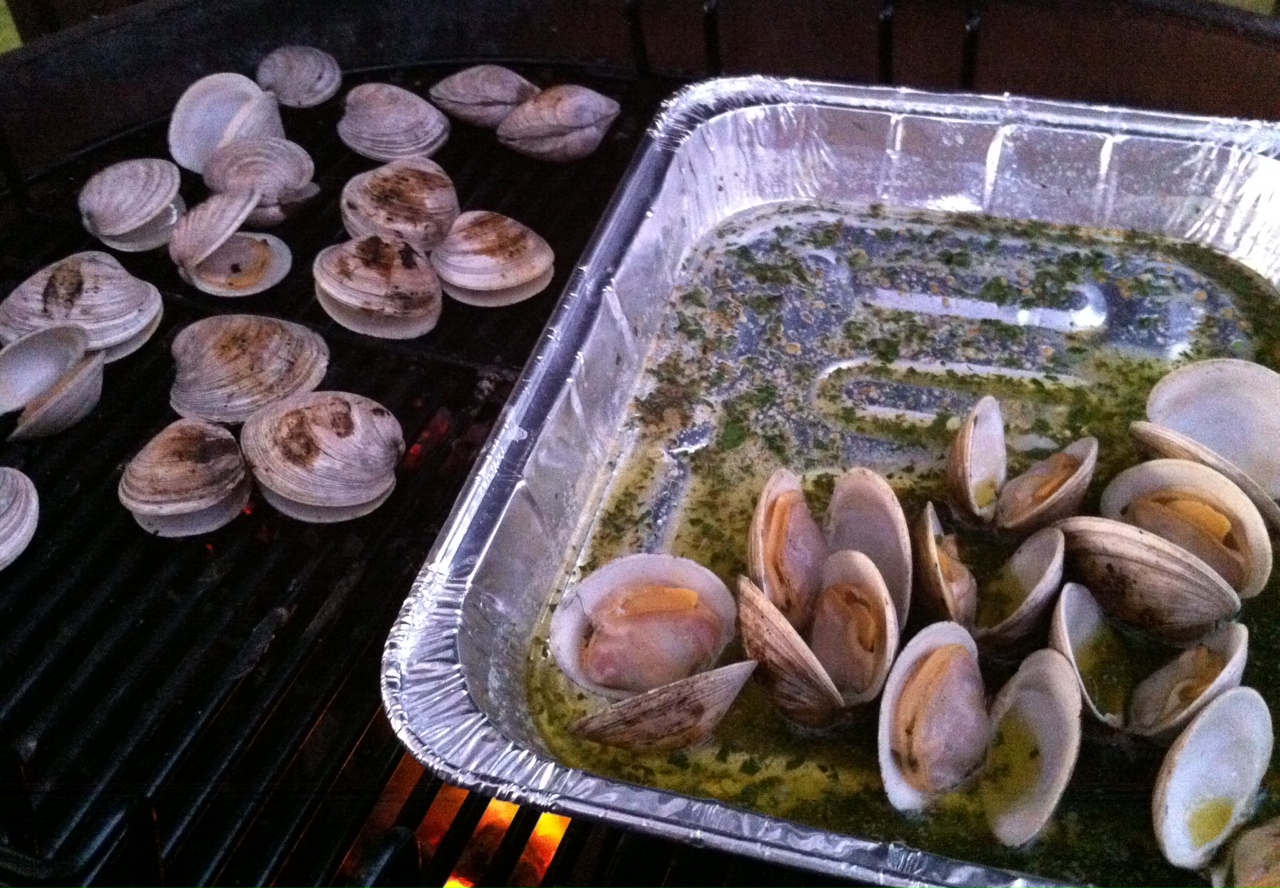
Enjoying clams without the clam knife: when you’ve got to feed a crowd, this is a delicious way to do it. Cooking clams on the grill is one of the tastiest ways to enjoy these awesome mollusks. Do it over hardwood charcoal to get that true smokey flavor.

clams on the grill

Ingredients:

A couple of dozen (or more) little neck clams, washed and purged

1 stick (8 oz) of butter

1/4 cup extra virgin olive oil

1/4 cup chopped parsley

1 teaspoon dried oregano

1/2 teaspoon dried basil

1 teaspoon minced garlic

1 teaspoon sea salt

Clams should be stored cold and dry in a fridge until ready to use…not in water, not on ice.

Fill a large bowl with cold water,add sea salt and some corn meal to it, and mix it around. Add the clams to this bowl and let them purge in this liquid for at least an hour. They will suck up the corn meal and spit out sand and grit. After an hour, pour off the water/salt/meal/grit mix, and thoroughly wash the clams.

Start your hardwood charcoal grill and divide it in half: coals on one side, no coals on the other.

While the coals are heating up, grab a disposable aluminum foil tray and place it on a burner on your stove over medium heat. Add the butter, olive oil, parsley, oregano, basil, garlic and salt, and stir to combine. Once the butter has melted and everything has blended, bring the tray over to the charcoal grill and place on the side of the grill without coals. It will stay warm.

Once the coals are hot, just place the clams directly on the grill. (Use tongs, unless you want to remove all of your knuckle hair.) When they start to open, carefully flip them over, trying not to lose any of the precious juices inside the clam. Cook them for as long as you like, from raw, to more thoroughly cooked. As each one reaches its desired doneness, place it in the aluminum tray, making sure it gets swished around in the butter and herb mix.

When all the clams have been cooked and are in the tray, serve with a fresh baguette or even over pasta. A glass of great white wine is a must.

Stuffies, or stuffed clams, are a very personal matter here in Southern New England. There are as many stuffies recipes as there are chowder recipes, and everyone thinks they’ve got the best one. Most stuffies that I’ve had in restaurants, like most meatballs I’ve had, have too much bread and not enough of the good stuff.

I use medium-sized clams for this recipe and not the traditional quahog, a large clam often used in chowders that I find to be too chewy.

Dropping the clams in hot water in the beginning helps make opening the clams a lot easier.

This recipe makes a lot of stuffies, but they freeze well so you can have them when you want.

stuffies

ALZ STUFFIES

Ingredients:

4 dozen medium neck clams

1.5 pounds chopped chourico, skin removed (I use Mello’s from Fall River, Mass)

3 onions, finely chopped

3 tablespoons garlic, finely chopped

3 cups frozen or fresh corn kernels

3 cups toasted and coarsely ground Portuguese bread

3/4 cup chopped fresh oregano (or 1 Tablespoon dried)

1 1/4 cups chopped fresh sage (don’t use dried)

Salt and pepper

Butter

For the aioli:

Sambal chili paste

Mayonnaise

In a large pot of boiling water, drop the clams in, about a dozen at a time. Remove them after about 30 seconds, before they open. Place in bowl to cool. Do this with all the clams.

Open the clams with a clam knife over a bowl, making sure you save all the liquid from the clams. Put clam shells to the side. Throw away any broken shells, and wash the empty shell halves thoroughly.

Move clam meat to a cutting board or food processor and chop to medium-fine. Set aside. Let clam juices sit in bowl and then pour off to another bowl, leaving behind sand and grit.

In a large frying pan, add olive oil, onions, and chourico and cook on medium heat for a few minutes. Add oregano and sage and cook a few more minutes. Add corn and cook a few more minutes, a little more if the corn was frozen. Add chopped clams and stir, cooking for a few more minutes. Add breadcrumbs a little at a time until you have a nice balance of bread and other ingredients. Add the clam juice a little at a time as well, so that you can add all the breadcrumbs, but the mix isn’t runny. There’s lots of flavor in the clam juice, so use as much as you can! Season with salt and pepper.

Remove the pan from the heat and fill the empty clam shells with the stuffing.

At this point, you can freeze the clams. I put them on small sheet pans in the freezer until they harden, then I wrap them 6 at a time, and put them in freezer bags. Keep frozen!

To make the aioli, mix mayonnaise and Sambal in a bowl, to taste. Sambal is hot, so a little goes a long way. Keep covered and refrigerated.

When ready to bake, remove clams from freezer and place on a sheet pan in a pre-heated 350 degree oven. Top each clam with a small ¼” square piece of butter. Bake about 15 minutes, until the clams are sizzling and light brown. Top with a small dab of aioli.

Fried food has not had a good reputation. Everyone automatically thinks that it’s bad for you. That fact is, if it’s done right, fried food is delicious and not greasy at all.

When you fry at home, you can do things the right way: start with clean oil, heat it to the right temperature, and then throw it out when it’s done. When you go to a fast-food place, that oil has been sitting there all day (if not all week)…it’s been used hundreds of times…it absorbs the flavors of whatever was fried before your food got dropped in there…and quite frankly, it’s beat up.

What got me started with this whole beer-batter-at-home process was stumbling upon some amazing fresh local cod at my neighborhood seafood store: Bridgeport Seafood in Tiverton, Rhode Island. My buddy, Dave, said that the cod came from just off Sakonnet Point that day. Good enough for me!


Beer Battered Fish

I use vegetable oil and, using a thermometer, heat it to 350 degrees. I always watch the temp of my oil…it can get too hot very quickly…and by the same token, the temp can drop quickly if I throw in a whole bunch of fish into the pot all at once. Using one of those deep fryers made for home use is also a good way of cooking and controlling temperature. I’m careful not to put too much oil in my pot (halfway up is fine) or it could spill over, since oil expands as it gets hotter.


Here’s all you need for great beer batter:


1 1/2 cups all-purpose flour (I use King Arthur)

12 oz bottle of beer (Sam Adams Boston Lager works for me)

1 teaspoon salt


Combine all ingredients in a bowl and beat until smooth. Cover loosely with plastic wrap and place in fridge for 3 hours.

Cut your fish into pieces that aren’t too big and will fit in your pot easily. Thickness of the fish may vary and so may the cooking times of each piece. When the oil reaches 350, simply dip the fish into the batter and let as much batter drip off as you like before you carefully place the fish into the oil. Fry until golden brown.


beer batter


What good is fried fish without tartare sauce, right? Don’t tell me you’re using the stuff in a jar after frying the fish yourself!


Alz Tartare Sauce


1/2 cup mayo

Dash of Worcestershire sauce

Dash of Frank’s Red Hot cayenne sauce

Grinding of black pepper

1 Tablespoon finely chopped capers

1 teaspoon lemon zest, using micro plane zester


Combine all ingredients in a bowl, cover with plastic and refrigerate for an hour before using.

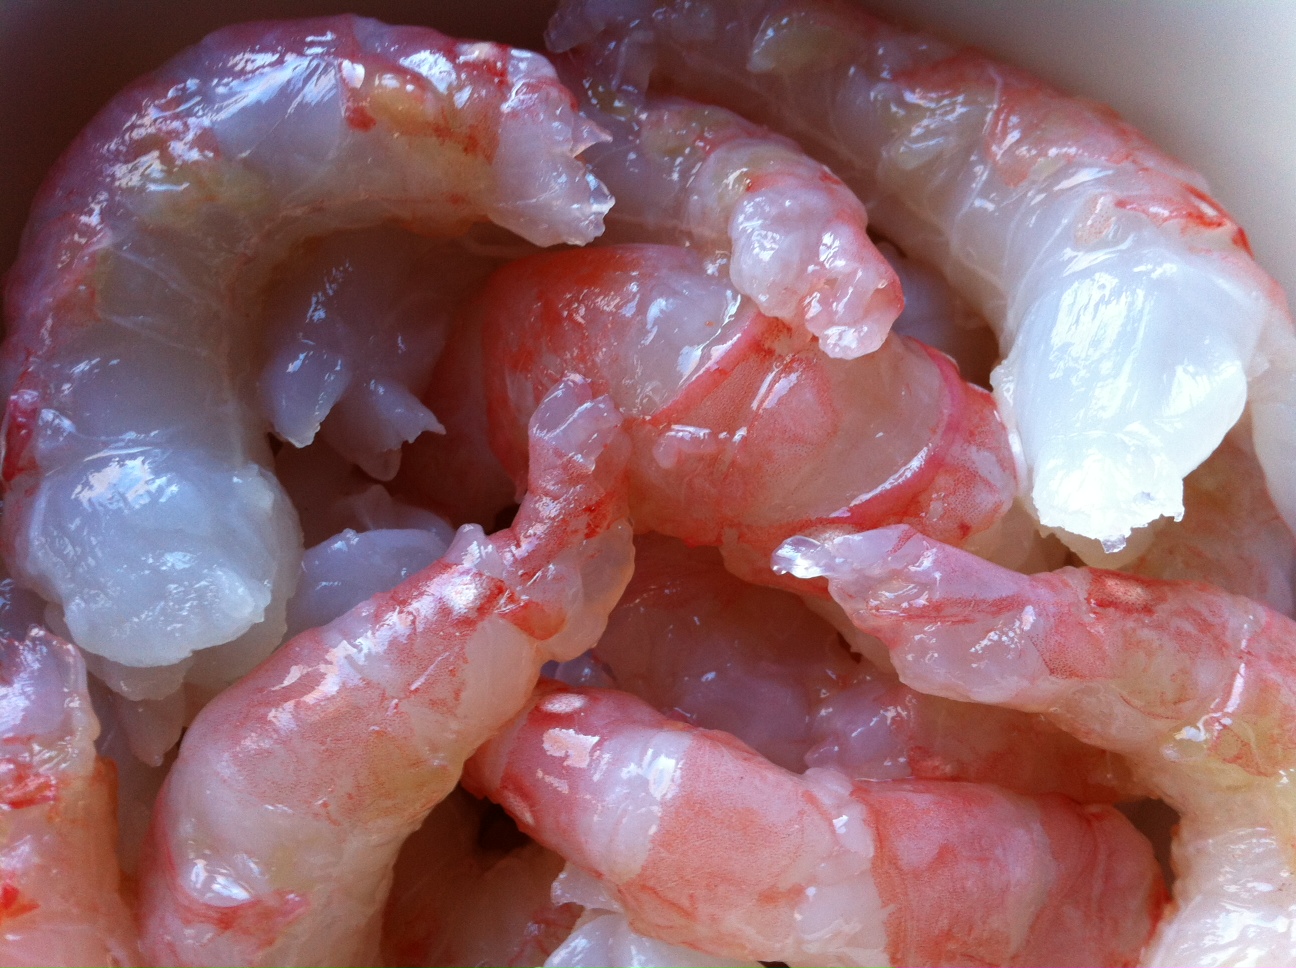
This is not your average shrimp! Found in the Pacific, from Southern California all the way up to Alaska, as well as Japan and Korea, these beauties, identified by the white spots on the sides of their first and fifth abdominal segments, live up to 11 years. And here’s the crazy part: each spot prawn (or spot shrimp) spawns once as a male and one or more time as a female!

prawns 1

Having read so much about them, I ordered a pound and decided that I would get full use of the shrimp by peeling them and making an intensely flavored sauce out of the shells.

Peeling and deveining was easy: the shells slipped right off the shrimp, and they were so beautifully clean, their were no veins to remove!

If you can’t get  hold of Wild Pacific spot prawns, shrimp or lobster will certainly do. Just remember to ask your fishmonger for wild caught American shrimp, and not that horrible farmed stuff from Asia. If he doesn’t have it, shop elsewhere.

prawns 2

INGREDIENTS…

1 lb pasta

For the stock:

1 lb. wild Pacific spot prawns, thawed, peeled, and deveined. Save shells and container water, if any.

1 Tablespoon extra virgin olive oil

1/2 carrot

1/2 celery stalk

1/4 onion

1 smashed clove garlic

4 whole peppercorns

2 teaspoons ketchup

1/2 sprig rosemary

1/2 sprig thyme

6 cups water


For the shrimp:

1/4 teaspoon salt

1/4 teaspoon freshly ground black pepper

1/4 teaspoon sugar

4 Tablespoons butter, room temperature

1 Tablespoon extra virgin olive oil


The final touch:

1 Tablespoon extra virgin olive oil

1 shallot, finely chopped

2 garlic cloves, pushed through a garlic press

2 Tablespoons butter, room temperature

1/8 cup fresh chives or scallions, finely chopped


COOKING INSTRUCTIONS…


For the stock:

Peel and devein shrimp. Keep peeled shrimp in the fridge, covered.

In a pot, heat the olive oil and add the carrot, celery, onion, garlic, peppercorns, ketchup, rosemary, thyme and shrimp shells. Saute for a few minutes to get the flavors going. Add container water, if any, and 6 cups water. Bring to a boil and let simmer for 2 hours.

Strain solids out and discard. Place stock in a smaller pot, and continue reducing until about 1 cup of the stock remains.

Boil pasta and remove from water before al dente stage. (It will cook more later.) Strain and set aside.


For the shrimp:

Combine salt, pepper and sugar with the prawns in a bowl and toss to coat them evenly.

In a large saute pan, heat the butter and olive oil on medium-high heat. Add the shrimp and cook until lightly caramelized and almost cooked all the way through. Do not overcook! set aside.


The final touch:

In the same large saute pan, heat 1 Tablespoon of olive oil and add the shallot. Saute for 1 minute, then add the garlic. Saute for 2 more minutes, then add some of the stock, the shrimp, the pasta, and the butter, and mix well. If dry, add more of the stock until the pasta is coated, but not dripping. Salt and pepper to taste. Garnish with the chives.

prawns 3

Serve immediately!


Clam fritters, conch fritters, lobster fritters…I suppose you could fritter anything. But the first time I had them with mussels, I knew that I would never fritter my life away with any other!

It was a fall afternoon in Newport, Rhode Island, at the Newport Yachting Center’s annual Oyster Festival. We’re gorging on freshly shucked oysters and clams, boiled shrimp, and…what have we here? I had never heard of a mussel fritter before, but Wendy, the lovely lady behind the counter, convinced me that her secret recipe would knock my socks off. I took one bite, then another, then another…There was no turning back.

They couldn’t be easier to make, but it is crucial to have the right fritter batter. And that starts with a product called Drum Rock fritter mix. If you live in New England, you can find it in just about any seafood department at Whole Foods. If you live further away, you can check out their website (http://www.drumrockproducts.com/index.php) or try your luck with a local brand of fritter mix.

fritter ingredients


If you’re using fresh mussels, be sure to clean them well and remove the beards. Steam them in a pot over a small amount of water. As they open, they will release their flavorful juices and you want to save every drop of that broth for the fritters. Here in New England, frozen mussel meats are available in some seafood stores. All you need to do is thaw them, steam them saving the broth, and you’re ready to go.


Mussel Fritters

1 lb Drum Rock fritter mix

2 cups cooked mussel meats

1/2 cup mussel broth (saved from steaming mussels)

1/4 to 1/2 cup good quality beer, such as Sam Adams Boston Lager

Peanut oil for frying

Be sure to let the batter rest. If you're waiting for guests to arrive, just cover the batter bowl with a moist towel and it will keep for several hours at room temperature.

Be sure to let the batter rest. If you’re waiting for guests to arrive, just cover the batter bowl with a moist towel and it will keep for several hours at room temperature.


Steam mussel meats until just cooked. Remove mussel meats, and reserve 1/2 cup of the broth. Pulse mussel meats in a food processor, but leave chunky…or chop by hand.

Put Drum Rock fritter mix in a large bowl. Add mussel meats, mussel broth, and beer. Stir gently until just mixed. Let it sit for 10 to 15 minutes and do not stir again.

Using a thermometer, heat oil to 350 degrees, and using a small spoon or scoop, drop fritters in hot oil, turning gently, cooking 3 to 4 minutes until golden.

Drain on absorbent paper, and season with salt and pepper immediately. Serve right away!

IMG_3043


The perfect dipping sauce for these mussel fritters is made from two ingredients: mayonnaise and Ponzu sauce, which is a citrus-based soy sauce. Combine both ingredients in a bowl. How much you use of each is a matter of personal preference. I usually use a ratio of 4 parts mayo to 1 part Ponzu.


Here in Rhode Island, we have access to amazing seafood year-round. My friend Gary, is a lobster man. My neighbor farms oysters. And for anything else, the winter farmers’ market at the Hope Artiste Village in Pawtucket, RI (www.farmfresh.org/food/farmersmarkets_details.php?market=29) is a great place to pick up veggies, bread, pasture-raised meats from local farmers, and freshly caught seafood.
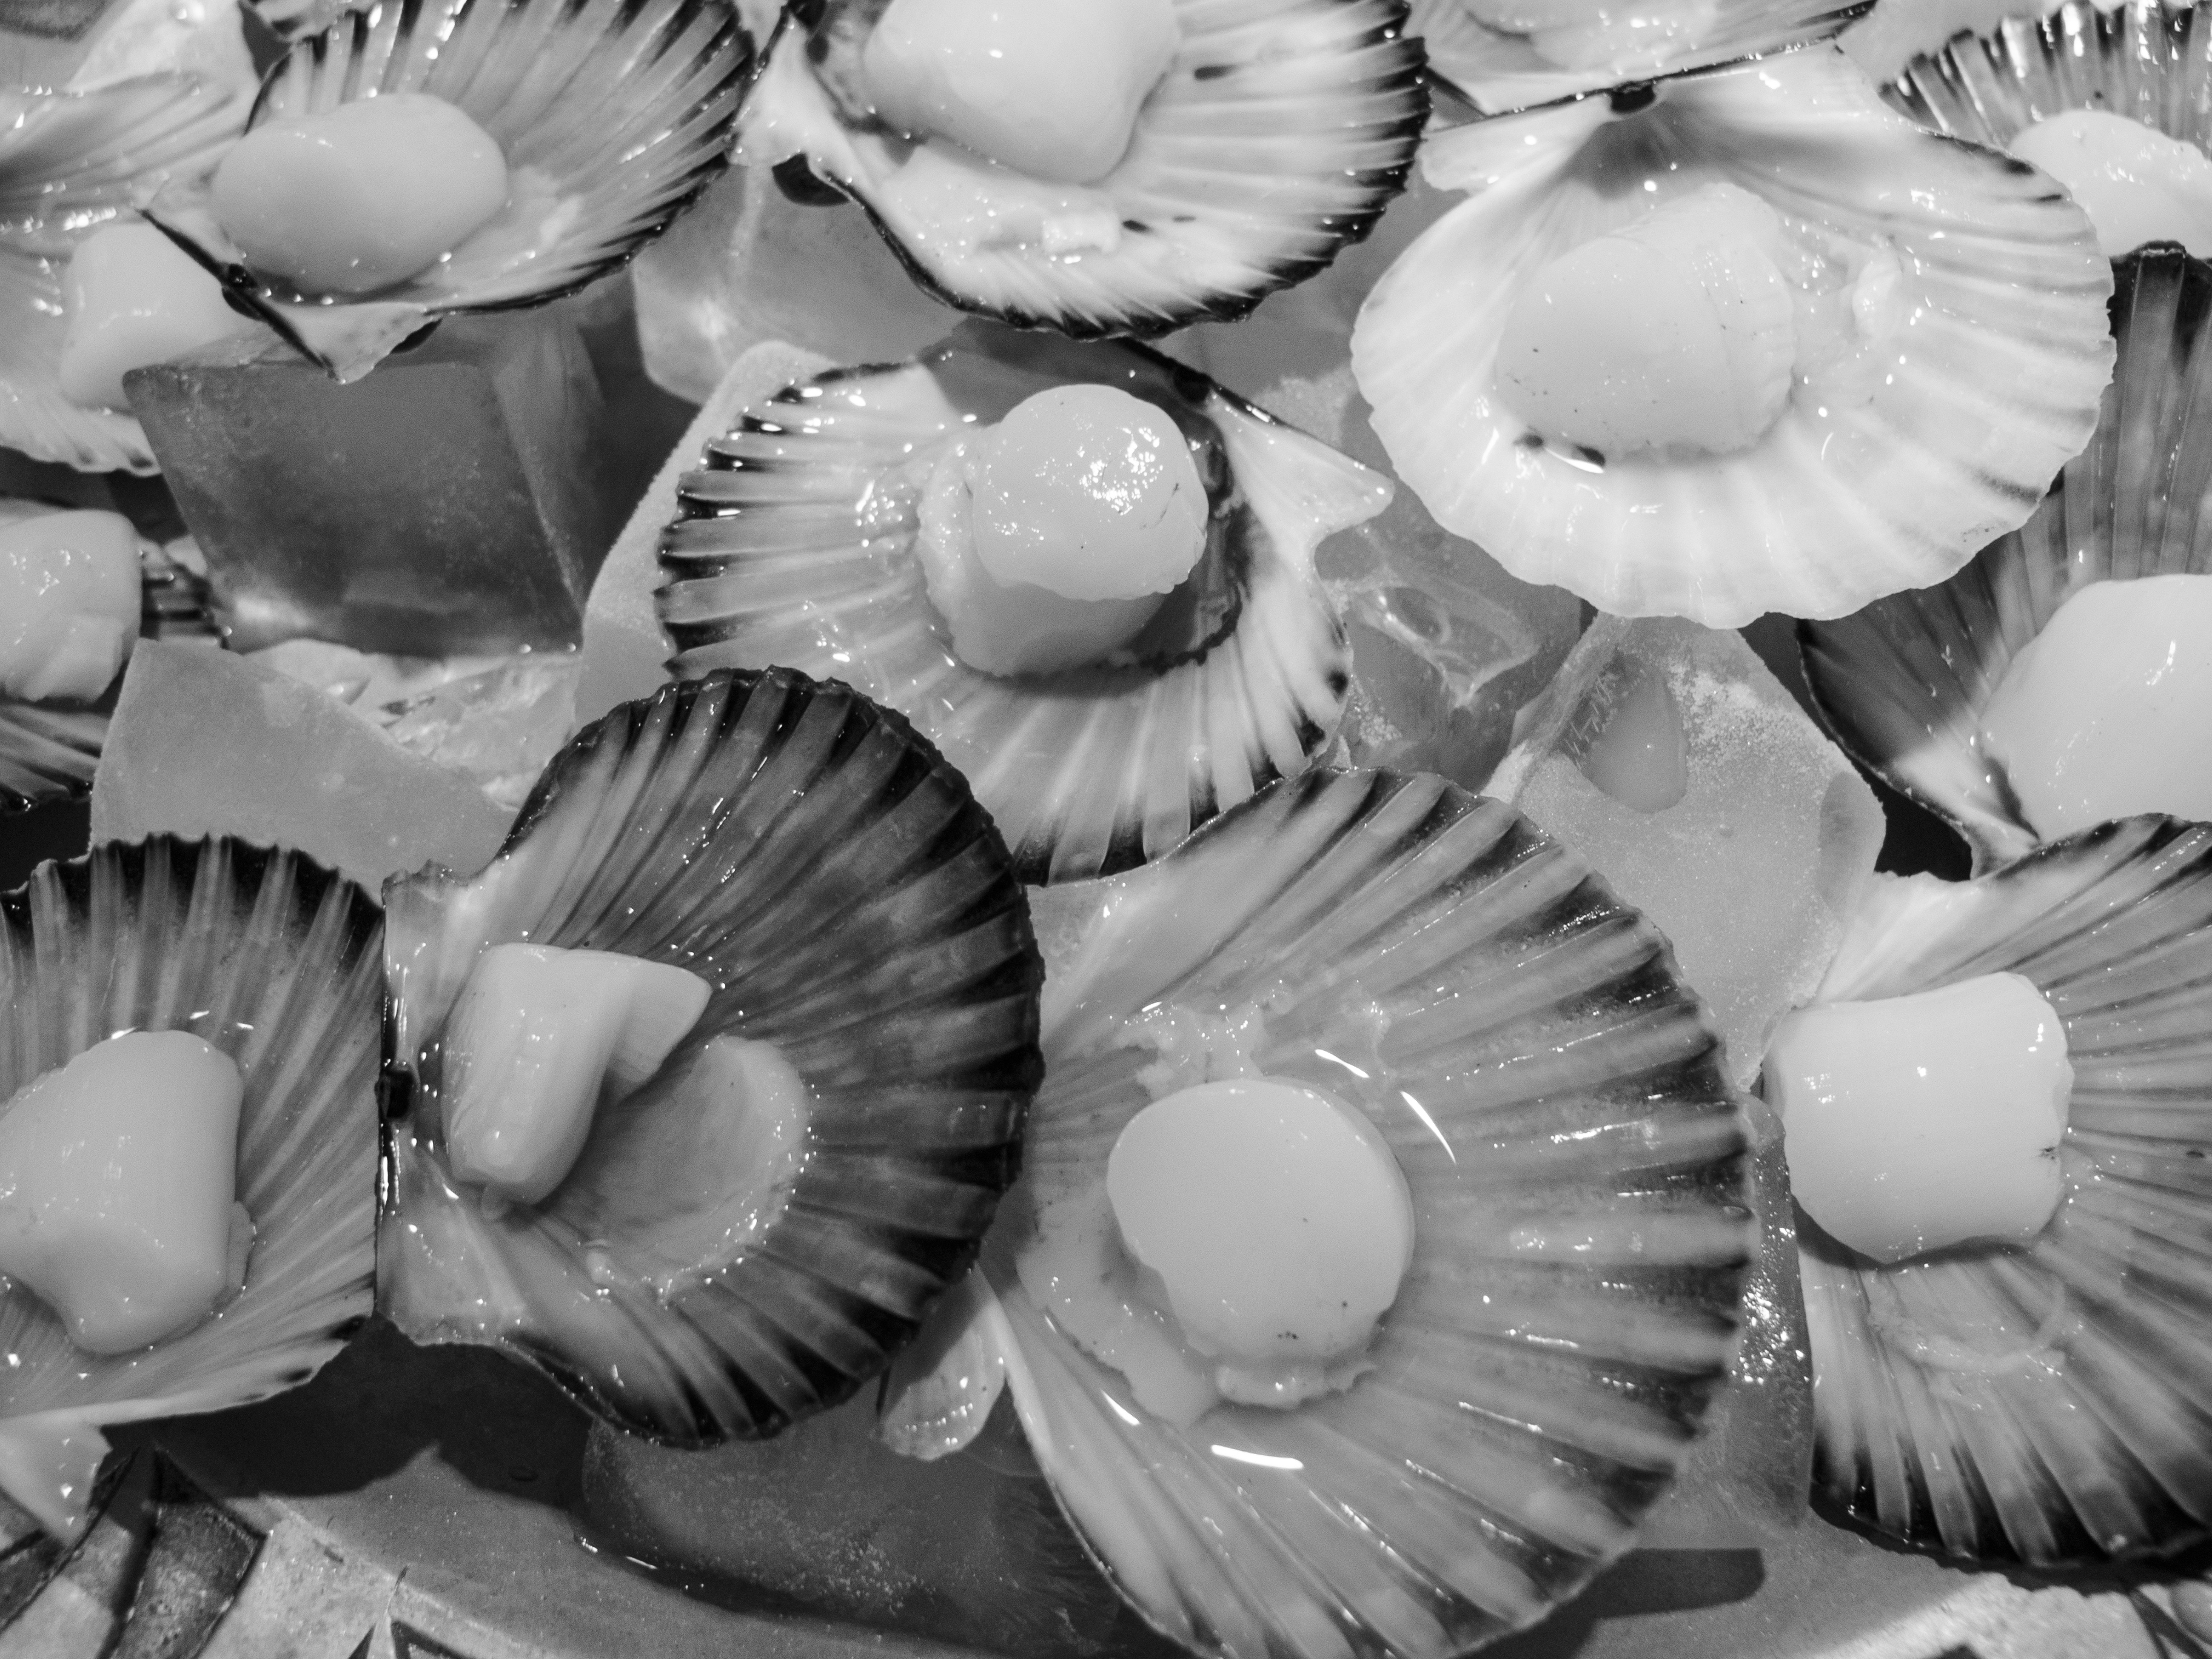
I was on a mission to find fresh mussels the other day, and in the process, stumbled upon fresh bay scallops piled high on ice at the Matunuck Oyster Bar booth. (www.rhodyoysters.com) Unlike like the larger sea scallops or bomster scallops, bay scallops are small and sweet, about the size of a mini-marshmallow.
IMG_3031
As far as I’m concerned, there is no better way to eat a fresh scallop than right out of the shell with just a little marinade on top, popping these beauties into my mouth literally as they’re still pulsing on the shell.
Scallops are a bit trickier to open and clean than clams or oysters (at least for me) but all it took was a little practice while sipping a Chopin martini and I got the hang of it in no time.
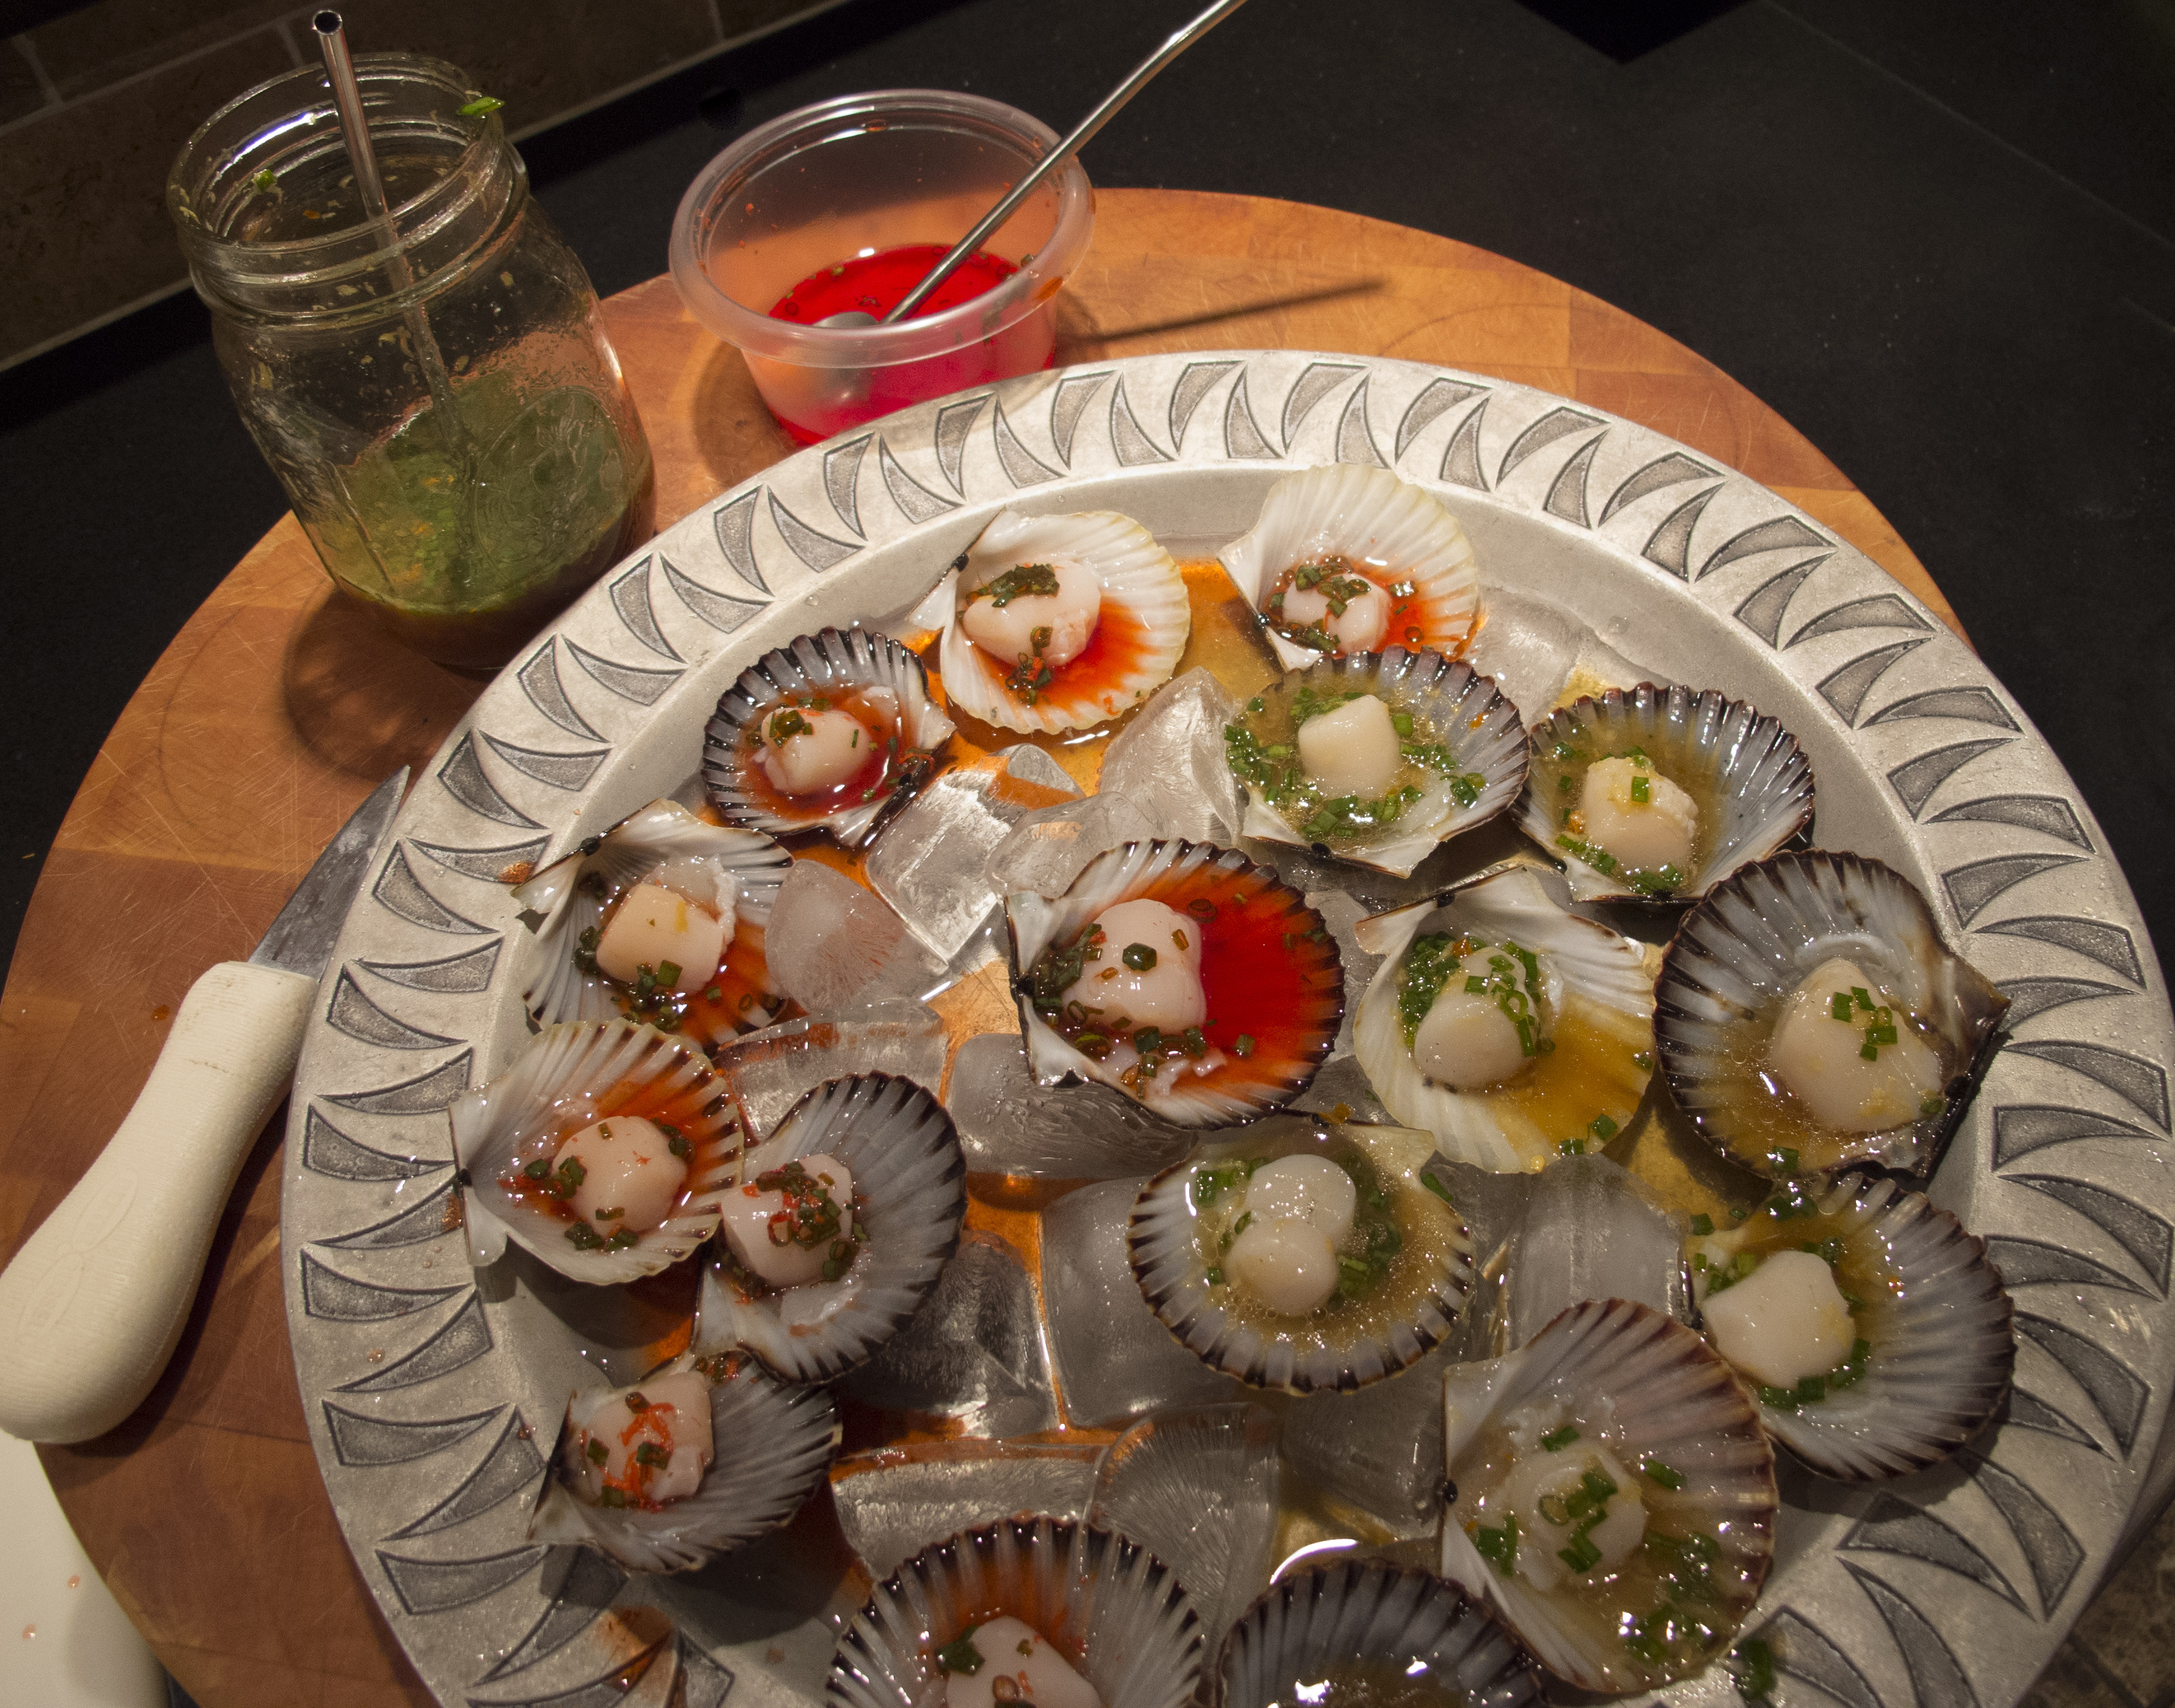
There are two marinades that I use when serving up raw scallops. The acidity in these marinades will cook the scallop a little, like in ceviche.
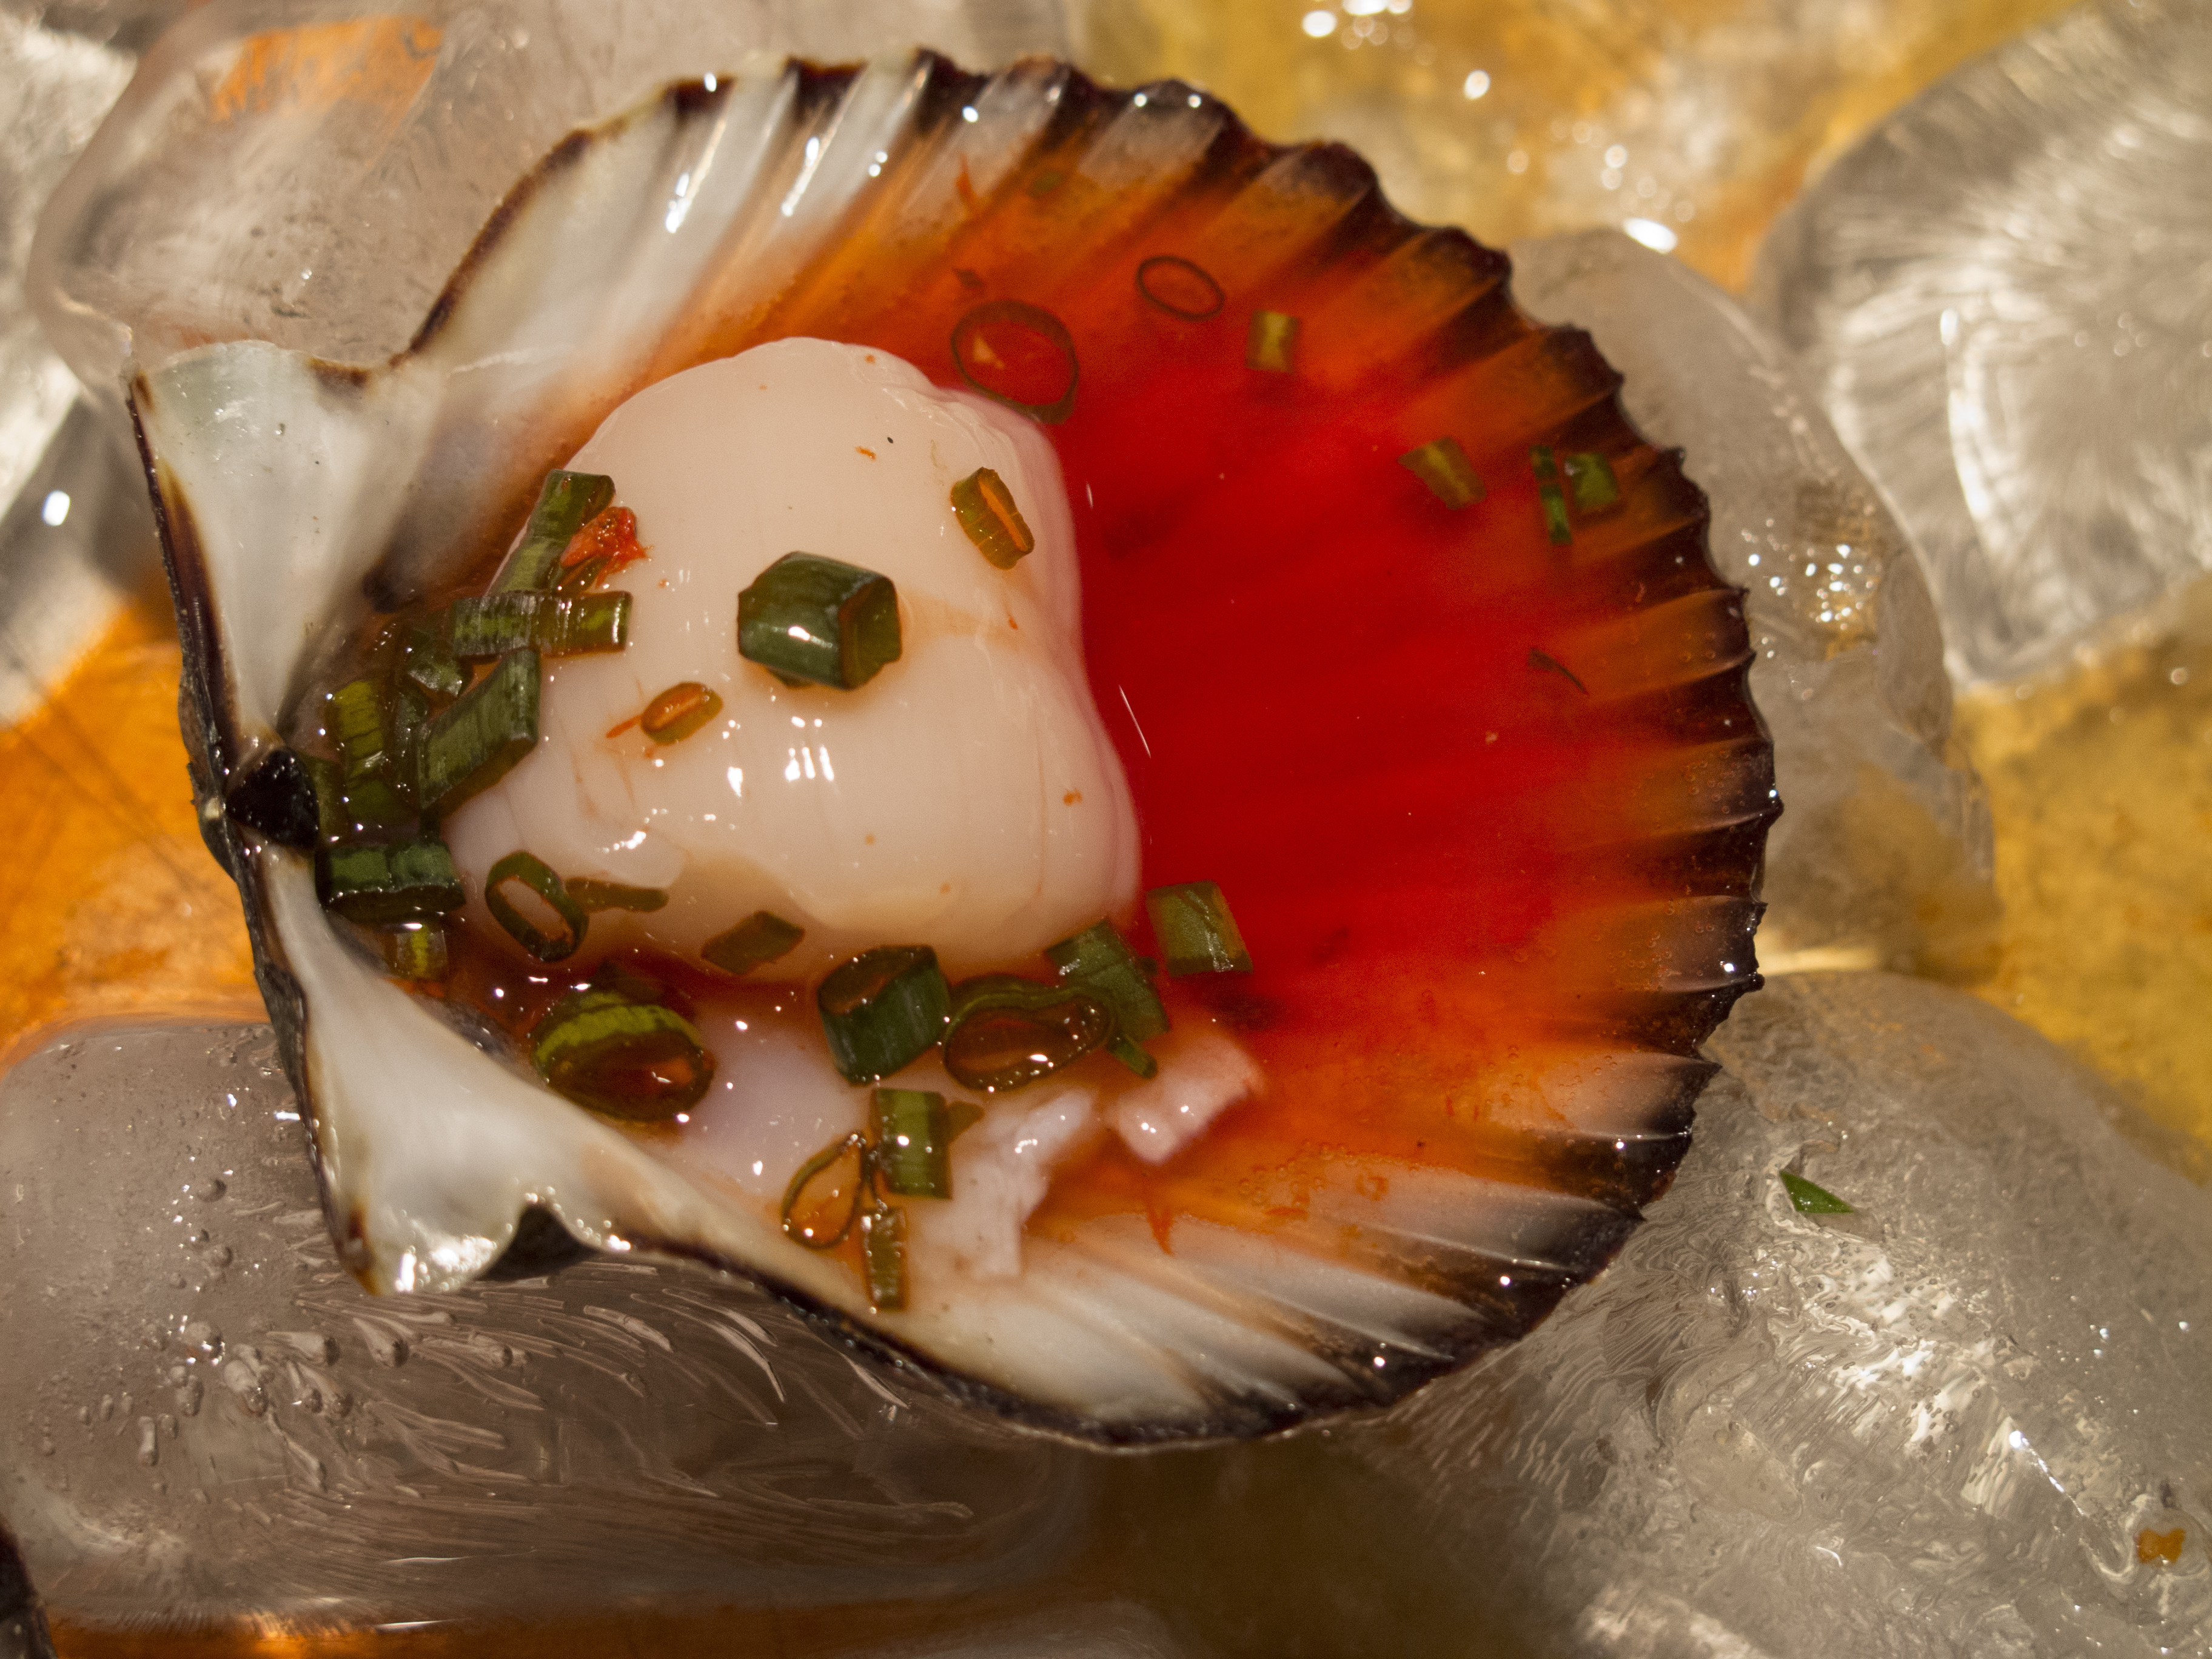
“MILLS TAVERN” MARINADE
The first place my wife and I ever had a raw scallop was at Mills Tavern, a highly rated restaurant in Providence, RI. Freshly shucked scallops (in large flat shells) were served on ice with a tangy red marinade. We never got the recipe from the restaurant, but this is our version of that marinade.
3 tablespoons rice wine vinegar
2 tablespoons Grenadine
1/2 teaspoon fresh finely grated ginger
2 teaspoons finely chopped scallions
Combine all the ingredients and chill before using.
IMG_3037
This marinade also works really well with raw seafood…
ALZ CEVICHE MARINADE
1/4 cup freshly squeezed orange juice
1 1/2 tablespoons freshly squeezed lemon juice
1 1/2 tablespoons freshly squeezed lime juice
2 tablespoons soy sauce
1 tablespoon + 1 teaspoon peanut oil
1/2 teaspoon honey
1 1/2 teaspoons fresh finely grated ginger
2 tablespoons finely chopped scallion
2 small dried chili peppers, finely chopped

Combine all the ingredients and chill before using.

IMG_3033

Amazing photos by my wife. Check out her website! http://www.kellymilukas.com

And would eat this if it twitches?? http://youtu.be/b4eCXZUQkNY

Almost 95% of all shrimp sold in the United States comes from farmed shrimp in countries like China, Thailand, Vietnam and India…as well as Latin America. The stuff you buy at the supermarket comes frozen (since shrimp is highly perishable) and then is thawed out and placed on ice to make the display look nice. But the shrimp you’re getting is not “fresh” (unless you’re lucky enough to get some wild caught local shrimp) and it’s from countries where the methods of farming are questionable at best.
Shrimp farming in Asia and Latin America is destroying mangrove forests and because of that, coastal villages as well. Disease is commonplace in shrimp farms, so they’re pumped full of antibiotics and pesticides.
Imported wild shrimp are also a problem because of bycatch. For every pound of wild shrimp caught, several pounds of other animals such as turtles die needlessly in the trawler nets.
Wild American shrimp is the best way to go for your health and the environment. American shrimp fishermen are required by law to reduce bycatch. For example, they’re required to use Turtle Exclusion Devices to stop turtles from being caught in their nets.
I stopped eating tiger shrimp and other farmed shrimp from foreign countries a long time ago because I found a source of shrimp that not only delivers to my door, but offers me that shrimp at competetive pricing even with the shipping! And best of all, it is wild caught in American waters. I’m supporting the lives of shrimp men along the Gulf of Mexico, not some foreign country that doesn’t give a rat’s ass about the environment, the shrimp they raise in it, or my family’s well-being.

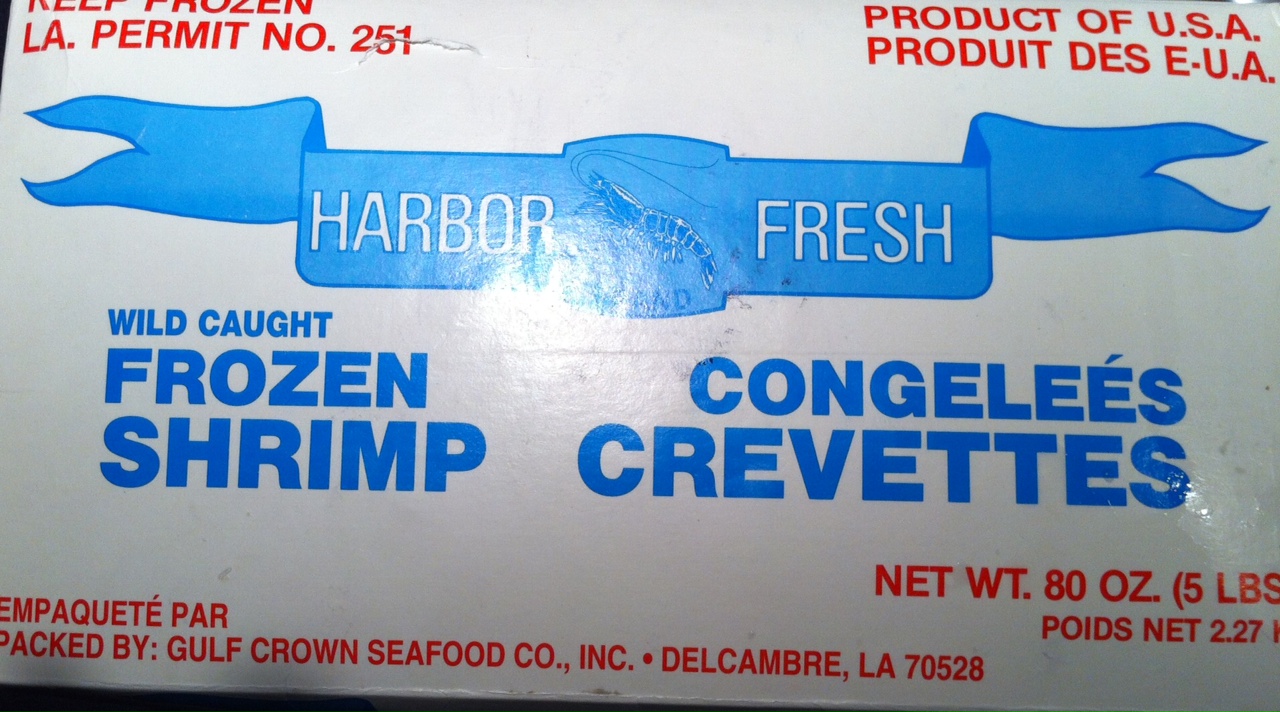
The real deal, usually sold in 5 lb boxes.

And on top of everything else, wild caught American shrimp tastes better. And why shouldn’t it? The shrimp are eating their natural foods found in the wild…not some pellets thrown at them that contaminate the water around them, not to mention the shrimp themselves.
My favorite website for wild caught American gulf shrimp is www.cajungrocer.com. I have been ordering my favorite Cajun foods, like Turduckens and alligator sausage, from these people for many years, but they also sell shrimp and live crawfish (in season.)
Don’t cheat yourself, your friends or your family out of something really special. Wild caught American gulf shrimp costs the same, supports our economy, is better for you and tastes better.
The basics of this recipe come from my friend, Lee, a chemist in New Jersey who also enjoys creating in the kitchen. What I found interesting about his recipe was the touch of sugar that doesn’t really add sweetness but rather helps create the light, tasty caramelized crust that forms on the shrimp when you sear it. I tweaked a few things in this recipe, but the essence of it remains the same.

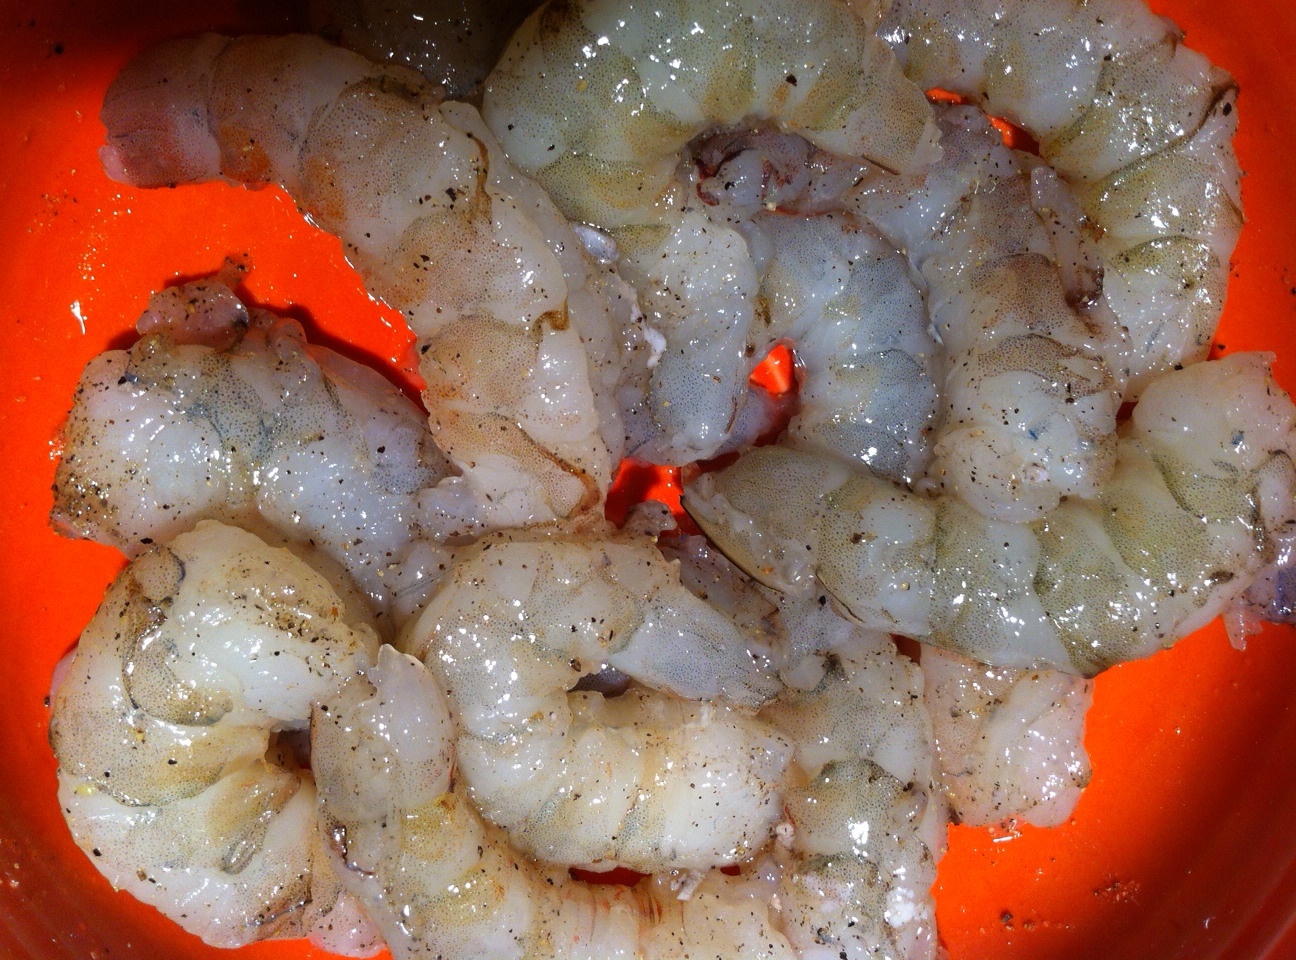
Seasoned shrtimp.

Ingredients:
1 pound large peeled and deveined wild-caught American shrimp
Salt
Freshly ground pepper
Sugar
4 Tablespoons softened butter
1 clove of garlic, squeezed through a press
1 Tablespoon freshly squeezed lemon juice
2 Tablespoons chopped parsley
1 teaspoon oregano
Extra Virgin olive oil
Toss shrimp, 1/4 teaspoon salt, 1/4 teaspoon pepper, and 1/4 teaspoon sugar in a bowl.
In a separate bowl, mash butter with a fork, folding in the garlic. Add the lemon juice, parsley, oregano, and 1/4 teaspoon salt.
Heat a Tablespoon of olive oil in a large skillet over high heat. Add half the shrimp in a single layer to the pan and cook at high heat until caramelized on one side, about 1 minute. Flip shrimp over with tongs and cook for another 30 seconds. Do not overcook.
Remove cooked shrimp to a covered bowl and similarly sear the other half of the shrimp, then return other half of the shrimp back to the skillet. Turn down the heat to medium and add the butter/garlic/lemon/parsley/oregano/salt mixture, occasionally tossing shrimp around in the pan to evenly coat them with the glaze.
If serving over pasta, increase the amount of butter and olive oil to just lightly coat the pasta. Toss cooked pasta into the pan of shrimp to combine.
I like to season lightly at the end with a tiny pinch of Fleur de Sel. Serve immediately.
The fact that I can’t remember a damn thing anymore has actually worked in my favor when it comes to getting recipe ideas from television. I can no longer get the exact ingredients down and so I wind up make stuff up as I go along. The end result: my own original take on a particular recipe.
A perfect example of that was a few months ago when I was watching Adam Richman’s Best Sandwich In America on the Travel Channel, which featured some of the most innovative sandwiches from around the country. I was particularly intrigued by the methods used by the folks at Faidley’s in Baltimore to make their famous crab cake sandwich. I jotted down what I thought they did (of course, they don’t reveal their recipe secrets) and I wound up creating the best crab cake I’ve ever made:
Alz Crab Cakes

1 pound crab meat
1/3 cup oyster crackers
1 teaspoon Old Bay seasoning
1/2 cup mayo/mustard blend

To make the mayo/mustard blend, combine 4 parts mayonnaise to 1 part mustard. You your favorite. I use Maiile Chablis mustard, but it’s only available in France. (See my previous blog about the Maille mustard shop in Paris.) However, Maille Dijon mustard is great, too. Set aside.

Take the oyster crackers and pulse them in a food processor until it resembles oatmeal…not too fine.

In a bowl, gently mix all the ingredients. With your hands, form small crab cake balls, like meatballs. Place on a tray lined with foil, and pop in the fridge for at least 15 minutes to set.
Heat oil in a pan to 375 degrees. Gently drop the crab cakes into the oil, and fry for only 10 to 15 seconds. Flip over, and fry 10 to 15 seconds more, just to form a light crust. Don’t over-fry or they will fall apart!

Drain crab cakes on paper towels and enjoy.

Any leftover mayo/mustard works great as a tartar dipping sauce, or a spread if you’re making a crab cake sandwich. Just finely chop some pickles, add a splash of Worcestershire and/or hot sauce, and mix with the mayo/mustard.

This recipe works equally well with a light, flaky fish, like cod. Combine mayo/mustard mix with Old Bay. Slather the fish in it, then roll the fish in the crumbs and fry in oil.


Don’t let the fact that your brain isn’t what it used to be get you down. Take advantage of it! You just might come up with an original recipe that blows the doors off anything you copy down word for word.


One of the true delicacies of New Zealand is their version of lobster they call crayfish. It’s similar in appearance to a Maine lobster, but it has no claws. And prices are very high. For example, a single crayfish that weighs about 1 1/2 pounds costs 54 New Zealand dollars. That’s about $38 US for what amounts to a 1/2 pound of actual meat.

On the South Island of New Zealand, on the Pacific (eastern) coast near the beach town of Kaikoura, there is a shack that has been serving up crayfish for years…and it’s earned a cult following among foodies that, like me, have traveled thousands of miles just to have a taste of this seafood delicacy.

The place is called Nins Bin, and it’s simply a little shack that sits on the rugged, windy coastline of the Pacific. You walk in, and a plastic container holds already-cooked crayfish, caught that day. The prices for each are marked right on the shell. You pick one, they cut it in half, and serve it with your choice of two sauces: one a sort of thousand island thing, and the other a garlic aioli. We took one of each, walked over to the only picnic table nearby, and quickly finished off this little treat, hungry seagulls buzzing all around us, waiting for any morsel we might accidentally drop. (Not a chance!)


The flesh of the crayfish was sweet…but not really sweet like Maine lobster can be. And although it was a beautiful white in color, its texture was almost meat-like, like chicken. But really good. We devoured the tail, sucked whatever meat we could out of the legs, and that was it…crayfish gone. Experience had. It totally lived up to the foodie hype I had read about.


We hung out around Nins Bin a little longer, taking in the atmosphere before we got back in the rental car and headed down the road to the town of Kaikoura, our next stop on our 3-week, 2000 mile journey through New Zealand.