I was going to prepare some teriyaki beef sirloin tips for dinner a few weeks ago, and my daughter requested potatoes instead of rice. But she wanted an Asian-inspired potato side dish. Now, that’s something I’d never heard of before, so we did some research and she came up with a recipe on line that seemed interesting. We took it, and made it our own.
1 lb. Yukon gold potatoes, cut into bite-sized pieces, skin on 1/2 a Vidalia onion, chopped 1 tablespoon grapeseed oil or other neutral oil 2 cloves garlic, minced 2 tablespoons soy sauce 2 tablespoons rice vinegar 2 teaspoons sugar 2 teaspoons sesame oil 1 scallion, sliced thinly
Cut the potatoes into smaller pieces, if needed, and place them in a large pot of cold water. Since you’re using soy sauce, which has a lot of salt in it, salting the potato water is optional. Cook the potatoes until they’re just fork-tender. Drain the potatoes, and set them aside.
Chop the onion to the same size (or smaller) as the potatoes.
Heat a large skillet over medium heat and add the oil. Add the chopped onion, and sauté them until they’re translucent.
Add the minced garlic and stir.
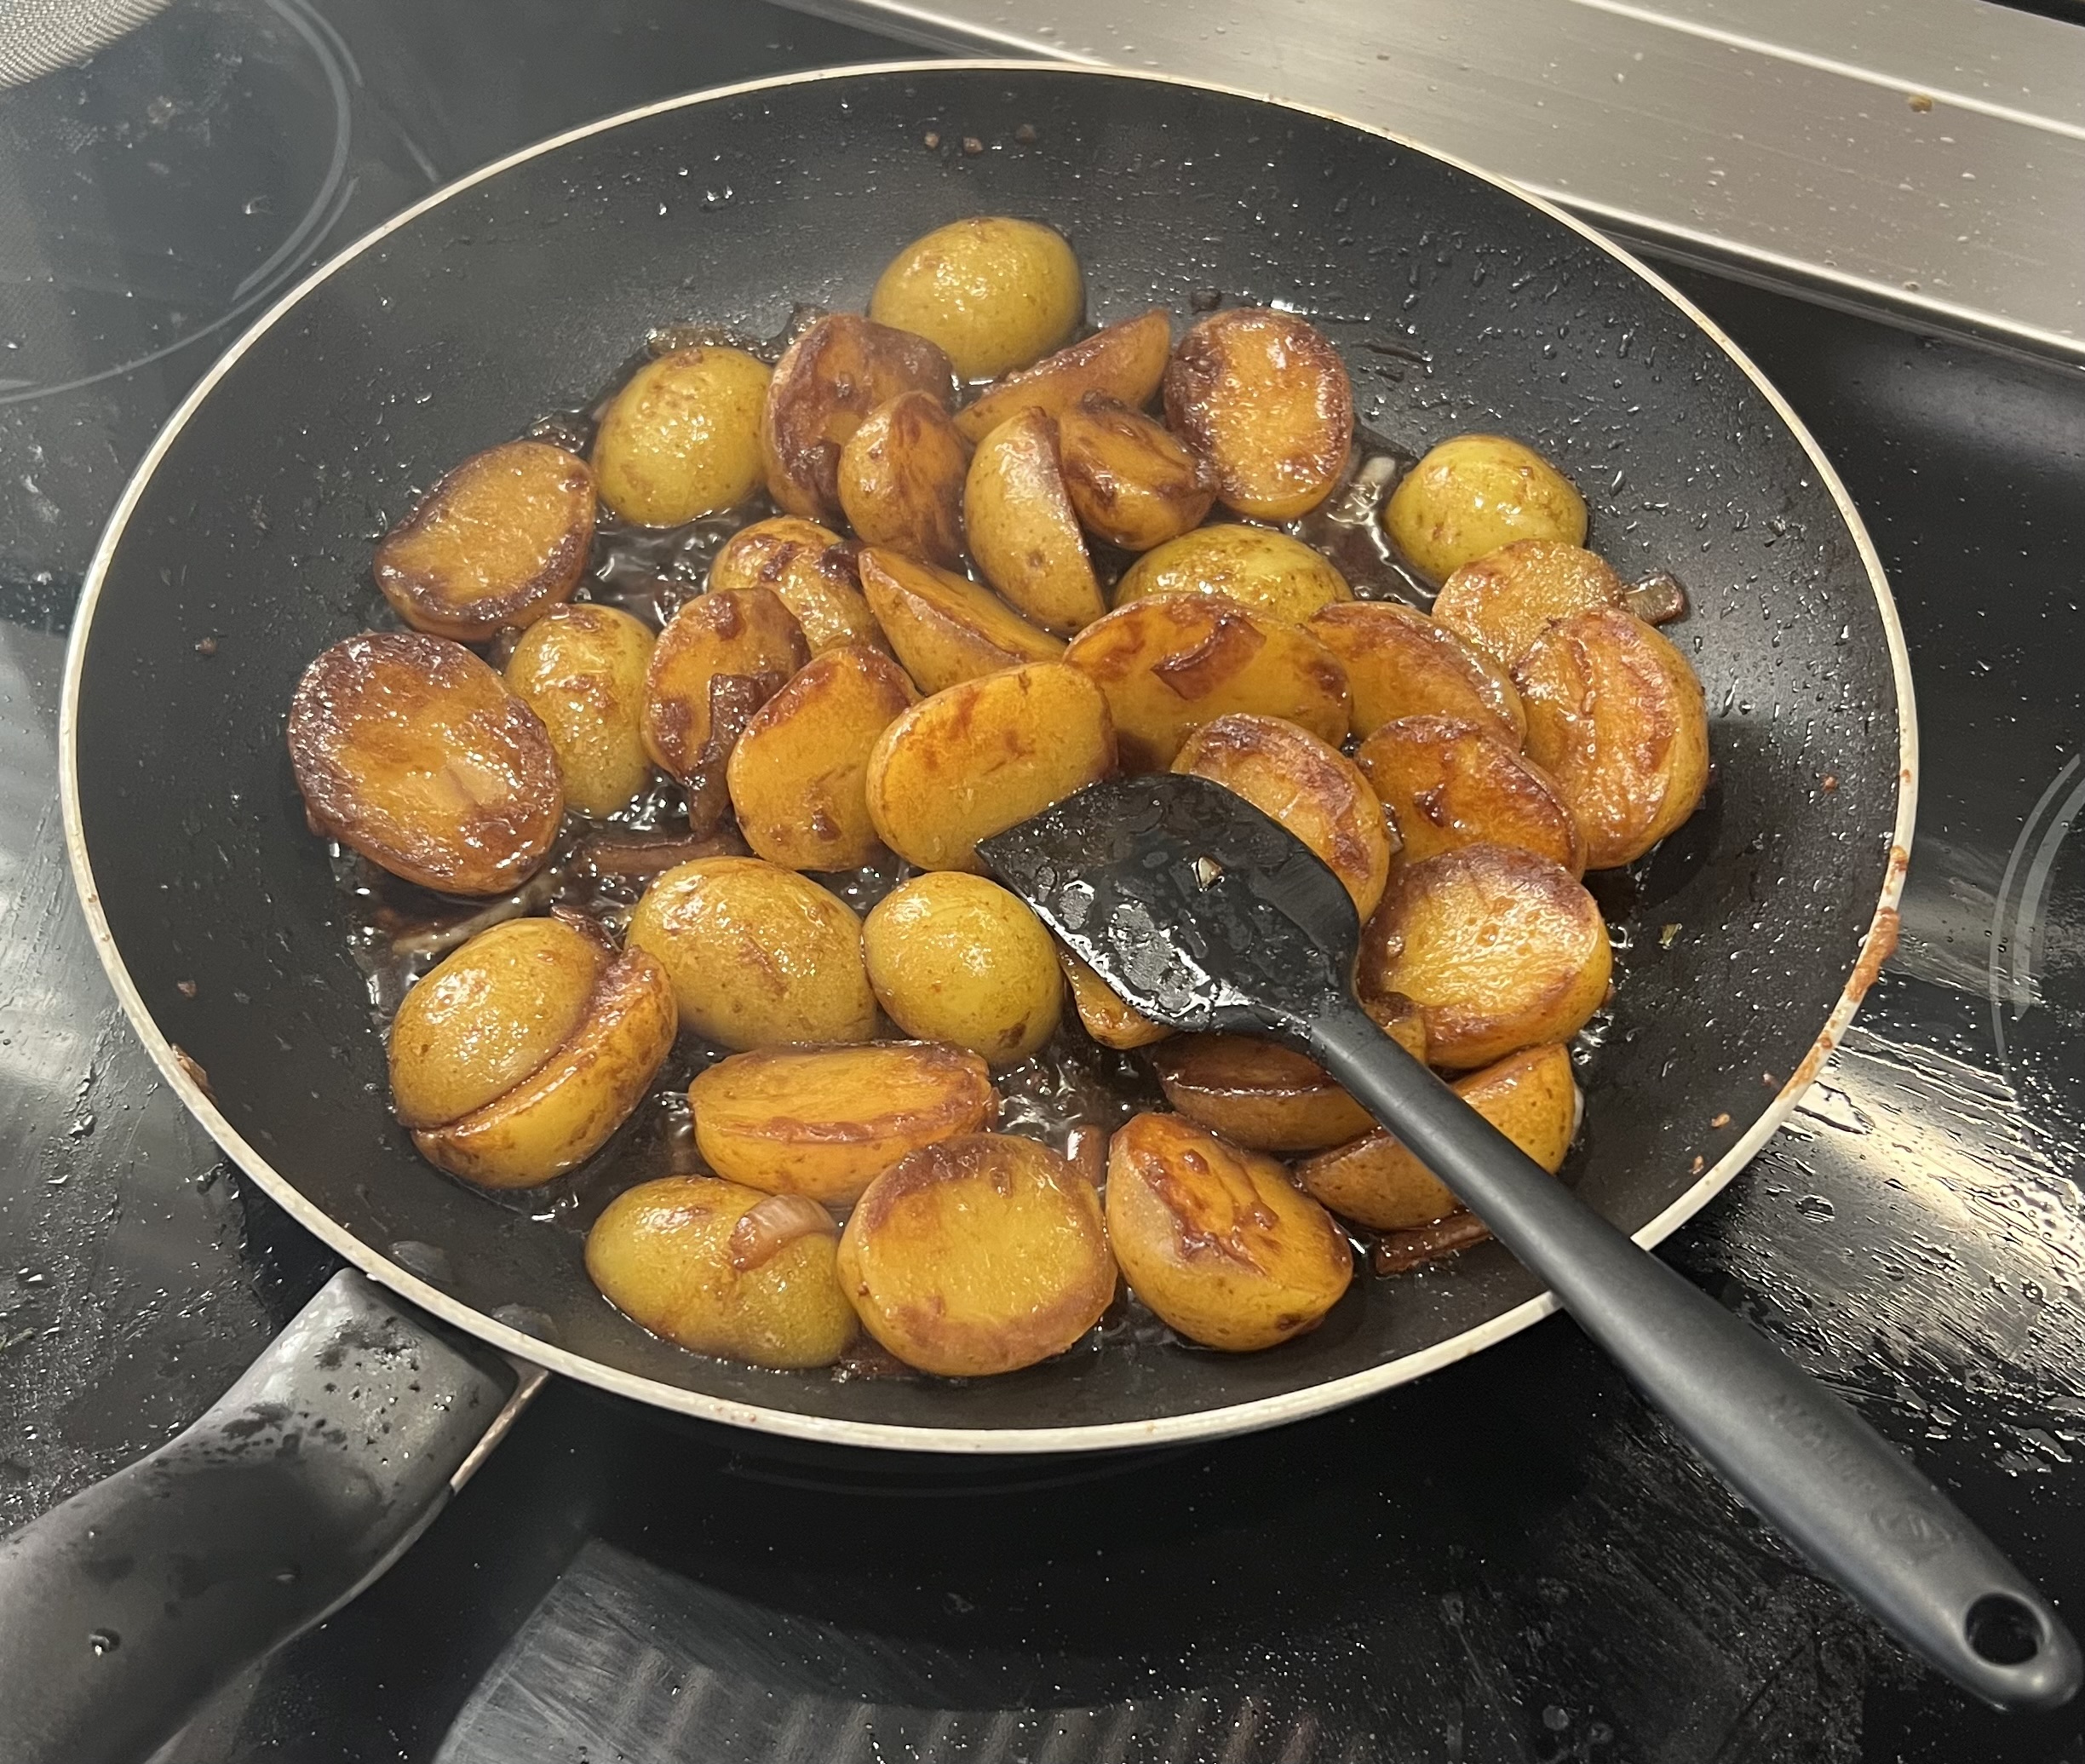
Add the potatoes, soy sauce, rice vinegar, and sugar. Let it cook for about 5 minutes, until the sauce is mostly absorbed.
Add the sesame oil to the potatoes and mix well.
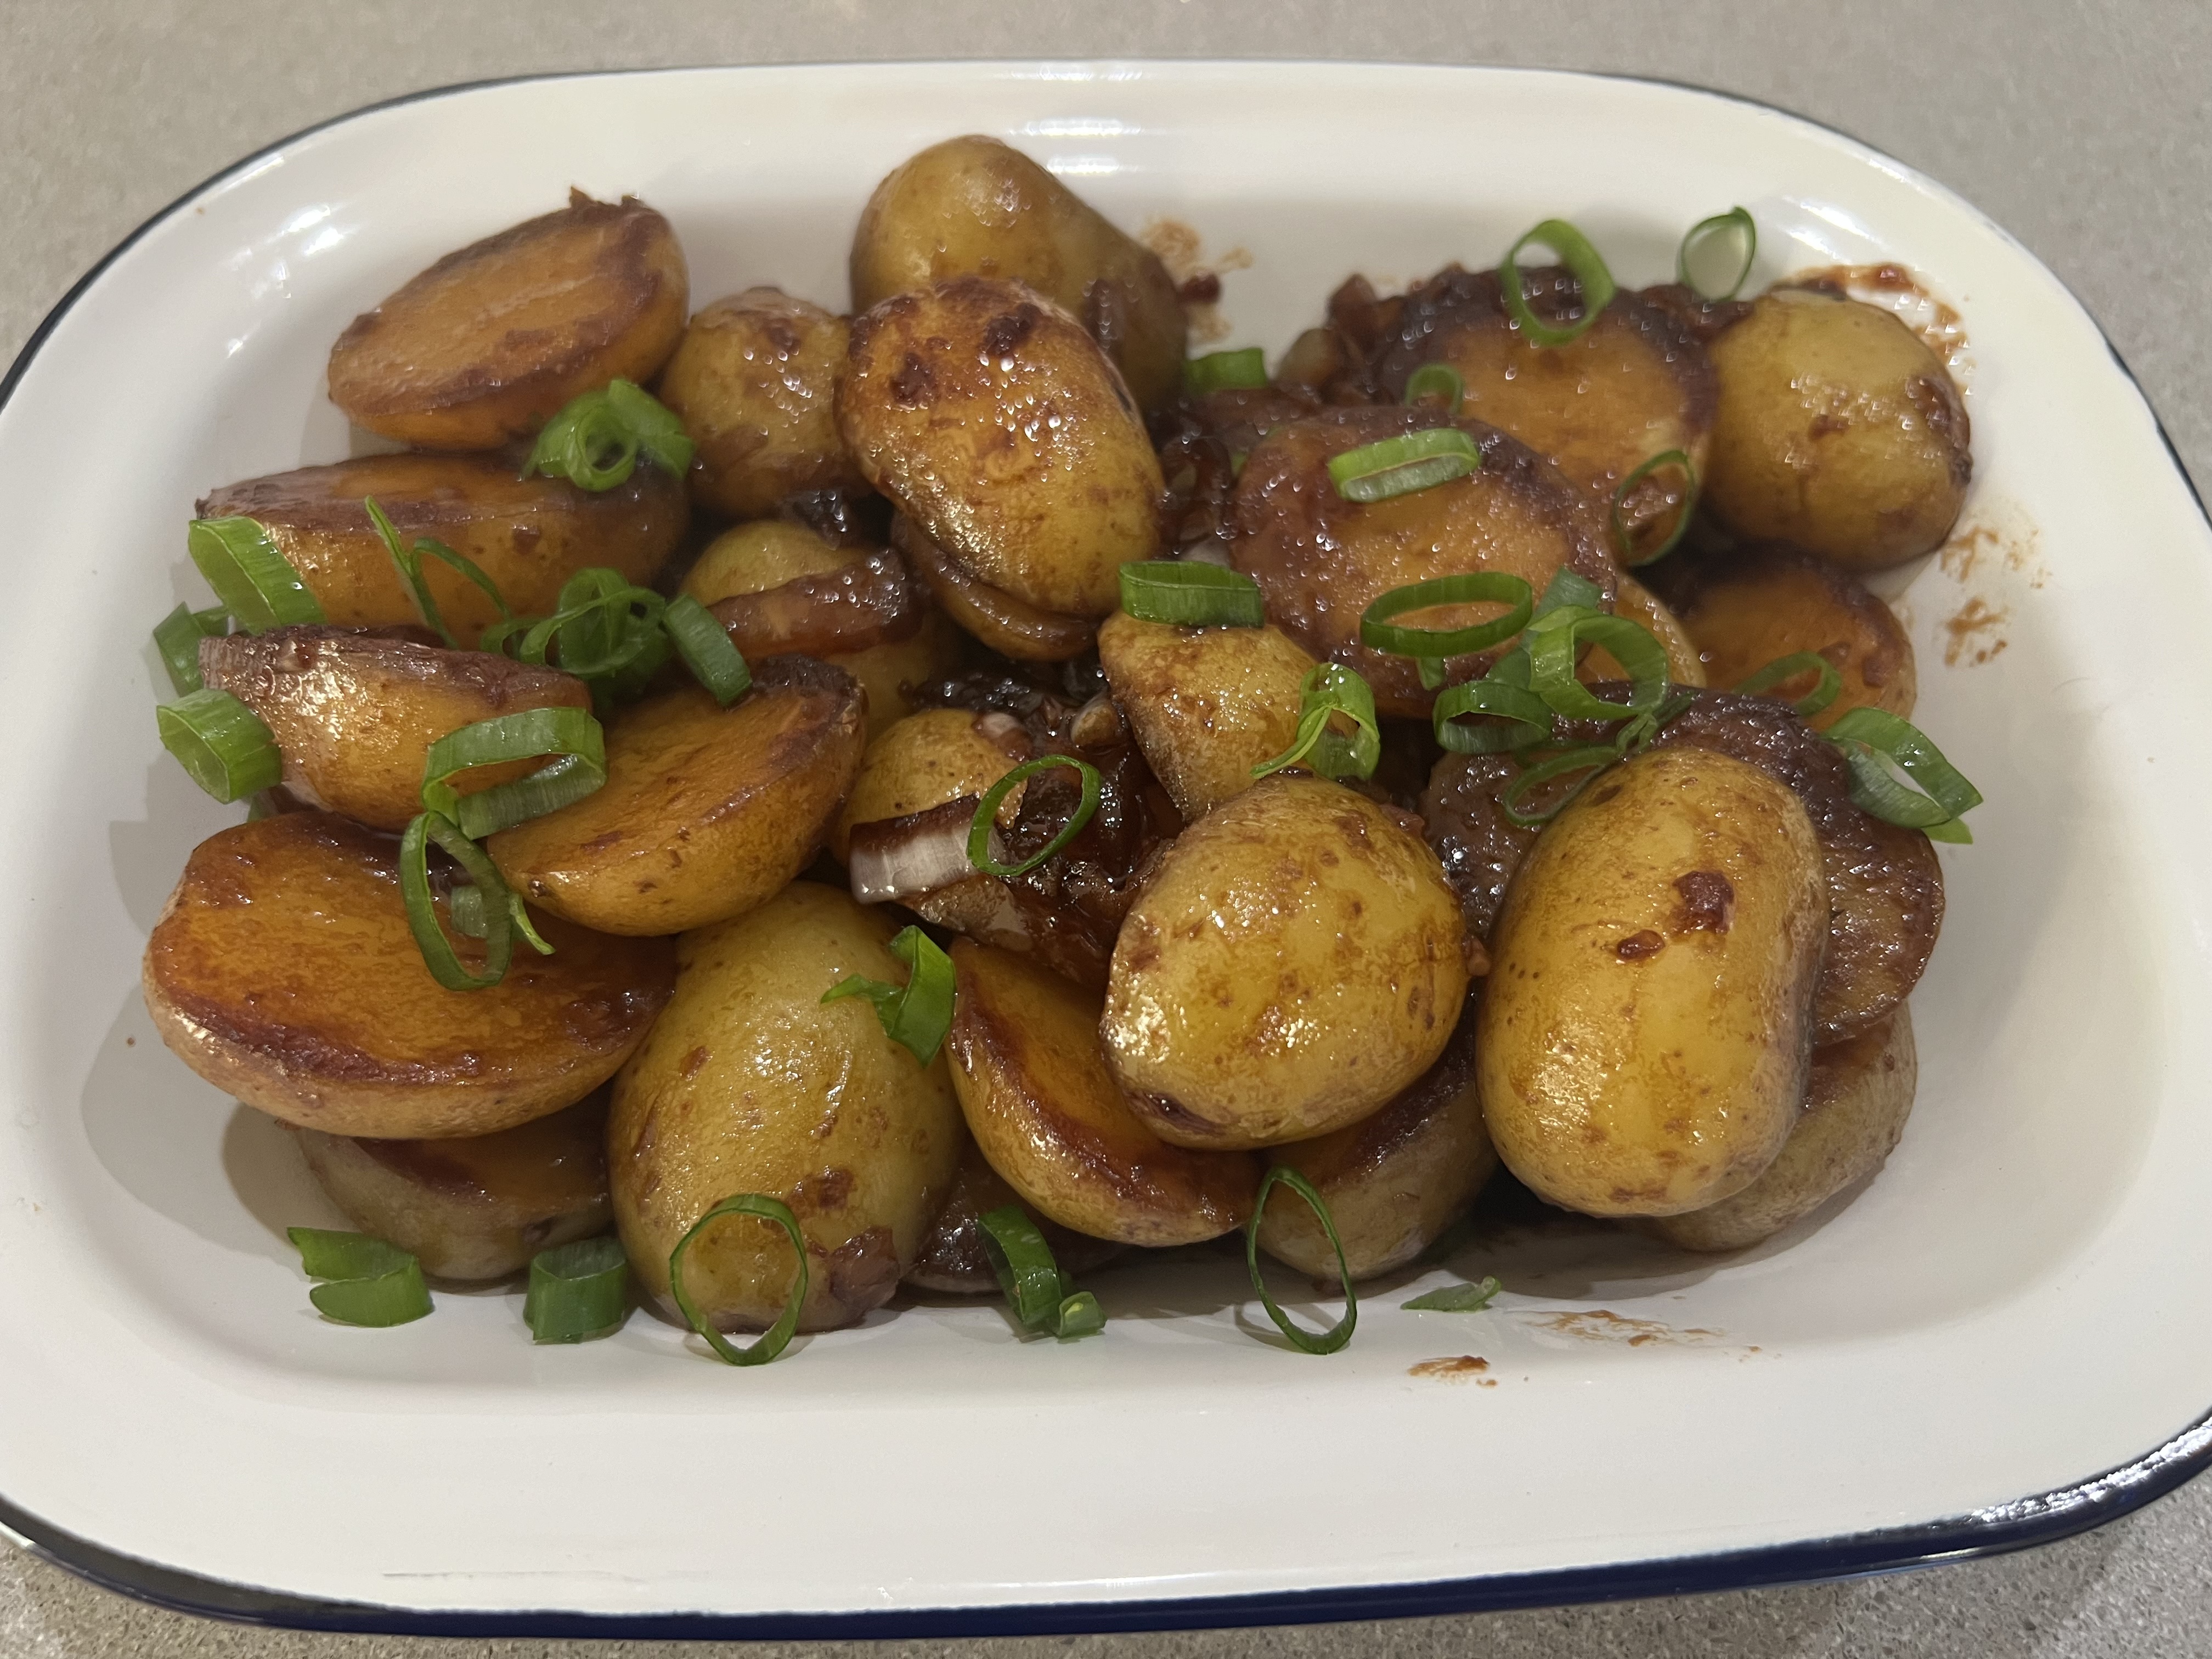
Transfer the potatoes to serving dish and garnish with the scallions.
If you watch as much Food Network and Cooking Channel as I do, you’ve probably heard of Big Bob Gibson’s Bar-B-Q in Decatur, Alabama. Smokin’ and grillin’ since 1925, they put the now-famous Alabama white sauce on the map. They would smoke whole birds, then dunk the entire bird in a bucket of white sauce before returning them to the smoker to cook some more. And then they’d serve more of the precious white sauce on the side as you tore into the most amazing chicken you’ve ever had.
I lived in Mobile, Alabama 35 years ago. Never made it to Decatur. Probably never will. So it was time for me to try to recreate the magic at home. I think I did pretty well.
If you Google “Alabama white sauce,” you’ll get dozens of versions, each, I’m sure, pretty similar and pretty good. I did just that, and then tweaked it to make it my own.
I don’t smoke the birds. I simply season them with salt and pepper, and roast them in a convection oven at 350. When they’re almost done, I brush the chicken all over very liberally with my white sauce…bottom of the bird, too. Then it goes back in the oven for a little bit more.
Parts work as well as whole birds. I love using leg quarters for this recipe.
1 cup mayonnaise 4 tablespoons buttermilk 4 tablespoons white vinegar 2 teaspoons Dijon mustard 1 teaspoon ground black pepper 1 teaspoon granulated garlic 1 teaspoon granulated onion 1/2 teaspoon salt 1/2 teaspoon sugar
Combine all the ingredients and mix well. I like to keep it in a container with a lid so I can shake it up before using it.
Preheat the oven to 350.
I like to roast a whole bird, though parts work just as well. If I’m roasting a whole bird, I like to spatchcock the bird so that it cooks evenly.
(Aside from the fact that it sounds dirty, spatchcocking simply means removing the back bone of the bird so you can open it up and press it flat onto the roasting pan.)
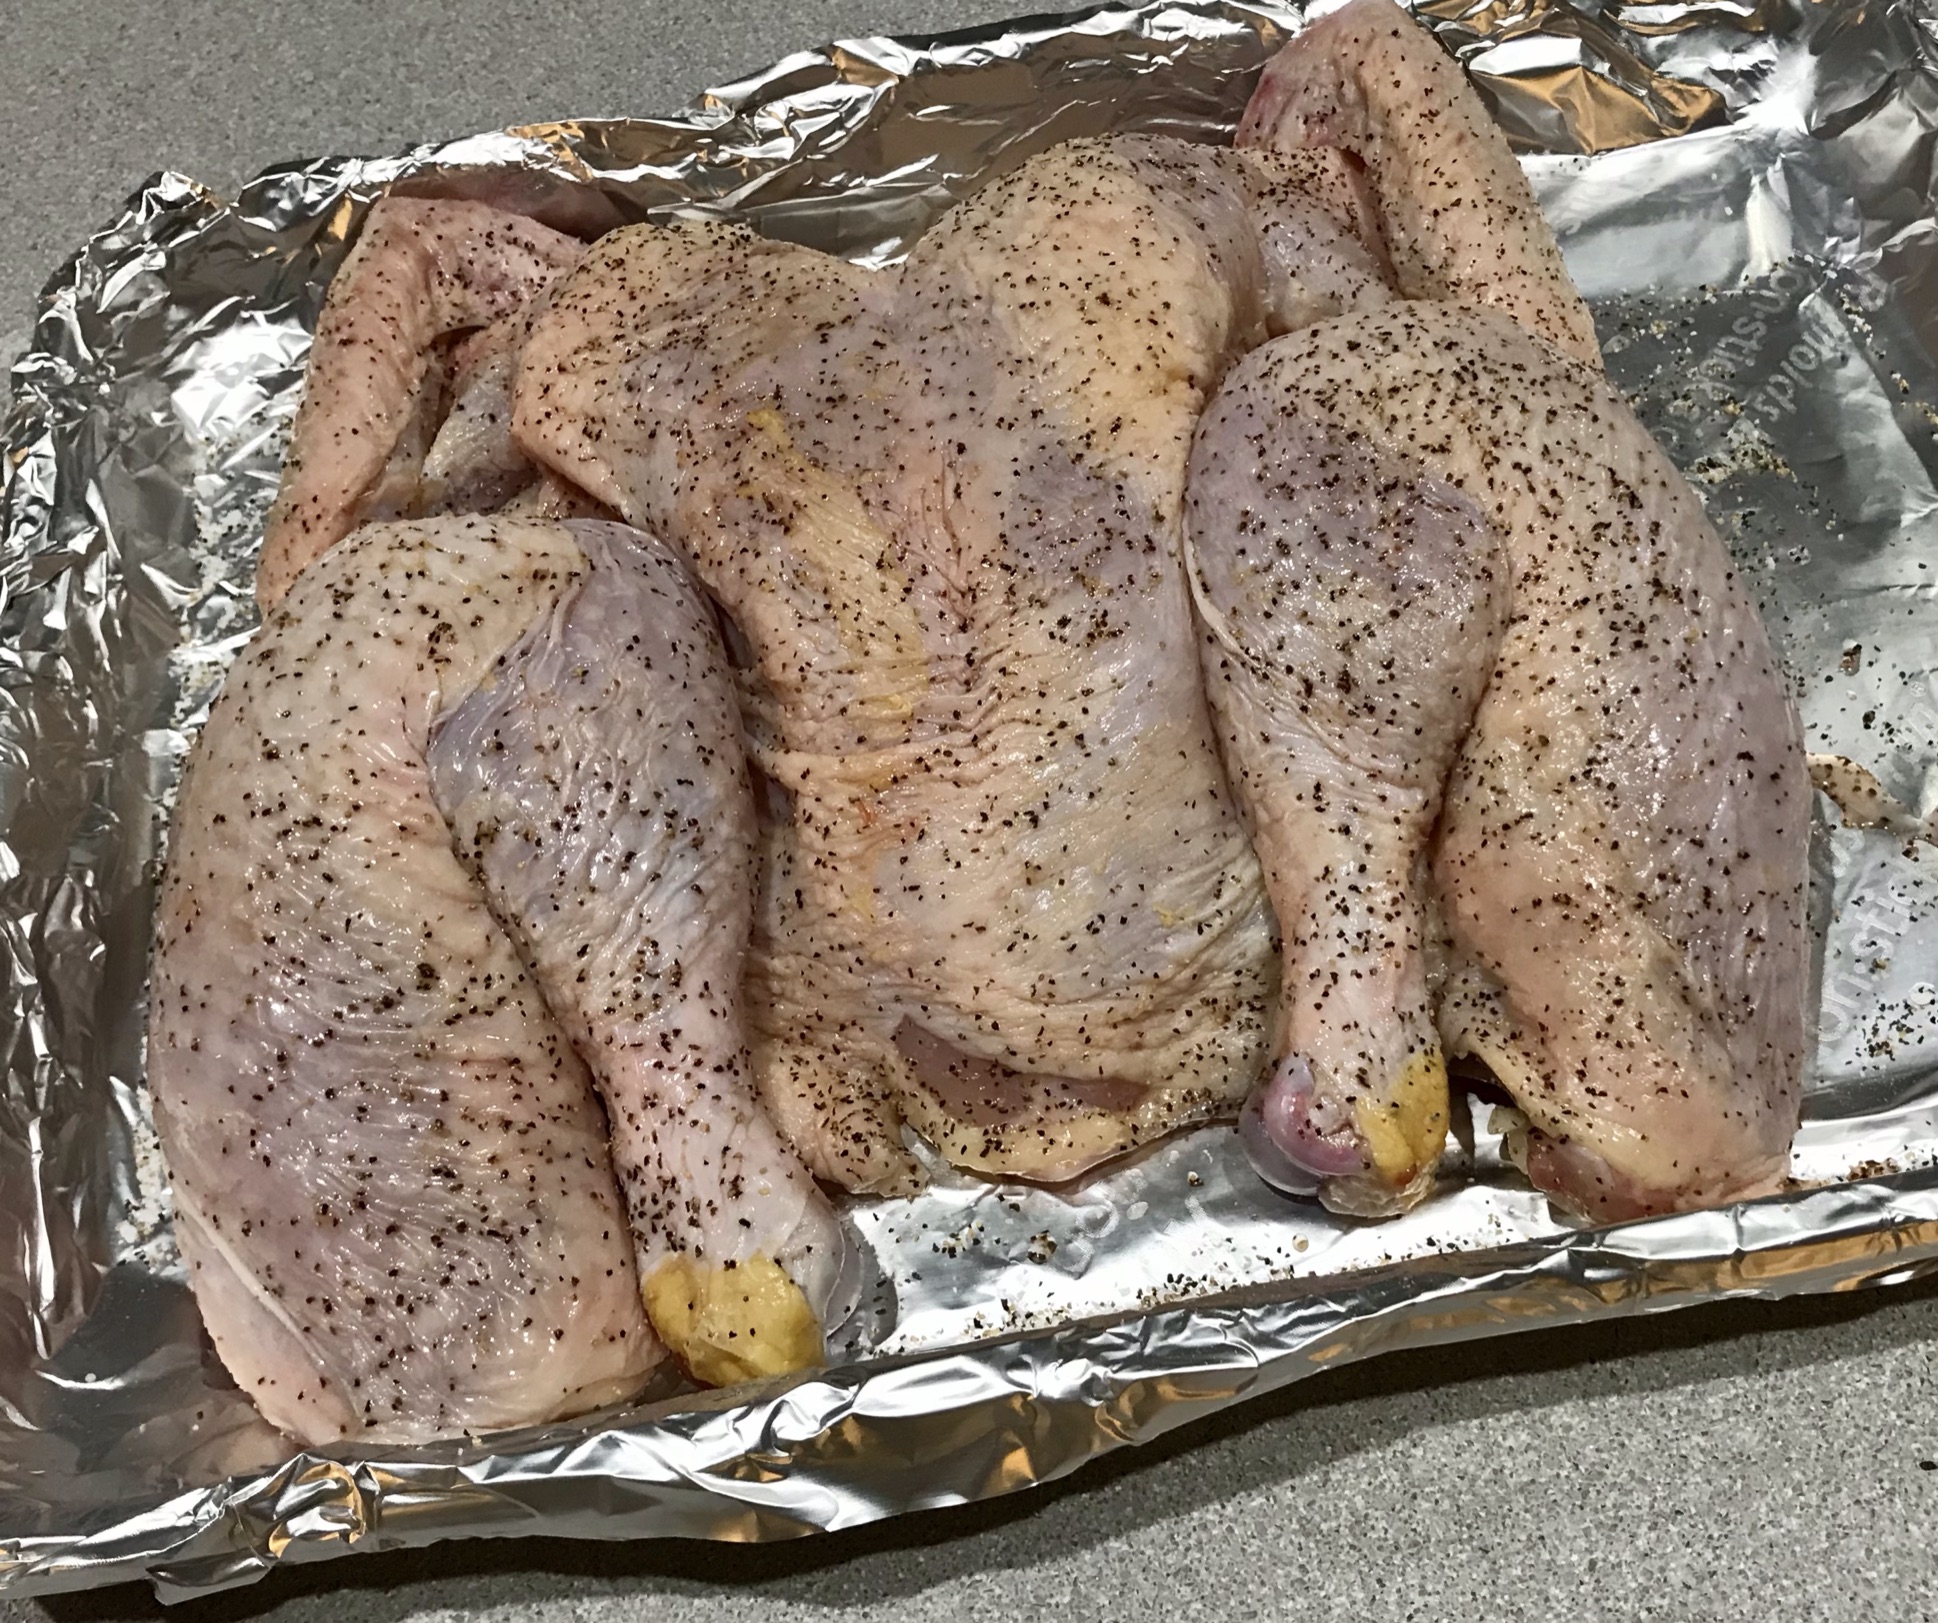
A spatchcocked bird.
It’s relatively easy to do, especially if you have poultry shears. You just flip the bird upside down, and cut all the way up on either side of the back bone.
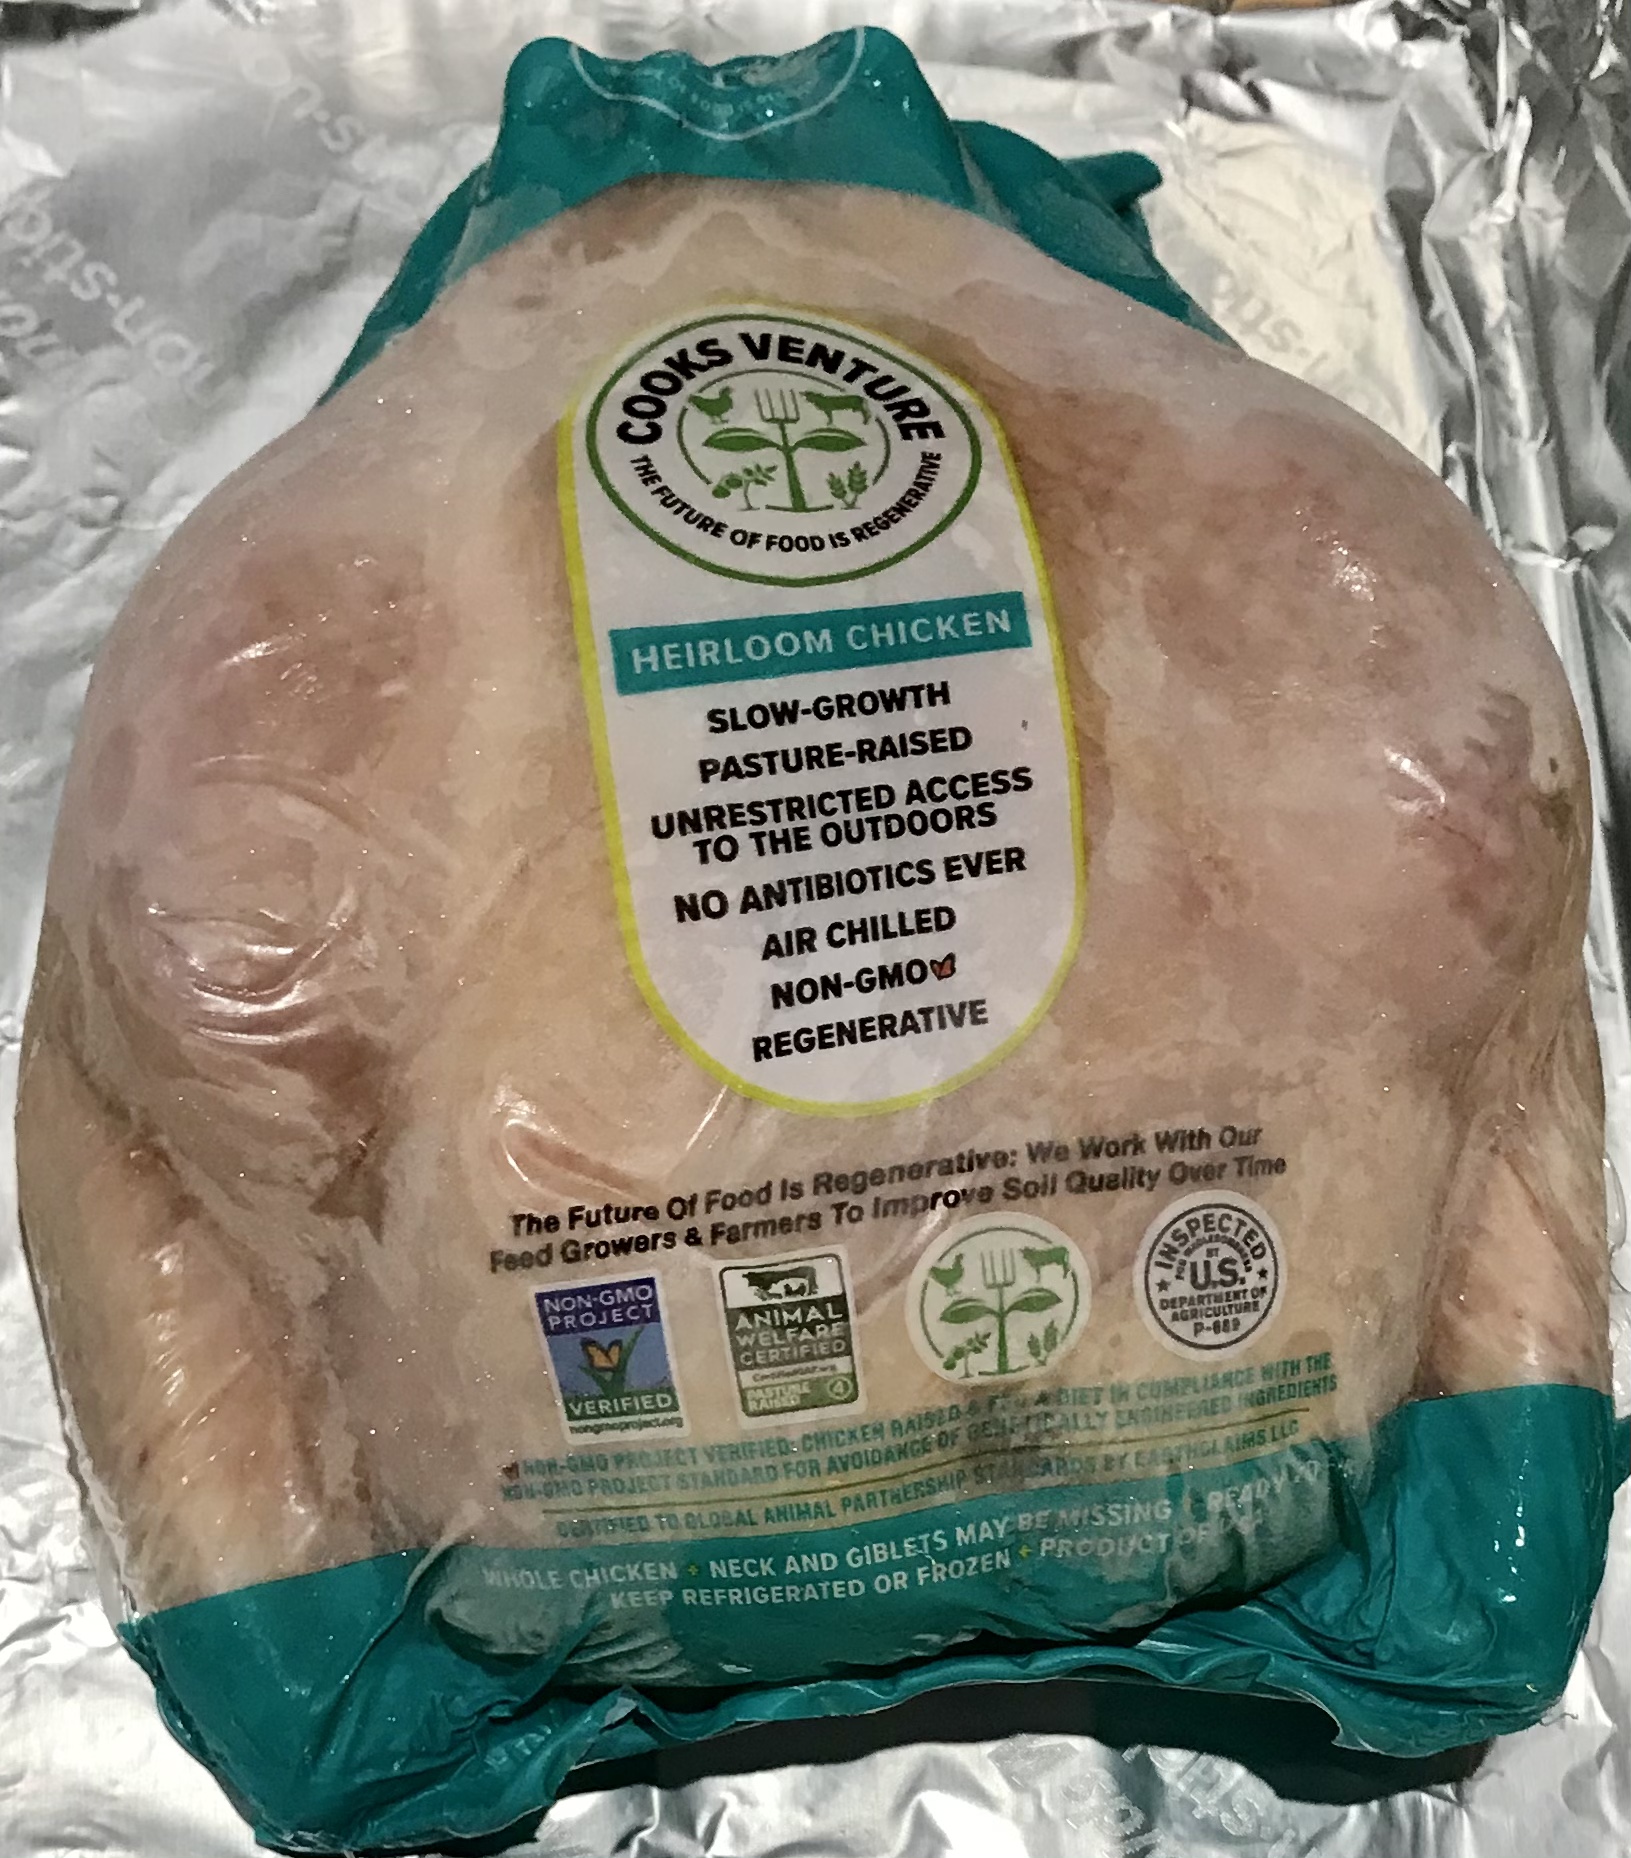
Be sure to save the backbone for chicken stock. If you’re like me and you pay extra for really good quality humanely raised chicken, every little bit needs to be saved and utilized to get the most bang for your buck.
I line a baking tray with foil, salt and pepper my bird all over, and place it on the baking tray and into the 350-degree oven. It takes a little less than an hour for a 4-lb. bird, but before it’s completely cooked through, I pull it out of the oven and brush on all sides with my Alabama white sauce.
Then it goes back into the oven for about 10 minutes.
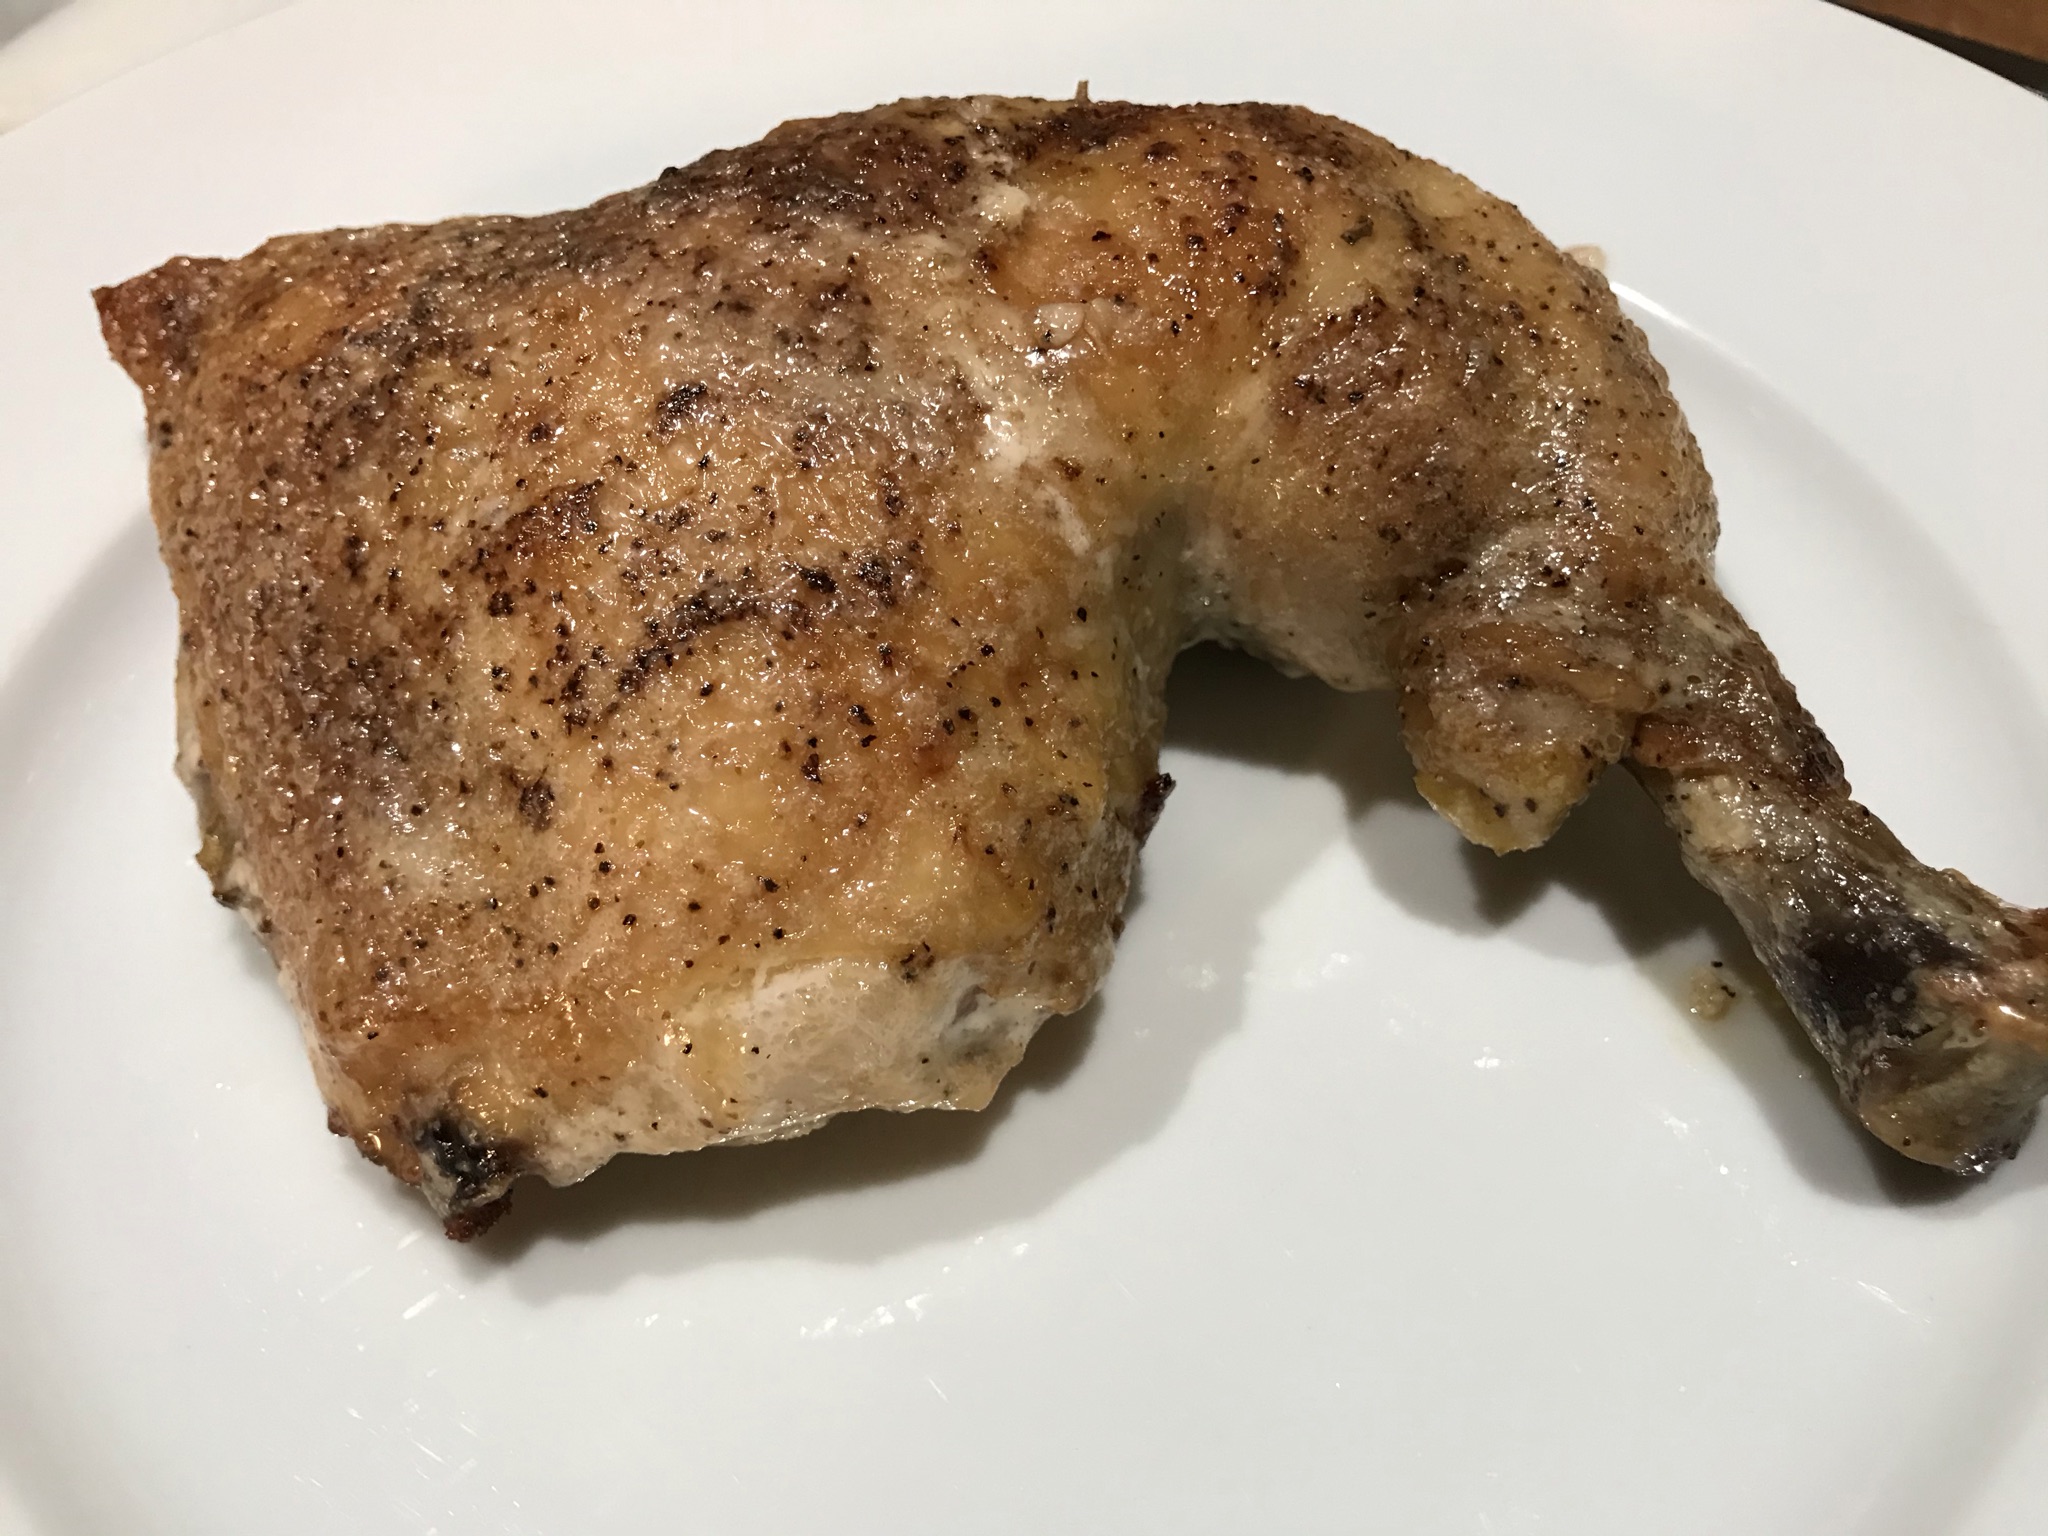
The result is a tender and juicy bird, unlike any you’ve had before.
And save some of that white sauce to dip in while you’re eating!
My daughter loves foods that are heavy on the garlic, so this is a special treat we make when diets don’t matter! It’s buttery, it’s garlicky, it’s carby, and it’s absolutely delicious!
I use 2 kinds of garlic in my garlic bread: fresh and granulated. I think it packs a garlicky punch even better than either one alone. And passing the fresh garlic through a press ensures that it will cook quickly and not leave you with that raw garlic taste in your mouth.
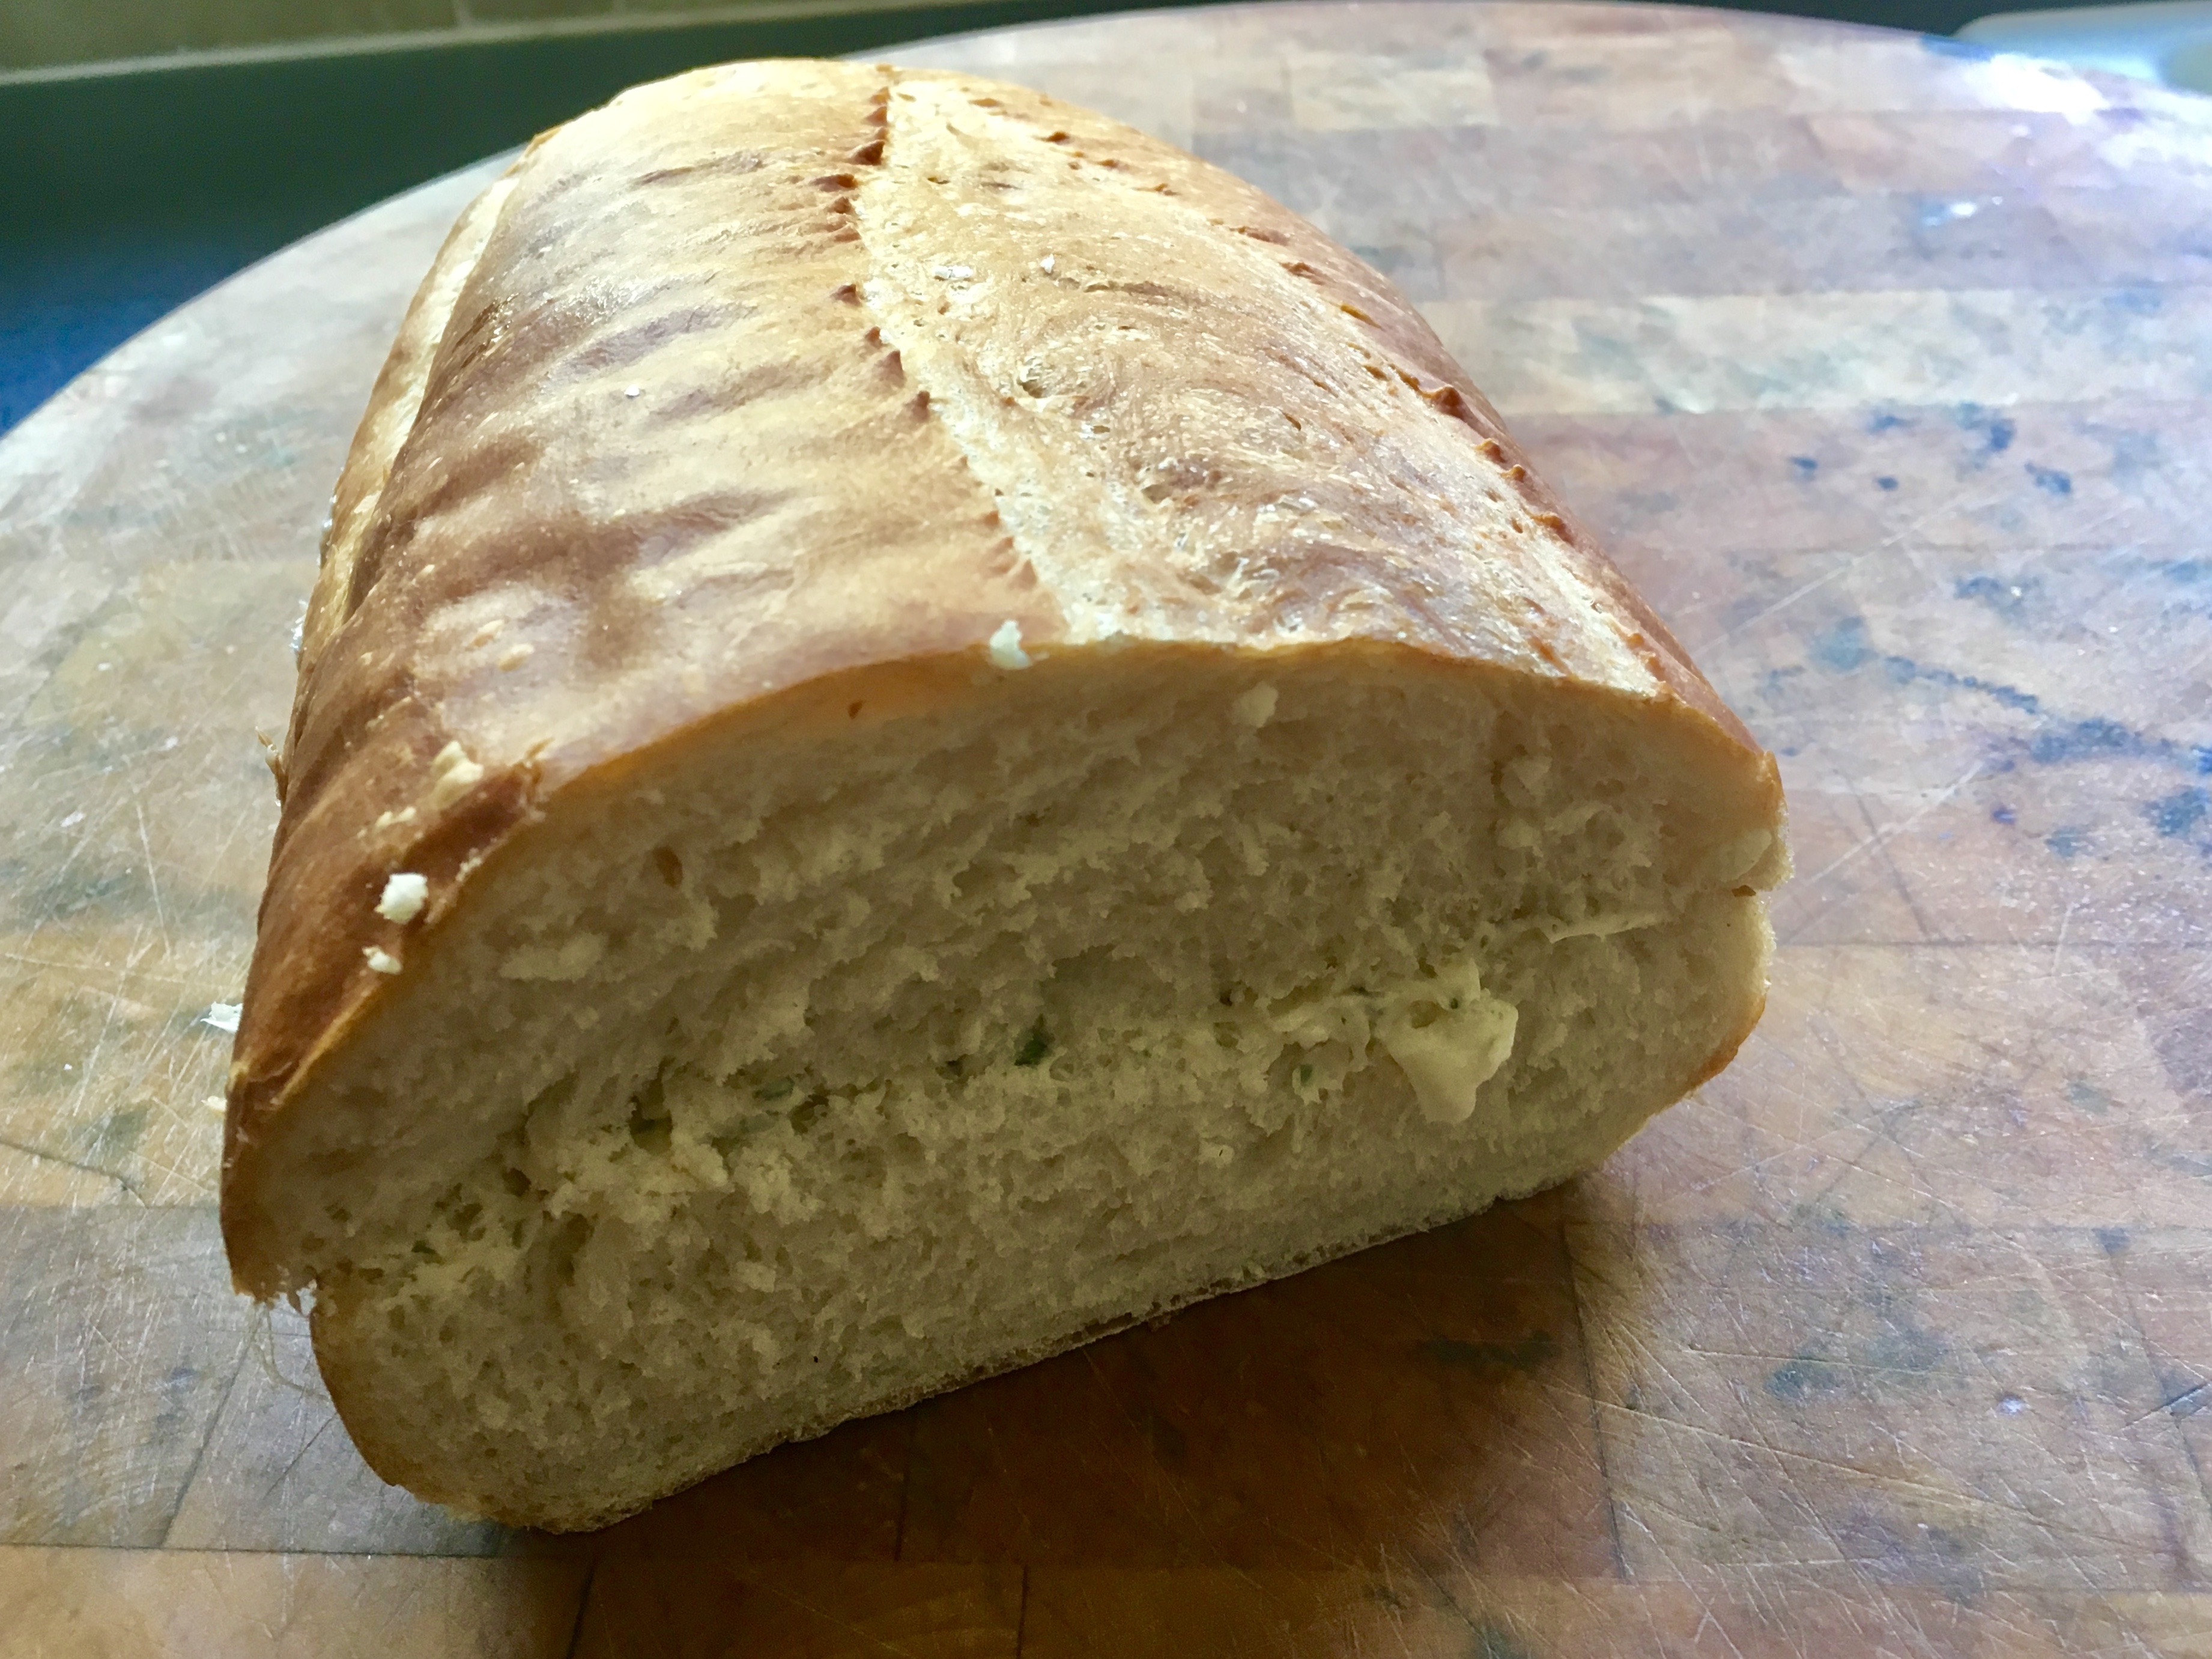
Although I love French baguettes, they’re too thin and crisp for garlic bread. I buy that long, soft, Italian loaf you can find in just about any supermarket bakery. When it bakes, the outside edges are nice and crispy, while the inside of the loaf stays soft…exactly what you want! The Italian loaf is big, so not only do I cut it lengthwise, I then cut each piece in half. This will make enough for us to enjoy one evening, and still store some in the freezer for a future craving.
This recipe makes enough for 1 garlic bread, 1 cheesy garlic bread, and also the bread you’ll be putting in the freezer for another time.
The delicious final product…but I digress…
2 sticks (8 oz.) unsalted butter
2 (or more!) large cloves garlic, squeezed through a press
1 teaspoon granulated garlic
1 teaspoon sea salt
1 teaspoon oregano
1 teaspoon parsley
grated mozzarella cheese…a few ounces
In a bowl, let the butter soften to room temperature. Once it’s soft, squeeze the fresh garlic cloves through a garlic press and add them to the butter. Then add the granulated garlic, salt, oregano and parsley. Using a fork, mix the ingredients really well until you have a beautiful garlic and herb butter. (Once it’s mixed, I find it’s easier to spread with a spatula or the back of a large spoon.)
Spread the garlic butter evenly on all 4 pieces of bread you’ve cut. Use it all up! Going thin on the butter serves no purpose here!
Place one of the loaves on a baking sheet. Add the grated mozzarella to one of the other loaves, and place it on the baking sheet as well.
Regular garlic bread on the left, cheesy garlic bread on the right…ready to go into the oven.
Pre-heat the oven to 400 degrees.
With the other two pieces of bread, I simply put them together…with cheese inside or not…
…and wrap them in aluminum foil. I place that in a freezer bag and keep it frozen until we have another craving. When it’s time to cook, I pre-heat the oven to 350, and bake the loaf in the foil for about 25 minutes. I take it out of the foil at the very end and bake another 5 minutes to get it to crisp up.
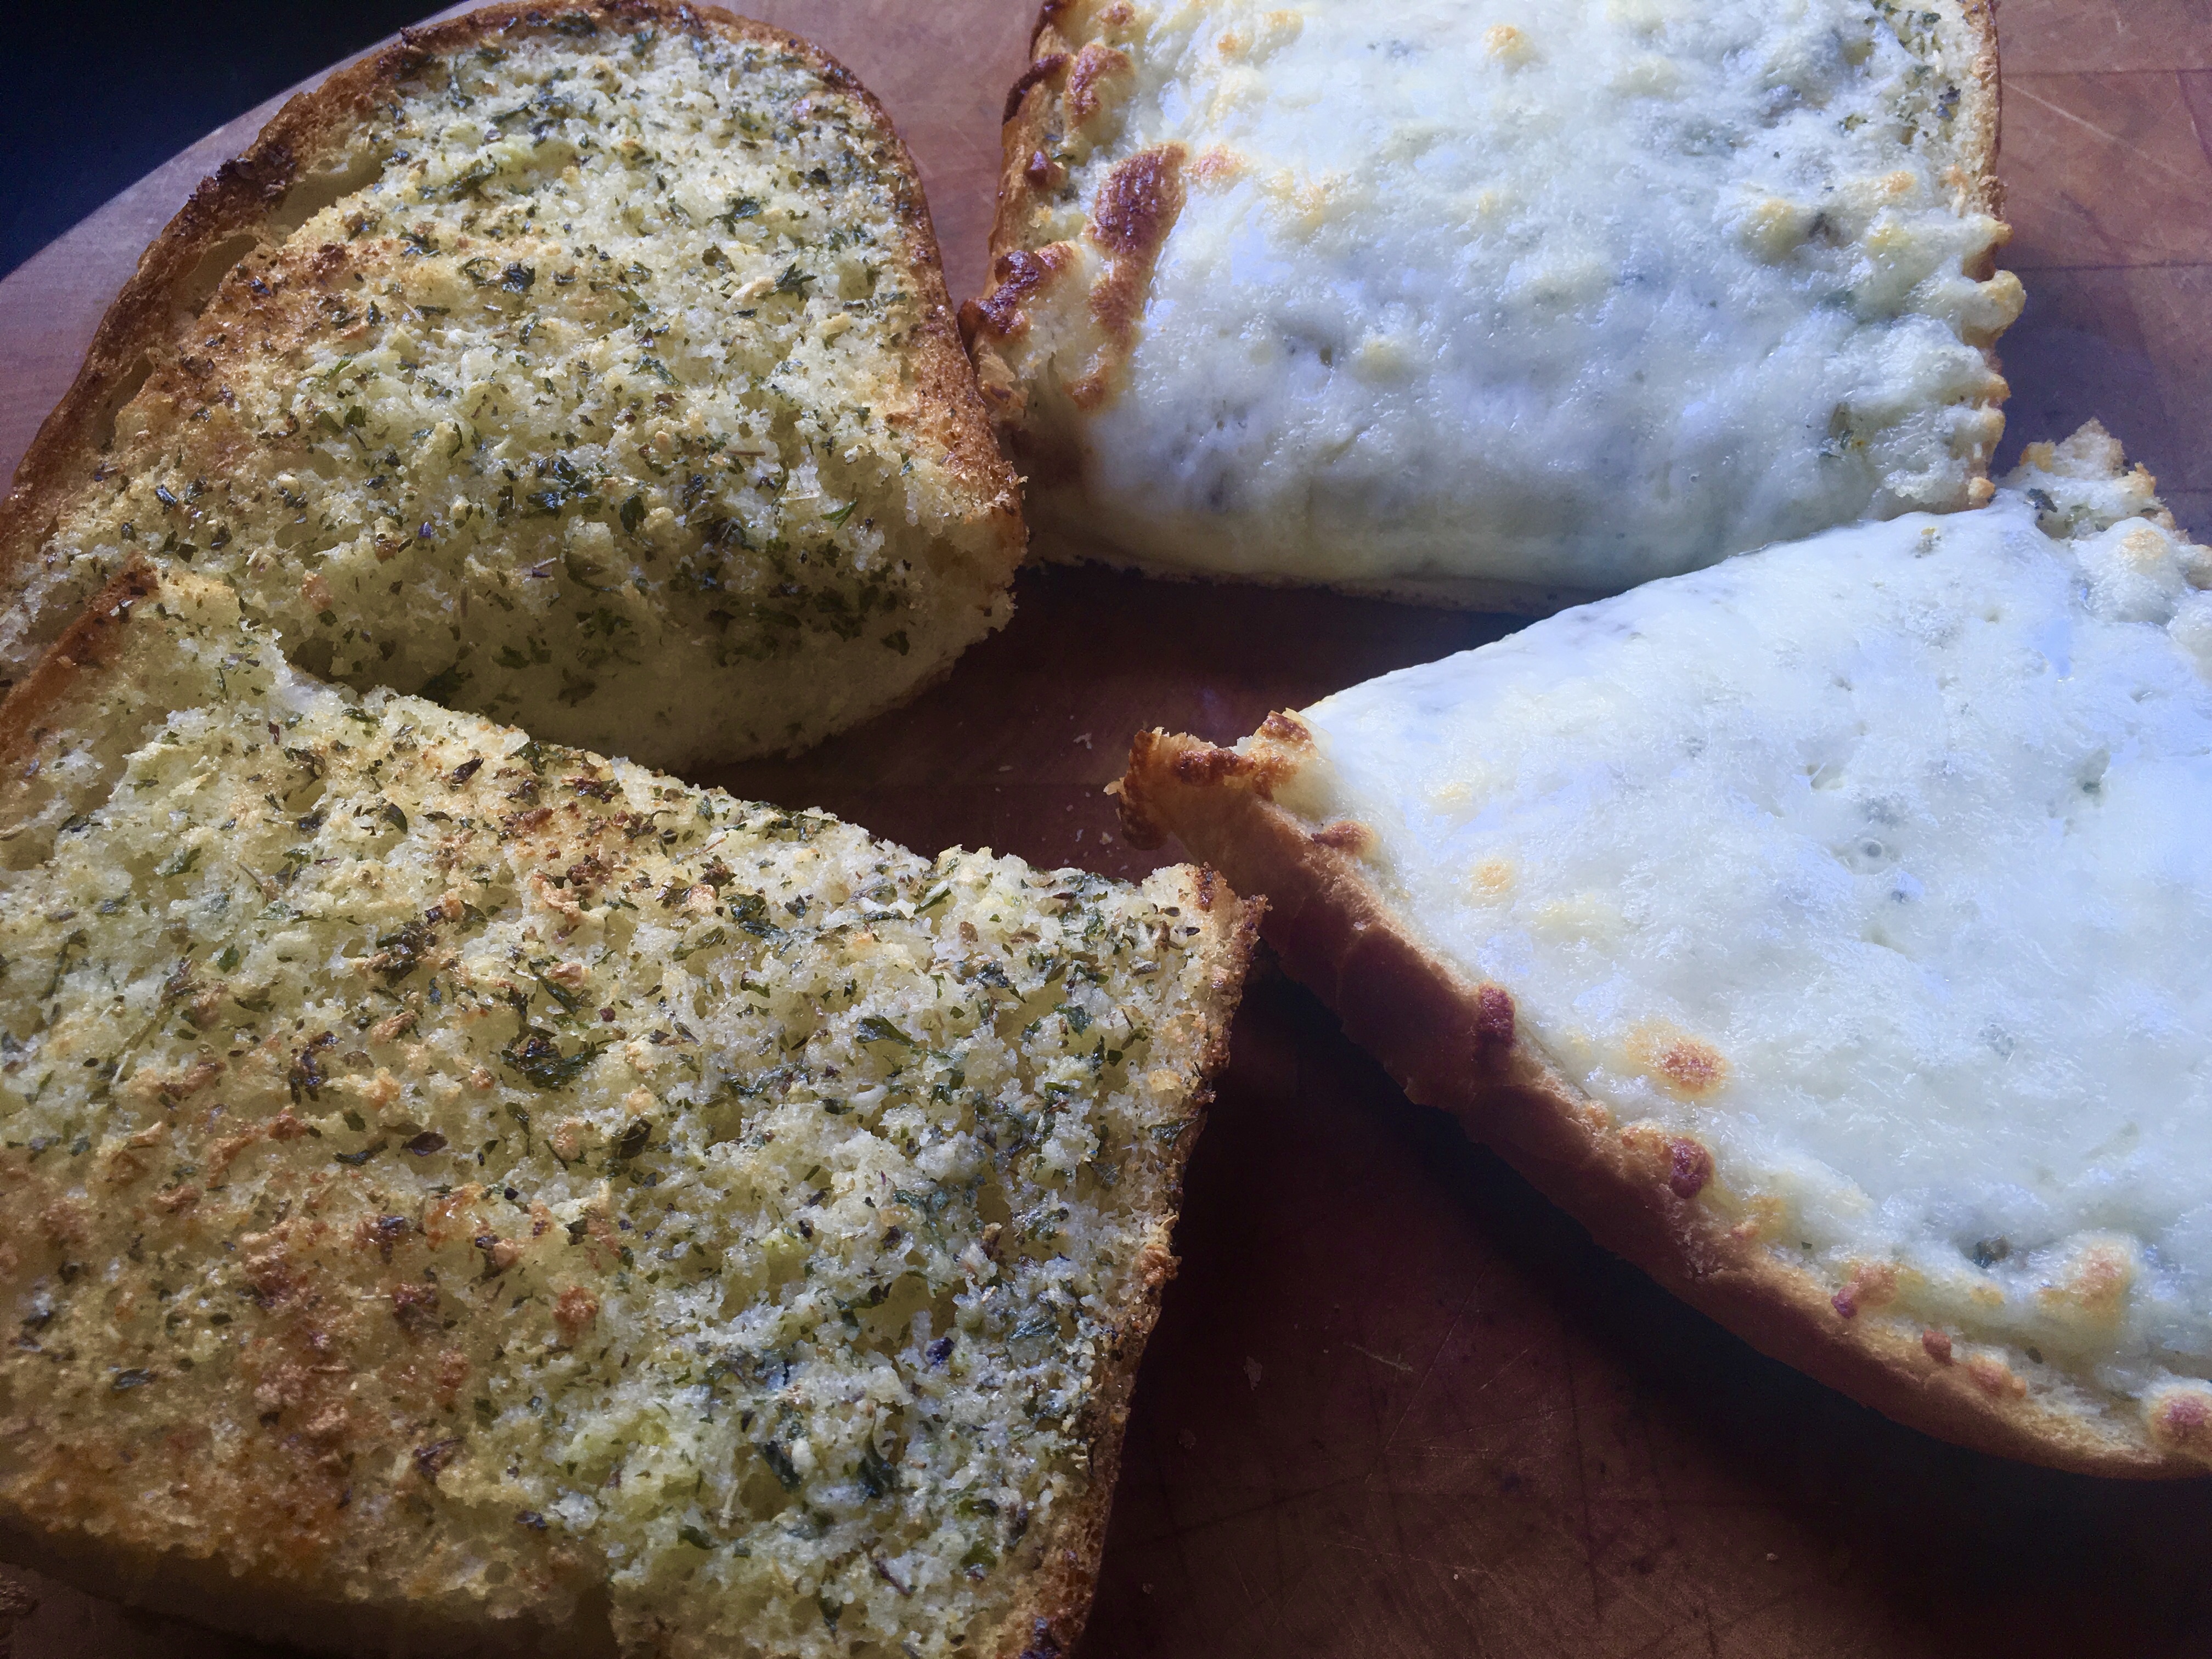
Ready to be devoured!
With the oven at 400, I bake my garlic bread and cheesy garlic bread for about 10 minutes, or until the edges of the bread start to turn a golden brown and the cheese on the cheesy side starts to melt.
I cut each piece in half so my daughter and I share in the 2 breads. There’s never any leftovers!
Looking forward to an interesting weekend, doing some mushroom foraging in the woods of Vermont with some friends I haven’t seen in many years. Hopefully, we’ll find some tasty fungi to bring back to the kitchen to cook up!
These 2 recipes are great side dishes for any occasion, and they’re tasty by themselves, or as an appetizer. Feel free to substitute to suit your needs. If you don’t like feta cheese, try Gruyère, smoked gouda, or even mozzarella. Need it to be gluten-free? Use GF breadcrumbs. Don’t have shallots? Use onions or scallions. Don’t like mushrooms? Okay…I can’t help you there…
1 package large white or brown mushrooms
olive oil
1/2 shallot, finely chopped
1 clove garlic, through a press
1 tablespoon fresh thyme, finely chopped
pinch of red pepper flakes
salt and pepper
fresh feta cheese, cut into small cubes
bread crumbs
1 tablespoon fresh parsley, finely chopped
Pre-heat the oven to 400 degrees.
Rinse the mushrooms in cold water to clean them. Remove the stems of the mushrooms and set them aside. Rub the mushroom caps with olive oil and place them on a baking sheet, open side-down, in a 400-degree oven, for a few minutes.
In a pan, sauté the shallot and garlic in a little olive oil. Chop the mushroom stems finely and add them to the pan. Season well with the salt and pepper. Add the thyme and pepper flakes. Set the pan aside, off the heat.
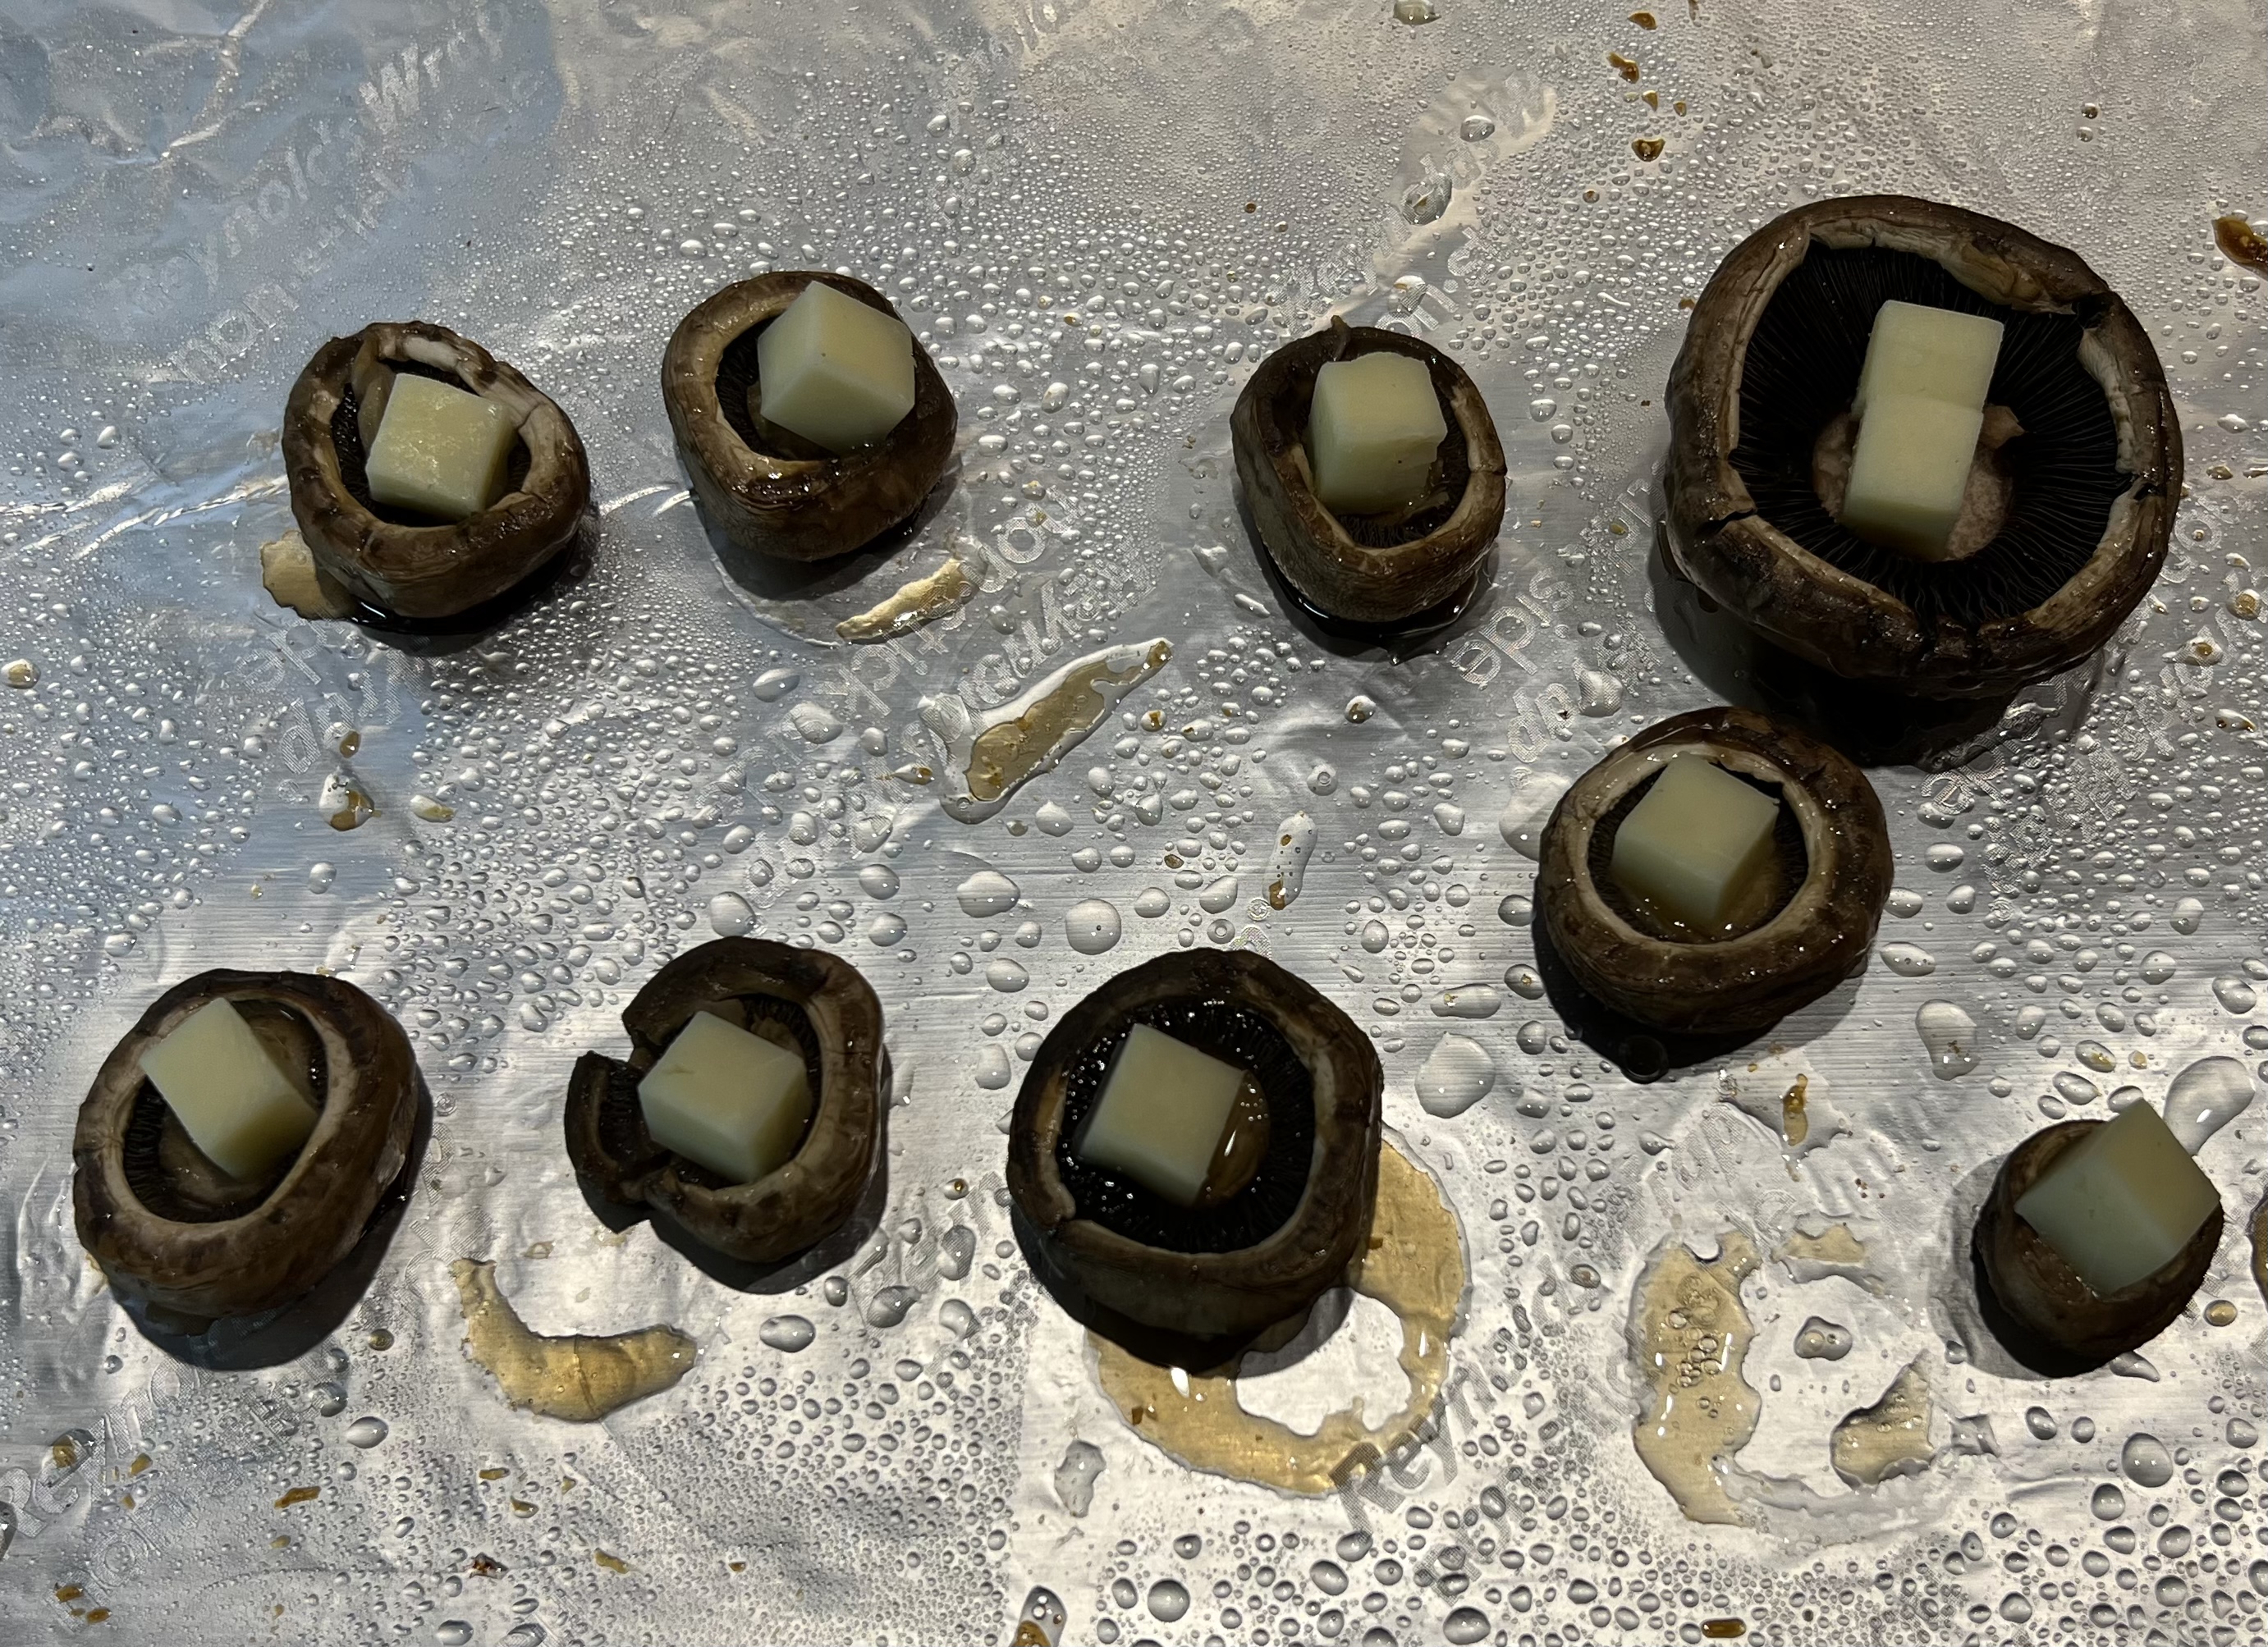
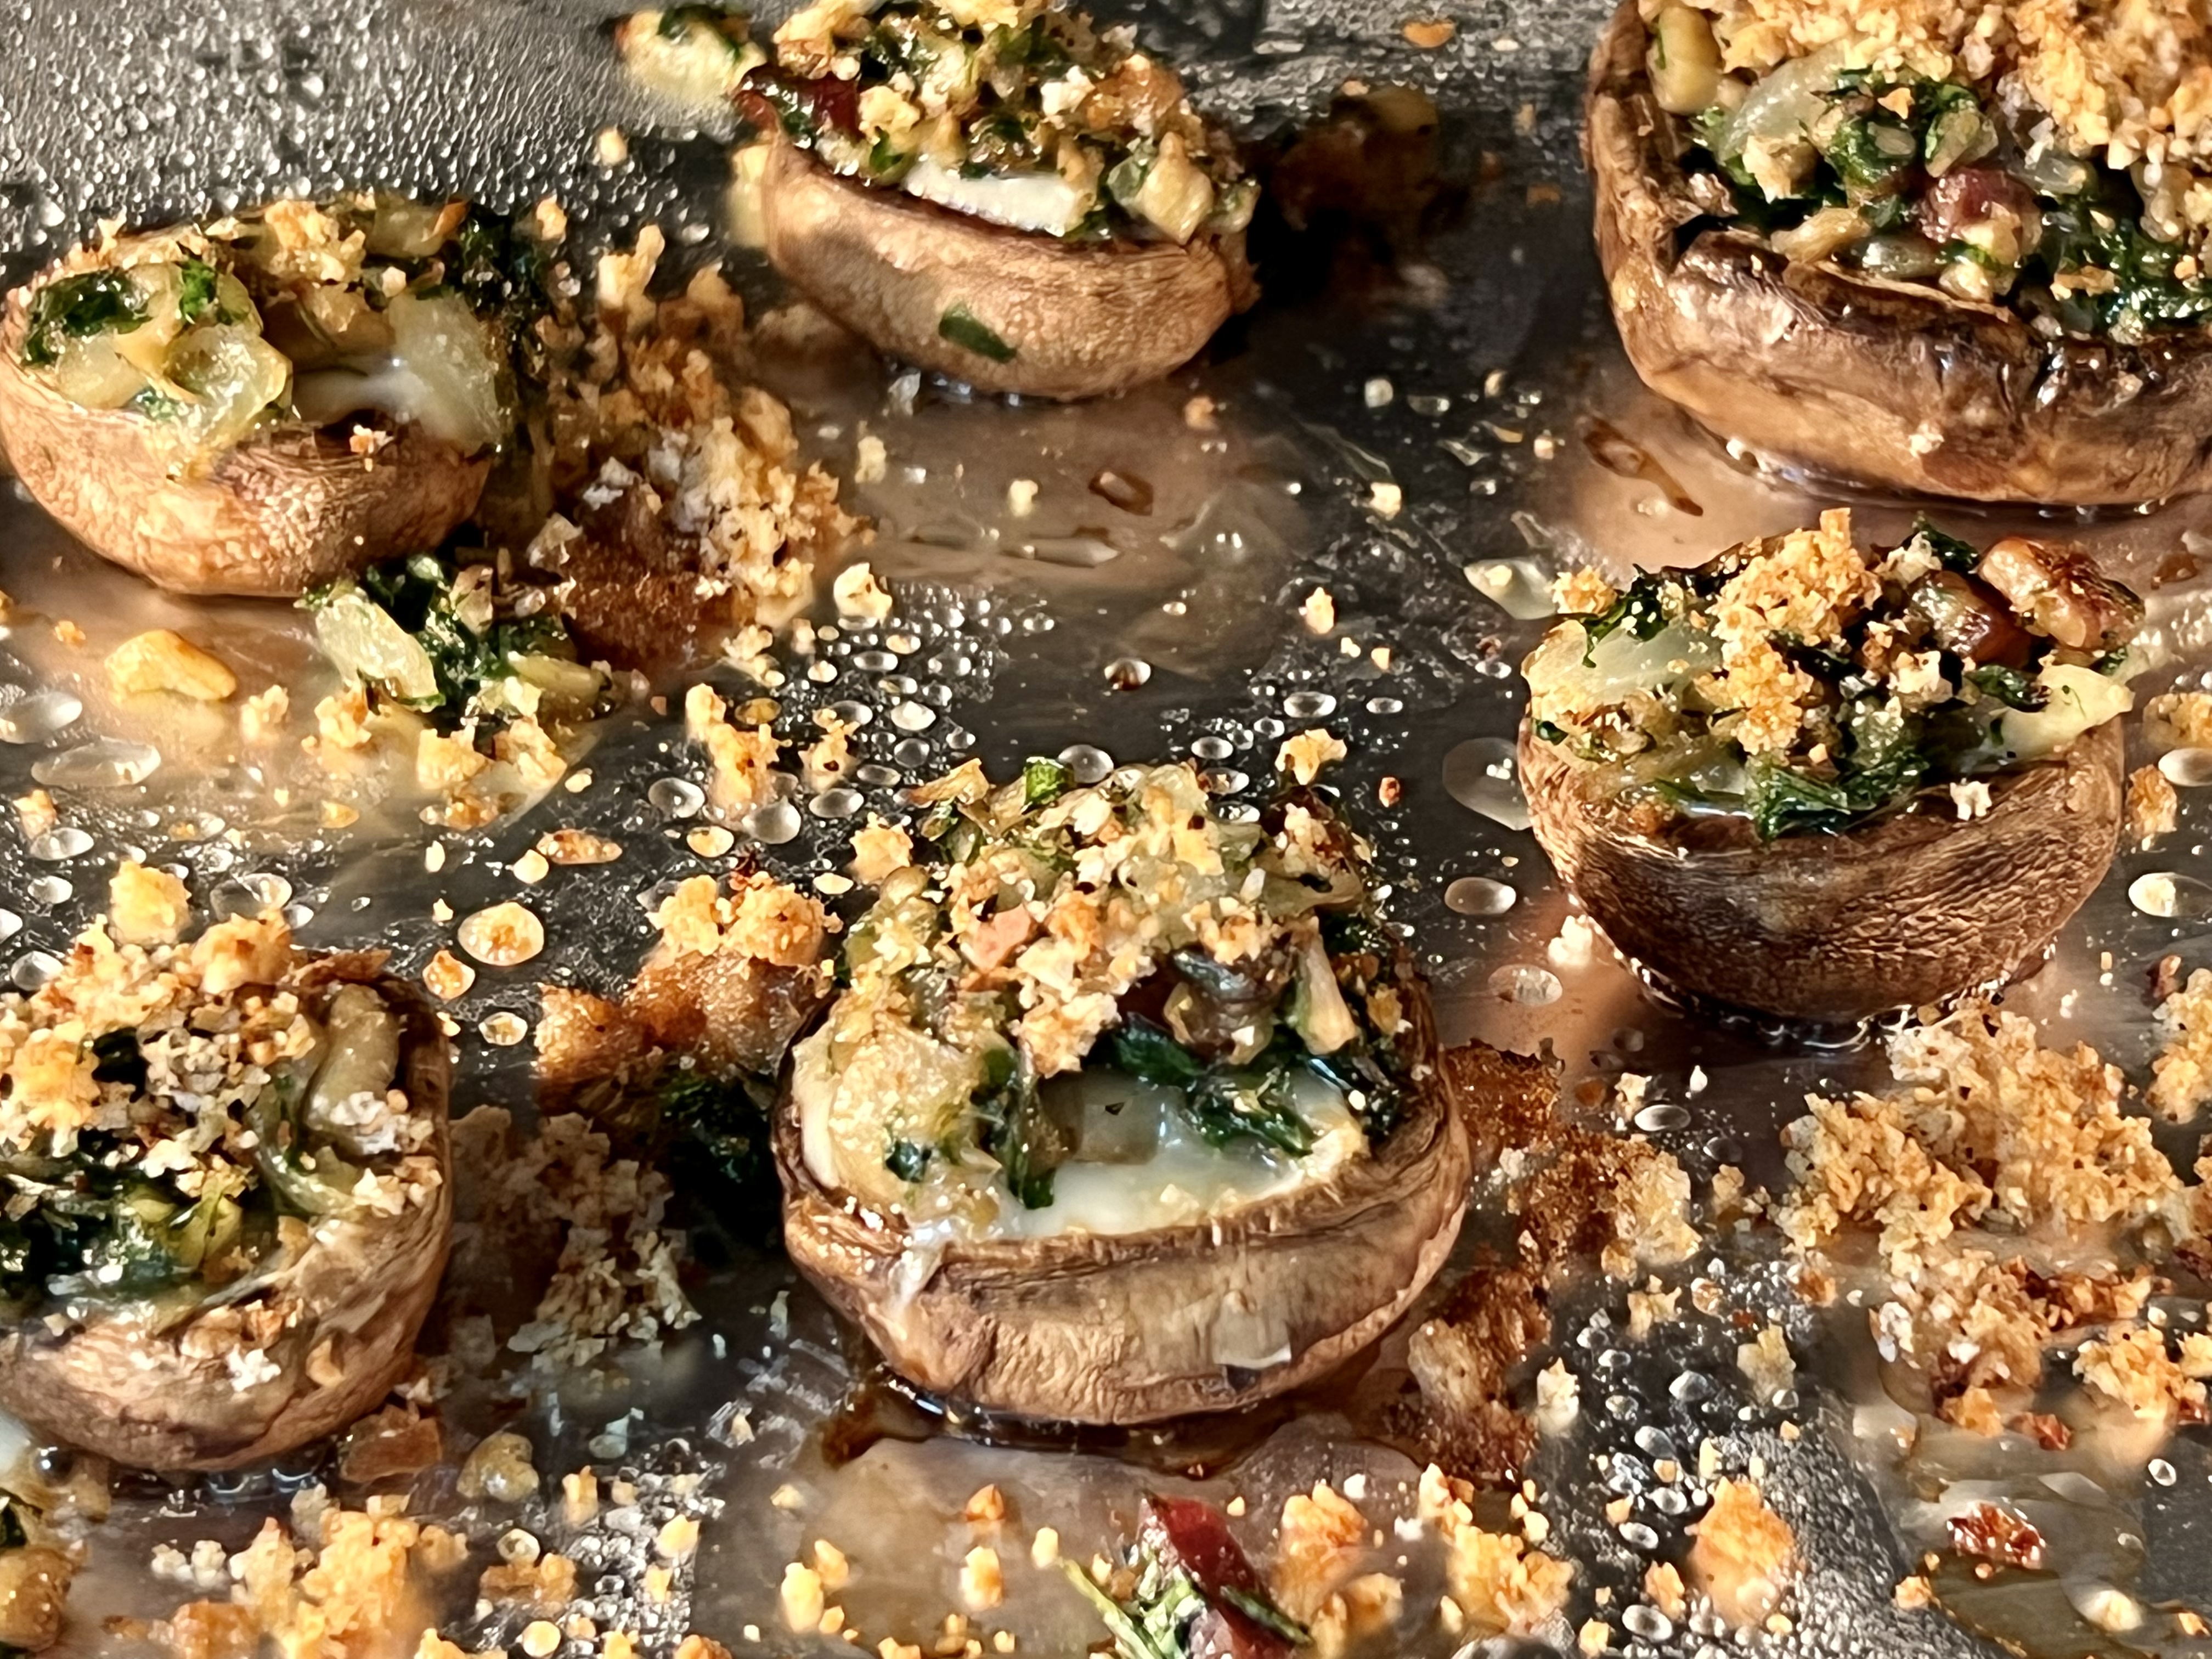
Reduce the oven temp to 350 degrees after removing the mushroom caps. Flip the mushroom caps over so that they look like little bowls. Take a cube of cheese and place one in each mushroom. Top each with the sautéed shallot mixture. Sprinkle breadcrumbs on top and sprinkle parsley over that.
Return the baking sheet to the oven, cooking the mushrooms until they are lightly golden in color, and the cheese has melted.
Mushroom myth: Soaking mushrooms in cold water makes them mushy. Not true! Mushrooms do not soak up any water when left to soak for even 30 minutes. So use your mushroom brush…use your kitchen towel…whatever you like. But I prefer to get them clean simply with cold water.
Here’s another recipe…
Chopped mushroom stems and cubed cheddar, ready to go.
1 package white or brown mushrooms
olive oil
1/4 of an onion, minced
1 clove of garlic, through a press
1 piece of cooked bacon, finely chopped
1 cup of baby arugula
salt and pepper
mild cheddar cheese, cubed
bread crumbs
The cooking directions are similar to the recipe above…
Pre-heat the oven to 400 degrees.
Rinse the mushrooms in cold water to clean them. Remove the stems of the mushrooms and set them aside. Rub the mushroom caps with olive oil and place them on a baking sheet, open side-down, in a 400-degree oven for a few minutes.
In a pan, sauté the onion and garlic in a little olive oil. Add the bacon. Chop the mushroom stems finely and add them to the pan. Season well with the salt and pepper. Add the arugula and let it wilt until it’s soft. Set the pan aside, off the heat.
Sautéed mushroom mix, ready to go.
Reduce the oven temp to 350 degrees after removing the mushroom caps. Flip the mushroom caps over so that they look like little bowls. Cut the cheddar cheese into small cubes and place one in each mushroom. Top each with the sautéed onion/garlic/bacon/arugula mixture. Sprinkle the breadcrumbs on top.
The cubes of cheddar fit inside the caps.
Return the baking sheet to the oven, cooking the mushrooms until they are lightly golden in color, and the cheese has melted.
My daughter likes to find new recipes on line for us to try. And although they might look like new ideas to her, the ingredients tell me these recipes came from somebody’s cookbook from the 70’s.
Hey, maybe I’m the exception to the rule, but I haven’t opened a can of cream-of-anything soup in at least 30 years…and that includes cream of mushroom for the classic Thanksgiving bean casserole. (I’ve never made one.) Maybe it’s because I wasn’t raised on Betty-Crocker-midwest-American fare. My parents were from Lithuania, and we had our own list of favorites that would probably raise a few American eyebrows.
But my daughter had friends coming over to hang out for a few hours, and I always like to cook something for them. (I learned from my mom and grandmother a long time ago that you don’t invite someone over without feeding them.)
This casserole recipe my daughter chose, originally called something like “Chicken Spaghetti,” had some good ideas, but wrong ingredients for a group of teenage girls who could be a bit finicky. For example, it called for 2 cans of cream of mushroom soup. I decided to ditch the mushrooms and I substituted one can each of cream of celery and cream of onion. The recipe called for green peppers. I chose to use peas and corn. And since it was all going into a casserole dish, spaghetti seemed like the wrong pasta. We went with smaller penne instead.
We made it a day ahead…keeping it wrapped in the fridge. But if we needed less than what this recipe made, we would’ve divided it into two smaller casseroles, freezing one of them (before cooking) for future use.
1 lb. pasta 1 can (10.5 oz.) cream of celery soup 1 can (10.5 oz.) cream of onion soup 1 cup chicken broth 2 to 3 cooked chicken breasts (about 3 cups shredded) 1/2 cup peas (frozen is fine) 1/2 cup corn (frozen is fine) 1 small onion, finely chopped 1 teaspoon seasoned salt (I use Lawry’s) 1/8 teaspoon cayenne pepper salt and pepper 2 1/2 cups shredded sharp cheddar, divided
Homemade chicken stock is the best. If you don’t have any that you’ve made from the leftovers of previous chicken dinners, and you don’t have any store-bought stock in your pantry, here’s any easy cheat…
Get a pot and fill it with about 6 cups cold, clean water. Put the pot over high heat. Chop up a carrot, a stalk or two of celery, and 1/2 an onion and toss them in the pot. Then add the raw chicken breasts you’re going to use in this dish.
Bring the pot to a boil, then turn the heat down to medium until the chicken breasts are thoroughly cooked and the liquid in the pot has reduced by at least half.
Strain the veggies out, and what you have left is basic chicken stock.
If you’re going to cook this dish the same day, pre-heat the oven to 350.
Grease a 9 x 13 pan with cooking spray. (Two smaller pans if you’re dividing the recipe.)
Cook the pasta according to the package instructions, but stop the cooking even before the pasta reaches the al dente stage. (It will cook more in the oven, so you don’t want it mushy.) Drain the pasta and set it aside.
Sauté the onion in a bit of olive oil until it’s translucent.
Get out a large bowl and add the can of cream of celery, the can of cream of onion, the sautéed onions, the peas and corn, the shredded chicken, the chicken stock, the cooked and drained pasta, the seasoned salt, the cayenne, and 1 1/2 cups of the cheese. Season with the salt and pepper, to taste. Mix well.
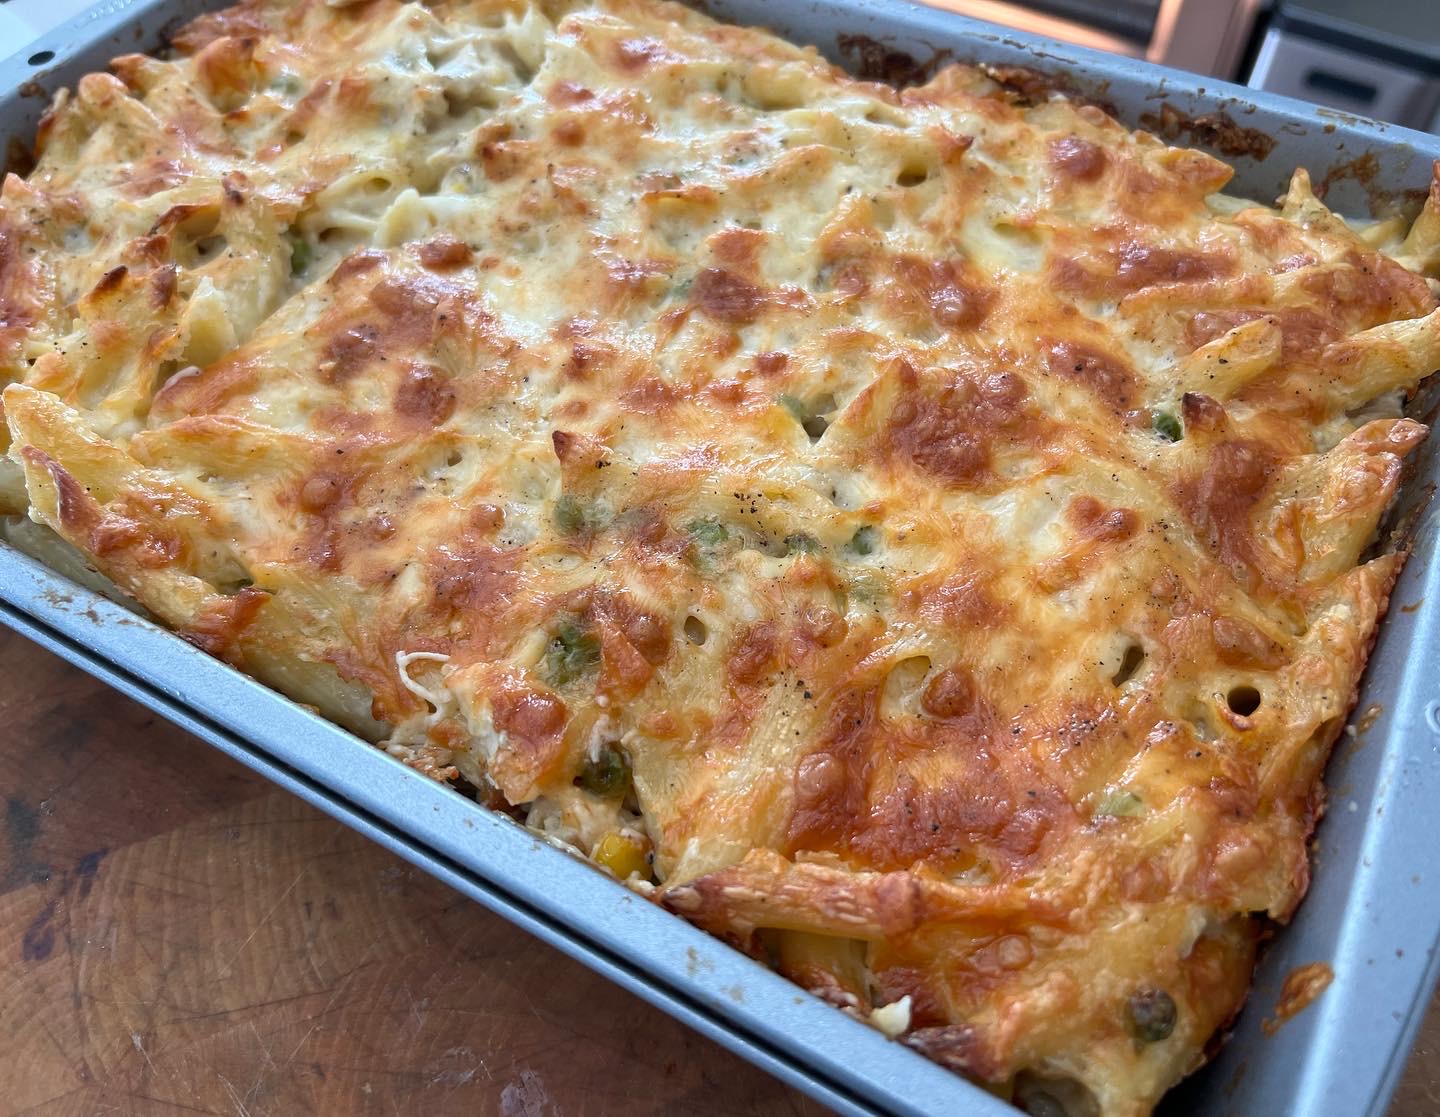
Pour the contents of the bowl into the 9 x 13 pan (or between the 2 pans if dividing), and top it with the rest of the cheese. This is the point where you wrap and freeze or continue to the oven.
Bake for 40–45 minutes, until it’s nice and bubbly. (If it looks like the cheese might burn, cover it with foil.)
If you’re freezing this recipe for later, wrap it tightly in plastic and foil before placing it in the freezer. A day before you want to cook, take it out of the freezer and thaw it in the fridge for 24 hours. Then cook as usual.
To give you a good idea of just how many people walk through the doors of the Guinness Storehouse at St. James Gate, in Dublin, Ireland, every year, the tour was listed in 2023 by World Travel Awards as the world’s leading tourist attraction.
It’s located on the grounds of the original Guinness Brewery, brewing in that location for over 250 years. Arthur Guinness himself signed and sealed a deal with the city in 1759 to lease the property for 9000 years!
If you’re looking for a simple brewery tour, this isn’t it! It’s more like a multi-media 5-story Disney walk-through than a brewery tour.
If you go to the website, you can see all the tour extras that they offer, all with an extra admission price, and you can customize the trip to your liking.
Some folks were disappointed to find that it wasn’t a simple brewery tour, but when you think about it, how could you possibly get that many people through the door any other way?
I thought it was a fun experience, topping it all off with a taste of a fresh pint of Guinness on the 7th floor at their newly expanded Gravity Bar.
The Gravity Bar is worth the visit even if you don’t want a drink, because it features the best 360° views of Dublin.
We say “It’s 5 o’clock somewhere.” Guinness has us beat with a tasting every morning at 10!
Though it may sound Japanese, the word “saganaki” refers to a small frying pan used in Greek cooking. The most famous of these dishes, simply called saganaki, is a fried cheese, often flamed at the end with a little ouzo.
Shrimp saganaki is one of my favorite Greek dishes, and it usually involves cooking shrimp in a tomato-based sauce with plenty of feta cheese sprinkled in. It’s simple yet fantastic if the ingredients are fresh. Doesn’t hurt to be sitting in a taverna on the beautiful island of Santorini while eating it, either!
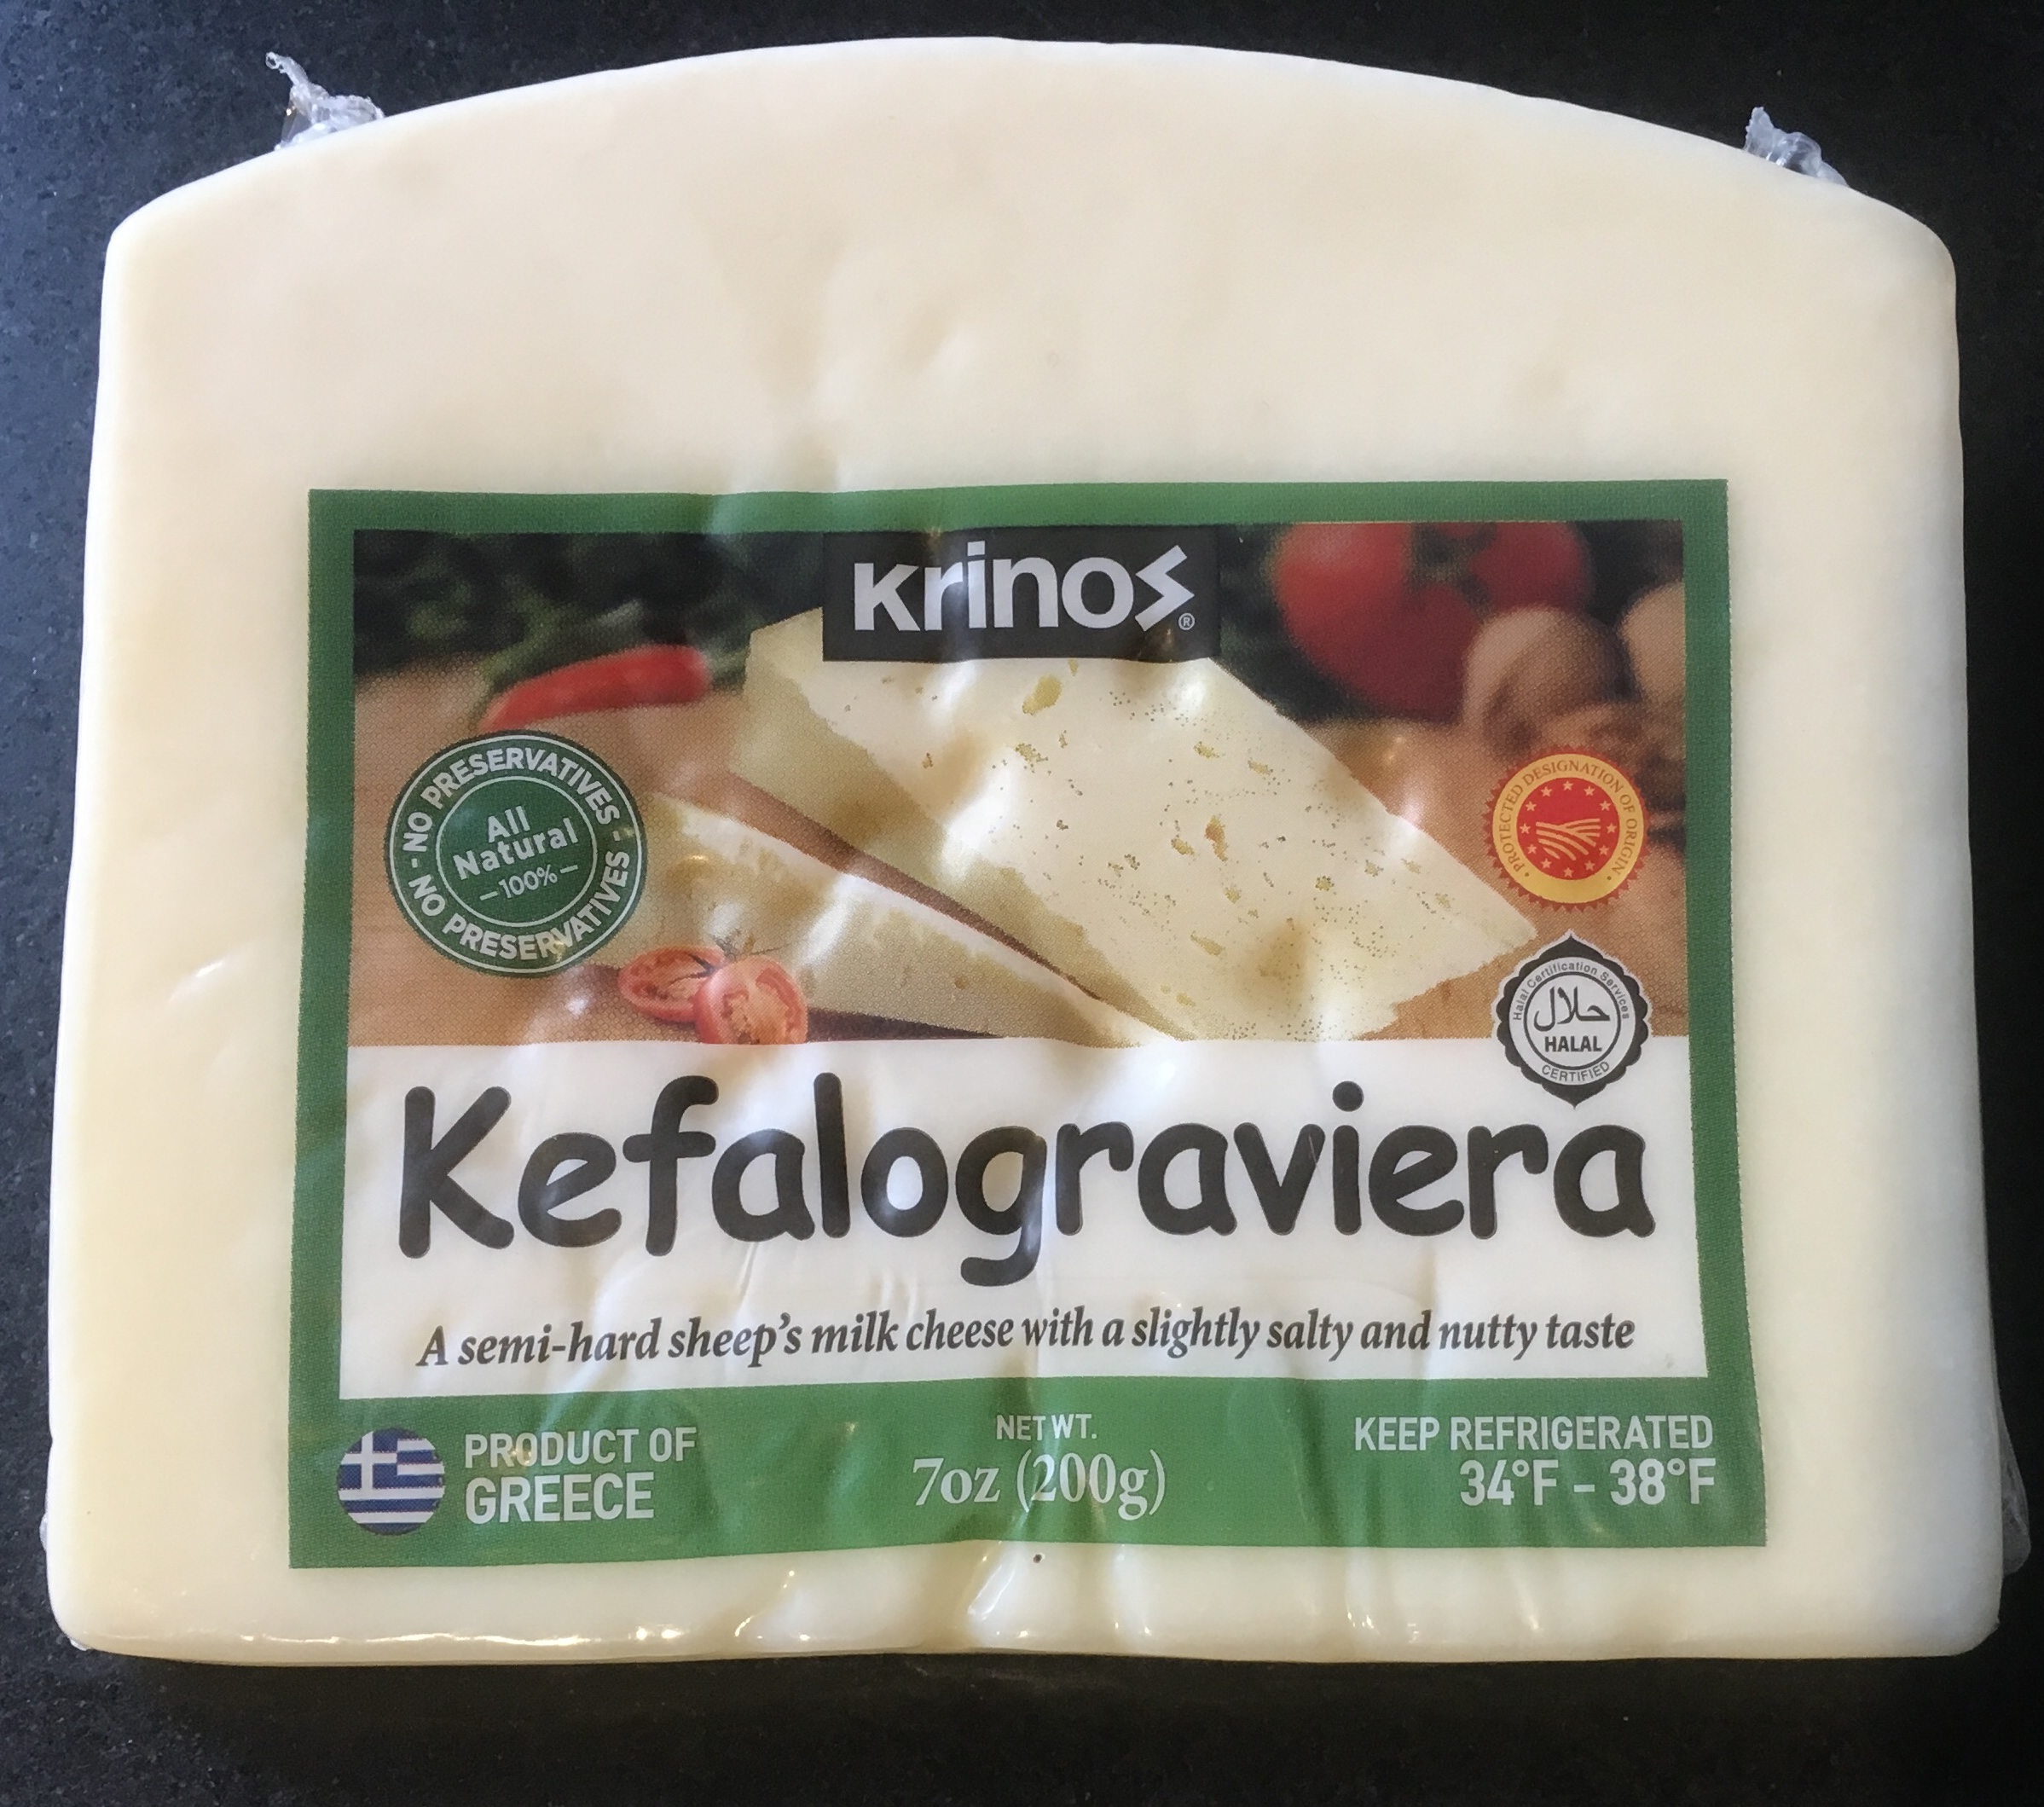
You can find Graviera cheese in most supermarkets.
I found a slab of Graviera cheese at a local supermarket, and decided to recreate shrimp saganaki using that instead of feta. It was pretty darn amazing.
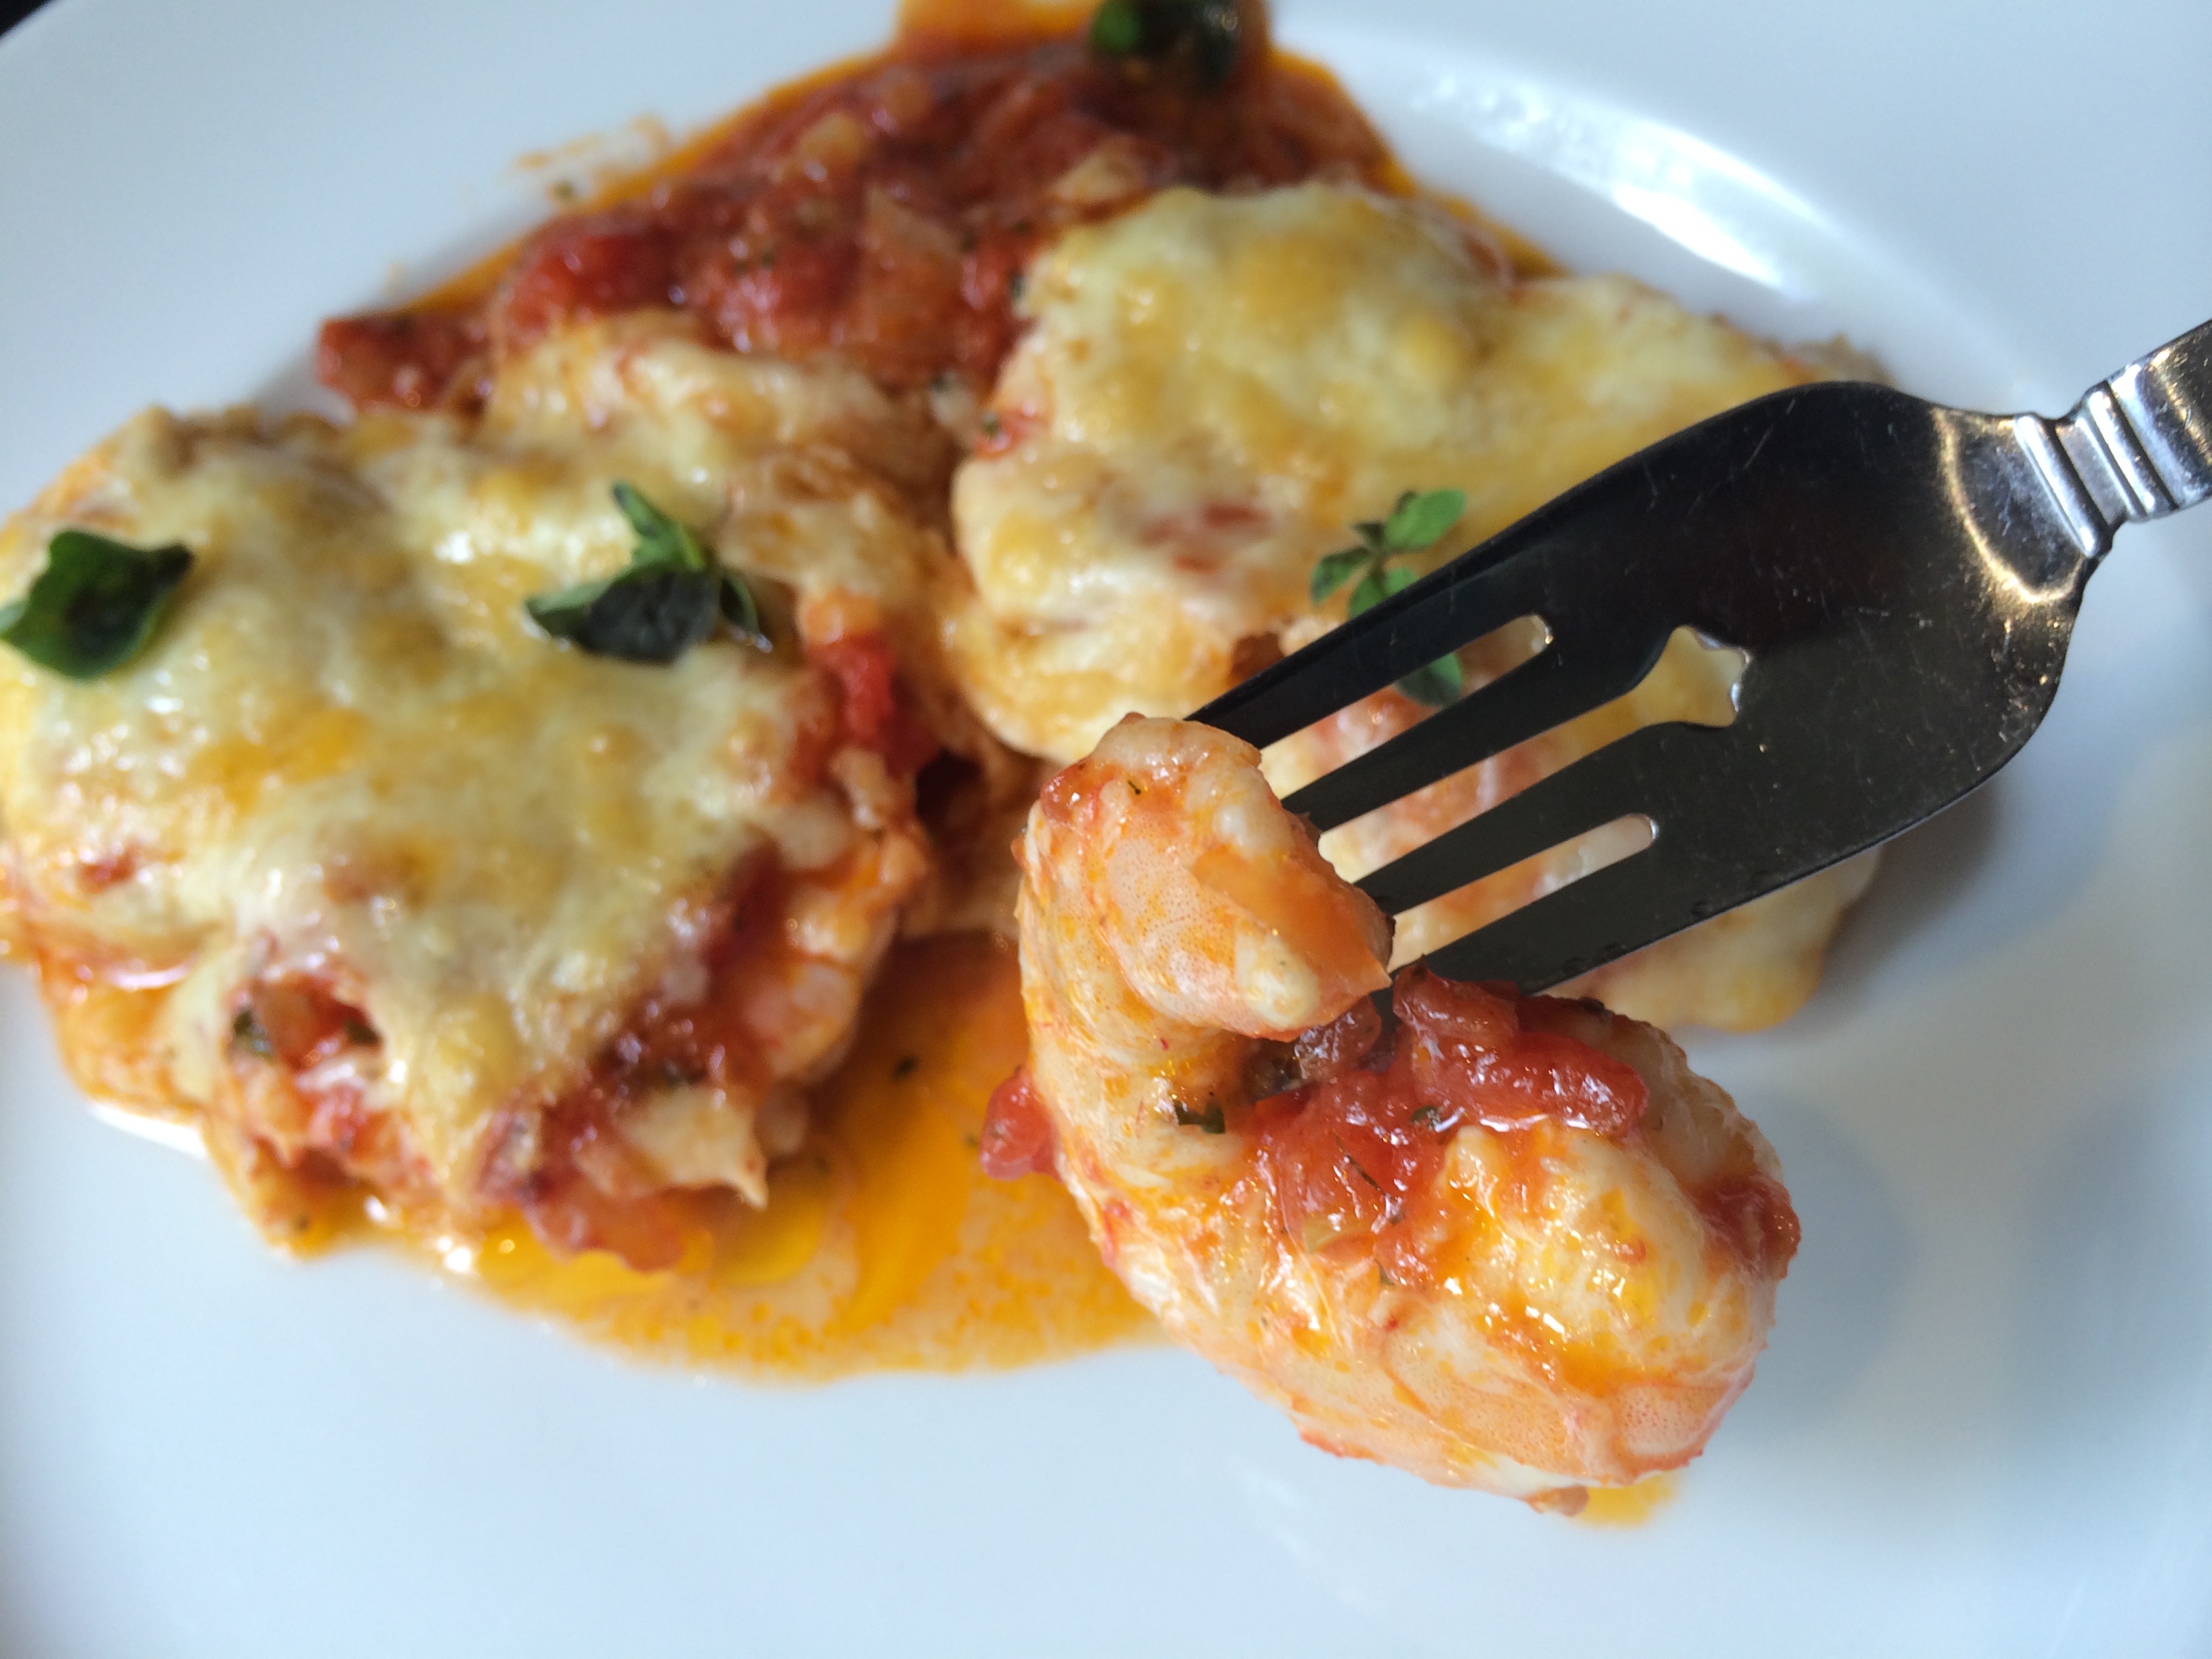
I like using peeled and deveined 24–30 shrimp, because larger shrimp don’t always cook through. These smaller shrimp will be bite-sized and delicious.
Melty, gooey, delicious!
200g package (7 oz.) grated Graviera cheese
1 can (28 oz.) whole tomatoes
1 lb. (about 24) shrimp, thawed, peeled and deveined
1 medium onion, chopped
juice of 1/2 lemon
1/4 cup olive oil
2 cloves garlic, through a press
pinch red pepper flakes
1 1/2 tablespoons fresh dill, finely chopped
1 tablespoon fresh oregano, finely chopped
1 1/2 tablespoons Ouzo
salt and pepper
Peel and devein the shrimp (or you can buy them that way already.) Place them in a bowl. Squeeze the juice of 1/2 of a lemon on to the shrimp and toss. Set them aside.
In a large pan, sauté the onions in the olive oil until translucent. Add the garlic and cook for a few seconds more.
Crush or puree the tomatoes and add them to the pan. Add the red pepper flakes, dill and oregano, and salt and pepper. Add the Ouzo.
Let this sauce cook down for a bit until all the flavors have blended together.
Pour a layer of the sauce on the bottom of a metal broiler-proof pan. Lay the raw shrimp in a single layer into the sauce. Cover the shrimp with the rest of the sauce and sprinkle the grated Graviera on top.
Place the pan in a pre-heated 350-degree oven and bake until the cheese is golden brown and bubbly and the shrimp have cooked through. I like to finish it under the broiler for a few minutes to get the cheese brown and melty.
One of the highlights of my recent trip to Scotland was to visit the Oban Whisky distillery. Oban is a lovely seaside town, about a 2-hour’s drive from Glasgow on a sunny day.
Oban
Unfortunately, for me, it was pouring buckets of rain, so my drive took a little over three hours. Nonetheless, the tour was worth it.
Oban Whisky is owned by the giant alcoholic beverage company, Diageo, but they claim that the company really leaves them alone to do their magic. And so they do, seven days a week, 365 days a year, cranking out as much whiskey as this little old distillery possibly can.
The bar at the Oban distillery. A nice place to sit and sip while you wait for the tour to start.
There has been no expansion since they started in 1794, other than moving the bottling process over to another location. (The distillery predates the town, which was established in 1811.)
The tour begins with a taste!
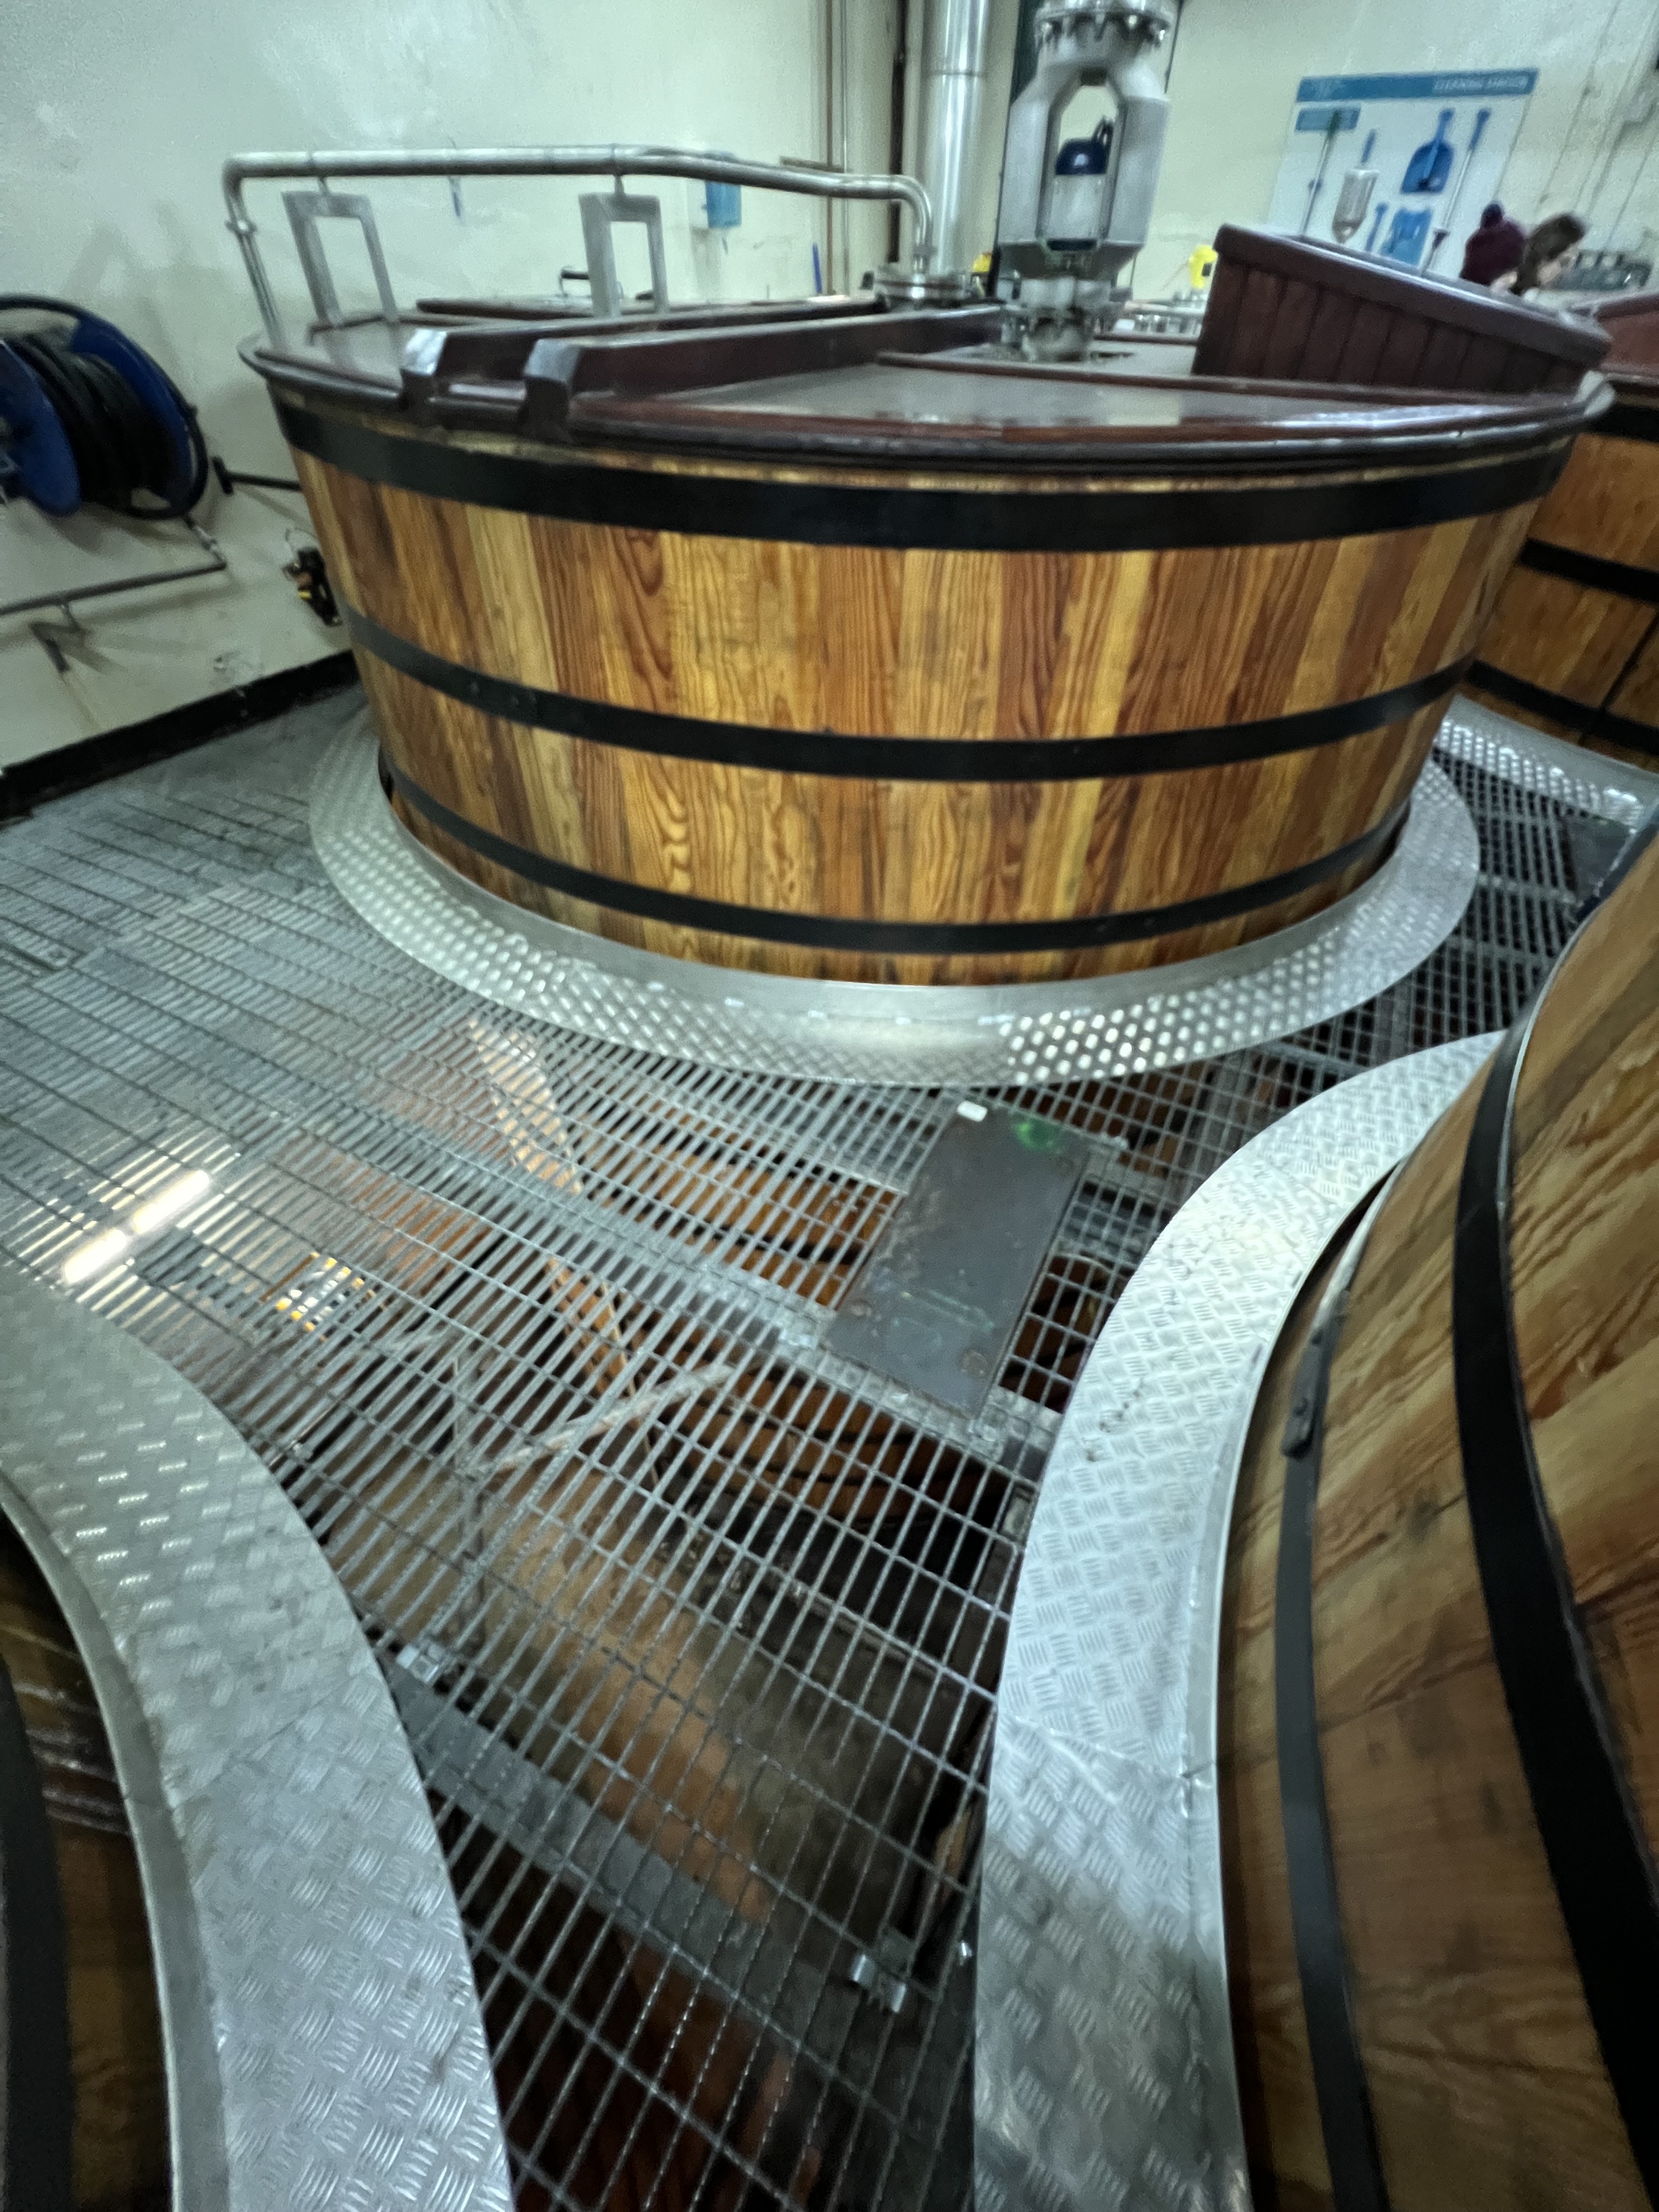
One of the smallest distilleries in Scotland, only seven employees make Oban Whisky, which is a mind-blowing thought! All of the whisky comes from only two copper stills. The relatively small wooden holding tanks are all they have to make all of their whisky, including their very popular Oban 14, which is available in most of the United States.
All of the whisky made at Oban is single malt. That means it’s made at a single distillery using only water, yeast and malted barley.
The process begins with the barley.
Our tour guide told us that the taxes in Scotland are ridiculously high on booze, about 75%! So it’s a better deal for them to sell their whisky overseas to make a larger profit, and Americans love their whisky!
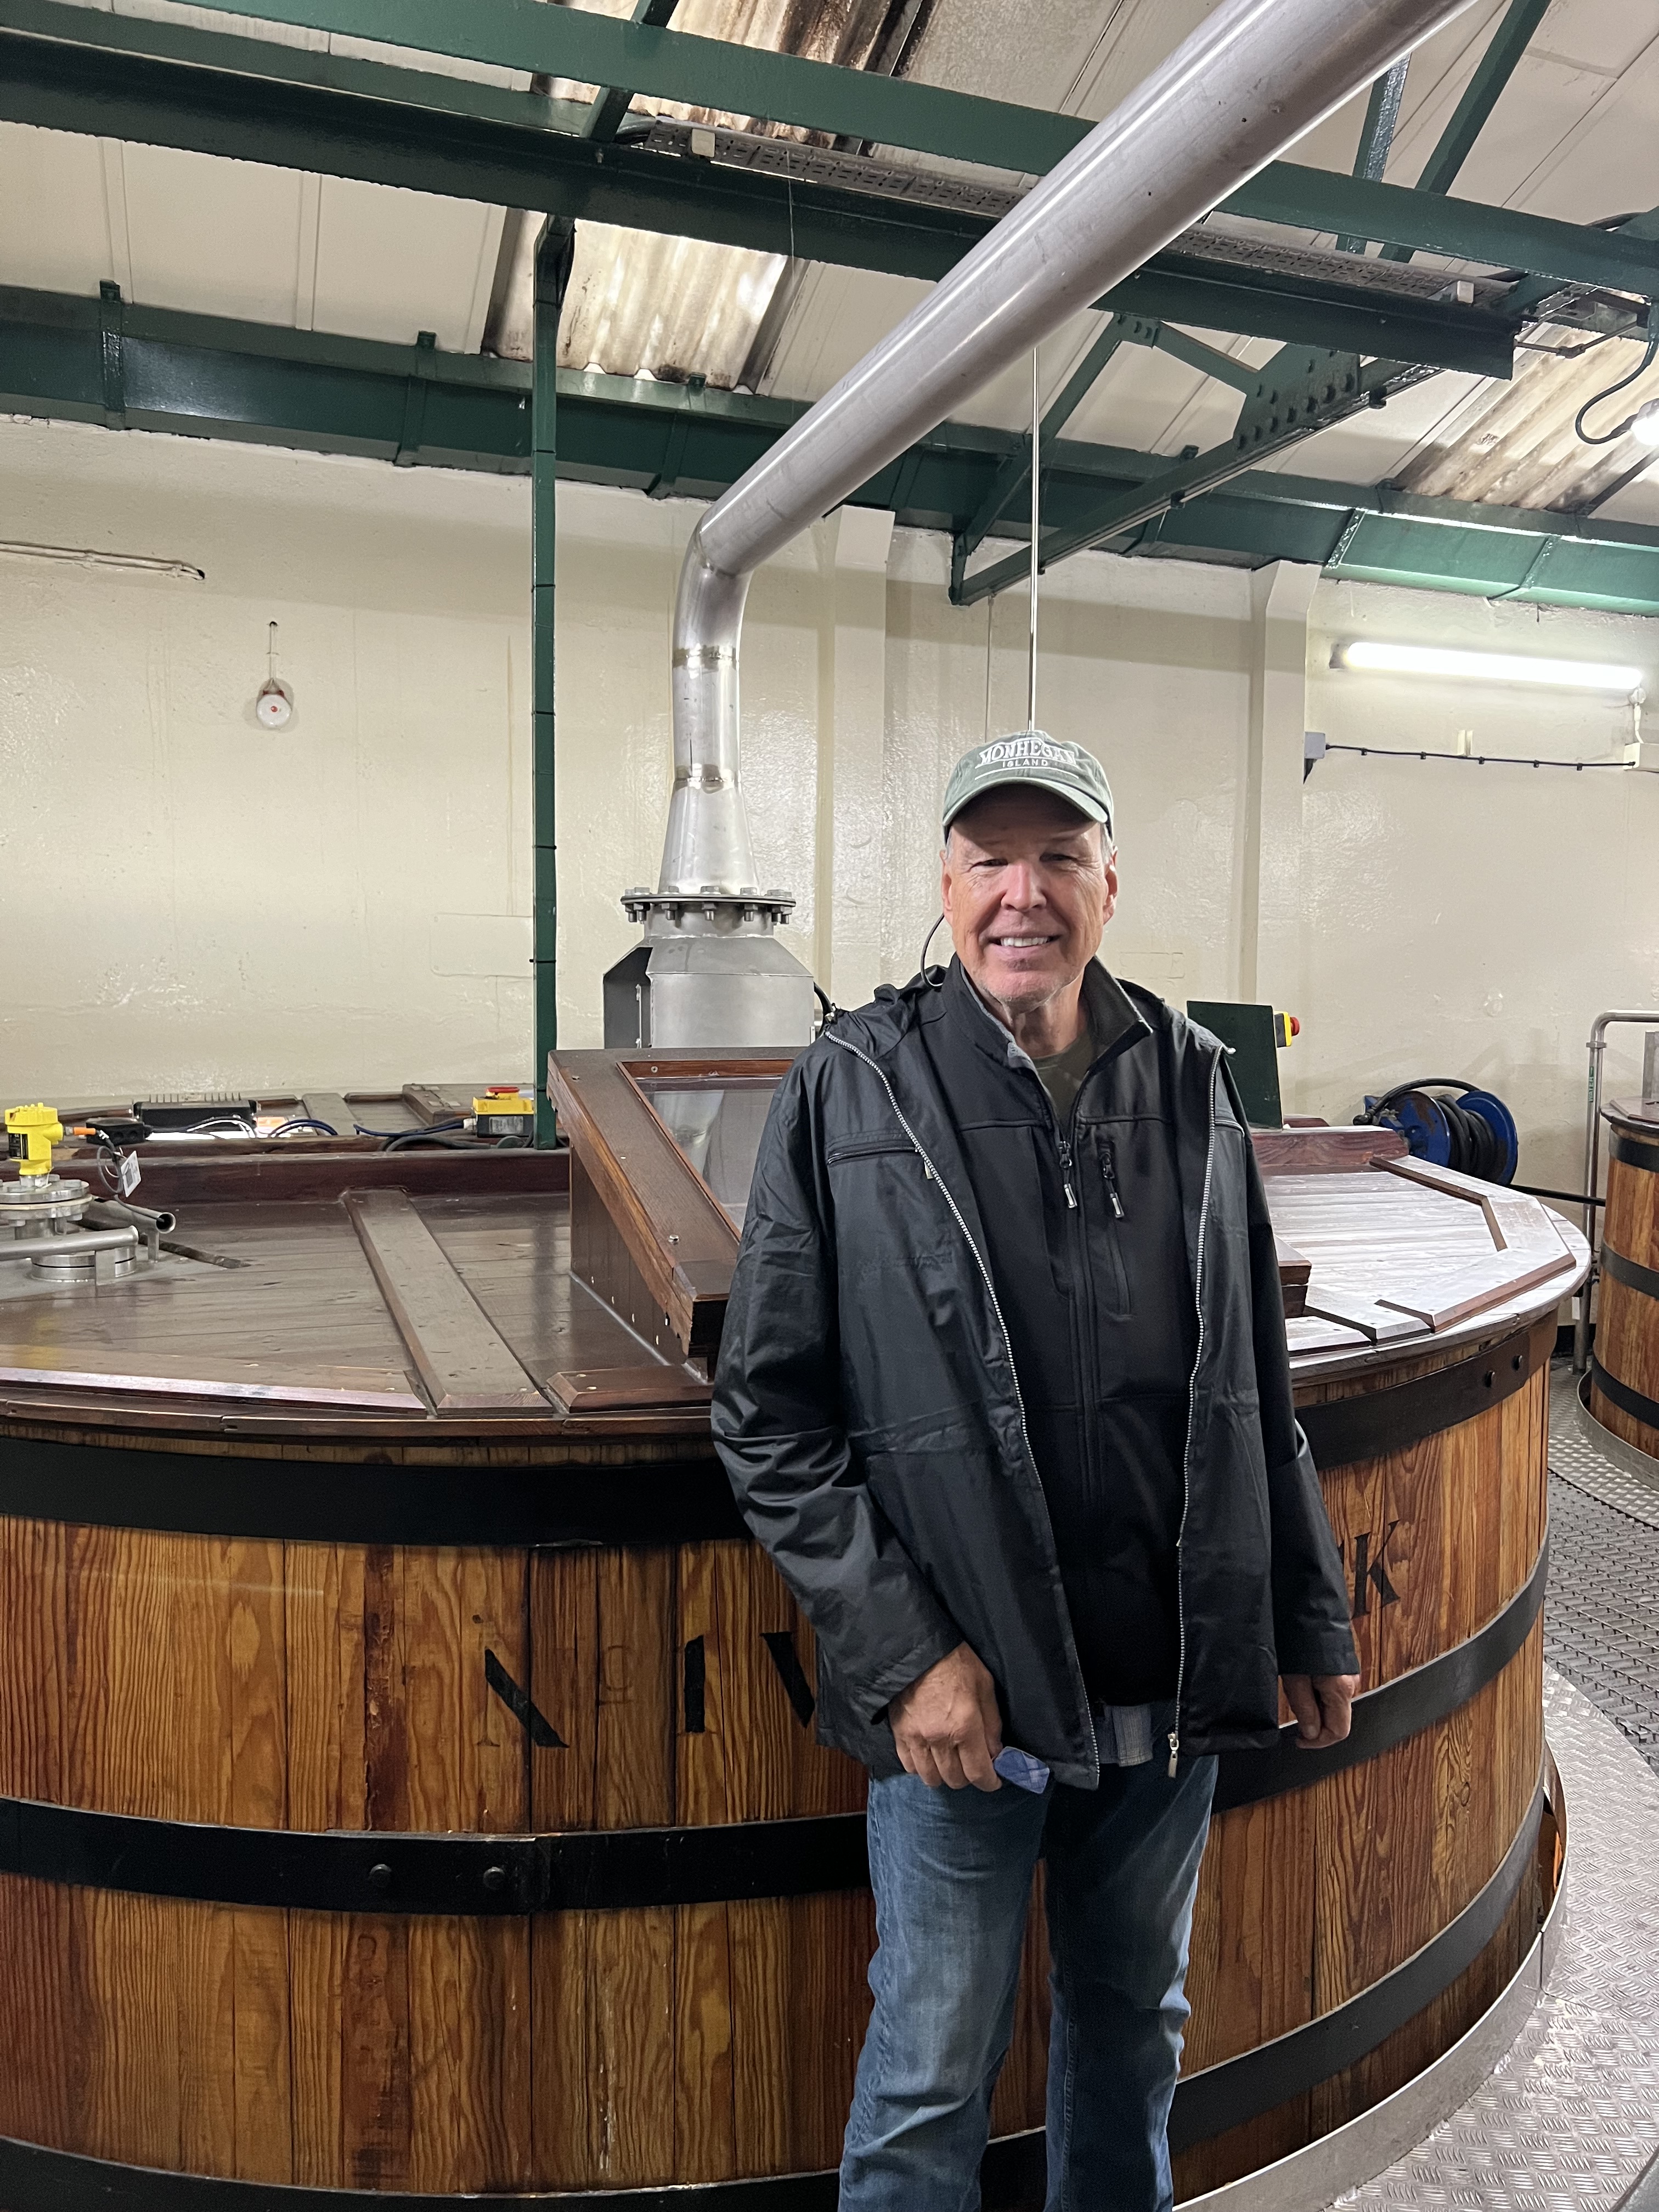
Custom-made wooden holding tanks.
Oban uses peat more for flavoring than it does for heating, and so their whiskys are far less smoky than other Scottish brands. (They use biodiesel to heat their mash.) And they’re big on recycling: the spent barley goes to feed local cattle.
Two precious stills. They make all the whisky at Oban.
Most whisky distillers in Scotland have a relationship with American bourbon distilleries, because they reuse American bourbon barrels to start the aging process on their whisky. It’s pretty much the standard process throughout all of Scotland.
The good stuff…before it gets barreled.
That’s why being owned by a company like Diageo, which owns Bulliet bourbon, can give Oban a never-ending supply of bourbon casks. (Bourbon must always be aged in a brand new oak cask, so once the barrel is used, the Americans no longer have any use for it. The Scottish take it and reuse that barrel several times before passing it on to somebody else.) The Scots will also use rum casks, sherry casks from Spain, whatever it takes to add flavors and nuances to their whiskey over the many years of aging.
.
In Ireland, it’s not called Irish whisky unless it ages for at least three years in a barrel in Ireland. To outdo them, Scottish law says the whisky must age 3 years and one day in a barrel in Scotland to be called whisky!
Either way, the end results at Oban distillery were enjoyed by all. Slàinte!
By the way, if you’re wondering why I spelled the word “whisky” without the “e,” you need to read my blog that explains it all. Check it out here:
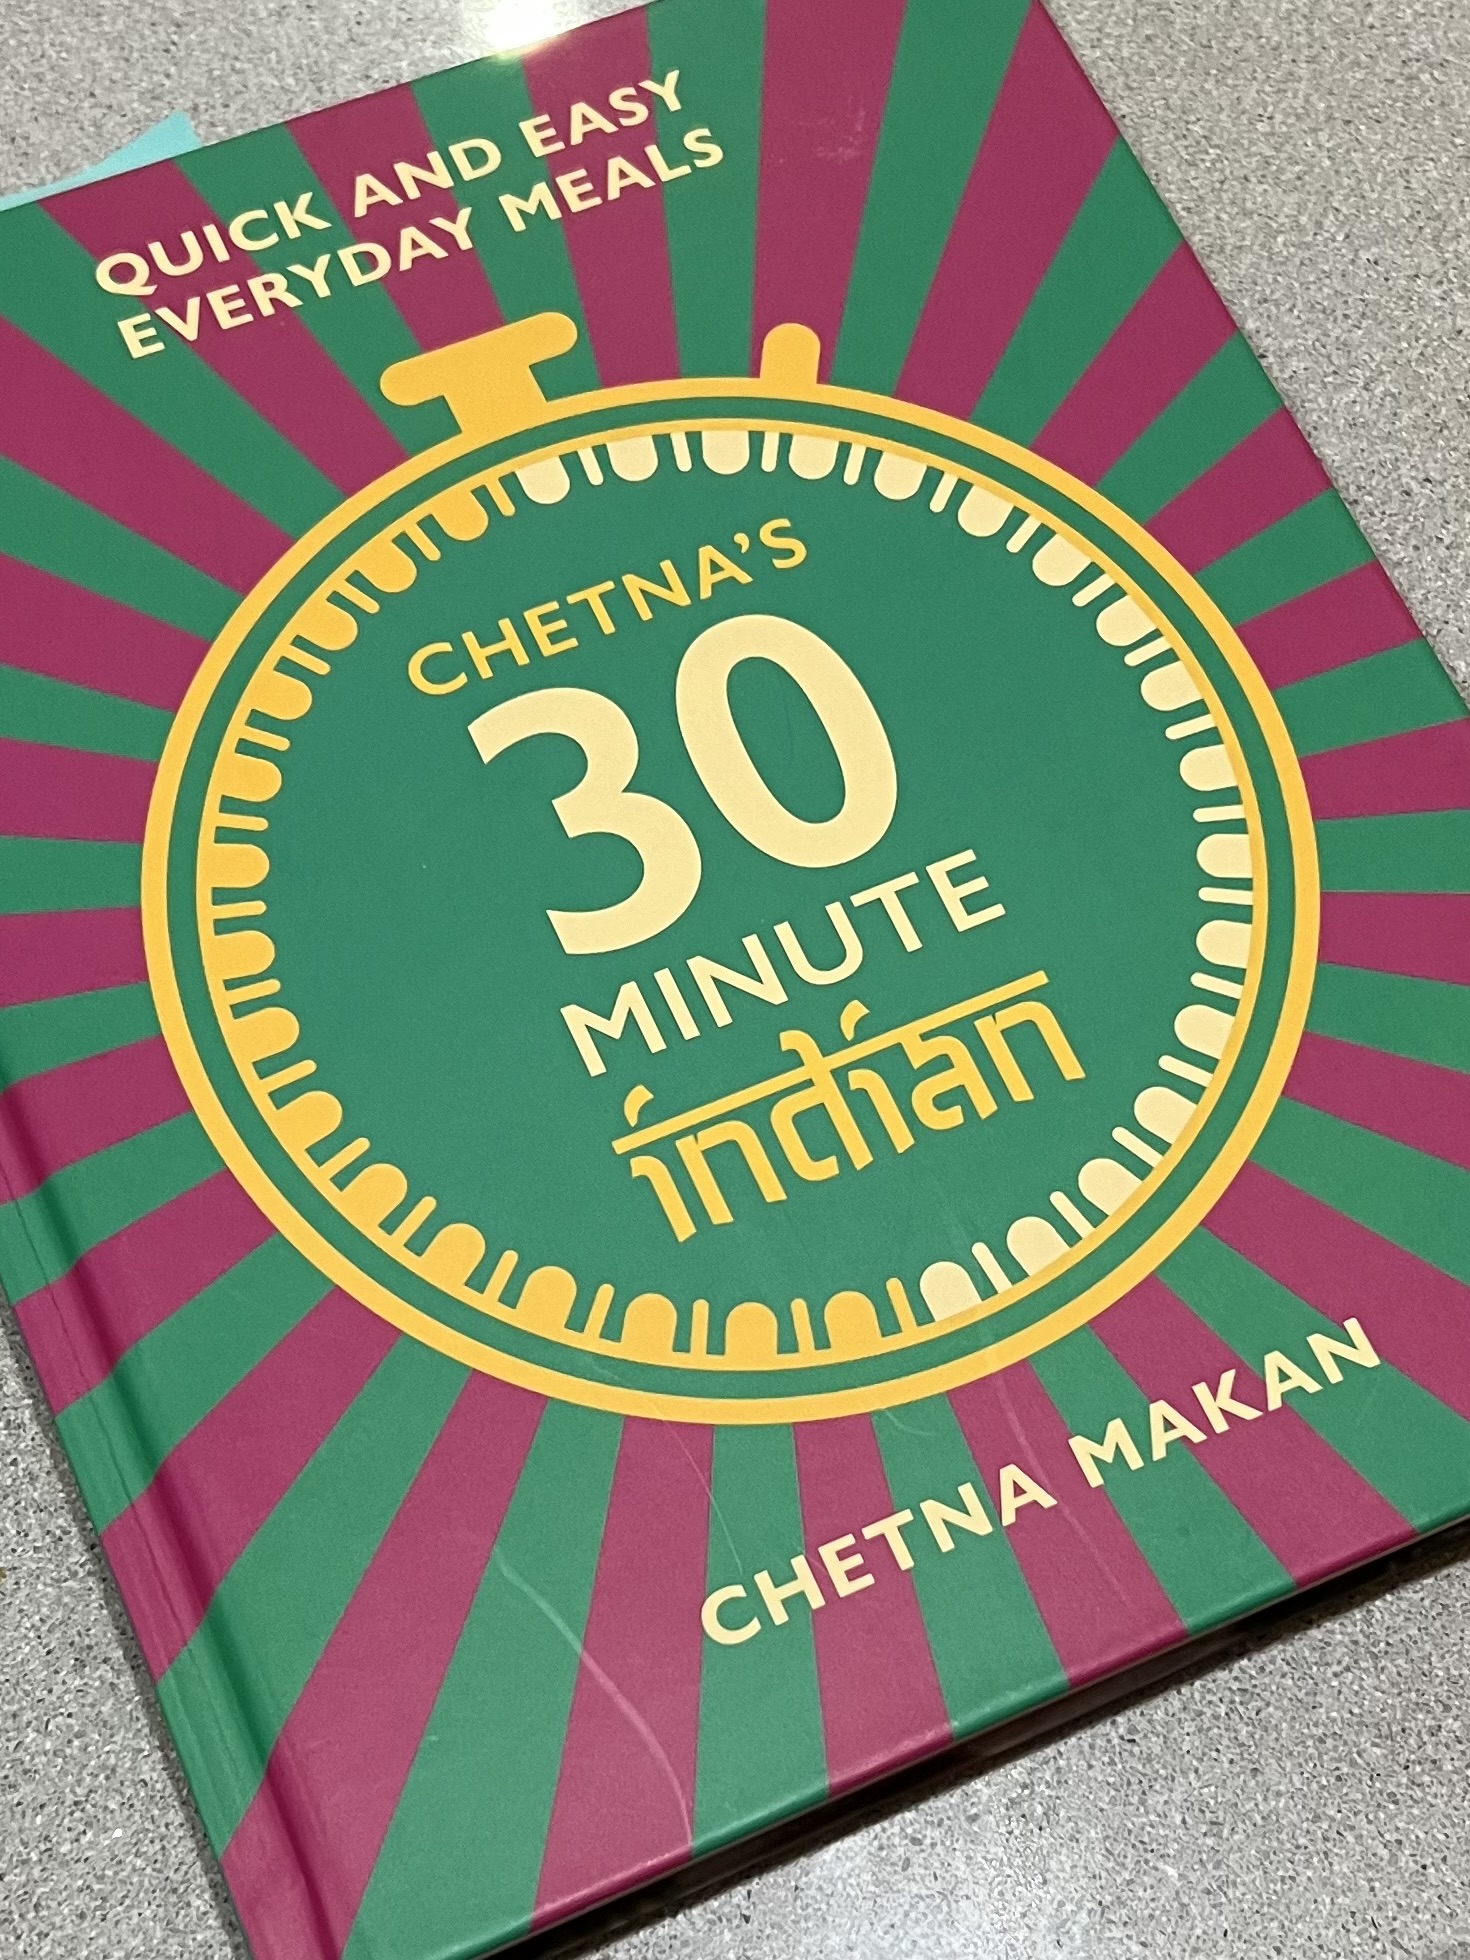
A few months ago, I received chef Chetna Makan’s book, “Chetna’s 30 Minute Indian,” as a gift. The first recipe I tried was butter chicken, of course, because it’s so delicious. It was a big hit with my daughter and friends, and we’re looking at other recipes to try in the future.
Recently, we had dinner at a relatively new Indian restaurant in our area, Saffron, in Fairhaven, Massachusetts. Excellent food and service. We had a great meal. But what peaked our curiosity was their butter chicken wings. Wings! I thought that was genius.
So I took their idea, and using Chetna’s recipe, I gave it a shot. They came out fantastic!
Measurements in my recipe differ from the cookbook due to the large amount of chicken wings I used (5 lbs.), but the actual ingredients are the same. I also needed to change the way it was cooked, because the wings were large and had bones, where the original butter chicken recipe used boneless, skinless chicken thighs cut into smaller pieces.
5 lbs. large chicken wings 5.3 oz. container (150g) plain yogurt 5 tablespoons mustard oil 1 tablespoon Kosher salt 1 tablespoon Kashmiri chili powder 2″ piece of ginger, peeled and grated 4 garlic cloves, grated
I prepared the chicken wings by chopping off the tips. (But I do save them in a plastic freezer bag for future chicken stock.) Then I chop the wings at the joint to make two pieces from each wing. I set them aside.
The tips will be used later in for chicken stock.
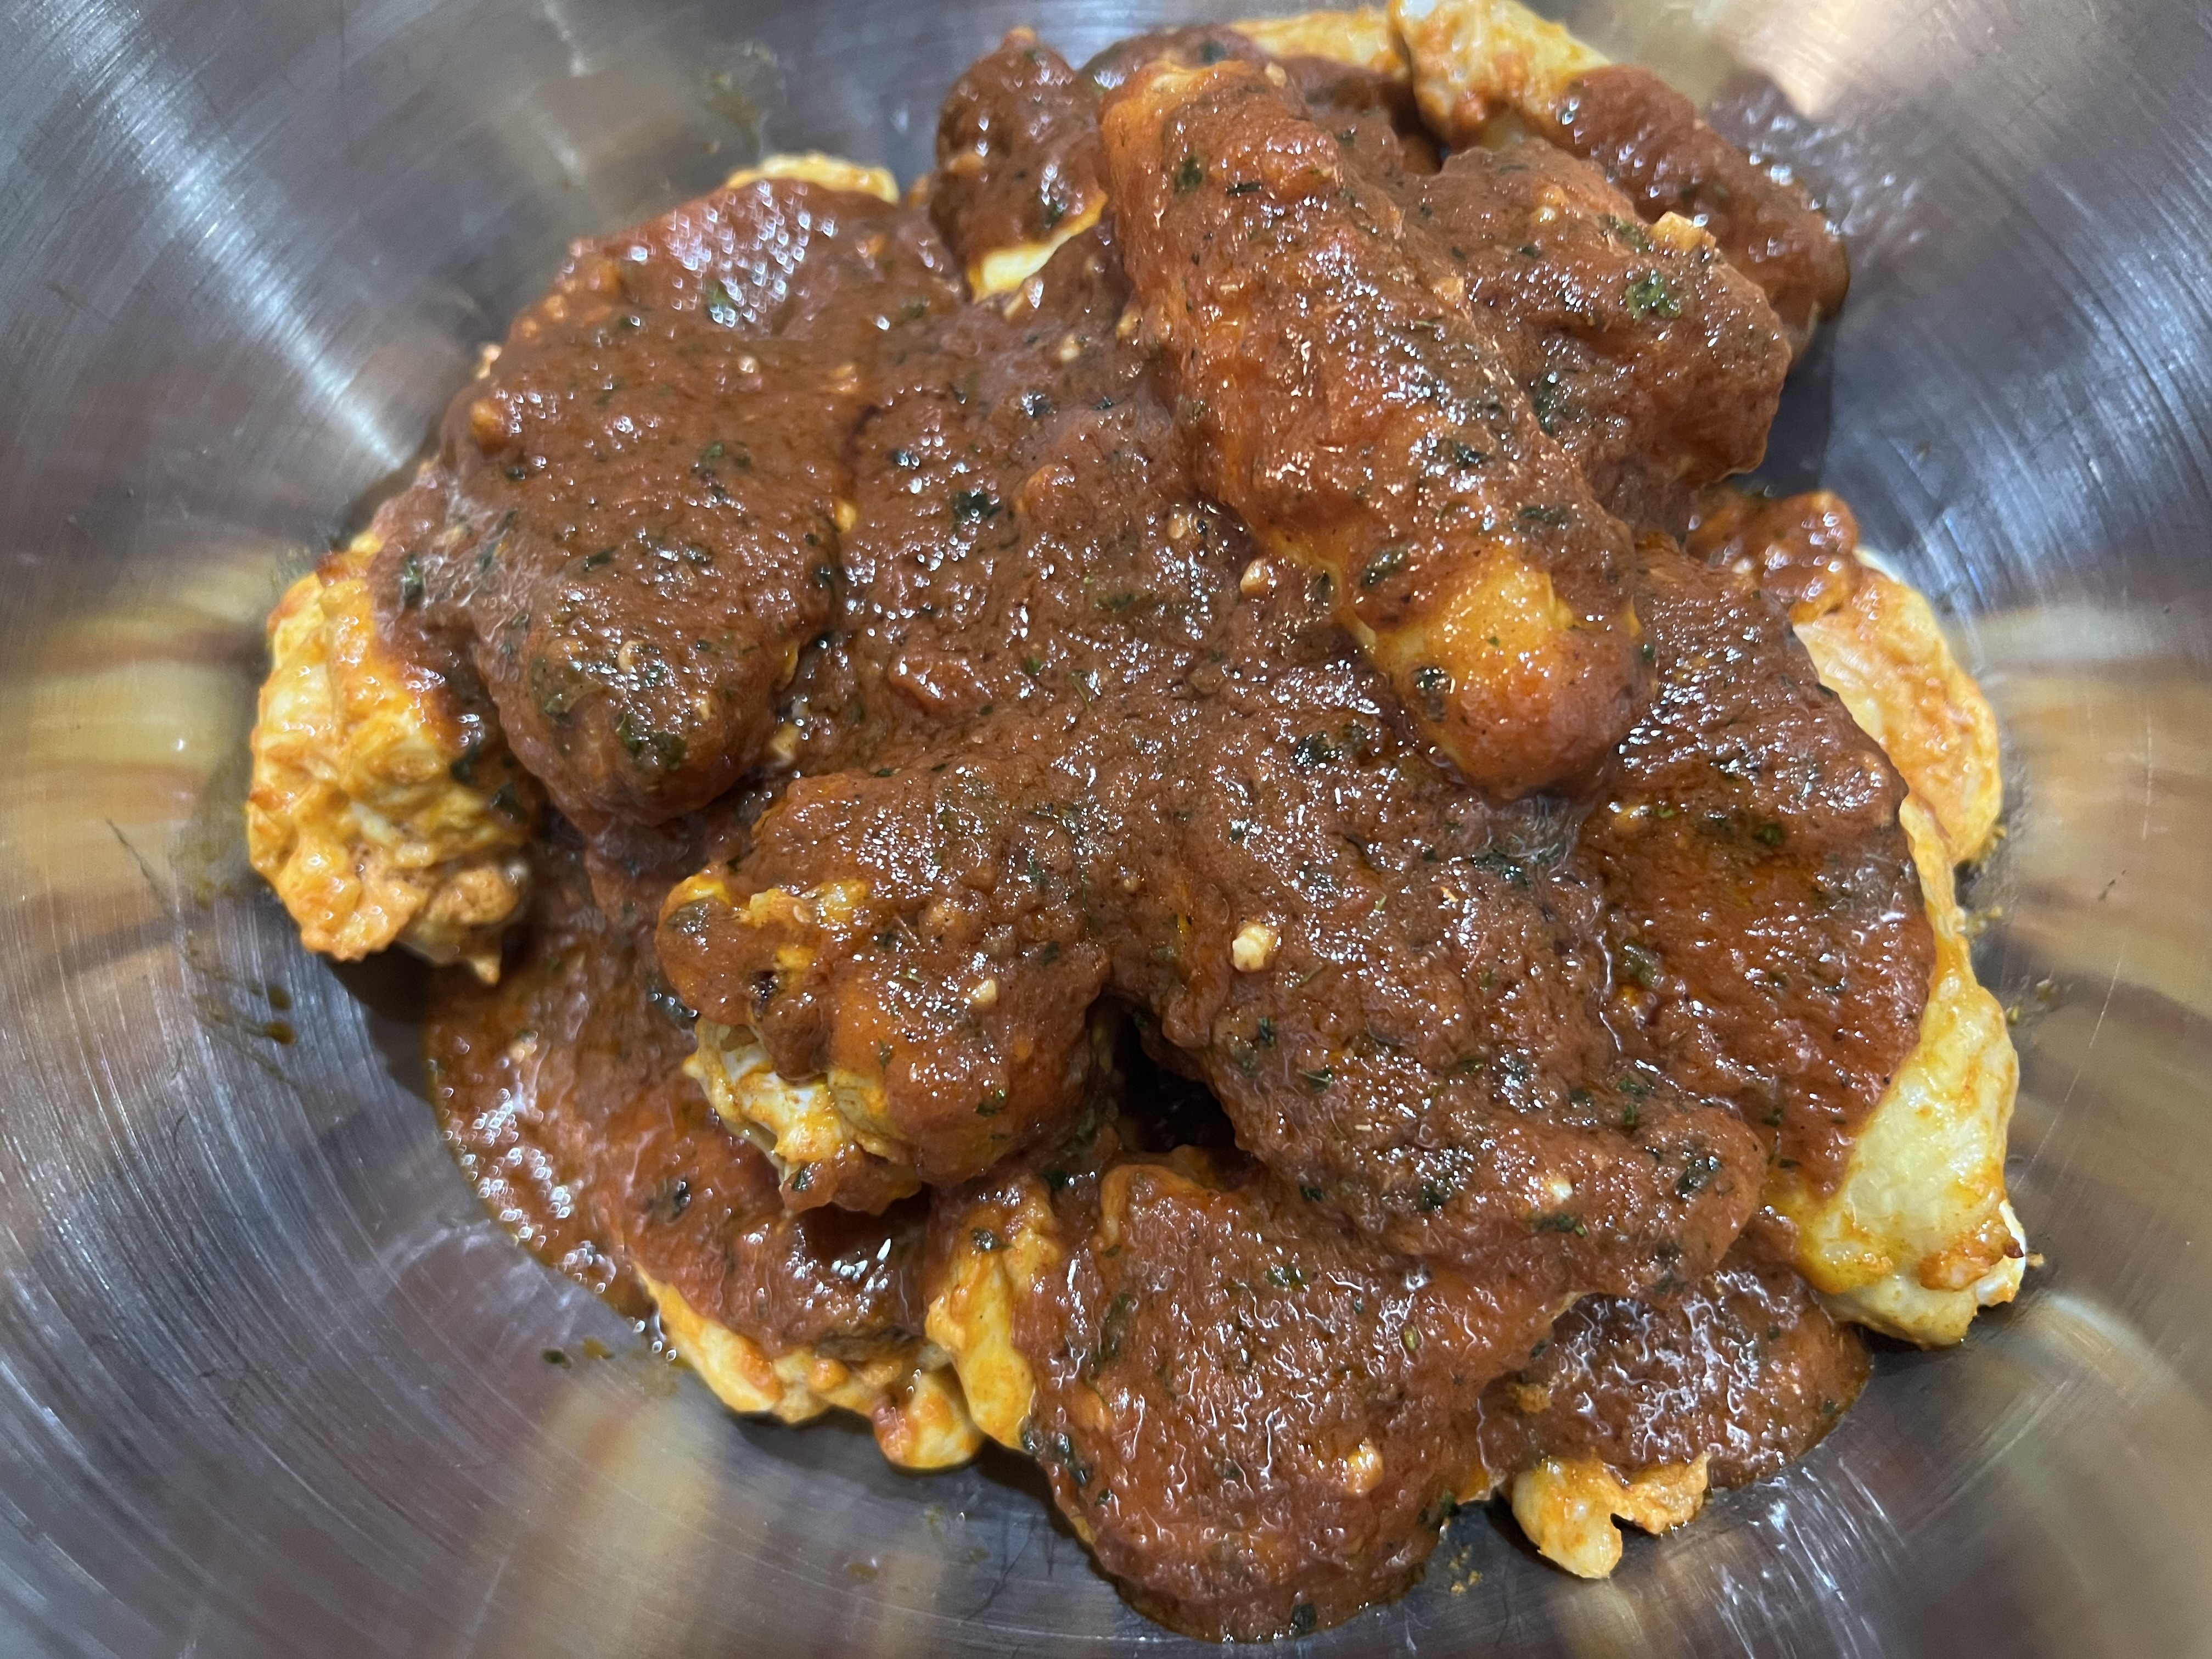
In a large container that will hold all the wings, I combine the yogurt, mustard oil, salt, chili powder, grated ginger, and garlic. Mix it well. Add the chicken wings and make sure they are really well coated with the marinade. You can let it sit for ups to 3 hours at room temperature, or longer in the fridge.
Mix well.
A tip for fresh ginger: This is something I learned from a local farmer that raises her own ginger. I keep it in the freezer in a plastic freezer bag. When it’s time to grate, I simply take the frozen ginger and grate it, skin and all. The skin completely disintegrates and you don’t have to peel it. Then just put the unused ginger back in the bag and back in the freezer.
After marinating, spread the chicken wings onto a large sheet pan in a pre-heated 350 oven, and bake for 20 minutes.
While that’s baking…
2 tablespoons oil 100g salted butter 8 cloves 8 cardamom pods 2 cinnamon sticks (3″) 2 bay leaves 16 oz. passata, or pureed canned tomatoes 1 teaspoon Kosher salt 2 teaspoons chili powder 2 teaspoons garam masala 2 tablespoons Kasoori methi (fenugreek leaves)
Add the oil and butter to a pan over medium-low heat. Add the cloves, cardamom, cinnamon sticks, and bay leaves to the pan, and warm the spices for a few minutes.
Add the passata, salt, chili powder, garam masala and Kasoori methi to the pan, mixing well. Cover the pan with a lid and let it cook for about 10 minutes on medium-low heat. Don’t let it burn.
After 10 minutes, remove the lid from the pan and let it cook a few minutes more to reduce just a bit. Take the pan off the heat and let it cool to room temperature. Using a slotted spoon, remove the cloves, cardamom, cinnamon and bay leaves.
You don’t want to crunch on these!
Pour the contents of the pan into a large bowl, big enough to hold all the chicken wings.
After the wings have cooked 20 minutes, pour off any of the fat in the sheet pan and place the wings in the bowl with the pan sauce. Mix gently, but really well to make sure the wings are really covered with sauce.
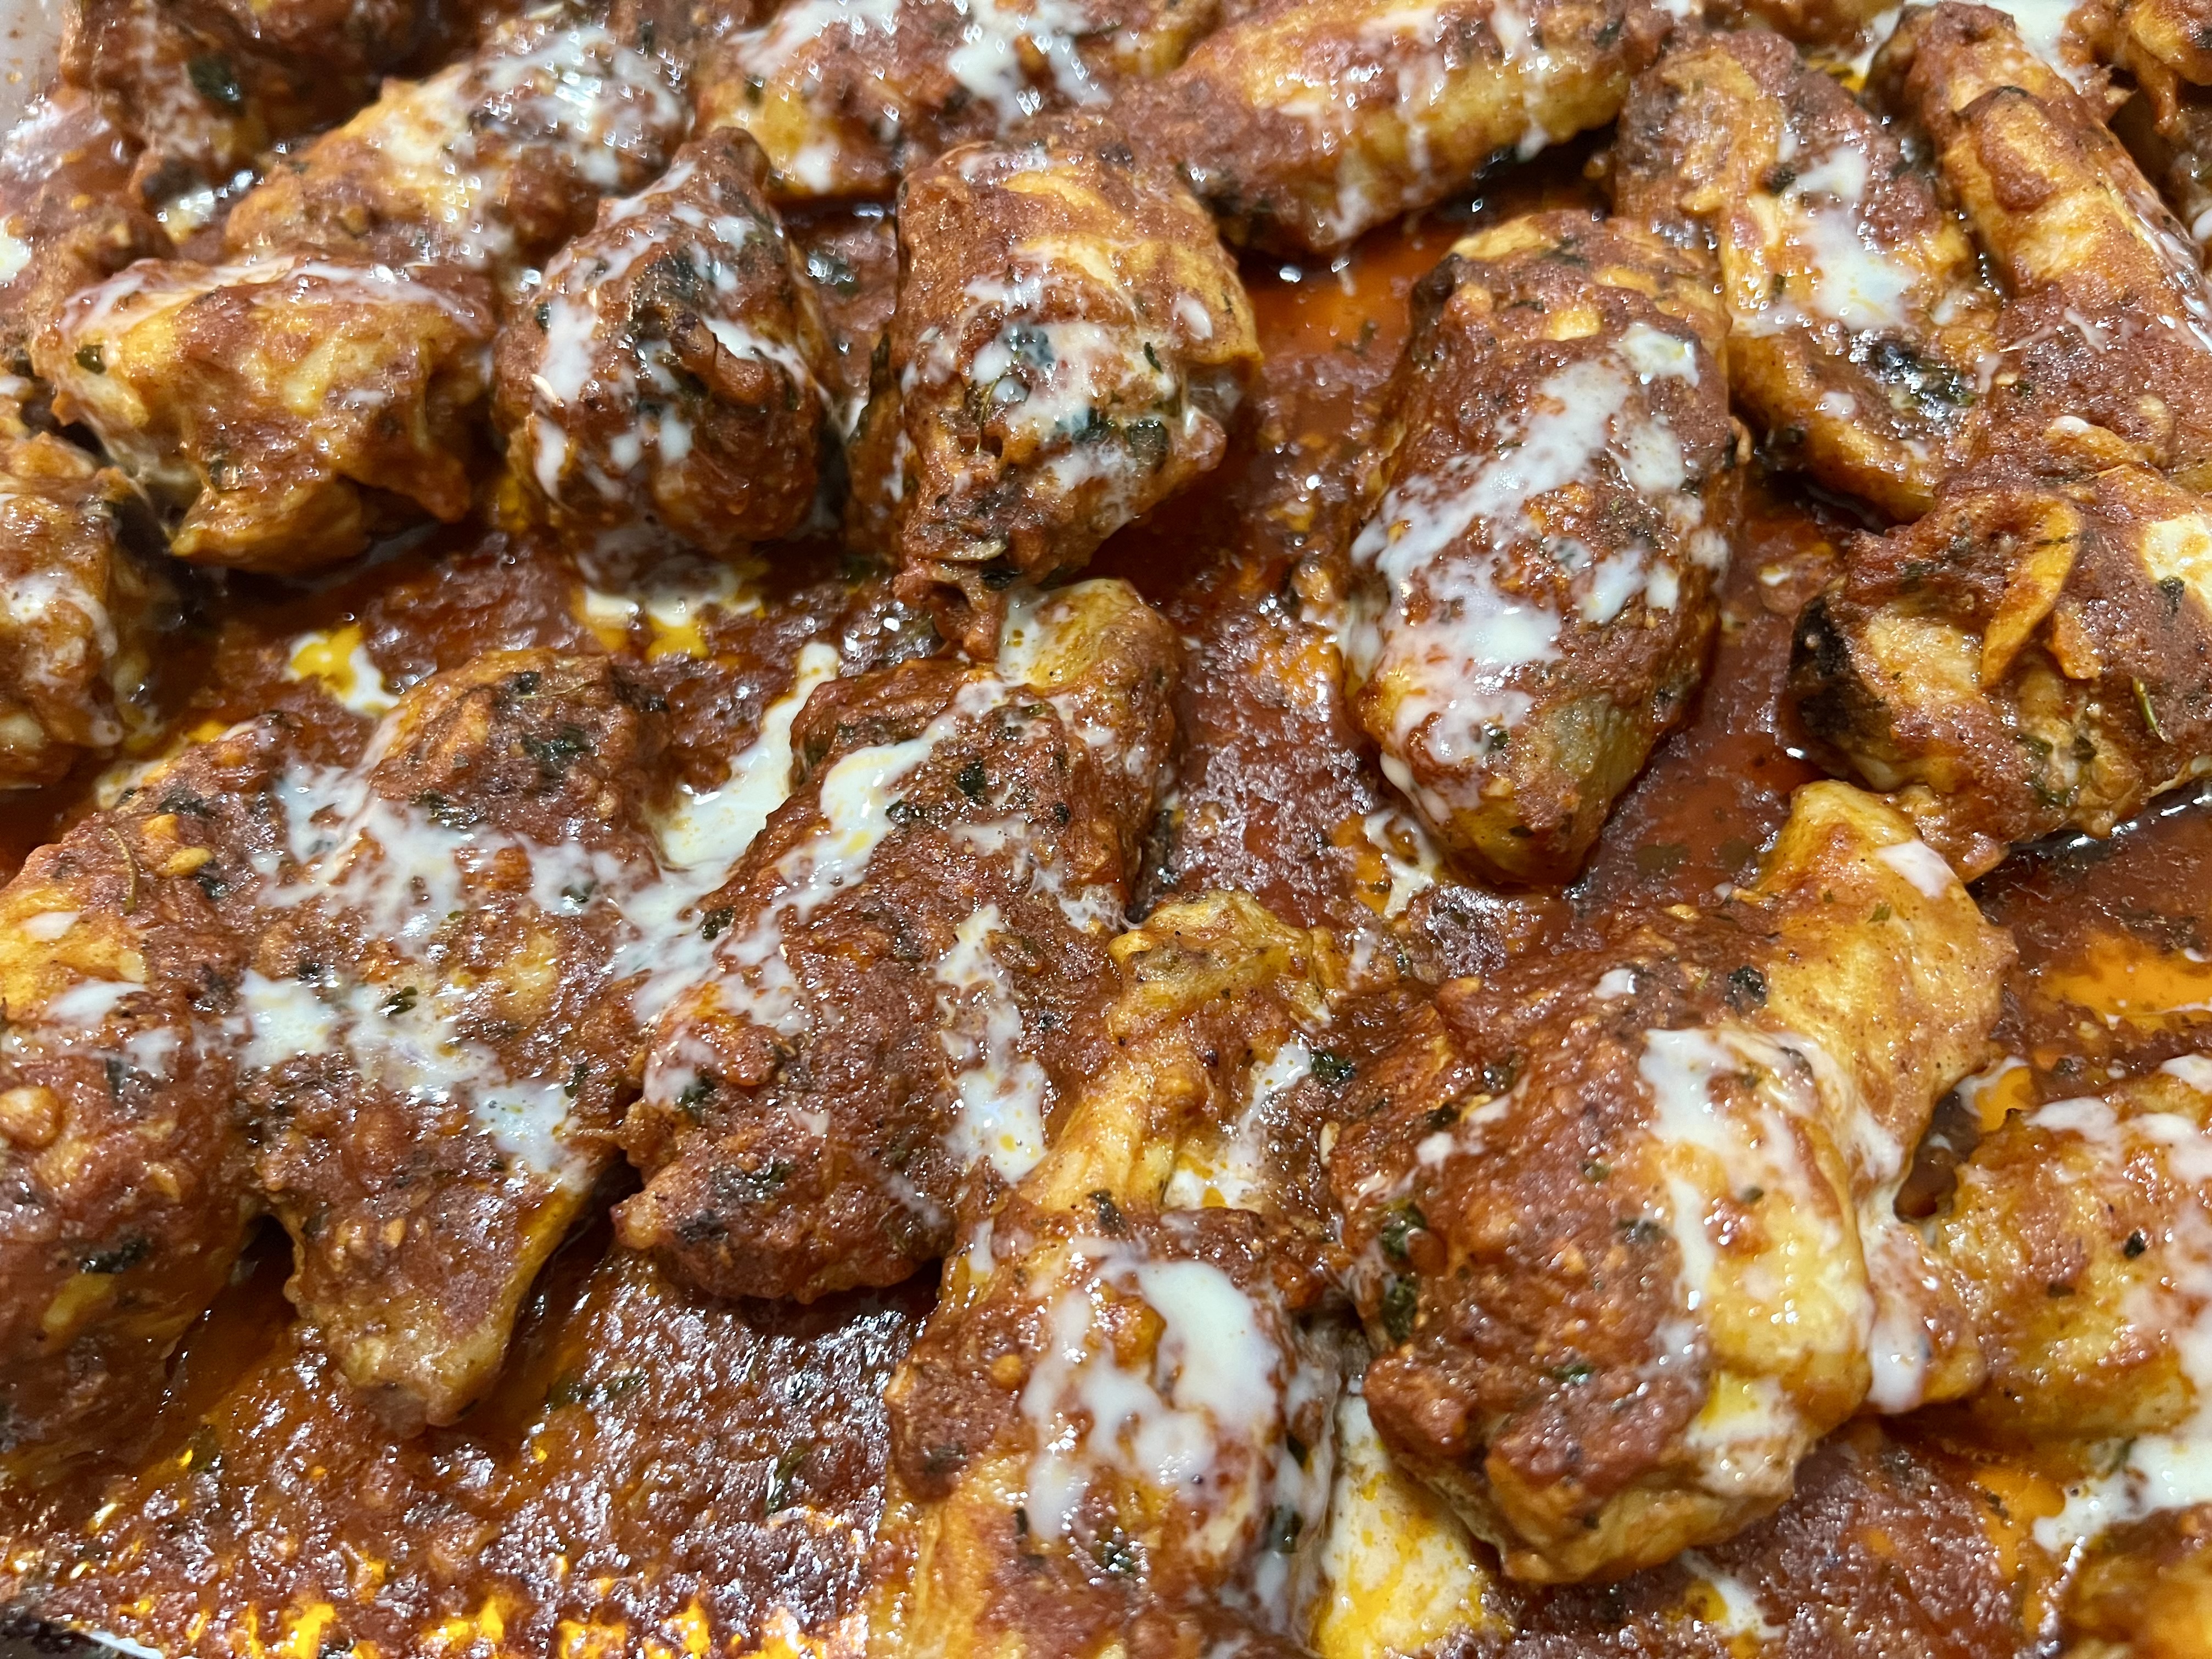
Place the wings back on the sheet pan (pour all leftover sauce on top)and bake at 350 for another 15 minutes, until the chicken coating starts to caramelize and get sticky.
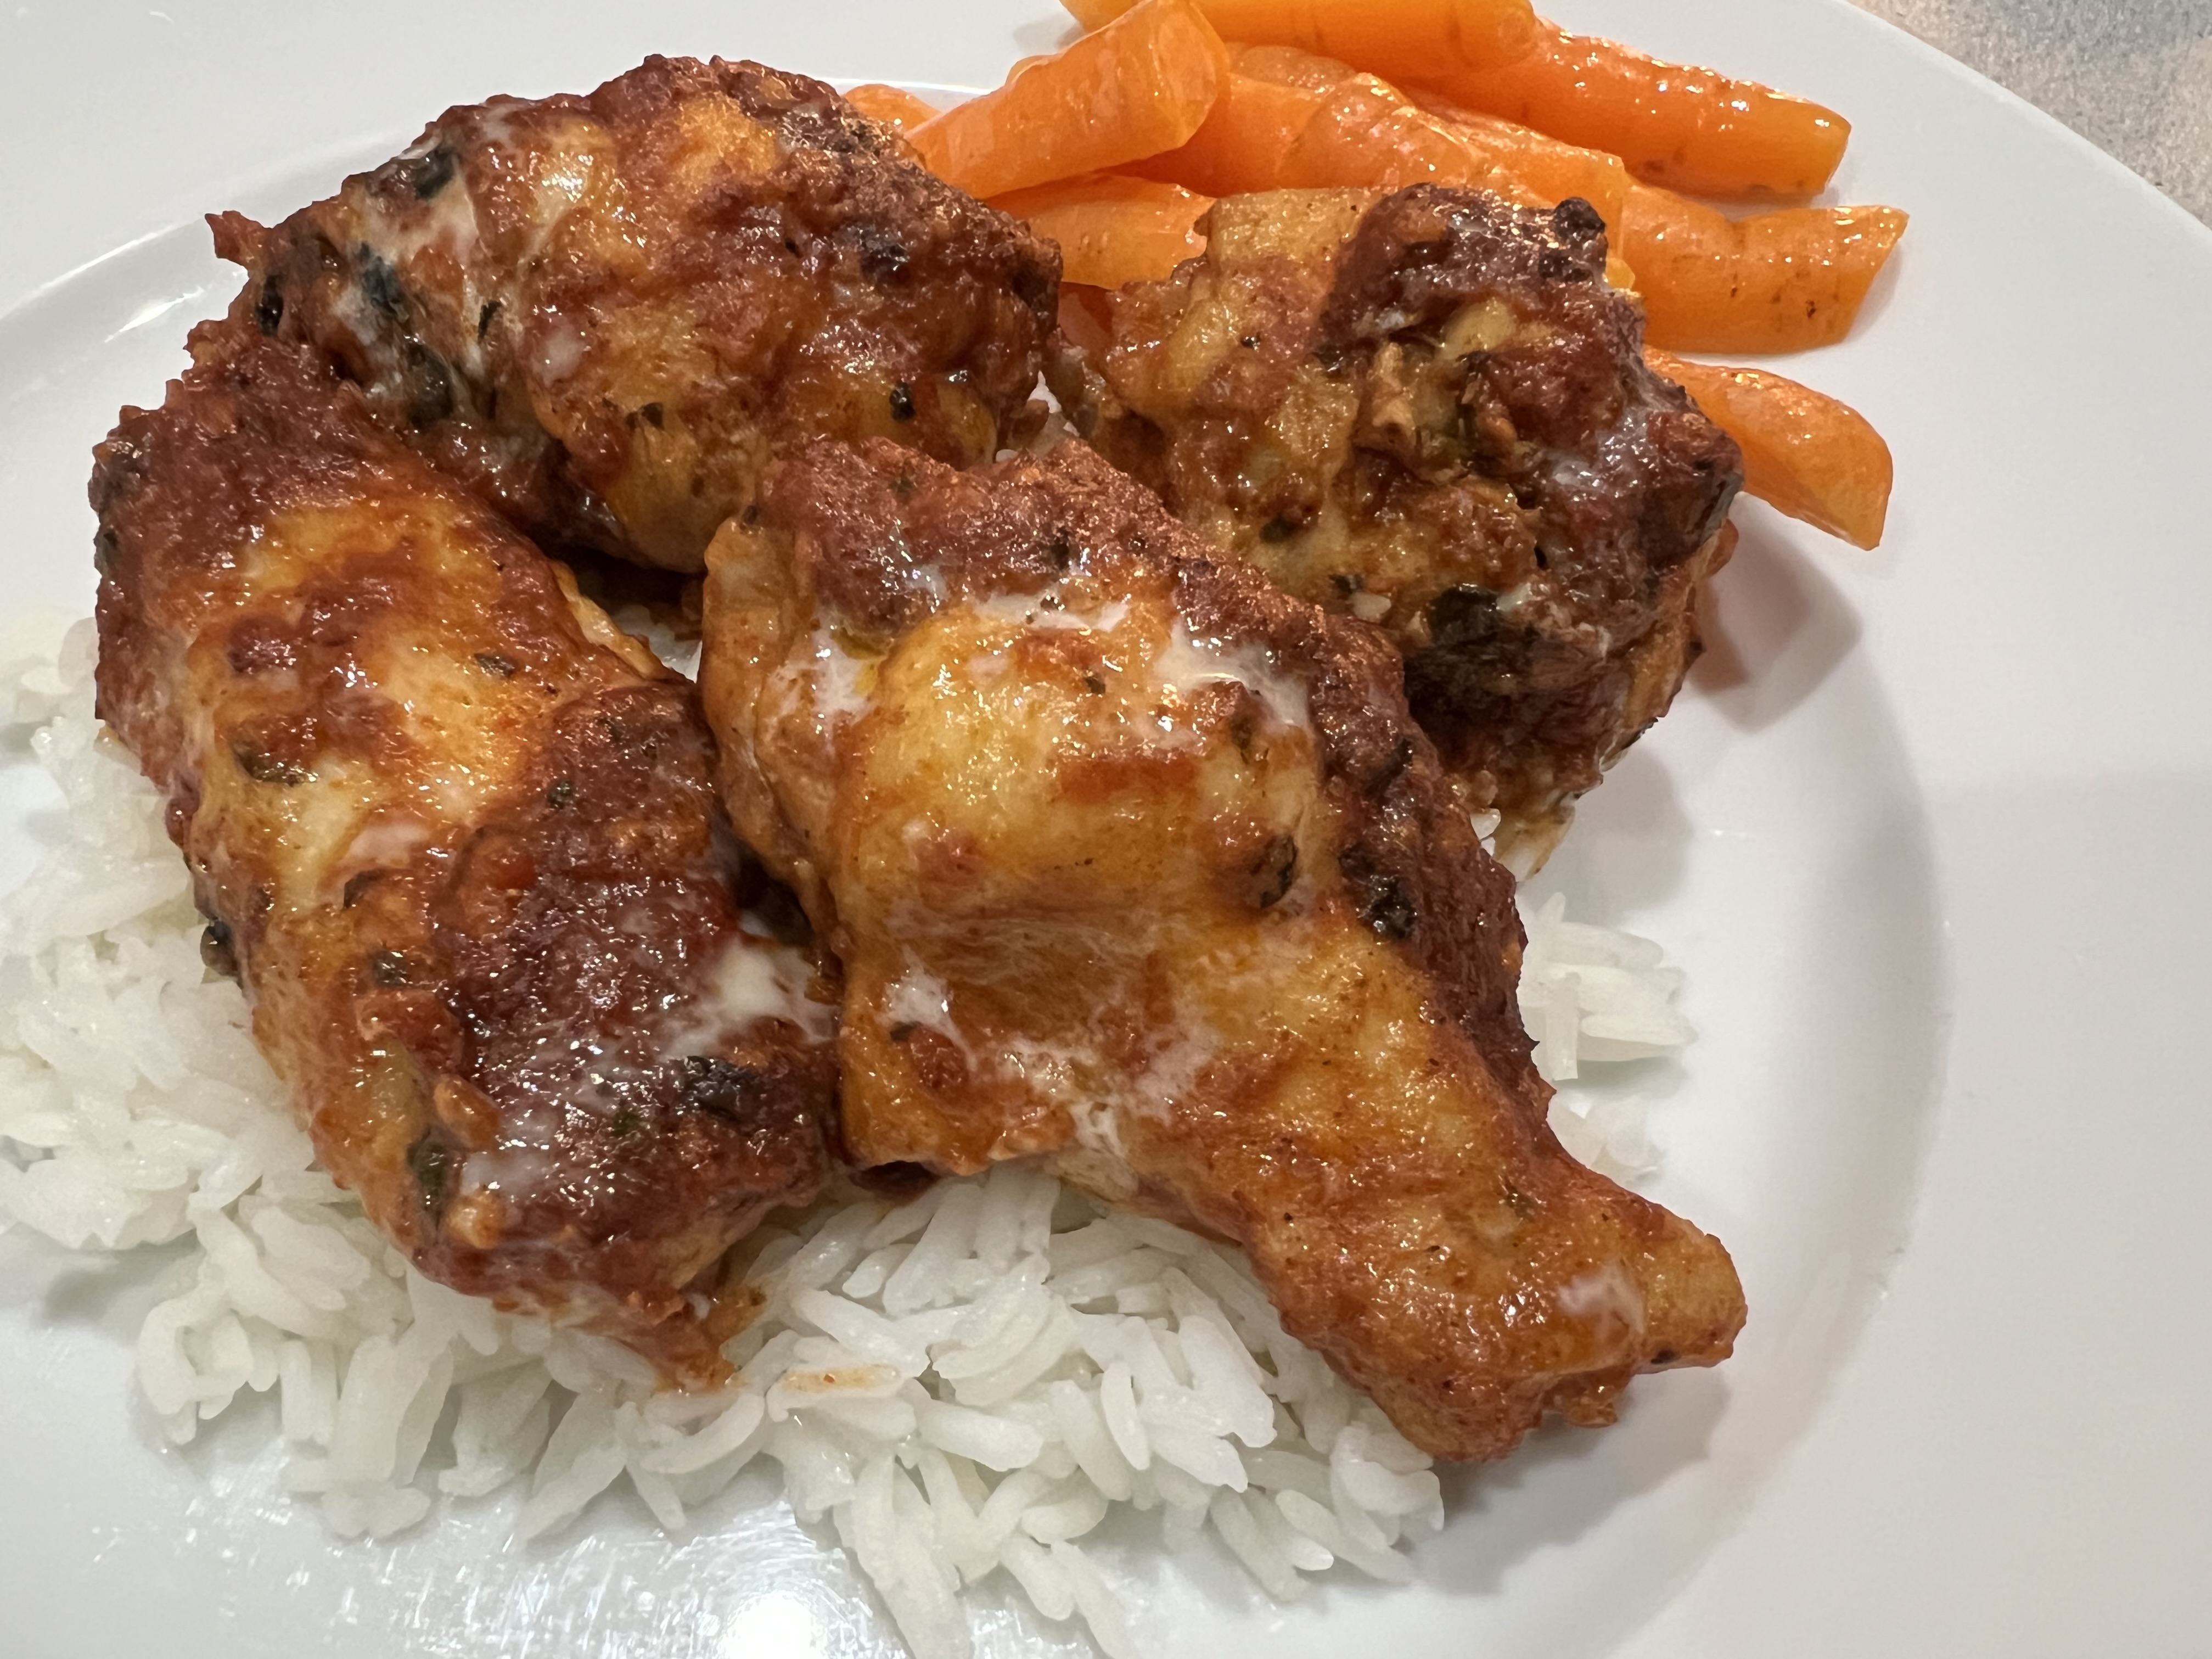
Mix the cream and honey together in a small bowl. When the wings come out of the oven, let them cool for a few minutes, then drizzle the cream and honey all over.
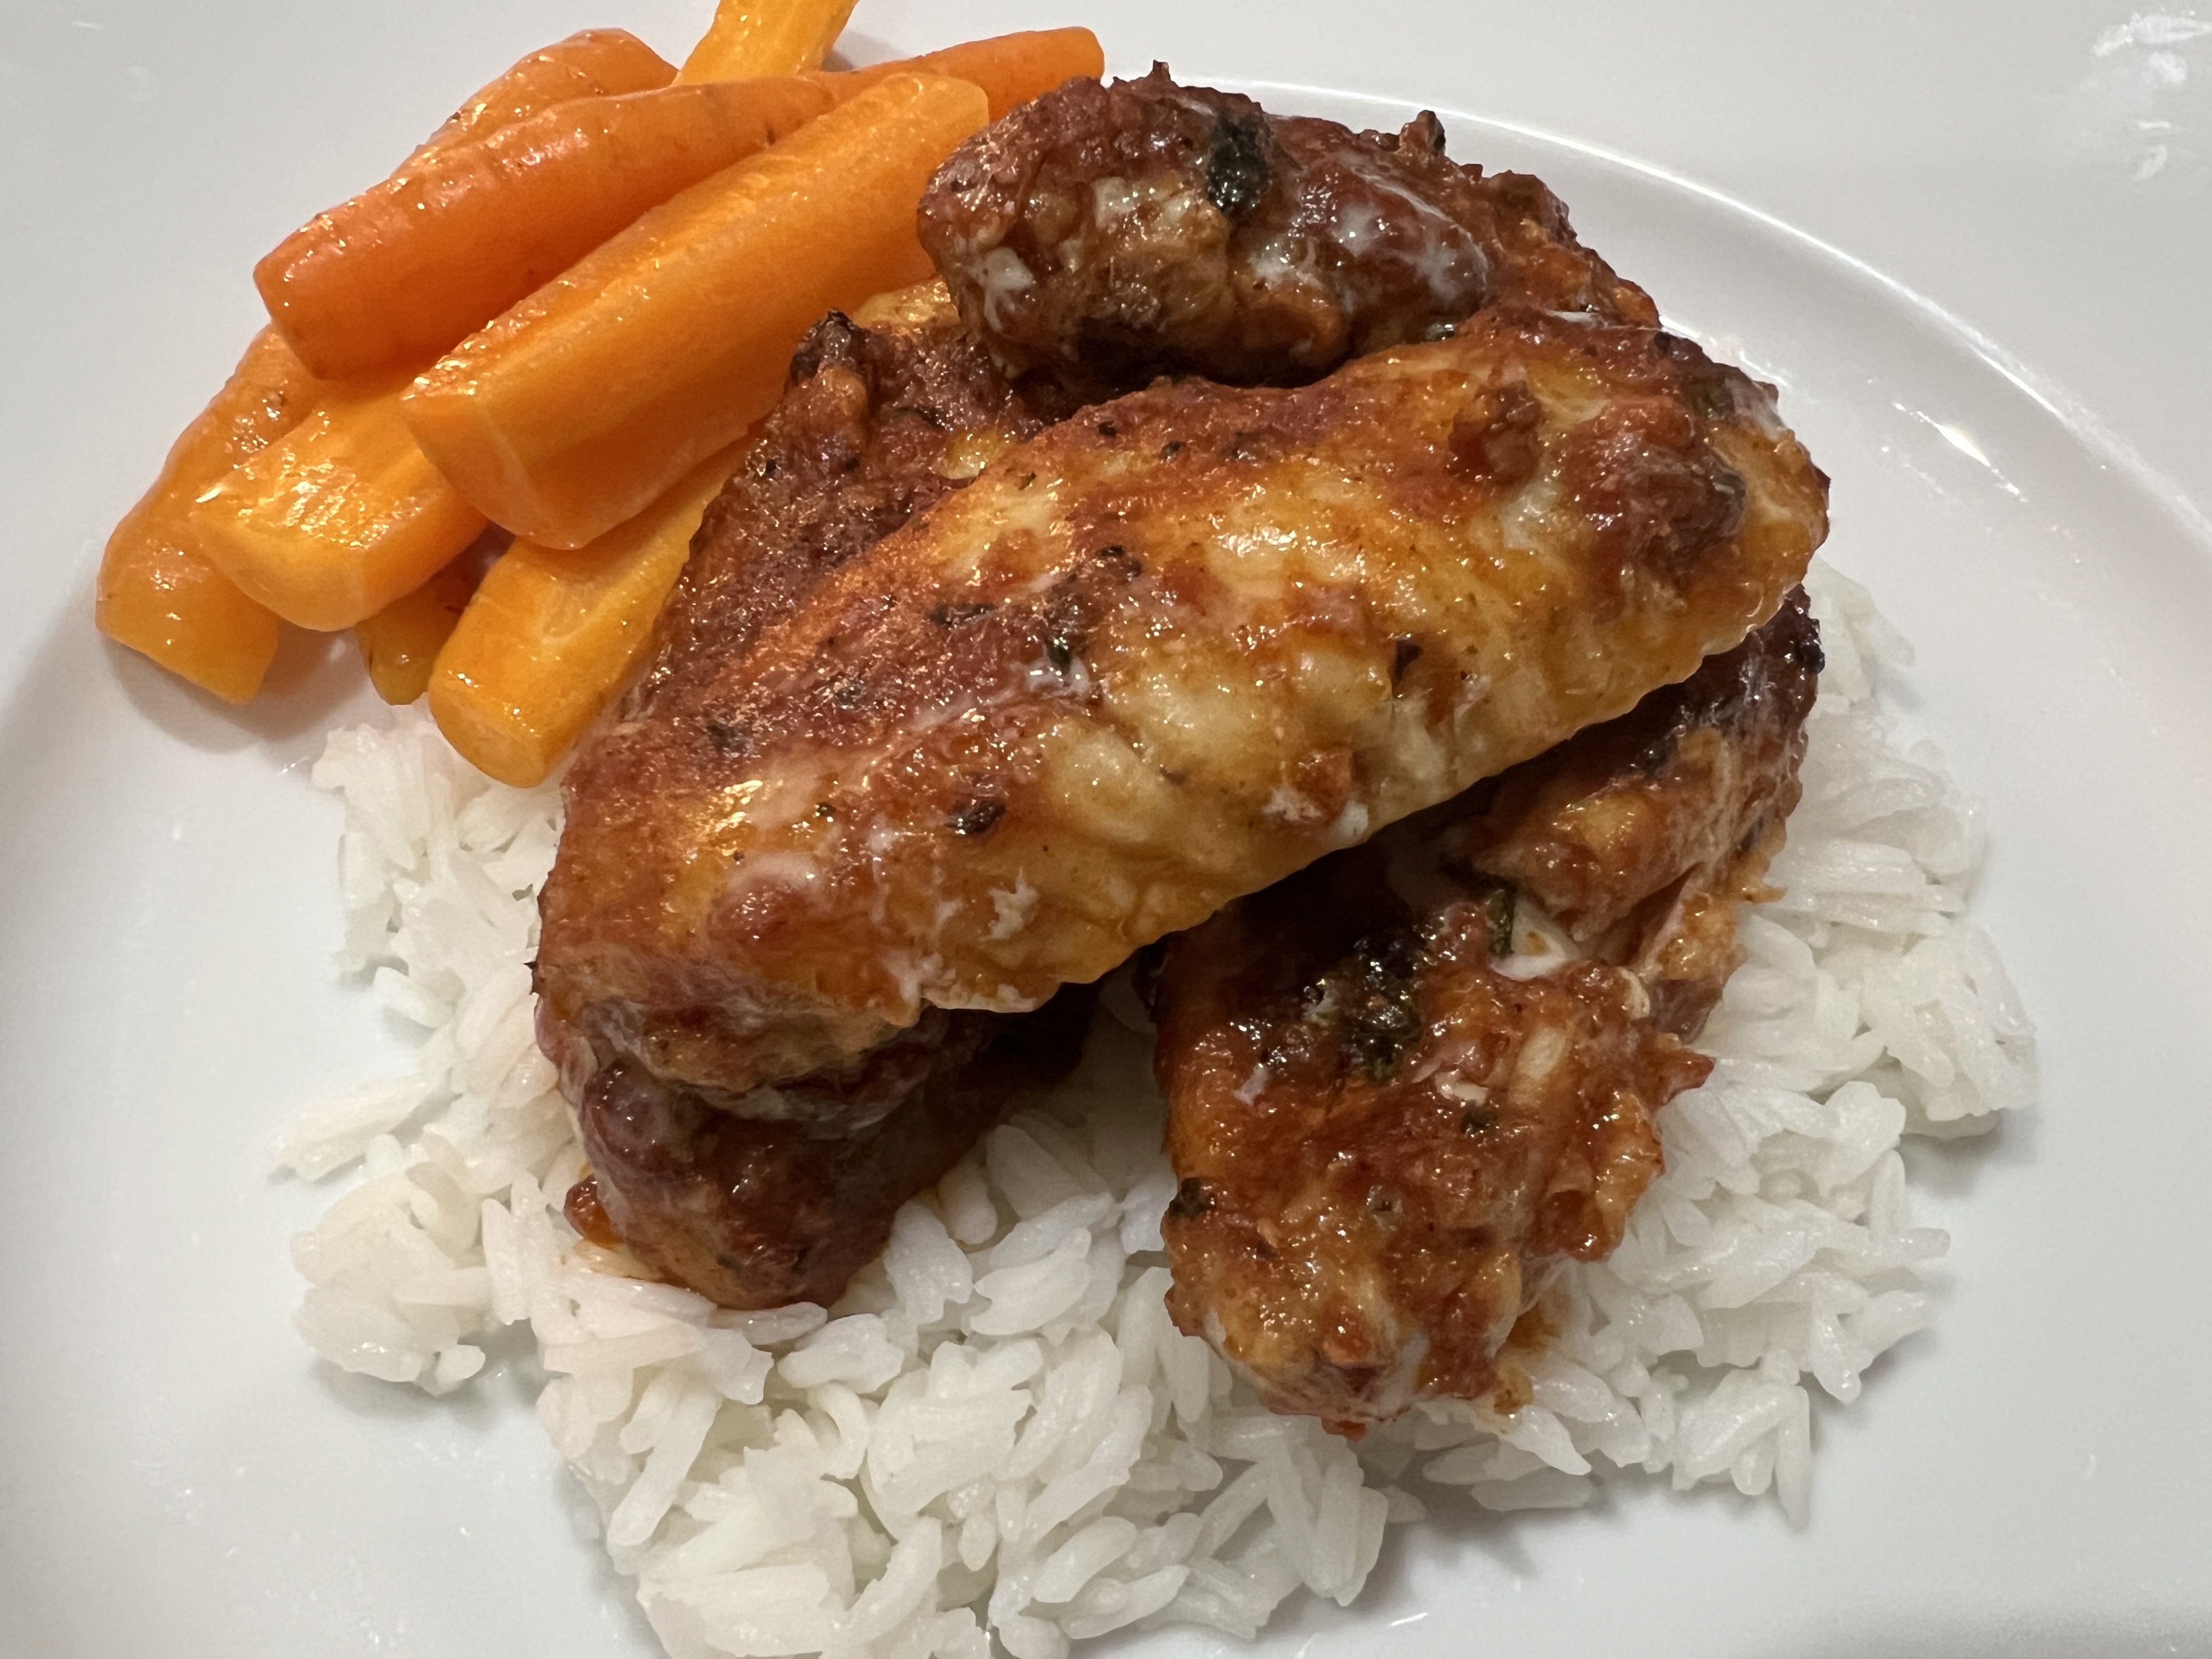
I served the wings over plain jasmine rice, and some sautéed carrots from my garden.
I’m not a big beer guy, so my travels to Scotland and Ireland did not include a lot of pub visits. Despite being told by my driver that the pub next to my hotel was an excellent “puller,” (at least I think that’s what he called it), my thing is cocktails.
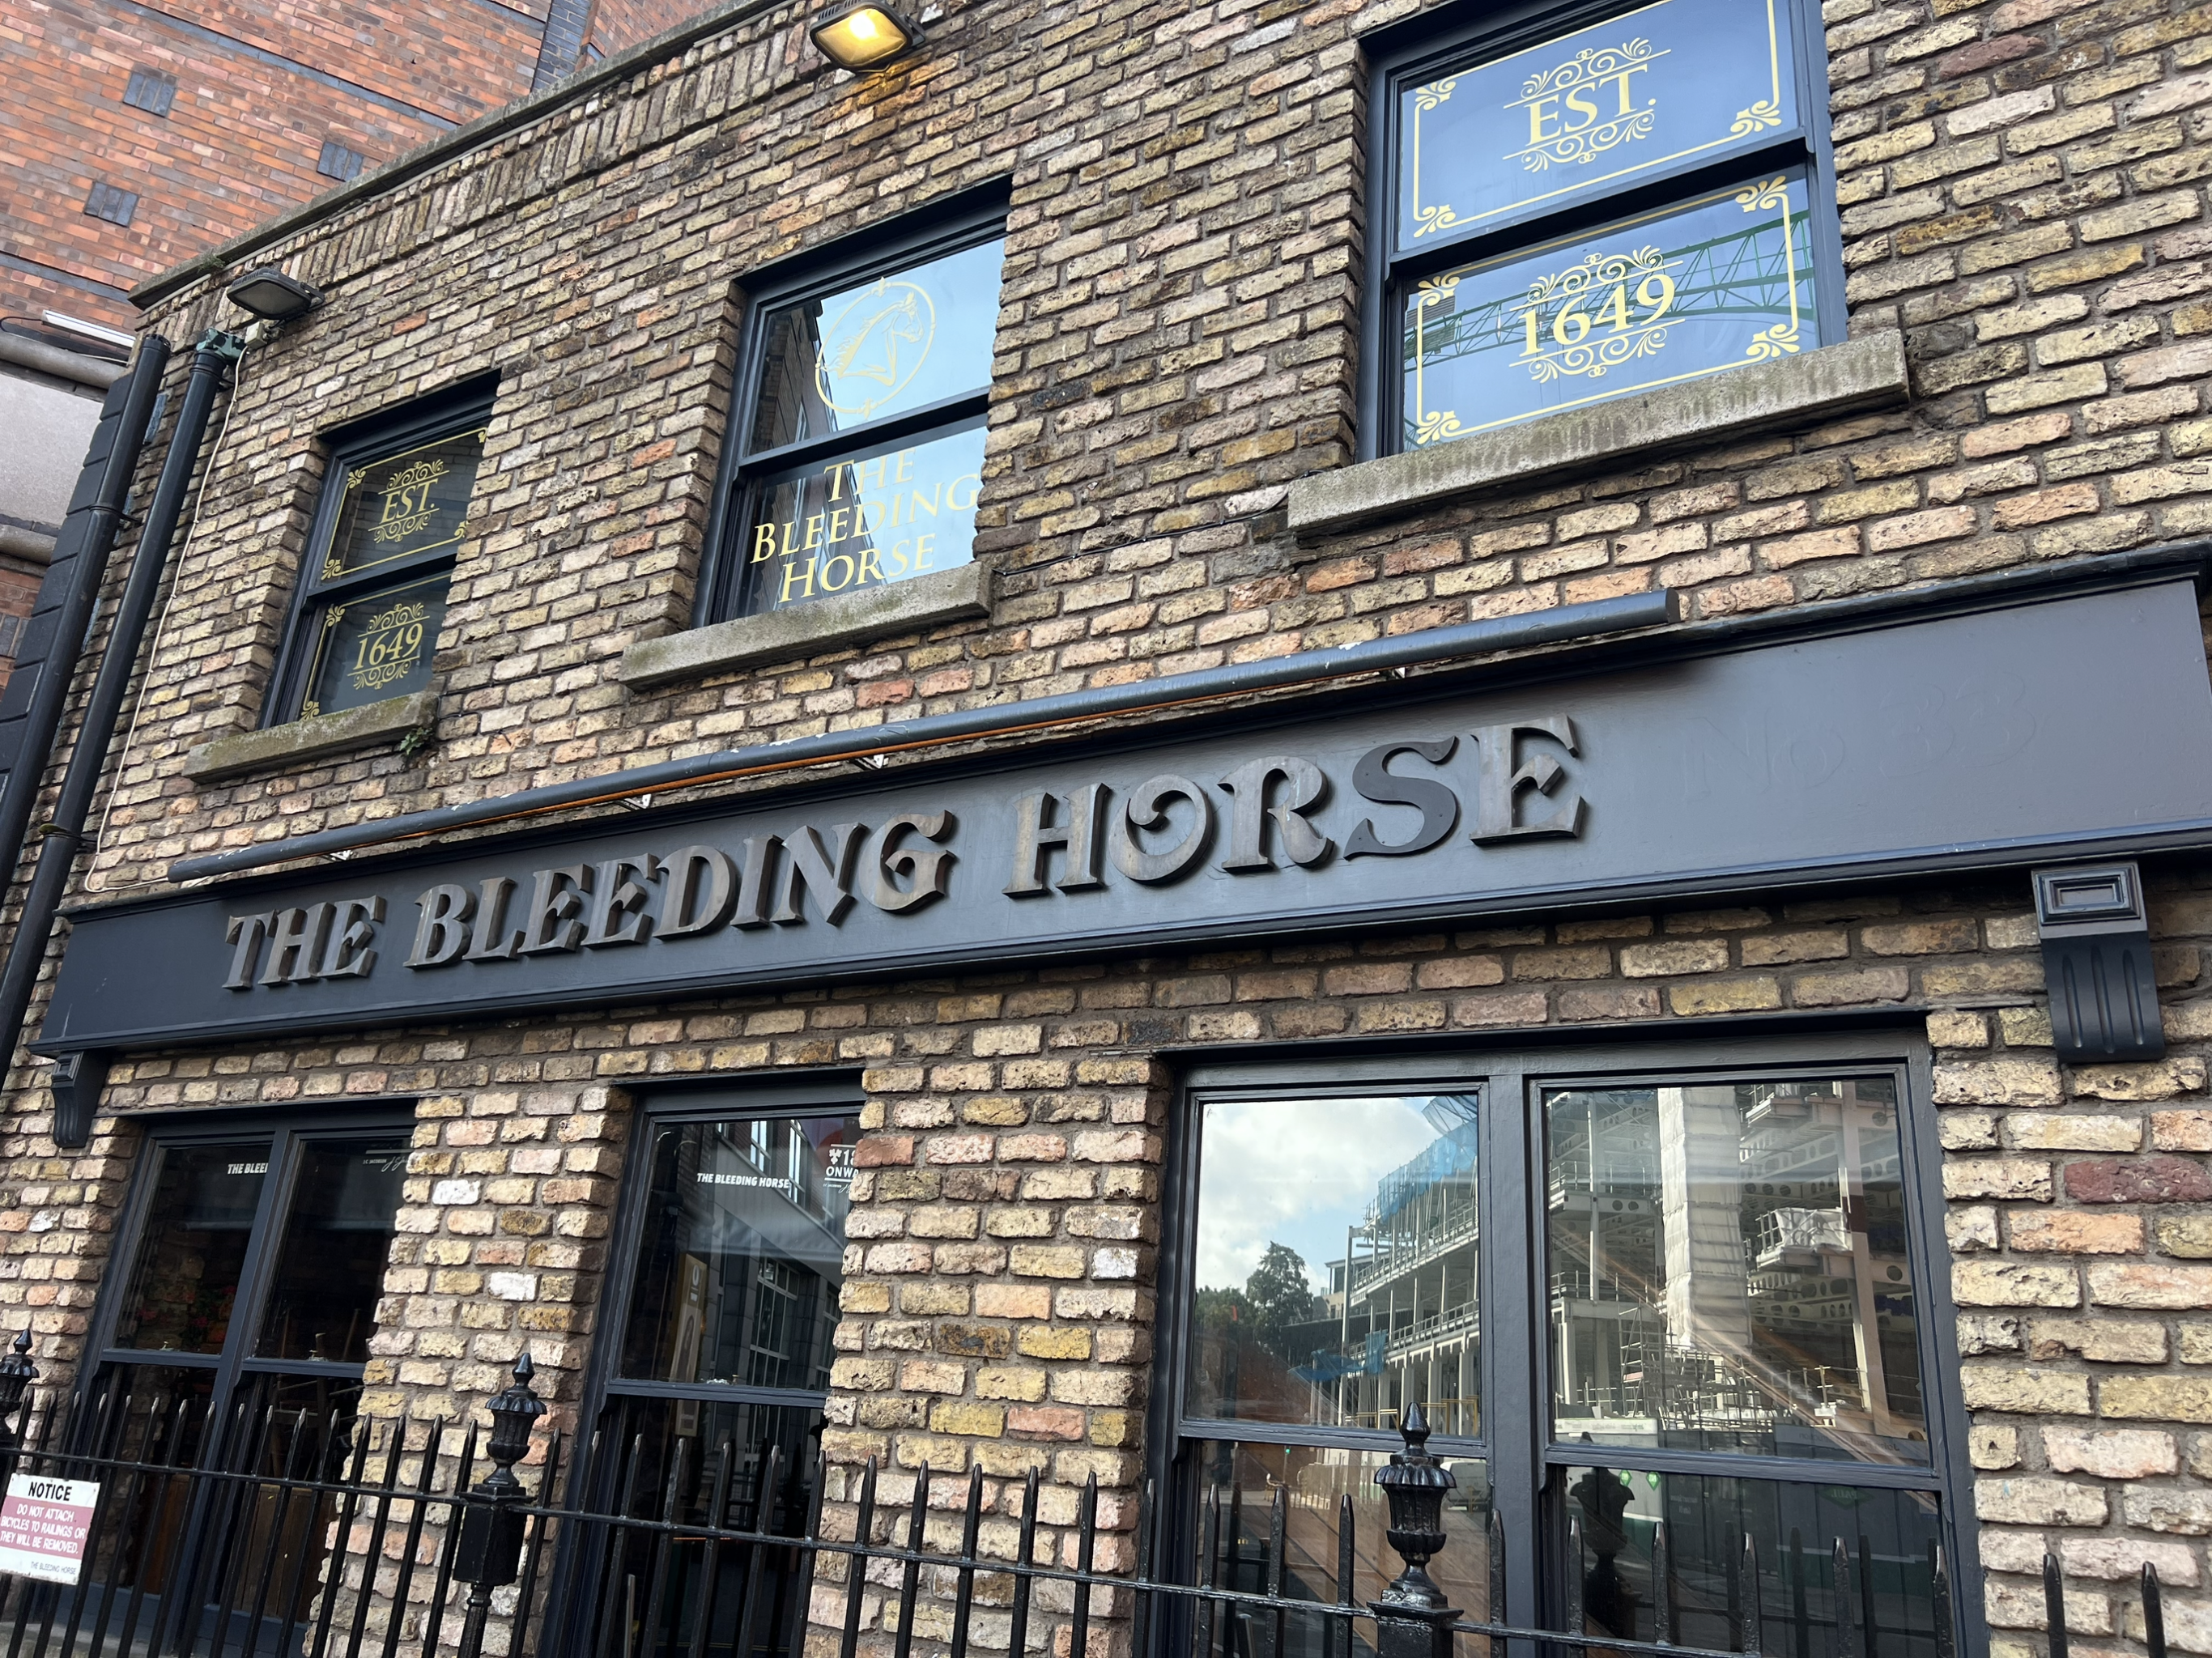
The pub next door to my hotel in Dublin. It was packed every night.
Elvis died in the month of August, and this local pub in Edinburgh, Scotland, The Shoogly Peg, had a shrine dedicated to him! I had to have a beverage as a tribute.
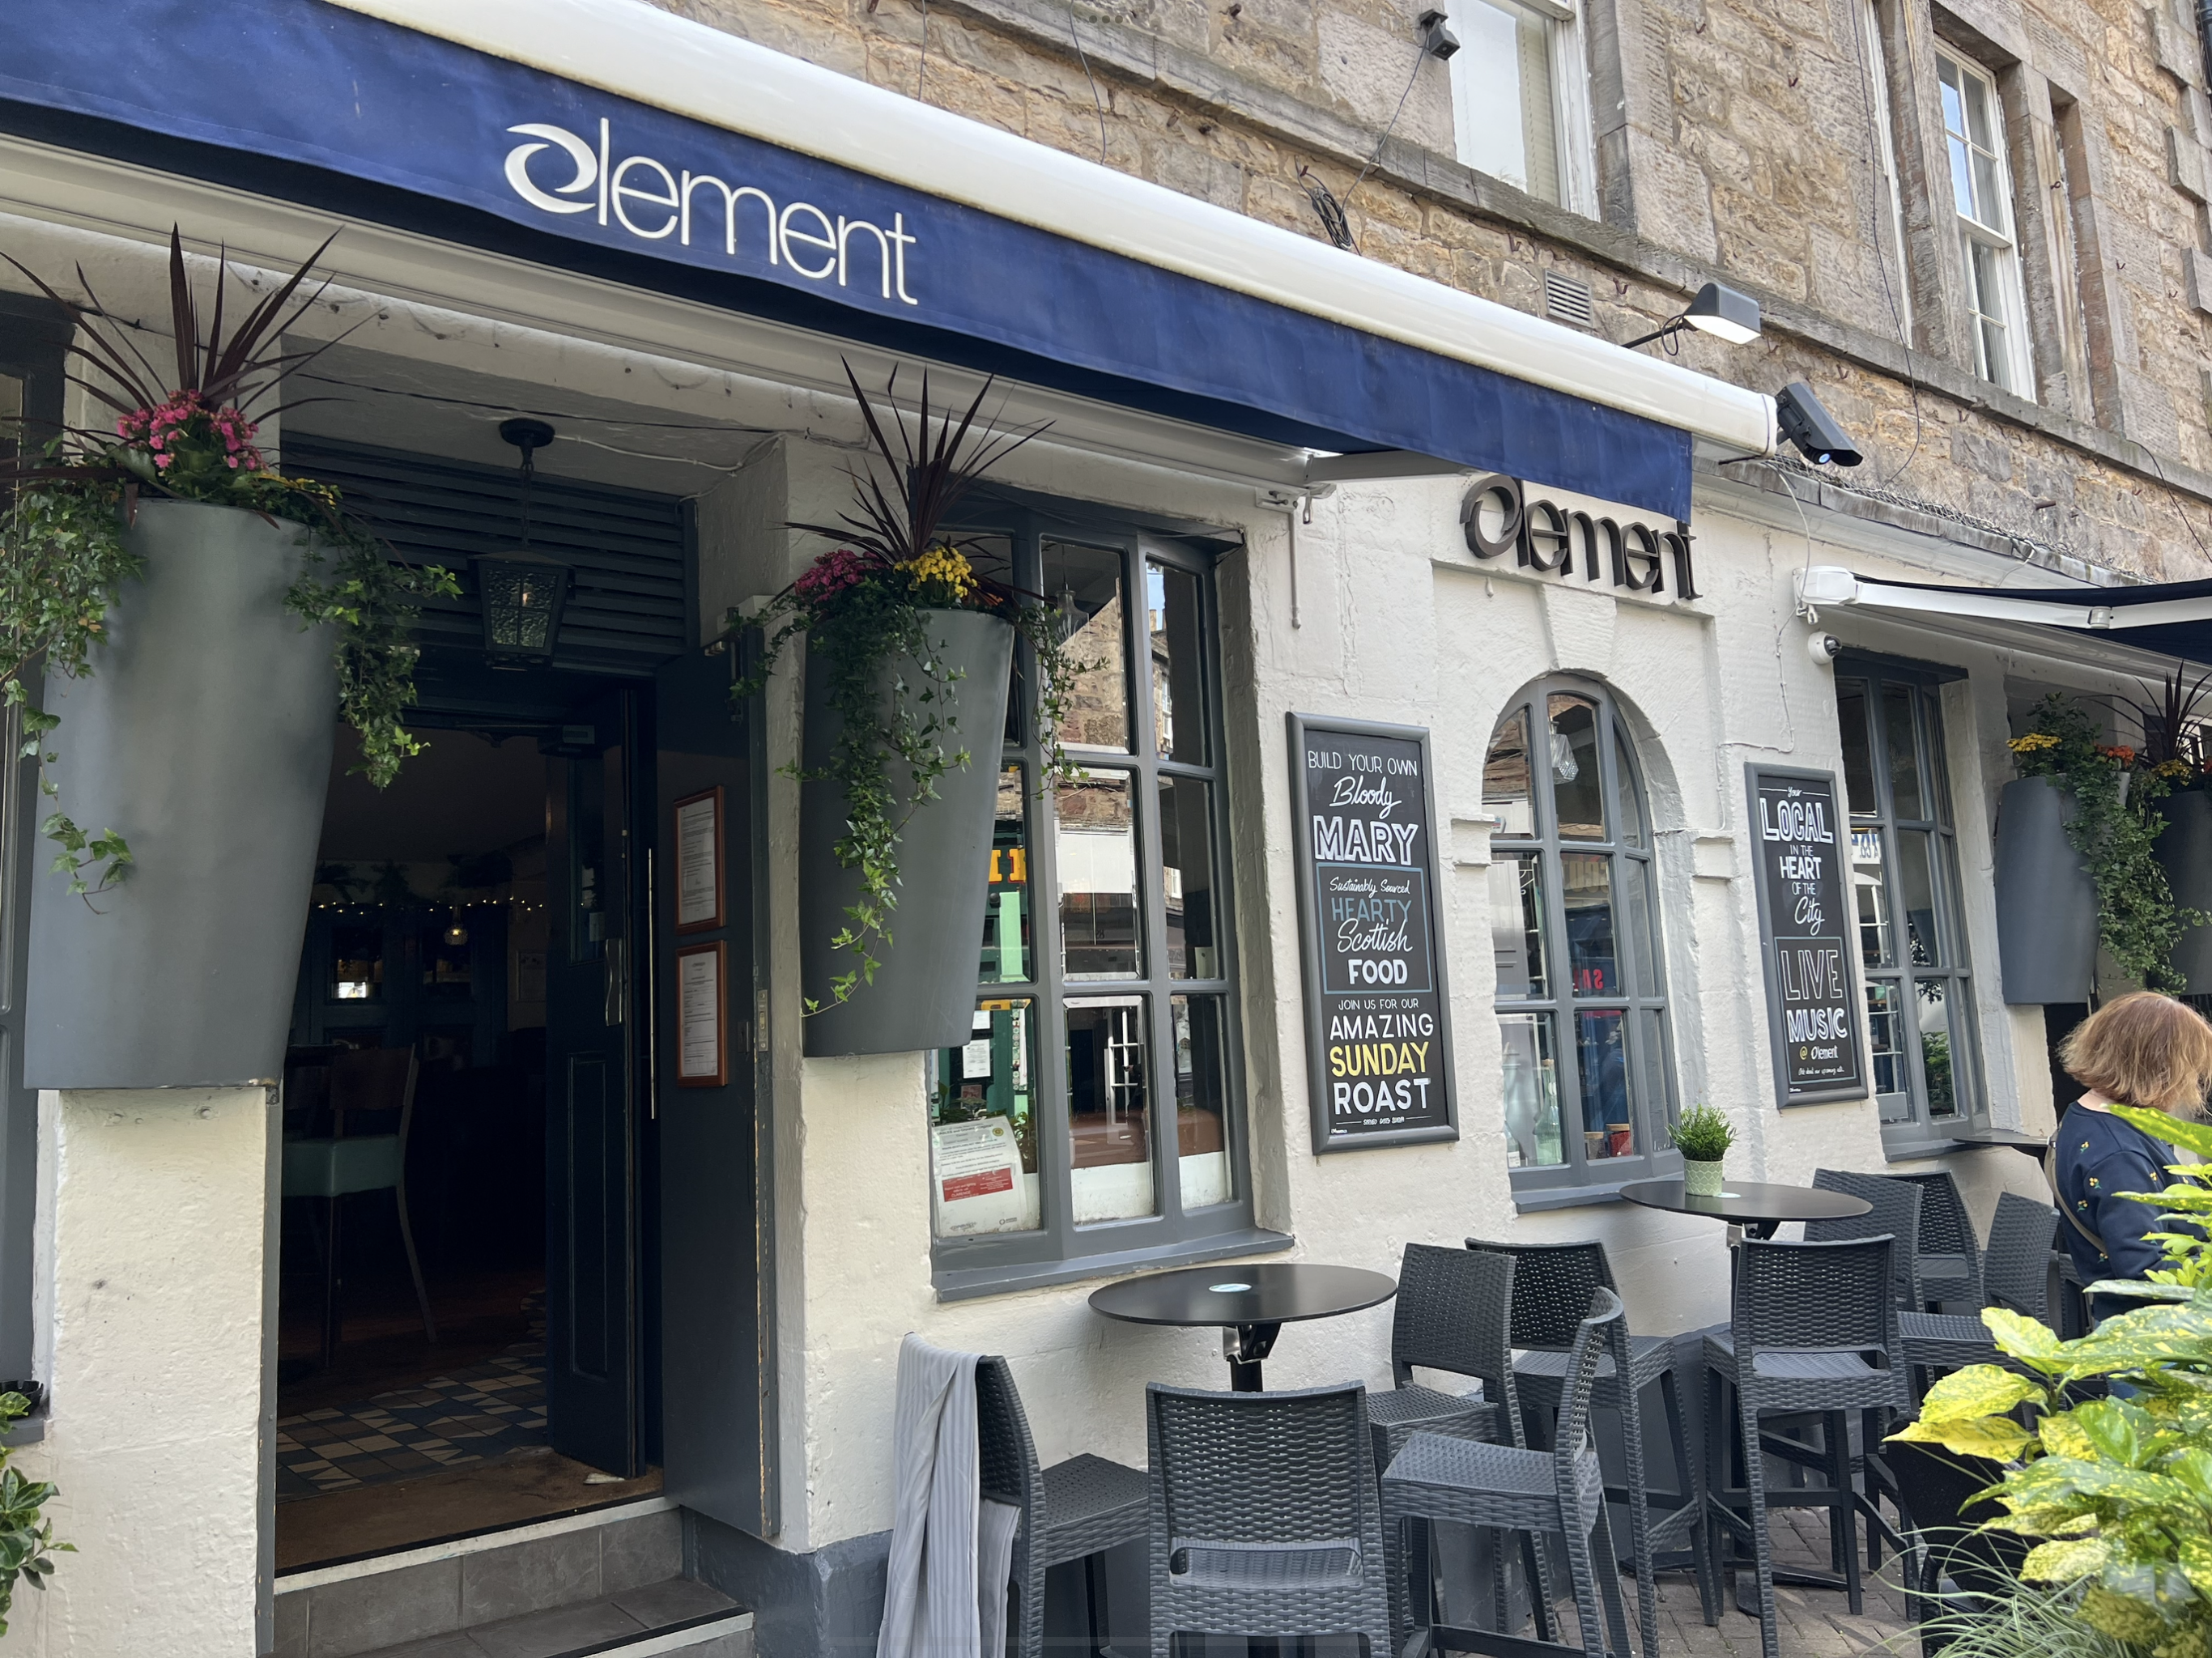
Sure, a pub can make a gin and tonic for you, and a gastropub, like Element in Edinburgh, can add a nice plate of food, but I’m always looking for a special place to sit and sip.
Element in Edinburgh, Scotland. Not just a fun pub, but really good food.
I sat at the bar at Element, and enjoyed a couple of gin and tonics.
Not many pubs let you eat at the bar, but it was jammin’ at Element, and I enjoyed a nice steak frite.
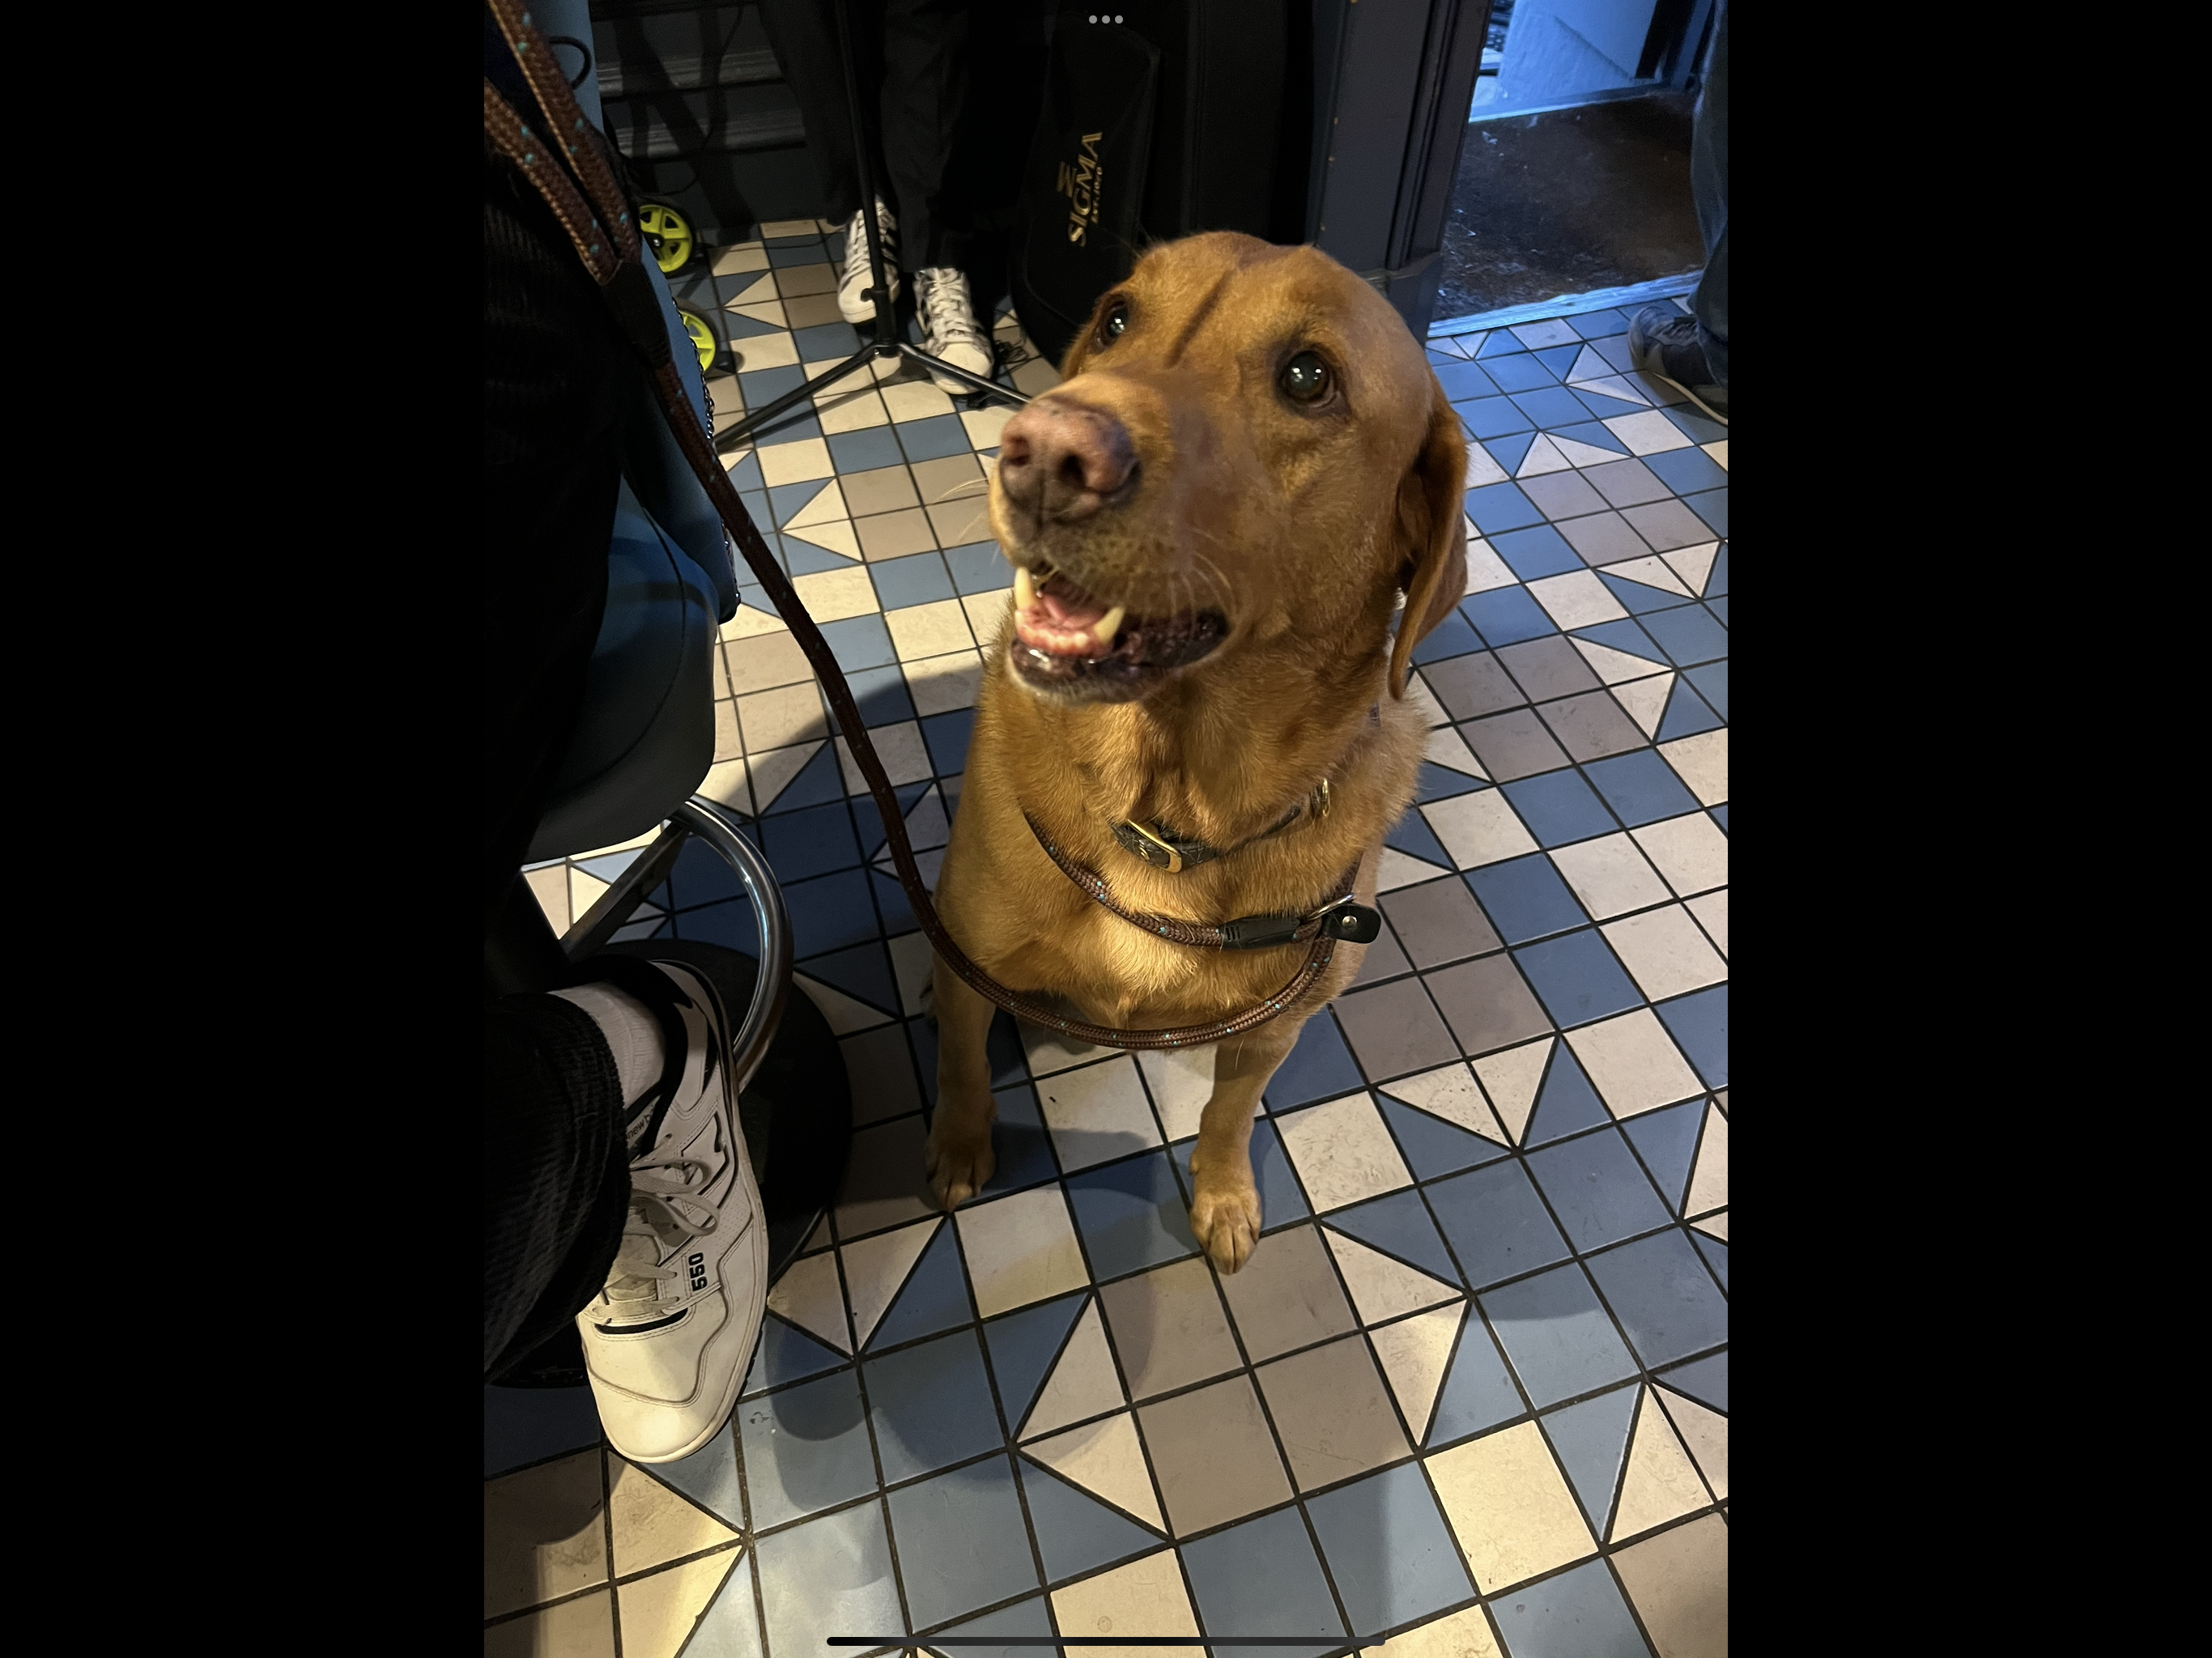
And sometimes you make new friends at Element as well. This is Charlie.
I’ve found that the best cocktail bars are located inside the best hotels. And even though I can’t afford to actually stay at the hotel, I can pop in for a drink. I had one very fancy dinner while in Edinburgh, at Dean Banks at the Pompadour, at the Caledonian Hotel.
An excellent meal, but I started the night at the Caledonian’s Caley Bar.
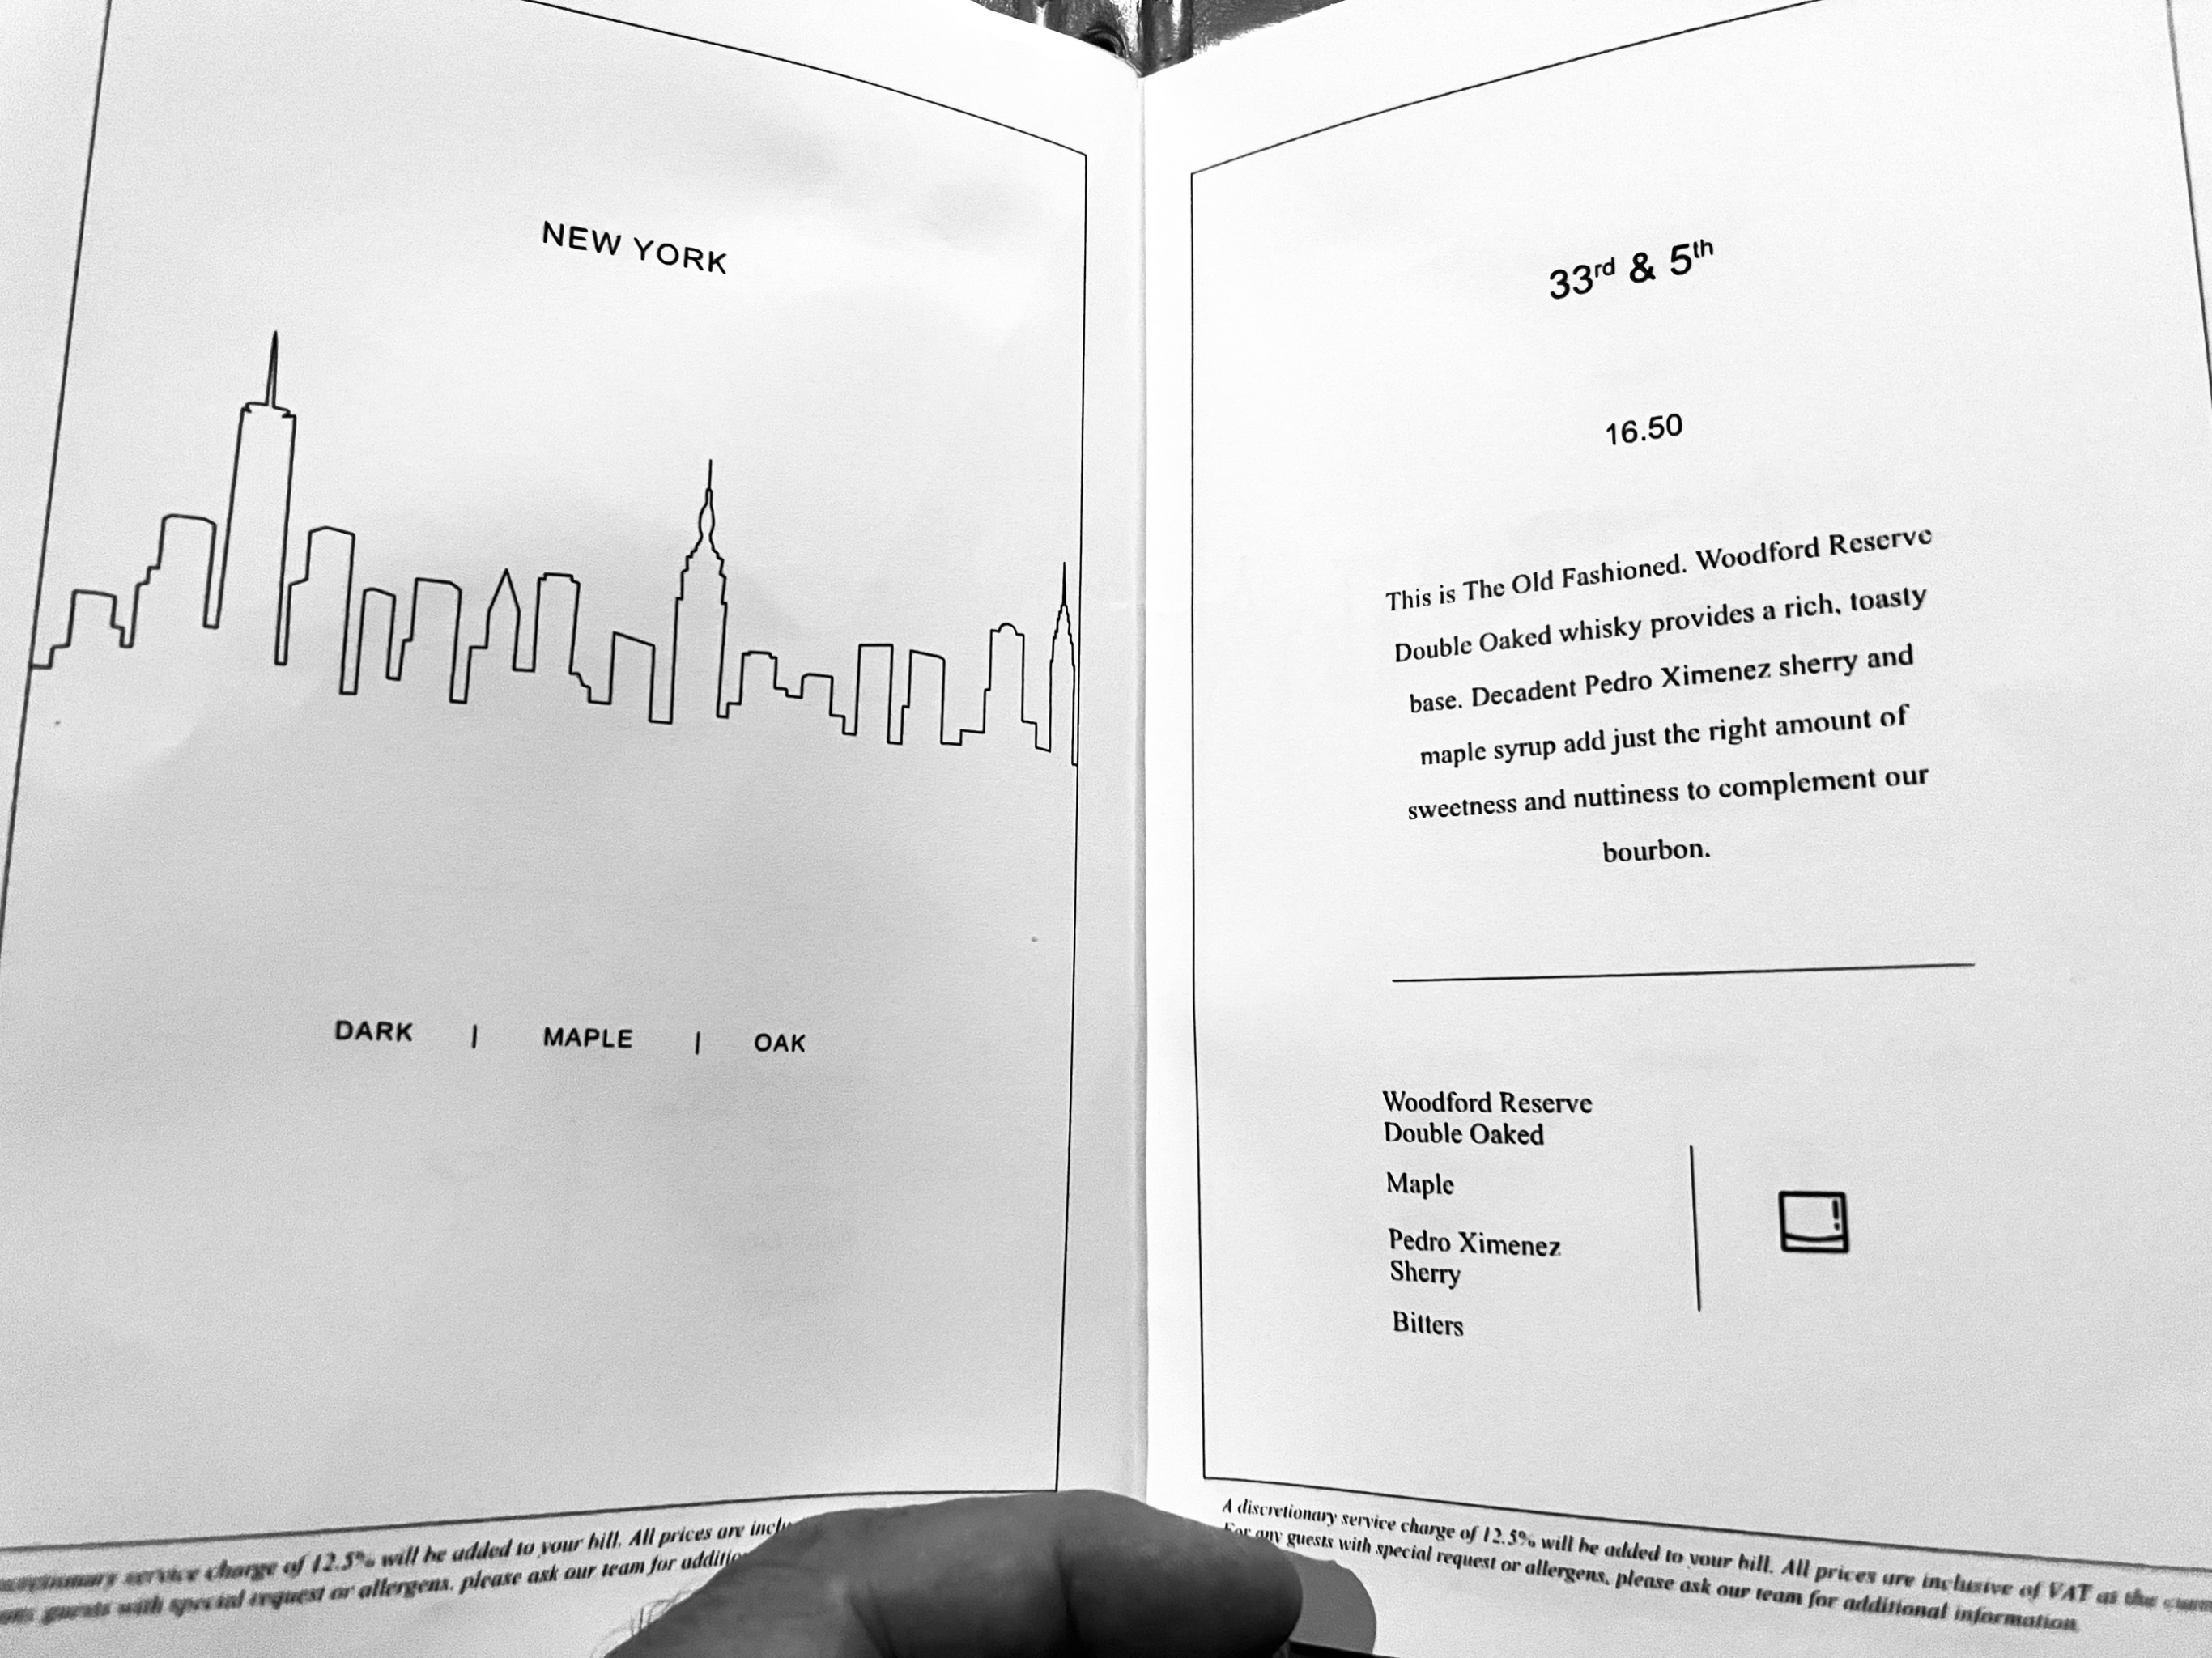
Being a native New Yorker, I figured I’d try the cocktail named after my hometown.
Most excellent!
So nice to have a well-made cocktail before the big dinner.
My first stop when I reached Dublin, Ireland, was to pay tribute to my rock and roll hero, Phil Lynott, the lead singer and bassist of Thin Lizzy, one of my all-time favorite bands. A statue of Phil stands next to Bruxelles pub. But just a little further down that street was the classic hotel, The Westbury.
The Sidecar bar at The Westbury in Dublin.
Having had so many gin and tonics in Scotland, I was craving a good old vodka martini at the Sidecar. Unlike the United States, however, the limit of booze per serving in Scotland and Ireland is about 2 ounces. So they were trying to get me to add things to it, to make it look bigger. I like my vodka unmessed with, because I like the taste of it. Why ruin high quality vodka with nasty salty liquid from an olive jar? A dirty martini is not for me. So they shook it a lot to dilute it, poured it into a tall, thin glass, and dropped a huge olive into it. It was exactly what I was looking for!
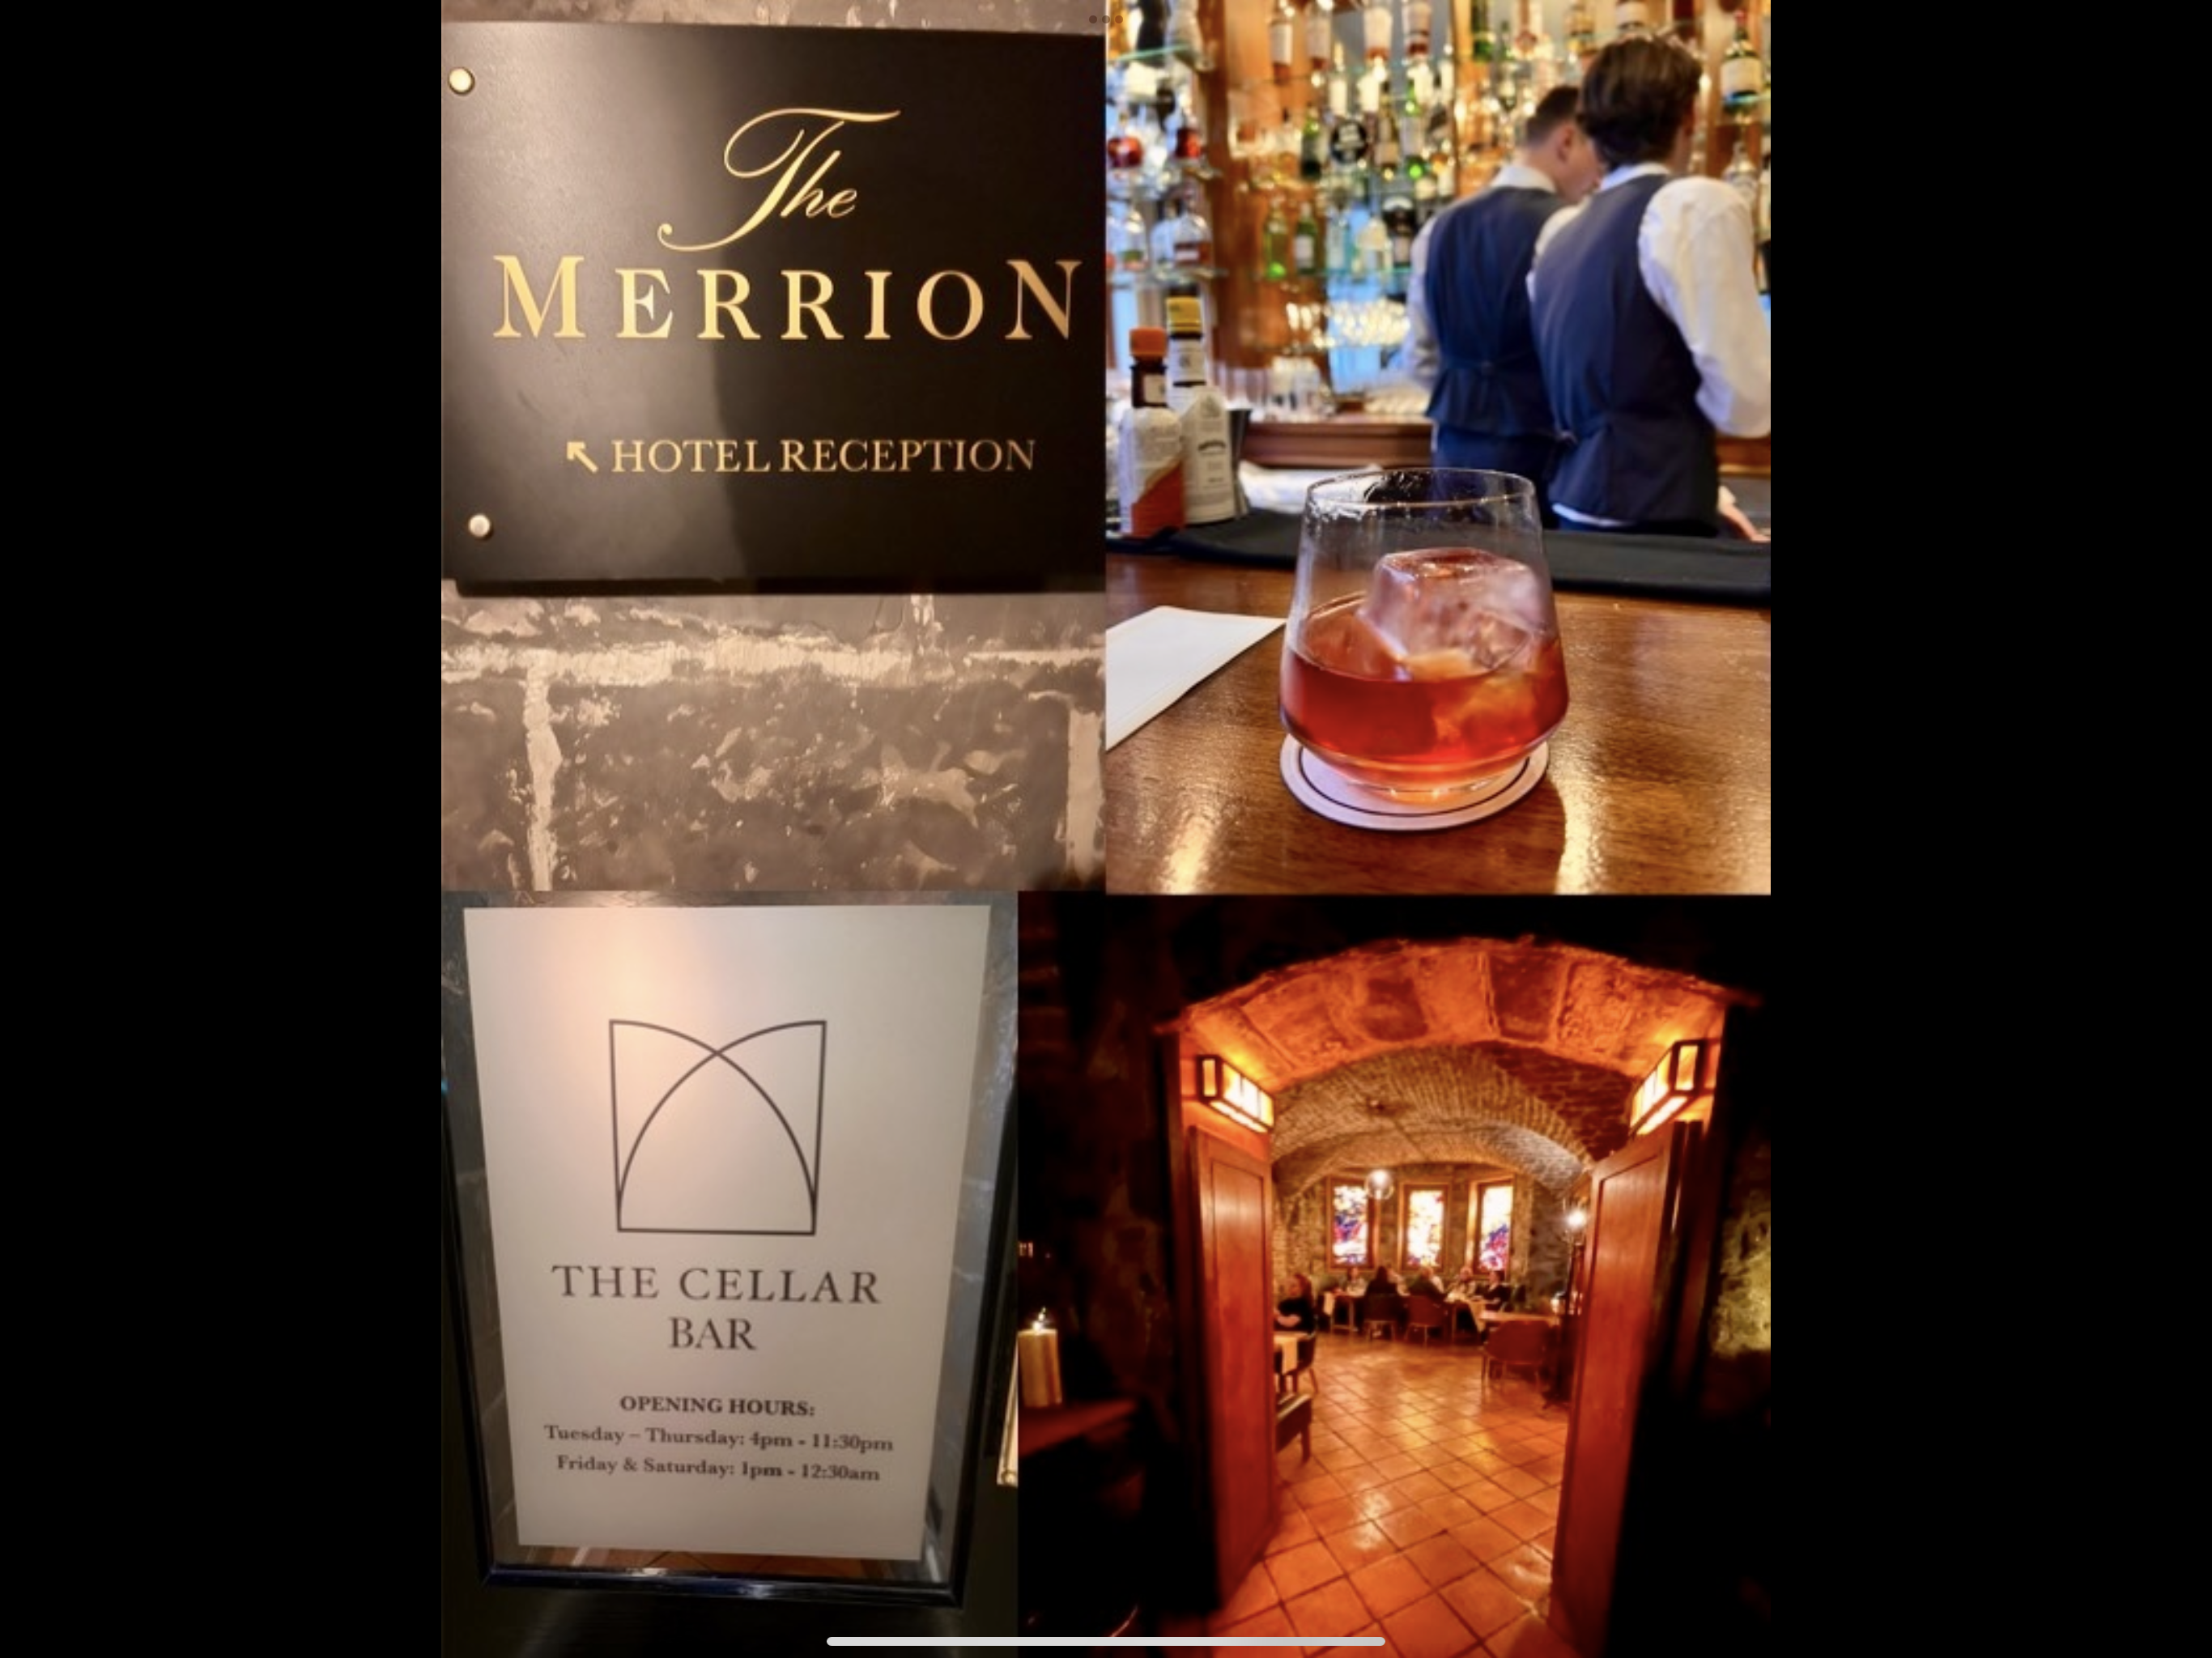
The Merrion Hotel, another beauty, had a couple of bars that were worthy of a visit. The ground floor bar, the No. 23 bar, had that typical classy hotel bar vibe. But The Cellar, downstairs, was an amazing creature unto itself, with a huge cavern-like space. It was absolutely packed with partying people, and a space I will definitely visit again if I’m ever lucky enough to go back to Dublin.
A closer look of The Cellar.
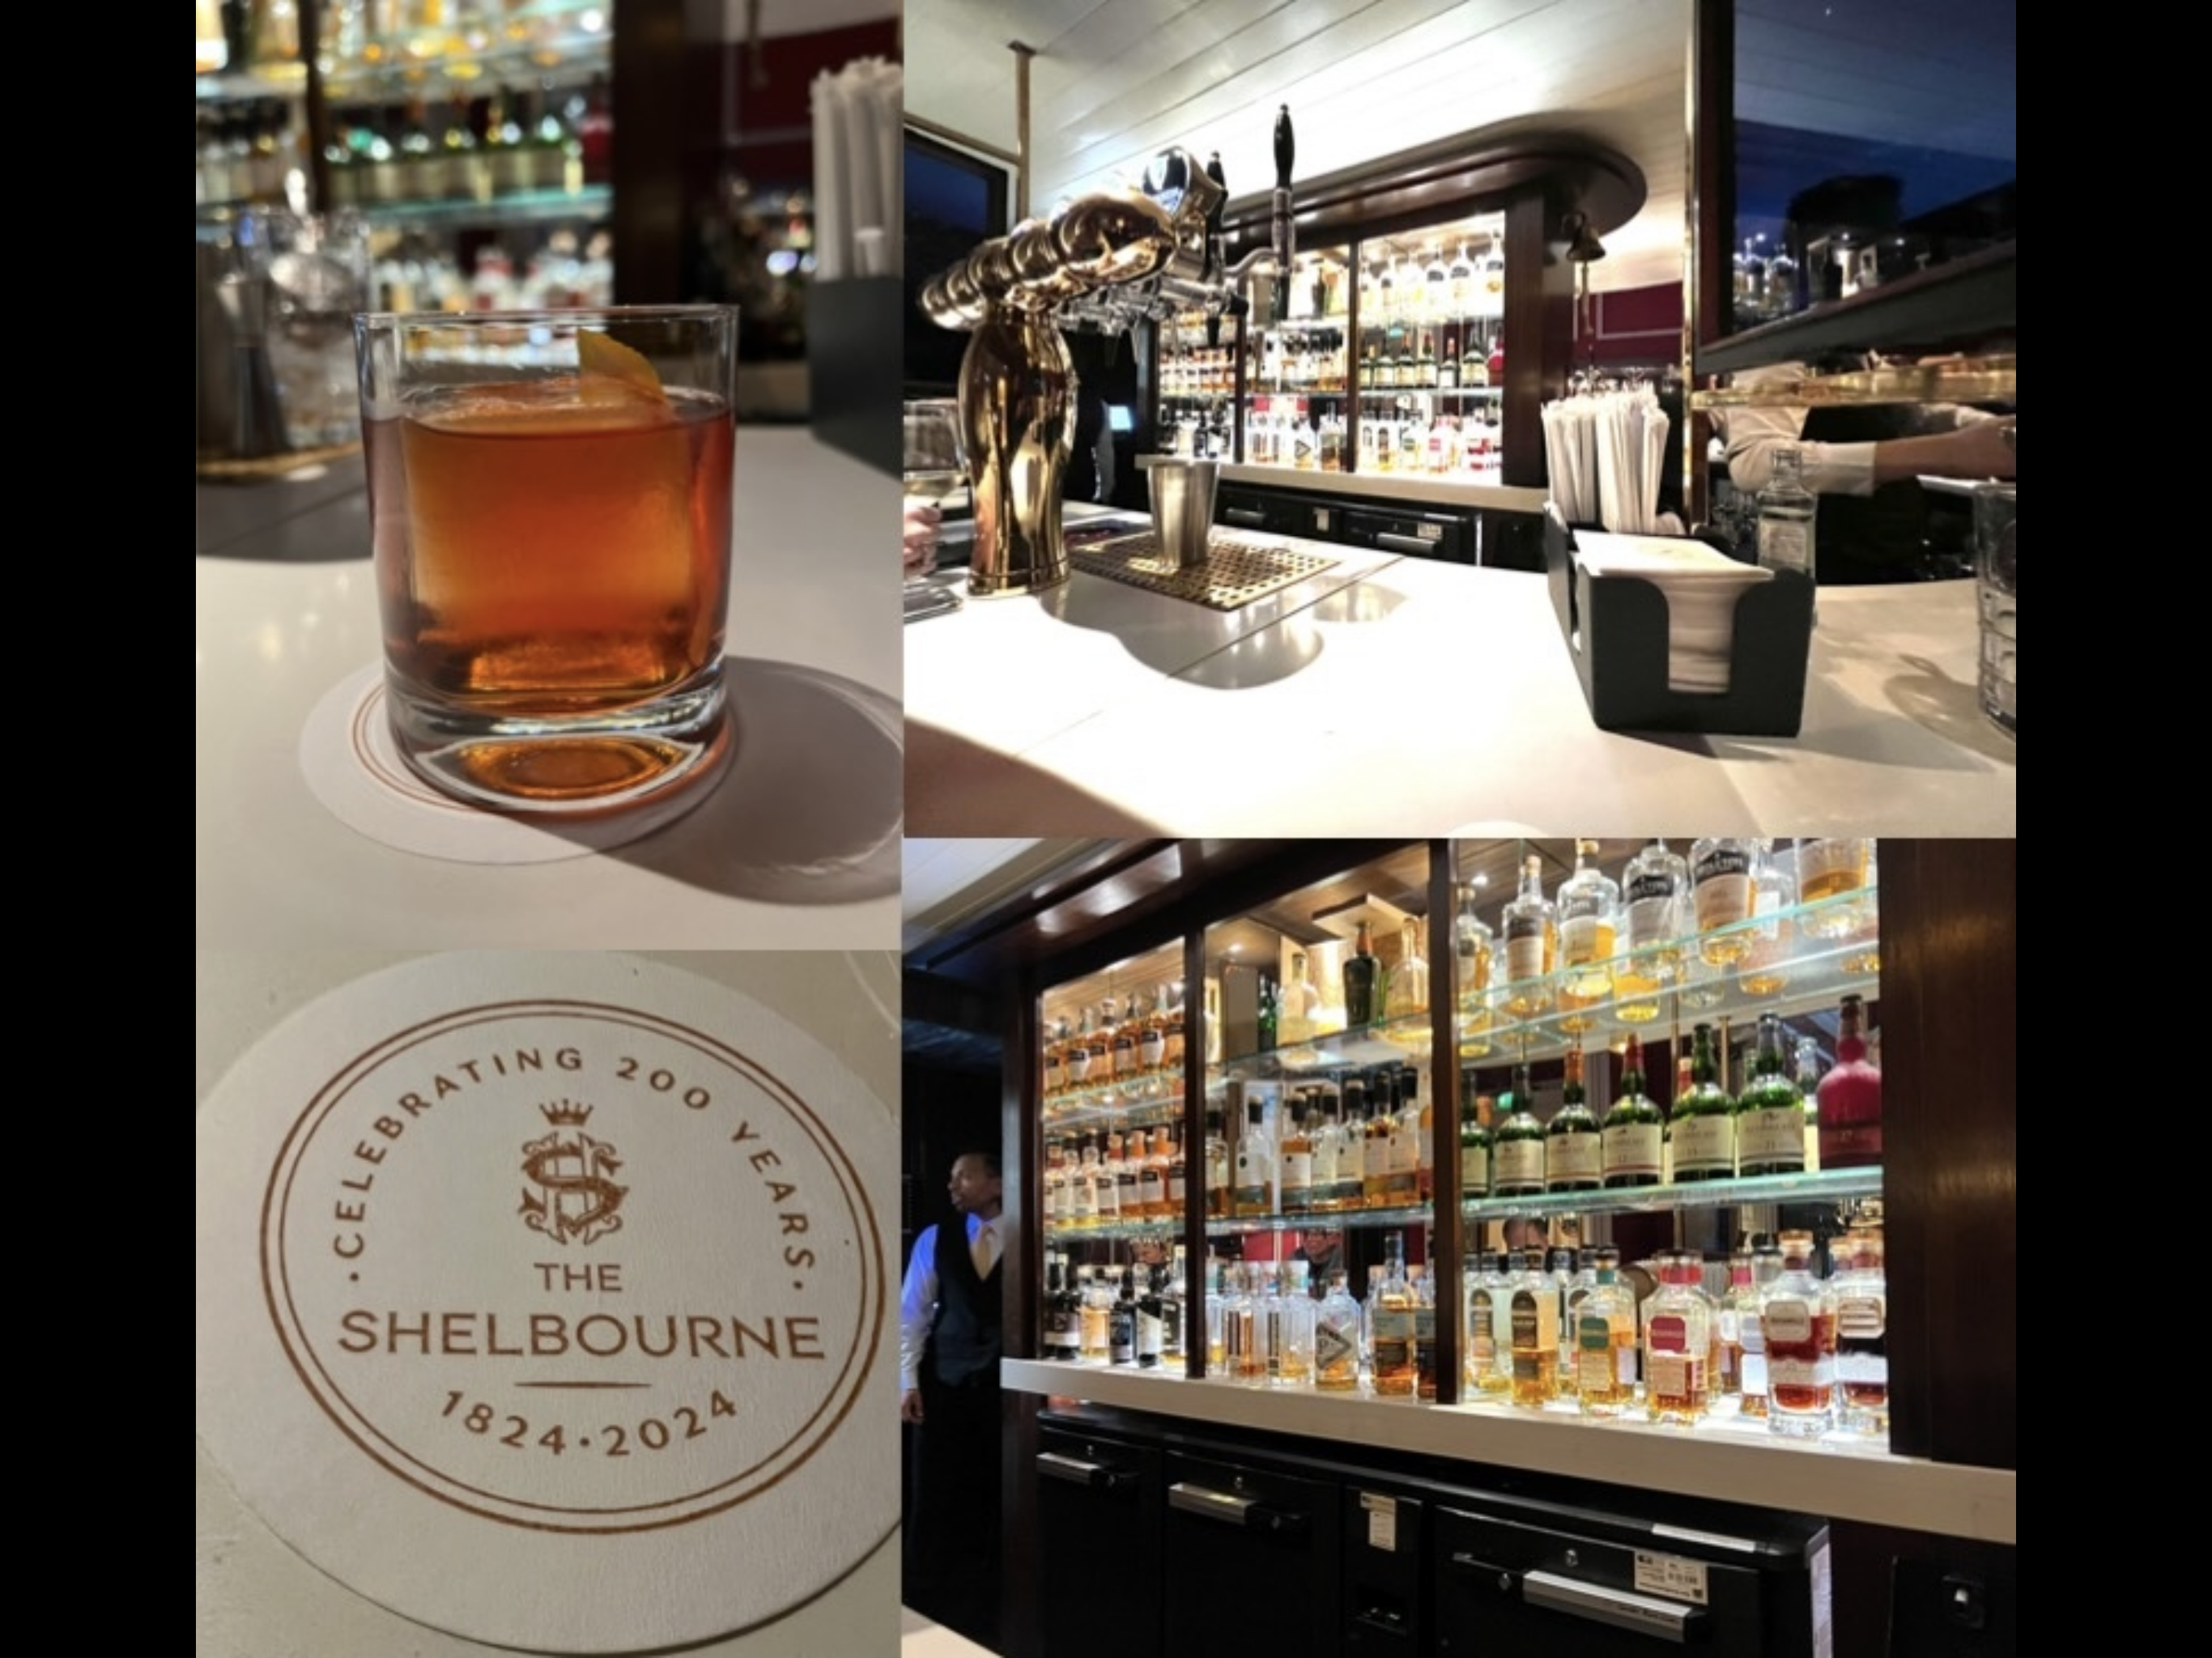
I managed to fit in one other historic hotel on my cocktail journey, and that was The Shelbourne, celebrating its 200th year. I enjoyed a beverage on the Horseshoe bar, one of five bars in the hotel.
All in all, a pretty successful journey to many classy and classic (found mostly in hotels) cocktail bars. Recovery is now in order!