As I’ve mentioned previously, I love the Kona-crusted NY strip at the Capital Grille, so much so that it inspired me to make a coffee rub of my own. I’ve been using it on steaks and burgers for years. But recently, I used it on a slow-smoked pork shoulder for the first time, and it was fantastic!
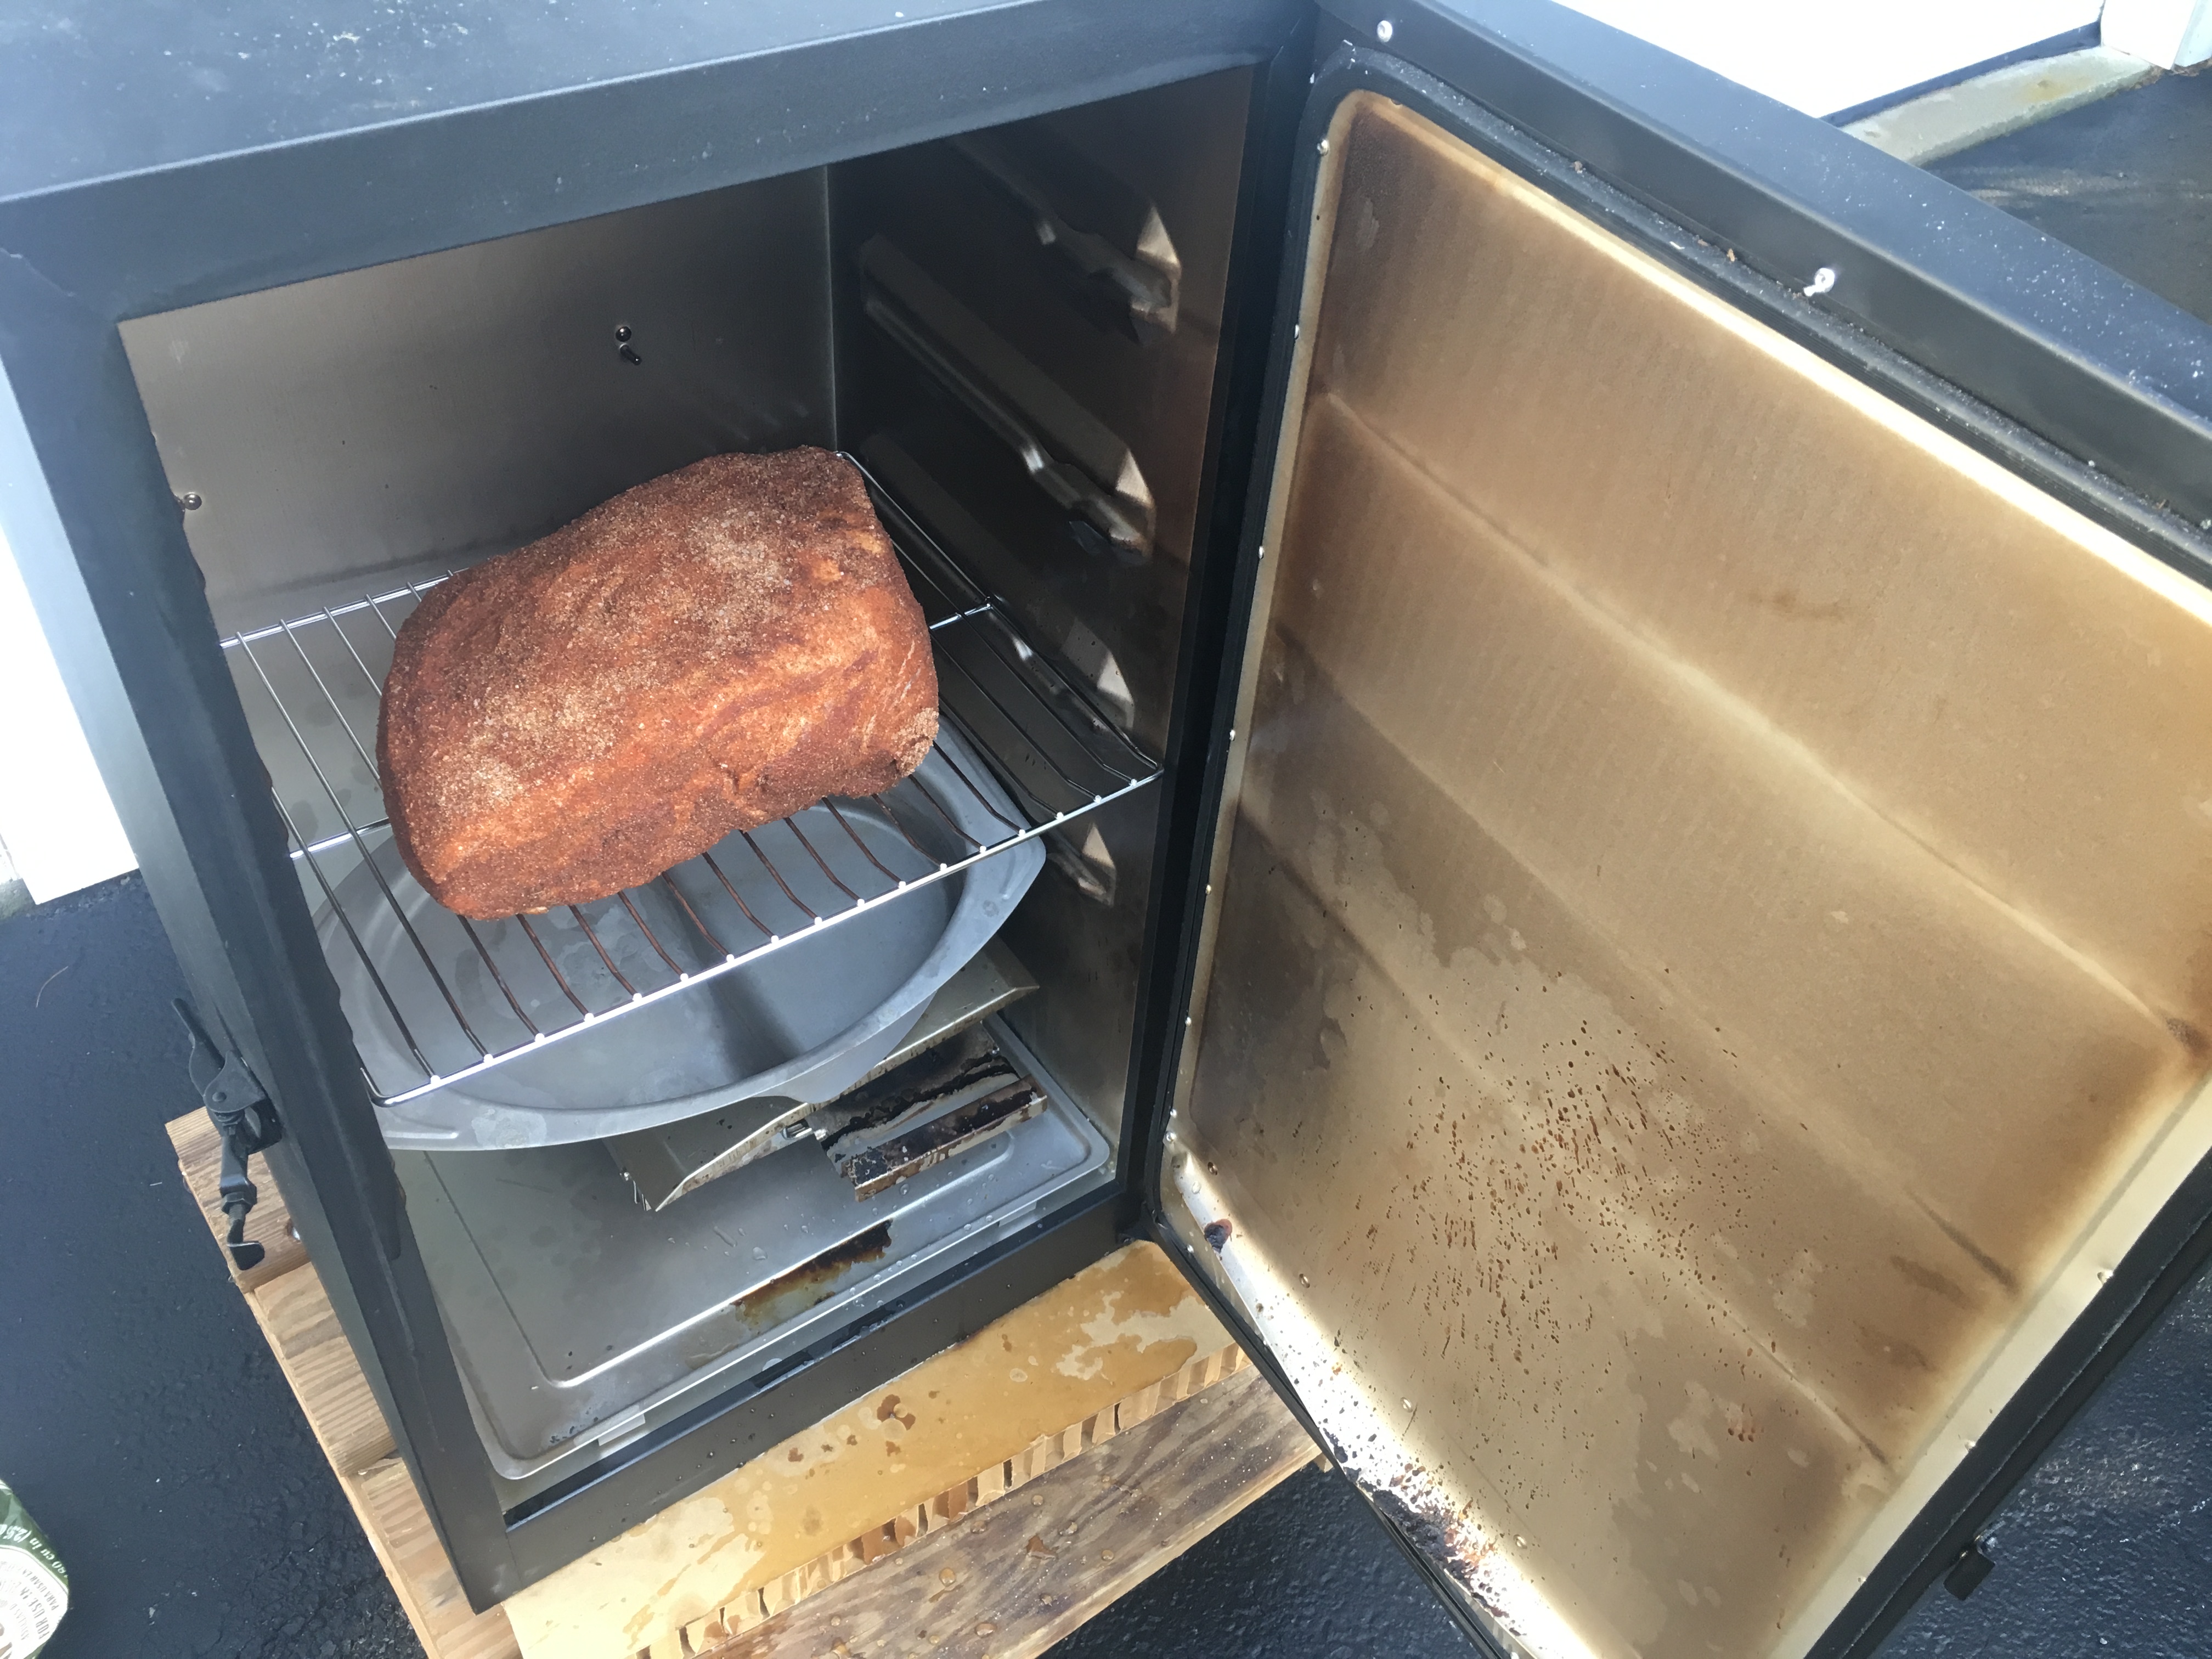
I used a smaller pork shoulder, about 6 lbs., and smoked it for about 12 hours. Obviously, if you use a larger hunka meat, you’ll need more time. I prefer a bone-in shoulder over boneless. I think it gives greater flavor.

My coffee rub is easy to make, and I usually make a lot of it at once, since it stores well.
3 tablespoons brown sugar
1 tablespoon Kosher salt
1 tablespoon ground coffee (use your favorite)
1 teaspoon granulated garlic
1 teaspoon granulated onion
1 teaspoon unsweetened cocoa powder
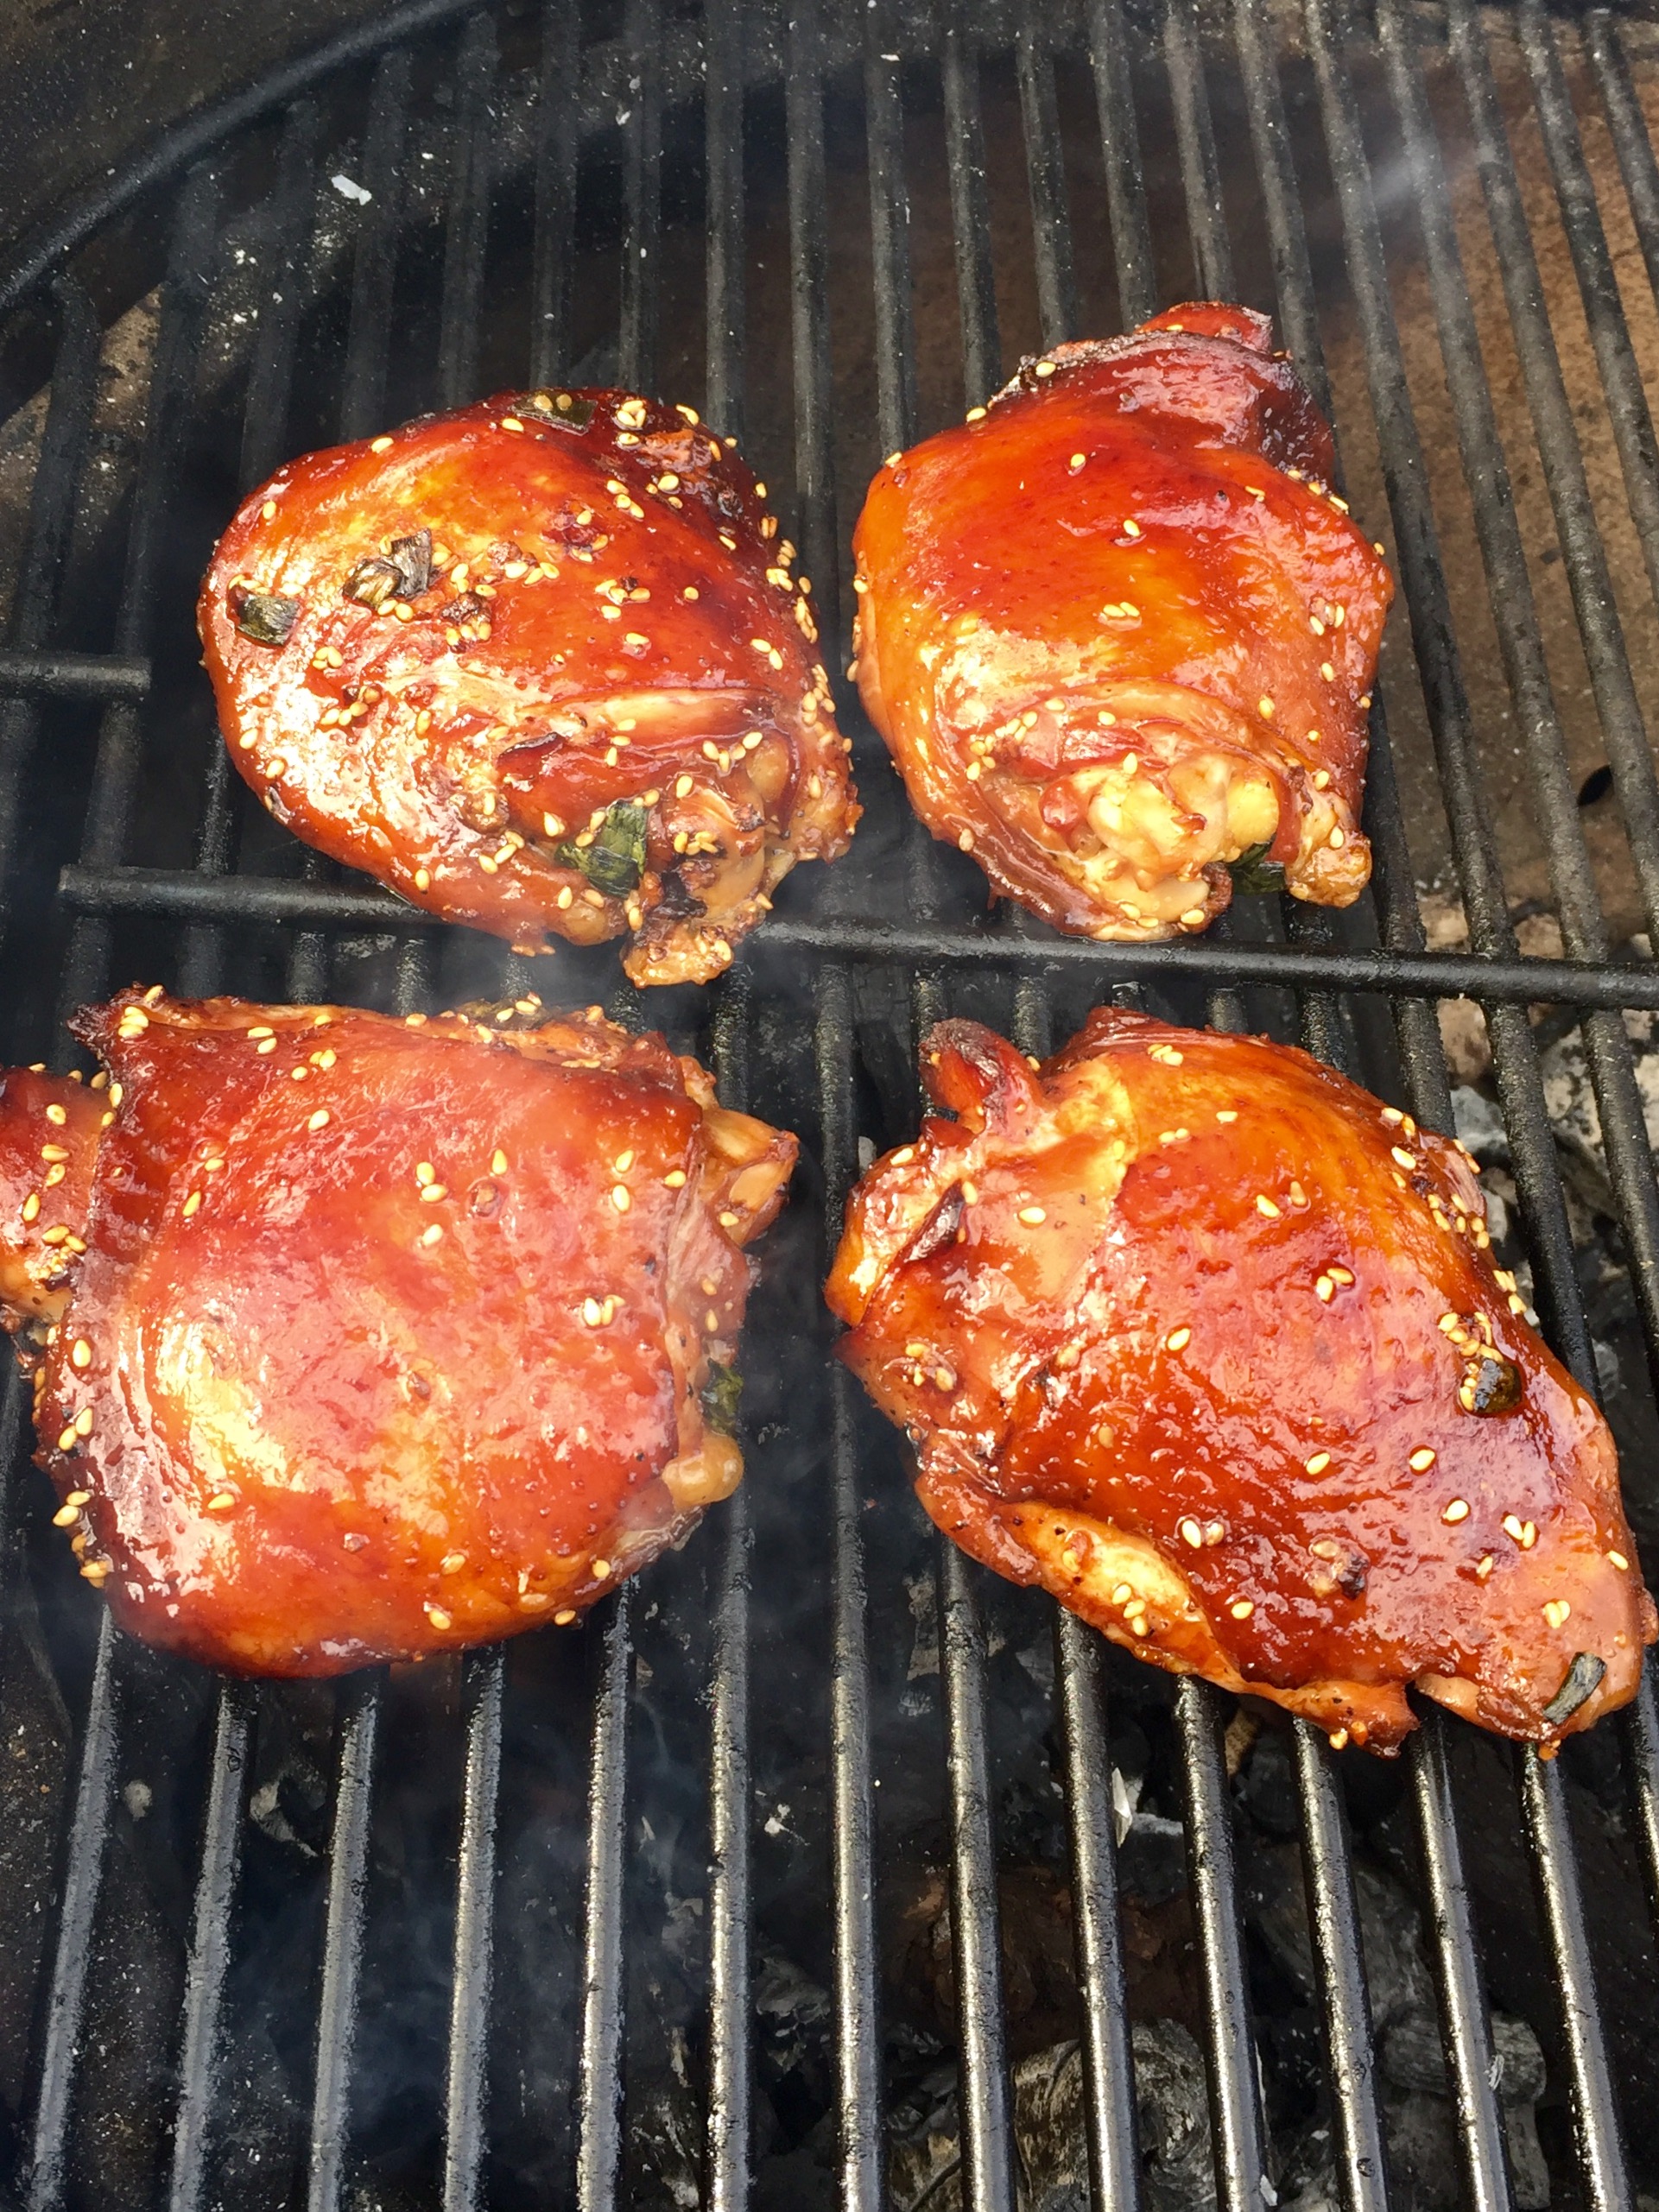
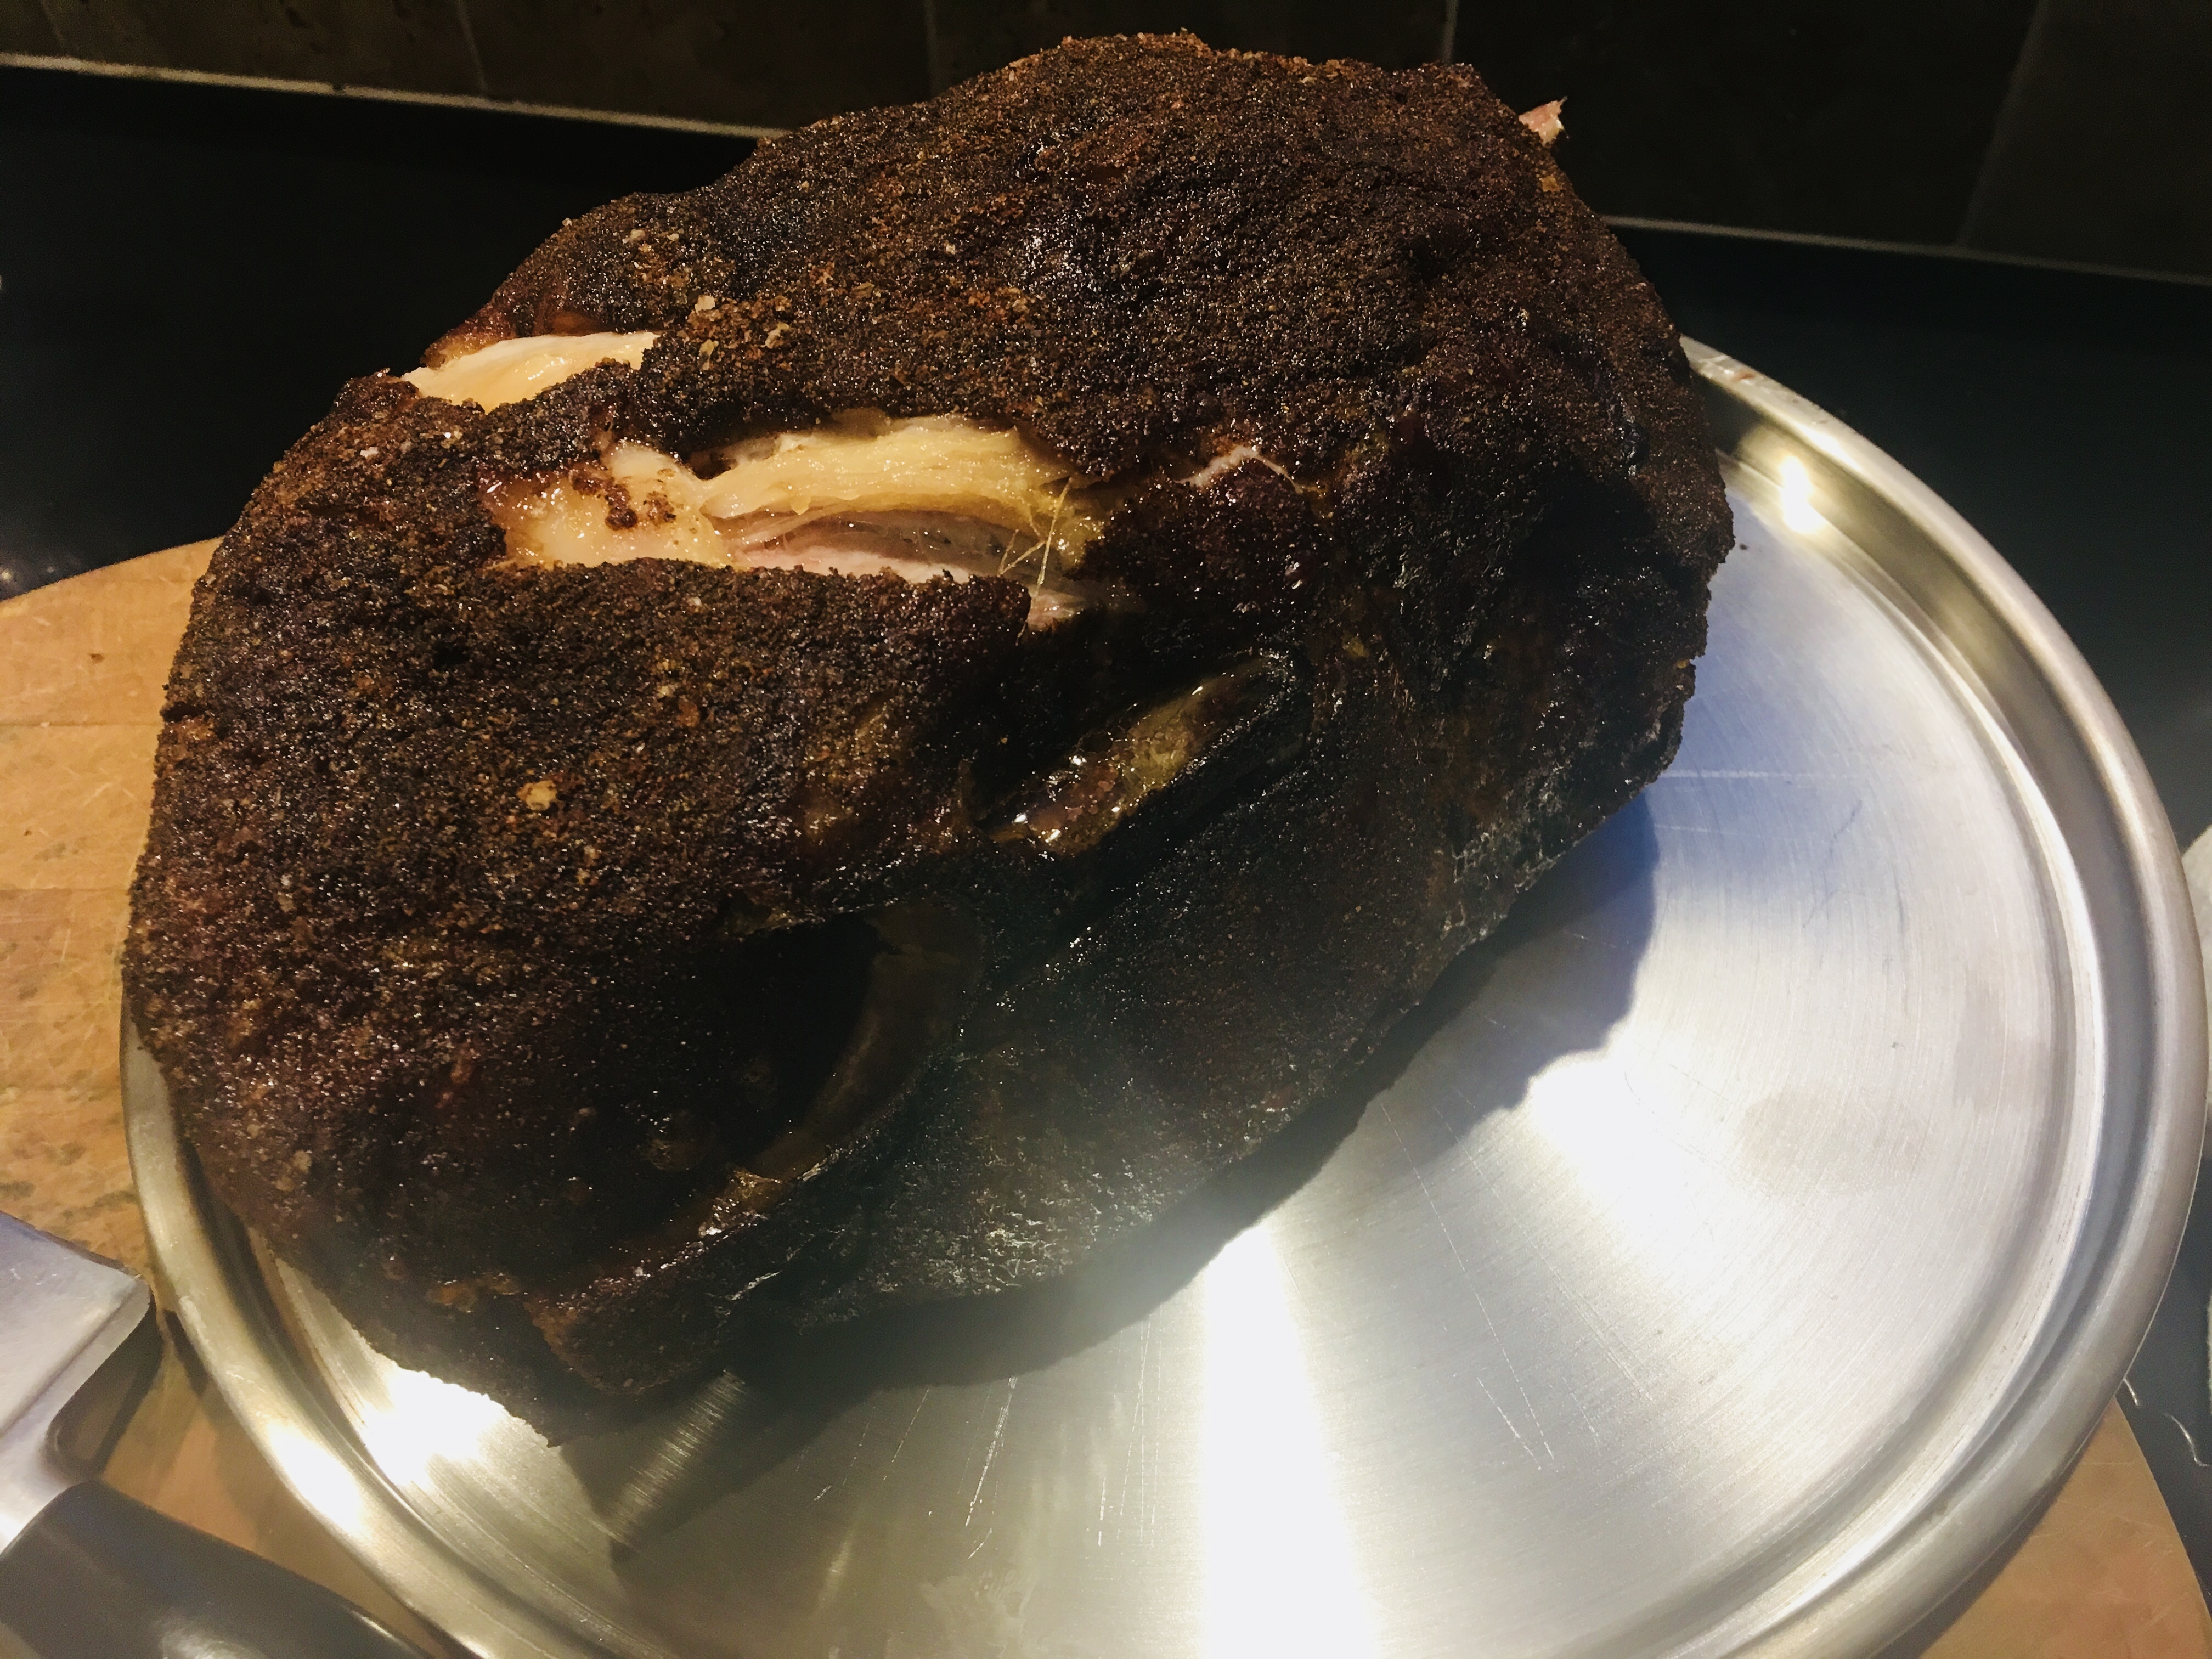
I mix all the ingredients well, then rub generously on the pork shoulder before placing it a 250-degree smoker for about 12 hours. I use an electric smoker, which allows me to set the temperature and forget it, with the exception of occasionally adding hickory chips. I love just a hint of smokiness…I don’t want the rub to be overpowered by the smoke.
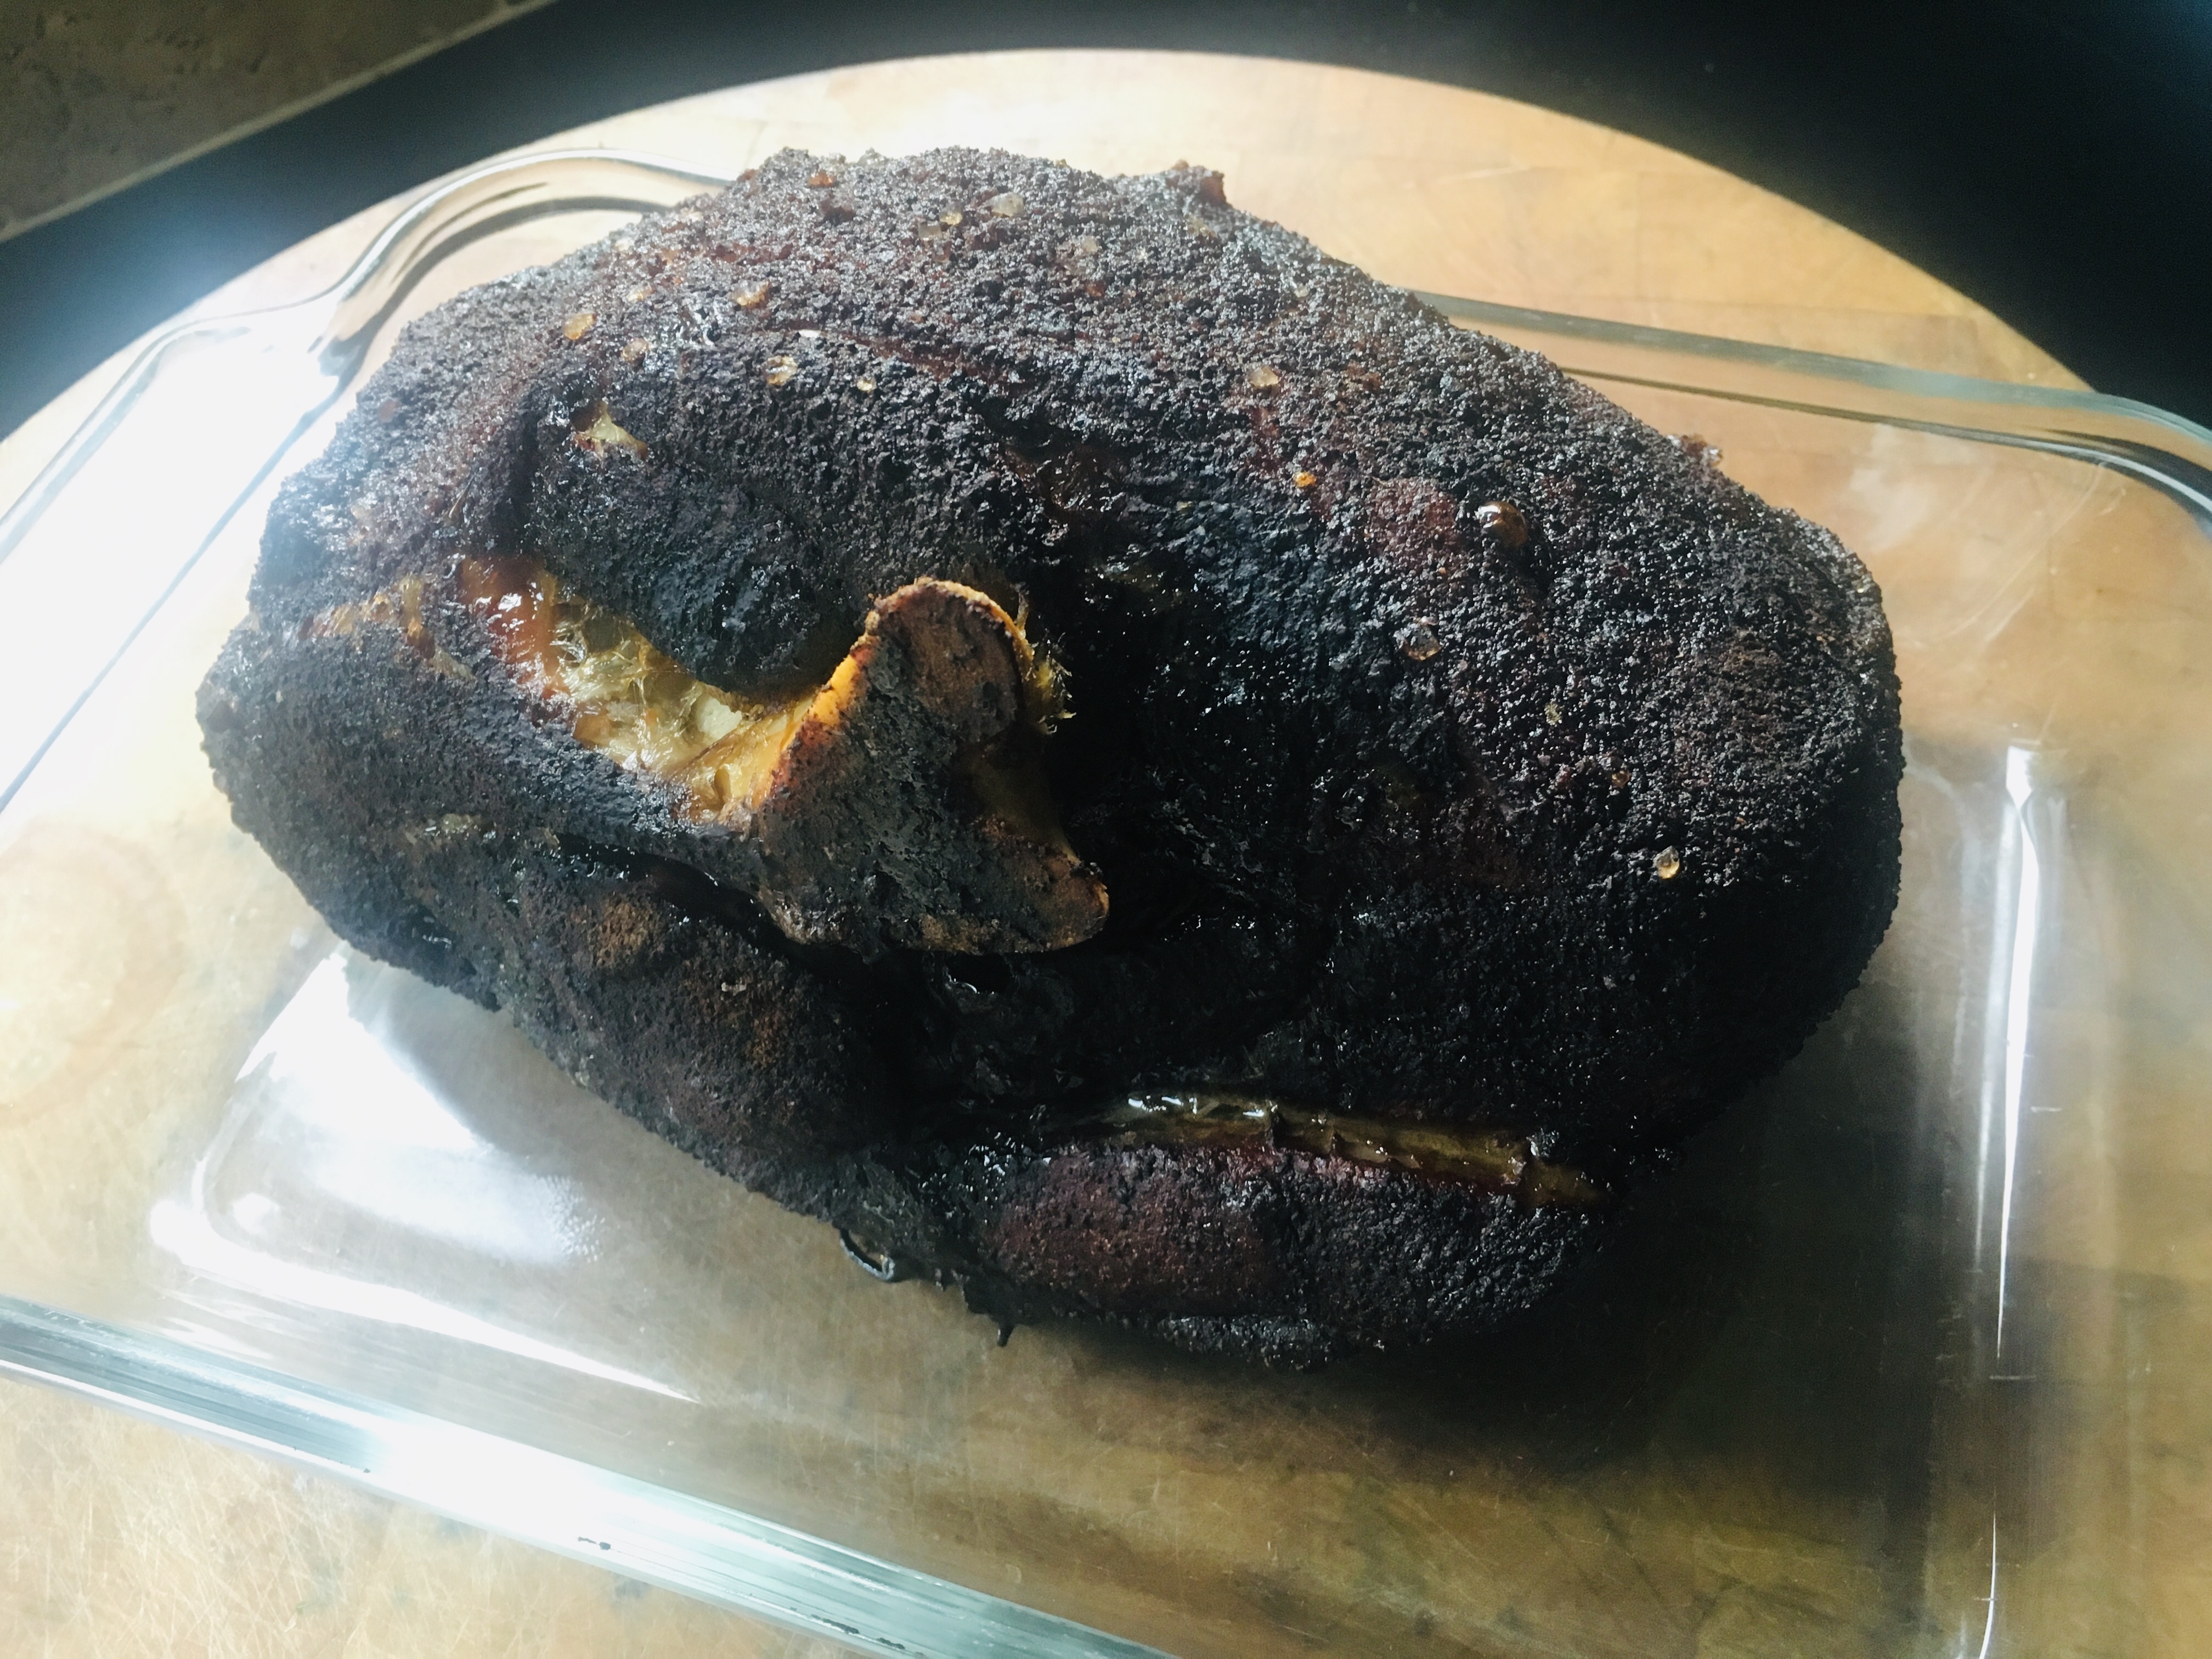
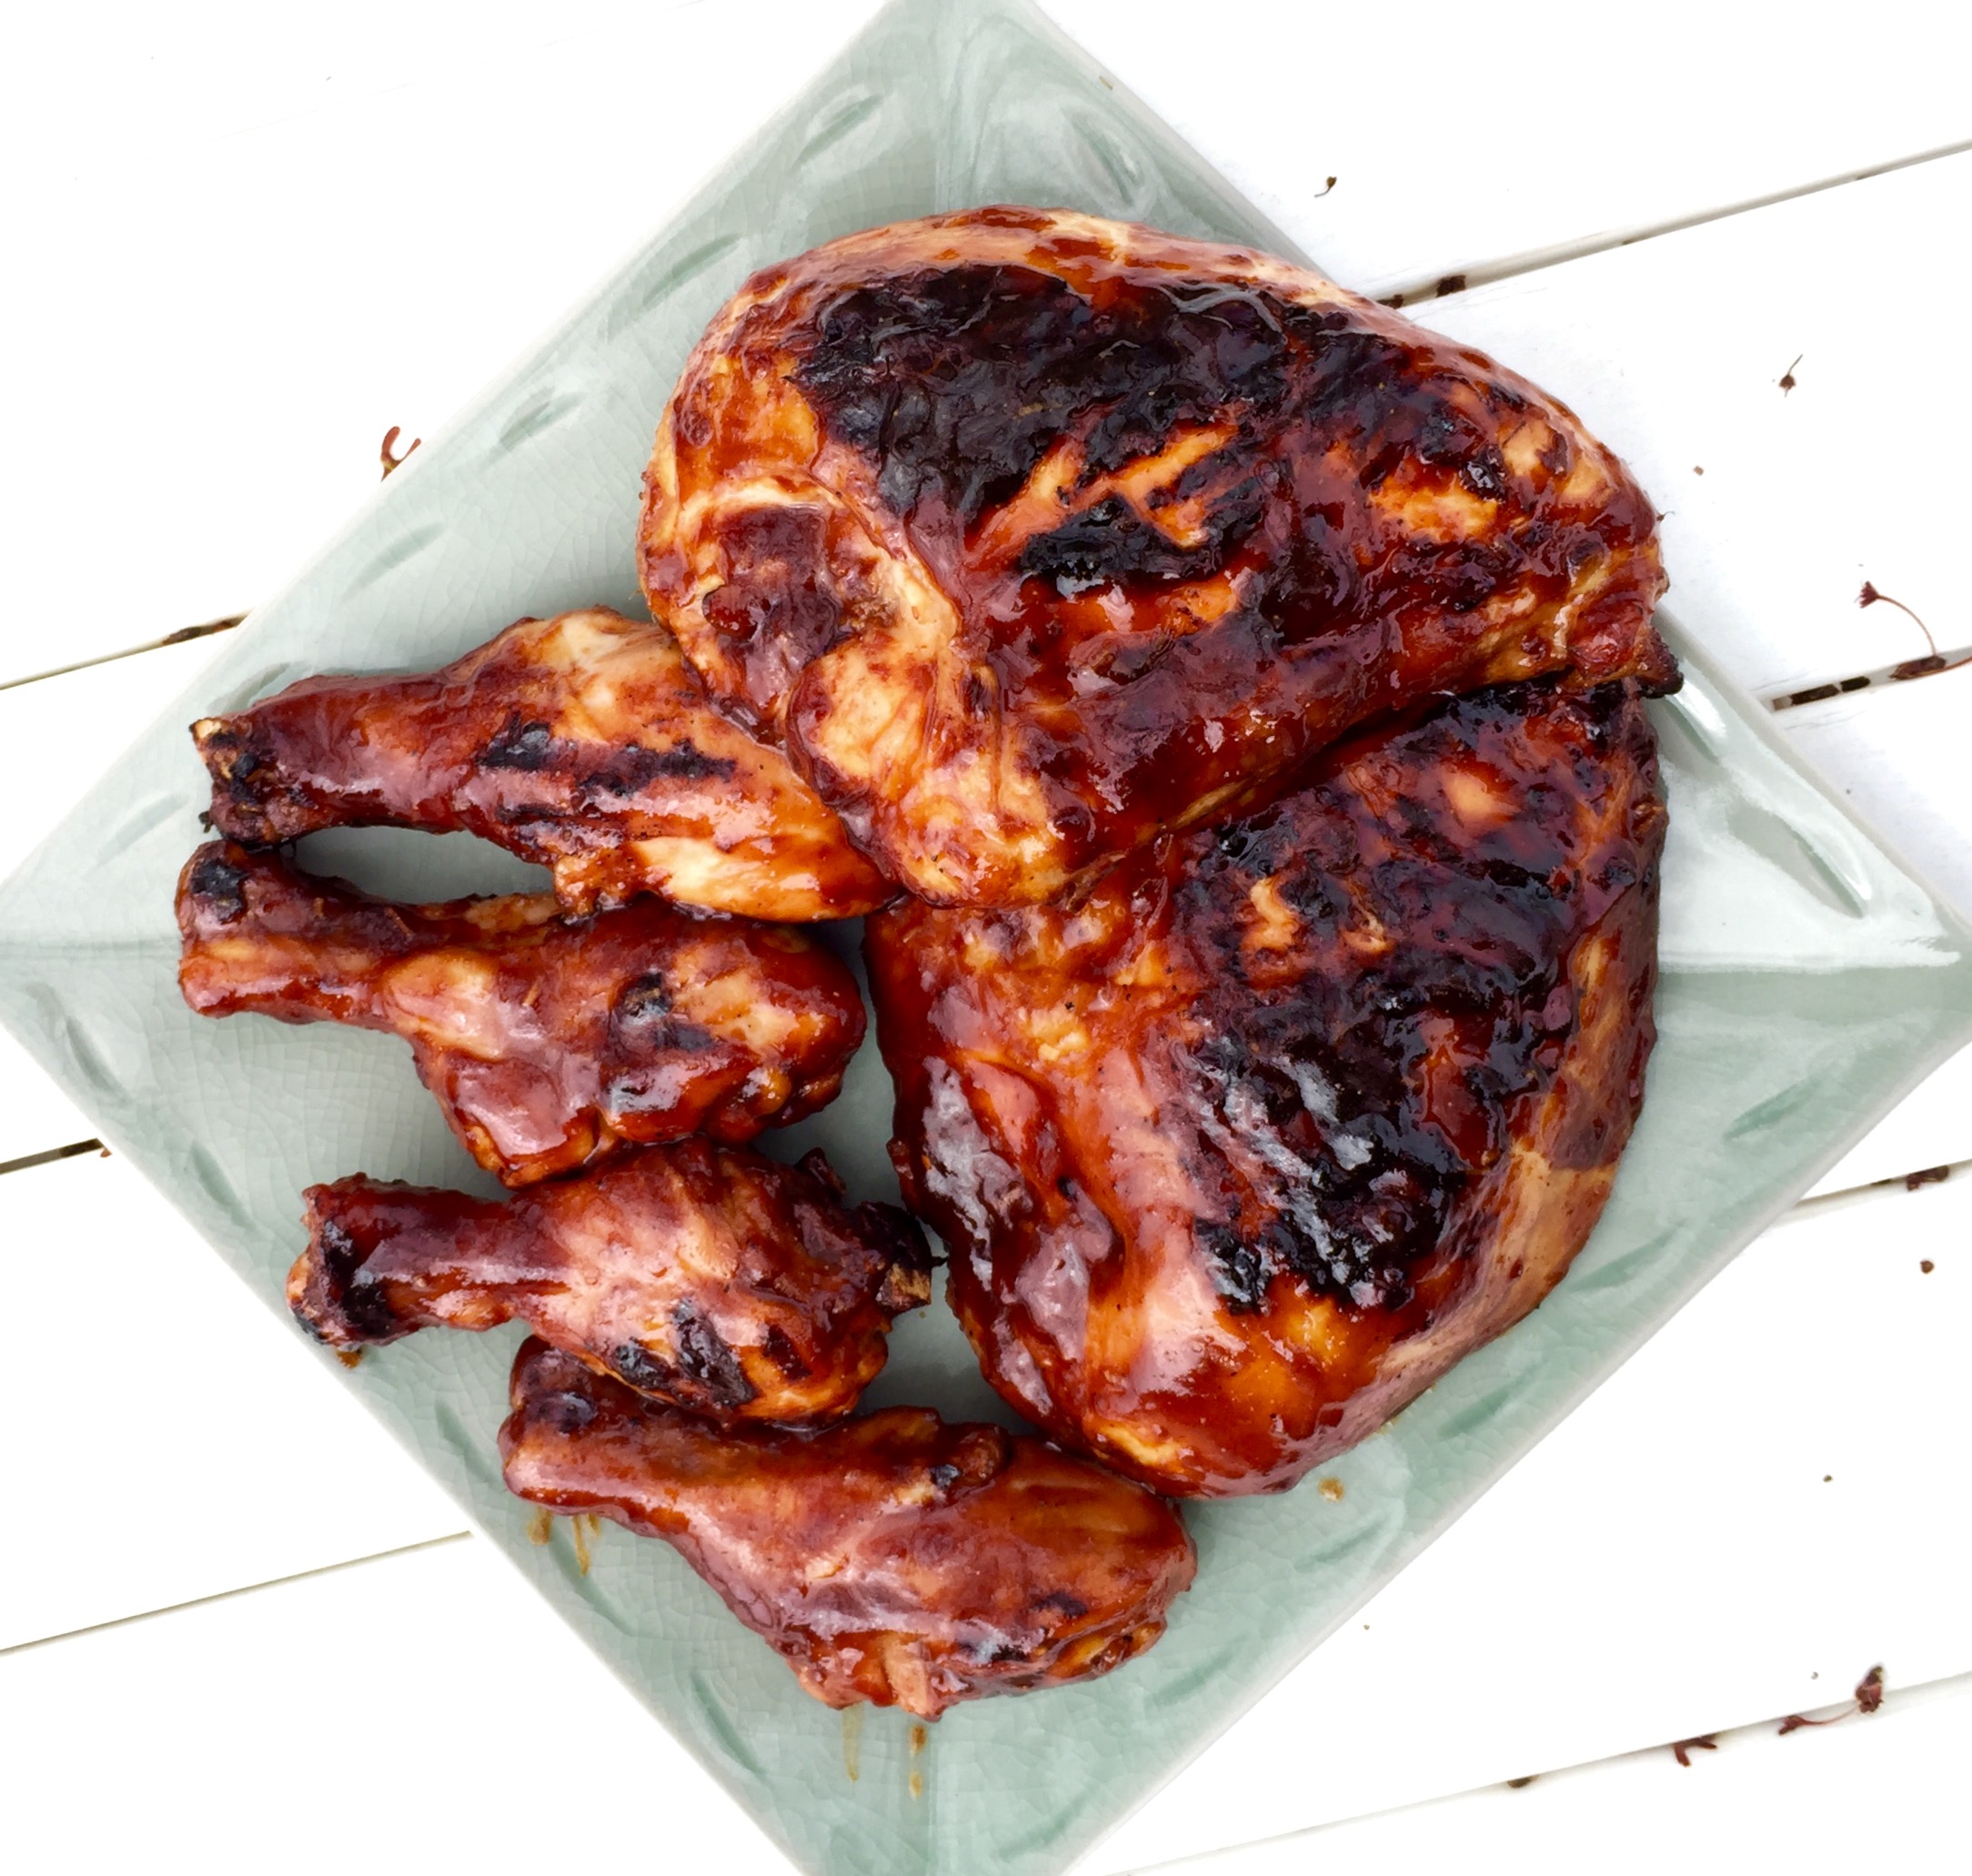
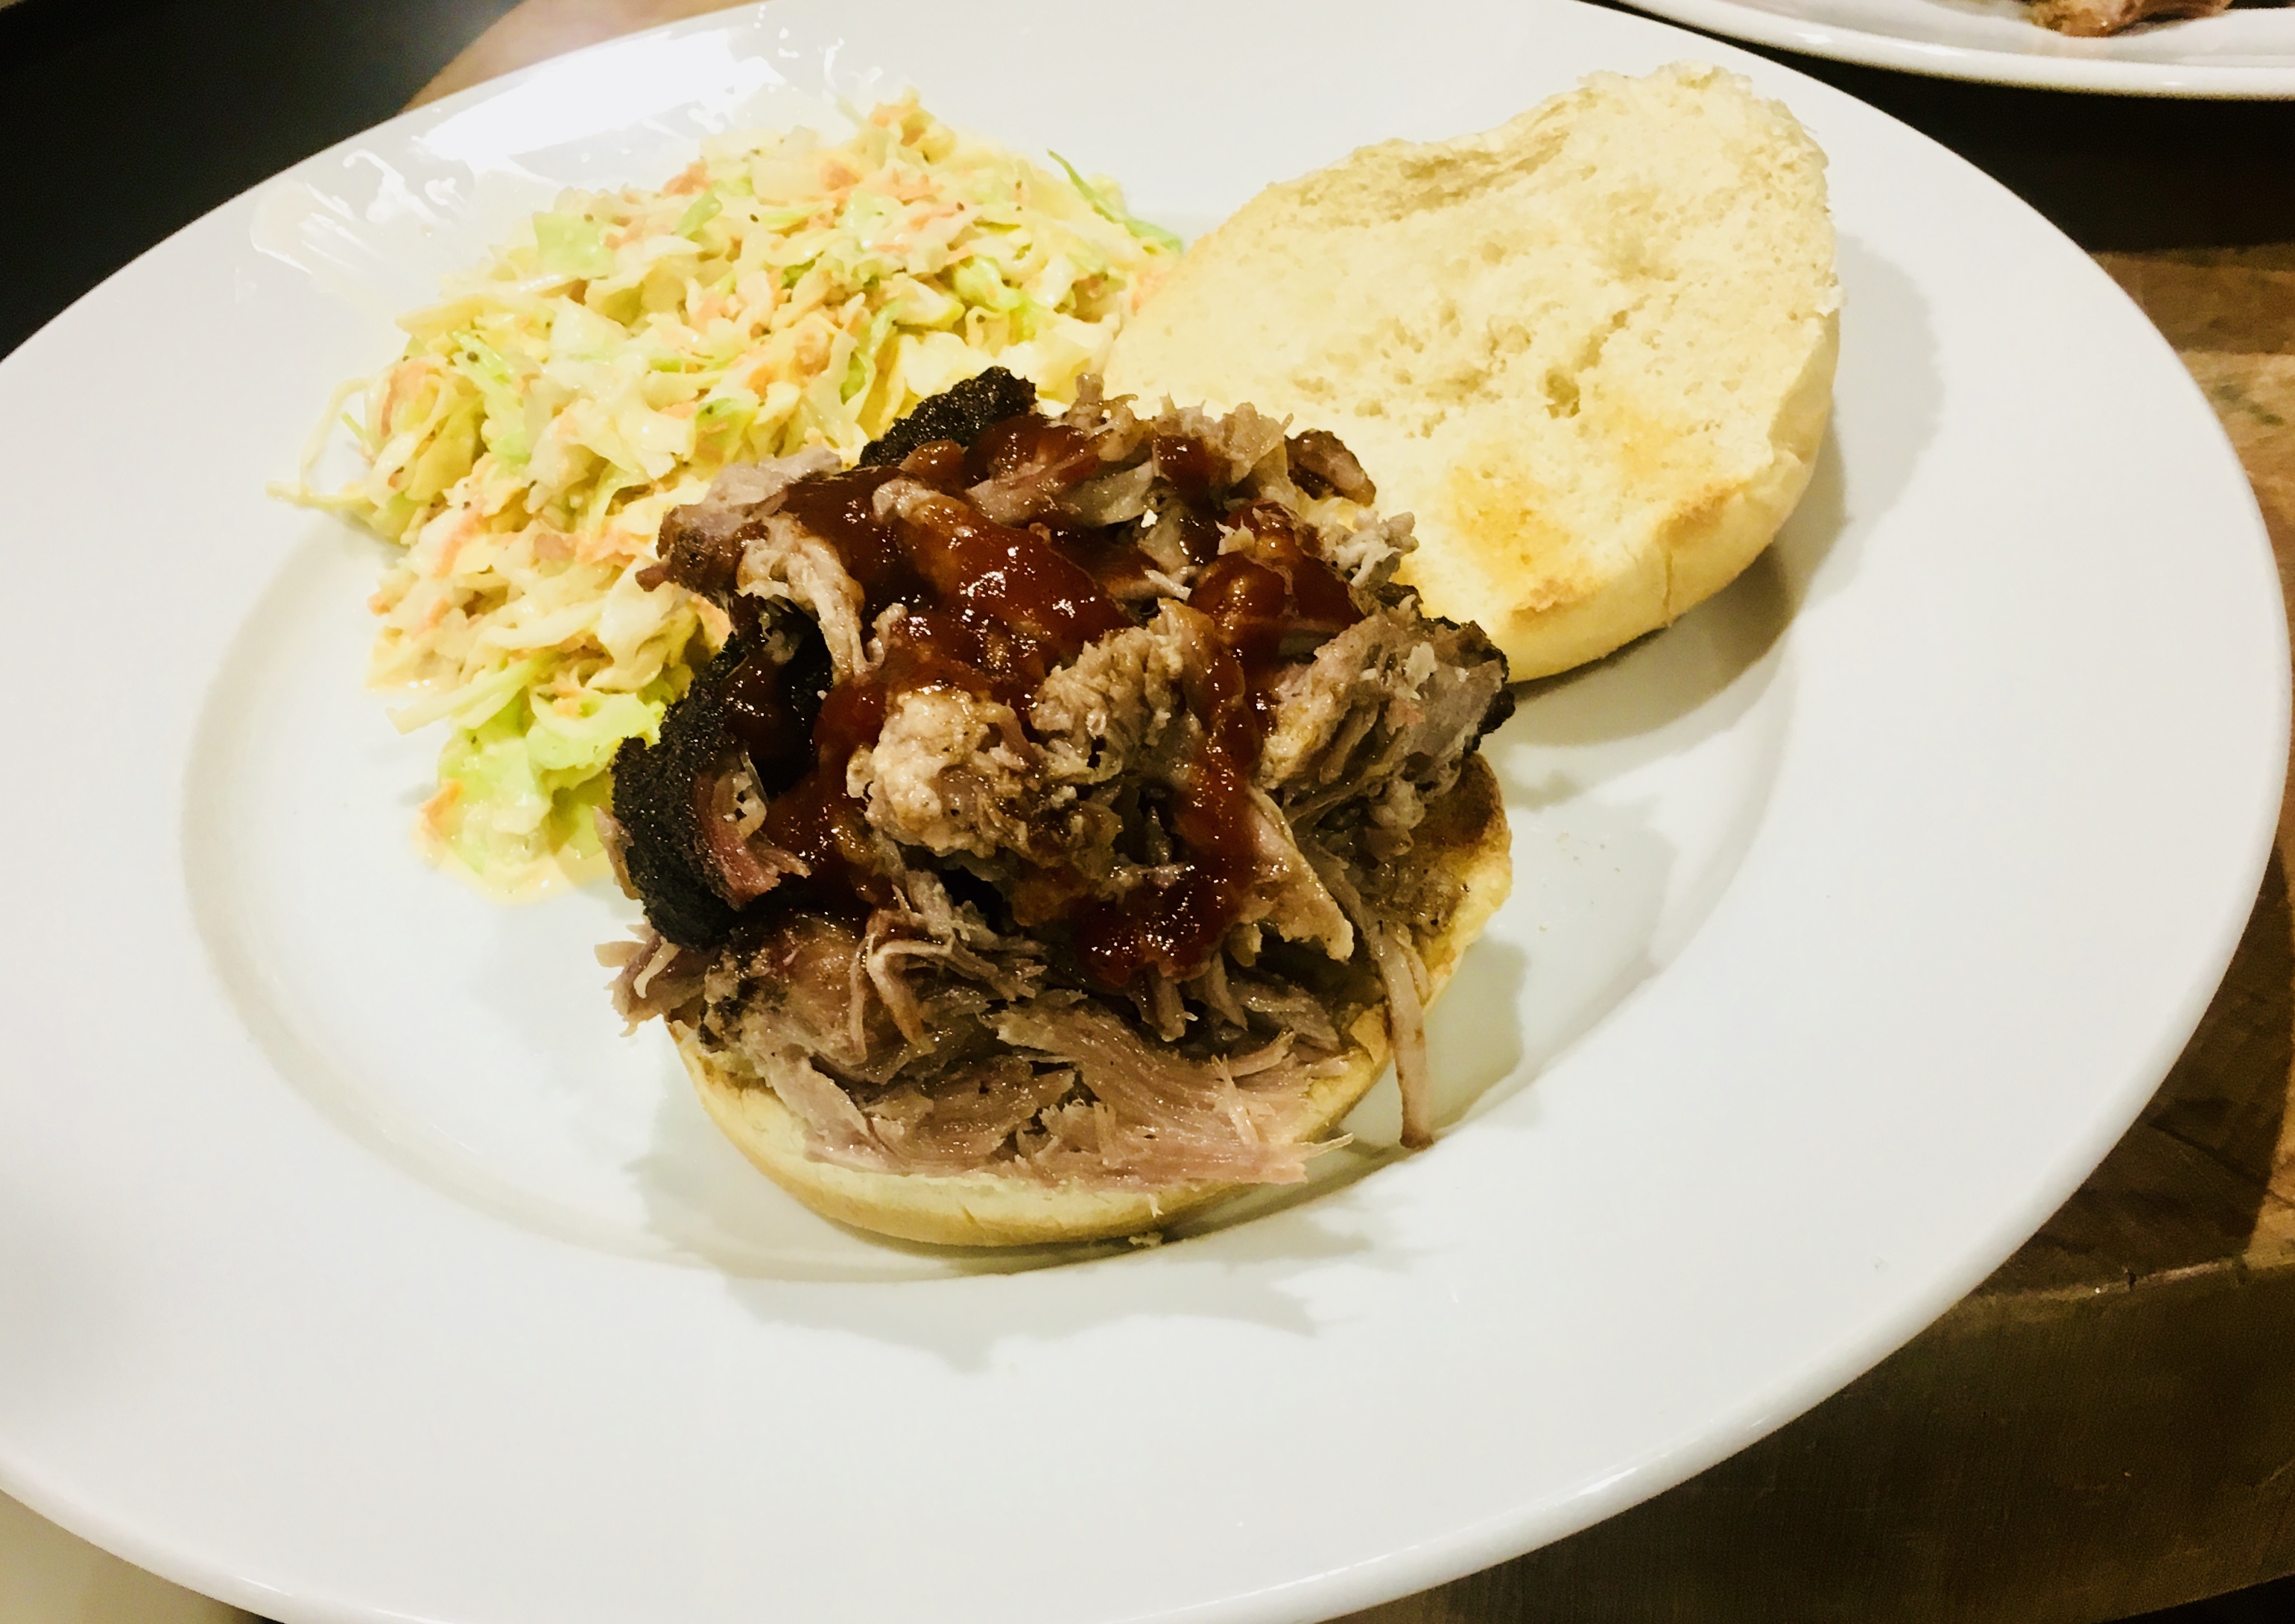
The brown sugar in the coffee rub creates a beautiful crust on the meat, which goes really well with the pork and the barbecue sauce I make.
The barbecue sauce uses much-needed vinegar. It cuts through the rich fattiness of the pork, and is absolutely delicious.

2 cups ketchup
3/4 cup water
6 tablespoons cider vinegar
6 tablespoons white vinegar
6 tablespoons brown sugar
3 tablespoons Worcestershire sauce
1 tablespoon chili powder
2 teaspoons salt
2 teaspoons black pepper
1 1/2 teaspoons cumin
Mix all the ingredients in a saucepan and simmer until the flavors have blended, about 20 minutes. Remove from heat and cool to room temp. If you store it in an airtight container in the fridge, it’ll stay good for a few months.
A beautifully smoked pork shoulder, amazing barbecue sauce…what more do you need for an amazing pulled pork sandwich except a toasted brioche bun and perhaps some of my world-famous home fries on the side?

The home fries? That recipe is for another blog!